When you click on links to various merchants on this site and make a purchase, this can result in this site earning a commission. Affiliate programs and affiliations include, but are not limited to, the eBay Partner Network.
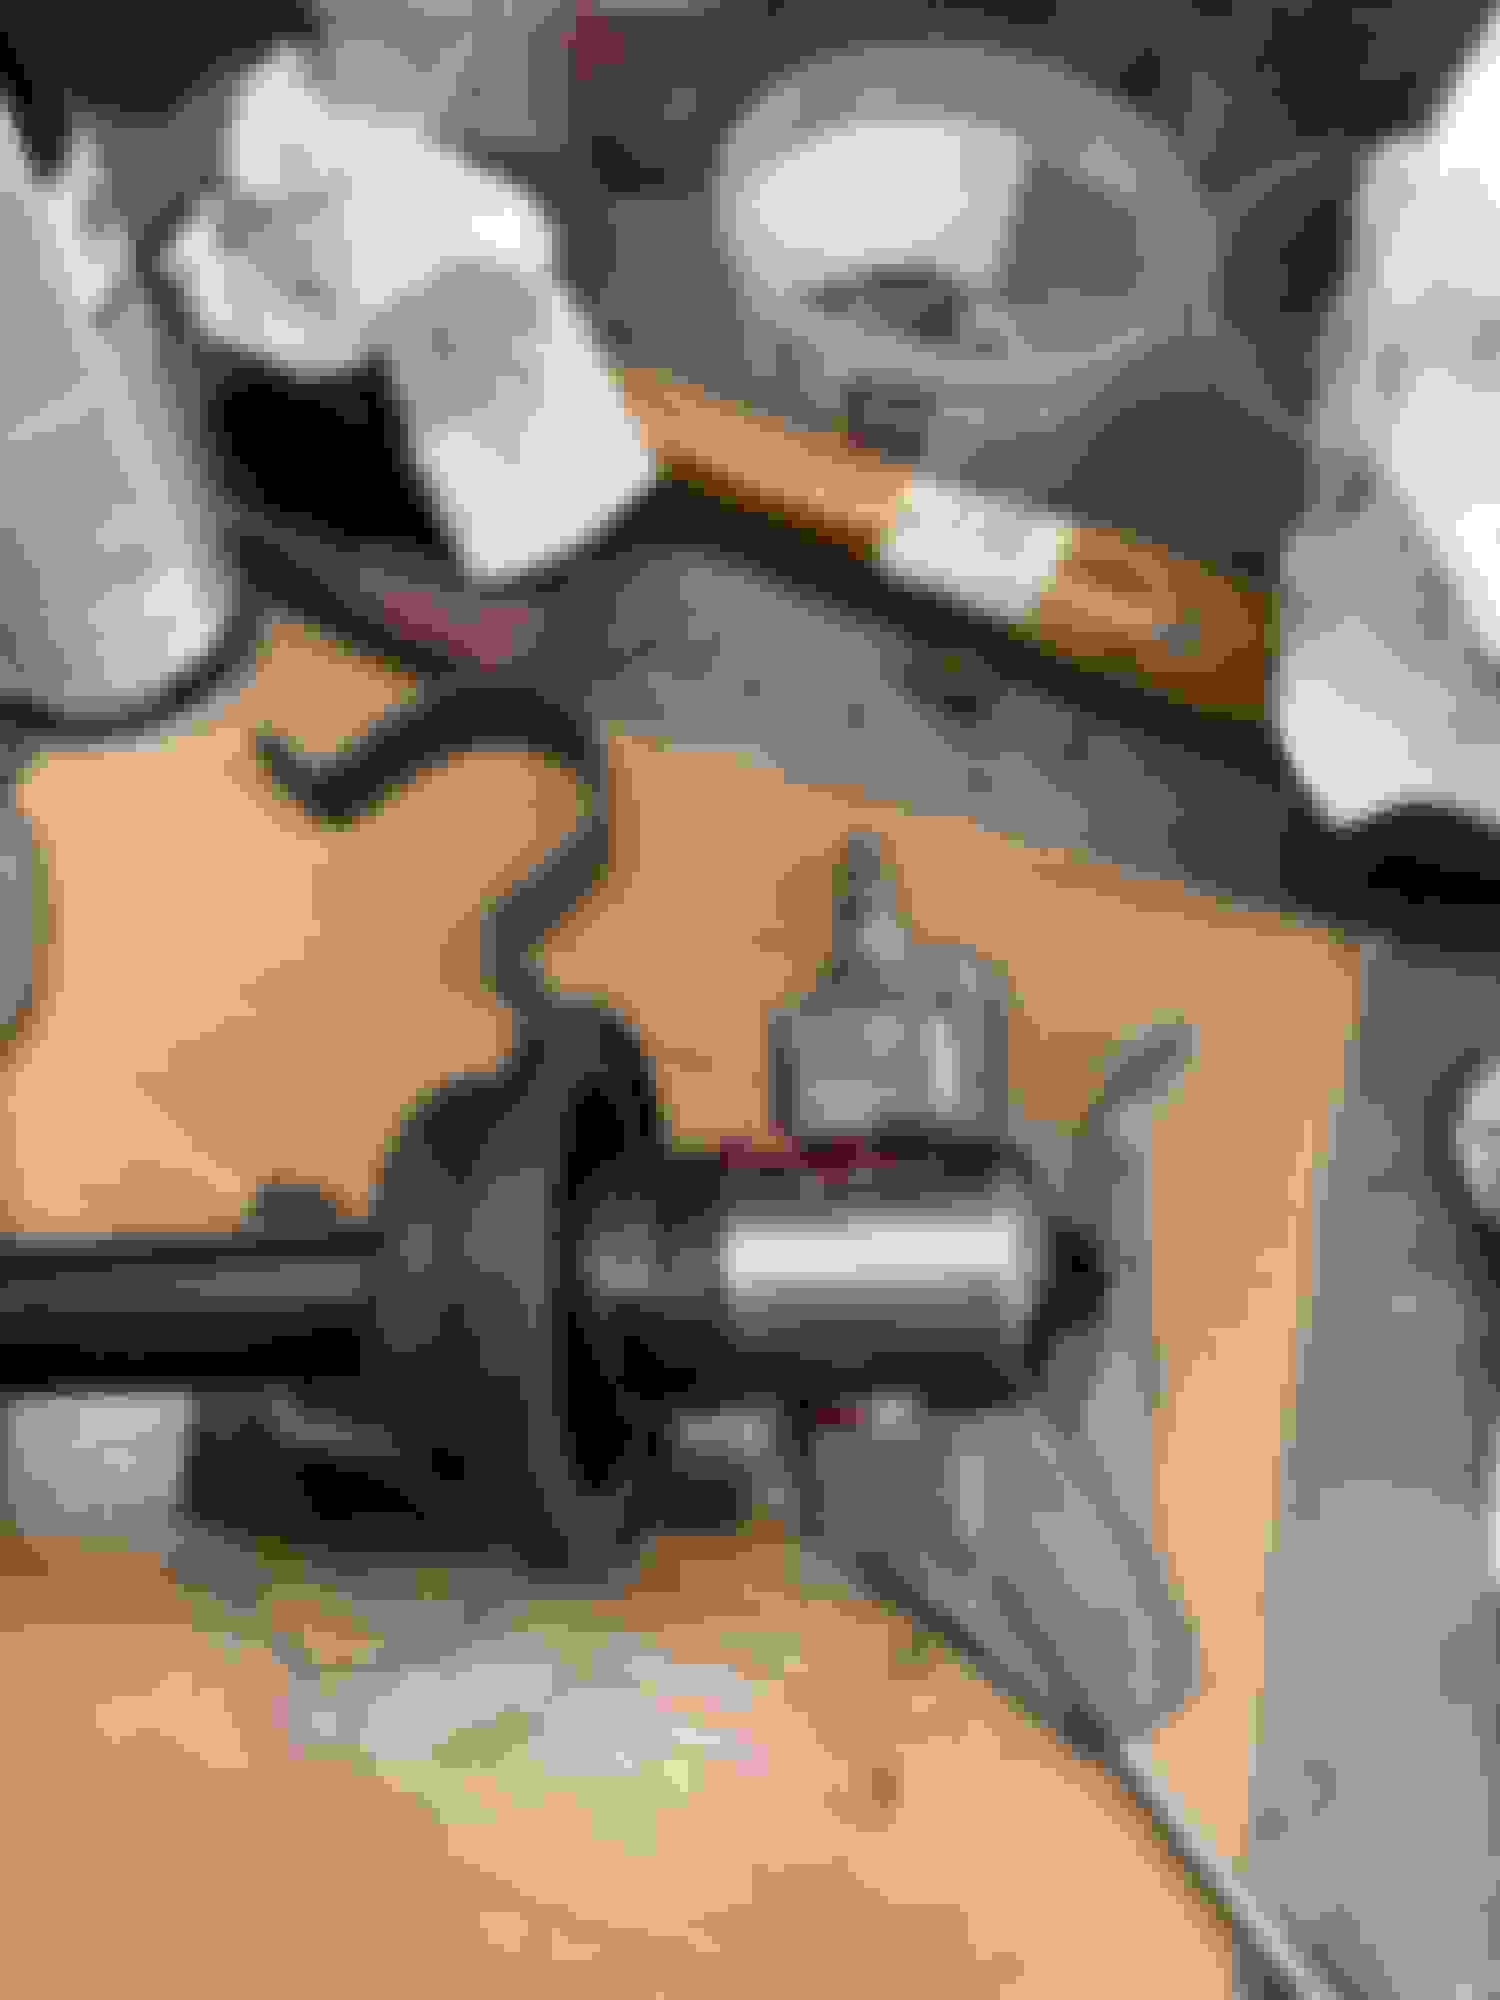
Well I'm finally getting the motor to where it needs to be. Dr. Remmel will hopefully receive this patient next week? He's a pretty busy guy so looking at late summer early fall. Ill post pics as that progresses.
Not sure what is more valuable, the engine or the wood you packed in in, lol
Not sure what is more valuable, the engine or the wood you packed in in, lol
Tell me about it. 1/2” pc of OSB used to cost me $17. I was shocked when I got two pcs for $96. I scrounged up some stuff in my garage and returned one pc.
Last edited by scrappie; June 7th, 2021 at 11:51 AM.
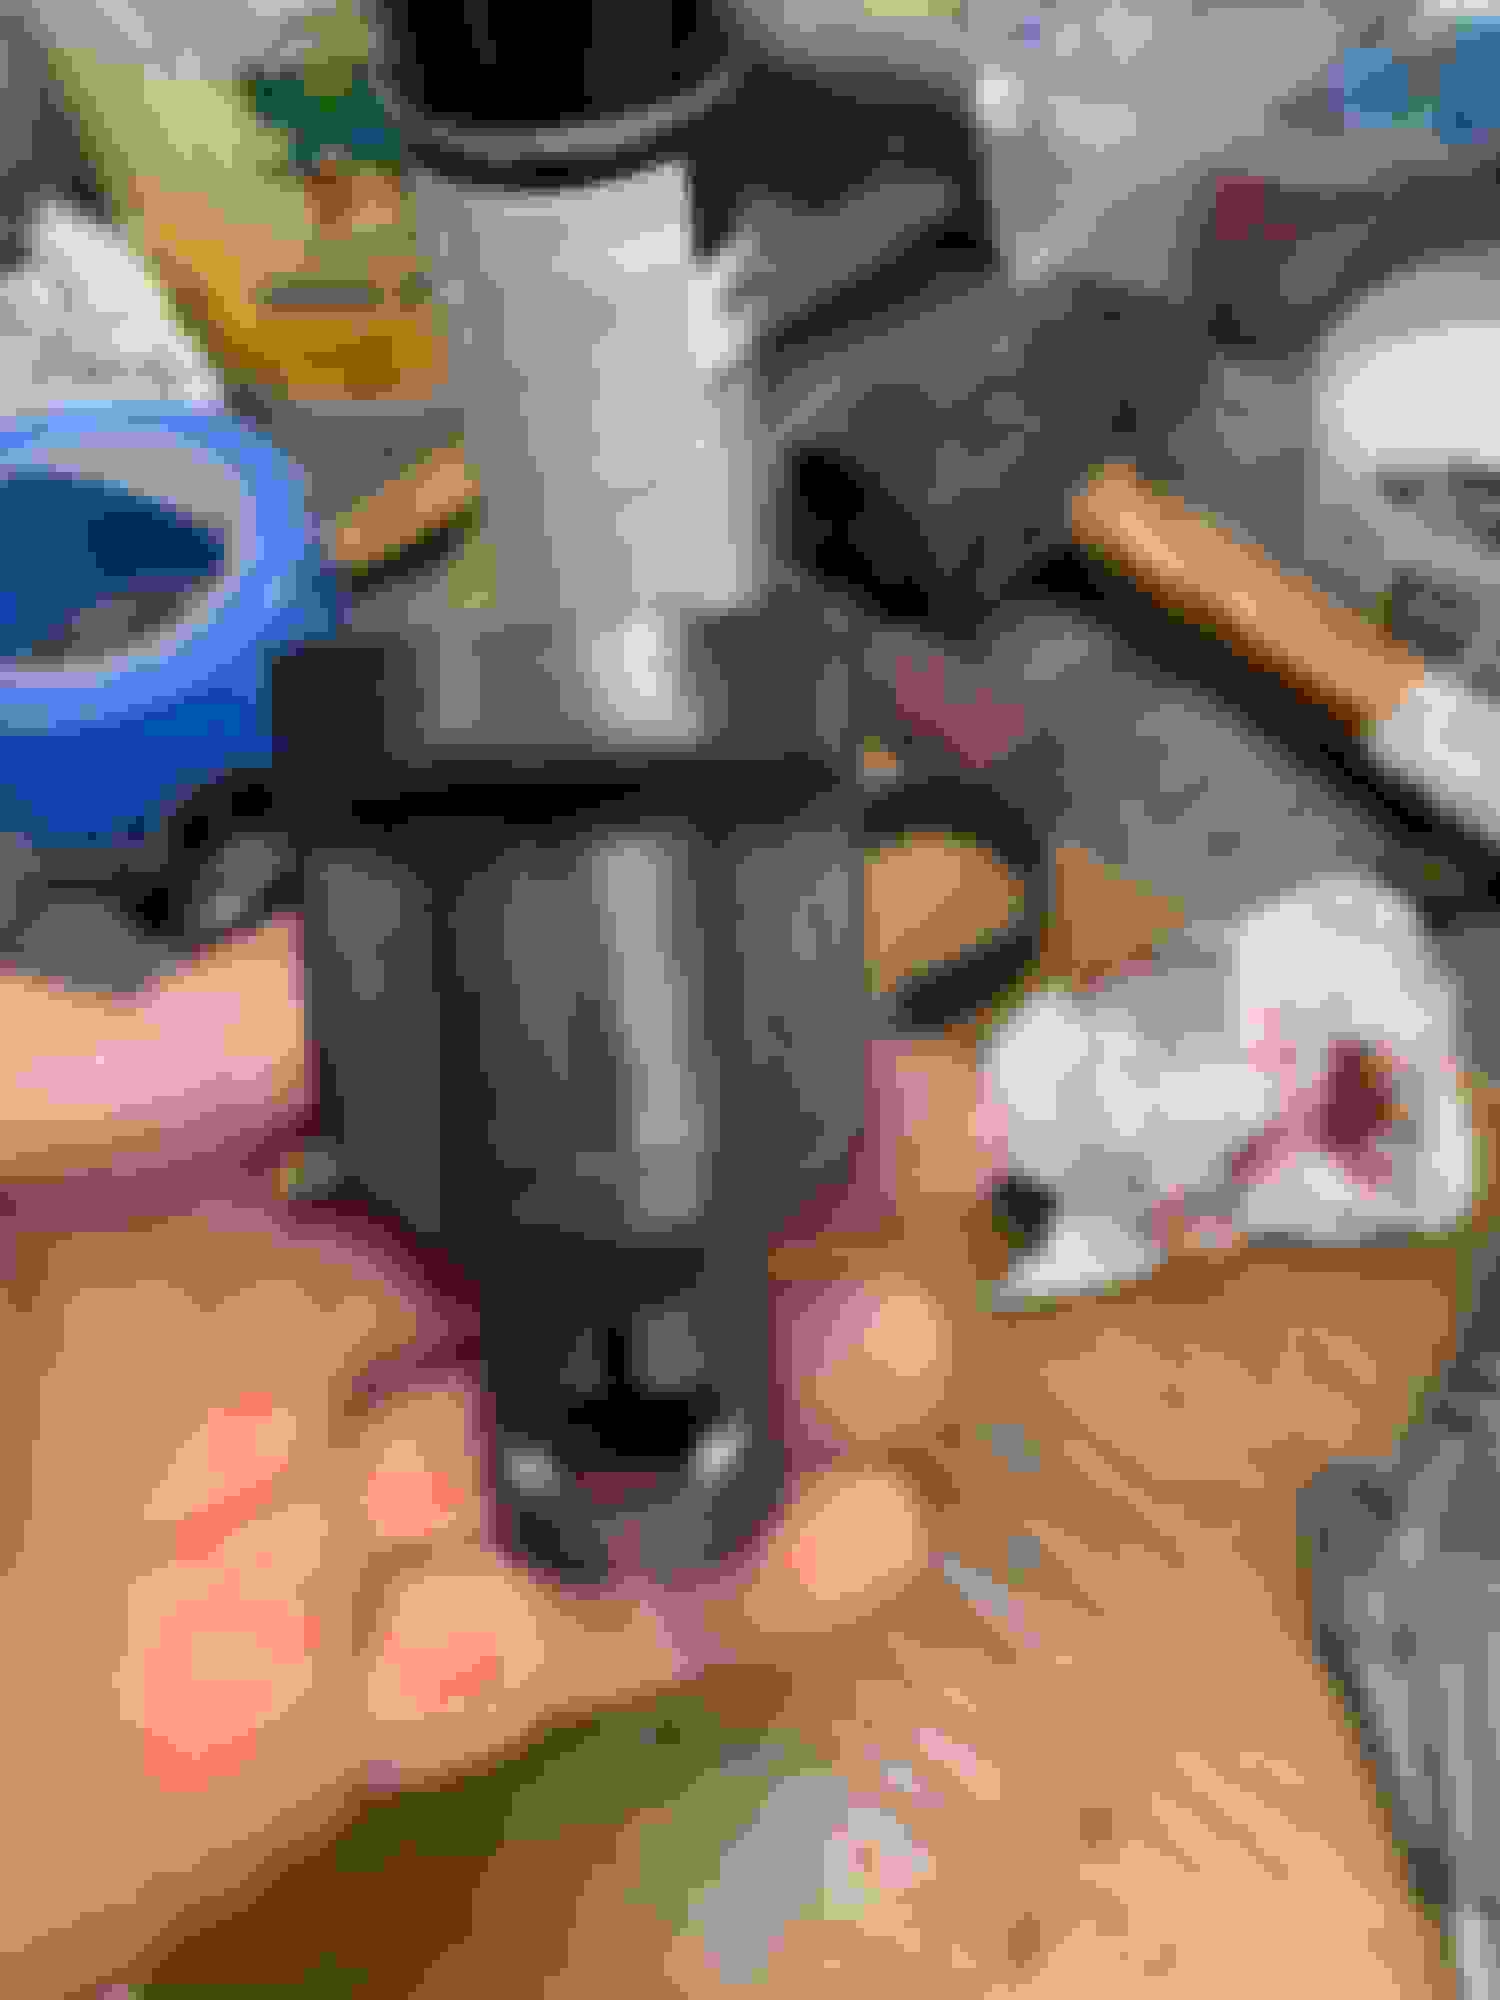
Beautiful job he's done on the wiper/pump assembly. Did he do as well on the sticker?
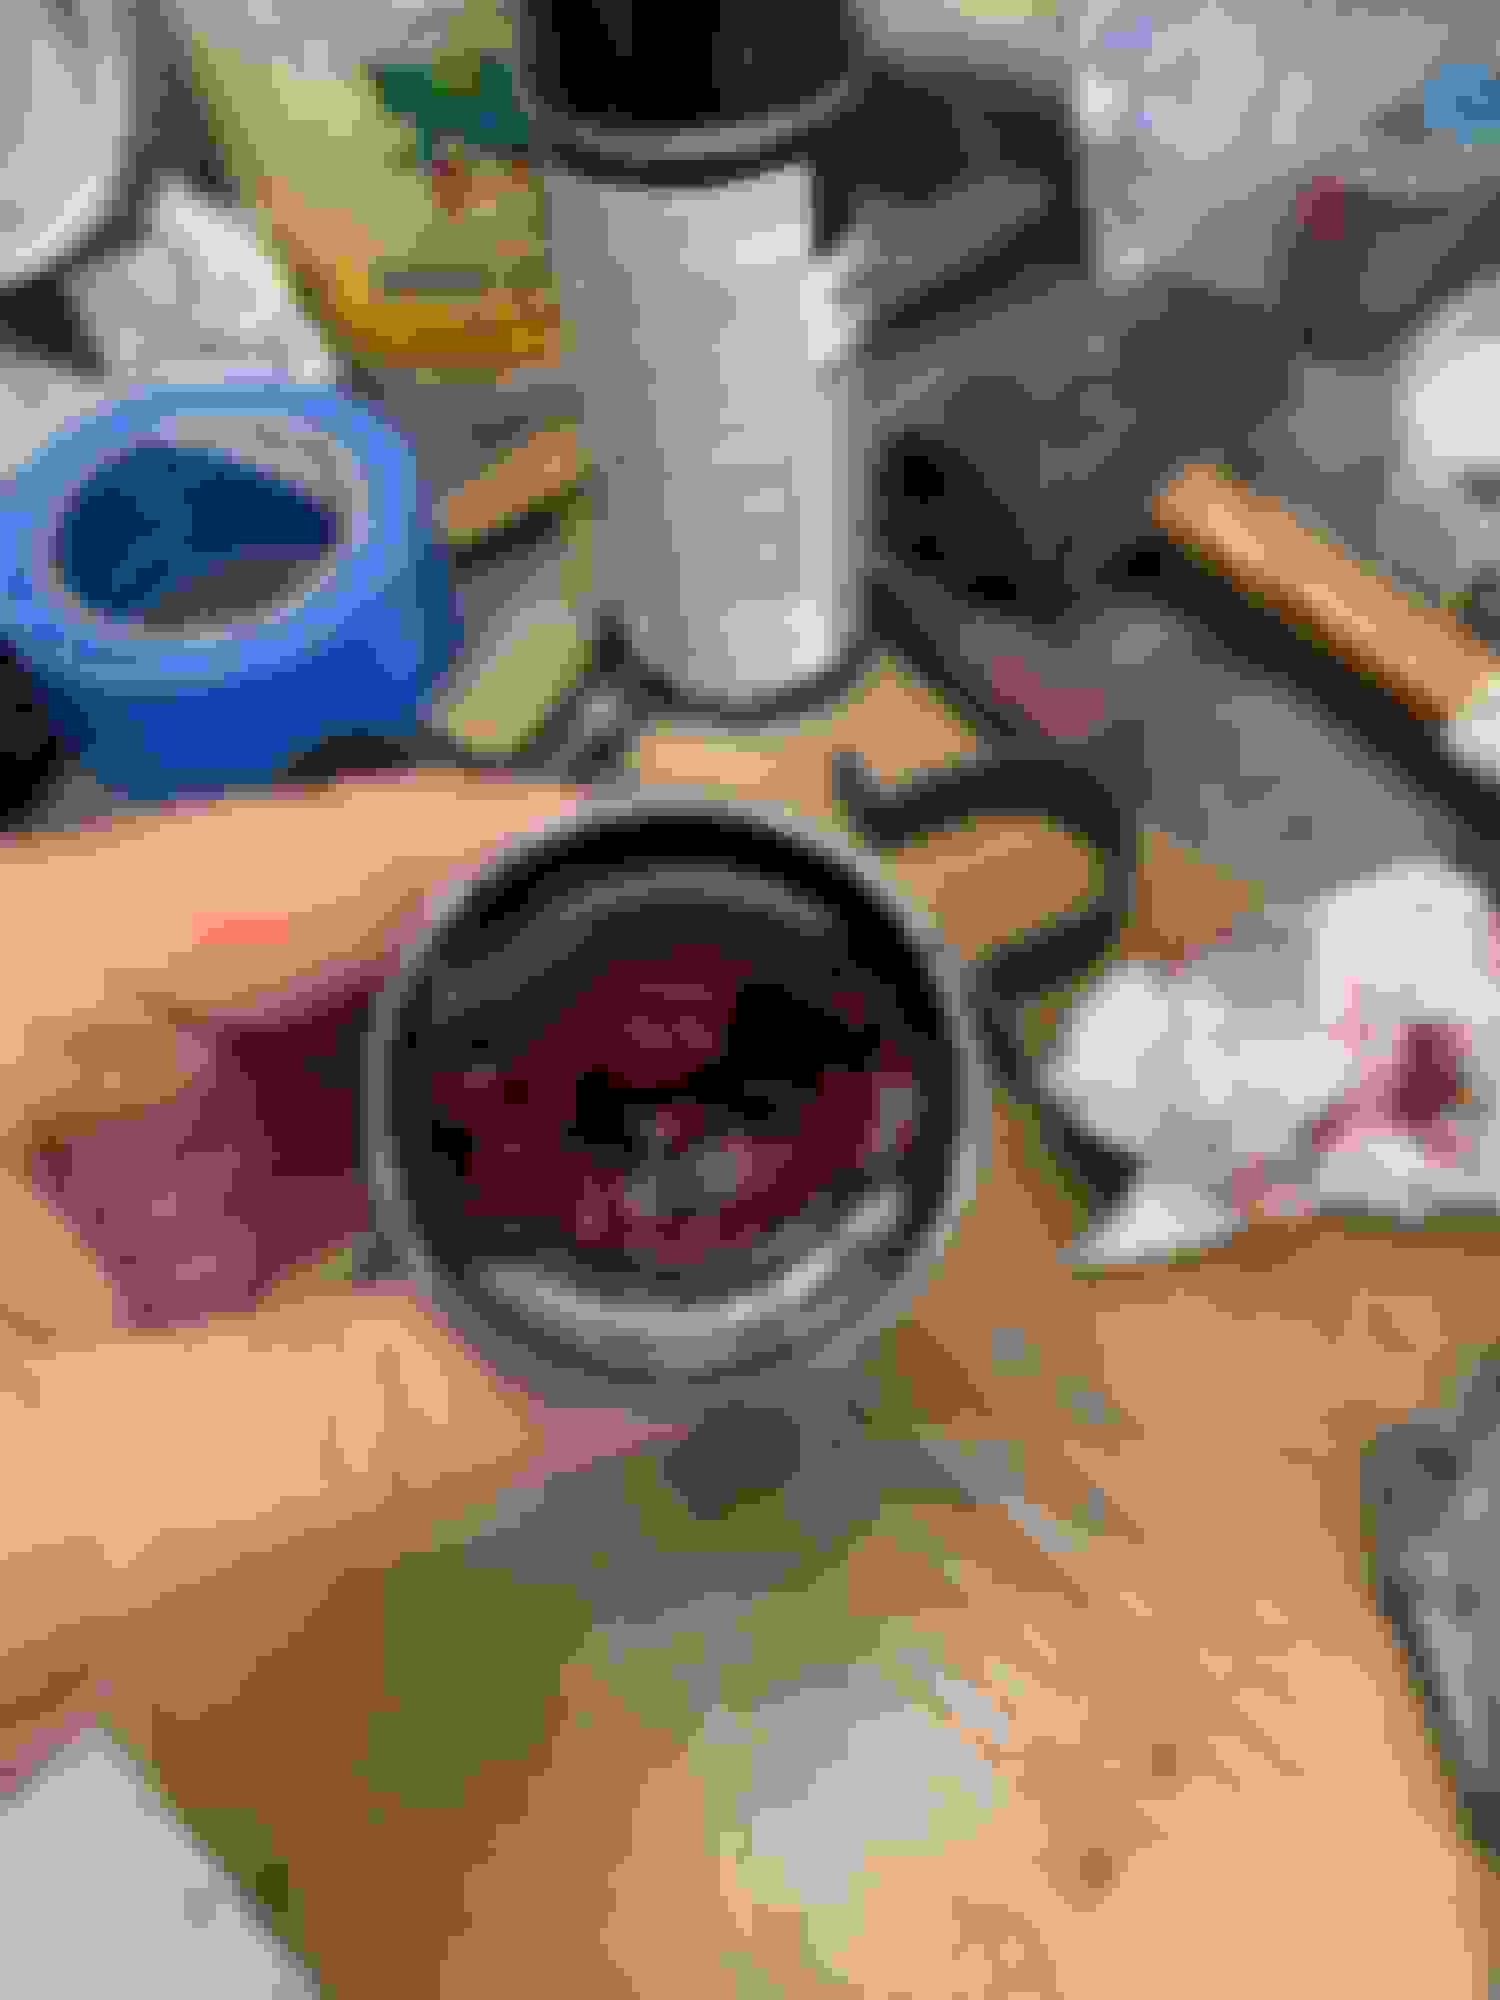
Steve does send you a new sticker and it�s pretty close but I did like Paul and reused my old one for Nostalgia. Picture of the original and the new sticker
My old sticker lived a rough life. It may have already been mentioned somewhere on this site, but I chose ECS to do my wiper sticker. No attitude, reasonable, great work, and super fast
turnaround.
I know both Andy’s and my car were built 12/A. Can you guys decipher the wiper motor sticker? 289 & 283, are those the day of year? What’s 9 1A? I could guess but just guess.
Last edited by scrappie; August 3rd, 2021 at 04:49 AM.
I know both Andy�s and my car will built 12/A. Can you guys decipher the wiper motor sticker? 289 & 283, are those the day of year? What�s 9 1A? I could guess but just guess.
Part Number
Day of Year (ex: 001 = January 1)
Year
Which Line Assembled (1-7)
Shift ( A= Day ; B = Night)
I thought come summertime I would get a lot done but honestly Im more busy with stuff now compared to the winter. I got the motor off for rebuild so thats good, I ordered a gardner exhaust system which is about 6 weeks out and now I just want to get the car painted before winter. Im working on that and will update asap.
I built a paint booth this weekend and plan on embarking on the painting process soon.
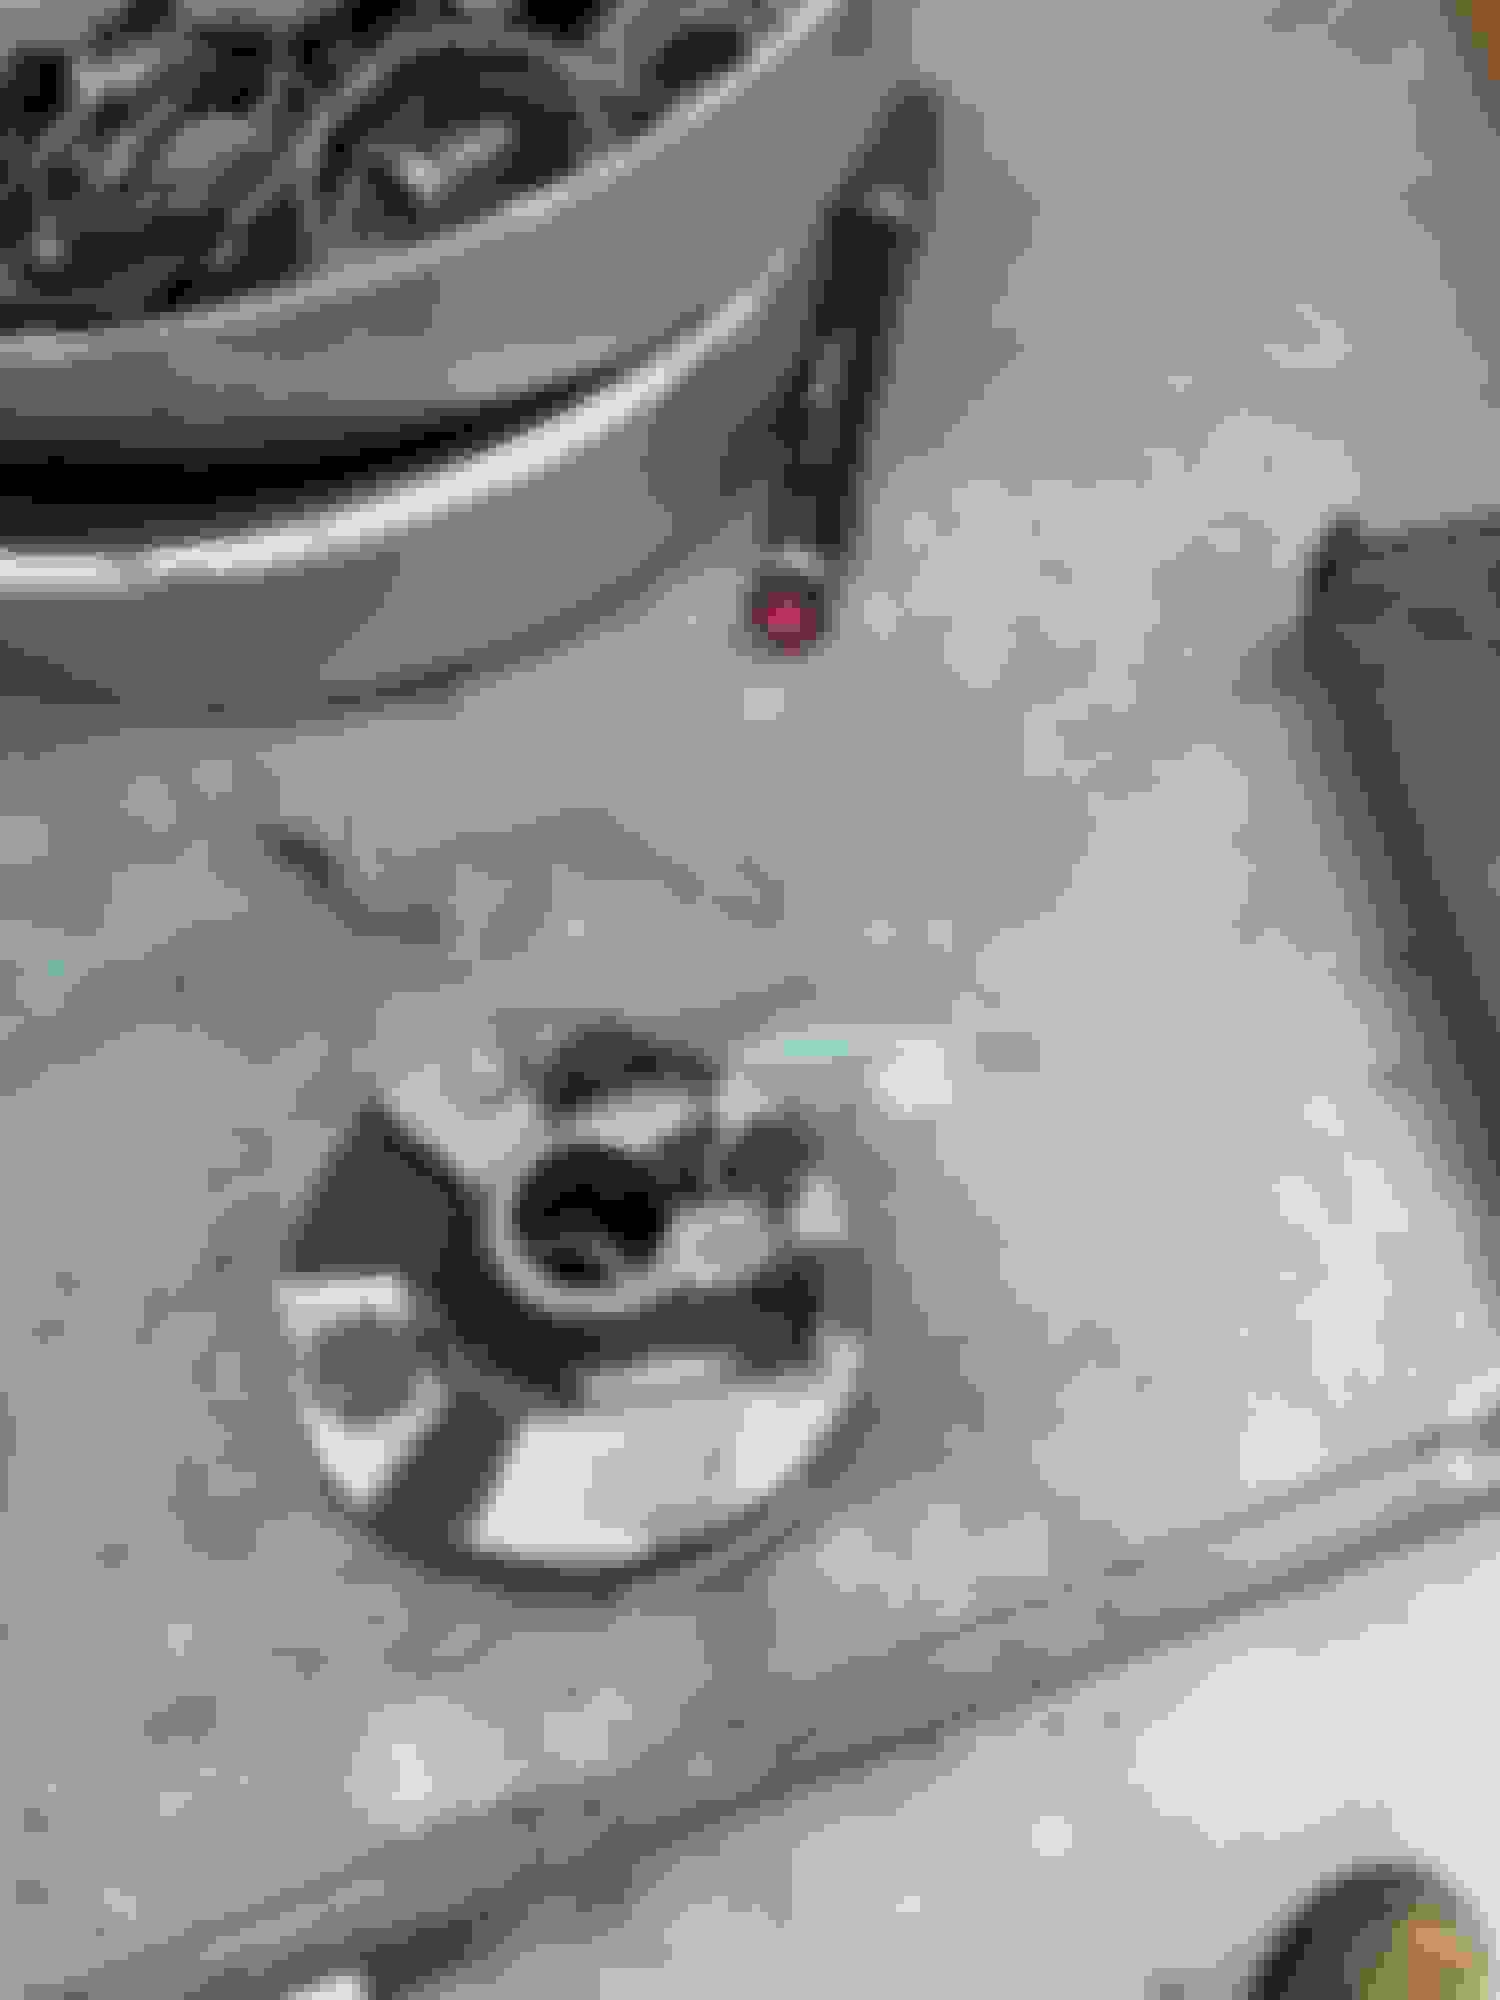
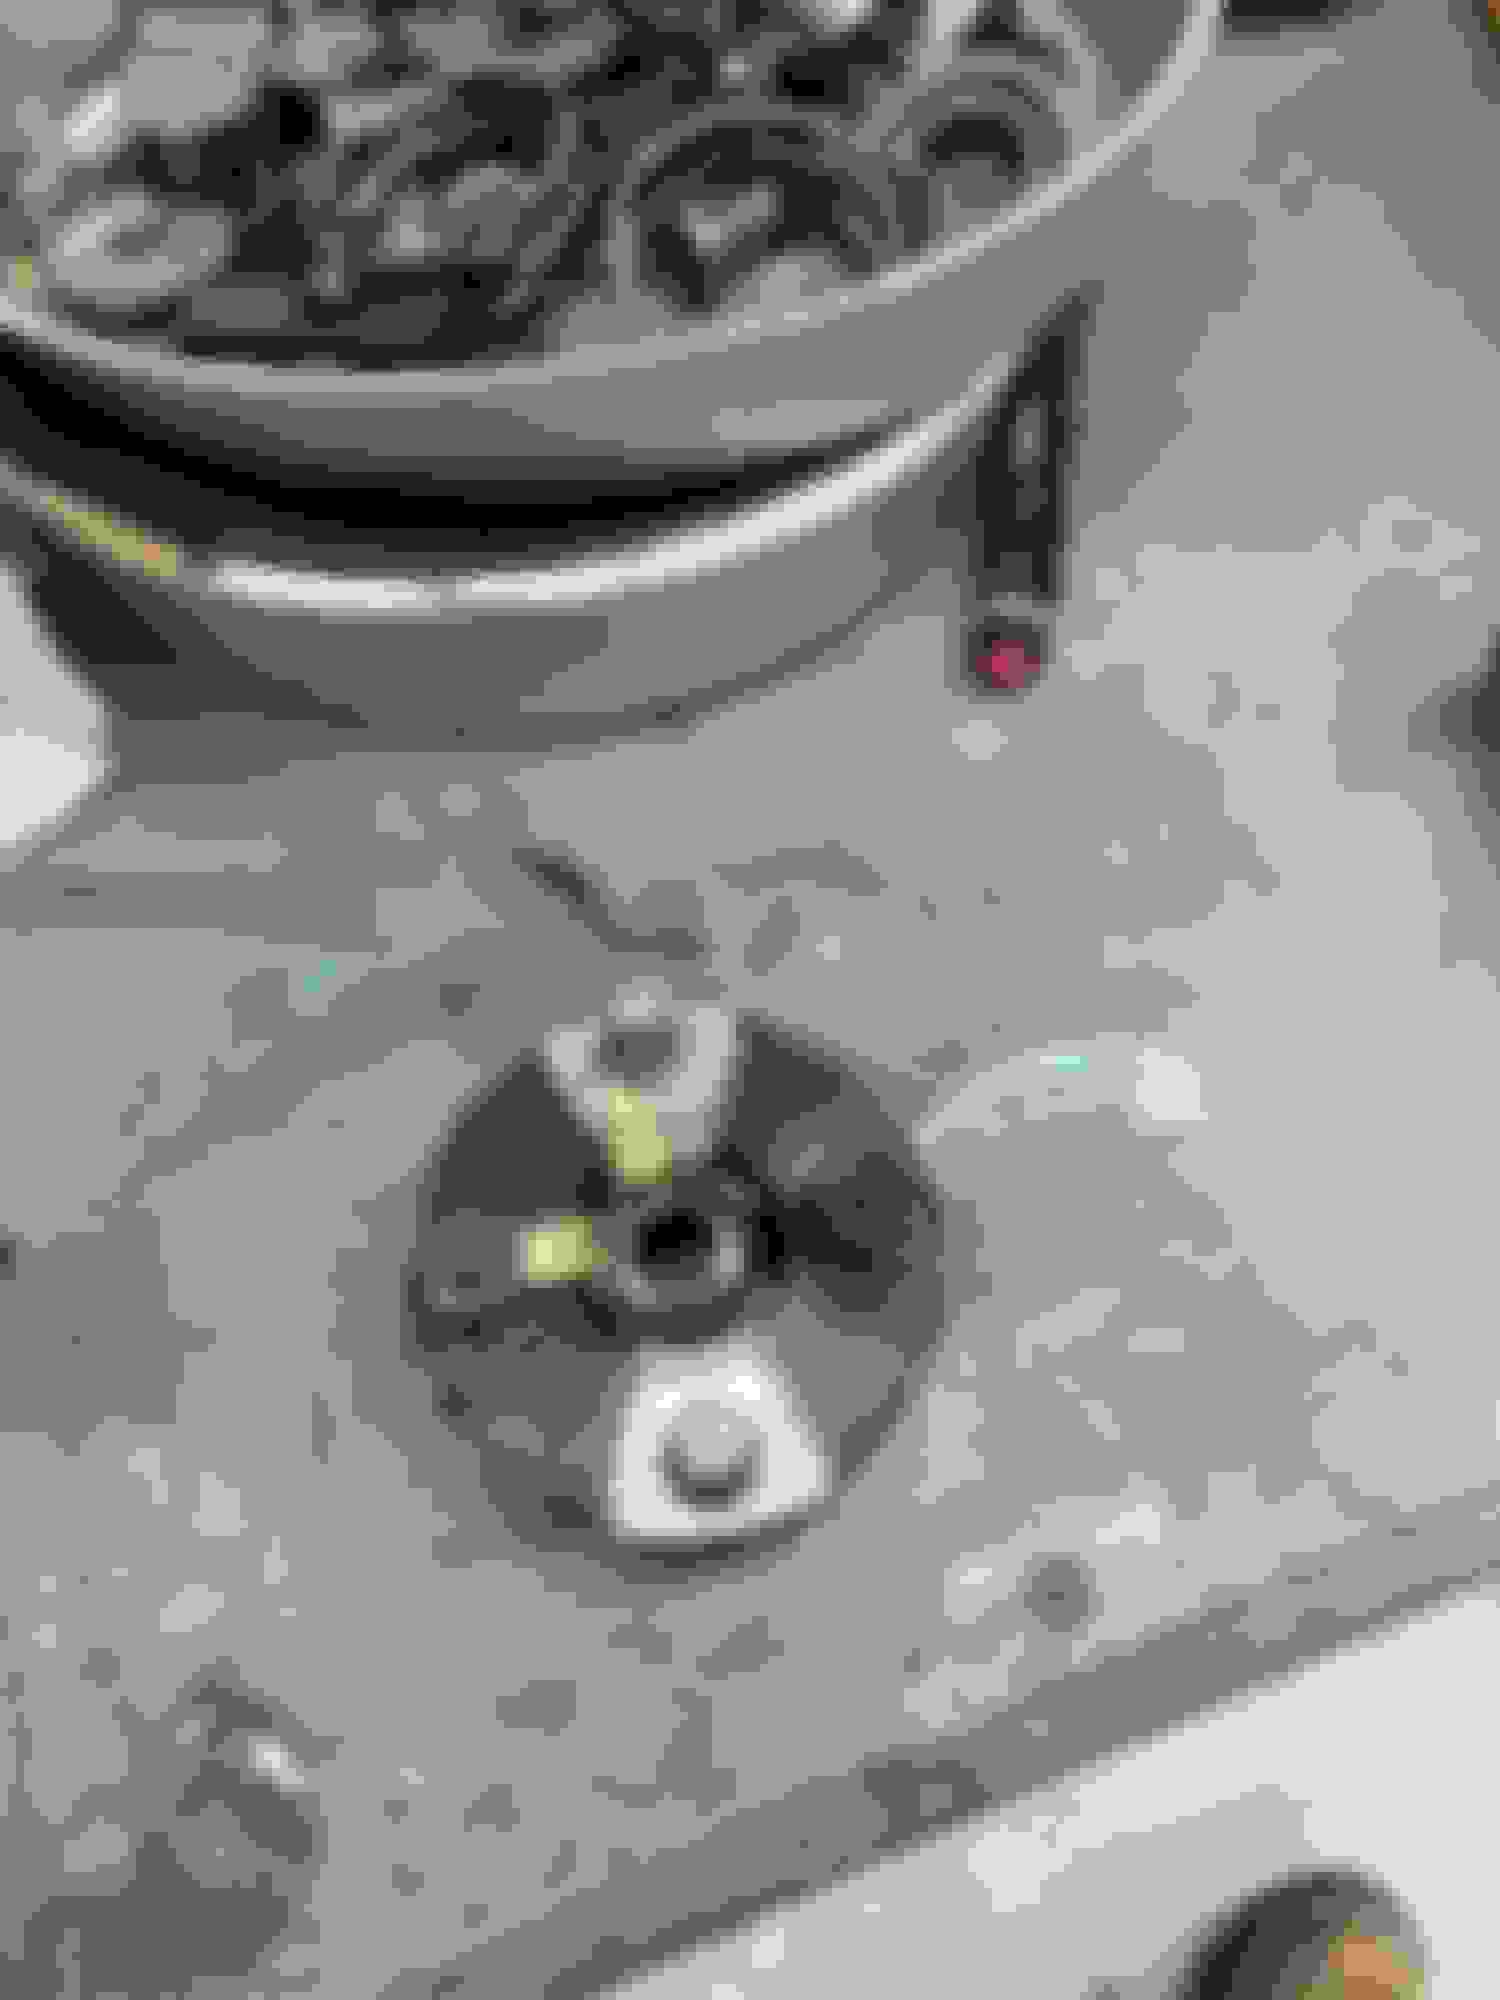
In the meantime Ive been doing small stuff here and there. I couldn't find a definite finish for the shaft so I just blasted and painted it semi gloss. I also restored another rag joint I had to replace mine.
The bolt that attaches the horn to the radiator support is a different size for 1970. 1971/1972 uses a larger self tapping screw and 1970 uses a small self tapping screw.
The bolt that attaches the horn to the radiator support is a different size for 1970. 1971/1972 uses a larger self tapping screw and 1970 uses a small self tapping screw.
Interesting, I tagged those 1970 because I took them from my original core support or off the 70 parts car I have. I have more and I also have a 71 442 I will compare.
Interesting, I tagged those 1970 because I took them from my original core support or off the 70 parts car I have. I have more and I also have a 71 442 I will compare.
Could it be an end of the model year meets the new model year thing?? You know GM and that is a possibility.... that the old parts were carried over to a new year model? GM......
But then, it's also possible the parts car was repaired many years ago with 1971 or 1972 parts from a salvage yard?
Last edited by OLE442; July 10th, 2021 at 05:44 AM.
Reason: thoughts added
Interesting, I tagged those 1970 because I took them from my original core support or off the 70 parts car I have. I have more and I also have a 71 442 I will compare.
Easy enough to know if the horns are original by checking the date code on them. I bet they are off the other radiator support.
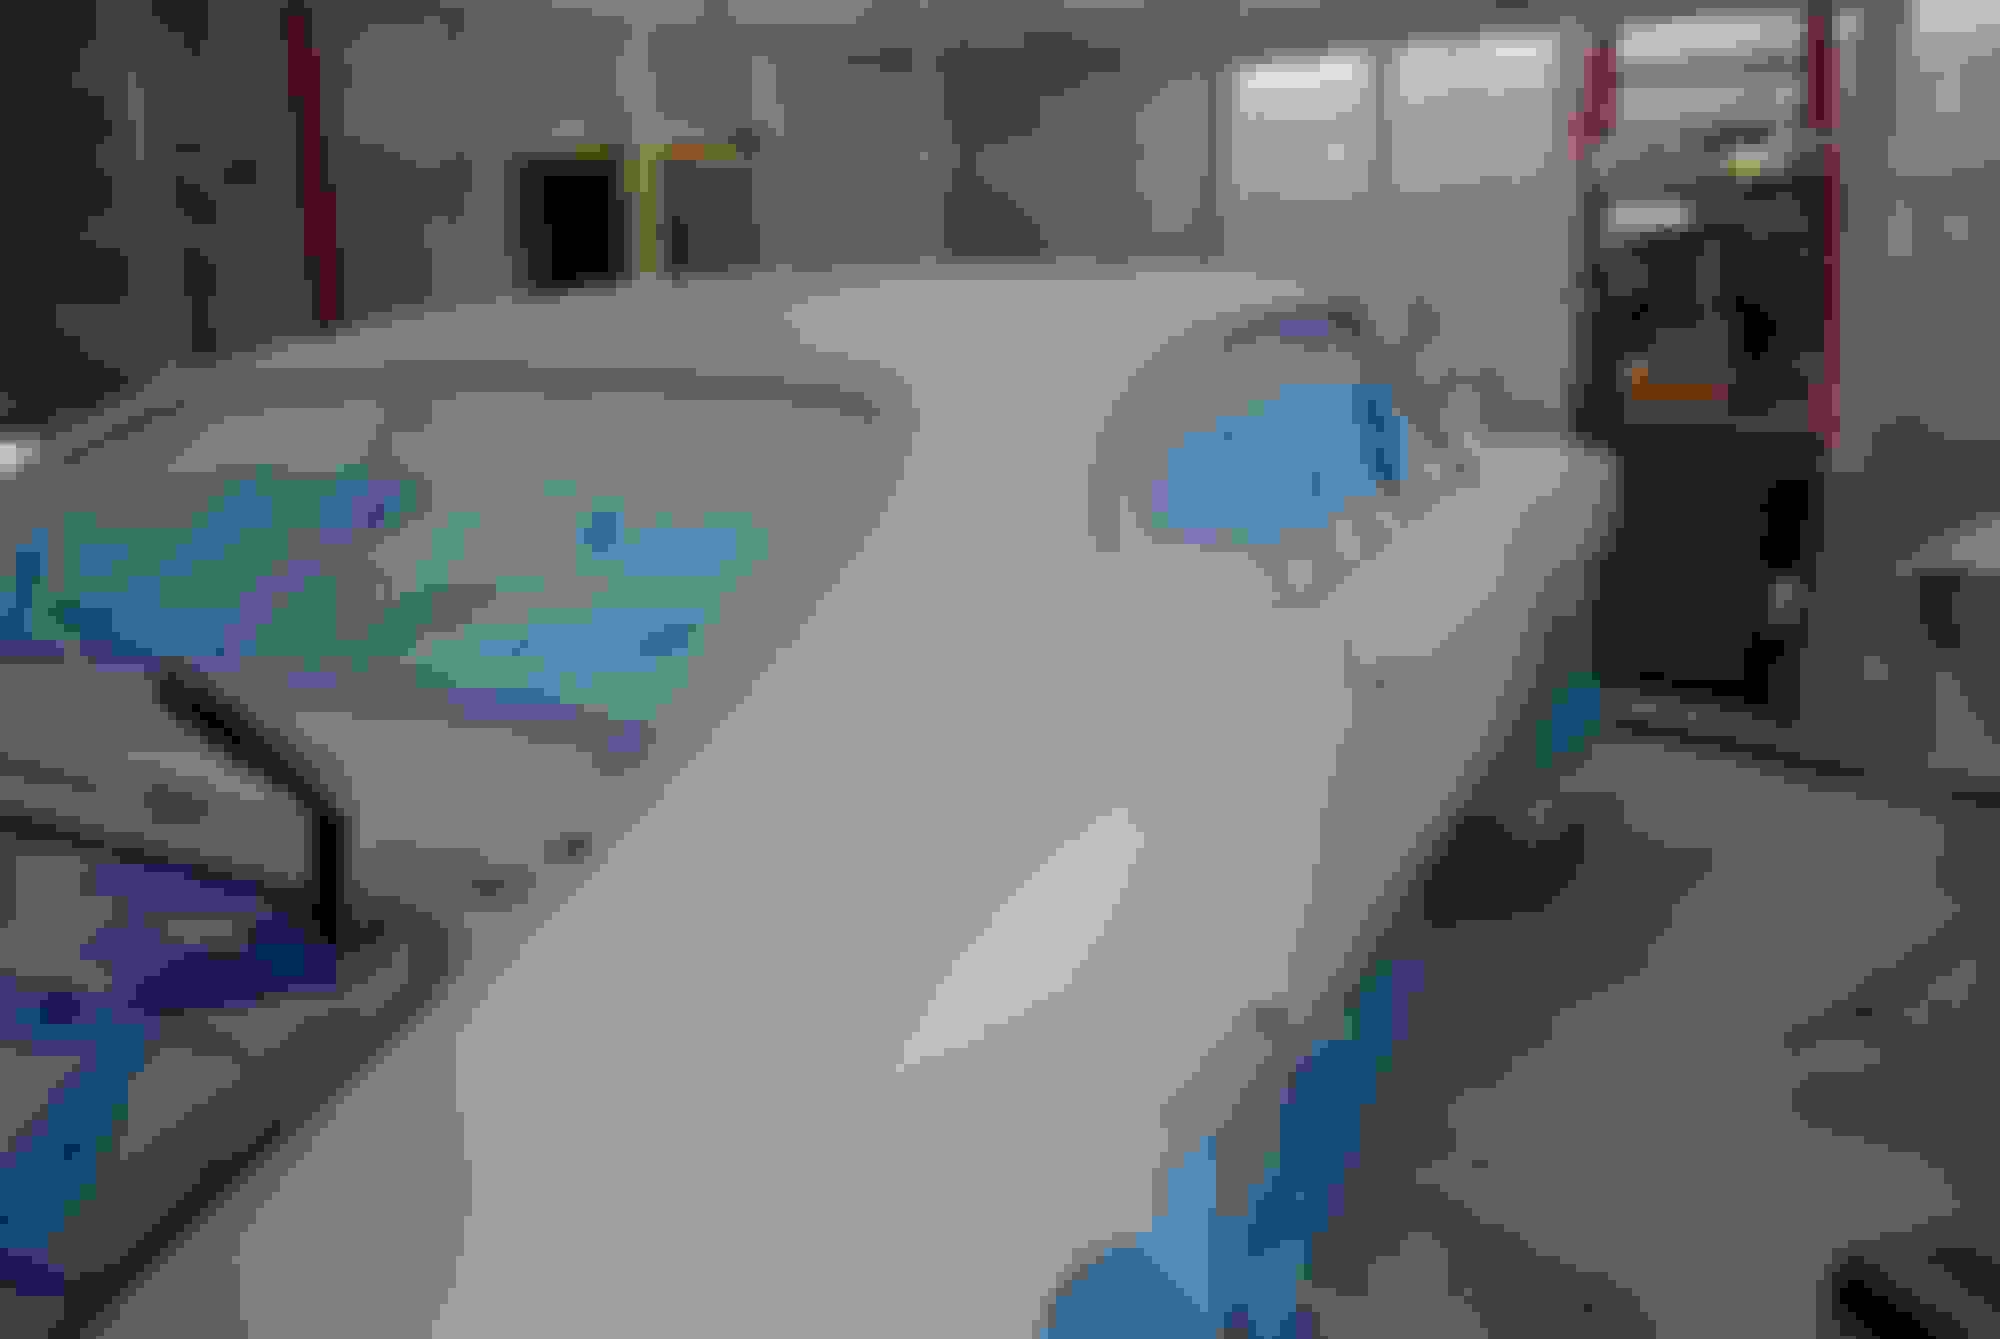
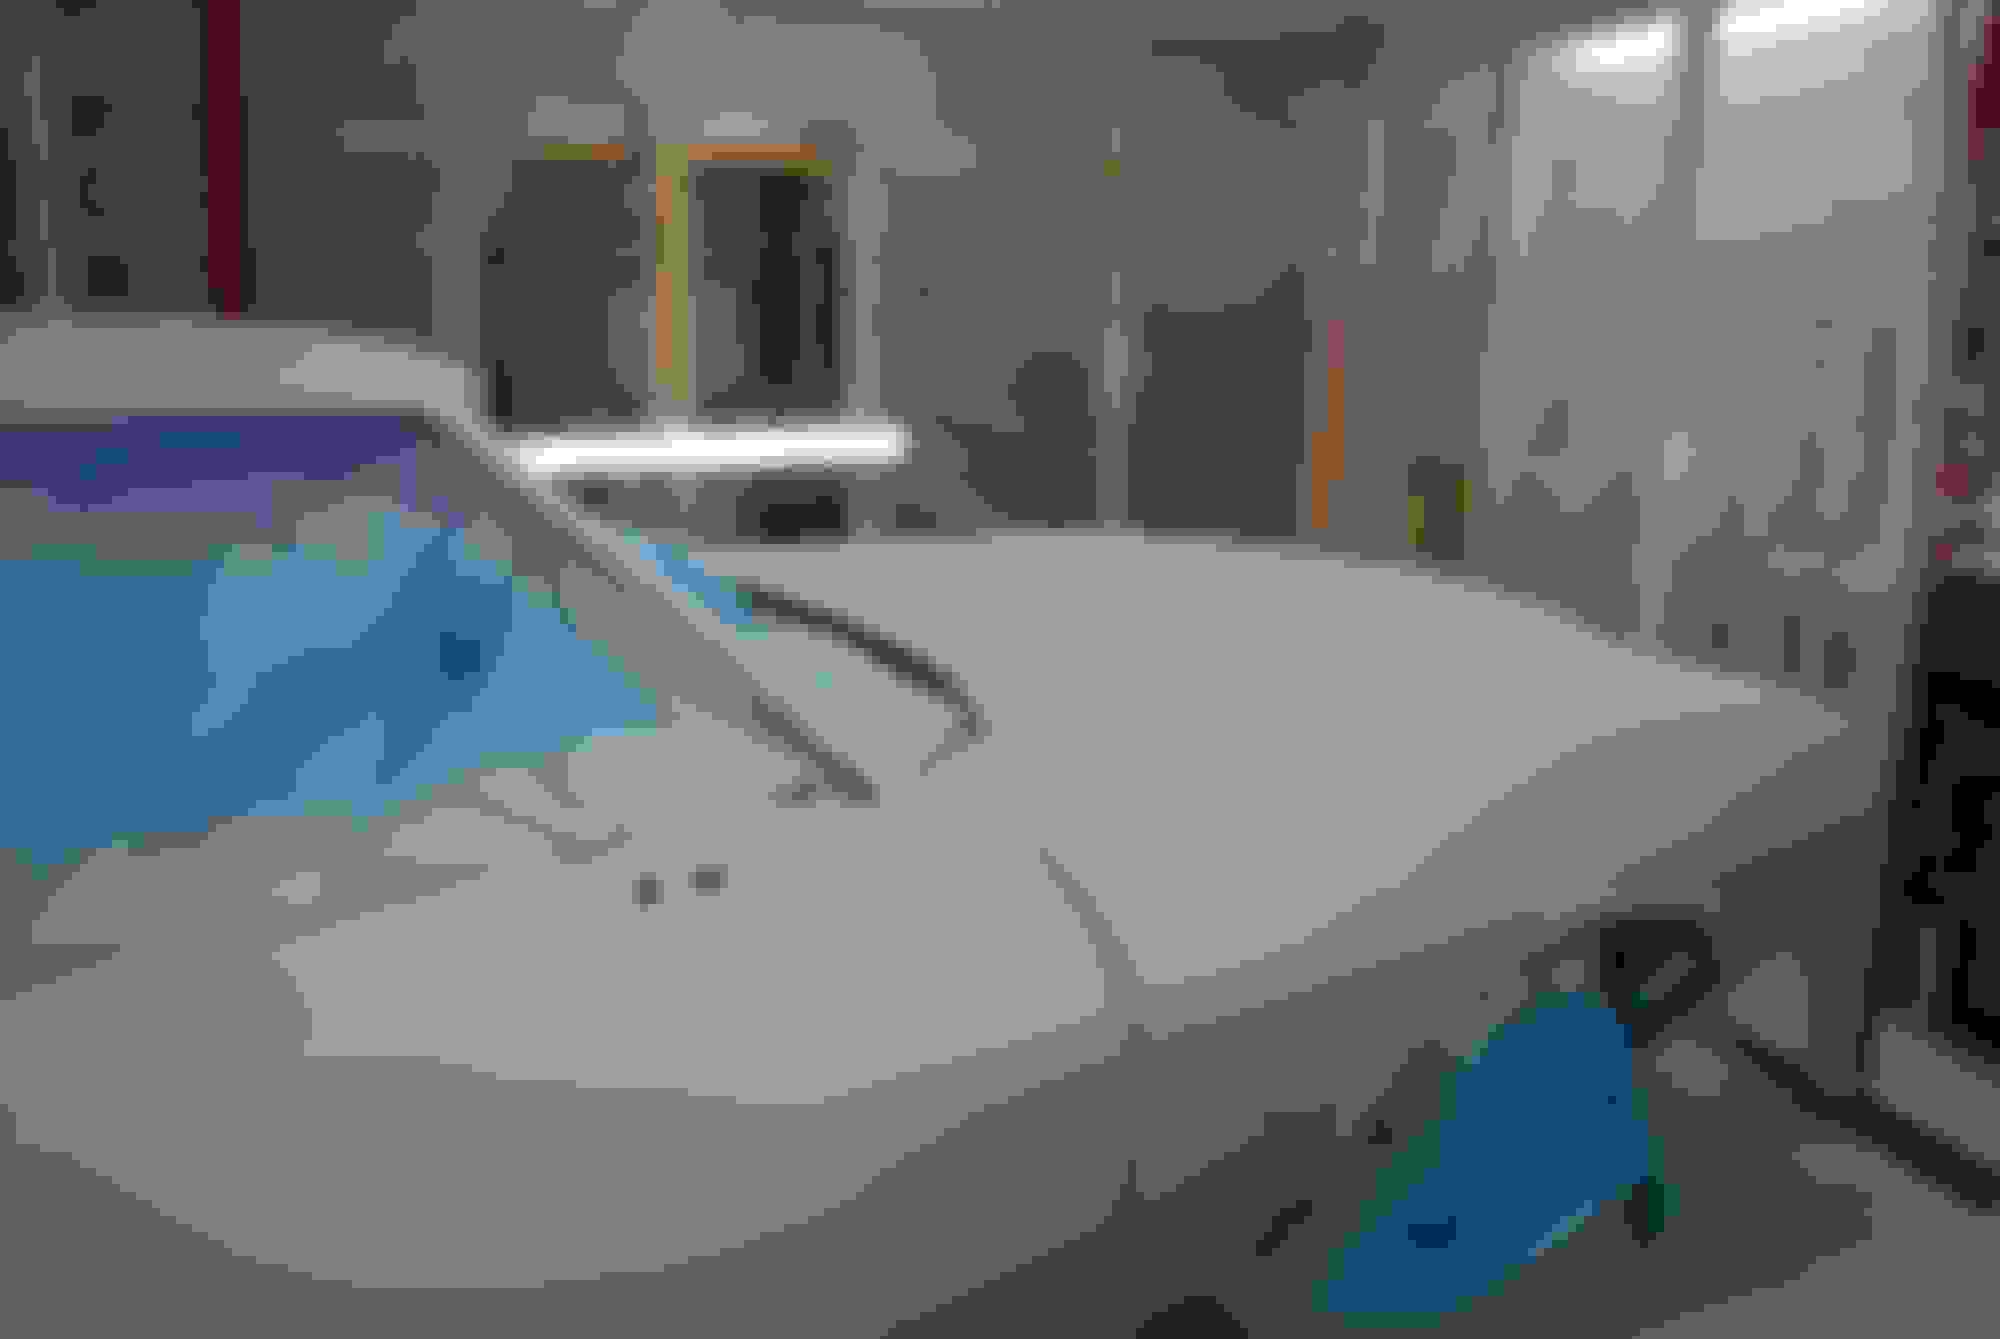
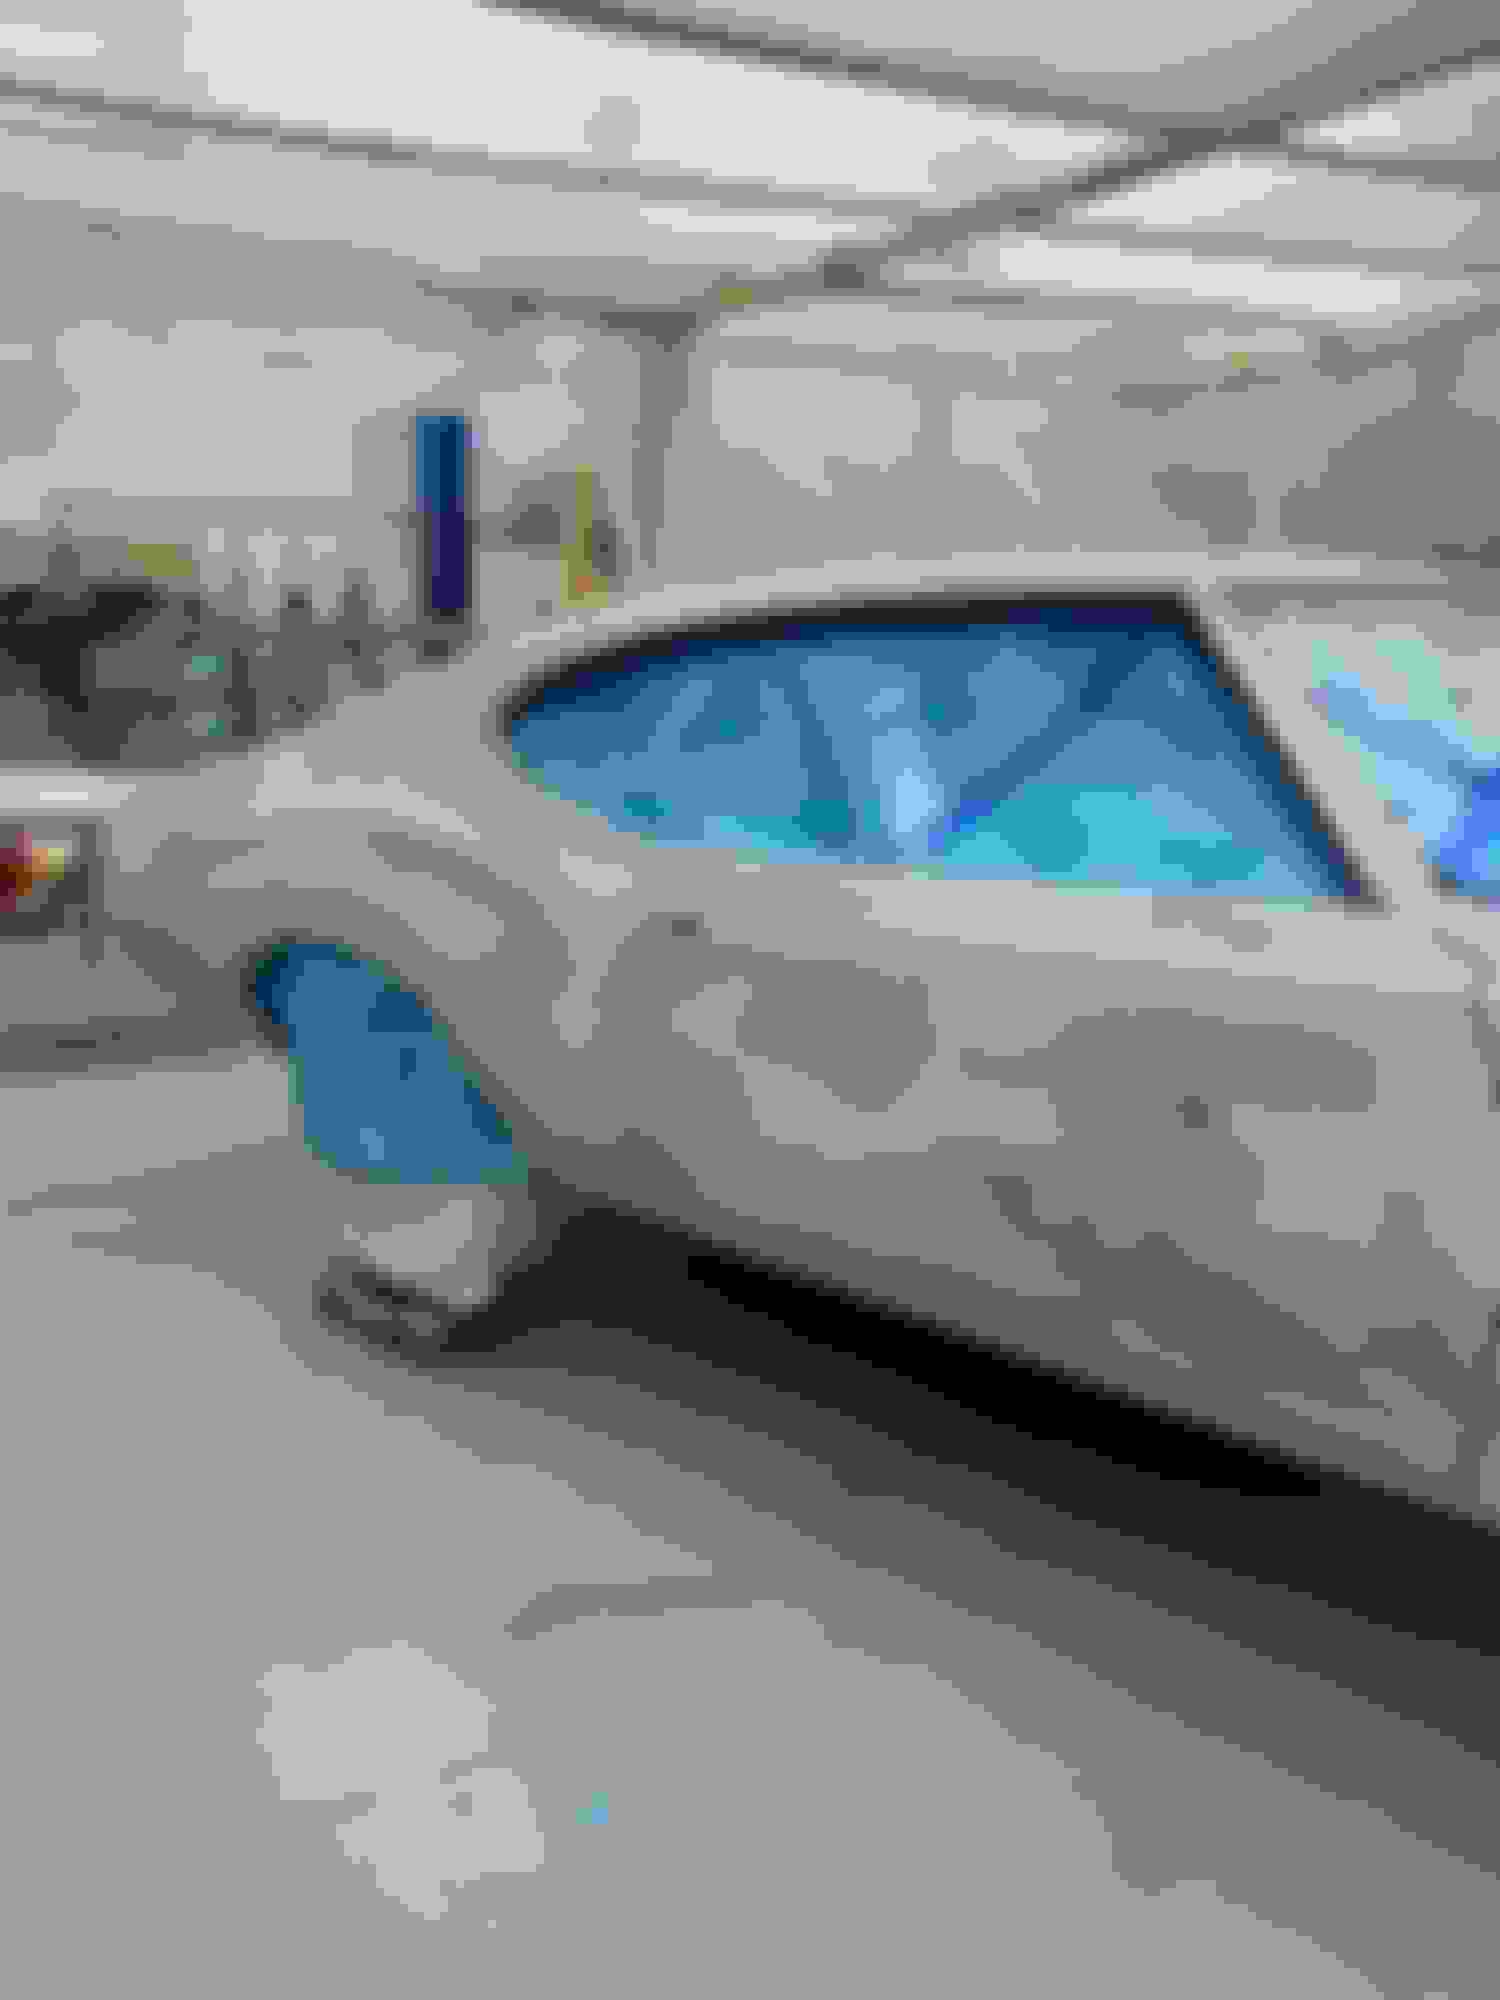
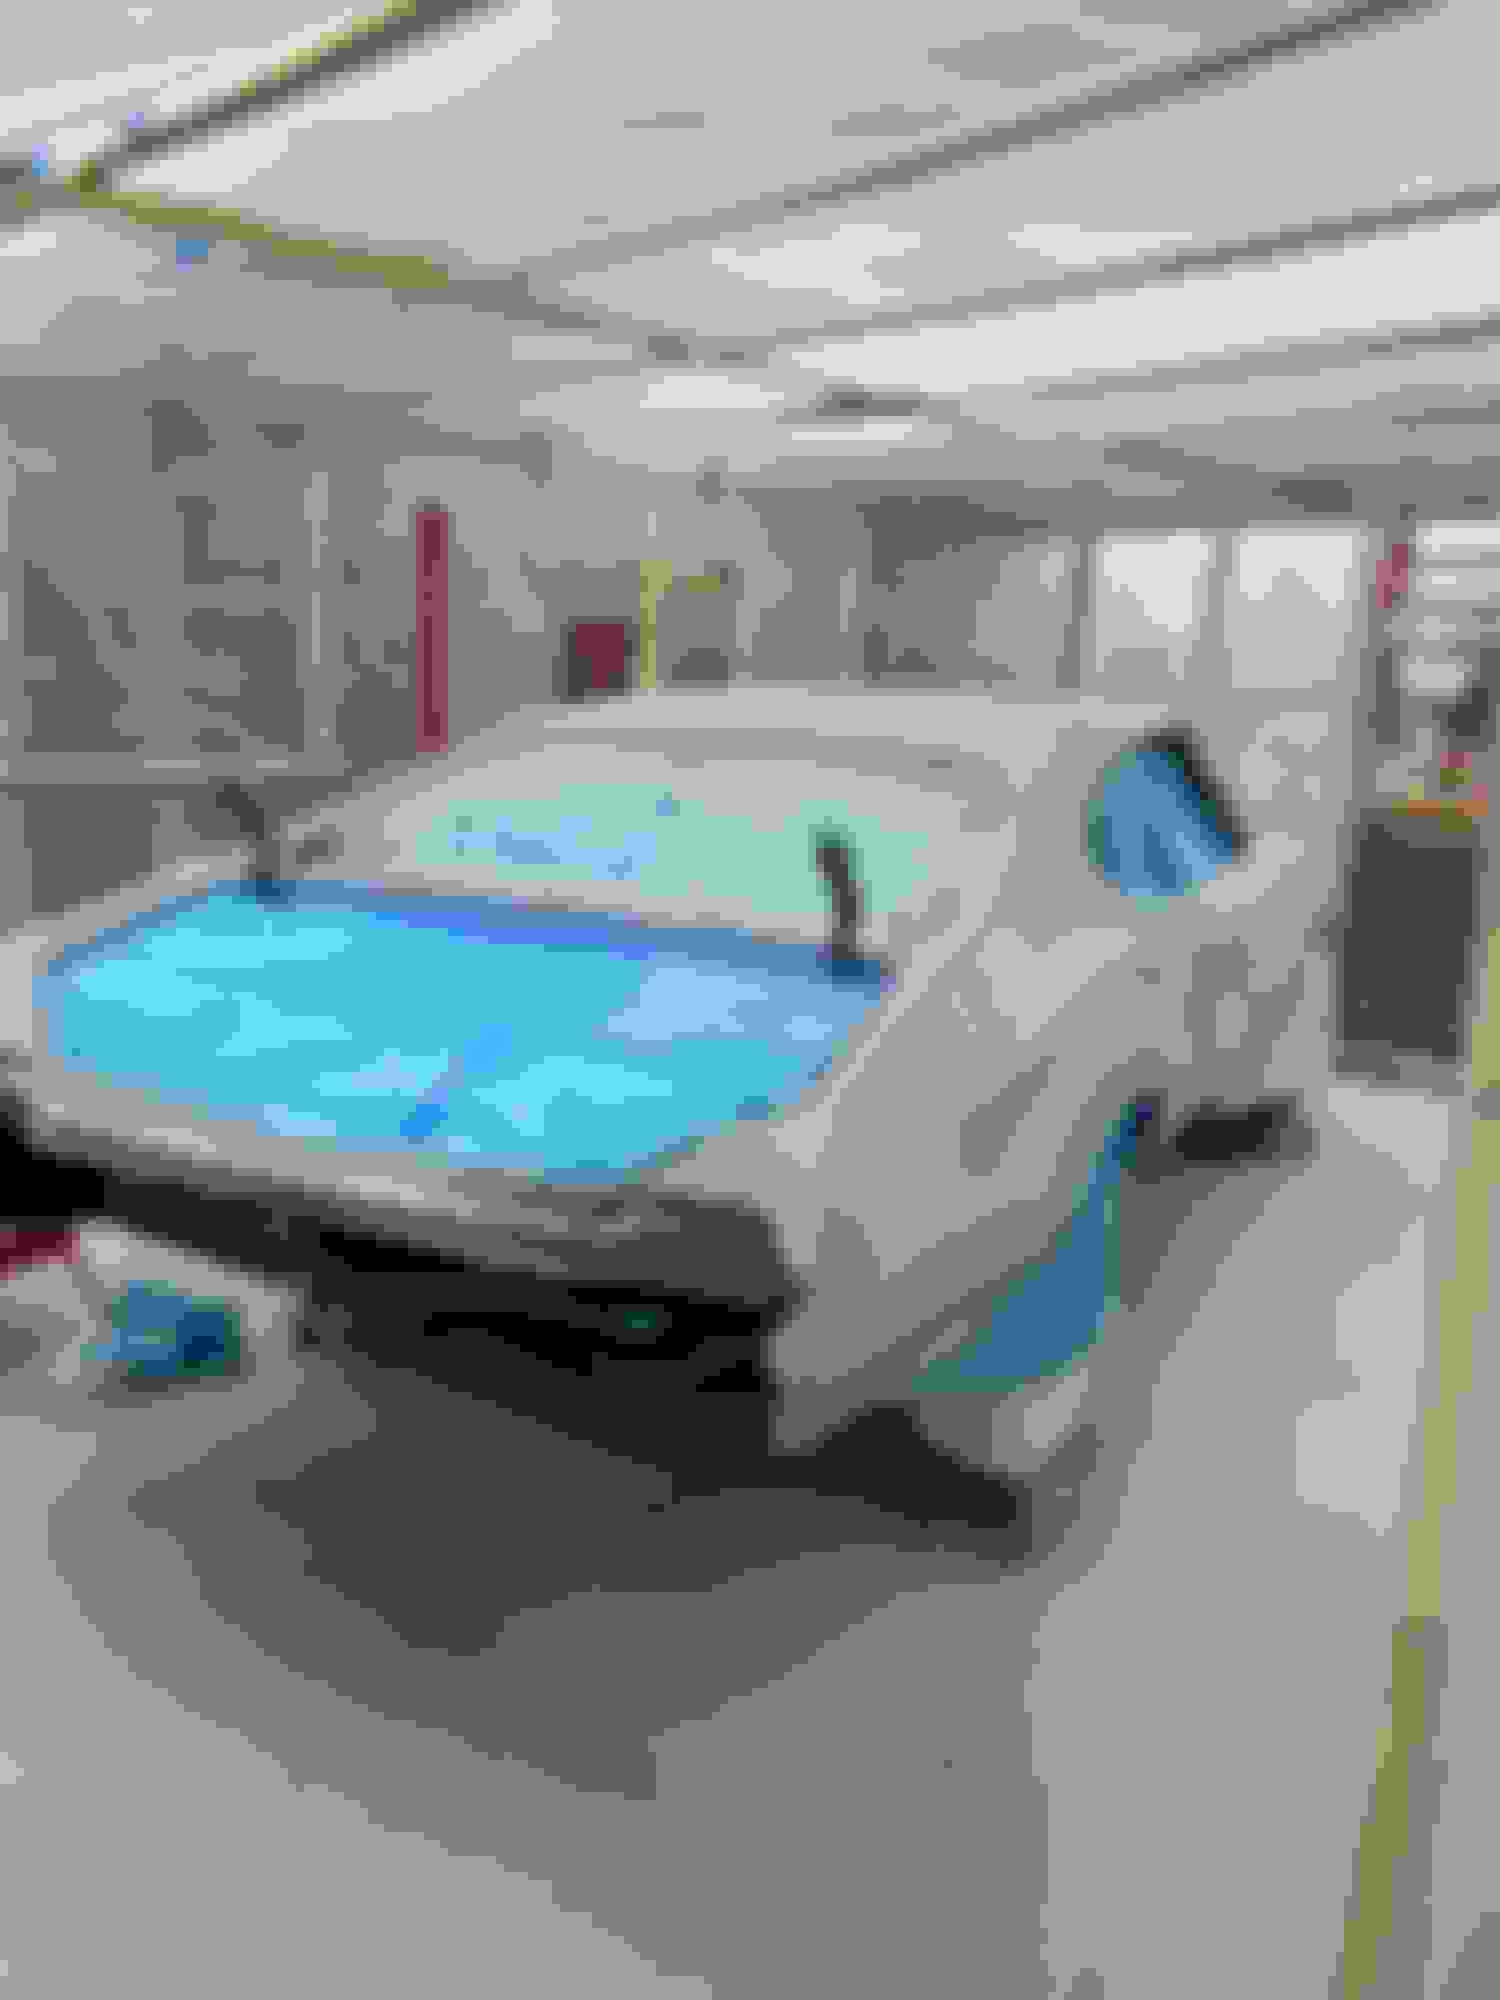
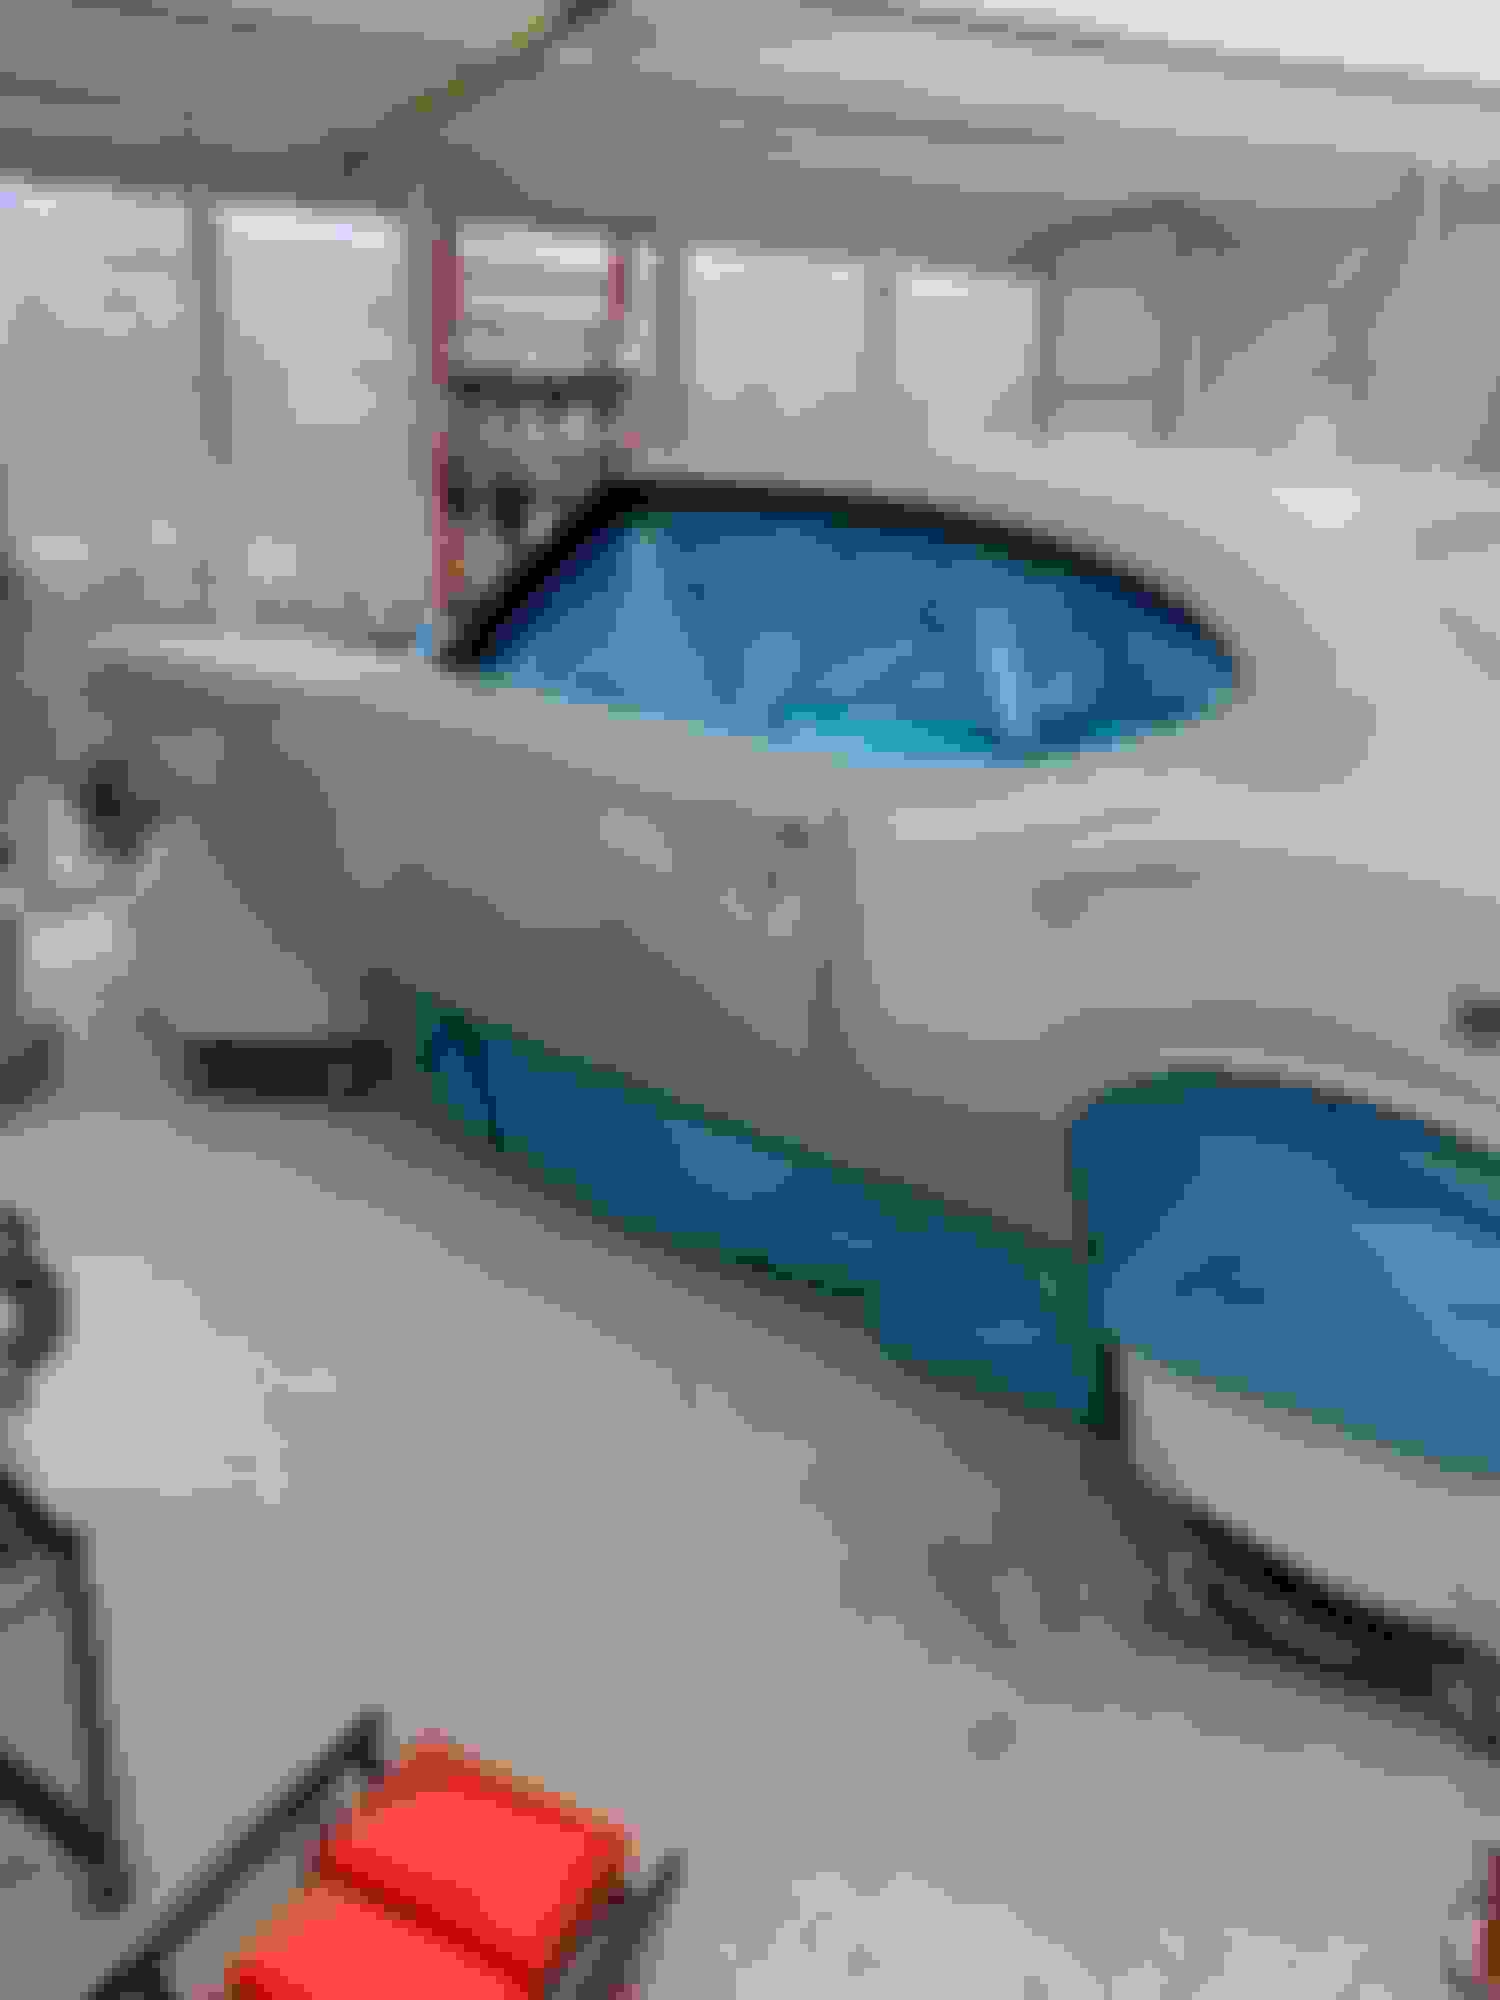
I can't believe the lack of free time available to me these days. It seems like forever since Ive spent a weekend in the garage. My life right now is pretty much work mon-fri and yard and kids on weekend. I am blessed to be able to do these things and I dont take them for granted. I get a few hours here and there to work on the car which Im grateful for. My focus lately is to get the car painted. I built a paint booth in my garage to keep overspray off everything and dirt and bugs out if possible. This has been done over the past couple months here and there. I hope to have more time in the next couple months to get this done.
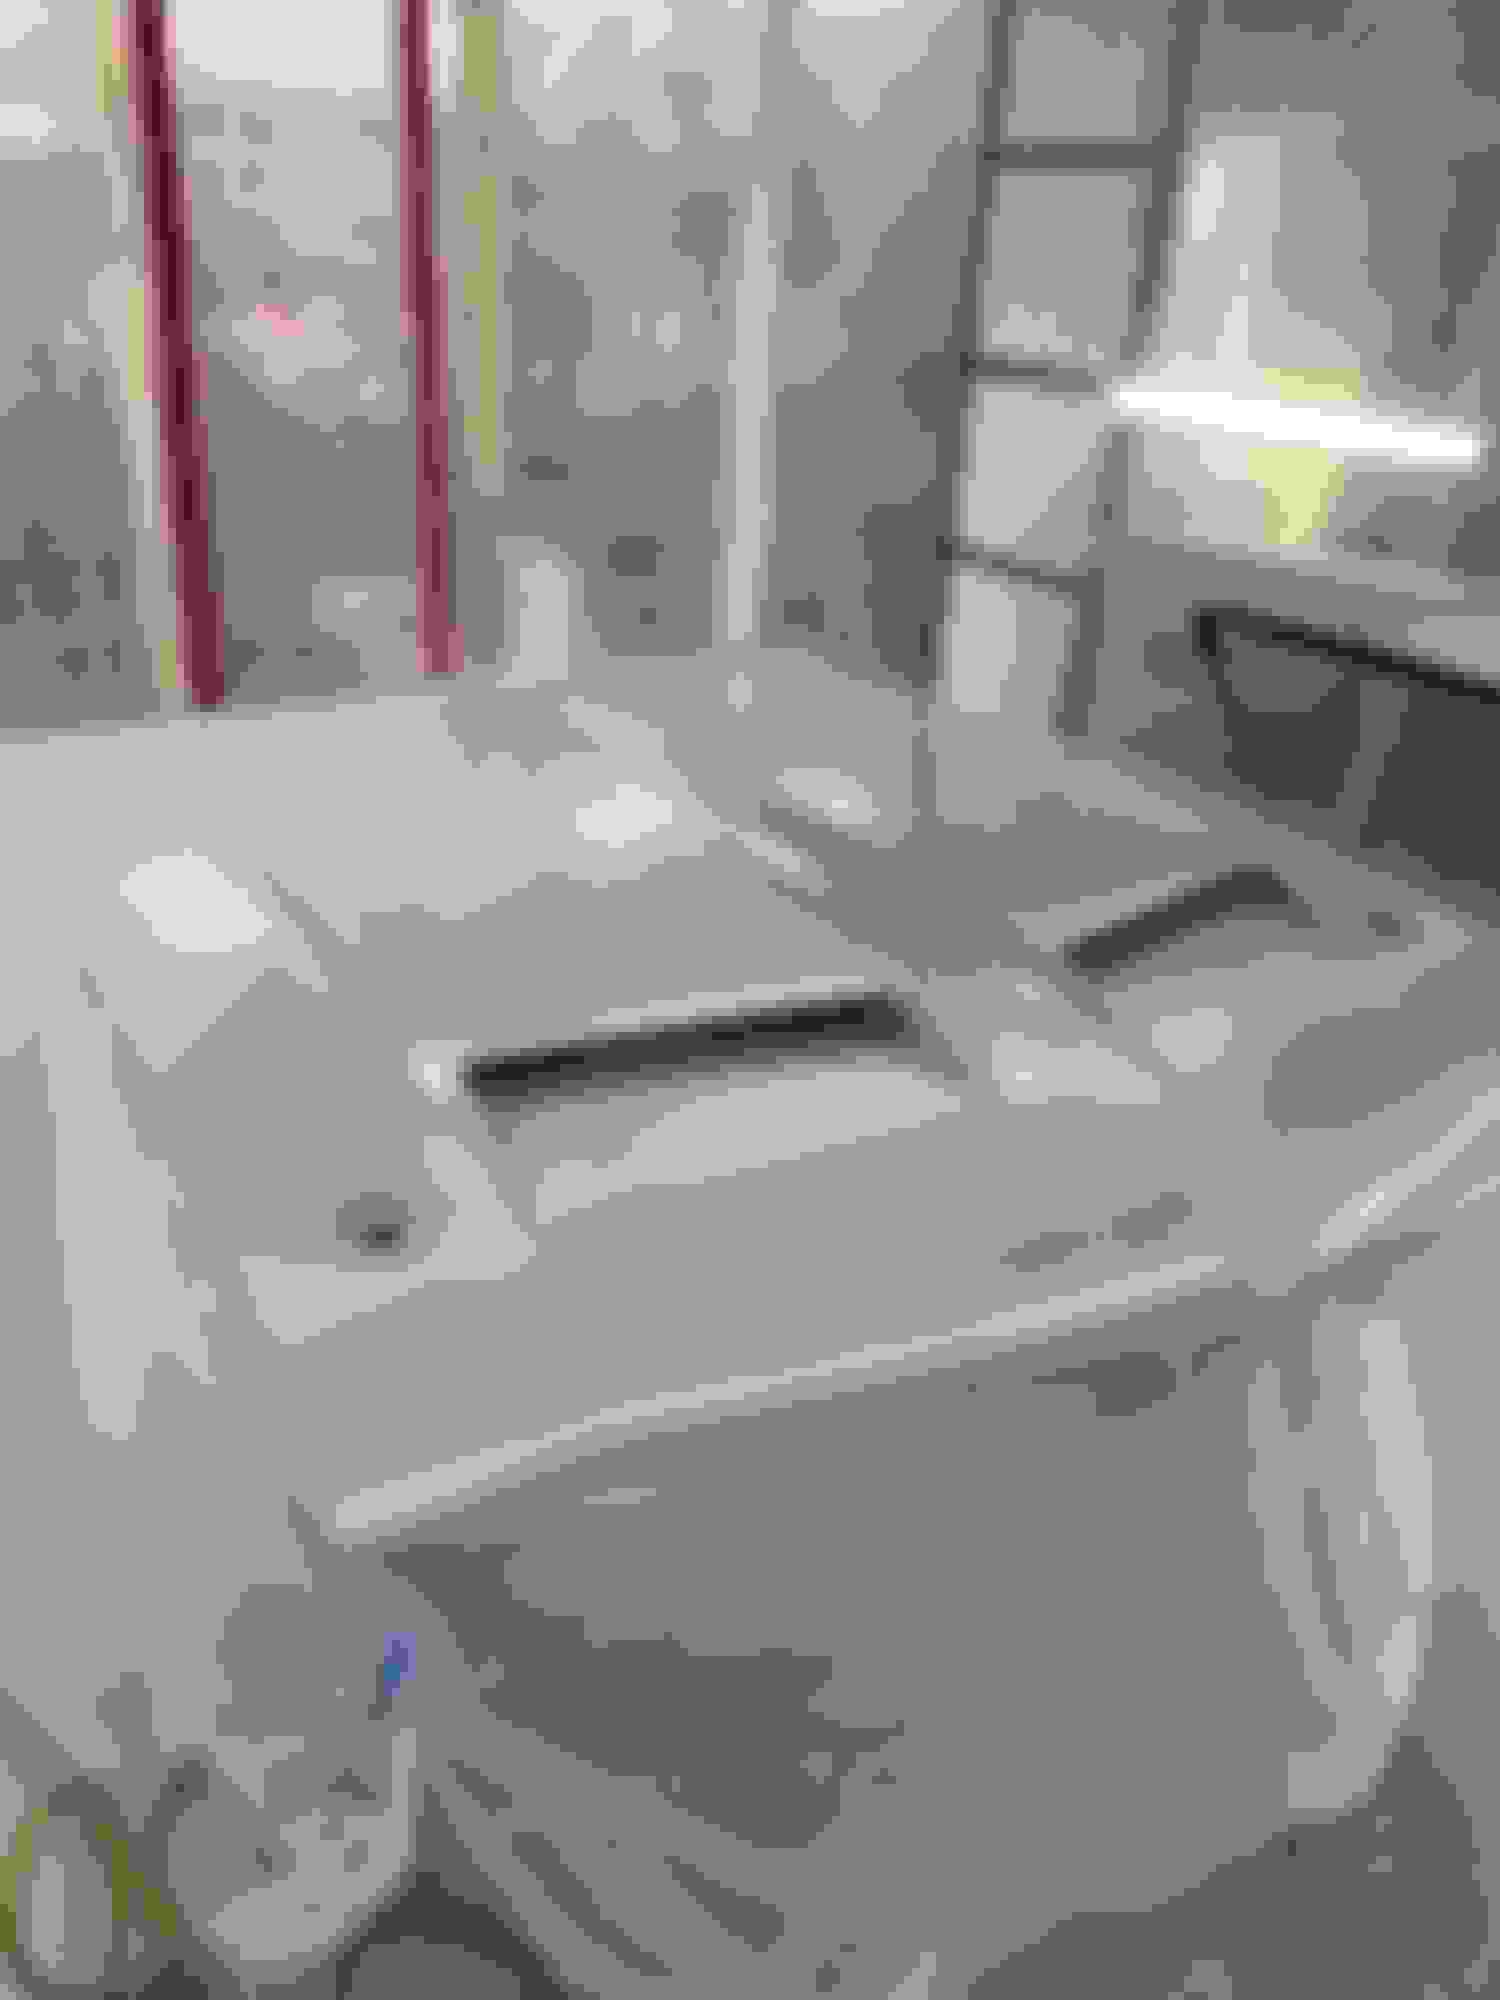
In the mean time this is where Im at: I tested the spray booth today by applying a gallon of polyester primer to the body. It says 2-3 wet coats and I got just about 2 from one gallon. I will let it dry for now and then thinking next weekend to guide coat and more block sanding. The booth worked fine for what I wanted it to do. Once this is all block sanded and straight I will take off the fenders, hood and trunk and prime and paint back sides and jams. I will continue with taking body off frame and get it all jammed and painted. Hopefully my motor is back to mount in frame and then put body back on along with fenders so I can stripe the car. I think I will fully paint the hood separately. Things kinda get a little scrambled up at this point but timing is everything. Ideally, I dont want to be hanging over freshly painted fenders installing a motor but we shall see? So its back to block sanding and painting for now.
Last edited by scrappie; July 25th, 2021 at 06:20 PM.
Reason: add photos
Scrappie your skill level is over the top. I say that because your body work looks great at this juncture, and you did such a good job aligning doors and the front clip on your automobile, which in itself, is an extraordinarily difficult endeavor�well done!
Gotta use any and all available time these days. I got home from work around 5 but was able to get about an hour in. I guide coated the whole car and sanded one fender. The polyester primer is tough. Its all labor at this point. Once the fender was sanded though it was worth the effort. If I can do one section a night that could take close to a day off come the weekend.
Last edited by scrappie; August 3rd, 2021 at 05:03 PM.
Accomplishing a section of sanding each evening seems like a fine plan to me. I’d remove that hood to sand it though as sanding it on the car could be a long stretch unless you have the arms of Paul Bunyon.
I absolutely LOVE checking in on this thread!
The attention to detail is amazing and its great to see the progression unfold.
I'm pretty sure I learn something new every time I open this one.
Scrappie, cant give you enough props for your efforts bringing this one back!
Well if I didn't have arthritis in my shoulders, elbows and hands I do now. Seriously though my thumbs have arthritis and it sucks.
The sanding seemed endless and there is still a little more but the end is in sight. The polyester IMO is a necessity to get the results I'm looking for. I sprayed and blocked the whole car with 180 grit. Any sand throughs were spot sprayed with self etching primer. I will now get a couple coats of 2K primer on everything in preparation for color. Once thats done I will block it again with a 400 to see how it looks. I then plan to take fenders, hood and doors off, paint back side of fenders with a protective black coating and prep both doors and fenders to get jammed with color. I will take body off frame again and onto rotisserie for paint. Once everything is painted and put back together the W30 side stripes will be applied.
This is the plan anyway.
The weather has been real hot here lately but I think we are in for a nice stretch so hopefully get some stuff done.
More reminders as to why I pay someone to do my body and paint, lol. I enjoy lots of the restoration process but mine would be a complete mess if I were do try body work.
Scrappie, I've been following your build, and totally enjoy living the process vicariously through everyone's builds here on CO! If you wouldn't mind, would you share the specifics on your garage paint booth? Dimensions, materials, build sequence? And the kicker, if you wouldn't mind, how much $$ was the lumber, and total all-in for the whole shebang? With lumber prices through the roof due the mandated COVID response that killed the world's economy, I need to replace a fence and the cost is astronomical! You've got a fantastic enclosure! I need to do something similar in my garage. I'll do my own body work, and priming and guide coating but am eyeing paying a pro for the color. It's been 45 years since I was in Automotive Restoration and Refinishing at the Tech School. But I've been buying new books and reading up on the whole process. I also want to learn about new paint chemistry and process. I will hopefully complete my mechanical refresh in the coming weeks, having completely rebuilt suspension, brakes and rear end. A LOT has changed since I learned on lacquer and enamel back in the day, LOL!
More reminders as to why I pay someone to do my body and paint, lol. I enjoy lots of the restoration process but mine would be a complete mess if I were do try body work.
I dont blame you Eric, I think to myself a lot while sanding about how much of a PIA it is. I look at it as one of those life experiences I guess....
Scrappie, I've been following your build, and totally enjoy living the process vicariously through everyone's builds here on CO! If you wouldn't mind, would you share the specifics on your garage paint booth? Dimensions, materials, build sequence? And the kicker, if you wouldn't mind, how much $$ was the lumber, and total all-in for the whole shebang? With lumber prices through the roof due the mandated COVID response that killed the world's economy, I need to replace a fence and the cost is astronomical! You've got a fantastic enclosure! I need to do something similar in my garage. I'll do my own body work, and priming and guide coating but am eyeing paying a pro for the color. It's been 45 years since I was in Automotive Restoration and Refinishing at the Tech School. But I've been buying new books and reading up on the whole process. I also want to learn about new paint chemistry and process. I will hopefully complete my mechanical refresh in the coming weeks, having completely rebuilt suspension, brakes and rear end. A LOT has changed since I learned on lacquer and enamel back in the day, LOL!
No problem:
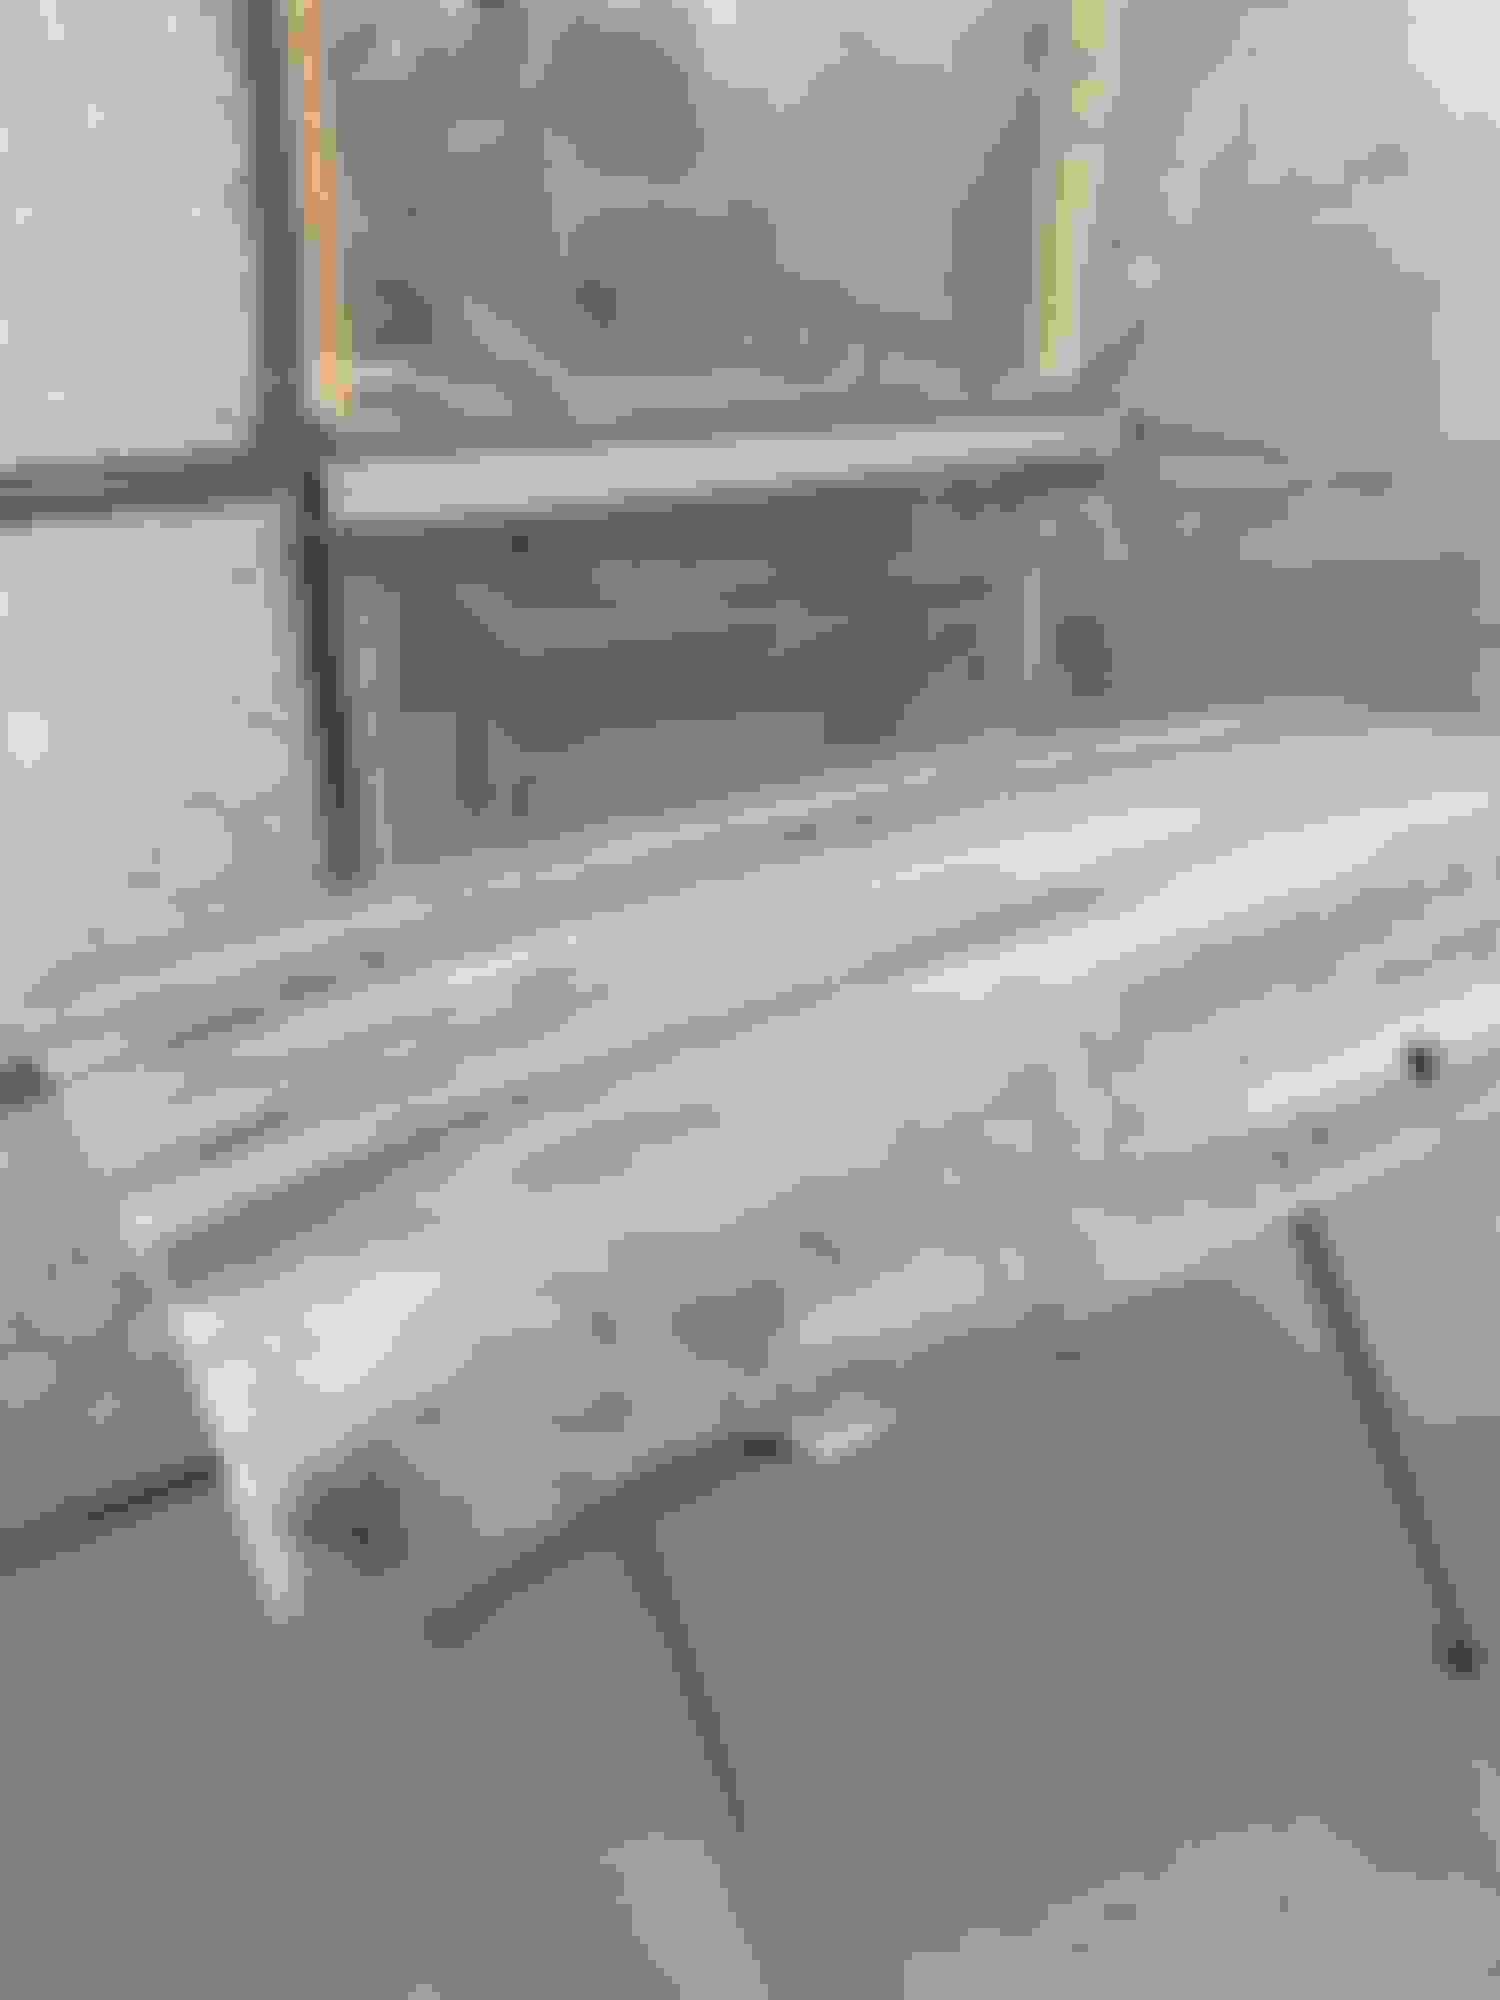
I built the paint booth using 2x4s and strapping. I work in construction and I got all the wood except for the strapping because it was going to be thrown away. All the wood was warped, twisted or had nails in them used for bracing. I collected it up in a week or so. We are building 4-5 houses in framing stage so there is always stuff.
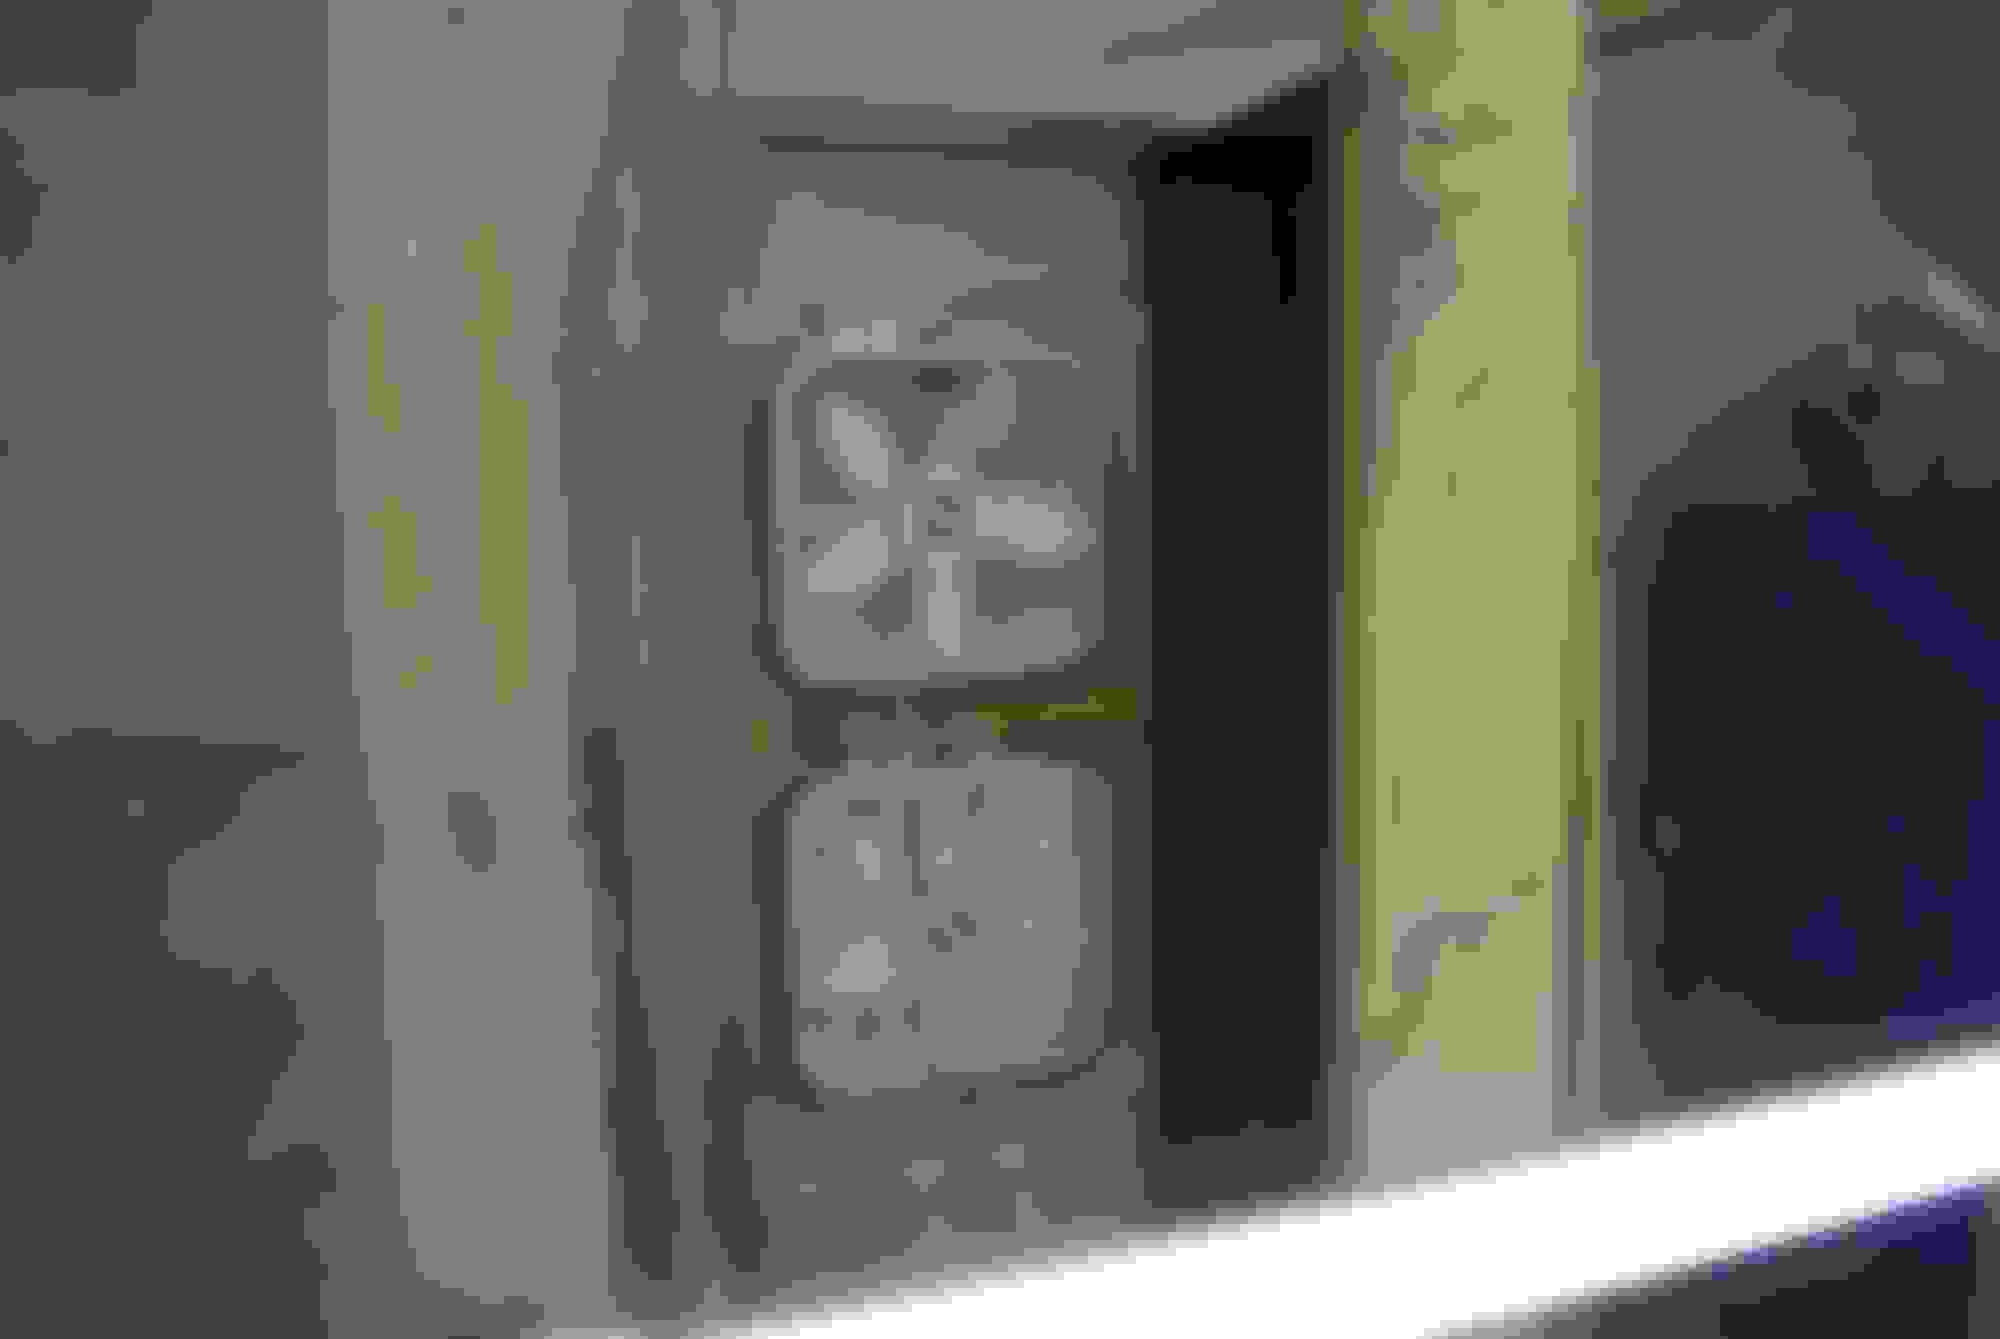
I think it is about 20'x 16' give or take? I just laid some on the floor and screwed in a stud about every 20" or so. This is just to hold plastic so it doesn't need to be structural. I wrapped it in 10mil plastic and 2mill on ceiling. The ceiling is where the strapping is used. I duct taped the bottom edge to floor to keep dirt out. I bought 4 of the biggest HVAC filters Home depot has and placed them in a bay. I bought two fans at home depot and set them into a structure that fits inside a door frame in the back of my garage. Once all the plastic was up I cut a couple zip wall doors to access. The fans suck the air out and is replaced with air that comes through the filters. I bought 4, 4' led light strips from Harbor freight maybe $20 each? The things I had to buy were a lot of screws to assemble, plastic, fans, lights, staples, zip wall doors. Im probably into it for $200 plus or minus? If I had to buy the lumber figure another $500 I'd guess.
Great spray booth, probably cleaner than a lot of shops! I had my 69 painted a few years back and was not happy with it. It had lots of small waves etc. So disgusted with it I decided to block it out and was amazed to find that it came up great. They never took the time to really block out the primer. I took it back to the same shop for a discounted reshoot and am happy with the outcome. Seeing the waves flatten out as I sanded was rewarding and at the same time annoying that the shop hadn't taken the time to do it. I'm looking forward to seeing it progress, you're doing a great job!
Steve
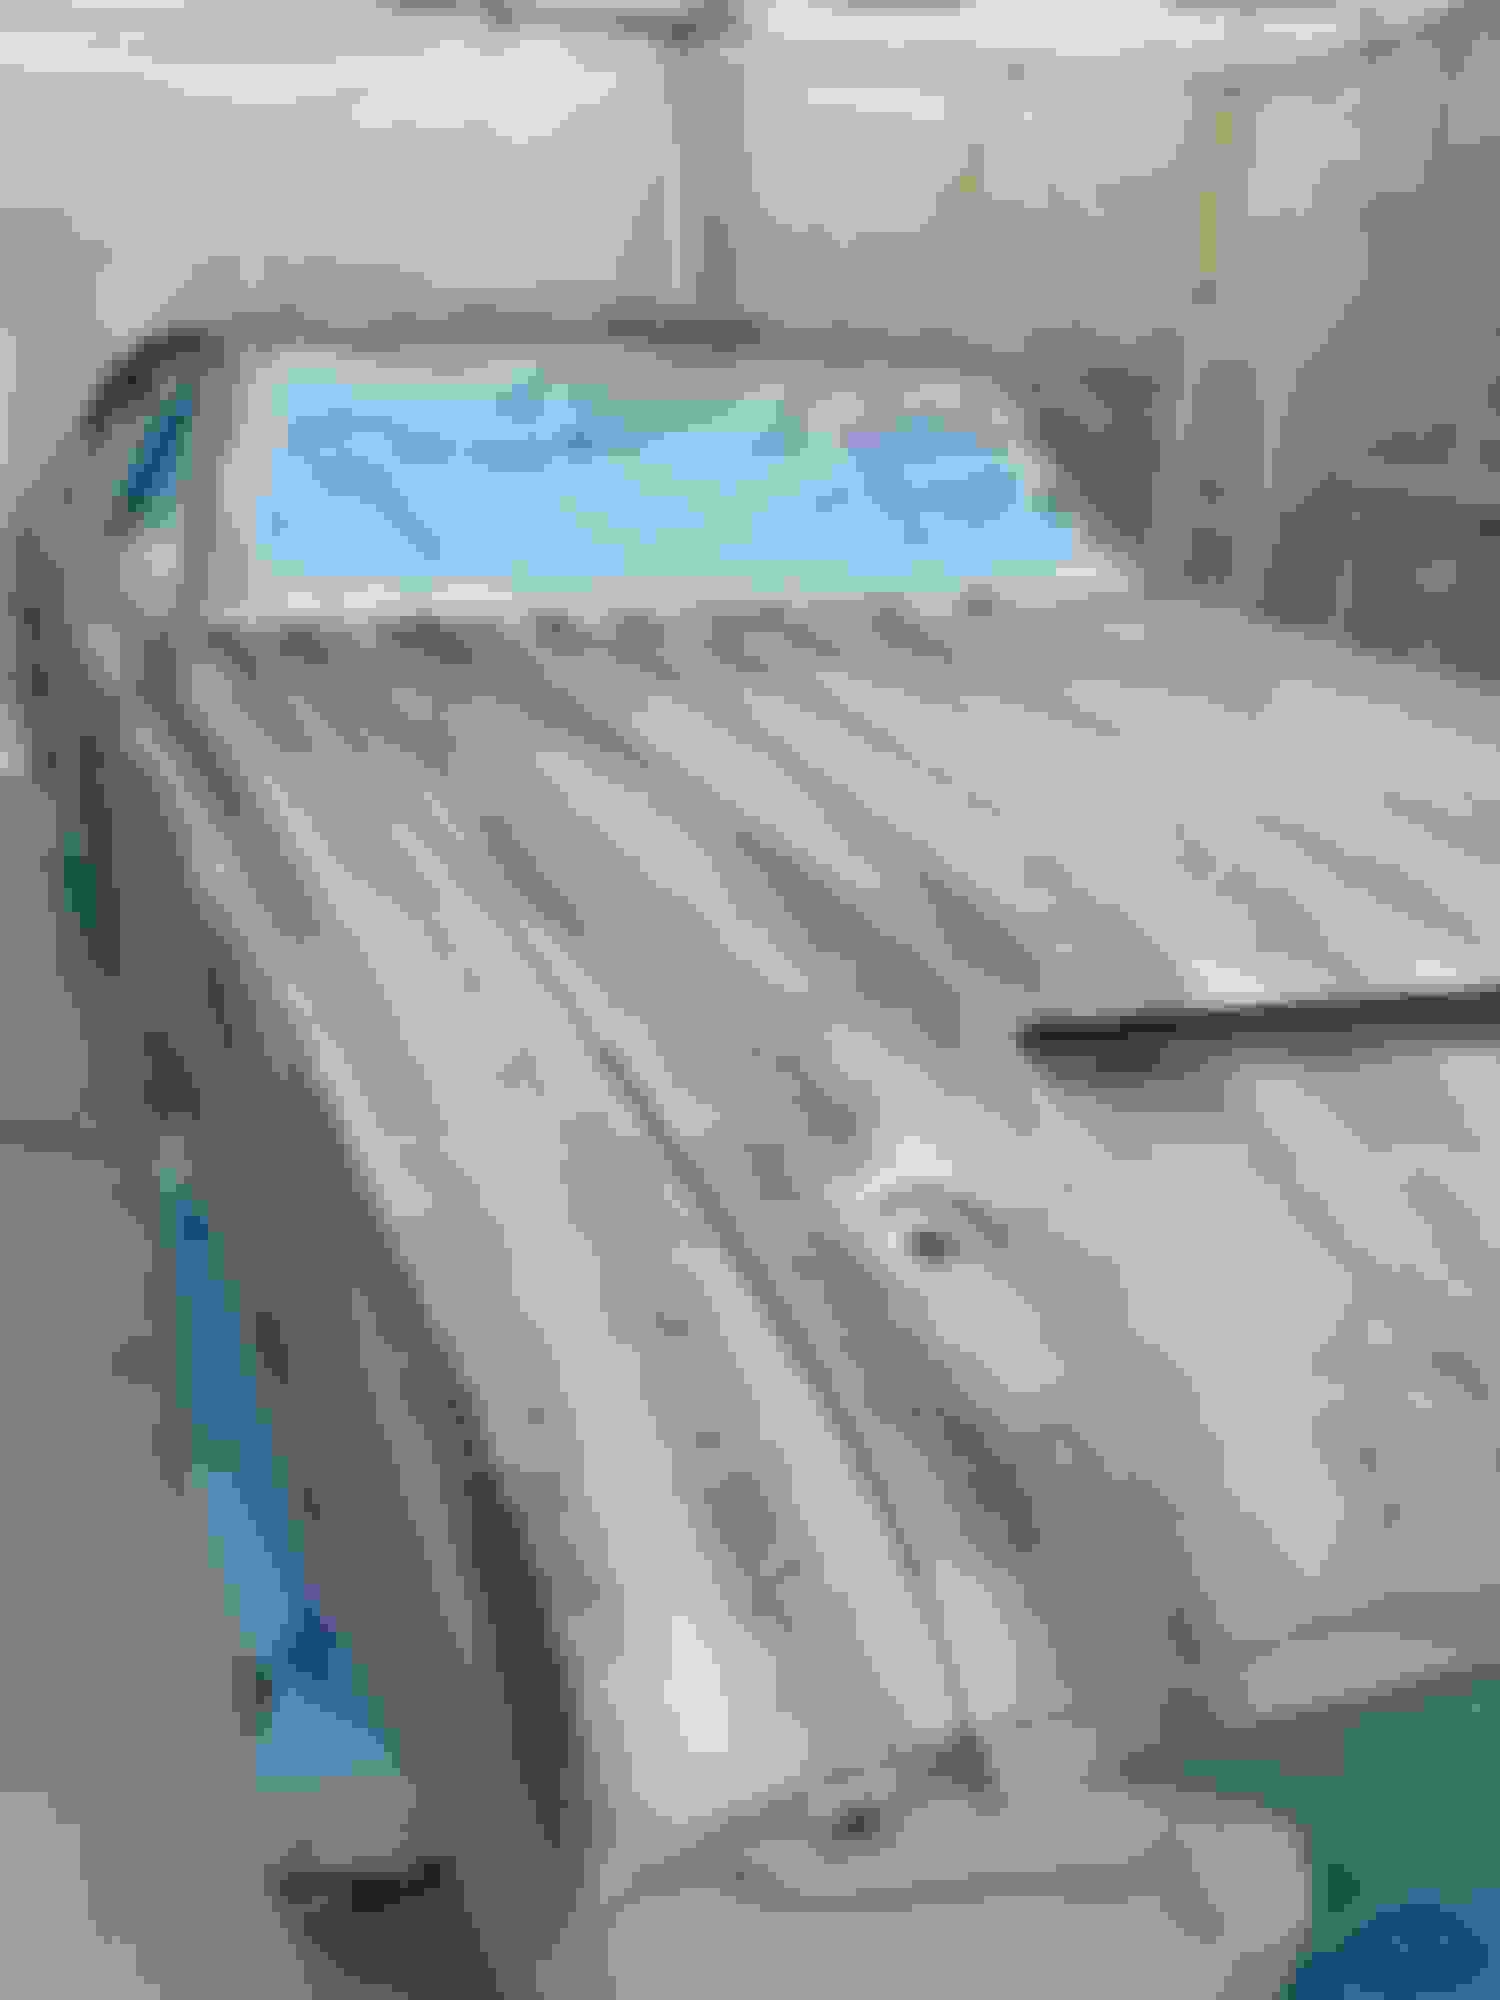
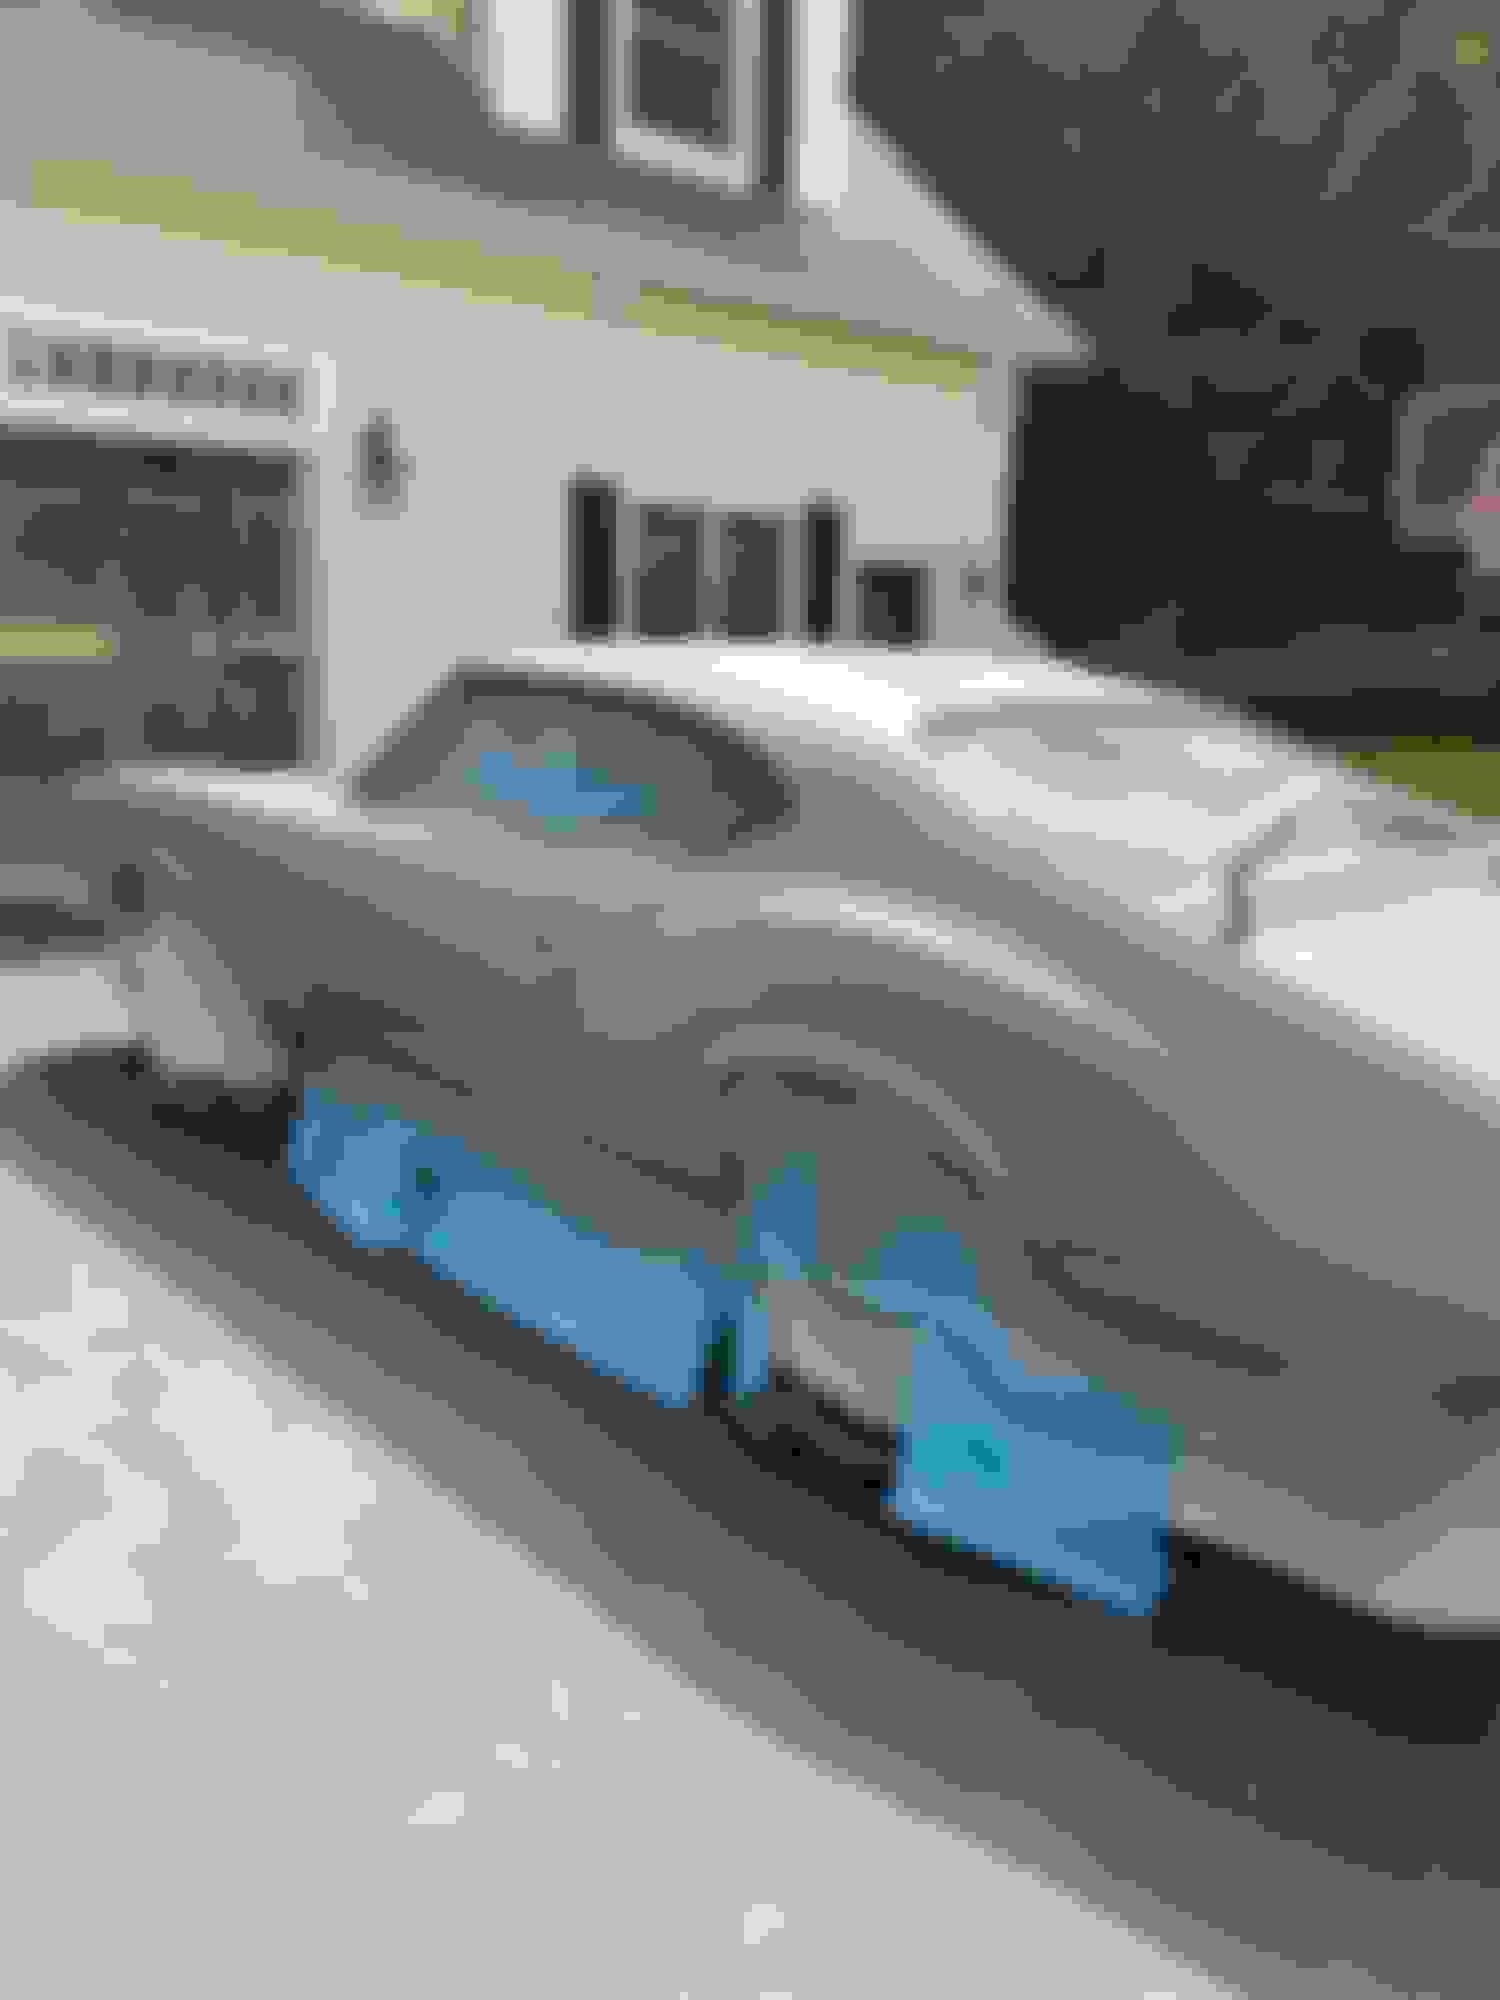
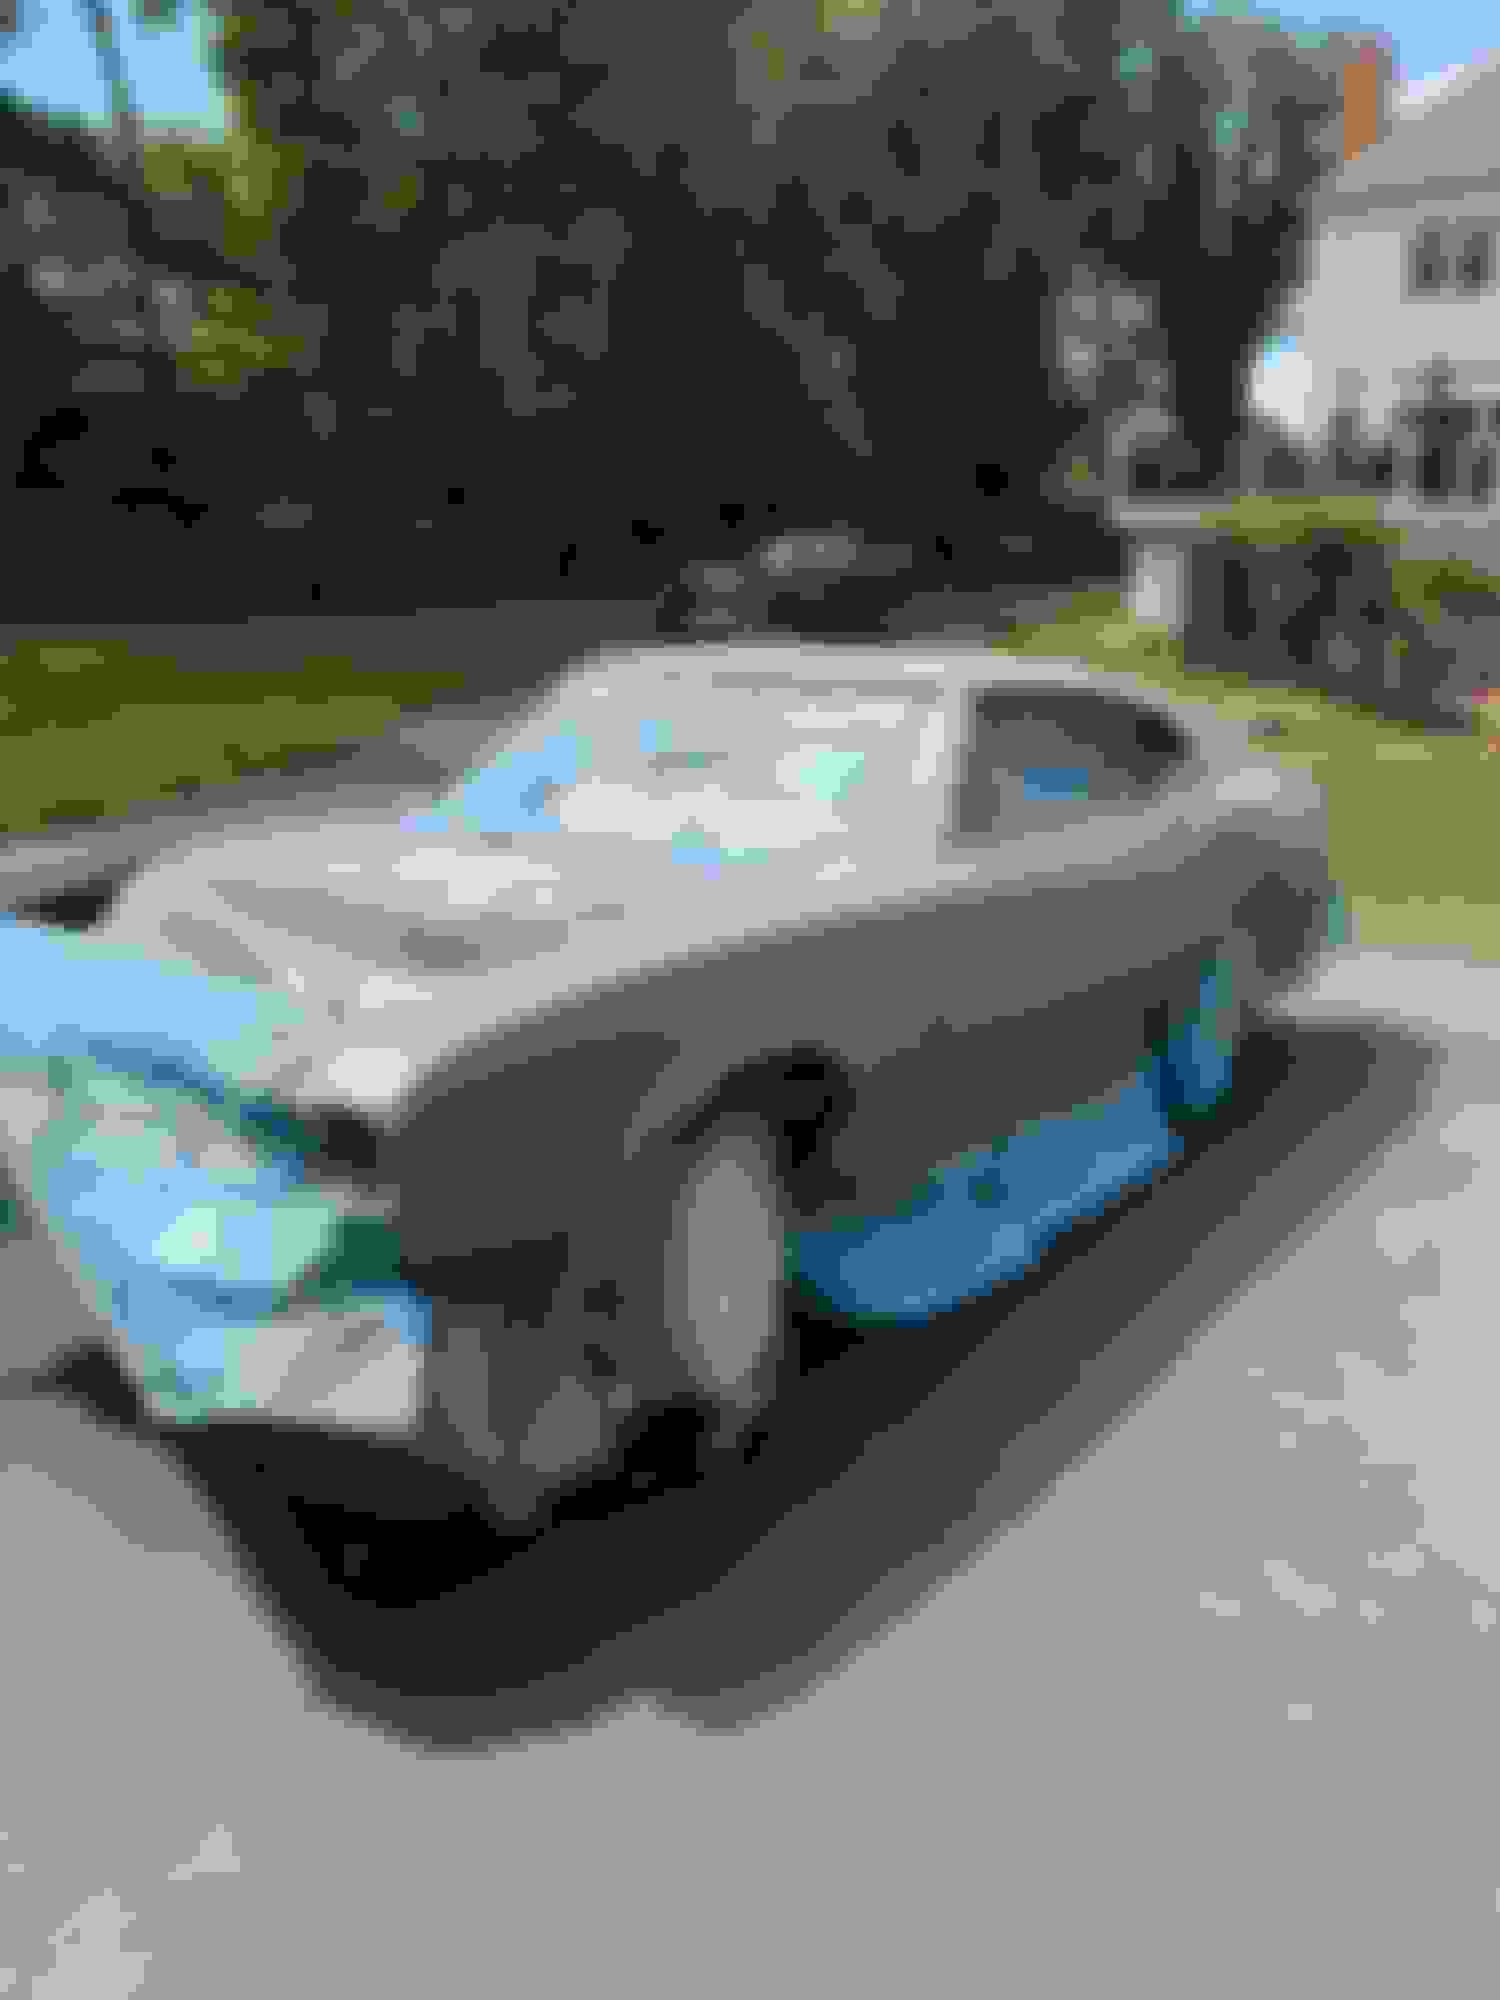
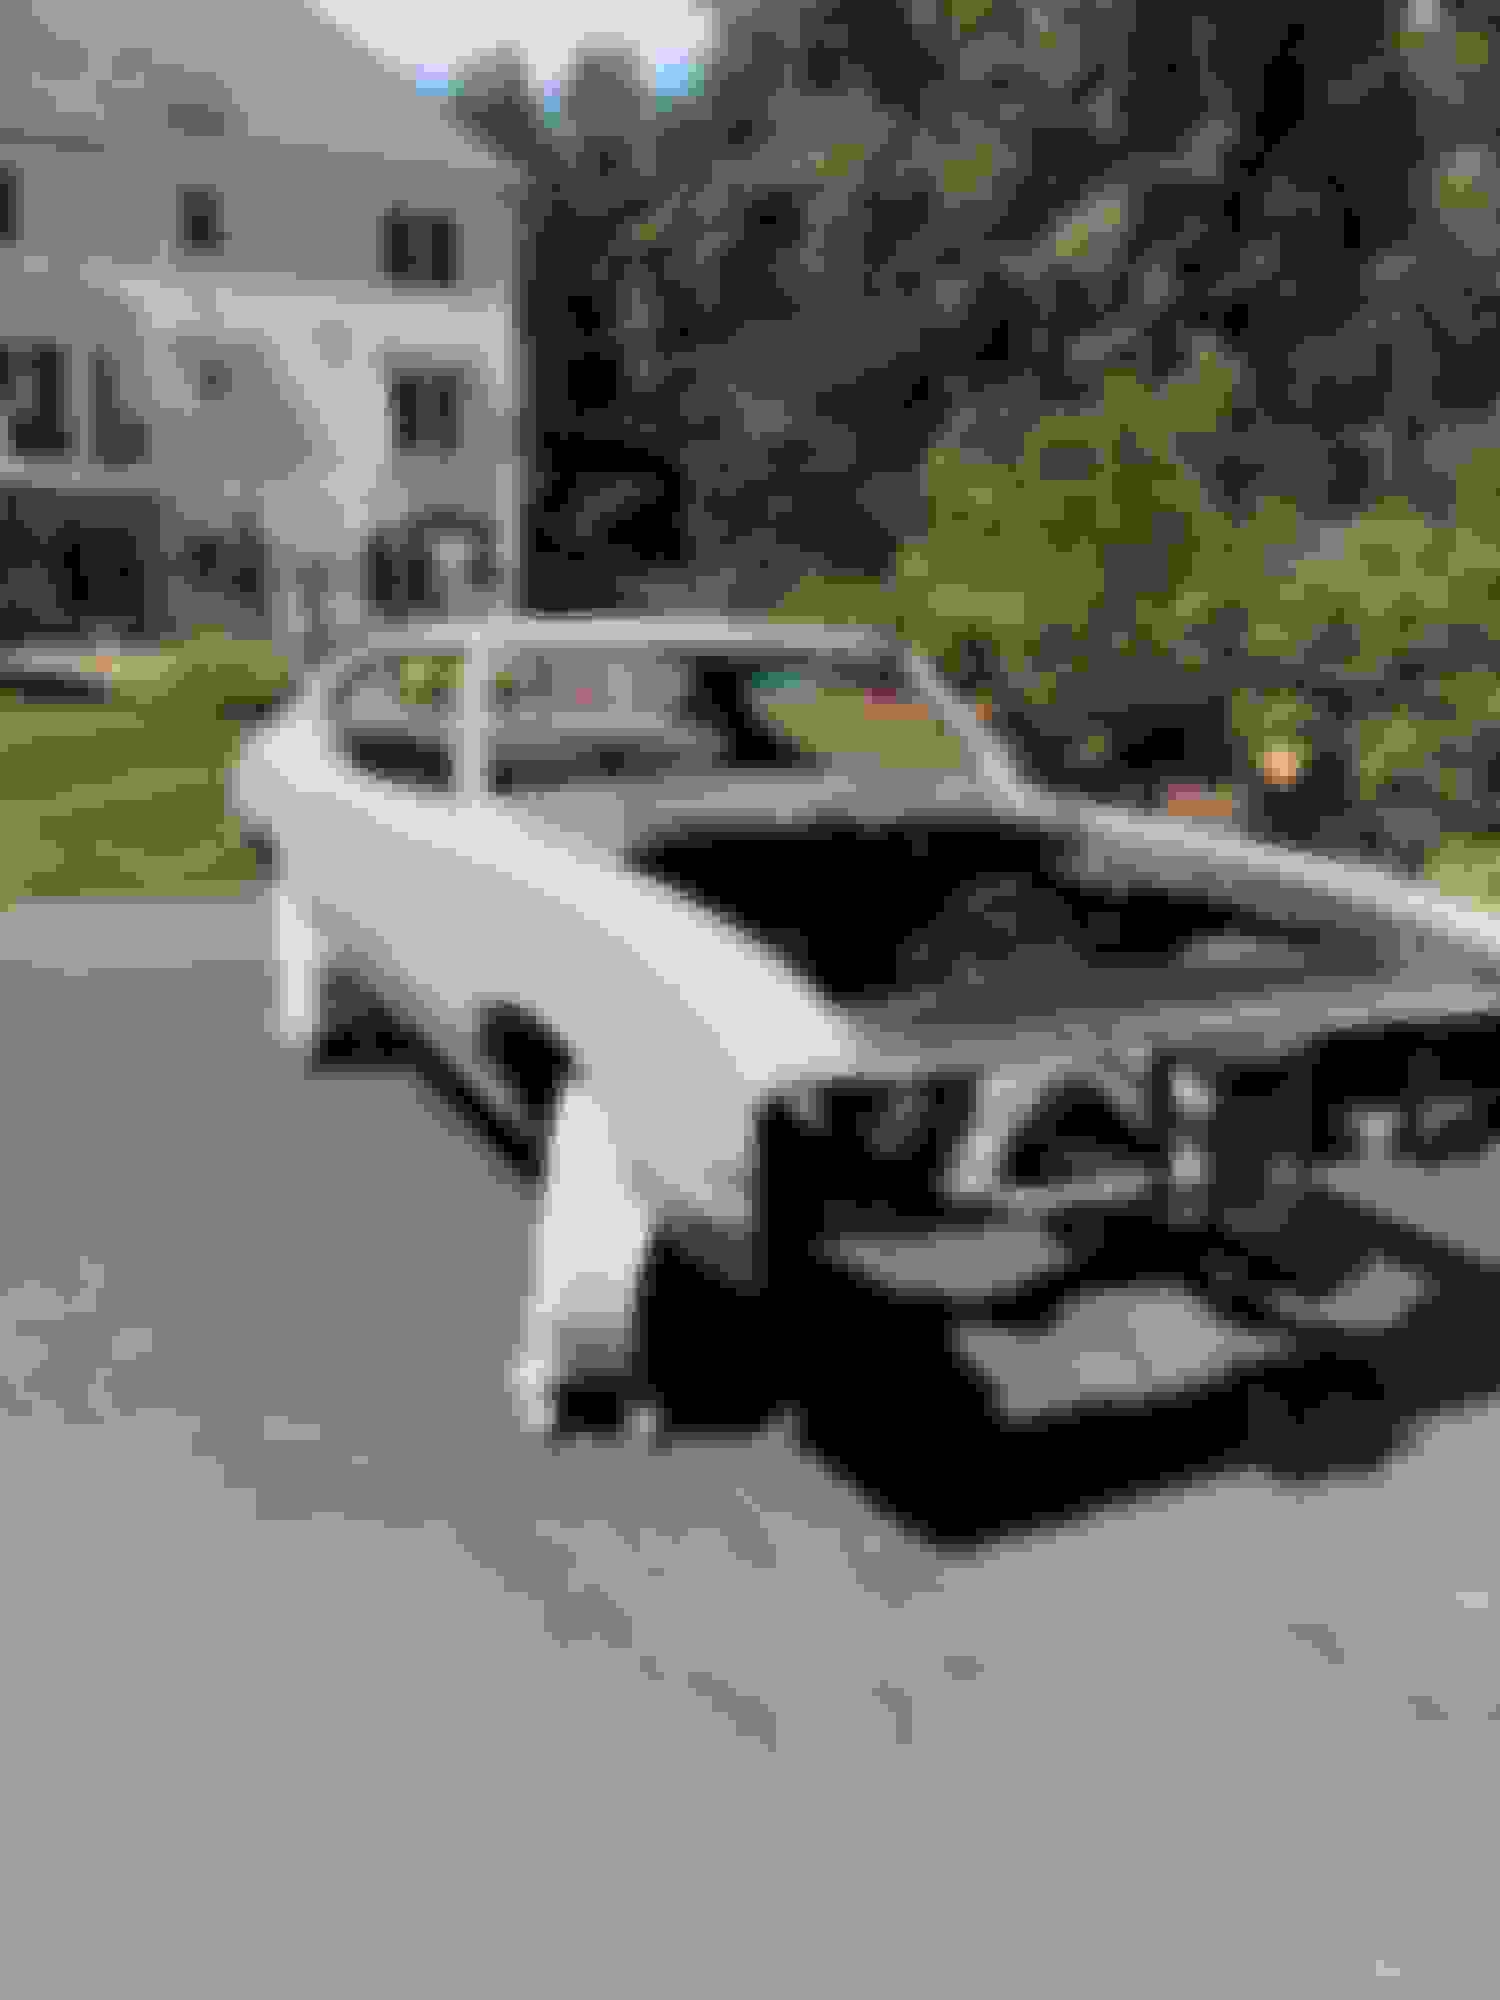
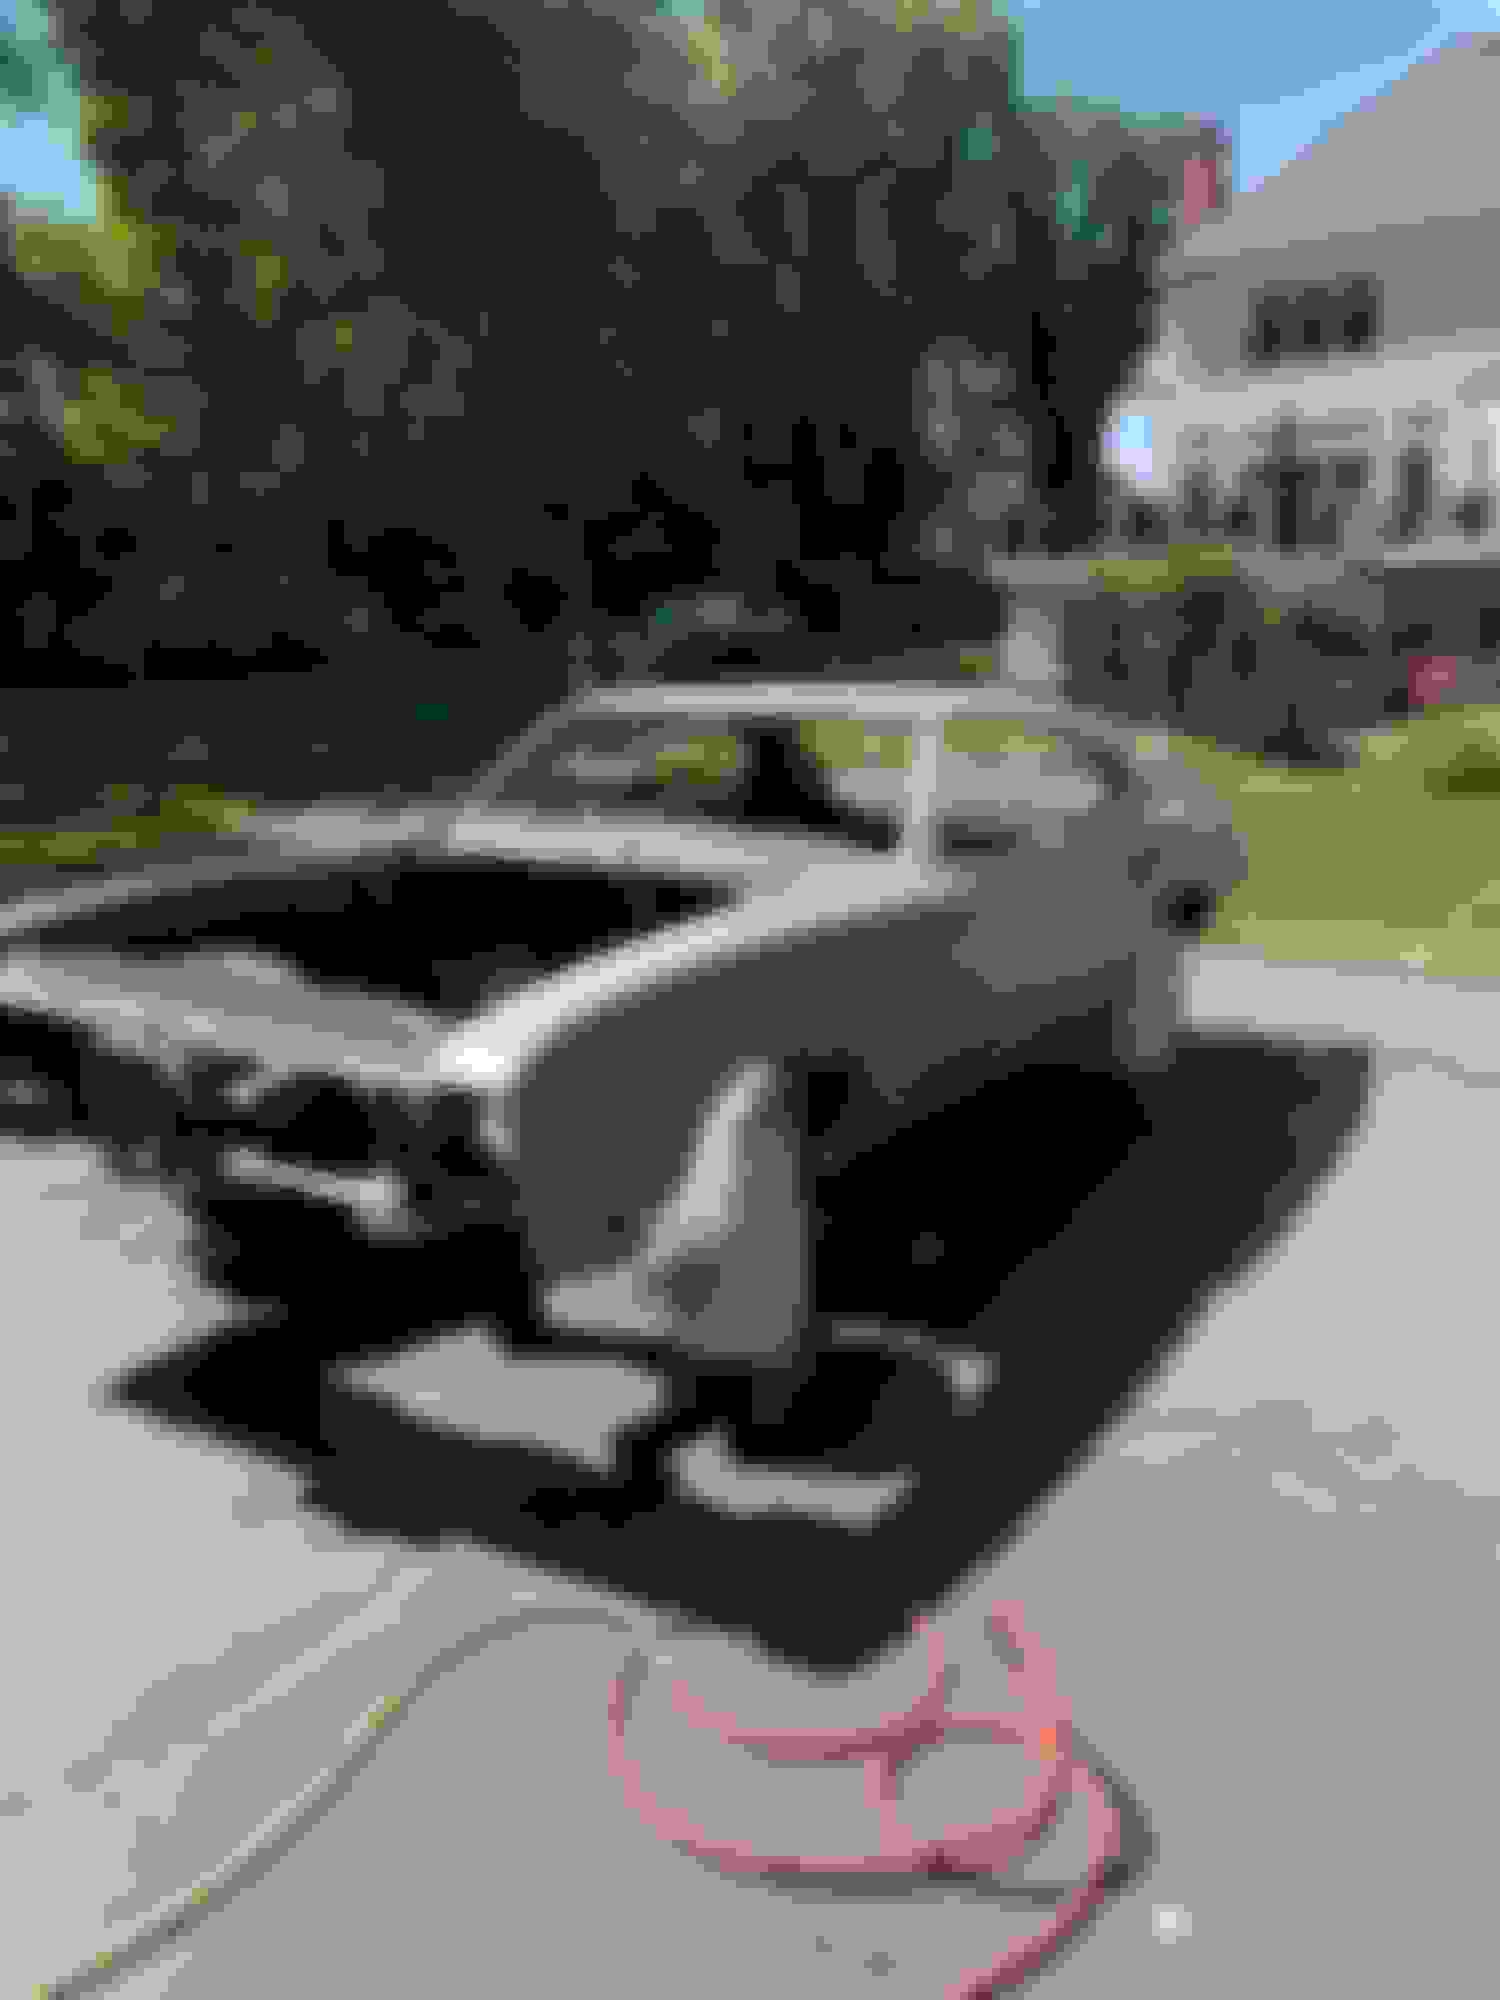
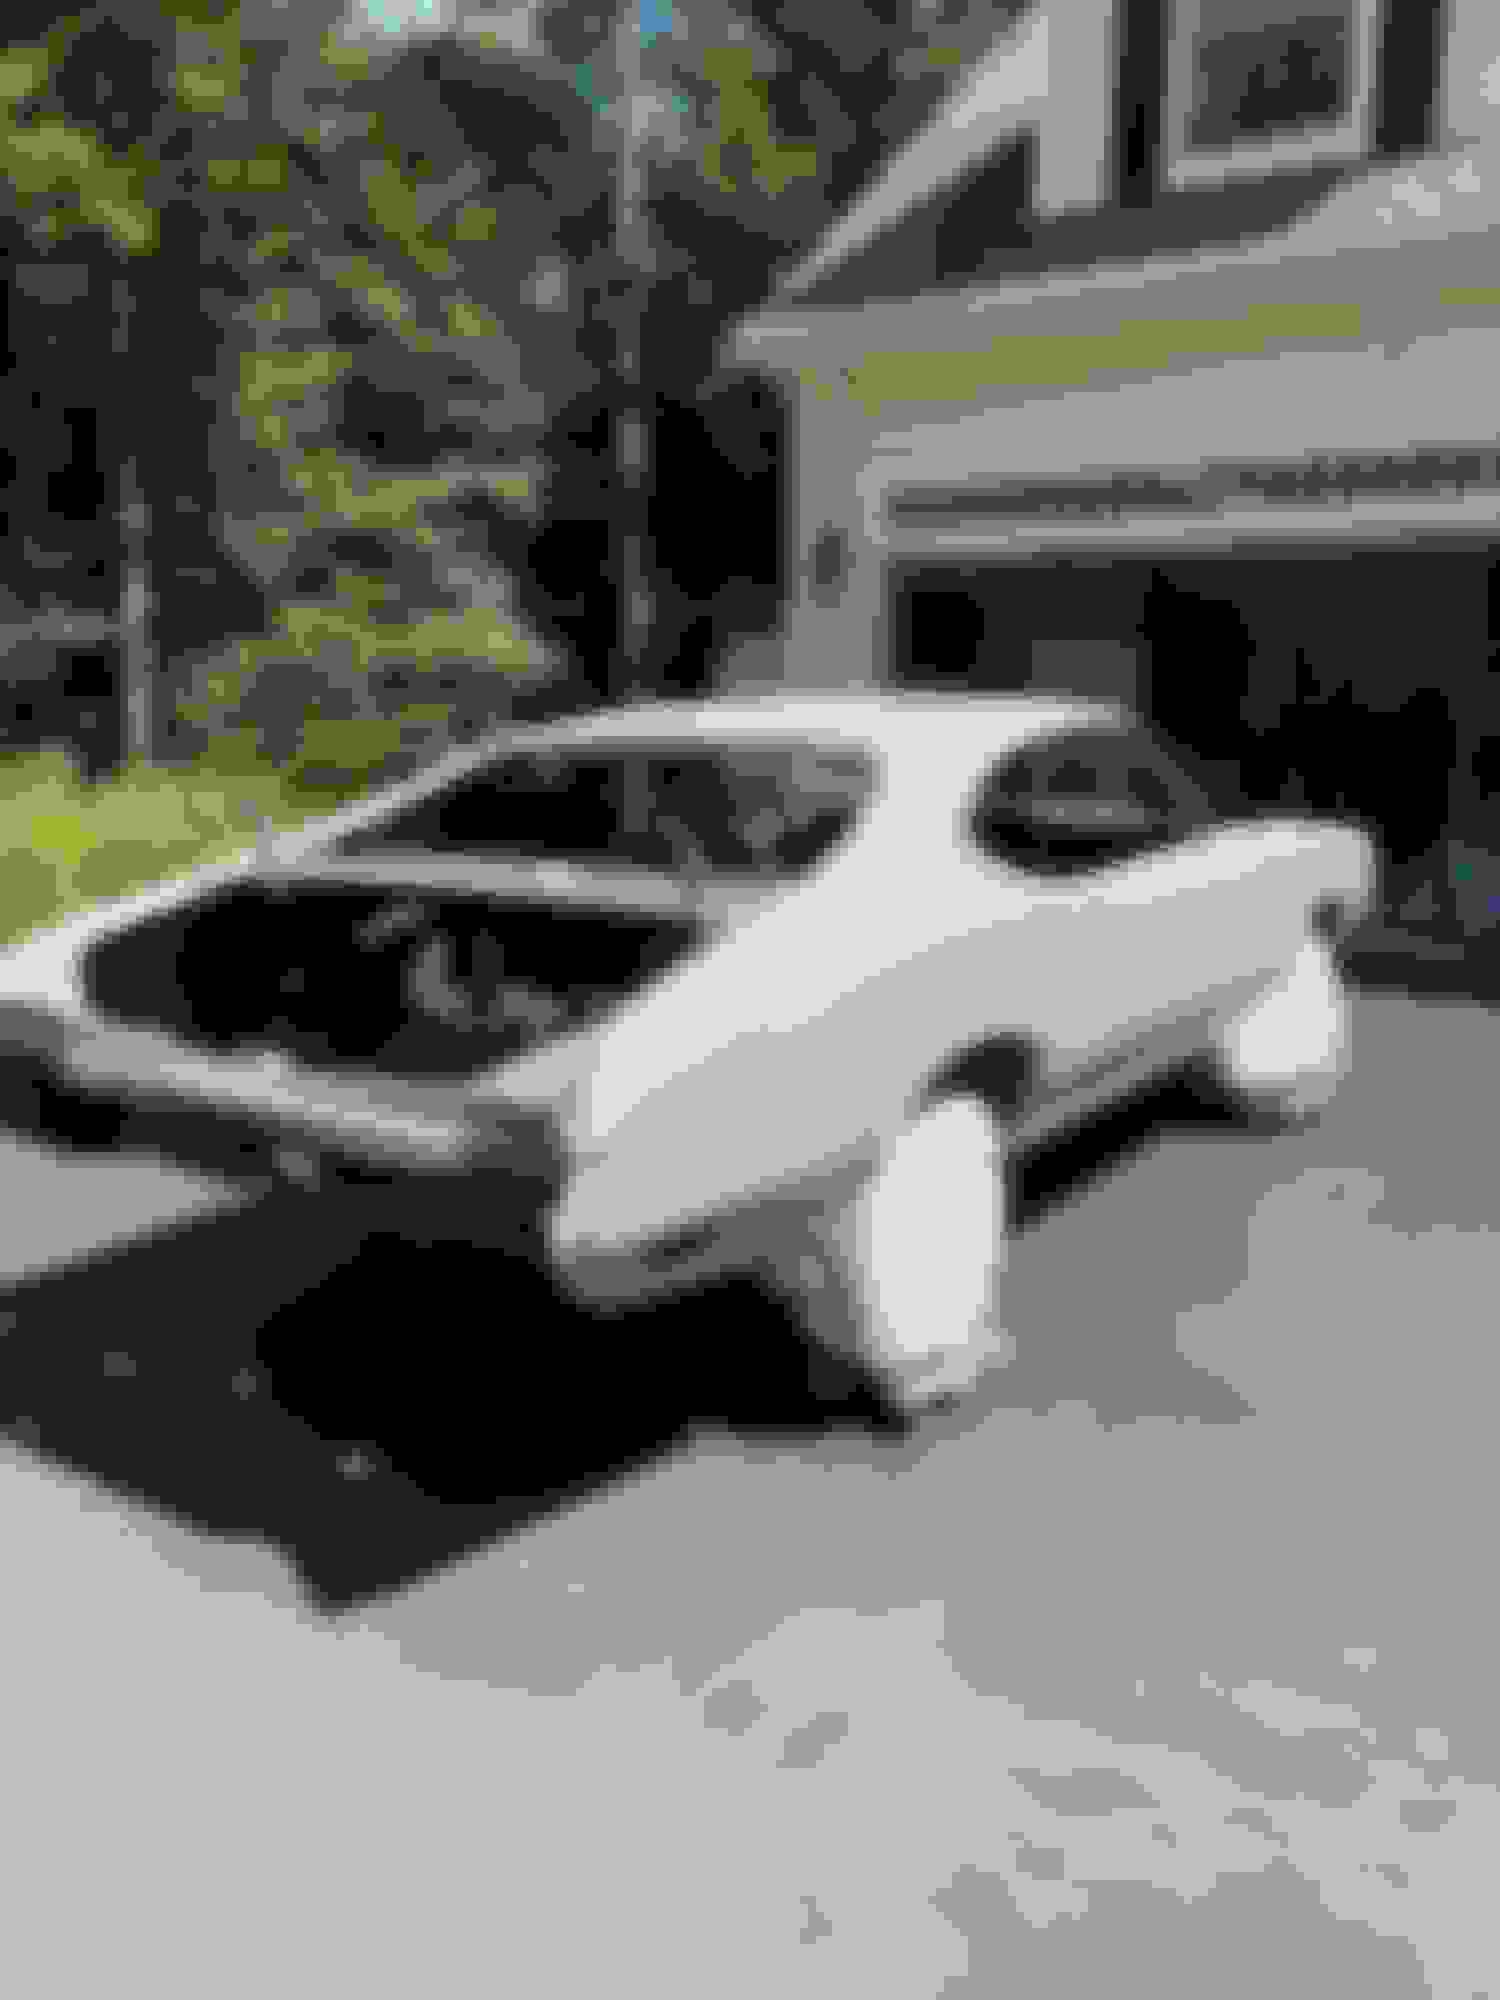
Got some 2k primer on the body hood and trunk lid today and got it out in the sun to dry a bit. This gave me a chance to clean some dust out of booth and prep for next phase.
Im gonna block sand again to see how everything looks, once satisfied I will remove fenders and doors and focus on jamming. Im probably gonna paint the body and doors and trunk together and paint the hood and fenders separately. Once everything is painted with 2 coats of clear, I will mask for side stripes, paint them with another coat of clear over everything. Thats the plan anyways and things could change.


 June 7th, 2021, 03:17 AM