When you click on links to various merchants on this site and make a purchase, this can result in this site earning a commission. Affiliate programs and affiliations include, but are not limited to, the eBay Partner Network.
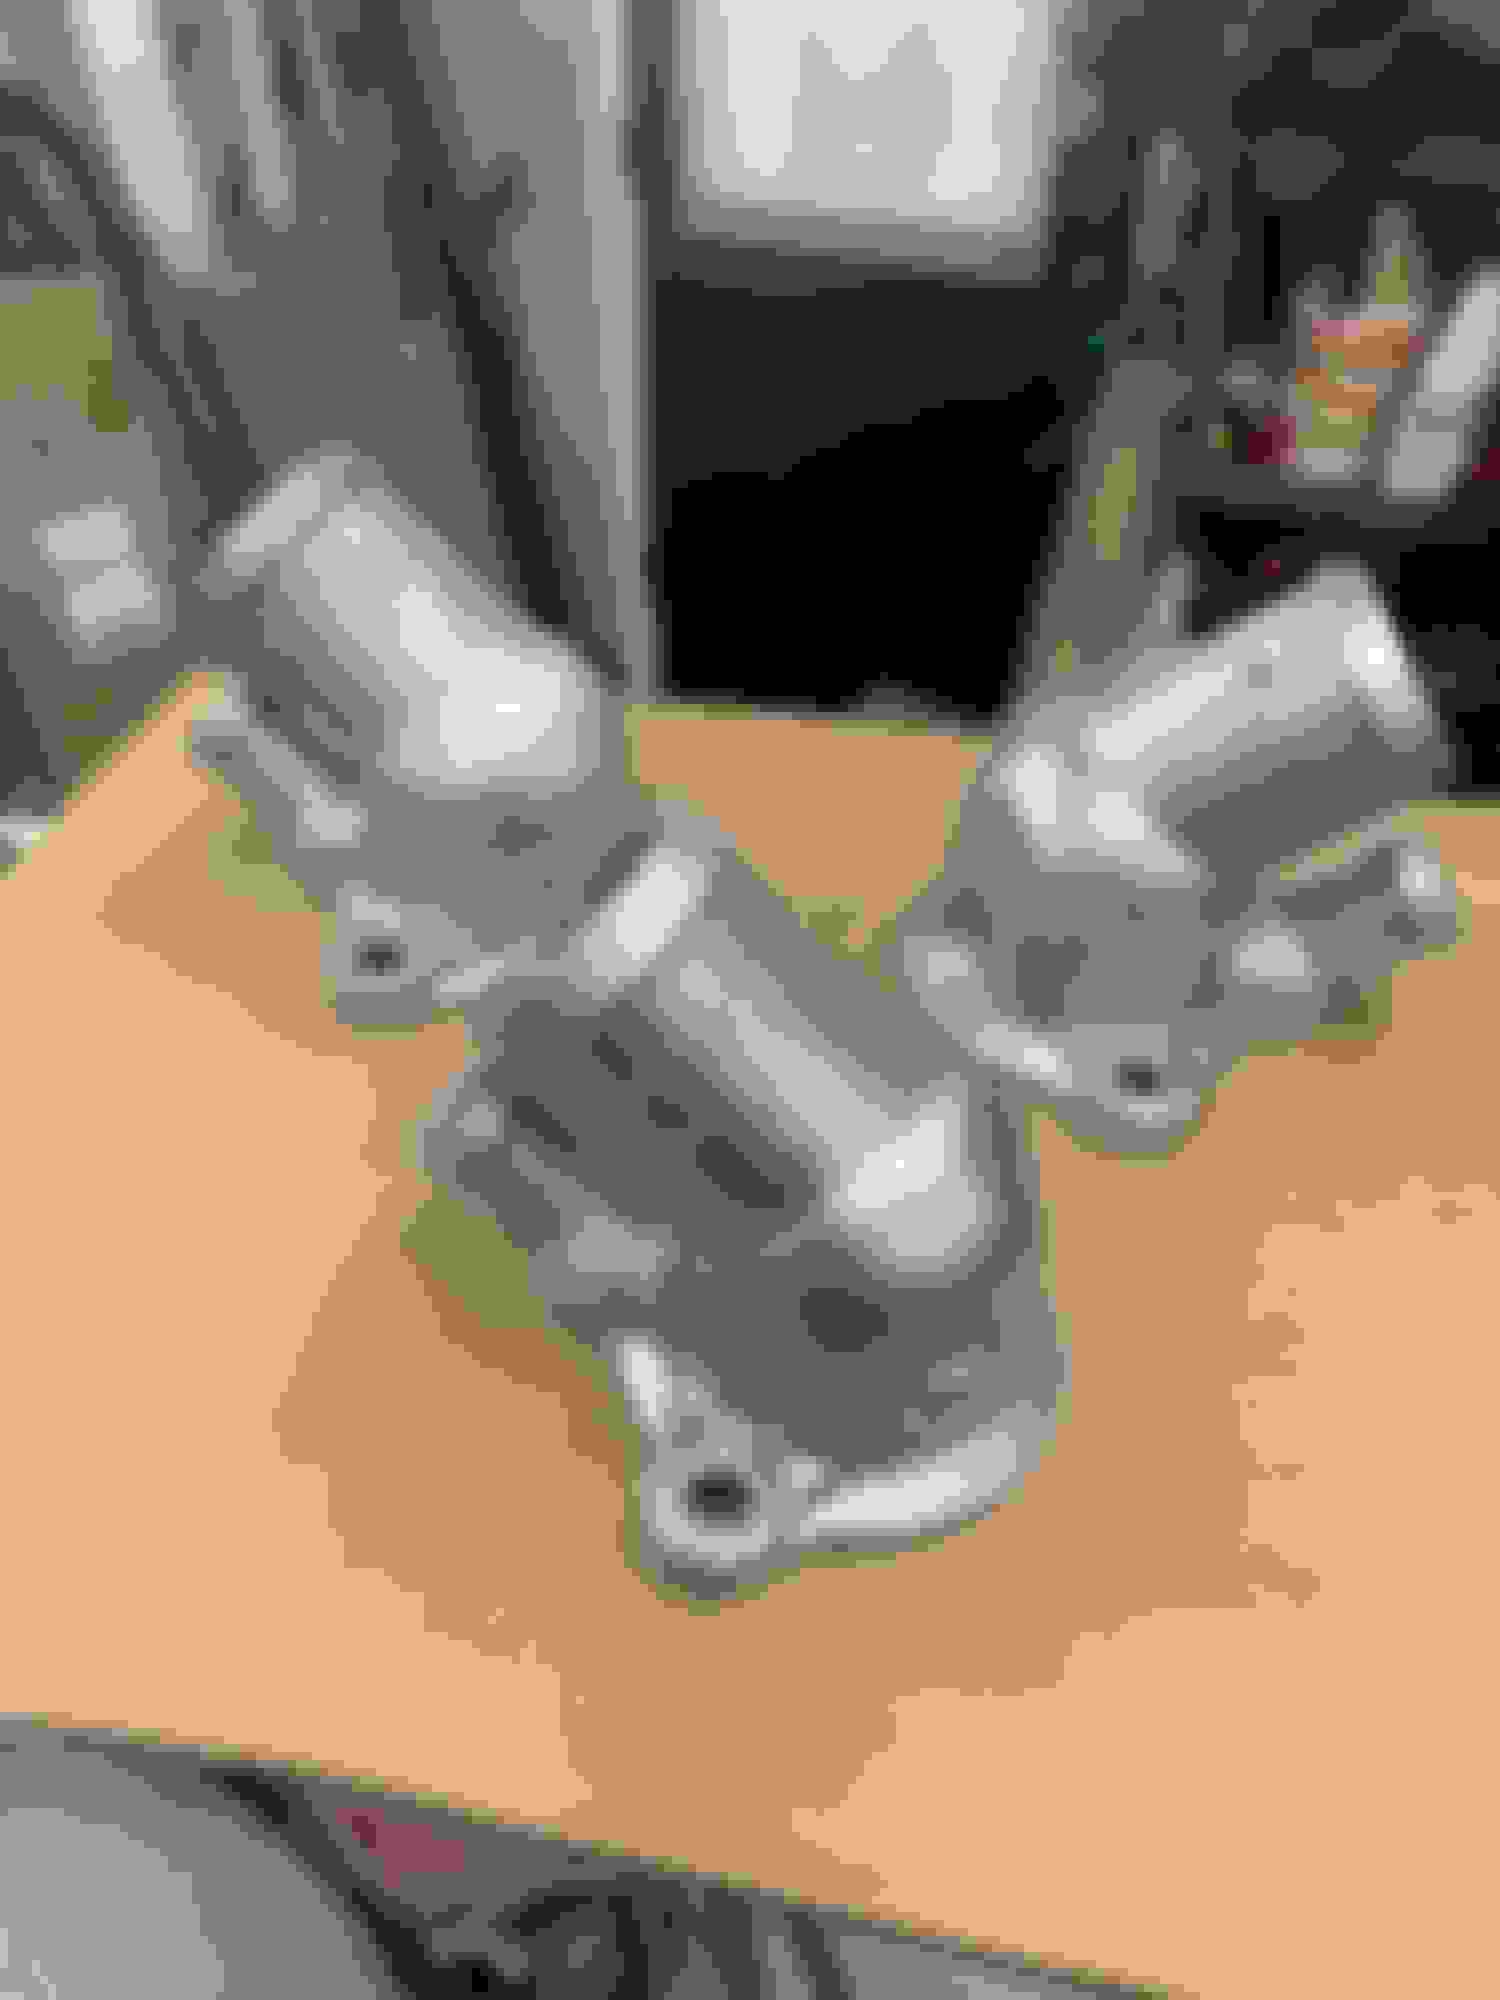
Hey good eye Stefano. Yes that is a crack the blasting revealed. I plan on having aluminum tig welder fix. It doesn't look to be too critical of an area fortunately.
If it is only that outside little area I would not even have it welded. It looks great and on a completed car it will look just as good as an NOS one would.
You didn't show us the best part of the manifold; do you have a good date on the bottom-side? The blaster did a great job. Will you leave it as is now, or use a high temp paint to enhace the look?
Few more pcs vapor blasted by Dave Mattice. I just need to pick the best one but my eye is on the one in front.
On another note:
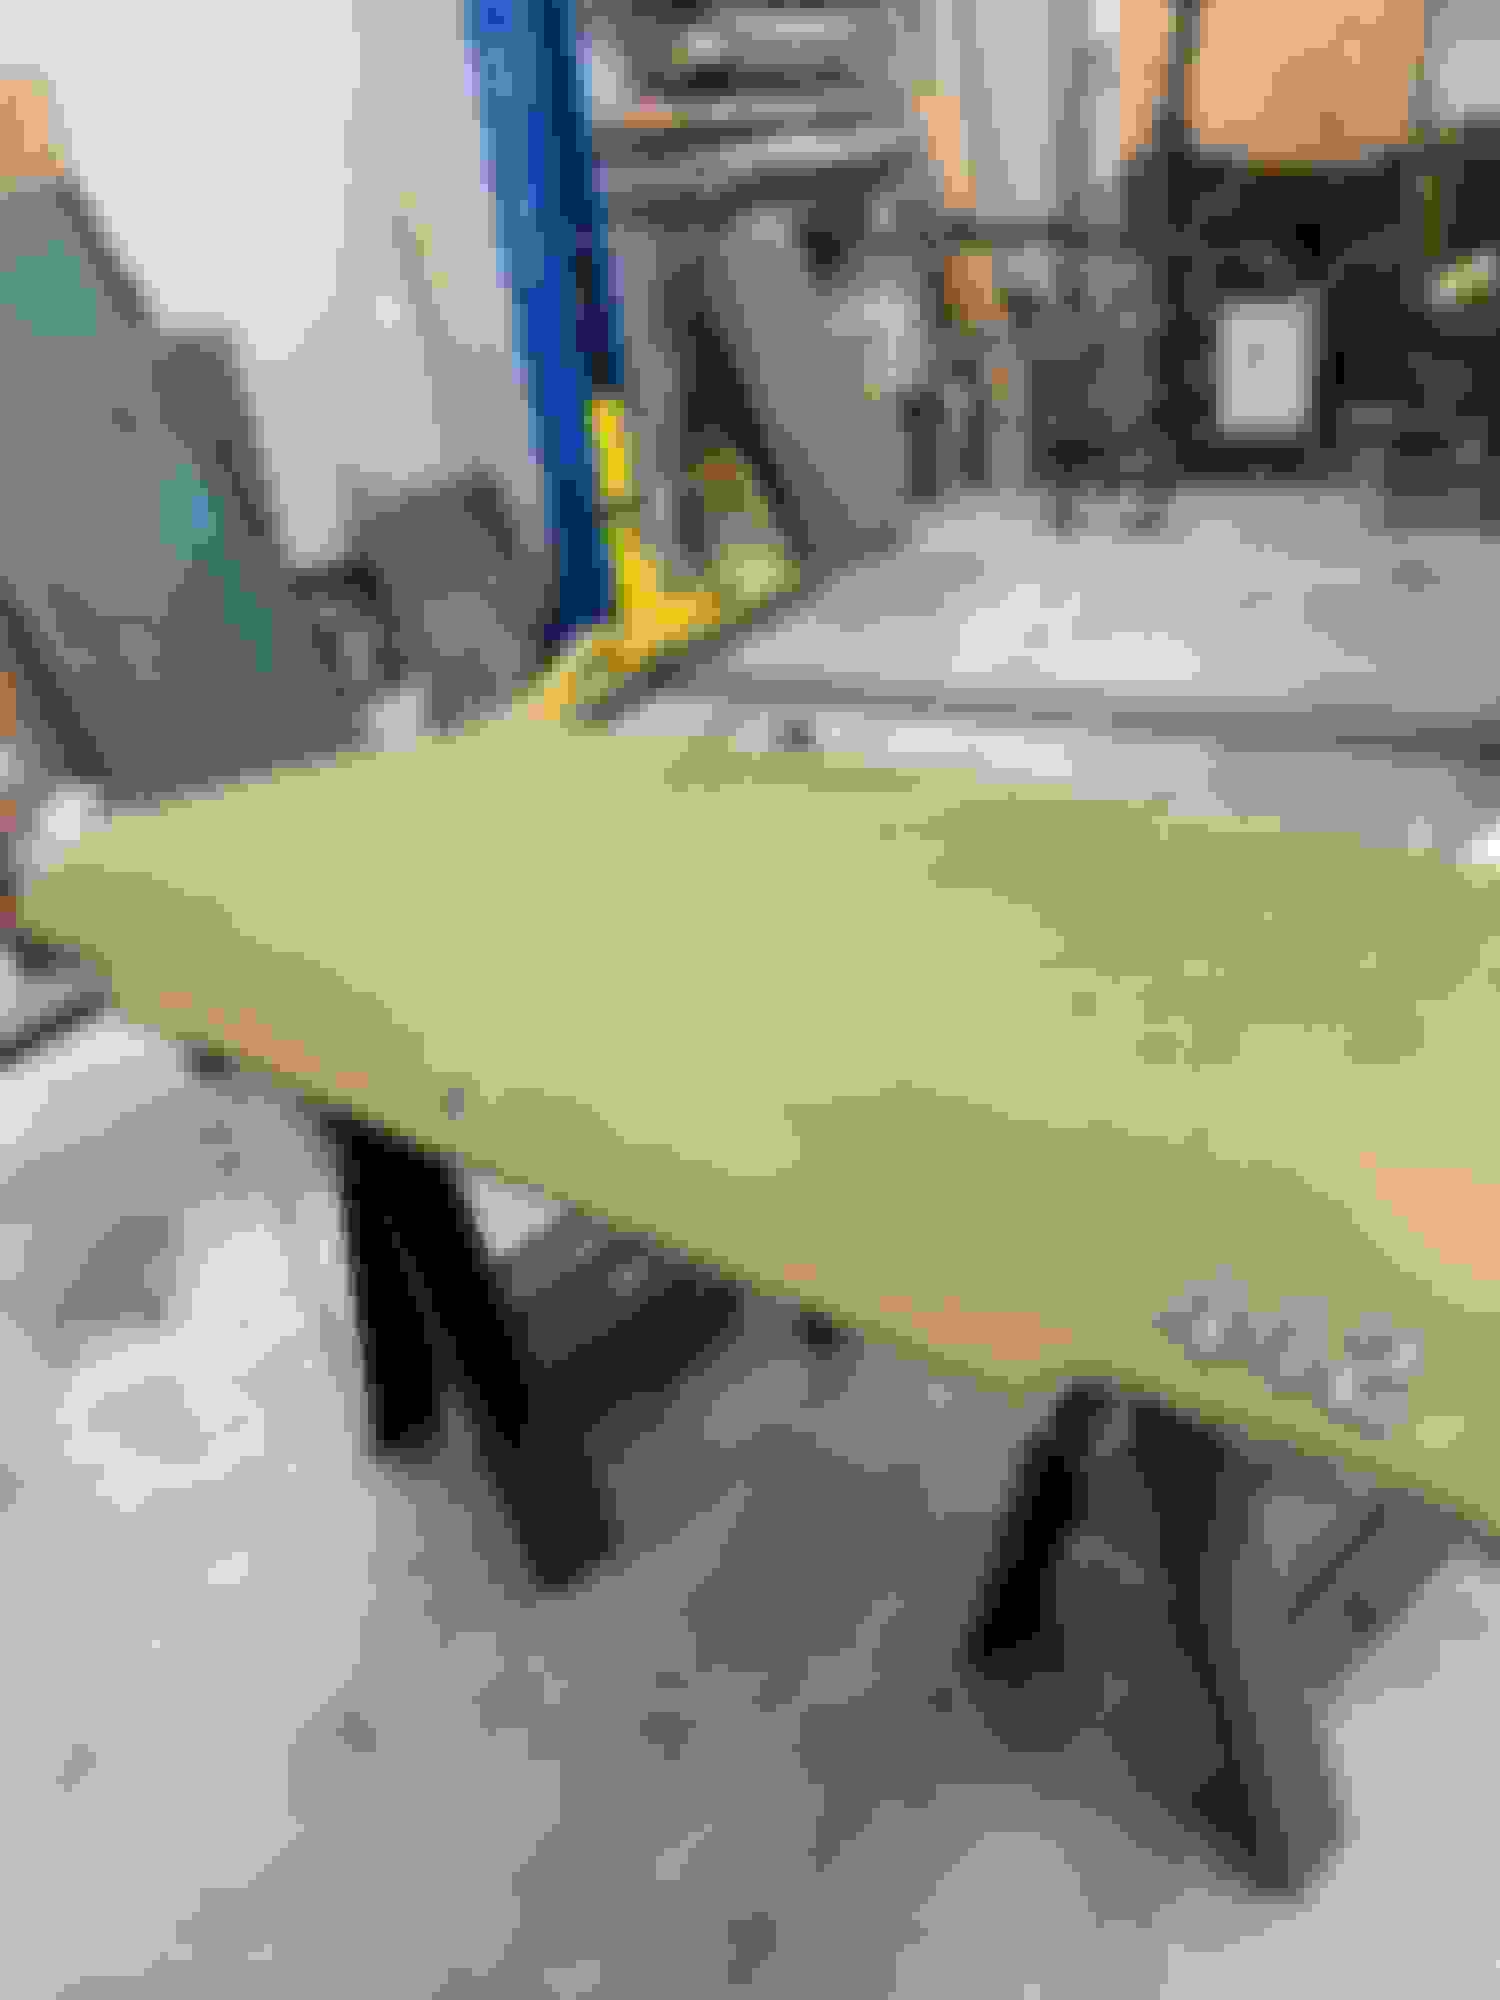
Im in block sanding HELL
Last edited by scrappie; February 22nd, 2021 at 03:07 AM.
Hi Kevin,
At this point it seems the block sanding is endless. Im waiting to get an OEM 70 trunk lid from Fastenal delivery maybe next week? When I get it I will have it media blasted completely like I did with quarters and trunk floor followed by epoxy primer and fit and alignment. After that I will block sand that pc also to join the rest of the car's process. This is the process I am in at this point:
Panel alignment
Door gapping/striker pin alignment/door adjustment to close perfectly.
Tapping any dings or dents out/hammer and dolly any imperfections.
Refining any body lines and high or low spots with filler
Block sanding, apply filler, block sanding, apply filler, block sanding, apply filler.........etc
Ill try to get some pics this weekend.
By far at this point in the resto, the block sanding has been the most labor intensive for me. I truly believe in taking the time to level, flatten, smooth and accentuate every contour of the car. All my gaps have metal edges and the filler is there to smooth everything. It looks like s lot of filler but it is just a skim coat to level and smooth things max about 1/16". I really want this paint job to be the best I can do so I will invest the time. I know this will be far better than GM did 50 years ago but thats what I want. I think the paint job is the first thing you see and I want it to be as nice as I can make it.
It seems Ive been block sanding for months but its only weekends I have. I still have a few dings and dents to address and Im waiting for a 70 OEM trunk lid to put in the mix. Once I get that I will prep it and install and guess what?................block sand that too. Once the block sanding is done to my satisfaction I plan on burying the car in a good coat of polyester filler paint. When that is dry I will put a guide coat down and once again block sand the whole car in prep to disassemble and paint jams and back sides of fenders.
At this point I can see why good paint jobs cost so much money. There is so much labor and material involved.
Last edited by scrappie; June 14th, 2021 at 06:12 PM.
Thanks guys. Im definitely not as skilled as I would like to be in regard to being able to feel with my hand highs and lows. Some things are obvious but slight differences take a trained hand to feel. I also think I sand way too much and end up taking off what I just put on but that comes with experience. I think it probably takes me twice as long as it should. Good body men are experienced in this area.
Received an early 1970 OEM trunk lid today from rktolds via Fastenal. The trunk lid has original paint with minimal surface rust. Thanks to Matt Crumley who pm'd me shortly after my post and a thanks to WTHIRTY1 also. I'm gonna dry fit this tomorrow morning and then its off to media blaster like the other parts. The blaster informed me it may be a couple weeks but at least he has it. The lid looks like original paint and curious to see what it looks like after blasting but I'm hoping it will clean up nice. This is the exact same as the original one off my car. At this point the only reproduction pcs are the core support (which seems pretty good right now) and the lower fender patch. All the rest is original or OEM metal.
The repro lid has been modified and fitted and is pretty decent at this point. If I didn't find this OEM lid I wouldn't hesitate to use the repro lid now that I have worked on it so much but I was lucky to find the OEM. I will post pics when I get it back. In the meantime back to to the block sanding and surfacing.
Last edited by scrappie; March 5th, 2021 at 05:48 PM.
So I was happy to find the trunk lid and had the blaster do his thing. It came out pretty nice and I could just prime and paint right now and it would probably look fine. The thing that bothers me is the rust inside of the lid. You can't see it but I know its there and it bothers me. After all this I just can't feel good about painting it when Ive gone to the extreme to remove it in other places.
I decided to separate the trunk skin from the trunk frame get at whatever rust I could. After separating the pcs Im glad I did. The inside of these lids were raw, untreated steel, no wonder the rust is there. The only thing now is I have to bring the trunk lid back to the media blaster for another round so that will delay me once again. Its a lot of work but I will have peace of mind once its done.
I'm also seriously contemplating painting this car myself. Im in the process of color matching the code 25 to today's BC/CC. I dont think its possible to get a perfect match in a BC/CC but it will be close.
Besides the trunk lid the block sanding continues and I believe I will be ready for polyester primer by next weekend.
I also prepped the headliner edge pieces and bows for when that time comes.
Last edited by scrappie; March 22nd, 2021 at 09:37 AM.
Thanks Paul! After looking at the inside of the trunk lid I won't be sleeping well anymore. lol It's looking good, that was really nice of that guy to offer to help with the paint stuff. It's just what you need.
Still waiting for my trunk lid to get back from blasting. In the meantime it gave me a chance to clean my garage a little and organize some stuff. I get a little messy doing stuff and block sanding doesn't help. It usually gets to a point where I have to stop and regroup. I also dug out the sport mirrors, sanded and put a coat of epoxy primer on them.
Ive now decided to paint this car myself. I will build a temporary paint booth in my garage in next few weeks and get this done as soon as I can.
I found a paint shop locally (thx Frank) that sells PPG and I gave them the paint code for Astro blue and year of car. They mixed me up a sample in a BC/CC. I did a spray out and while the blue was a really nice blue, it just didn't match original paint under trunk lid and on cowl. They said they would have to custom mix a color to get closer and it would be a few days. I picked up the paint friday and Im happy with the color. The custom mix is a lot closer and I dont think Im gonna get much better so that will be the color. Im looking forward to paint and while just a little apprehensive I'm not intimidated. Thats what this hobby is all about right, learning and doing, doing and learning. You guys will be with me for this so stay tuned.
Last edited by scrappie; March 29th, 2021 at 03:01 AM.
So when you had the paint custom mixed did you provide the underside of the trunk for them to match, or did you provide anything for them to match? The second test sample looks very good, much better than the first batch mixed for you.
I left both pcs with them to match.They even tried putting a camera on the pcs to get a match but couldn't come up with anything close so the final product is a custom mix. The first batch was what they have in their system for Astro blue poly, code 25 1970 Oldsmobile which as you can see isn't a good match. The second is what they mixed by hand.
They have a single stage paint available thats probably closer but Im not that comfortable with a single stage paint so I didn't even look.
Awesome work scrappie, I can't believe I haven't been following. I have many similar tasks ahead of me.
Do you save the tailpiece with the rear body mounts? If so how much you want for it?
When did you start this project?
You will do a better job painting it than the factory did. When I worked on the line at GM in 1972 at the Framingham plant,the cars were painted by line workers and then baked. No sanding of any type. Hand held spray guns.
What surprises me is the inside of the deck lid. The bodies with decklids and doors (firewall back) were dipped in a primer bath.
The deck lid should have had primer on the inside.
I was surprised kind of too. This one must have slipped by somehow because def nothing on inside.
When you replaced the trunk, the original piece that has the rear body mount cage nuts.
Im pretty sure the original trunk floor was junked and those rear mounts were the only ones that were rusted solid with broken bolts. I will look through my stuff.
What exactly are you looking for? The cage nuts themselves? the cage?
Last edited by scrappie; April 1st, 2021 at 02:25 AM.
Wow, you uncrimped all they way around the trunk skin. That's amazing. Cool that you took the time to save the trunk lid!
Thx, that trunk lid is worth the effort IMO due to the fact of it being one year only much like the fenders on these cars. I should be done dealing with rust at this point.
Thanks for saying that P. I may be a little obsessed with these things? These cars in and out of my life for some 35 years now. Ive seen guys who have the obsession far worse though. Hell it was 20 yrs ago My442 (Paul) bought that hood from me. I think with most of us its like reliving our days of youth and all the nostalgia these cars and others bring to us. Makes us feel like kids again. Ah to be a kid again and know what we know now.............
It’s such a great hobby that I think is fleeting today. With technology and stuff kids today just have different things I guess. It’s a Shame. I think I grew up in a pretty good time, wouldn’t trade it for anything.
Last edited by scrappie; April 2nd, 2021 at 08:37 AM.
 February 11th, 2021, 03:47 PM