When you click on links to various merchants on this site and make a purchase, this can result in this site earning a commission. Affiliate programs and affiliations include, but are not limited to, the eBay Partner Network.
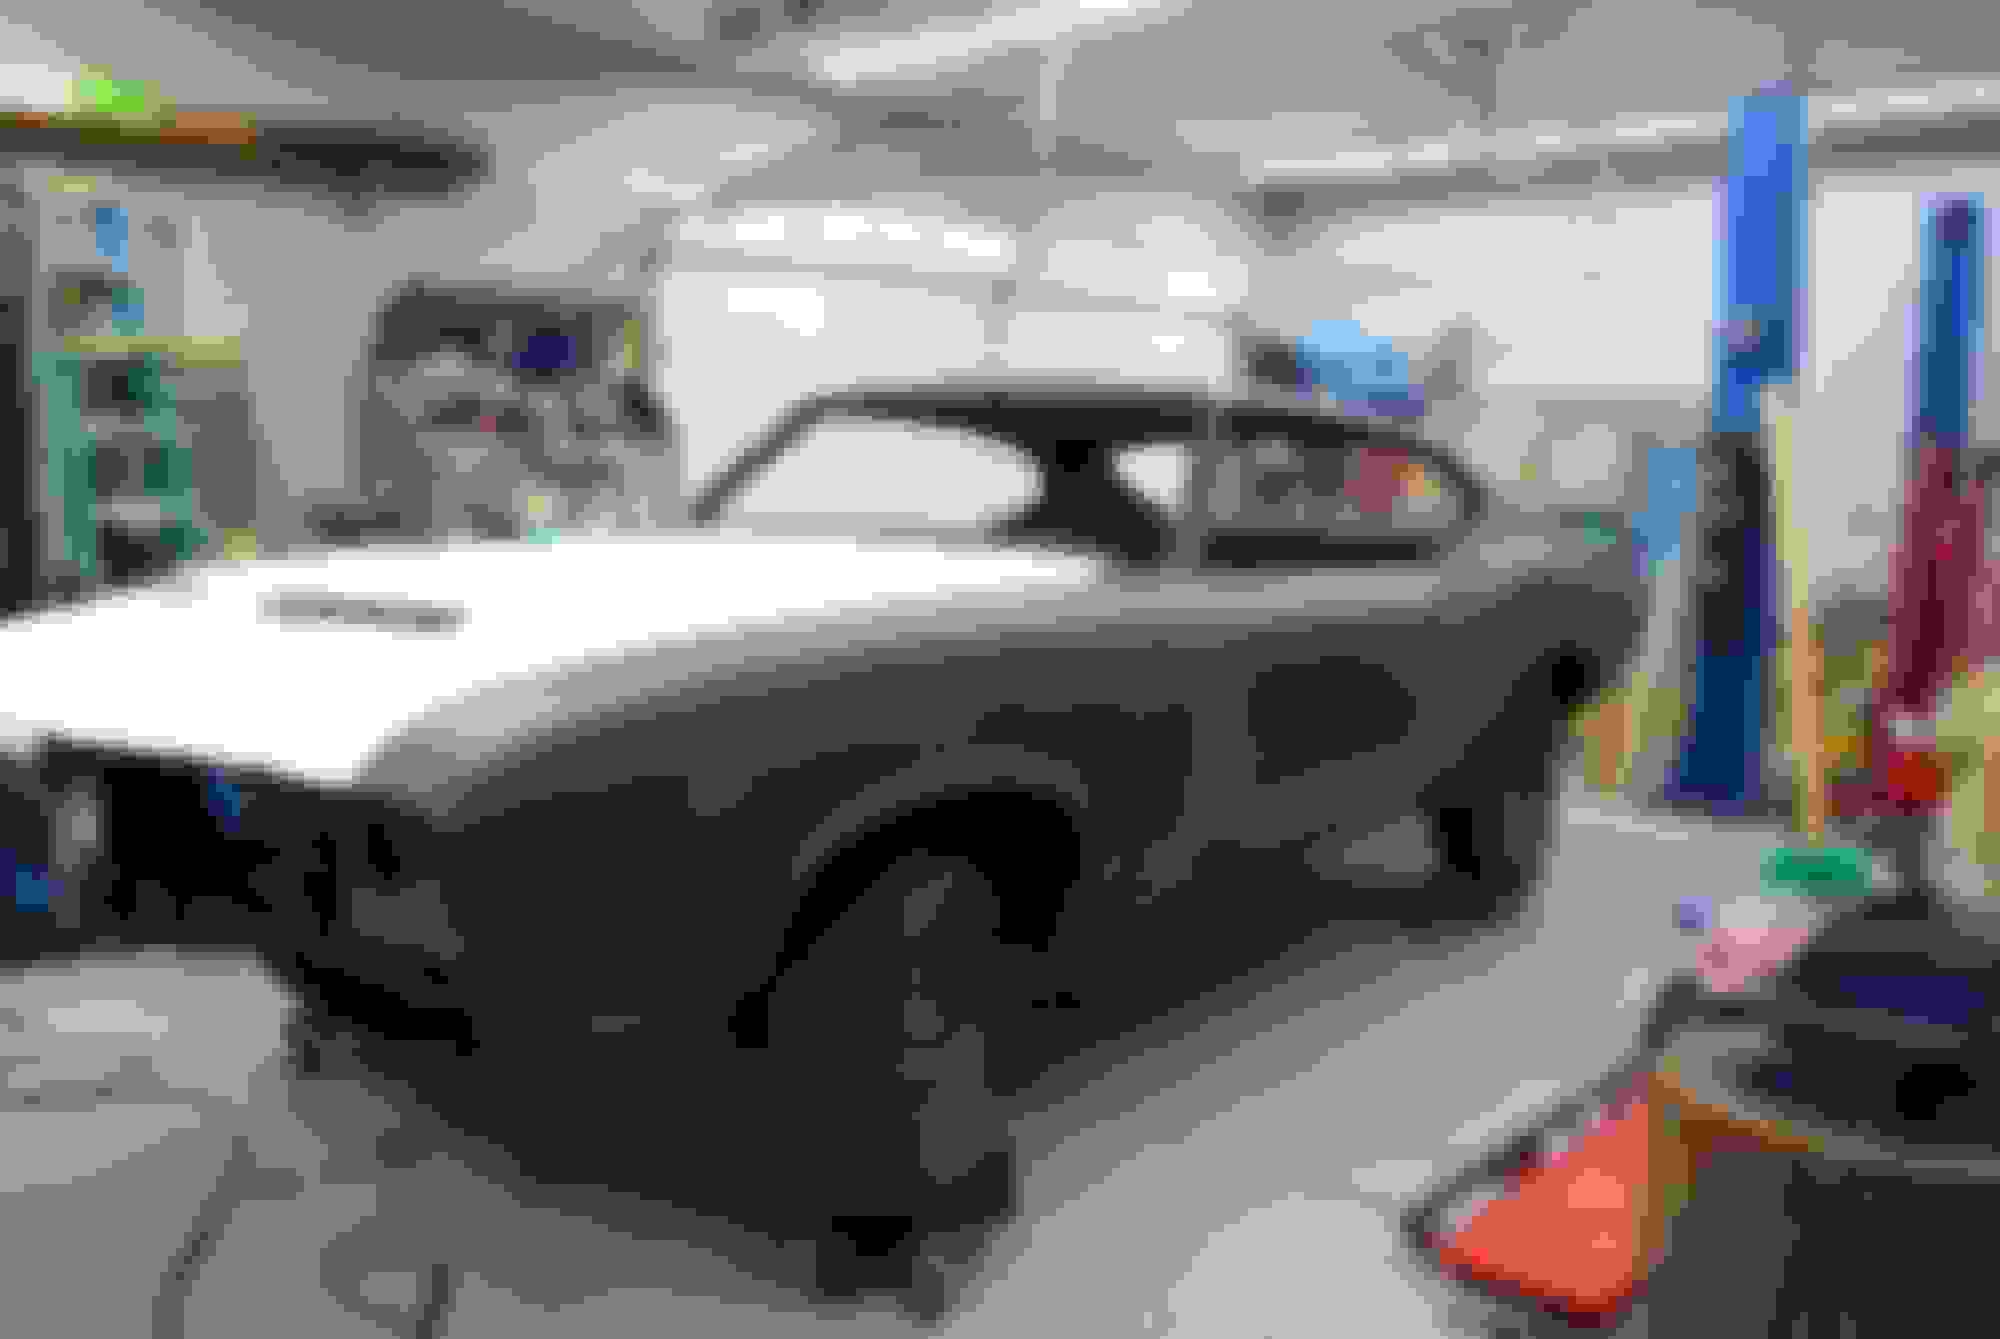
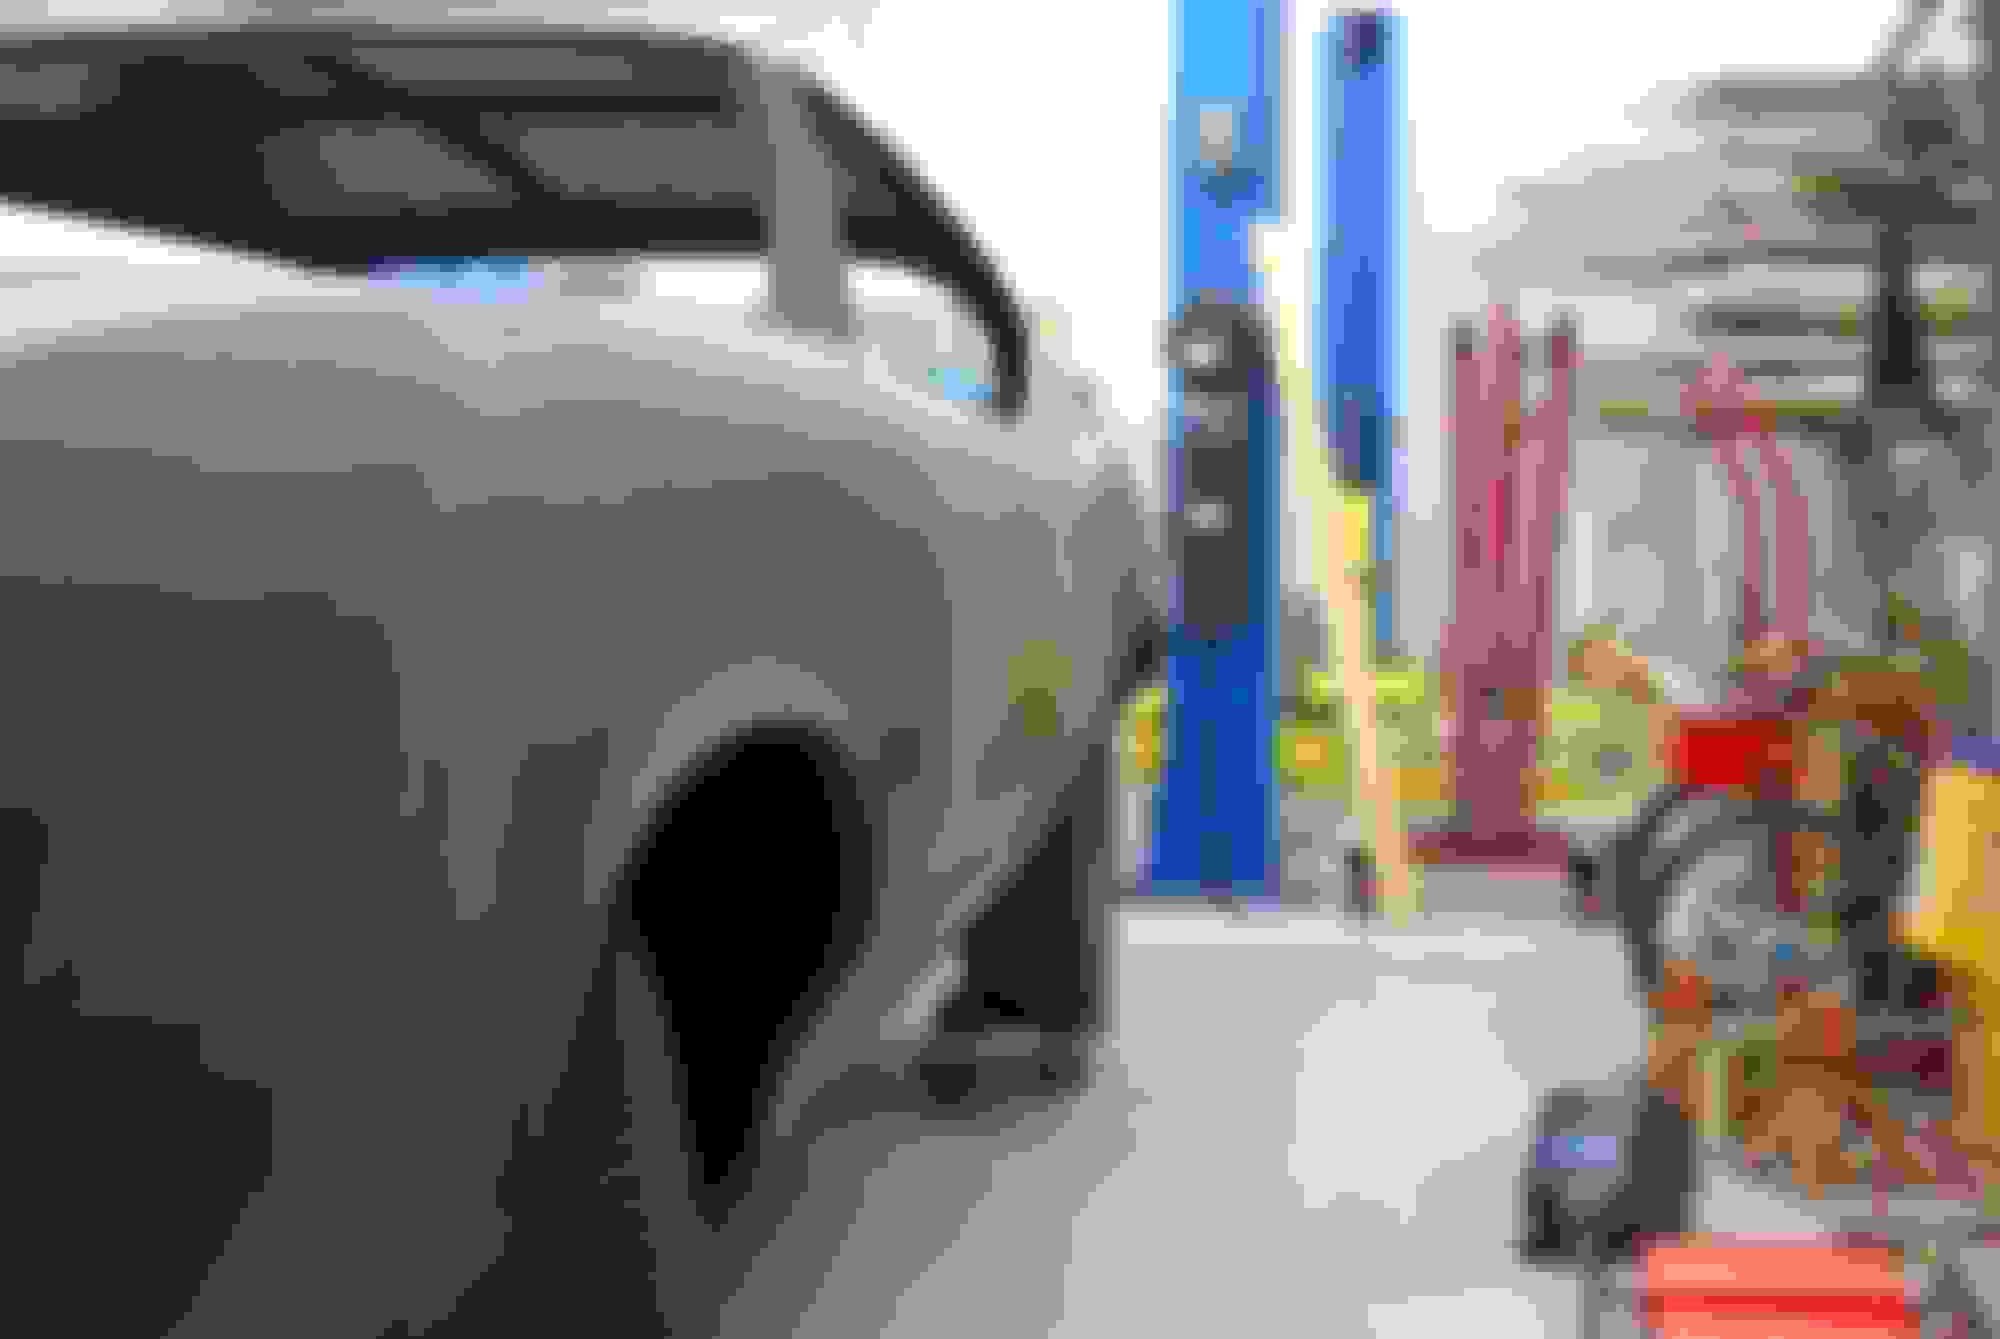
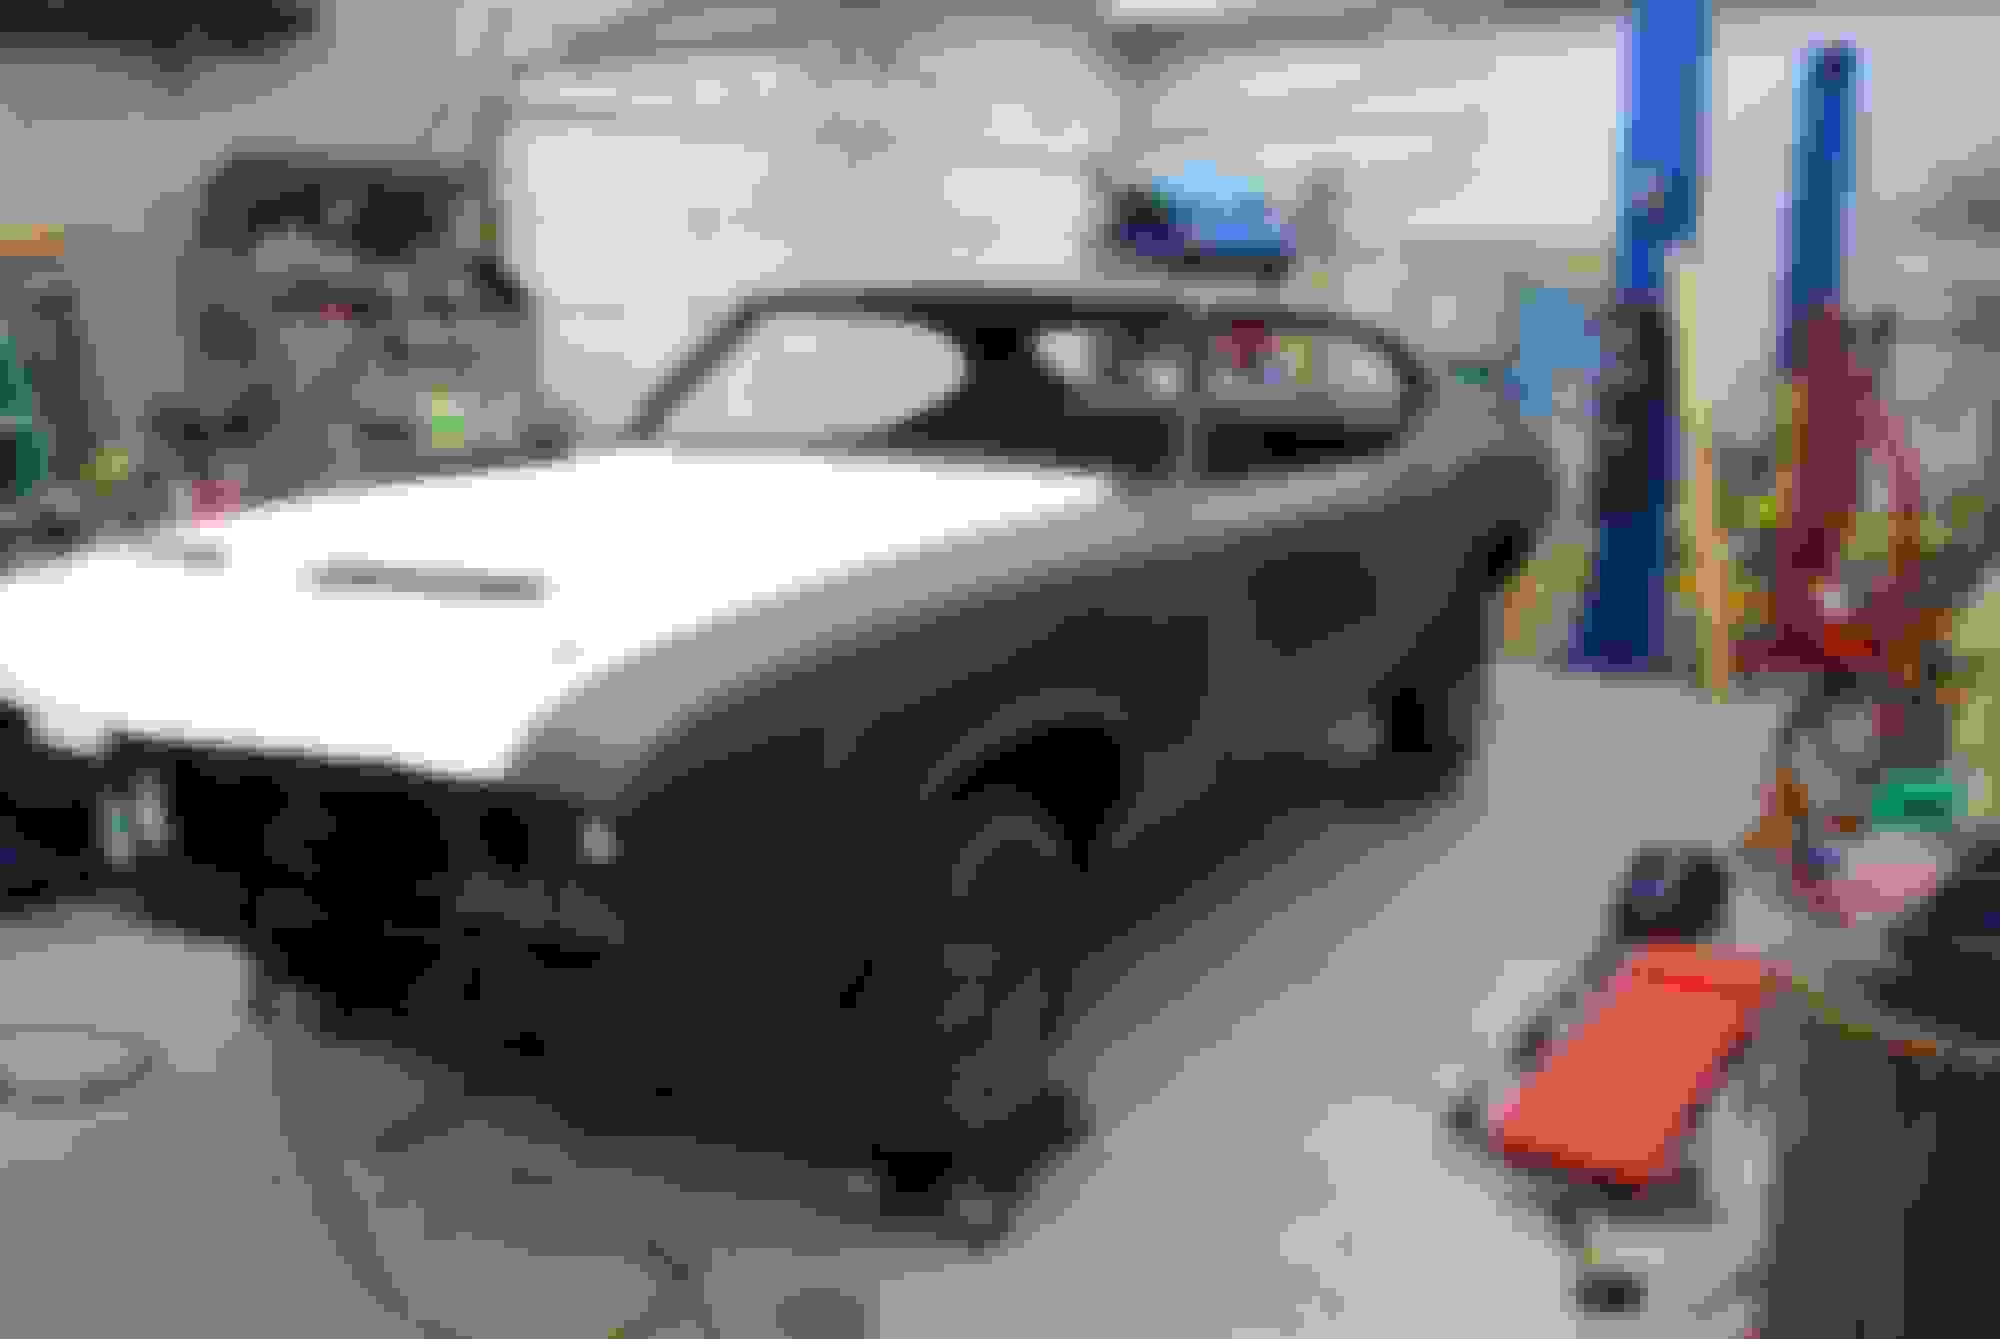
Well I got the panels on and started gapping and trying to get things lined up as best as possible. This is going to be painstaking due to the fact there will be a lot of installing/removing panels to see how any welding adjustments work. This is not the fun part for me and I need some extra patience so I believe this process will be slower than others because I just walk away when the frustration peaks. I will try and get alll the metal as close as possible without any filler and then use filler at the end only for surfacing and getting everything straight. Thats a whole other process.
Looking at the car at this point, I can't help but get a little excited because its starting to look like something. I think of what it looked like a few yrs ago and it is clearly on the mend. This car is solid as a rock now and Im working on the "straight as an arrow" part but it will get there.
Last edited by scrappie; December 7th, 2020 at 03:07 AM.
Kudos. Looks real good. After your done you need to get a license plate on that car that says �Zombie�. You have brought that car back from the dead. Excellent work.
Haven't had a ton of time lately but it seems like the things I do don't have a lot of instant gratification for me. I think I have installed and removed both fenders three times in the last two weeks. I have been working on fine tuning the gaps on the fenders and doors. Since replacing a door skin and metal work on fenders, the gaps are taking a bit of work. This is the most tedious task to this point and I still have yet to finish. I could blow through this stuff but this is what makes the paint job so I will take whatever time it takes to do this to my satisfaction. I've been welding and using lead solder so still no plastic at this point on the body. I put the hood on and have since removed it to repair some cracks. I will be priming the hood soon. The hood is in real good shape IMO and just needed a couple small repairs and light filler for leveling. Ill post pics of body once I'm done gapping.
Last edited by scrappie; December 27th, 2020 at 06:12 PM.
Boy what an incredible thread. Your work is just phenomenal. You have to really love the car and see the end goal to do all that you have done. Thank you so much for all the detailed pictures. Looking at the factory holes for the numbers it is easy to see why people screw them up 8 out of 10 times. Can't compliment you anymore on what an outstanding job you are doing. Huge thumbs up for your work and bringing this life to this car.
Happy New Year to all, I hope everyone is doing ok. I was thinking today how its been kind of quiet on here lately and I couldn't help but wonder if some of our members have been lost to this virus? If I dropped dead today Im not sure you guys would know? Anyway, sorry for being so morbid.
Update on my project:
Ive really been spending time on door/door fender gaps and it is really time consuming. I think I have the gaps pretty good now and will move on now to body filler and block sanding which will also be very time consuming. I will once again remove fenders and doors and paint back side of fenders and prep door back sides for more primer. I primed the hood and will install that once again to fine tune gaps. Ive been working on restoring my hood hinges and once they are done I can put it all together for block sanding and mock up. I think after this is done I can begin to focus more on drive train but one thing at a time. All metal work to this point has been done with mig welder and lead solder. Any plastic used from this point on will be for leveling and straightness. This is the long, messy and boring part but will pay dividends in the end.
Last edited by scrappie; January 1st, 2021 at 07:08 PM.
I was hoping to start body work on mine this winter, unfortunately it started smoking so I will be rebuilding the motor and trans instead. I don’t think I can come close to what you have done, but I want to try to do all the prep for paint myself and then get it professionally painted.
I was hoping to start body work on mine this winter, unfortunately it started smoking so I will be rebuilding the motor and trans instead. I don�t think I can come close to what you have done, but I want to try to do all the prep for paint myself and then get it professionally painted.
Always something. A rebuild can be costly.
My plan is to get it prepped for paint also and have someone else shoot it but Ive also been thinking about doing it myself. We shall see?
Paul~Just wanted to say awesome job. I revisited your entire rebuild today since it had been a while and you are indeed the Man of Metal. It's difficult work what you have done; as an example, I had to take a few days away from the car after pulling the upper and lower control arms for a rebuild. I envy your strength, vision, and talent, plus your massive cache of tools!
My spouse is medical, and yes, the hospital is full of Covid patients at the moment; it's grim.
Wishing you and family Health, Happiness, and Happy Motoring in 2021.
Thanks for the kind words. Replacing front springs in these cars is my least favorite task. Nothing delicate about it and a lot of tension. I always seem to be waiting for something to let go or and injury to occur. Be careful compressing and then handling the springs and think safety.
I think its rare someone has too many tools :-)
Looking forward to a return to life as we used to know it. It may be a while but we will get there.
Last edited by scrappie; January 4th, 2021 at 02:54 PM.
Great thread. Tremendous undertaking. It so Kool to see one of these Old Warriers brought back to life. Congrats on your achievements and can't wait to see the final results.
TY Stefano.
Ive been looking forward to updating everyone on my progress but time lately has been scarce. Im in the body panel filament stage and this is painfully slow for me but Im almost over the hump. Ill keep you guys updated as soon as I have something to show.
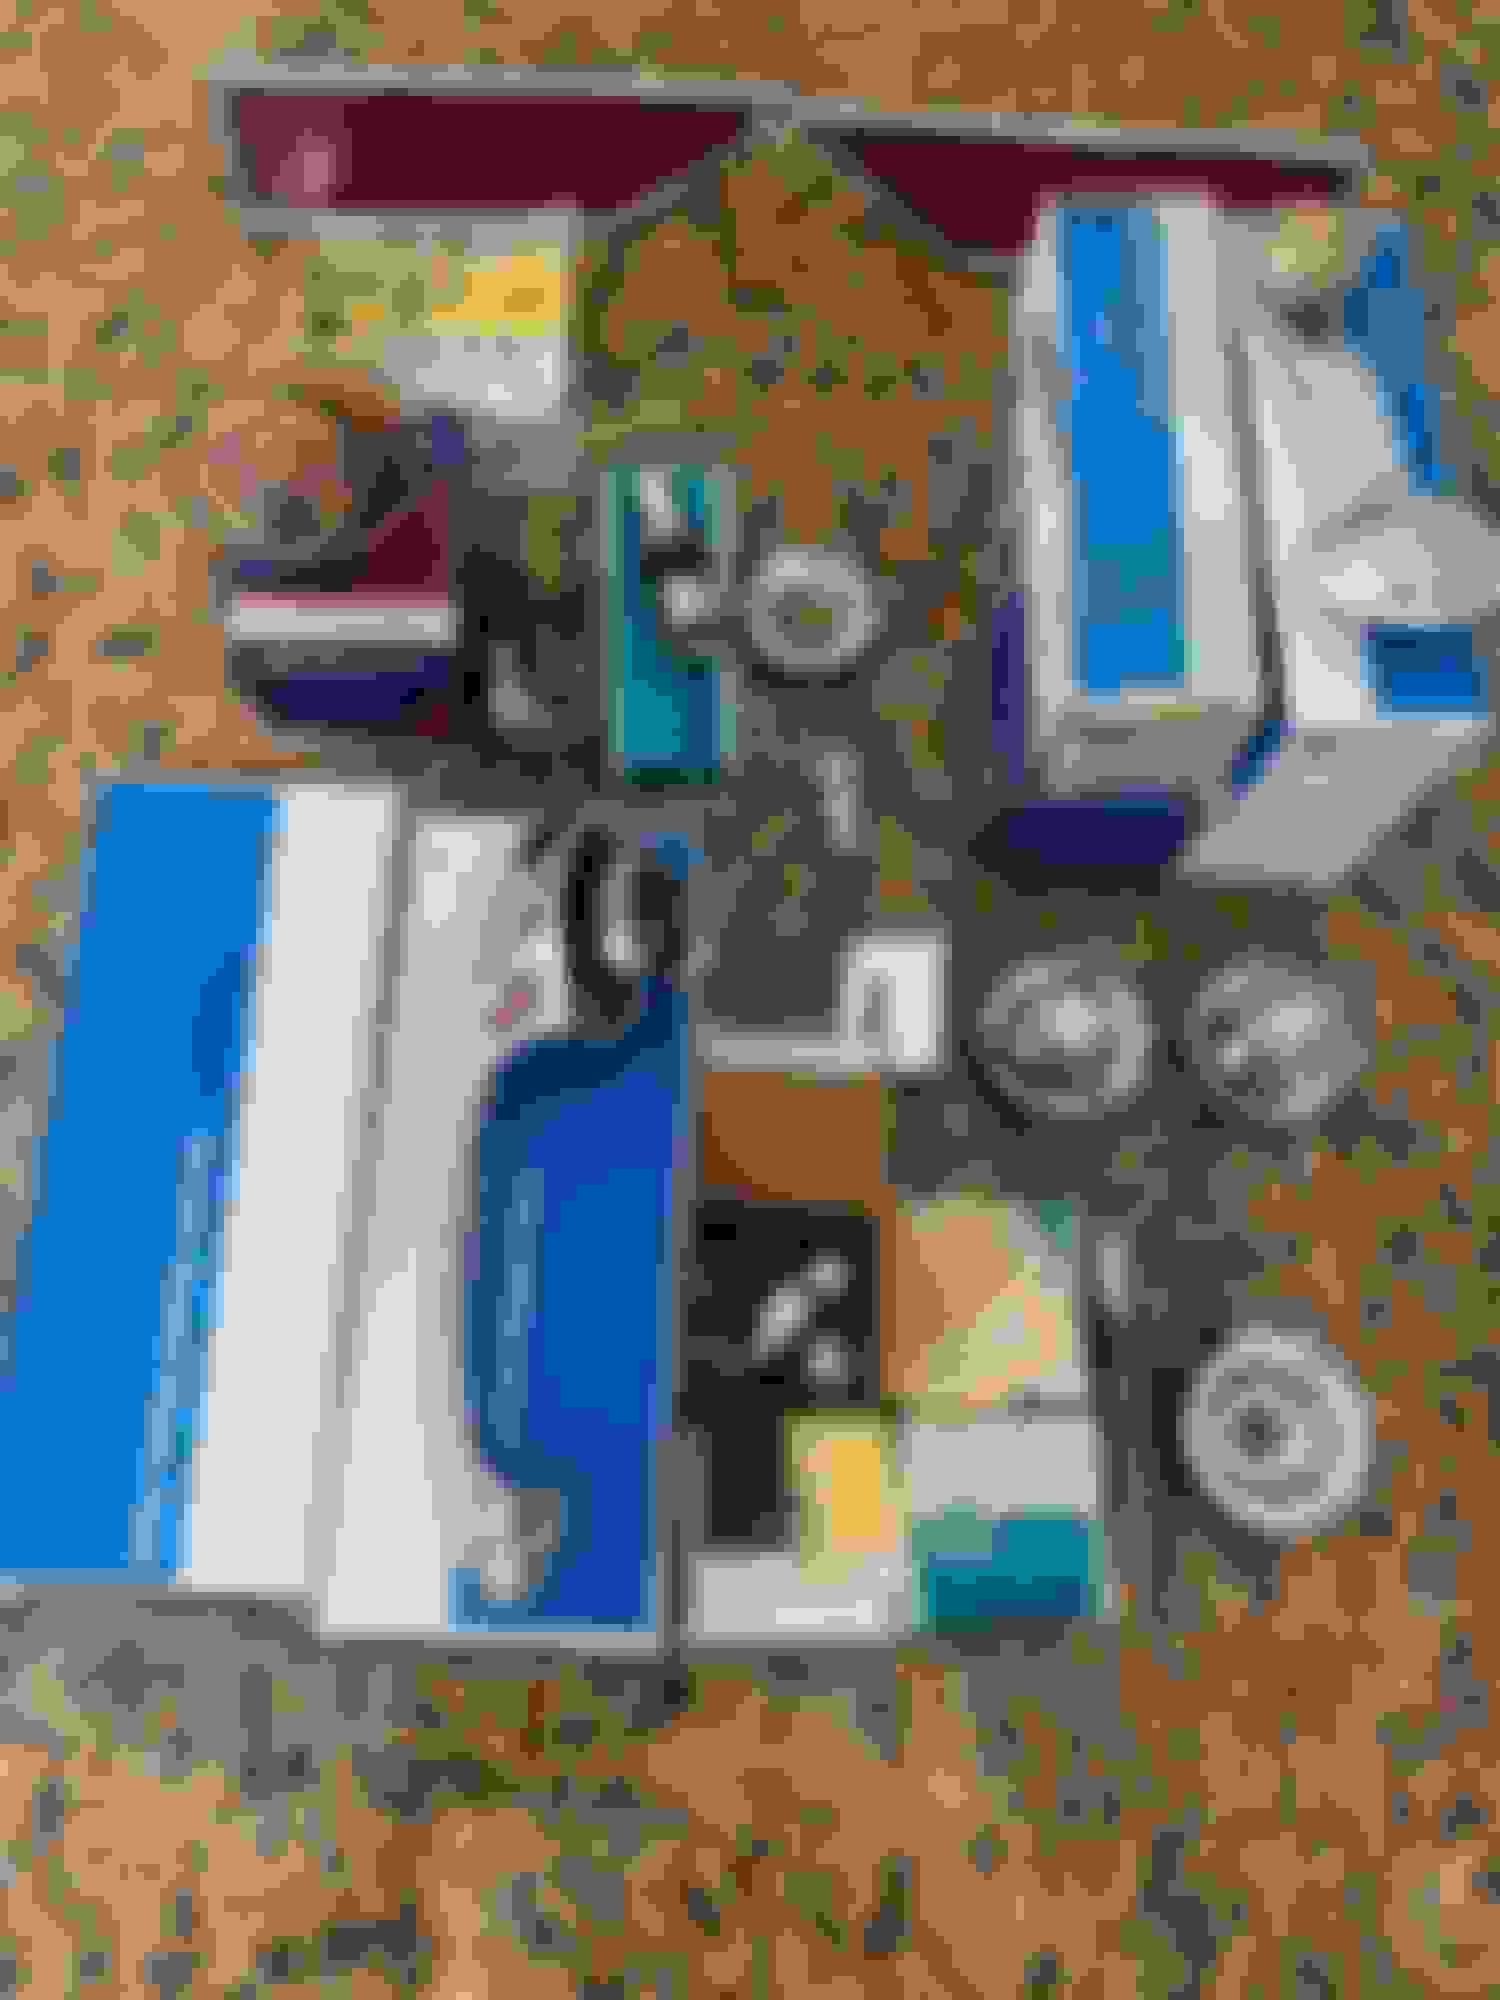
Not much to show of the car today but wanted you guys to see the NOS stuff I got along with nice OEM pcs. NOS Door handles, window cranks, oil pressure elbow & water temp senders for rally pac, cigarette lighter, lug nuts, rear axle vent, OEM dash bezels/*****, radio *****, marker lights.
Thanks to 442Fred in AZ, he's got the good stuff.
Scrappie did you have to leave a dog or a child behind as part-payment? That's a huge haul!
Just my left arm but Im right handed anyway.........JK
I think you can save on some parts that aren't NOS but stuff you look at while driving or touch while using makes a difference when they look, fit and operate well. Hopefully I realize that soon.
Last edited by scrappie; January 30th, 2021 at 02:52 PM.
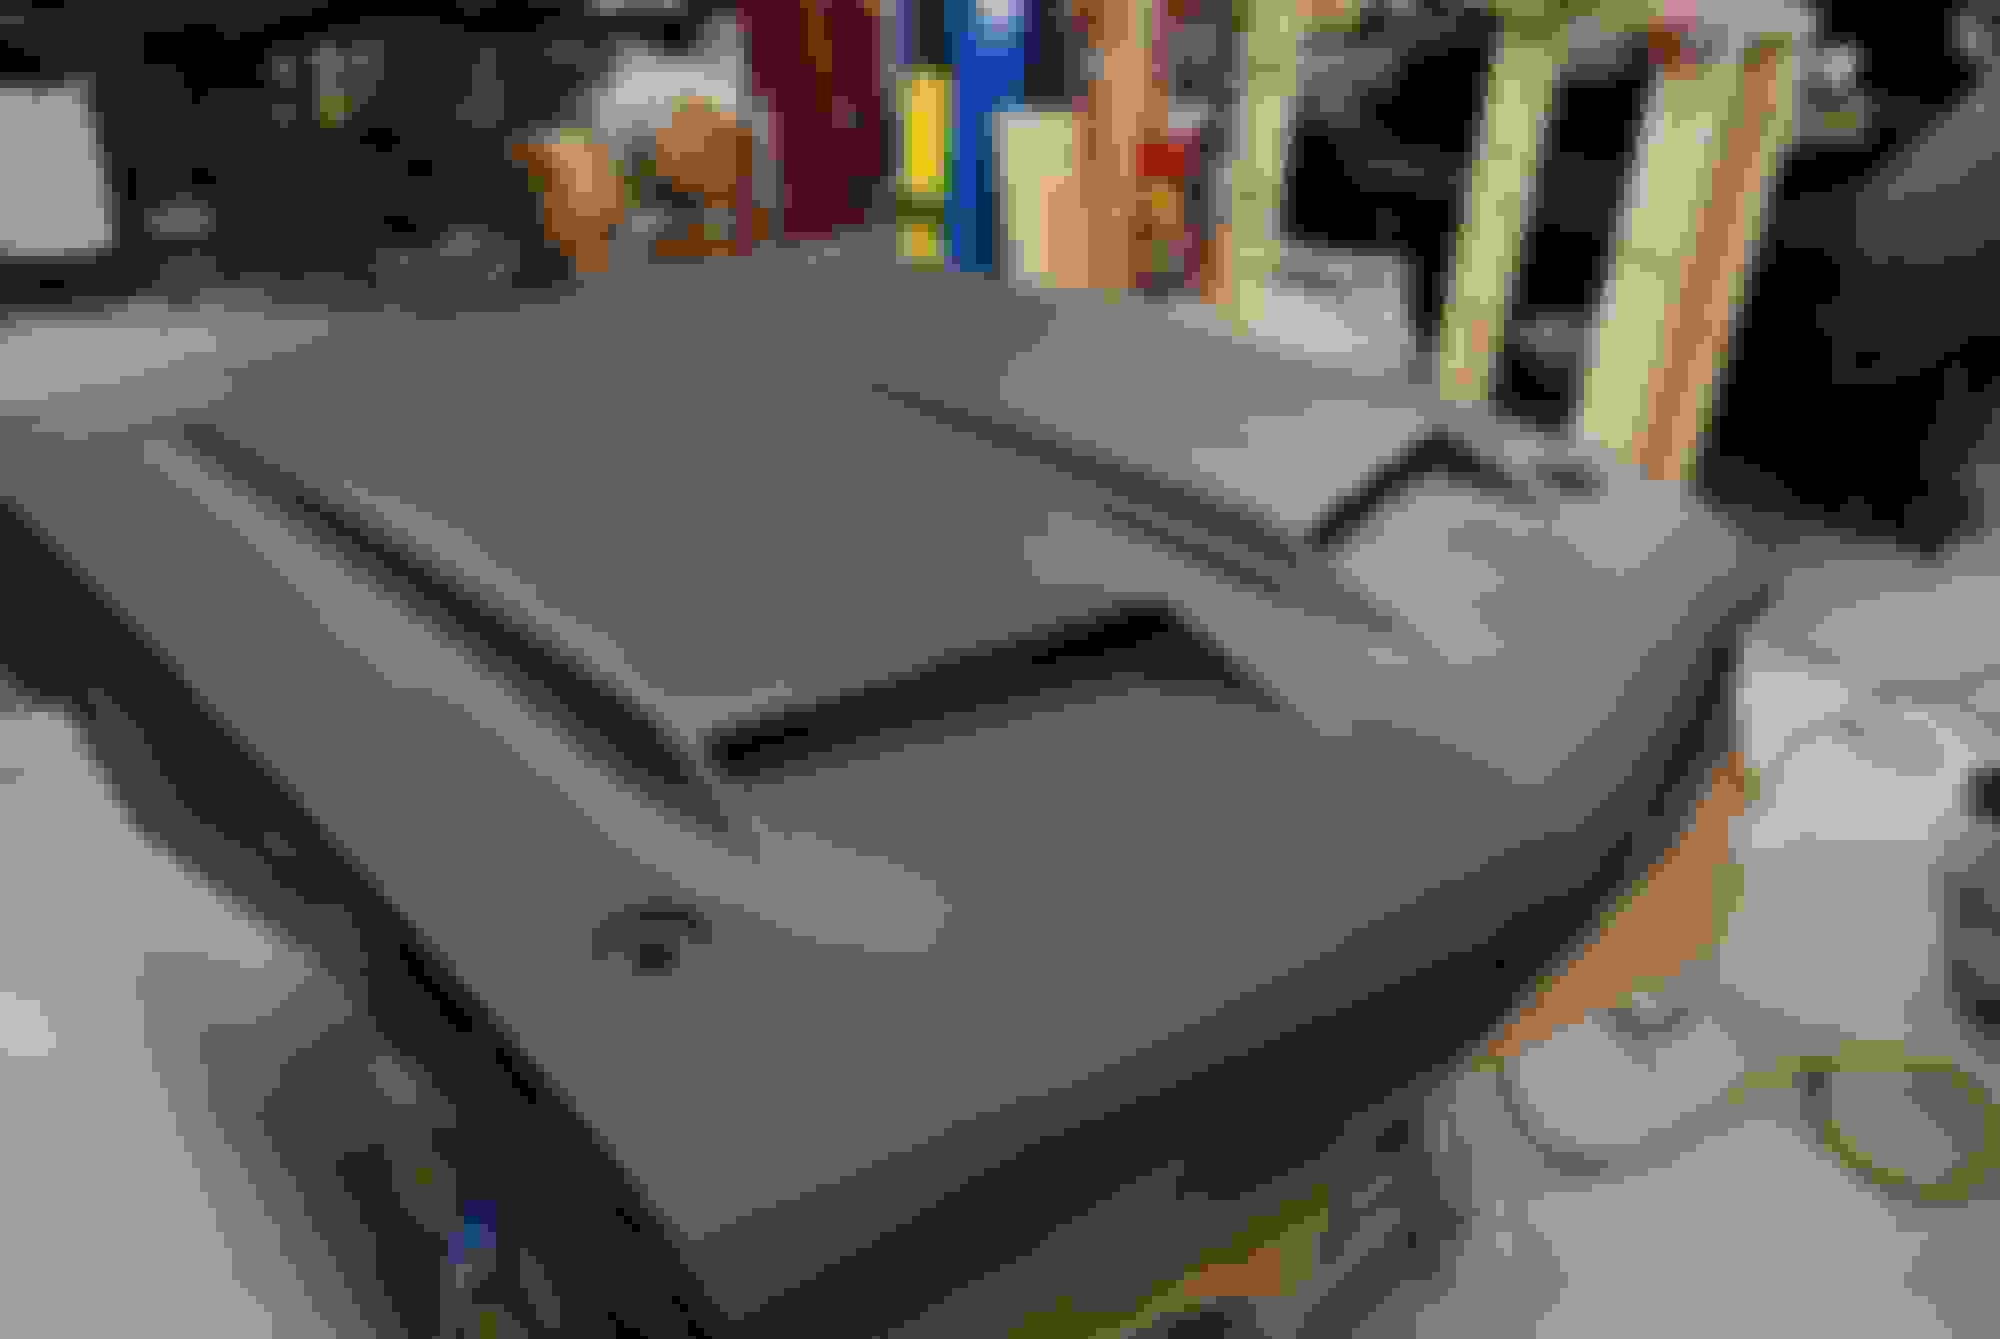
Im fitting the reproduction trunk lid and finding the fit to be less than desirable at best. After working one of the edges and getting a satisfactory fit I thought I was done. I then mocked up the trunk latch and it wasn't close. The angle of the lock inset along with the underside being too shallow prevents the lock cylinder from sitting properly and the lock brace with the two screws doesn't seat completely. I decided to take the original trunk lock area from the original trunk lid and graft onto reproduction. After that was complete, I found the underside of trunk lid to be designed wrong and things dont fit like they should. I am going to screw with this and try to come up with something that works but I think an original trunk lid is the best option. I will keep looking. Ideally I would like to find a 70 trunk lid without the circular die stamps but will consider all options for a clean trunk lid.
Just may have an OEM 70 trunk lid, I'll show you guys once I have possession.
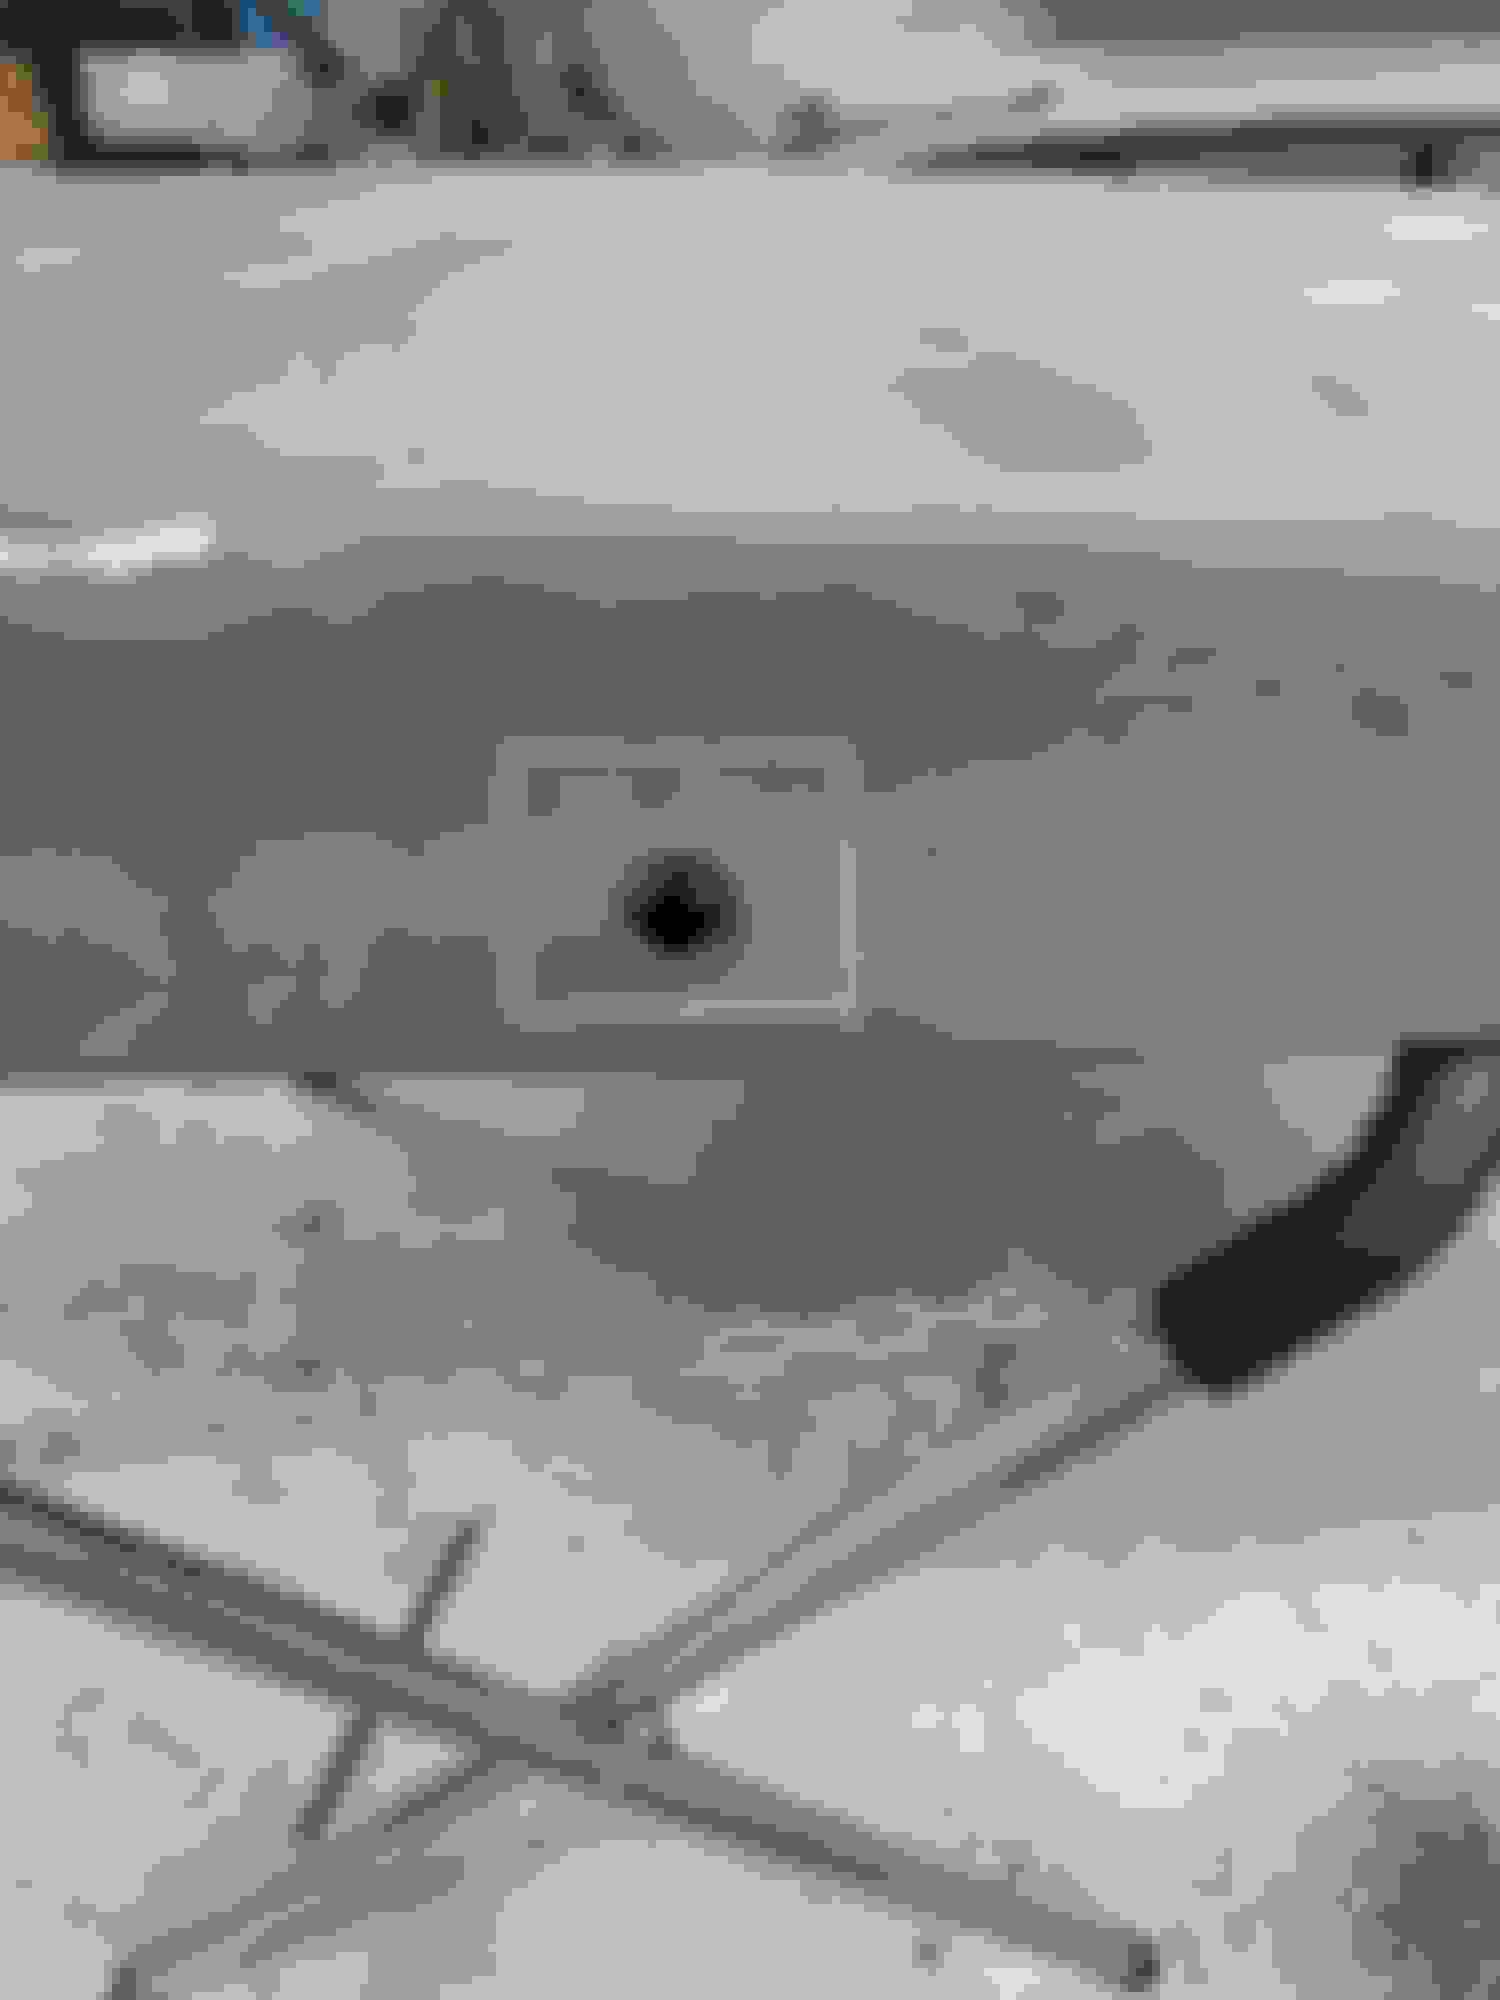
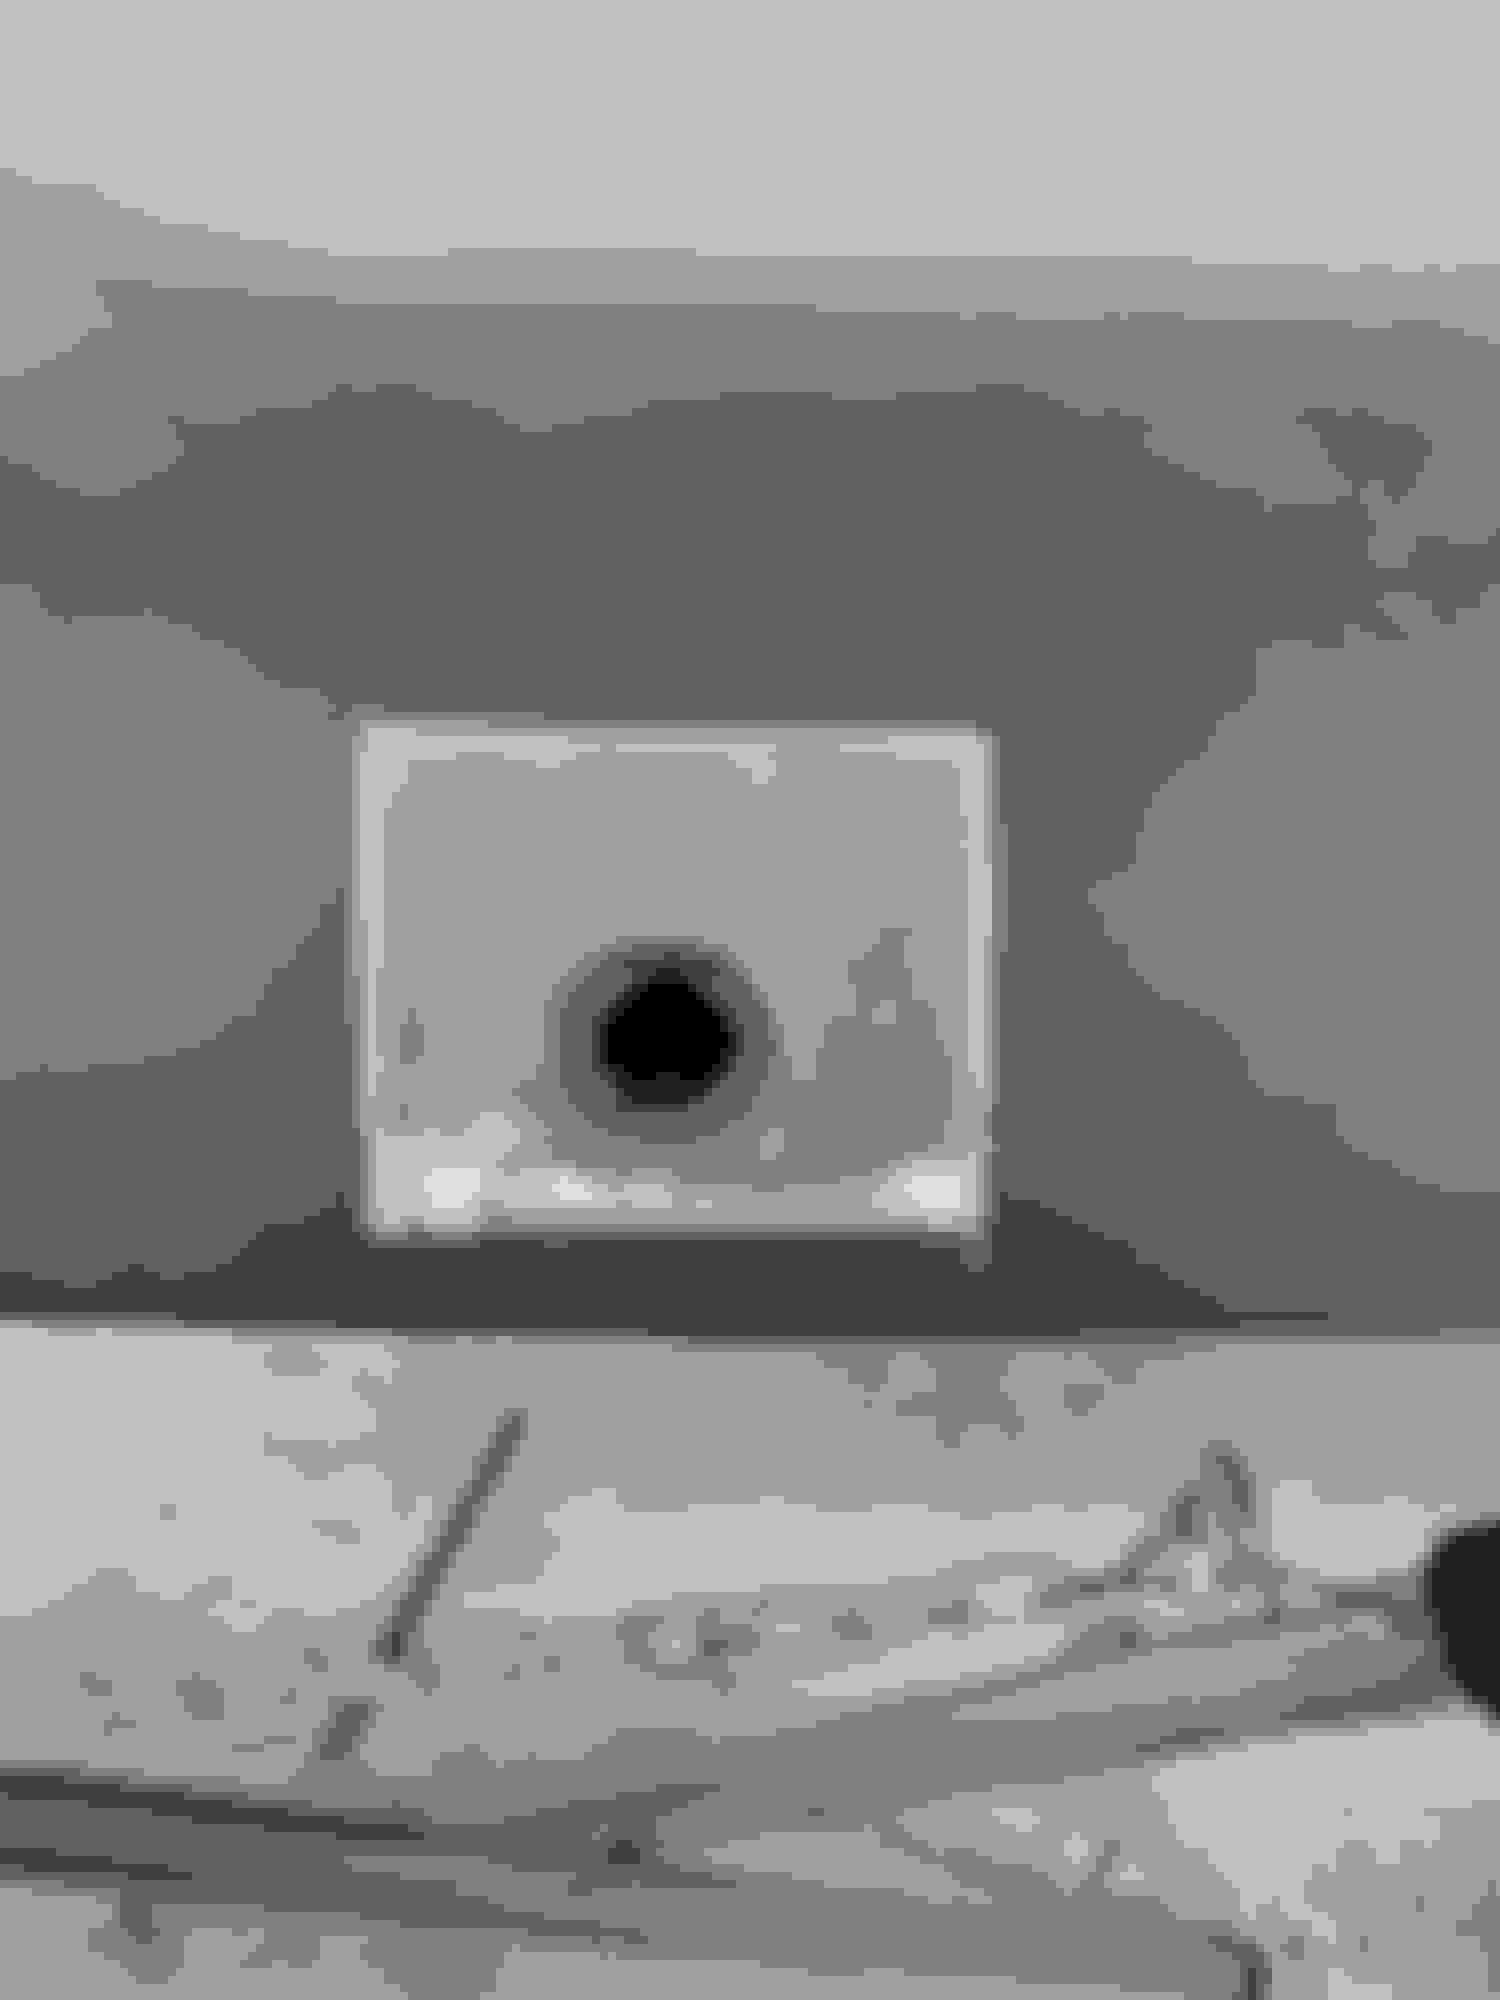
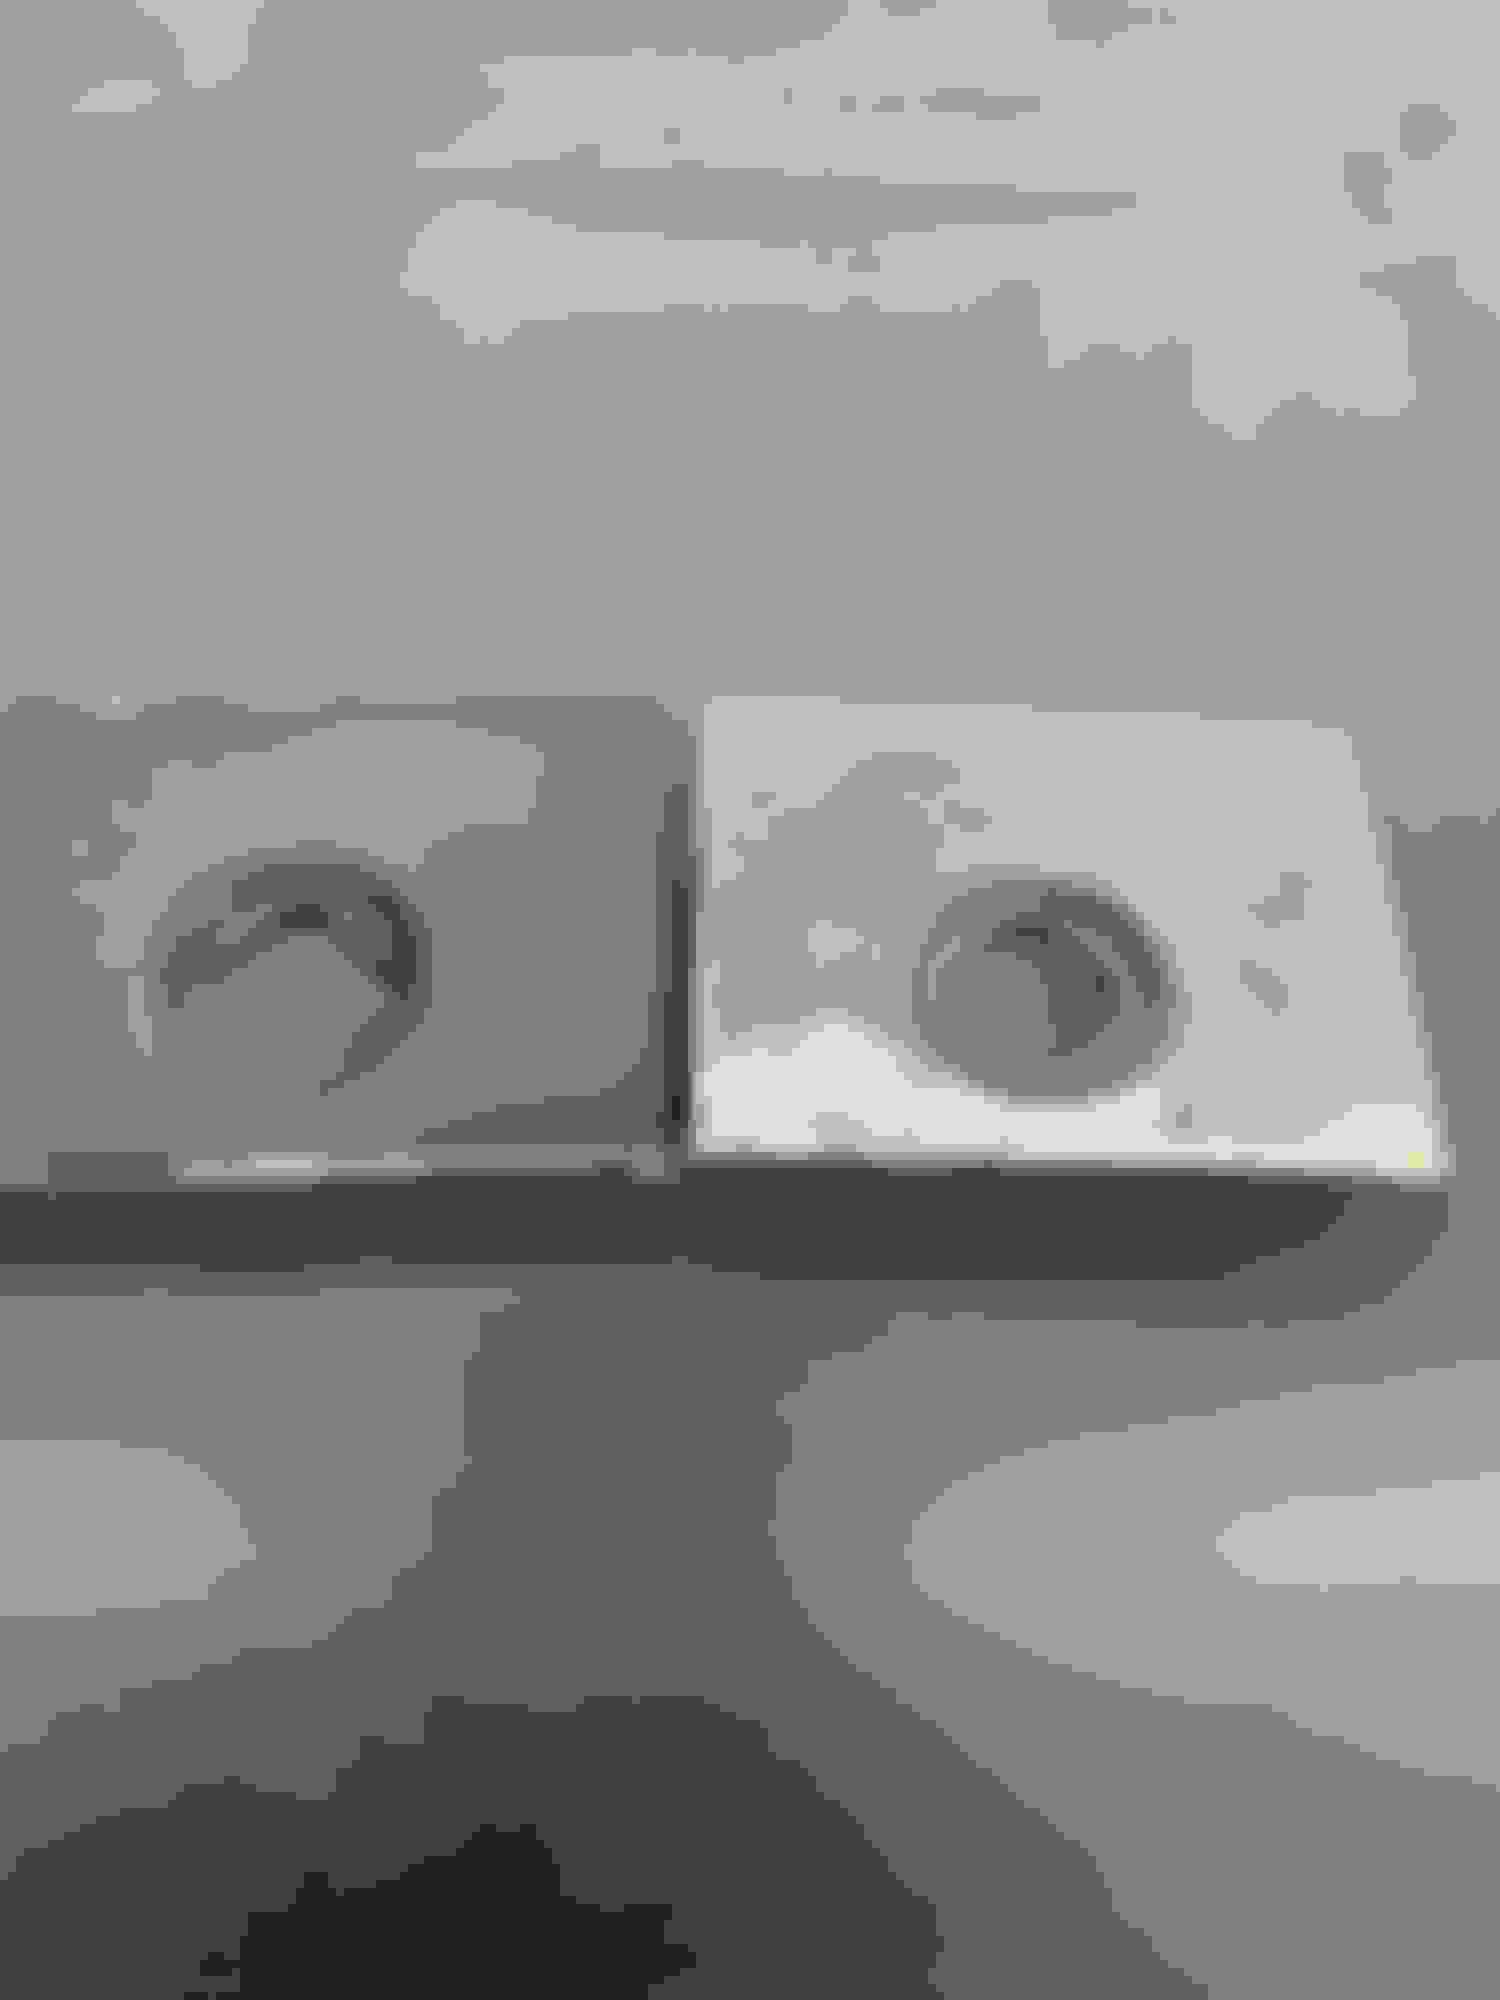
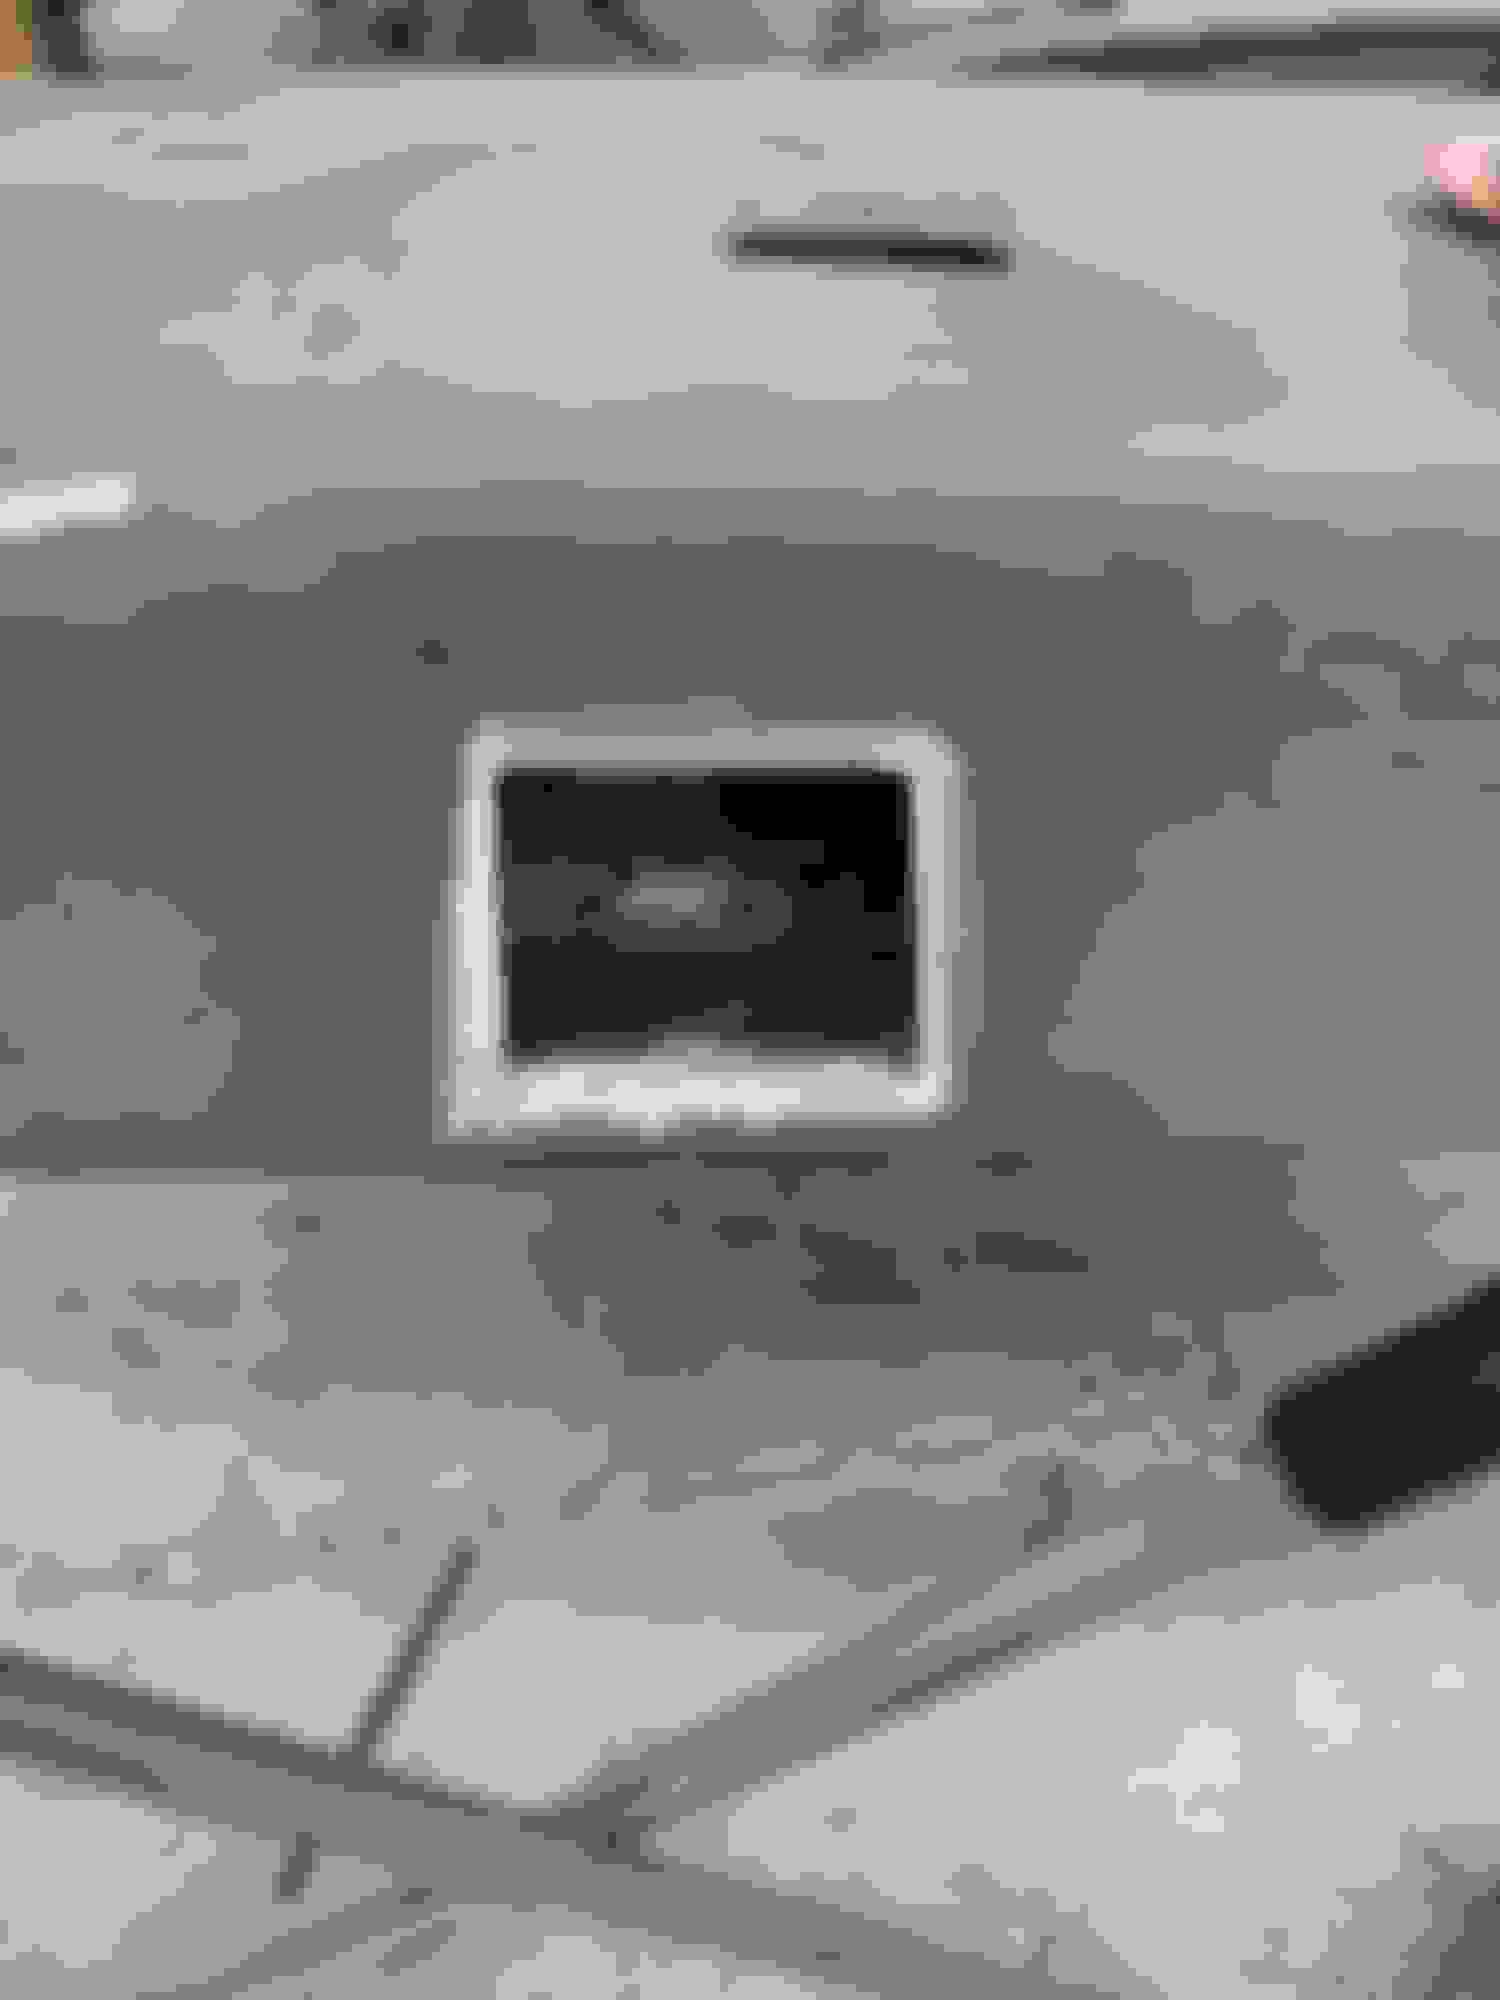
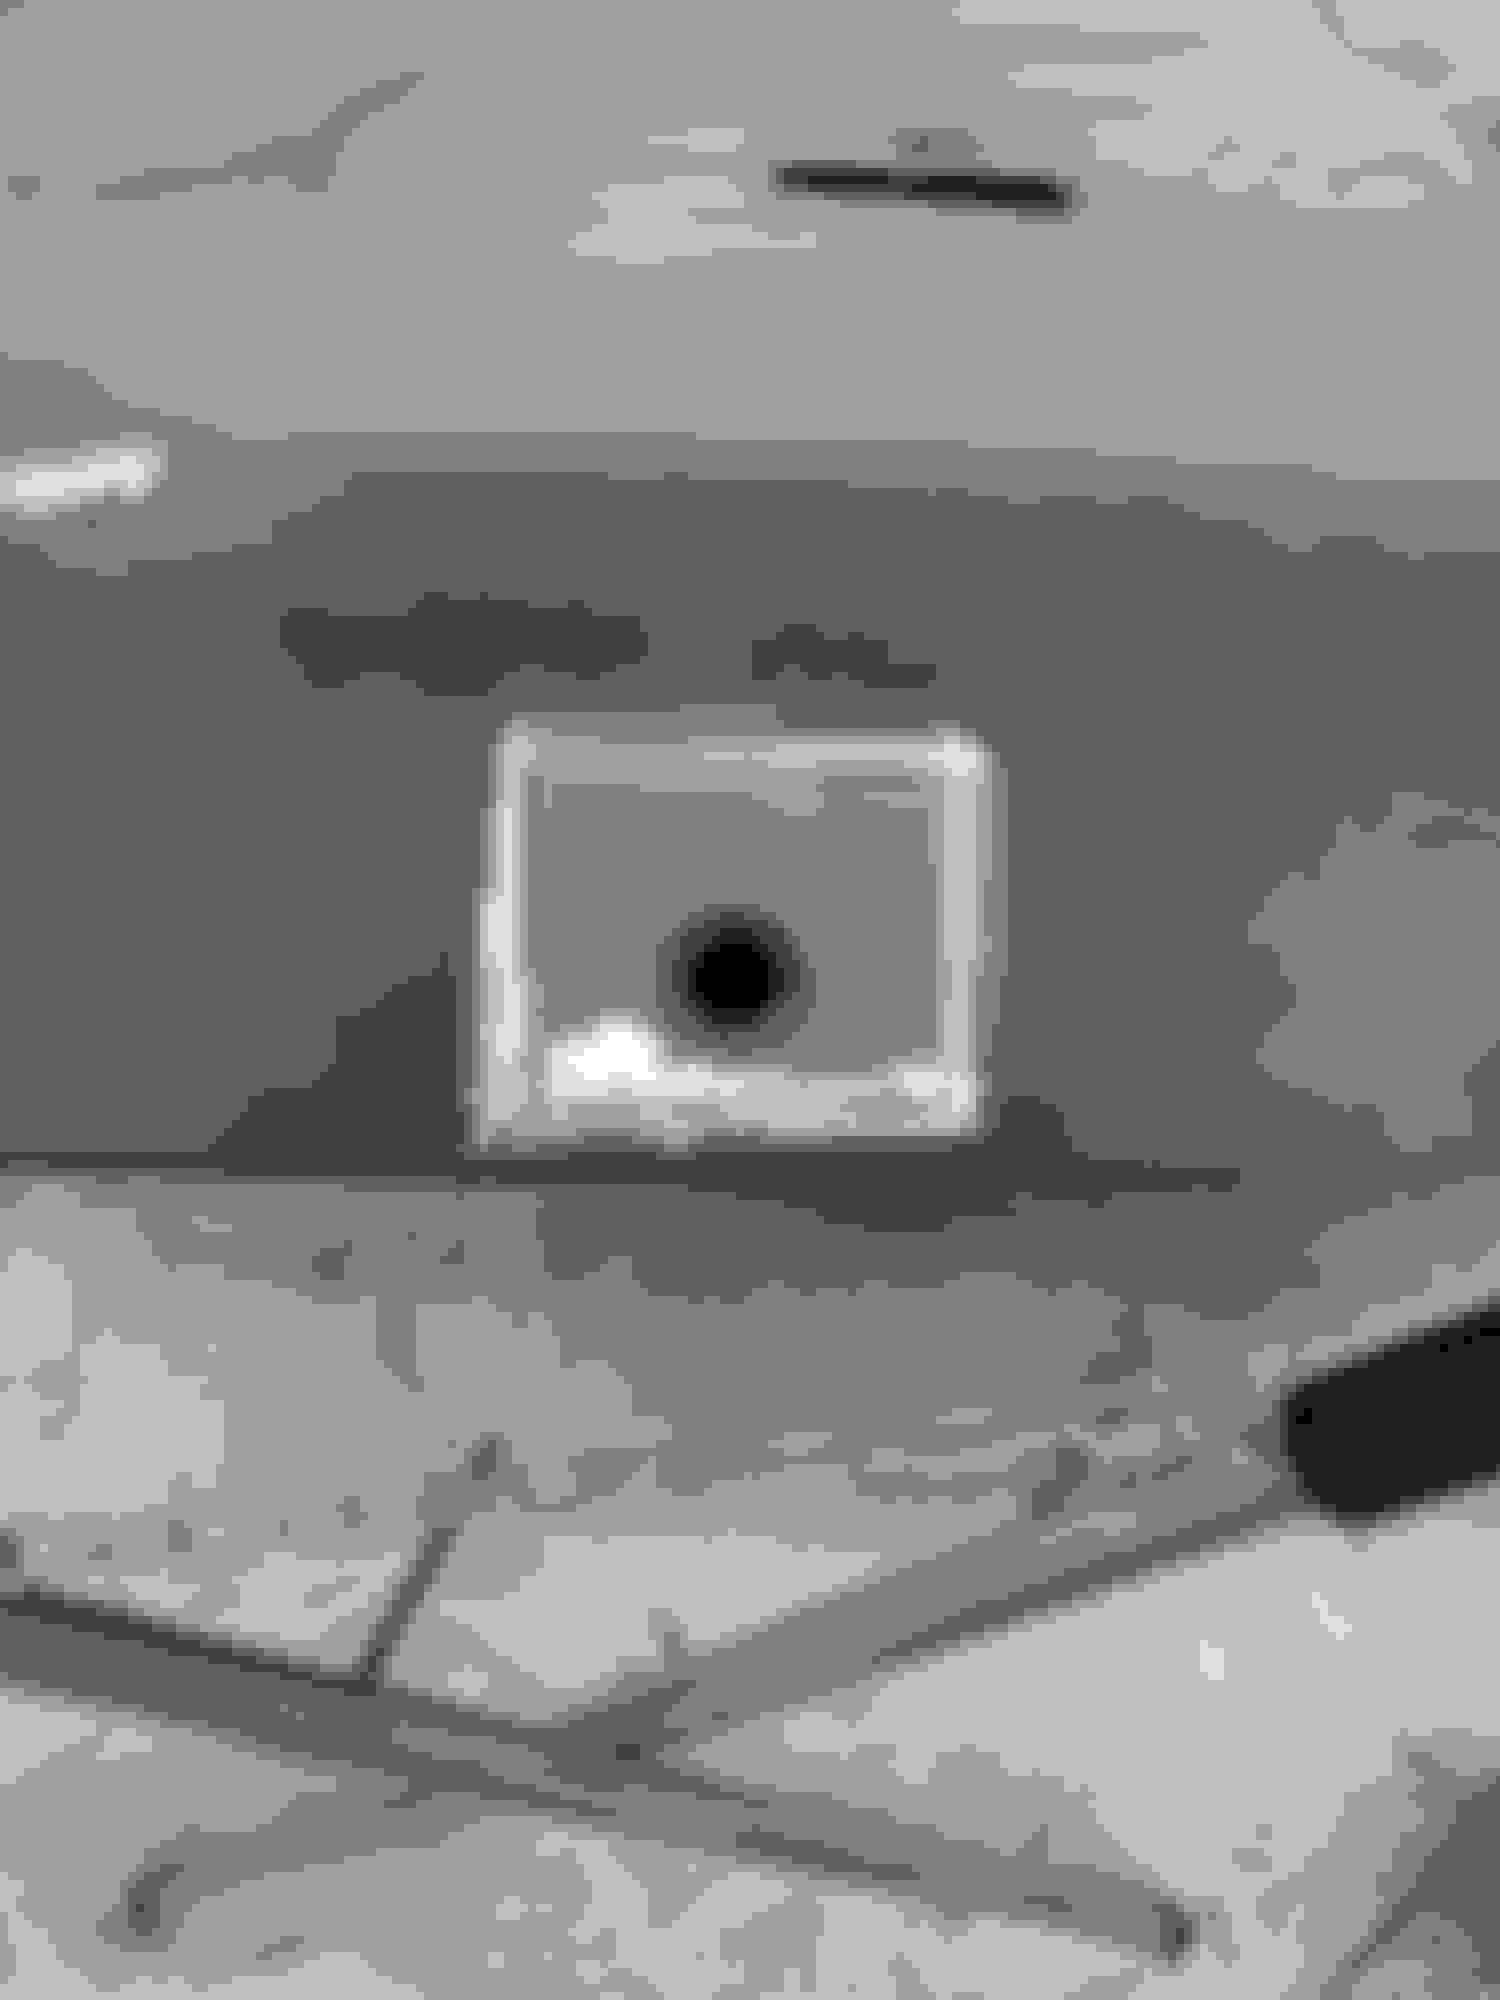
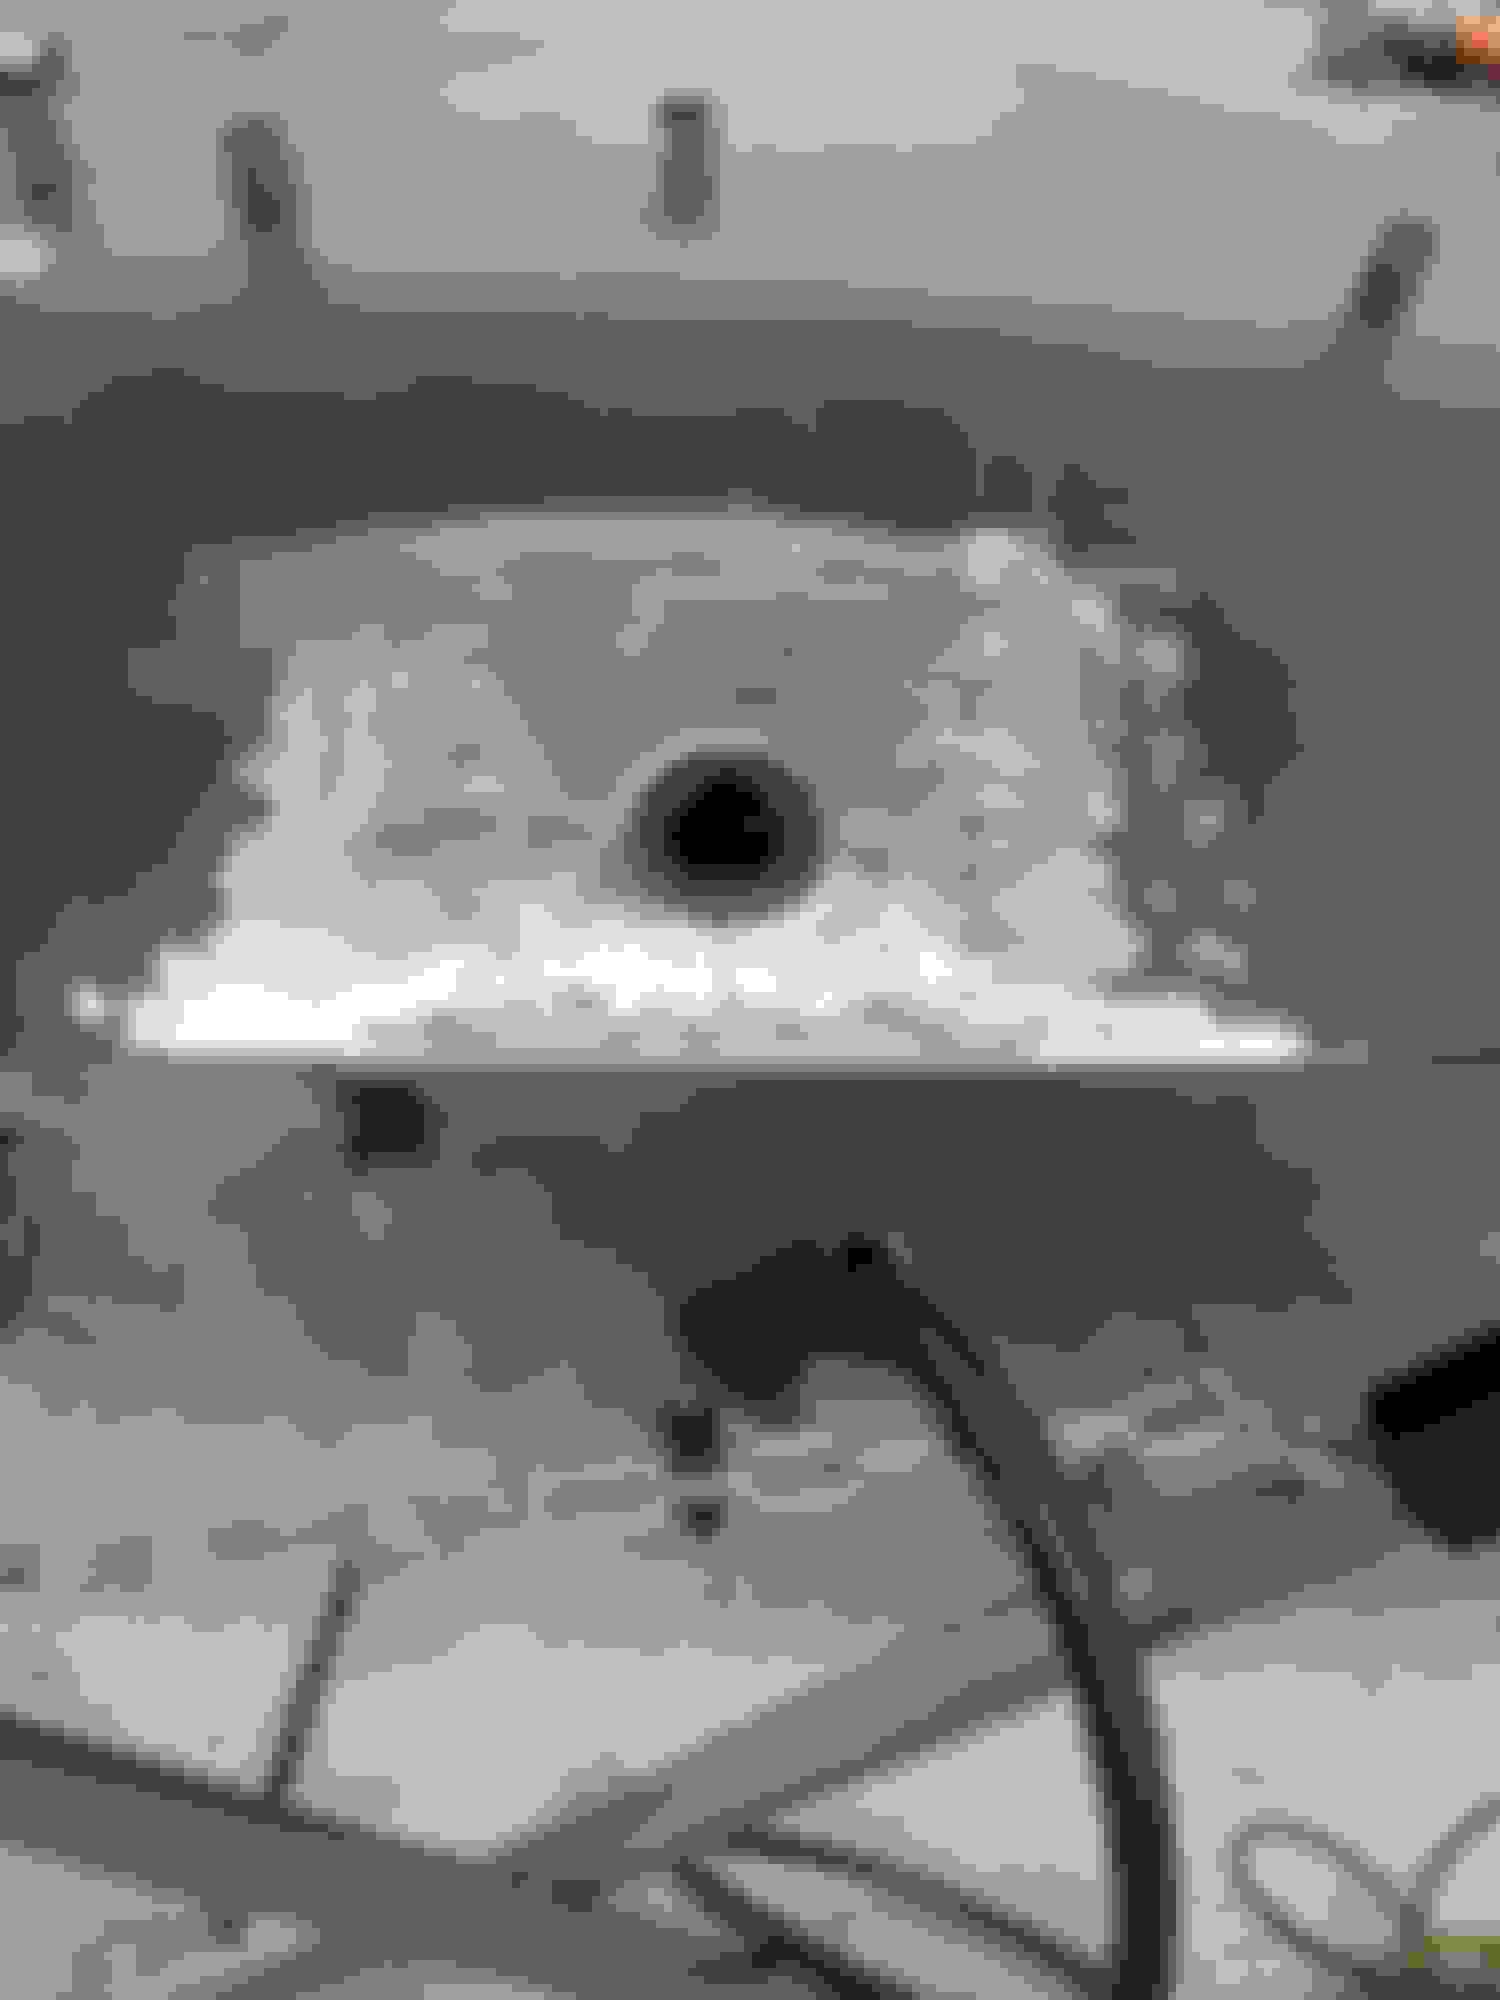
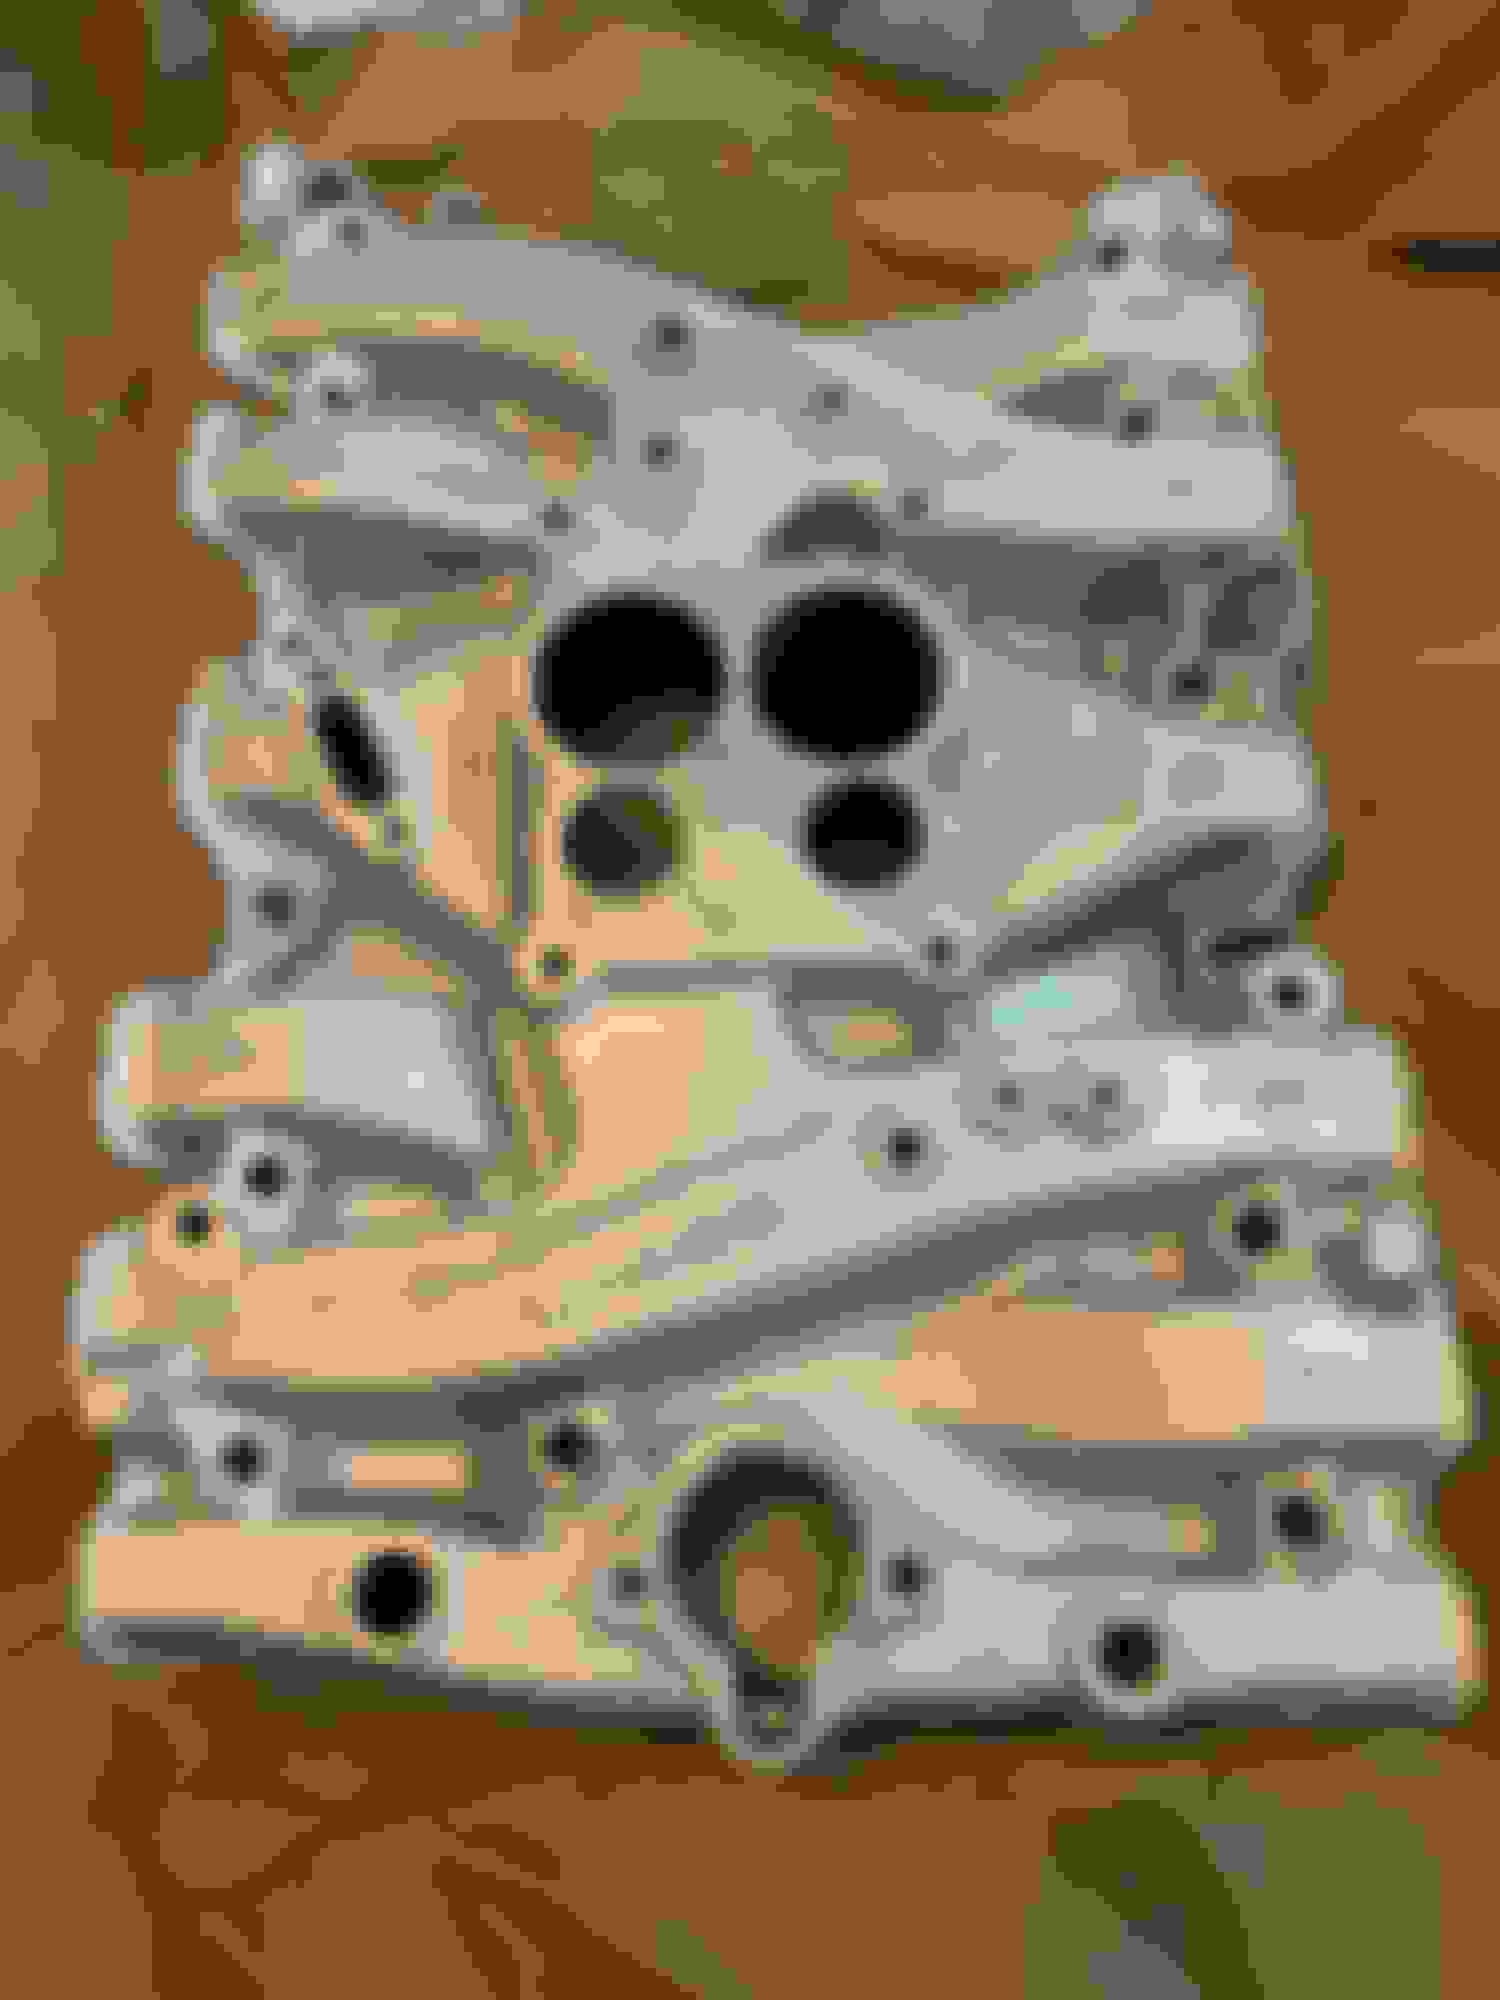
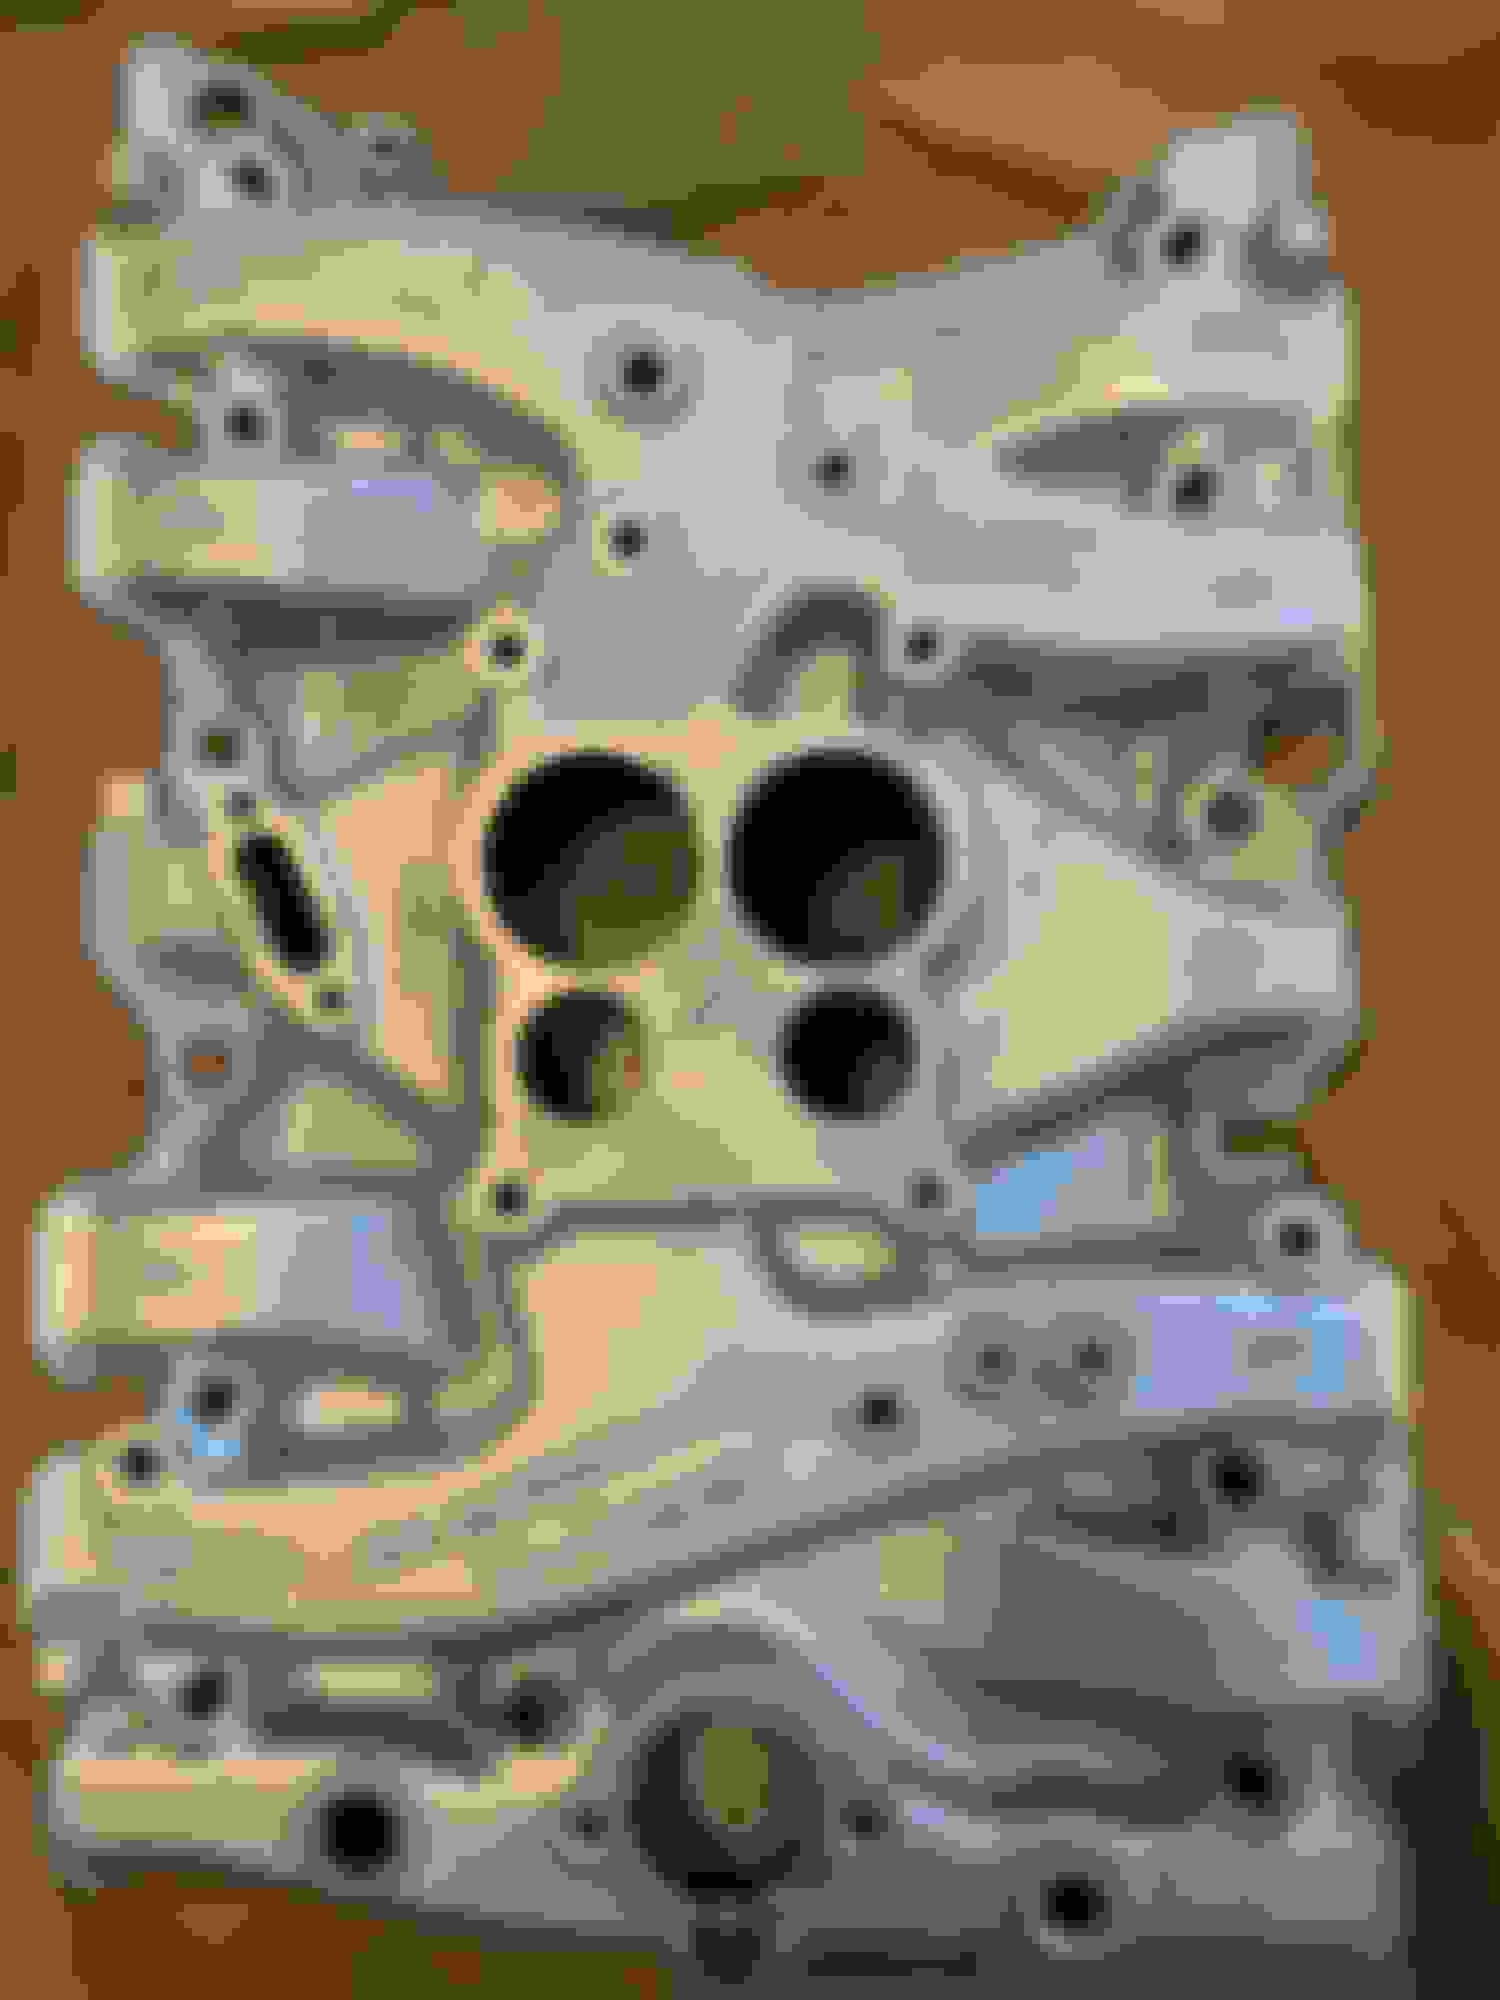
In the meantime, that vapor blasting is pretty cool. This is the before and after pictures of my intake. I mailed the intake to NY the next state over to Dave Mattice of Metal Revel.
Not perfect but a lot nicer than before. Real stand up guy and reasonably priced. Pretty quick turn around also. Make sure you mention me if you do business with him.
Hey good eye Stefano. Yes that is a crack the blasting revealed. I plan on having aluminum tig welder fix. It doesn't look to be too critical of an area fortunately.
Last edited by scrappie; February 11th, 2021 at 03:10 PM.


 December 6th, 2020, 02:51 PM