When you click on links to various merchants on this site and make a purchase, this can result in this site earning a commission. Affiliate programs and affiliations include, but are not limited to, the eBay Partner Network.
I applied some under coat to areas I remembered scraping off. I still have the firewall to do but will wait until grommets are in and wiring harness along with other stuff. Easy to get carried away with this stuff and it would probably protect the underside if I did it all but I dont want to cover all the nice metal and make it look like I'm hiding something.
Ive watched graveyard cars where they spray the whole underneath but thats a mopar and Im not sure about how they did things?
Last edited by scrappie; February 25th, 2022 at 04:32 PM.
I cleaned, lubed and installed wiper transmission along with new screws.
I also got my hands on some NOS front outer window sweeps. I had a few sets of used rear outer and was lucky enough to get two good ones which I will use. I will plan on using the reproduction inners for both front and rear.
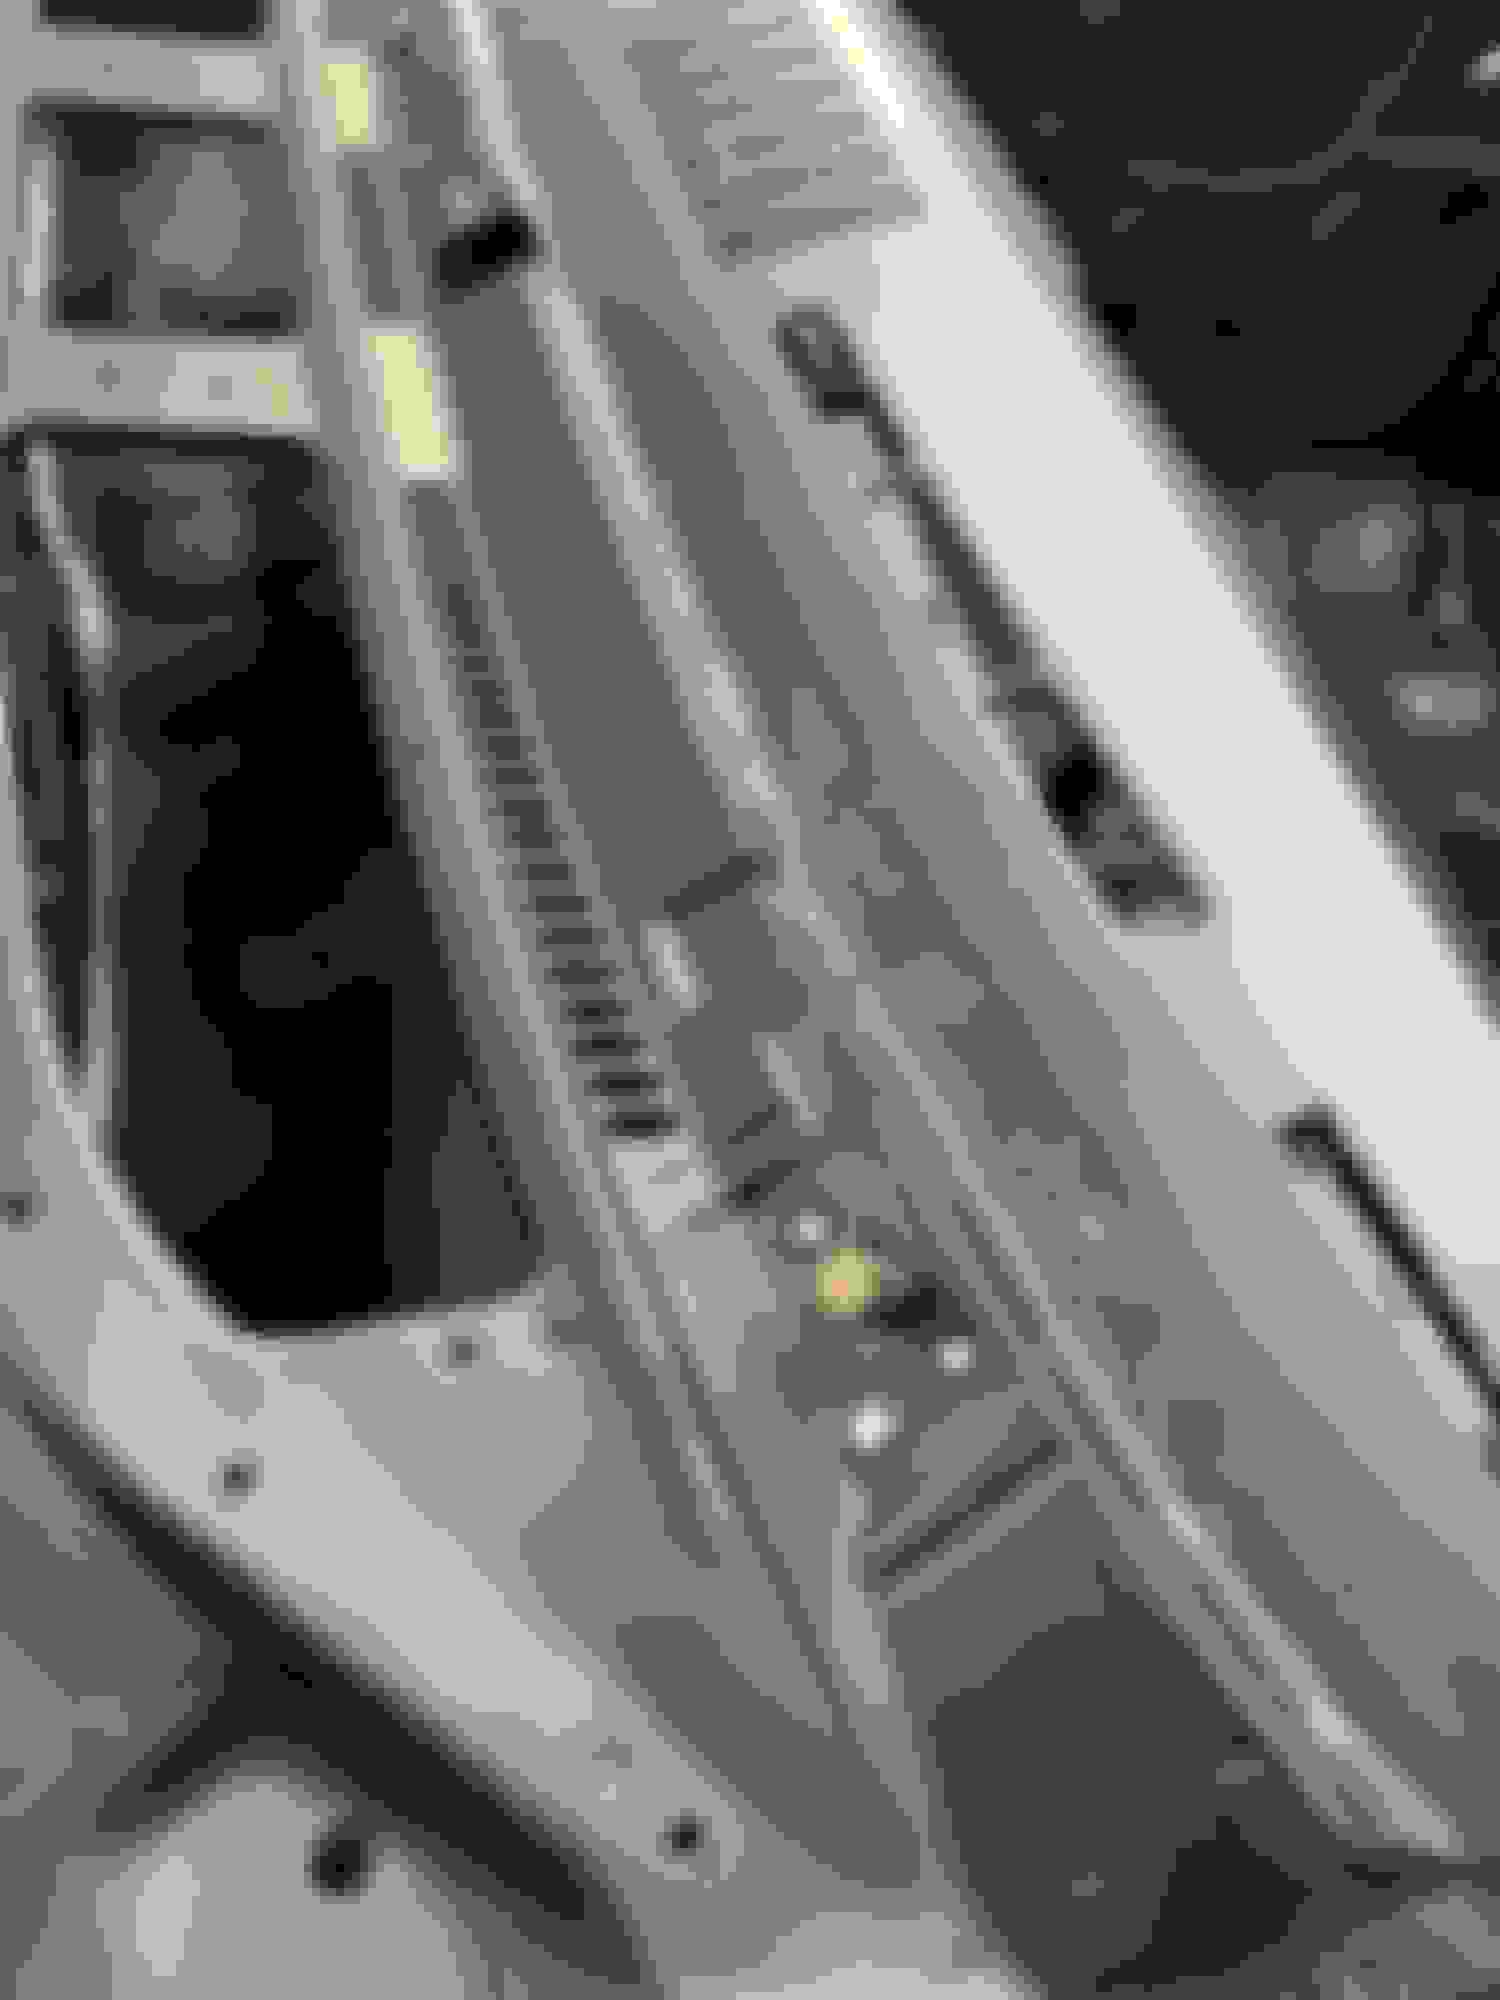
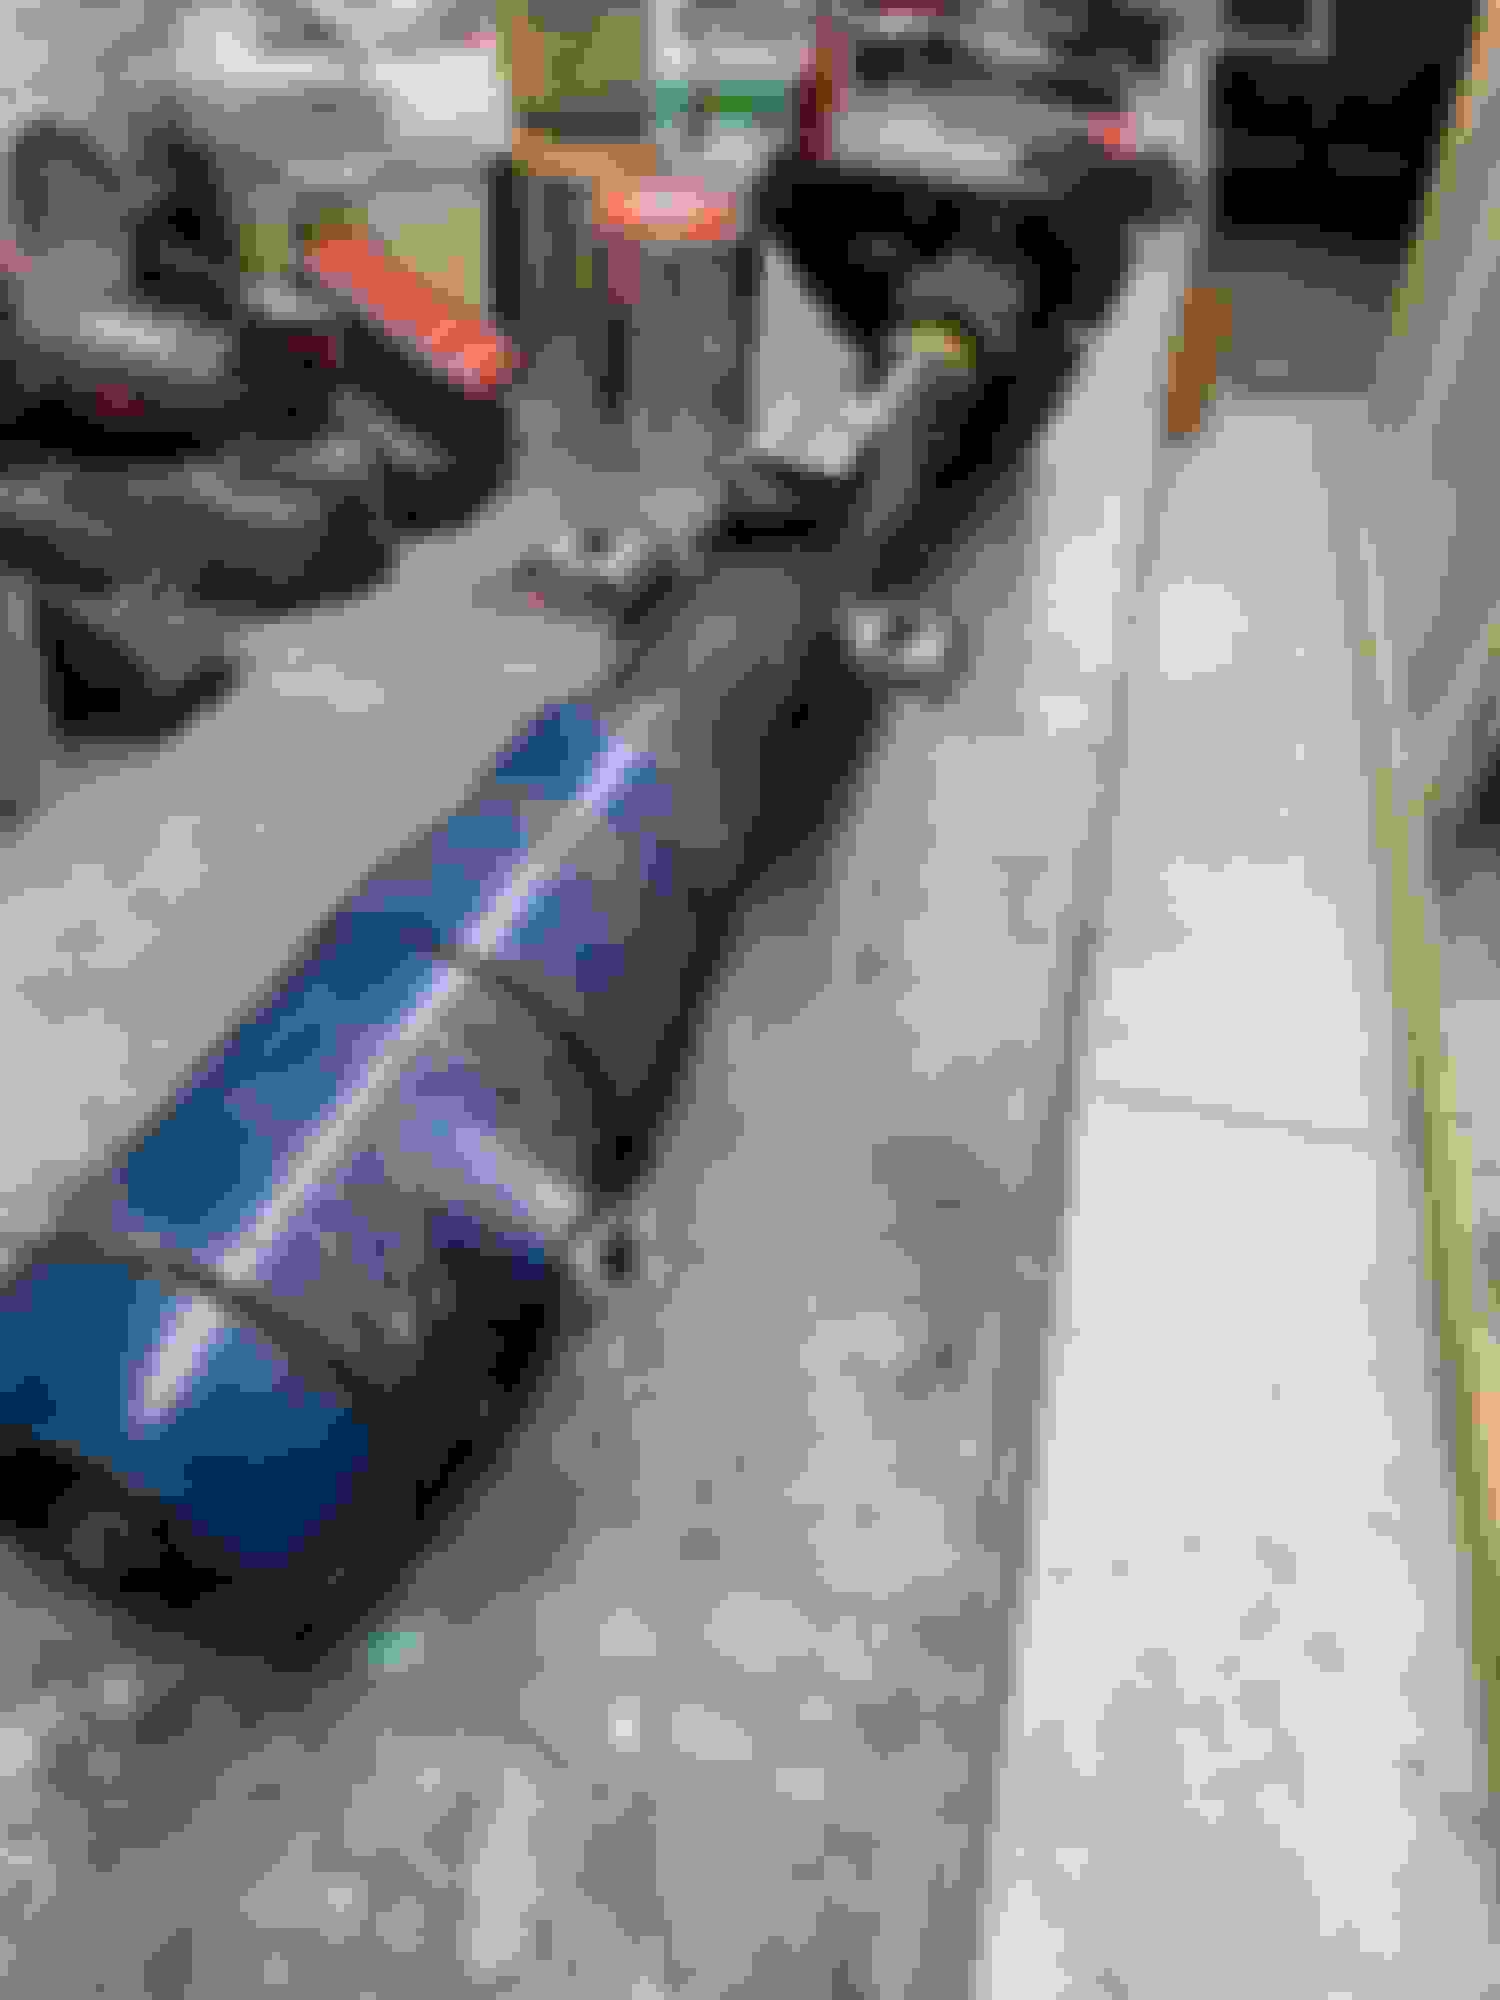
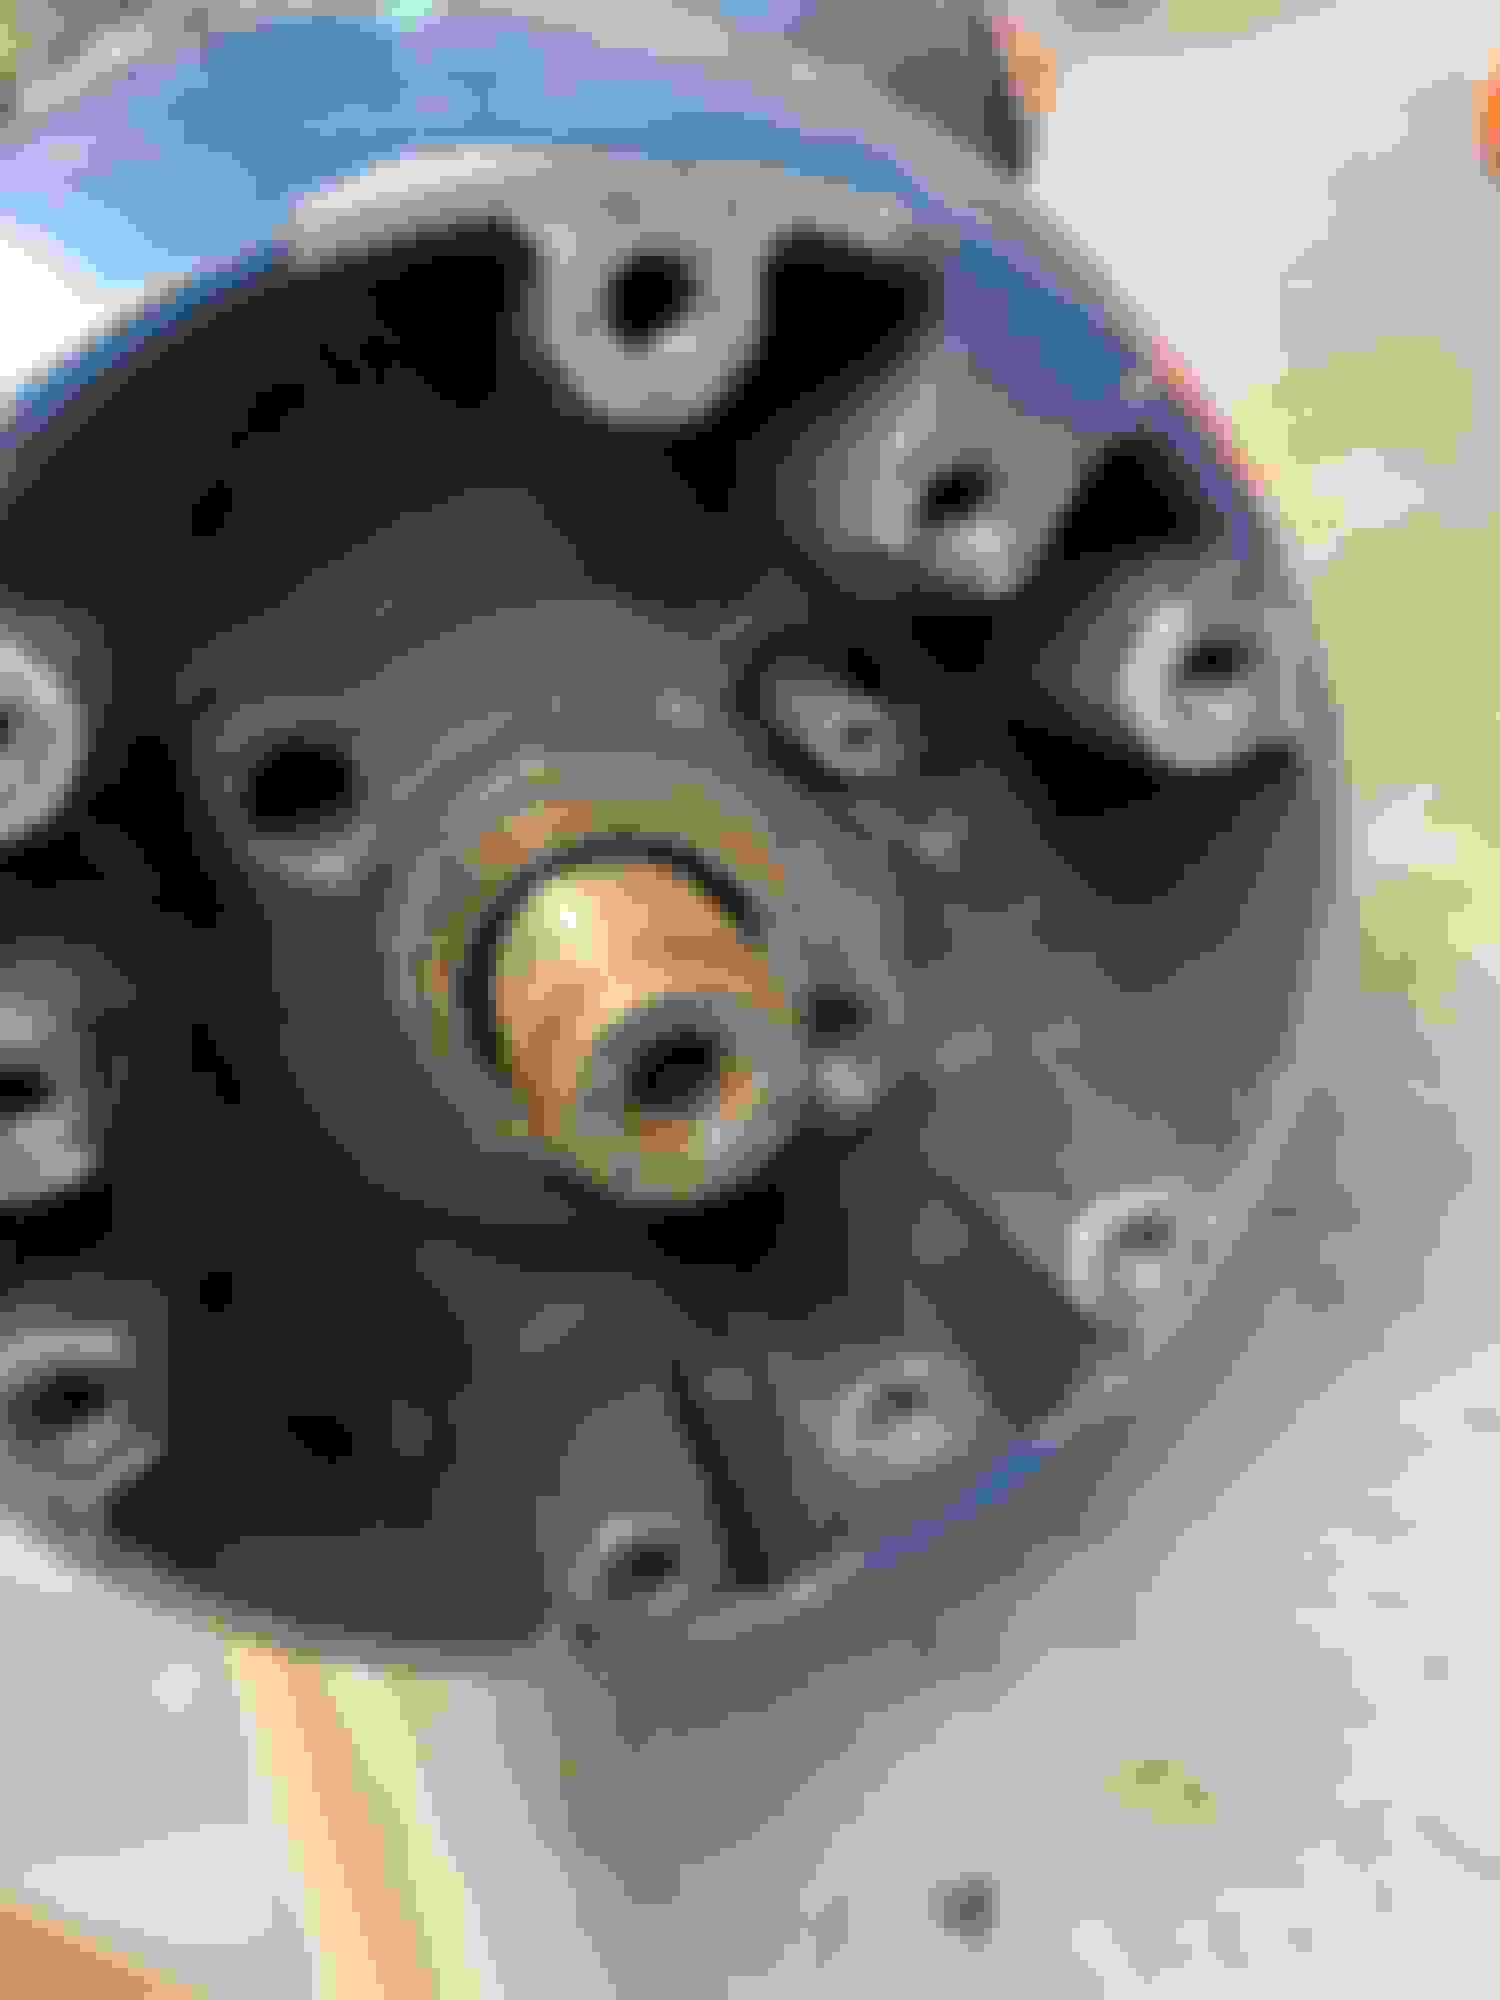
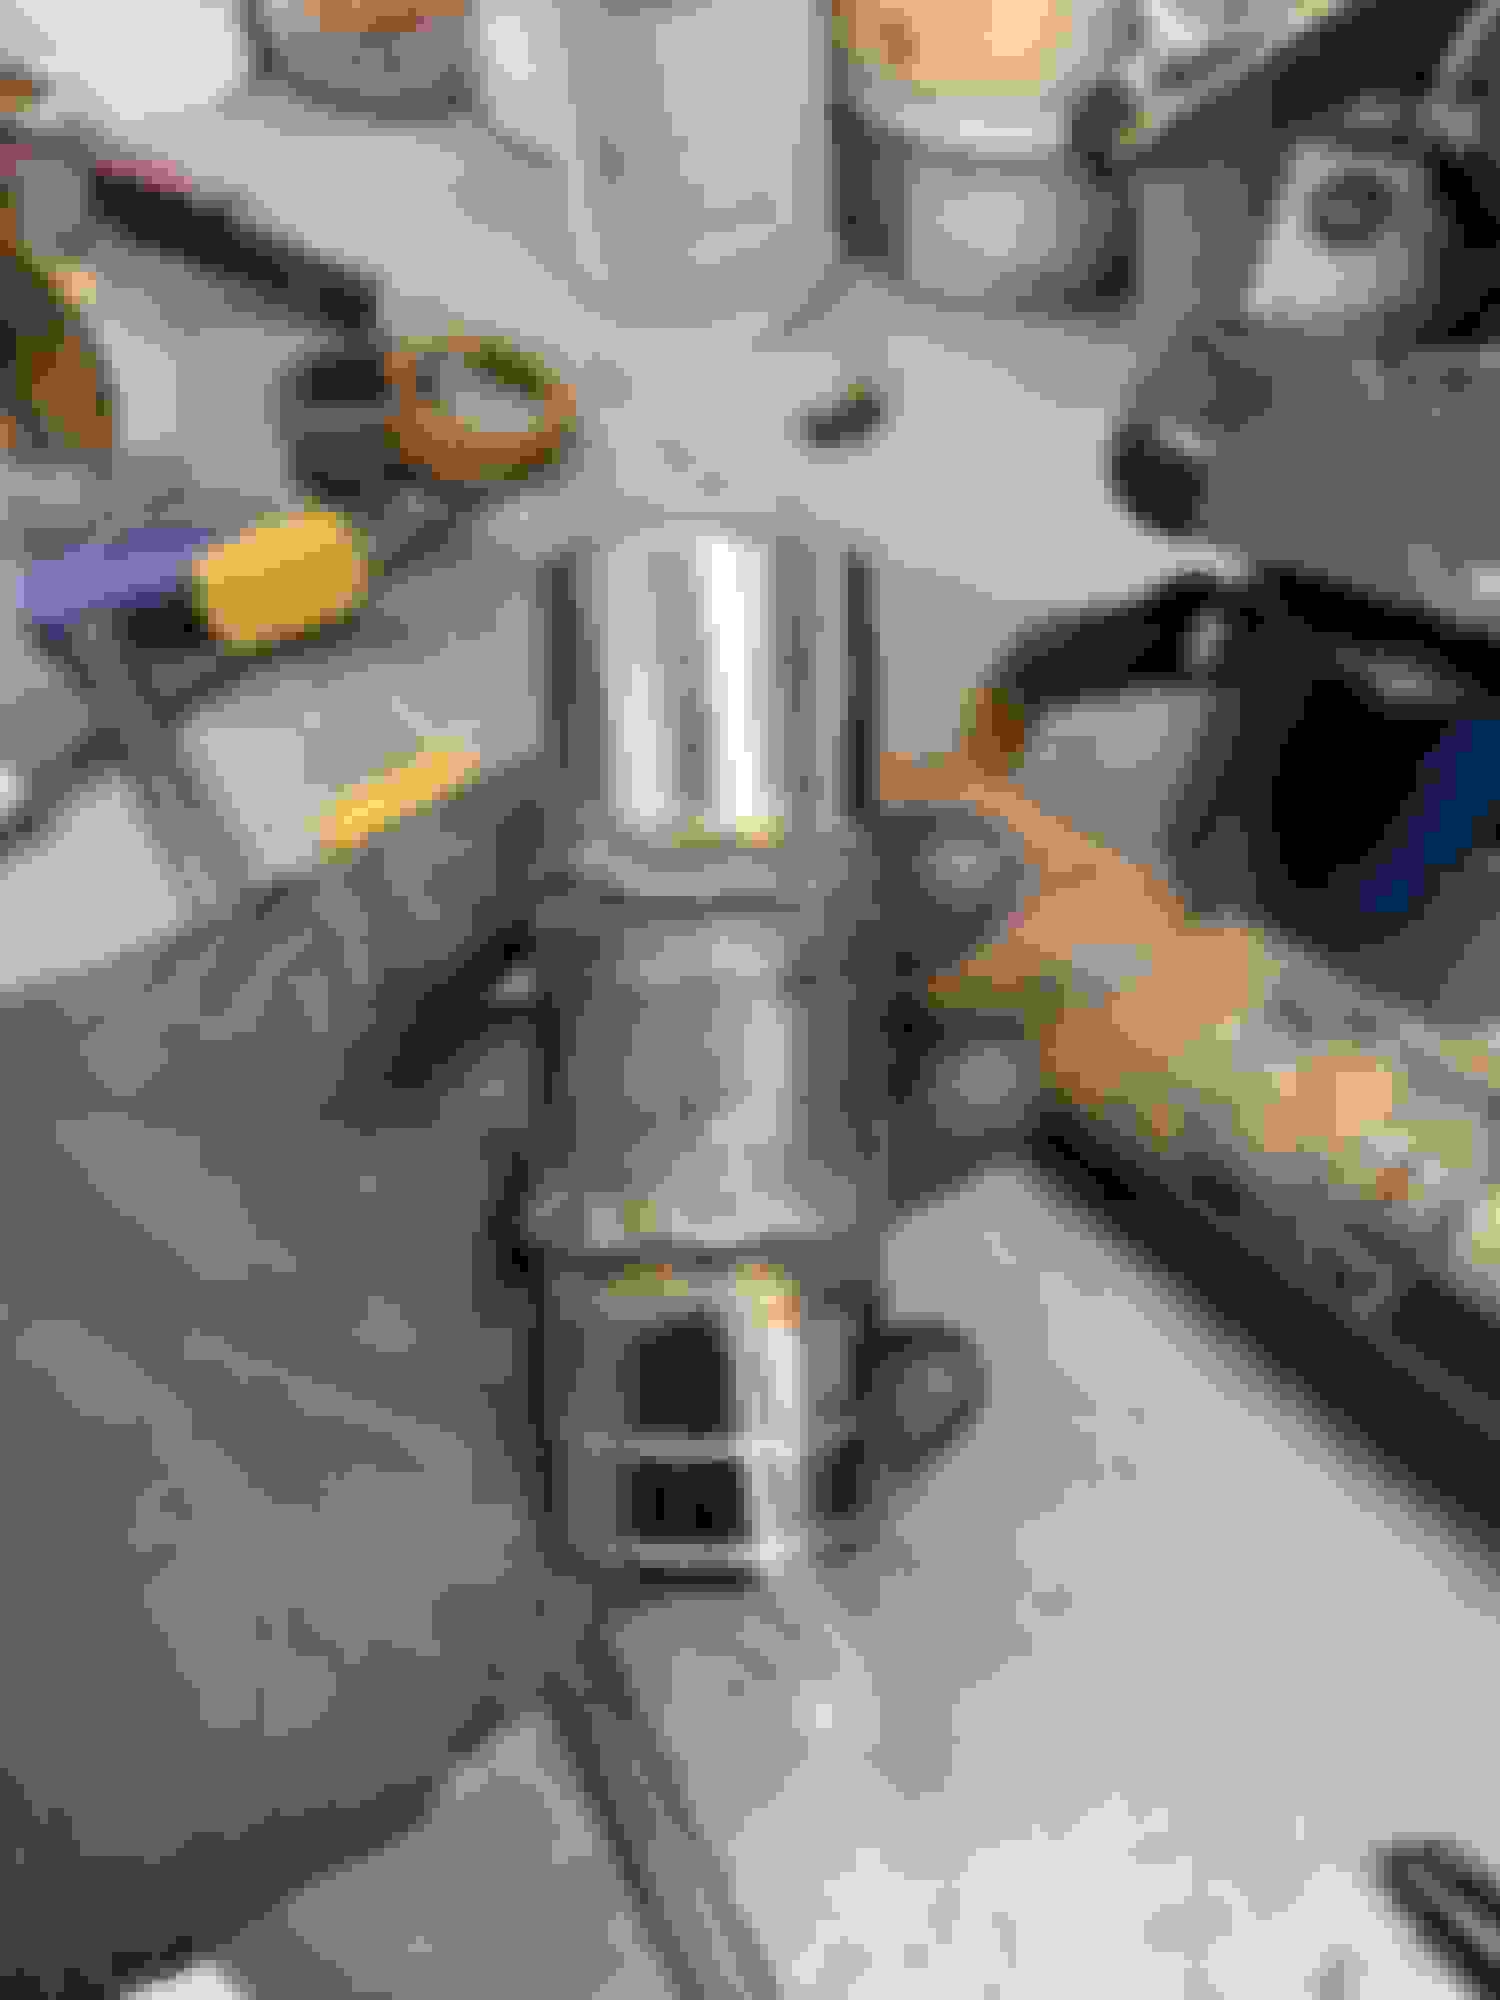
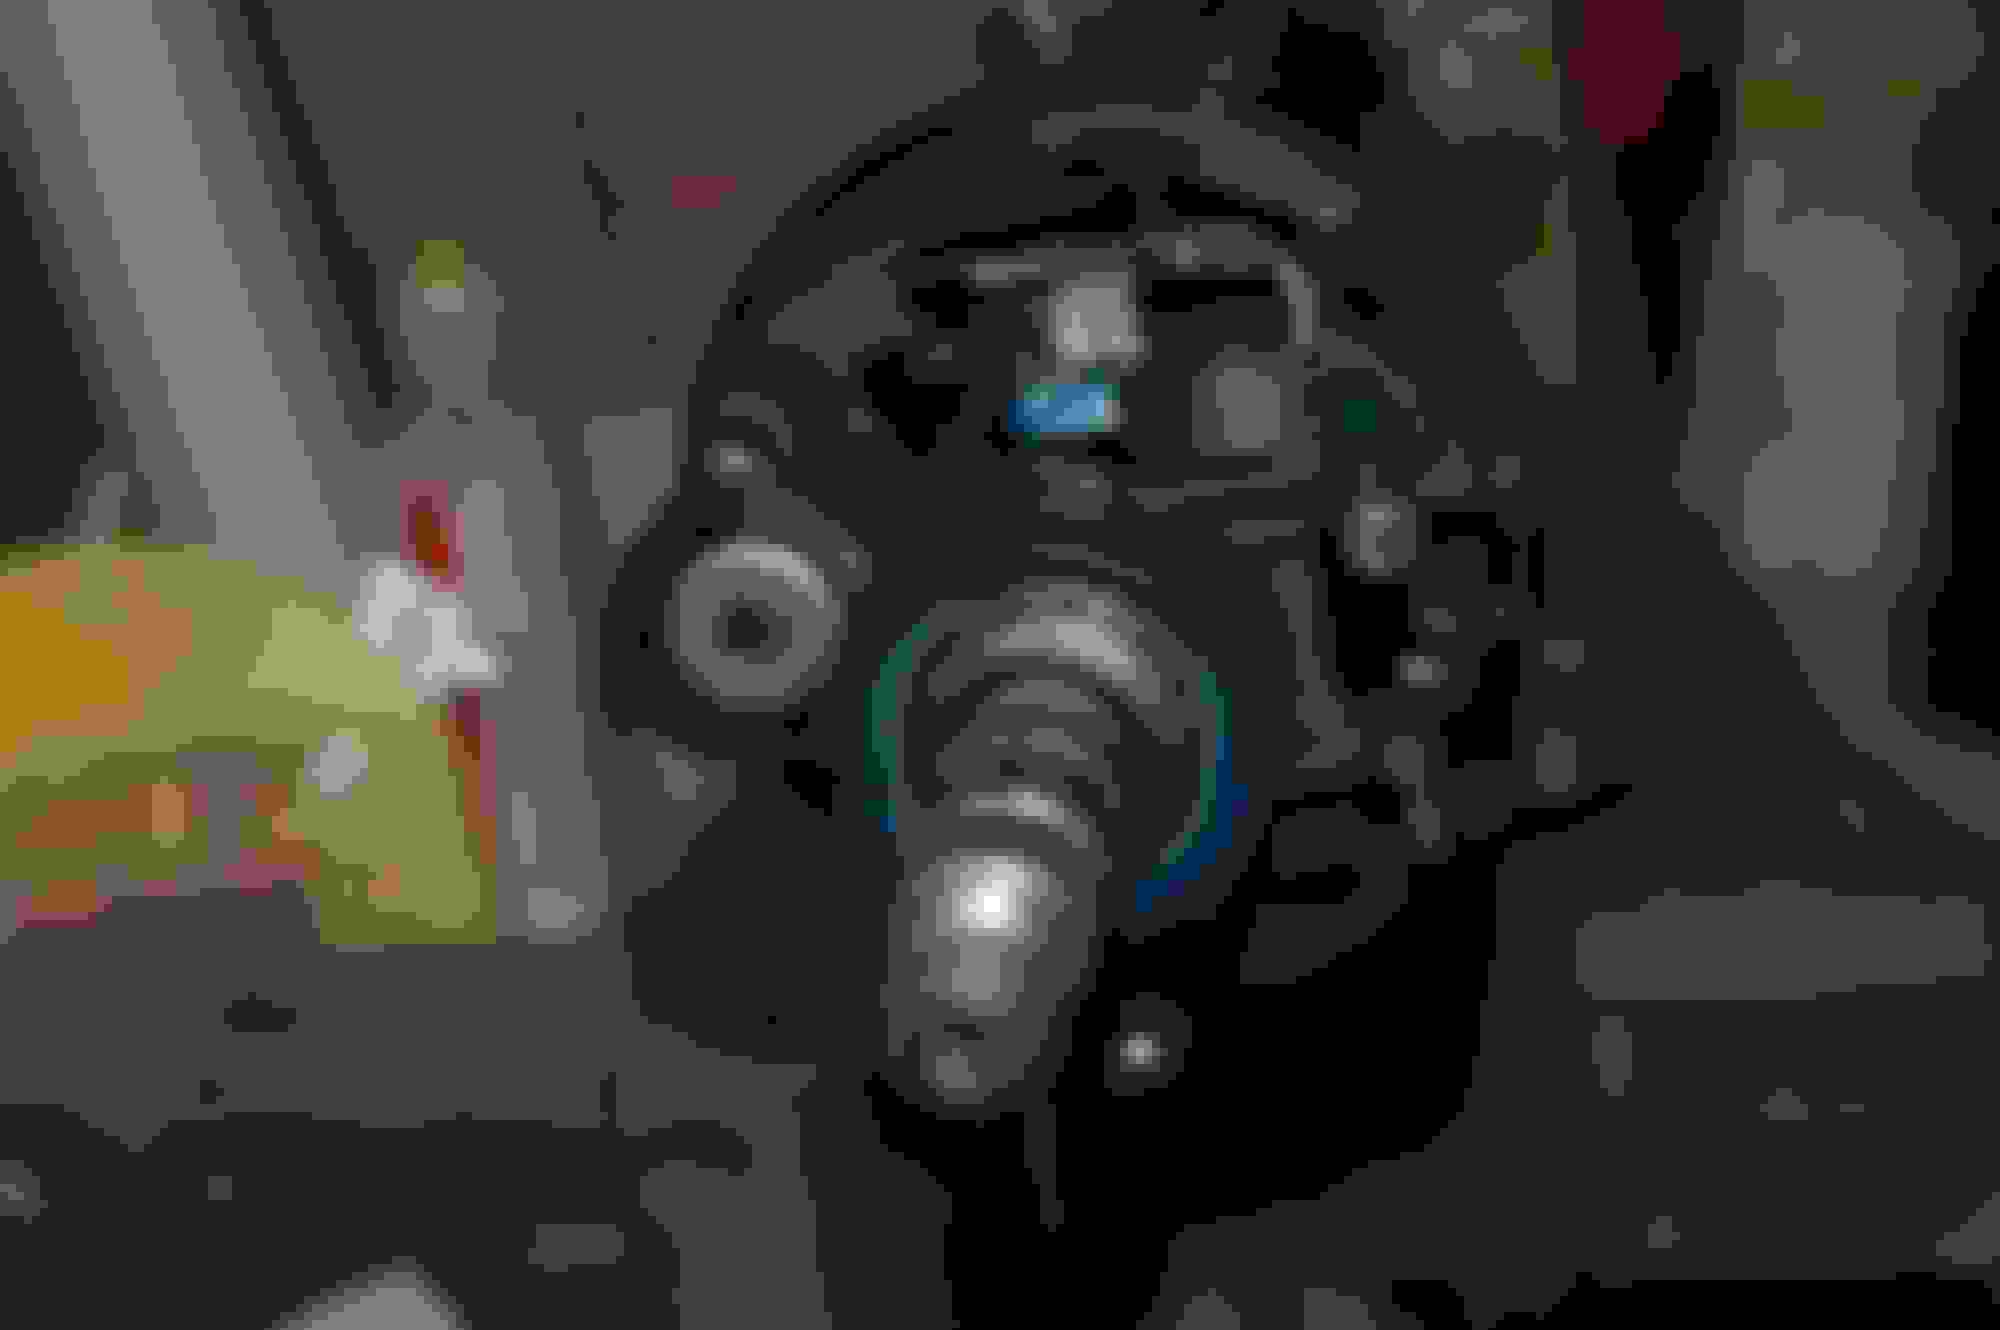
I now turn my focus to the steering column. I pulled it down from storage and it needs a good going through. I need to blast some pieces, clean, lube and paint. I started the disassembly but ran into a snag. There must be a tool to get the nut off the shaft in the pic? It looks like 1"-1/8 or 1"-3/16? It has to be long and thin. Does anybody know of this tool? Also, are there replacement parts for these like bearings, seals or even housings say if someone tried to steal the car and mangled the key area or took a hammer to it? Correct me if I'm wrong but the outer painted part is aluminum?
Thanks for the detail pics on the hdw. My column is a tilt which may be why I cant find much info on this. They seem to be a little bit more involved than non-tilt column?
That nut in my last picture needs a thin walled, deep socket to go over shaft in order to reach the nut.
Let me get more pics of my column for comparison.
Scrappie, if I�m correct Kent Moore J-23193 Tilt Steering Wheel Column Lock Nut Socket J-23193 is the tool you need (pg. 9A-34/9a-35 of Chassis Service Manual)�Expensive though.
Here is an alternative tool according to a post I found on the Buick Site. I'd verify the nut size before ordering though.
Thanks guys.
So I was thinking about that nut all night. Joesw31 communicated with me this am about the key lock position and Stephen also commented. I believe my column is different than theirs because of the tilt option? The embossed "LOCK" is 90 degrees different than theirs. IDK but I'm 99.9% sure this has never been apart.
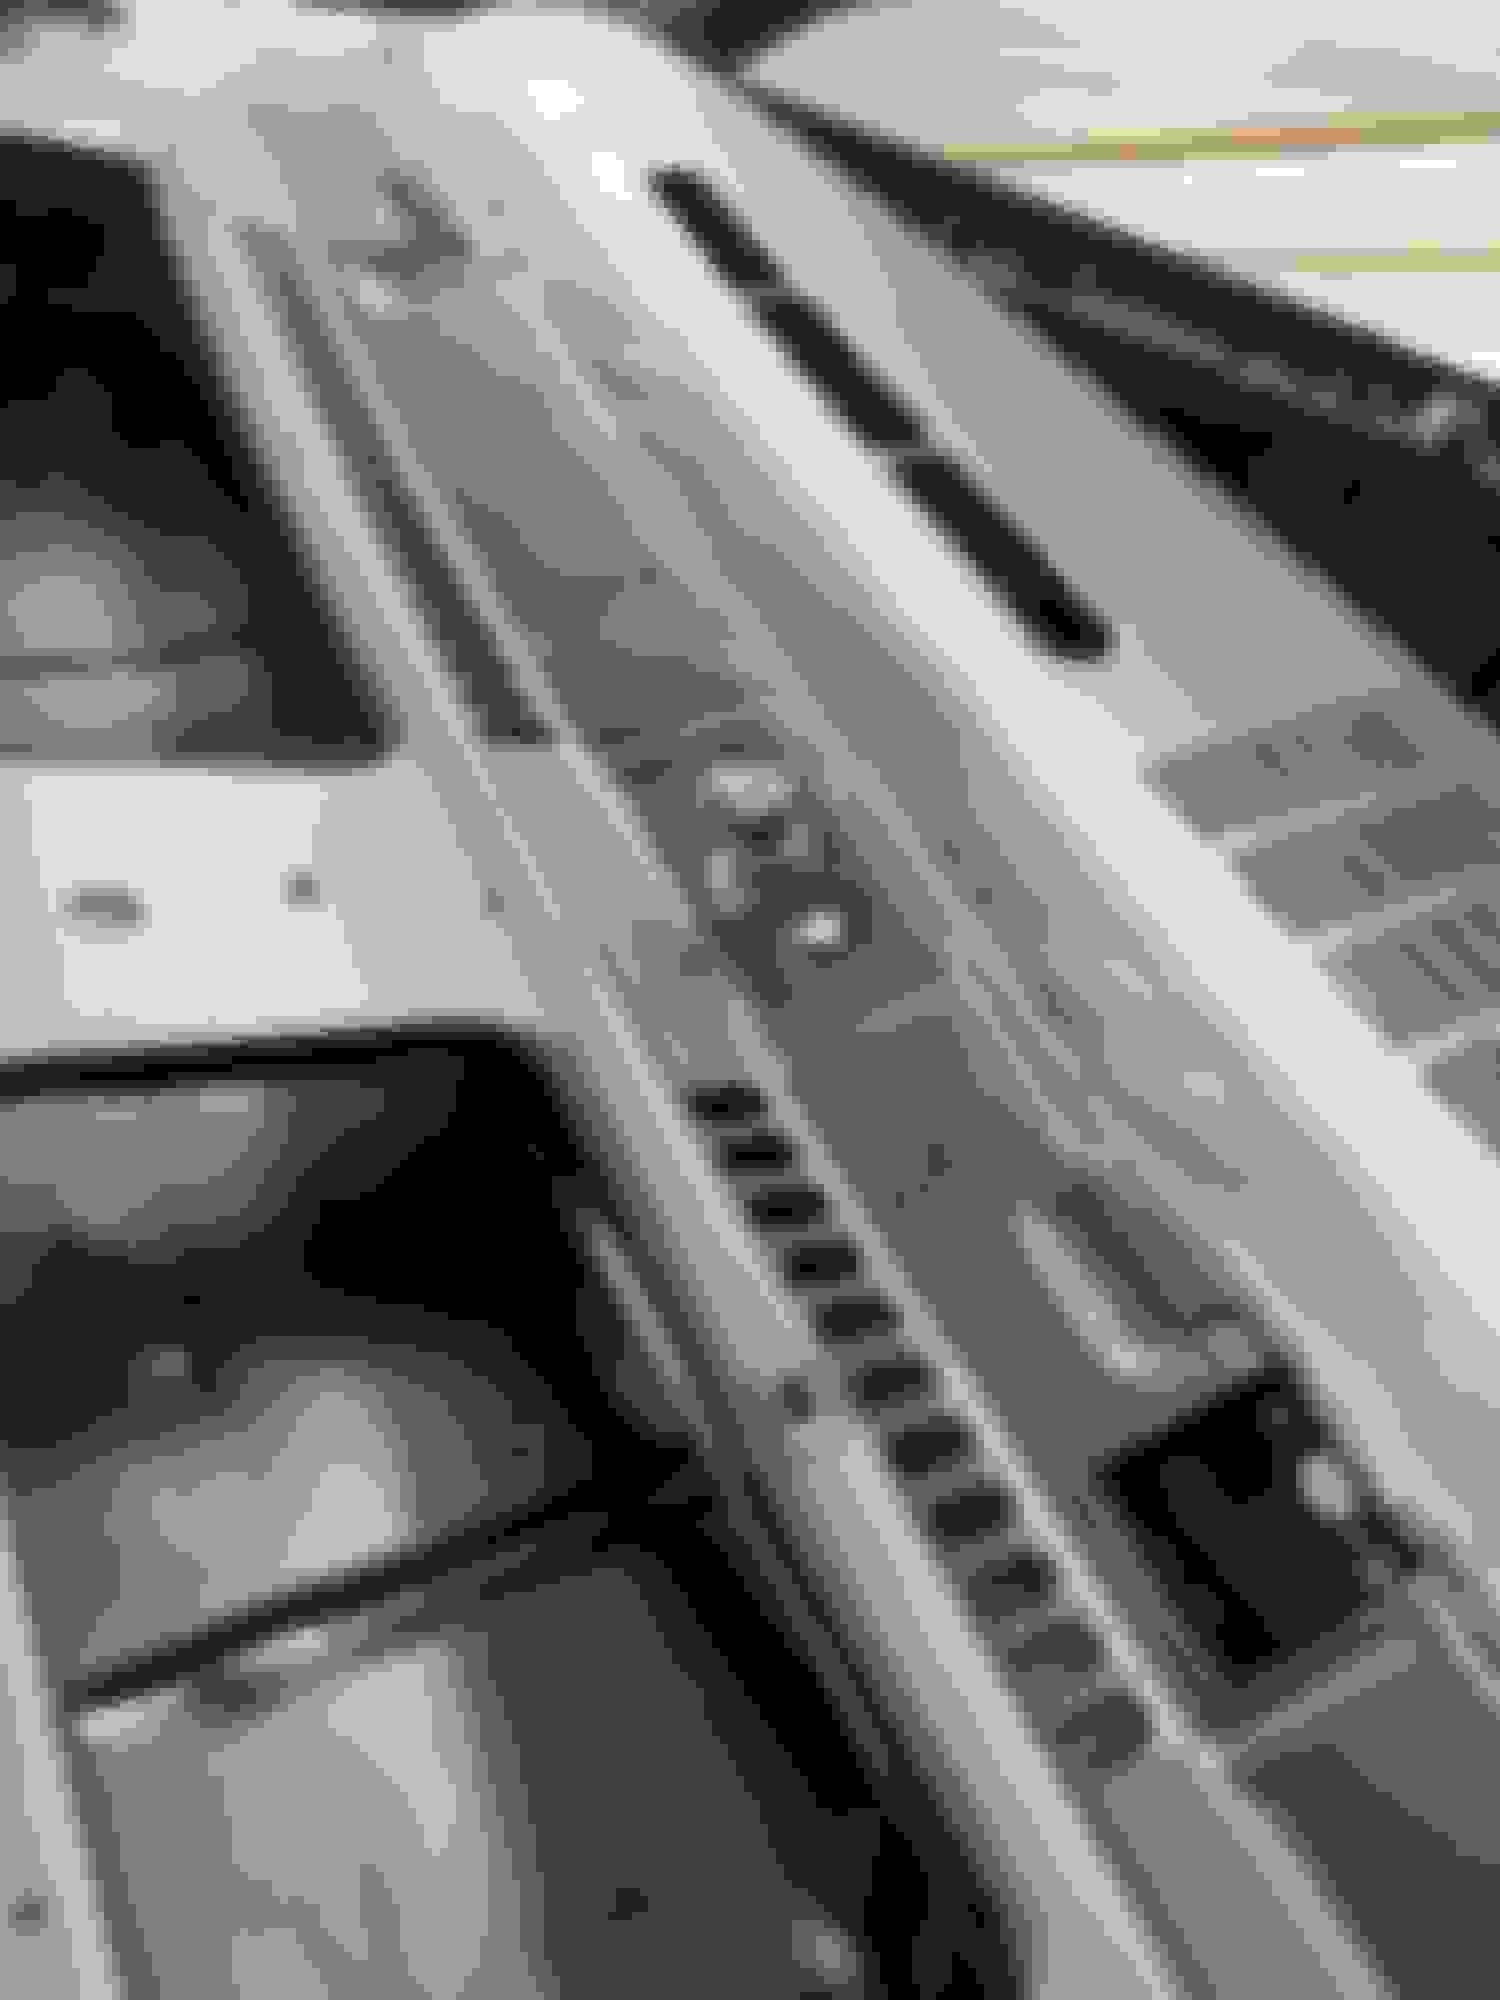
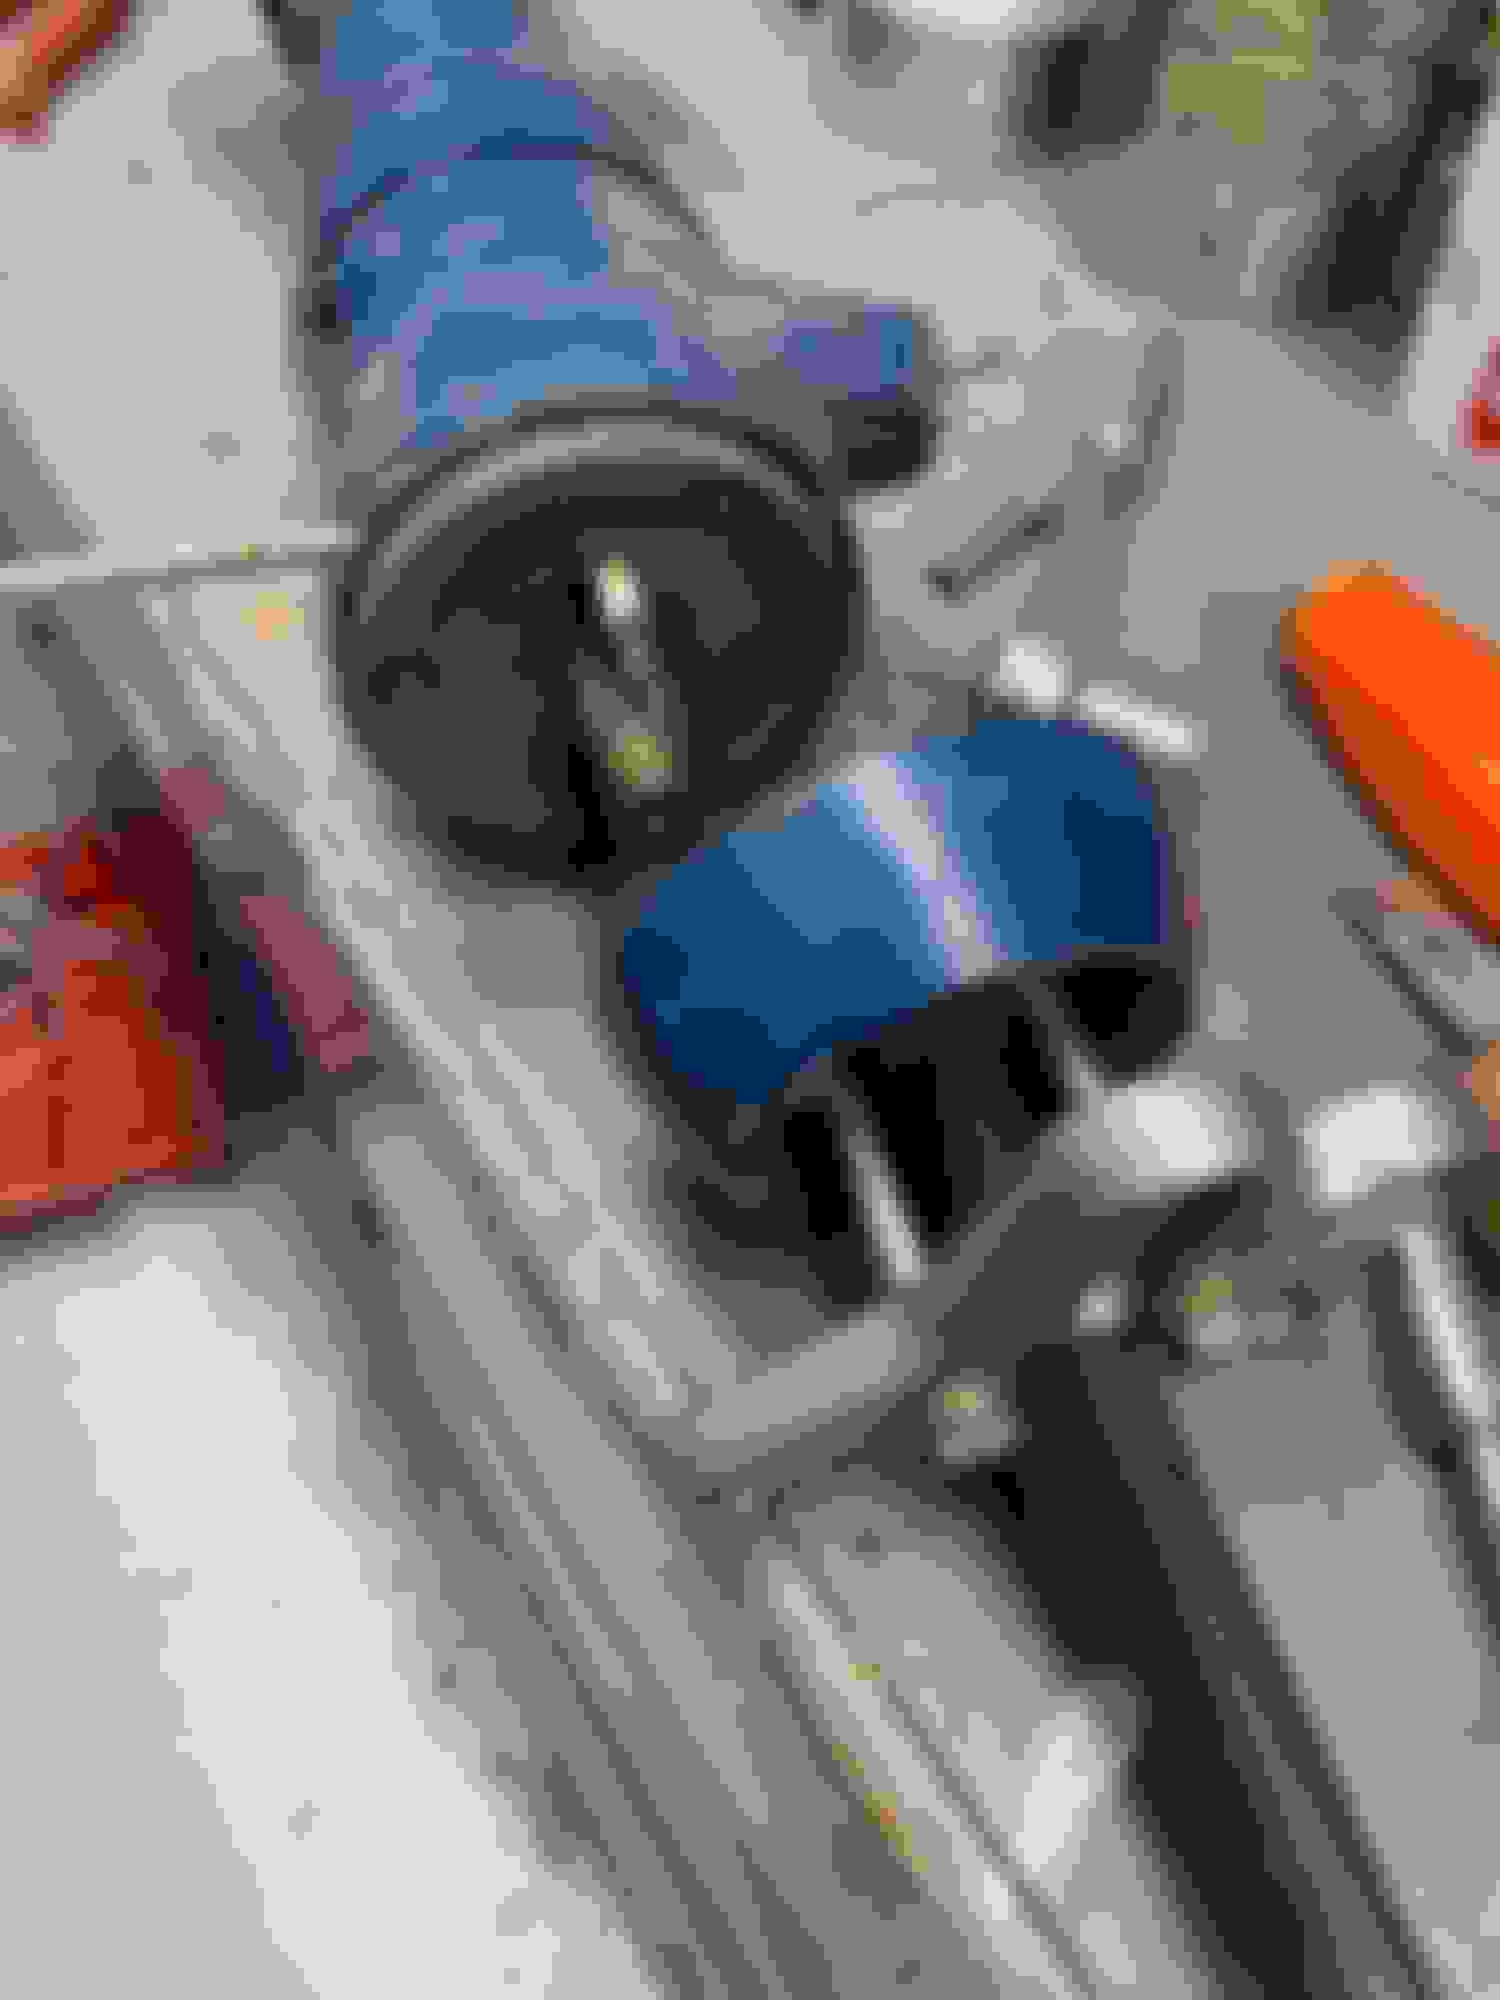
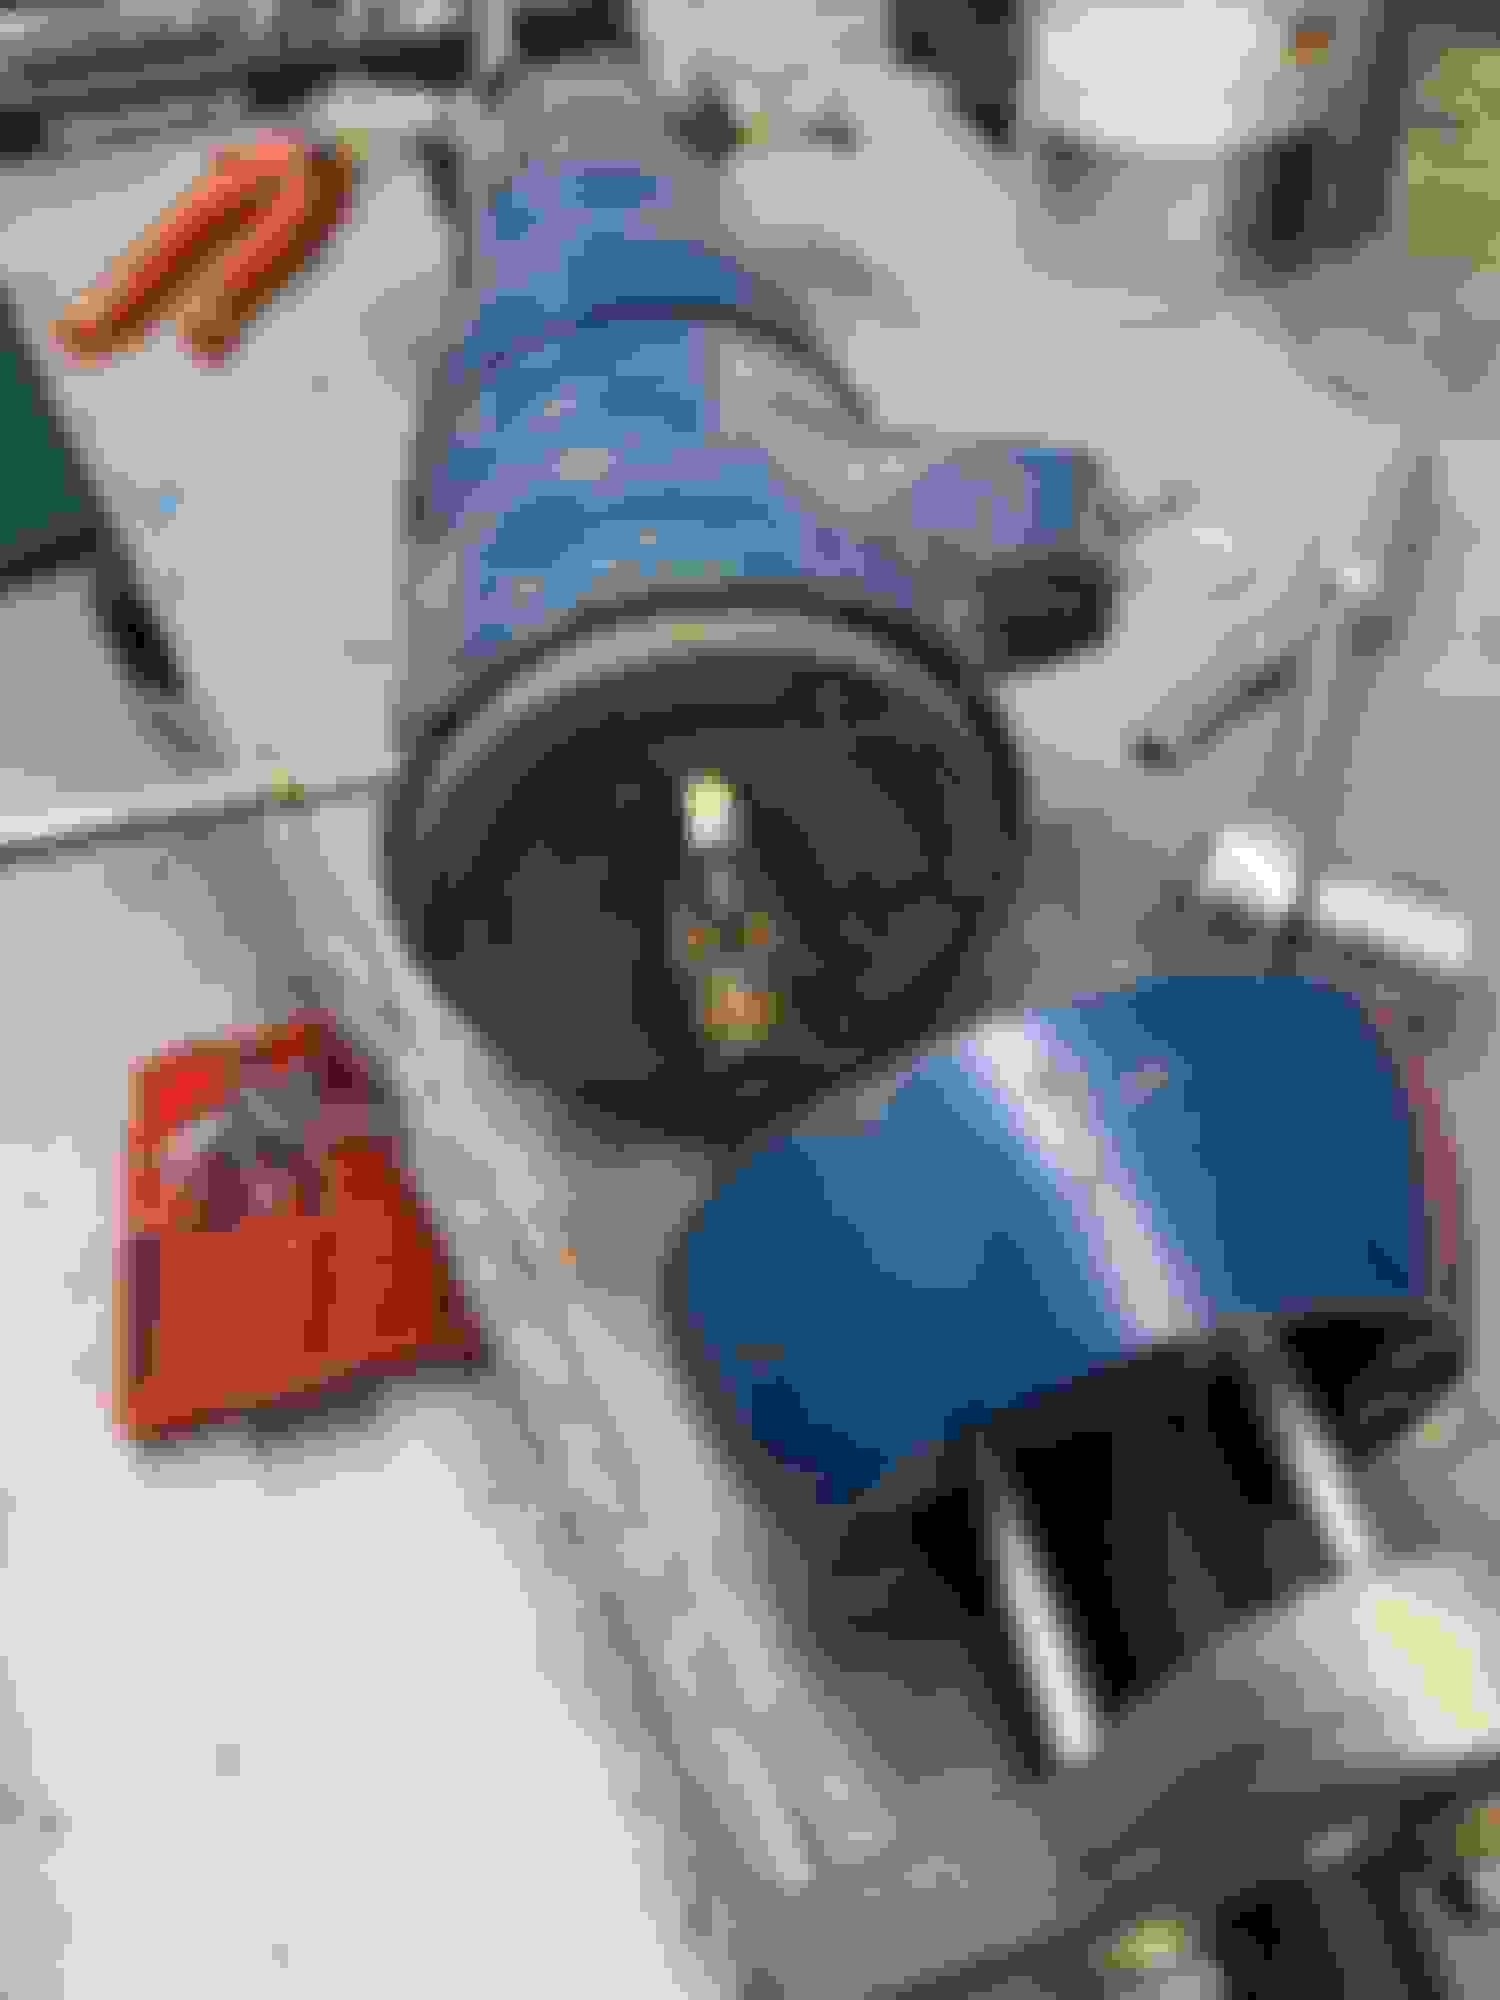
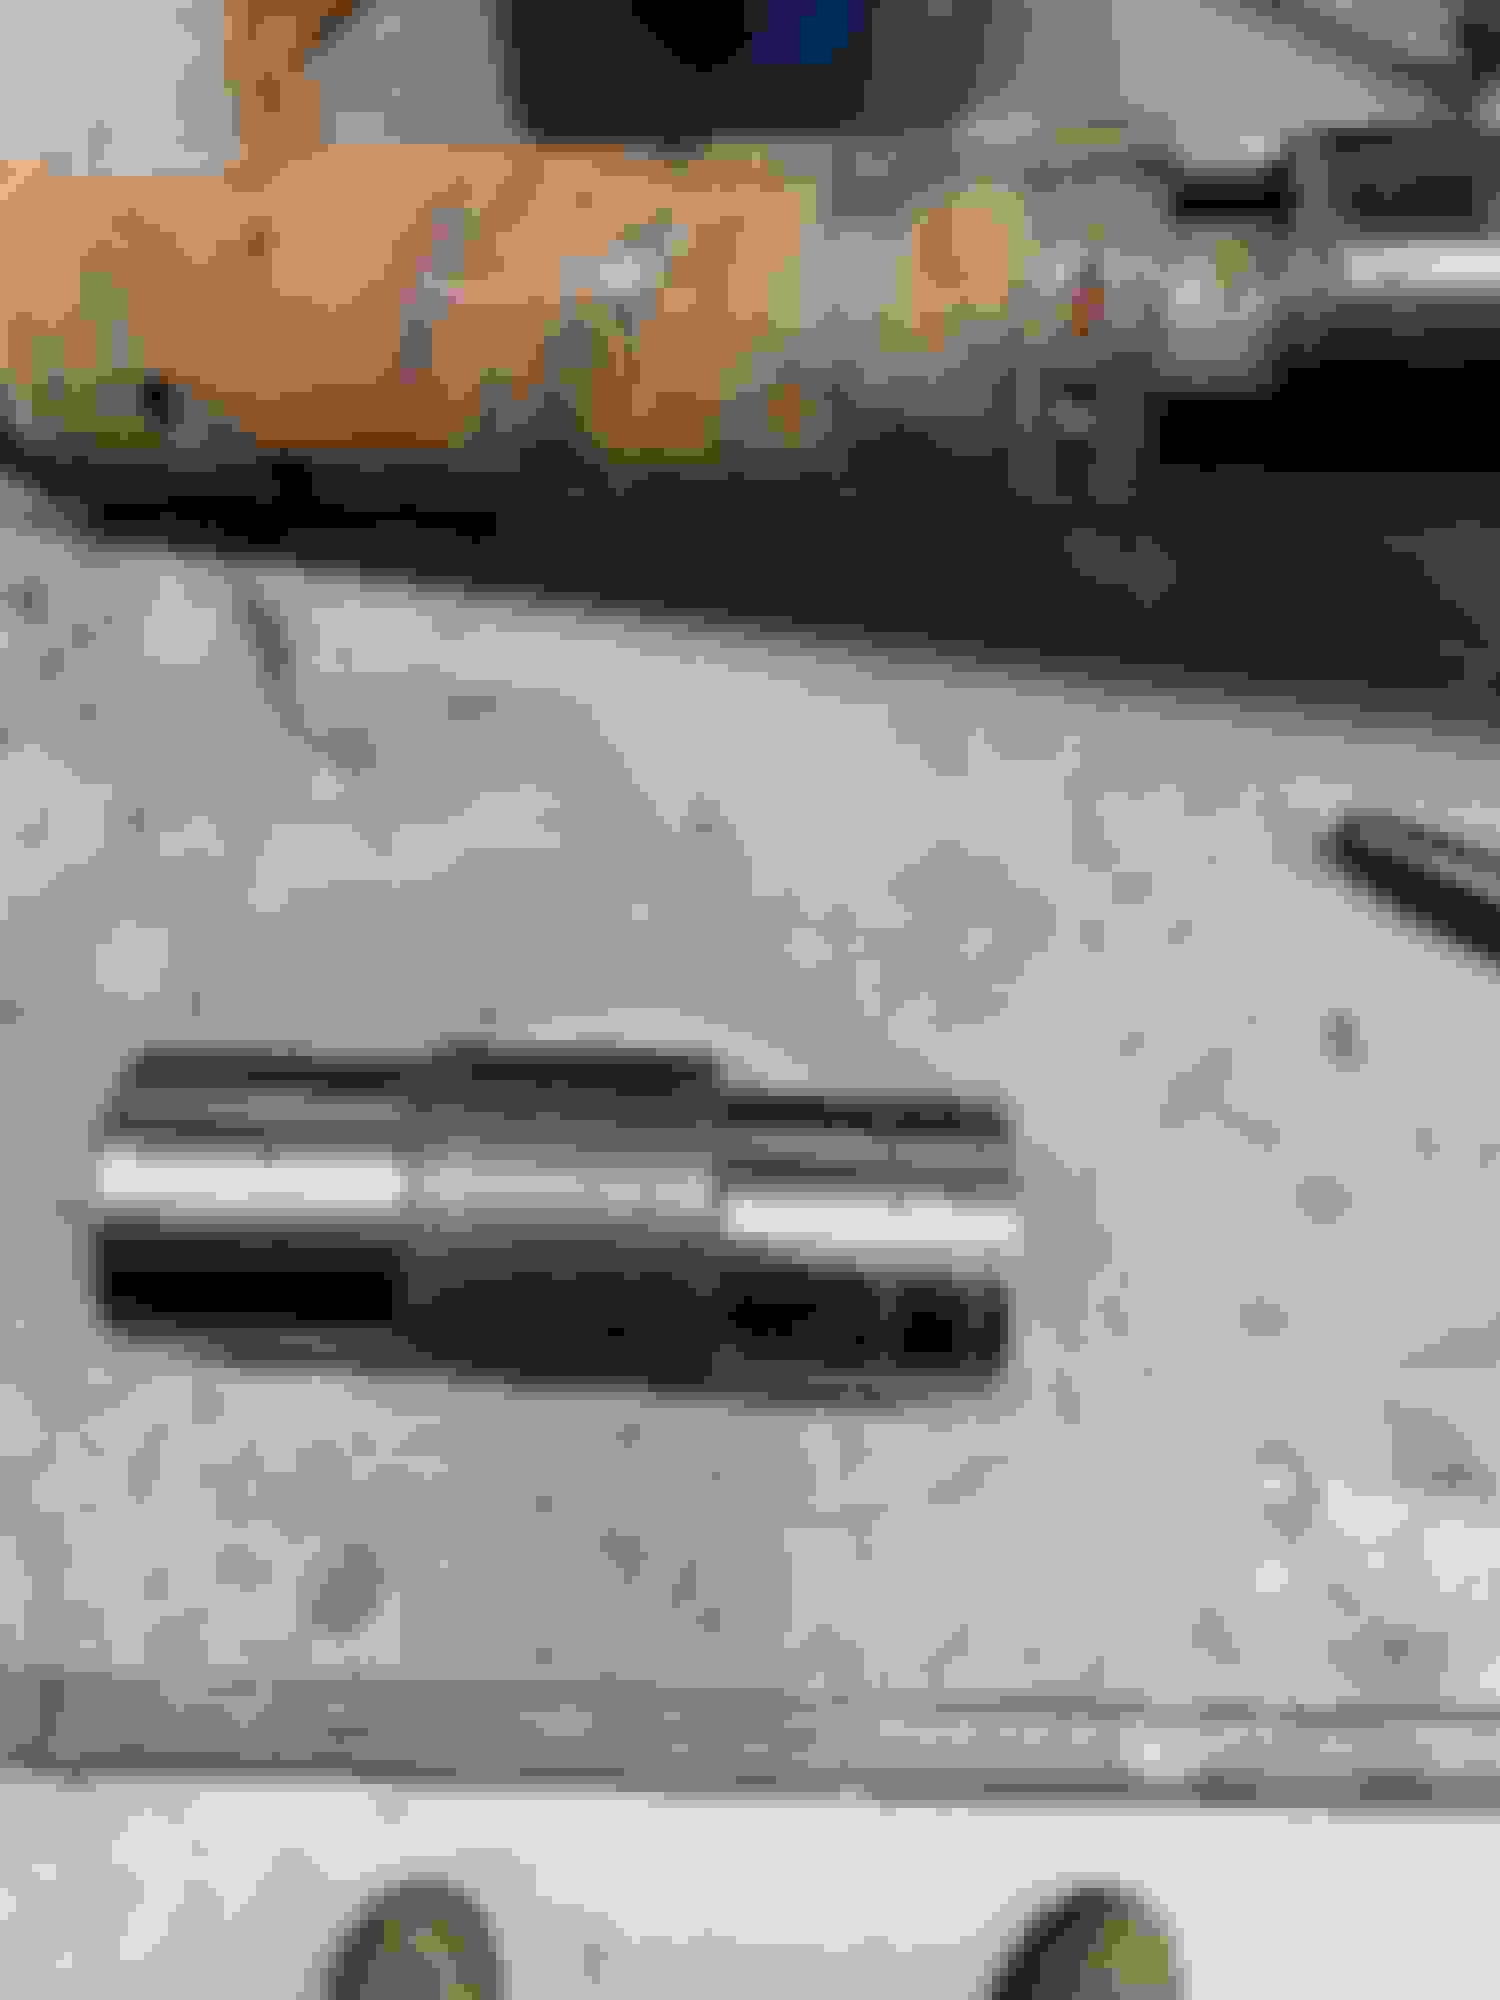
I've never torn down one of these before so its uncharted territory for me. I was thinking there was a tool for that nut and I was correct because Joesw31 pointed it out today. Kent Moore made the extra deep socket. I looked around and much like Stephen stated, you can find them starting around $70. Joe gave me an idea and for the sake of time I went to Home Depot and for under $20 I made one. The nut is 1-3/16". Home depot didn't have that size so I got a 30mm which is almost equivalent and a piece of black iron pipe and fabricated my own. I cut the socket and added a piece of pipe to space it out. It took longer to make the tool than to get the nut off. Once the nut was off I slowly continued the disassembly. I was able to blast all the rust off the tubes and got a coat of primer and clear on the parts i want to leave natural. I thought about trying to restore this while it was together but it needed to come apart so I could blast some pcs and do a thorough and neat job cleaning, painting and greasing all the parts. Getting this back together will be a challenge for me.
Last edited by scrappie; February 27th, 2022 at 06:42 PM.
Pretty cool job on the socket! amazing work on the entire column, boy was that a mess. You are doing an incredible job on the car and I can't wait to see it all come together.
Steve
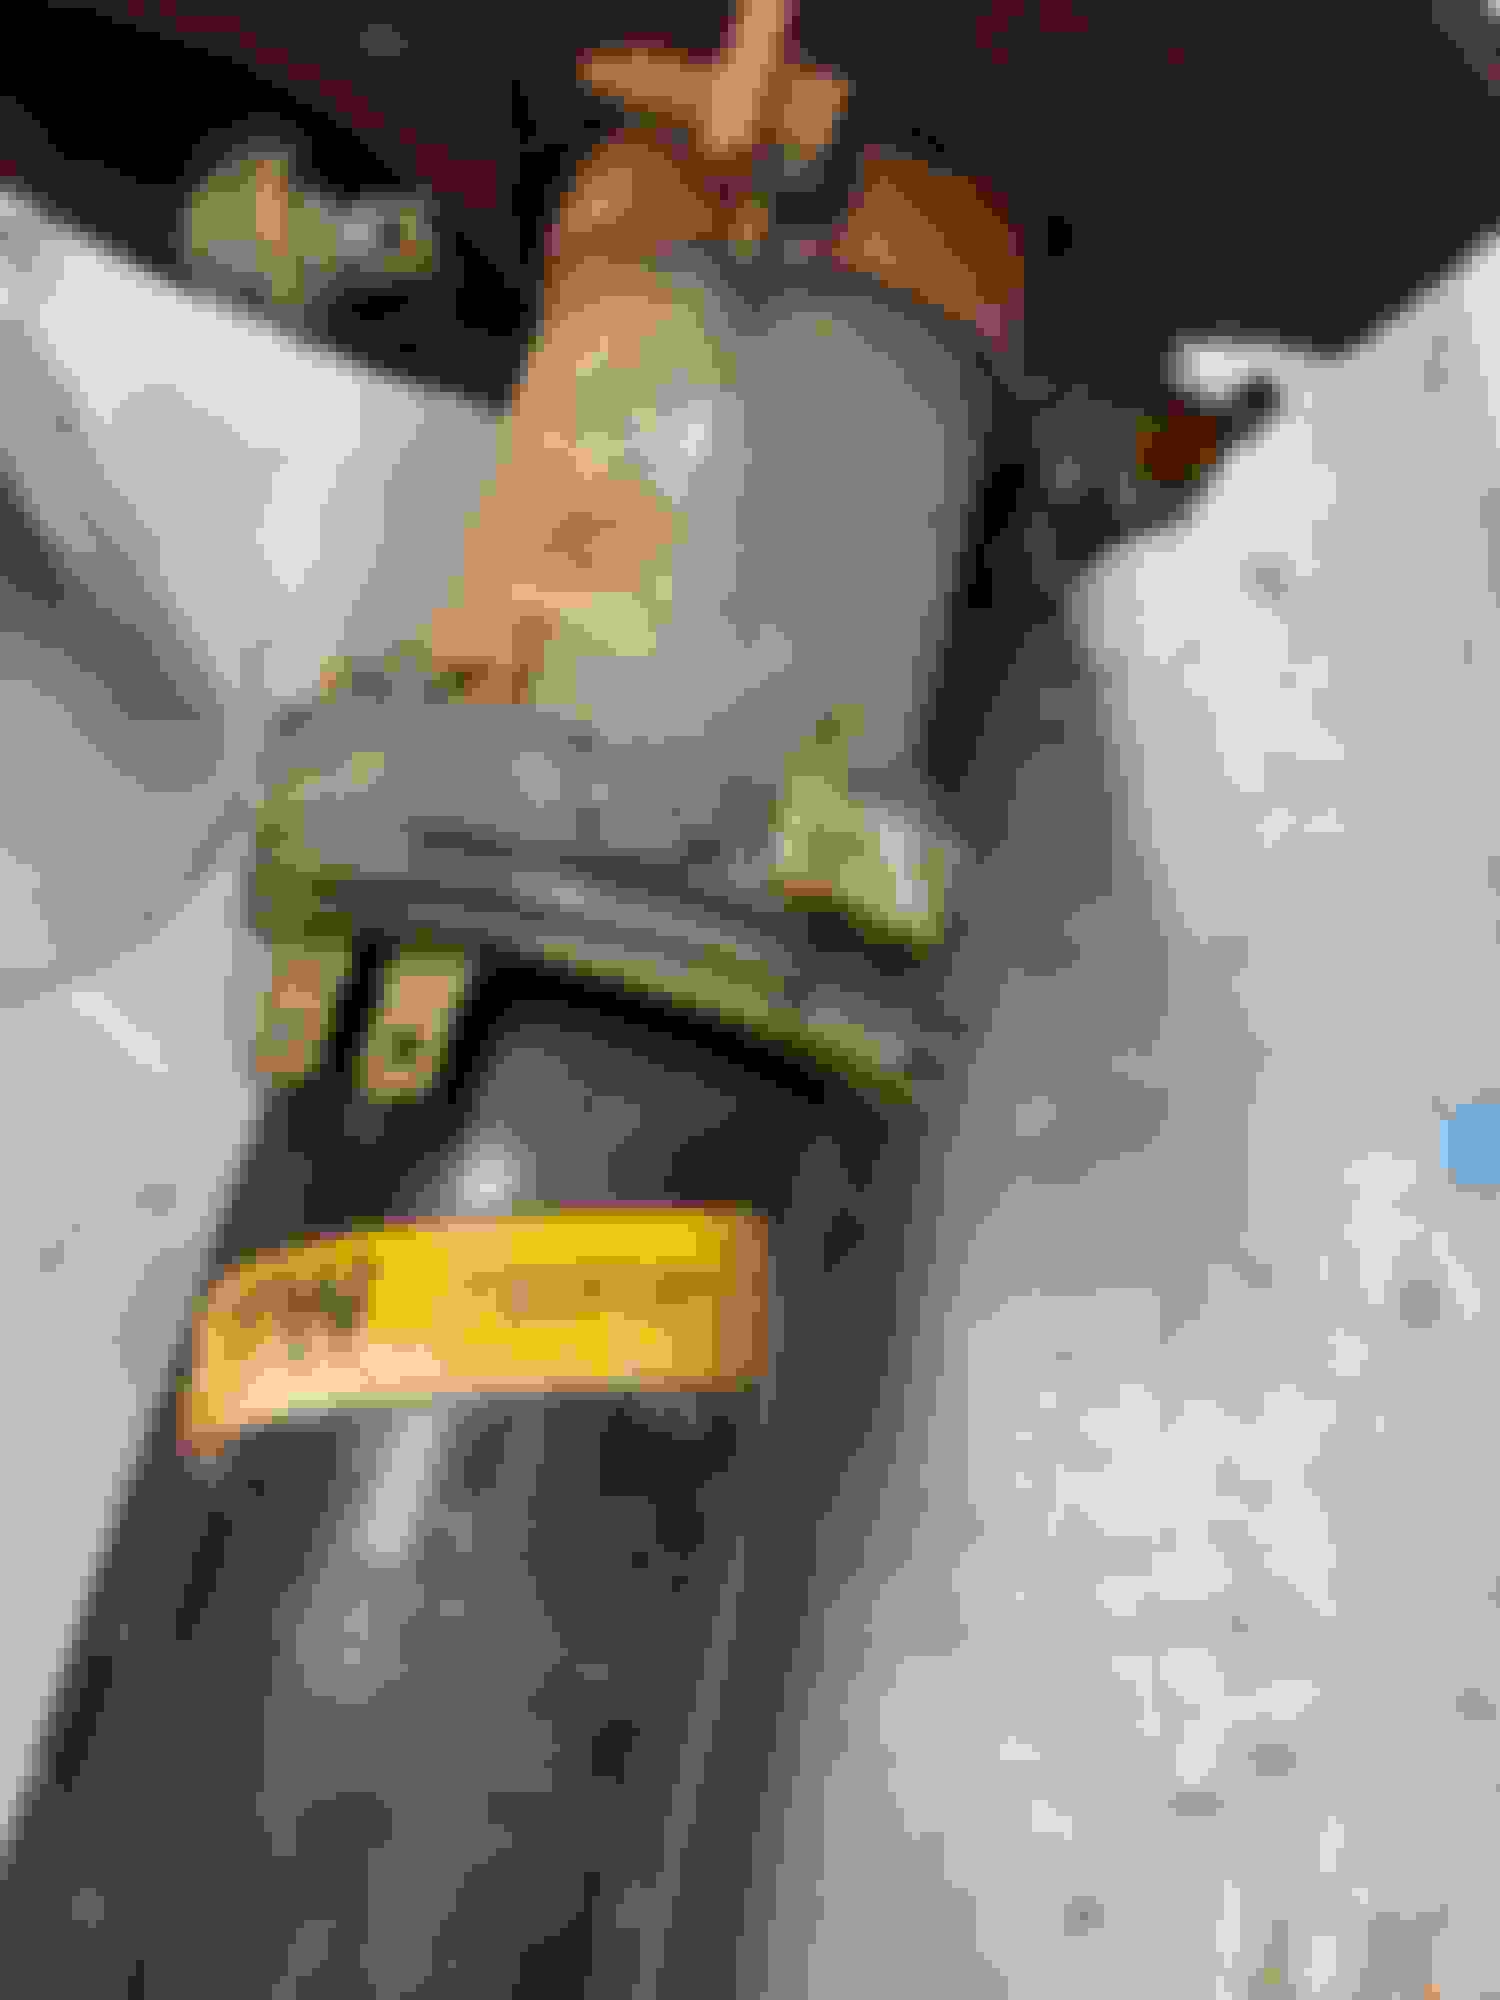
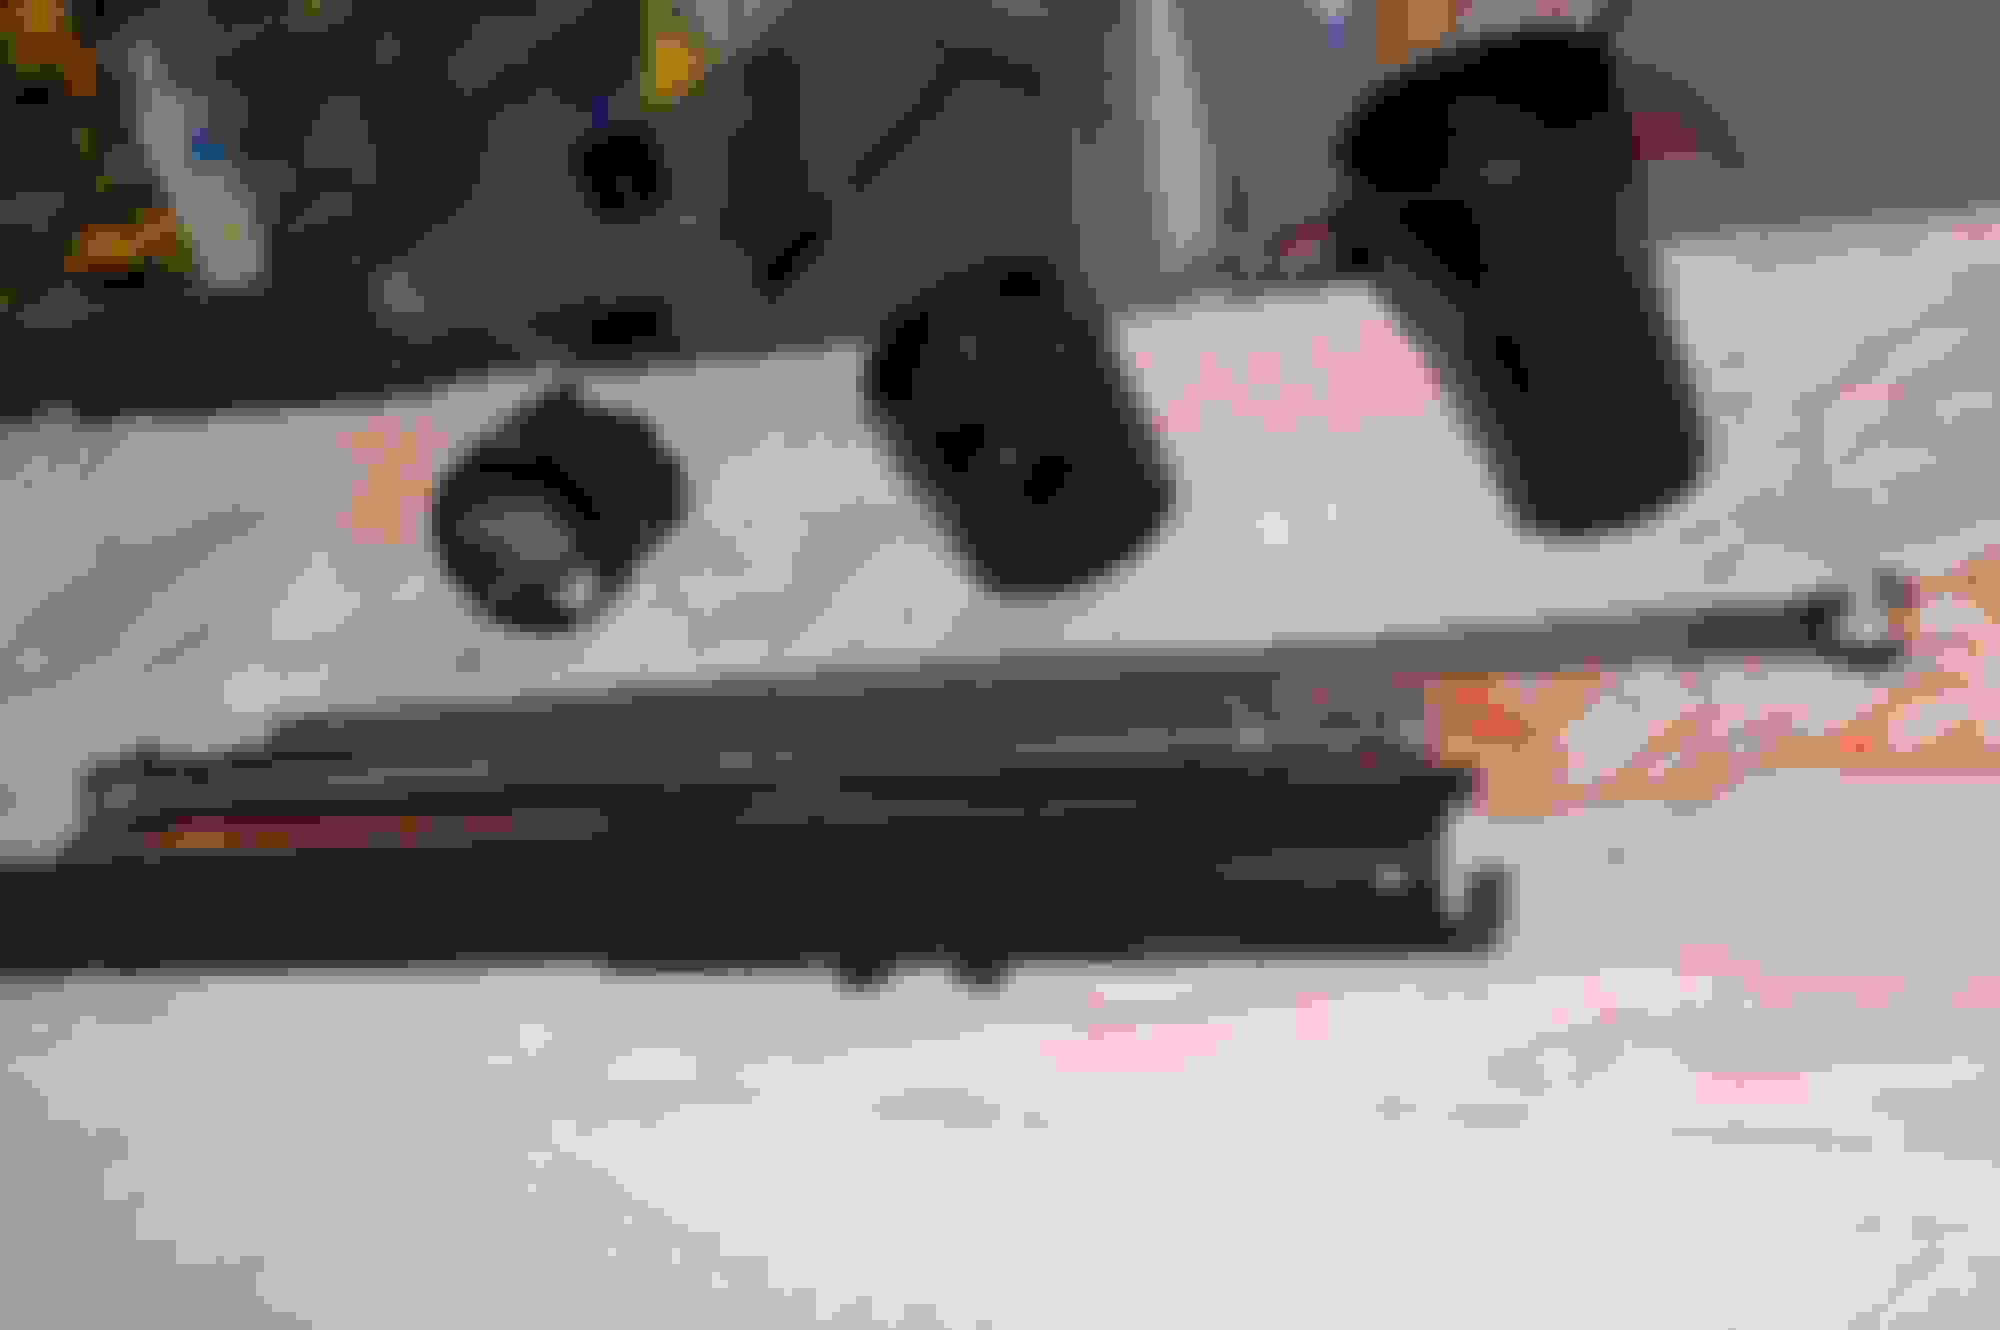
Looks good. Just a few tips in case you missed them. The round steel piece circled in the pic below actually comes out before you pull the pivot pins(not sure from your pics if you did this or not). Push it in a little, then turn it with a straight screw driver and it along with the spring and spring pin all come out. This relieves all the pressure when trying to assemble/ dis assemble the column.
You can see the spring pieces in the photo below. Yes the locking plate and cover are from a non tilt I am still looking for the correct ones but modified those to work for now.
Also, if you put an old lower column mount in a vise, you can re-assemble all of the finished pieces without fear of scratching them.
Thats all great info thanks for posting. I saw how the spring came out after it exploded in my hand. I didn't want to mangle that slotted pc so I didn't spend a ton of time on it. Looks like you've done this before. I may have to consult with you.
Looks good. Just a few tips in case you missed them. The round steel piece circled in the pic below actually comes out before you pull the pivot pins(not sure from your pics if you did this or not). Push it in a little, then turn it with a straight screw driver and it along with the spring and spring pin all come out. This relieves all the pressure when trying to assemble/ dis assemble the column.
You can see the spring pieces in the photo below. Yes the locking plate and cover are from a non tilt I am still looking for the correct ones but modified those to work for now.
Also, if you put an old lower column mount in a vise, you can re-assemble all of the finished pieces without fear of scratching them.
This is all great stuff. Looks like mine except cleaner. I've been thinking about these pcs when it comes to reassembly, am I overthinking it?
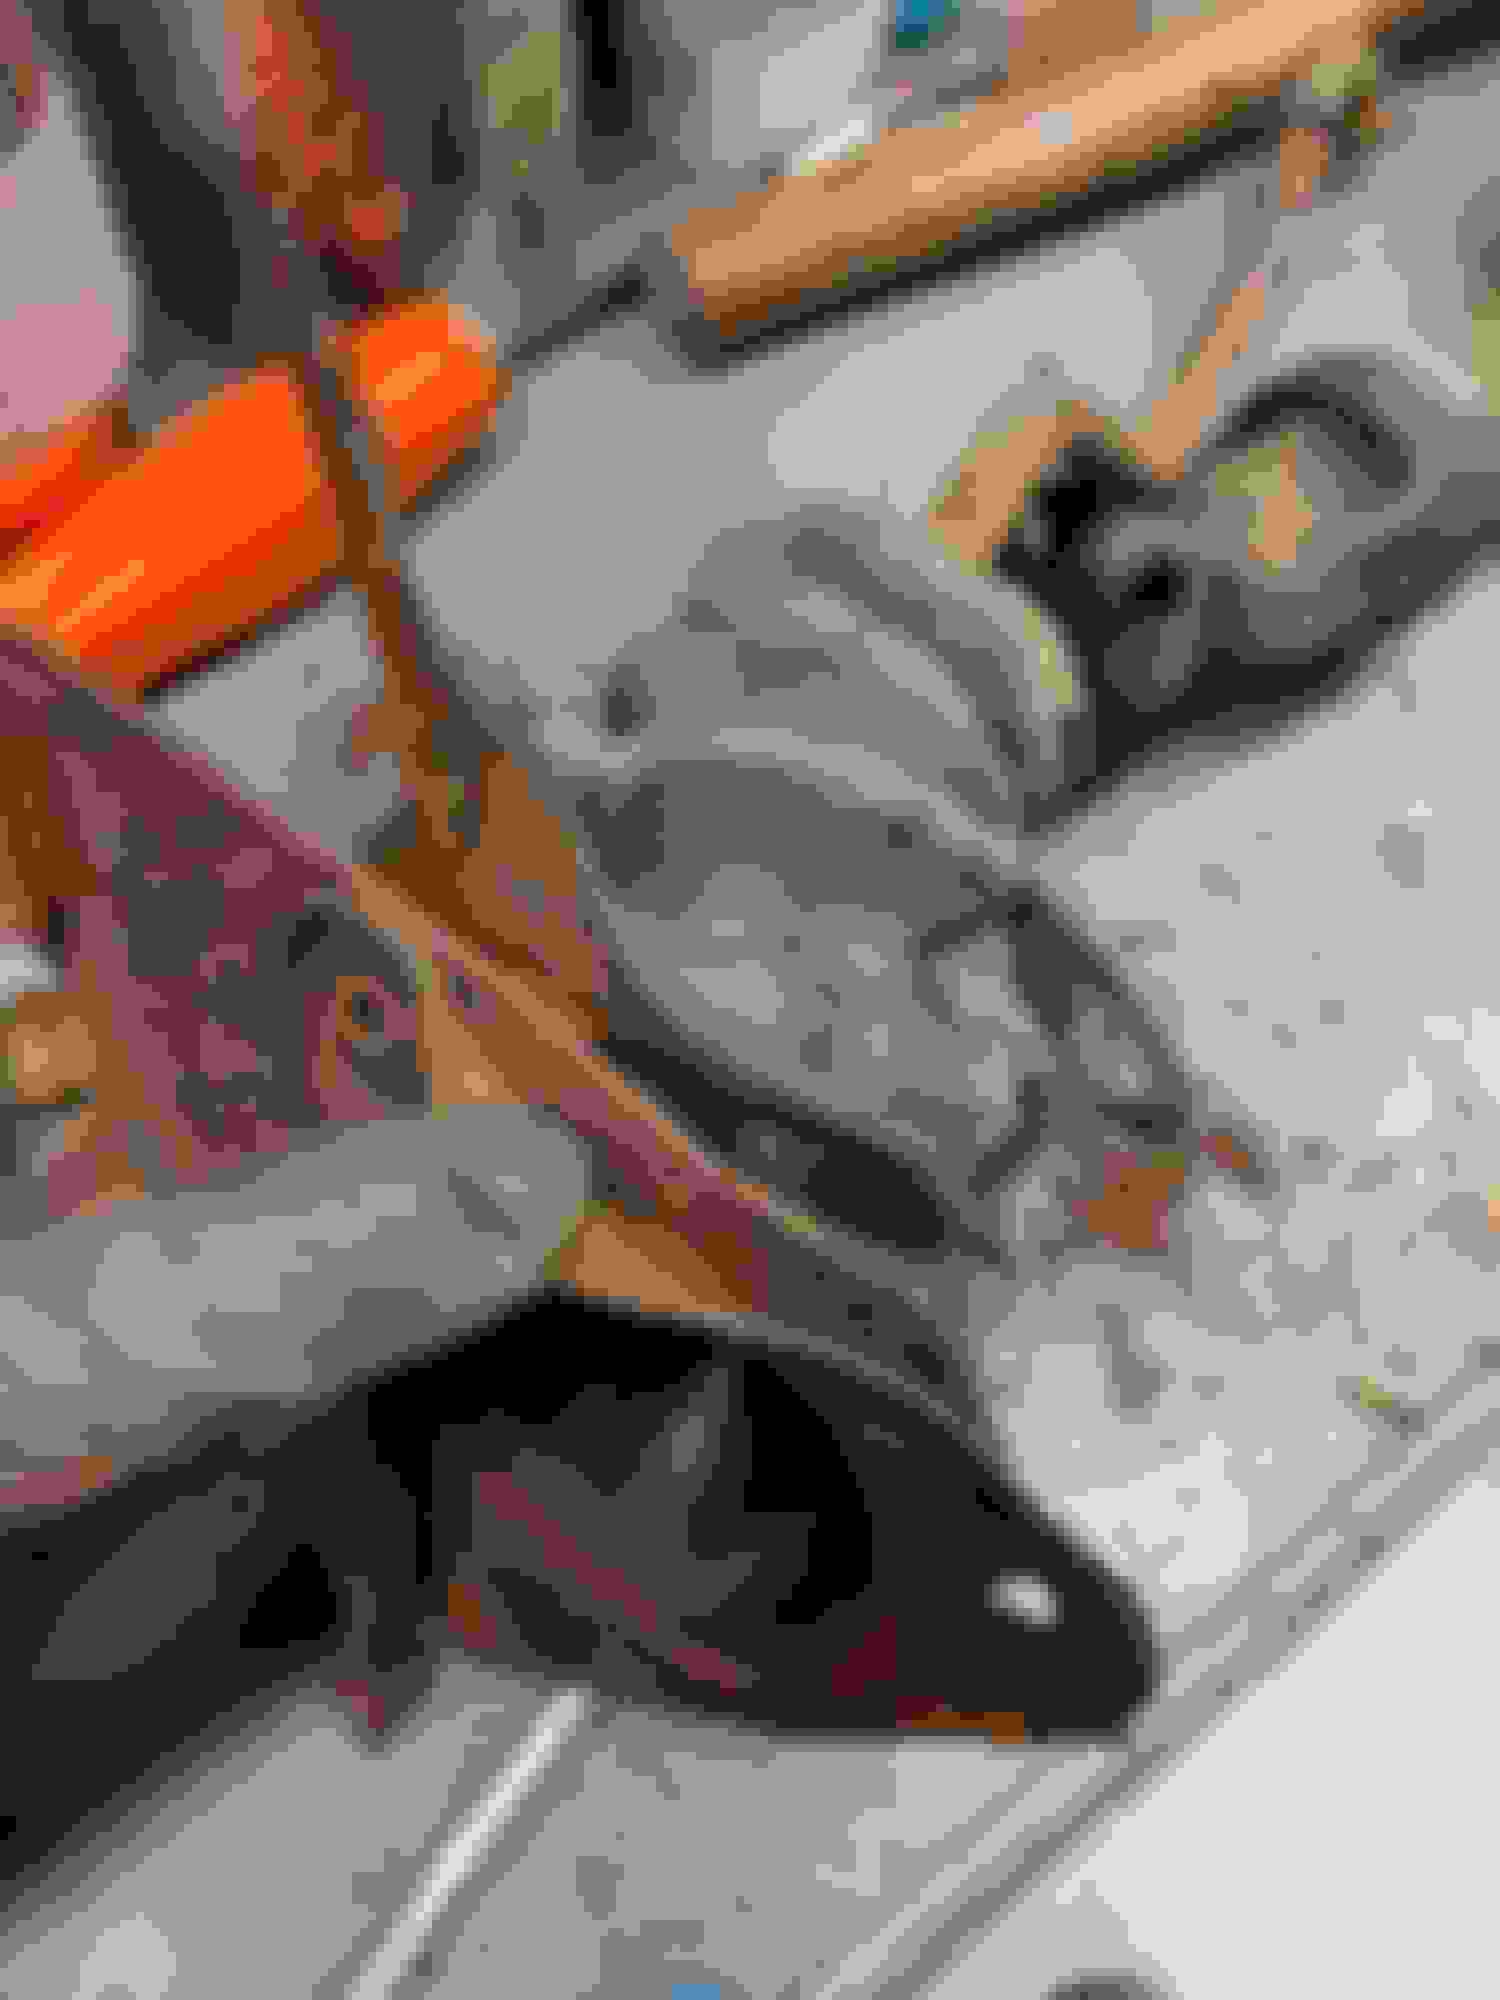
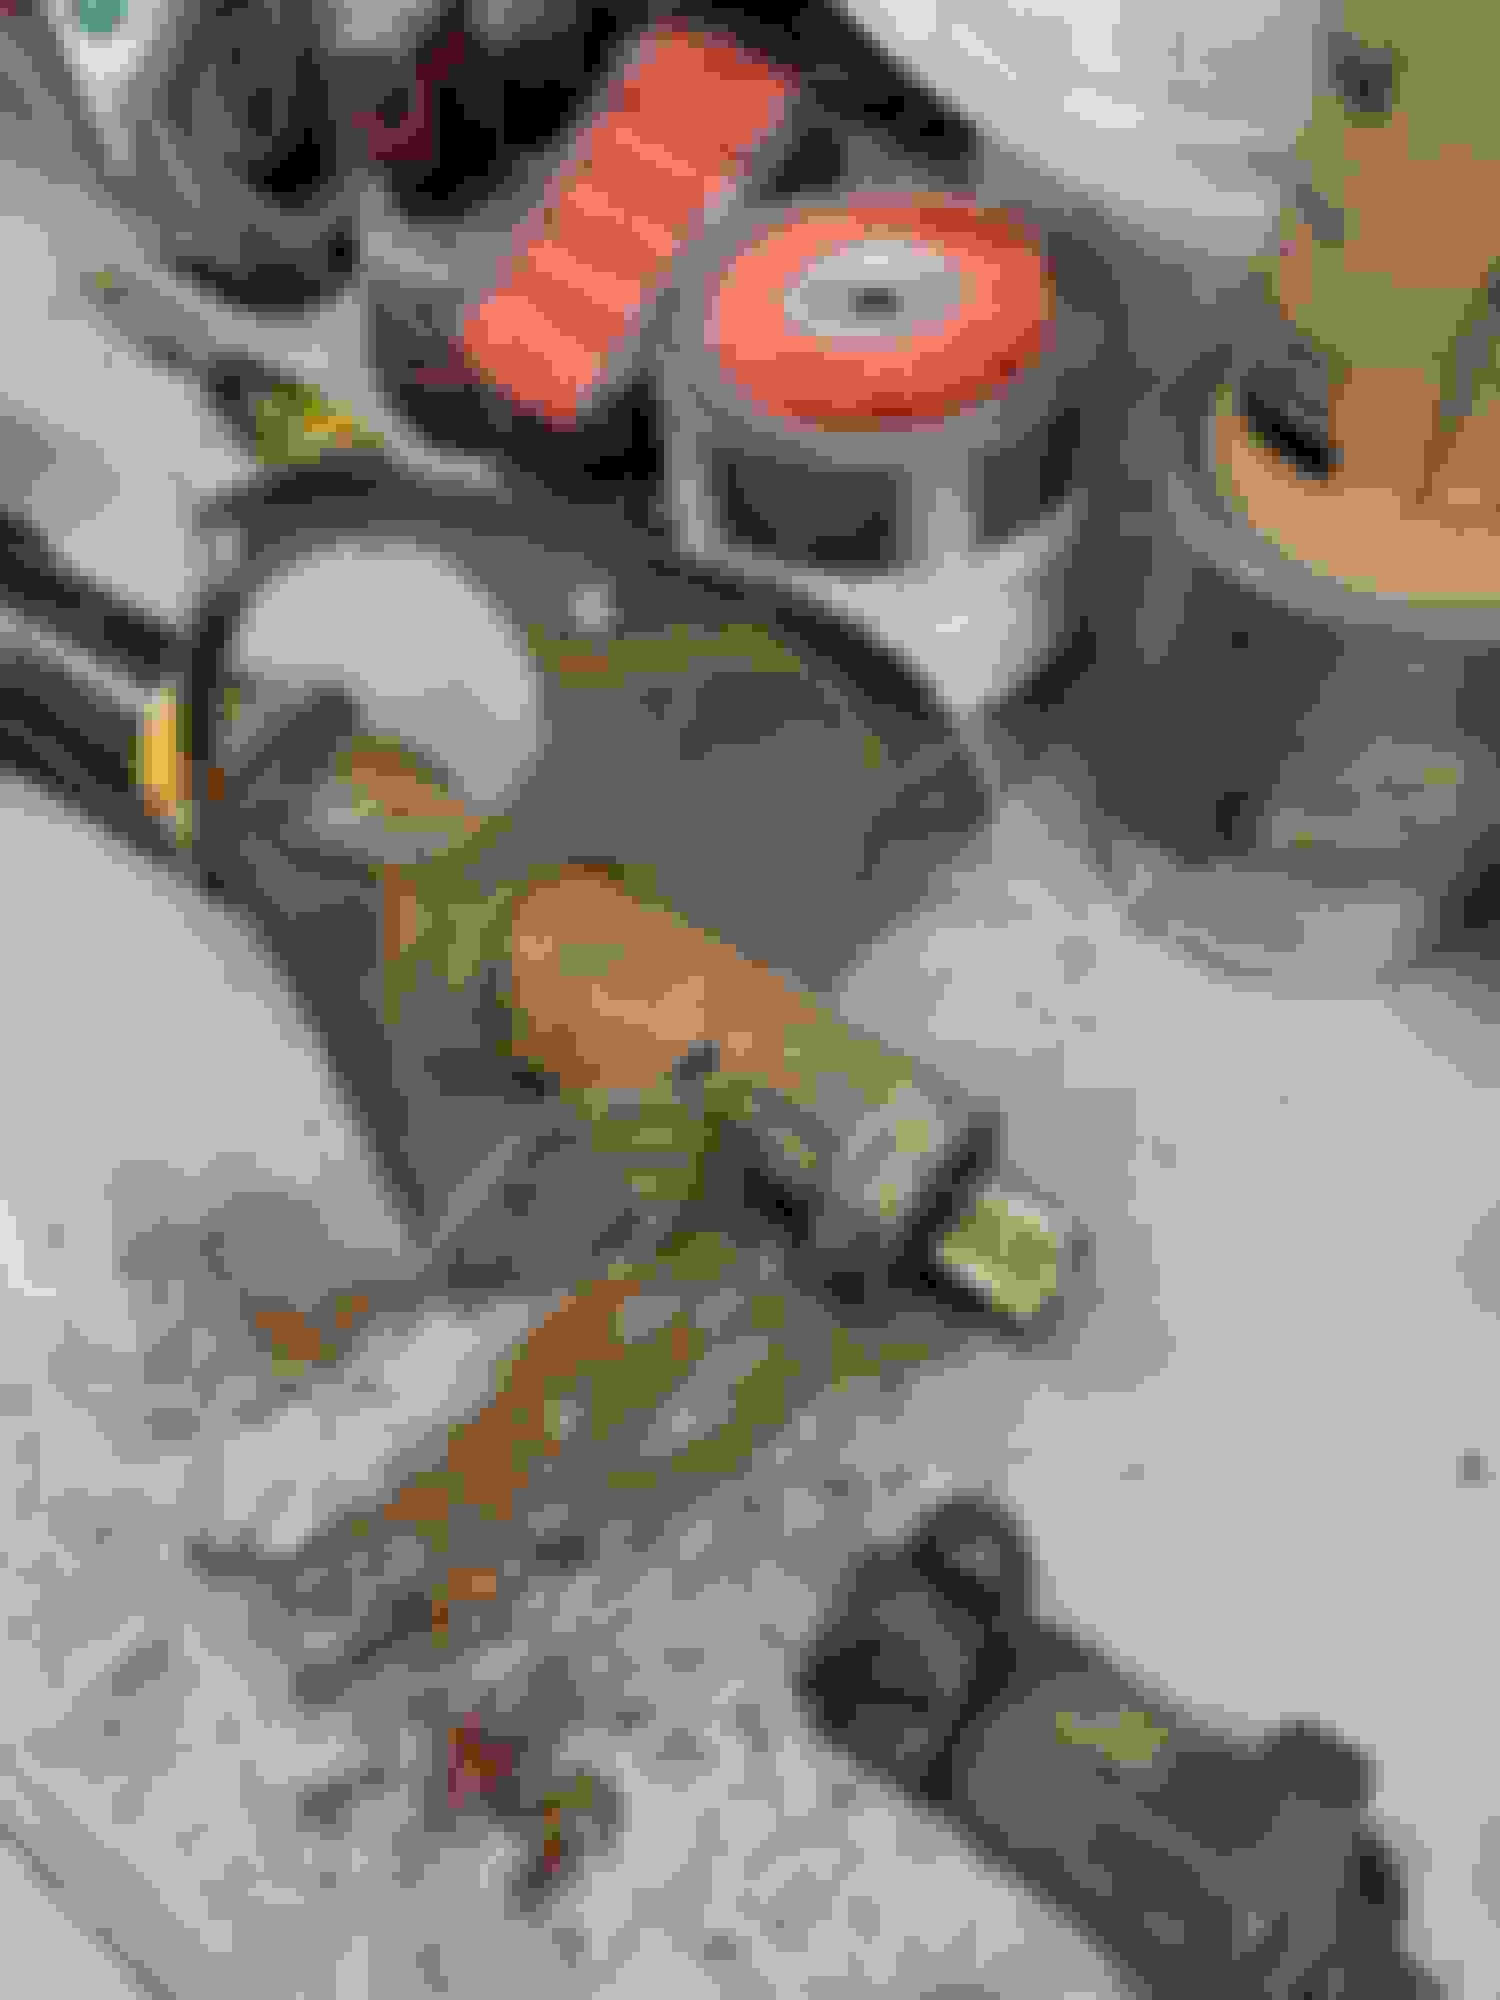
Yeah, you don't really need to pull the locking teeth, springs and pins out of the cup. I usually just clean those areas really well and re-grease them. I would just mask the flat black part as it still looks great, and paint the lowest portion of the cup blue. As far as re-assembly, put the tilt lever back in and use it to "release" the teeth in order to get the cup over the pivot mount before you put the pins back in (if that makes sense?) The columns are very similar, but I used a later 70's version that does not have the nut you showed. What do your bearings look like? if they are like the ones in the third picture there is really no need to replace them, just clean and re-grease. Another tip, stay away from white lithium grease. It gets hard over time. I use wheel bearing or front end grease on most projects like this. Do you plan to duplicate the factory over spray blue on the column tube?
Yeah, you don't really need to pull the locking teeth, springs and pins out of the cup. I usually just clean those areas really well and re-grease them. I would just mask the flat black part as it still looks great, and paint the lowest portion of the cup blue. As far as re-assembly, put the tilt lever back in and use it to "release" the teeth in order to get the cup over the pivot mount before you put the pins back in (if that makes sense?) The columns are very similar, but I used a later 70's version that does not have the nut you showed. What do your bearings look like? if they are like the ones in the third picture there is really no need to replace them, just clean and re-grease. Another tip, stay away from white lithium grease. It gets hard over time. I use wheel bearing or front end grease on most projects like this. Do you plan to duplicate the factory over spray blue on the column tube?
Getting those locking teeth back in with the springs is gonna be tough but I'll try with the lever like you mentioned. I still have to clean all the small parts and evaluate the bearings but on initial eval the bearings look good just a lot of old grease. I was gonna paint the bowls while off but now I'm thinking I'll prep and maybe prime, then reassemble and paint after to avoid scratches. It looks like thats how it was done judging by the overspray?
Last edited by scrappie; March 7th, 2022 at 05:55 PM.
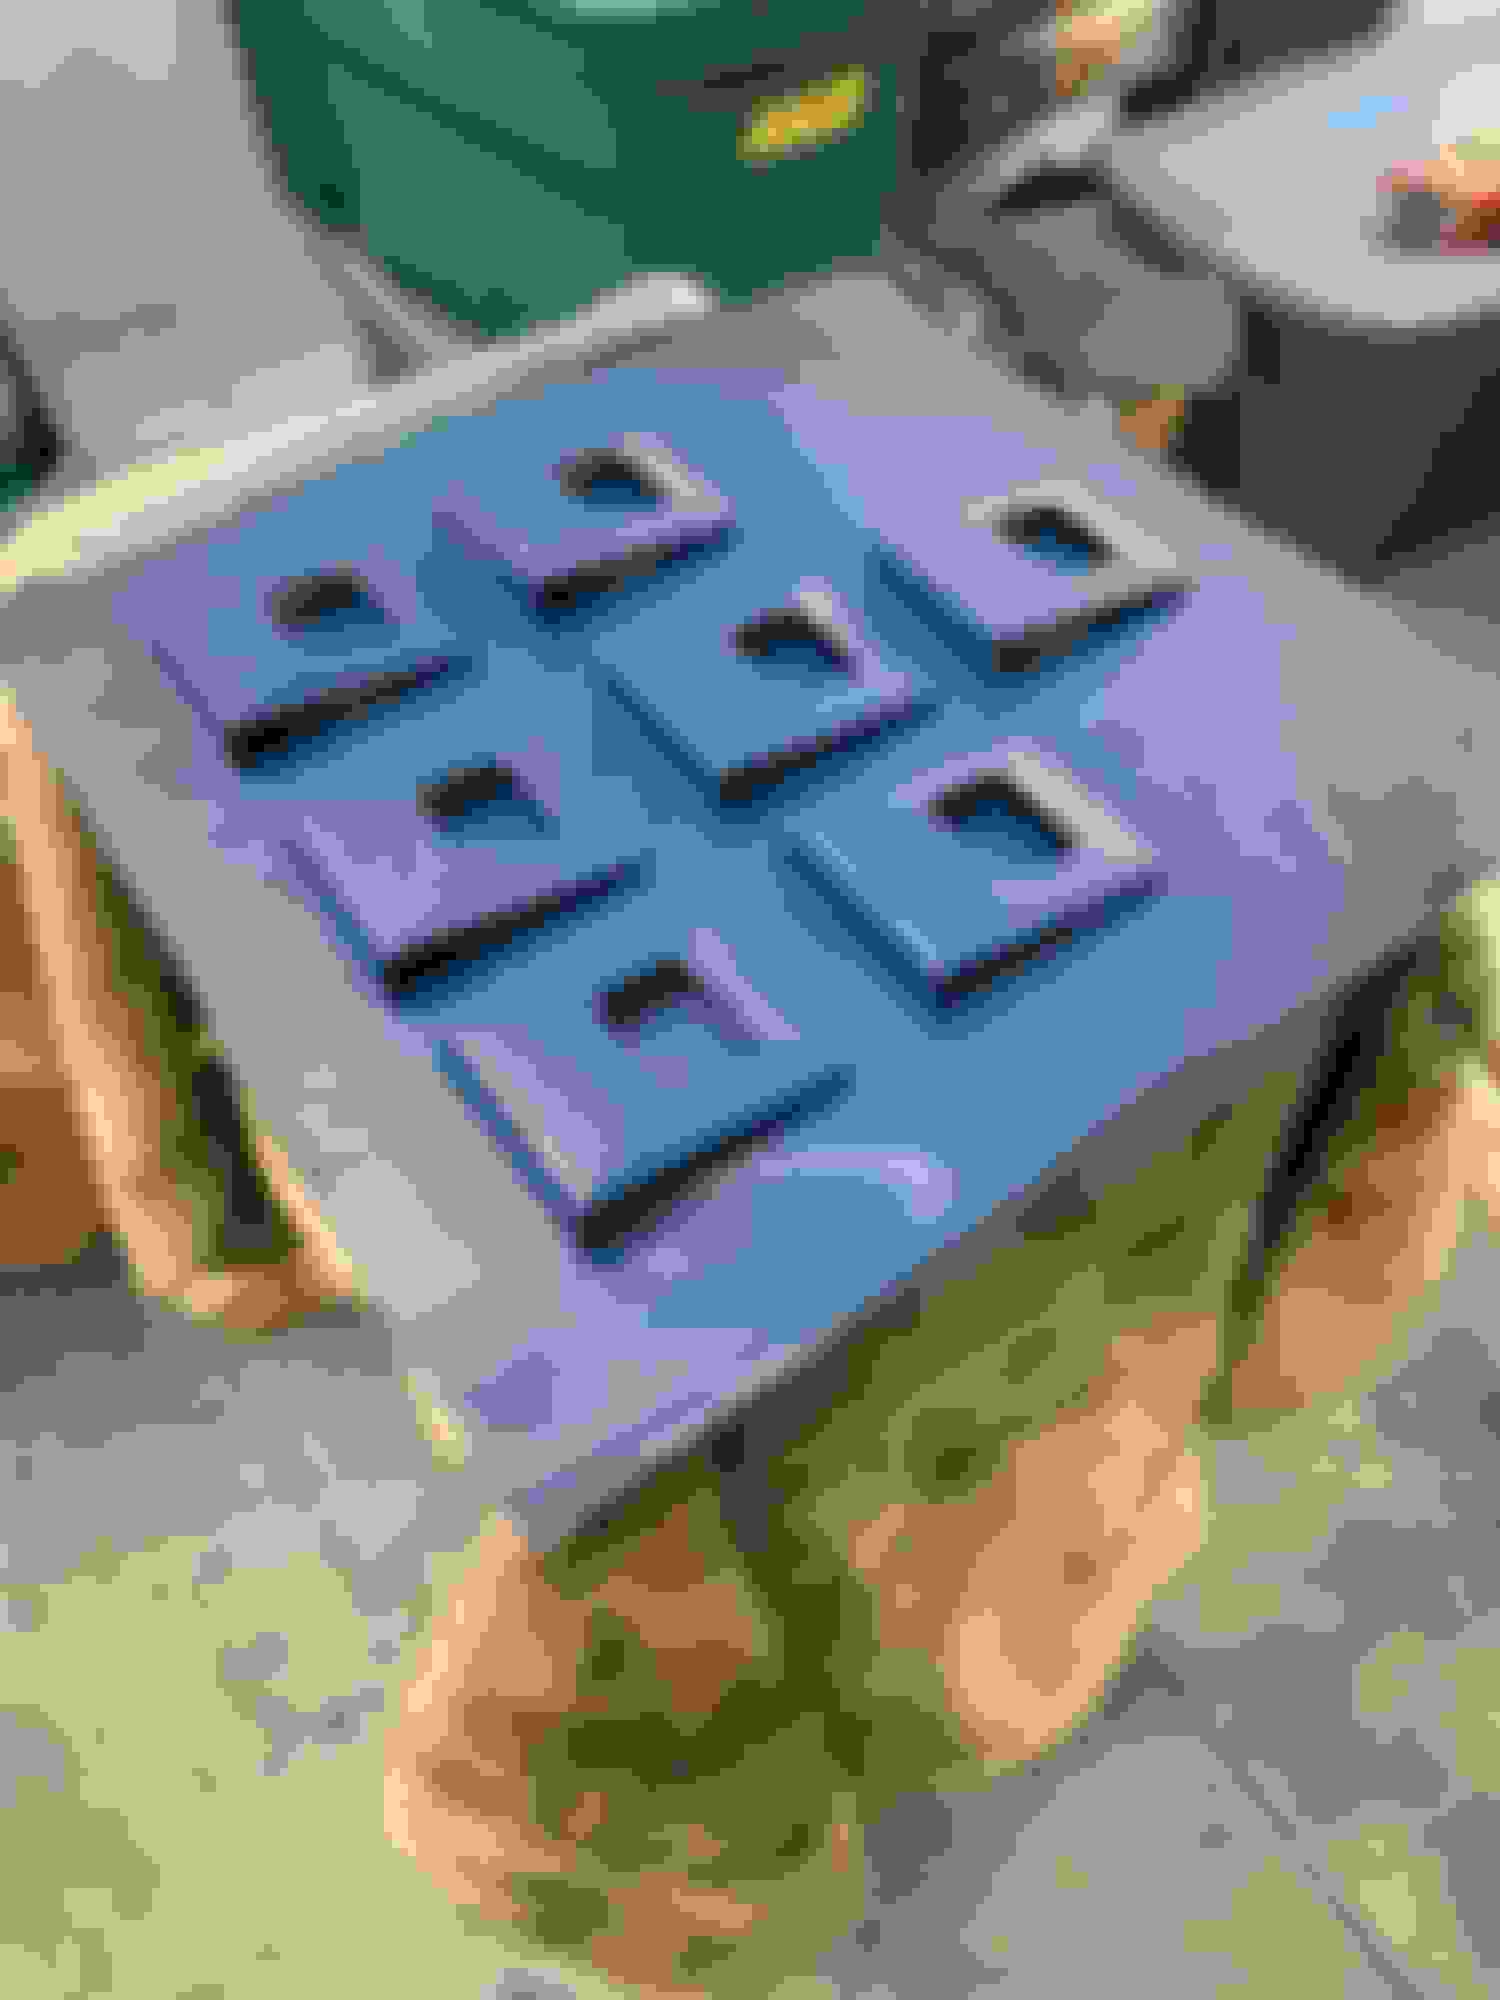
I continued restoration and preparation to reassemble the steering column. I cleaned all parts, evaporust any small pcs, etch primed upper and lower bowls and re-packed bearings. I feel pretty good about putting this back together but just to be on the safe sade I'm gonna send it to Brian Trick for reassembly. I think it will be good to get another set of eyes on it just in case I missed something and he's done a few and replaces what is needed. I'll paint it when it comes back. I think I have a good paint match. I also packed up my fan clutch for rebuild and boxed up my seat belts. I did some work already on seat belt buckles because I wanted the paint to match the column. Python will get these. My webbing I feel is good but the latches have some rust so I guess everything gets changed with new matching seat belt tags.
I started getting ready to install headliner supports along with quarter upper interior panels. The ones from H&H look like pretty good duplicates. The headliner panel looks like it was stuck using some sort of mechanical adhesive system like velcro. I have half but other pcs look to be missing even on parts car. What have you guys used to replace this stuff for headliner? Maybe a heavy duty velcro?
Thx, thats a 1-1/16" sway bar from TPP Im gonna give it a shot. I'll probably paint it the same as the rest of steering linkage? My original was too pitted and I thought why not upgrade?
Scrappie, when you push these seat belt covers back on, I found having the male end inserted helps to hold the GM button in the correct place. Hope this helps!
I continued restoration and preparation to reassemble the steering column. I cleaned all parts, evaporust any small pcs, etch primed upper and lower bowls and re-packed bearings. I feel pretty good about putting this back together but just to be on the safe sade I'm gonna send it to Brian Trick for reassembly. I think it will be good to get another set of eyes on it just in case I missed something and he's done a few and replaces what is needed. I'll paint it when it comes back. I think I have a good paint match. I also packed up my fan clutch for rebuild and boxed up my seat belts. I did some work already on seat belt buckles because I wanted the paint to match the column. Python will get these. My webbing I feel is good but the latches have some rust so I guess everything gets changed with new matching seat belt tags.
I started getting ready to install headliner supports along with quarter upper interior panels. The ones from H&H look like pretty good duplicates. The headliner panel looks like it was stuck using some sort of mechanical adhesive system like velcro. I have half but other pcs look to be missing even on parts car. What have you guys used to replace this stuff for headliner? Maybe a heavy duty velcro?
Those �Velcro� like squares should have a matching square on the B pillar of the car that looks exactly like that. It is kinda like Velcro but hard plastic. They snap together. I still had mine on the cardboard panel and the B pillar. I wanted to reuse the original cardboard B pillar covers since they have a nice curve to them to match the B pillar. I just recovered them with new material. I didn�t use anything else to reattach the B pillar covers. The rear window windlace also helps hold the cover in place. I have seen others use a large square of Velcro though when those were missing. If your not using your original cardboard try to gently bend the new ones since they come flat and fit much better with a slight curve to match the B pillar shape.
Thanks Andy, the part thats supposed to be on the B pillar is missing. Are you sure the pc is exact same as the one on the cardboard? I have the cardboard from the parts car that has the pcs so if they are the same I could take those and use them on the B pillar? They must have been applied to B pillar with a good adhesive? I'm gonna try and save the original cardboard, I'll see how that goes.
Scrappie, when you push these seat belt covers back on, I found having the male end inserted helps to hold the GM button in the correct place. Hope this helps!
Thanks Stephen, Python will have those shortly so Im thinking they will put them on but if not I appreciate the advice.
Thanks Andy, the part thats supposed to be on the B pillar is missing. Are you sure the pc is exact same as the one on the cardboard? I have the cardboard from the parts car that has the pcs so if they are the same I could take those and use them on the B pillar? They must have been applied to B pillar with a good adhesive? I'm gonna try and save the original cardboard, I'll see how that goes.
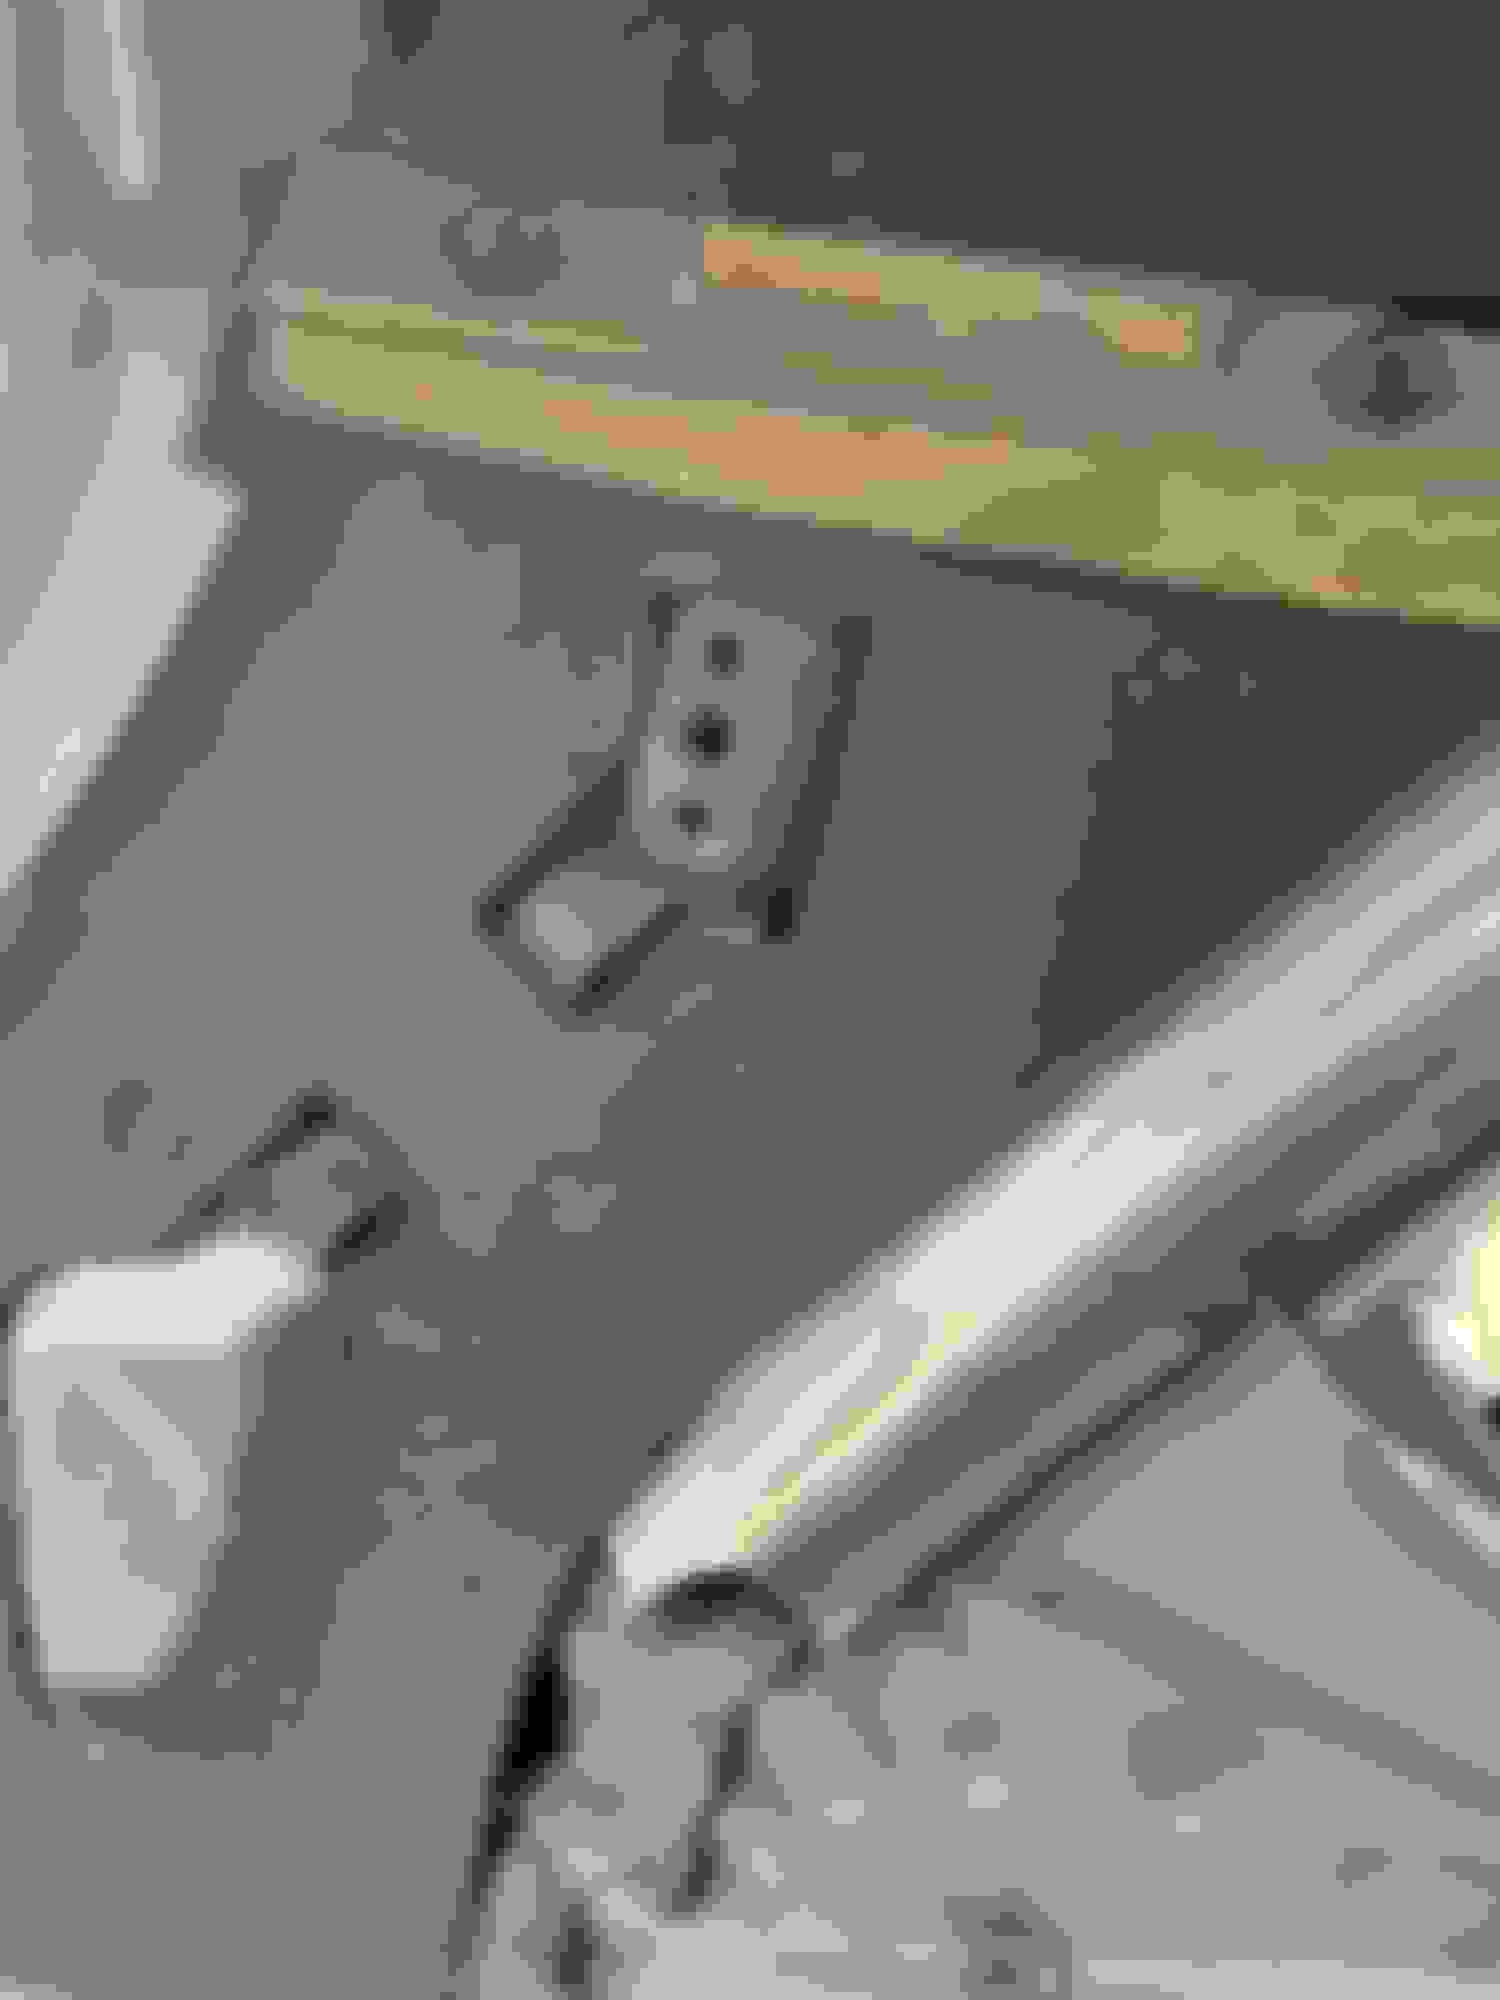
I don�t know if they are exact. Like the spacing between the nubs are the same. You can try and see if the parts cars ones from the cardboard snap into the ones your gonna use. If they do your should be fine to use them. Here is a picture of the ones on my car when I was installing the headliner. You can see some of the �nubs� were broken but they still snapped in and held. From the photo looks like the ones on the B pillar have a large square base. Looks like they are glued to the B pillar as I dont see a staple or screw.
So I found how these are fastened. I was digging through my stuff from when I disassembled the car and with the headliner clips was one of the pieces that meshes with the sail panel piece. The black piece snaps on the body via a couple prongs. I was looking through my pics of car and saw it so I knew I had it. The problem is I only have one. The parts car's are missing also. Anybody have one? If not I think I can use another clip from parts car?
Also I started to put duct work back together and wondering if anyone has a detail of how those go into duct. I believe I have the clips that hold them in which is good because they are hard to find. Im just not sure of assembly and orientation?
Last edited by scrappie; March 13th, 2022 at 04:53 AM.
Scrappie, I've attached a few pics of the underside of my dash (4-speed, no a/c car). I was not quite certain if you wanted info about where the duct connects to the inlet flapper, or how the duct work connects to the louver at the dash. Anyway, I've attached a few pics at the flapper end, and one of the louver backside, poor photos at that, because it's next to impossible to get good photos using my phone. Hope some of this may be of help. Btw, I doubt the duct work installs but one way?


 February 24th, 2022, 11:24 AM