When you click on links to various merchants on this site and make a purchase, this can result in this site earning a commission. Affiliate programs and affiliations include, but are not limited to, the eBay Partner Network.
I've been busy last few weekends with interior. I got all my stuff from Legendary a couple years ago. I received a replacement package tray from Legendary because the speaker hole was on wrong side. I installed it and I think it looks great. Once package tray was in I could continue with assembly.
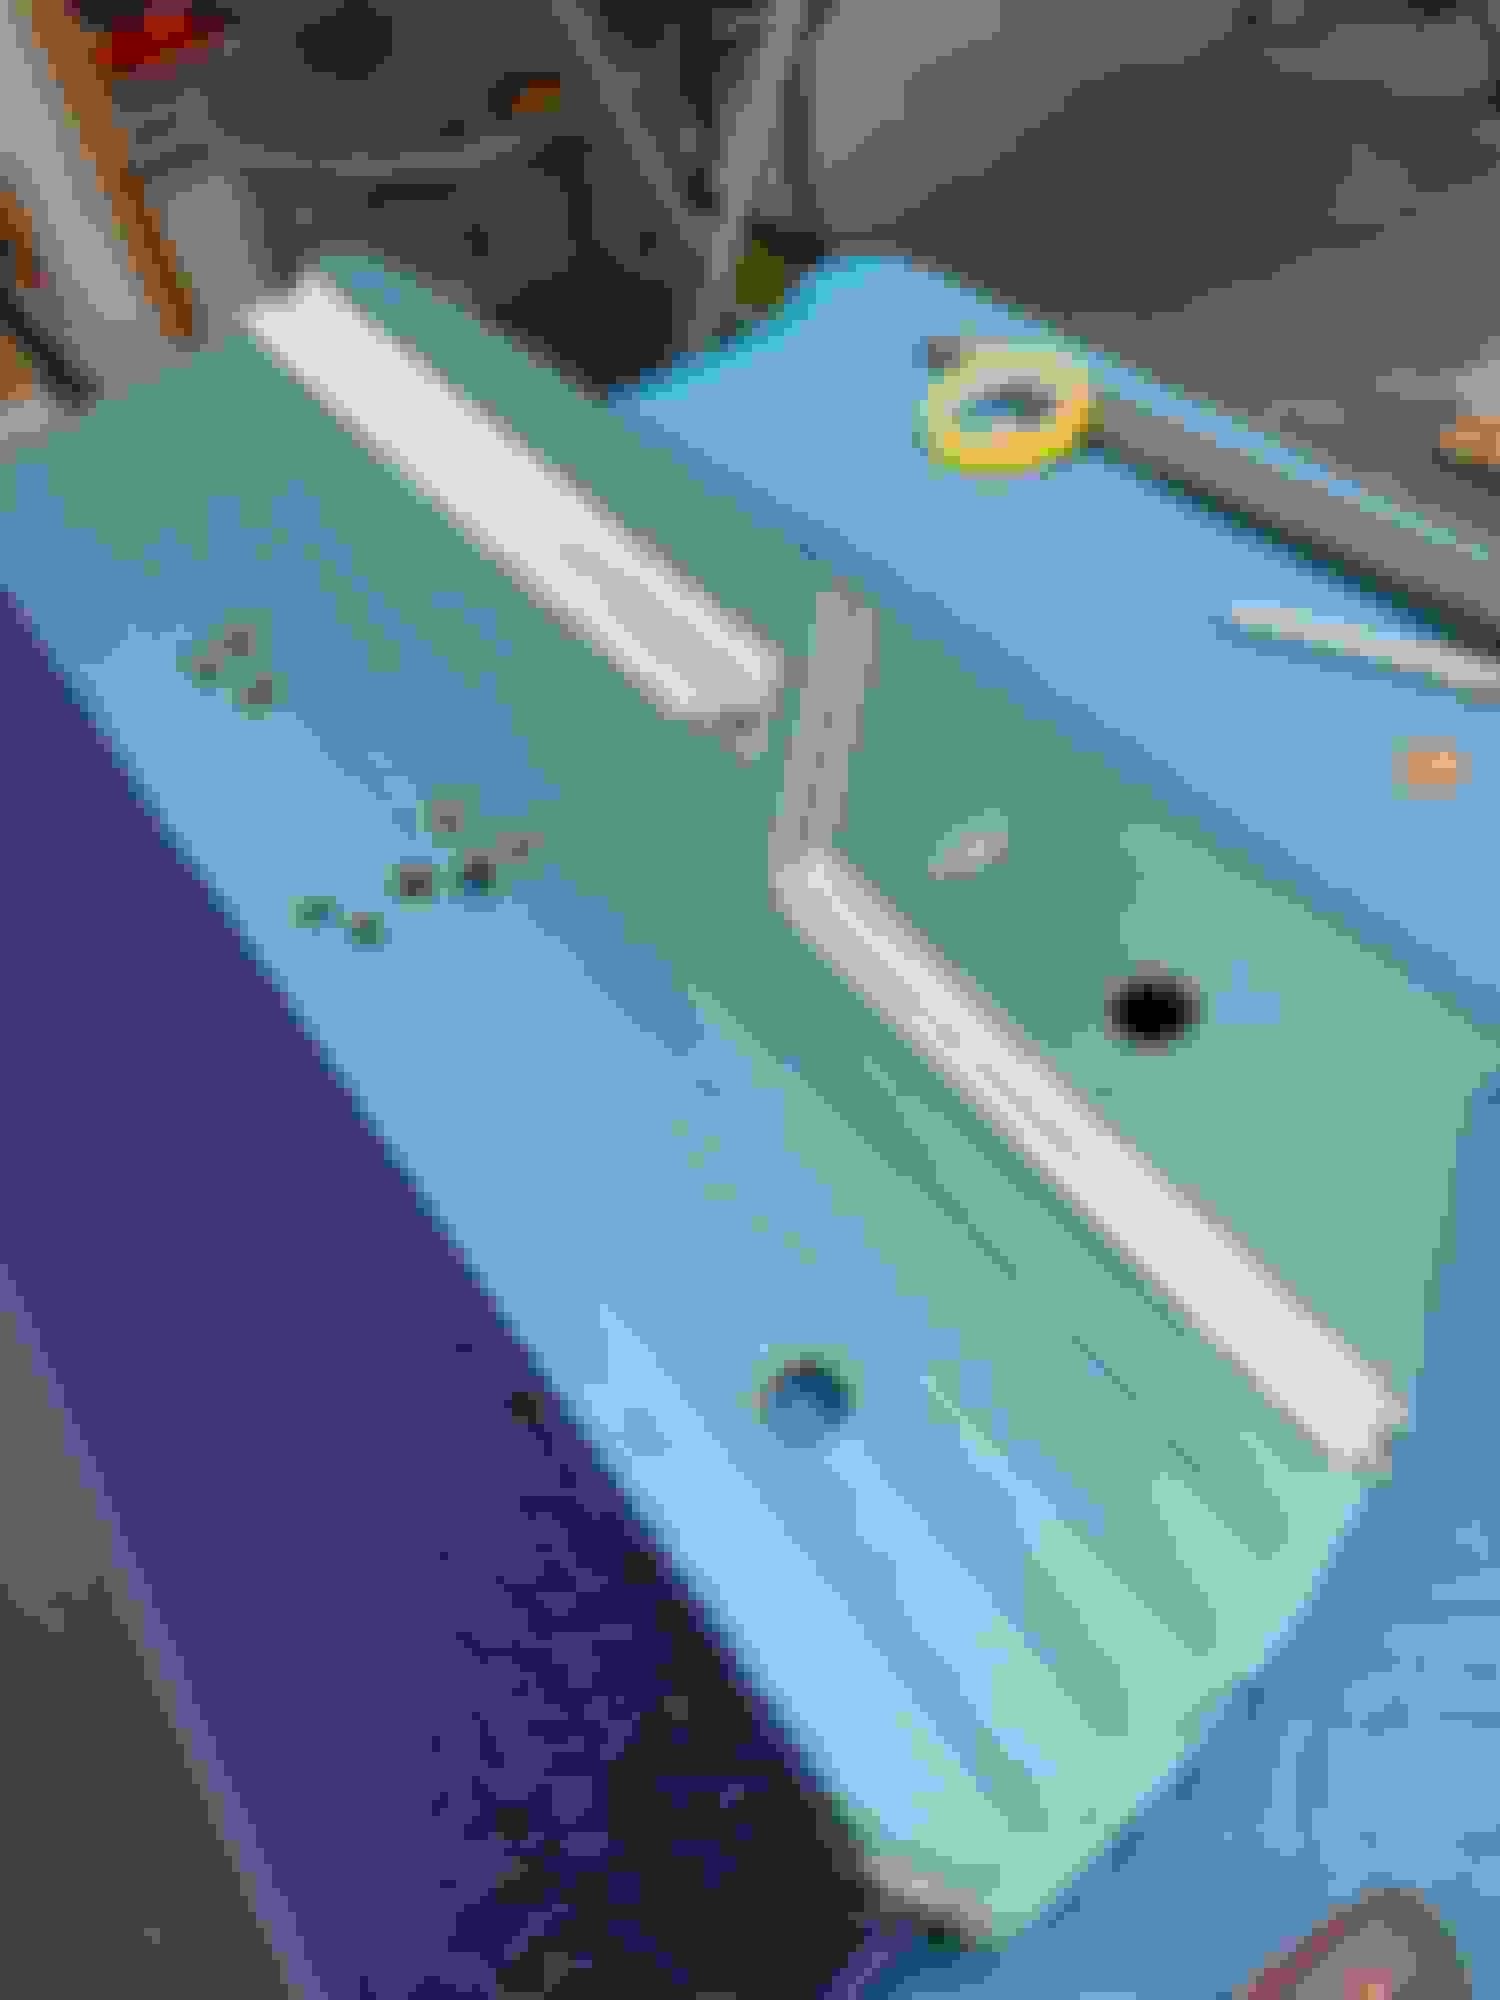
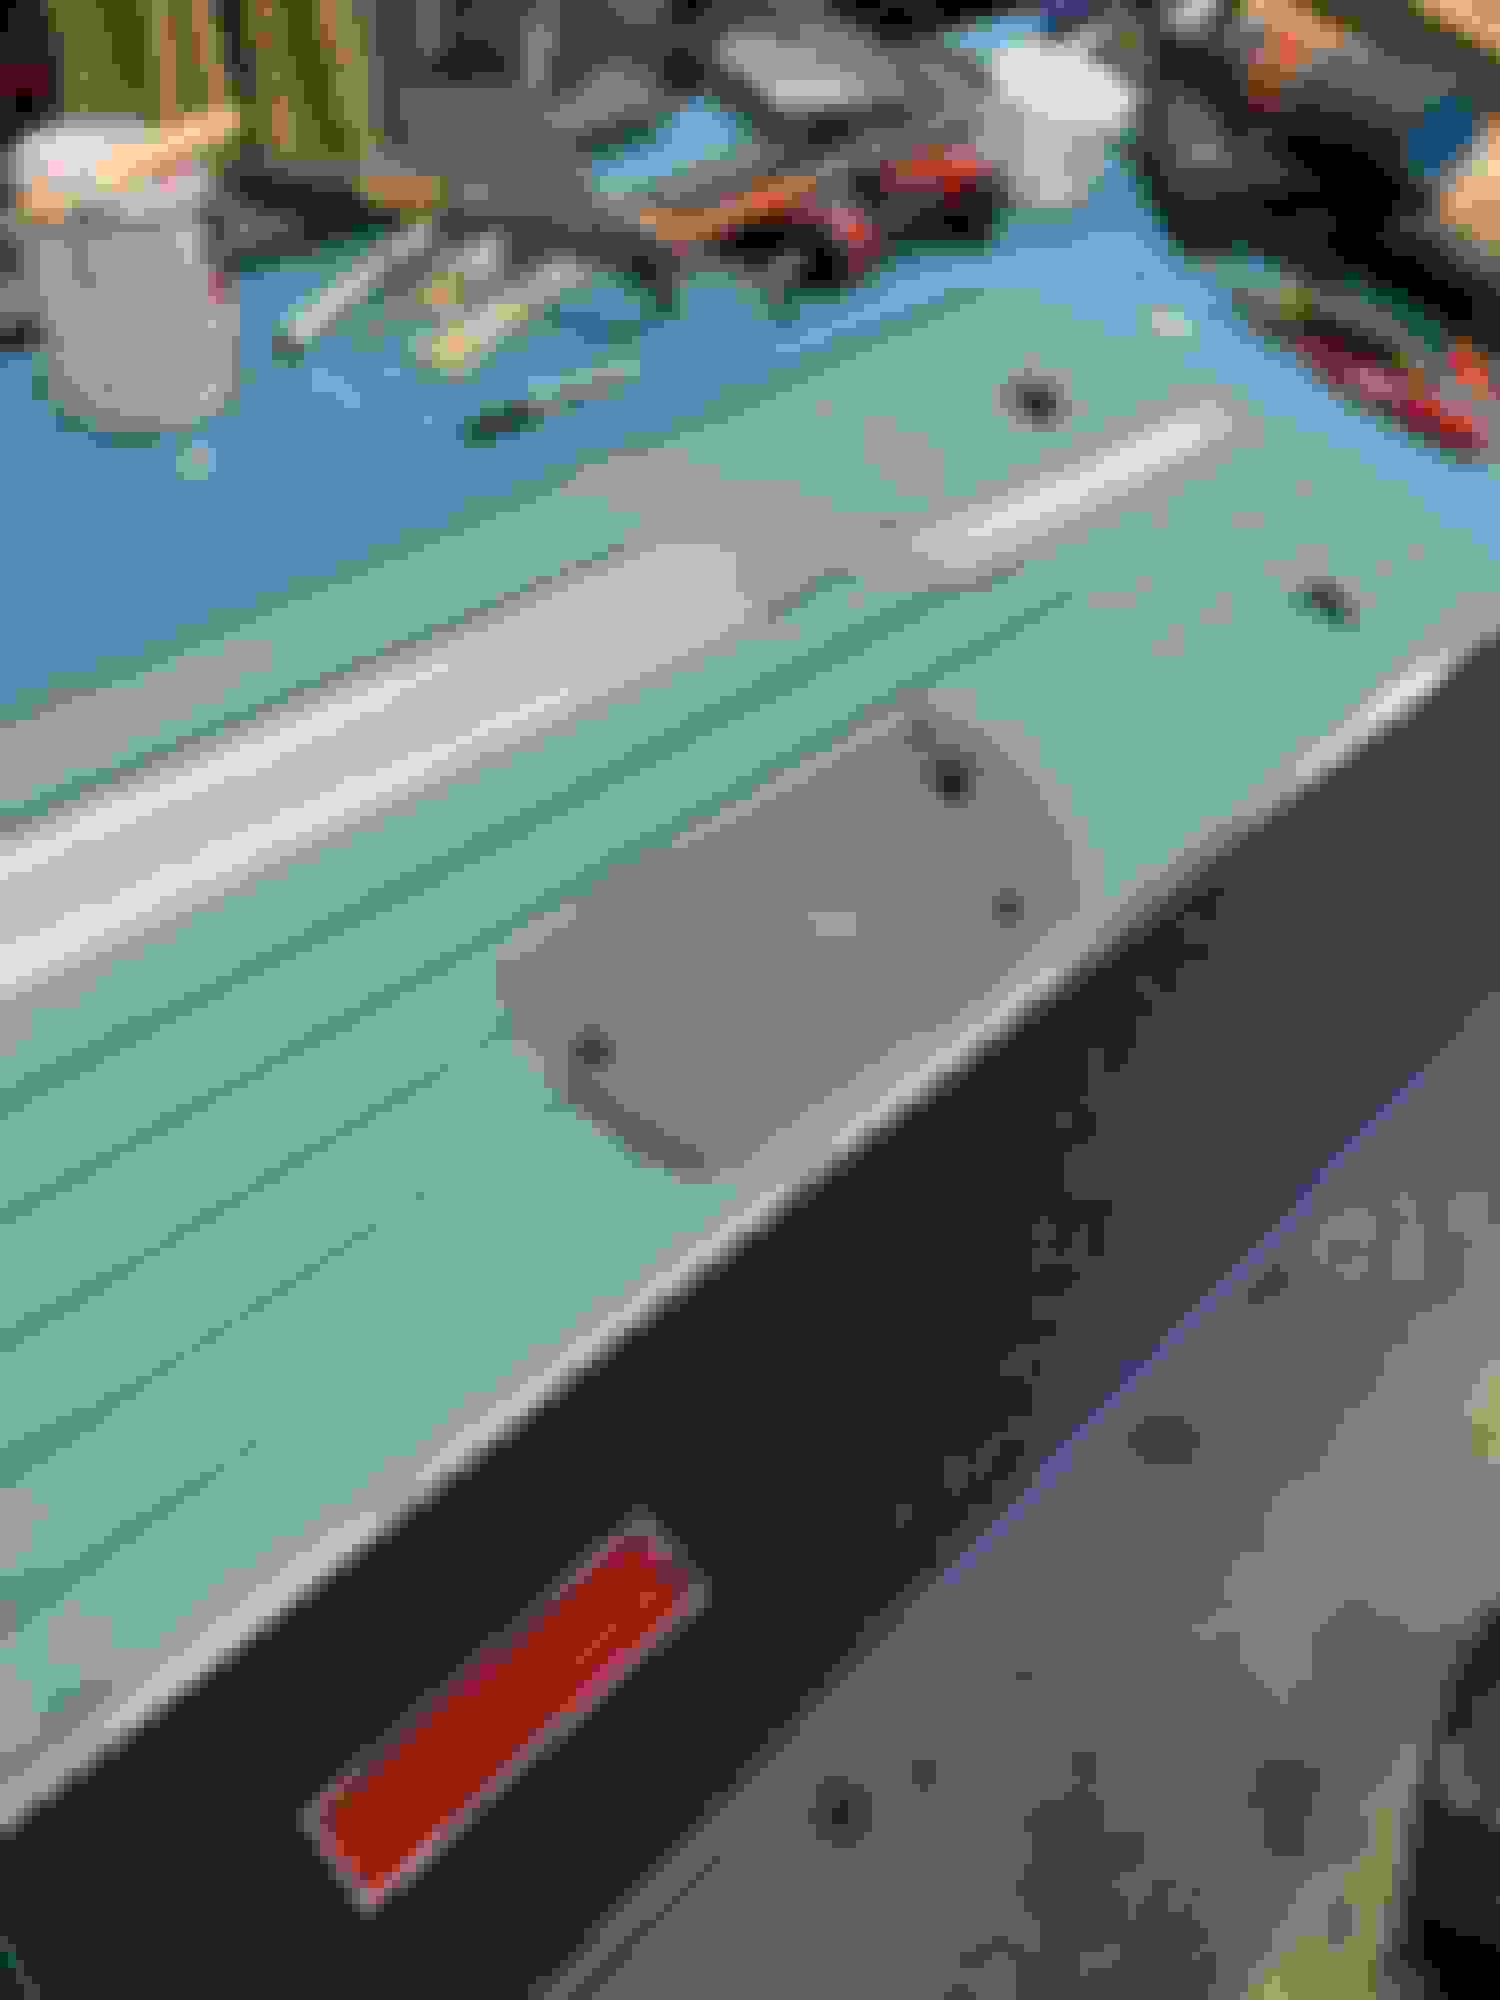
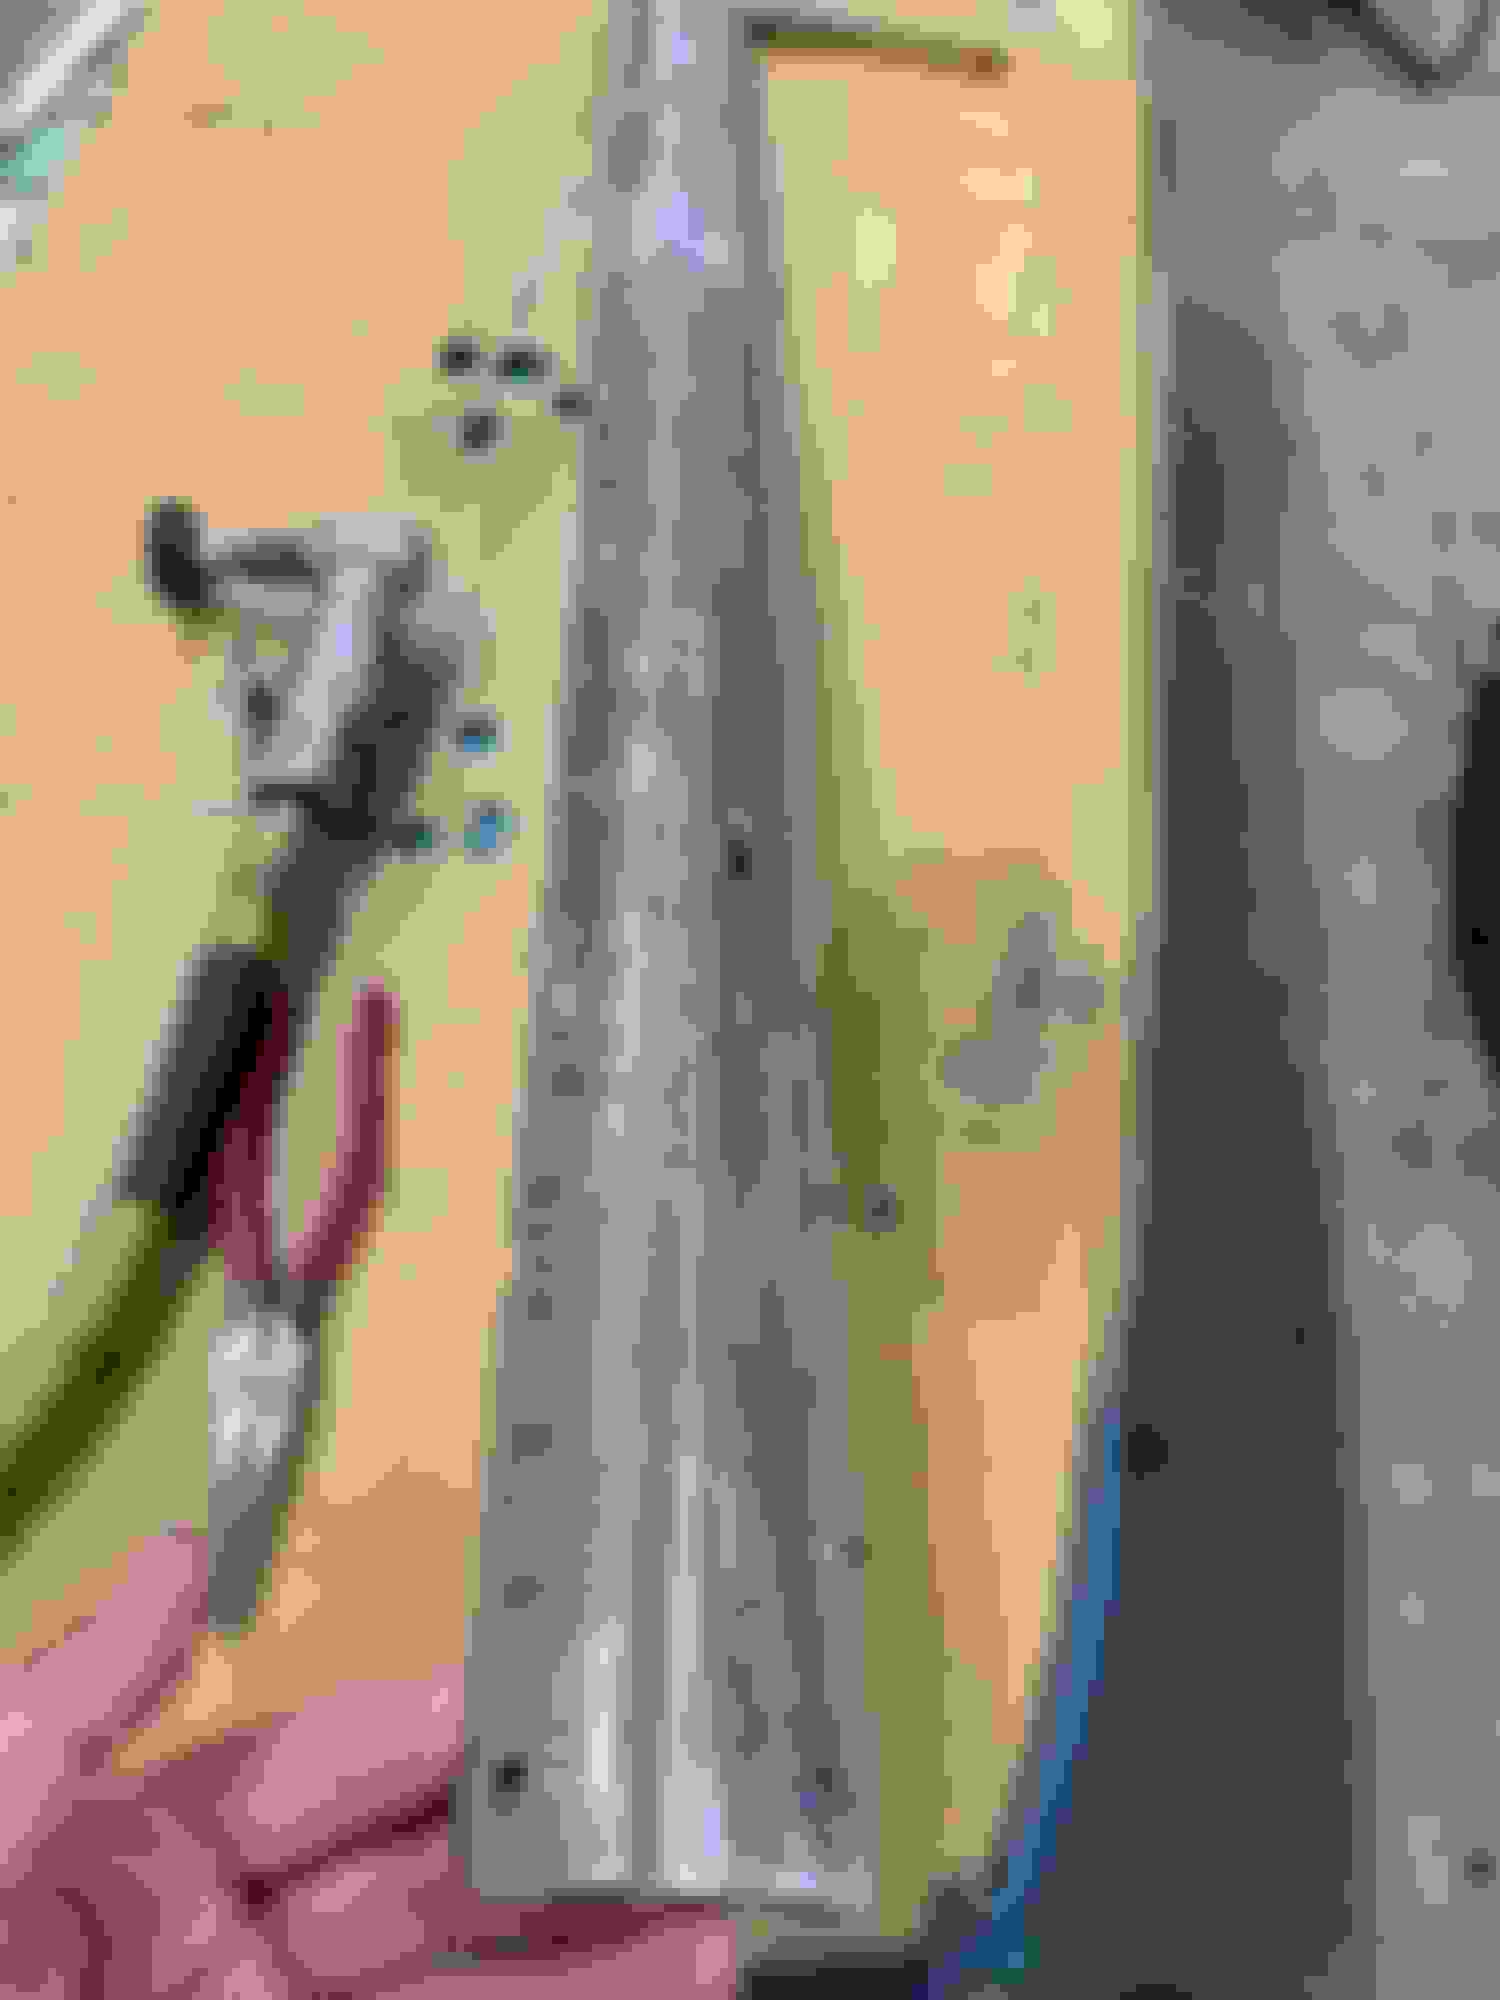
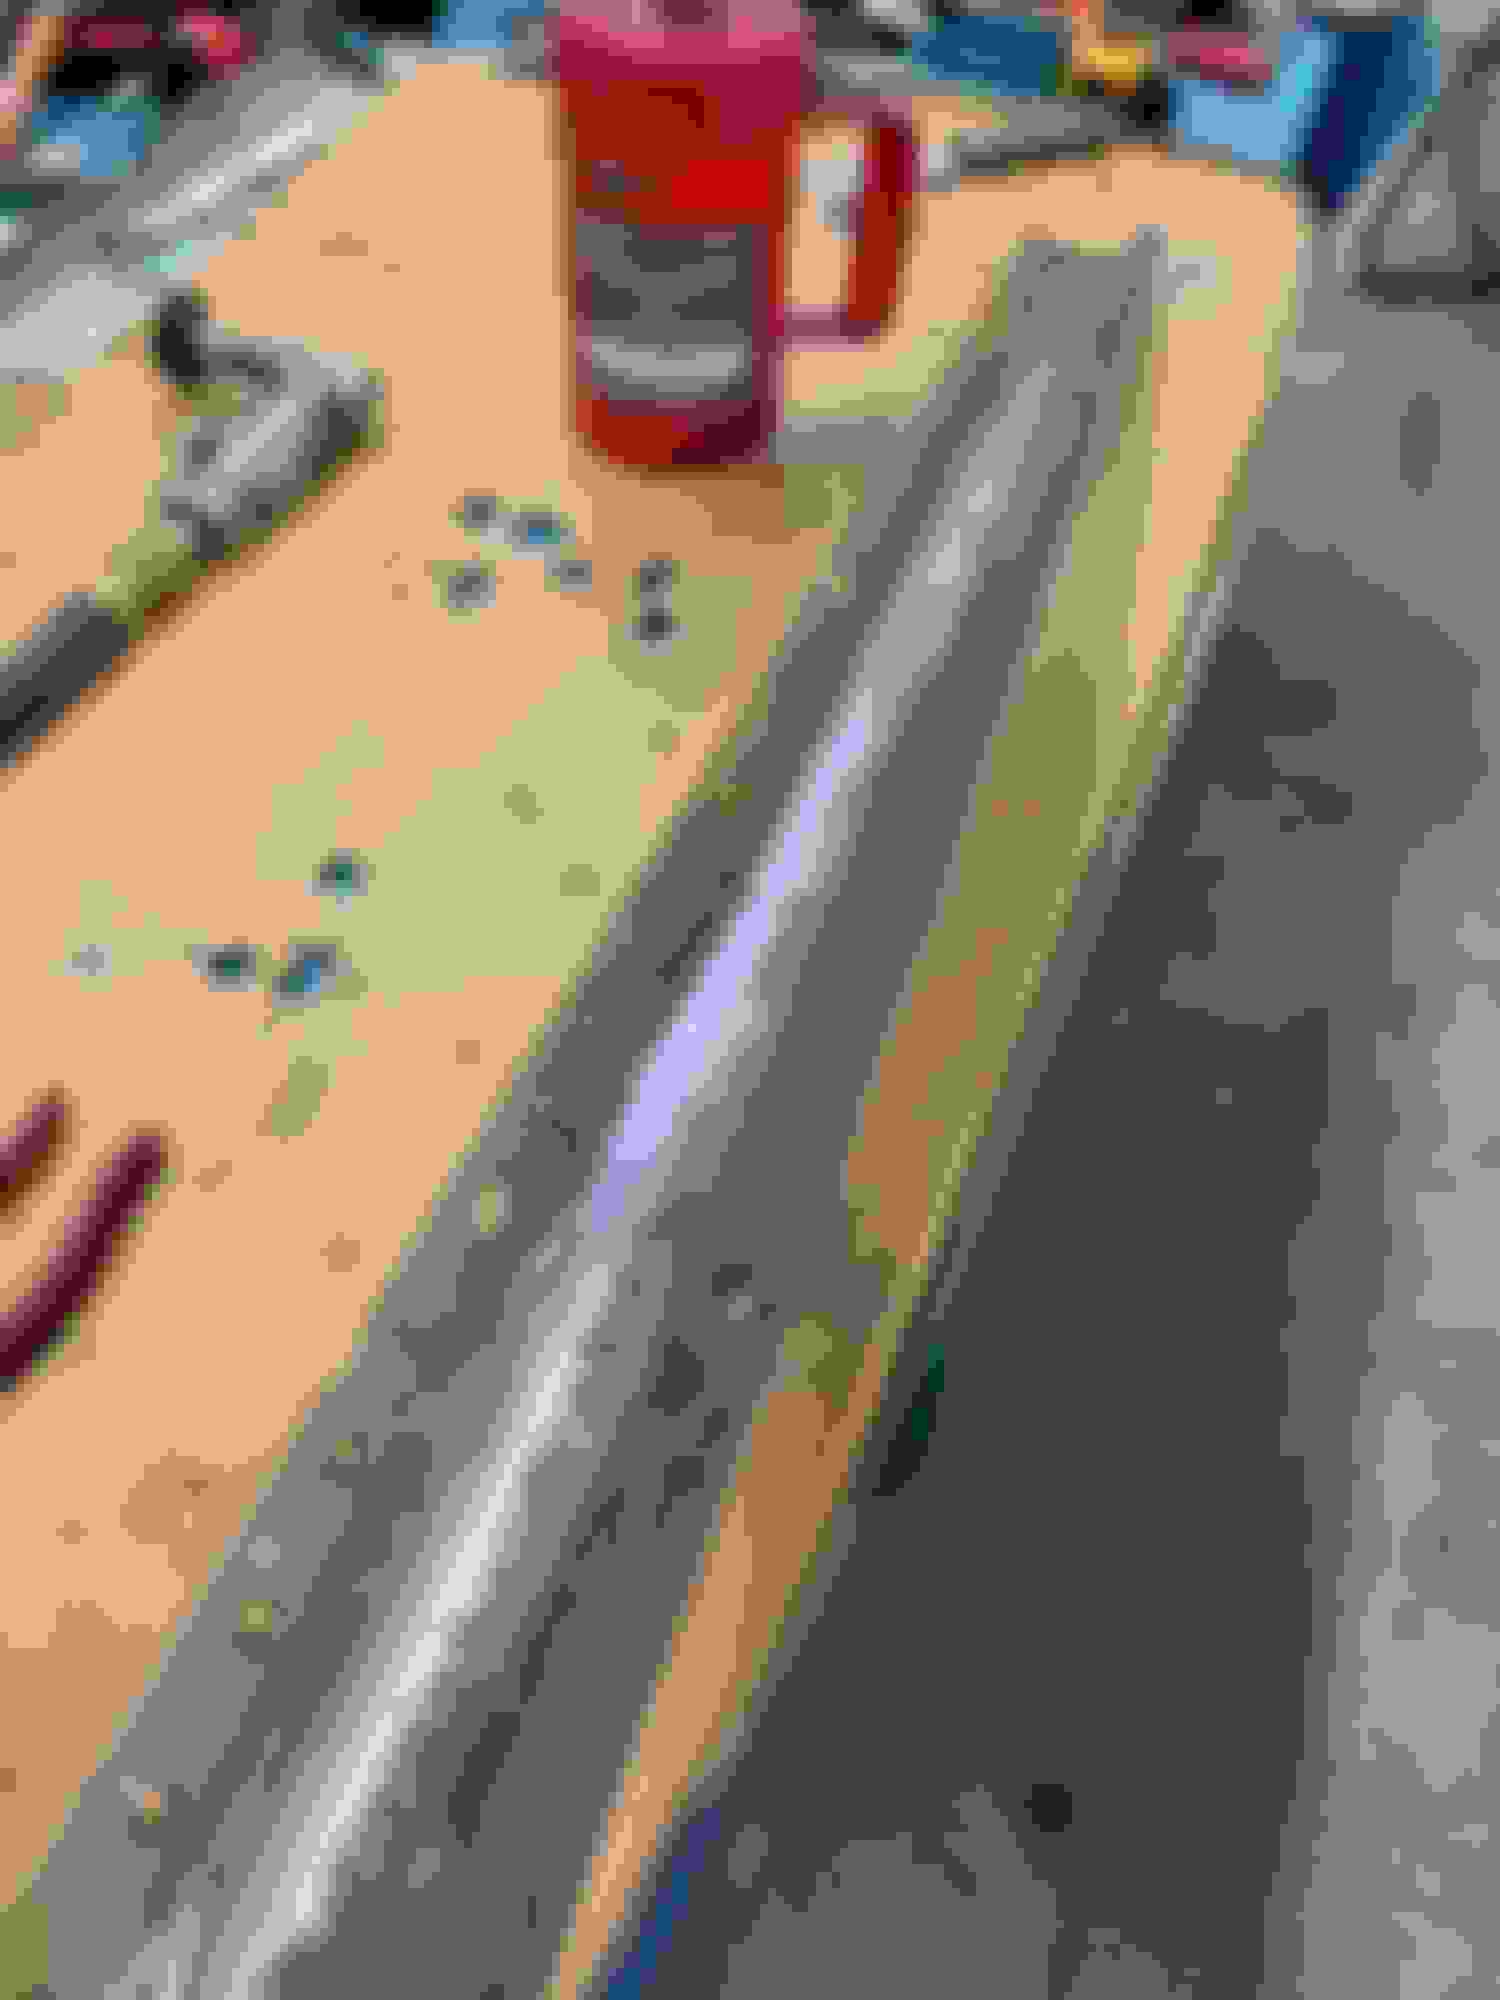
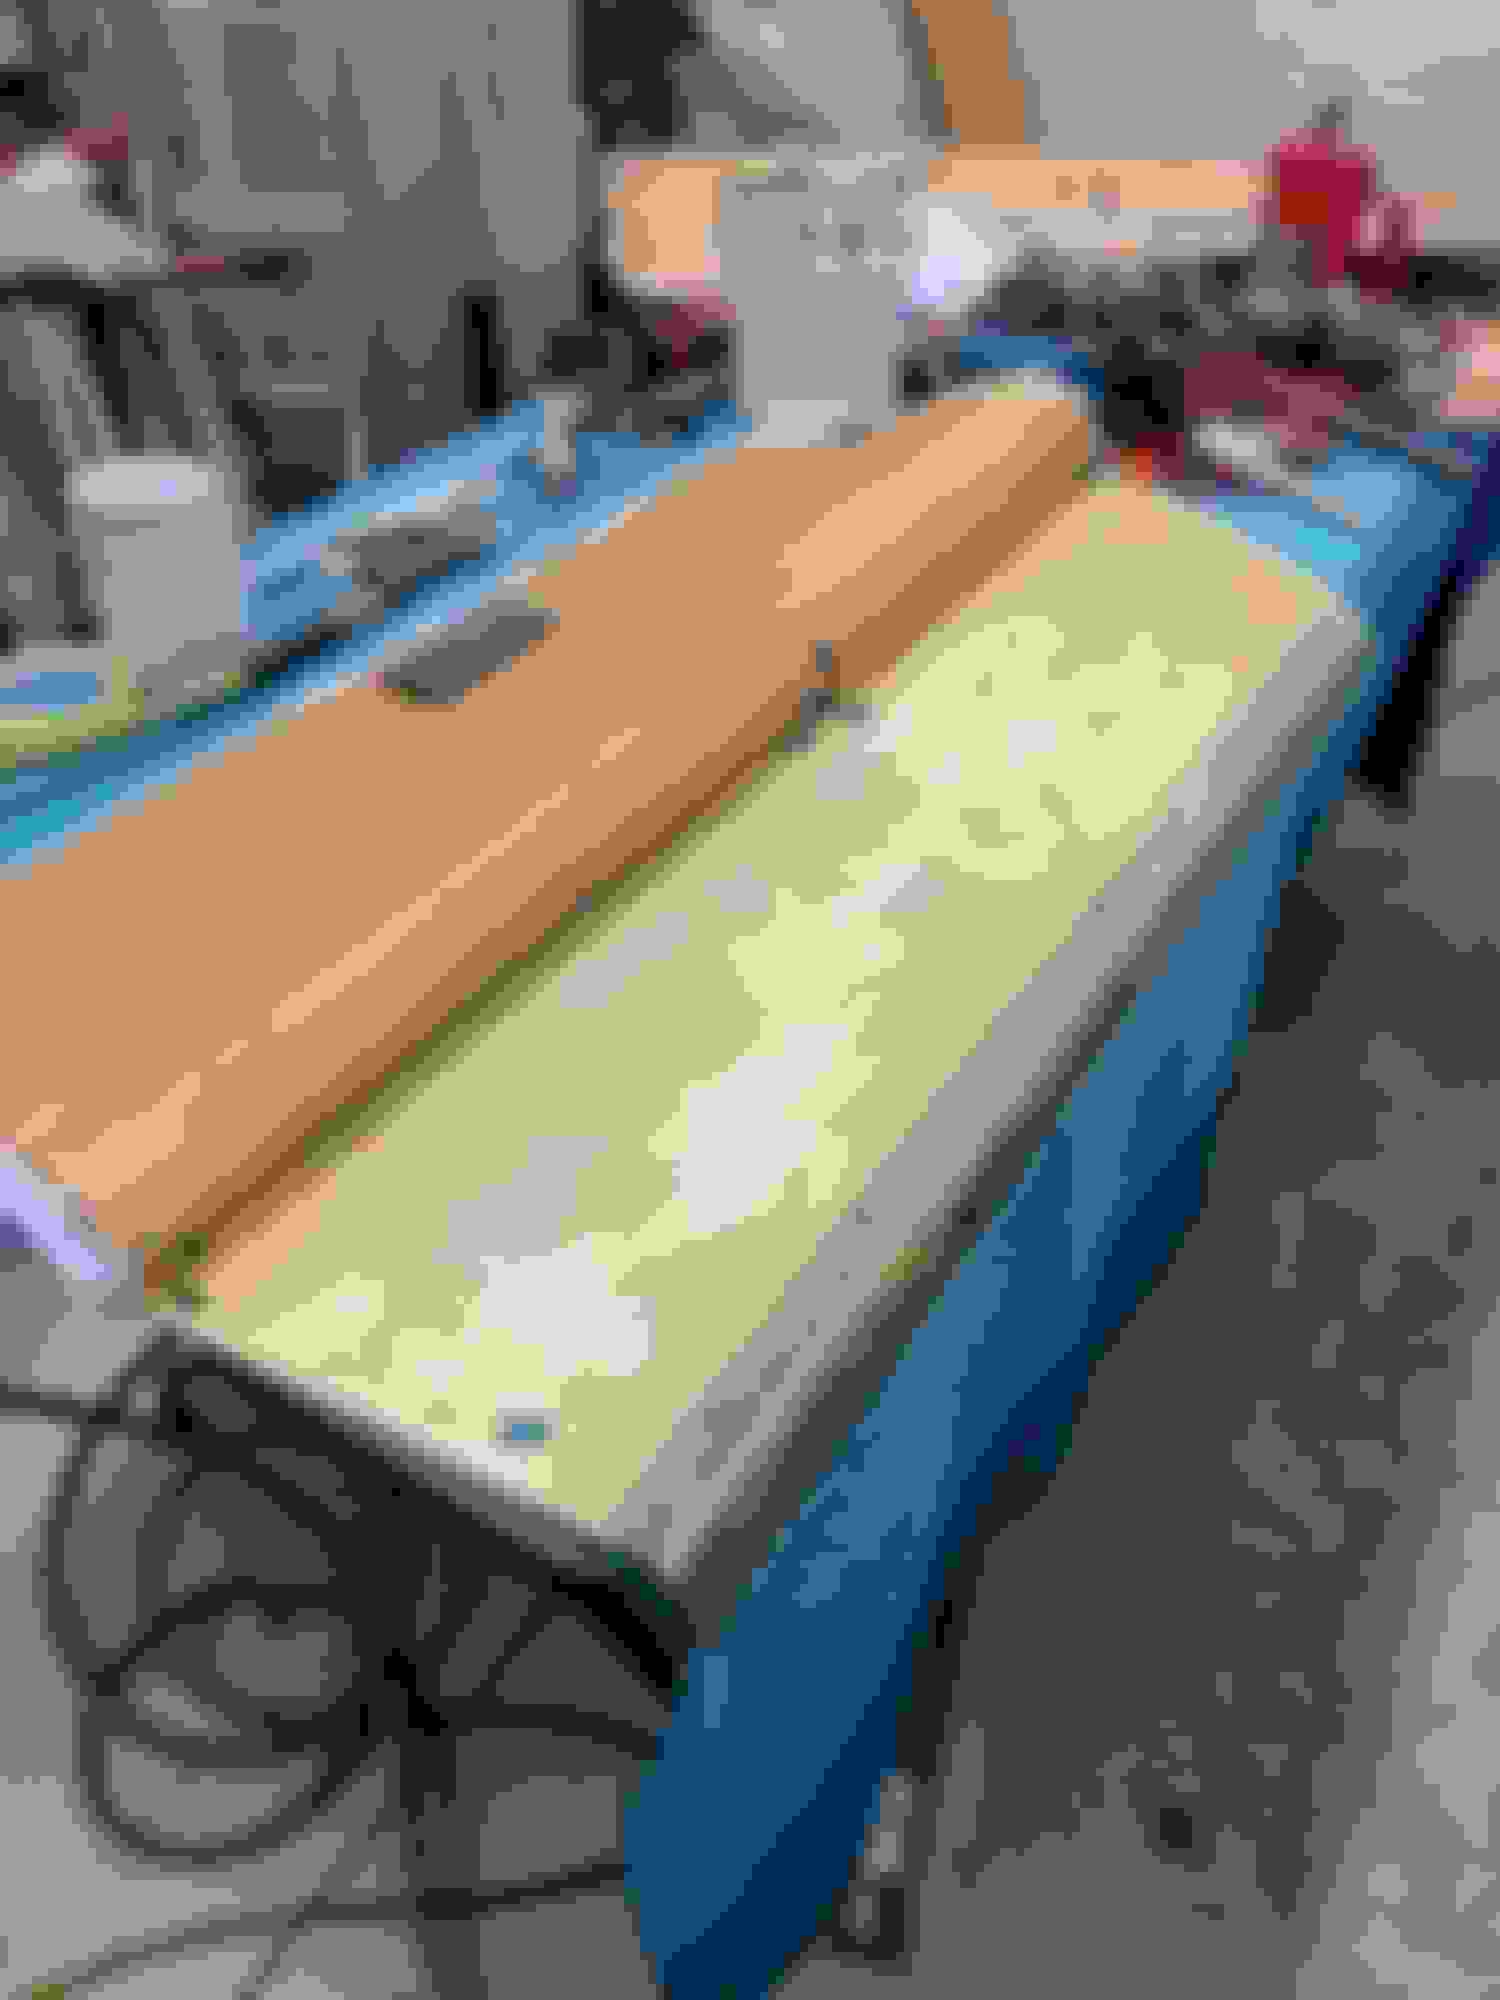
In Jimmy's and Andy's build threads, they both encountered door panel issues so I decided to buy the door panels without the top rail and put that on myself. It was a fair amount of work. The big thing is re-attaching the metal rail to the cardboard. I opted to try and duplicate factory method and use the metal barbs punched through cardboard. The first thing was to clean both front and rear metal panels. these panels are under all vinyl/foam and 50 yrs later they are rusty. You never see them but it's un-treated sheet metal under foam/vinyl and bound to rust. I looked for a nice used set but in the end had all mine blasted. I couldn't stand knowing it was rusty underneath after all this. I attached the rear and front panels using the same method. I straitened out the barbs and the pressed them back into cardboard using various methods like a C clamp with metal bars and a body hammer. Once panels were on I stretched vinyl over rails and installed new interior window fuzzies. Once everything was built and package tray was installed, I could start installing rear panels and seat/seat belts and work my way forward. After panels were hung I concentrated on seats/seat belts. I had to install new door weather stripping also during this process. The weather stripping is from Soft seal and fits ok, it just seems to push door out a bit and not compress like it should?
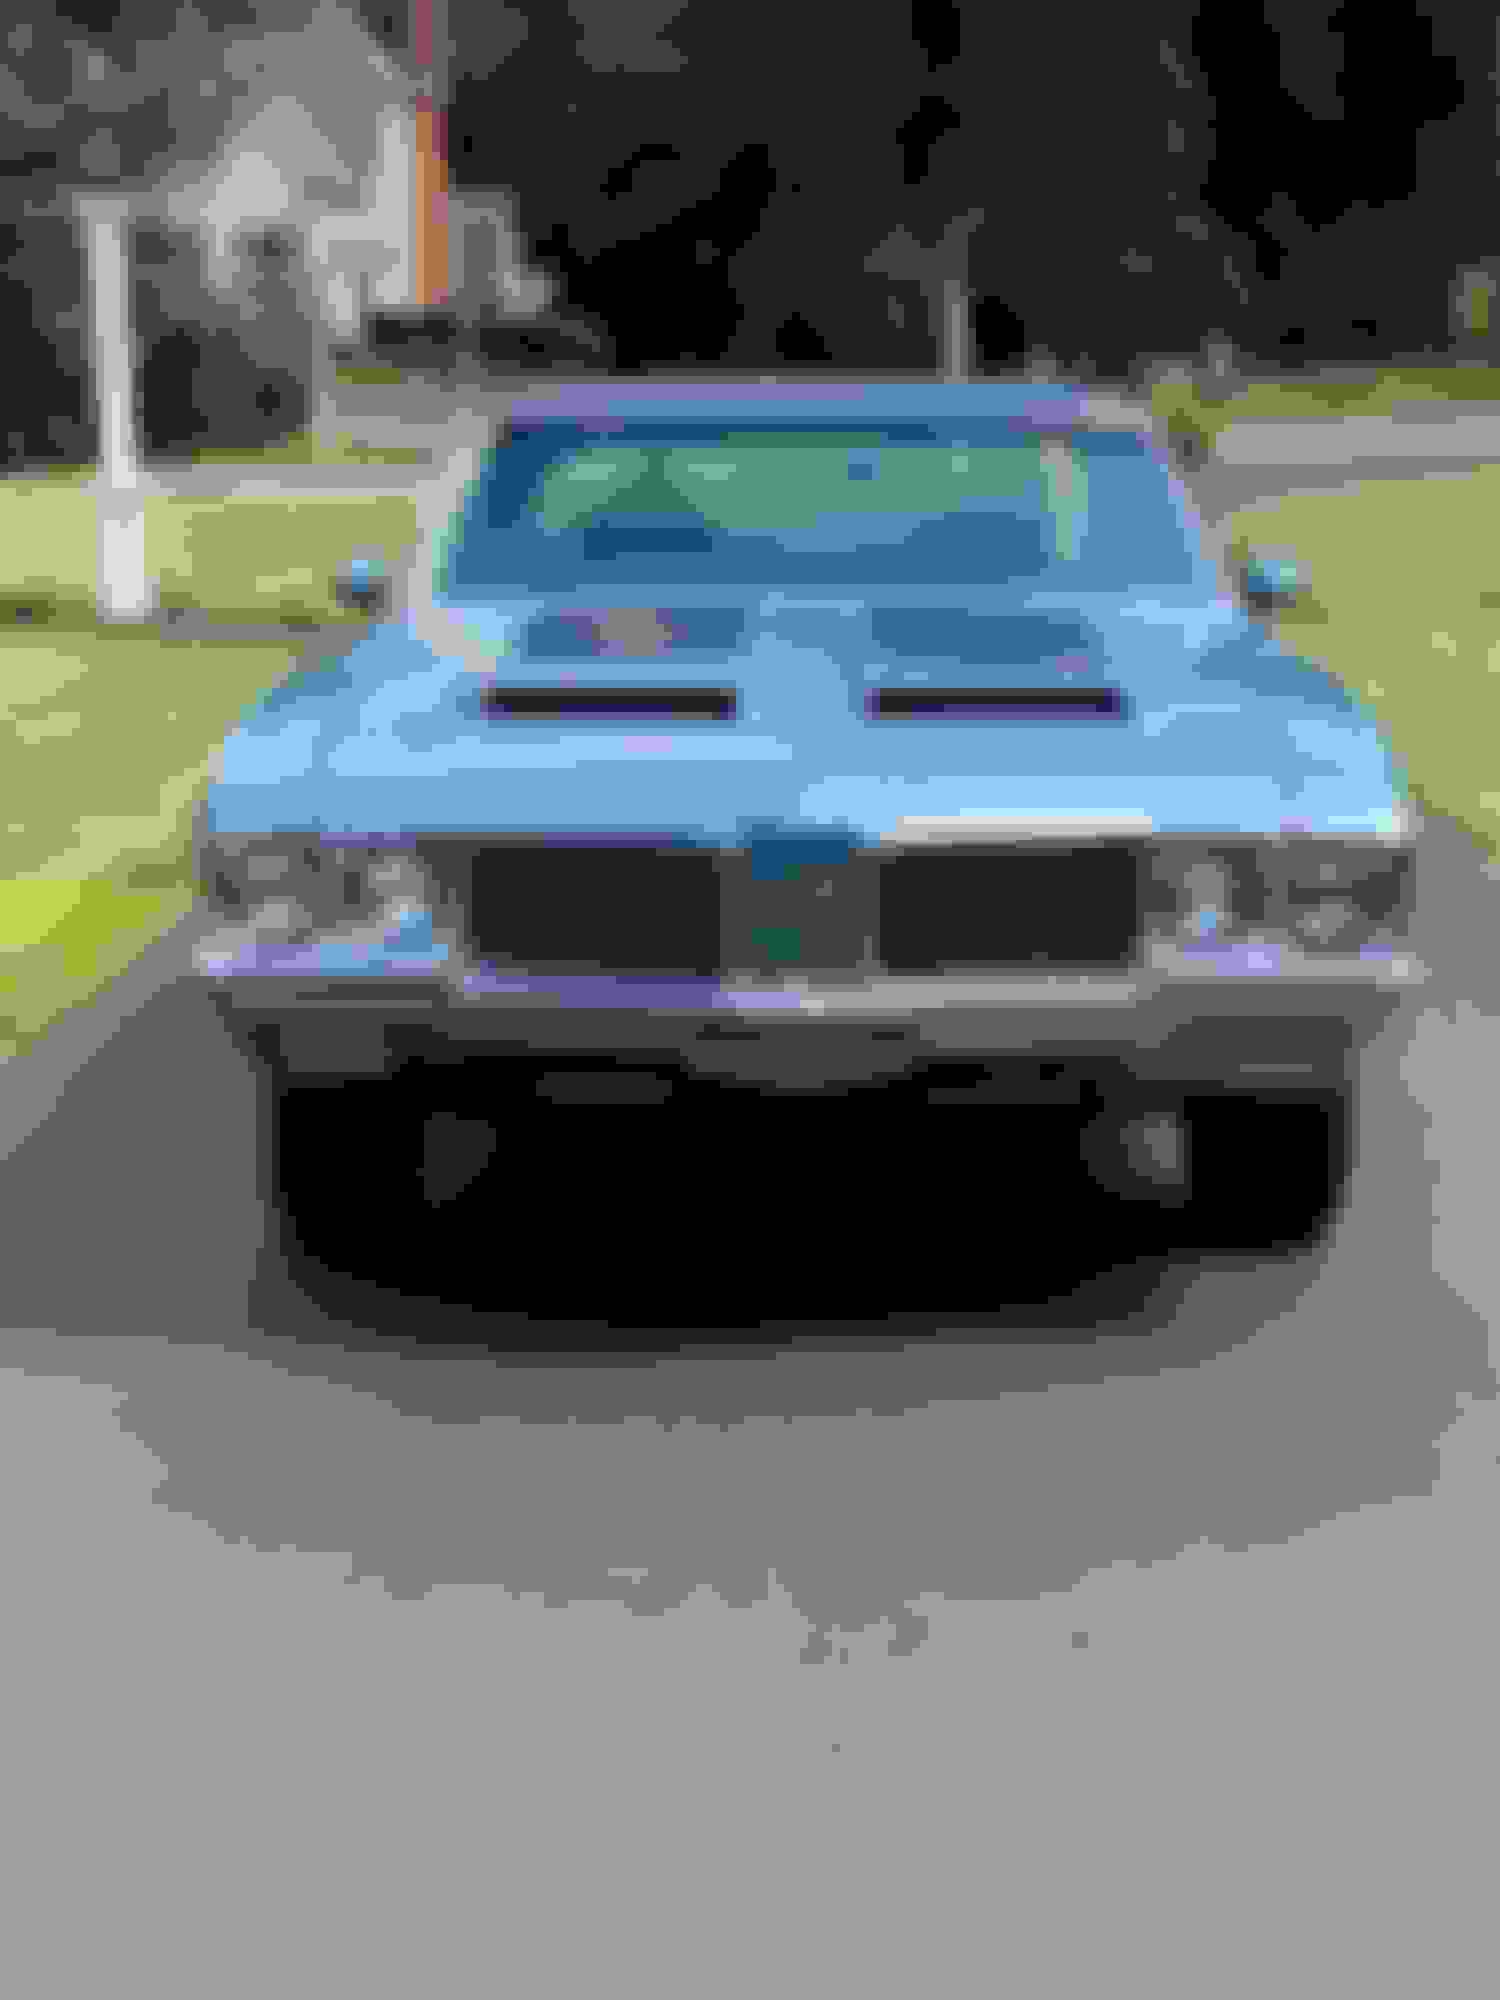
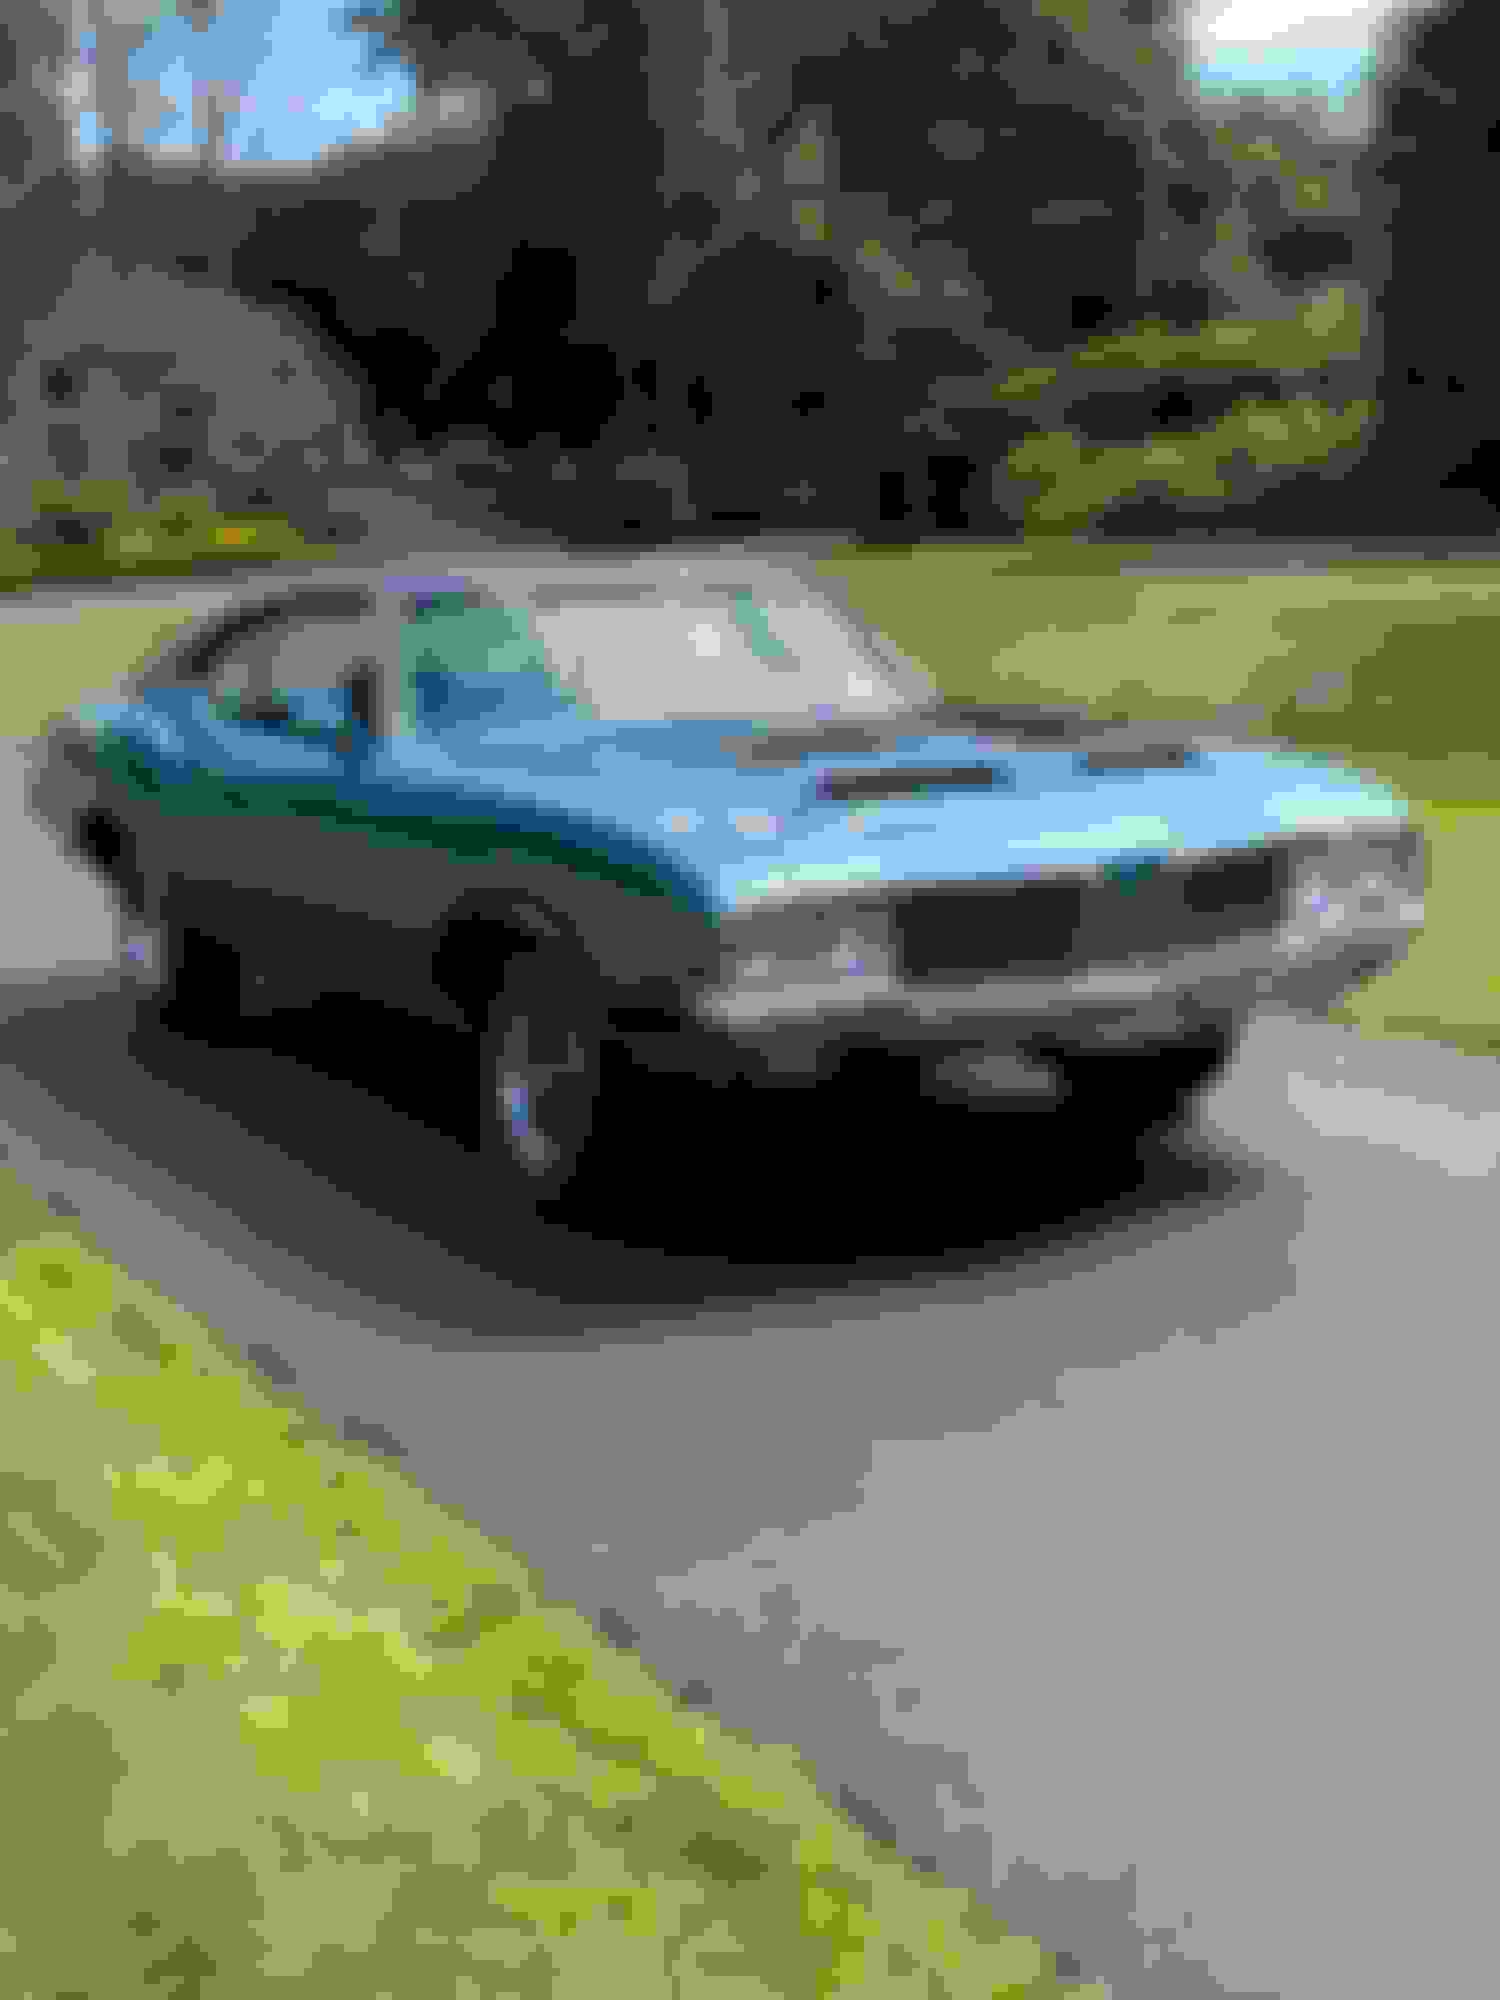
I finished up my dash, steering wheel, A- pillar covers and sun visors. I'm working my way out and still have rear glass to install but interior is pretty much done. I have some stainless trim to install still along with front bumper and hood. I'm working on detailing a set of SSI rims before getting tires mounted. Another couple weeks and I should be pretty close to done?
Looks great! Check out the seat piping from Ames for buckets. Don�t put too much black paint inside the snorkel. The numbers on the fin should have light over spray at best.
Looks great! Check out the seat piping from Ames for buckets. Don�t put too much black paint inside the snorkel. The numbers on the fin should have light over spray at best.
Thx Jimmy, the piping is from Ames and too late on the snorkel, I buried that thing in paint.
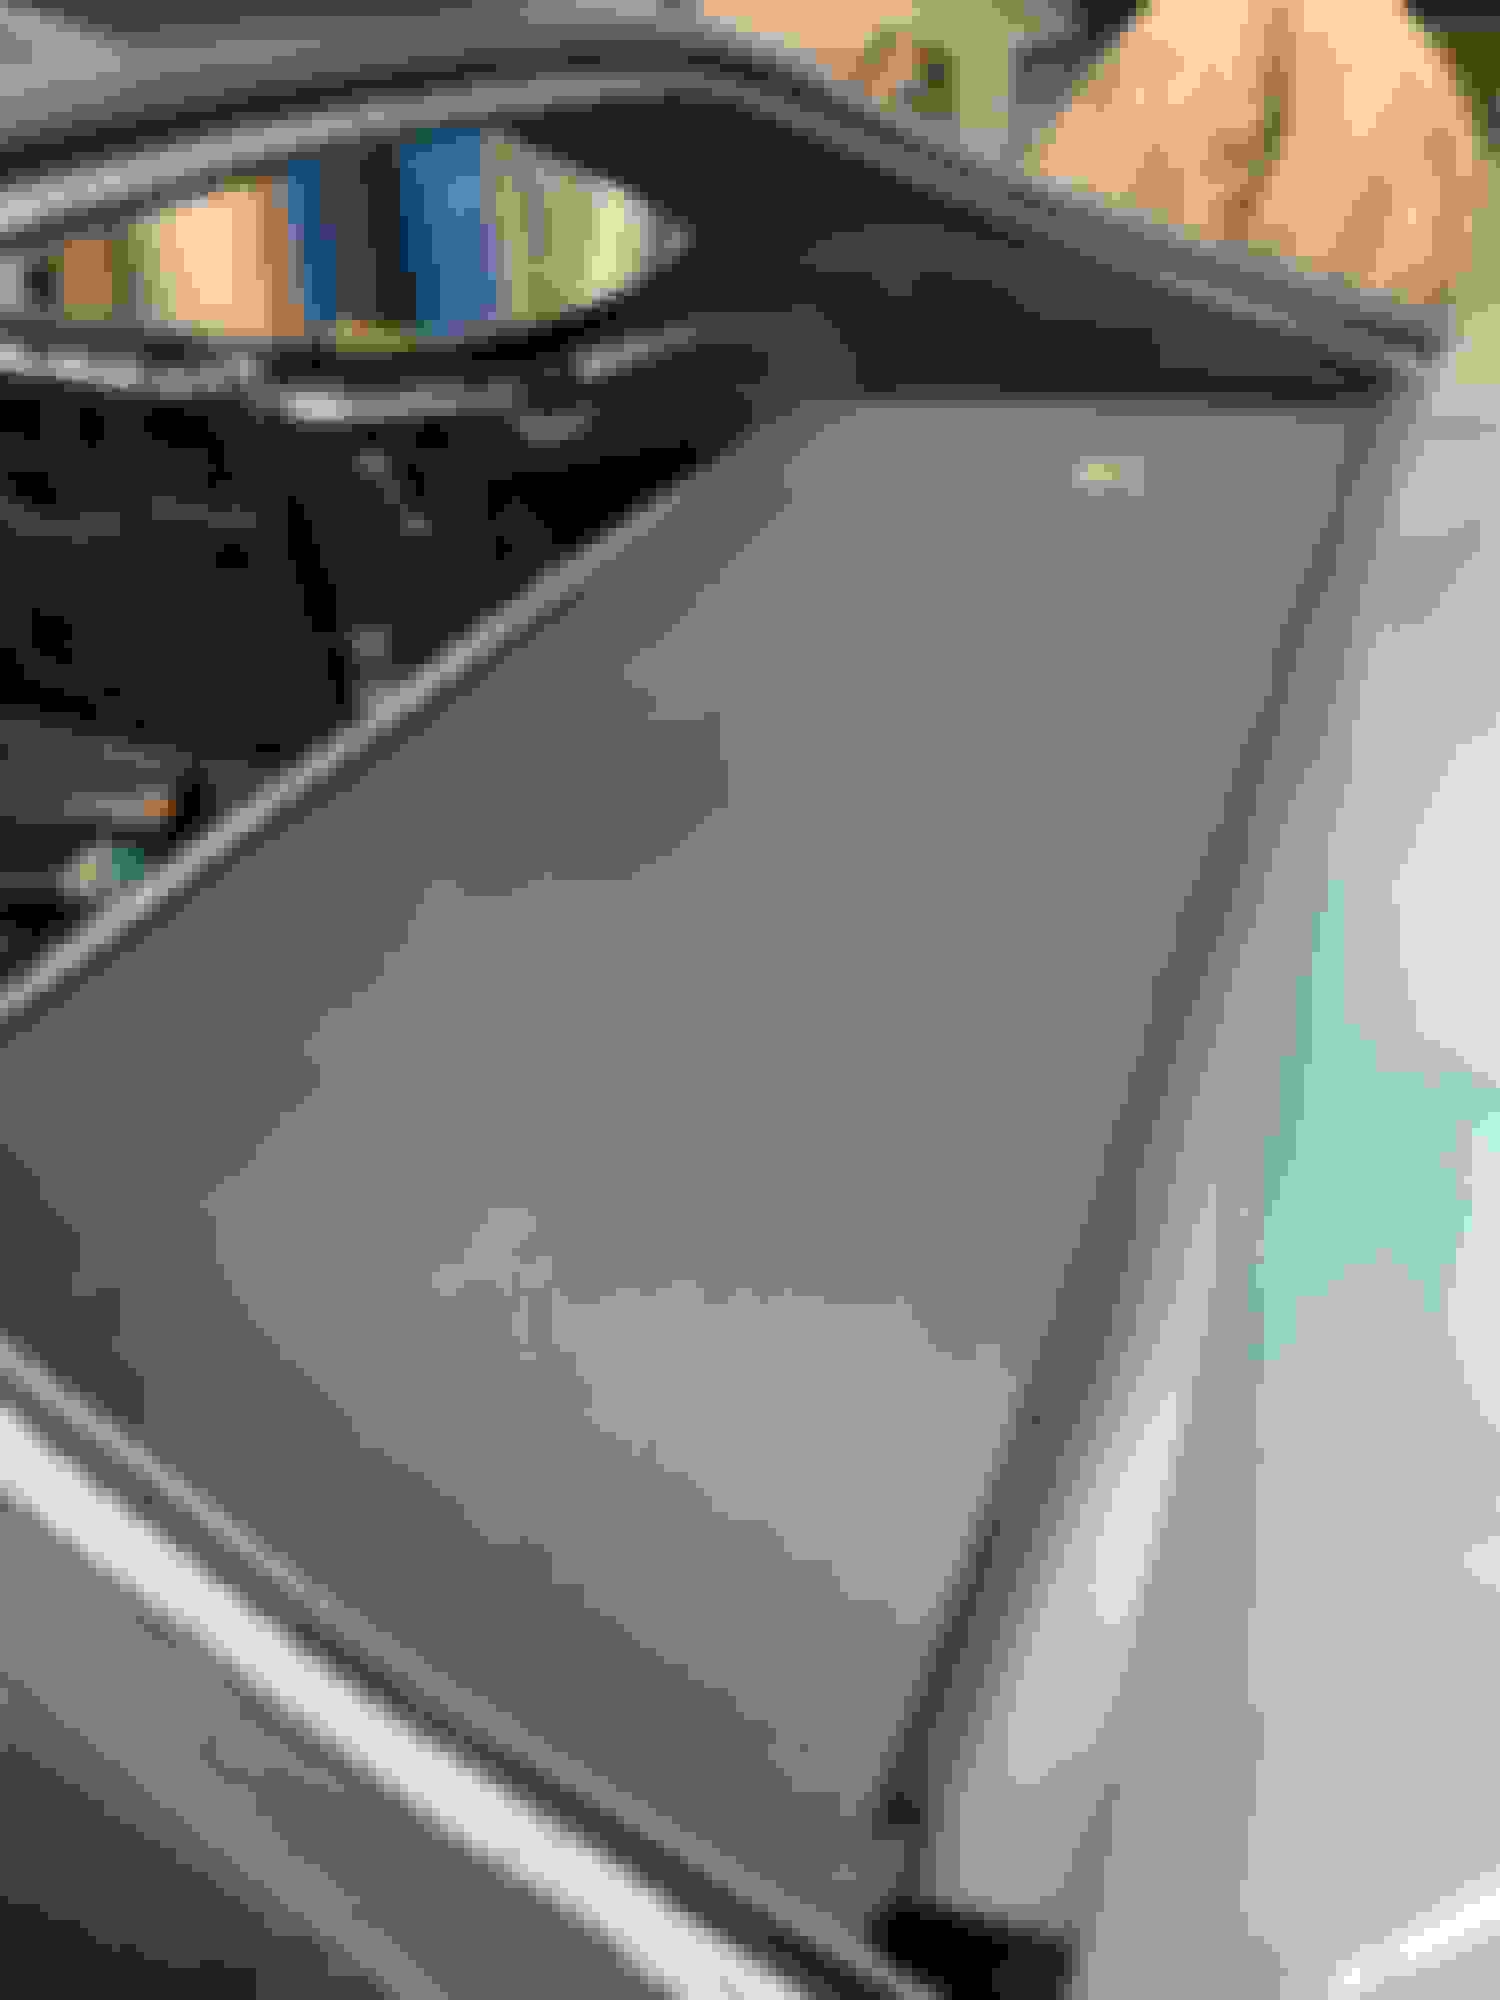
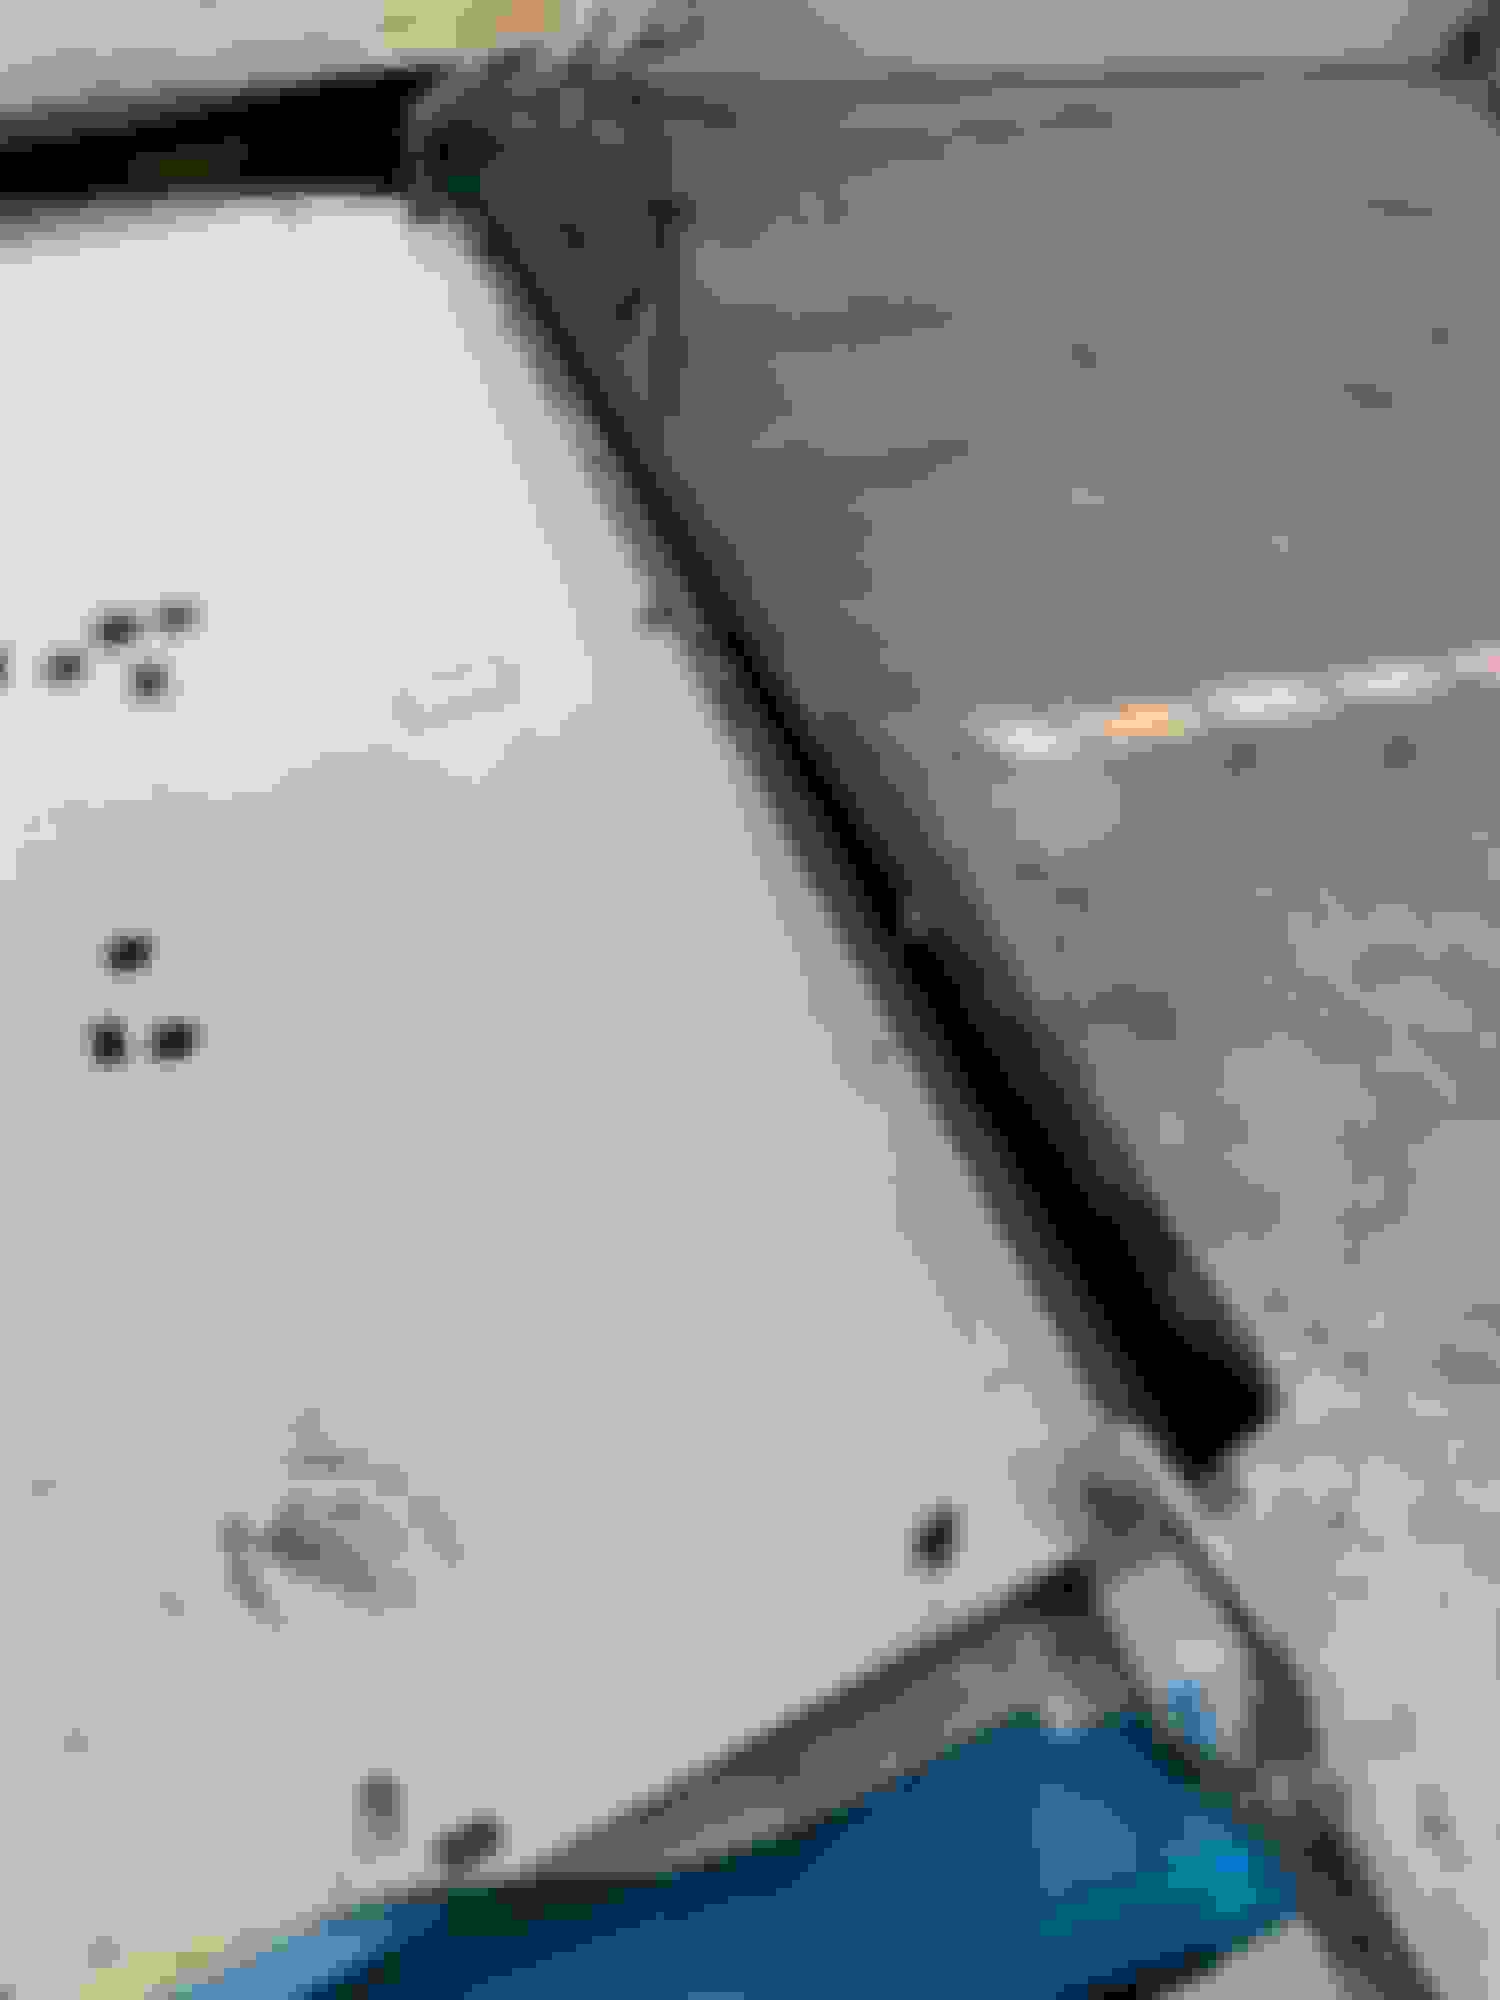
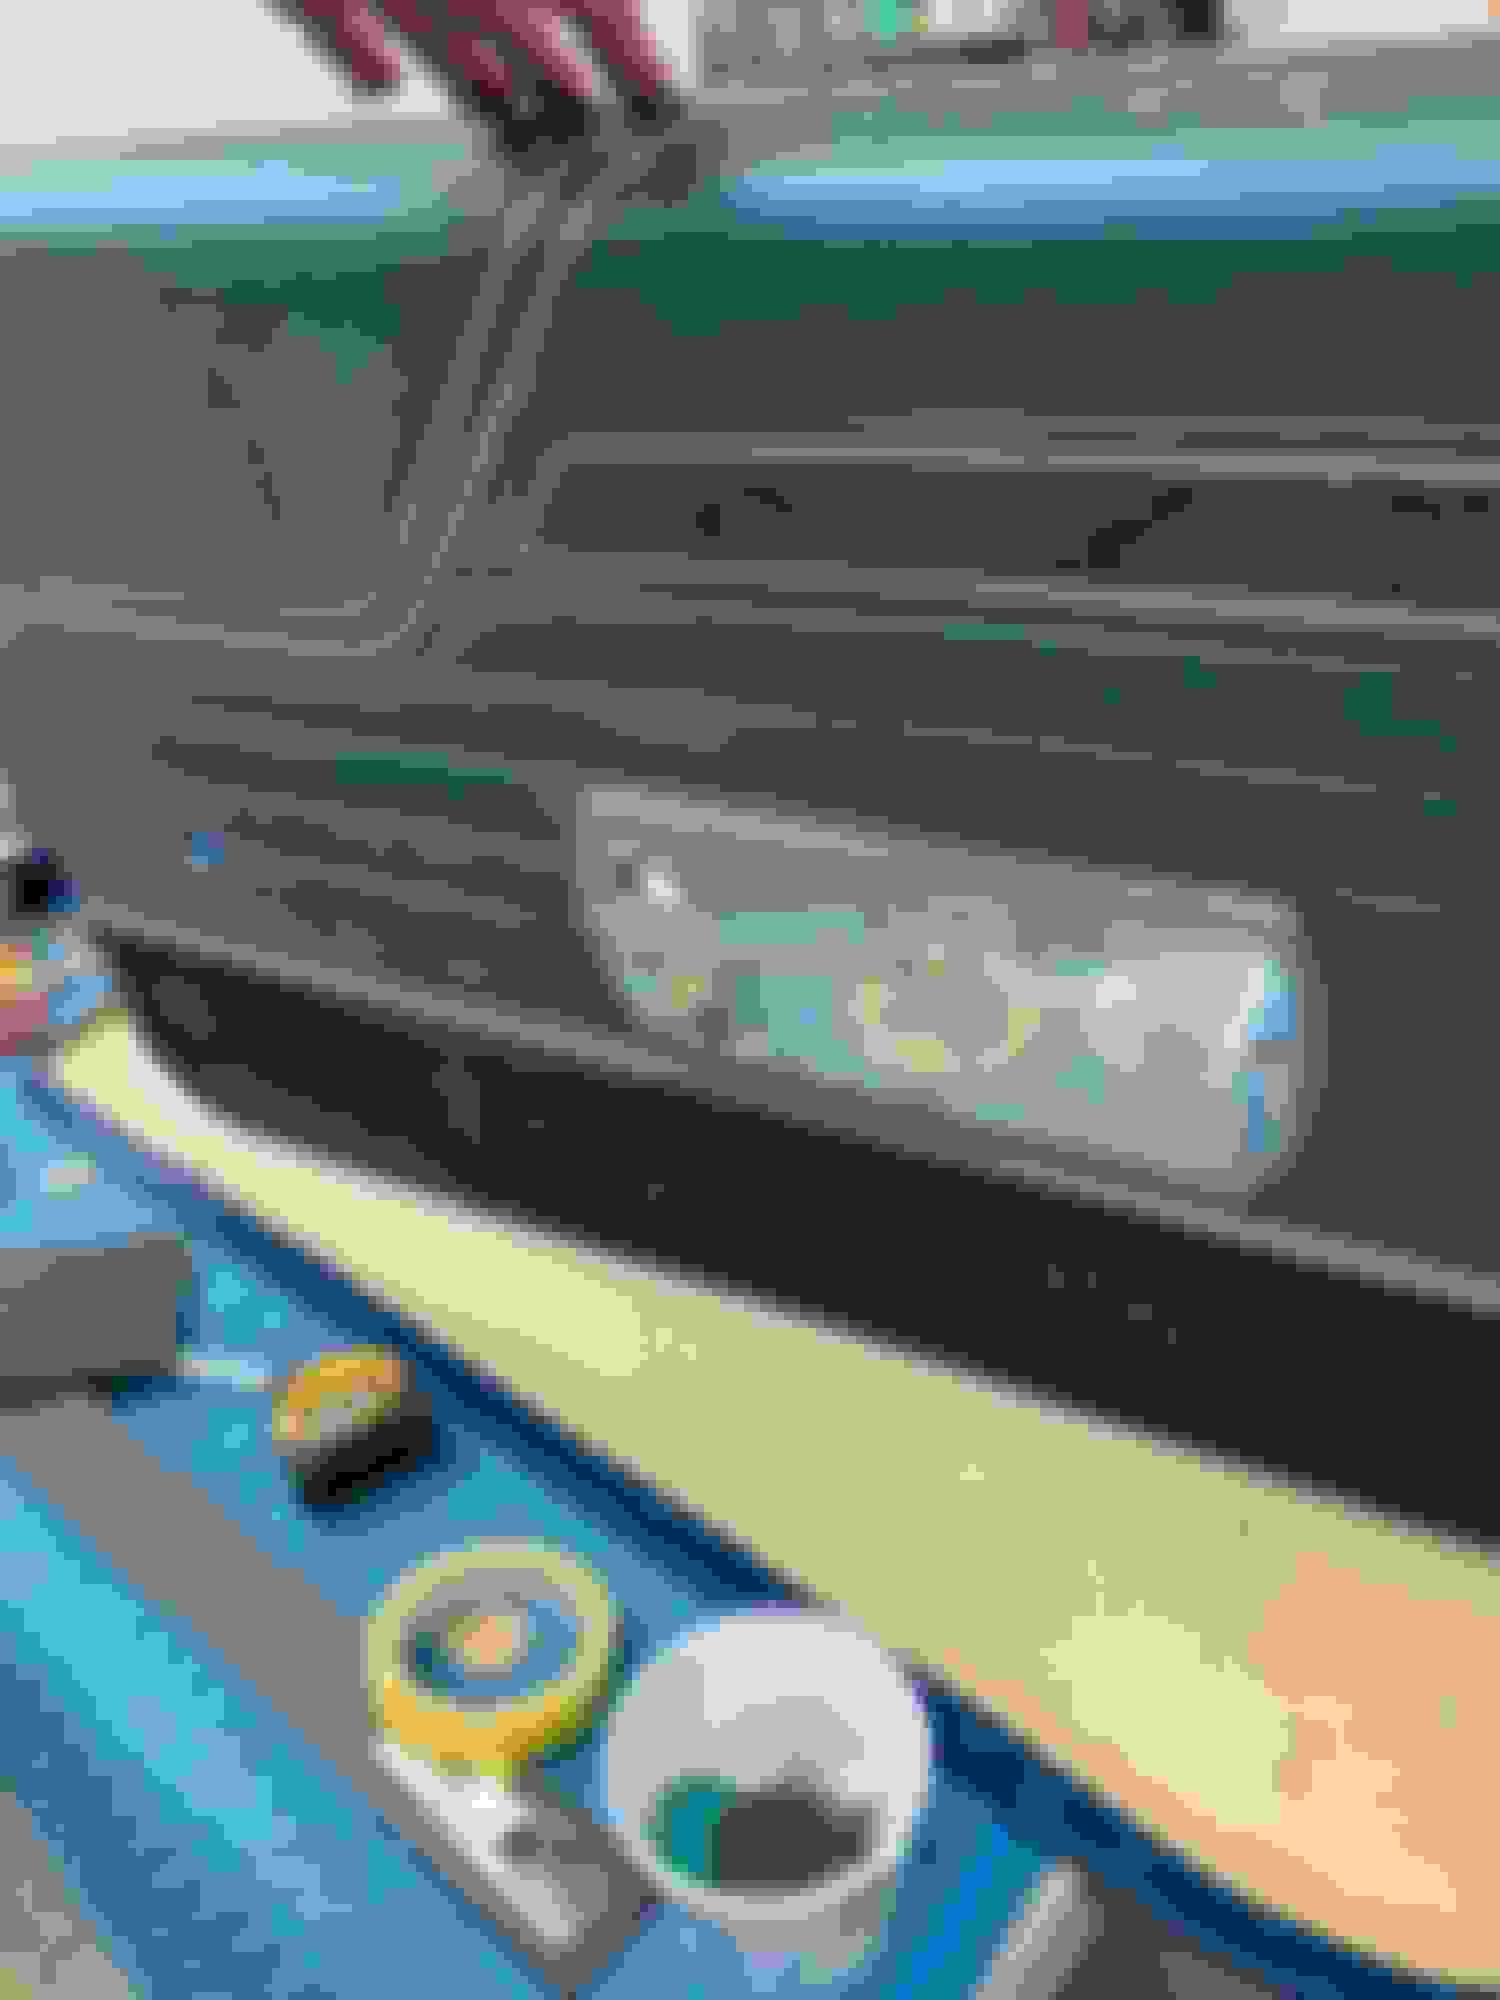
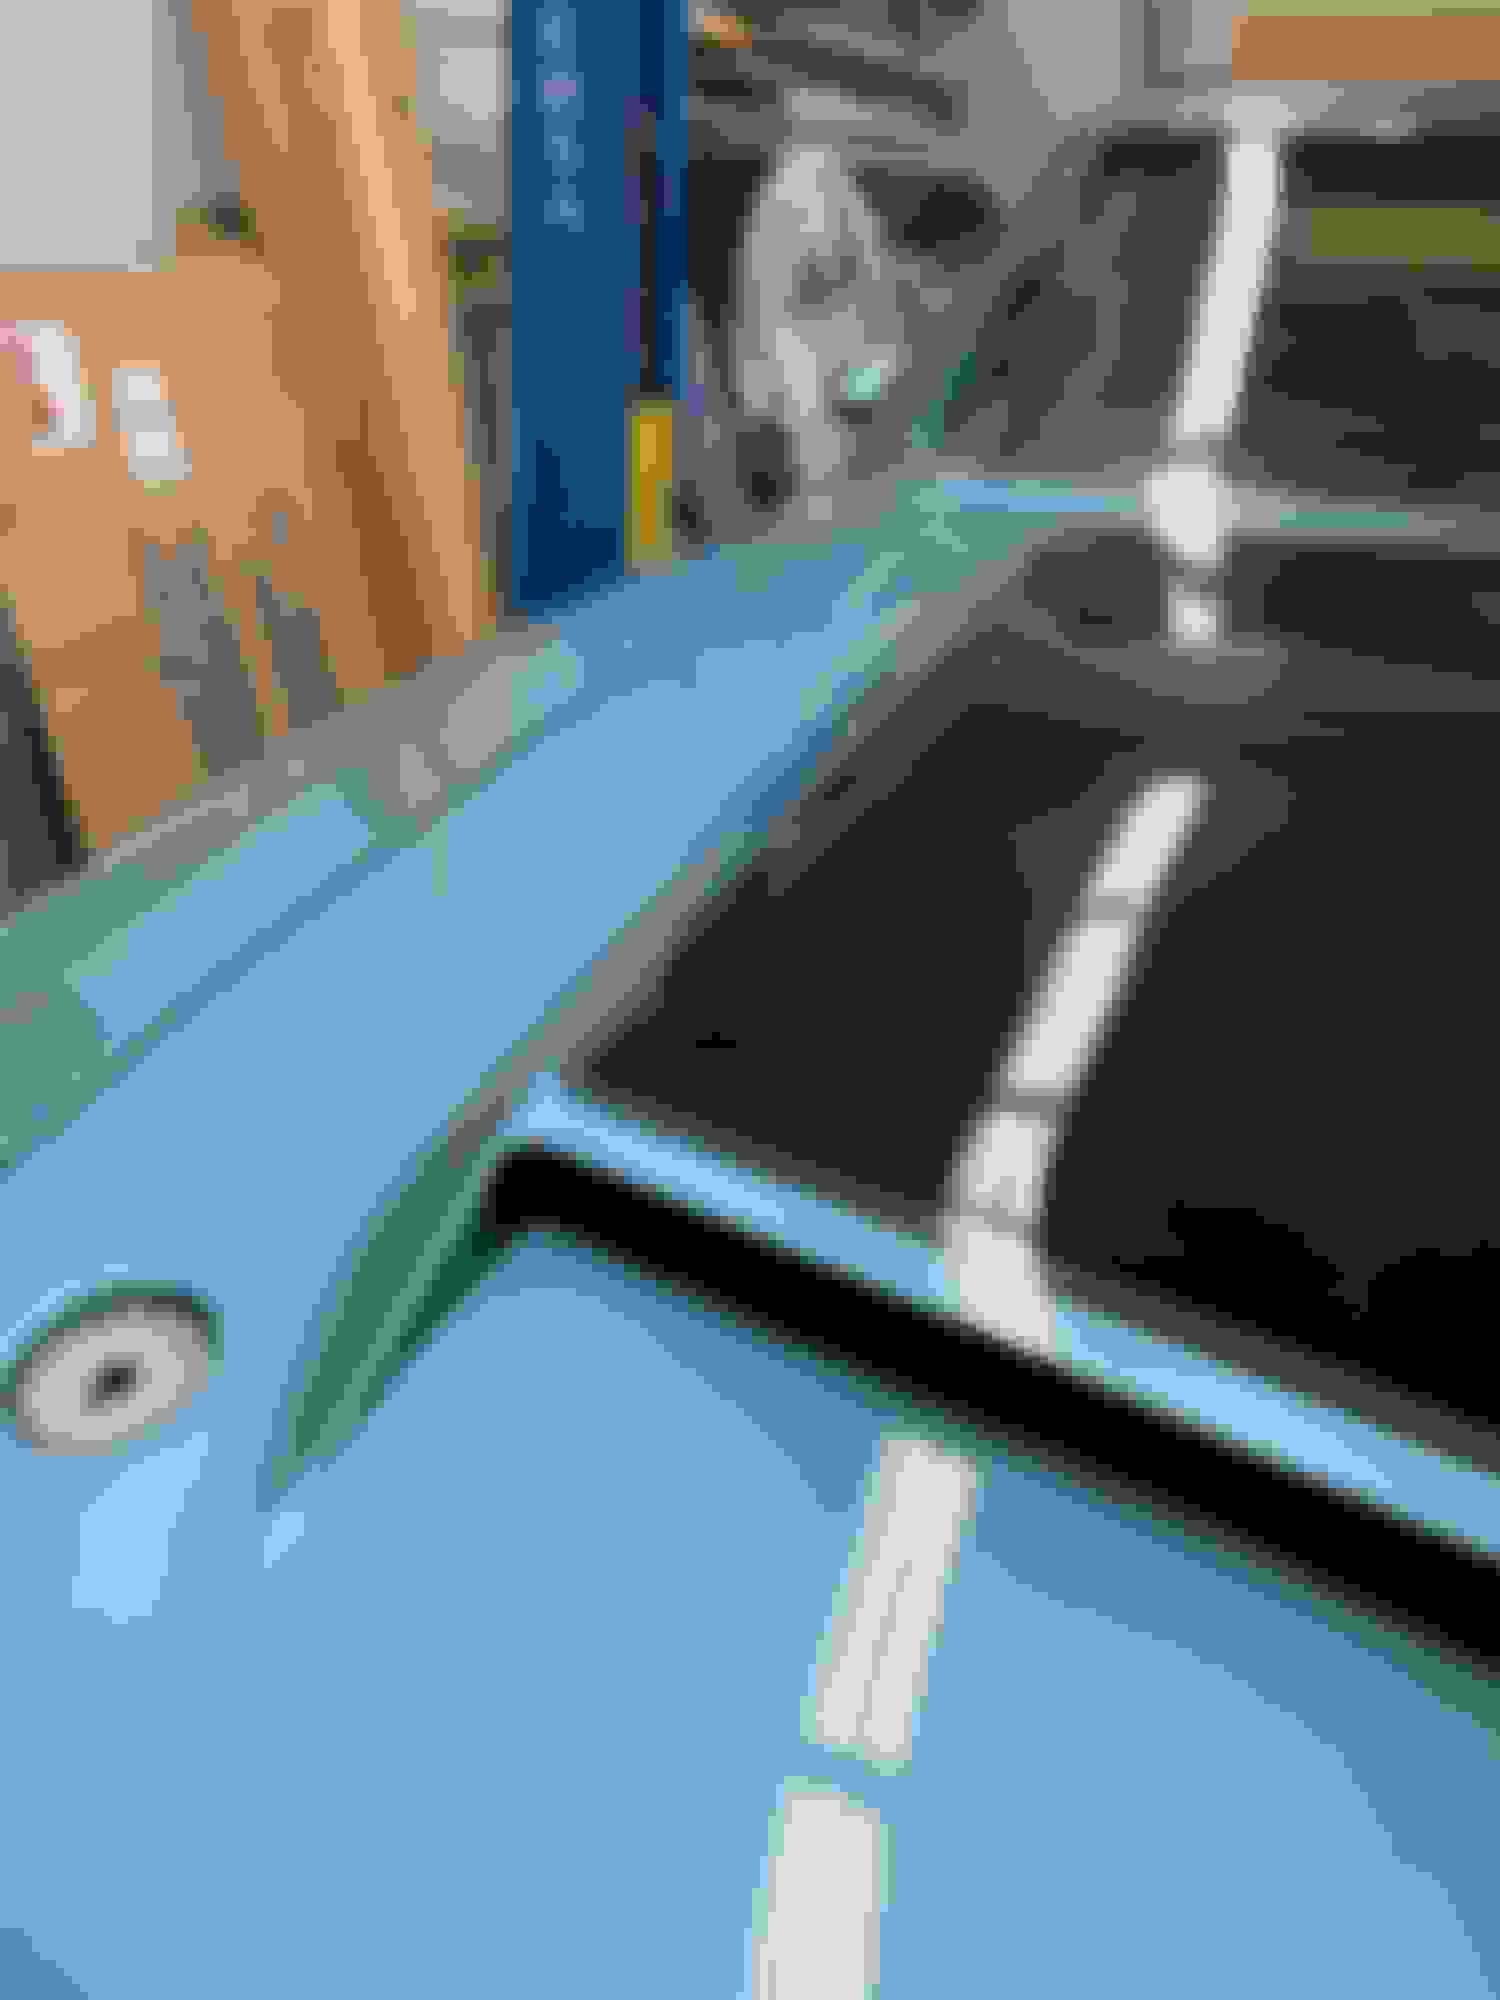
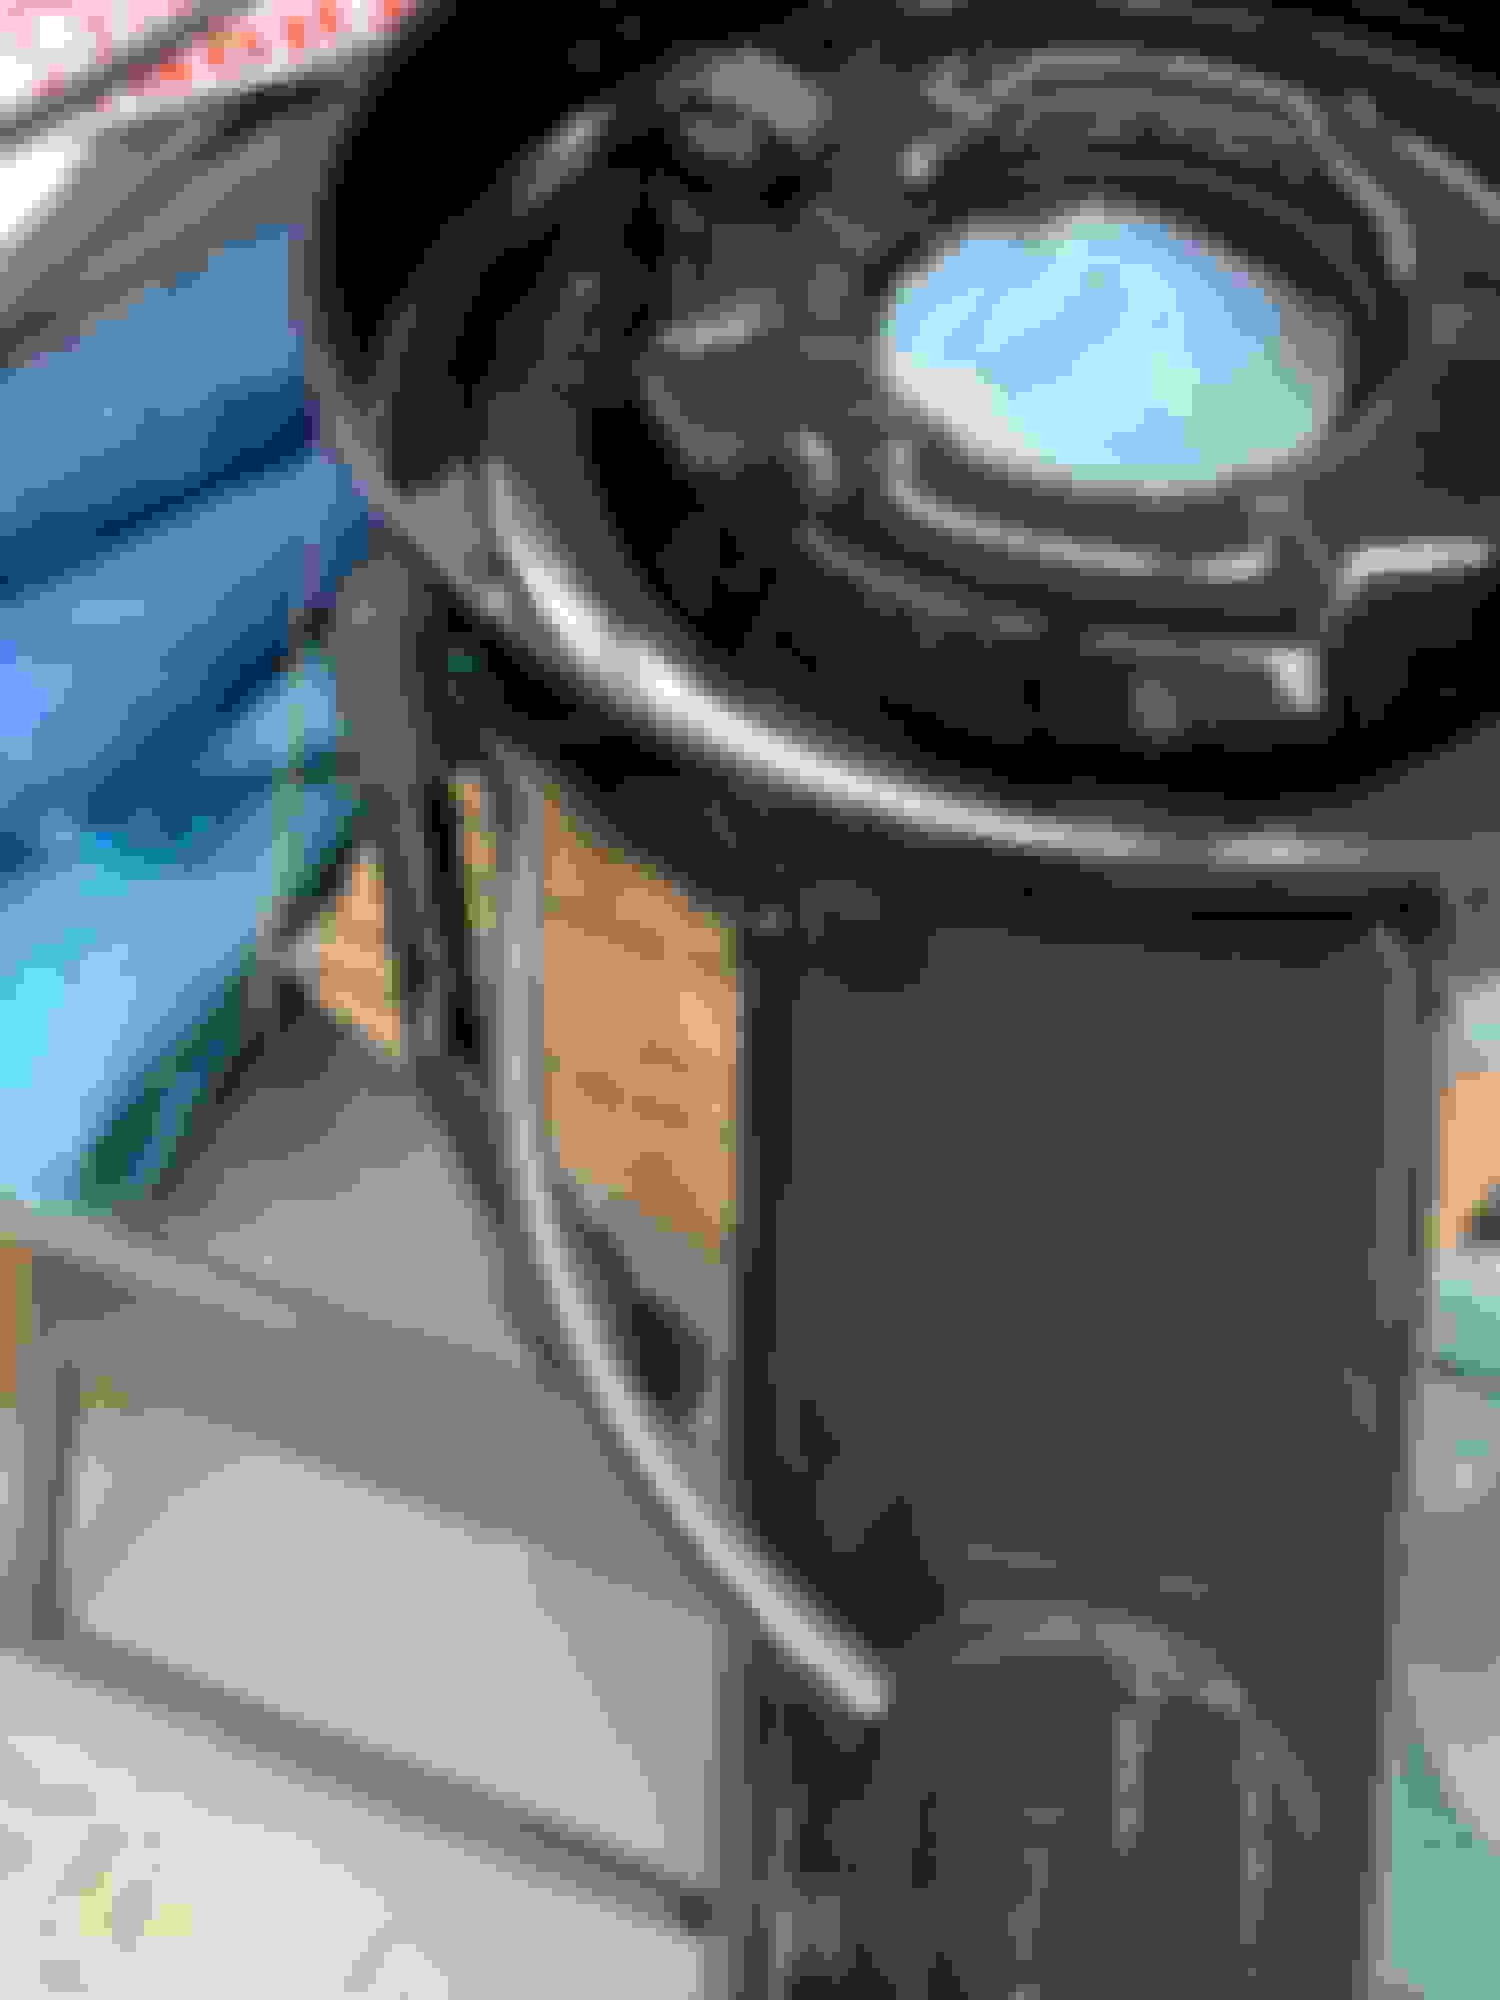
I was able to get the front bumper and hood on this weekend with the help of my nephew. He's in his mid twenties and is a civil engineer. I asked him to give me a hand because he has a mechanical aptitude and likes to work on cars and trucks which is good to see. The front bumper and hood are definitely a two man job IMO so I was glad to get the help. While there are some fine adjustments to be made I think things look pretty good and straight. Along with the door wx strip, the cowl wx strip seems to need a "break in" period because the back of the hood was sitting a bit high which it wasn't when I fit the panels before paint.
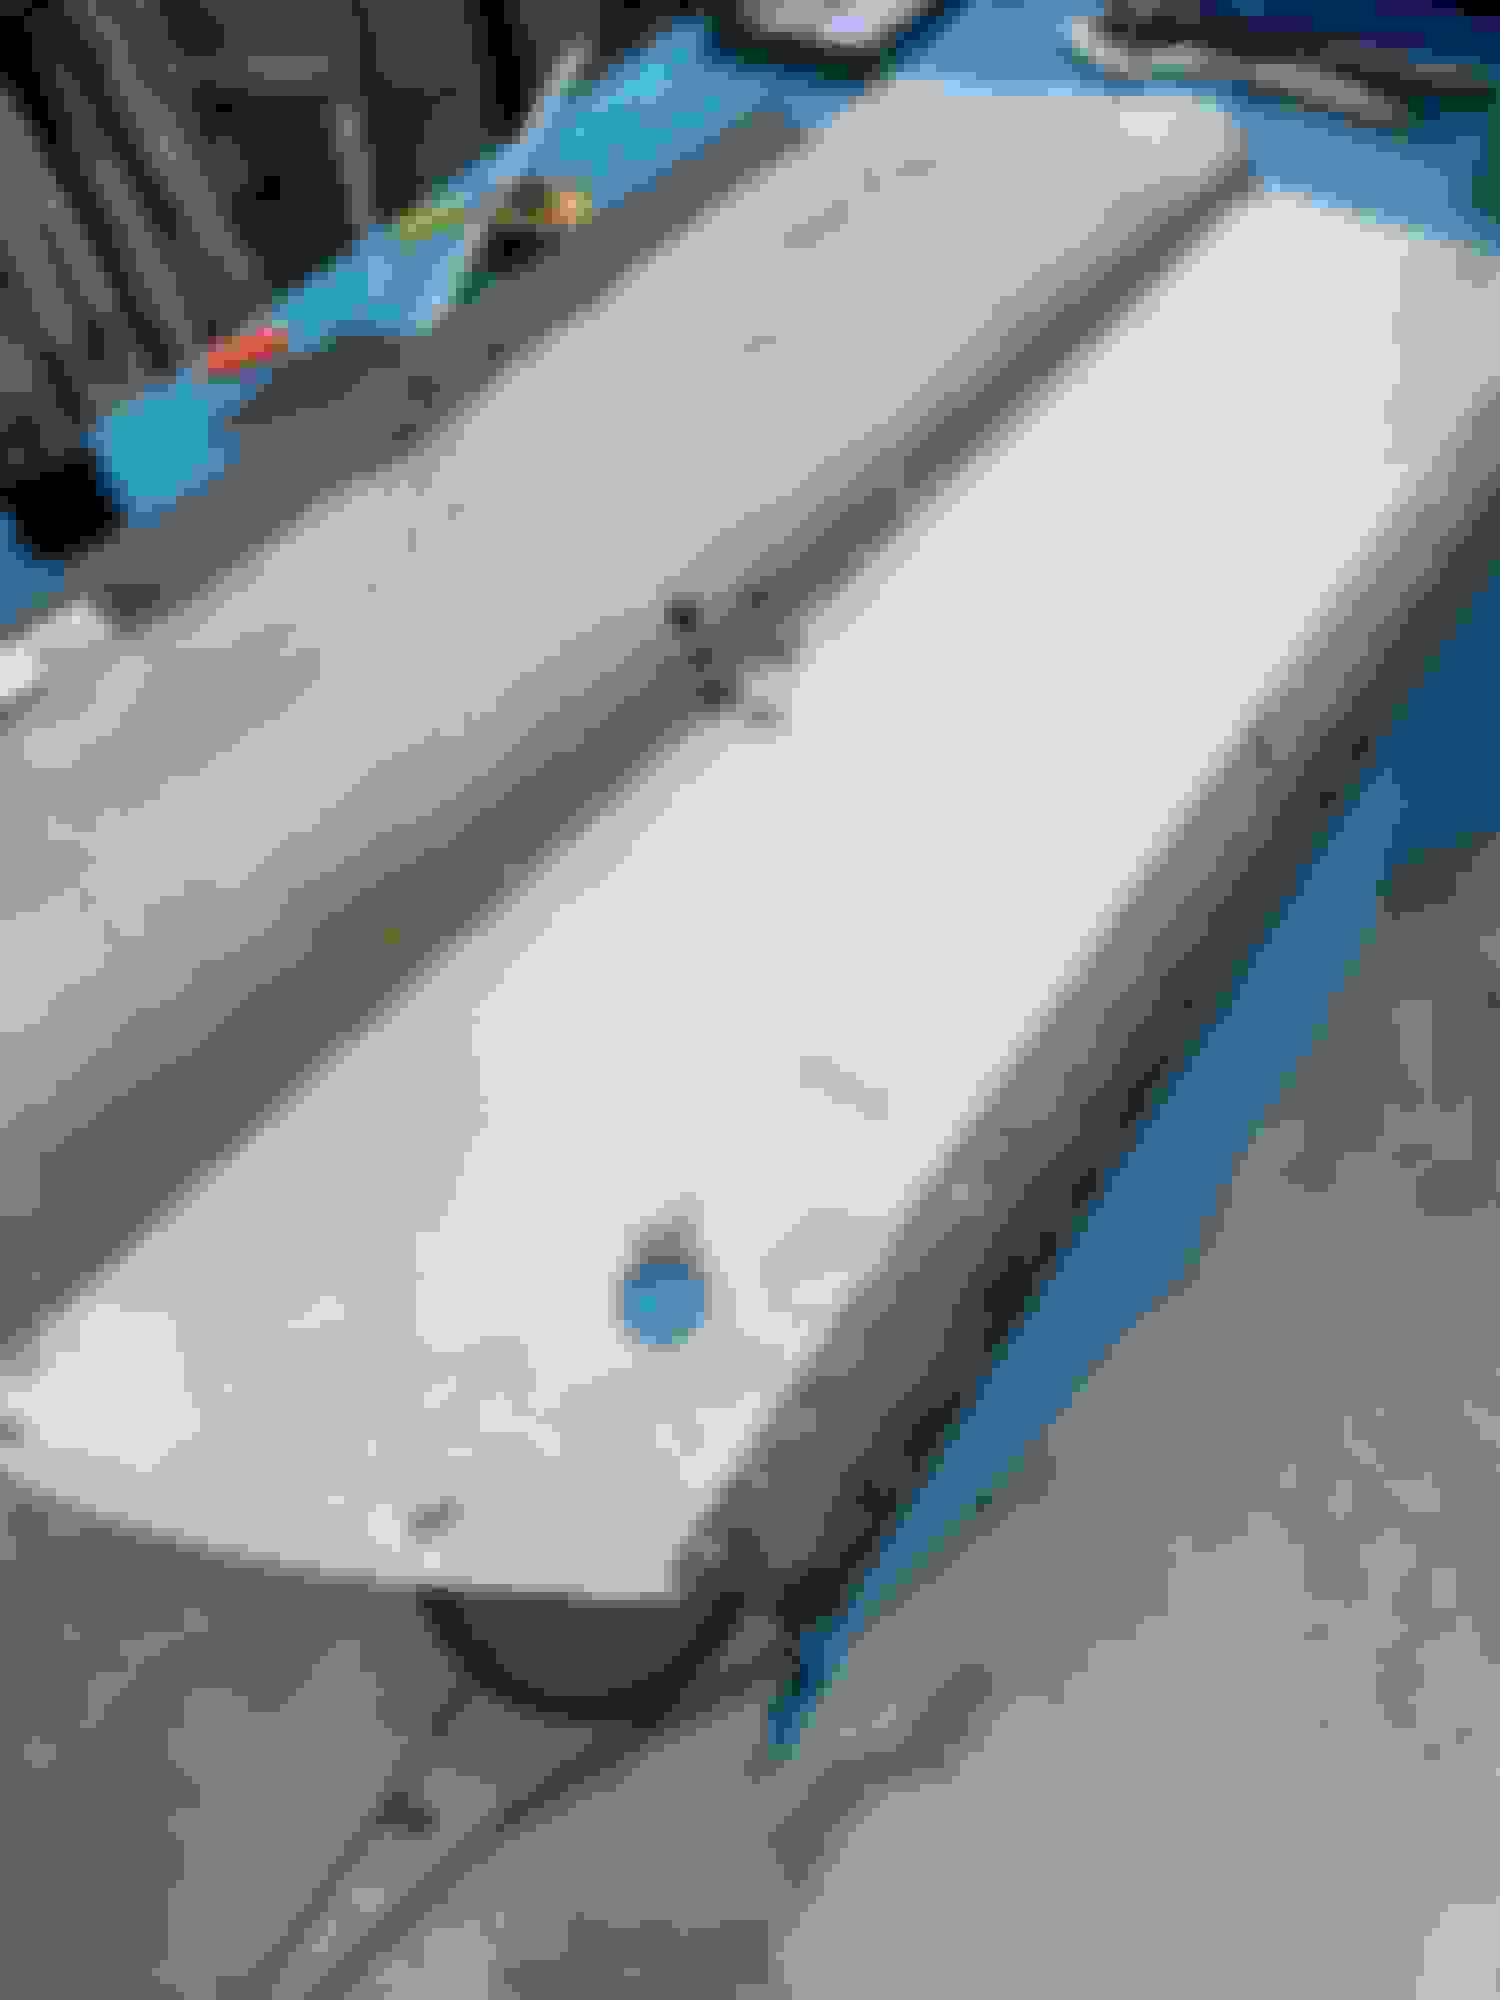
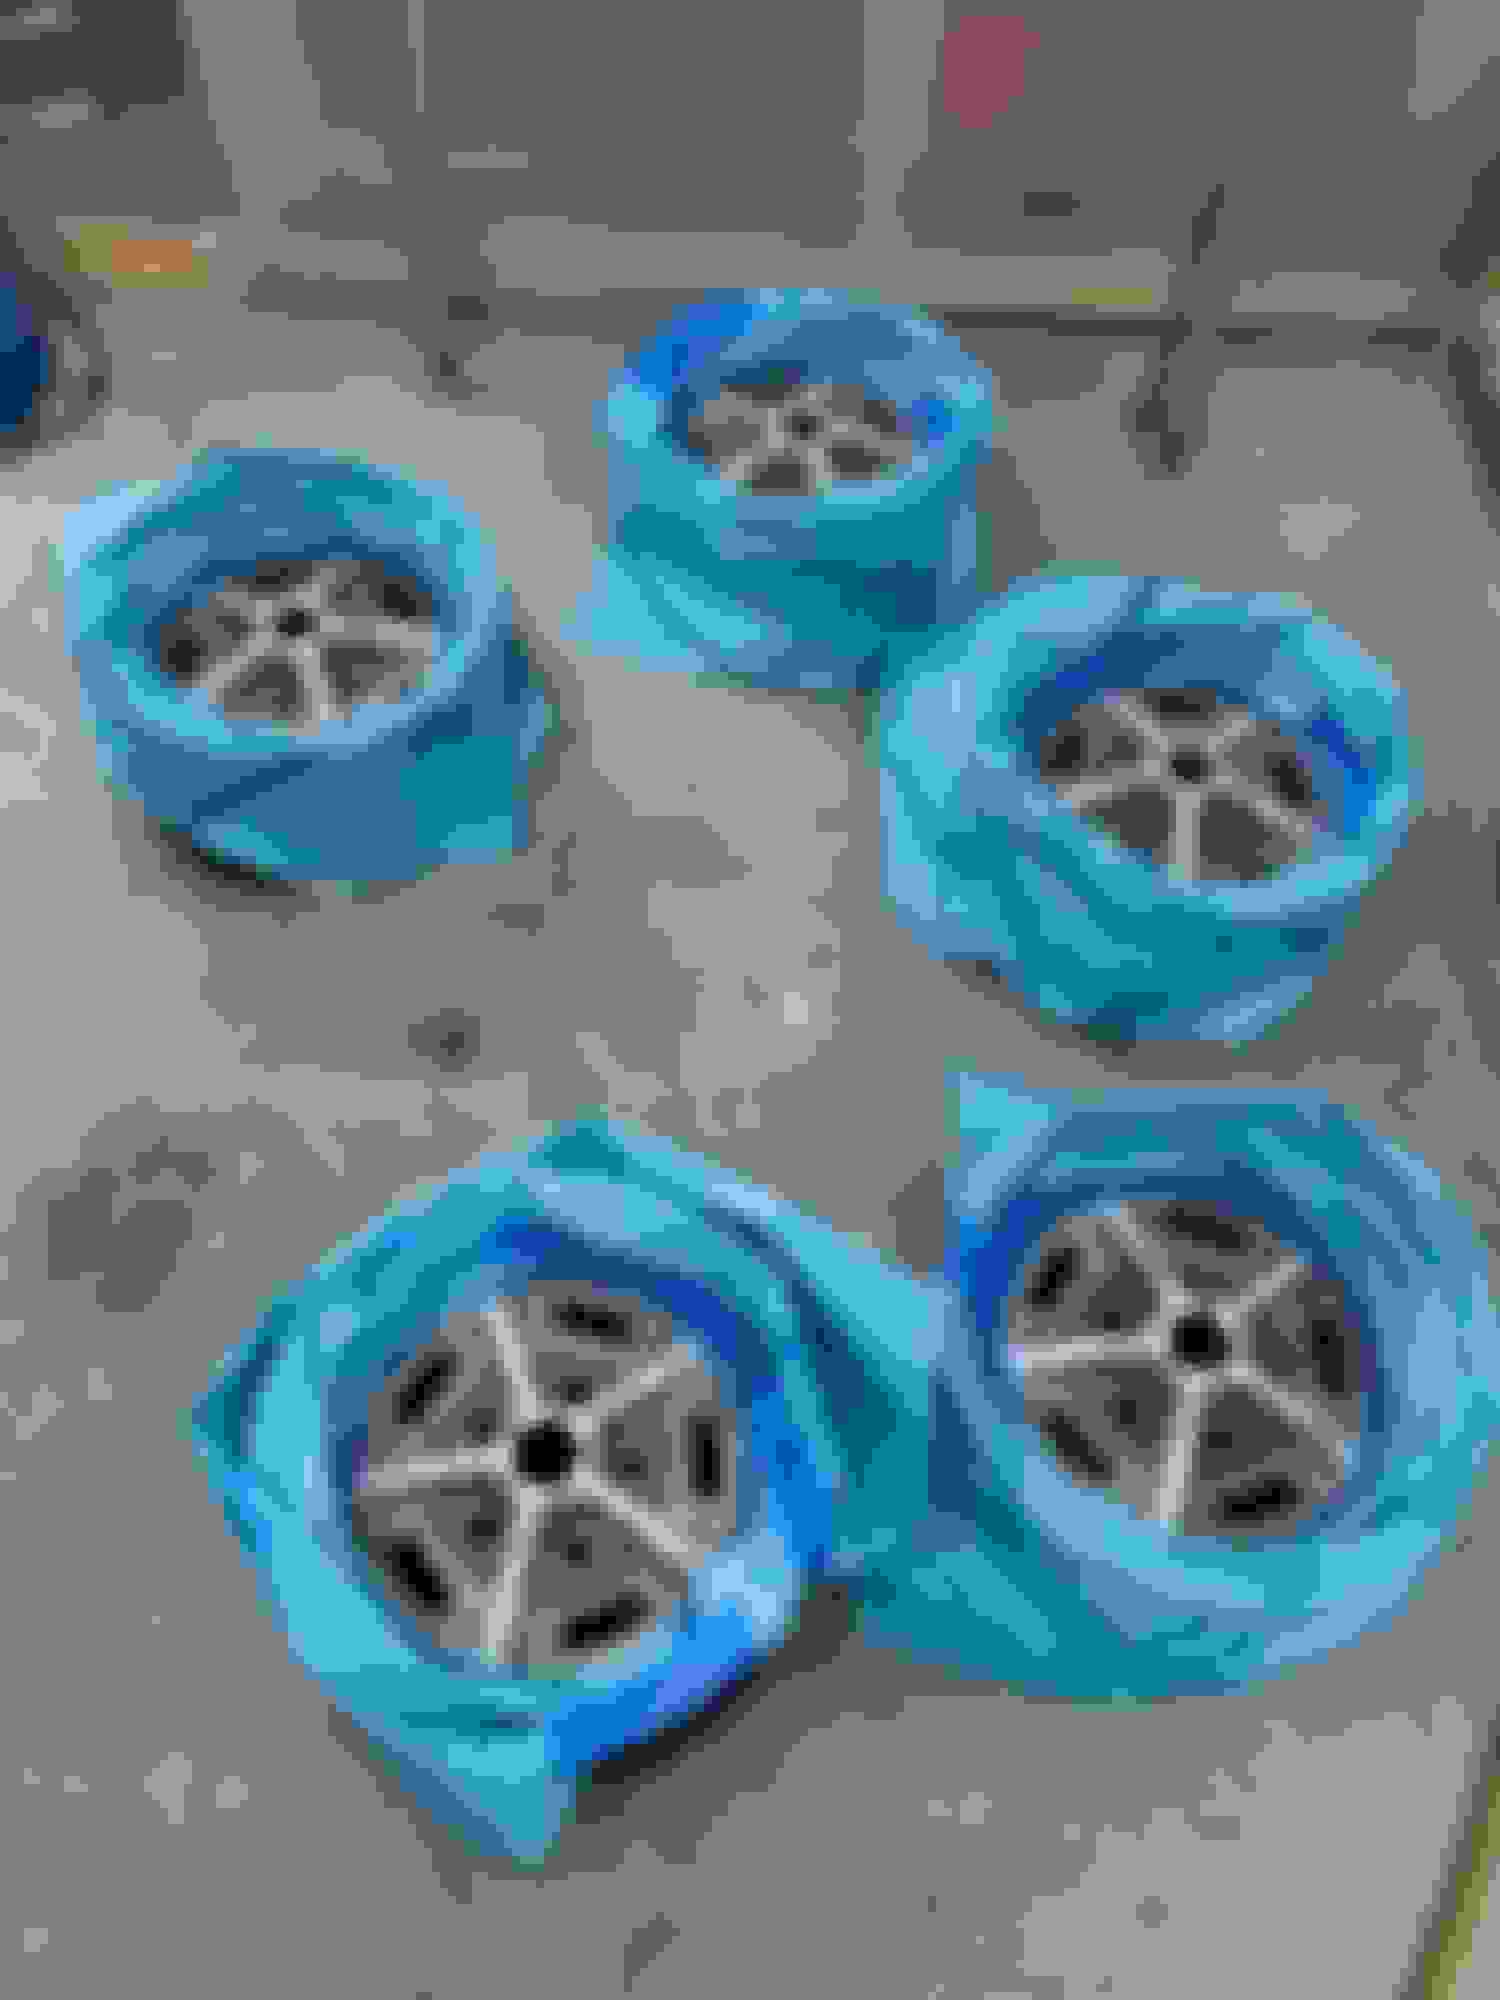
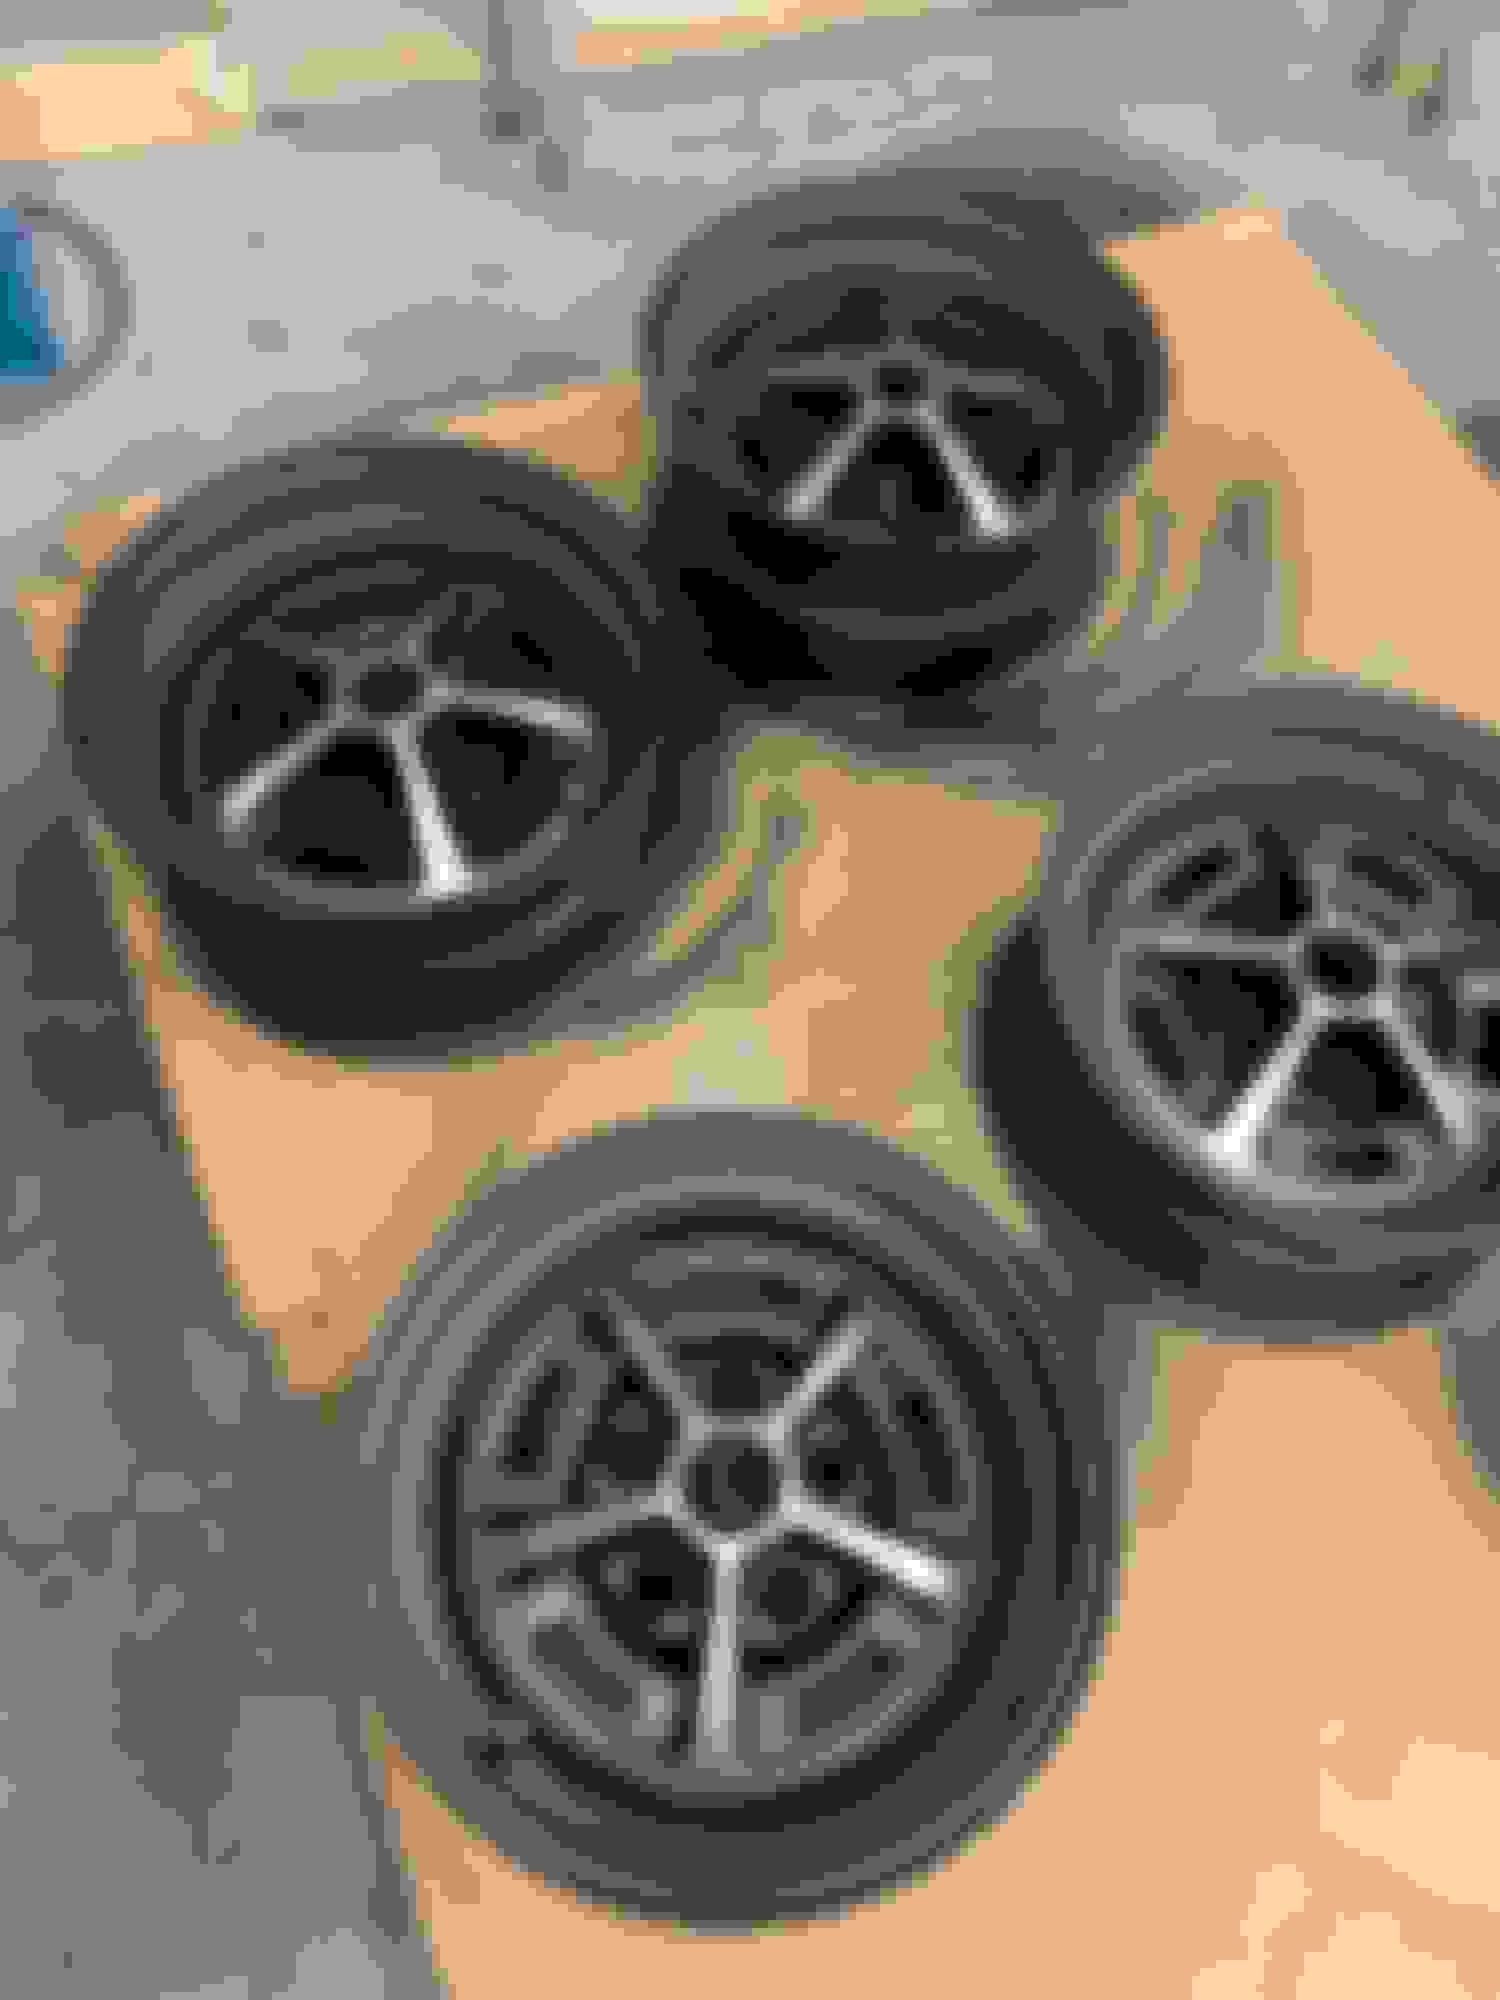
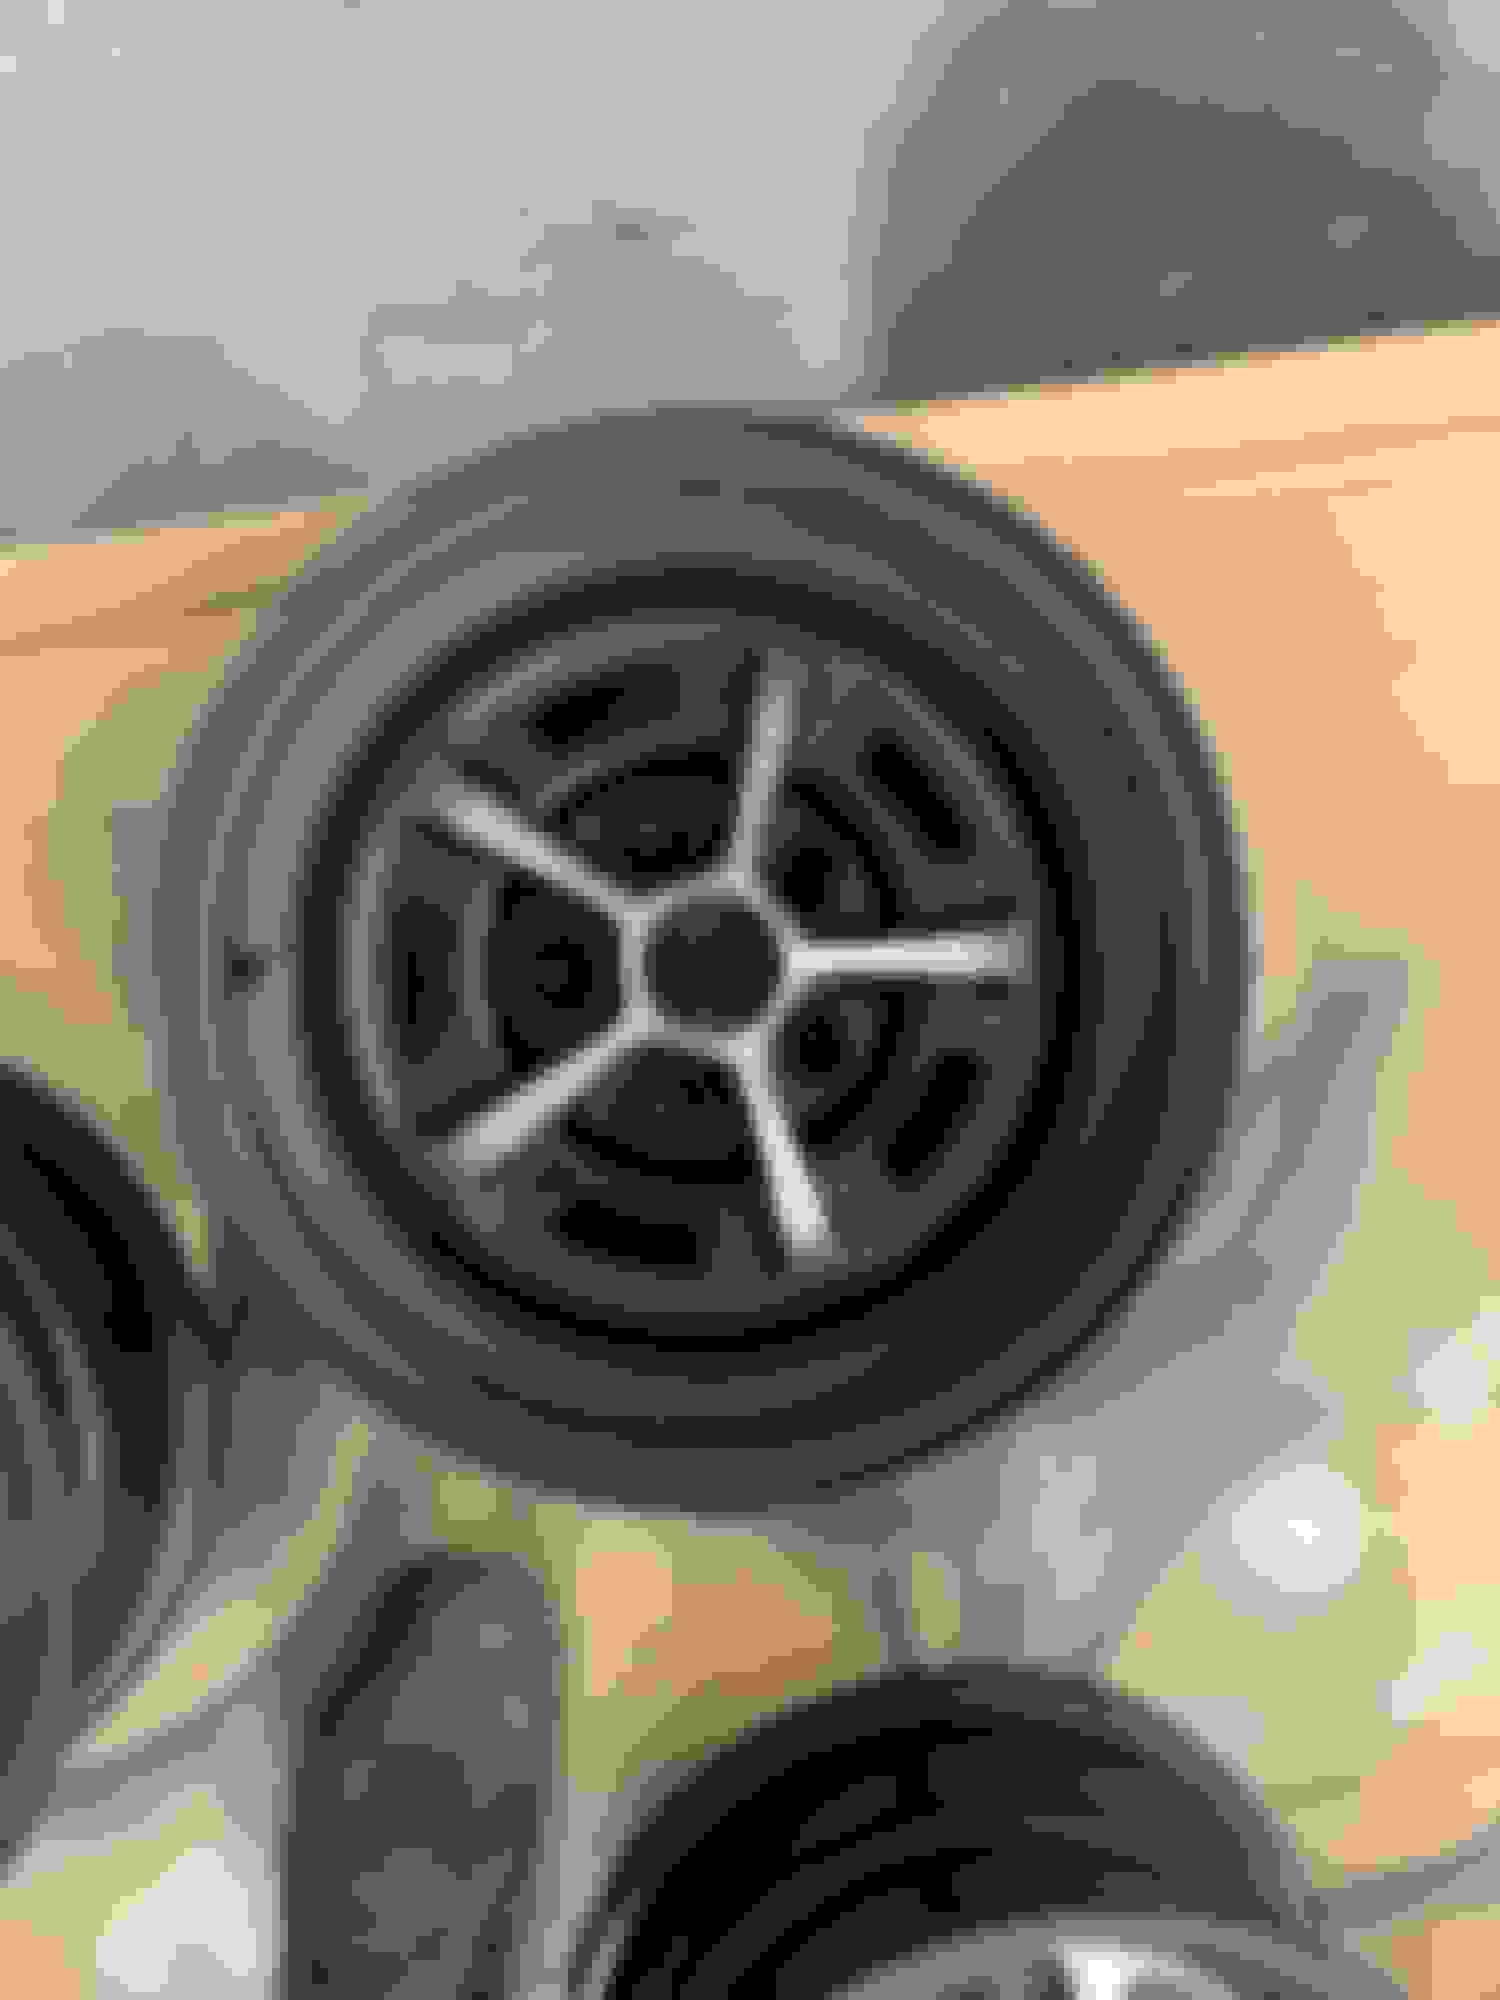
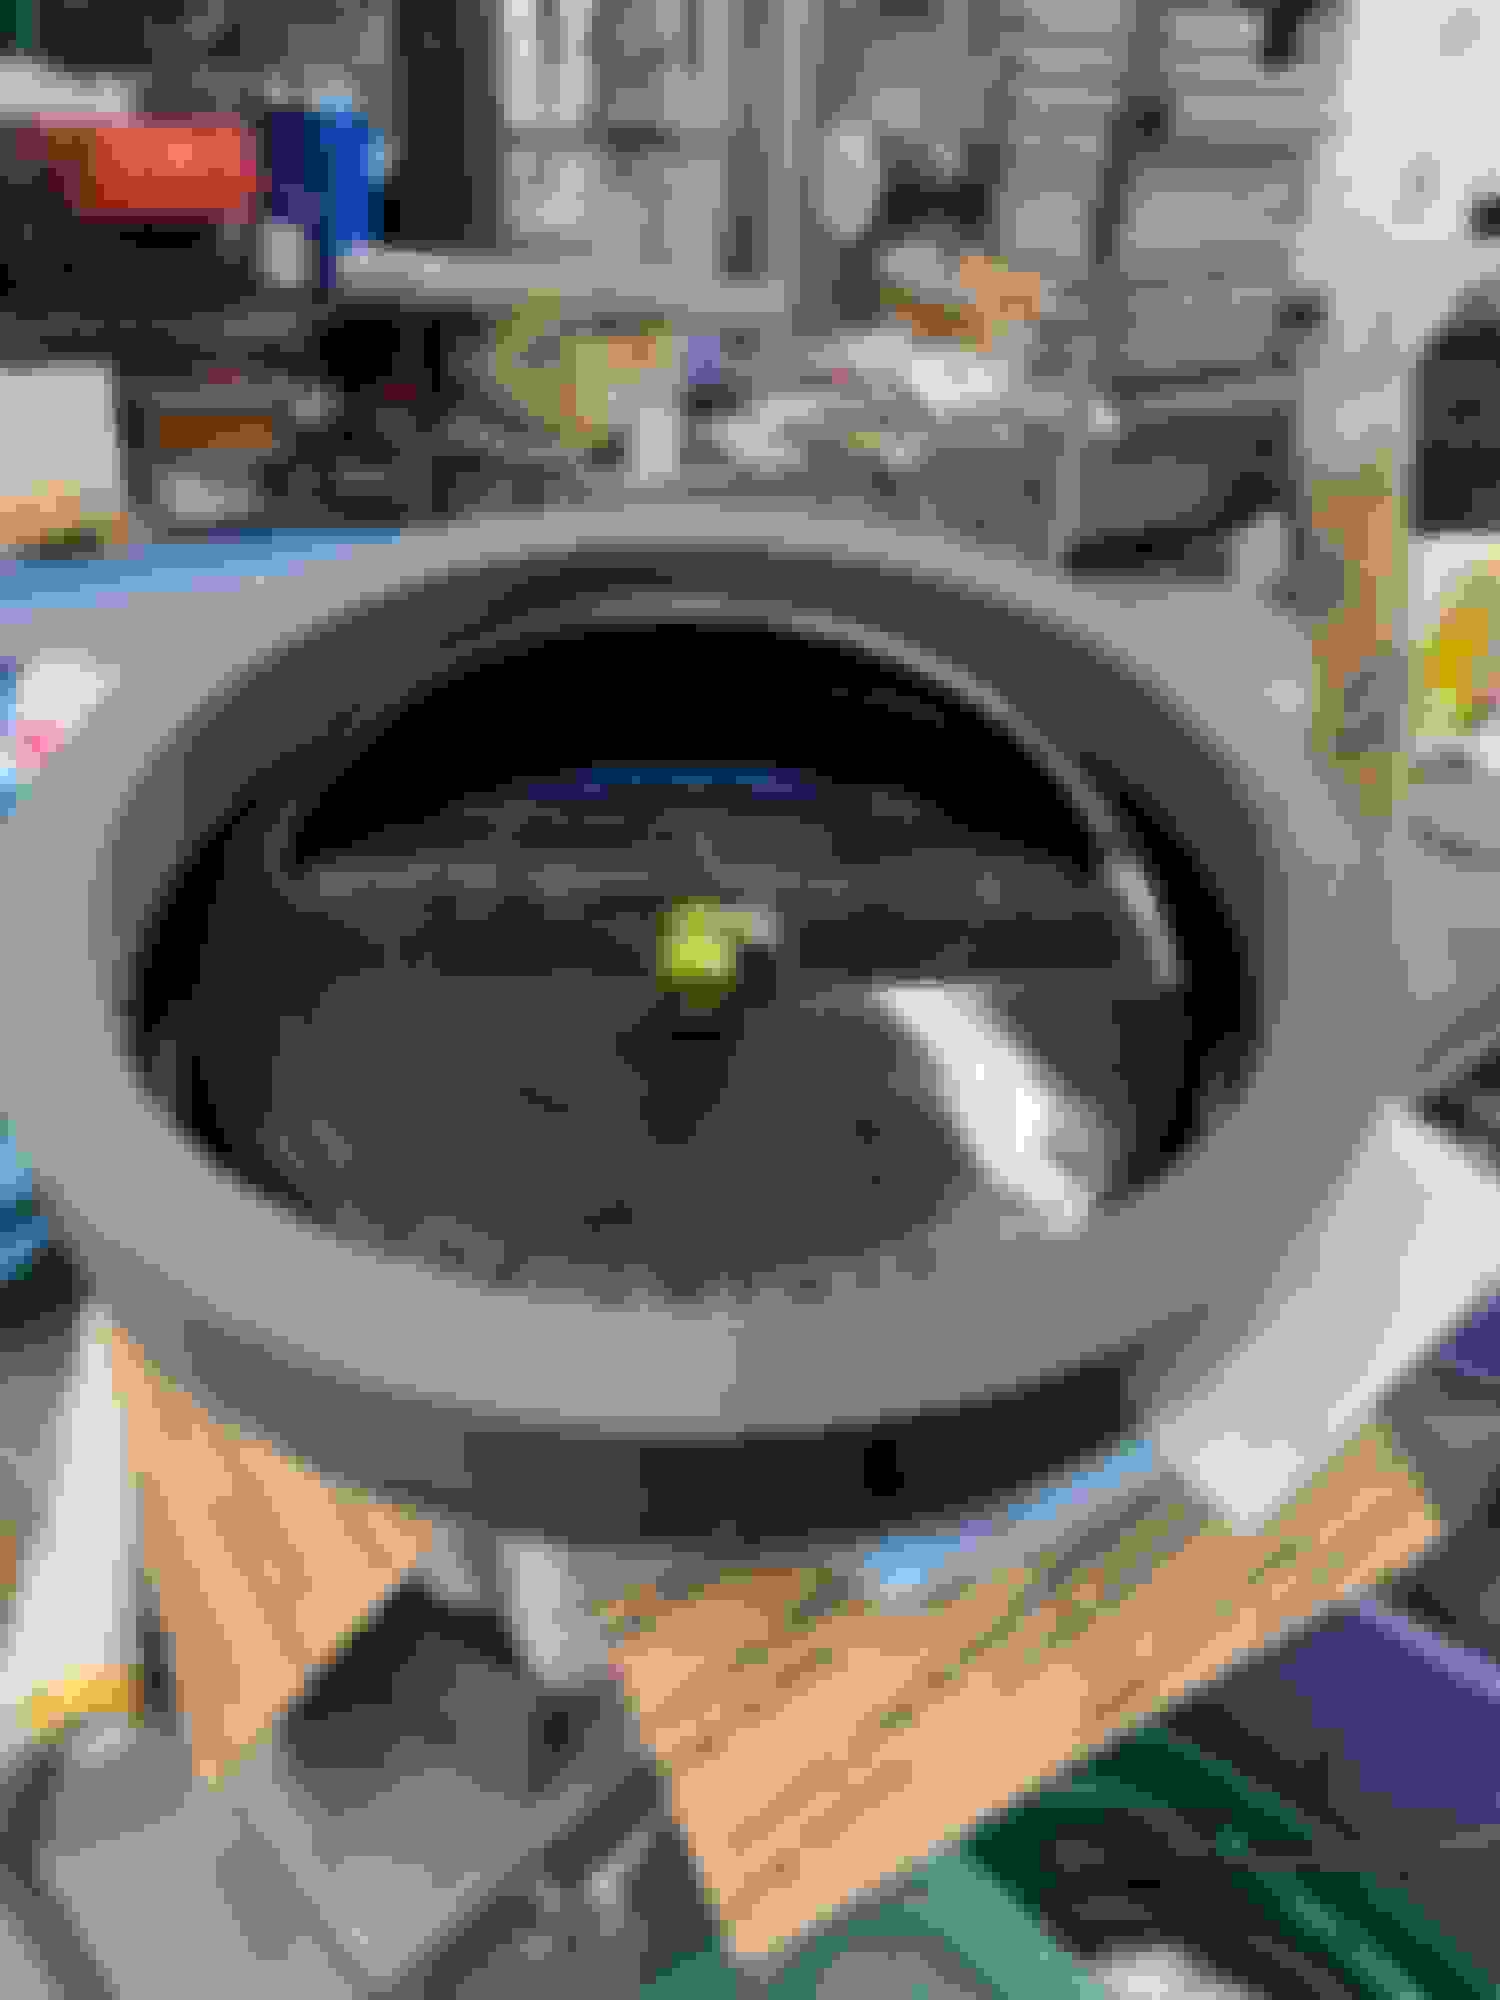
The last biggest job is the wheels. Although they were in great shape, I decided to re-paint them for that finishing touch. It took me a day to mask before blasting, another half day to blast and another day to mask and paint. I coated with epoxy primer followed by a flat black. A lot of detail on these but hopefully they look good when done?
Last edited by scrappie; July 17th, 2023 at 05:21 PM.
Scrappie can you document for your followers the way you installed the hood/cowl weather strip when you have the opportunity? It is an easy piece to install incorrectly. Did you install with the opening facing the engine compartment, or facing the windshield?
Got the wheels painted and un-masked. I'm gonna drop them off tomorrow along with tires for mounting and balancing and hopefully have them on the car by the weekend.
Scrappie can you document for your followers the way you installed the hood/cowl weather strip when you have the opportunity? It is an easy piece to install incorrectly. Did you install with the opening facing the engine compartment, or facing the windshield?
I'll have to look back at some pics maybe or get some current pics to see where I'm at? I dont recall the orientation so I guess I have a 50/50 shot at getting it right?
I'll have to look back at some pics maybe or get some current pics to see where I'm at? I dont recall the orientation so I guess I have a 50/50 shot at getting it right?
According to the 70 PIM the hood to cowl weatherstrip installs with the opening towards the windshield. I bet yours settles over time. But some of the aftermarket weatherstrips are stiffer so it may take a bit of time.
Thx Eric. I think the clips on the parts car may be a bit different also and I believe I still have the original cowl seal maybe with the clips? Not too concerned at this point as long as the thing stays on.
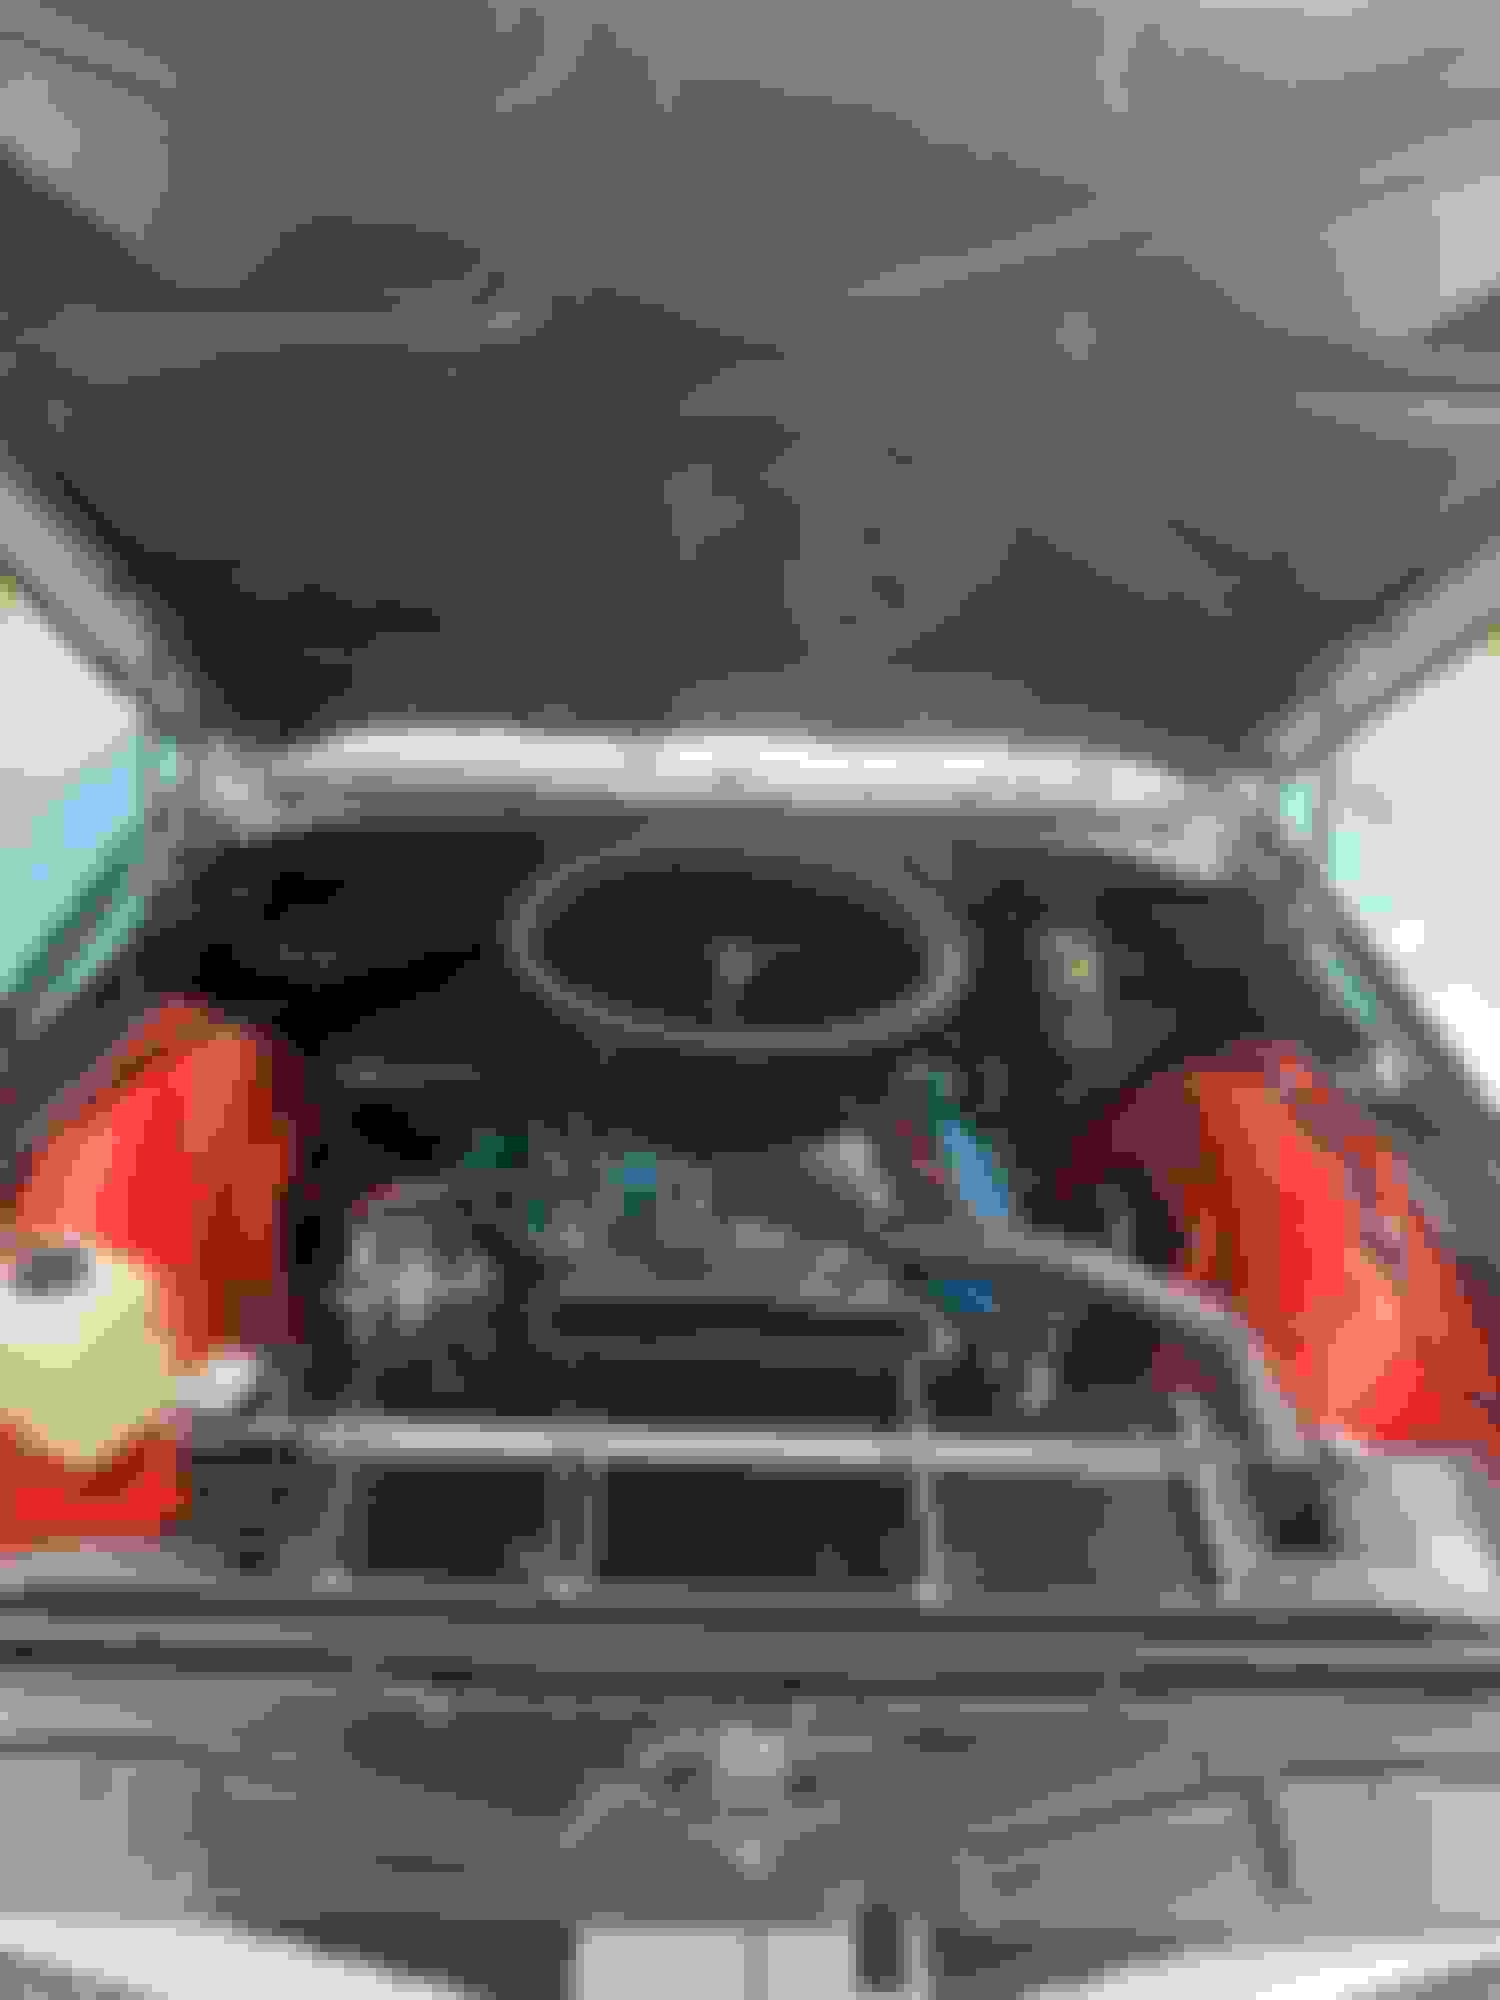
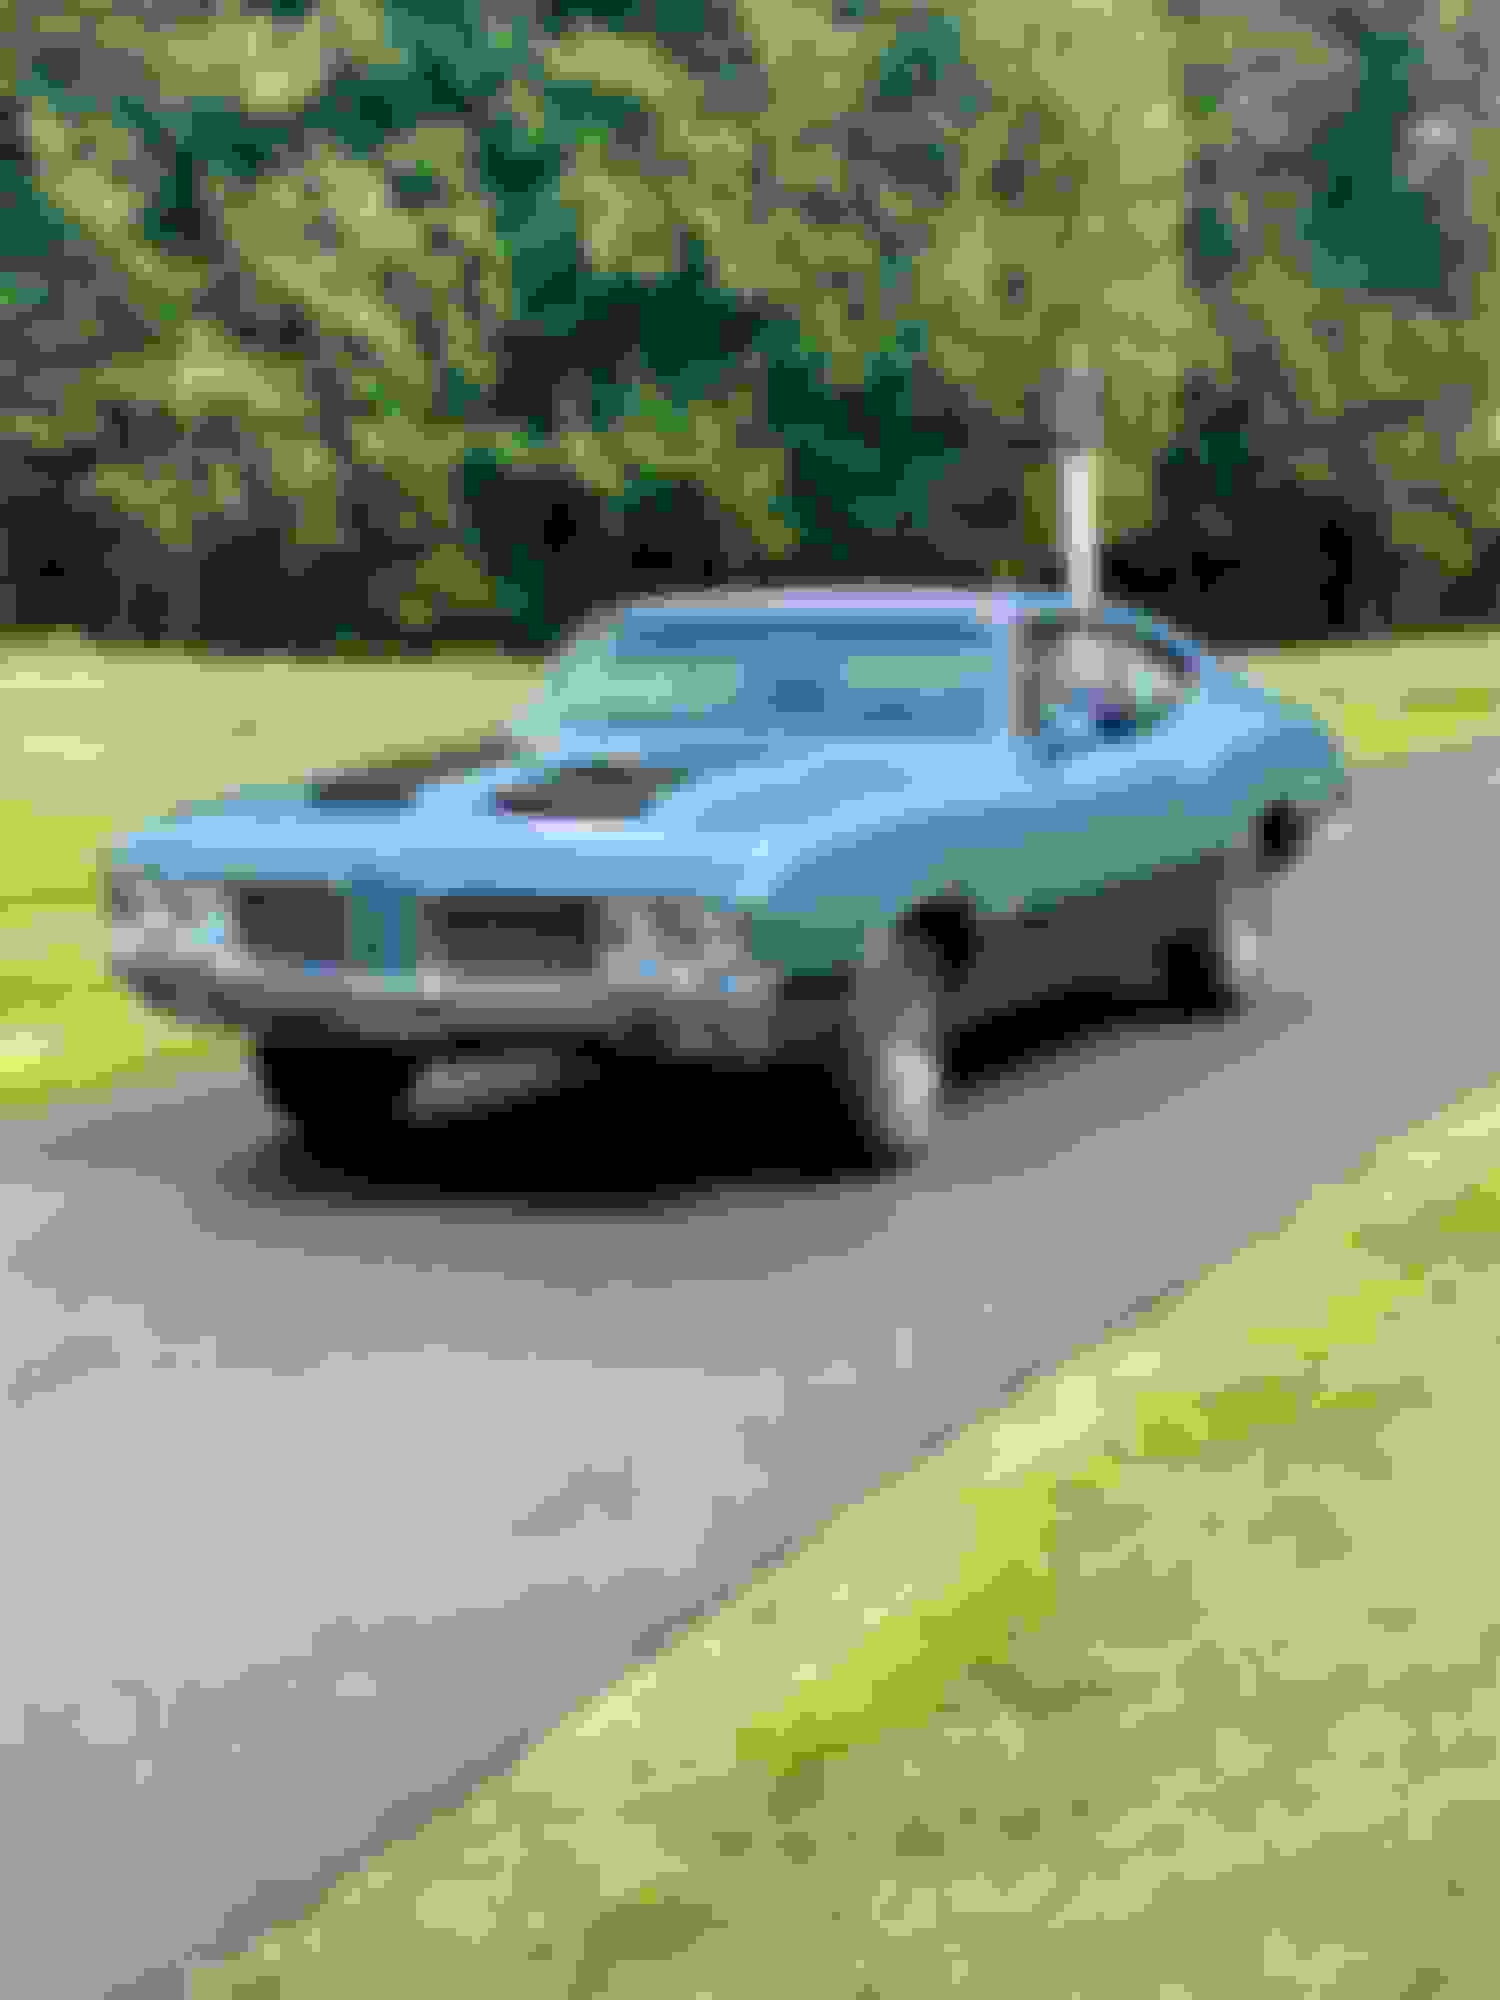
It's been a little while. The little things take up a lot of time. I needed to regroup because my garage was a mess and it was getting hard to find things I know I have. I started organizing and cleaning last week and finished up this week. I have since got the tires mounted on the wheels and I'm slowly putting everything together. I had an original OAI top but it was painted with a flat black on everything. I removed the paint and tried on the vac motor but didnt work that well. I ended uo buying a new vac motor from Thornton. It's a real nice piece. The vac lines were purchased from Fusick and the white stripe line hose does not fit, it's too big. Thornton supplied me the correct line which I then applied the white line. I put everything together and works great. I drove it around my neighborhood and still haven't got out of third gear. I'll look to get it on the road in the coming week. I still have a list of little things but the next important t job is an alignment. Do you guys have any recommendations for alignment as far as differing from what the factory set?
Wide oval radials mounted NOS lug nuts Buffed out each one Black paint over everything After paint removed New plumbing NOS riser screen
Wow looks awesome been following for the time.
if you come to cape cod or any south shore car shows. Let me know. I'd love to see it.
Hope everything goes well as she looks!
Looks great Paul. On your alignment question one thing I personally like is to put more caster in than the factory settings. I think the factory caster setting was to give you a really light easy to turn steering wheel, but you loose steering feel. Adding more positive caster gives you a stiffer feel and much better high speed stability. I think the factory settings were really for manual steering cars. If you have power steering and especially if you have converted to a fast ratio box put some positive caster in it. What I have found on old cars geometry is that you can only put so much positive caster in and still get your camber at about zero for a street car. So my recommendation is to put as much positive caster as you can and still get your camber right. Good luck
Wow looks awesome been following for the time.
if you come to cape cod or any south shore car shows. Let me know. I'd love to see it.
Hope everything goes well as she looks!
I think I have my eyes on the Bass pro shops in Foxboro every other thursday. The last time I was there it was yrs ago but a huge turn out. I'll be making the rounds.
Last edited by scrappie; July 31st, 2023 at 05:53 PM.
WOW! I can confidently say that I accomplished absolutely nothing at work today except reading through this entire thread. I am convinced that you could do pretty much anything and have given me something to aspire to. Bravo good sir!
Thats a lot of reading and looking at pictures. Sorry to have distracted you from your work but I do appreciate the compliment and hope this inspires and helps you with whatever project. This site has been the same for me.
According to the 70 PIM the hood to cowl weatherstrip installs with the opening towards the windshield. I bet yours settles over time. But some of the aftermarket weatherstrips are stiffer so it may take a bit of time.
Page 1-2 124 of the 70 PIM
So what does the PIM for 1971 say. My cowl/hood seal @ 52 years old is very very hard and smashed. My clips and opening is on the engine side, in addition to what looks like the same plastic clips it is also bonded to the cowl.
scrappie, where did you source your cowl/hood seal?
Last edited by JMJ-RIP; August 5th, 2023 at 01:23 PM.
If they clips are plastic then it was probably replaced at some point? I'm thinking 71 had metal but not positive. I got my first cowl seal from ILT which ended up being wrong mostly because it was too short. I then got one from Fusicks that came with the plastic clips.
 July 9th, 2023, 06:32 PM


 Just beautiful x2


