When you click on links to various merchants on this site and make a purchase, this can result in this site earning a commission. Affiliate programs and affiliations include, but are not limited to, the eBay Partner Network.
Appreciate that Steve, maybe if the nationals get close to me some day I'll make the trip? I'd like to meet a bunch of you guys and just talk shop for a while.
I've been kind of stalled for the last few months on things because I have an order of things to do that will make this project easier. I wanted to get motor and drivetrain complete on chassis before putting body back because I think this will make assembly a bit easier and reduce the chances of damage to body.
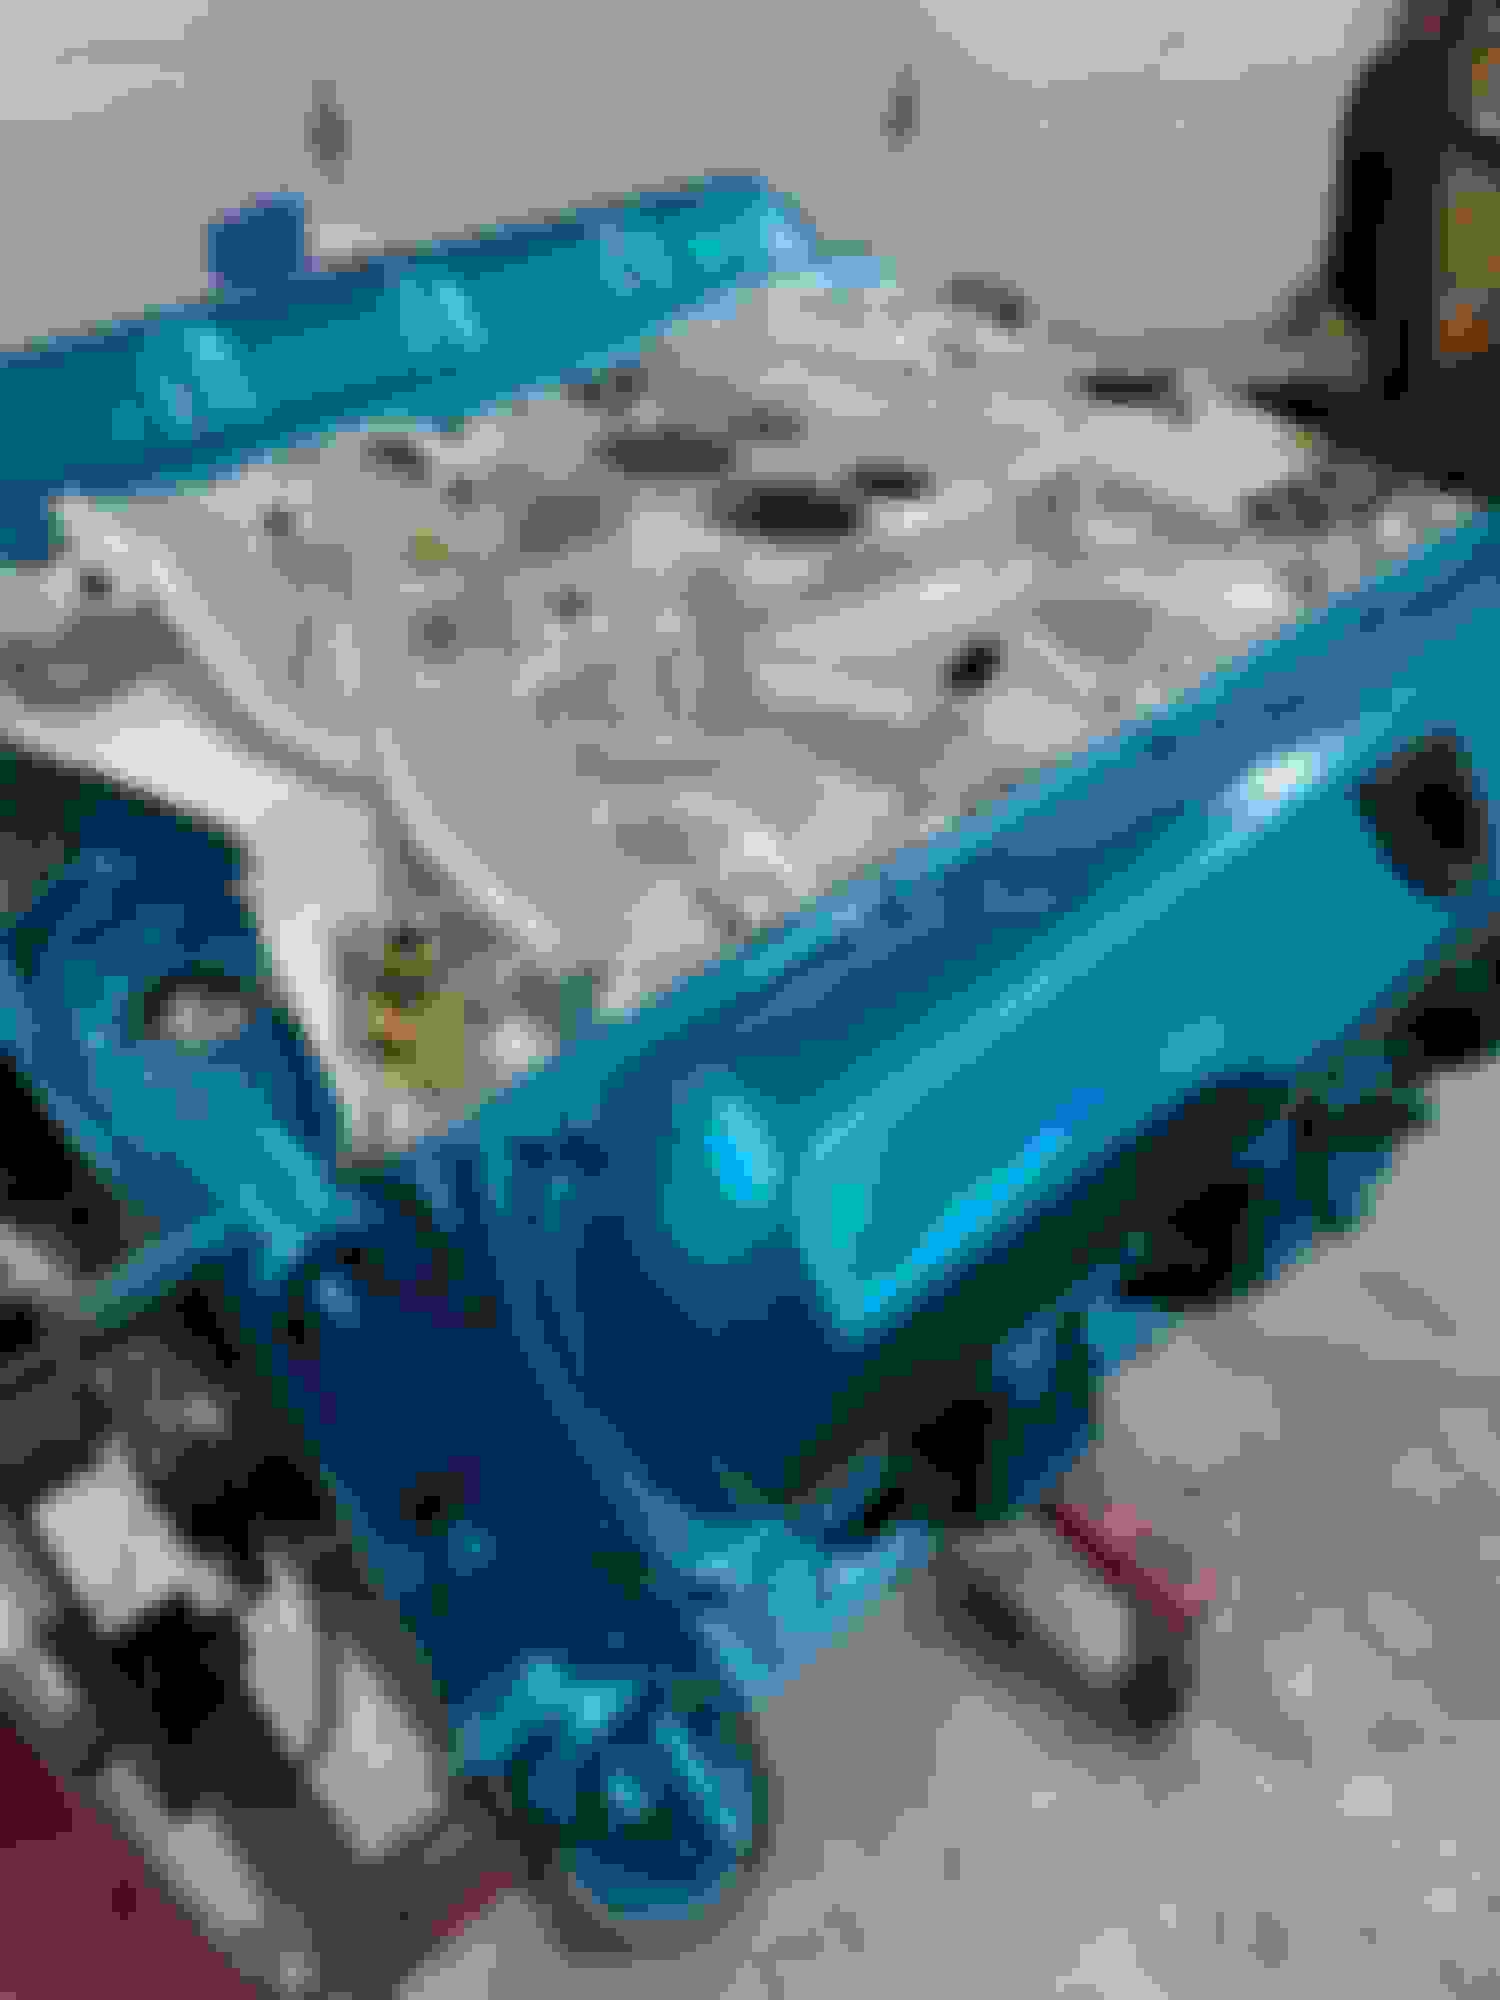
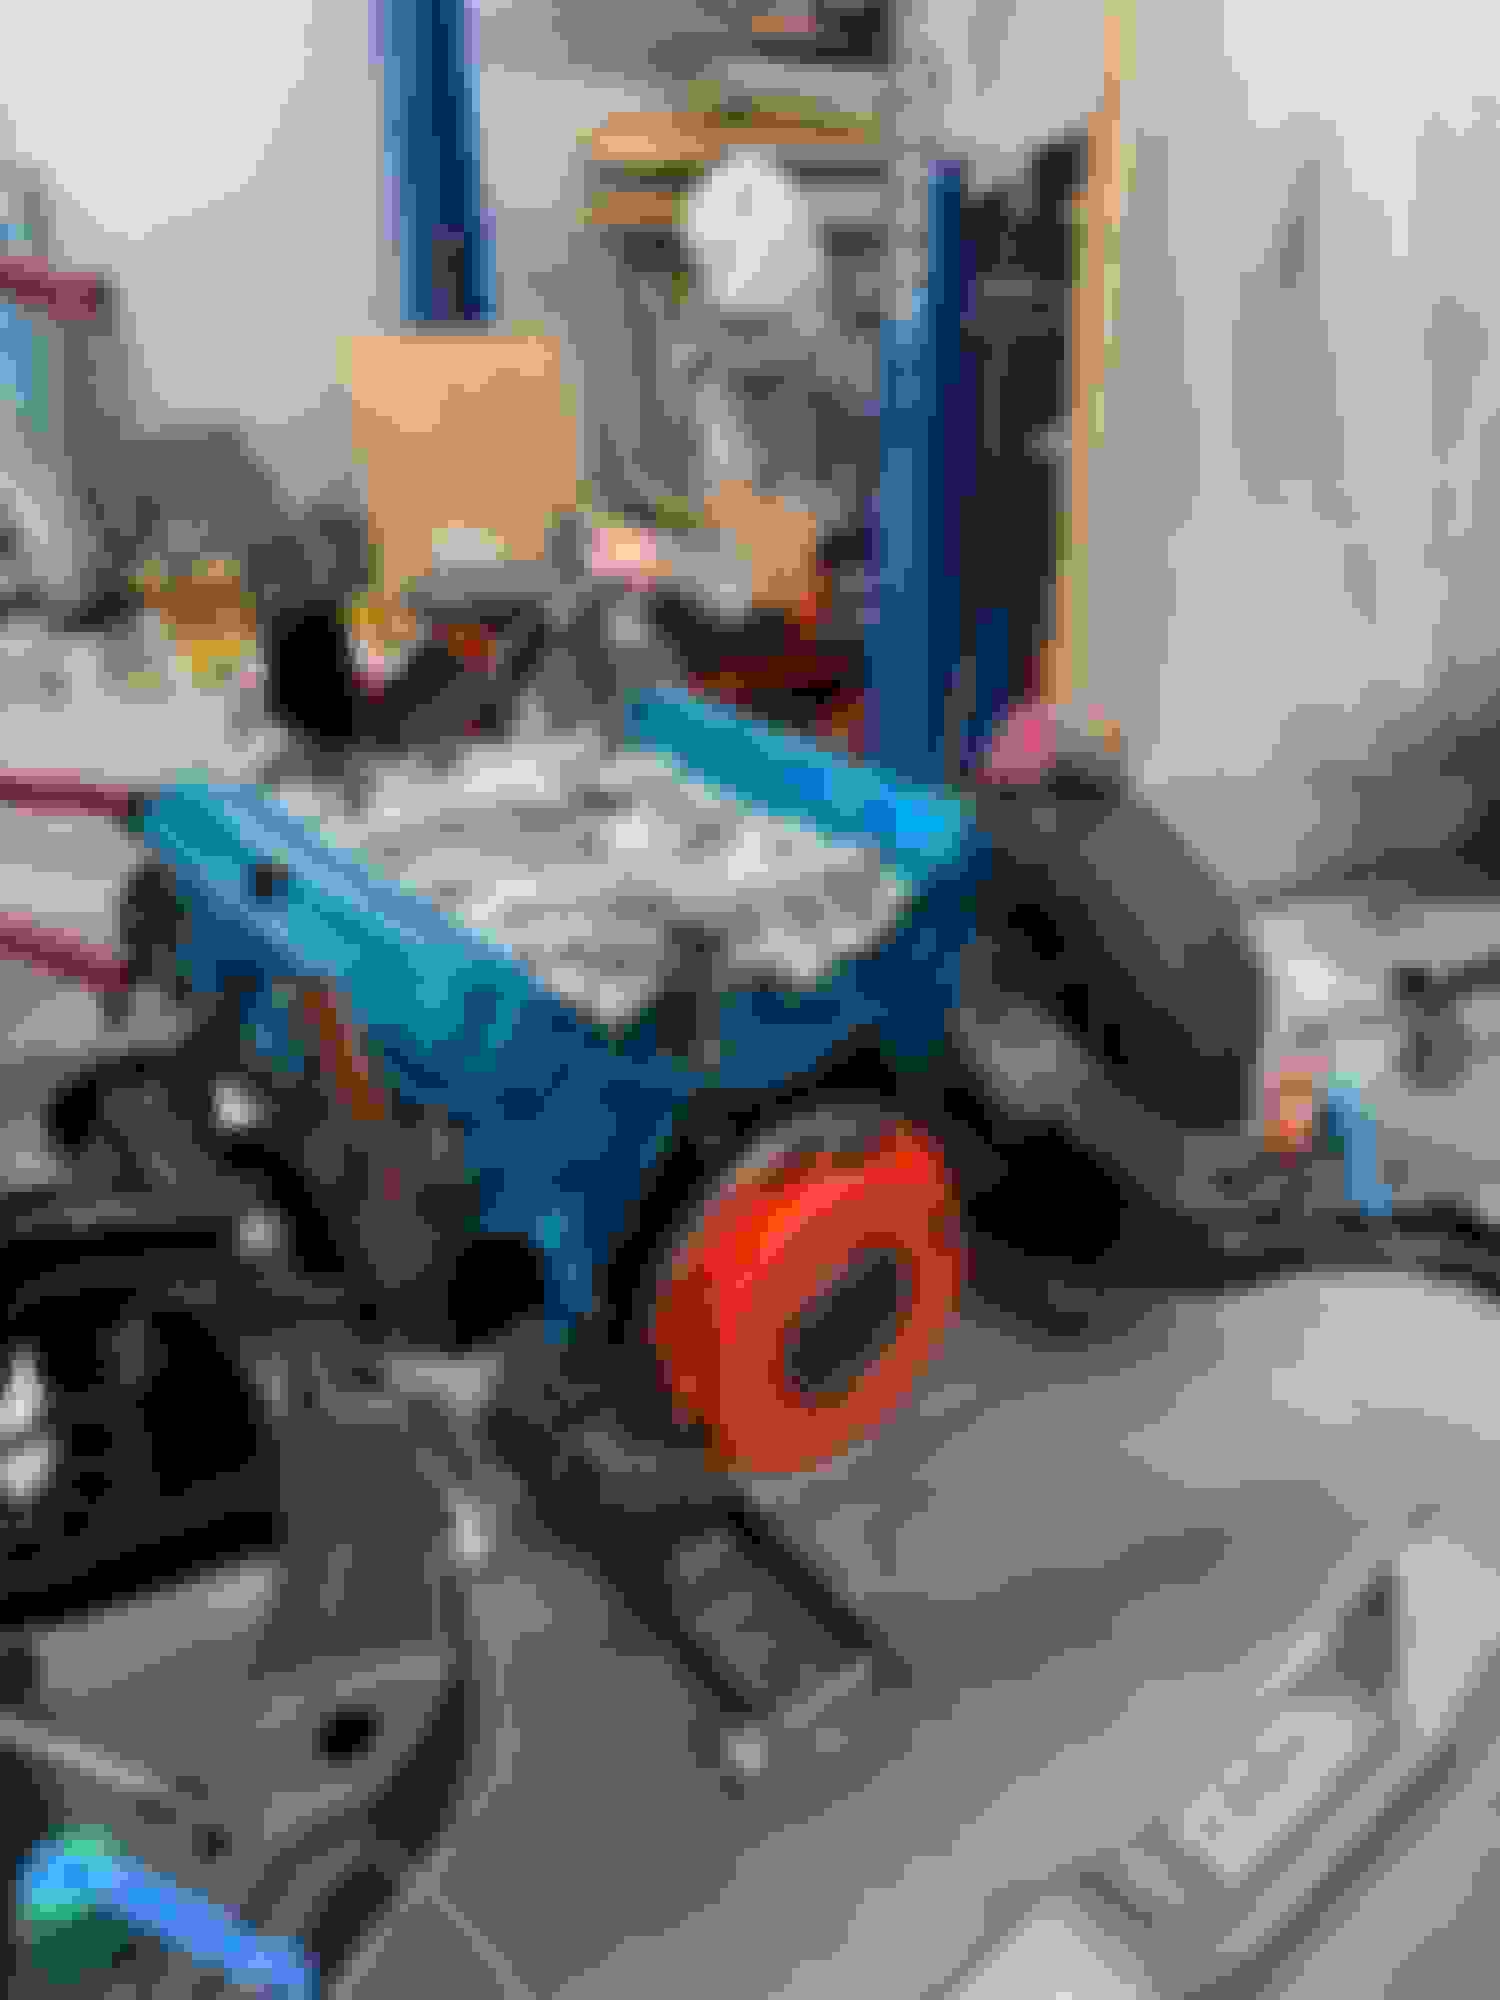
Well after 18 months in engine rebuild prison, my motor got out for good behavior.....
I can now start putting this together. I did a little painting and Ive mocked up some things like power steering brackets and pulleys etc.. I had to order some gaskets and such which will arrive in next day or two. A lot of stuff to do. The fun begins again.
Last edited by scrappie; January 24th, 2023 at 06:51 PM.
Looks great Paul! Congrats! Glad you can get back to assembly. BTW, thanks for the Jim Sheppard referral. He does amazing work. Both my radio and 8 track are in tip top shape plus I have blue tooth! Can’t wait to get back to work on my 442.
Looks great Paul! Congrats! Glad you can get back to assembly. BTW, thanks for the Jim Sheppard referral. He does amazing work. Both my radio and 8 track are in tip top shape plus I have blue tooth! Can�t wait to get back to work on my 442.
Jim
Thx Jim, I'm glad you were able to get a hold of Jim, he really seems to know his stuff. It's a dying art and not a lot of those guys around anymore.
Im sure your chomping at the bit to start wrenching again.
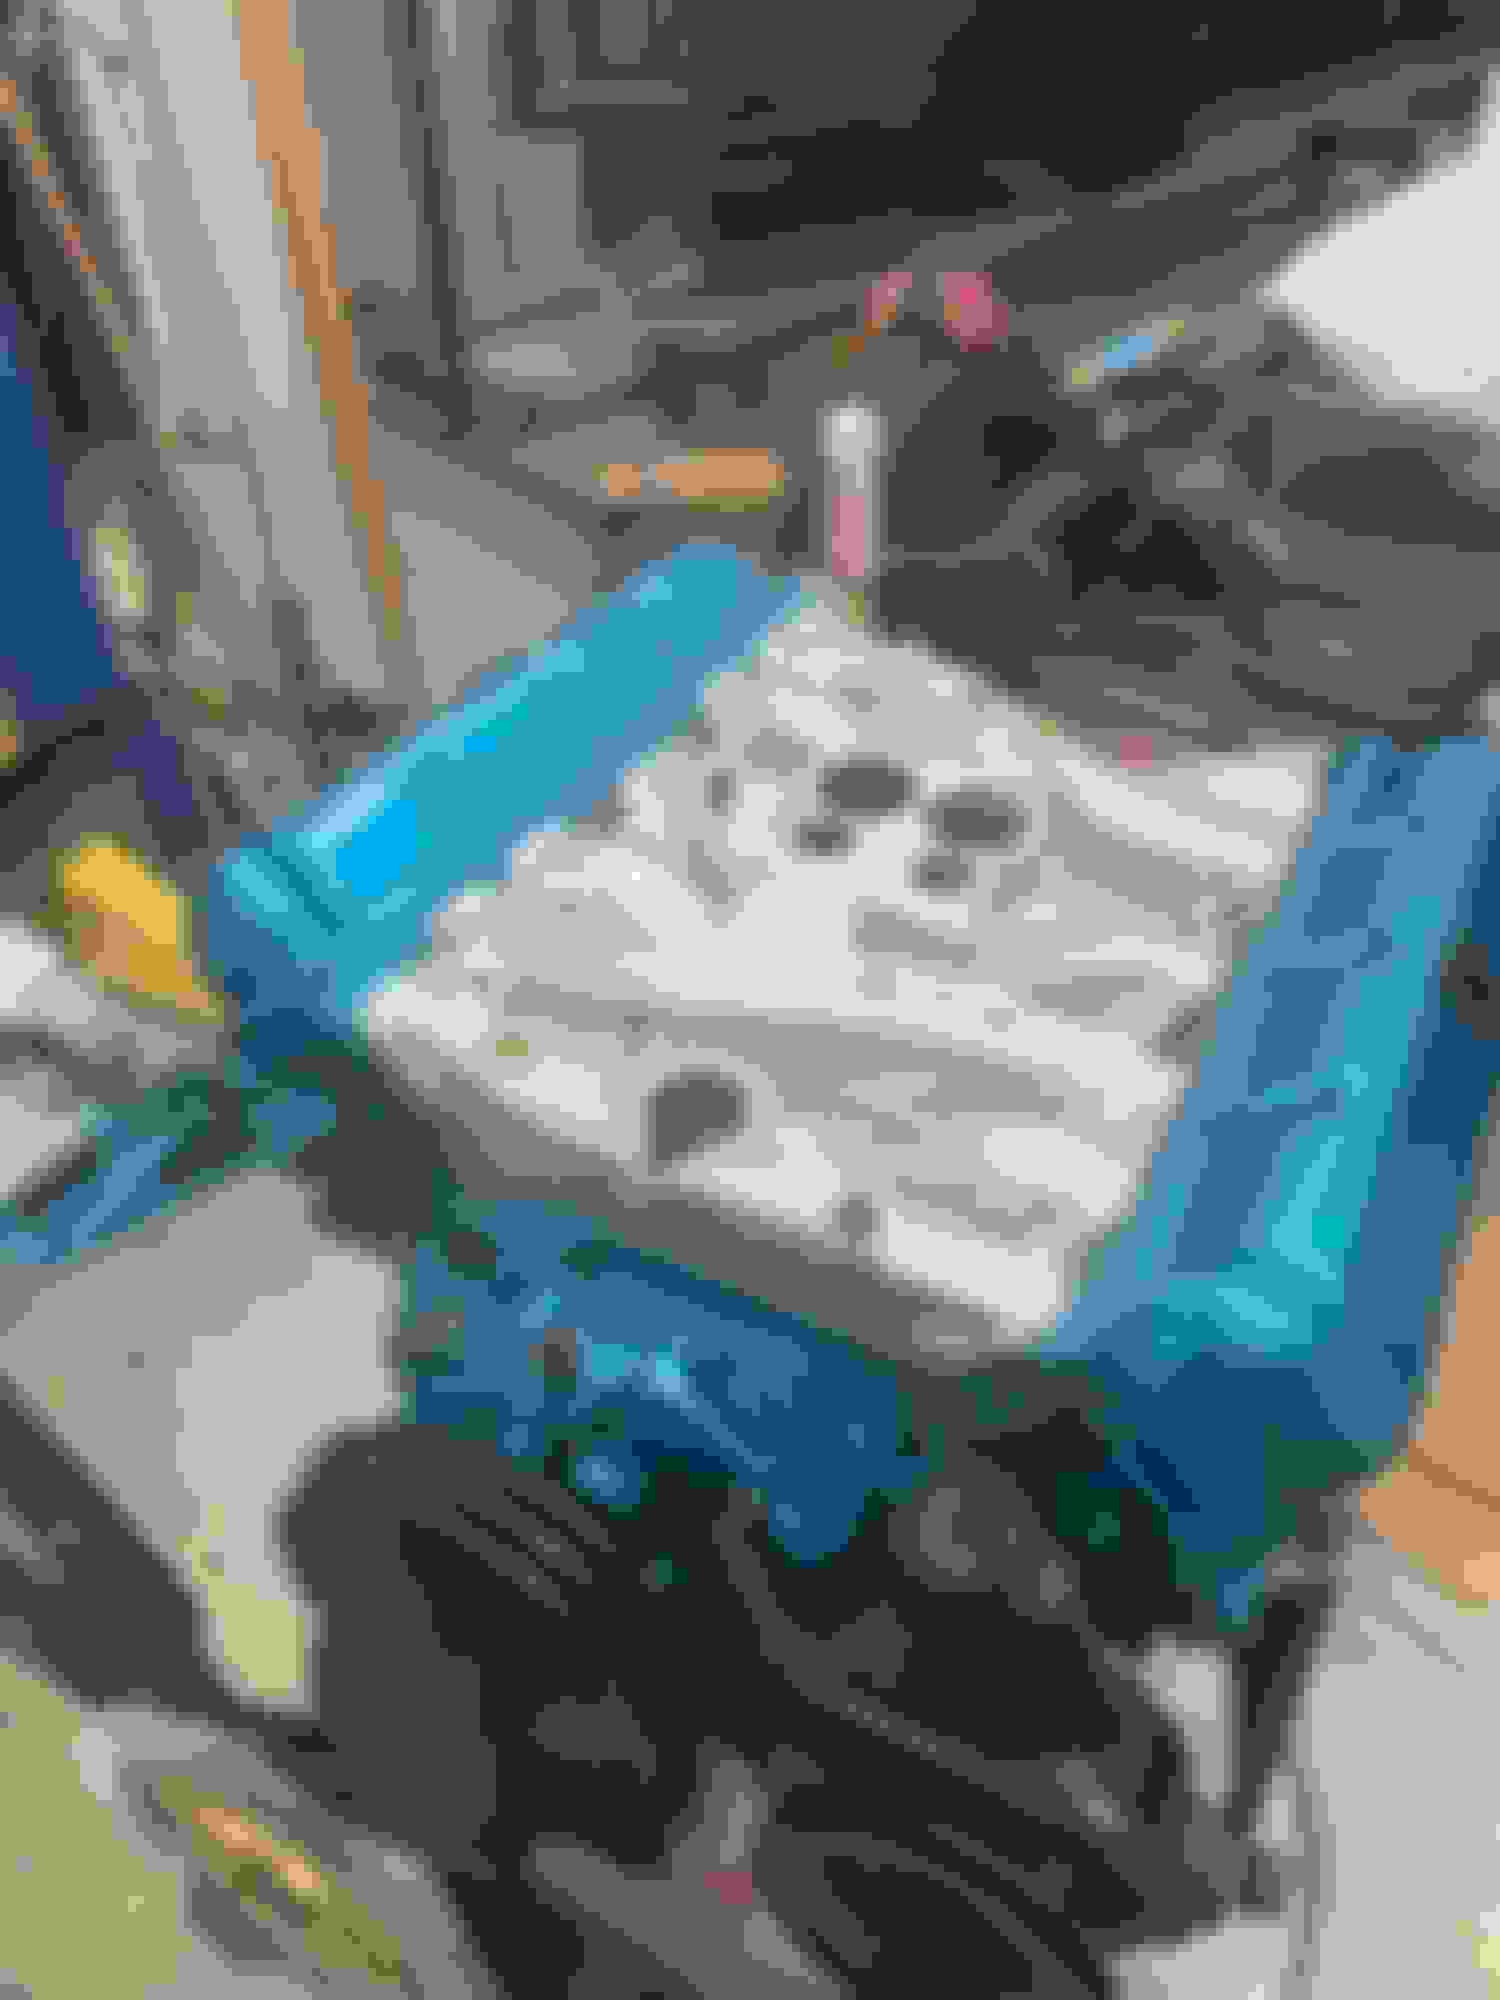
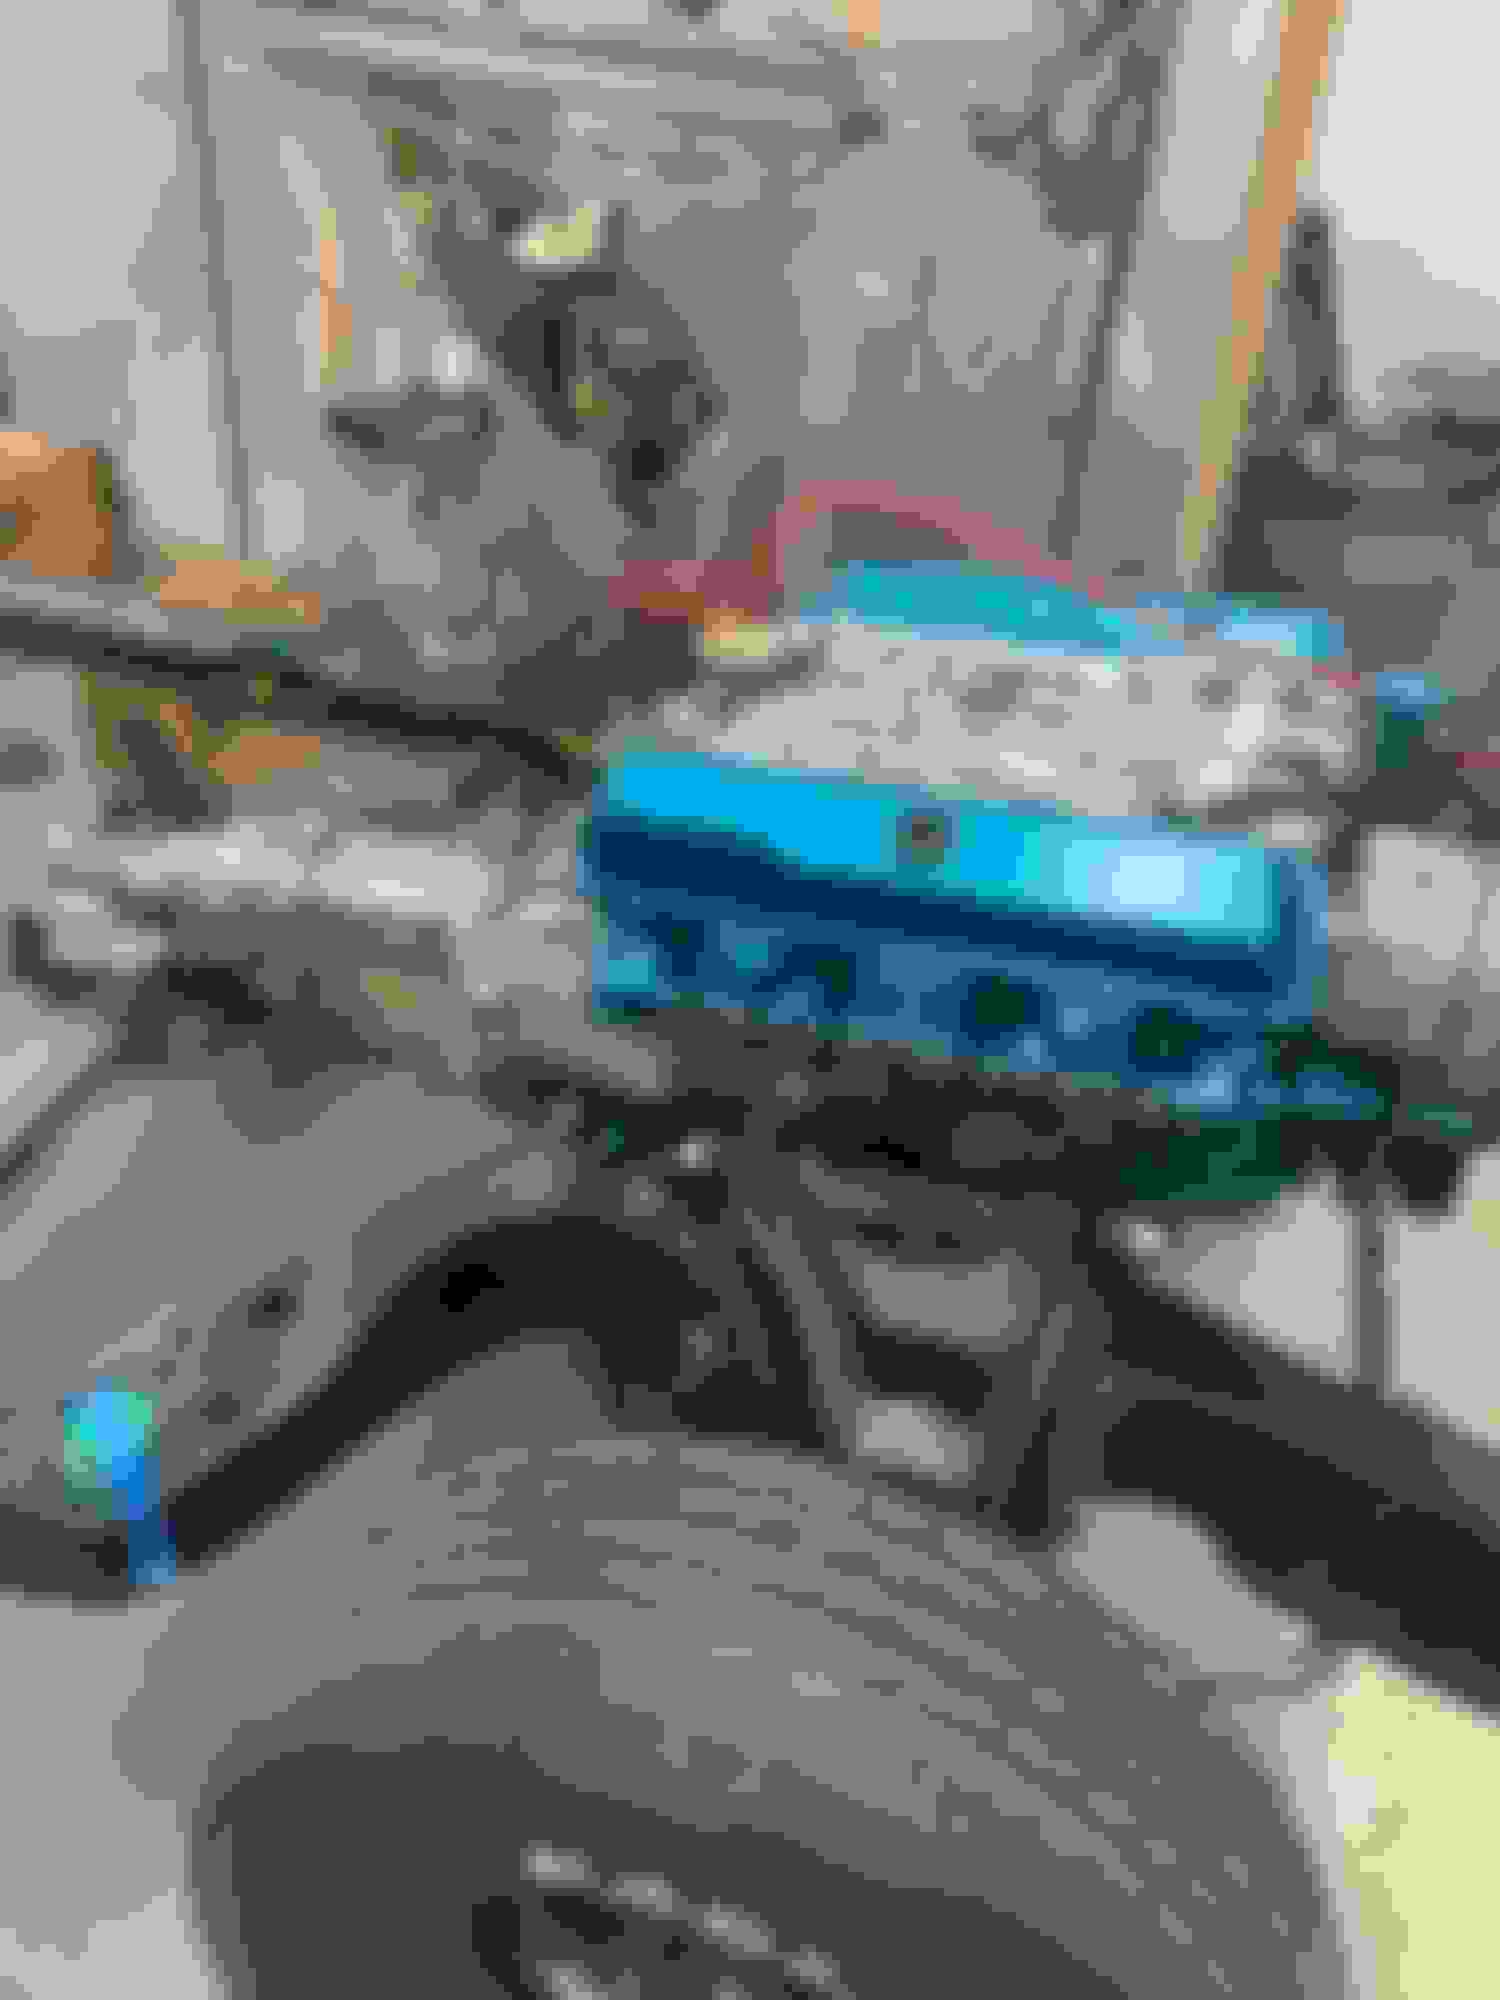
Good weekend of work. Detailing the motor a bit and other stuff. There are so many things to do now it's hard to keep order. Im excited too and need to keep that in check so I don't rush and make mistakes or forget something. So many parts. I have to take a break now and then just to clean up stuff so I don't get buried. It was easy in my mind but when it comes to doing it there is a lot of assembly manual reference and calls to friends who have a car to ask what it looks like and how its supposed to be. Thanks Joe, Fred, Mike and Andy.
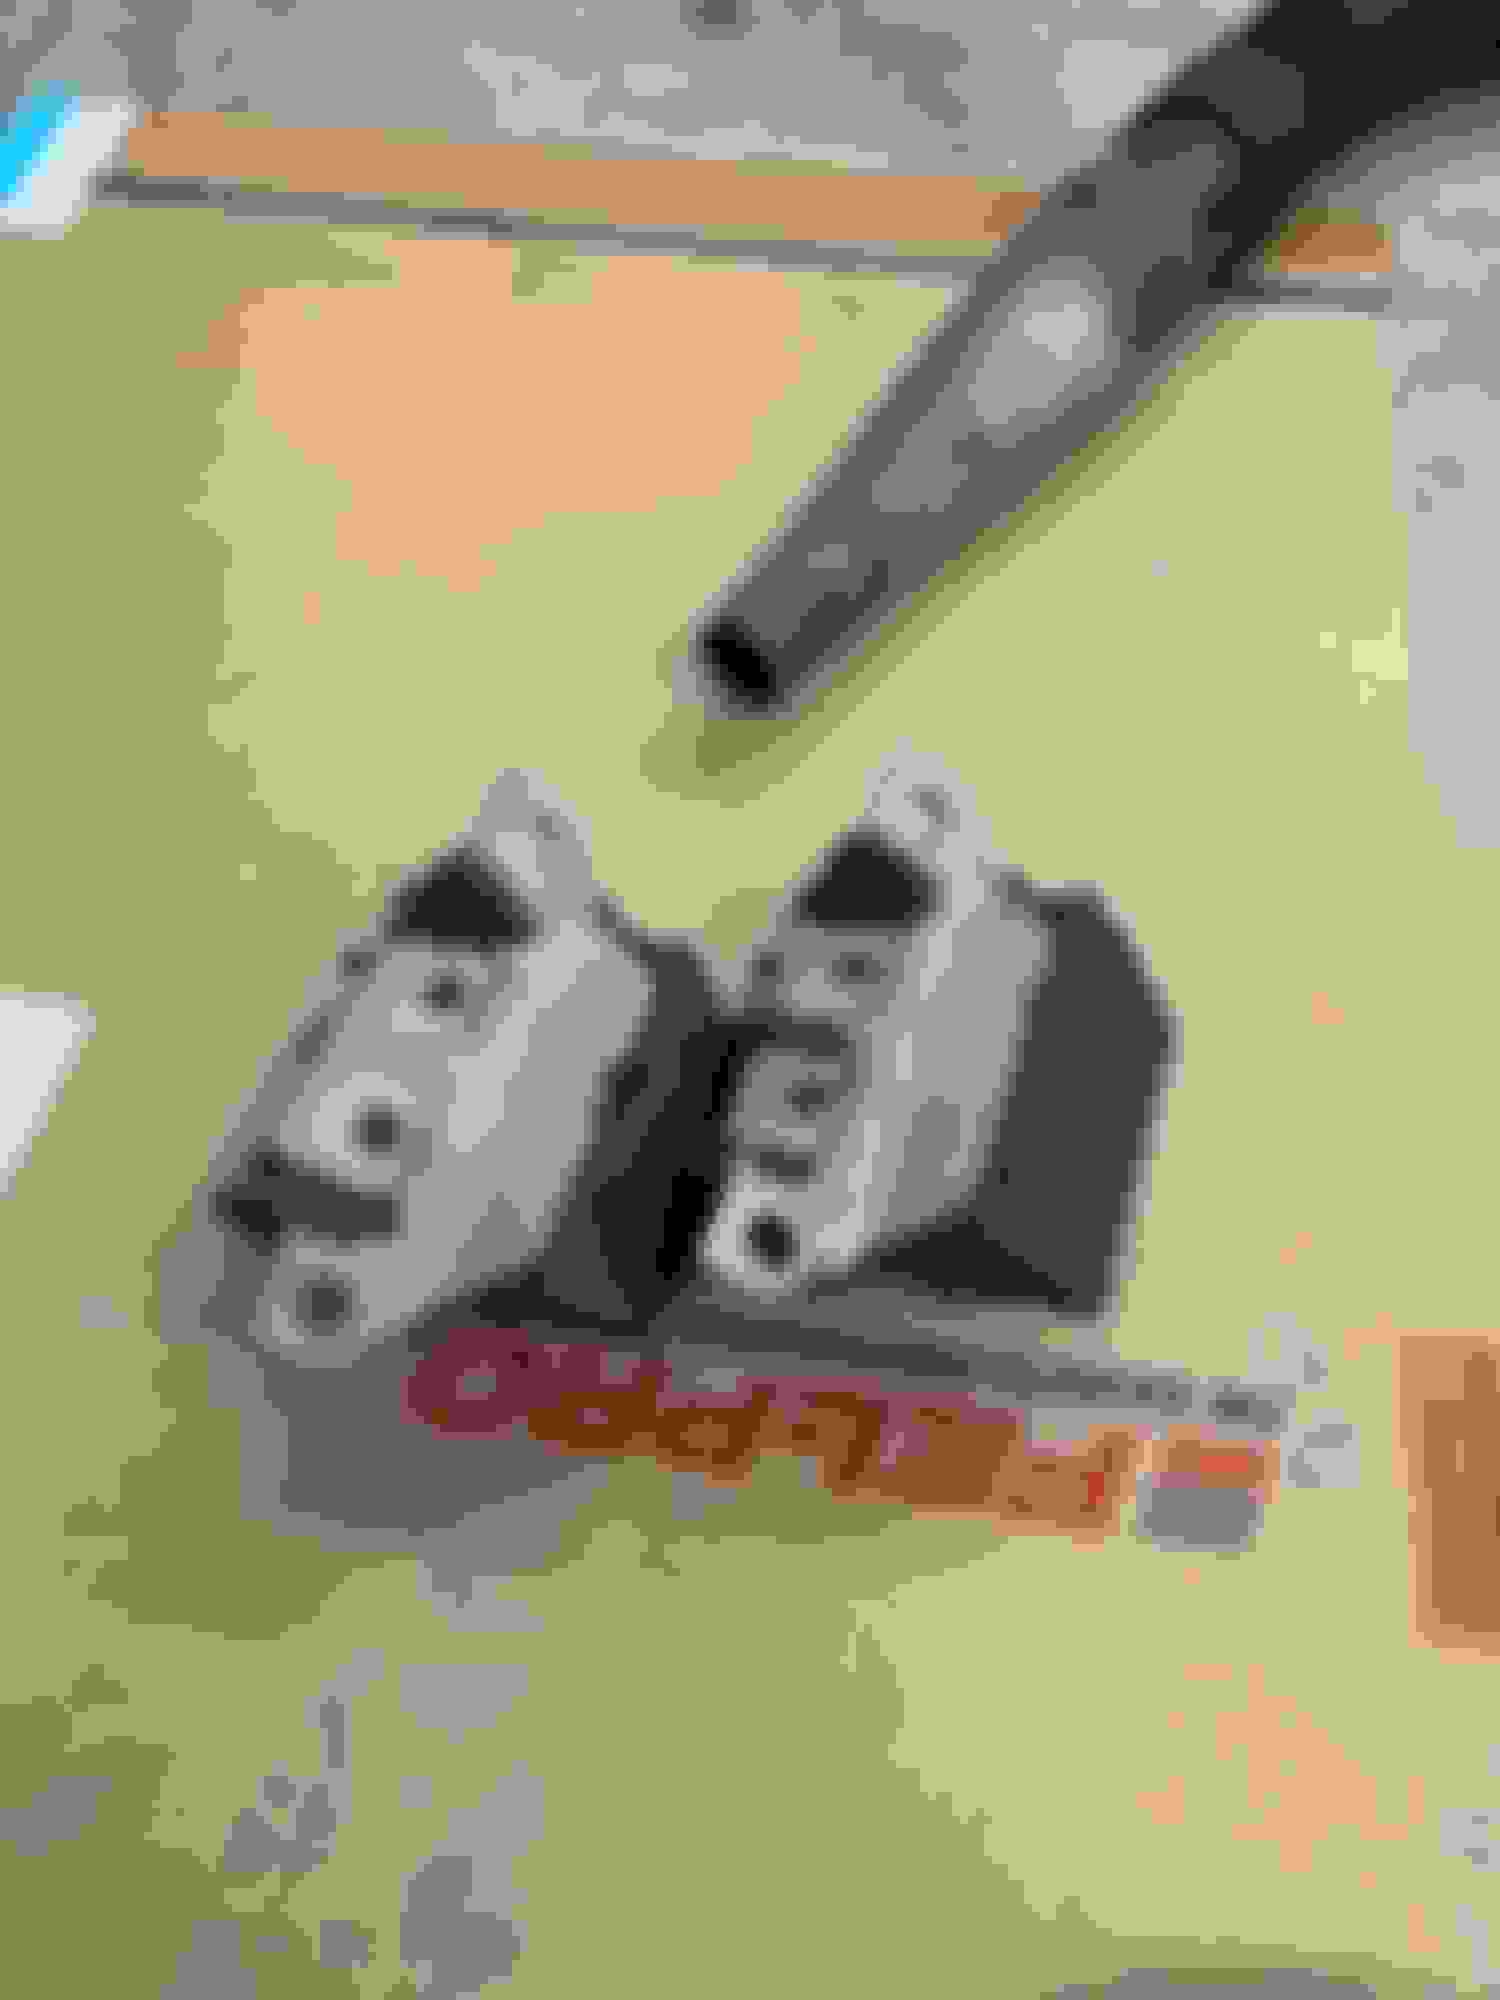
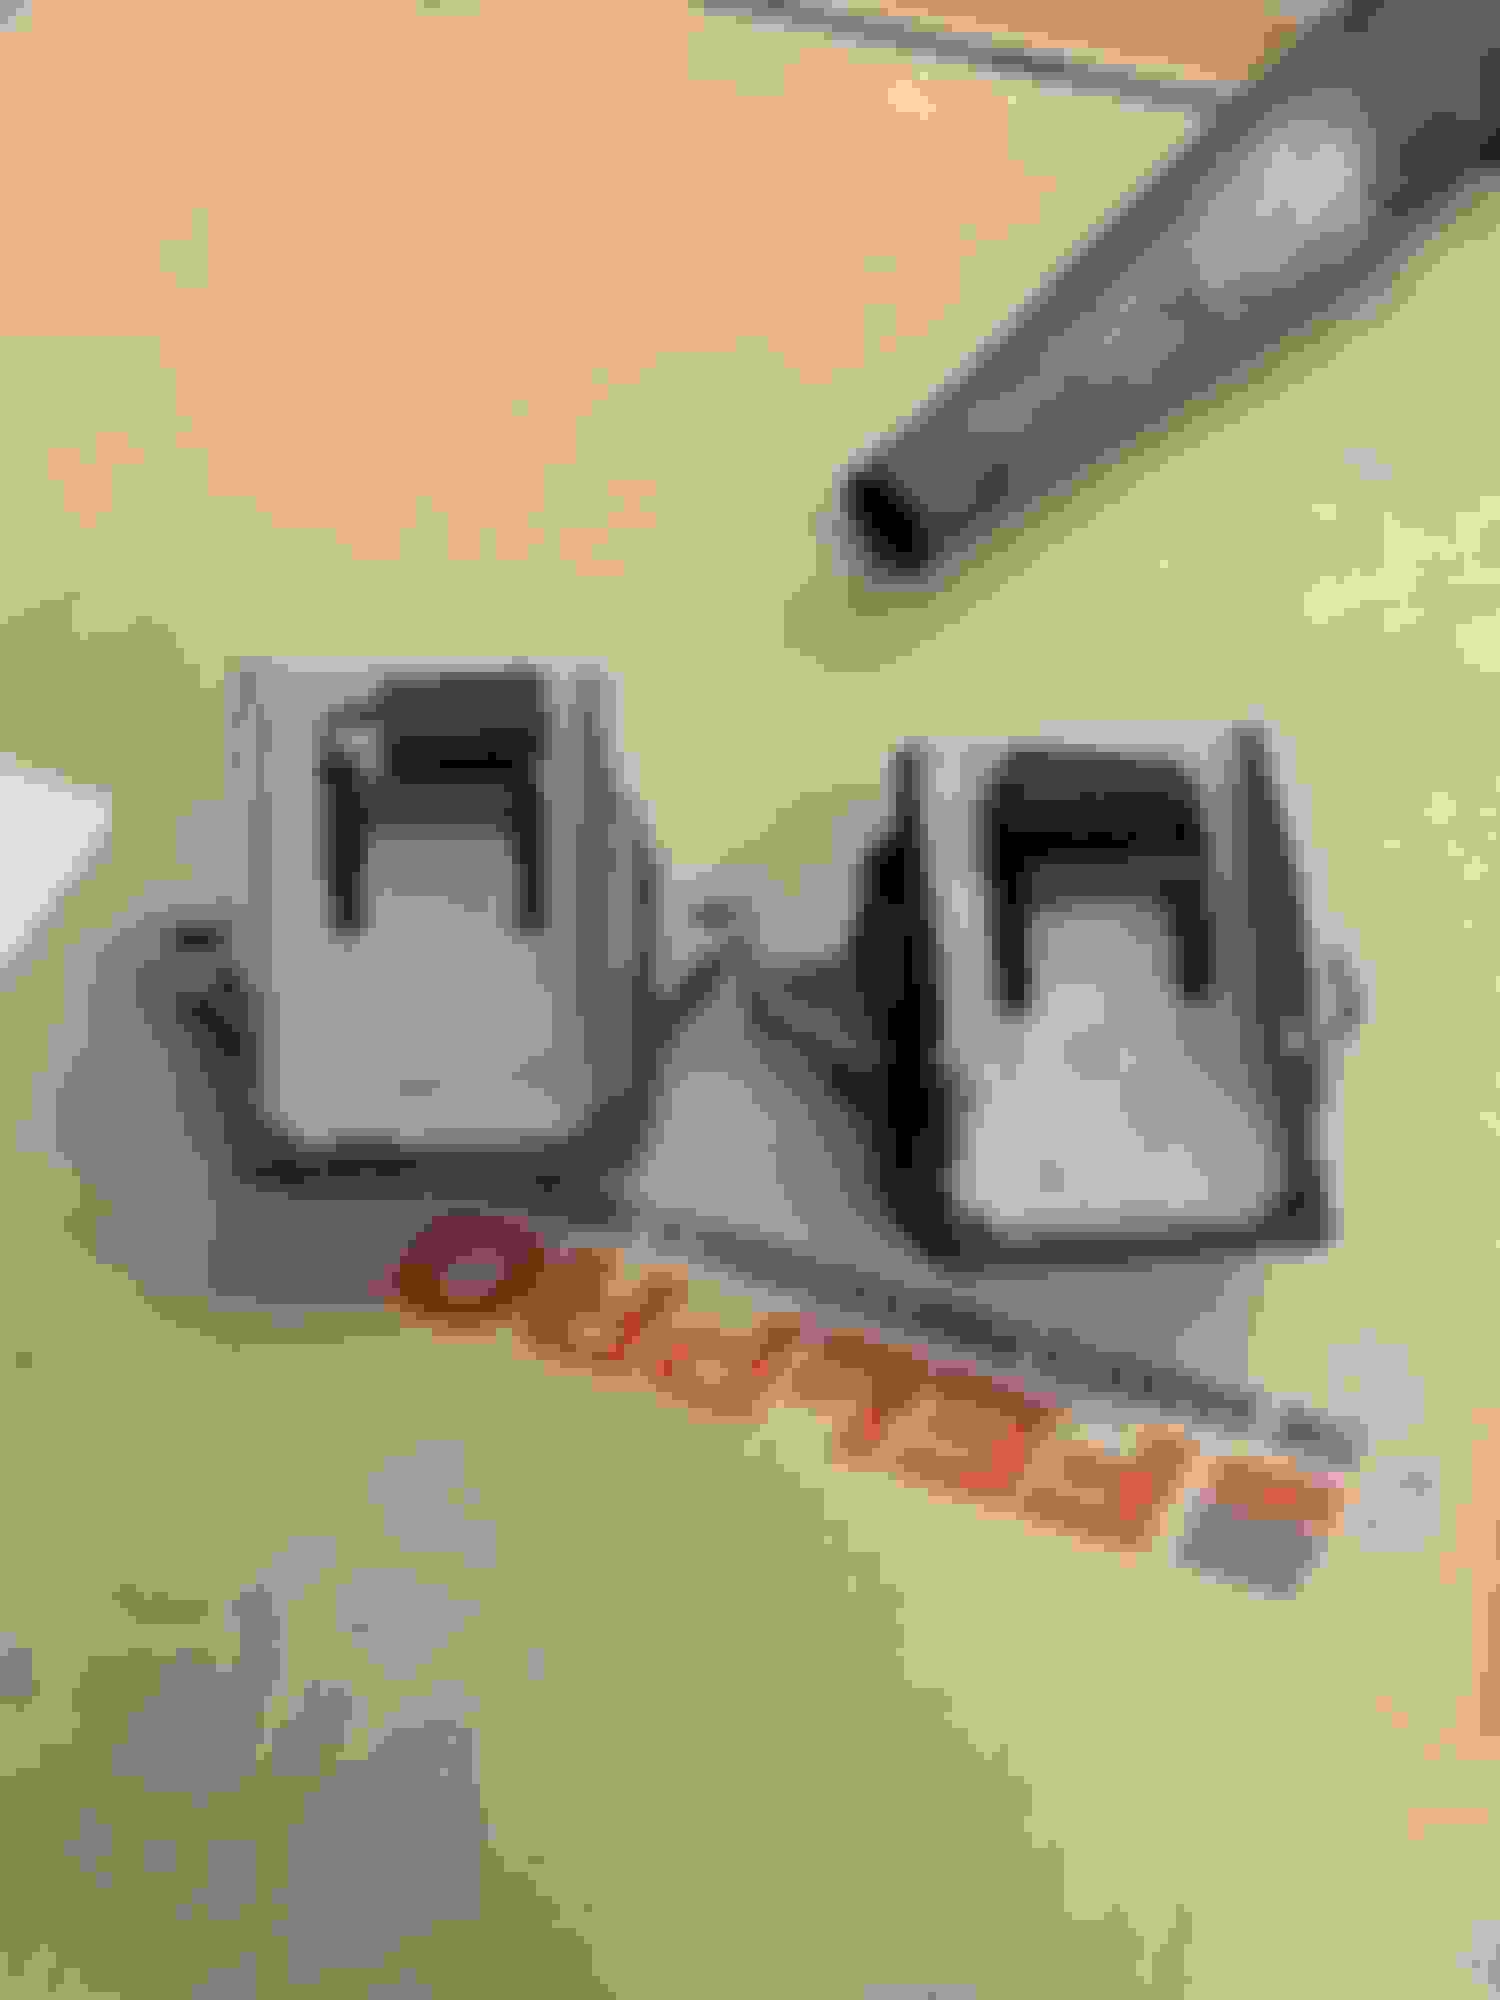
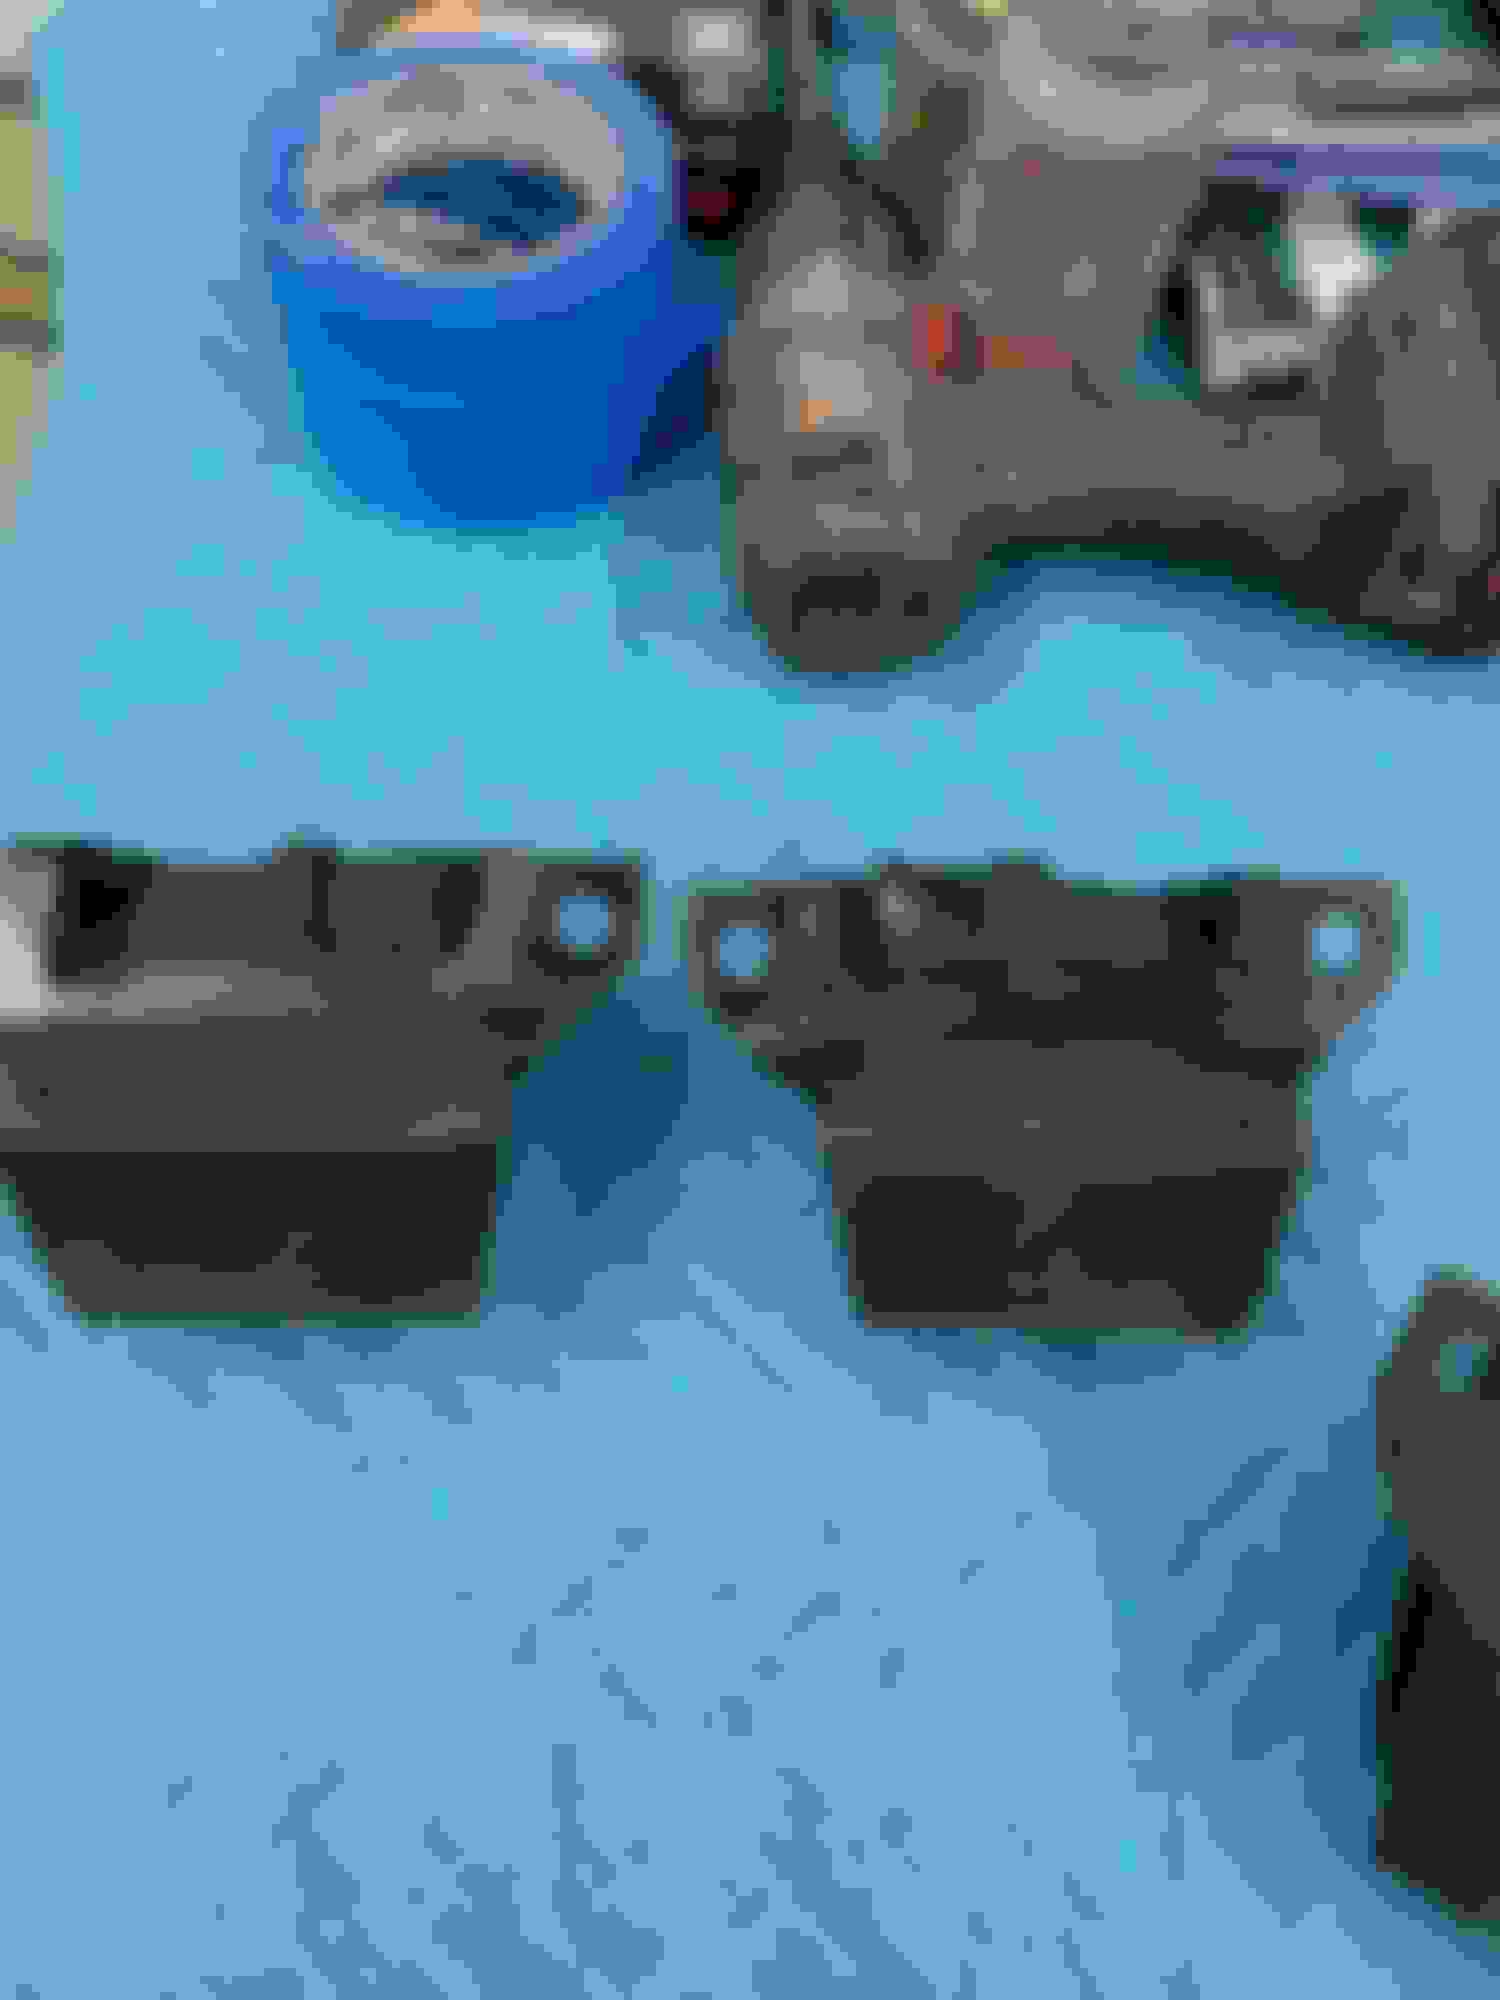
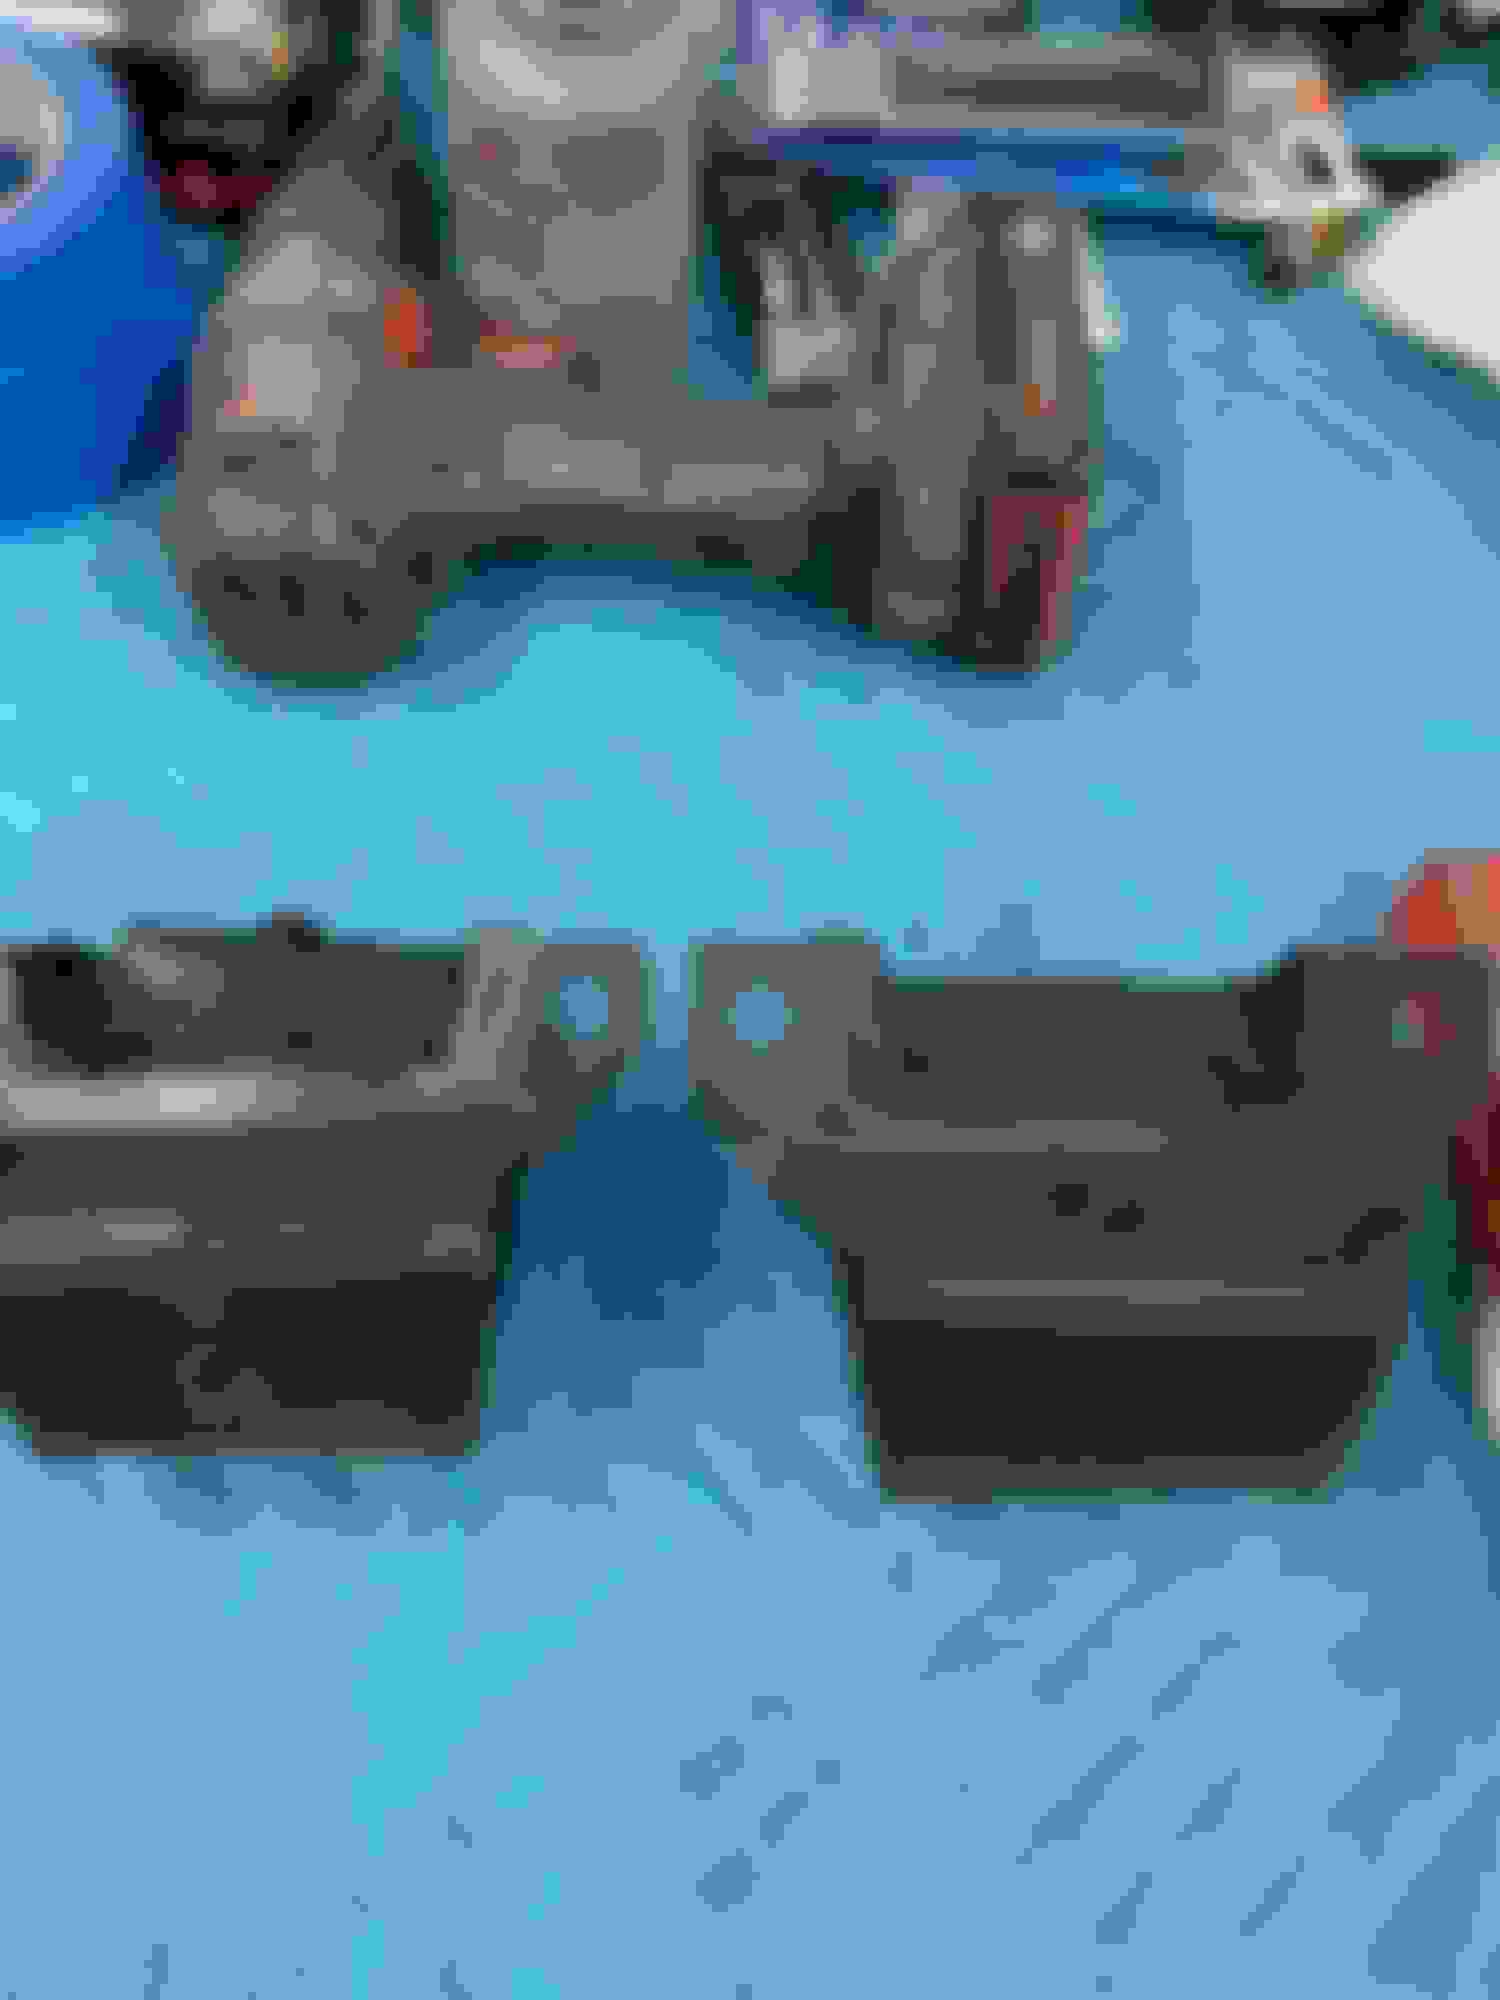
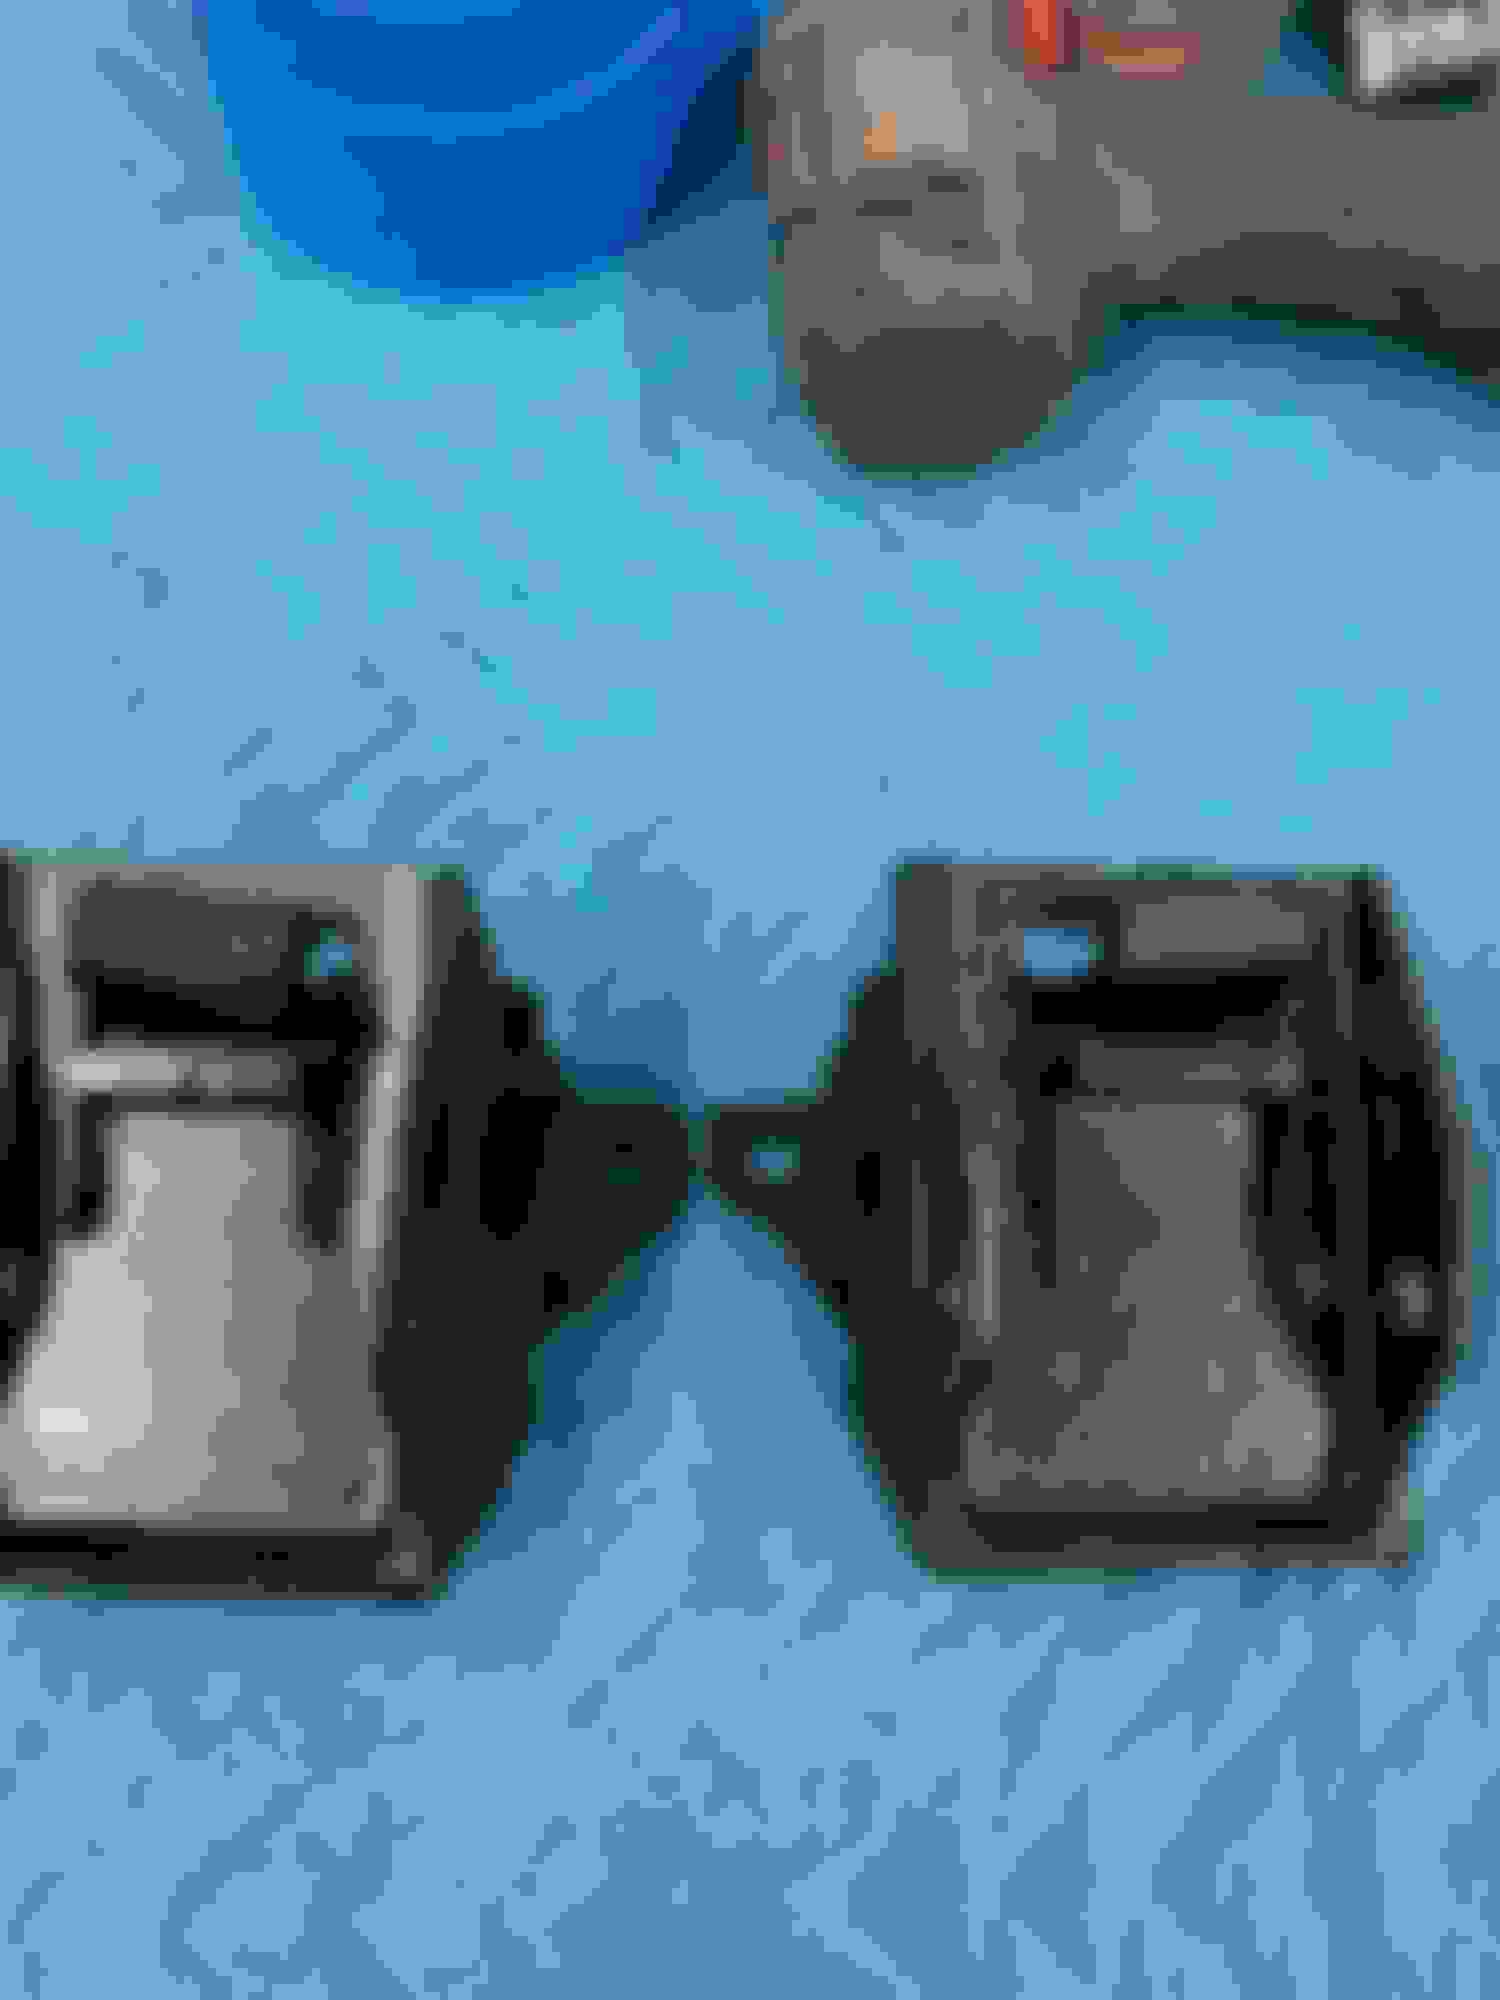
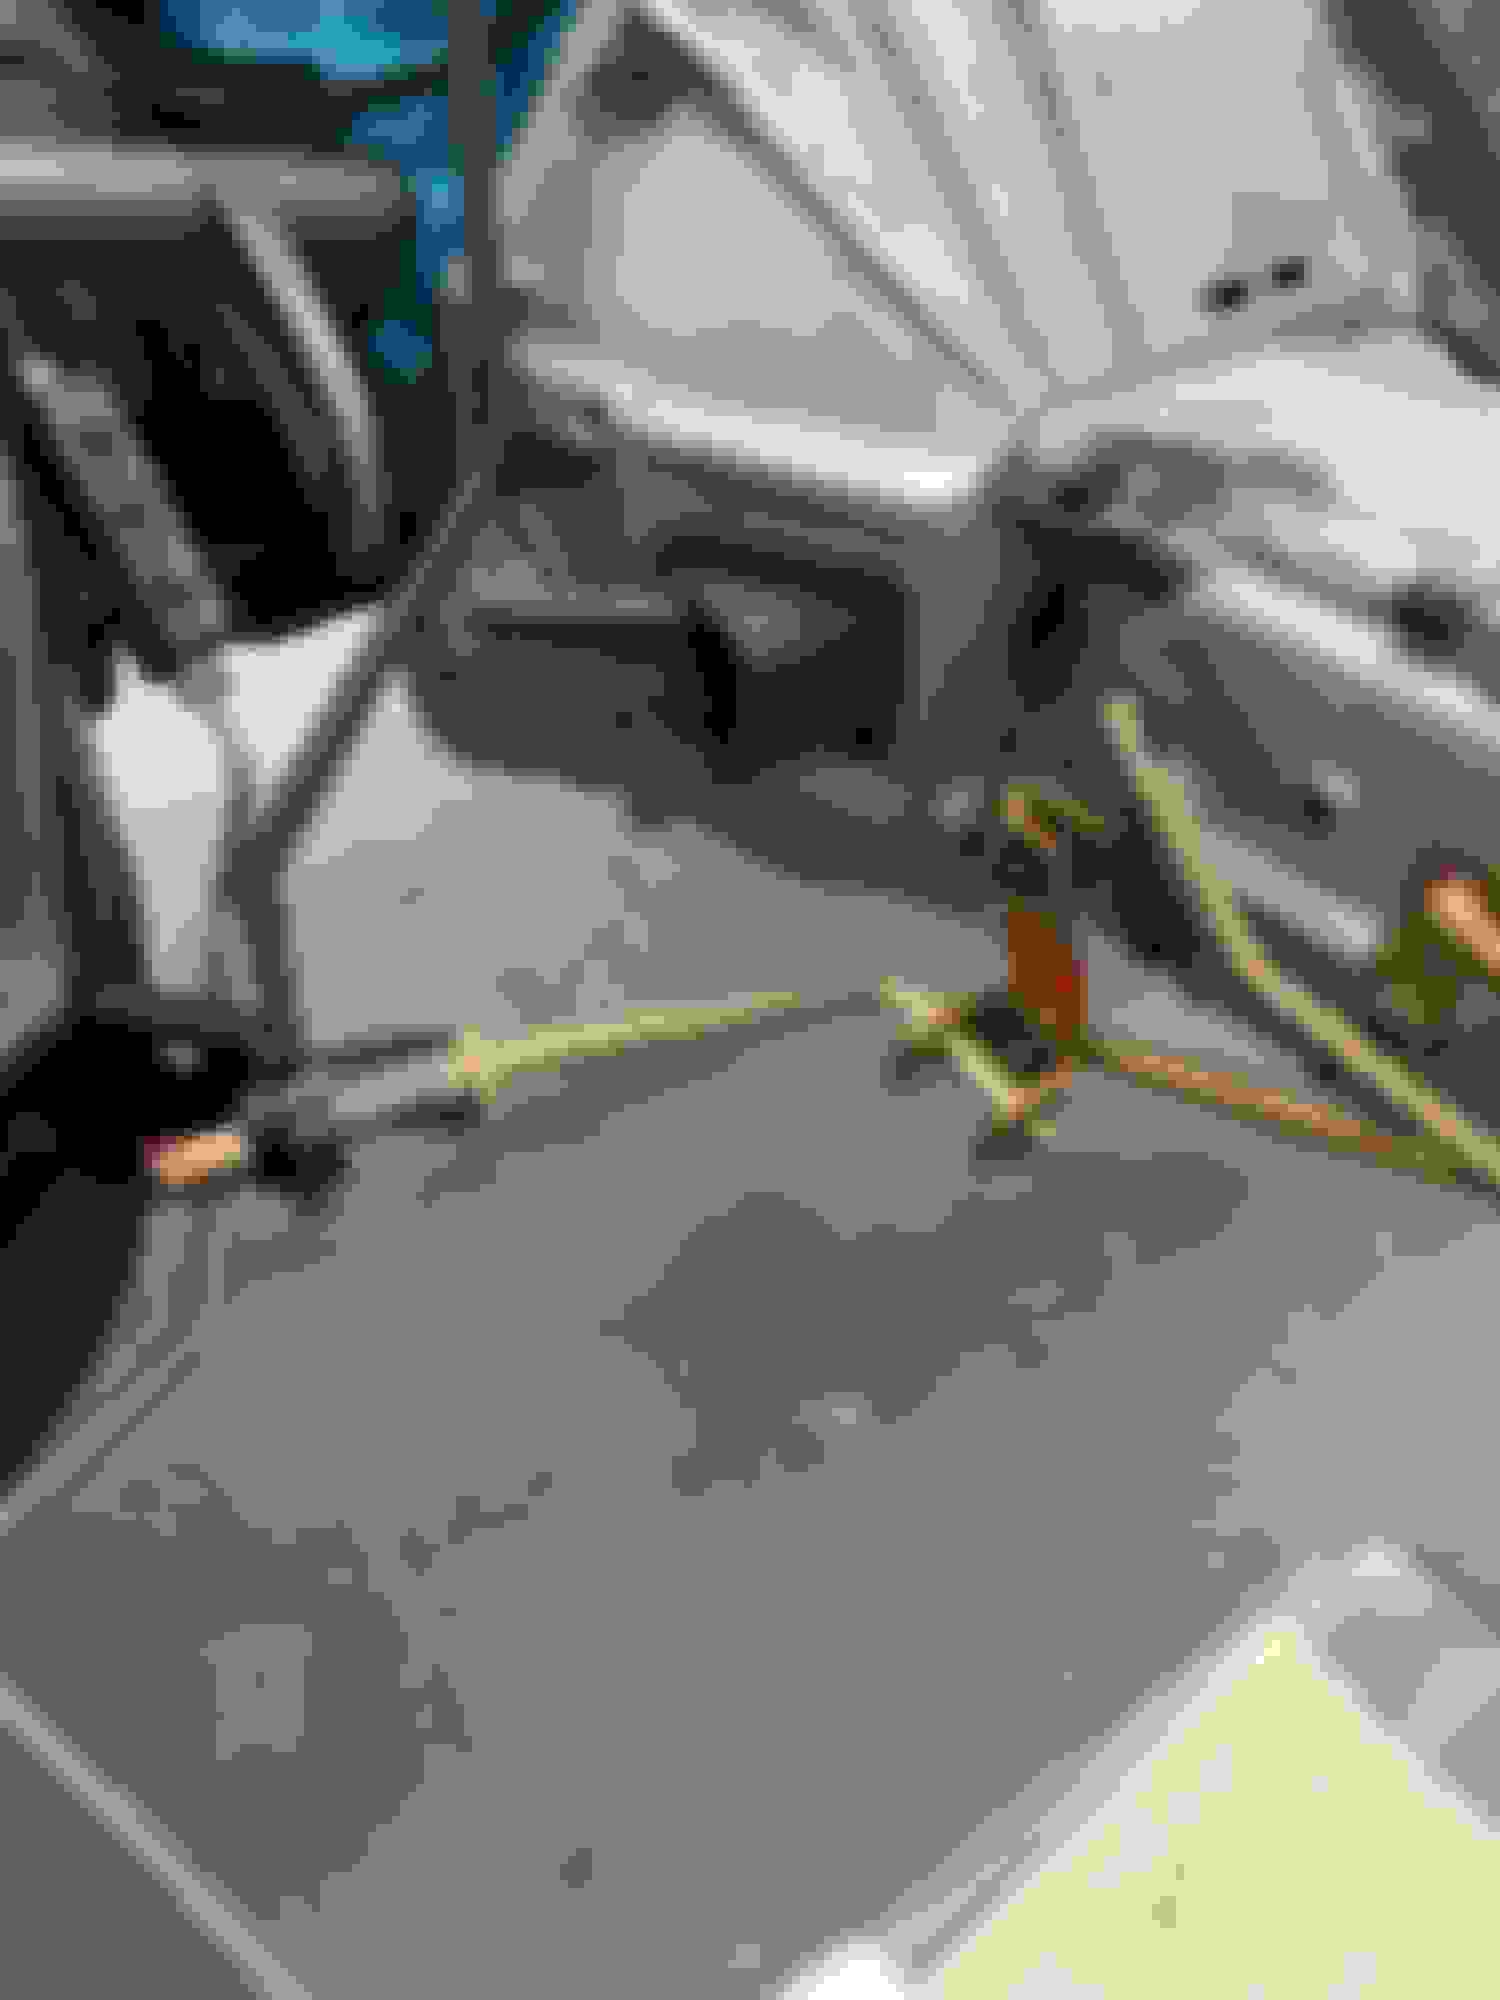
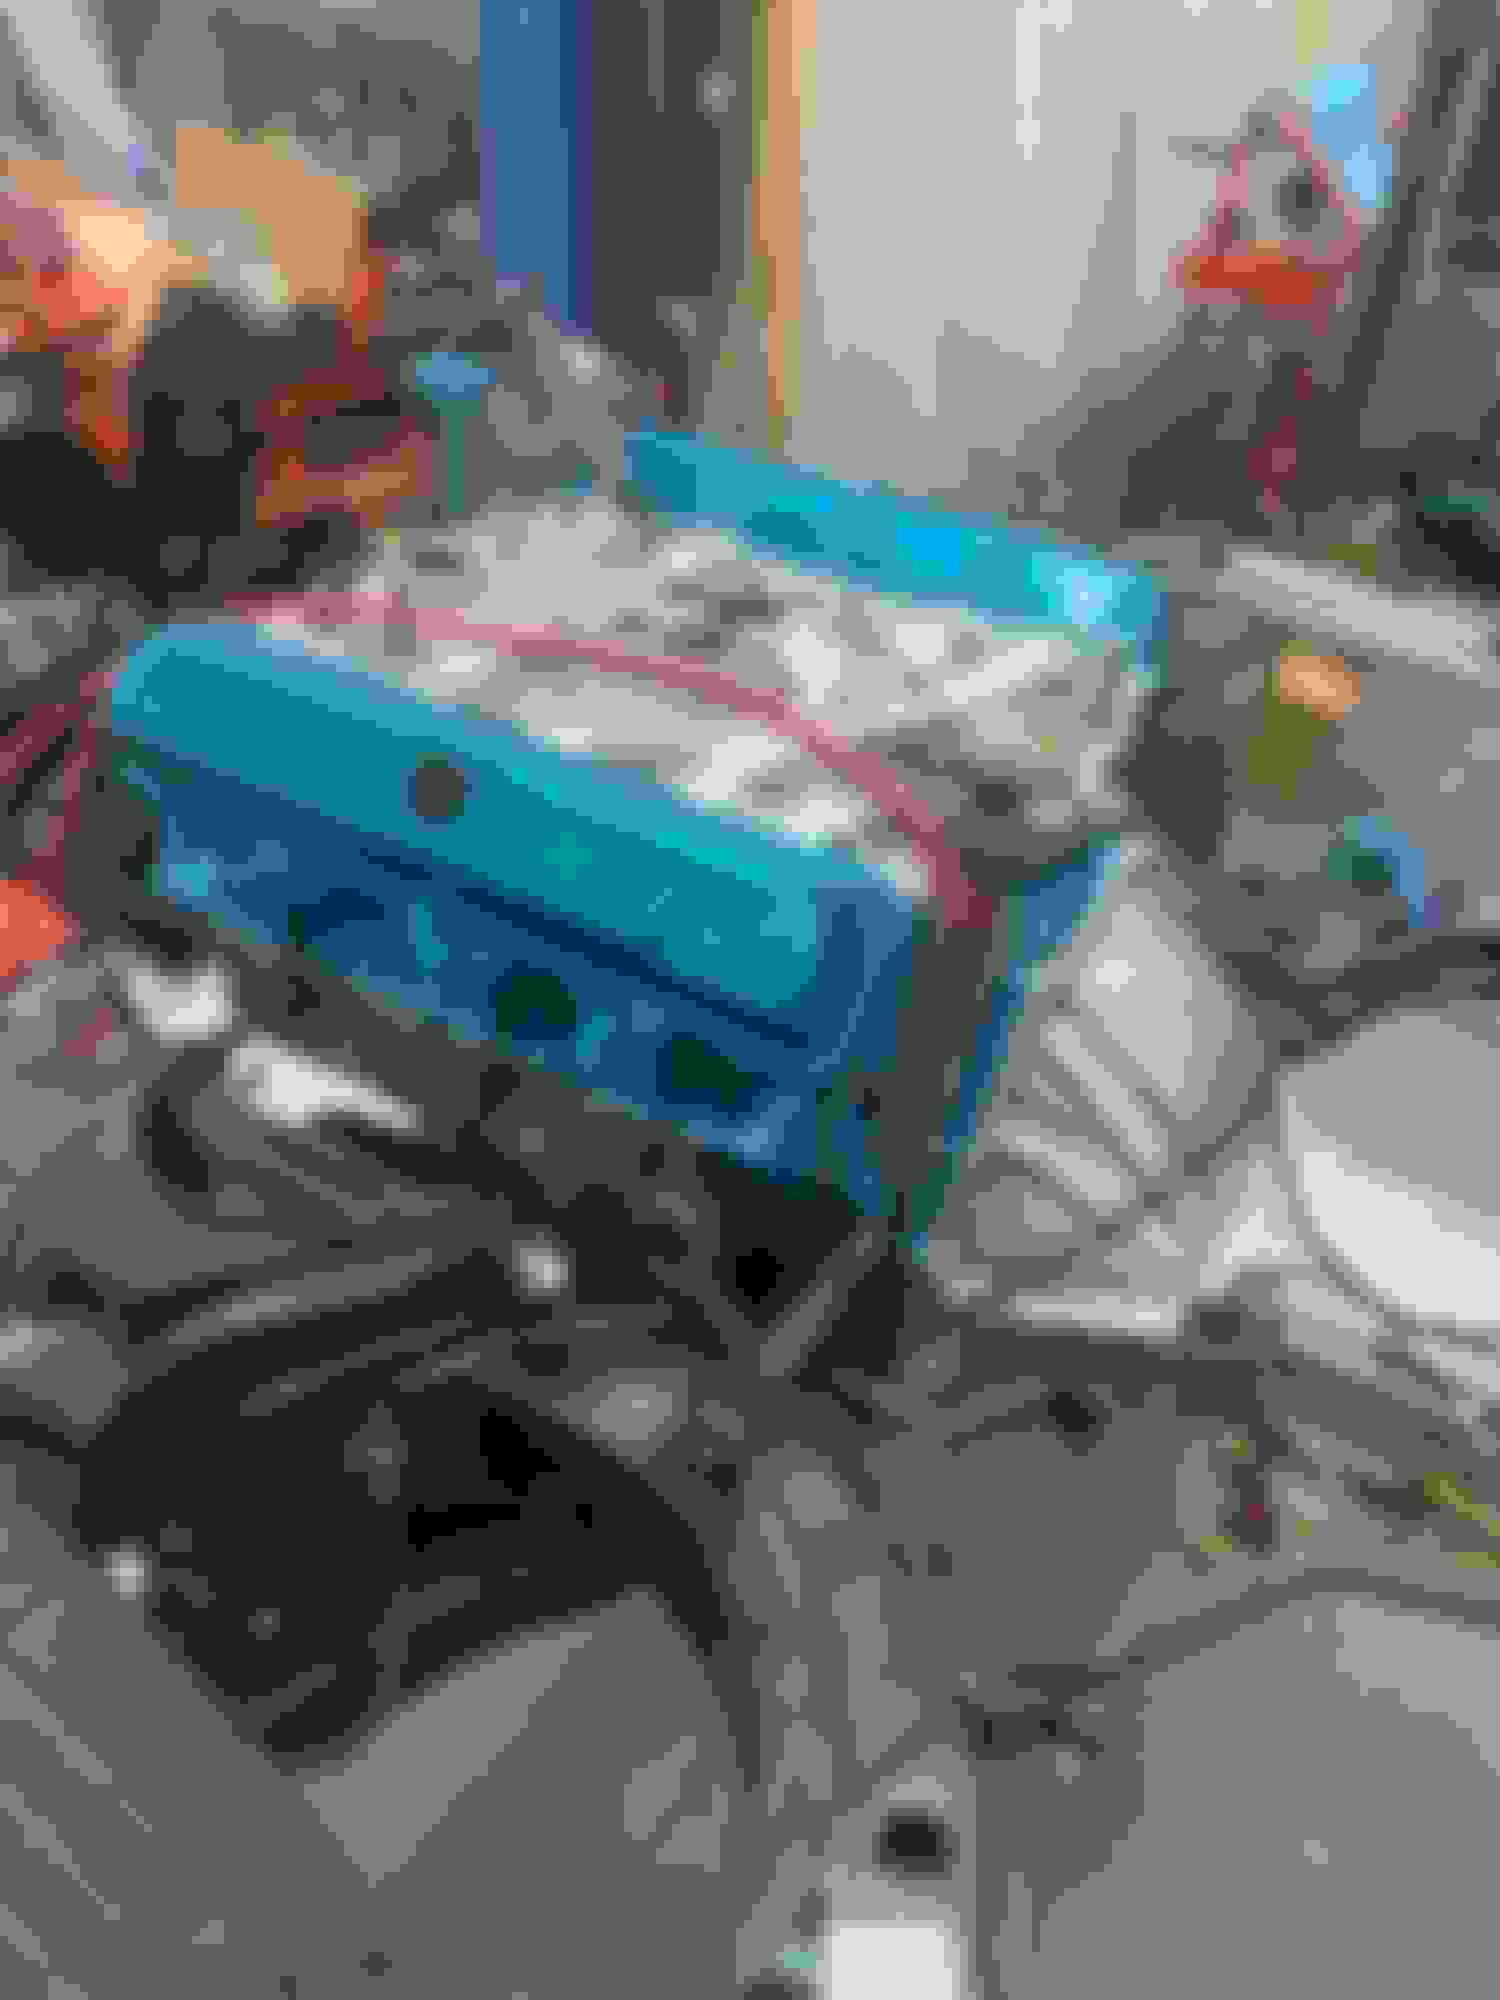
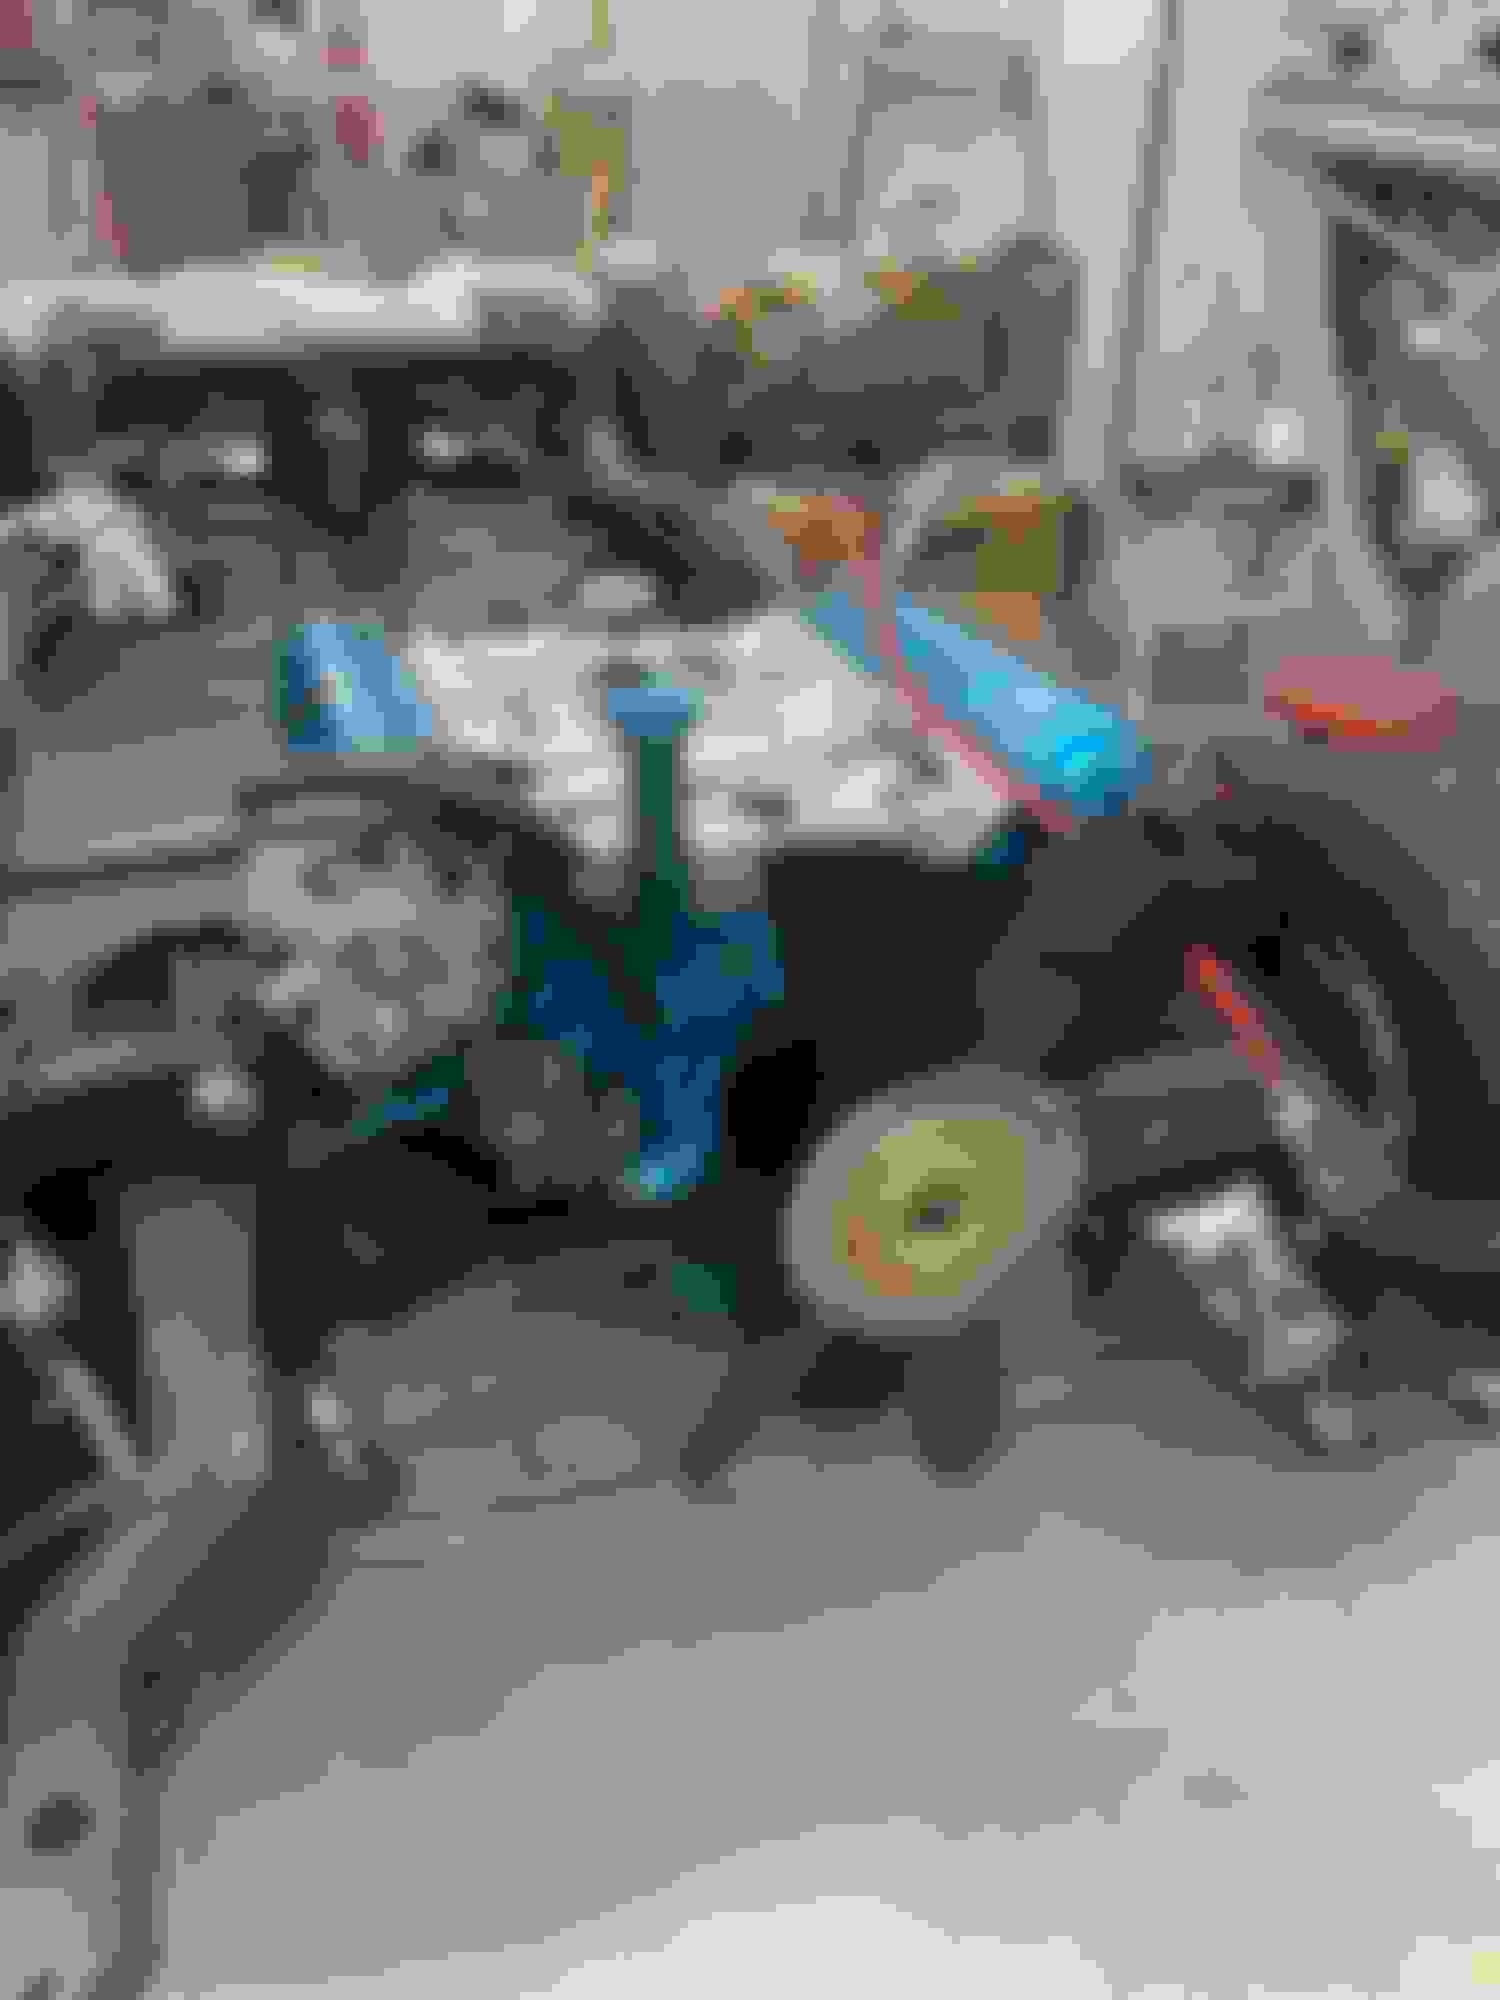
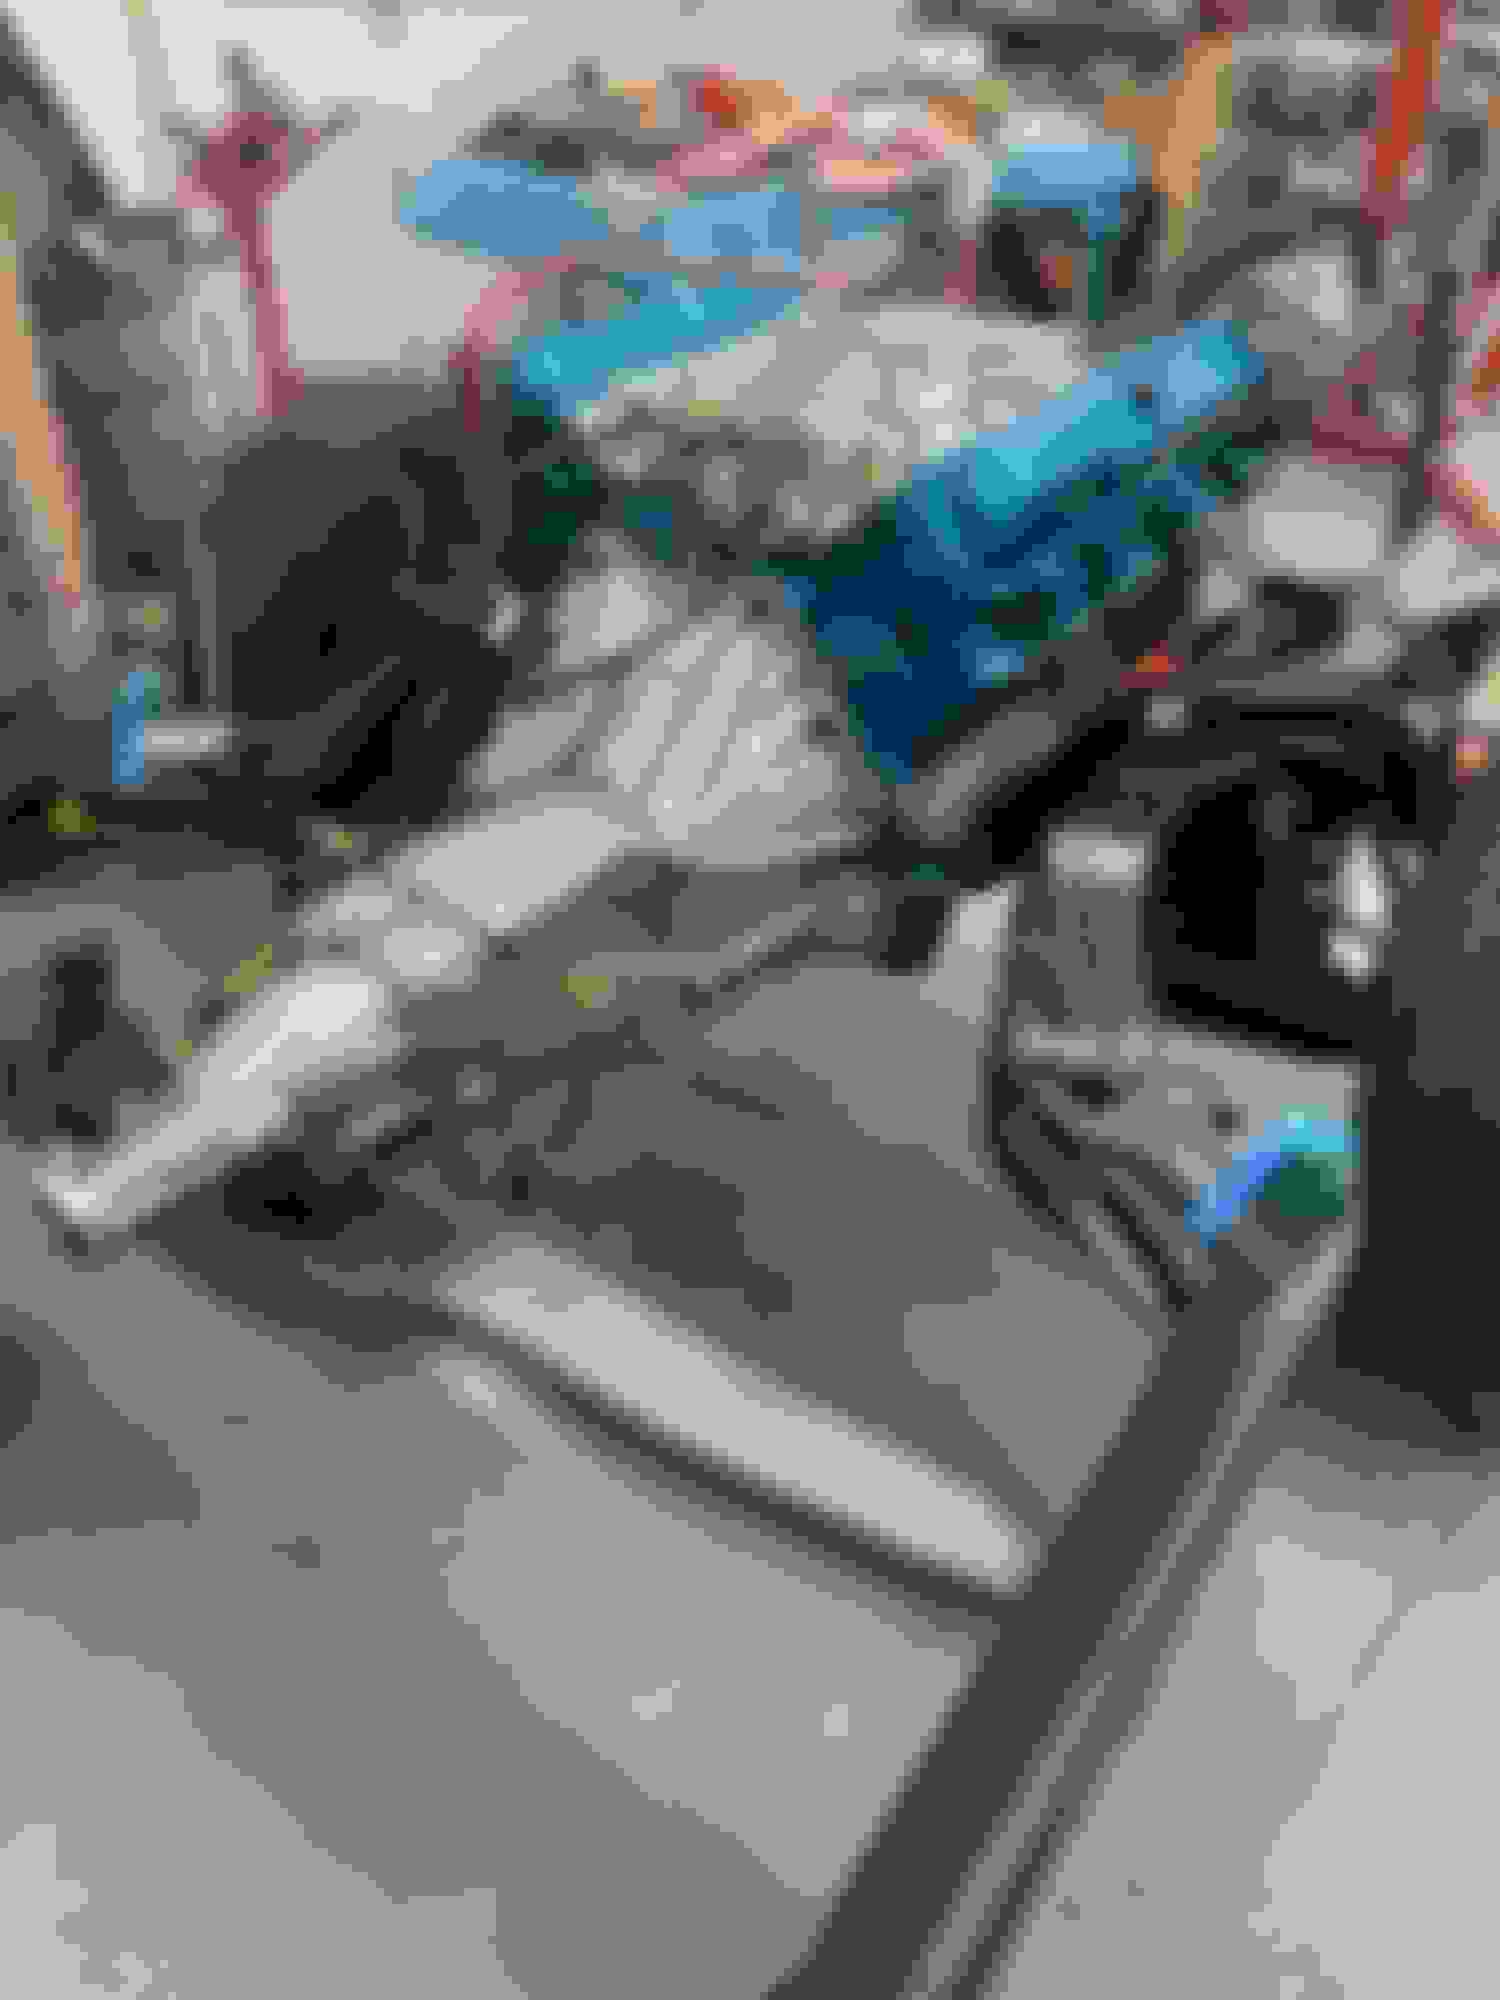
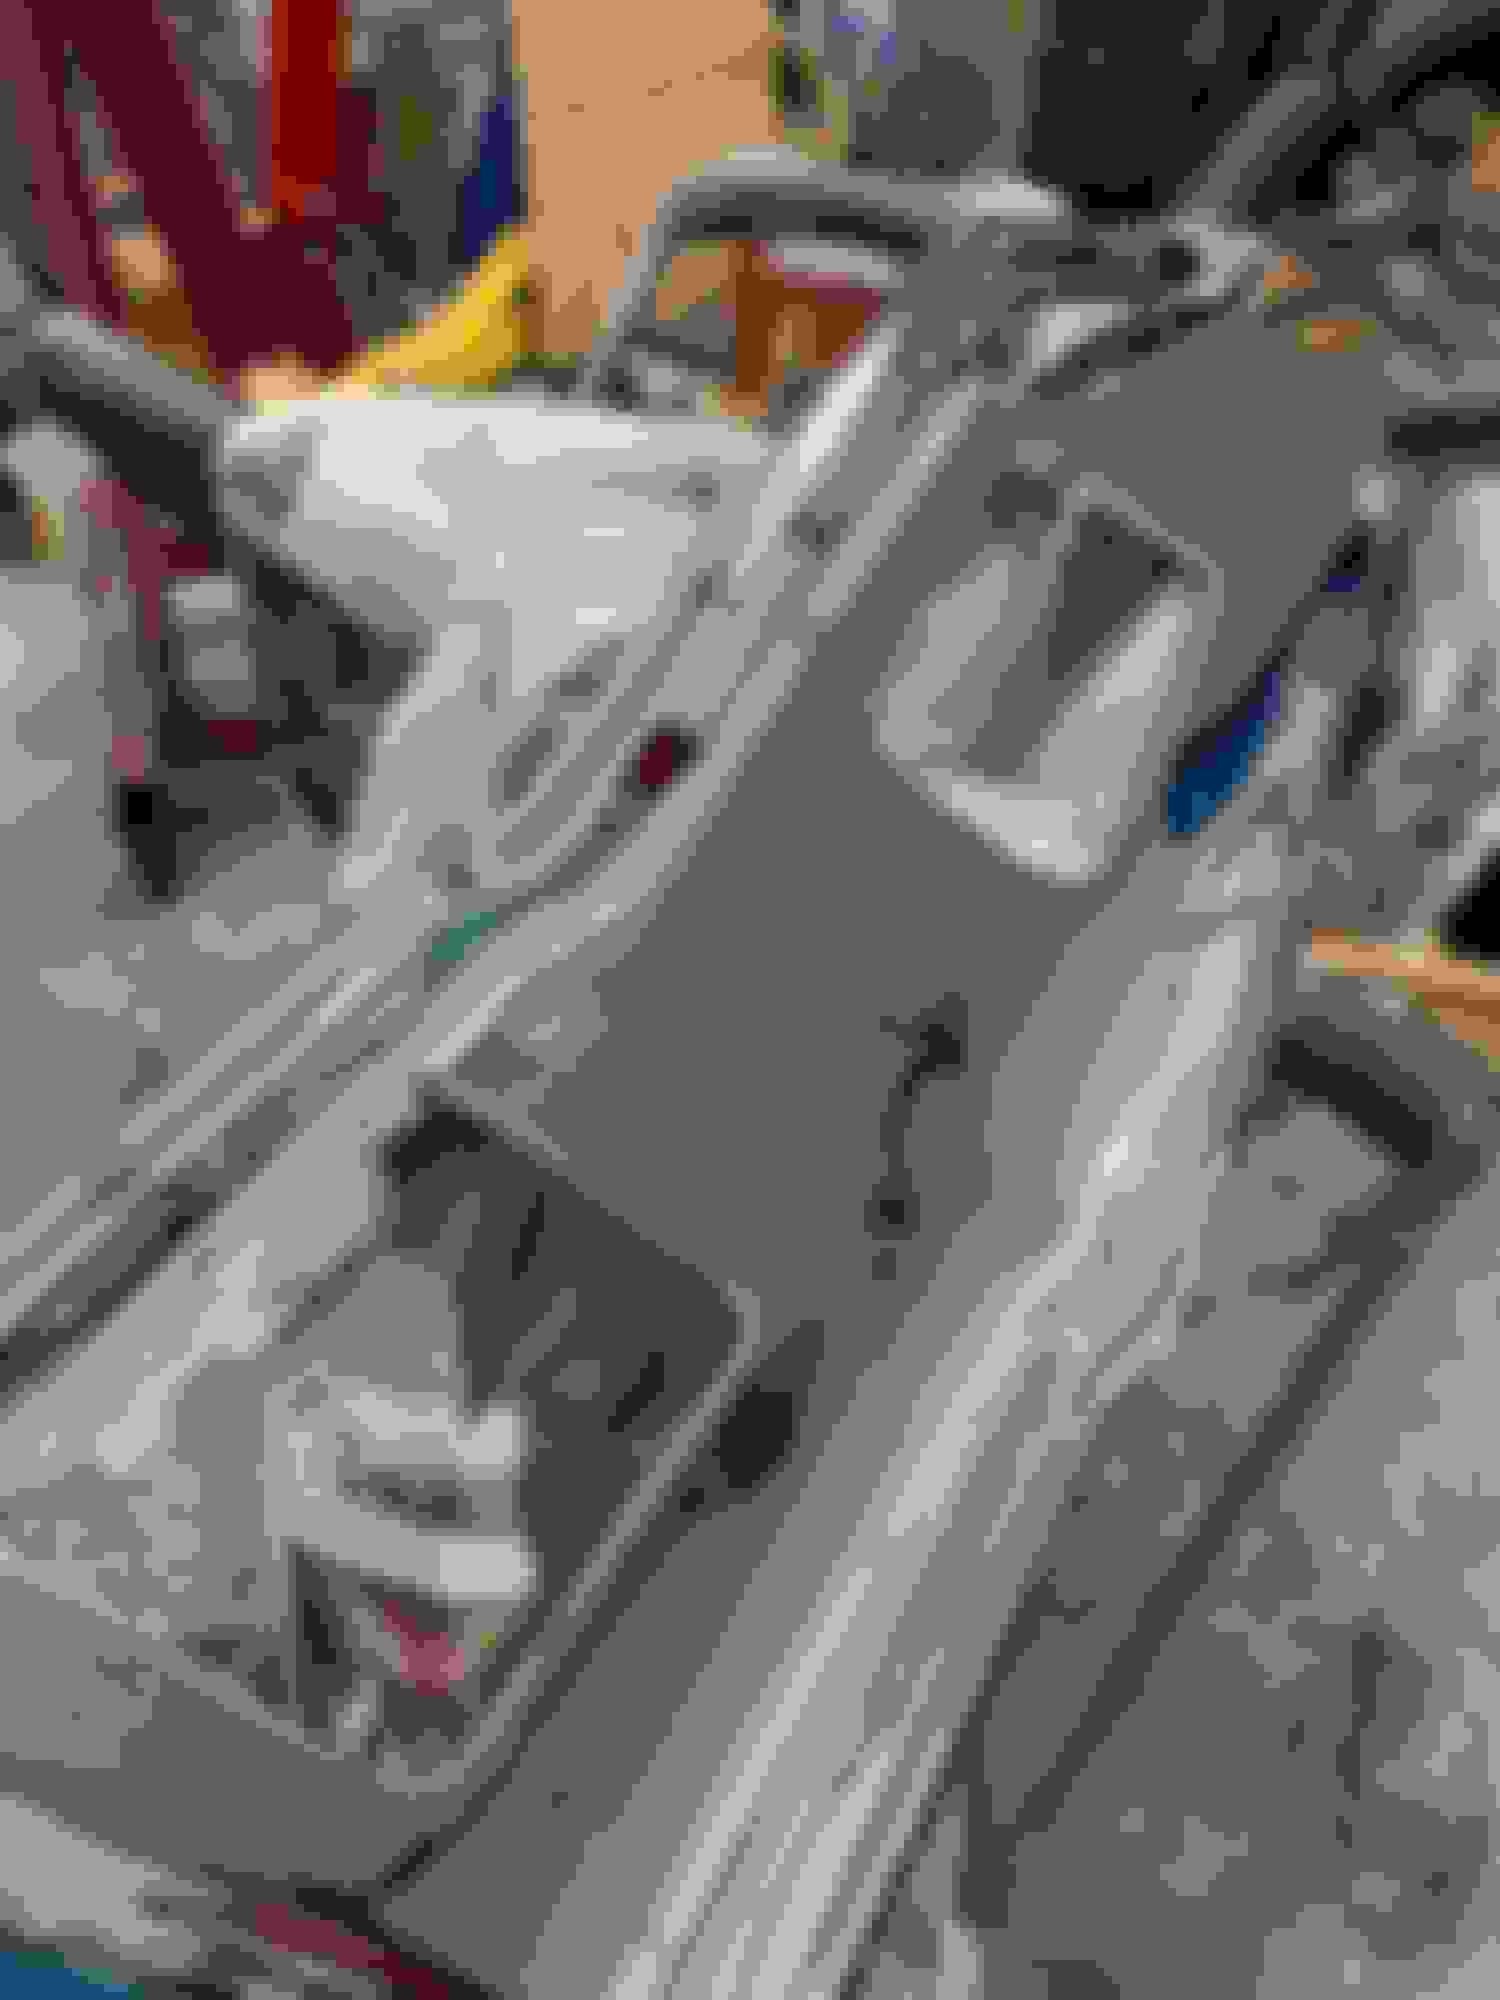
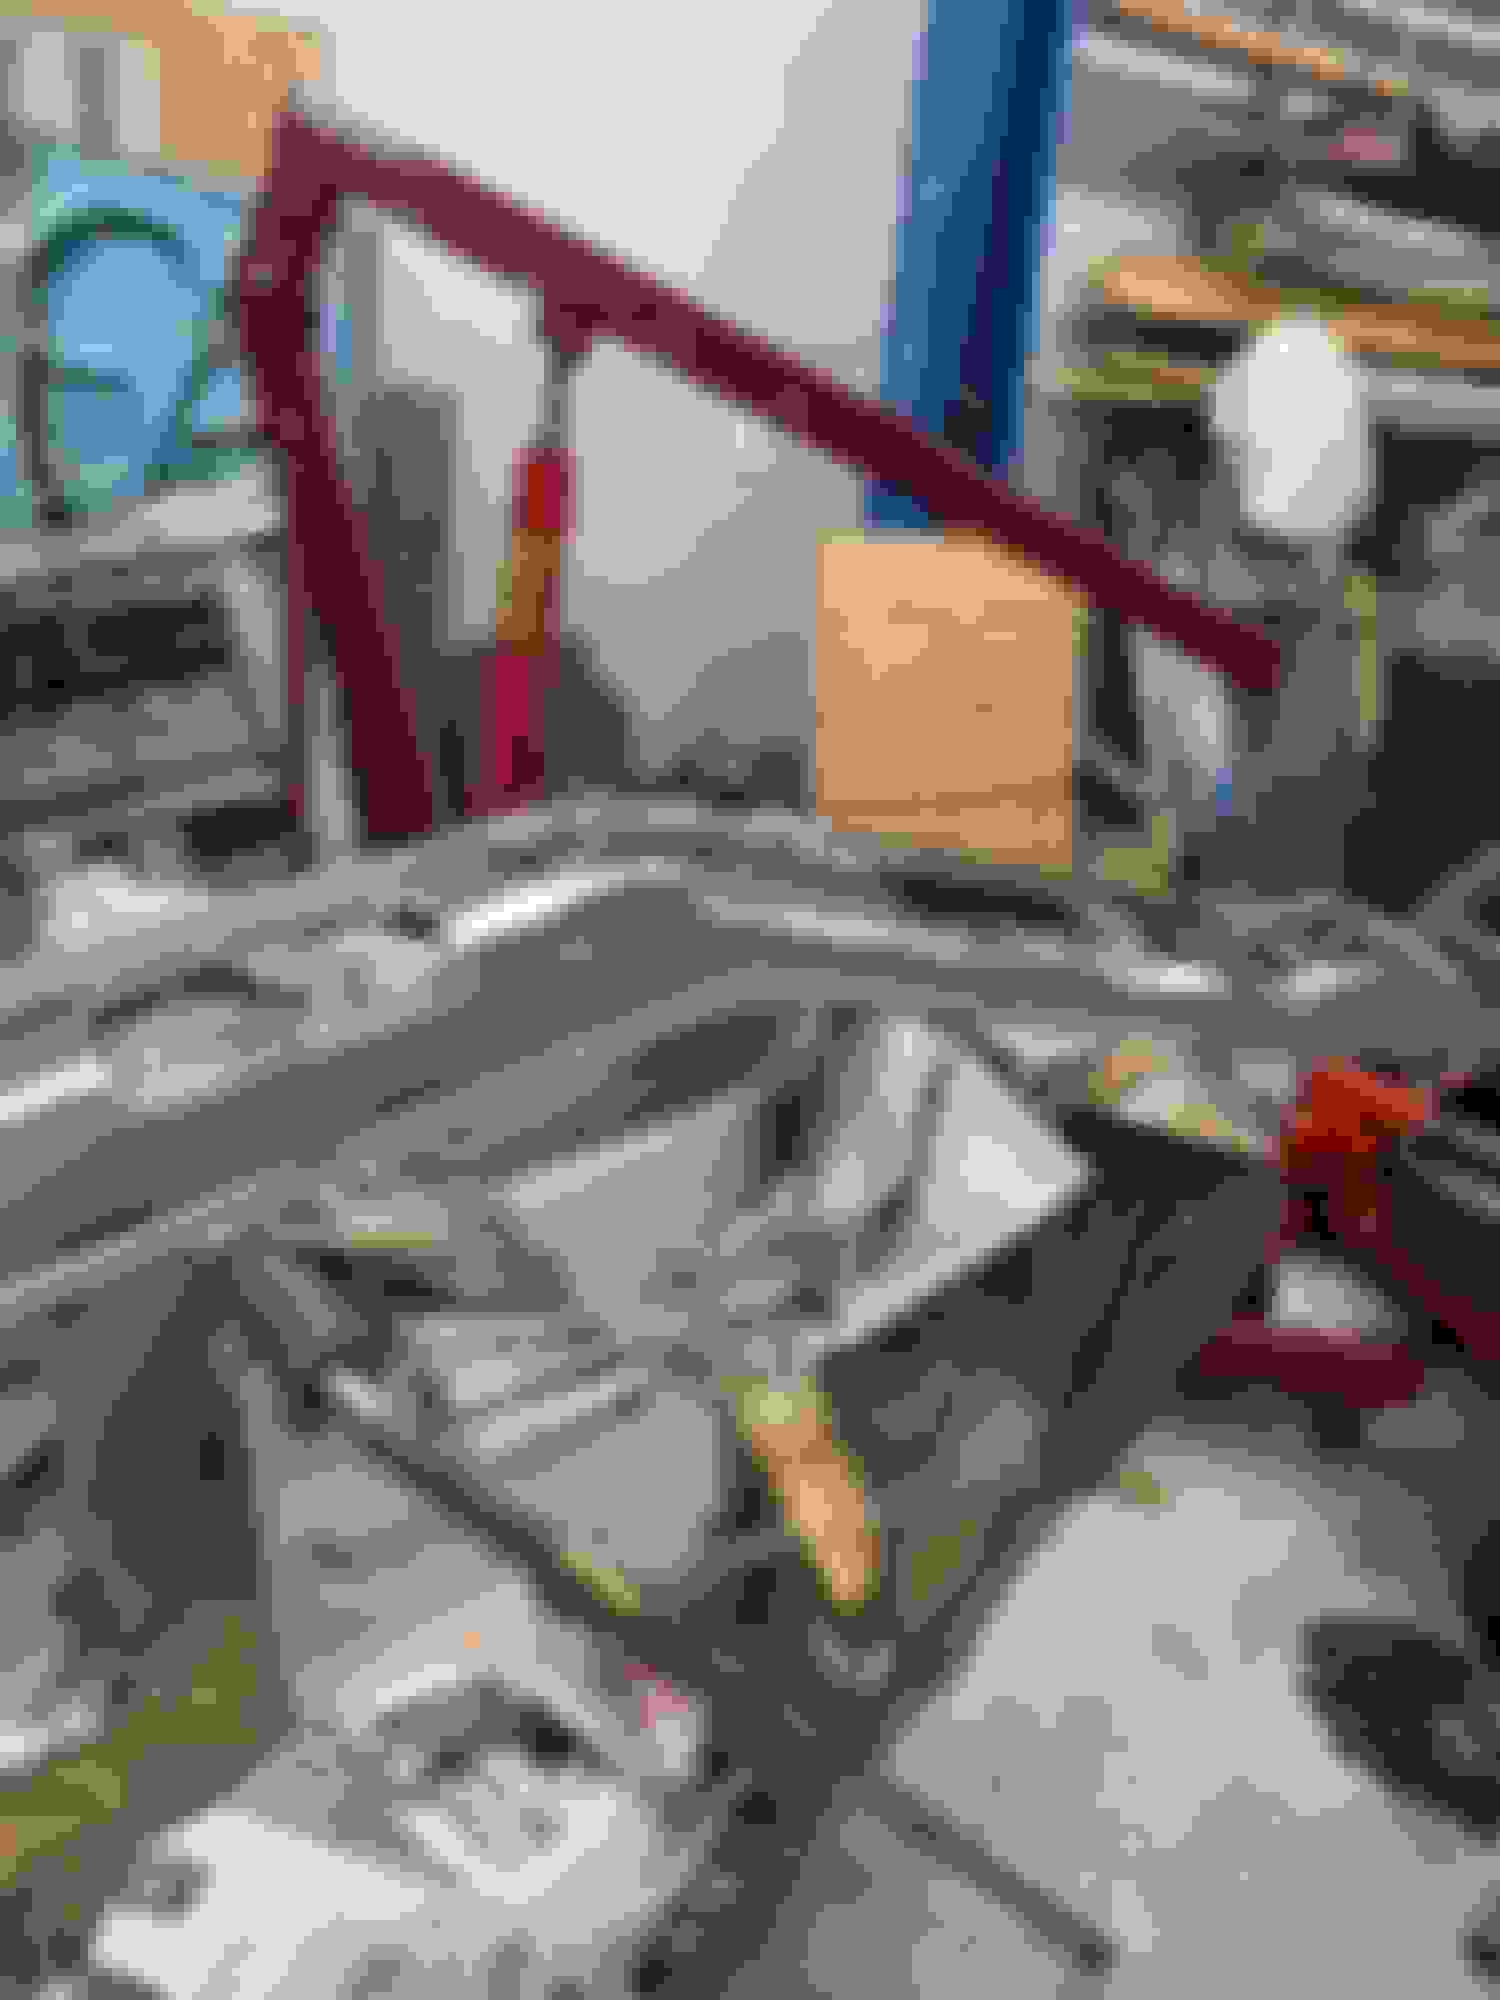
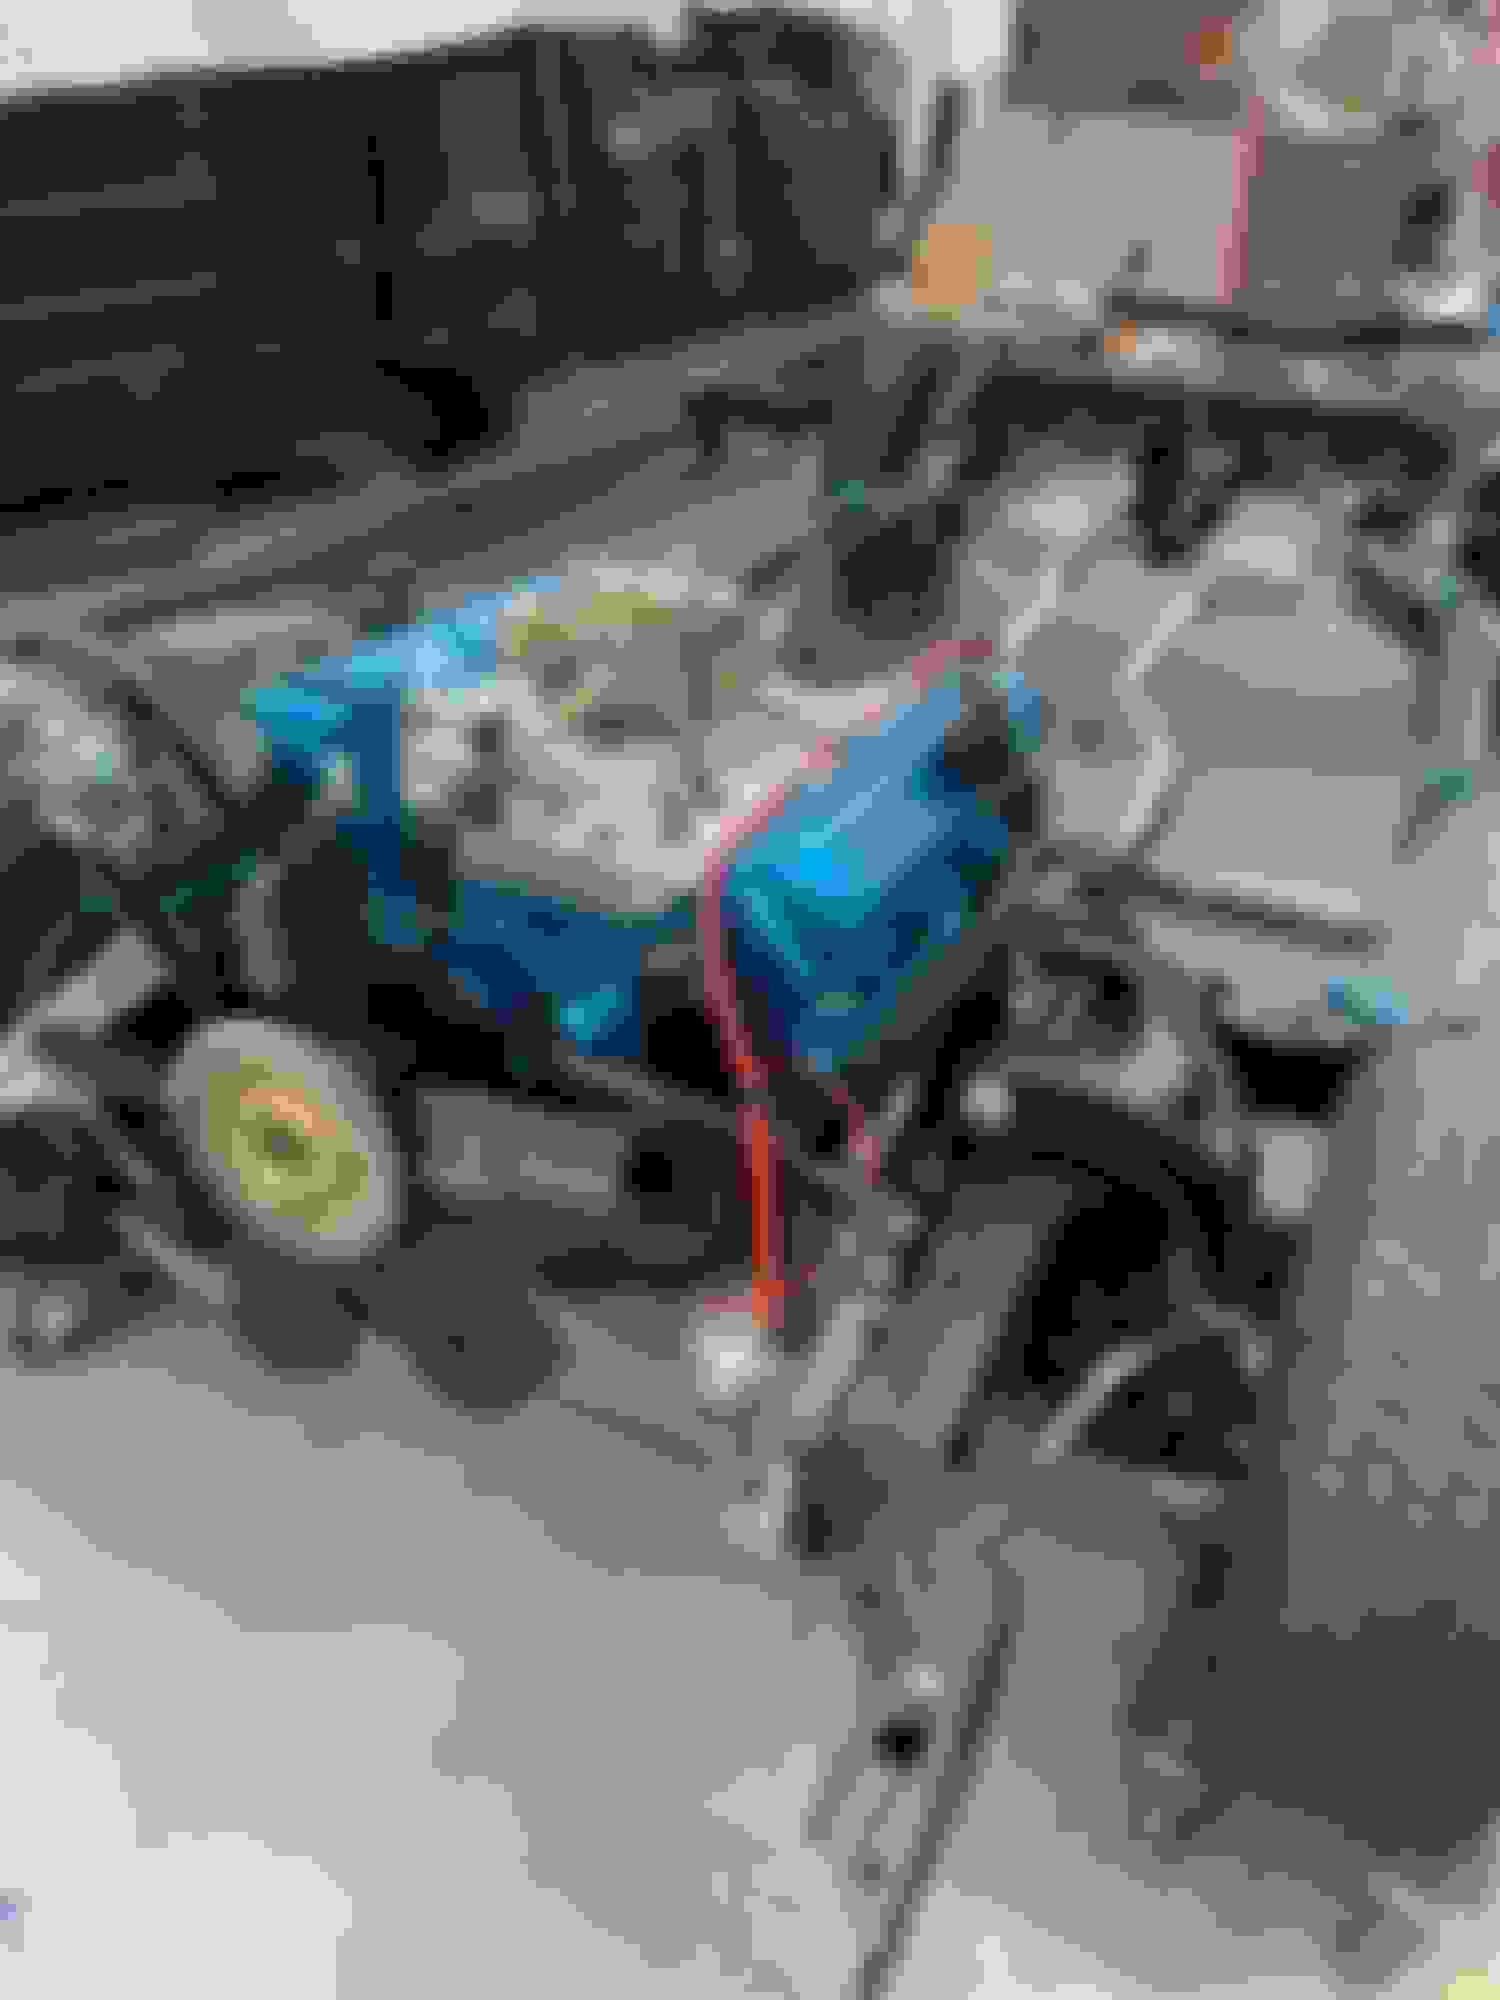
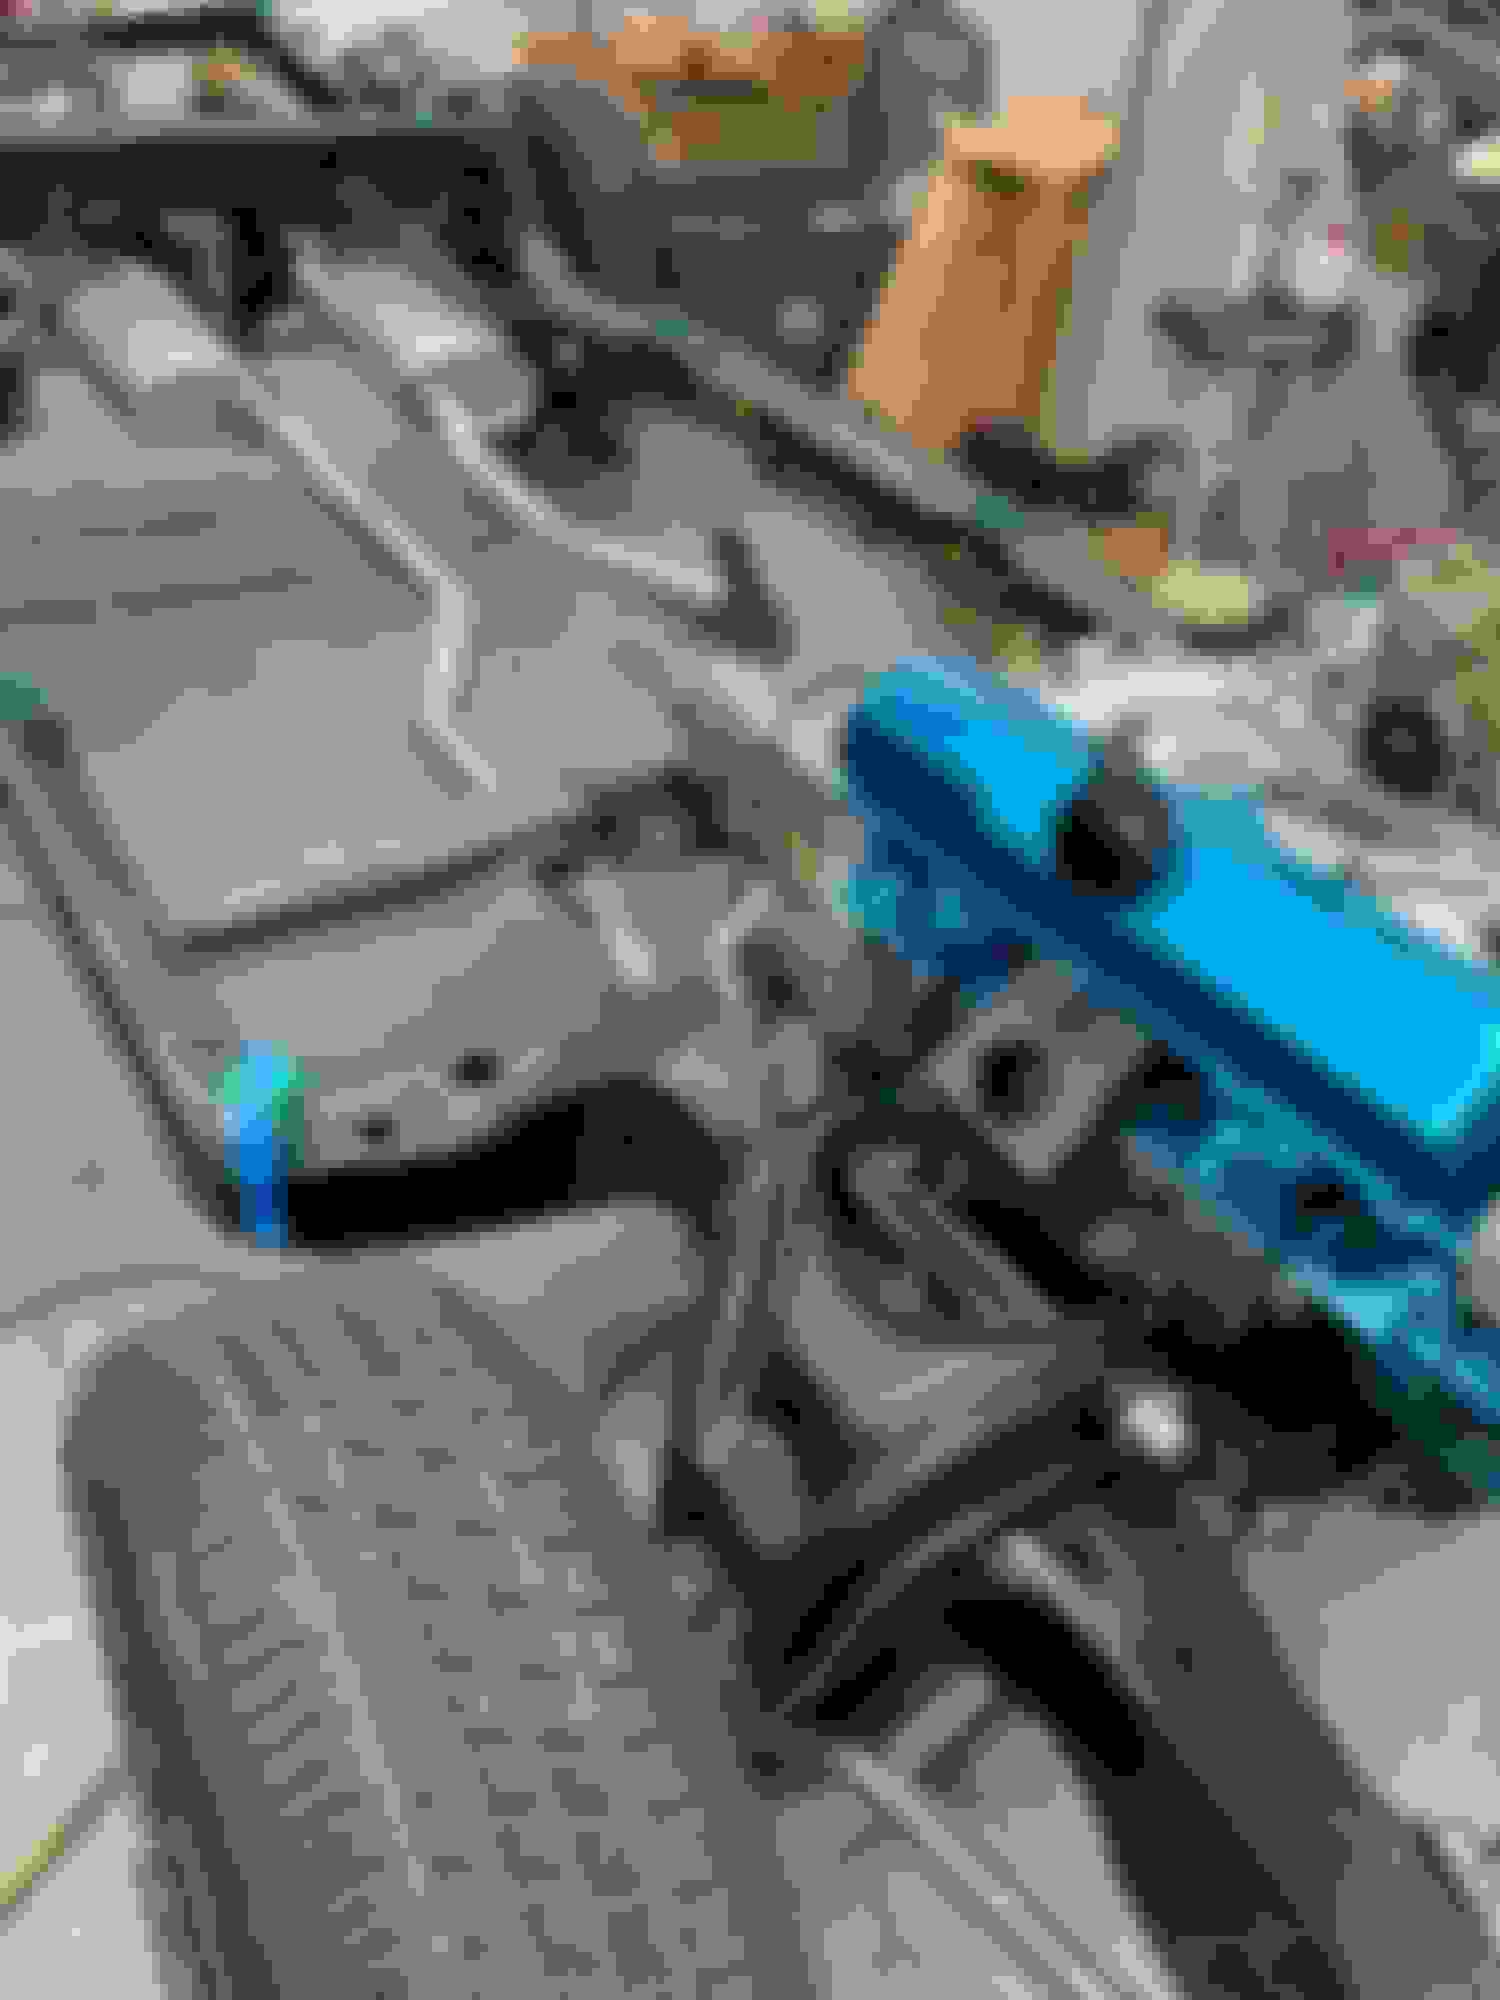
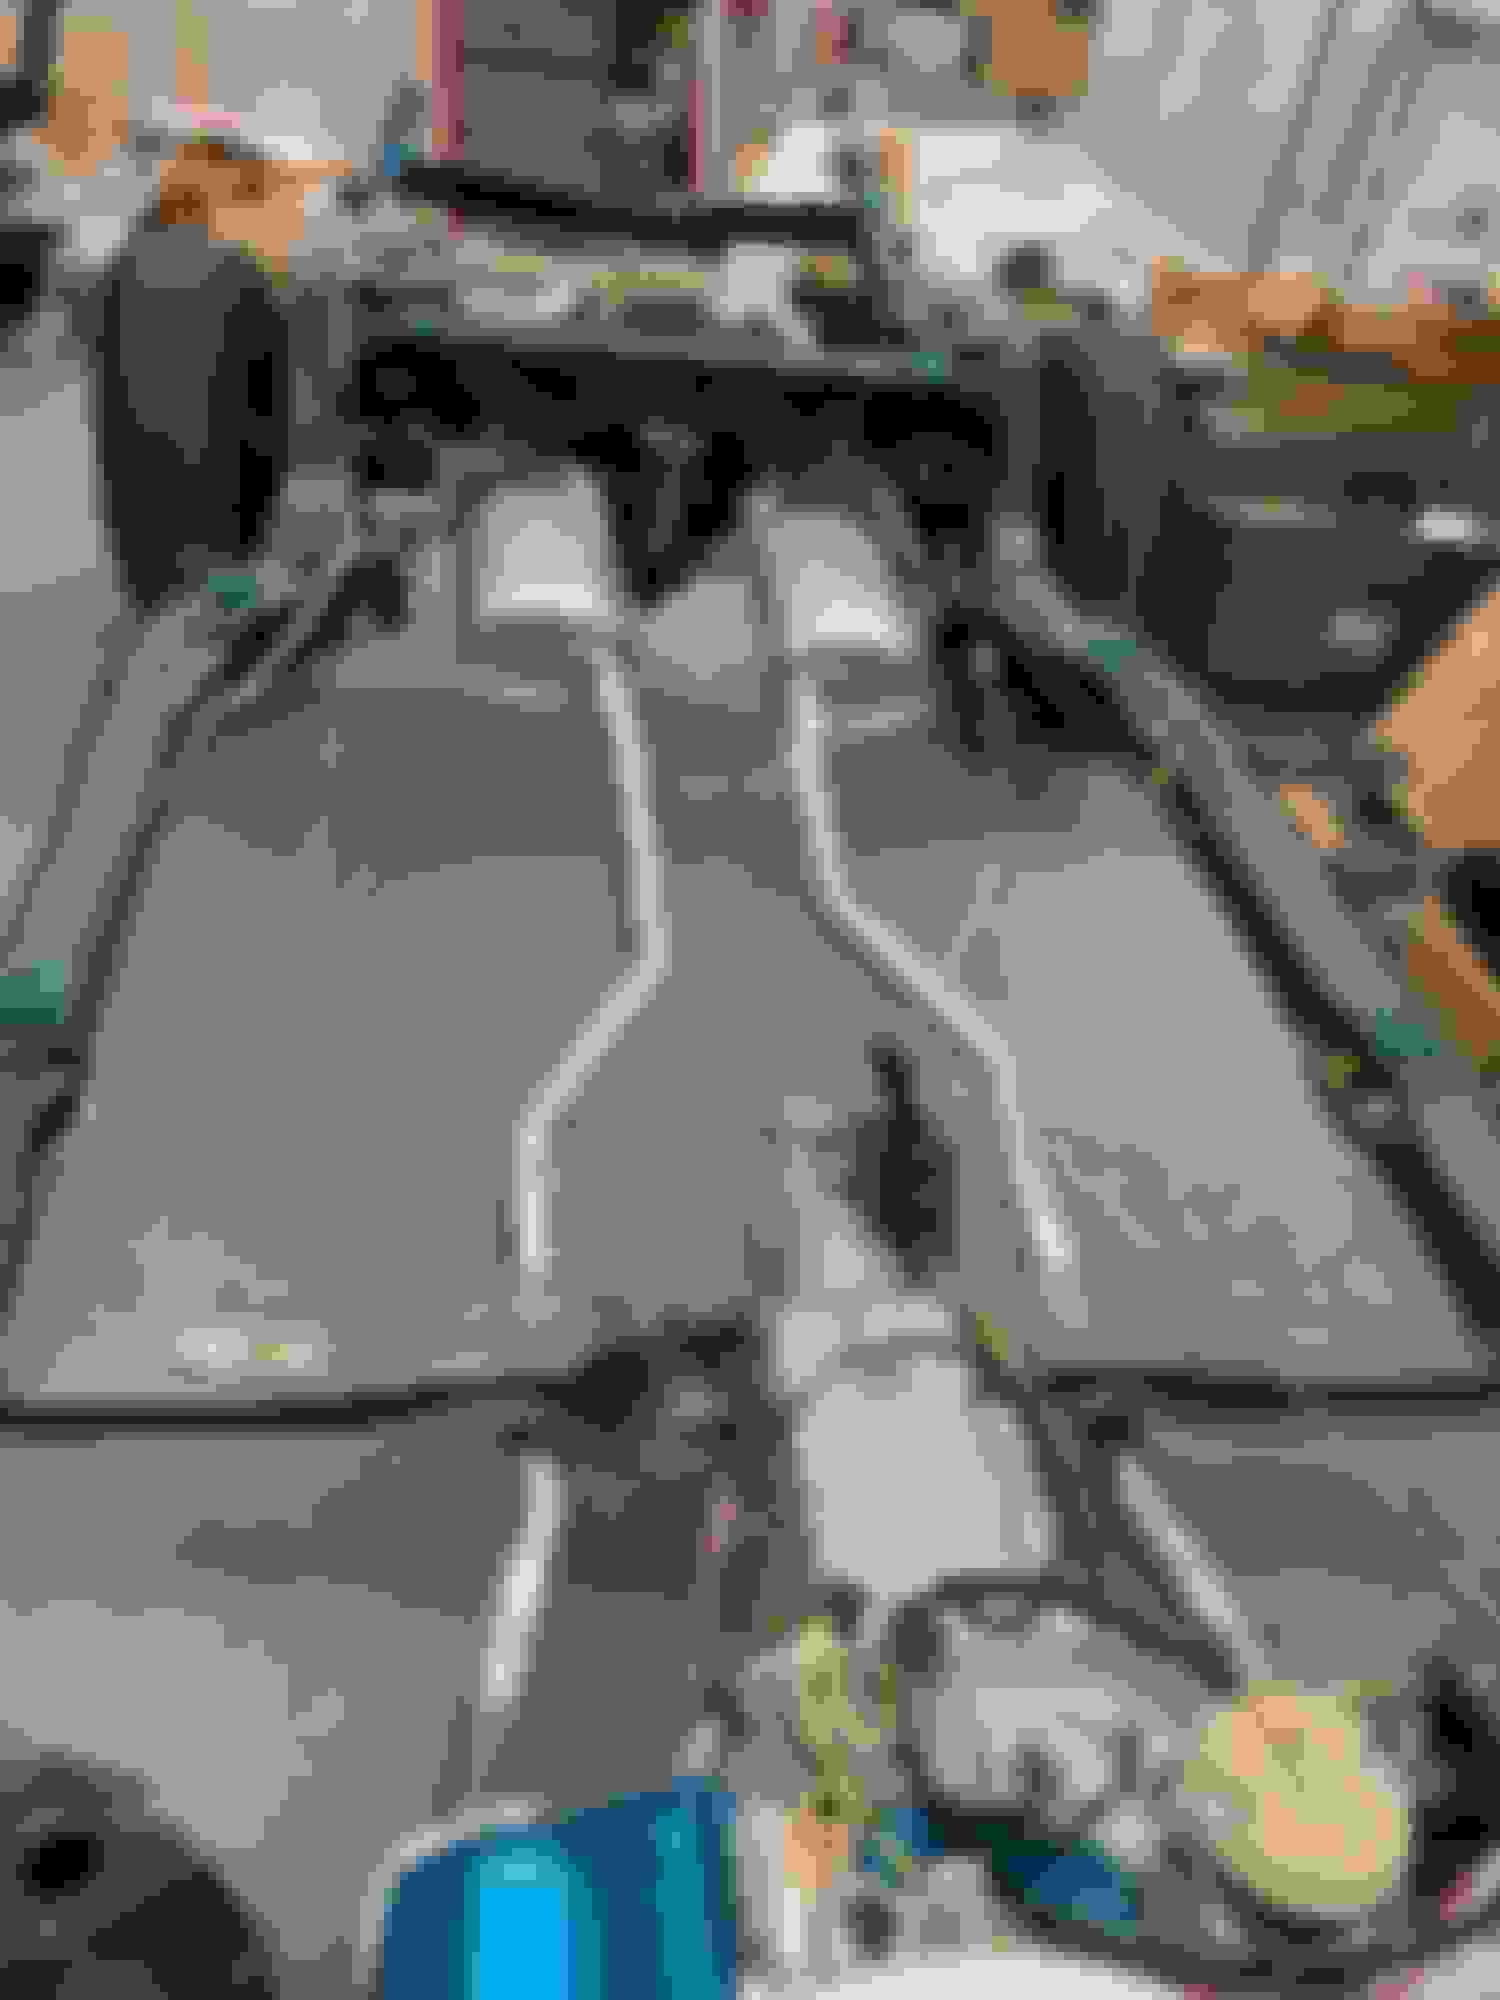
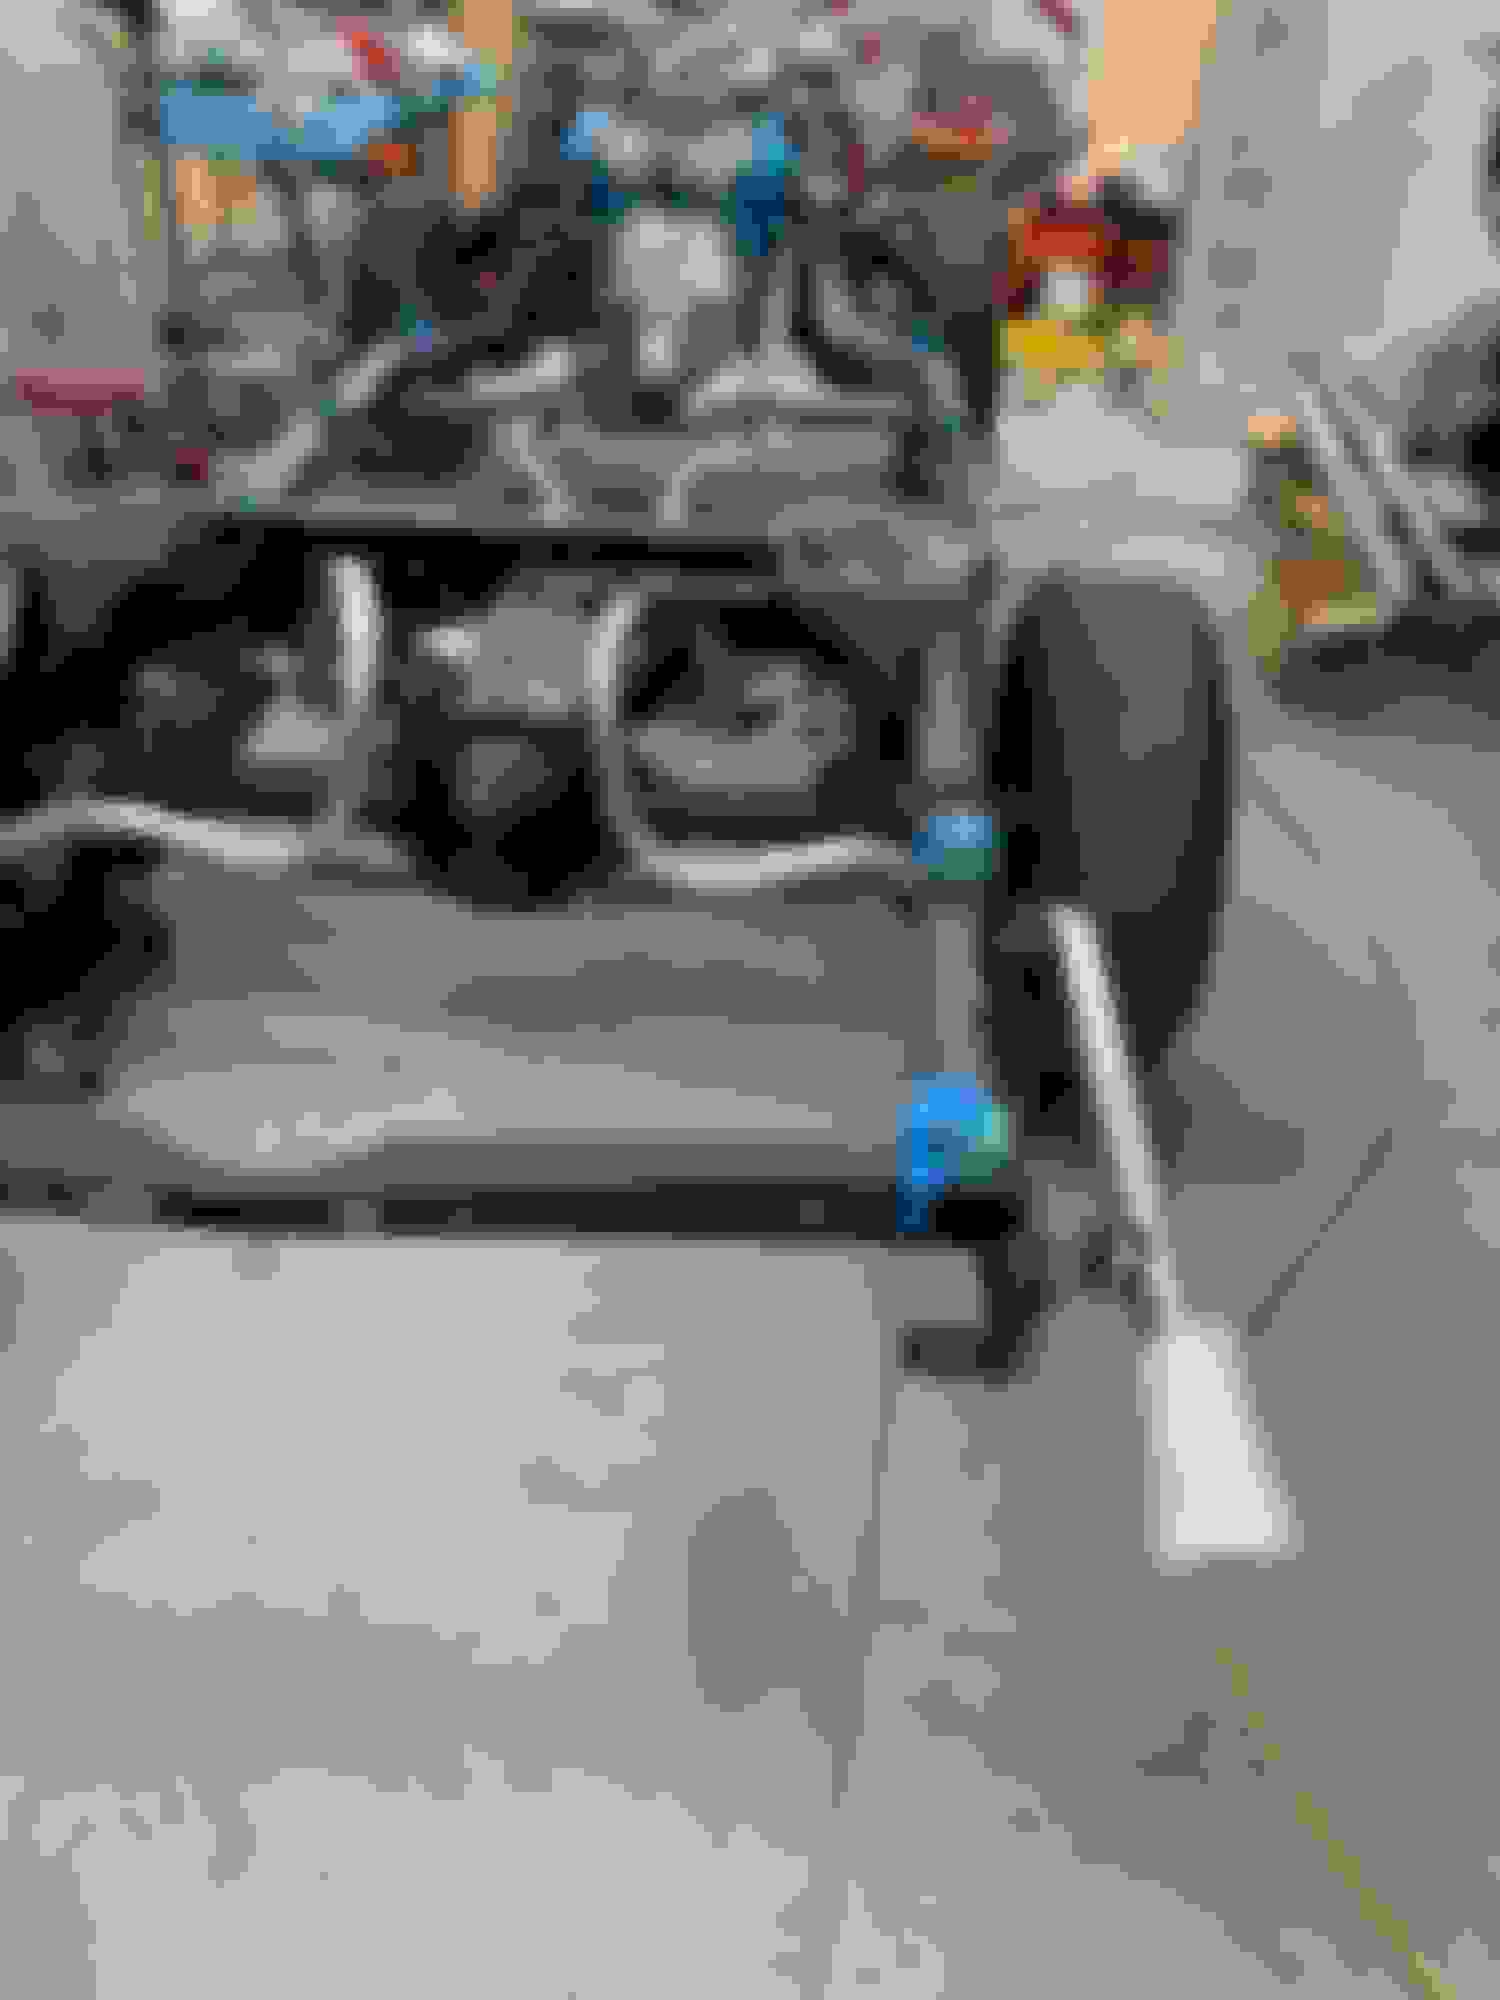
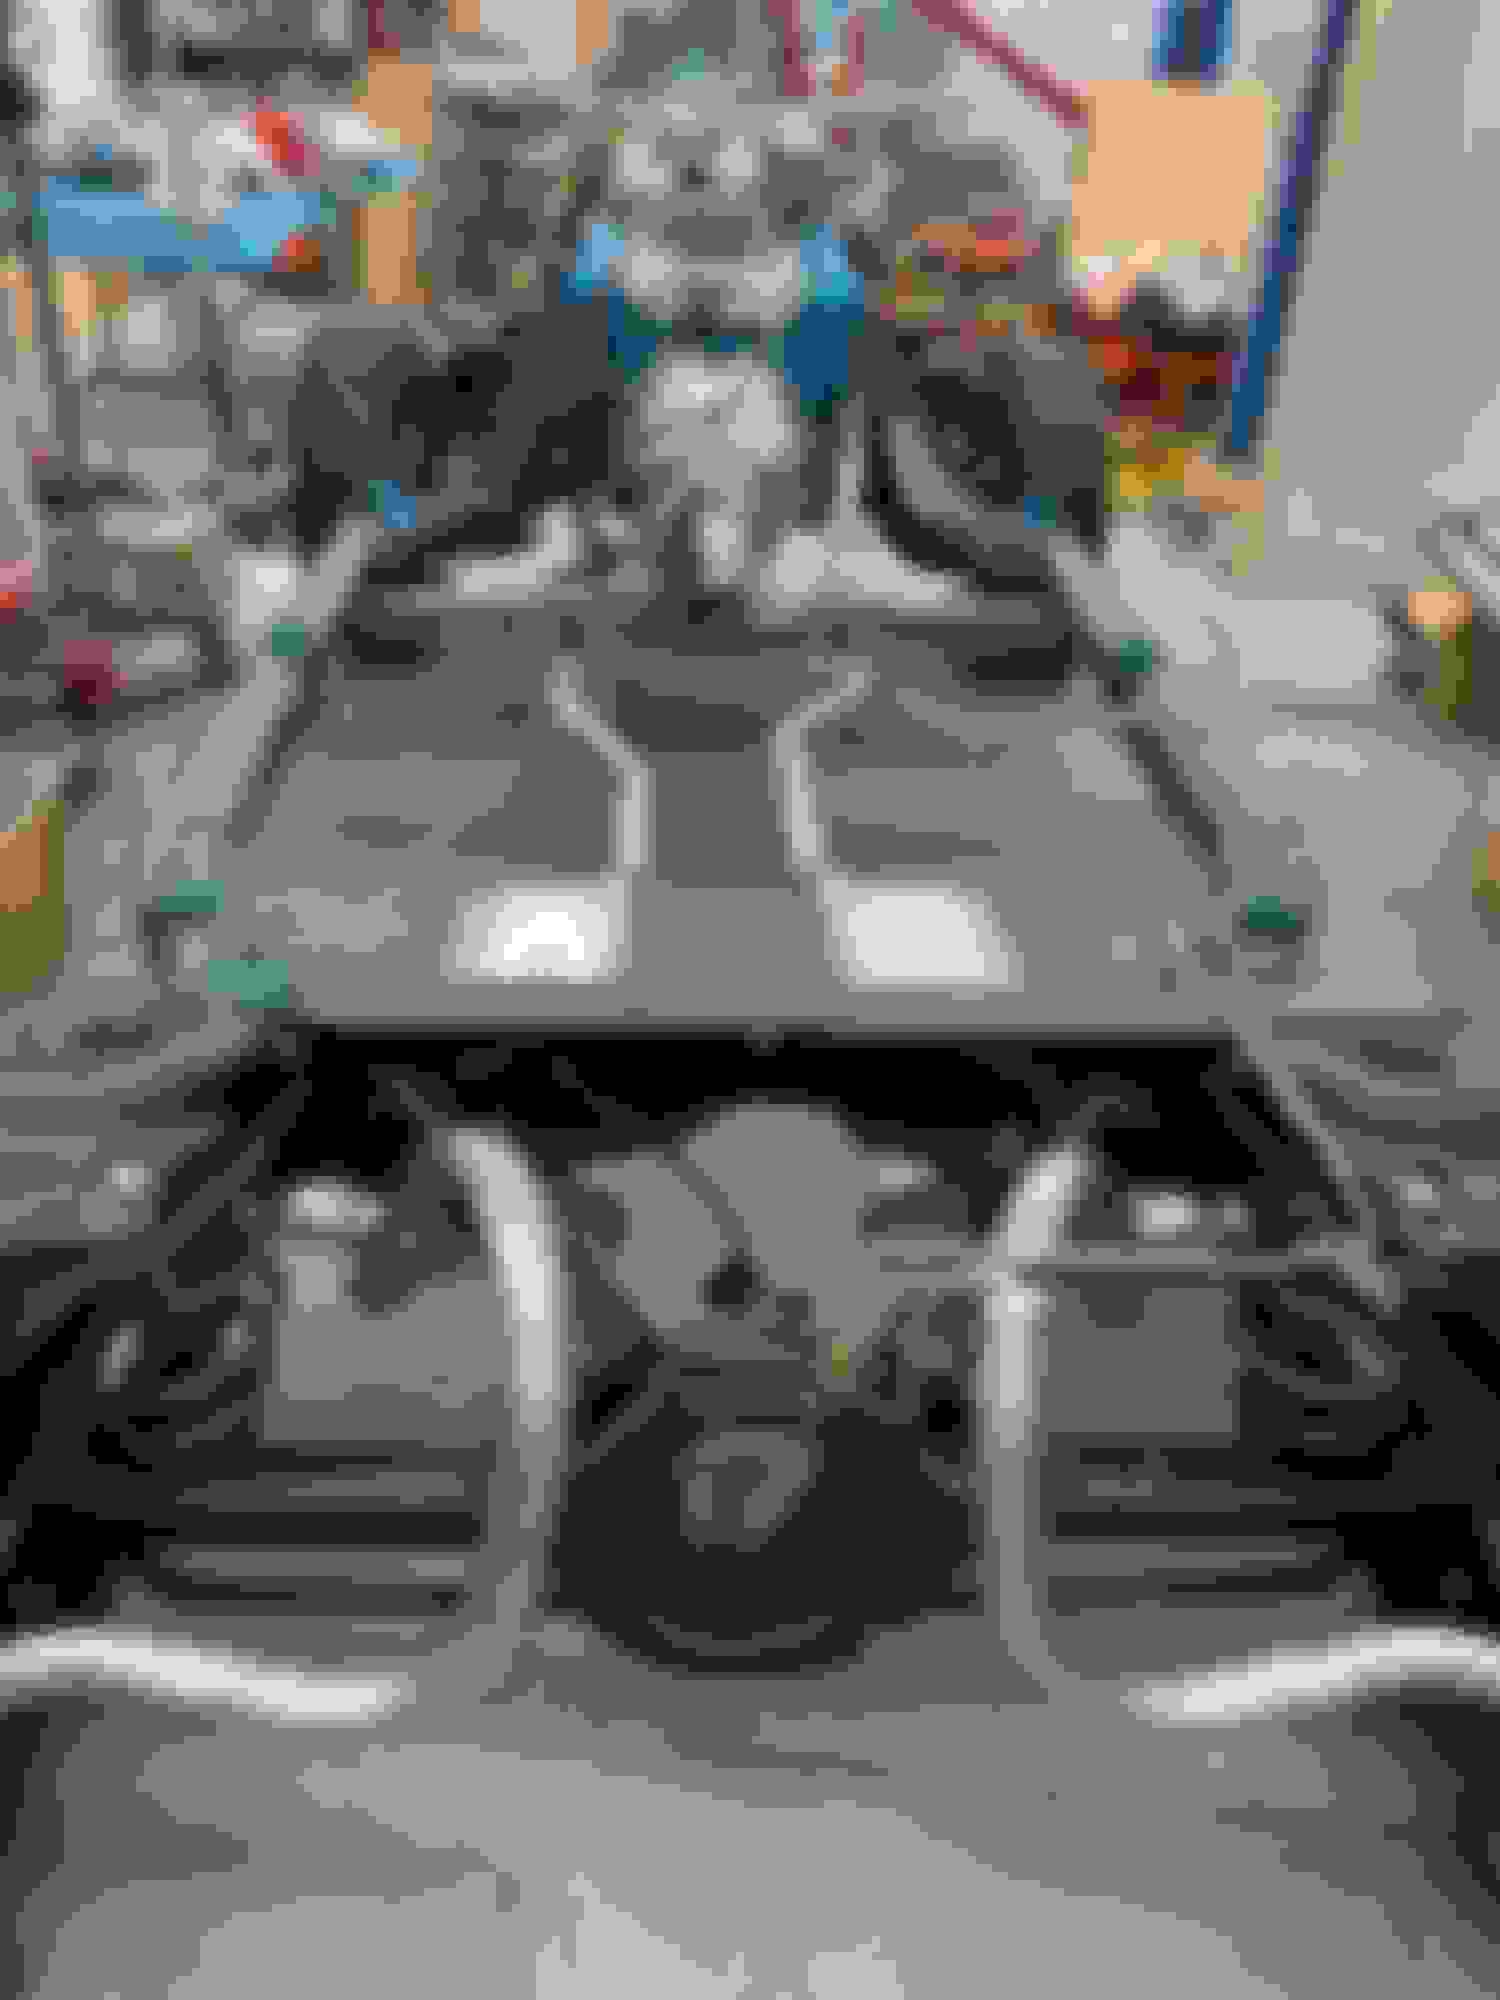
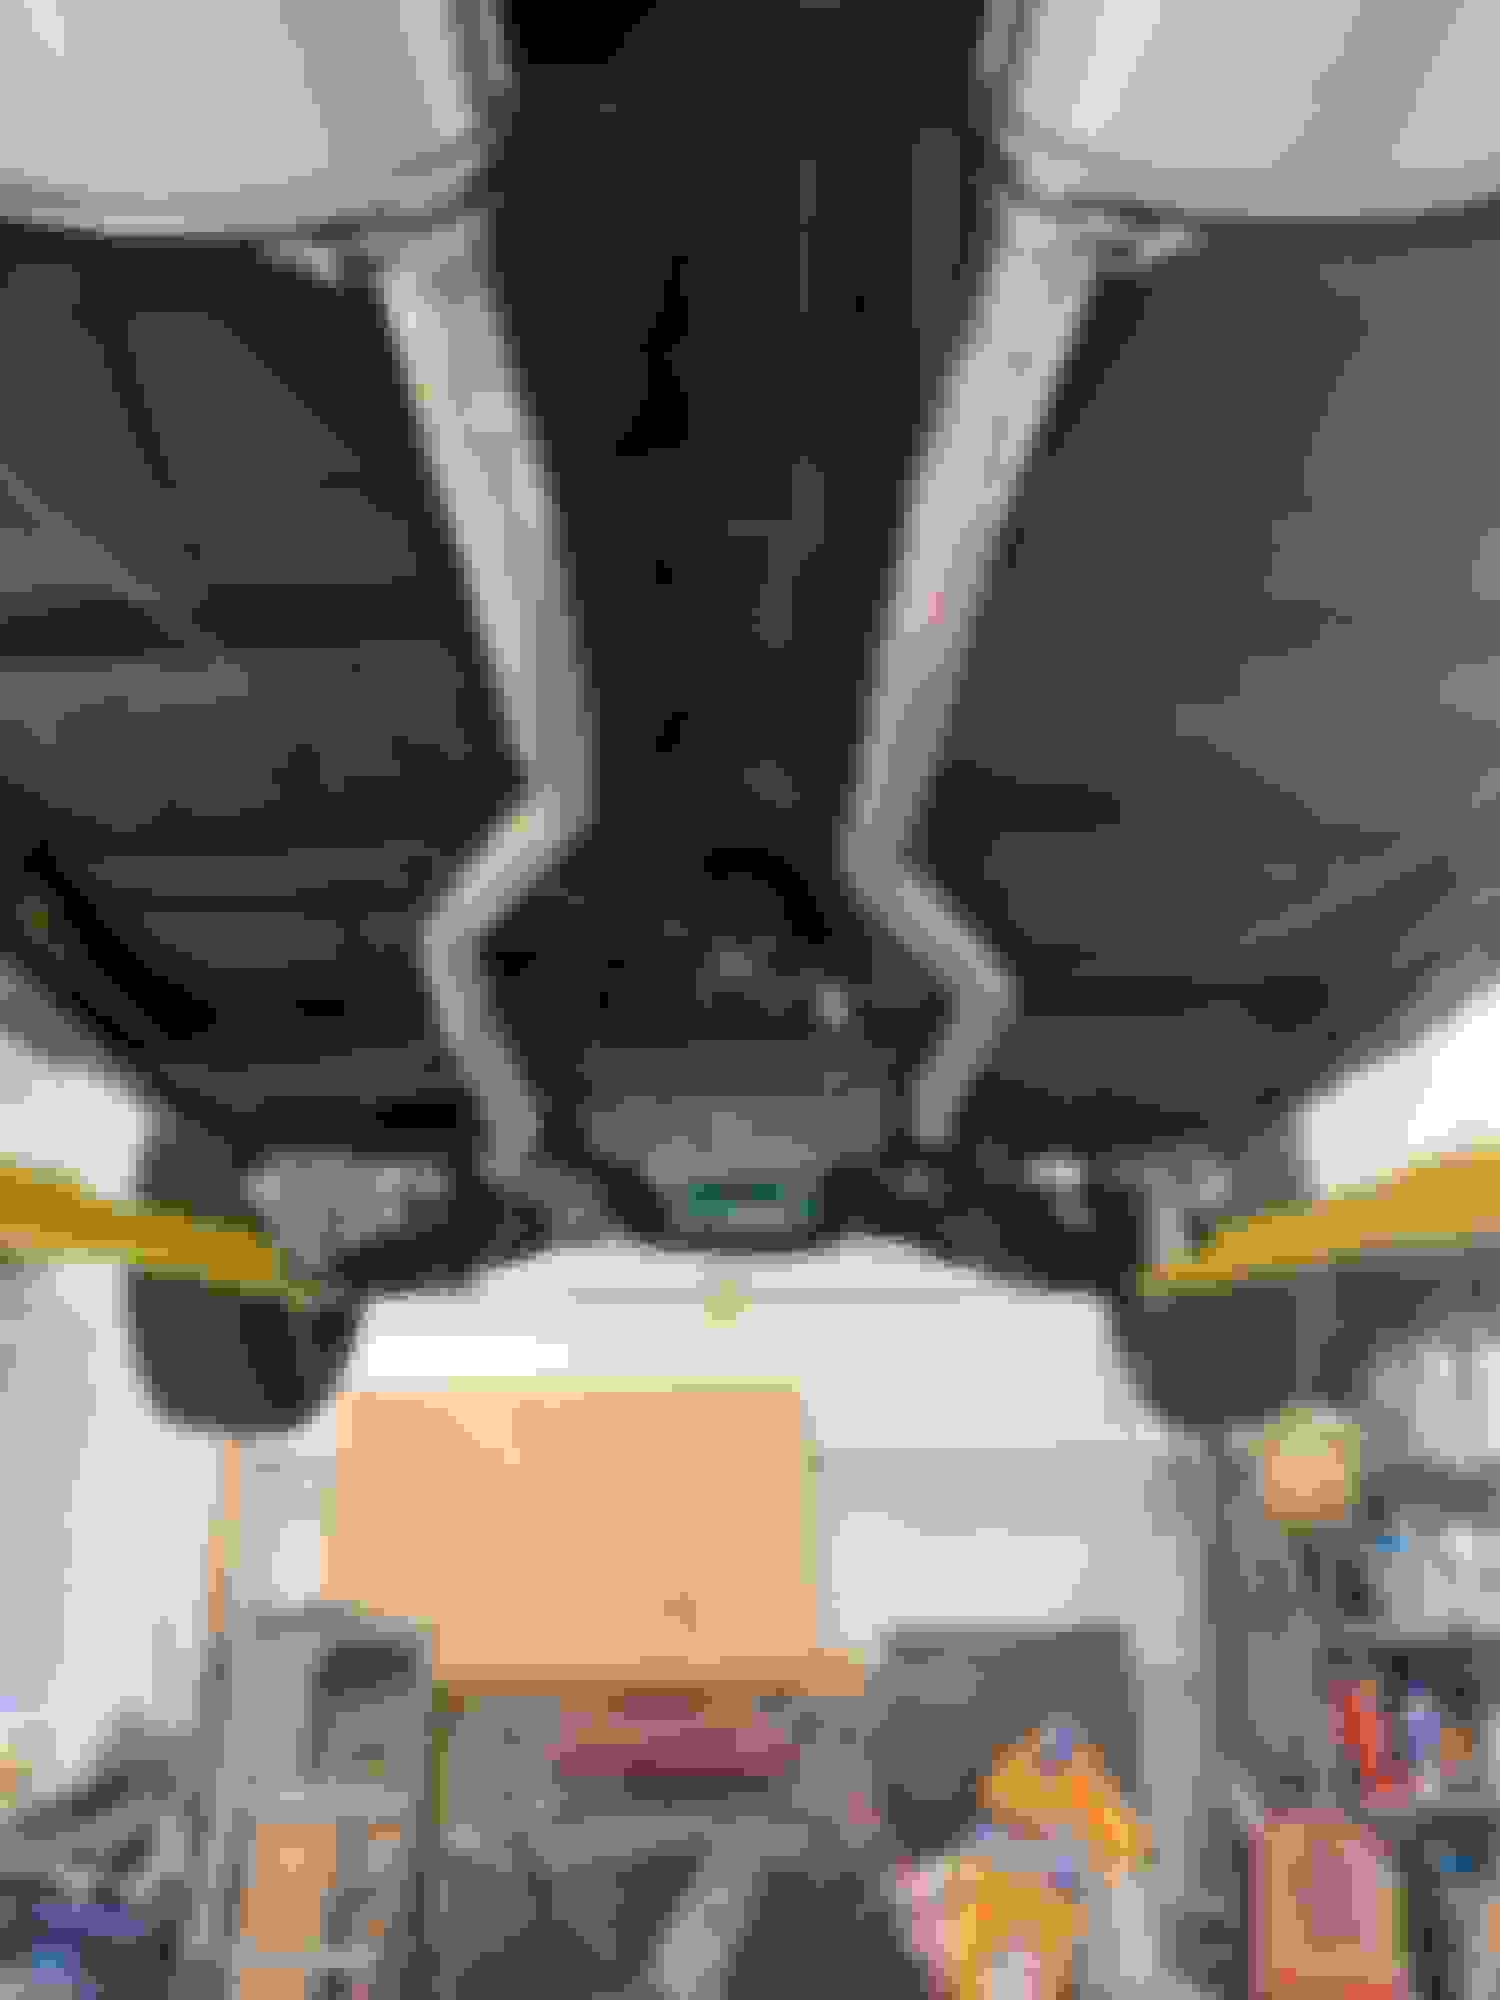
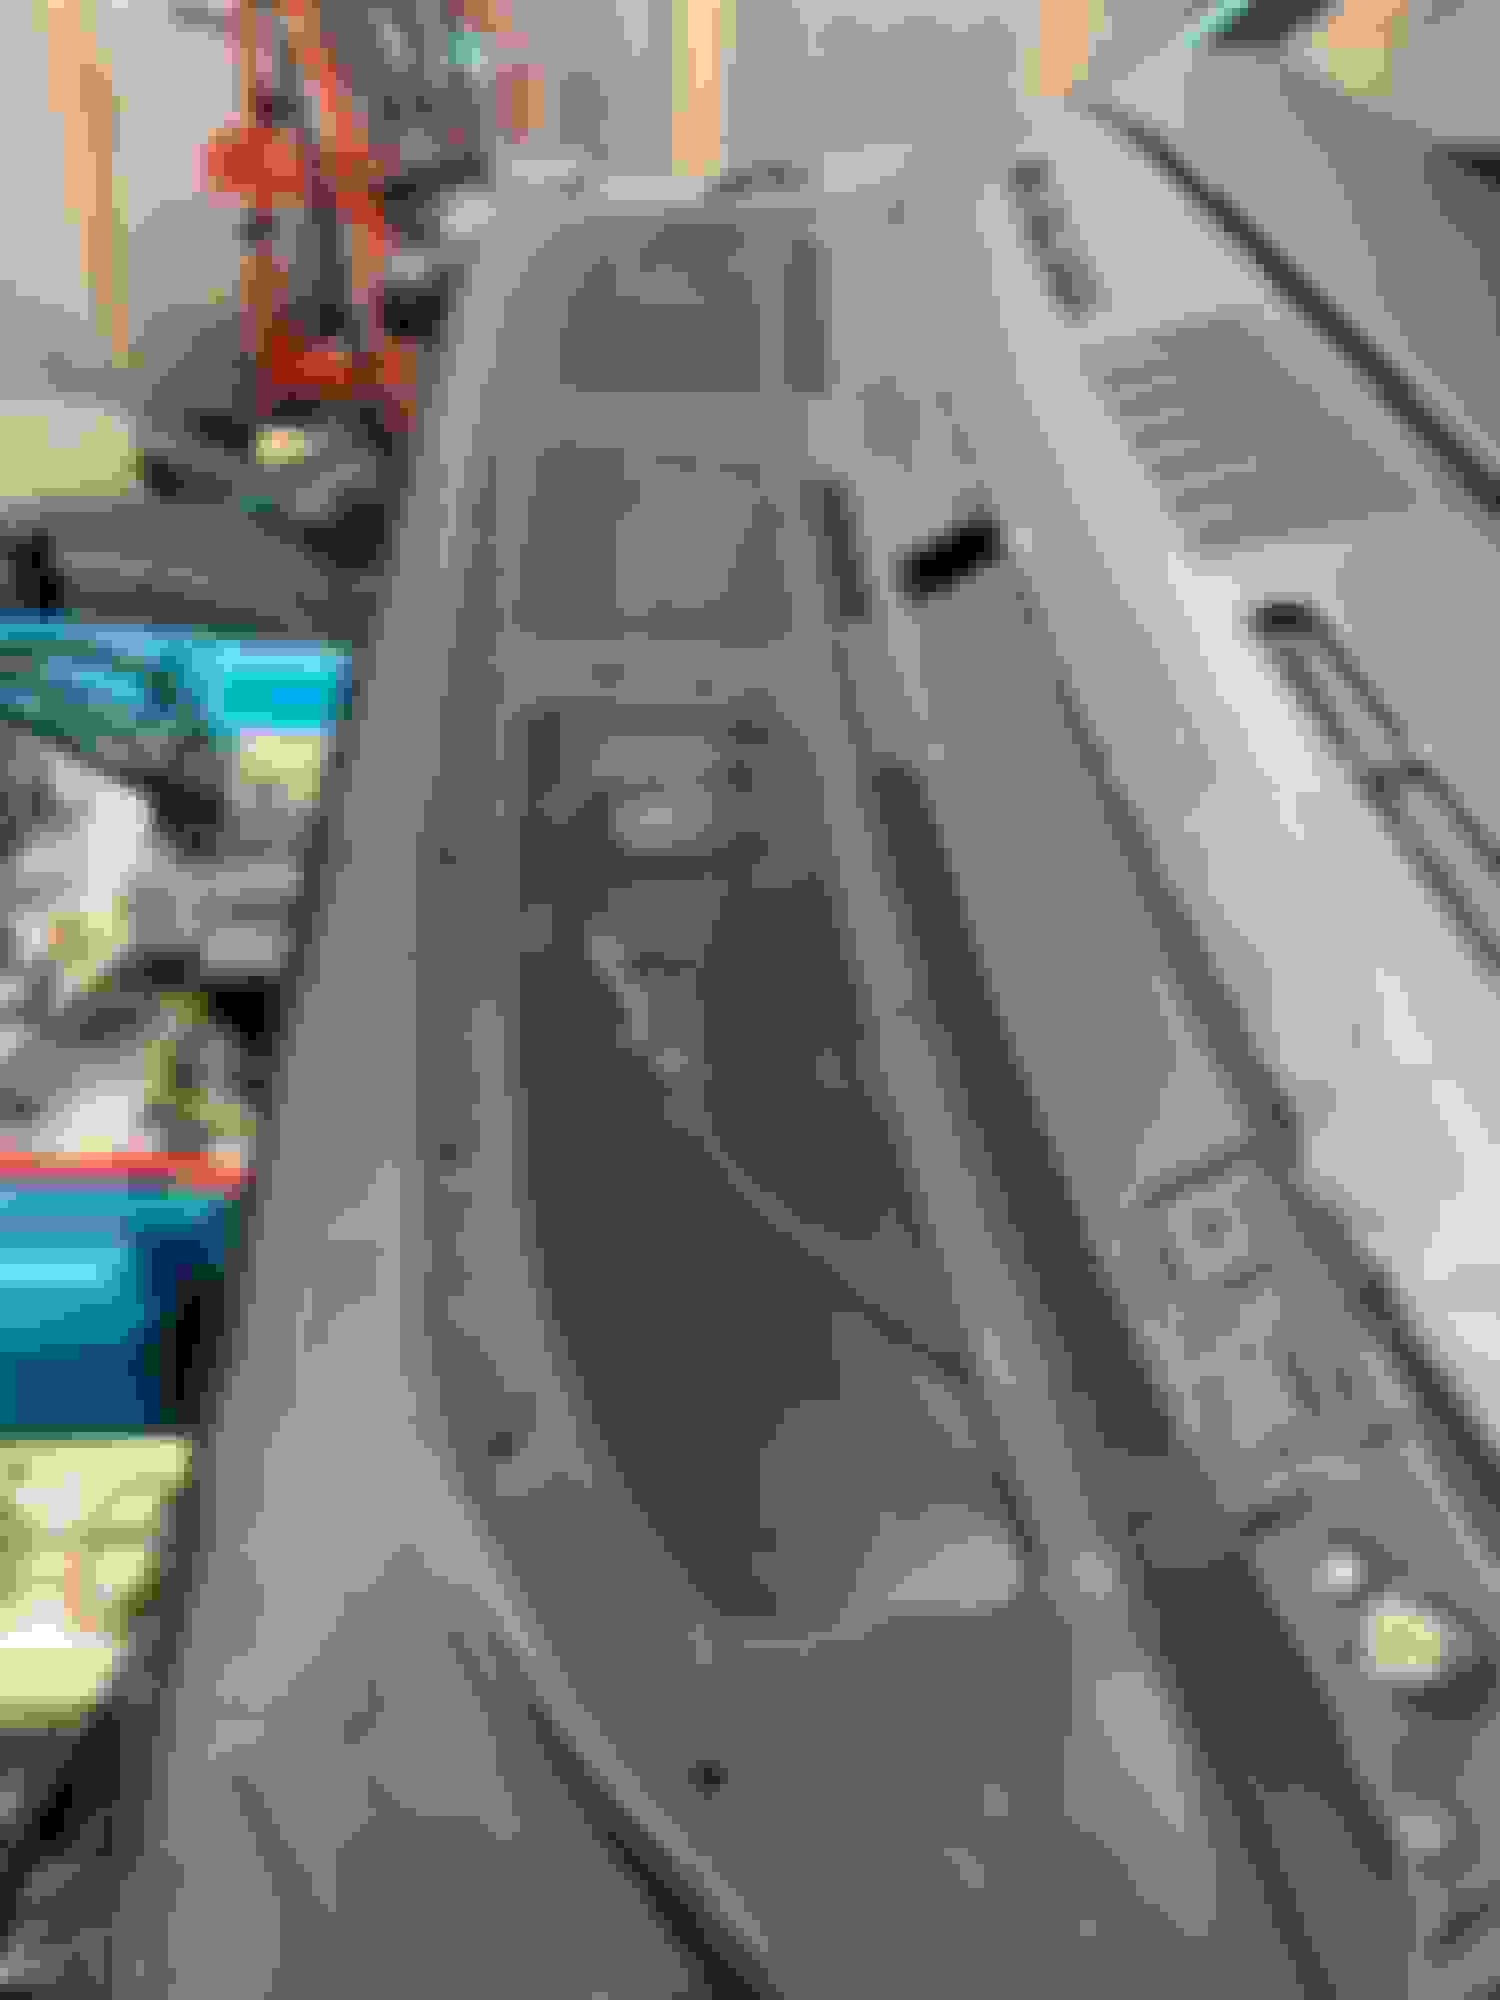
I was able to get the motor mounted, clutch assembly done along with trans. My new drive shaft from the parts place is too long by about an inch so I'll have to have that cut. I have anchor 2328 mounts I planned on using but when I was fitting them to the frame mounts they just didn't fit well. I had my original mounts that were rusty but seemed in good shape so I tried them for fit. It was like night and day. The originals fit perfect so I decided to clean them up and use them. If they fail I can always use the anchor mounts. I cleaned, sandblasted and painted the originals and installed. A lot of detailed things like clutch and back drive linkage along with starter, starter brace and clutch spring. New wiring on starter from engine harness also. I checked and tightened all brake line fittings also. Looking to get exhaust and E-brake cables installed next to see whats left before mating the body to the frame for hopefully the last time. Getting there. Starter with brace and clutch fork return spring Original motor mounts sandblasted Original mounts Original compared to reproduction. You can see a slight bend in original mount where reproduction does not have. I dont know if it bent from use or that was the way it was made? Both original mounts side by side Centerforce II installed Trans installed with backdrive linkage Got the starter installed with new wiring Got a new fan and pulley for alternator
Nice work Paul! I had the same experience with the Anchor mounts. Would have lifted the engine higher than the original mounts if I had been able to use them. Only had one original mount and it was cracked. You are lucky to have two good originals left. Keep up the good work!
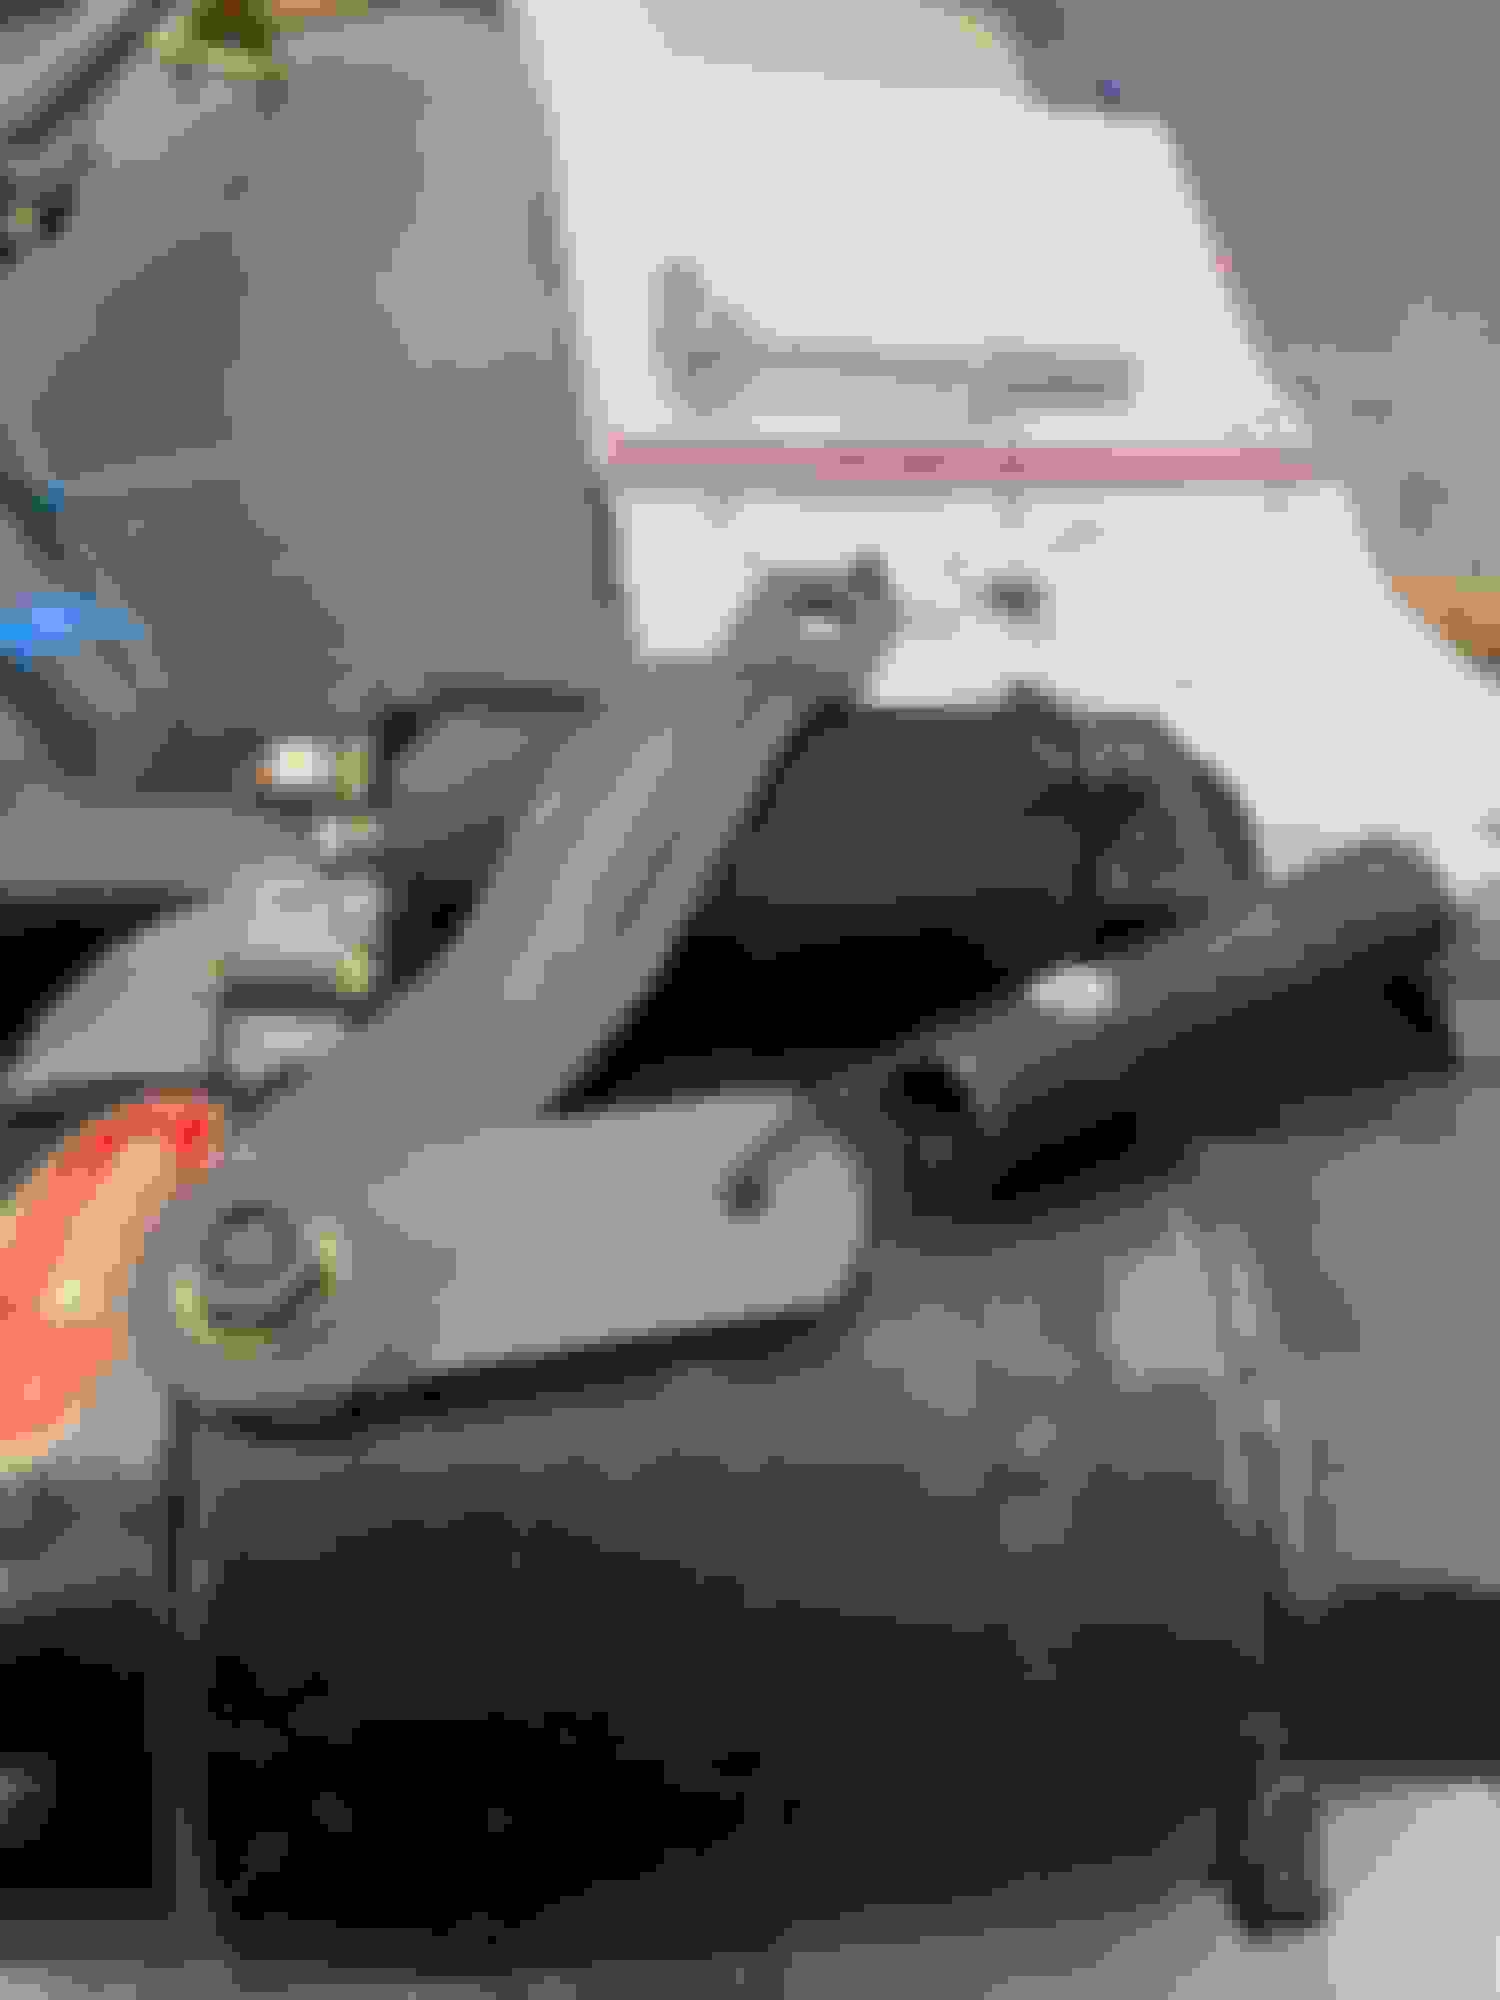
Does your positive battery cable tube need to be reversed? Thanks for documenting your restoration. Nice work.
Don W
It may be? I had it on the other way and it looked wrong so I put it this way. I won't be able to investigate until weekend. If anyone has any correct pictures Id like to see.
Had the front bumper re-chromed and just picked up today. I found a place nearby in CT that does them called New England chrome plating. Cost me $750. The bumper is real straight so It was a good core. First time around I wasn't happy with some grind marks I saw so they took it back and did it again. It's about a 6-8 week turn around. I think it came out pretty good. I know there are places that would do a show chrome finish but I think this will do. I remember looking at a pile of NOS bumpers at Berejik and none had a show chrome finish. I have a new re-pop also that looks pretty good so I will compare them and choose the best when it comes time.
Tim, I knew you are from there so this is good for you if you have a need. It seems they wait to get a bunch for re-chrome and then take them to NY somewhere probably every 6-8 weeks? Smaller stuff looks like it's done in-house. I wouldn't hesitate giving them a shot on a shifter handle or something. I dont know if they restore pot metal but they do have a website for info.
Last edited by scrappie; February 5th, 2023 at 04:47 AM.
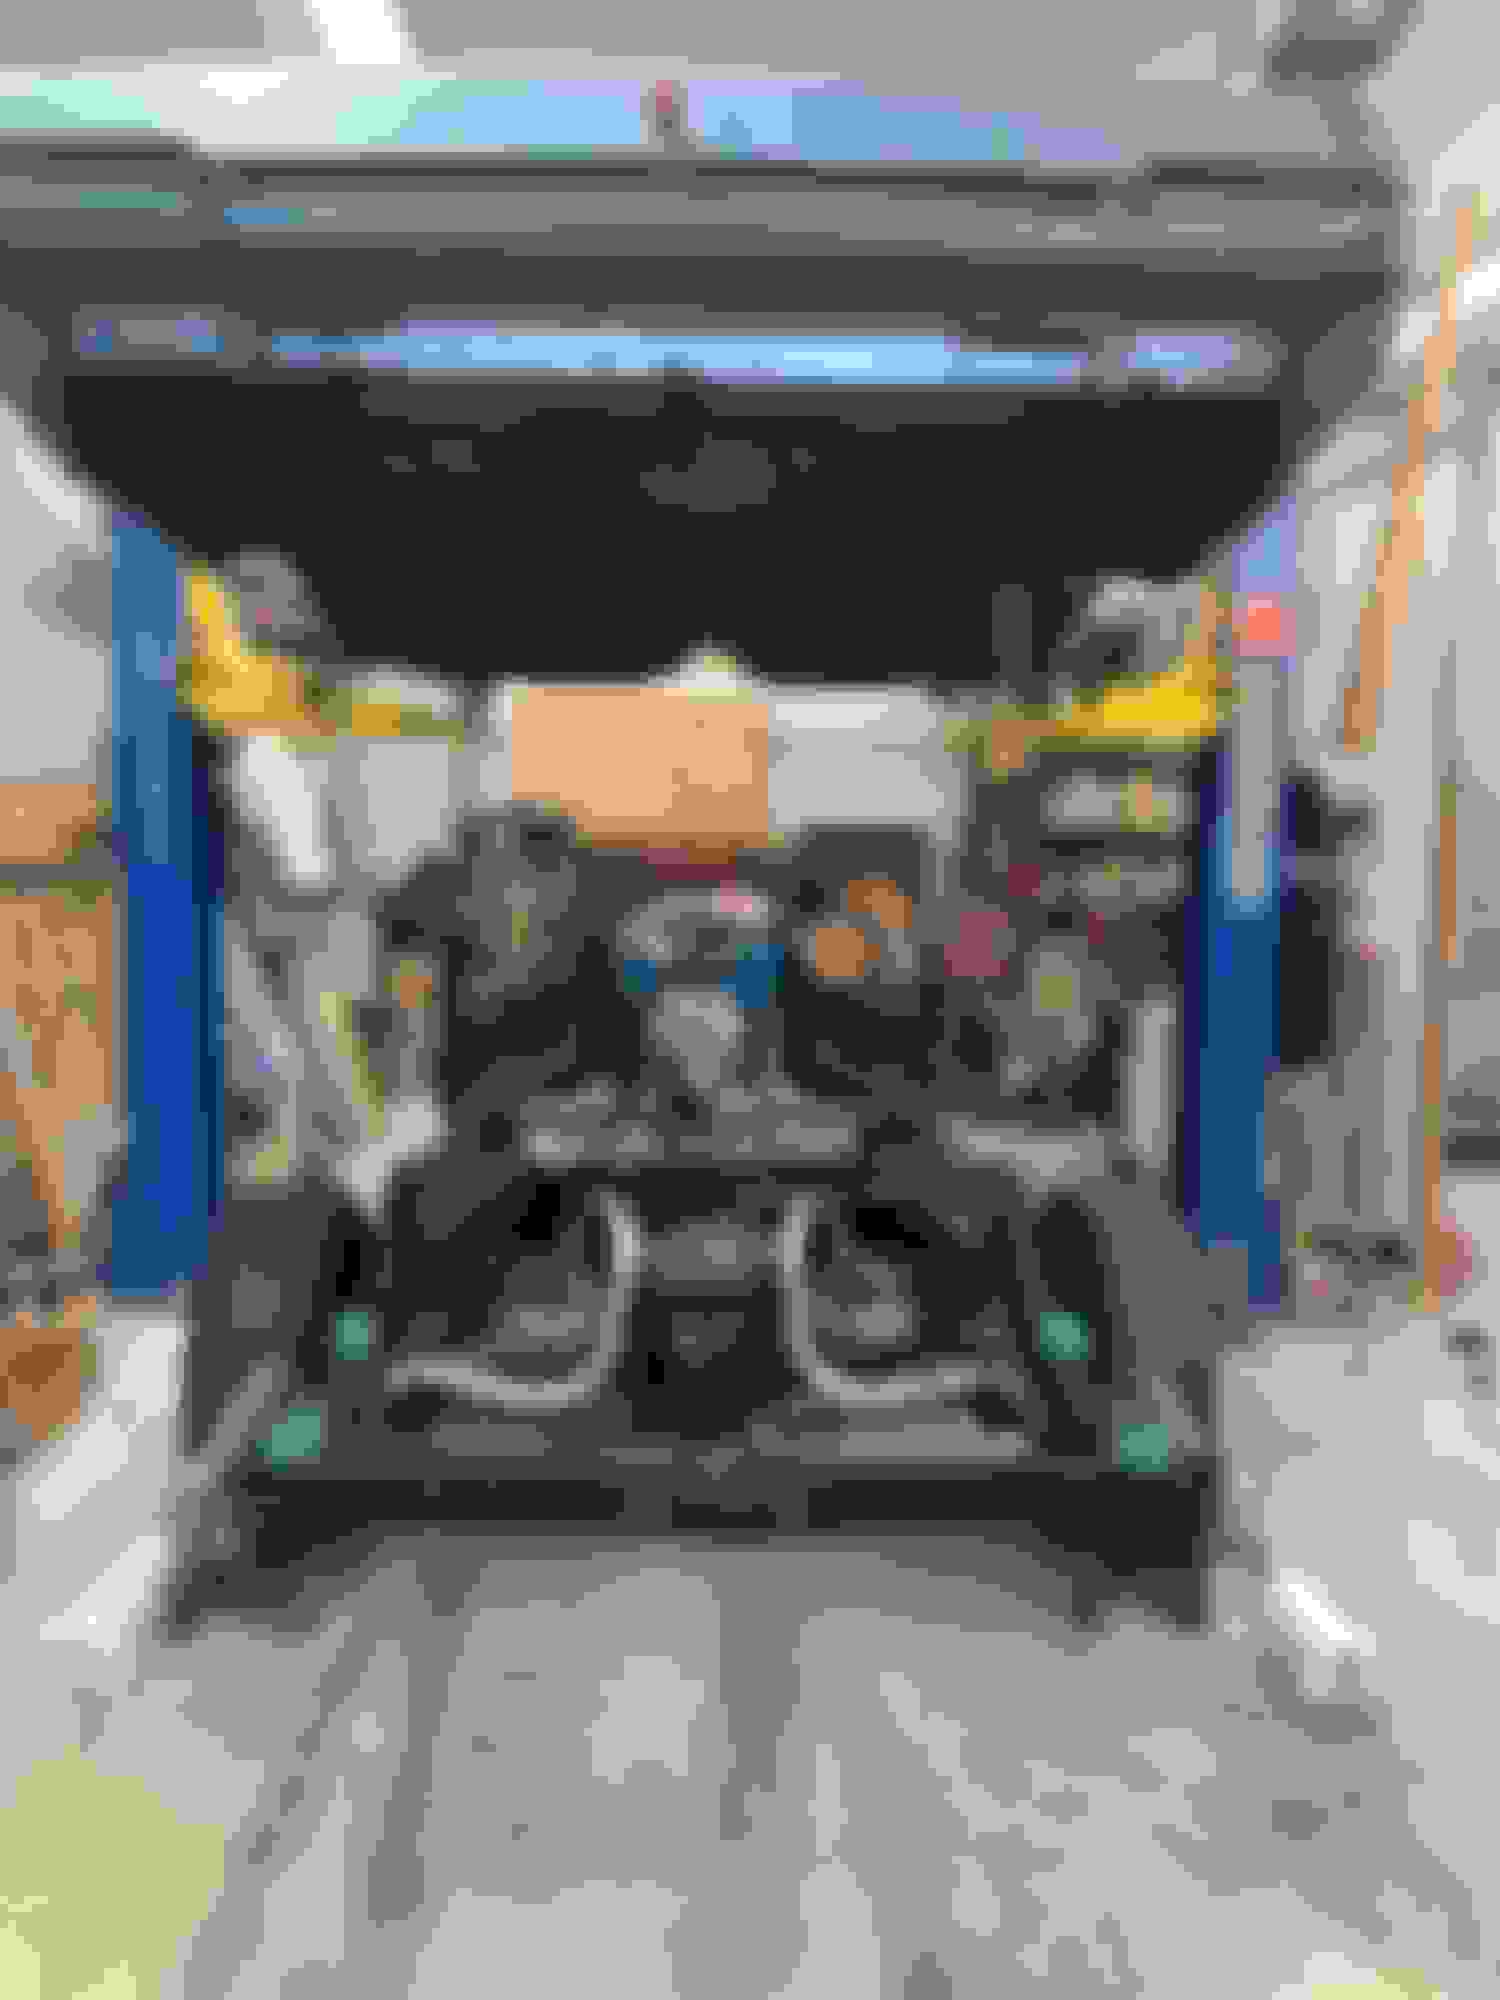
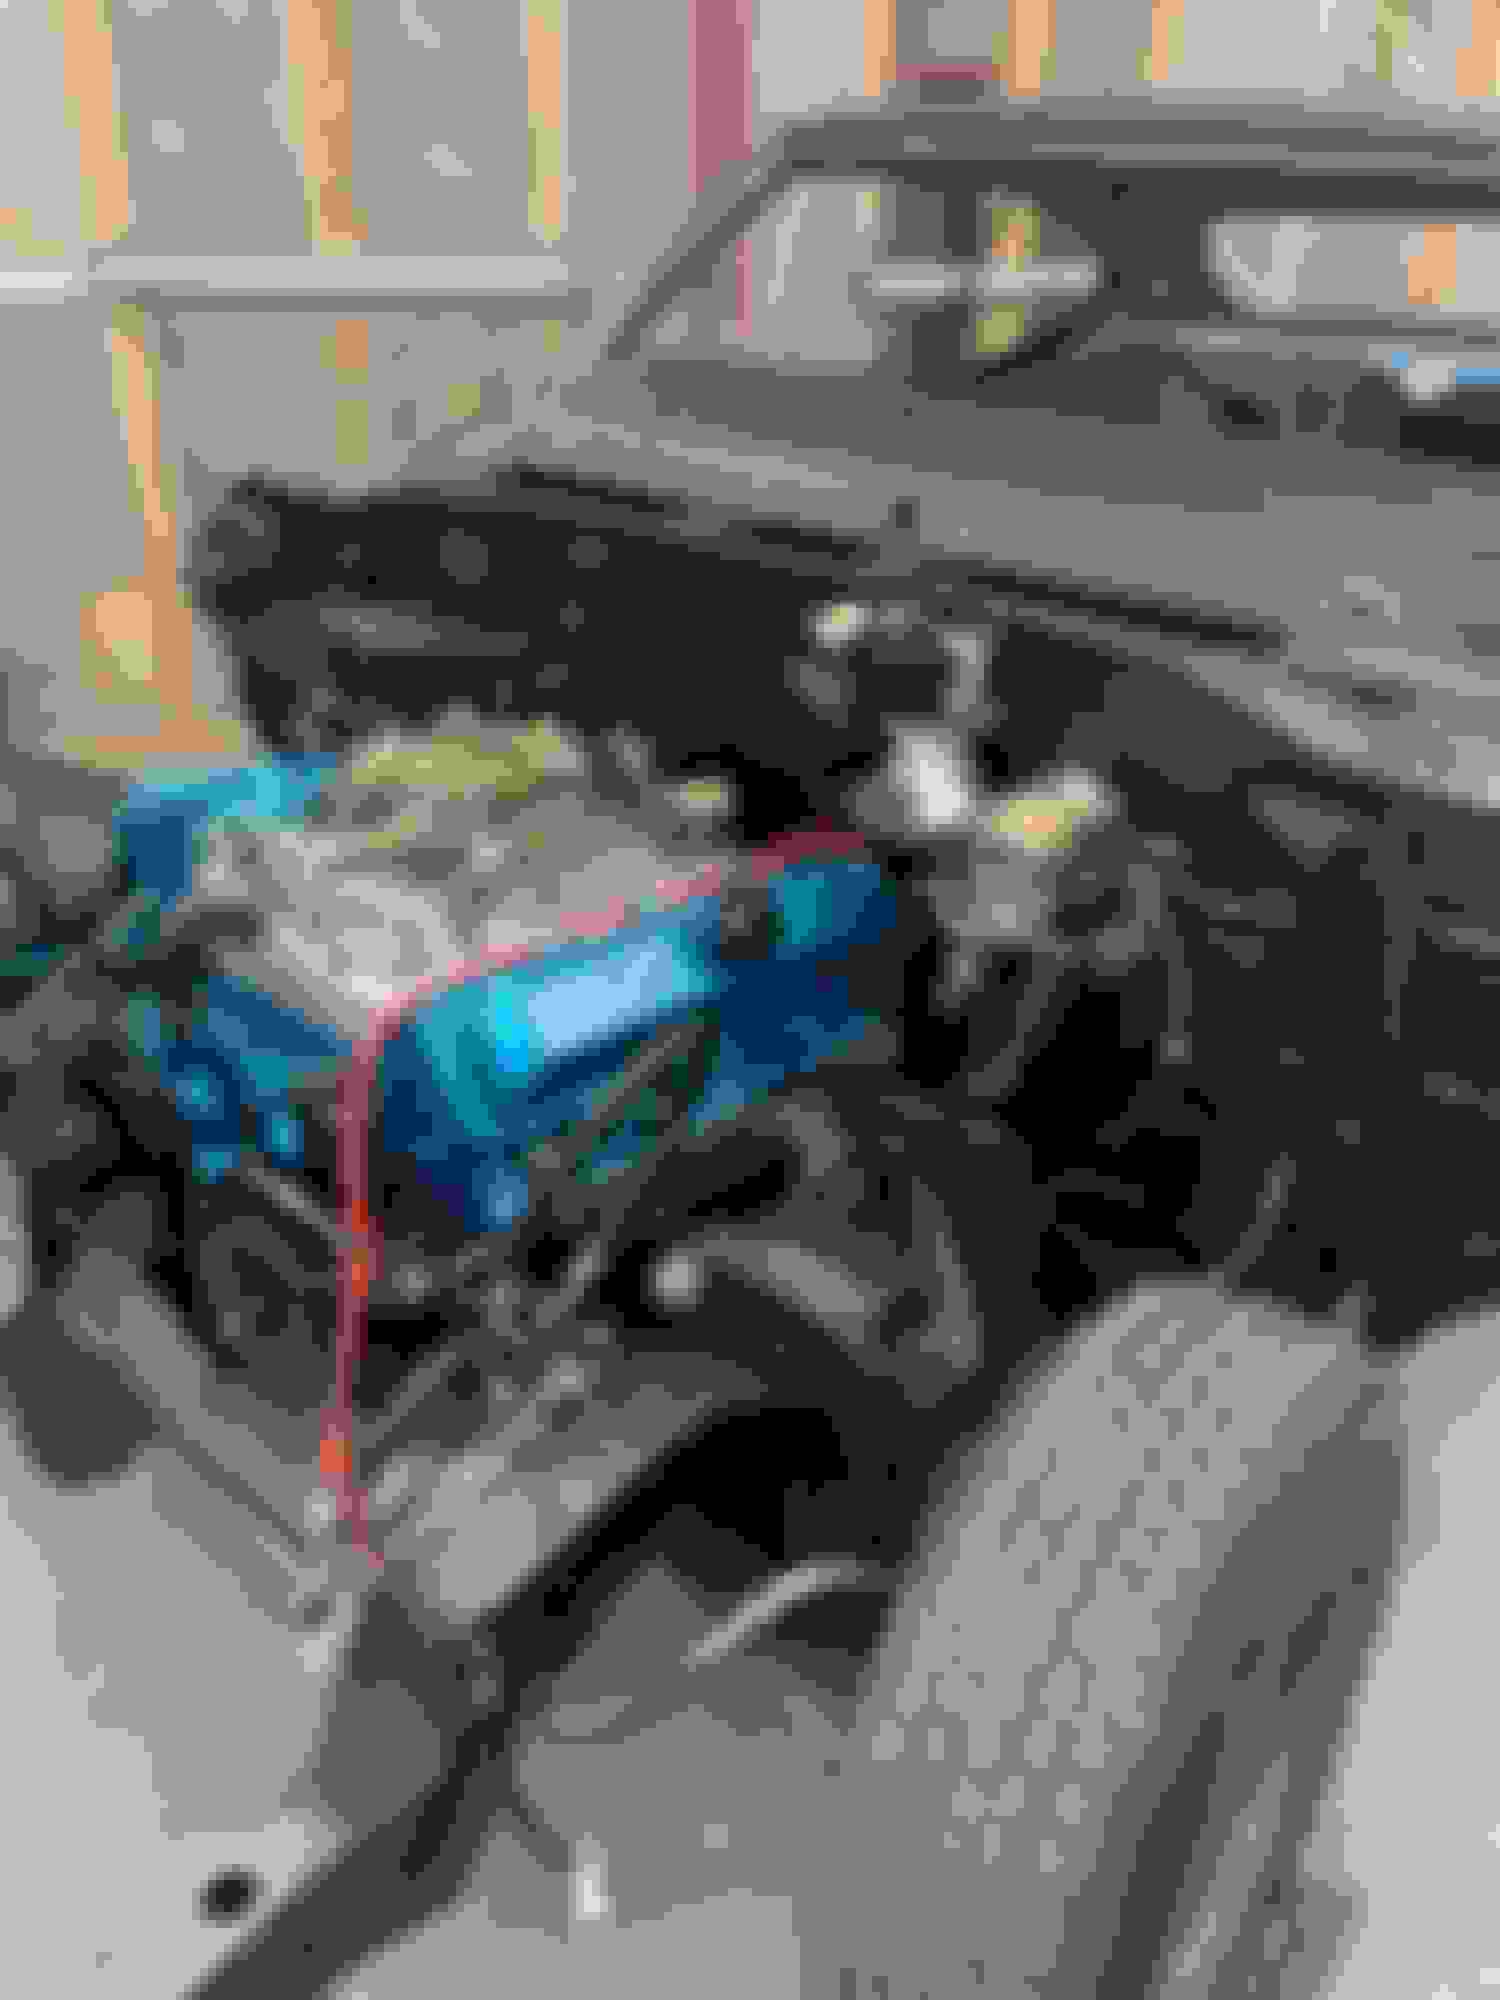
Was able to get some more work done despite the cold weather this weekend. I didnt get as much as I would have liked to but I did get exhaust installed along with more engine stuff. I phosphate coated the manifold heat stove.
I think I will attempt to reunite the body with the frame next weekend.
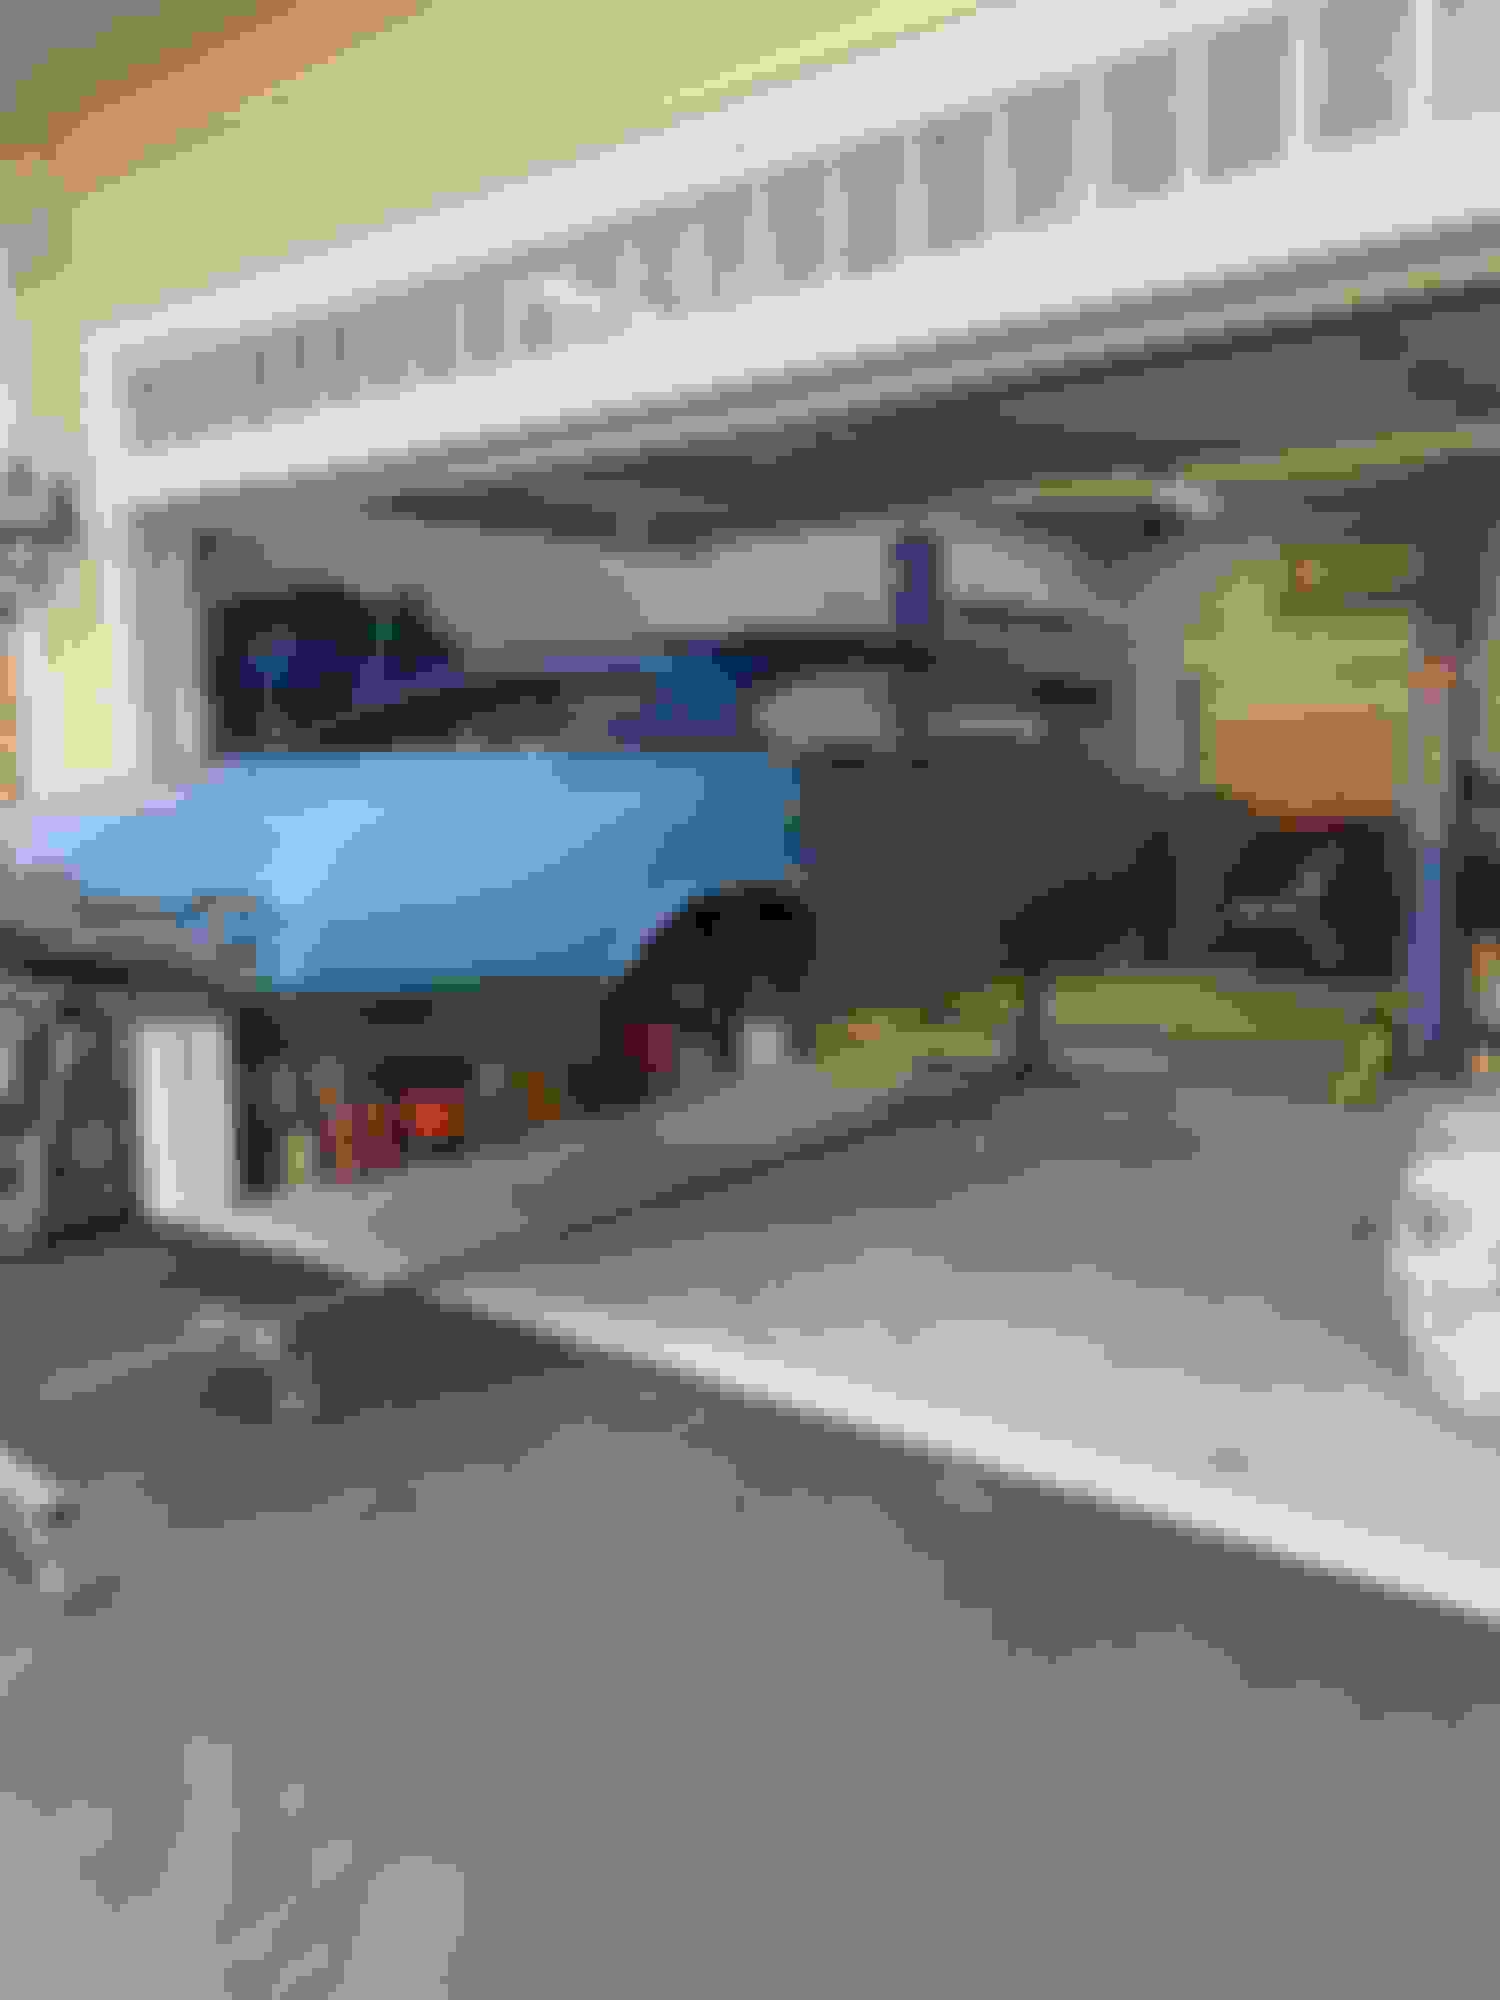
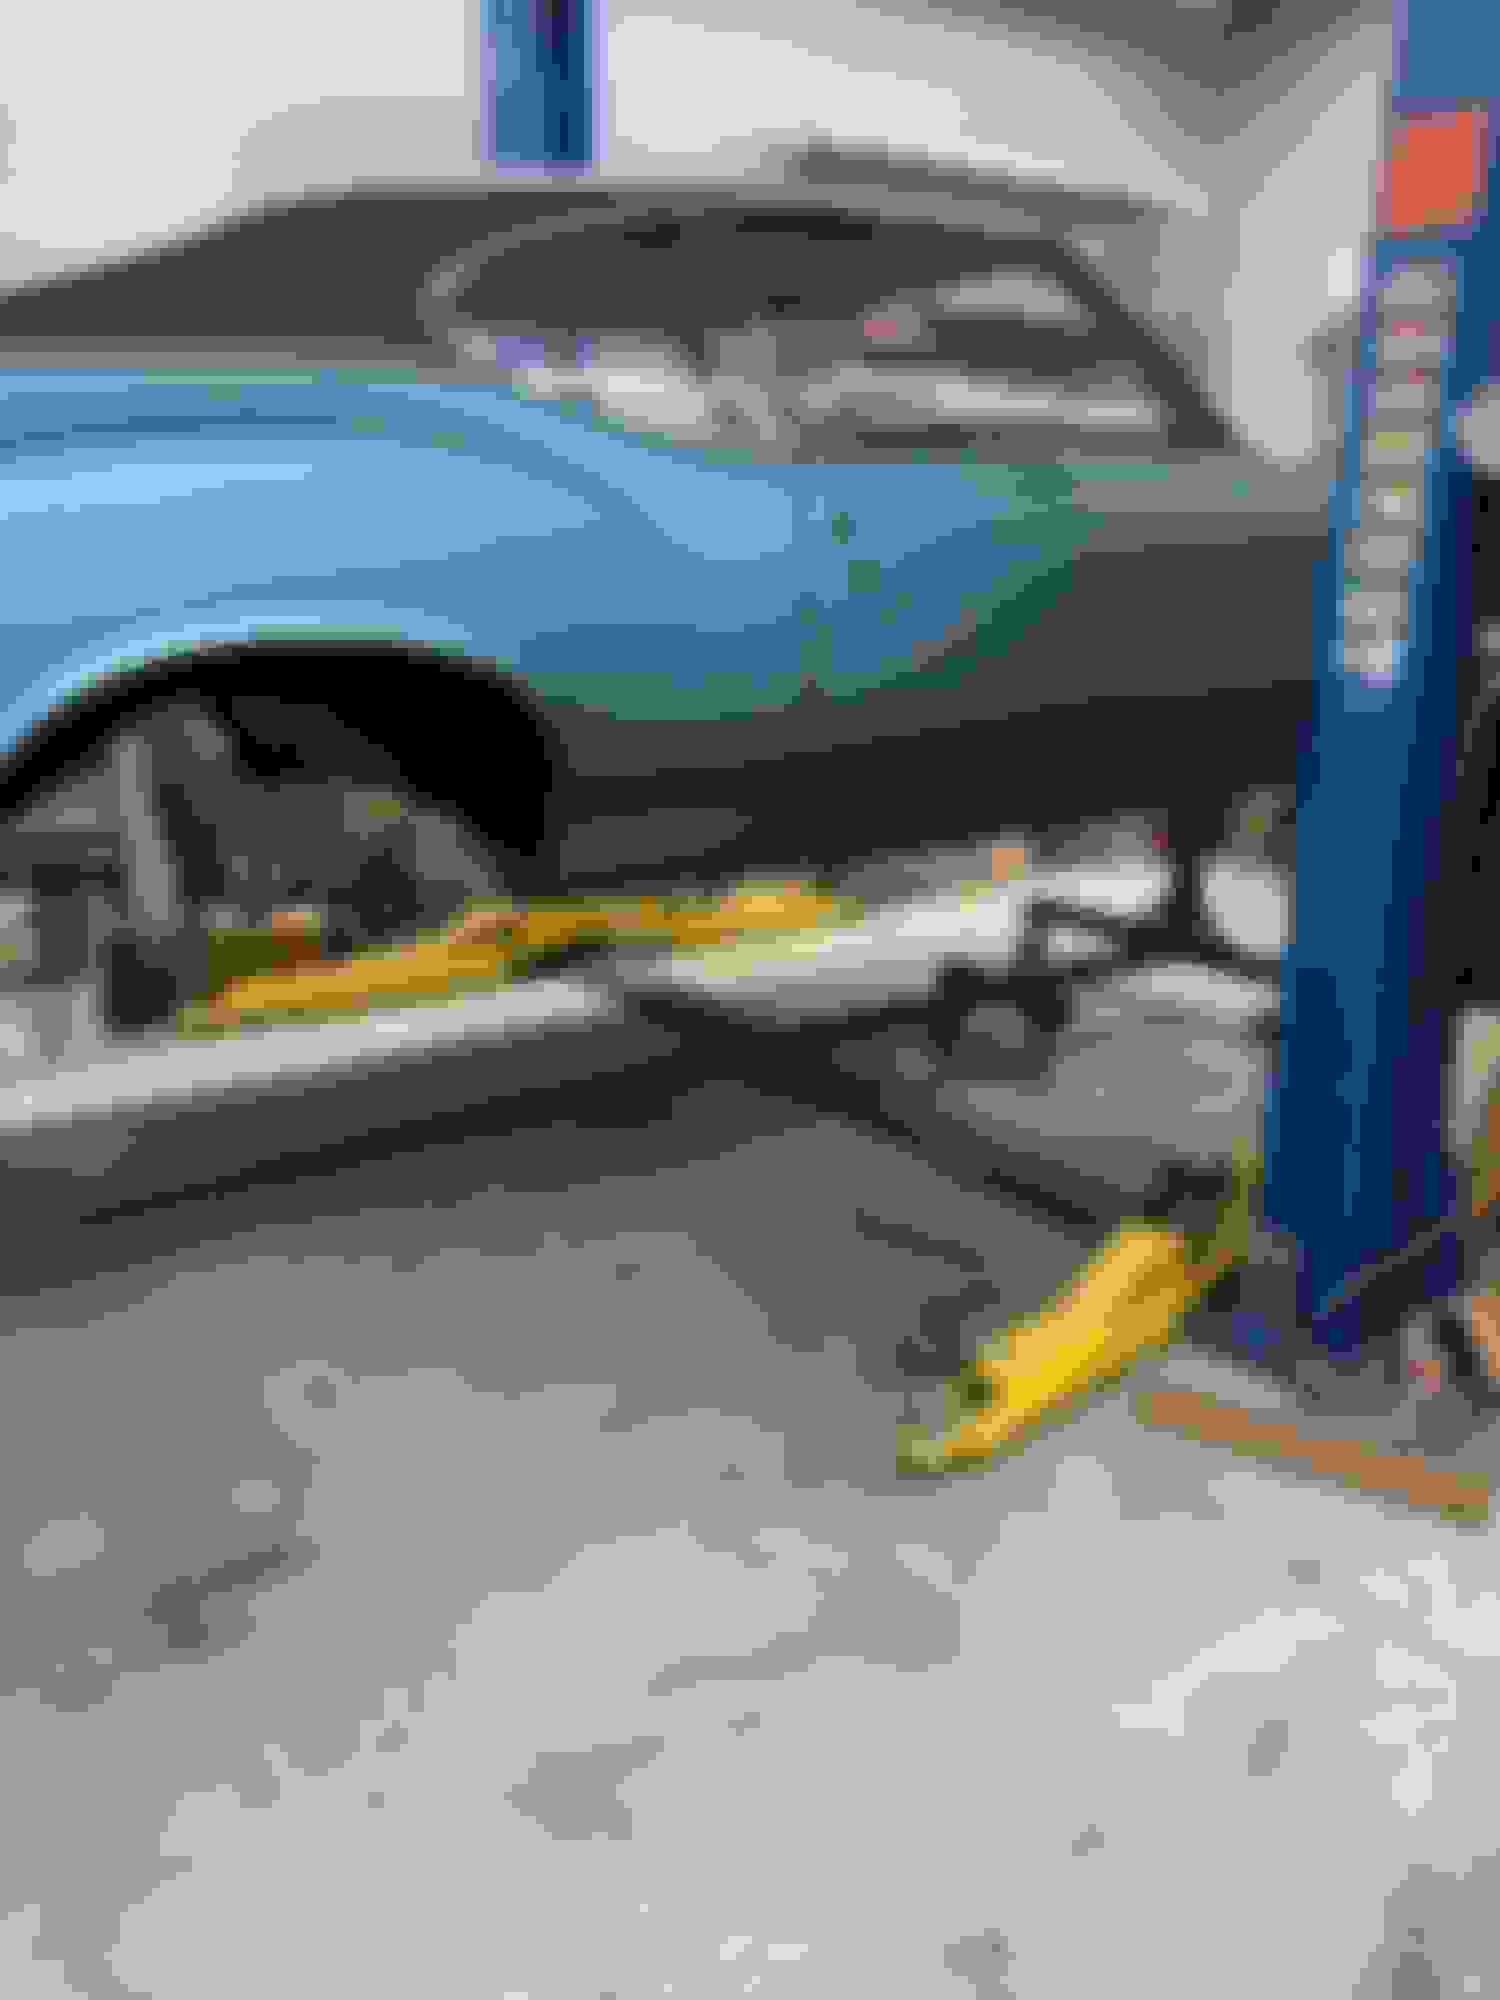
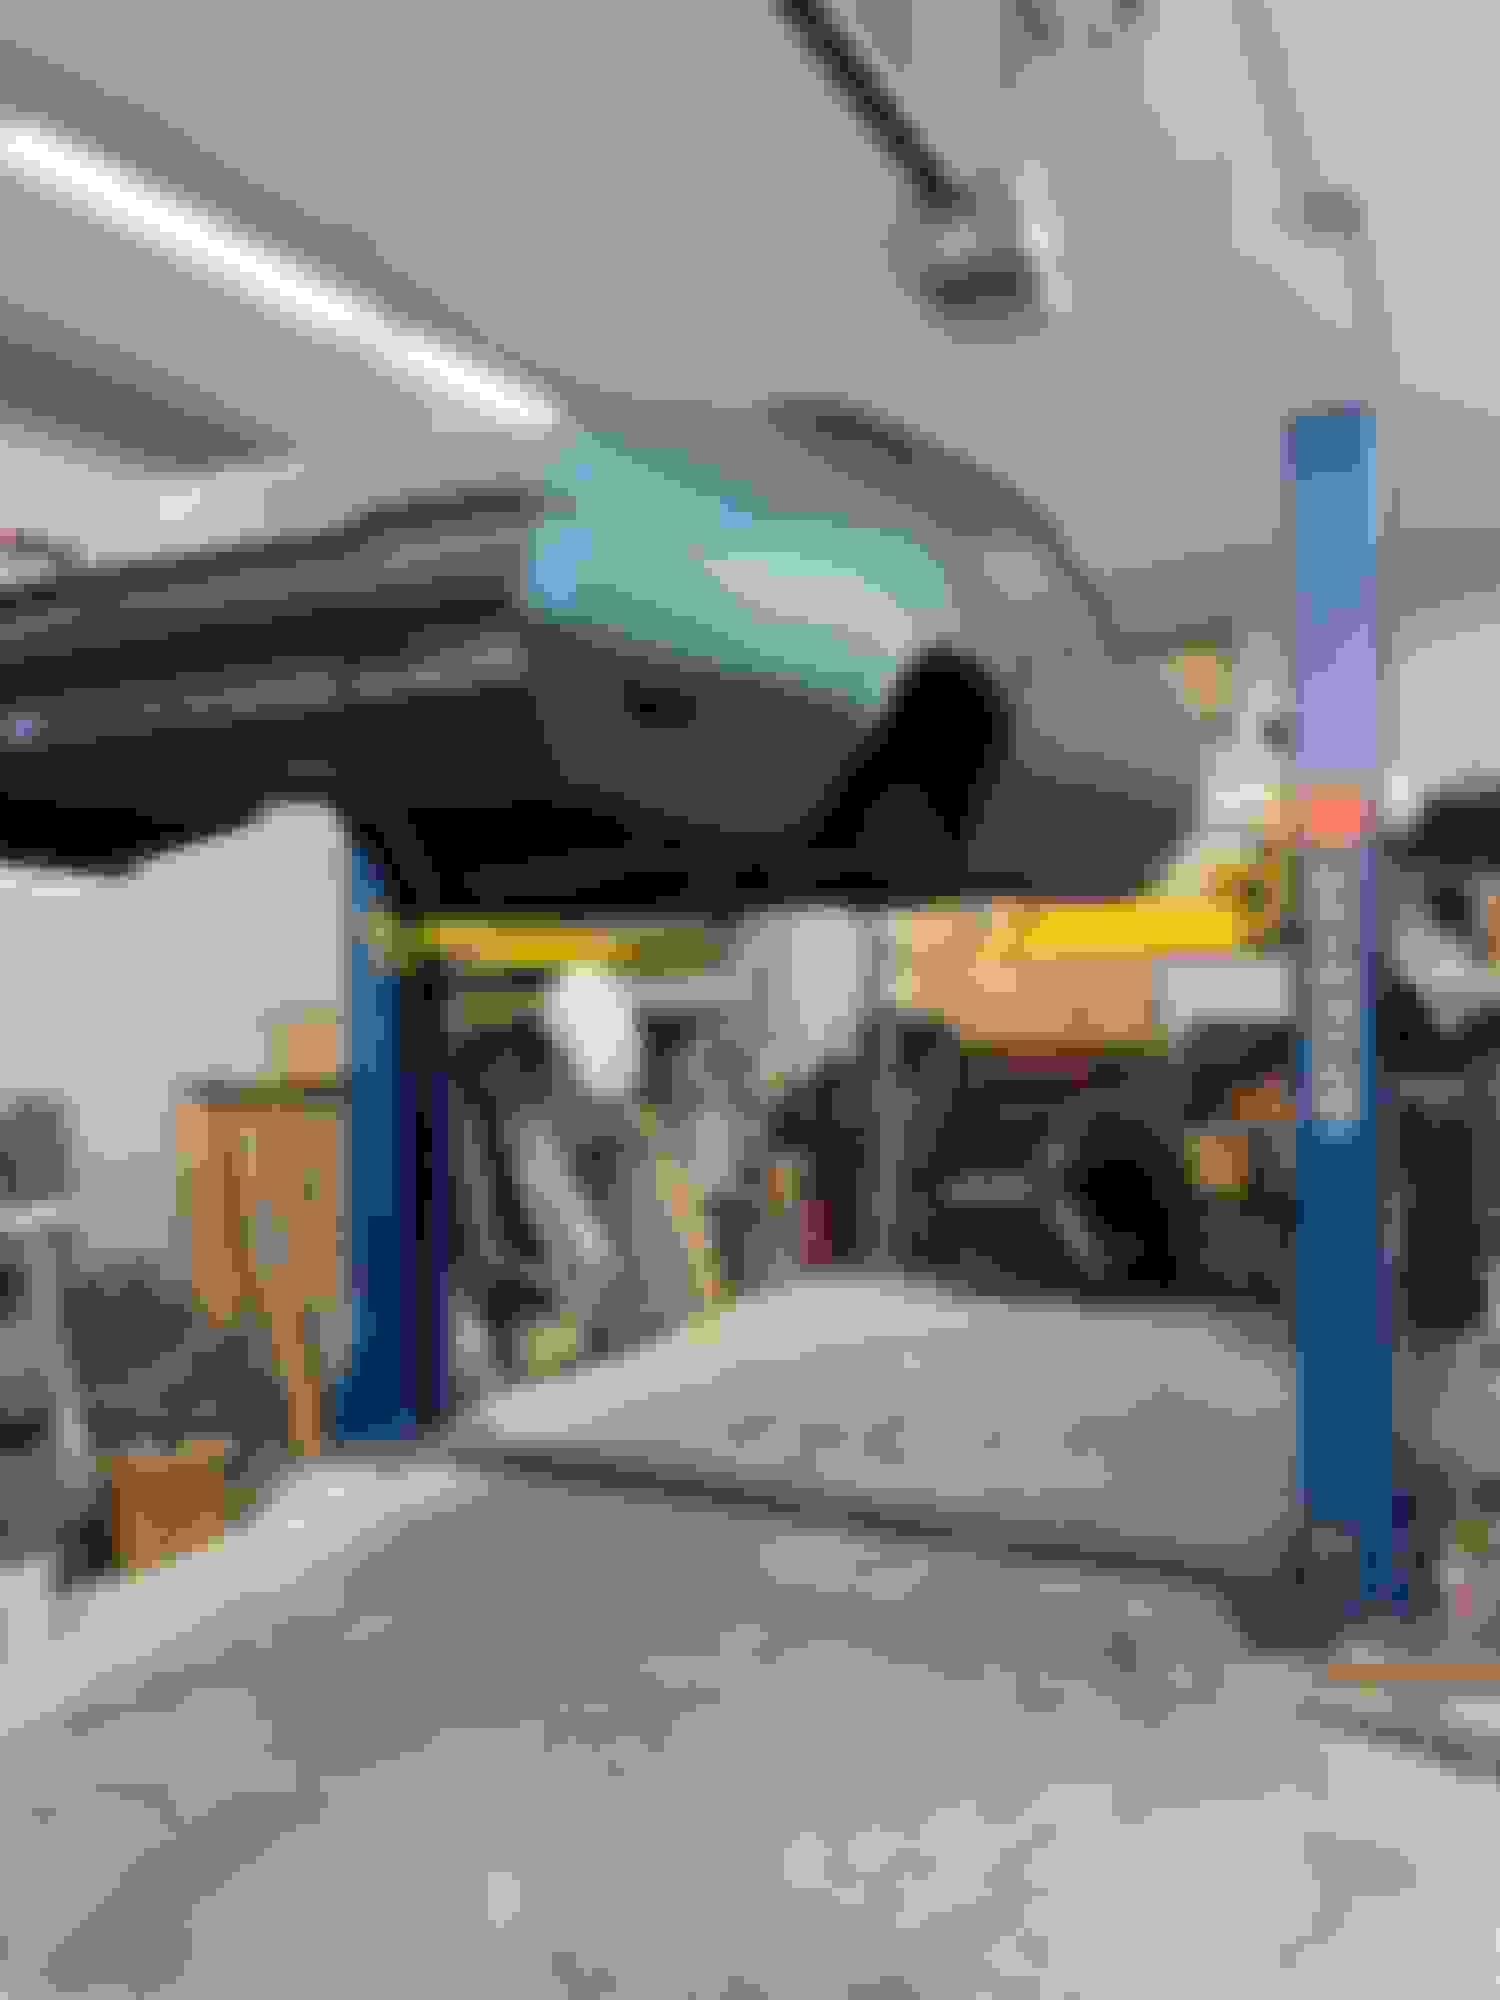
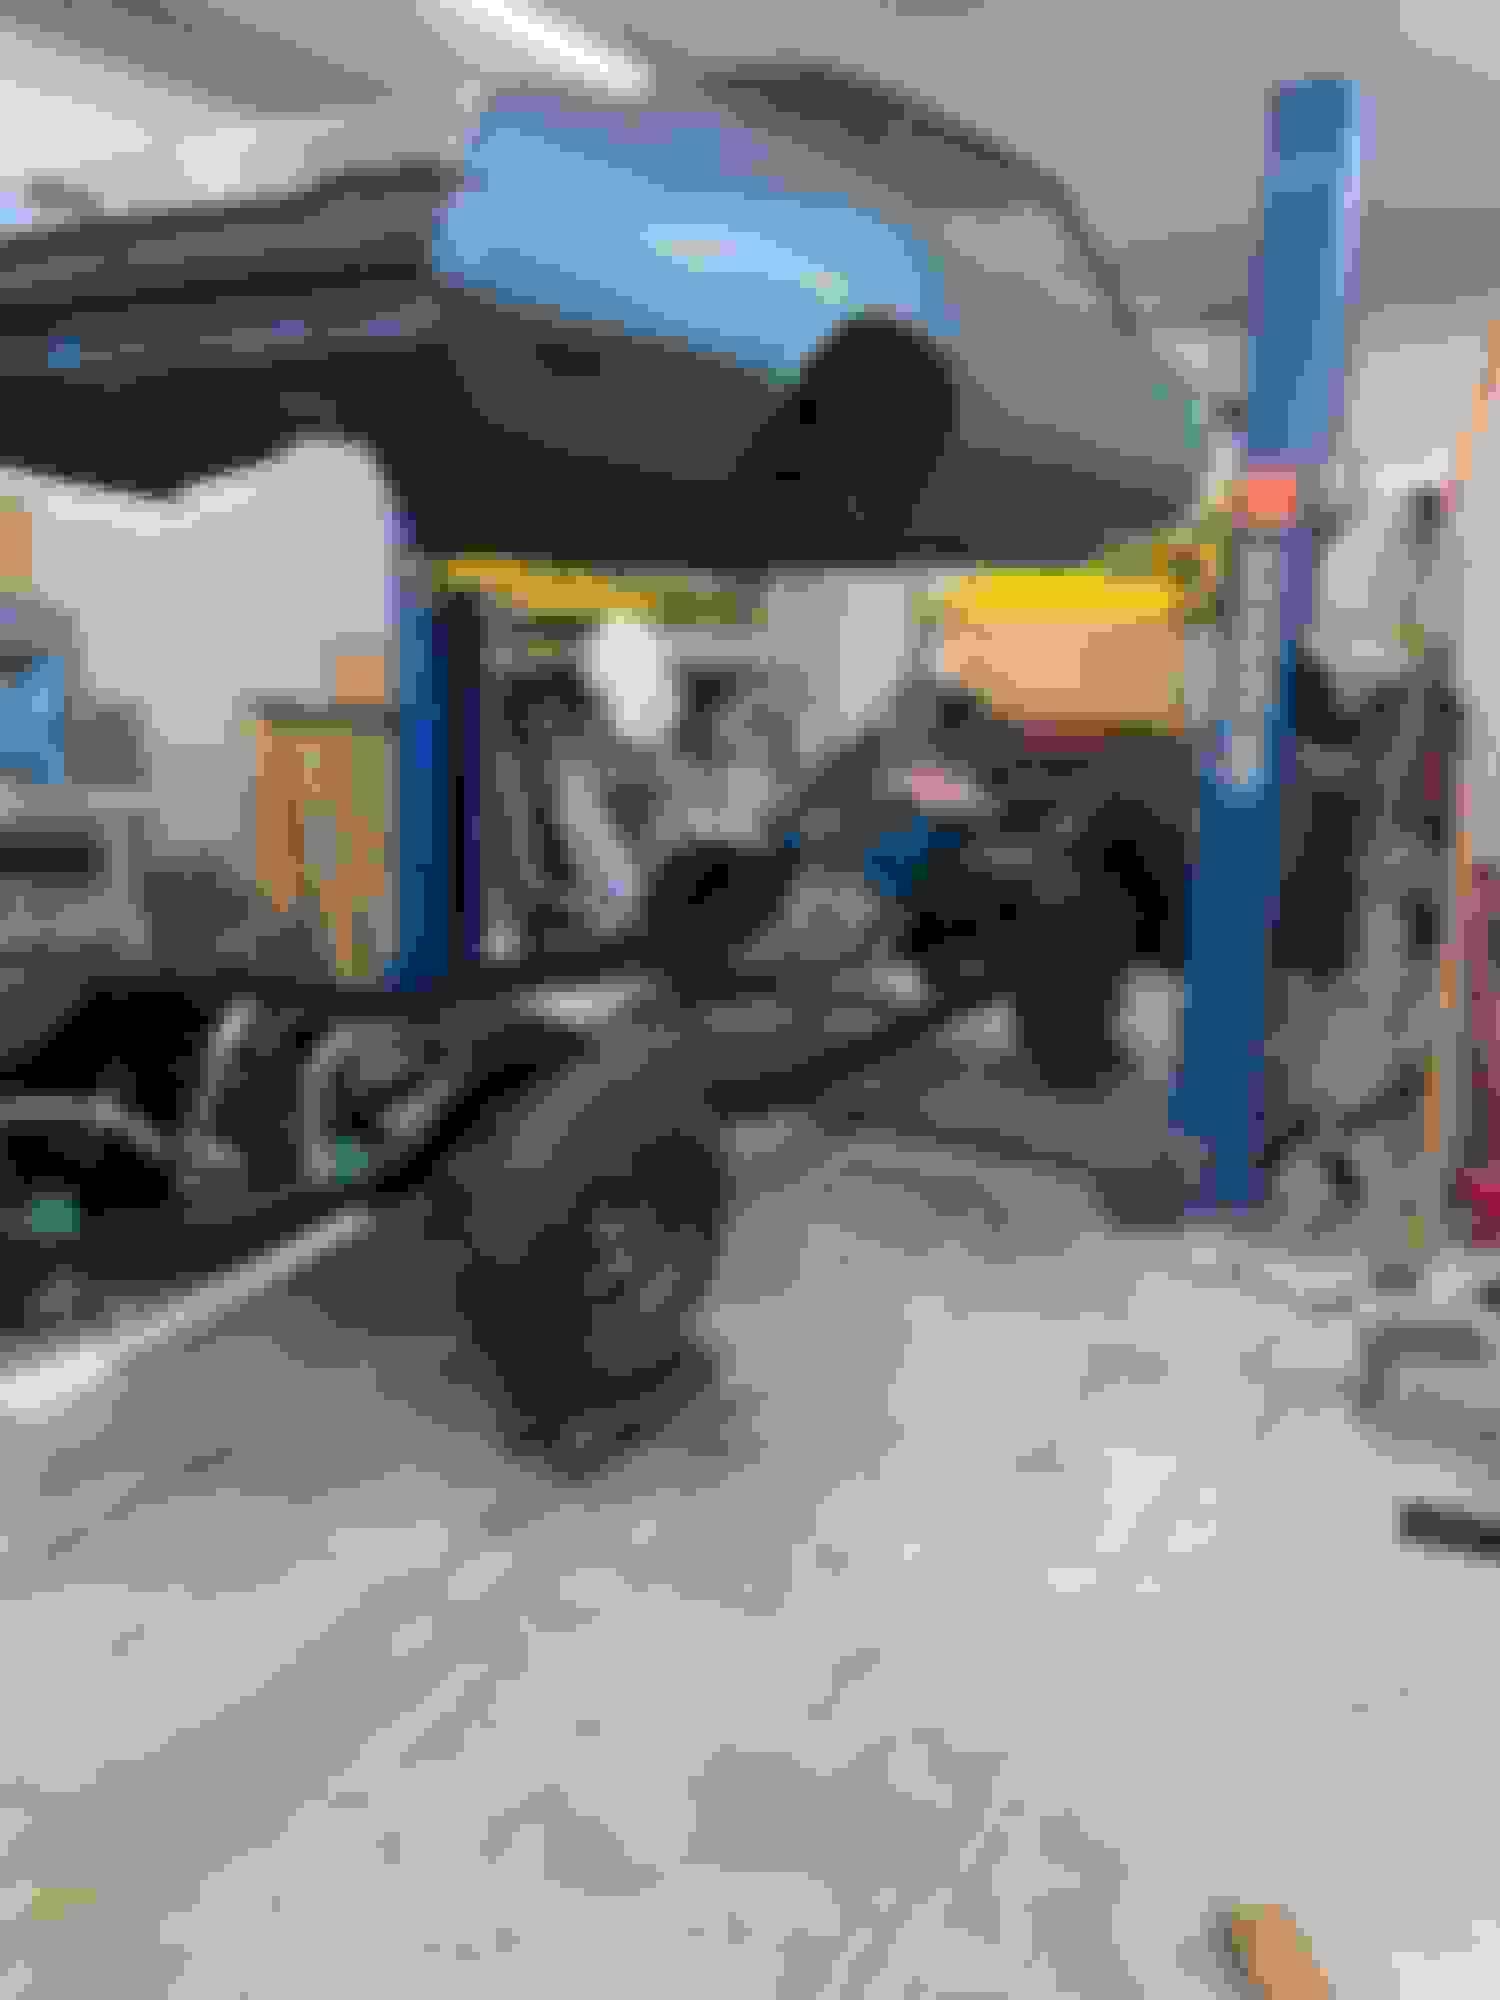
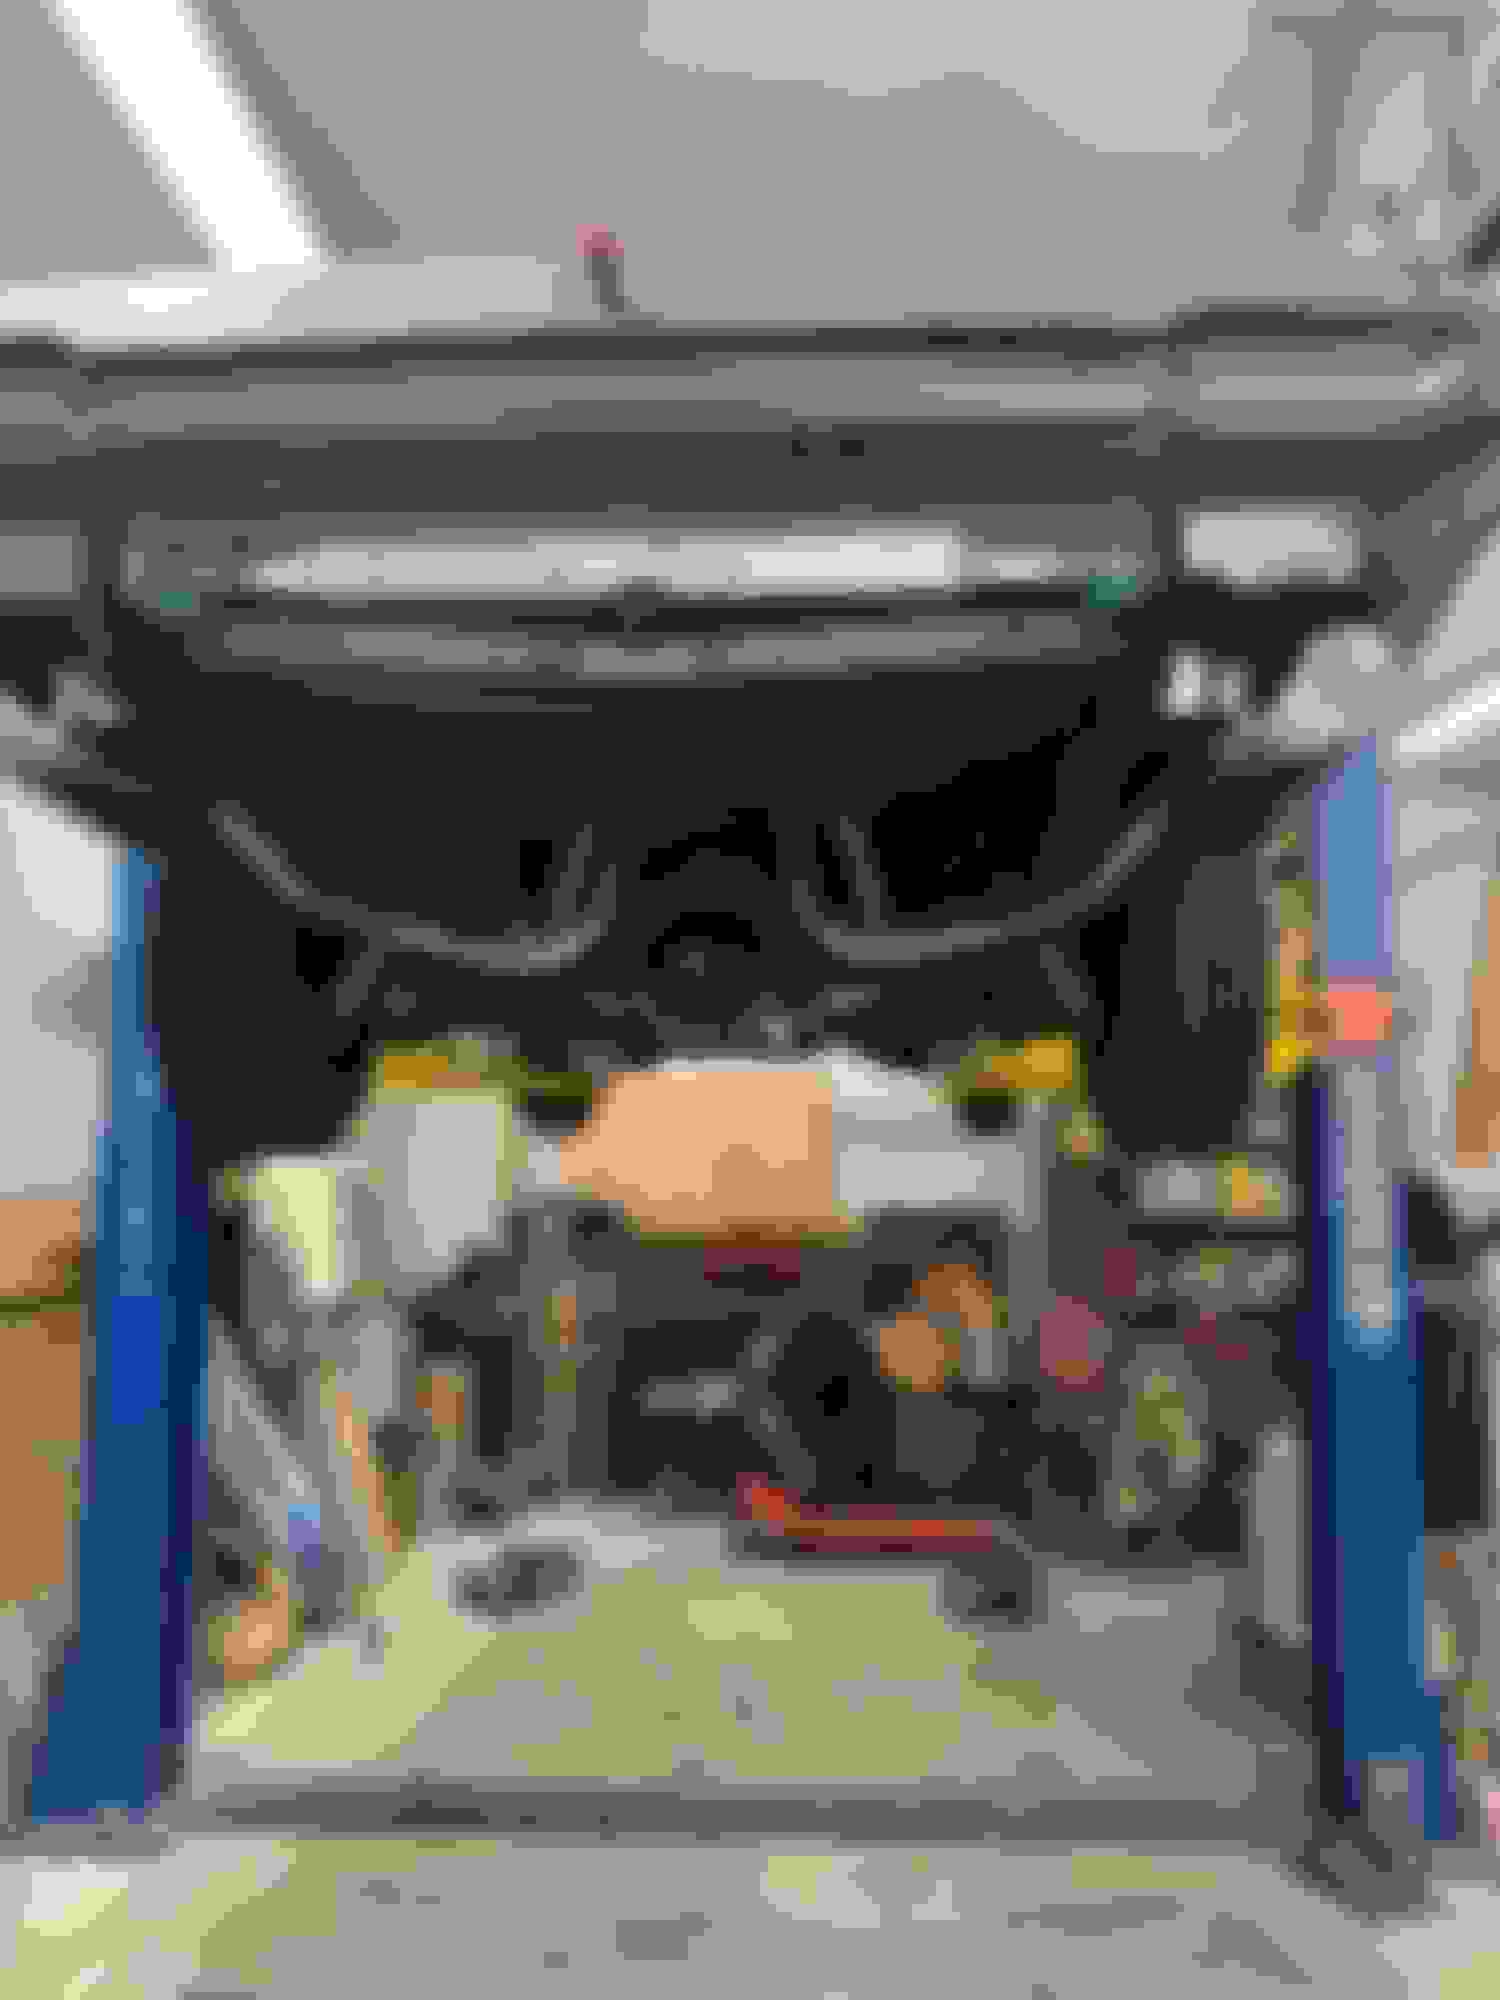
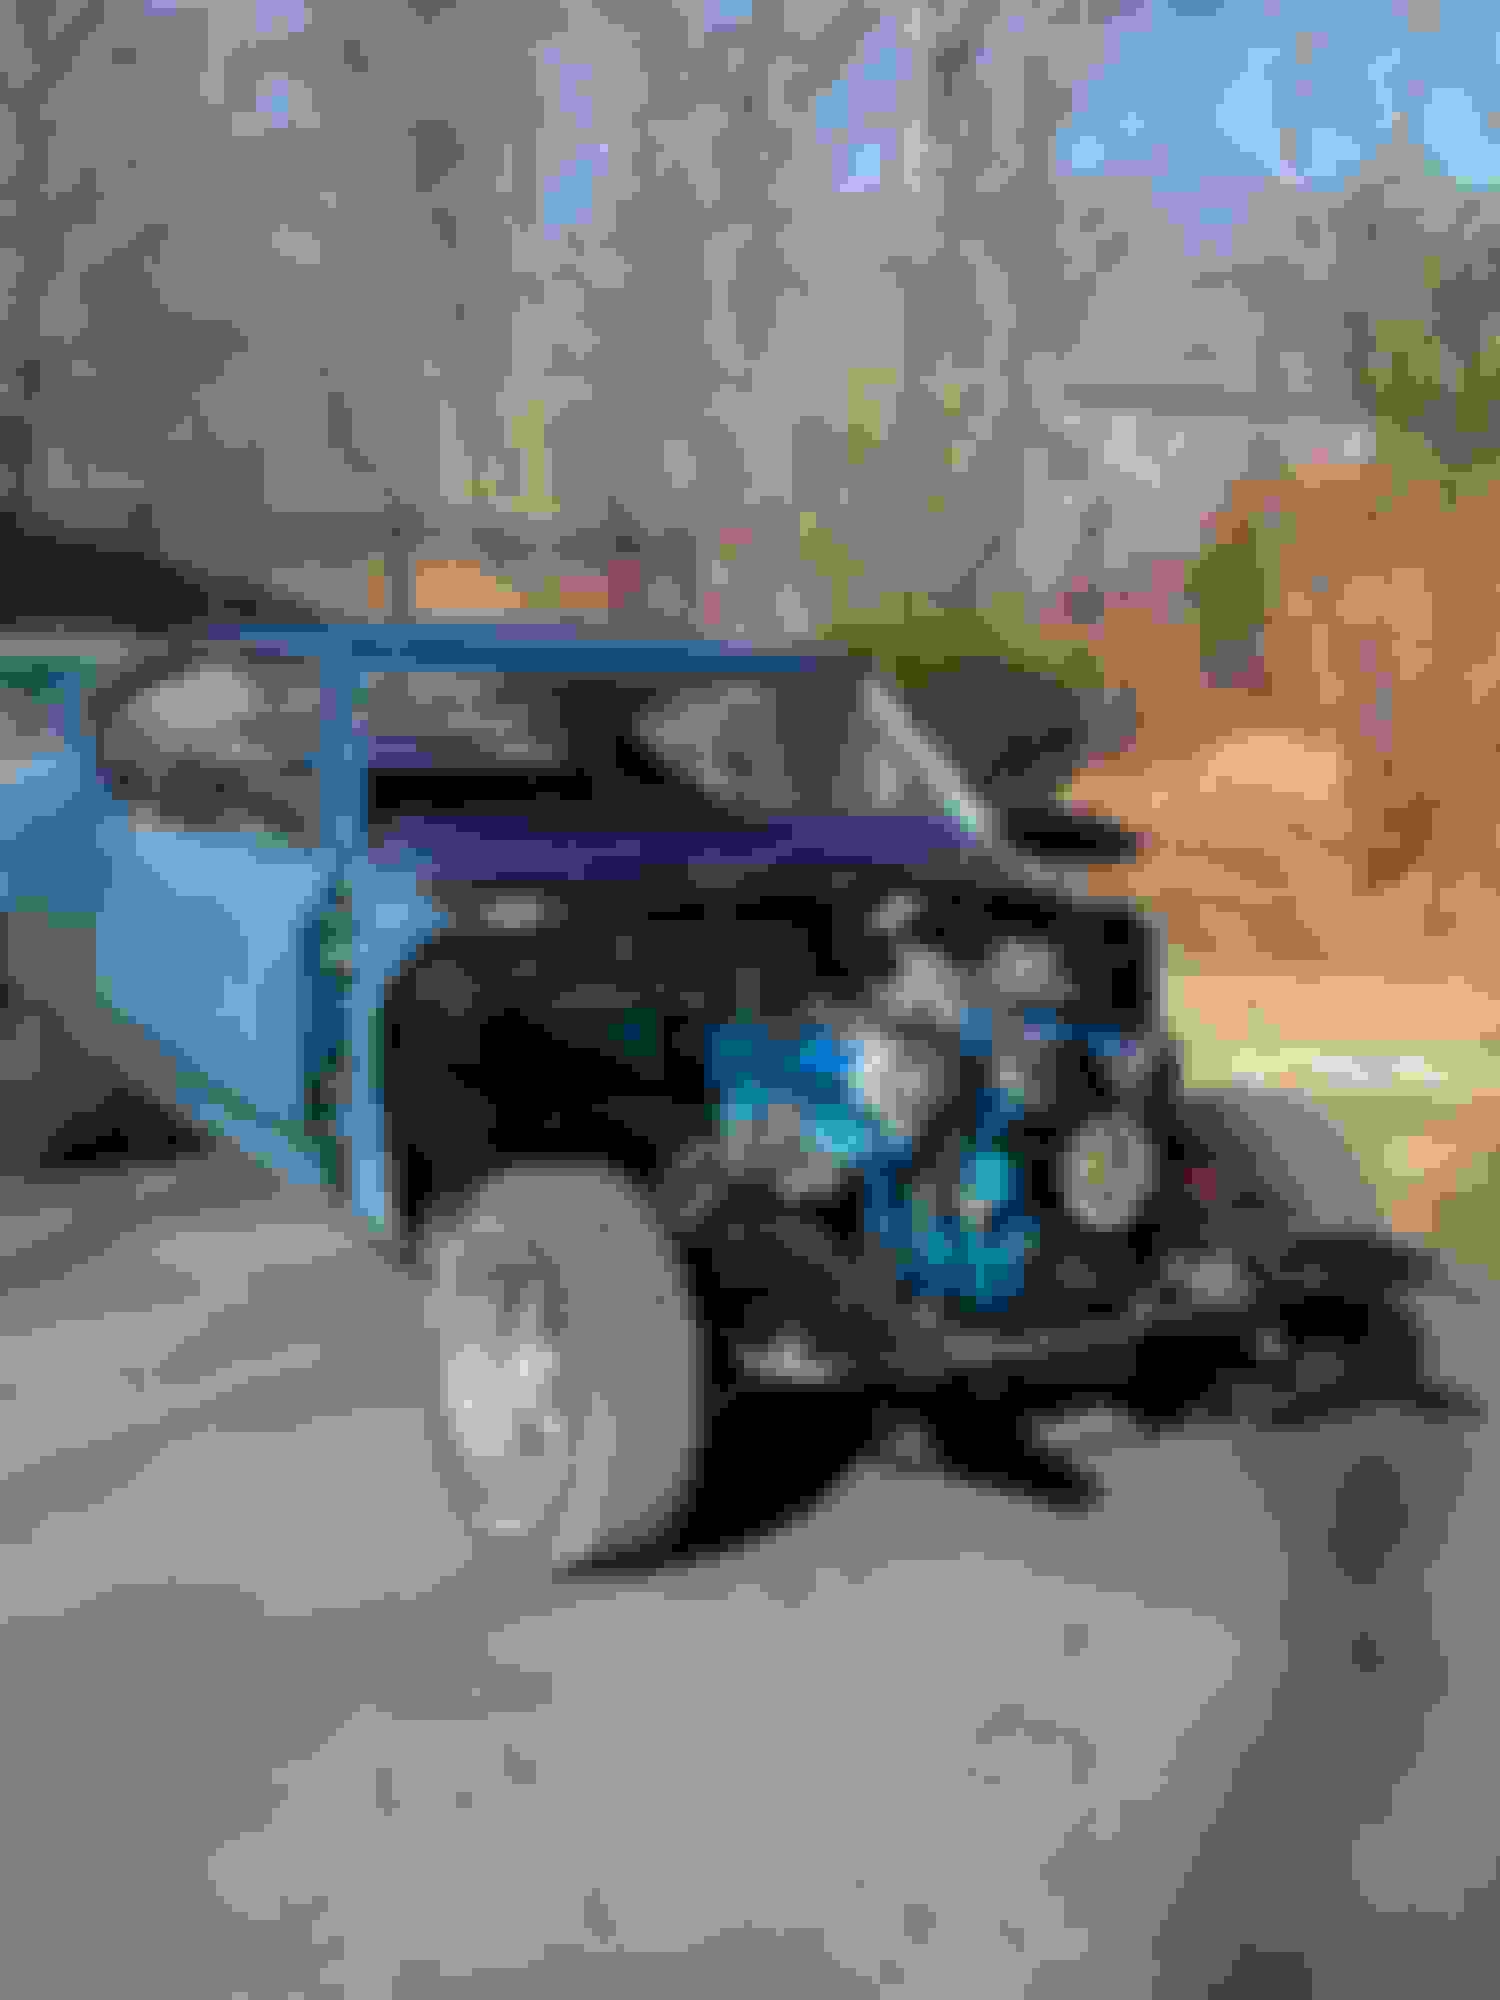
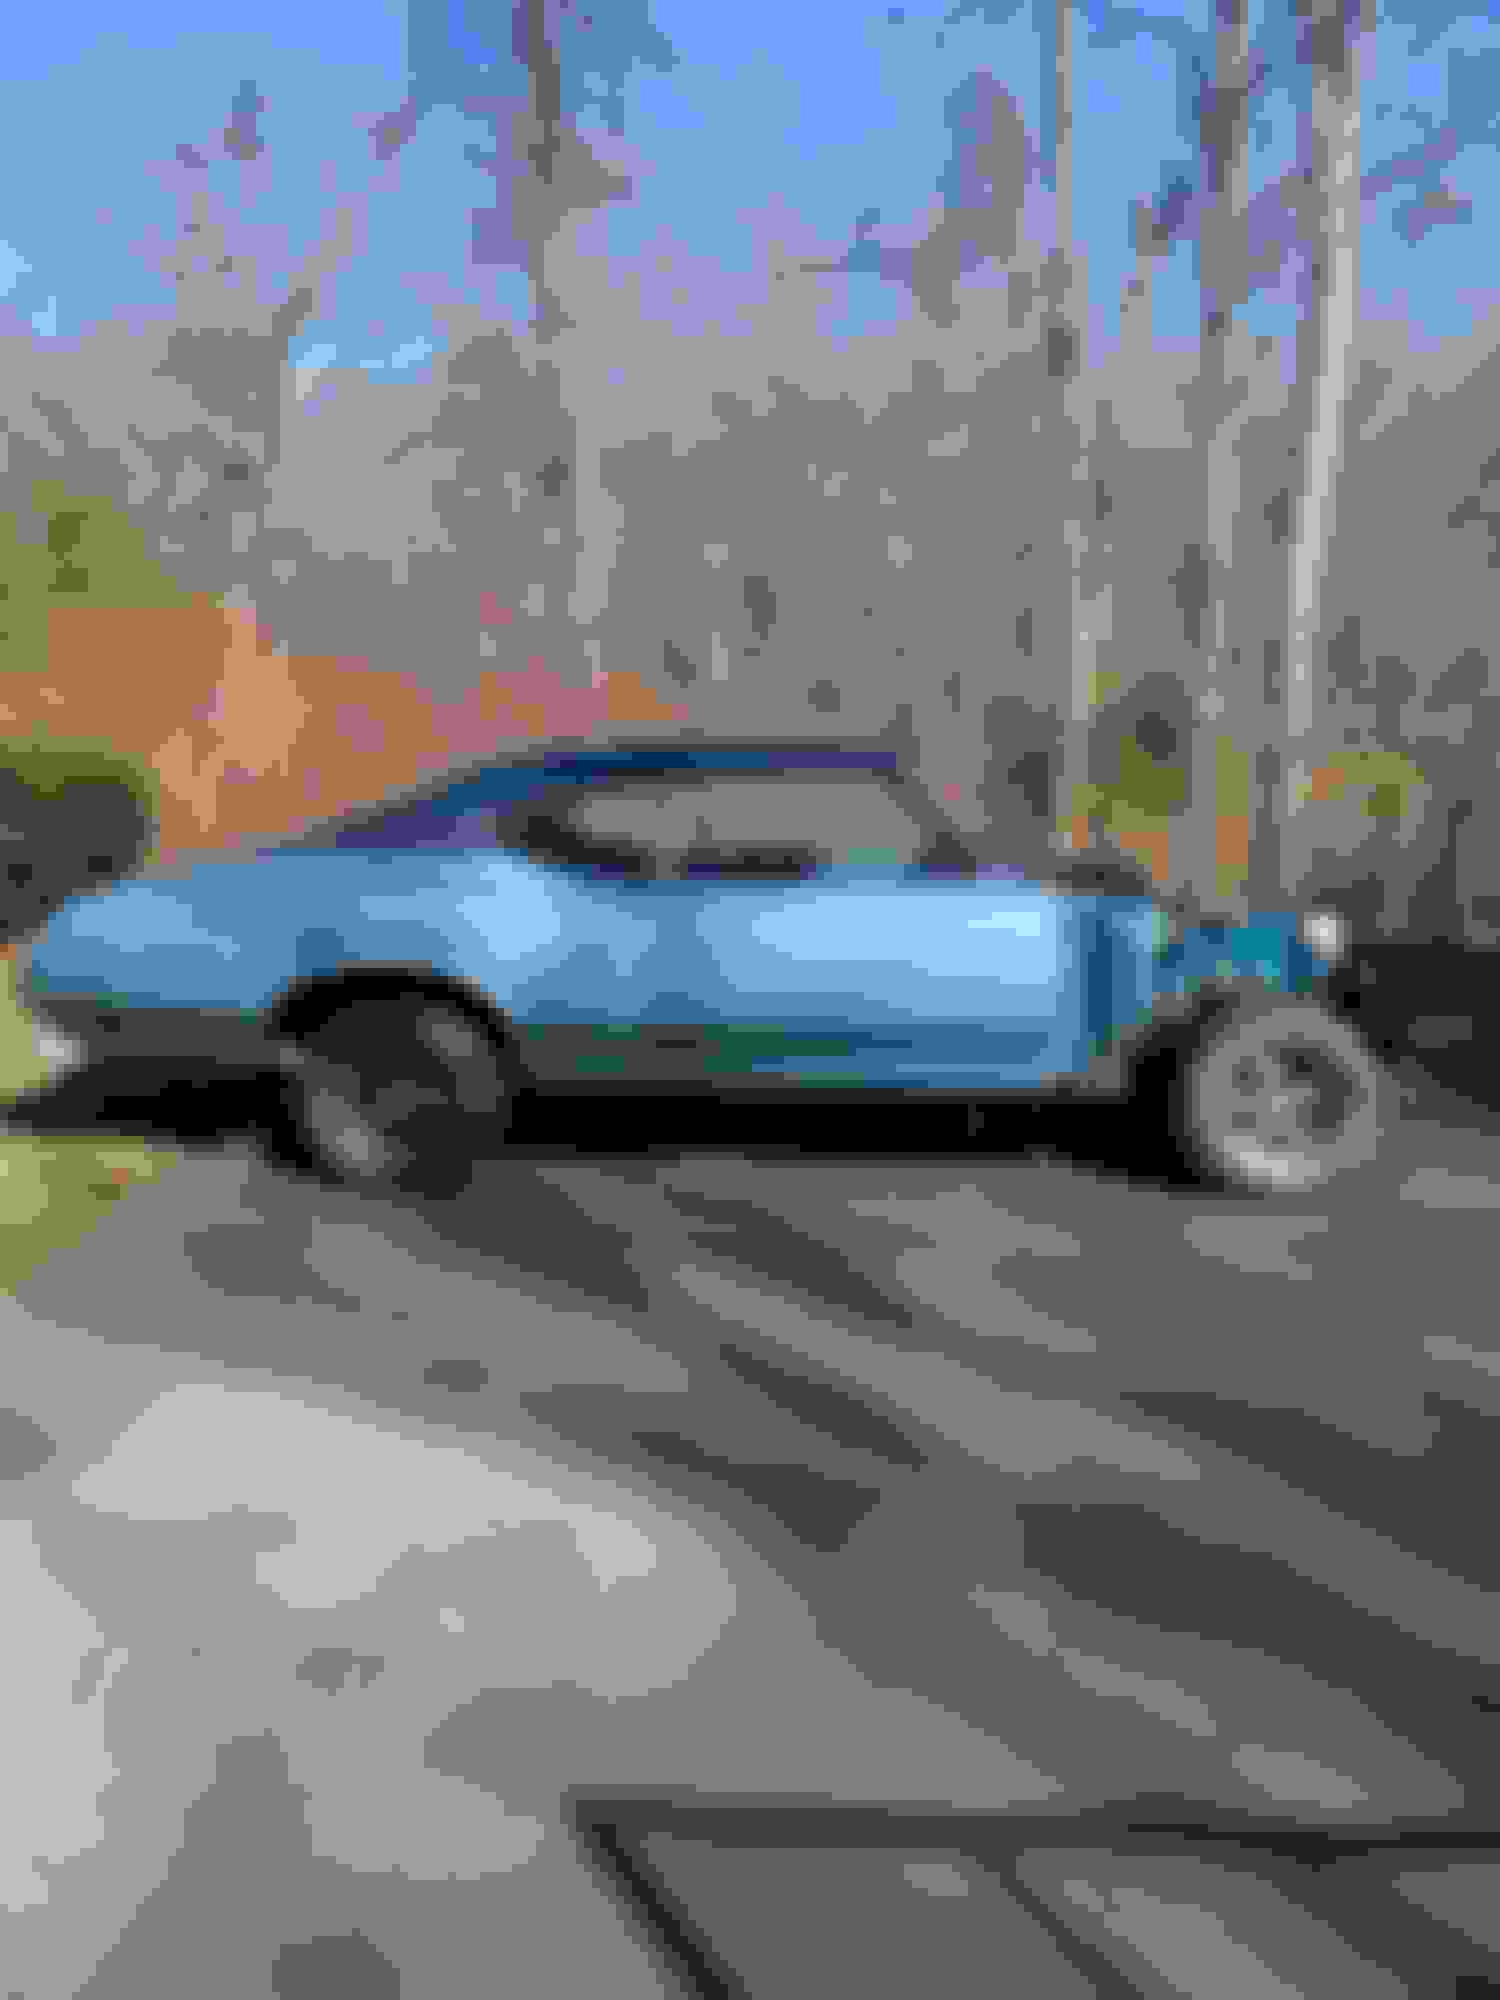
I got the body back on the frame for what I hope will be the last time for me. I am excited to get a little more space in garage by consolidating the two but that quickly get taken up by boxes and the rotisserie itself. It's a lot heavier to push around now but I'll manage. Im planning to get the engine area all put together and then core support and fenders and get it running.
It went well but I admit I was a bit nervous thinking it would slip off the lift or something but all good. It definitely looks to be sitting high but I'll see what it looks like at the end? Hopefully Im not changing springs again but I'm not optimistic? I got the springs from UMI.
I am putting the cowl screen on which is an original that it perfect but I was wondering about an adhesive? It looks like some was used for install in addition to the screws? Any info is appreciated.
Awesome looks great. So happy for you. A lot of weight still to be added to the car. Don’t stress about the height yet. Mine was the same way and you saw my thread, I love the height now.
As far as the cowl screen goes I don’t believe there was any adhesive. I never saw a call out for it in the assembly manual and my original did not show any trace.
Last edited by Trophyblue442; February 11th, 2023 at 04:41 PM.
Excellent milestone! Agree on the height concern with the comment above. I think my 70 just completed settled over an inch once I got everything installed, front aligned and time and a short drive worked it�s magic.
I did not use adhesive on the cowl screen. Maybe there was some used under the cowl to hood seal in your car. I did not use any on mine.
Congrats Paul! Looks spectacular! I agree with Andy, I believe what you are seeing on the edge of your cowl screen is adhesive for the hood molding that sits on the edge of the cowl screen. I’ll send a picture if I have one.
Hey Scrappie the car looks great mated up! A couple of observations, the vacuum hose (black, yellow stripe) from the carb to the TCS should run on top of the gas line, not under it.
Thx for the heads up on hose. I remember looking at a real original 70 w30 4spd car on bring a trailer with no ac. It had a dash pot and couldn't get a definite answer as to why exactly, so I just figured?
.......I remember looking at a real original 70 w30 4spd car on bring a trailer with no ac. It had a dash pot and couldn't get a definite answer as to why exactly, so I just figured?
Paul, the documentation that supports the dash pot is for A/C cars (1970) is found ASM Section 6-1, page 127. Hope this helps.
Excellent milestone! Agree on the height concern with the comment above. I think my 70 just completed settled over an inch once I got everything installed, front aligned and time and a short drive worked it�s magic.
I did not use adhesive on the cowl screen. Maybe there was some used under the cowl to hood seal in your car. I did not use any on mine.
Thx Andy!
Originally Posted by jimlabo
Congrats Paul! Looks spectacular! I agree with Andy, I believe what you are seeing on the edge of your cowl screen is adhesive for the hood molding that sits on the edge of the cowl screen. I�ll send a picture if I have one.
Thx Jim and I got the pic

 January 24th, 2023, 04:49 PM