When you click on links to various merchants on this site and make a purchase, this can result in this site earning a commission. Affiliate programs and affiliations include, but are not limited to, the eBay Partner Network.
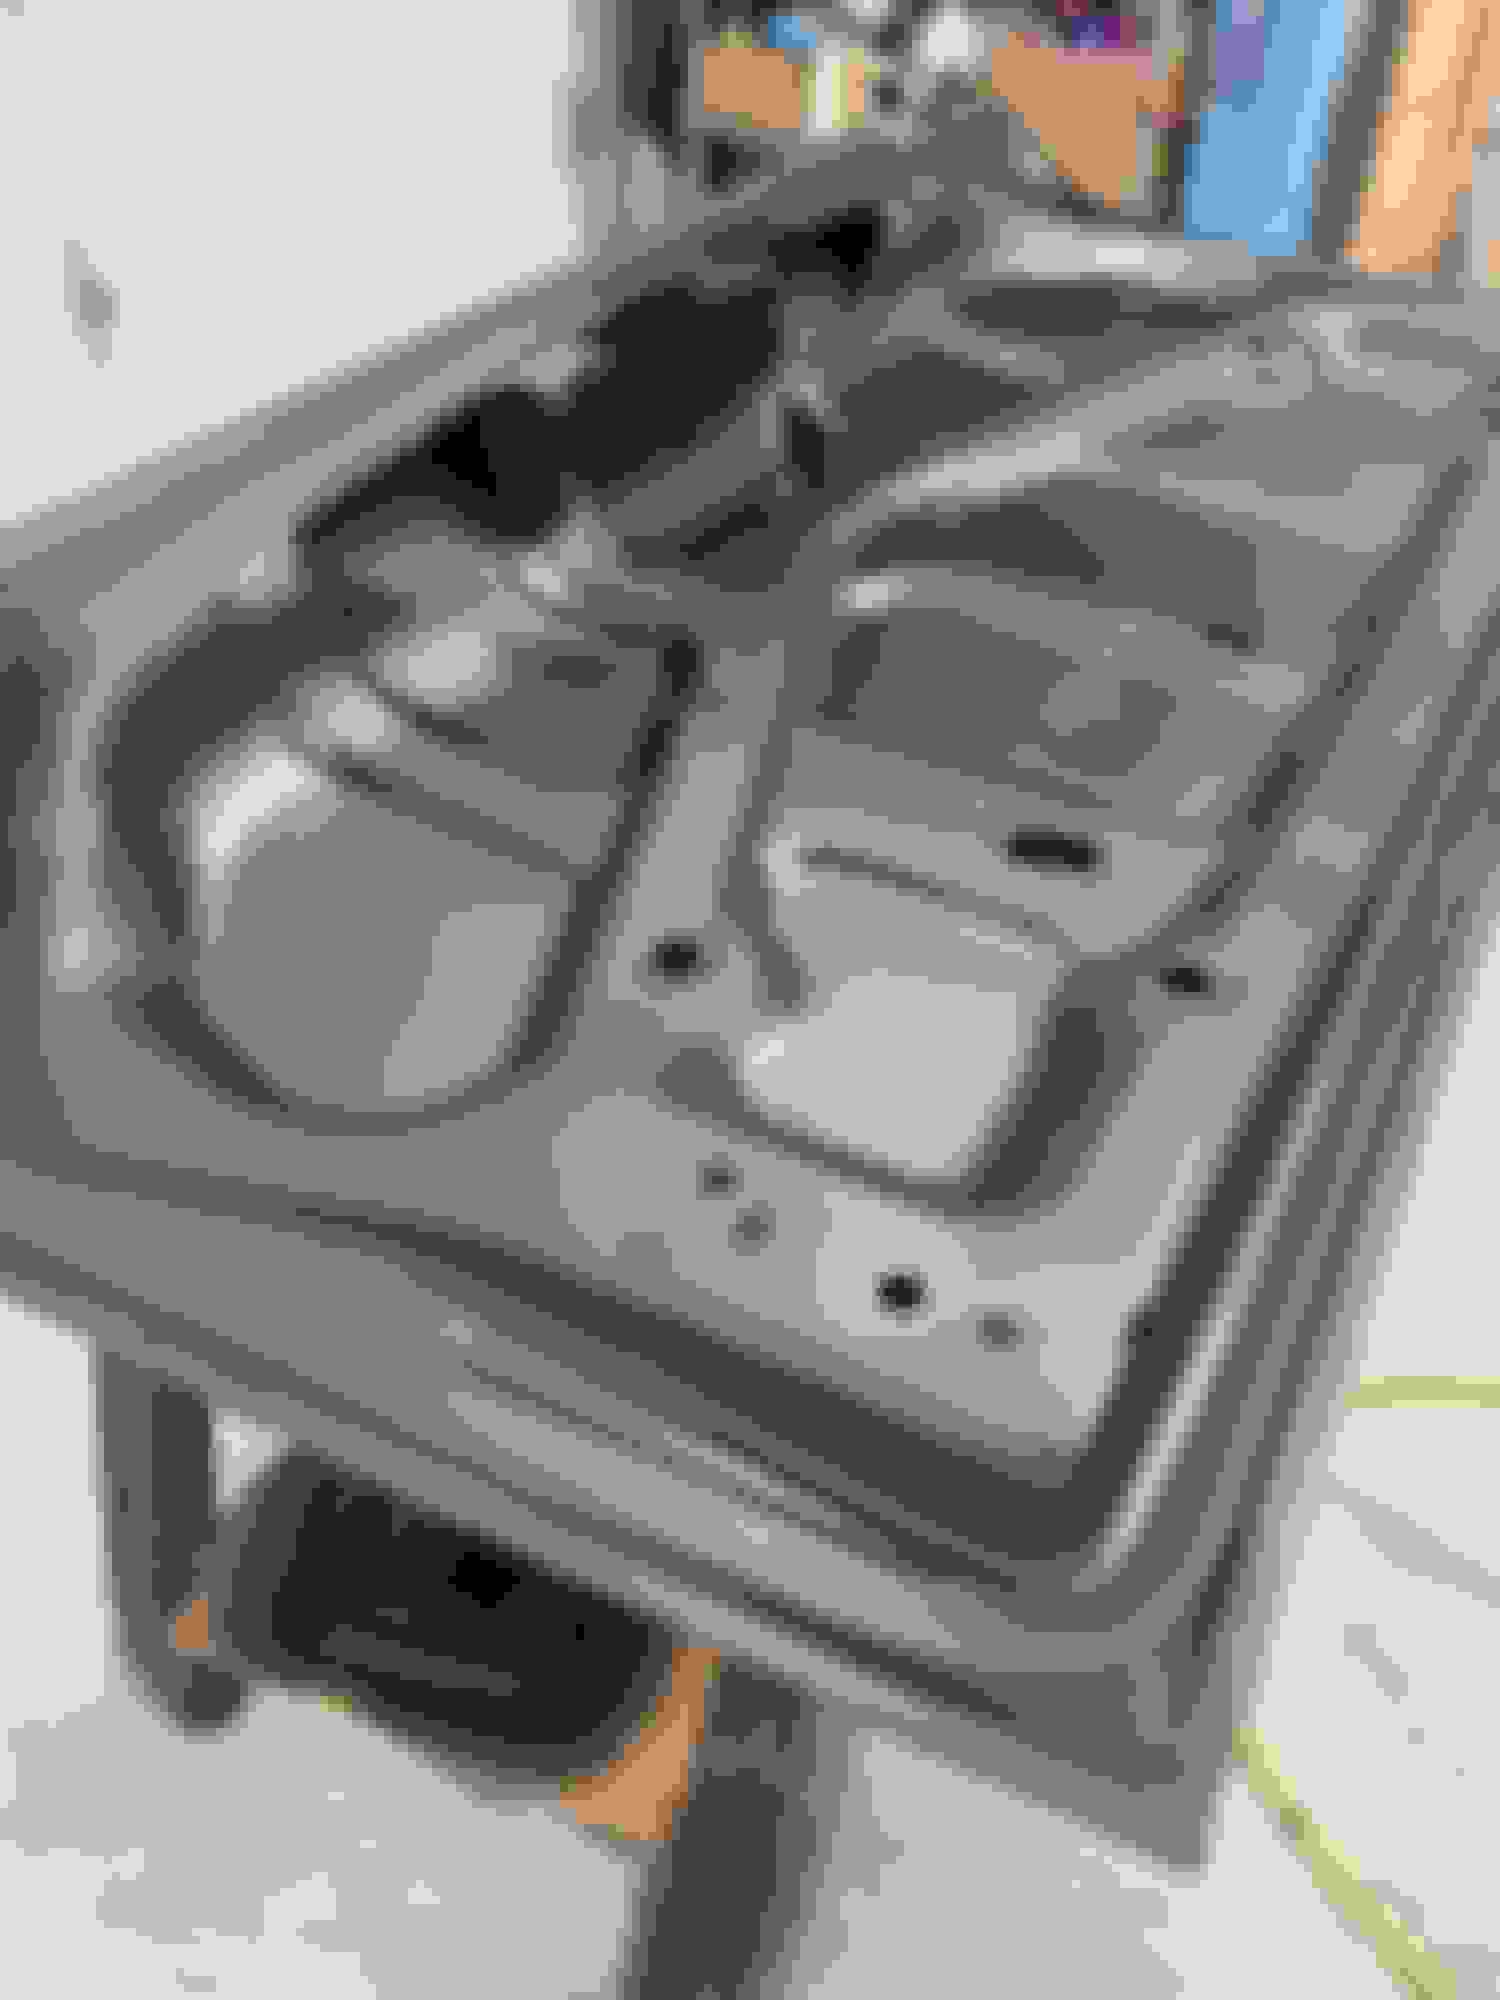
Got a chance to work on trunk lid today. A few hours is better than nothing. When I got the trunk lid about a month ago it was a friday after work and I delivered to blaster saturday morning. That friday night before I had to cut out any rust so there was some sandwich rust in the latch area that I cut out areas. I had the original lid with a decent latch area and planned on grafting the pieces needed after I got it back. I got a chance to do that today. I also was able to weld up emblem holes that were there along with "442" holes that were done from previous owner. I have the original lid with the factory pattern so I duplicated it onto the new lid and drilled out holes. My next step is to epoxy prime the insides before I put it back together. Im gonna try and do that tomorrow morning.
Work on the trunk lid continues: I epoxy primed the underside of the skin and frame. I then went around the edges on the inside if skin and frame where the two would meet when crimped and hand brushed a coat of SEM rust trap paint just for added protection. Once this was all dry I put the two back together and lined up the spot weld marks from when I separated. I used a door skin hammer and dolly and a door skin zipper that attaches to an air hammer. I hammered and crimped the skin back onto the trunk lid frame and all looks pretty good. Trunk lid is now rust free and an original early 70 vintage. I now will just re-weld the original spot welds, do some grinding and prep the outside and underside of trunk lid for a coat of epoxy primer. After this is done, I will prime and then fit and do any surface prep needed. At this point my metal work should be DONE! Then comes more block sanding in prep for paint.
Last edited by scrappie; April 8th, 2021 at 05:51 AM.
Maybe kind of repetitive and not that interesting but this trunk lid has been a lot of work. I think I have it ready for a coat of polyester followed by block sanding. I feel a lot better now that I took the time to separate the pieces and eliminate all the rust. It is now rust free and like new. Ill try the fit out in a day or two but Im optimistic.
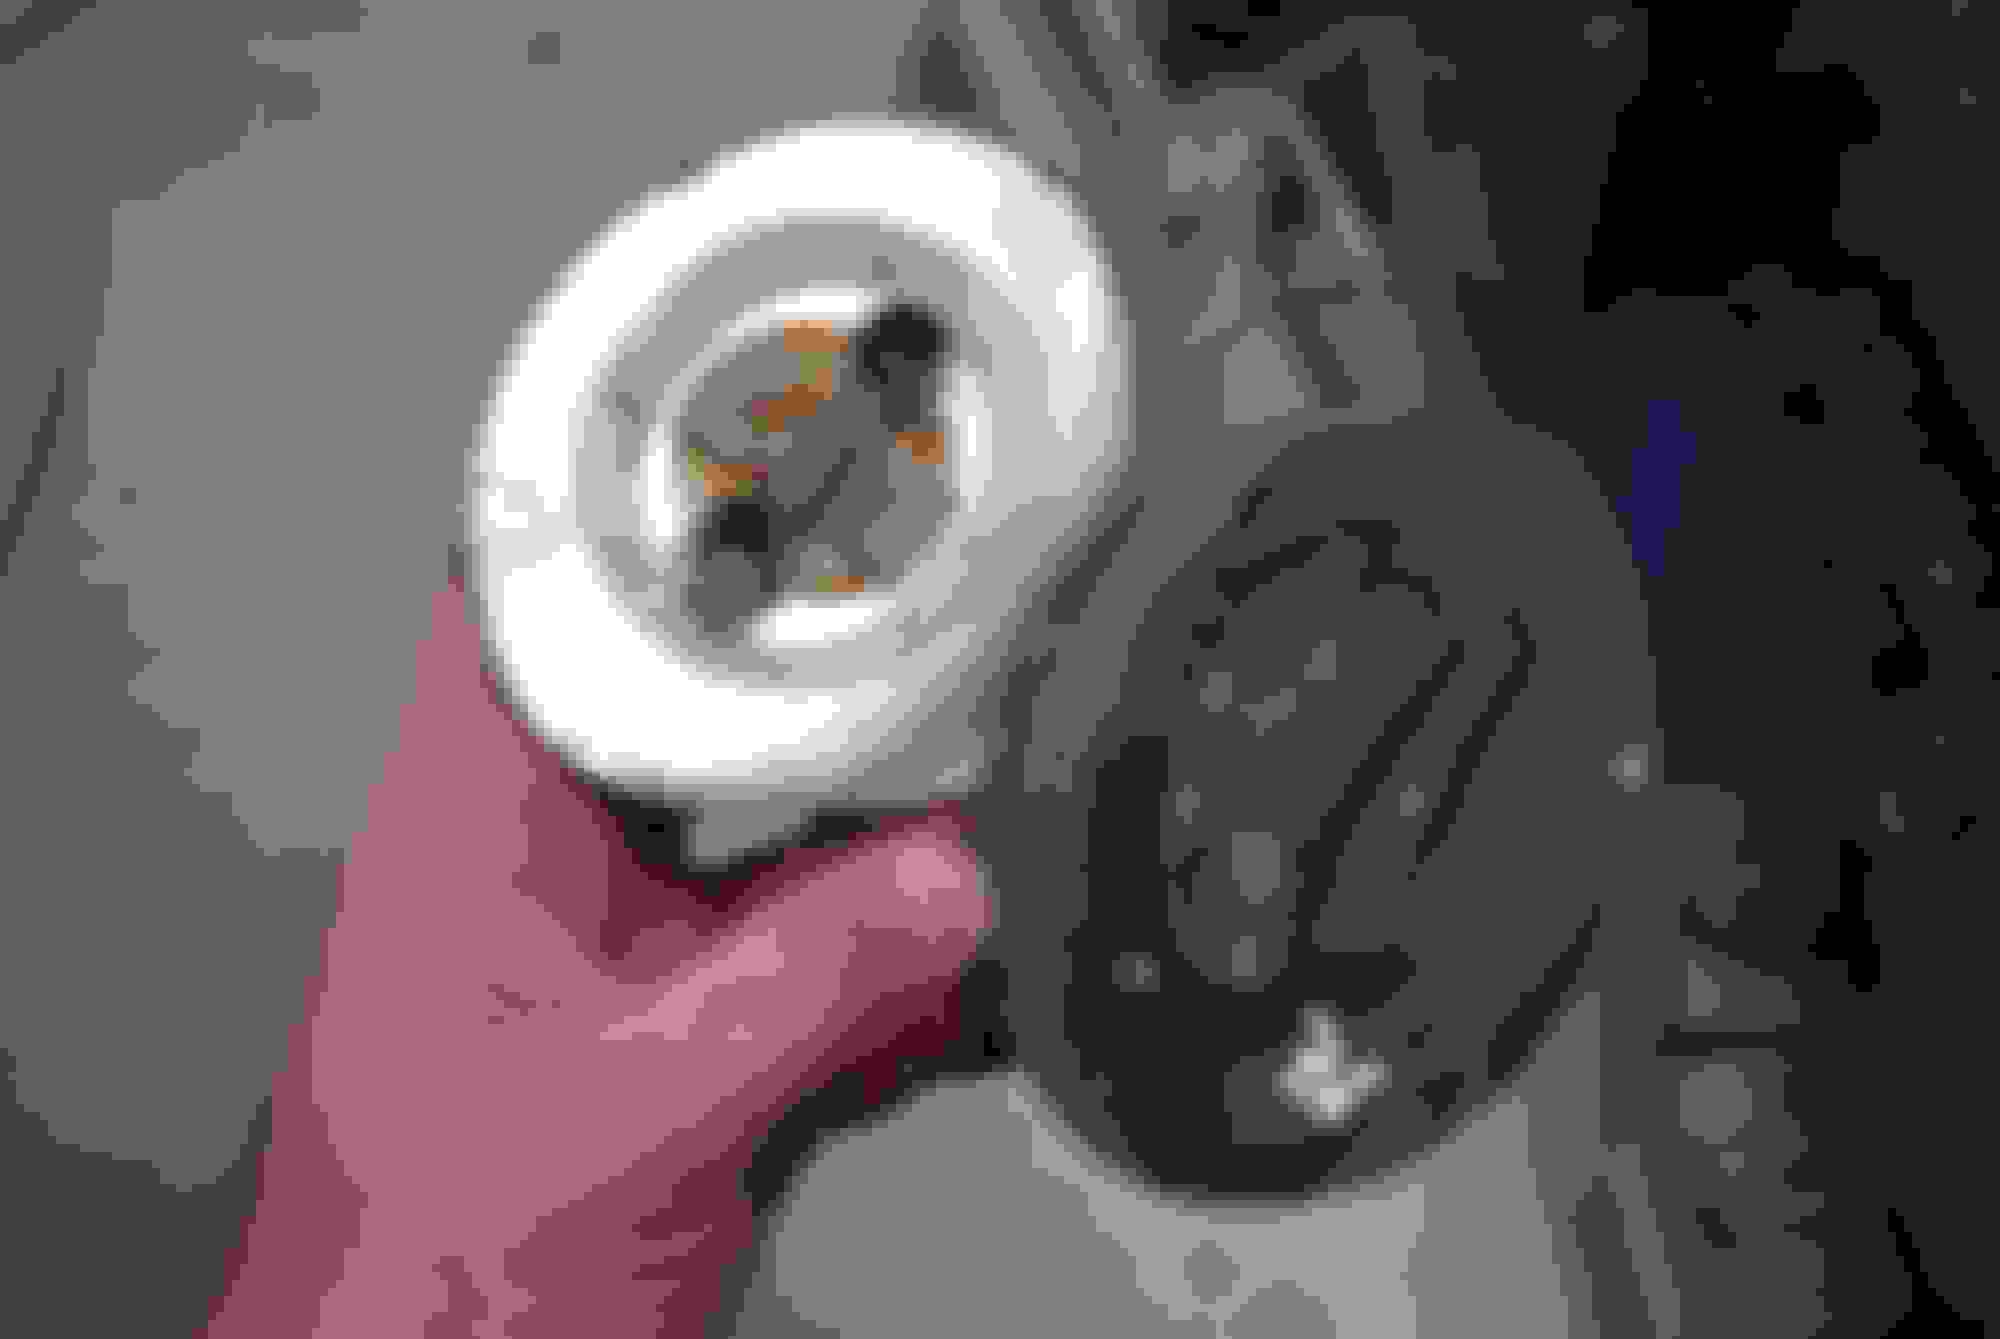
I primed the sport mirror bases a couple weeks ago. The glass mirrors themselves were not cracked but had significant scratches. I got the glass polishing kit from Eastwood to see if that would remedy the situation. I came home from work yesterday and had an hour to spare so I gave it a shot. It didn't work on the mirror and I think it took some of the silver off. I thought it was on back side? Anyways I ordered the replacement glass from TPP. I know there has been discussion here about the fit or lack thereof but if they are big enough and need to be sanded down to fit then I will try that. If that doesn't work Ill just have a couple new pcs cut and sanded by glass shop.
I removed the originals and will keep them for reference if needed. I cleaned up the glass mounts for when I get the glass but I found it interesting how these are put together and how they come apart. Should be fun putting them back together.
If anybody has a recommendation for replacing the black backing material behind the mirror Im all ears.
Last edited by scrappie; April 15th, 2021 at 04:28 AM.
I got my glass from OPGI and it was not even close to fitting. Was about 1/4� to wide. A local glass company ground it down to fit. Interesting my mirror did not have the black backer. I am not even sure if the glass would have fit in the frame with the backer. Would have been to thick for the frame edge to fold back over the glass.
Yeah its a pretty thin material maybe to keep from friction or to darken the backside? IDK actual purpose. I’m gonna try and put something back in there but thinking it has to be able to withstand moisture? Ill let you guys know what the replacement glass is like once I get.
I received my mirror replacement pieces from TPP today. I am pleased to say they are an exact match. One side of the glass even has the magnified view so its up to me which side I will use. First picture is side by side, the second is with the new over the old.
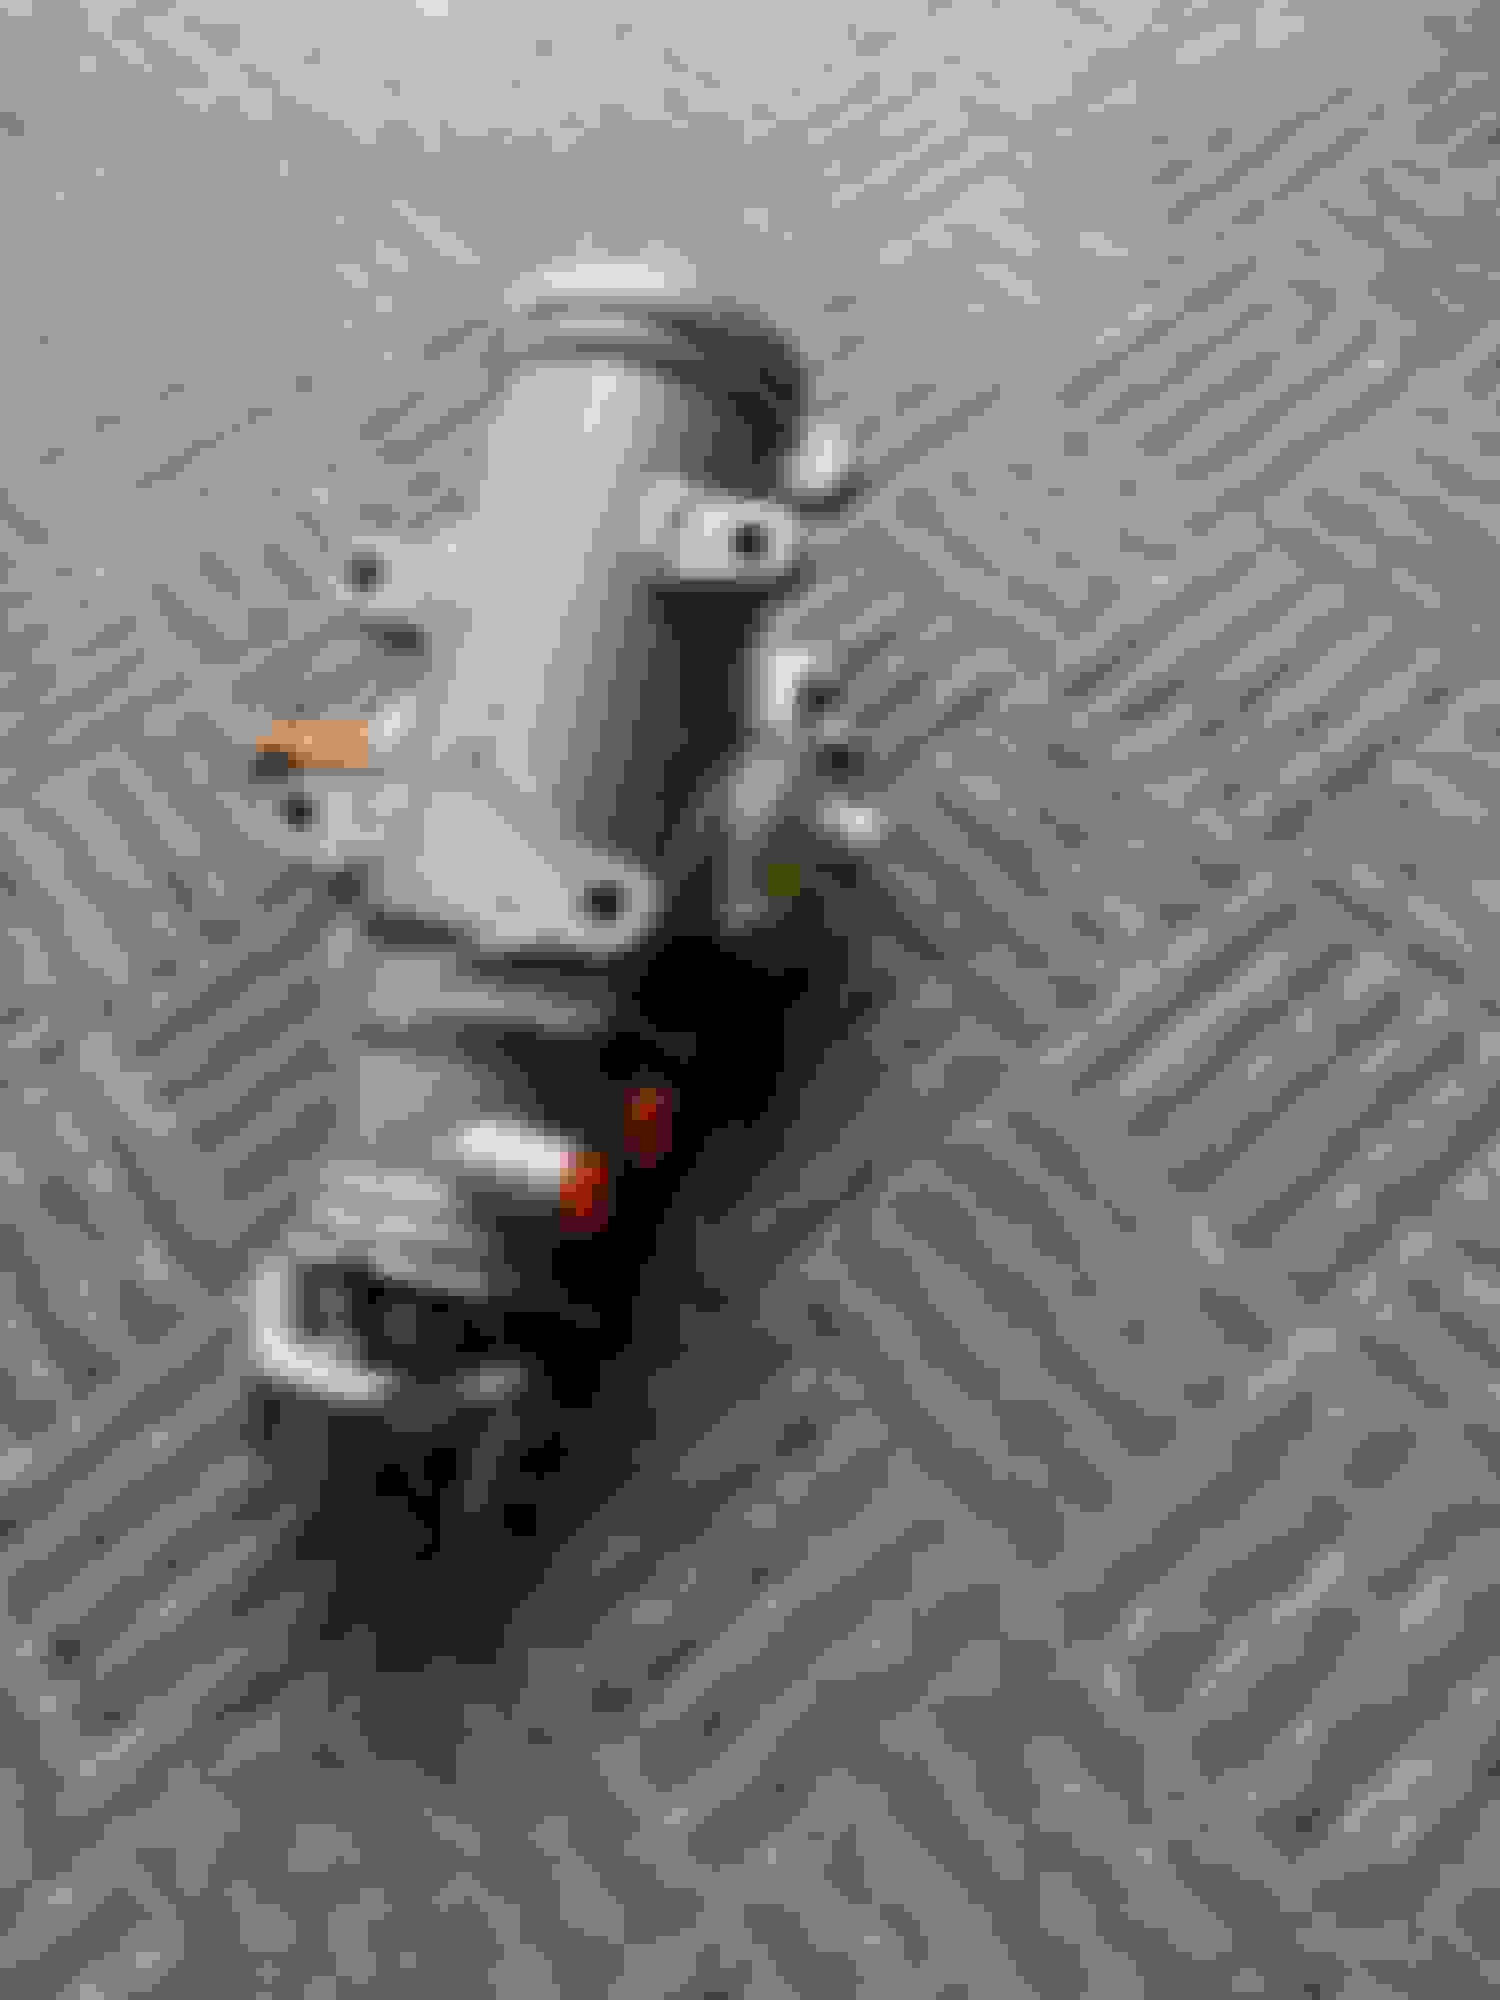
I sent my power steering box and pump off to Marty at power steering.com for the extreme restoration. These are pictures of the disassembled pieces as of now. Ill show more pics as I get them or after I get it back.
I received my mirror replacement pieces from TPP today. I am pleased to say they are an exact match. One side of the glass even has the magnified view so its up to me which side I will use. First picture is side by side, the second is with the new over the old.
Hi Paul
Which side of the glass matches the driver's side mirror, magnified or non-magnified?
Your car is amazing, what a project!
Thanks
Brad
Hey thx Brad, I marked the mirrors driver and pass when disassembling thinking there was a difference but in actuality they are both the same and both have the option of magnified or not. There is no difference in shape if you flip them over.
I received my mirror replacement pieces from TPP today. I am pleased to say they are an exact match. One side of the glass even has the magnified view so its up to me which side I will use. First picture is side by side, the second is with the new over the old.
glad your mirror glass worked out. The ones I got from OPGI were not reversible and we�re not magnified on one side so must be a totally different manufacturer. Come to think of it I bet the ones OPGI sent were not correct for a 1970 sport mirror. Now that they are ground down and fitted in they look factory though.
This is the page of what they offer. A few different options but the third one has the description of being 70 only mirrors and those are the ones I ordered.
Hey thx Brad, I marked the mirrors driver and pass when disassembling thinking there was a difference but in actuality they are both the same and both have the option of magnified or not. There is no difference in shape if you flip them over.
Thanks Paul. I was wondering which face of the glass most closely resembles the factory original glass - the magnified side or the un-magnified side. My sport mirrors don't have the original glass, so I can't compare. I want them to look as close to stock as possible when i order and install TPP mirror glass.
More pics of the power steering gear box and pump. Rag joint looks a little pitted after blasting. I have another I'll have to compare and see what looks better. Everything else seems to look ok.
Ive been busy with yard work these past few weeks, I guess its that time of year so not much work on the car lately.
I did receive my my steering box back today from Marty at powersteering.com. Im pretty happy with the outcome. I would have liked to rebuild it myself but some things are just better left for the experts or people who do them all the time. I would constantly be looking for leaks if I did it. I tried replacing the pitman arm seal once in a car years ago and it kept leaking so not on this one. The pump should be right behind this in delivery for tomorrow.
Last edited by scrappie; May 3rd, 2021 at 02:30 PM.
Pretty slick how you cut out the piece from the old lid and sprayed the numeral locations. After you drilled out the spot welds, was it easy to pop out the inner structure with the folds from the outer?
Thanks, I wouldn't say it was easy by any means. I made a tool out of a pair of channel locks that helps peel back the folded edge. It takes a lot of time and patience but once the welds are free and the metal is out of the way, the inner structure comes right out. Ill try to get a pic of the pliers I made up.
Like I expected, the PS pump arrived today from Marty at Powersteering.com. I have the original cap and another pulley back in my garage. I think this looks pretty good? I think if anyone is looking for a rebuild of these components or a good recommendation, Marty at powersteering.com does a great job and quick turn around time.
Last edited by scrappie; May 4th, 2021 at 04:10 PM.
I didn't change anything as far as ratio goes. I know he offers that option though. I dont think Ill drive it enough to notice but we'll see? Im thinking this is same box and pump as yours correct?
Last edited by scrappie; May 11th, 2021 at 12:08 PM.
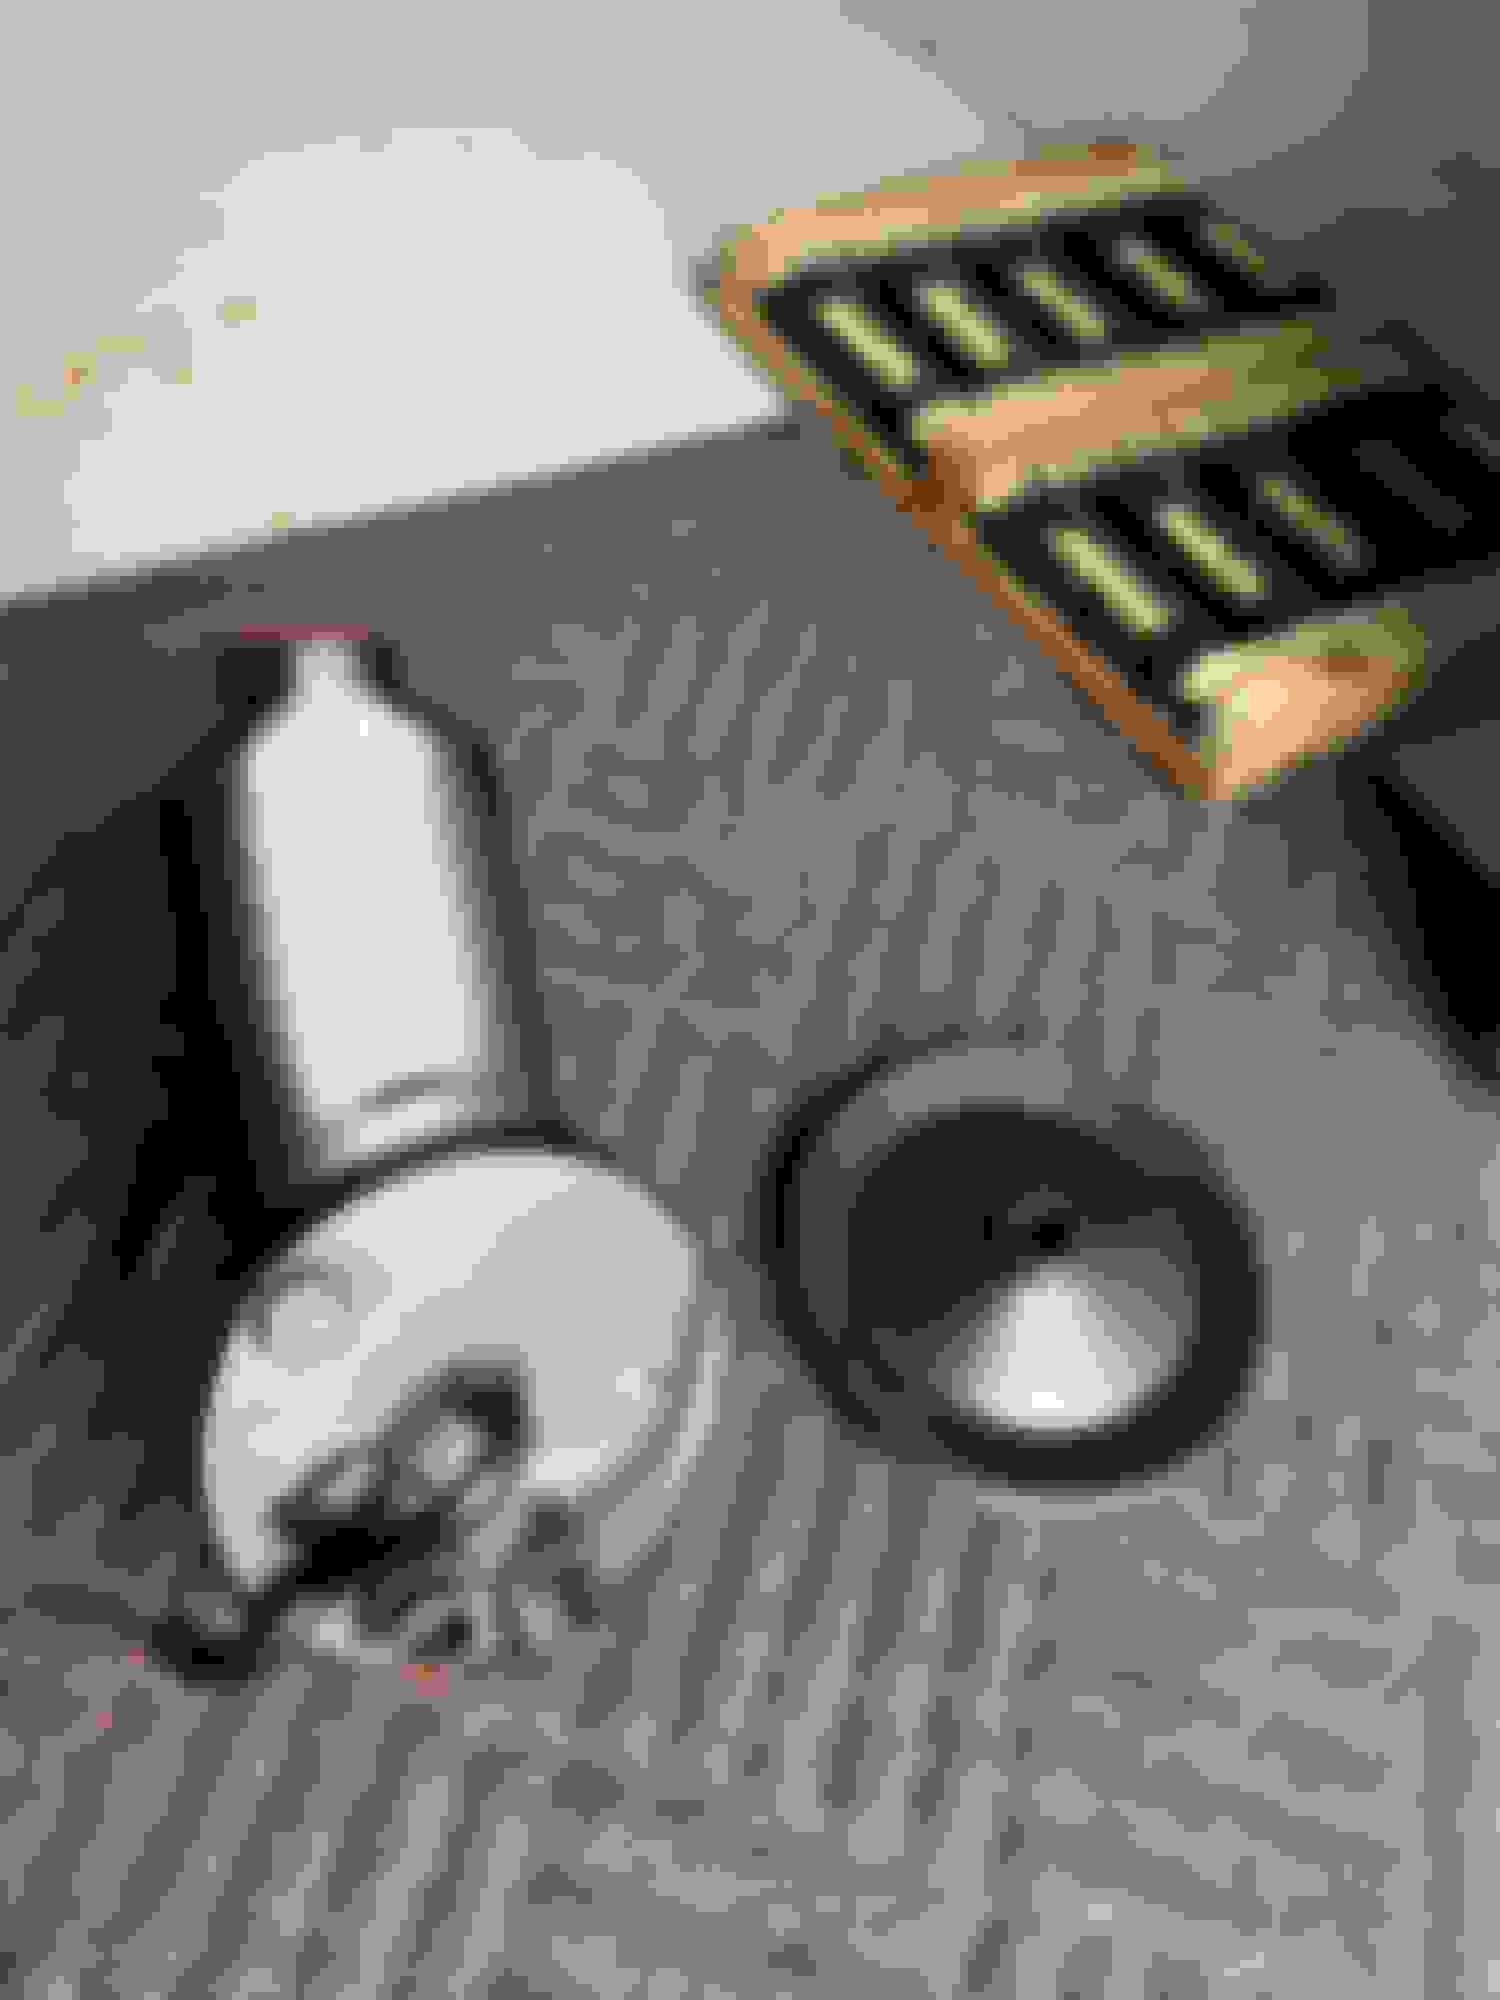
Had the original 7040256 carb and 1111977 distributor restored and rebuilt by Ken at Everyday performance. It will be a while before I know but I hope they perform as good as they look.
Thanks, I wouldn't say it was easy by any means. I made a tool out of a pair of channel locks that helps peel back the folded edge. It takes a lot of time and patience but once the welds are free and the metal is out of the way, the inner structure comes right out. Ill try to get a pic of the pliers I made up.
Ya, I'd like to see what you came up with for pliers. Also interested on how you welded that outer shell back onto the inner structure and kept those lines straight on the underside. Truly nice job.
Thx Mike, Can you or anyone tell me what those numbers refer to exactly? My original being - 430/18
Yours - 427/16
Do those numbers refer to degrees or inches of vacuum ?
Thx Mike, Can you or anyone tell me what those numbers refer to exactly? My original being - 430/18
Yours - 427/16
Do those numbers refer to degrees or inches of vacuum ?
Paul, the 430 is the last 3 digits of the GM part number. The 18 refers to the degrees of advance the unit provides.
Love getting parts back from rebuilding. Great motivational factor. They look great.
Originally Posted by scrappie
Had the original 7040256 carb and 1111977 distributor restored and rebuilt by Ken at Everyday performance. It will be a while before I know but I hope they perform as good as they look.
Well I'm finally getting the motor to where it needs to be. Dr. Remmel will hopefully receive this patient next week? He's a pretty busy guy so looking at late summer early fall. Ill post pics as that progresses.
Been picking away at stuff and one of the items was the wiper motor. Like many here have done, I sent it to Steve Hackel. It really is amazing the job he does on these. The thing looks brand new.


 April 3rd, 2021, 04:46 PM