When you click on links to various merchants on this site and make a purchase, this can result in this site earning a commission. Affiliate programs and affiliations include, but are not limited to, the eBay Partner Network.
Your welcome my friend I don't think it is better than evaporust but it is way cheaper especially for big things and it gets into every nook and cranny
I am at a standstill for the moment but for a great reason on vacation👍🏻🍻 I'm in Scotland at the moment leave for Ireland and my wife's families home tomorrow another two weeks woohoo hope your all well
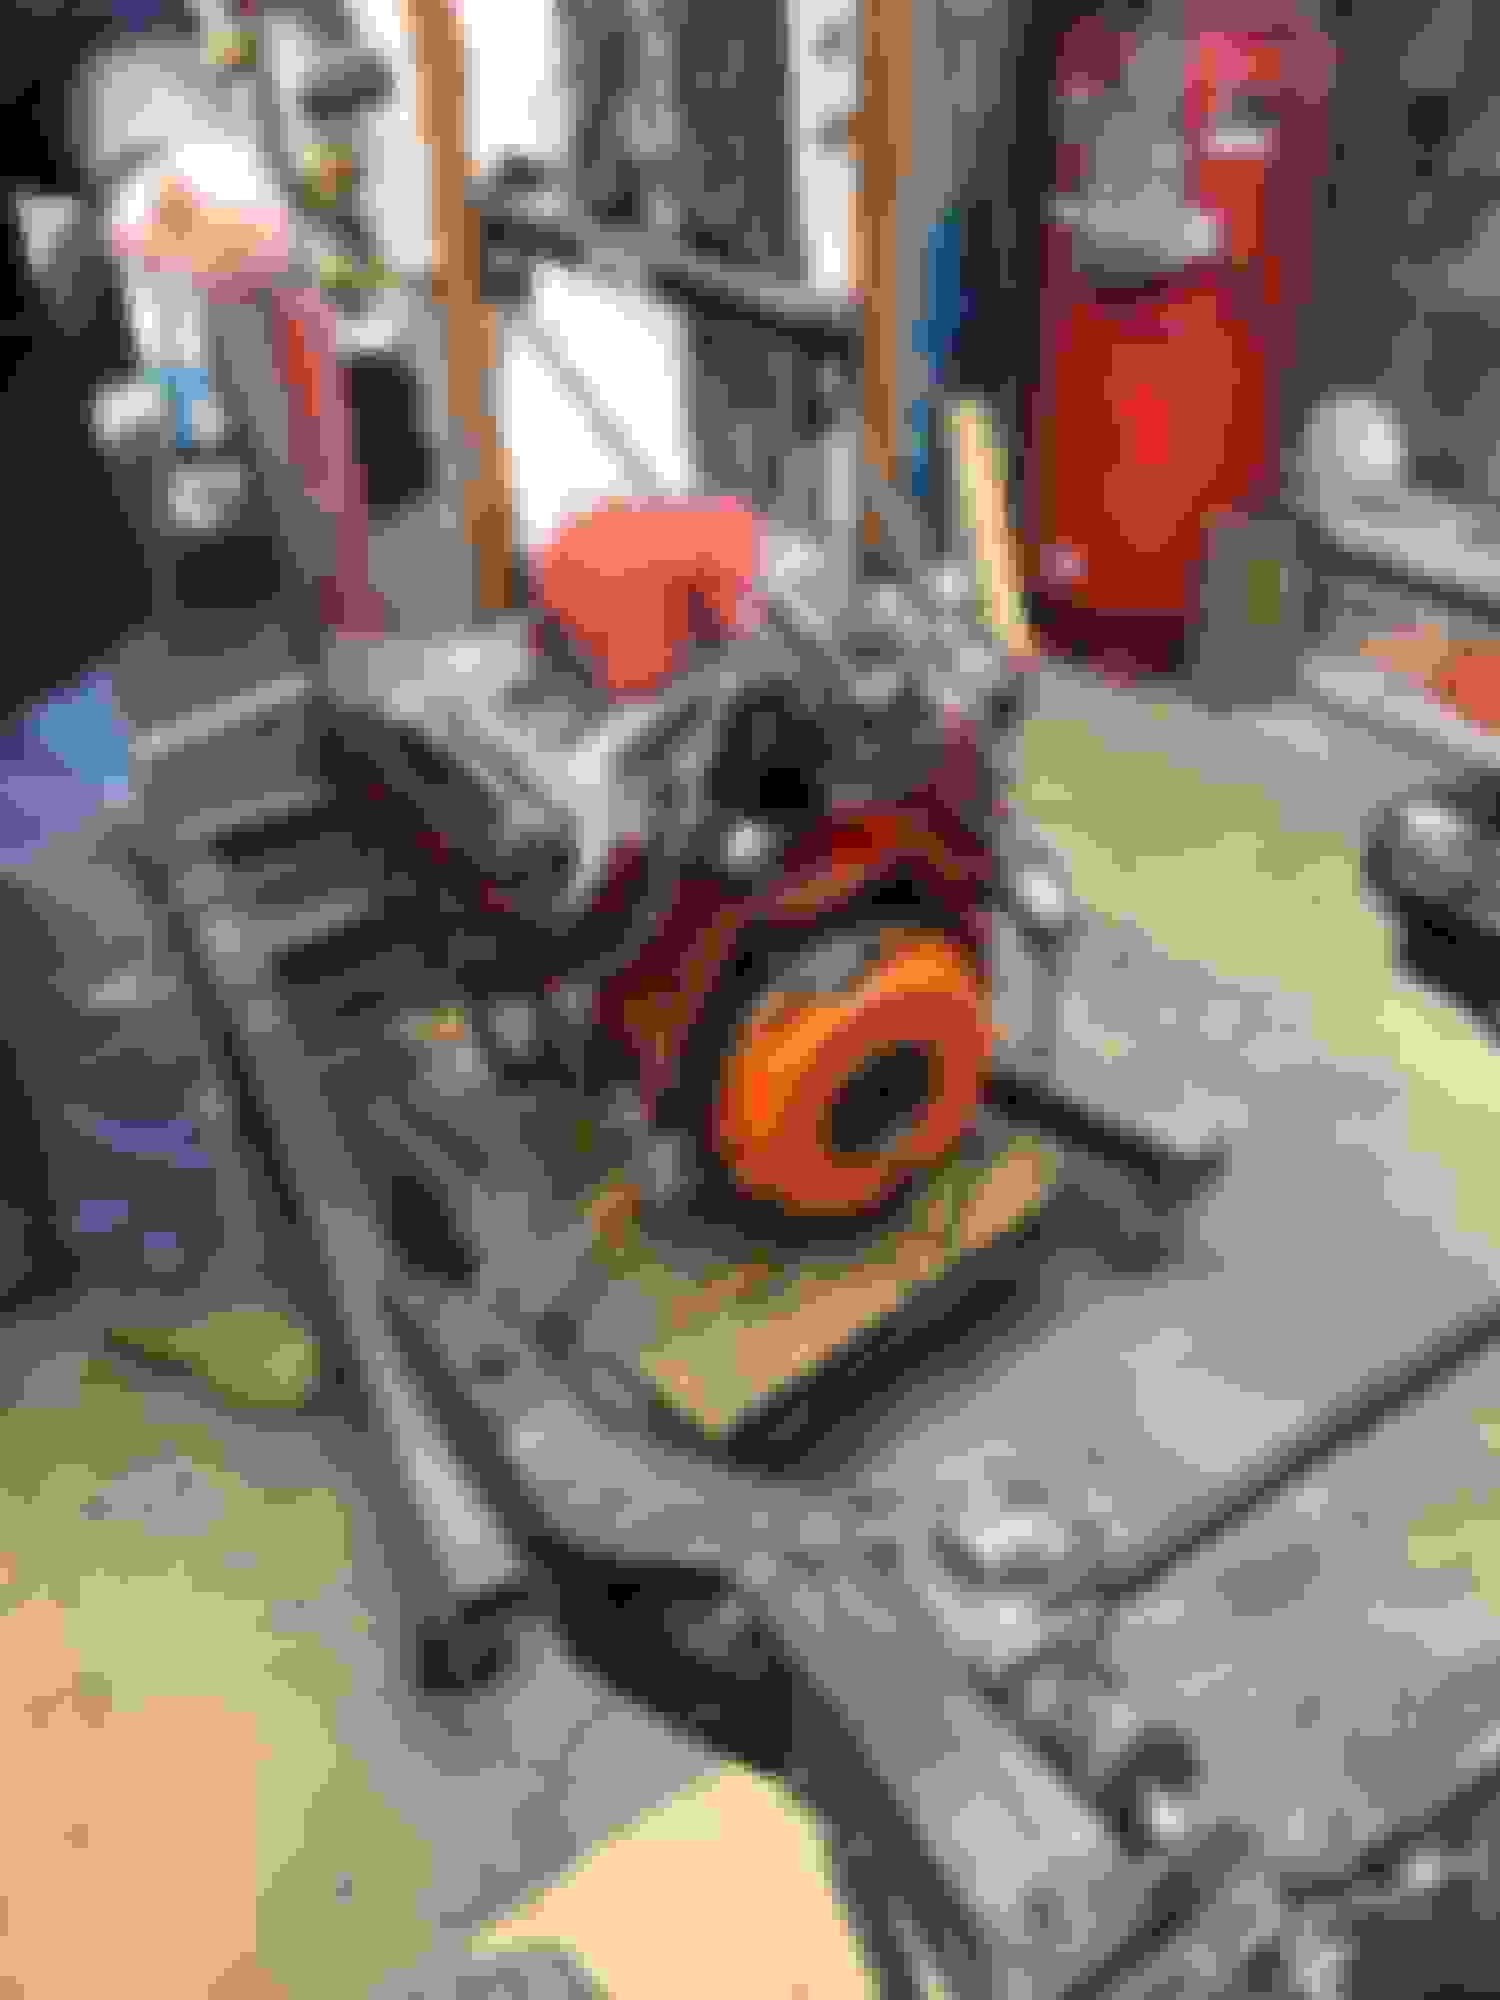
Using electrolysis for the blower housing I do have a nos piece but I figure someone with a higher end car may be able to use it I am ok cleaning up the original piece here is what I am starting with
I know it isn't sexy or major but I believe I have to do things in order, so I finished off the inner and outer heater boxes, tested, cleaned and oiled the blower motor, scrubbed the fan etc I will wait till I put the vents back and before the vents the wiring harness but these are done will wrap up and put away till later
Hello Everyone, just wanted to say Hi, I am still working on my olds never a complete standstill, but no earth shattering progress but getting ready for the next push
I have collected parts as follows
Gardner exhaust
Centerforce clutch pressure plate etc
all the components to rebuild steering column
all components to rebuild pedal assemblies
all components to reinstall heater, blower box and piping
Stainless fuel tank
Had the motor sent back to builder, disassemble top half full check reassemble and restart and run in on the engine stand, deburred and removed casting seams then reblasted with aluminum oxide to regain stock cast appearance
upgraded water pump to flowcooler unit
upgraded starter and alternator to powermaster units
will be ordering hurst dazzler wheels 15 x 8 for the rear and 15 x7 for the front as the stock ss2 wheels do not fit over the disc brakes in the rear ( I suppose I could use a spacer ? not sure how big)
Anyway I really just wanted to say hello will keep you posted or at least will document all I have done since last post, I will finish this wench lol
Well happy to say Santa brought my Hurst Dazzler wheels, I ordered 15 x 7 wheels which have a 3.5 back spacing, I am deciding on tire size and will order the tires and have them mounted etc
I am thinking 255/60/15 or 275/60/15 in rear and 225/235 60 15 up front. I have cc501 springs installed in the rear, the reason for the tires is as we know the rear discs interfered with the stock rims so I figured id put the new rims on so I can at least get it down on all four when I put the engine in.
Plan is to install the drive train, and the exhaust so I can keep the engine turned over at least once or twuice a month.
I put the dazzler wheel on the rear and the clearance issue is resolved wheel spins freely with no rubbing on caliper so one issue down, looks pretty good too.
what color dazzler ? I like those rims. I run 255-60-15 at all four corners (72 supreme)
gold , I�m thinking to have them re painted in same gold as stripes ( painting as a hurst olds convertible) wow 255 up front? I�m old skool like wide in the rear skinnier up front. I saw joe p posted a pic with real hurst wheels on his h/o years ago that looked phenomenal so that convinced me to go with the dazzler when the stock wheel didn�t fit on the rear disc brake caliper
Looking forward to some more progress on this. Haha, it looks like you have had some similar battles as me with the sheet metal....Specifically the cowl, Looks great!
I am writing to keep this thread complete, The rebuild was done several years ago and then the motor sat, it was all wrapped and sealed, but I did not feel comfortable dropping it in and then trying to start it, so I sent it back to the builder who pulled the manifold, etc and relubed the cam , he then started it and ran it, and I must say it was sweet. then rewrapped it. My buddy and I picked up the motor and I stored it in his shop while I continued with my bits and pieces. Well time was getting away and I thought let me put the motor in at least I will be able to start it and keep it lubed, so the decision was made. I picked up the motor and returned to my little workshop garage, as a reminder I work in a one car garage !! so it took moving of stuff to slide that beast down the side, ( its 34" wide for gids sake LOL.)
Well after much deliberation, I went with the majorities advice and installed the Centerforce clutch, she is fairly pricey but I will say very nicely made. Installed with fresh ARP bolts
I decided to put Engine in Separately from the Tranny, as I have a small space to work in, it went well, used fresh Anchor 2261 Mounts, It went in without issues, and connected easily with the frame pads, I used new Mounting Bolts.
Last edited by Eddie Hansen; February 5th, 2020 at 04:29 PM.
Reason: Misspellings
When I did the 4 Wheel Disc upgrade I decided to go with the 9" booster they say it will work the same or better than the 11" booster, the extra 2 inches leaves plenty of clearance, as those are tall valve covers to clear the Harlan sharp roller rockers it made a world of difference.
next was to clean and paint the transmission and bellhousing, I had the bellhousing glassbeaded, and the transmission was completely rebuilt with all new synchros bearings etc, but it looked sort of shabby, LOL.. I recleaned and degreased both units, and sprayed with 2K epoxy primer, I used the stuff from eastwood, sprayed with about 22 lbs at the gun it went on nicely low voc, I heated the garage up before spraying to about 65 turned off the heater and sprayed no issues
Last edited by Eddie Hansen; February 5th, 2020 at 04:31 PM.
I then sprayed the bellhousing and tranny with alumablast 2K , I got mine in the spray can because I didn't need a whole quart, it has the red button you push on the bottom that punctures the catalyst and your mixing two part paint, it sprayed very nice, the color is more nickel then aluminum IMHO but it looks well,
well I then installed the new throw out bearing, new clutch fork and boot and installed the bellhousing first, went smoothly, I used new Bellhousing bolts
I then installed the transmission, I brought it under the car on a creeper, then had my friend position a floor jack, with a piece of carpet on the pad, I lifted the tranny onto the floor jack ( I remember that the trannies were much lighter when I was younger LOL) and rested it on the floor jack. I rolled the jack forward inching up on the bellhousing when it was close I lifted and mated the two and repositioned the floor jack, I did the usual wiggling and giggling and she slipped in. I then positioned a jack stand under the tail shaft and used new bolts to mate the two pieces. At this time I repositioned the jack again to allow the cross member to be installed, I used a new anchor transmission mount as well, and all went smoothly...
Last edited by Eddie Hansen; February 5th, 2020 at 04:32 PM.
I ordered some parts to freshen the hurst competition Plus shifter, z bar stuff etc , If anyone has a nice hurst shifter stick without the 442 ( plain H) let me know, :-) ,
I will be installing propeller shaft next, then the stainless steel gas tank, but that is for another chapter of as Eddies resto churns LOL...
I am happy to say I consider this real progress....

 August 14th, 2016, 07:41 AM