When you click on links to various merchants on this site and make a purchase, this can result in this site earning a commission. Affiliate programs and affiliations include, but are not limited to, the eBay Partner Network.
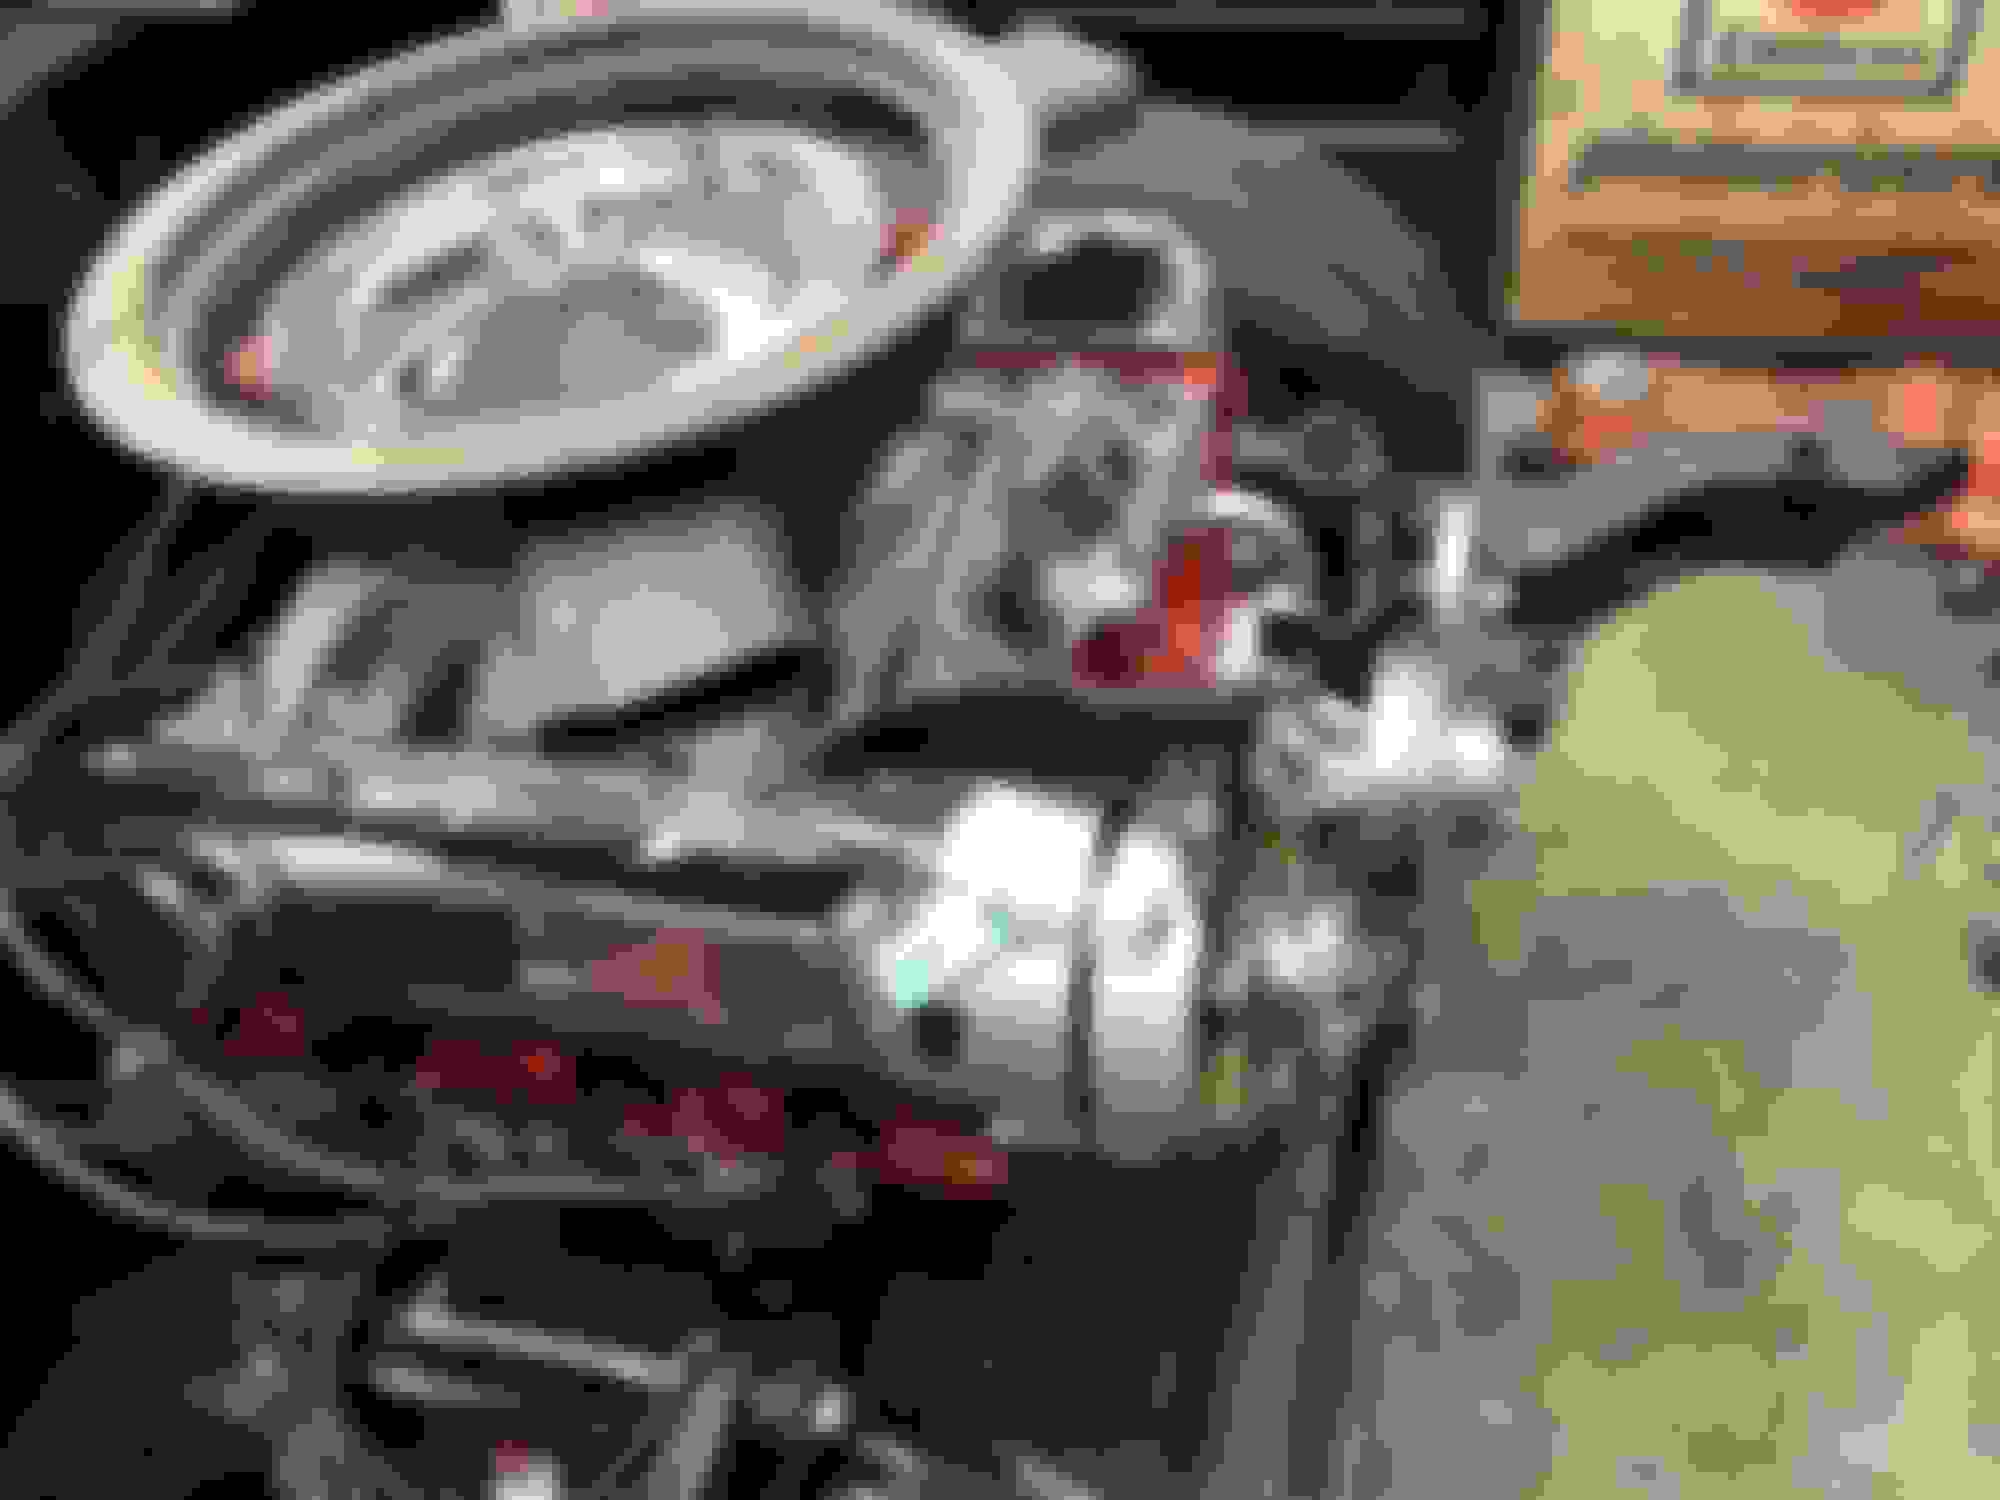
With the thought of keep moving forward I started the process of assembling all the parts, and as is the case with a much delayed build, some pieces need to be refinished, a lot of pieces needed to be found lol. I am not doing a true factory restoration that's clear, You will see a lot pf parts that have been changed for function, you may notice that the manifold is actually an edelbrock performer I had the edelbrock lettering milled off and the surface sand blasted it looks like a factory manifold or at least not blatantly modified. The pulleys are all billet aluminum from cfv racing I considered painting but there is no way it will last on the belt surfaces and would look funky with aluminum belt surfaces so I left them. I did run into a small issue mounting the Alternator, I placed the bracket on the available manifold boss, but then the support rod did not fit where designed I came up with a work around and it supports the alternator fine. The Alternator is a high Output Power master single wire unit , it worked out cheaper then trying to find an original LOL, I do have an original one that Ill save with the original motor, same for the starter, its a power master mini high torque unit that easily spins over this beast.
The power steering pump was scuffed, reprimed and repainted it did not fair well with scratching from all the crap that was in the box when I first did it years ago LOL. The CVF pulley is stock diameter
As you have all Noticed by now that the air cleaner is distinctly not Oldsmobile, As the car will be completed as a hurst olds convertible, and as will have the twin scoops, I wanted to make it functional. The original Ram Air Cleaner top is available reproduction or I might have been able to fab one utilizing Ford Parts, but this is big bucks I mean big bucks. I am driving this rig, so I decided to go functional, I had a cowl induction Air Cleaner from a c3 corvette, and decided to utilize this, The edelbrock manifold sits higher than stock, so I may get away with using the Chevrolet rubber gasket < I thought about attaching a base to the hood ( basically a ring) if not, I can just cut the hood as Hurst did and use the foam, I believe this set up will be superior to the original version. All the valve cover vents will work as well. While not factory correct it will have a factory vibe. I need to bead blast and refinish the base, I will put the olds 455 decal on the chrome lid
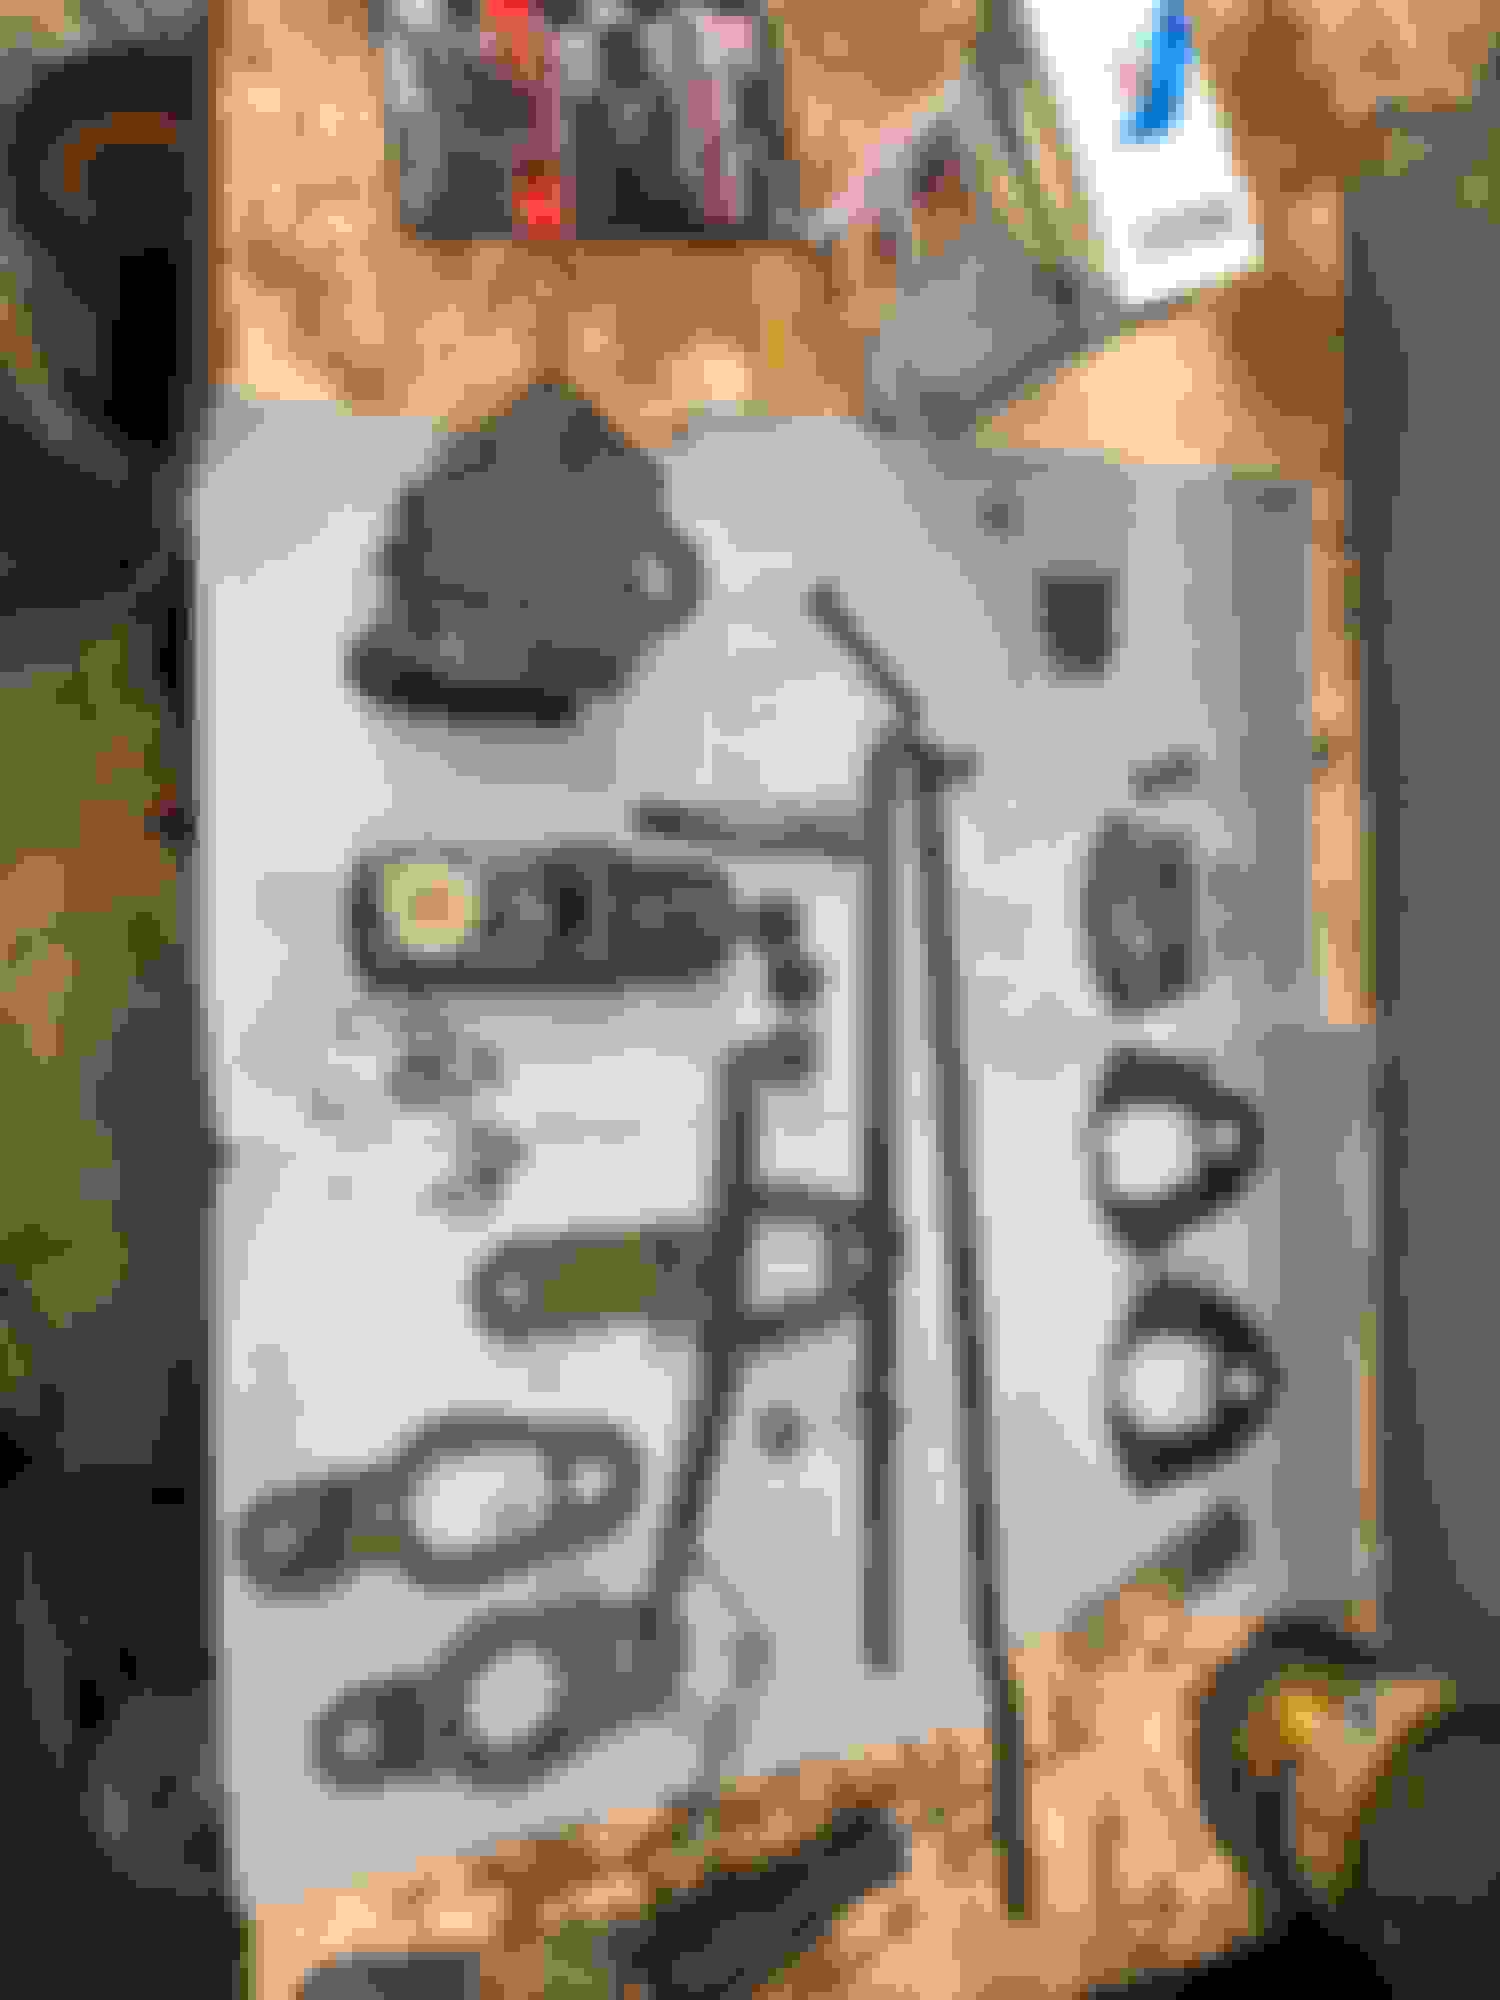
Well now that the transmission is in time to start putting stuff back on, I decided to install the shifter, before that that I decided to rebuild the shifter and clean the mechanism, I was going to replace any dodgy looking parts, There are plenty of videos detailing the process on you tube, fairly straight forward if you don't take the lever mechanism apart, as there are springs that need compression, I checked mine and that was all good, a good scrub in the parts washer and everything laid out ready for reassembly
I didn't want to paint any parts, and I really didn't want to send out for plating, I was also out of black oxide to dip the parts, I cleaned with steel wool and just wiped with the sealer I use for the black oxide kit. I also used the brass bushings from the inline tube Muncie kit, They fit nicely and the shifter has zero slop as opposed to just using the bushings from the hurst track pack rebuild kit
I put a thin coat of grease in all the appropriate places
I think it came out well, not perfect but overall it feels very tight with no slop, I did use washers behind the standard bushings and replaced all the spring clips as well.
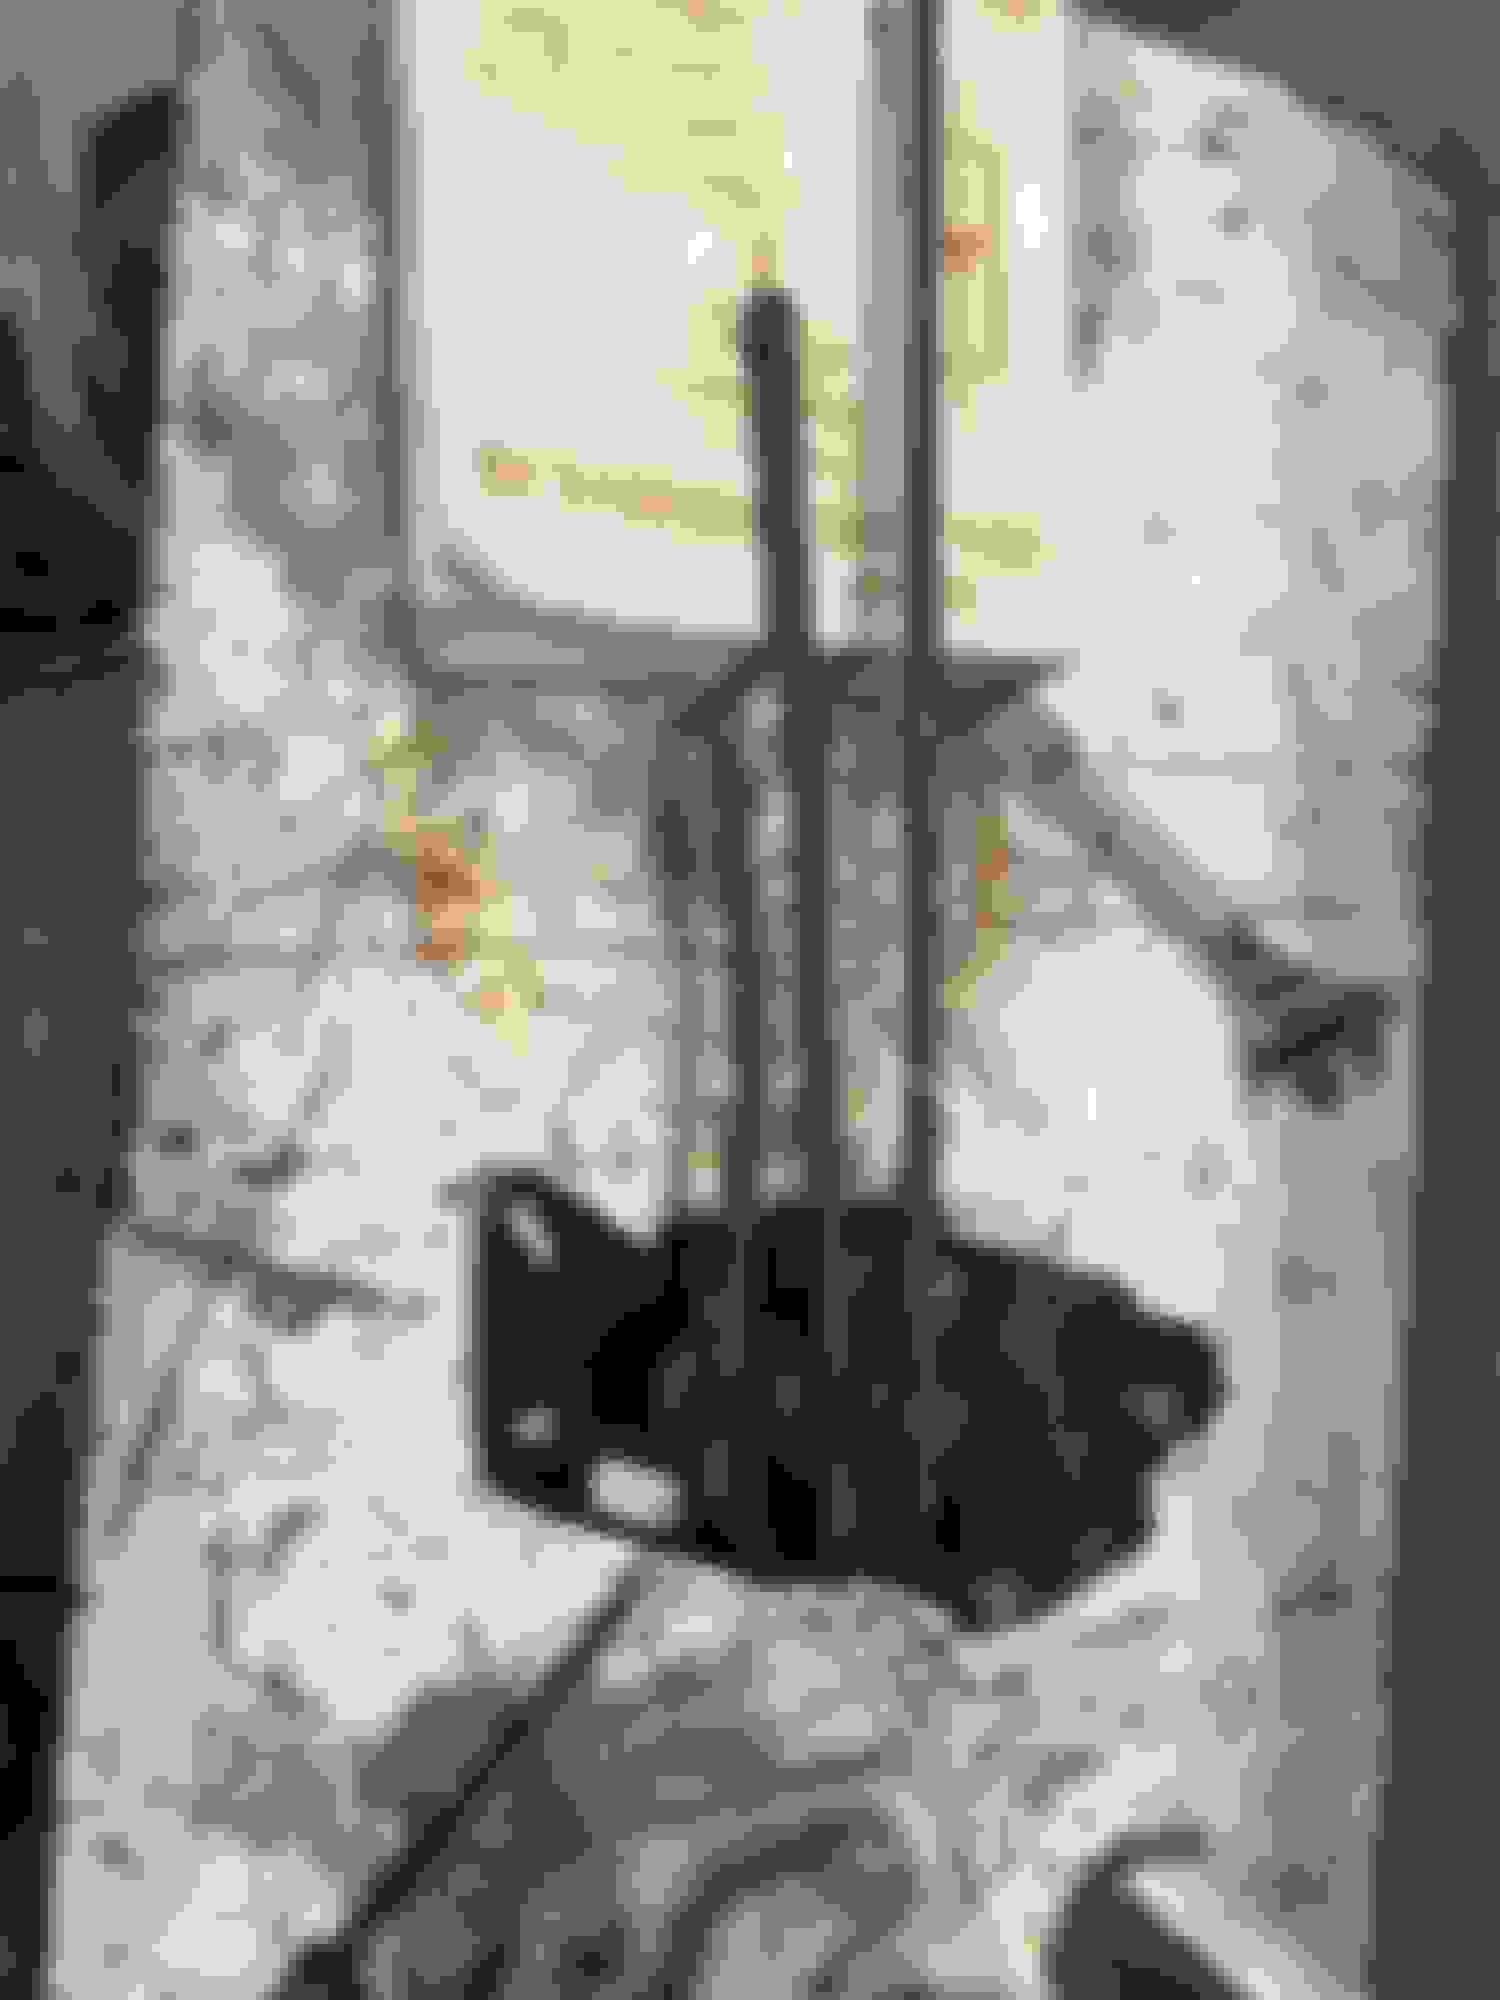
Doing the install, I ran into some issues, Strange thing was that I took this shifter off the car, it was on it when I bought it, but the mounting plate puts the shifter very high in the car? I also had to enlarge the hole, now it has been a long long time, since this was in the car and my memory is a bit foggy, there was no hump when I redid the floors and I wasn't a member of the forum, not even sure there was much of an internet back then LOL... I did a search here, and it seems I may have the mounting plate for a car with No Console? I plan to order a different mounting plate as well as the 4 speed hump from the parts place, Sort of boils my Onions as I have completely finished off the underside, and I was not a happy camper cutting that last night , I stopped once I got the mounting plate on, but it will need some clearancing to get the shifter body on as well ? does anyone have a photo of a 69 4 speed hump in place? when I repaired the floor it is possible I put too much metal back, I sort of followed the curves of what I saw, and Imagined how big the hole should be. any help would be appreciated.
I think it came out well, not perfect but overall it feels very tight with no slop, I did use washers behind the standard bushings and replaced all the spring clips as well.
That mounting plate looks strange, not stock for sure. On my project I had to get an original Olds mounting plate of things to bolt up correctly. Here is a picture if you don't already have one.
That mounting plate looks strange, not stock for sure. On my project I had to get an original Olds mounting plate of things to bolt up correctly. Here is a picture if you don't already have one.
Yeah I thought it was a bit wonky , I ordered one today as well as a 4 speed hump from parts place , I know many years ago when I got the car there was some nasty skullduggery and butchery of the sheet metal , I repaired it all with new sheet metal and I might have made too small a hole ? There are no numbers on that plate, it might be ok for a non console car , I drove the cars for years and years the only thing that got screwed up was the back drive but I could never get a console to fit properly now that I think of it , no matter hurdles are to be overcome lol
I�ll move onto something else while I�m waiting on the parts. Thanks for the feedback
update on the iossue with the shifter arms, In doing a bit of research it seems that the previous owner installed a super shifter kit, this is what led to the friggin gapping hole that was cut into the floor pan, and covered over with Reynolds wrap or close to it, LOL.. well I spoke with the shift Doctor and decided to get all new linkage, and utilze the mechanism only, I have now bought 3 or 4 shifter mounts LOL... geezus but will update the progress after this weekend. Live and learn , anyway not phased at all, I did order and install the power steering and alternator belts bought them from fusick but they are made by thorntons for some reason they both sit at the end of the adjustment, the belts are ight but they are new, my plan is to use these for show and get some gates belts an inch or so smaller for each side, these will be my daily's LOL... anyway I know everyone is sick of this thread but I do it more for me as documentation than anyone or anything else, speed on brothers
update on the iossue with the shifter arms, In doing a bit of research it seems that the previous owner installed a super shifter kit, this is what led to the friggin gapping hole that was cut into the floor pan, anyway I know everyone is sick of this thread but I do it more for me as documentation than anyone or anything else, speed on brothers
I put a Super Shifter in my 67 442 Vert and the rods are straight and the shifter with its short stick does mount higher. I did have to cut away the factory hump some... but its a nice functioning short throw unit!
what are you doing to the rear and how much are you spending on it? Im not sure what to do with mine, was considering just leaving it as is for now and if anything goes wrong down the road ill deal with it then.
Do you have any pics of your car posted anywhere?
Eddie, don't think for a moment that anyone is bored with this, not me anyway! Us retired guys have to have something interesting to read and it helps me with my restoration. It looks amazing.
I put a Super Shifter in my 67 442 Vert and the rods are straight and the shifter with its short stick does mount higher. I did have to cut away the factory hump some... but its a nice functioning short throw unit!
I will say my car did shift nice but I ordered the right rods etc will package all the other stuff and sell it off lol
Eddie, don't think for a moment that anyone is bored with this, not me anyway! Us retired guys have to have something interesting to read and it helps me with my restoration. It looks amazing.
thanks Vince! More to come really cranking on her now
Ok so I received the shifter Rods and bits and pieces from The Shifter Doc, everything went in fairly smoothly, Highly recommend doing this on the tranny before the install, when its on the bench. That said it wasn't terrible and seems to shift nicely, put the shifter stick on, and the new hump from the parts place fits fine no trimming required. to allow for ease of service I am going to put the hump on with threaded rivets, and screws, ill brush some seam sealer over it, it will allow the removal of the hump, just in case. pics to follow...
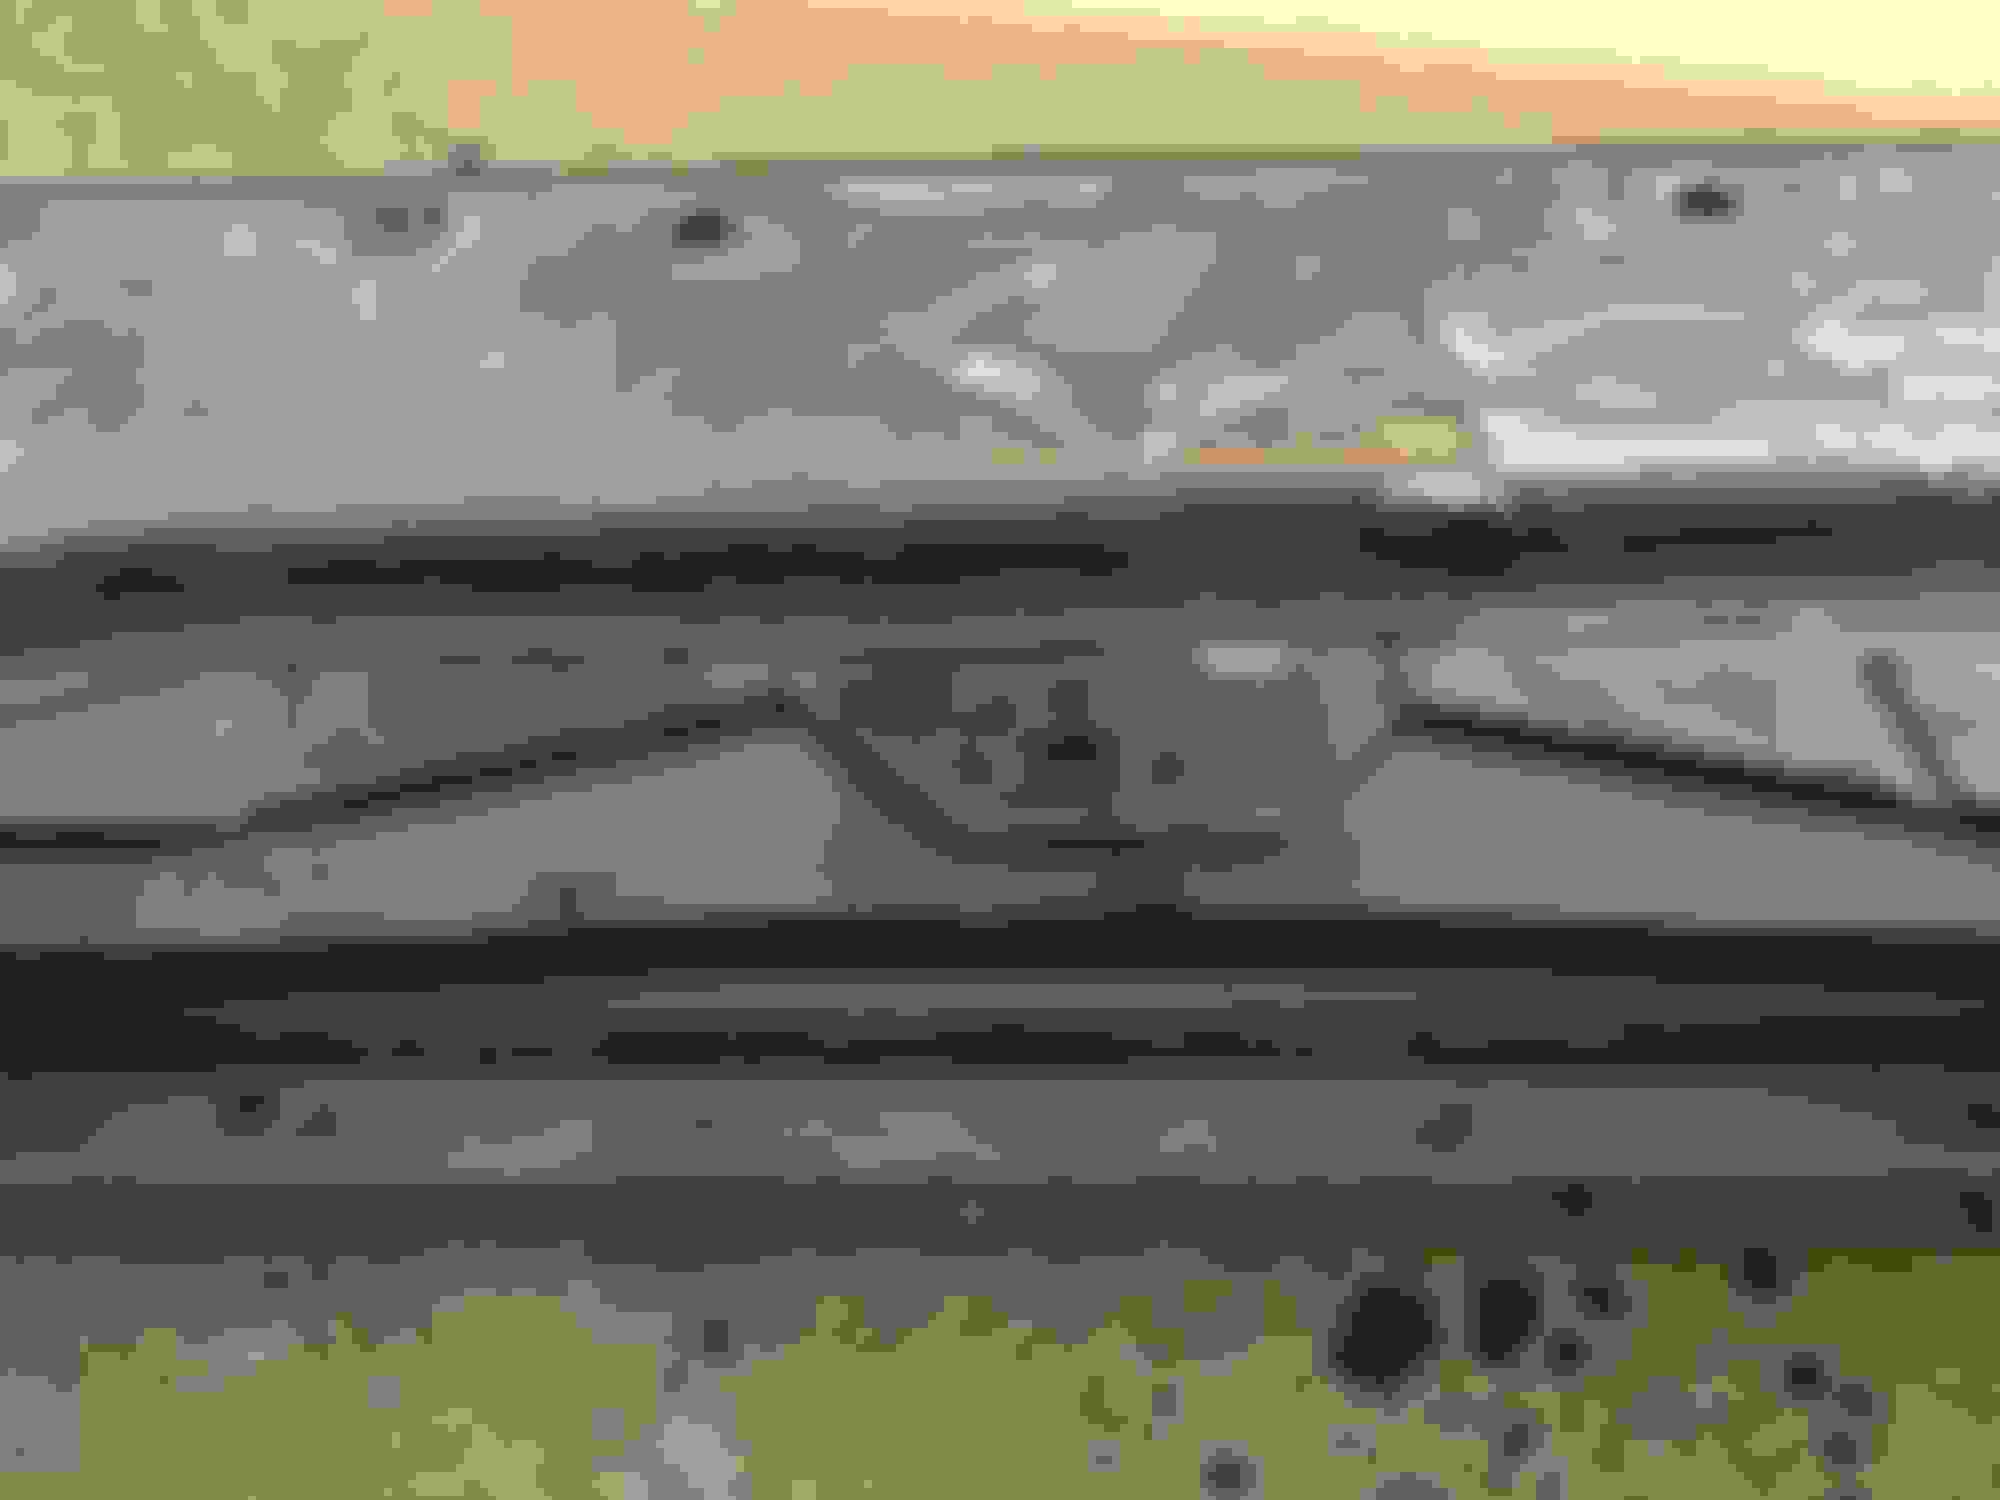
I truly hope everyone is healthy as well as your families, I wanted to post an update, I want to be able to run the olds motor every once in awhile so I have been moving forward, the motor, trans etc is in, the shifter went in and the new hump installed, I did install the new rods from the shift doctor, and everything lines up as it should, so now I moved on to the core support. I am planning on an aluminum Radiator , hopefully you can paint the centersection black? I asked that in a different thread, so I went down to the basement and pulled up the original core support , man it was crusty musty, filthy and greasy, ( reminds of this girl I used to know LOL) so I pulled it into my little shop and began the clean up, I was going to have it blasted and powder coated, but with this covid issue thought I might as well clean it and paint it.
here's what I started with and this is after washing it lol...
I noticed there were a couple of missing square nuts ( I believe they are 5/16 x 18) I bought a few at lowes and filed about 3/32 off the outside about half way down, the nut then sat properly in the core support like the others, I didn't want to weld and leave a seam, so I just brazed it with oxy acetylene, came out ok for my purposes
I then sprayed the support with PPG delfleet Satin Black , I used this on the firewall , its pricey , also it comes on the shelf in flat and gloss, satin has to be mixed, ratio is 6/1/1 which is also a wtf moment, I miss the days of lacquer LOL... so you use 6 parts paint 1 hardener 1 activator, and I also used a little reducer ( about 10%)
so after curing I mounted the center piece back into the core support, I am going to order new bolts or at least use some I refinished , I then mounted the core support on the chasis, used the mounts from inline tube and they worked fine, of course the whole shimming ****-show will need to be done once I move further along, right now I want to get a radiator in, I have both the standard and 4 core top cover,I removed the 3 row mounts below, andI have new 4 core saddles, but before installing want to see if the aluminum radiator uses a 4 core saddle or 3 core, I am leaning toward a cold case radiator with stock shroud and clutch fan, I will replace all the seals etc I will also look for a factory battery tray and I will need to replace or refinish all the light buckets and trays etc .
not sure what happened with the center piece in the picture,might have been some crap in the air, Idid wet sand that and resprayed and all those little bumps are gone, and didn't show up in the next coat


 February 11th, 2020, 11:13 AM