When you click on links to various merchants on this site and make a purchase, this can result in this site earning a commission. Affiliate programs and affiliations include, but are not limited to, the eBay Partner Network.
Whew! Hot one here today - but made good use of the good weather - all painting done - upper and lower control arms all done (bushings - cross shafts - ball joints all installed) the new / old control arm I got ... I put the ball joint in the freezer ... when i was ready to put it in it went in alarmingly easy ... is that a thing? - also the spindles are all reassembled - those did not go together easy at all - I got them all together with an impact - they were tough - peeled all the aluminum foil - next step is reassembling the car - out of time though and might not get back to it for like two weeks because of life - thanks for helping me get this far everyone!
Last edited by 72442455; Jun 27, 2019 at 04:14 PM.
What was the problem with the spindle?
BTW, did you get the right torque on the anchor bolt and the 2 other plate bolts?
Backing Plate to Steering Knuckle (Anchor bolt) 95 ft/lbs
Steering Arm to Steering Knuckle to Backing Plate Bolts !20 ft/lbs
Nuts on back of steering Knuckle 90 ft/lbs
.
What was the problem with the spindle?
BTW, did you get the right torque on the anchor bolt and the 2 other plate bolts?
Backing Plate to Steering Knuckle (Anchor bolt) 95 ft/lbs
Steering Arm to Steering Knuckle to Backing Plate Bolts !20 ft/lbs
Nuts on back of steering Knuckle 90 ft/lbs
.
They didn�t want to go together - it was like the spindle was slightly smaller than the backing plate - not by a lot but enough to make it a pain - I haven�t put a torque wrench to it - but the impact worked pretty hard at securing everything flush. Not sure if that was a mistake to take the impact to it - should have walked away from it for the night and went back to it another day but what�s done is done - running with it - I know I didn�t cross thread anything because I got the anchor bolt started first - the non-caliper bracket bolt went in fine - the caliper bracket one needed assistance with a soft blow - then the impact
Looks great, dude! I like the red cross shafts, that's going to look great under the hood. Was that what Allan mentioned? Don't sweat not getting it done. You're 95% there. Putting it all back together didn't take me long at all.
Allan, why does your stuff always look like you ordered it new and just installed it? That sway bar looks amazing!
Thanks for the tips on the link bushings. I kind of thought maybe it would be like the shocks. But like I said, I kind of overdid it on that one side for some reason. It's been fine since.
Mac, it's OEM stock. I just took a lot of time sanding it down by hand and then painting it with MetalCast. I realize everyone has their preferences on colors and I'm certainly not one to judge, just admire . The new stuff is the bushings, sway bar link kits and other rubber parts. Everything else is OEM and came with the car from new. (with obvious exceptions like wear out parts) My Dad bought the car when it was 1 1/2 years old and I have the bill of sale, plus the GM Vintage Vehicle Documentation on the car since it was sold in Canada. Even have 2 copies of the broadcast card.
Like yours and 72442455's it was a labor of love and there's a LOT of sentimental attachment to the car. I've been offered $$$$ for it but turned it down when I could have made a bit of profit. Too bad my son isn't a car guy. He also doesn't fit in the Cutlass with his extra long legs and body.
No, no, I know they are original parts. I'm just amazed with your prep and painting skills.
I didn't know you inherited your car. That's so cool! We bought our Supreme because my dad was an Olds man. When I was 17 he had a '71 442, that coppery-gold color with OIA hood and white stripes. When I was in the front yard with my hooligan friends, he pulled out and did a 180 in the road (he had a surprised look on his face), and my friends said hey, your dad is pretty cool!" I said, "yeah, maybe he is!" If I could find that car I'd buy it. But I have absolutely nothing to go on. No plate #, no paperwork, nothing and he passed before I got back into this hobby. My licence plate has his nickname for me on it (it's not "Mac", it's "Tuck")
Got a question - getting ready to swap steering gears - to pull the intermediate shaft ... do I remove it by the two rag joint bolts at the flange and the 12 point bolt at the firewall side? (Just past the coupling at the clamp)
secondly - csm says to apply some �sodium soap fine fiber grease� to the gear mounting pads to avoid squeaks ... silicone grease work for this purpose or?
Lastly - count lock to lock and divide in half should find the center �neutral� position of steering gear and reattach pitman arm facing straight back in line with steering gear housing. Any one have any tips / tricks / warnings / advice I should heed?
Did you get a Lares 974?! When I looked at Rockauto, all they offered was a rebuild service. Maybe I wasn't reading it correctly.
Why are you pulling the shaft? I just replaced my rag joint the other day by supporting the gear box and pulling the attaching bolts. Rag joint came out easy-peezy. Anyway, the (was it a 1/2 bolt?) for the clamp is on the gear box spline and the two 16 pointers are on the shaft side.
Oh! And I had to add my own ground strap to the rag joint. My replacement (and I bought two different ones) didn't have it.
I'm glad to hear your replacing the box. Since my rebuild I've been chasing looseness down the line; front end to the rag joint and now to the box. Looks like a stock rebuilt box goes for about $130 whereas the 974, on eBay, is $300.
Thanks Mac! Yeah 974 ... when I ordered it - it said �5 days out� meaning it was just out of stock - but with my lightning quick front end rebuild time I figured it would be ok lol! And the 974 came with a new rag joint - I�ll look for the ground strap (thanks for the knowledge) as far as pulling the shaft ... I figured I might as well paint it as others have said pulling it was not a big deal - I figured i might as well *shrug* maybe repack the coupler dealy-o? Any advice on that? And 16 pointers? What fit to take those off?
Last edited by 72442455; Sep 12, 2019 at 06:16 PM.
Oh crud, what size were those........?............sorry Joe, I'm not rememberin'. I do have a cheap set of 16 point sockets though, so those came in handy.
Here's what Rockauto says right now....
"LARES974Remanufactured - Return and Rebuild Service Only - You send your part to be rebuilt and returned to you. We'll email shipping instructions after you submit your order"
I guess maybe they're out for a while. That's okay, so is my budget
You�re right - I just went there to see - I guess I got lucky (my accountant would disagree) any idea what size those 16 point fasteners are? (More tools to buy) I�m happy with the way the detail paint turned out
1. Nope, it's plain old MetalCast from Duplicolor and it looks great. Cheaper than Eastwood and easier to get. 2. I'm not exactly sure what you're describing. My bushings seated as they were supposed to. Got a picture?
You're listing 5400 specs and the ones in the web page are 5382. The 5382's are also a different height than stock (about 1/2" shorter). Interesting that the 5390's which would be my car are approx 3/4" shorter than the stock ones I restored.. I laughed at the part in their web page that says "Easy to Install" like this is something you'd do every day and maybe twice on Sunday
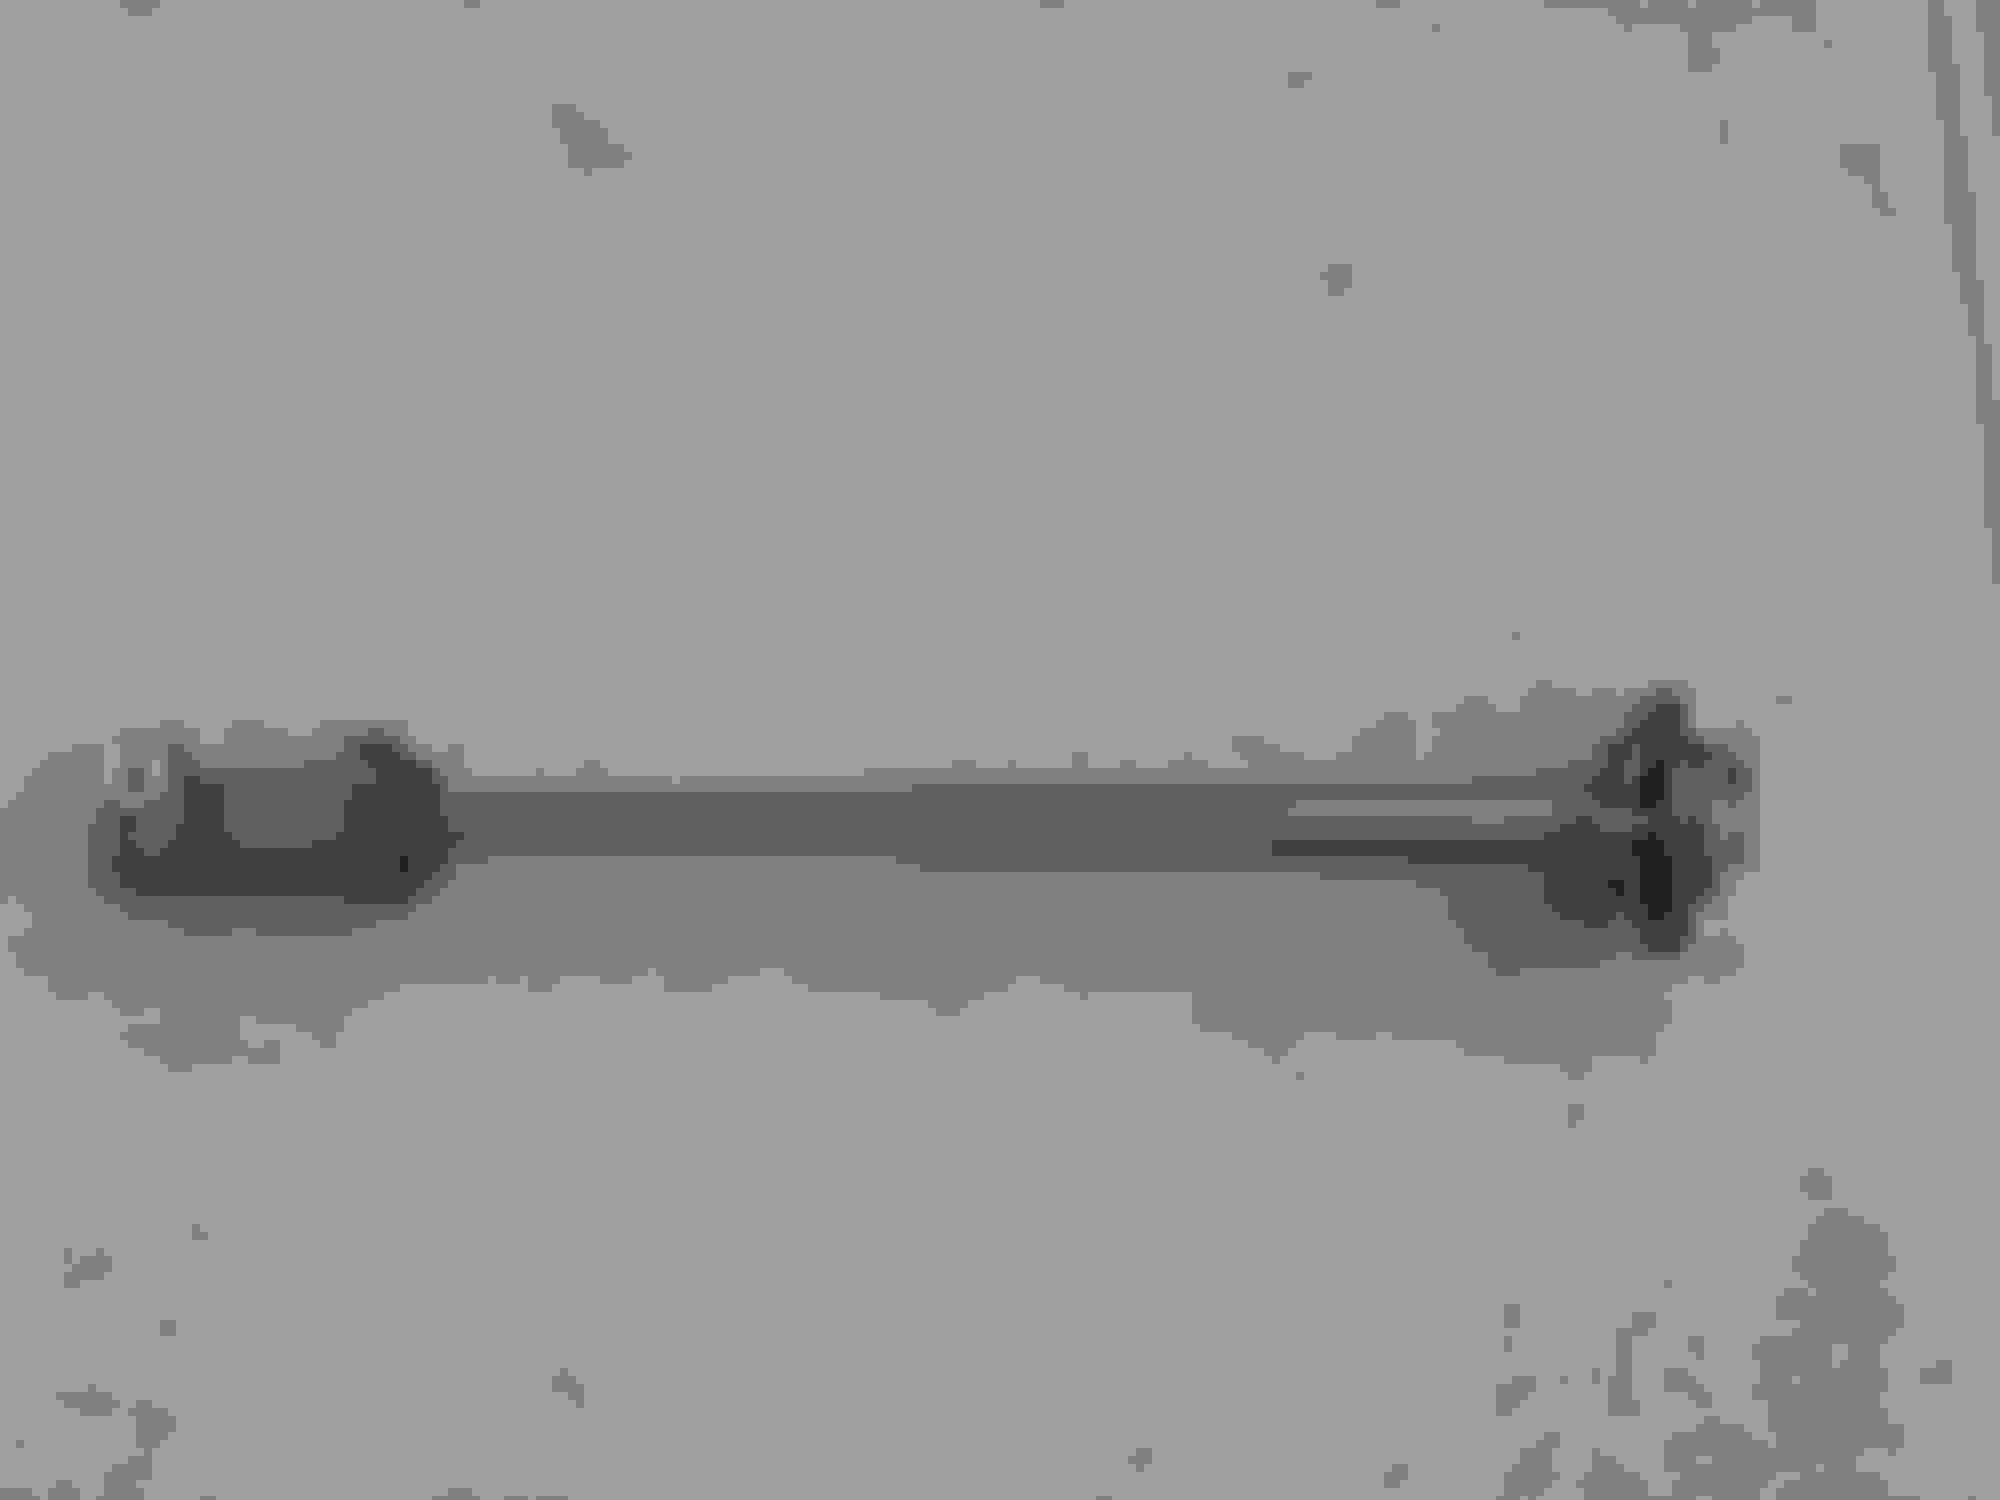
Thank you. Actually it was pretty easy. The whole intermediate shaft was much easier to remove restore and replace than I ever imagined. The messy part was all the grease going into the cup that holds the anti rattle clips.
Now that all this is done, you just know the PS box needs to be restored also....and since it's out, MAW do the PS pump and brackets. This thing can easily get out of control
Hey Allan! Any help on intermediate shaft? What�s the grease you used? Did you replace or reuse that seal? Remember the 16 point fastener size? Any other tips?
If you are talking about the centerlink, yeah, same grease as tie-rods. Edit: My bad, I see you really are referring to the steering shaft. You shouldn't have to remove it. The pads they are talking about are probably those inside the upper slip portion (under the rubber boot). I used red grease when I rebuilt mine.
For the steering coupling, those are not 16 point, they are 12 point screws. Sometimes called Ferry Head. You don't need any special tools, a standard 12 point socket fits just fine.
Lares "Return and Rebuild" takes about 2-3 weeks in my experience. But at least you get your own numbers matching box back. Plus, you know the history and the condition before rebuild.
How'd the springs work out? Height about what you expected? You will love the new car feel and handling!
I figured I�d clean up the intermediate steering shaft and paint it since I was in it this far - Red grease = wheel bearing grease? I did just read that they were 12 point in the csm (no worries Mac - I appreciate all your feedback and help!) Rockauto must have had an extra core before I ordered mine - I haven�t sent the core back - not going to until I test and like the new one - not numbers matching car so not that particular on having the original box - I haven�t gotten it back together yet - had a two week delay due to life - hopefully this weekend I can make some real progress - I just need to put it all back together now - everything�s ready. Can�t wait to feel the effects of all this hard work! Thanks for the reply!
Just a guess but I imagine your original box is like mine, as in loose, and you'd need a rebuilt stock unit anyway. And since it's not a numbers car, might as well send the core back and get your dough out of it. I think tightening up the ball joints, tie rods, bushings, and rag joint really showed me just how loose my gear box really is. You're going to feel a lot more improvement than I have with that new gear box installed. I'm anxious to hear what you think of the faster ratio.
Just a guess but I imagine your original box is like mine, as in loose, and you'd need a rebuilt stock unit anyway. And since it's not a numbers car, might as well send the core back and get your dough out of it. I think tightening up the ball joints, tie rods, bushings, and rag joint really showed me just how loose my gear box really is. You're going to feel a lot more improvement than I have with that new gear box installed. I'm anxious to hear what you think of the faster ratio.
I cant wait either! Taking forever! It�s going to be crazy different as I did everything at once heh.
Hey Joe, when you get done you should drive down here and test out the new front end on 66 south of Bloomington. The wife and I just drove down to Staunton (Country Classic Cars) to check out their stock. 66 was so bad we had to move to I-55, which was about as bad. One spot was buckled so bad I thought it would take out the oil pan! The wife had a blast. I was white knuckle most of the trip.
Seriously though, I've been getting small "clunk" since finishing. It's more something I feel in the gas pedal than hear. After getting home this morning I tightened up the tie rod ends but didn't have enough cotter pins to tighten the ball joints. I'll get to them soon. I'm also wondering if it could be the loose steering gear box.
Bloomington IN? - Michigan roads are a disgrace - clunk with gas pedal? How are your drive shaft u joints?
"Clunk" isn't quite the right word; more of a "thud". It doesn't coincide with acceleration, joints are good. I just feel it through the gas pedal, or maybe the floor board. I think it happens more when turning at slow speeds. It's not often, just once in a while but enough to bug me. It might just be my trans pressure gauge hose which runs under there to the engine bay. I secured it better today, so will see. Or, now that I think about it, it could be the spindle backing plate(s). I had trouble getting them to clear the tubulars. I'll check that out too.
"Clunk" isn't quite the right word; more of a "thud". It doesn't coincide with acceleration, joints are good. I just feel it through the gas pedal, or maybe the floor board. I think it happens more when turning at slow speeds. It's not often, just once in a while but enough to bug me. It might just be my trans pressure gauge hose which runs under there to the engine bay. I secured it better today, so will see. Or, now that I think about it, it could be the spindle backing plate(s). I had trouble getting them to clear the tubulars. I'll check that out too.
Thats six hours from me - if you attend any car shows to the north - let me know - have to do some �test flights� before I do any long range driving though.
Let me know if you get the mystery sound / feel sorted out?
I�m a little nervous of the chinesium spindals I used - having used the impact to seat all bolts and nuts - once together I will double check with torque wrench but I�m sure it�s past torque because it felt like the impact was working hard to seat the bolts - I know the bolts were not cross threaded so not worried about that - I haven�t had any raised eyebrows from anyone here so I�m moving forward with that - today starts reassembly!
Old gear box out - question. Torquing the pitman arm nut - do I run the box to the stop and use it to hold the arm while I torque? Or will that screw up the internals? If not ... what�s the proper procedure?
Old gear box out - question. Torquing the pitman arm nut - do I run the box to the stop and use it to hold the arm while I torque? Or will that screw up the internals? If not ... what�s the proper procedure?
Thanks bud! Heat got the best of me - done for the day at 1:30 - got the gear box swapped out - steering column and pitman arm clocked in correctly (I hope) new return line - pitman arm isn�t torqued yet - need to read up to make sure I do it right - upper control arms and shims in - went through the spindles and they are going in as is (they are completely seated between all components - spindle / backing plate / caliper bracket / and steering knuckle) so hopefully tomorrow morning. I will get lower control arms and springs and spindles in New quick ratio steer gear in - haven�t torqued pitman arm yet - not sure on procedure New return steering hose in - upper control arms and shims in (I skipped pulling intermediate shaft and detailing it this time around - need to get this car back together) Upper control arm and shims in (I pulled out the heat shield from the exhaust manifold while I had the upper arm off as I won�t be putting the heat pipe to the air cleaner back on it)
Haha, great graphic!
How'd the spring install go? I've forgotten, did you use the new or old springs? Either way, looks real good, dude.
New springs - were a pita! - what worked for me is jack under spring pocket - ratchet strap holding jack to frame (new springs were stiff - springs were pushing car up off jack stands) another ratchet strap from inside of spring to other side frame - crank ratchet down so its tugging on spring - BFPrybar and dry blow hammer - got them seated - passenger side is perfectly clocked with the hole in LCA - the driver side ... meh it just barely covers up the hole - I pulled it out and when I put it back it landed in the same spot - couldn�t twist it to be perfect - so I�m rolling with it - need new cotter pins for wheel bearing castle nut so I left the tires off of it - other wise - I need to install the steering linkage - torque pitman arm - borrowing Ramps to torque control arms - grease everything ... getting there! It�s going to be very hot this week so we will see what I can do - thanks for the encouragement!
Last edited by 72442455; Jul 14, 2019 at 12:09 PM.
Is that brake fluid dripping on the DS spring?
Don't forget to bend over the lock tabs on the anchor bolt. Looks good so far.
No - that�s crappy painters dried on paint runs - not all that noticeable really - you just have an eagle eye - I did bend the driver side anchor tab over but I did that side last - forgot to do the passenger - I will get to it next time out there - great eye for detail man! Thanks!
My ball joint geometry looked scary too, until I got it on the ground. My boot wasn't that cockeyed though; not sure what's going on there. But again, the tubulars are probably a little different.
I'm anxious to hear how the stiffer springs feel. I'm kind of regretting not replacing mine. Oh, and what locking tabs? Does that have to do with your disc brakes?
When I looked at that ball joint it was a WTH moment. I went to the garage and looked at my car and it's sitting perfectly straight. But then it has the front end weight on it. I think if you press the lower control arm up with a jack, you should be able to simulate ride height and see if that ball joint lines up better. The alignment on the other side looks really good; strange that this one doesn't.
I'll go back to my archive photos of my car when I did that and see if I can find any references for you.
ok, I found this picture and it looks like the upper ball joint is out like yours. Just a different angle on the camera shot. LMK if you think it's close to yours. I think that when you have compression on the springs and control arms you'll see an improvement.
My ball joint geometry looked scary too, until I got it on the ground. My boot wasn't that cockeyed though; not sure what's going on there. But again, the tubulars are probably a little different.
I'm anxious to hear how the stiffer springs feel. I'm kind of regretting not replacing mine. Oh, and what locking tabs? Does that have to do with your disc brakes?
the uca dust boot is held to the ball joint with a metal �cup� (not sure if that�s Moog design or all) but Because of that ... I don�t believe the ball joint will be starved of grease regardless of the geometry - and I agree ... placing it under load will make it look better - just struck me odd at first glance.
i can�t wait to feel the ride either! Unfortunately it will time out bad - I have to immediately yank the rear lower control arms back out ... Nick1966 is going to help me box them so I can add a rear sway bar (Thanks Nick!!!) and I need to order shocks (was thinking the kyb kg 5504 and kg 4513 - wanted red or black shocks but I guess with the red control arms and sway bar I�ll have enough color ... and rear vista springs (for a little lift)) - that and I still need tires - oh! And I need a rear sway bar (shesh!) This tab folds down to lay against the anchor bolt to help prevent it from backing off on the disc brake backing plate.
ok, I found this picture and it looks like the upper ball joint is out like yours. Just a different angle on the camera shot. LMK if you think it's close to yours. I think that when you have compression on the springs and control arms you'll see an improvement.
Thanks - yeah both sides are the same just my picture angles make them look a little different - I compared the new spindles to the old and they have the same dimensions - they do look like yours - thanks for the point of reference!


 . The new stuff is the bushings, sway bar link kits and other rubber parts. Everything else is OEM and came with the car from new. (with obvious exceptions like wear out parts) My Dad bought the car when it was 1 1/2 years old and I have the bill of sale, plus the GM Vintage Vehicle Documentation on the car since it was sold in Canada. Even have 2 copies of the broadcast card.
")