When you click on links to various merchants on this site and make a purchase, this can result in this site earning a commission. Affiliate programs and affiliations include, but are not limited to, the eBay Partner Network.
Oh my! Those look pretty sketchy to me. I thought they would be in better shape. Looks like the bearings failed on those at some time and really did a number on the spindle. Here's what my spindles looked like at 120K miles.
You could reach out to Scott Winn (Oldspackrat this site). He probably has some OEM ones that are decent. If he doesn't have them, check with Eric Jensen (Jensenracing77). Both of those guys are pretty close and won't sell you bad stuff. The spindles will be interchangeable with several years. Specify you want disc brake spindles, they are slightly different than drums. I've linked their PMs to the blue links in this post for your convenience.
OR, you could order them from The Parts Place. They're $105 / pair
The other question I had was - will the front end components (Moog) insta rust out like my brake master cylinder did? Do I need to clear coat or something? Or are they finished already?
They'll probably develop some surface rust after awhile. My replacement master cylinder leaked from new (unfortunate) but the outside surface stayed looking new. Honestly I think it's a bit of a crapshoot. I'd guess most of them now have some kind of coating on them to prevent oxidation or tarnish.
Remember that the bearing doesn't actually ride on the spindle, it rides on the inner race that is pressed onto the spindle.
Good point! - already ordered spindles anyways - can�t hurt to replace them - but why would the spindles get so chewed up then? I remember the cage was fubar on passenger bearing when I did the brakes so I replaced all bearings - could it be that they froze and spun the inner race? Also ... I ran the new bearings on those old spindles (probably 60 - 70 miles) would that mess up new bearings? (Need to inspect them and outer races as well just to see) or do you think I might be all right with those bearings?
Icky weather - just doing some thinking on my project - 1) my new Moog front end components ... are they going to instant rust like my new brake master cylinder did? Or keep the dark grey metal finish?
2) any advice on how to inspect my spindles (bearing contact points) for wear - concerned for safety reasons and not 100% sure what I want to look for
I've seen a couple videos that mentioned the "coating" on the new front end parts; particularly the tie rod ends. They said it's delicate and will wear off fast. I went ahead and painted mine. FWIW.
I've seen a couple videos that mentioned the "coating" on the new front end parts; particularly the tie rod ends. They said it's delicate and will wear off fast. I went ahead and painted mine. FWIW.
Spindle wear is result of inner race spinning due to bad rollers. If the spindle is no longer round, i�d replace it. Measure it with caliper (a cheapo HF will work). First top to bottom, then compare side to side. Next, repeat on unworn portion and compare. Slight discoloration is not an issue, but out of round will improperly load inner race and cause race distortion that leads to seizing rollers and spun races.
Spindle wear is result of inner race spinning due to bad rollers. If the spindle is no longer round, i�d replace it. Measure it with caliper (a cheapo HF will work). First top to bottom, then compare side to side. Next, repeat on unworn portion and compare. Slight discoloration is not an issue, but out of round will improperly load inner race and cause race distortion that leads to seizing rollers and spun races.
Thanks - yeah they were bad - already have the replacements - now I just need time to paint and put it all back together
Is that the Por 15? It looks good. But aren't there supposed to be two lower control arms?
Edit: My bad. You had to order a replacement, didn't you. So, are we both waiting on control arm deliveries?
I have por15 but painting is a huge weakness of mine - I opted to primer / paint / clear coat them - not sure if I will regret it but I know how to take it apart now should I choose to redo them in the future (not that I want to) at any rate they will look better than they did - yeah the missing lower arm is brand new and shiny - hope to be able to get close to as pretty with the other lower - we will see - as far as my rear lower control arms - I ordered the inserts for the open control arms to box them in - is that what you mean by sleeves? It does �VV� around the bolt holes so I imagine they will support bolting down the sway bar - I have my parts already - I just need work to lighten up and the rain to knock it off so I can finish painting and start slapping stuff together
I have por15 but painting is a huge weakness of mine - I opted to primer / paint / clear coat them - not sure if I will regret it but I know how to take it apart now should I choose to redo them in the future (not that I want to) at any rate they will look better than they did - yeah the missing lower arm is brand new and shiny - hope to be able to get close to as pretty with the other lower - we will see - as far as my rear lower control arms - I ordered the inserts for the open control arms to box them in - is that what you mean by sleeves? It does “VV” around the bolt holes so I imagine they will support bolting down the sway bar - I have my parts already - I just need work to lighten up and the rain to knock it off so I can finish painting and start slapping stuff together
Well, I don't know why we work so hard to make this stuff look good. Our LCAs will be covered in bugs and road dirt within a weeks time, lol.
By "sleeved" I mean metal cylinders spanning the gap between the sides of your trailing arms so they don't fold closed (or even just a little) when tightening the bolts. I suppose you could just use a couple pipe nipples the bolts would slide through; just cut to the correct length.
You can kind of see the sleeves poking out the side on my tubulars...
These are the inserts to box my lower control arms - think the bolt hole surrounds would be sufficient to avoid �collapse� when bolting on sway bar?
And good point on the bugs and road dirt - i don�t know why I stress the painting so much - I�m building a driver not a show car - just since I have it apart - might as well clean it up - just going to do my best and call it good
These are the inserts to box my lower control arms - think the bolt hole surrounds would be sufficient to avoid �collapse� when bolting on sway bar?
Correct. Those inserts are welded to the open part of the LCA and will provide the stiffness you need to avoid any collapse. The collapse doesn't occur from bolting on the sway bar per se, it's there to provide rigidity to the control arm when the car is cornering and transferring load from side to side via the sway bar.
Correct. Those inserts are welded to the open part of the LCA and will provide the stiffness you need to avoid any collapse. The collapse doesn't occur from bolting on the sway bar per se, it's there to provide rigidity to the control arm when the car is cornering and transferring load from side to side via the sway bar.
Yup, that's what I've used in the past. Go to Lowes, buy a piece of black pipe (or long pipe nipple) and cut your spacers from it. Works just fine.
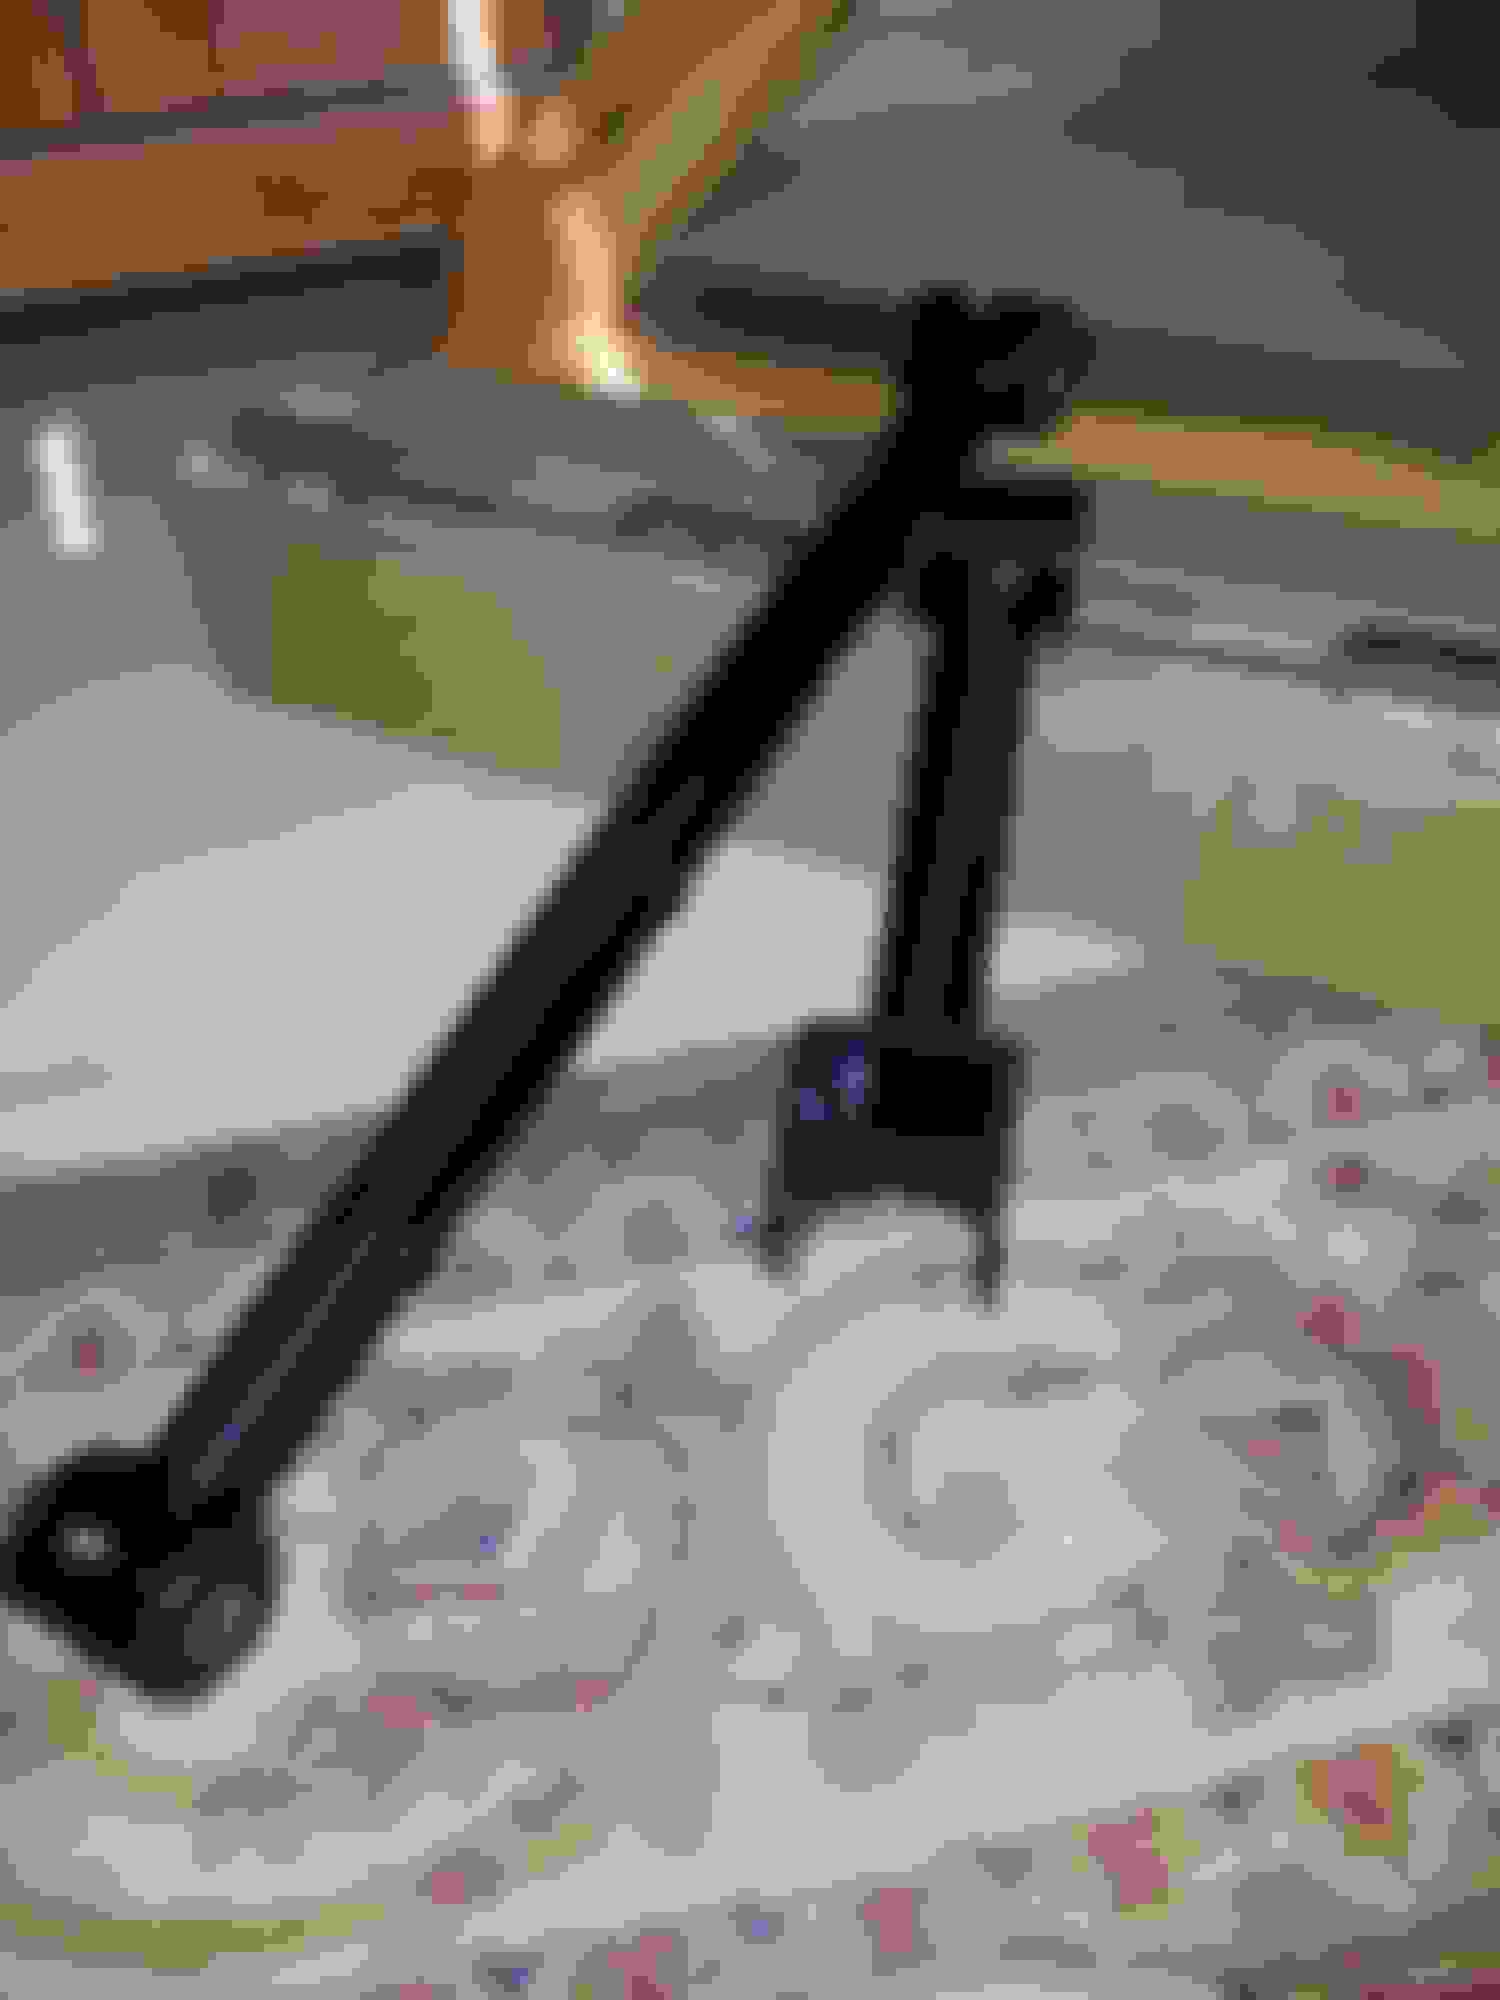
Hey guys, I'm about ready to press my oval bushings in. Any tips on this? I've never done oval before and not sure the best method to press on the flange. It looks like the rubber extends completely over the outer bushing shell flange except for (4) notched locations. Anyone have suggestions on a homemade mandrel to press these in? Can I simply press over the rubber with a steel disc larger enough to catch the entire face of the bushing?
I used a ball joint press. Insert some PVC (1/2 cut to C shape) to the same width as the inner part of the CA to stabilize it when you press the bushing in. Lube the bushing before install. Goes in much easier.
I used a ball joint press. Insert some PVC (1/2 cut to C shape) to the same width as the inner part of the CA to stabilize it when you press the bushing in. Lube the bushing before install. Goes in much easier.
Thanks - I�ve already done the rear control arm bushings - only new ground is the oval bushings and the upper bushings with the shaft - I�m pretty comfortable with this part (they just suck) - after you press in one side of upper - put shaft in then use the correct ball joint cup and physically hammer the other one in? That sound right? I know to make sure shafts are in correctly
Pressed my first bushings in - this is the �new� lower control arm to replace the slightly bent one - since I�m not good with paint my question is... is this what powder coat is? It�s faking off pretty bad and pretty easily - how would you guys handle this? Peel and paint? Or Touch Up the peels or what? Thanks gang - (and can�t get the weather to cooperate to finish clear coating the other three)
Last edited by 72442455; Jun 13, 2019 at 02:34 PM.
Reason: Typo
I've never seen powder coat flake like that. Looks more like it's an epoxy paint that wasn't primed properly. It's in an area that's not going to be seen so I'd just spray some Rustoleum black over it and be done. Did youu clean the paint out of the inner parts of the bushing holes? That also makes the bushing go in easier.when it's just a metal/metal contact with some grease to help it slide into place.
I've never seen powder coat flake like that. Looks more like it's an epoxy paint that wasn't primed properly. It's in an area that's not going to be seen so I'd just spray some Rustoleum black over it and be done. Did youu clean the paint out of the inner parts of the bushing holes? That also makes the bushing go in easier.when it's just a metal/metal contact with some grease to help it slide into place.
i�ll do that - thanks. Kinda worried about the rest flaking off after I reassemble it though
I did grease it up with silicone based grease - didn�t have much trouble getting the bushings in - used the ball joint press kit and pcv spacer - worked well even for the oval
That stinks about your powder coat, man. Like Allan said, spray (or brush) on some Rust-oleum. I used it on my original LCAs and it lasted well. A piece of advice; test all your grease zerks before you get it all back together. I had a bunch that were locked up and wouldn't break free. I had to go out and buy a pack and replace a bunch, which was pain when it was all together. I even had one break when I pulled the gun off. And these were the Moogs.
That stinks about your powder coat, man. Like Allan said, spray (or brush) on some Rust-oleum. I used it on my original LCAs and it lasted well. A piece of advice; test all your grease zerks before you get it all back together. I had a bunch that were locked up and wouldn't break free. I had to go out and buy a pack and replace a bunch, which was pain when it was all together. I even had one break when I pulled the gun off. And these were the Moogs.
Like Allan said - I�m not sure it�s actually powder coat - but I will get it handled - Thanks for the tip - mine are Moog as well - 1st one I looked at had like half a zerk? ... no idea - luckily my step dad has like a thousand new ones - I tested it by screwing it on (wasn�t already on but in the bag) to see which direction the angle faced so when I push the ball joint in it will be pointing the correct way when tight - I believe the lower bj zerks are angled and uppers are straight? (I will look in csm unless someone beats me to that answer before I look it up)
@72442455
That sucks about powder coat. Ive had same issues where once the coat cracks it comes off in sheets. I plan to paint with 2-part epoxy after all the bushings and balljoints are installed.
Did you press directly on the oval rubber, or did you use the four notches? Ive always pressed round budhings on the steel flange.