When you click on links to various merchants on this site and make a purchase, this can result in this site earning a commission. Affiliate programs and affiliations include, but are not limited to, the eBay Partner Network.
Just curiosity getting the better of me. Why red for the springs?
Thanks for the input on oem vs repop - sets my mind at ease a bit - a little worried about the ride height after installing new springs - like I said I don�t want a gasser - we will just see I guess.
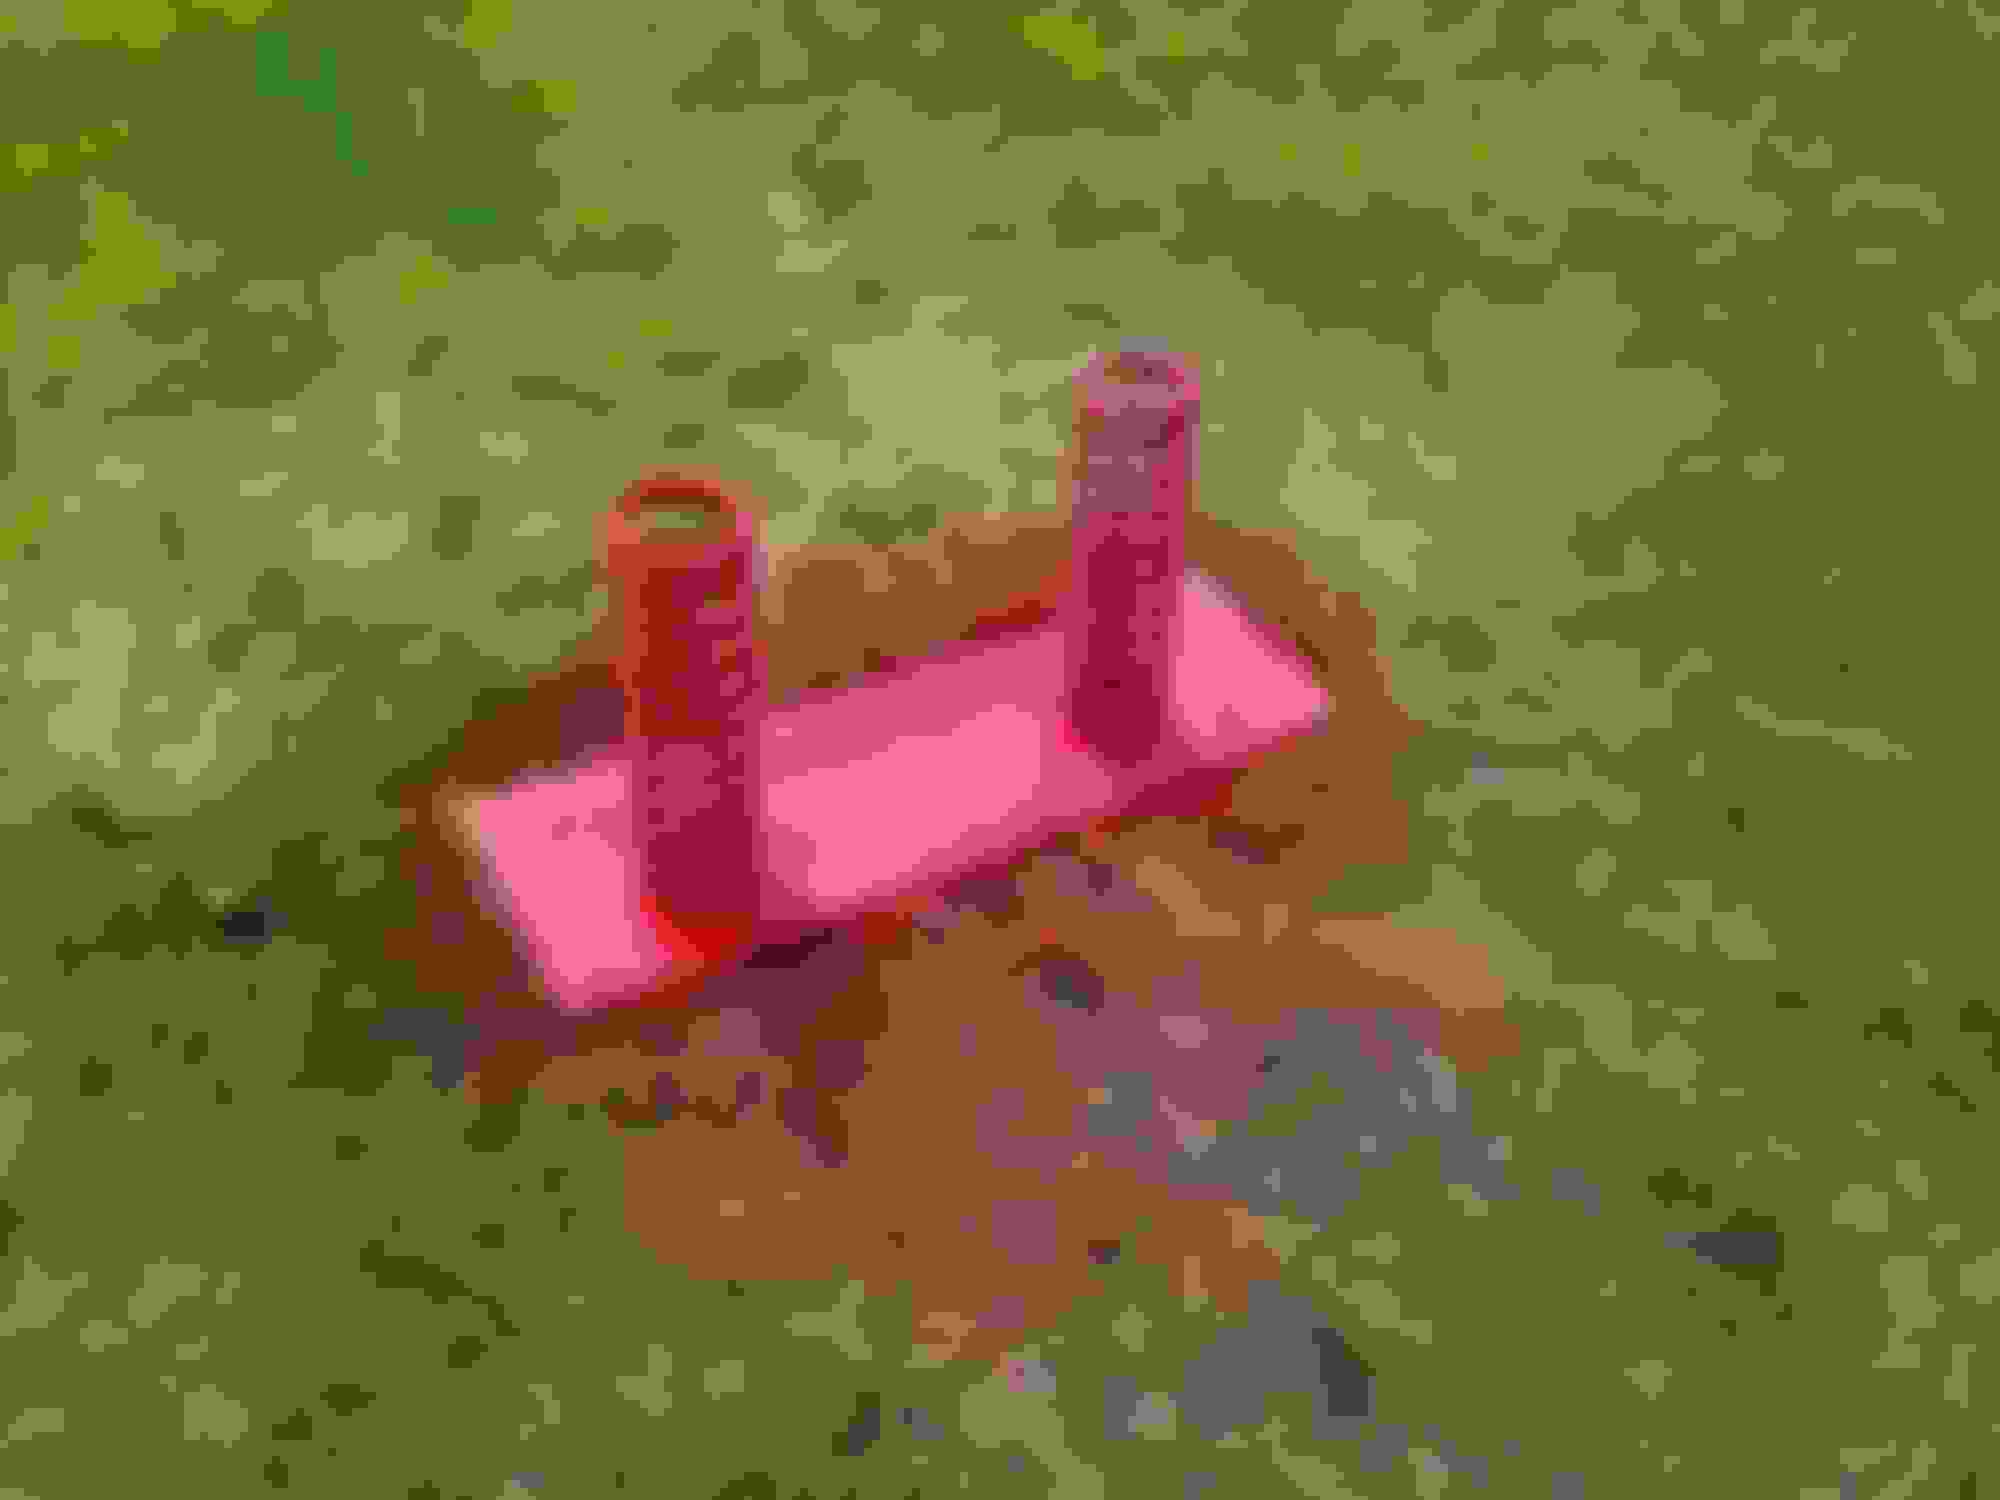
red just for a splash of color - everything was so brown down there - now that it is slowly turning shiny black - it just looks dark - so just wanted some color - remember this isn�t a real 442 - or even # matching car - just my toy - I�ve got the rear control arms and rear springs red - front springs are going to be red along with cross shaft - I�ll keep the steering linkage grey and what not grey - I like mostly original look with just a splash of color - the car isn�t going to stay pinehurst green - it will be grey like my first 442 with black w30 stripe kit
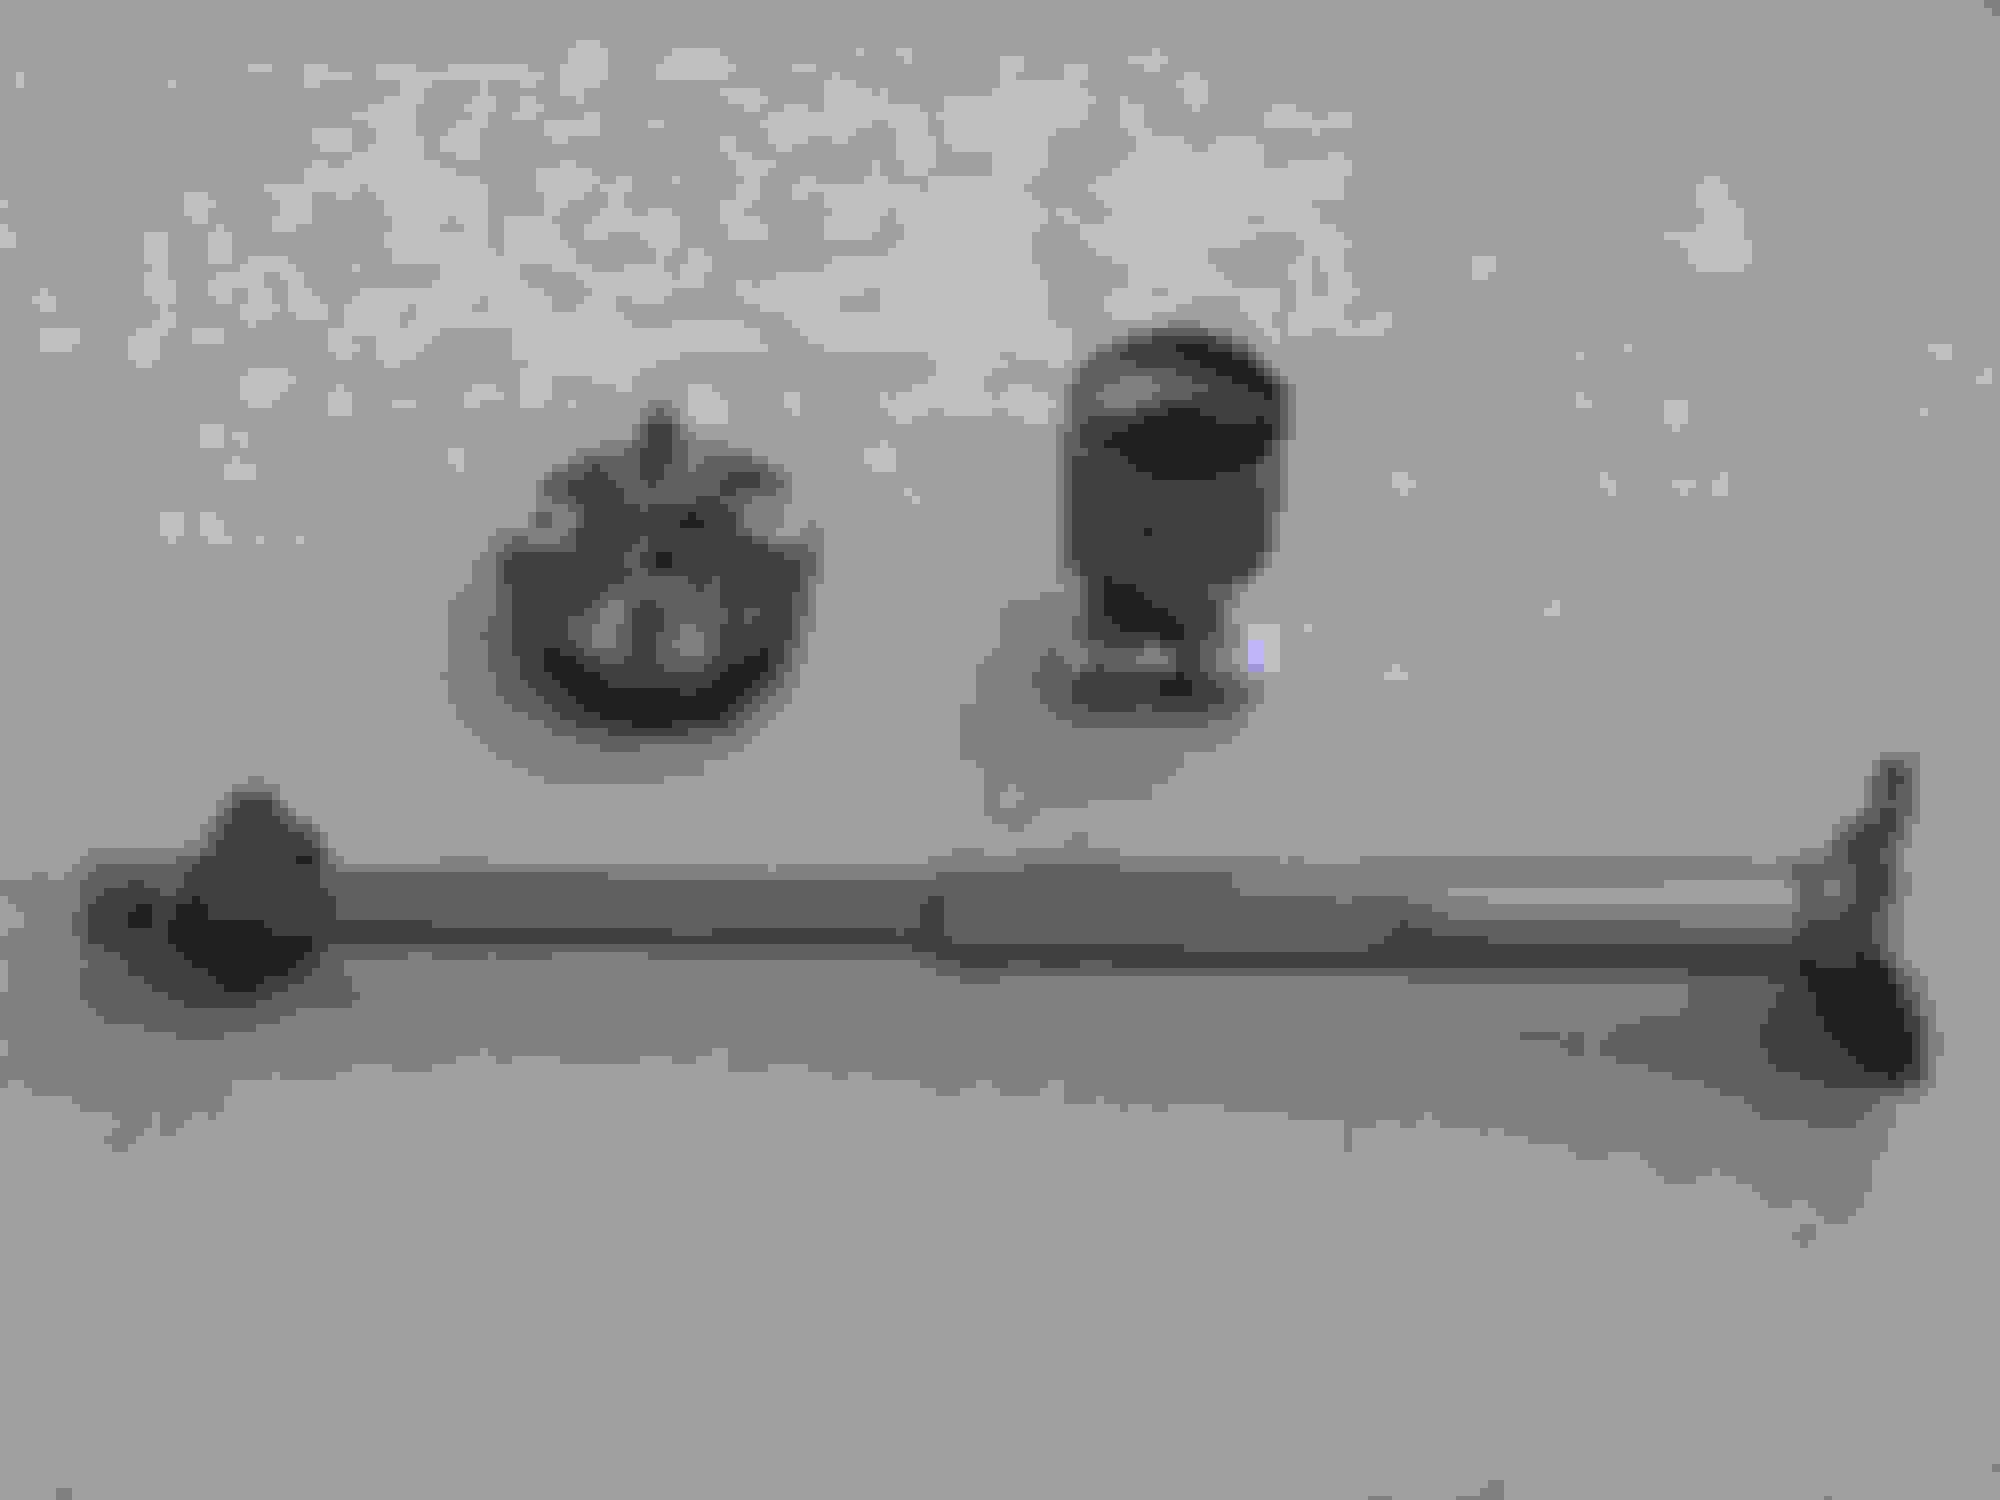
Looks like Mac used his original springs - I might do the same - these �new� coils I purchased 18 years Ish ago have the round ends instead of flattening out ... unless someone has used round end coils on a 72 that can lend some insight?
I used red mostly because I bought a couple cans for another project that I didn't end up using. And Like you, I was tired of the same old black and gray. And since no one can see it, short of crawling underneath, I used it as a kind of badge of courage for getting through this job. It really is funny how NOT visible these parts are once it's finished and on the ground.
As far as the springs are concerned, I ended up sending mine back. No matter how I clocked them in the upper pocket, they didn't feel right, like at all! I ended up using my old springs which, with the tubular arms and the included spring pads, netted me about a half inch gain in height.
On another topic; that repop might have given you even more trouble. Another fellow here on CO couldn't get one of his LCAs back into the frame. He was grinding down the bushings to make them fit. I wonder if you both purchased from the same place.
I'm replying to you on your thread since it makes more sense to have it here than on mine.
Originally Posted by 72442455
Argh! - well I can�t return 18 year old springs ... maybe I�ll use my original as well - Time to do some reading up on it - thanks for the reply
I have a CO friend (that I know in person) that used the same kind of springs. I call them "wound flat instead of ground flat", but mine weren't even wound all that flat. Anyway, he used them, had the same trouble getting them located, but used them anyway and hasn't had a any complaints. He has a Facebook page called CopperCutlass. Maybe you could message him and see what he thinks. Hmm, but now that I'm thinking of it, he bought super soft springs because he races. I bought nearly the same as you; for 455 with AC. They were super-duper stiff and raised the car off the jack stands when I tried to raise the LCA into position. If you try using them, plan on wrapping a chain under your floor jack and around the top of the frame to help with the compressing.
Here's an almost finished pic of my rebuild for inspiration
When I did my front end, I took the OEM front springs out and measured them. They were still spot on with height and they still provided good ride quality so I simply restored them. I have to say it was a real PITA to sand them down because they had some undercoat that was about 25 years old spattered on them in places, and some primer/paint that had been shot on the car back then too. IIRC it took almost 2 hours to sand down each spring. And then as you know, the painting is also a real PITA because of the angles. I hung mine from a shed rafter to try and get everything coated. Here's what they ended up looking like. This all started out when I found that the LS (passenger) ball joint had blown out and I thought, WTH I might as well clean everything up and fix things like the well worn bushings at the same time
Control arm lowered just prior to yanking the spring. Lots of crud there....
First spring done as far as I wanted to take it, compared to the one yet to go. Good thing I had nice weather to work with at the time
End result. I went with gloss black mostly because I wanted to keep it looking as OEM as possible. I did change my intermediate shaft color if you're interested in that.
Hahahaha, Good one Kenneth. It's still early when I typed that. Now I'm going to have to take EVERYTHING apart and try to build it as a European model with RH drive to fix my spelling mistake.. No, WAIT, I'll just change that to RS (Passenger) ball joint had blown out.
Okay, whew! I thought I'd been doing everything backward for the last six years! But I feel ya' on cleaning up the springs. I'd say I spent about 45 minutes on each with a few different wire brushes; drill, by hand, with my King Arthur Tools flex shaft tool. Definitely a PIA.
And yes please, a pic of your cross shaft would be welcomed (although I'm not taking mine back off, that's for sure!).
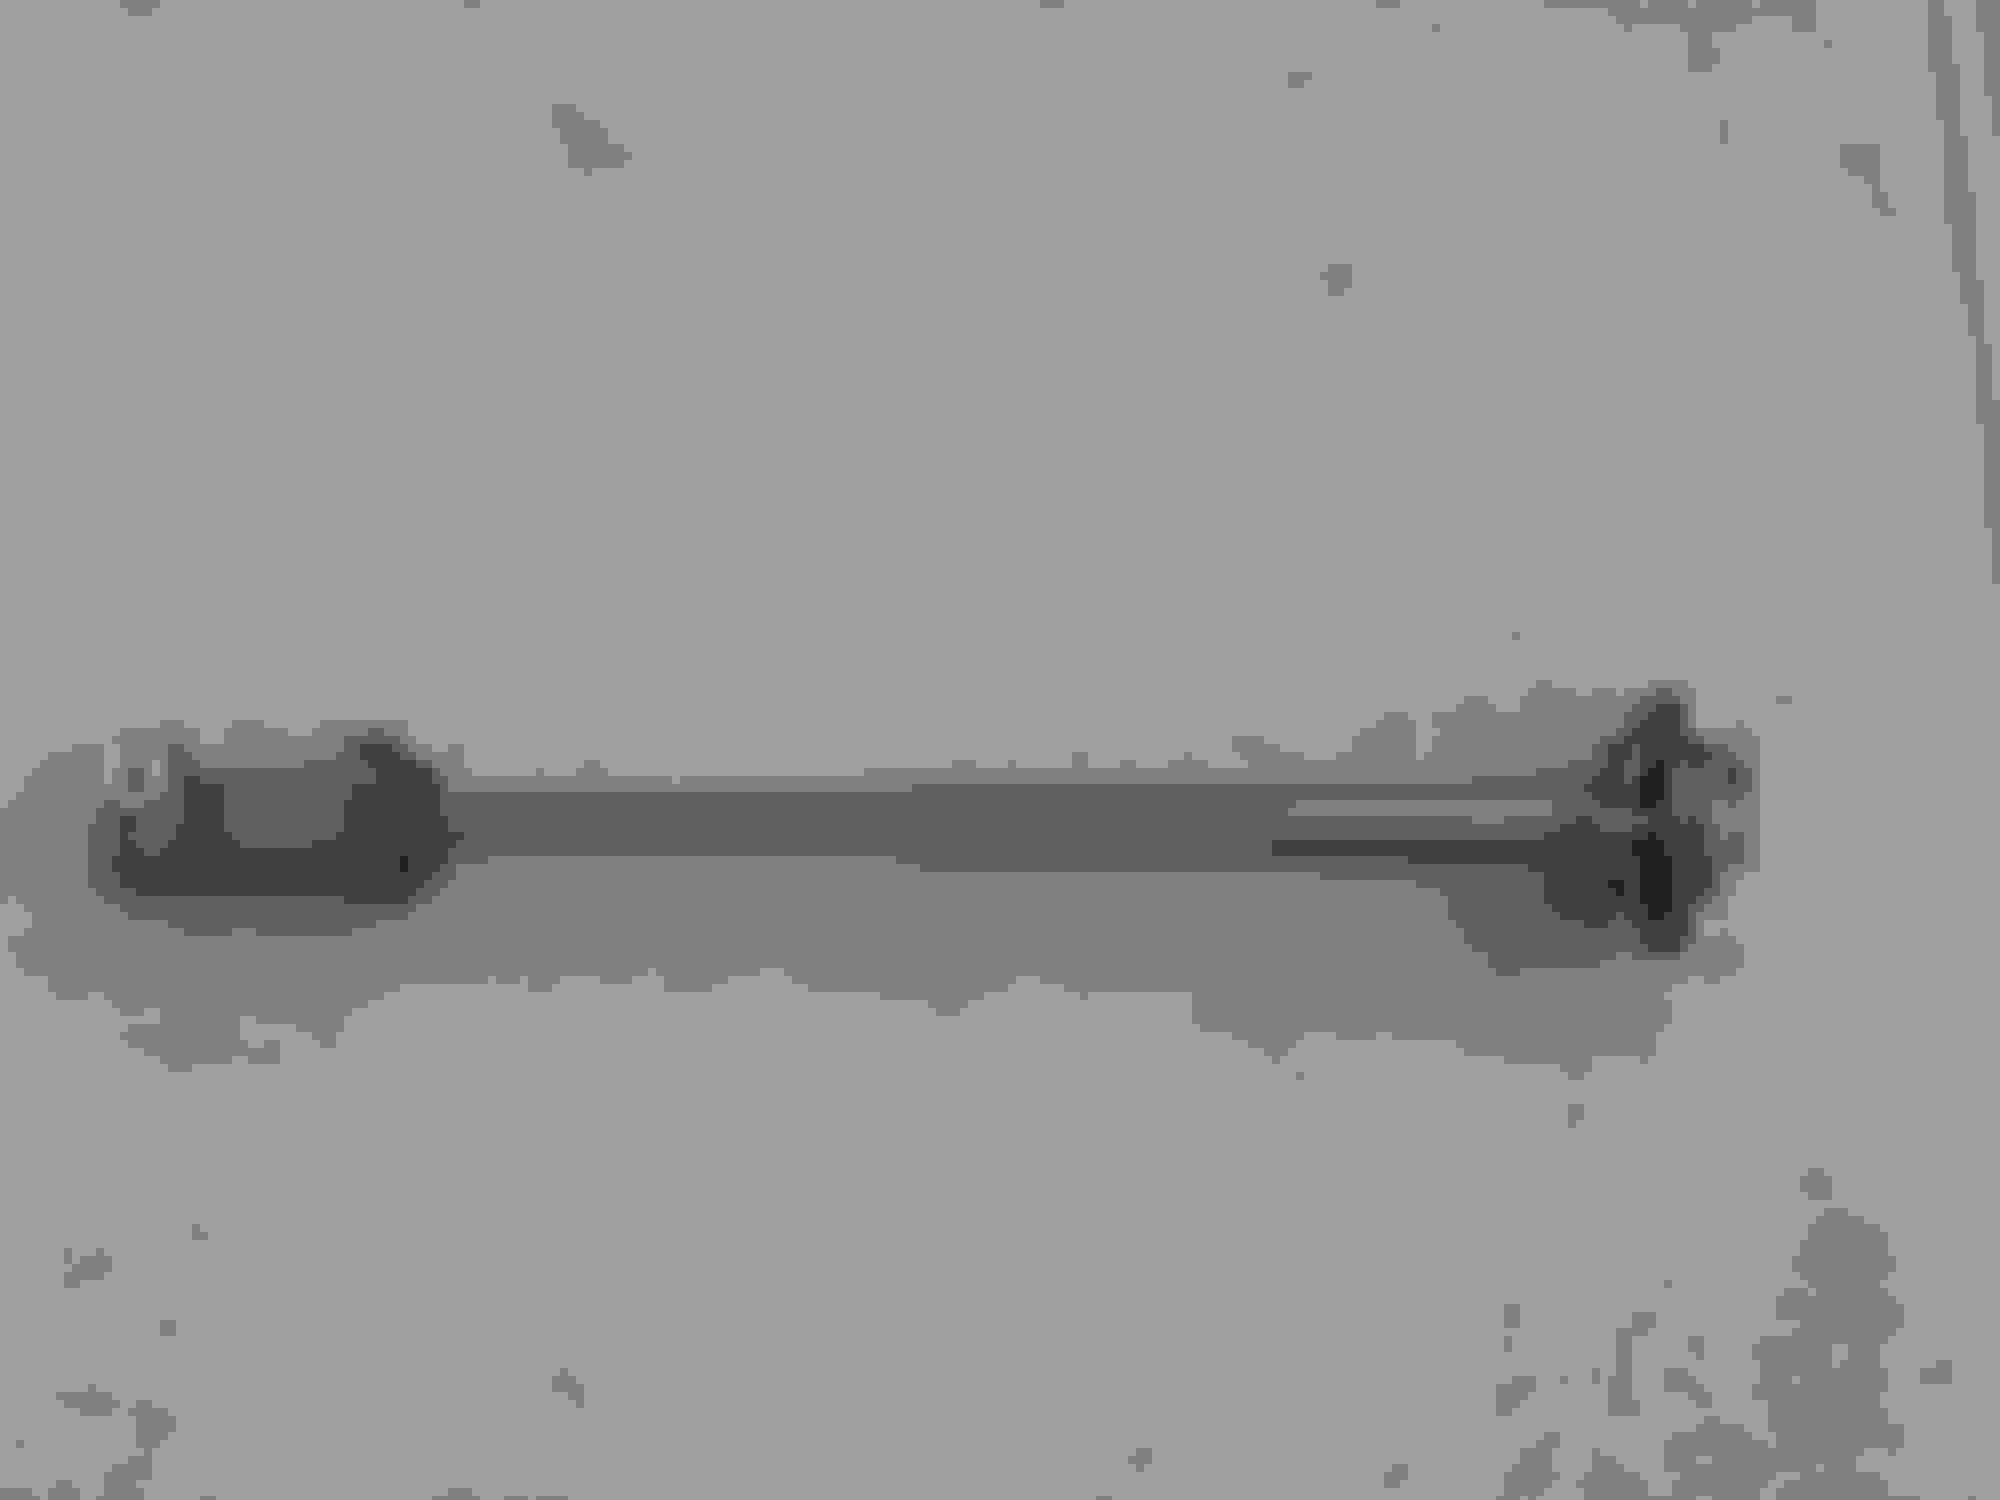
Really? You know ya wanna Did you mean cross shaft of intermediate column? I have both.
Originally Posted by Macadoo
Oops, I shouldn't speak for the OP. I forgot which thread I was on
Hopefully he doesn't mind... Ah, I see he just chimed in...
I elected to go with 'cast' look paint
disassembled, cleaned, painted. Ready to assemble. The rag joint was in great shape so it was re-used. Easy to take this stuff apart for cleaning.
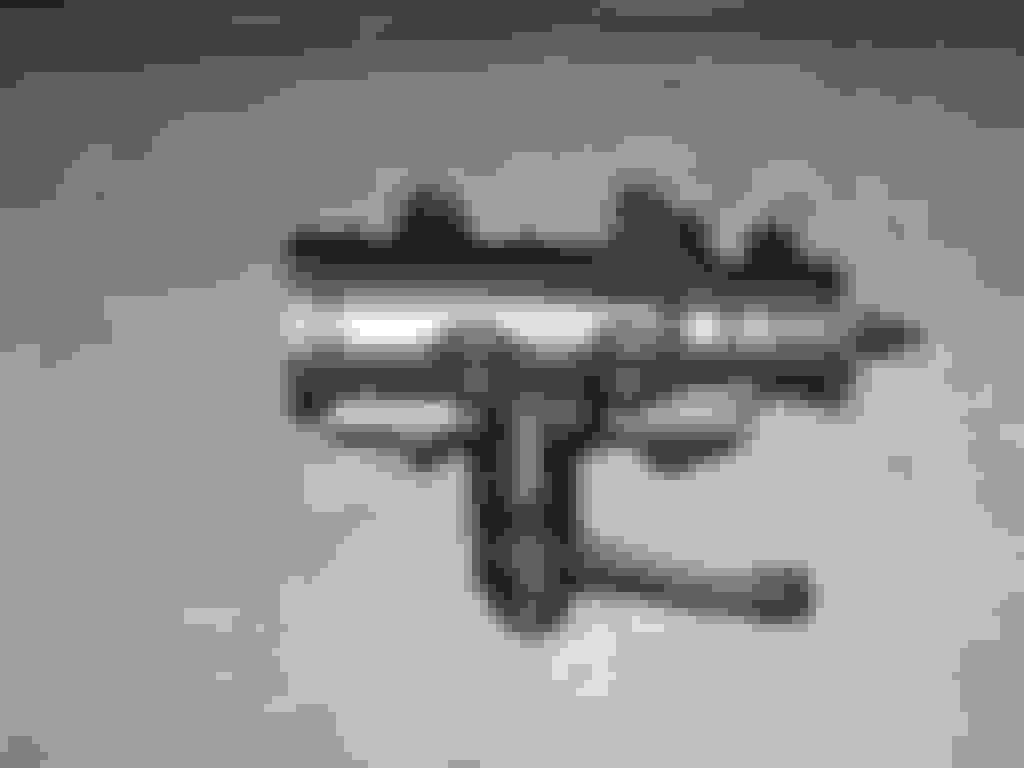
Intermediate steering shaft assembled
cross shaft installed. I taped the shims together and labeled them so they went back in the exact same position.
EDIT: Seems to take a long time for the pics to upload. One is not showing right now...
There are 3 basic styles of spring terminations used on the front of GM cars: tangential (open), closed (sort of folded over), and closed and ground (folded over and ground flat). The factory was ground on the top and so that's what it was designed for. Using tangential or closed could result in higher than normal ride heights or unwelcome noise from the spring moving around in the seat. Does RockAuto show your spring p/n as a match to your vehicle configuration?
I wouldn't worry much about not having the spot weld on the round bushing. Only once have I had a round bushing rotate and that was in an '80 Chevy pickup. Made sort of a popping noise when the shell slipped in the control arm. I ended up putting a tack weld on it while it was mounted, no problems since. Like I said, it was just insurance. I got a welder and it was easy enough to do.
By the way, I would never reinstall 48 year old springs. The difference between new and old are like night and day. People don't realize how terrible their cars ride and handle until they change out the springs. It will make your car feel like a new one (if you use the correct springs). Springs are cheap, maybe $80 a pair at RockAuto. You don't want to do this twice....
Thanks Bry - appreciate the input - I will look for closed and ground springs - you wouldn�t happen to know the rock auto Moog # for stock 72 vert with a/c and 455?
Really? You know ya wanna Did you mean cross shaft of intermediate column? I have both.
Hopefully he doesn't mind... Ah, I see he just chimed in...
I elected to go with 'cast' look paint
disassembled, cleaned, painted. Ready to assemble. The rag joint was in great shape so it was re-used. Easy to take this stuff apart for cleaning.
Intermediate steering shaft assembled
cross shaft installed. I taped the shims together and labeled them so they went back in the exact same position.
EDIT: Seems to take a long time for the pics to upload. One is not showing right now...
Looks great! Is that the Eastwood detail grey? I used that on my steering knuckles and caliper brackets - going to use it on several other things as well.
one quick question - I already pressed one side of each of my upper control arm bushings in - are they not suppose to seat all the way?
@Allan R
Nice detail work, looks great.
How much did you enjoy installing the steering shaft boot spring clip? You know, the later boot versions were outies instead of inies. This allows use of a typical clip with plier tabs.
Looks great! Is that the Eastwood detail grey? I used that on my steering knuckles and caliper brackets - going to use it on several other things as well. one quick question - I already pressed one side of each of my upper control arm bushings in - are they not suppose to seat all the way?
1. Nope, it's plain old MetalCast from Duplicolor and it looks great. Cheaper than Eastwood and easier to get. 2. I'm not exactly sure what you're describing. My bushings seated as they were supposed to. Got a picture?
Originally Posted by bry593
Yeah, I think you have the correct springs. Can you measure the wire diameter between your old and new to verify they are the same?
You're listing 5400 specs and the ones in the web page are 5382. The 5382's are also a different height than stock (about 1/2" shorter). Interesting that the 5390's which would be my car are approx 3/4" shorter than the stock ones I restored.. I laughed at the part in their web page that says "Easy to Install" like this is something you'd do every day and maybe twice on Sunday
Originally Posted by bry593
@Allan R
Nice detail work, looks great.
How much did you enjoy installing the steering shaft boot spring clip? You know, the later boot versions were outies instead of inies. This allows use of a typical clip with plier tabs.
Thank you. Actually it was pretty easy. The whole intermediate shaft was much easier to remove restore and replace than I ever imagined. The messy part was all the grease going into the cup that holds the anti rattle clips.
Now that all this is done, you just know the PS box needs to be restored also....and since it's out, MAW do the PS pump and brackets. This thing can easily get out of control
Actually, I listed the specs for both. It appears he has the correct springs even if not ground like factory original. I believe I'd try them. Of course, new springs on front without changing rears can cause the car to sit high in front. MAW change the rear to match.
If you really want to get the springs right, you order from Detroit Spring. They have all the original specs and make each order to fit. Bit more pricey but you get what you want the first time. They'll make em high, stock or low. Same price.
I believe I will measure the diameter of the Moog 5400 - if they are the same as originals I will use the Moog 5400 as is - this project is getting to be a run away $ wise. Thanks for your help Bry!
1. Nope, it's plain old MetalCast from Duplicolor and it looks great. Cheaper than Eastwood and easier to get. 2. I'm not exactly sure what you're describing. My bushings seated as they were supposed to. Got a picture?
You're listing 5400 specs and the ones in the web page are 5382. The 5382's are also a different height than stock (about 1/2" shorter). Interesting that the 5390's which would be my car are approx 3/4" shorter than the stock ones I restored.. I laughed at the part in their web page that says "Easy to Install" like this is something you'd do every day and maybe twice on Sunday
Thank you. Actually it was pretty easy. The whole intermediate shaft was much easier to remove restore and replace than I ever imagined. The messy part was all the grease going into the cup that holds the anti rattle clips.
Now that all this is done, you just know the PS box needs to be restored also....and since it's out, MAW do the PS pump and brackets. This thing can easily get out of control
I read up on the upper control arm bushings in the csm - never mind ... I�m good - I plan to upgrade the steering box while I�m at it - good to know the steering shaft isn�t that big of a pain - weather is suppose to be nice today - hopefully I can make some progress!
Coming along nicely. I like the matte finish; it almost looks like undercoating. Suggestion for the future: Most people like to tape off areas of use paper/tape. I started using aluminum foil because it's no fuss with tape and easy to use/form/seal around parts or wires. Plus it's not that expensive. Much easier to remove than tape too
I had soooo much fun cleaning the under body and engine of grease with hot water/soap and steam. I don't ever want to have to do that again. Is that a WIX filter you're using? Same as me. They're one of the best I can think of.
Aluminum foil - what a great idea! Thanks for sharing that! Yeah - wix - I got that from a video (I think that was posted here) where someone opened up the filters and showed how crappy some were - I was using the worst one so fixed it! Wix from now on
Allan ... if I had to choose between sliced bread and using aluminum foil to mask off my car.... I would be one big loaf eating fool! Thanks tons for sharing that tip! That was a game changer for me!
edit: I reread this months later and think the paint fumes were getting to me 😜 this made no sense - message I was trying to convey was I LOVE the aluminum foil tip! It�s a magnificent idea! And works awesome!
Last edited by 72442455; Sep 12, 2019 at 06:04 PM.
Don't forget to MAW the sway bar bushings to urethane. I don't use urethane in control arm bushings, but I wouldn't have sway bushings any other way.
I bought new rubber for sway bar - but I will swap to urethane down the road - new steer box otw - 3 more coats of paint and frame is ready - too lazy in hammock to put the spindles and control arms back together - waiting for paint to dry and for motivation to strike lol
I'm not sure about the urethane bushings. I know people who used them and their suspension squeaked horribly. I used rubber on my front also, just like the factory did. Don't forget they go in with the slot to the front. Once they're in place loosely and connected to the sway bar links I just snugged everything down with an air impact. Shazzam! fast and easy
I'm not sure about the urethane bushings. I know people who used them and their suspension squeaked horribly. I used rubber on my front also, just like the factory did. Don't forget they go in with the slot to the front. Once they're in place loosely and connected to the sway bar links I just snugged everything down with an air impact. Shazzam! fast and easy
Cant wait to get to that step - I did rubber as well all around for the same reason - squeaks - but lots use the urethane on the sway bar - I like the idea of the red in that visible area since my sway bar will be red (I know - silly reason) but I figured it�s easy enough to swap that out (as opposed to let�s say... upper control arm bushings...) so I�ll just use the rubber for now - if I swap out for a larger sway bar or what not - I might go for the urethane
I used the rubber as well and might go to urethane later. I was shocked at how big the rubbers were and how much they have to mash down. I thought they'd never fit, and the brackets bent a little back and forth as I tightened, but they did crush.
BTW, how much are we supposed to mash down on the end link bushings where they contain the sway bar? I must have overdid it a little because one broke already. Luckily I had a replacement. To be fair, the bushings that came with the eBay tubulars were much thinner than the stock end link bushings (which I ordered because I didn't know the new arms would include them).
Mac - I was a little skeptical when I did my front stabilizer bar too but when I put the impact driver to the bolts they snugged down really easy and like you noted they crushed down to shape without any fuss or bother. Did a back and forth to make sure one side wasn't tight before the other. As far as sway bar link kits, I installed mine upside down mostly because it was way easier, and the kit was much heavier than the stock one that came out. I snugged it down till it 'felt' right if that makes sense to you. I did my sway bar links while the stabilizer bar bushings were loosely holding the stabilizer in place. I don't know if that's the prescribed method, but it worked well for me.
Torque the end links as you would shocks, to where the rubber just begins to bulge about the diameter of the adjacent washer.
Allan, out of curiosity why does it matter which way the bar bushing is oriented in the strap?
When installing urethane bushings, you want to smear a little grease on the contact area. I've never had any squeak even after several years and thousands of miles. If it is a concern, Energy Suspension sells the bushing and strap with an integral grease zerk.


 Ah, I see he just chimed in...