My 72 front end rebuild begins...

Thread Tools
 
Search this Thread
 
Old May 16th, 2019, 08:24 AM
  #1  
Joe Ralph
Thread Starter
 
72442455's Avatar
 
Join Date: May 2017
Location: Lansing, Michigan
Posts: 685
My 72 front end rebuild begins...


And so it begins!.... my front end rebuild on my 72 - already read tons of threads - wish me luck!

Last edited by 72442455; May 16th, 2019 at 11:30 AM. Reason: Typo
72442455 is offline  
Old May 16th, 2019, 08:26 AM
  #2  
Joe Ralph
Thread Starter
 
72442455's Avatar
 
Join Date: May 2017
Location: Lansing, Michigan
Posts: 685
Would like to thank Lady72nRob71 for such a great thread! And too many more to mention right off the bat!
72442455 is offline  
Old May 16th, 2019, 09:25 AM
  #3  
Administrator
 
oldcutlass's Avatar
 
Join Date: Oct 2009
Location: Poteau, Ok
Posts: 40,561
I hope you ordered one of Robs MAW hats.
oldcutlass is online now  
Old May 16th, 2019, 10:35 AM
  #4  
same but different
 
don71's Avatar
 
Join Date: Jun 2007
Location: Central Missouri
Posts: 2,861
Hope all goes well.

My car looks just like that today. Meaning... its up in the air. I've bled the brakes and washed up under the hood and fender wells. I've got new tires and wheels to put on later.

I'm taking a break. Good Luck
don71 is online now  
Old May 16th, 2019, 10:54 AM
  #5  
Registered User
 
troyd's Avatar
 
Join Date: Mar 2014
Posts: 157
Worms. Can. Open.

Rob and his MAW's.....a blessing or a curse?

If I had any advice, go with Moog parts. Avoid the Chinesium one-size-fits-none kits.

Good luck!

Cheers,

Troy

troyd is offline  
Old May 16th, 2019, 11:36 AM
  #6  
Joe Ralph
Thread Starter
 
72442455's Avatar
 
Join Date: May 2017
Location: Lansing, Michigan
Posts: 685
I already ordered all Moog parts - i plan on MAWing the frame and everything I can reach with por15 - but I think it’s not going to be near Robs level of attention to detail - dying to drive it - it was down all last summer for carb rebuild / distributor rebuild / all new brakes / rebuild rear end and added posi - new bushings in rear control arms and new bearings all the way around - was hoping to drive it right away but I decided to just tear the band aid off and get right to it with the front end - all new steering components / bushings and ball joints - got the sway bar and links off - quick little cleaning reveals it’s not the first set of ball joints - uppers are bolted in - hope it all goes this lucky 😜
72442455 is offline  
Old May 17th, 2019, 05:32 PM
  #7  
Joe Ralph
Thread Starter
 
72442455's Avatar
 
Join Date: May 2017
Location: Lansing, Michigan
Posts: 685

Got the steering components off today - first time for me - wasn’t that fun but got it done
72442455 is offline  
Old May 18th, 2019, 06:09 AM
  #8  
72 Olds CS
 
RetroRanger's Avatar
 
Join Date: Jun 2011
Posts: 6,657
I don't want to say anything, but MAW replace the steering box w a fast ratio unit, like the rockauto lares unit....about$200.

your welcome
RetroRanger is offline  
Old May 18th, 2019, 06:14 AM
  #9  
72 Olds CS
 
RetroRanger's Avatar
 
Join Date: Jun 2011
Posts: 6,657
Also the lca rear bushing may be round or oval doesn't seem to be anyway to tell until it's apart
RetroRanger is offline  
Old May 18th, 2019, 08:49 AM
  #10  
Joe Ralph
Thread Starter
 
72442455's Avatar
 
Join Date: May 2017
Location: Lansing, Michigan
Posts: 685
Thank you! - funny I was just looking at gear boxes online when I saw this - mine is leaking pretty bad - can you tell me what lares #? I’m interested in the quick ratio but don’t want to lose turn radius - and rock auto and lares is pretty vague about disclosing ratios best I can tell - and I believe mine are oval - so not looking forward to the bushings 😩
72442455 is offline  
Old May 18th, 2019, 08:55 AM
  #11  
Joe Ralph
Thread Starter
 
72442455's Avatar
 
Join Date: May 2017
Location: Lansing, Michigan
Posts: 685
On another little note - I mentioned earlier that my upper ball joints were bolted in ... turns out just the driver side - passenger is still original - so I get to have fun with that one.
72442455 is offline  
Old May 18th, 2019, 09:00 AM
  #12  
Joe Ralph
Thread Starter
 
72442455's Avatar
 
Join Date: May 2017
Location: Lansing, Michigan
Posts: 685
Any idea what my original 72 power steering gear box would be? Couldn’t find it in csm? (Update: did find in csm that is says 3 turns from lock to lock - looks like that is for all 72s) What’s the ratio? And L to L? I think I read four turns L-L but not sure on ratio?

Last edited by 72442455; May 18th, 2019 at 10:48 AM. Reason: Update
72442455 is offline  
Old May 18th, 2019, 06:17 PM
  #13  
72 Olds CS
 
RetroRanger's Avatar
 
Join Date: Jun 2011
Posts: 6,657
Lares unit is a 974 10:1 unit, not sure on turns lock to lock maybe 2-3/4 or 2.5. I have one in my car and it feels more like a modern rack unit than the original 16:1 variable rate pinky steer box. The nice thing about the 974 is it uses the same ps hoses as original and comes w a new rag joint too.
RetroRanger is offline  
Old May 18th, 2019, 06:40 PM
  #14  
Joe Ralph
Thread Starter
 
72442455's Avatar
 
Join Date: May 2017
Location: Lansing, Michigan
Posts: 685
Thank you
72442455 is offline  
Old May 22nd, 2019, 06:32 PM
  #15  
Joe Ralph
Thread Starter
 
72442455's Avatar
 
Join Date: May 2017
Location: Lansing, Michigan
Posts: 685
Got the calipers supported - rotors off - shocks out - castle nuts cotter pins removed and nuts broke loose - just need to brake loose the ball joints and remove the springs and control arms - a little nervous about the springs - going to read up some more - then it’s time to get busy on the frame with por15 treatment.
72442455 is offline  
Old May 23rd, 2019, 12:06 PM
  #16  
Joe Ralph
Thread Starter
 
72442455's Avatar
 
Join Date: May 2017
Location: Lansing, Michigan
Posts: 685
Making progress! Got all the ball joints broke loose - driver side spring and lower control arm out - passenger side ball joints are spinning as I try to take castle nuts the rest of the way off but will get ahead of when I get back at it - had to stop for a few
72442455 is offline  
Old May 23rd, 2019, 12:08 PM
  #17  
Joe Ralph
Thread Starter
 
72442455's Avatar
 
Join Date: May 2017
Location: Lansing, Michigan
Posts: 685


72442455 is offline  
Old May 23rd, 2019, 12:14 PM
  #18  
Joe Ralph
Thread Starter
 
72442455's Avatar
 
Join Date: May 2017
Location: Lansing, Michigan
Posts: 685
I beat the hell out of the lower driver side ball joint with mini sledge and pickle fork and finally got it to break loose - beat the hell out of the upper and was not getting anywhere (this is my first front end job so many of you veterans probably have an easier time) I bought this tool and wow did it make things easier - short order pop pop pop - all the other three ball joints loose in half the time it took me to do the first one - I highly recommend it!


This $20 ball joint removing tool from harbor freight worked awesome!
72442455 is offline  
Old May 23rd, 2019, 02:48 PM
  #19  
Registered User
 
72455's Avatar
 
Join Date: Jul 2018
Location: Chesapeake, VA
Posts: 3,225
Originally Posted by 72442455


2 jack stands on the same side...is that what they mean by a double "stand"ard...😂🤣😂
72455 is offline  
Old May 23rd, 2019, 05:26 PM
  #20  
Joe Ralph
Thread Starter
 
72442455's Avatar
 
Join Date: May 2017
Location: Lansing, Michigan
Posts: 685
Lol - have four stands - just storing the extra two behind the two I’m using - got it all broke down - next step cleaning everything up - hope to make some progress this weekend - hate / dread wrestling with bushings 😩

72442455 is offline  
Old May 25th, 2019, 09:34 AM
  #21  
Joe Ralph
Thread Starter
 
72442455's Avatar
 
Join Date: May 2017
Location: Lansing, Michigan
Posts: 685
Everything went through the parts cleaner and I noticed “like Rob mentioned” my spindles are green

72442455 is offline  
Old May 26th, 2019, 11:02 AM
  #22  
Joe Ralph
Thread Starter
 
72442455's Avatar
 
Join Date: May 2017
Location: Lansing, Michigan
Posts: 685

Does this ball joint have some sort of retaining ring? Or just press it out?
72442455 is offline  
Old May 26th, 2019, 11:50 AM
  #23  
Just an Olds Guy
 
Allan R's Avatar
 
Join Date: Jul 2008
Location: Edmonton, AB. And "I am Can 'eh' jun - eh"
Posts: 24,525
It just presses out like any old ball joint. Take off the grease zirc first to make it easier.
Allan R is offline  
Old May 26th, 2019, 12:31 PM
  #24  
Joe Ralph
Thread Starter
 
72442455's Avatar
 
Join Date: May 2017
Location: Lansing, Michigan
Posts: 685
Thanks - first time 😜
72442455 is offline  
Old May 26th, 2019, 03:19 PM
  #25  
Administrator
 
oldcutlass's Avatar
 
Join Date: Oct 2009
Location: Poteau, Ok
Posts: 40,561
I'm waiting to see who gets done first you or MAC.
oldcutlass is online now  
Old May 26th, 2019, 03:30 PM
  #26  
Registered User
 
Macadoo's Avatar
 
Join Date: Aug 2013
Location: Central Illinois
Posts: 3,900
Originally Posted by oldcutlass
I'm waiting to see who gets done first you or MAC.
Lol, I just found this thread! I started on the 18th, so two days after. But I cheated and bought the tubulars so no bushing work for me (which was at least half the reason for going with the tubulars). I'm also doing mine indoors. Years ago I replaced tie rods, idler, and end links on an old truck in the freezing rain. Never again!
Macadoo is offline  
Old May 26th, 2019, 07:38 PM
  #27  
Joe Ralph
Thread Starter
 
72442455's Avatar
 
Join Date: May 2017
Location: Lansing, Michigan
Posts: 685
Yeah - Mac’ll win - I got 1.5 ball joints out and 70% of one bushing out. So at this rate I should be done by 2024 😜
72442455 is offline  
Old May 26th, 2019, 07:40 PM
  #28  
Joe Ralph
Thread Starter
 
72442455's Avatar
 
Join Date: May 2017
Location: Lansing, Michigan
Posts: 685


72442455 is offline  
Old May 26th, 2019, 07:44 PM
  #29  
Administrator
 
oldcutlass's Avatar
 
Join Date: Oct 2009
Location: Poteau, Ok
Posts: 40,561
I use a cold chisel, a grinder, and a punch on the rivets. I torch the bushings and then peel the outer shells out.
oldcutlass is online now  
Old May 26th, 2019, 10:01 PM
  #30  
Registered User
 
Fun71's Avatar
 
Join Date: Feb 2013
Location: Phoenix, AZ
Posts: 13,763
Just hope you don't run into this kind of quality control reject part during your ball joint installation. This was a WTF moment as you can see if the ball joint were turned a bit clockwise the holes would line up correctly. Moog used to be the standard for quality, but obviously this one slipped by. Luckily the local parts store had a properly made one in stock and I was able to get the job done same day.


Last edited by Fun71; May 26th, 2019 at 10:06 PM.
Fun71 is offline  
Old May 27th, 2019, 12:57 AM
  #31  
1968 442 Convertible
 
bry593's Avatar
 
Join Date: Feb 2019
Location: Broken Arrow, Oklahoma
Posts: 347
Originally Posted by 72442455
Yeah - Mac’ll win - I got 1.5 ball joints out and 70% of one bushing out. So at this rate I should be done by 2024 ��
I've had the entire front suspension off my car for over a month and still haven't taken the bushings out. According to the MAW manual the interior had to be removed down to the floor pan in prep for bucket seat brackets, but not before custom brackets were made for a new radio, dash speakers, vert top relay and amp midi fuse. The subwoofer wiring should be finished tomorrow. And logically, the control arm bushings are next followed by the quartz clock install.

By the way, I did mount a Lares 10:1 box. I believe is about 2.25 lock to lock as installed. You won't lose any turn radius as it contacts the control arm stops. Get the more expensive one. It is built from an original Saginaw box instead of the later metric box. This way you avoid the port adapters and the non standard rag joint.

Last edited by bry593; May 27th, 2019 at 01:05 AM.
bry593 is offline  
Old May 27th, 2019, 02:43 AM
  #32  
Joe Ralph
Thread Starter
 
72442455's Avatar
 
Join Date: May 2017
Location: Lansing, Michigan
Posts: 685
Thanks for the tips gang! And lol Bry that’s exactly how my head works - I stay awake at night maw’ing everything in my head - I have no working tunes in my car at the moment ... a younger version of me would have done that second only to a battery to run em lol
72442455 is offline  
Old May 27th, 2019, 02:48 AM
  #33  
Joe Ralph
Thread Starter
 
72442455's Avatar
 
Join Date: May 2017
Location: Lansing, Michigan
Posts: 685
Originally Posted by oldcutlass
I use a cold chisel, a grinder, and a punch on the rivets. I torch the bushings and then peel the outer shells out.
I have no torch so it’s “drill out the rubber and peel out the shells” I have a press but after partially mangling an upper rear control arm i would rather take the slower more controlled route - I made some inserts out of pvc for supporting the front control arms this time - hopefully works better than the socket insert did last time - and I stole Robs “cut the washer” for the upper control arm bushing idea - yet to try that though

Last edited by 72442455; May 27th, 2019 at 02:56 AM.
72442455 is offline  
Old May 27th, 2019, 02:53 AM
  #34  
Joe Ralph
Thread Starter
 
72442455's Avatar
 
Join Date: May 2017
Location: Lansing, Michigan
Posts: 685
Originally Posted by bry593
By the way, I did mount a Lares 10:1 box. I believe is about 2.25 lock to lock as installed. You won't lose any turn radius as it contacts the control arm stops. Get the more expensive one. It is built from an original Saginaw box instead of the later metric box. This way you avoid the port adapters and the non standard rag joint.
So plug and play? And going from 16:1 to 10:1 is it still easy to turn/fun to drive? or is it work to turn it? I was thinking the 12.7:1 but honestly I’m on the fence on this - a little out of my realm and would hate to go though and not like it

Last edited by 72442455; May 27th, 2019 at 02:55 AM.
72442455 is offline  
Old May 27th, 2019, 03:01 AM
  #35  
Joe Ralph
Thread Starter
 
72442455's Avatar
 
Join Date: May 2017
Location: Lansing, Michigan
Posts: 685

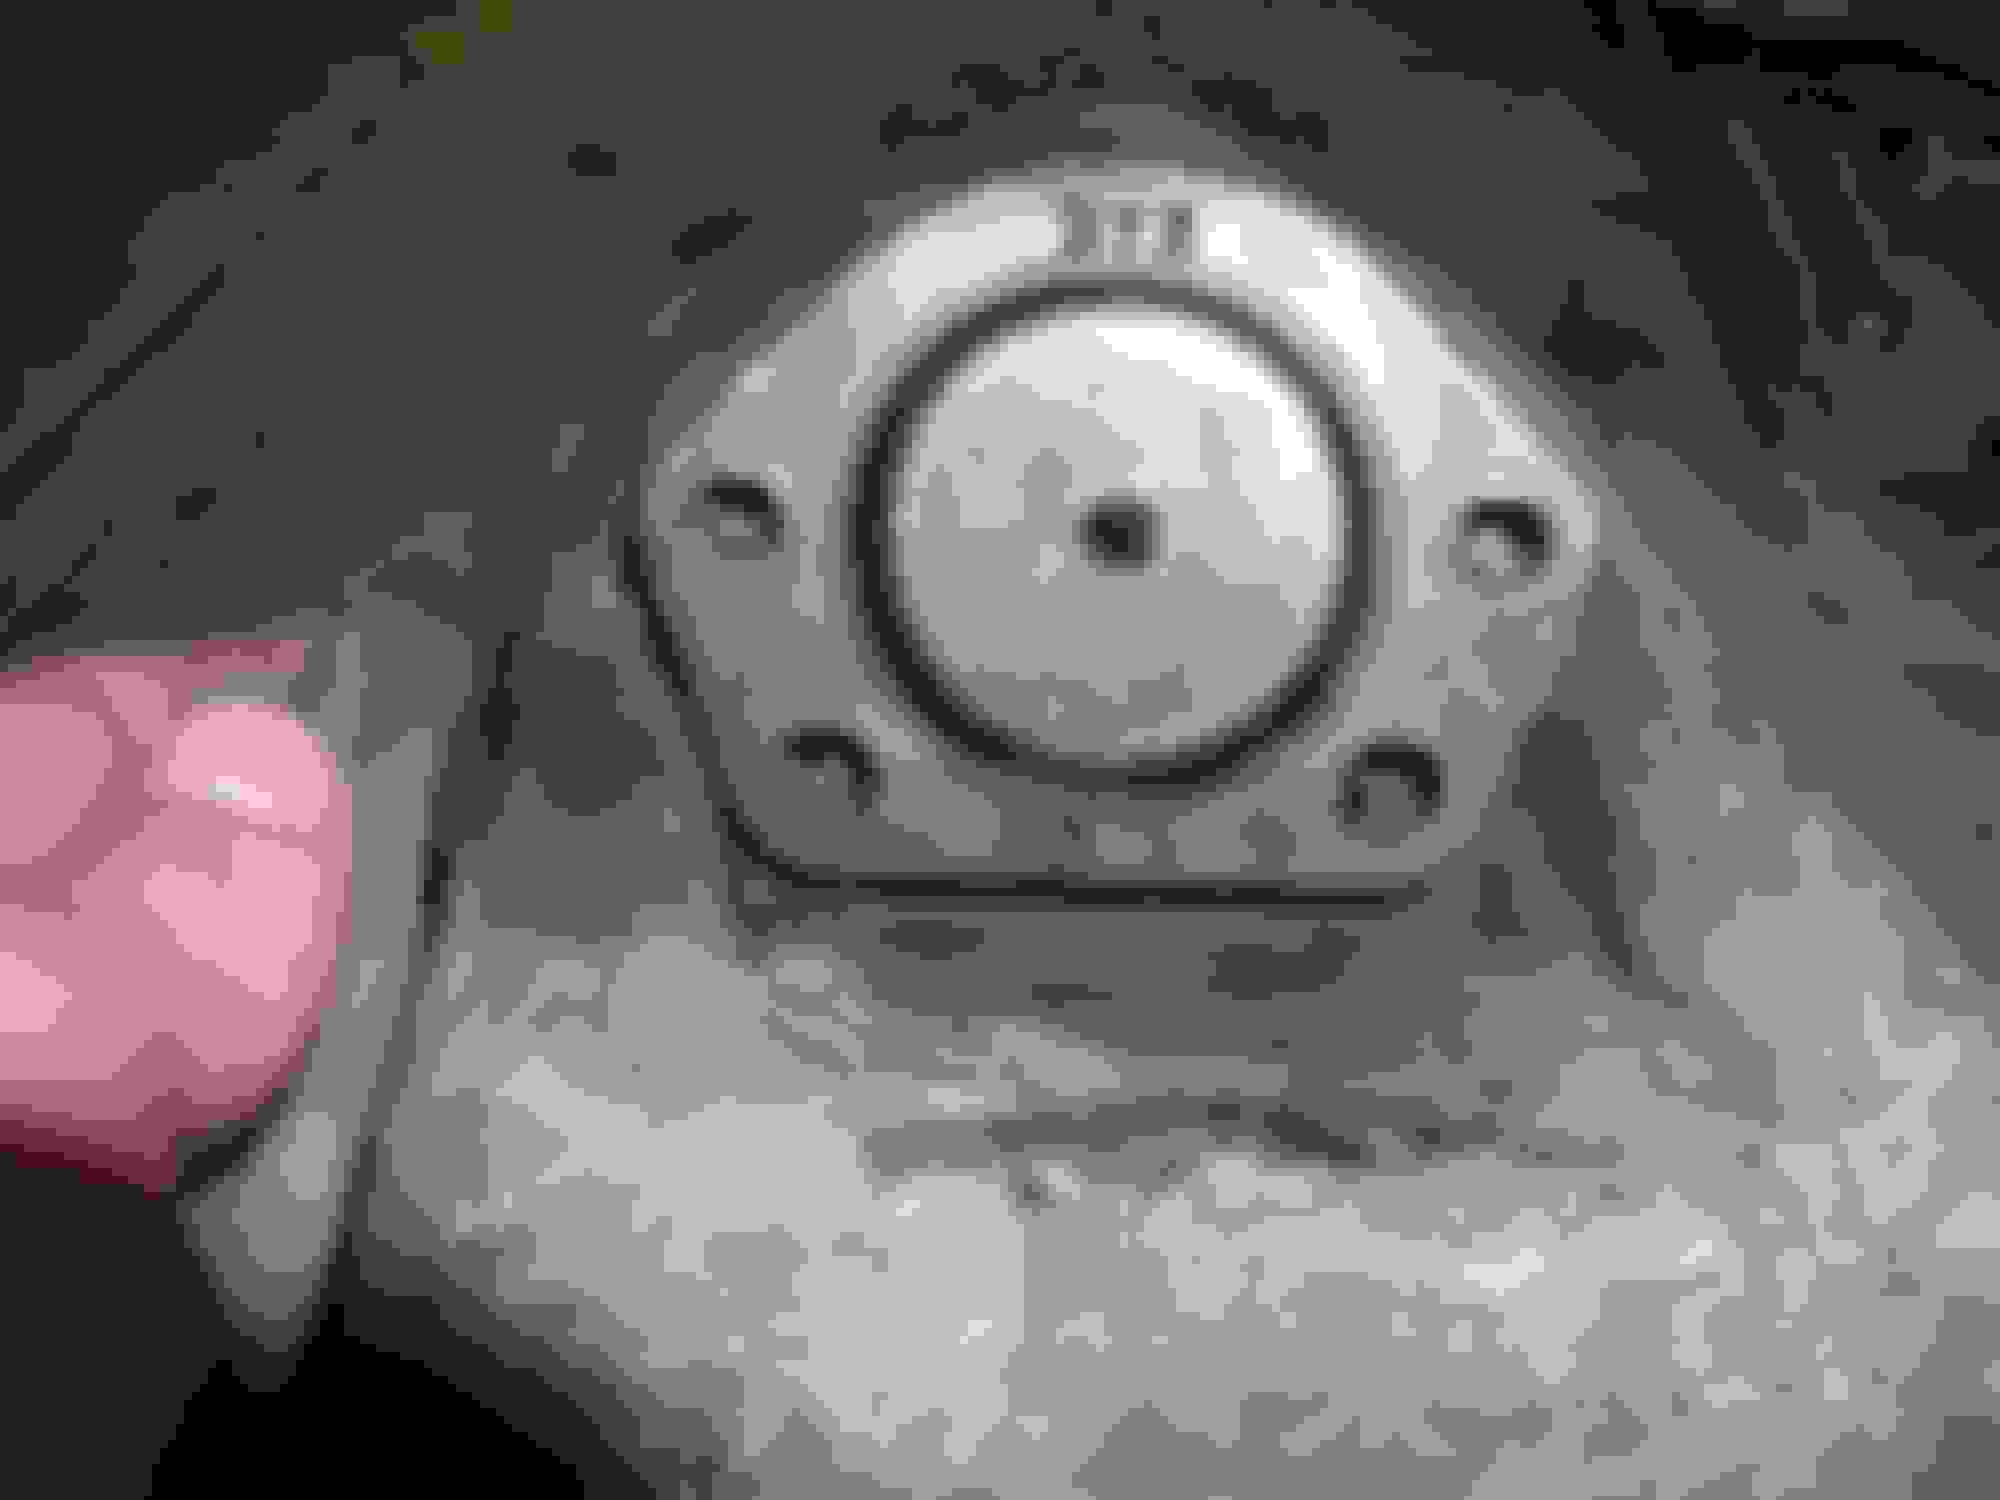
My front driver side lower control arm is bent at the front bottom - any advice or suggestions? To my inexperienced eye it doesn’t appear to effect the shape of the control arm - I will try an get a picture of the underside tomorrow
72442455 is offline  
Old May 27th, 2019, 06:59 AM
  #36  
1968 442 Convertible
 
bry593's Avatar
 
Join Date: Feb 2019
Location: Broken Arrow, Oklahoma
Posts: 347
Yes, plug and play. Not sure how it feels in the Cutlass, but it was one of the best upgrades I did to my '70 Caprice. Of course the length of the pitman arm may be longer on the Chevy since a bigger car might need more leverage, thereby slowing the apparent quickness of the gear.

A jack bit your lower arm. Common mistake made by inexperienced mechanics.

Is that a round or oval LH arm? I've got a round that is in nice shape aside from the joint socket is slight slip fit. Common issue and Moog makes a joint that fixes the issue with a slight knurl. You pay shipping and few bucks for me to box it and it is yours!

If not, you could probably straighten it with a large crescent wrench, a propane torch and some tapping with a hammer. Or, you could just leave it like it is, but it would always bother you because you love your 442.

Last edited by bry593; May 27th, 2019 at 07:07 AM.
bry593 is offline  
Old May 27th, 2019, 07:12 AM
  #37  
Joe Ralph
Thread Starter
 
72442455's Avatar
 
Join Date: May 2017
Location: Lansing, Michigan
Posts: 685
Thanks for the info - oval bushings - I’ll probably just live with it - I never noticed it before I removed it 😜 - will clean it up though
72442455 is offline  
Old May 27th, 2019, 01:23 PM
  #38  
Joe Ralph
Thread Starter
 
72442455's Avatar
 
Join Date: May 2017
Location: Lansing, Michigan
Posts: 685


ball joints out ...
72442455 is offline  
Old May 27th, 2019, 01:39 PM
  #39  
Administrator
 
oldcutlass's Avatar
 
Join Date: Oct 2009
Location: Poteau, Ok
Posts: 40,561
If the bent control arm didn't affect alignment its fine.
oldcutlass is online now  
Old May 27th, 2019, 01:49 PM
  #40  
Joe Ralph
Thread Starter
 
72442455's Avatar
 
Join Date: May 2017
Location: Lansing, Michigan
Posts: 685
Thanks
72442455 is offline  


Quick Reply: My 72 front end rebuild begins...


All times are GMT -7. The time now is 09:25 PM.