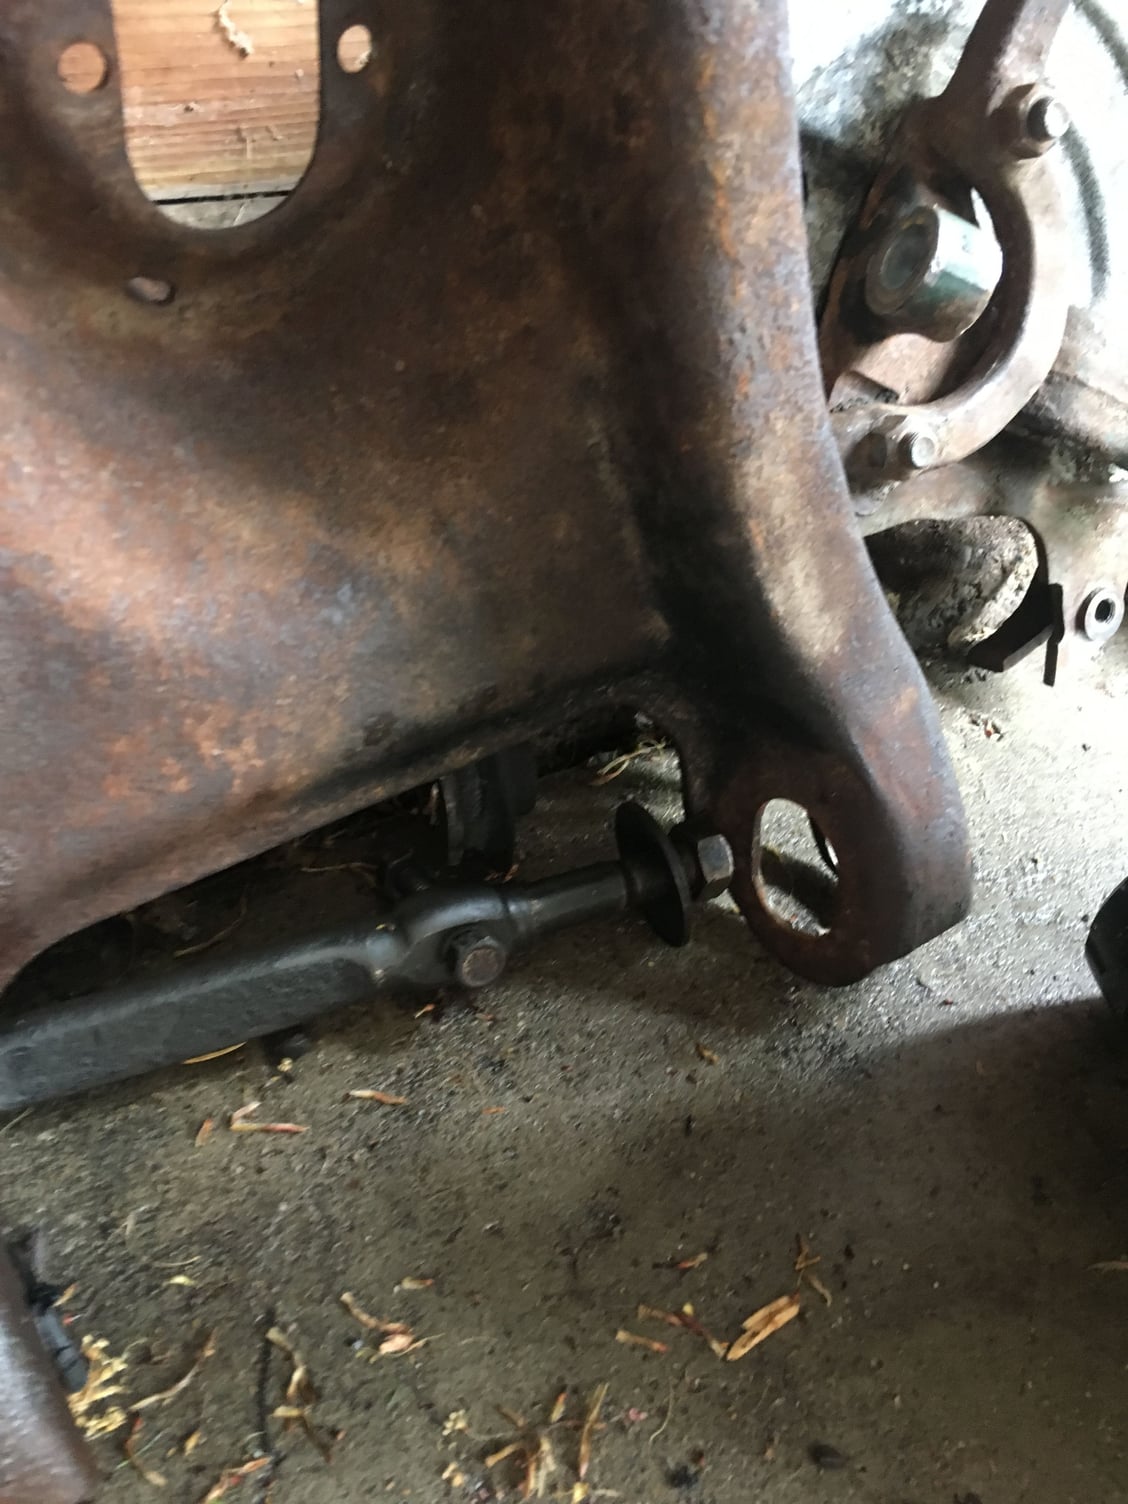
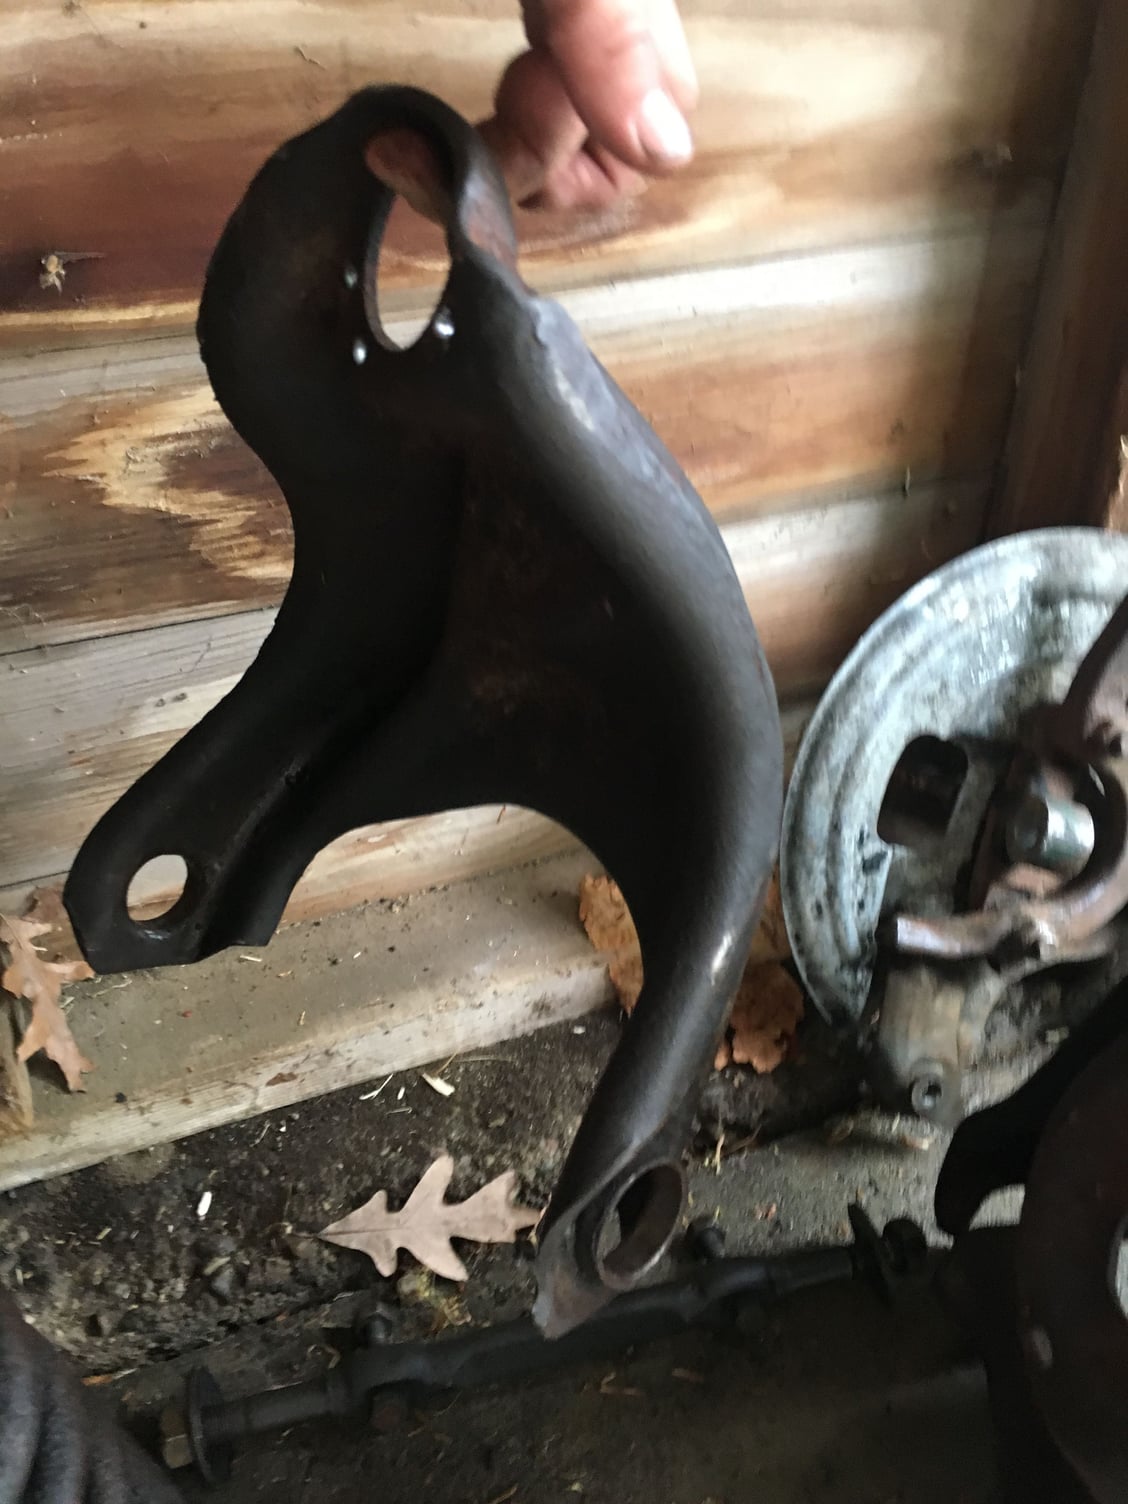
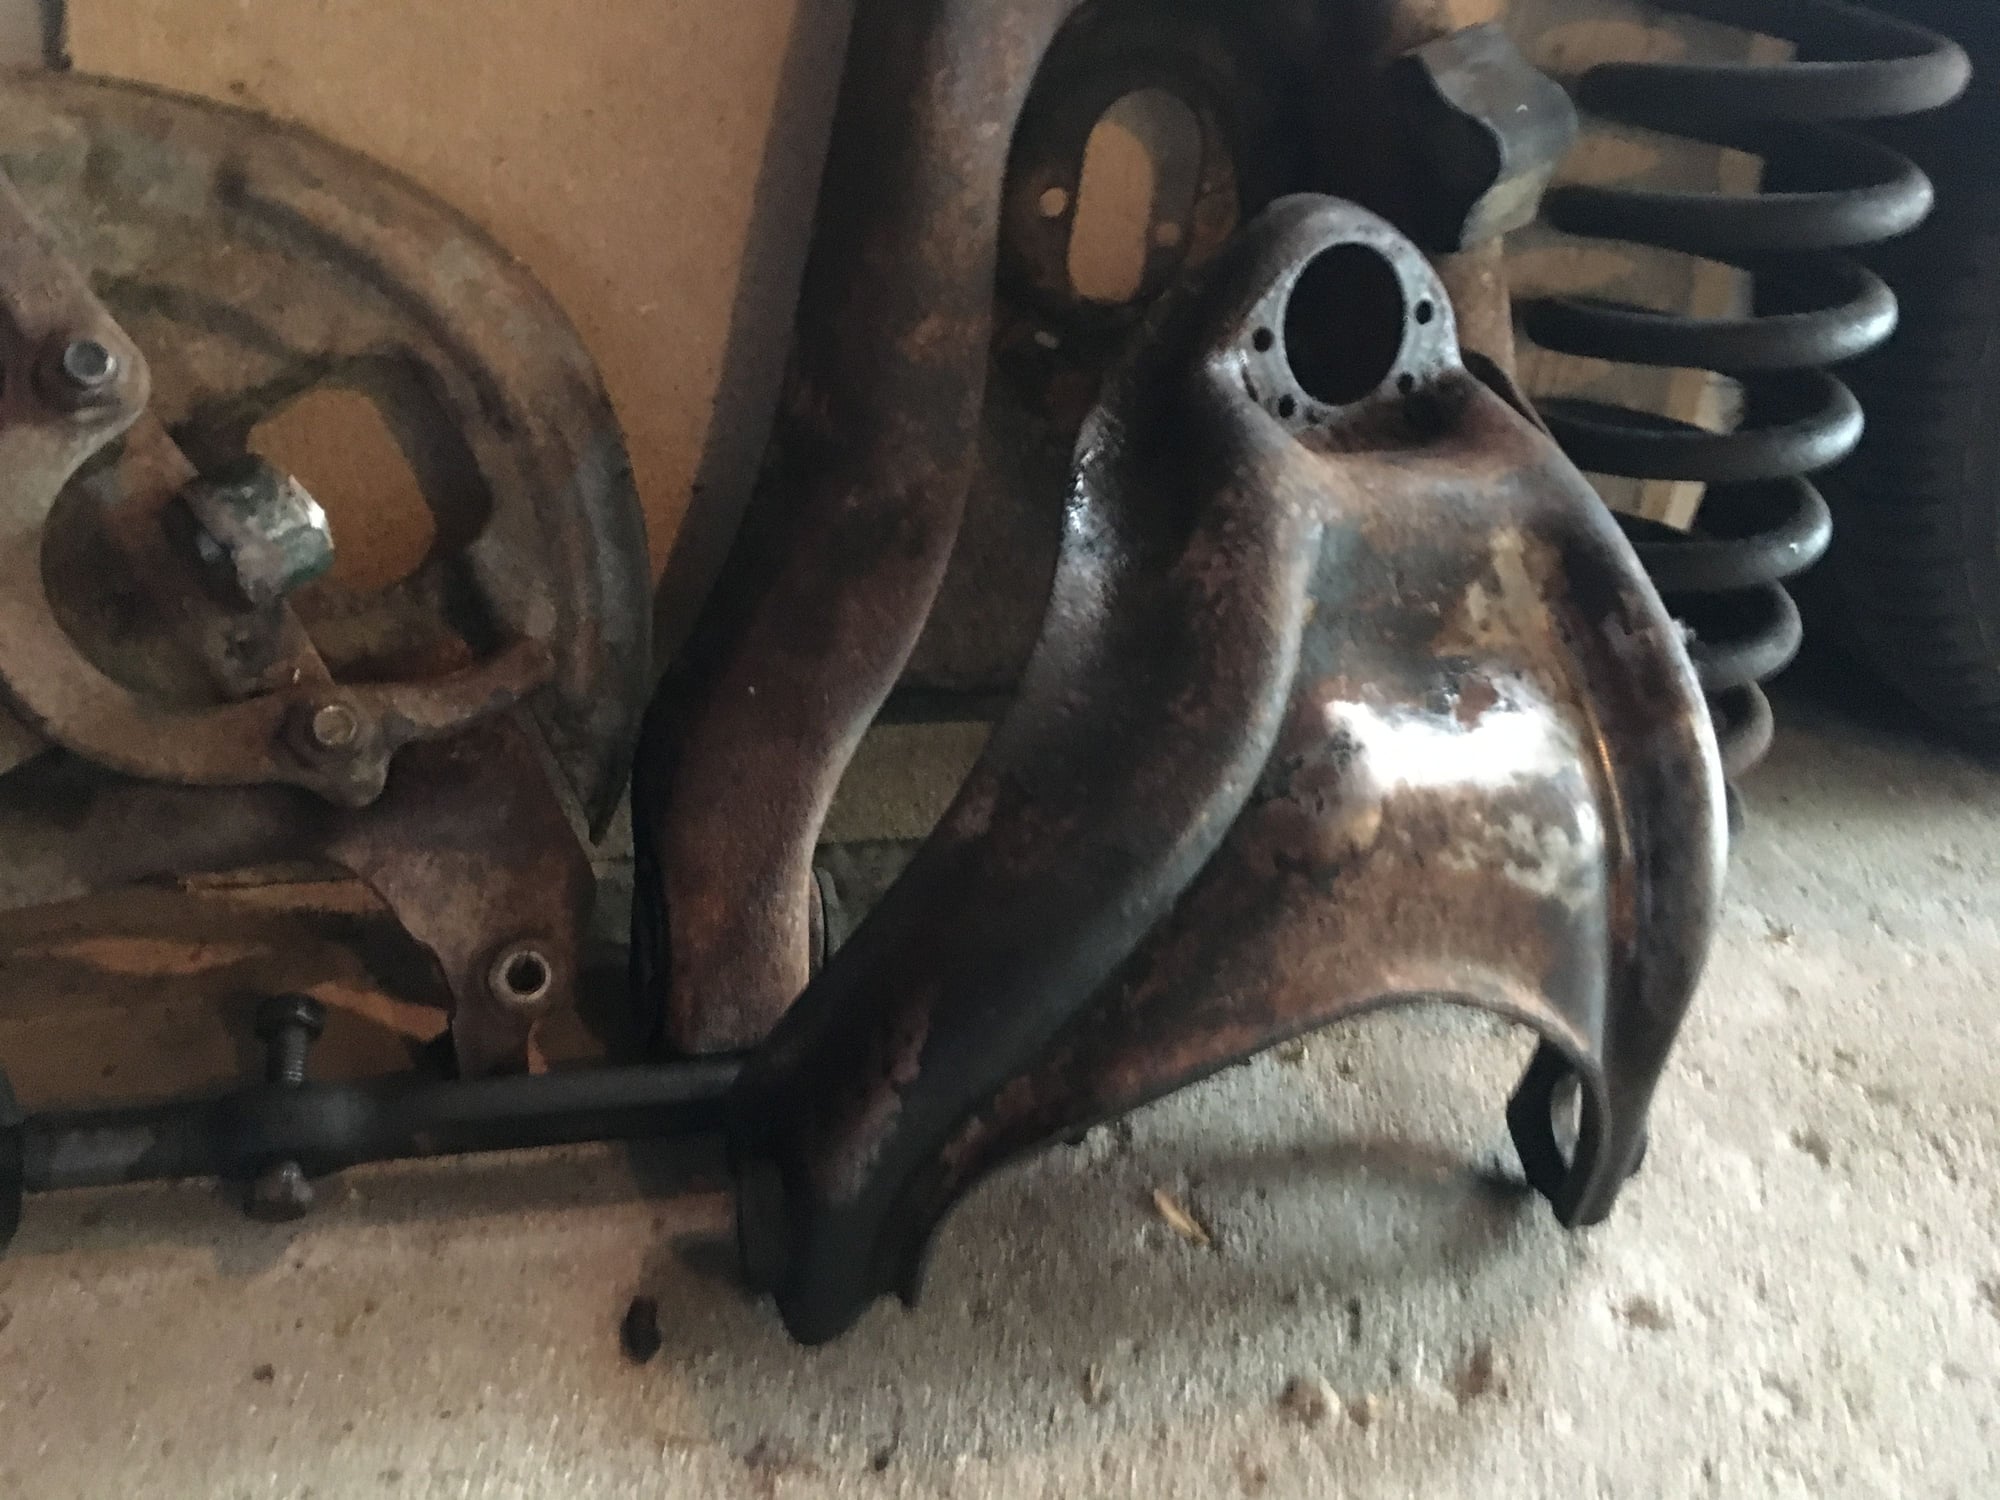
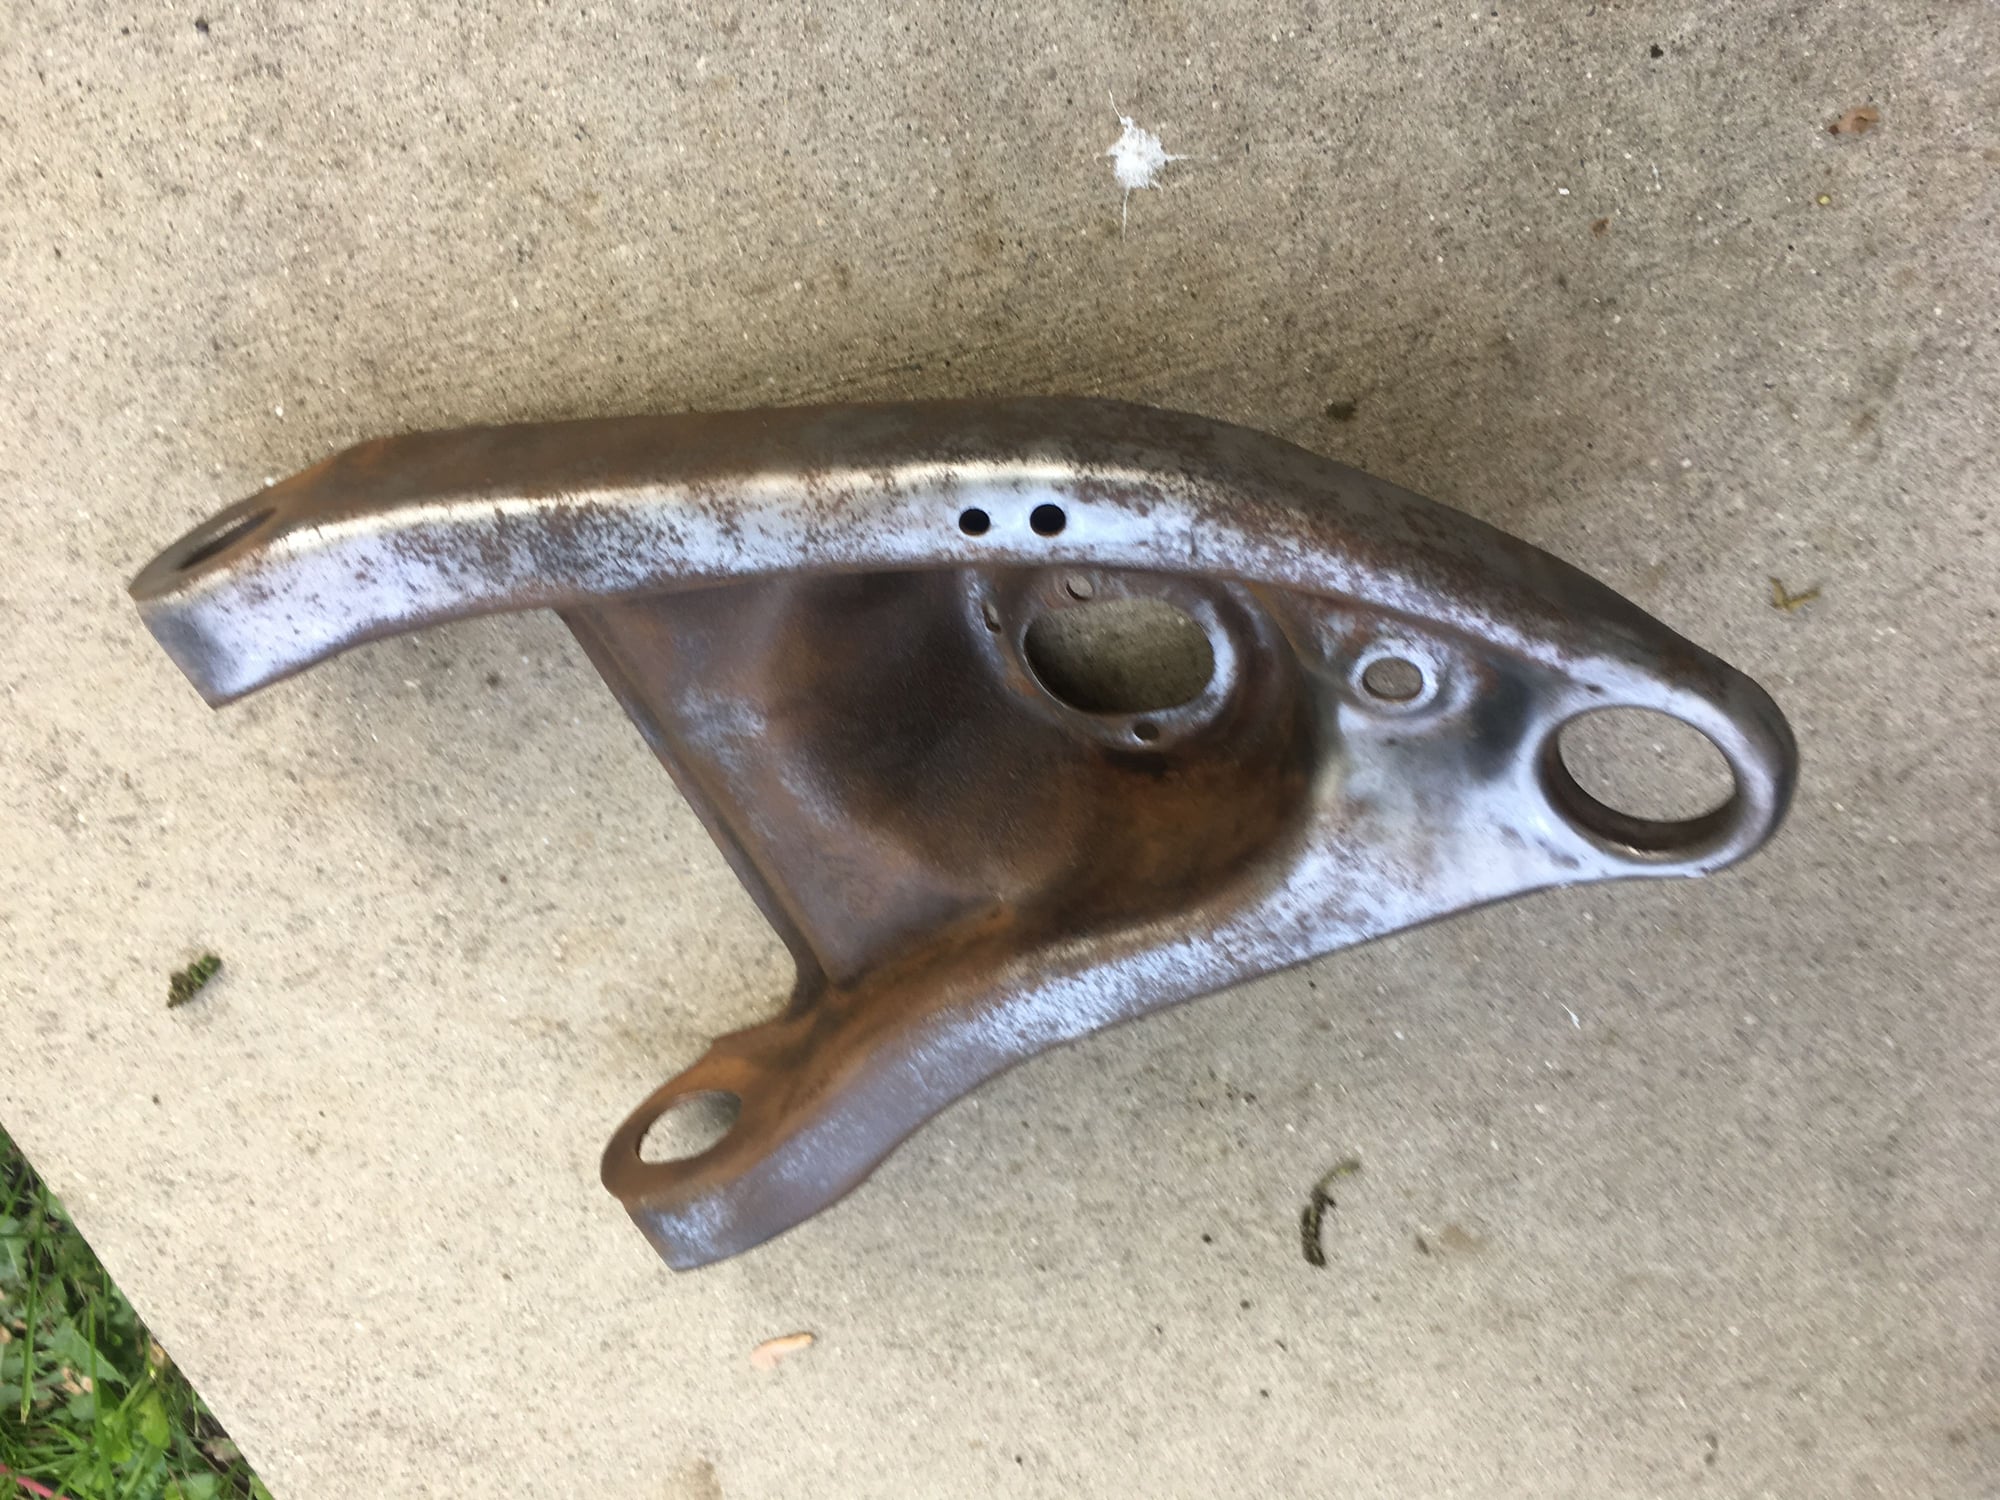
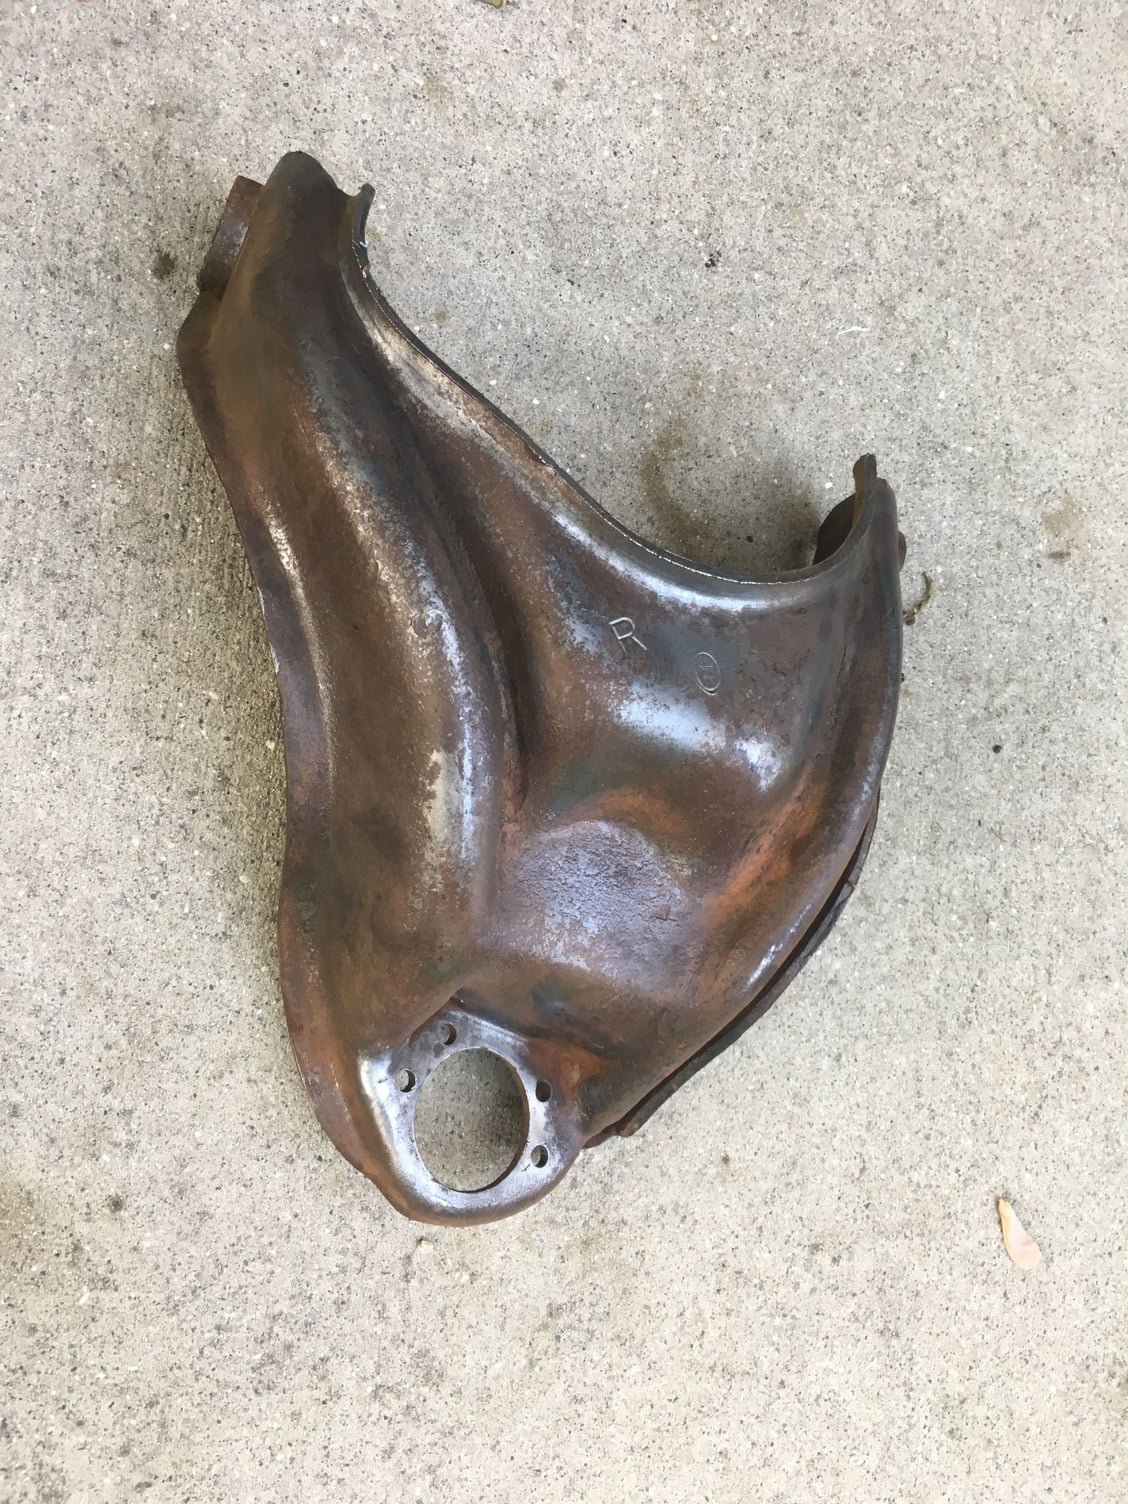
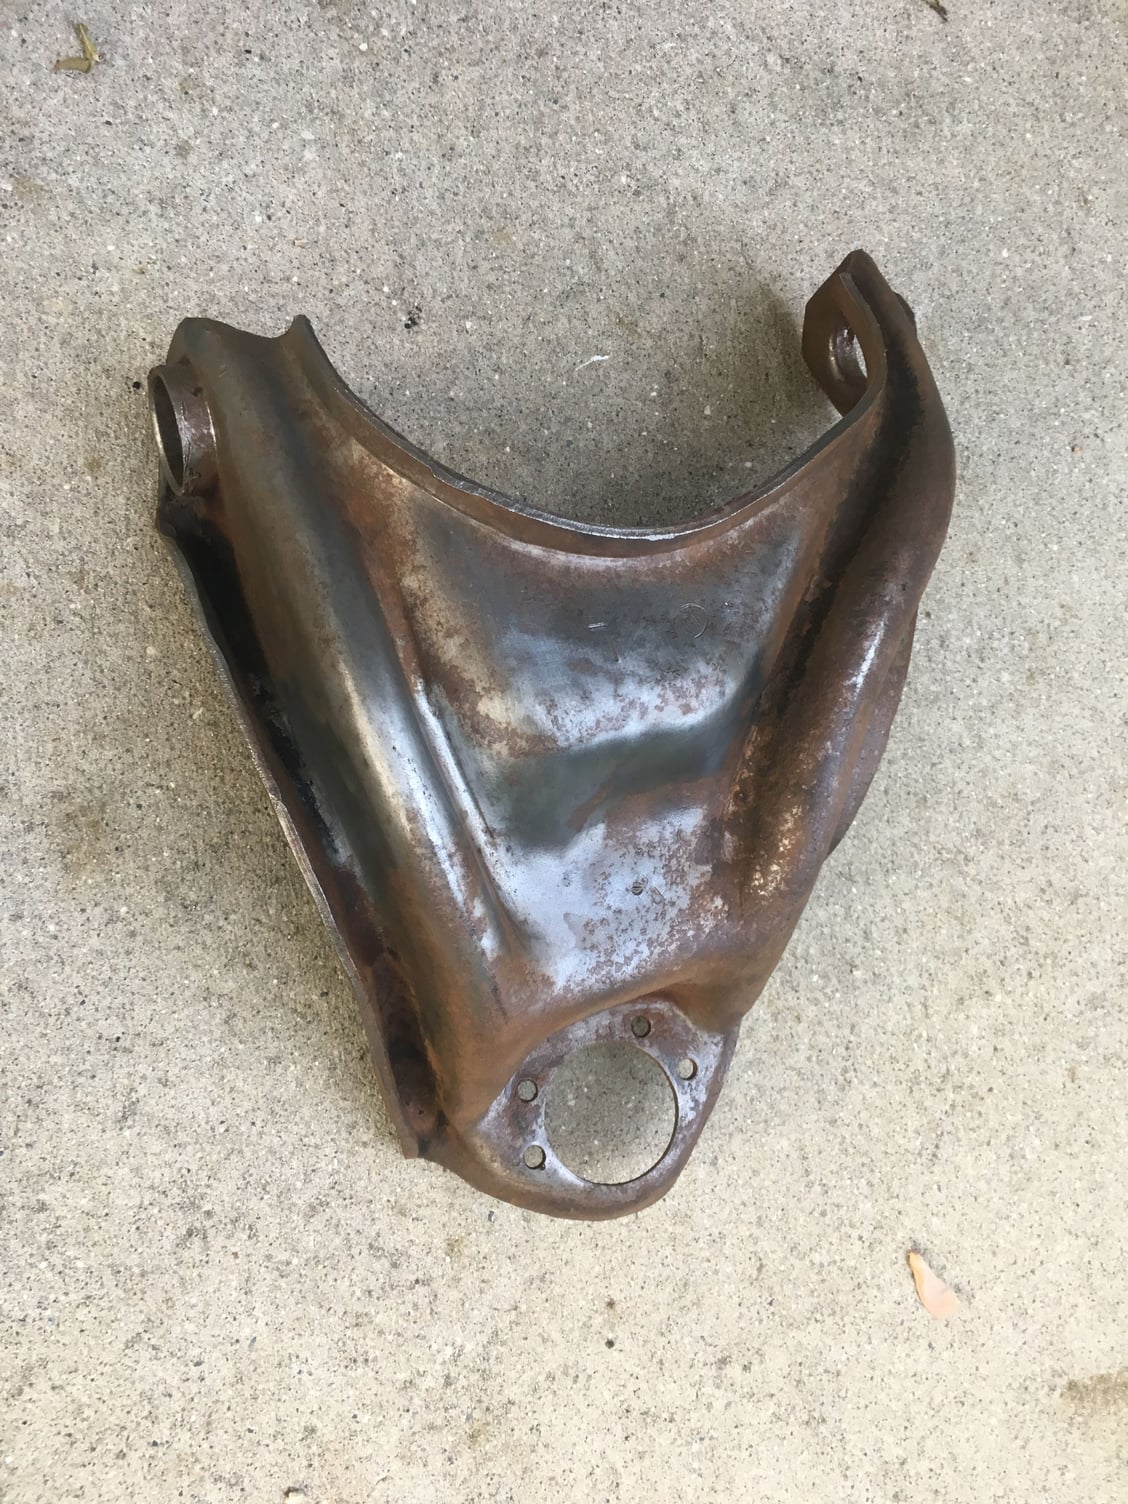
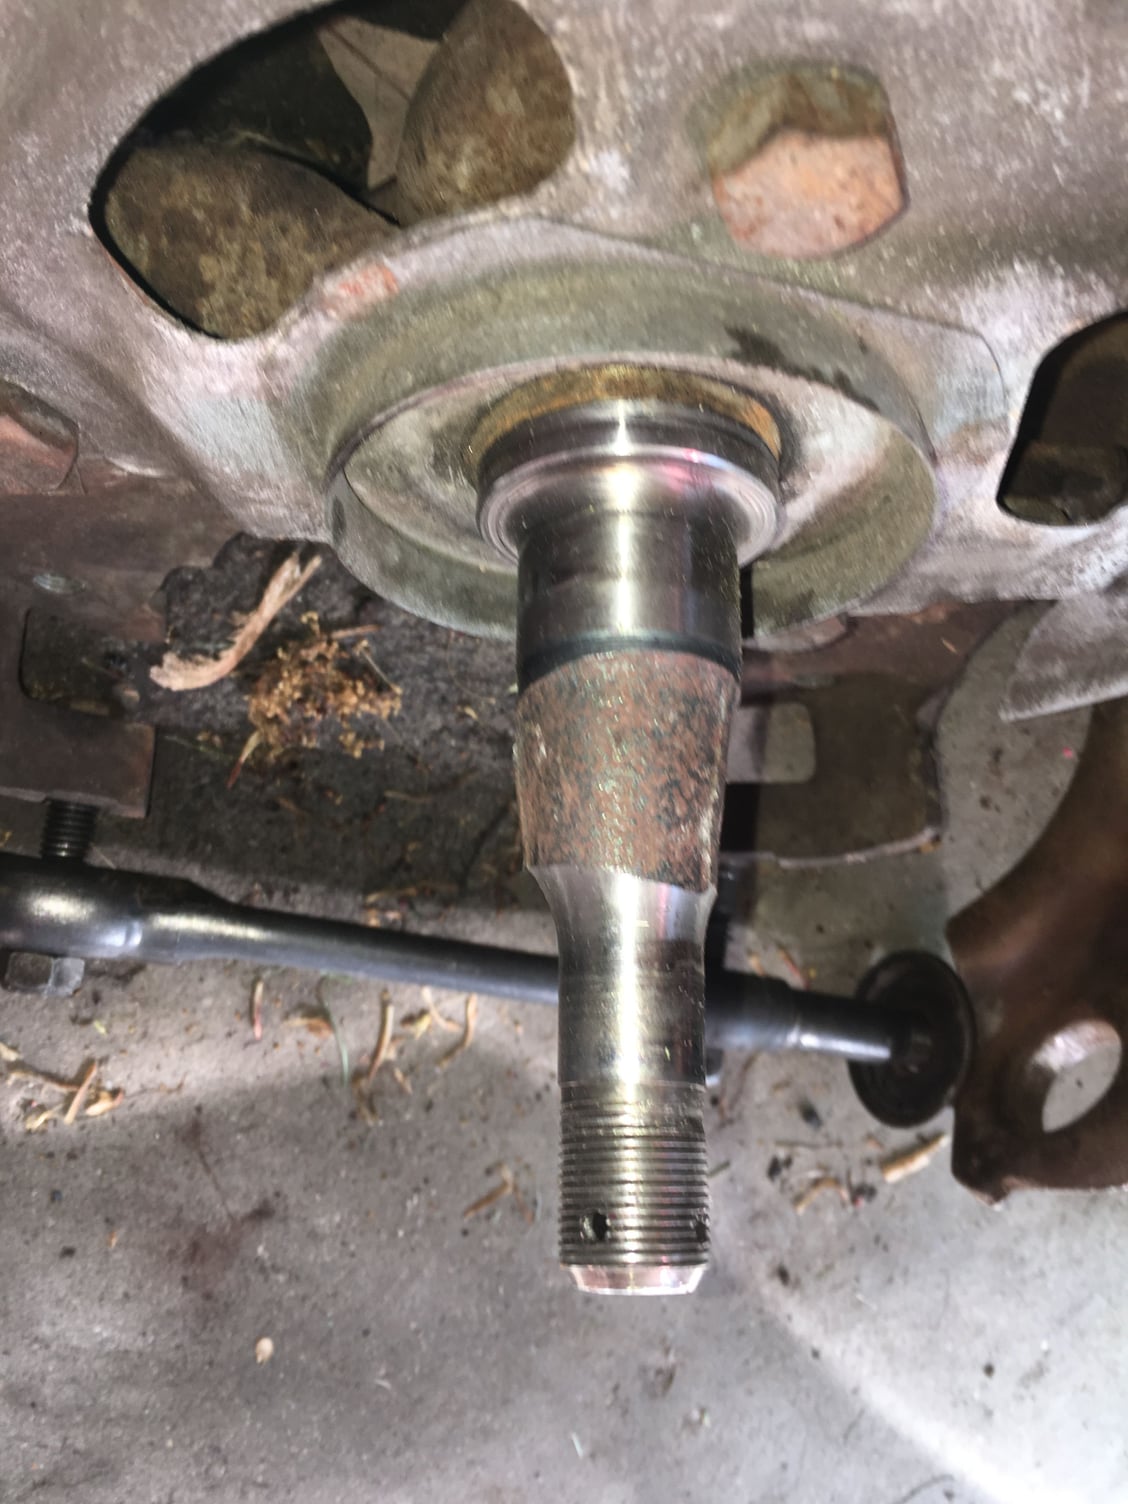
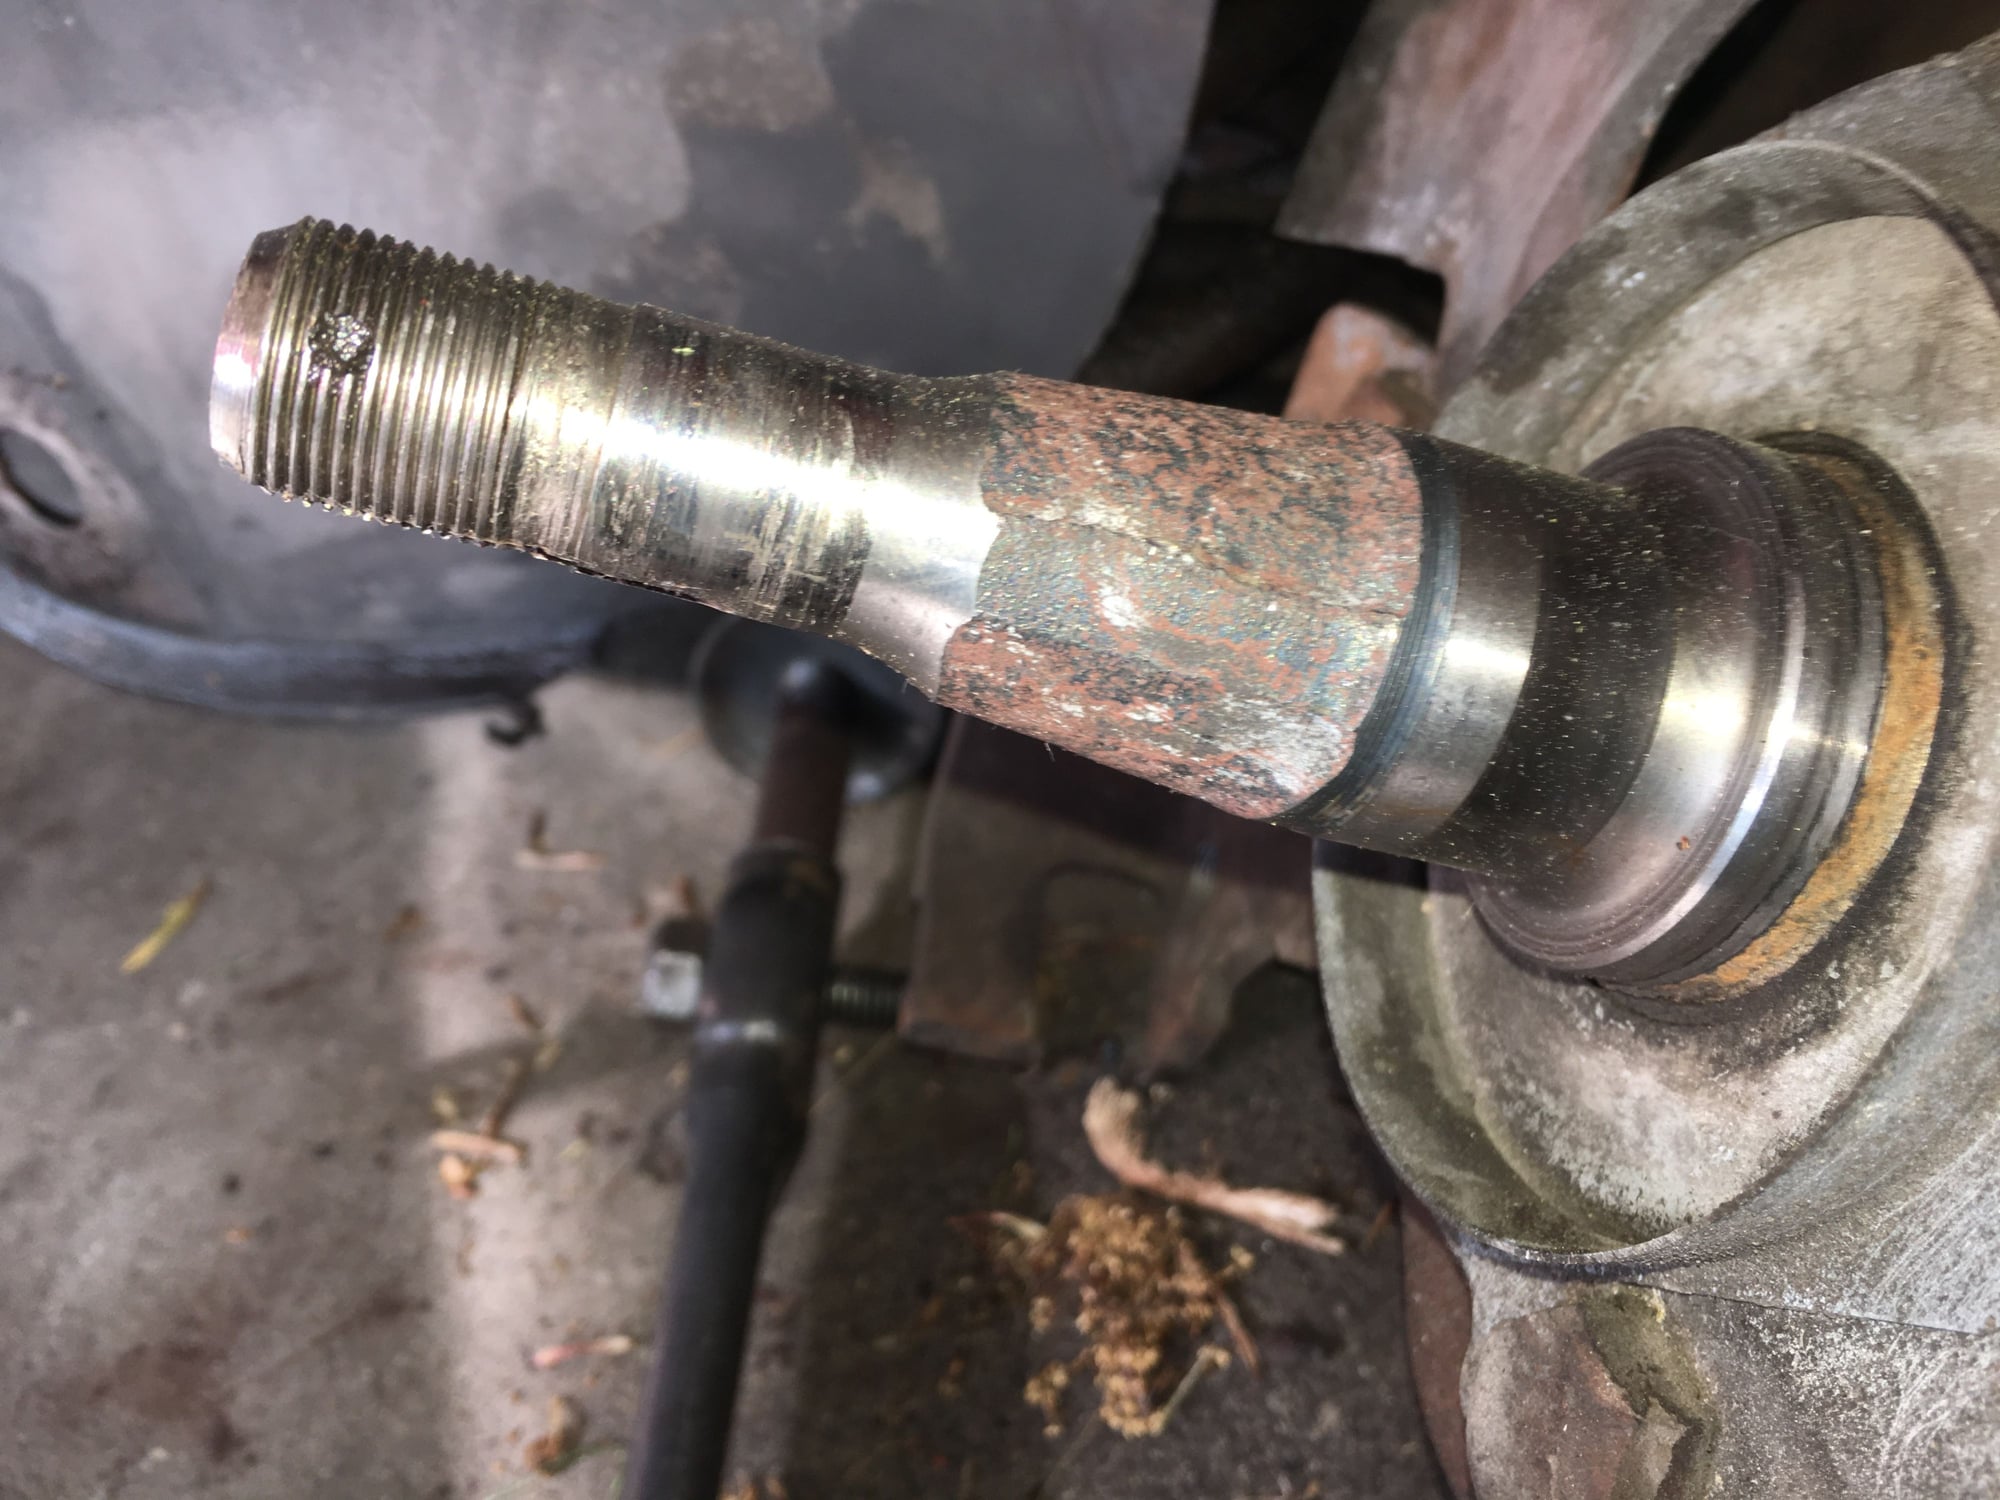
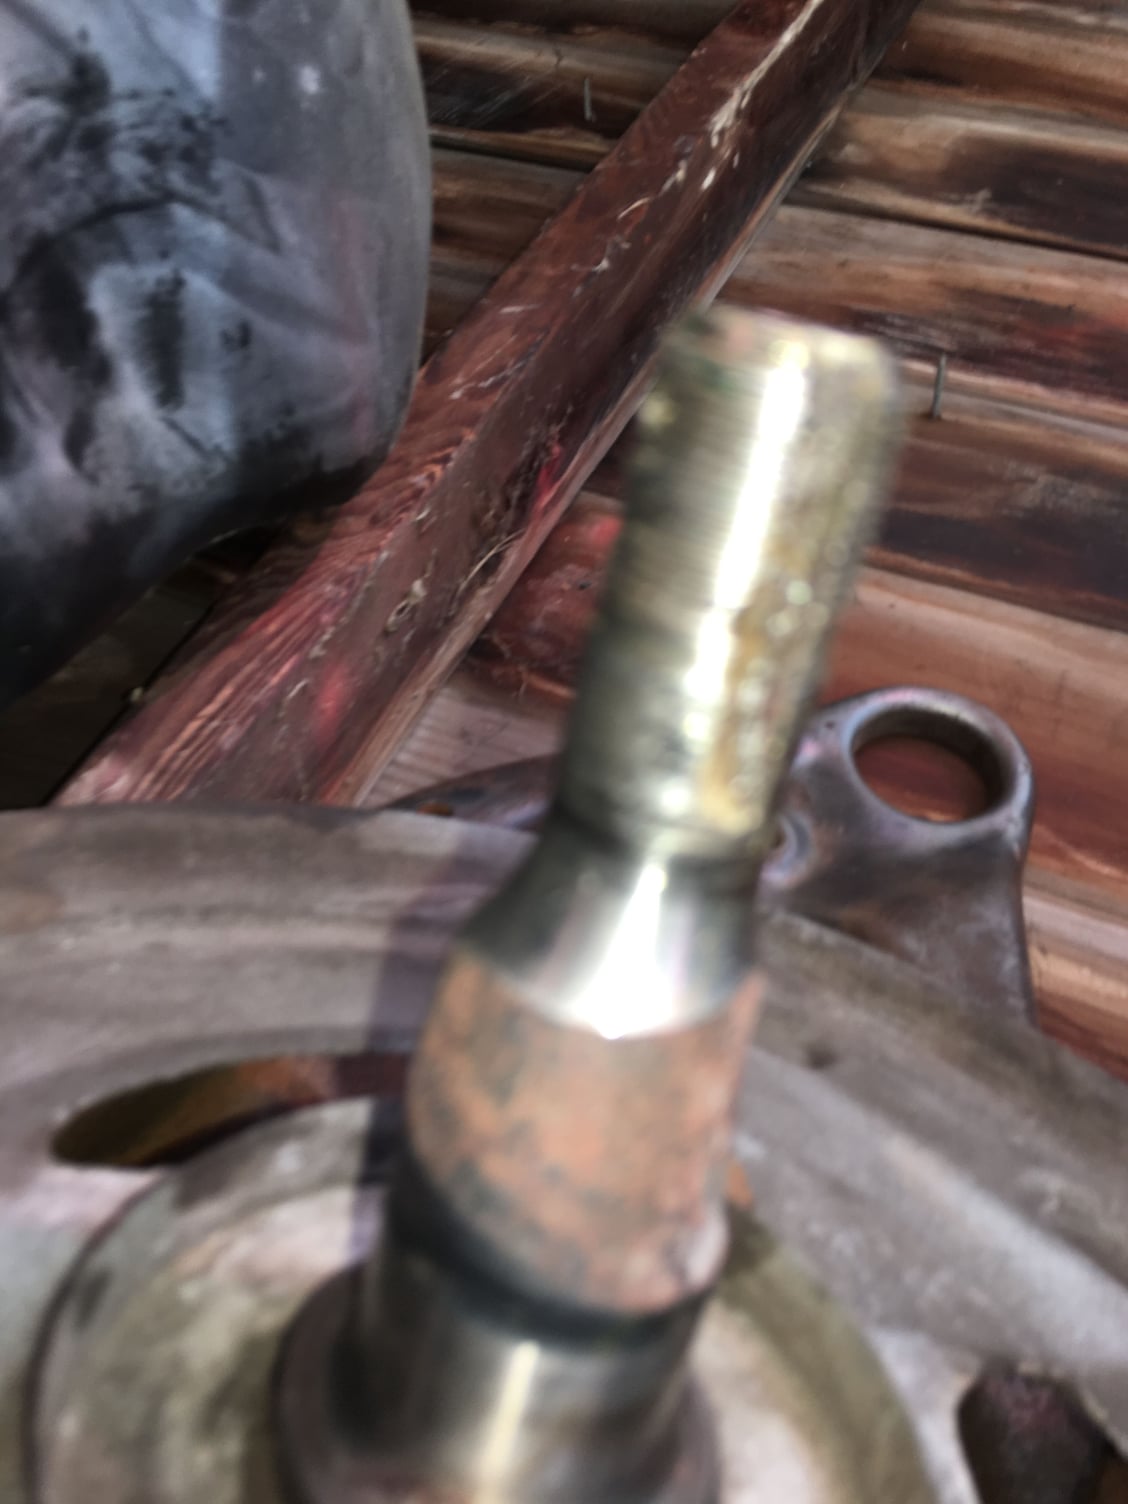
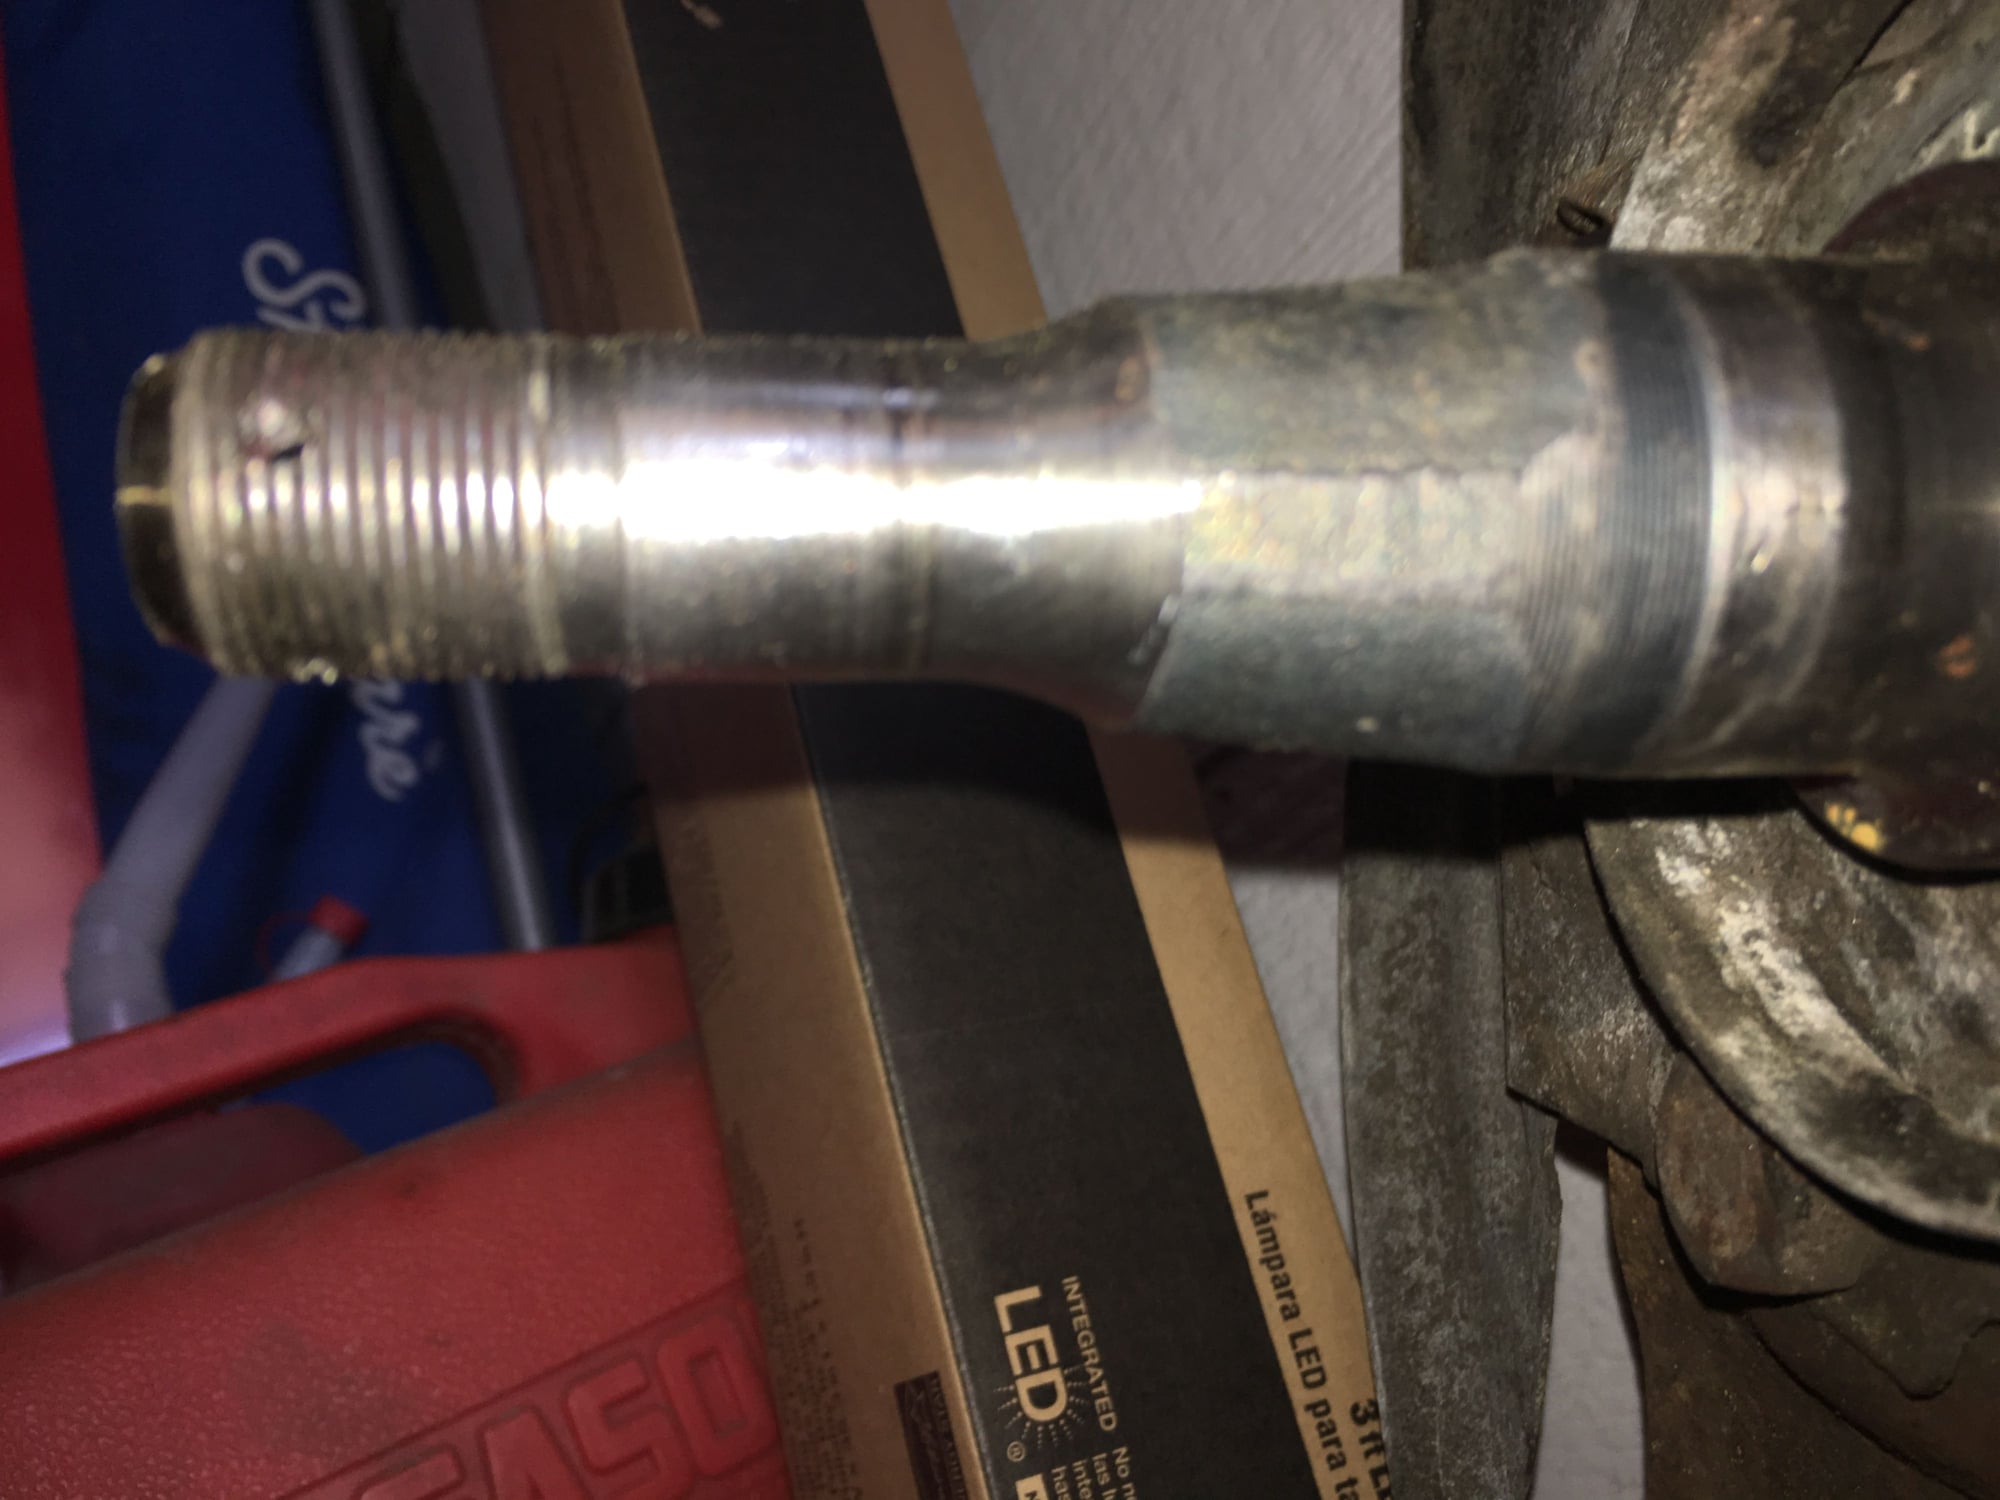
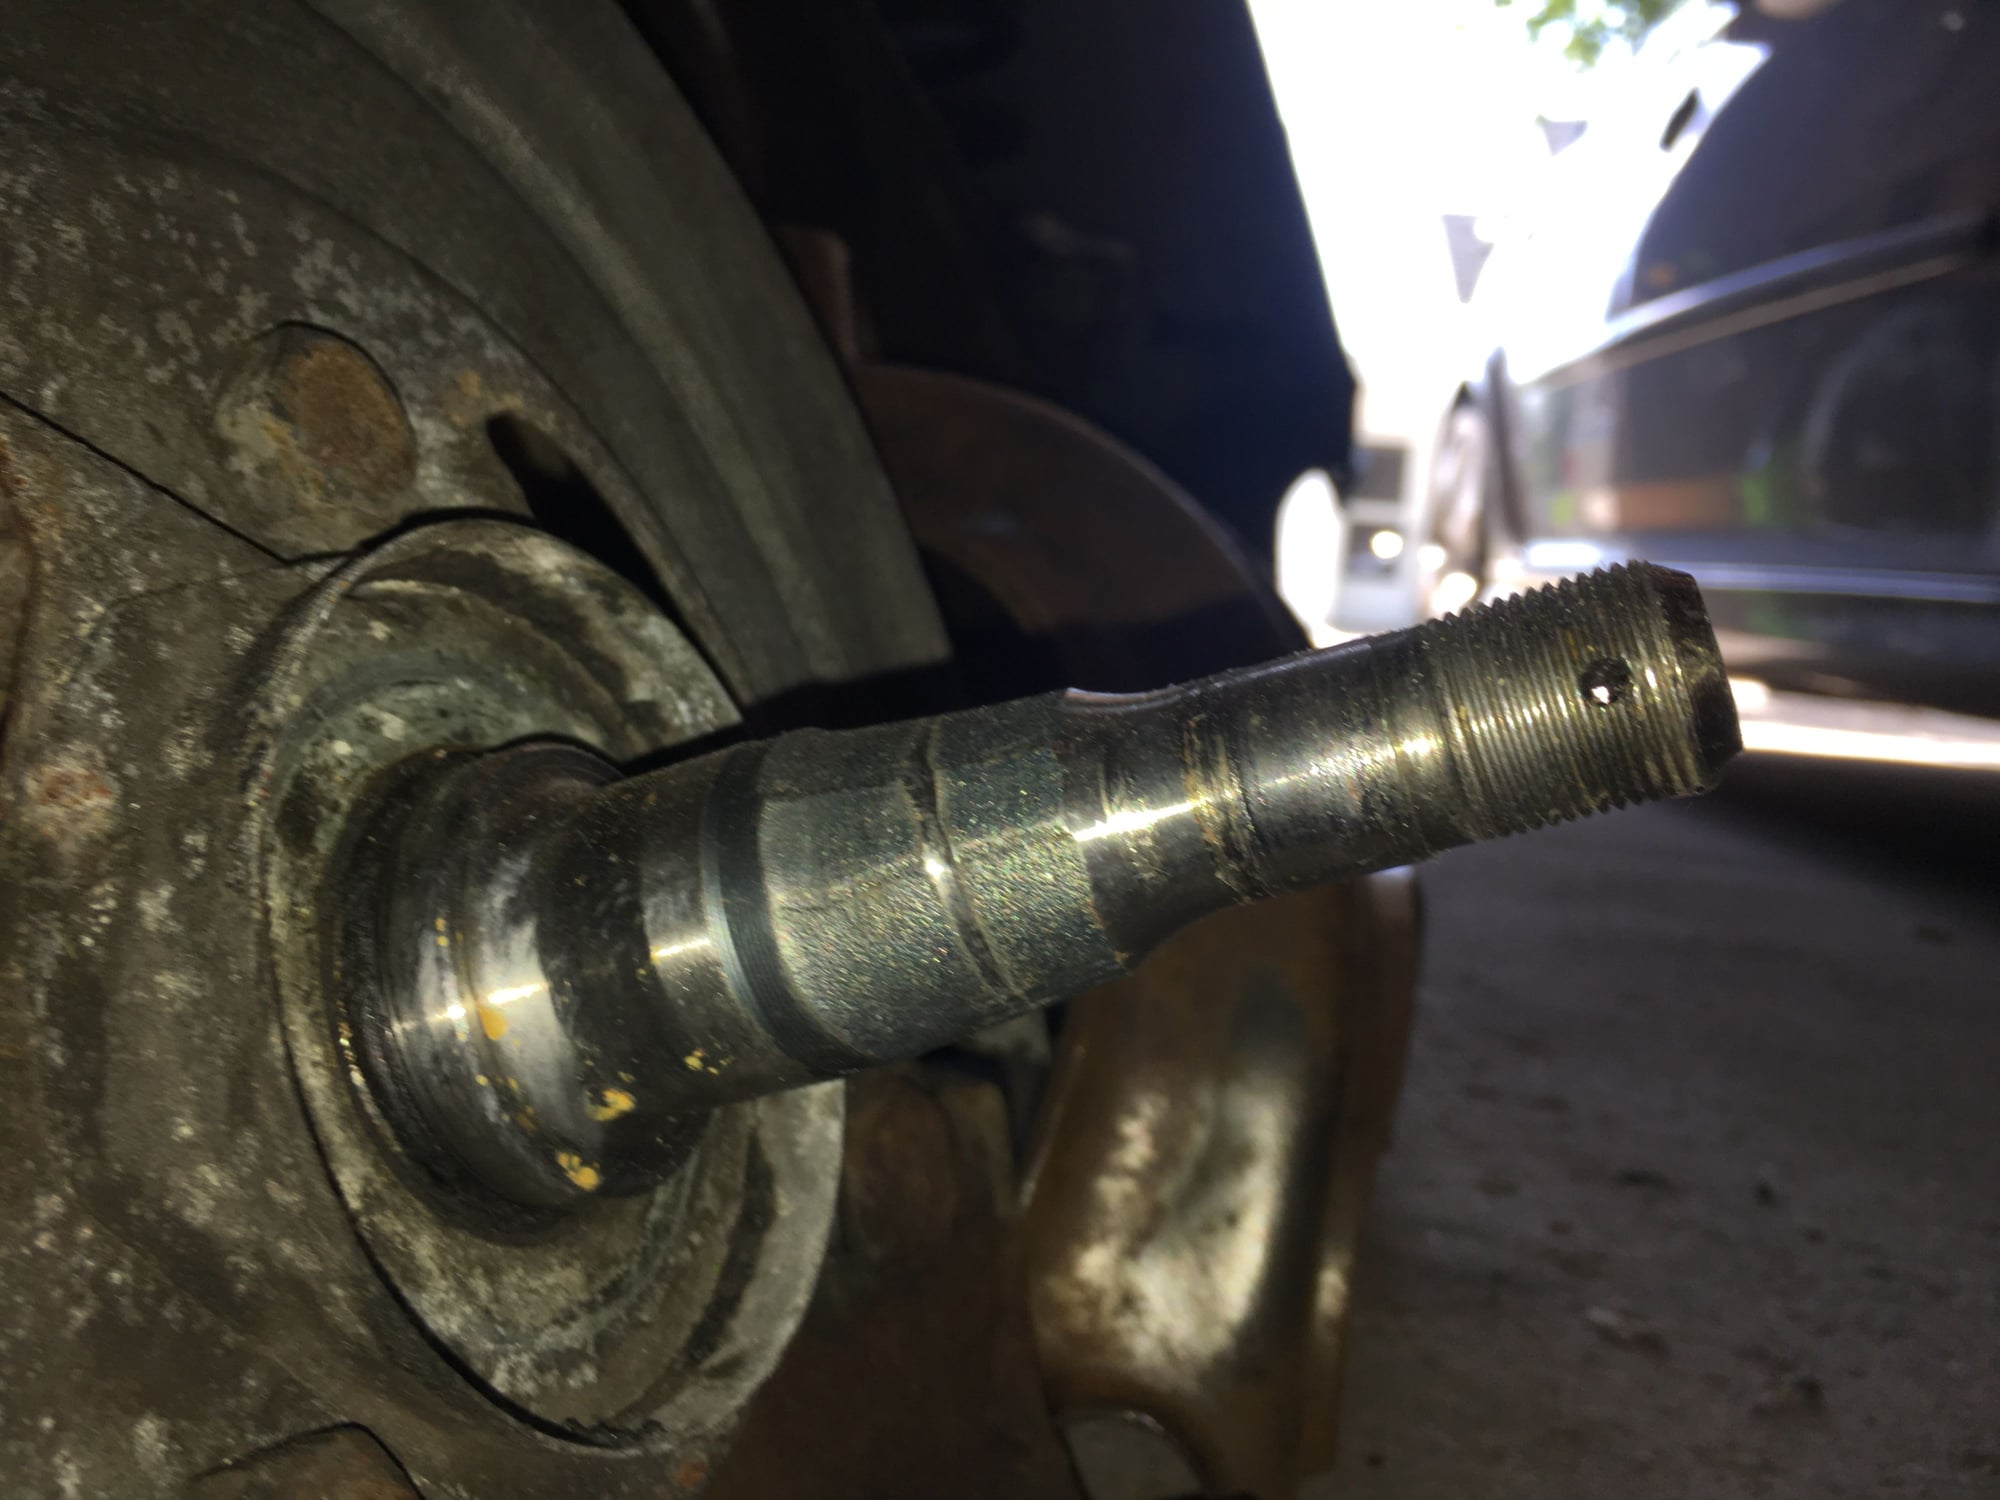
My 72 front end rebuild begins...
#42
Just an Olds Guy
Join Date: Jul 2008
Location: Edmonton, AB. And "I am Can 'eh' jun - eh"
Posts: 24,525
IDK, Those control arms are cheap. I'd be inclined to replace it and not have any issues. The way I look at it, same thing as putting a tail light lens that's cracked or chipped back on the car because 'it will still work'. Your call though. You're really close to a lot of guys who have tons of these OEM parts waiting for a buyer.
#43
Just an Olds Guy
Join Date: Jul 2008
Location: Edmonton, AB. And "I am Can 'eh' jun - eh"
Posts: 24,525
Ok, take this in the spirit of information and nothing else. You know your car isn't really a 442 right? (based on the bright work appearance on the car) My guess is you're cloning it?
#45
Correct - itís a 72 cutlass convertible - my first car when I was 16 was a true blue 442 hard top - always loved that car and always wanted a convertible so - I bought this car and Iím building it how I want it to be - I put a 68 455 in it - itís got power everything and an original 4 speed - if it were all original it would be worth roughly half of what I have into it - just building my dream car is all - never plan to sell
Last edited by 72442455; May 27th, 2019 at 04:12 PM.
#46
Question ... I was reading Macís build and about the upper control arm shaft bolts - mine didnít feel ďpressed inĒ at all - driverside nuts came off with no problem and bolts came out with no fuss - passenger side bolts spun and had to hold them through the wheel well then they came out pretty easily - am I missing something? Or did I screw something up?
#47
Just an Olds Guy
Join Date: Jul 2008
Location: Edmonton, AB. And "I am Can 'eh' jun - eh"
Posts: 24,525
Those control arm cross bolts are splined and when the nuts on the opposite end are tightened down they seat very firmly into place and can't move. Hard to say what happened in your case. Maybe the PO damaged the splines in a previous bushing change? I know that when I took mine out they fought me tooth and nail. I used a block of wood against the engine block to provide the leverage I needed and when they came out it sounded like a .22 going off. I highly doubt you screwed anything up, but have a good look at the bolt splines. If they look a little on the flat side, replace them.
#52
My guess would be a shop, not familiar with old cars, spun those bolts out when doing a recent alignment; but it's just a guess. When mine wouldn't come out, I did a lot of research and wow, people freak out about the splines getting ruined, saying the heads of the bolts can't be accessed once everything is together. Maybe for some that is the case but I guess we're lucky. At least in my case it would be easy to get a socket on the head if need be.
But yeah, definitely buy new bolts. I found it very curious that I could saw through the driver's side easily, but three sawz-all blades only got through half a bolt on the passenger's side. I've wondered if those driver's bolts were failing.
But yeah, definitely buy new bolts. I found it very curious that I could saw through the driver's side easily, but three sawz-all blades only got through half a bolt on the passenger's side. I've wondered if those driver's bolts were failing.
#53
I donít need vice grips for the outside ends - just a socket and extension and get them through the wheel well - Iím thinking Maybe what MAC was thinking ... sometime in the past (would be 20+ years) someone did some front end work on this - the driver side upper ball joint was replaced and maybe they swapped the spline bolts with regular bolts? - curious as to why these need splined bolts? Anyone able to explain it to me? Thanks gang ~ Joe R.
#54
Just an Olds Guy
Join Date: Jul 2008
Location: Edmonton, AB. And "I am Can 'eh' jun - eh"
Posts: 24,525
These bolts are holding the UCA to the perch. If a regular bolt was used and heaven forbid it came loose and fell out, that would not be good. With a splined bolt, it's not going to come out even if the nut is left loose by an incompetent alignment shop. It will also ruin your alignment in a hurry. The control arms see a lot of action so you want everything to be tight with the flex being the bushing only.
#55
These bolts are holding the UCA to the perch. If a regular bolt was used and heaven forbid it came loose and fell out, that would not be good. With a splined bolt, it's not going to come out even if the nut is left loose by an incompetent alignment shop. It will also ruin your alignment in a hurry. The control arms see a lot of action so you want everything to be tight with the flex being the bushing only.
#56
If you've ever worked on those as Mac did, holding a wrench on each end of the bolt, you know it's a royal PITA to hold the head of the bolt while tightening/loosening the nut. With a splined bolt held in place, it's easy to loosen/tighten the nut during an alignment using one wrench and not needing one extremely long arm to reach the bolt head.
#57
If you've ever worked on those as Mac did, holding a wrench on each end of the bolt, you know it's a royal PITA to hold the head of the bolt while tightening/loosening the nut. With a splined bolt held in place, it's easy to loosen/tighten the nut during an alignment using one wrench and not needing one extremely long arm to reach the bolt head.
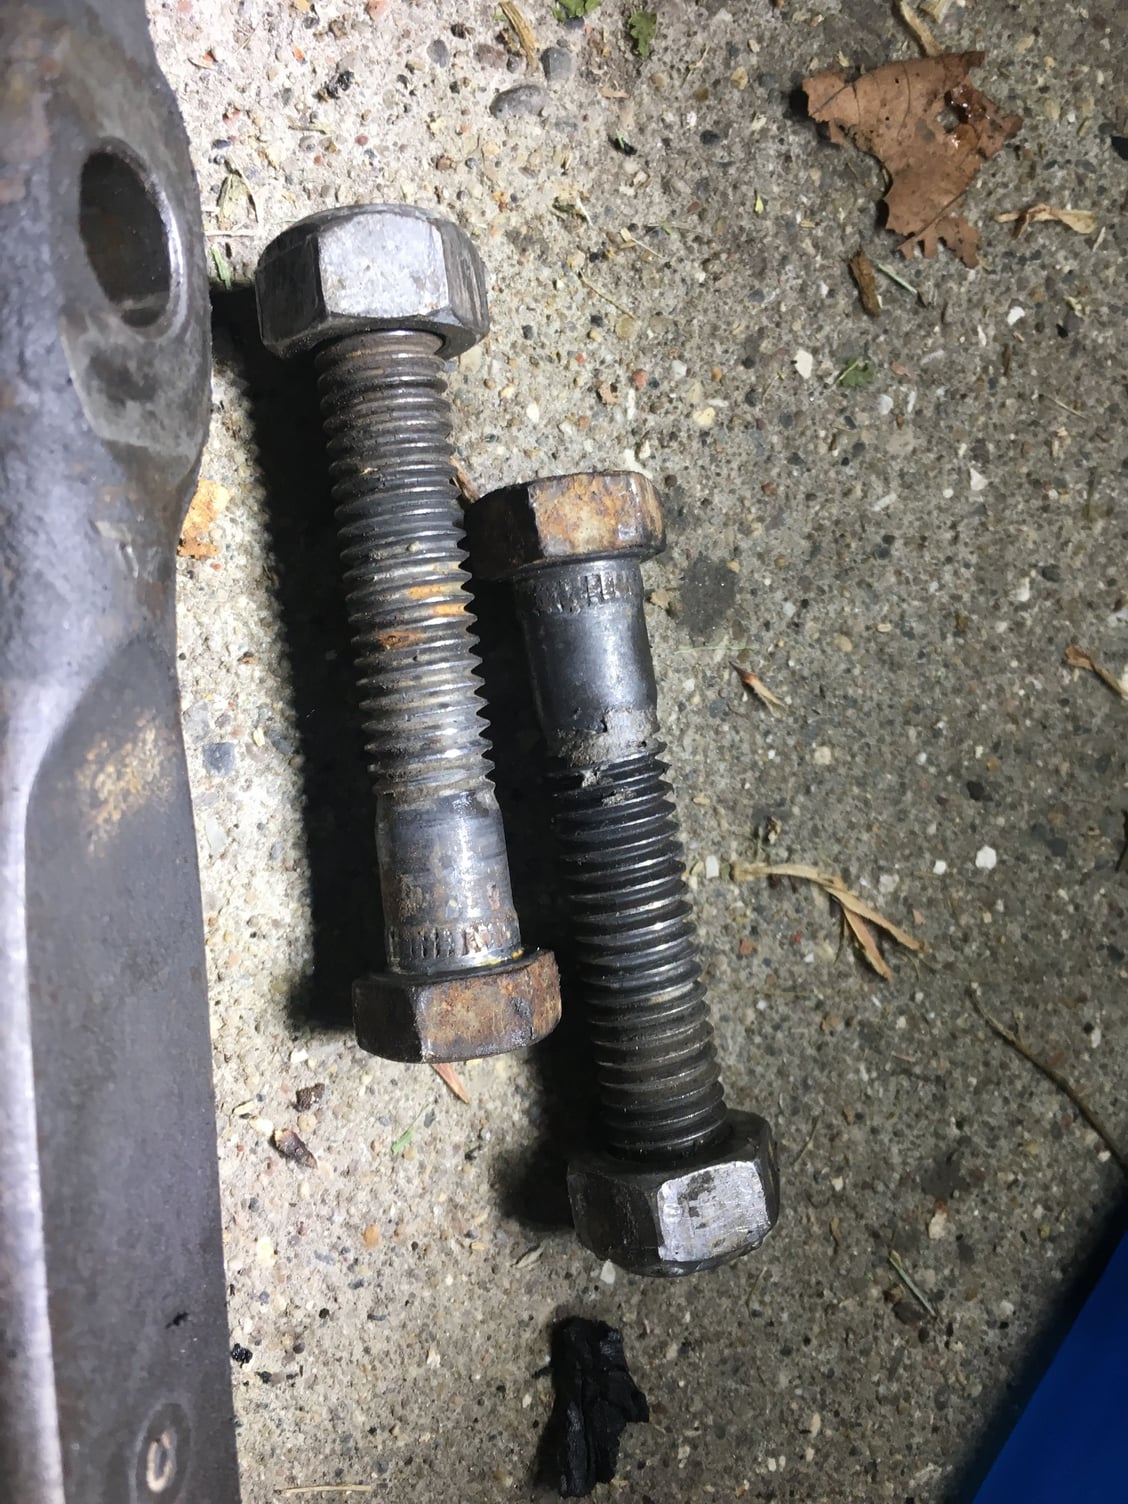
Splined upper control arm cross bar bolts
#62
#65
Just an Olds Guy
Join Date: Jul 2008
Location: Edmonton, AB. And "I am Can 'eh' jun - eh"
Posts: 24,525
I don't think you need new cross bars. Get the new splined bolts first and see how they 'feel' in the openings. If they 'stop' when you press them gently against the crossbar, problem solved. I would however replace that damaged upper control arm, but that's just me.
#66
You mean the lower? Or are you seeing something in an upper that I missed?
#67
I think Allan means the lower.
I've been looking for new lower control arm bolts but all I can find is hardware store grade-8 bolts and regular ol' locknuts. Since mine aren't worn at all and cleaned up real nice, I'm just going to use the originals.
I've been looking for new lower control arm bolts but all I can find is hardware store grade-8 bolts and regular ol' locknuts. Since mine aren't worn at all and cleaned up real nice, I'm just going to use the originals.
#68
I got an inline tube kit for front and rear upper and lower control arm bolts - hope itís not balsa wood bolts 😜 - Iím looking for a lower control arm - but lots seem out of stock on driver side - we will see what I can find
#72
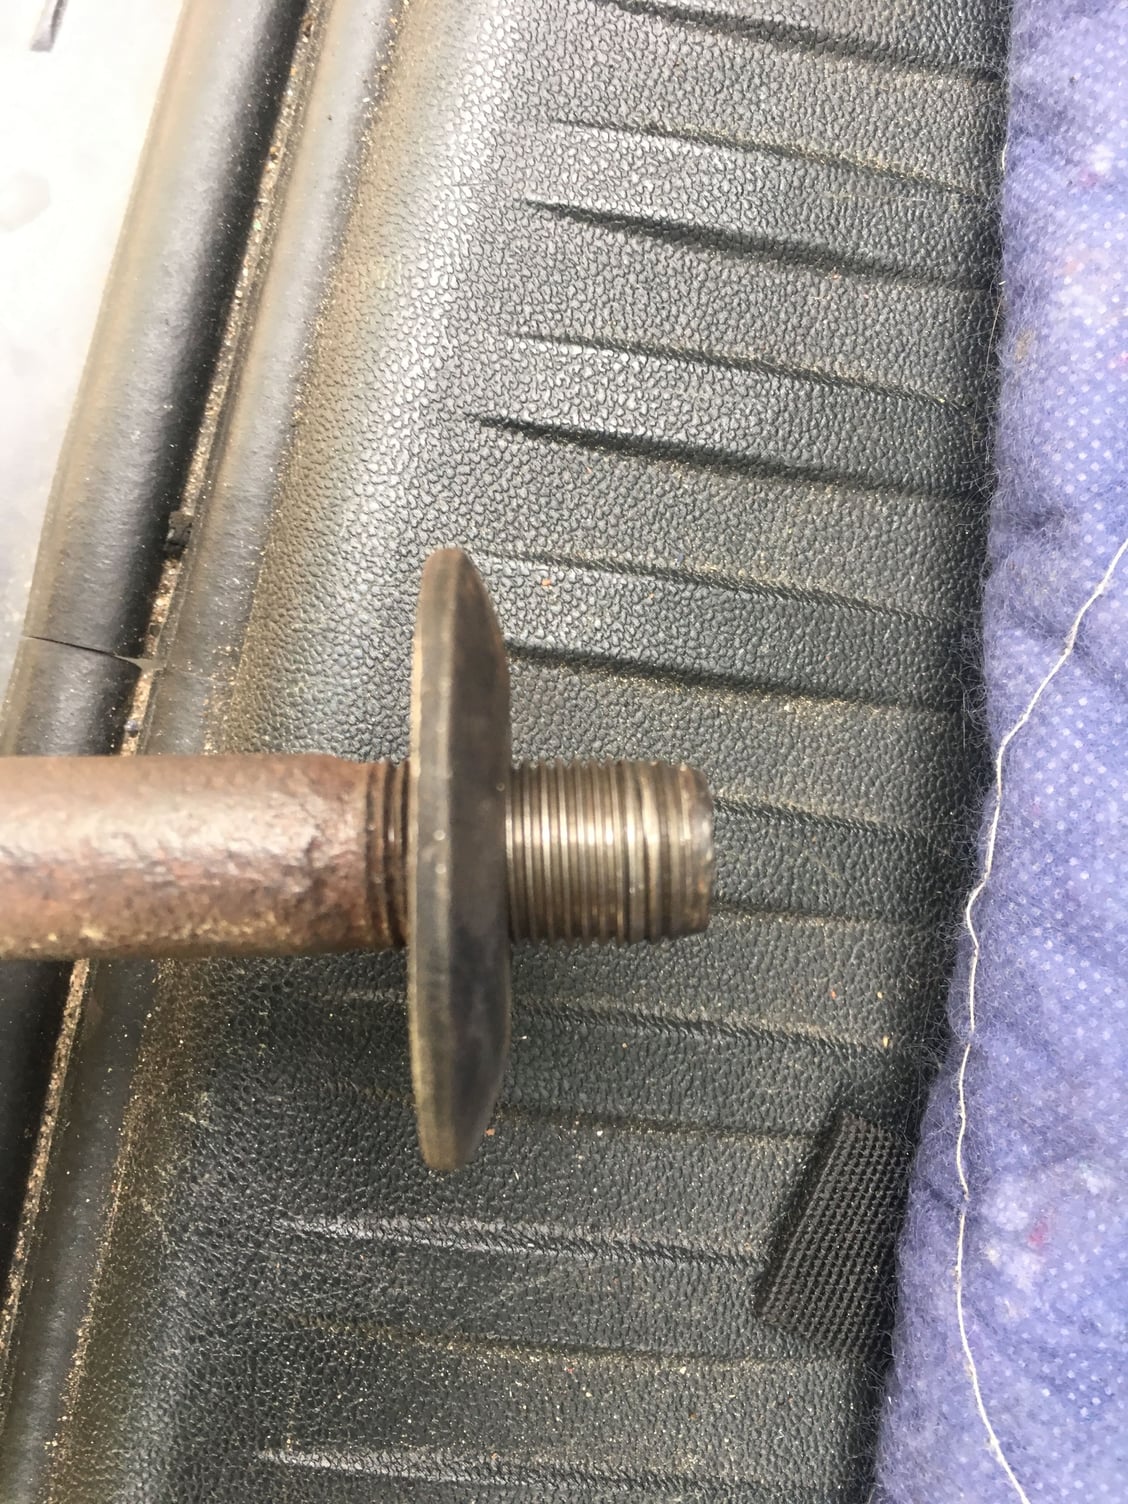
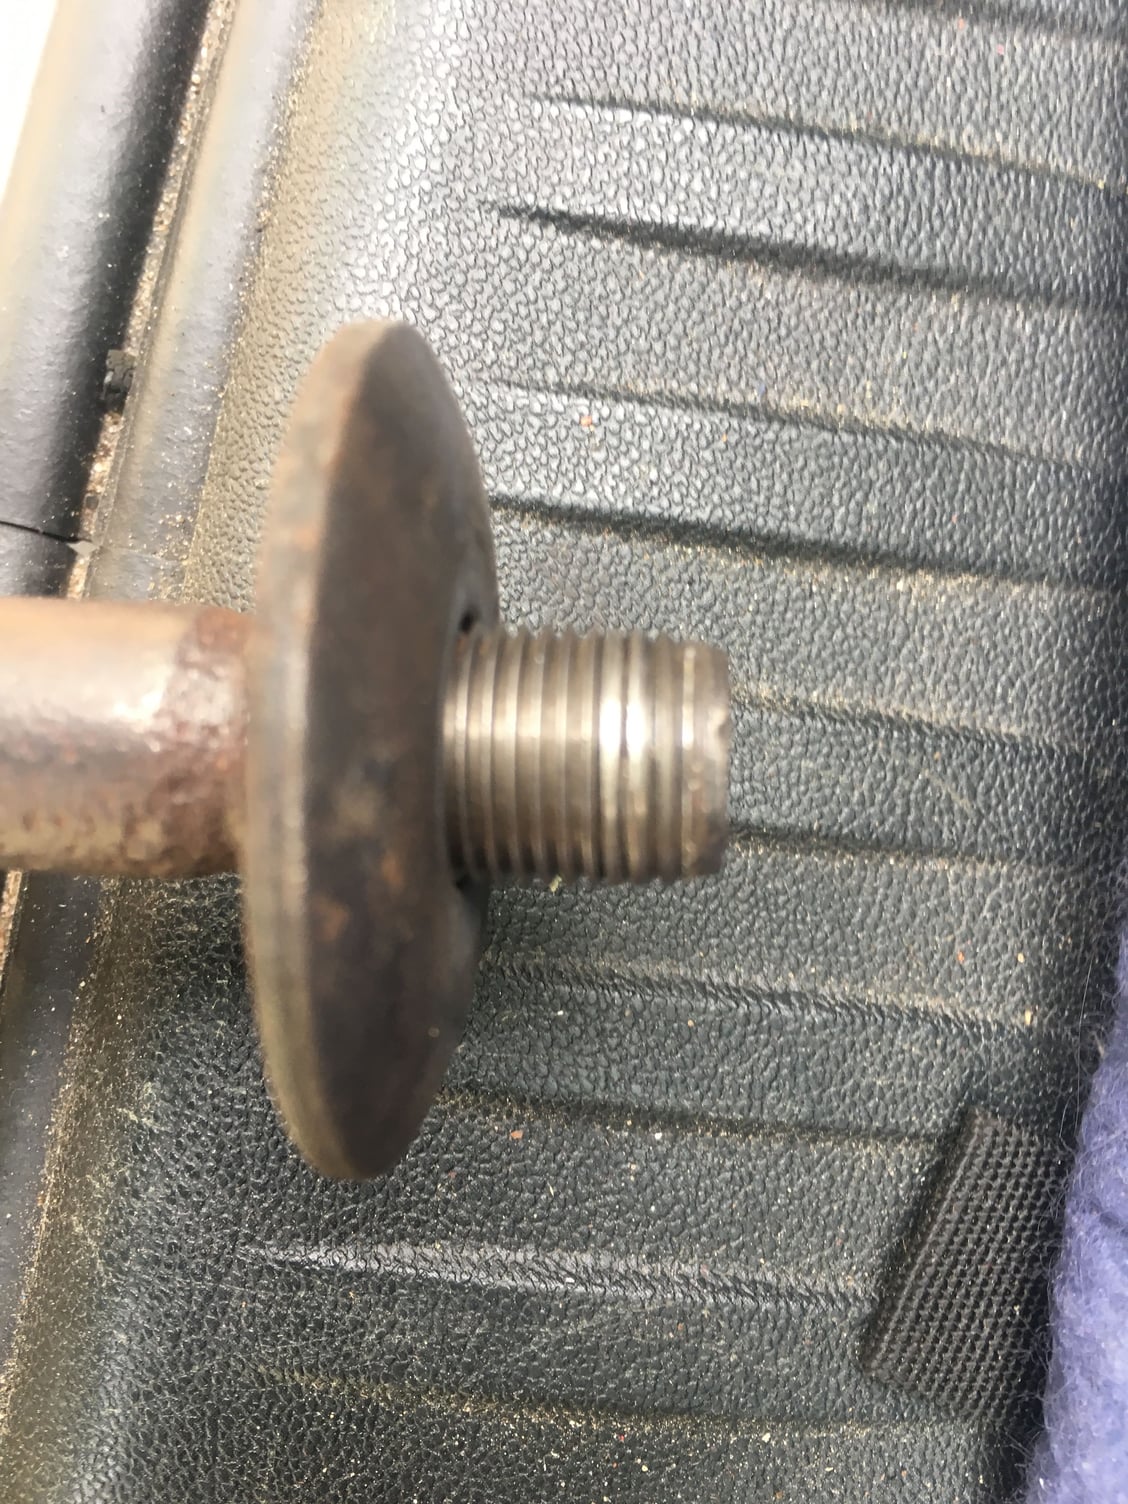
Threads on the cross shafts took a bit of a beating on bushing removal - I was entertaining the idea of replacing them - but when I search the only option I can find is the off set shafts - these seem like a good idea if I choose to replace them / why not give more room for adjustment? Question is ... I carefully put the alignment shims in the order I removed them - if I were to replace the shafts with off set ... how would I handle the replacing is the shims? (Obviously I need to get it aligned - just looking to get it close for the drive)
#73
The offset moves the pivot away from the engine to comp for frame rails bending inward over time. Compare your new and old shafts, eyeball is close enough. Next leave that thickness of shim out of the shim pack. In reality it doesn't matter a whole lot one way or another. Replacing bushings (and you should be doing springs as well) is going to change everything way more than the offset shafts. Just be sure to go immediately to the alignment shop else your tires will pay the price. Note that you'll need another alignment in a year or so, once your new springs and bushings have been broken in.
#74
The offset moves the pivot away from the engine to comp for frame rails bending inward over time. Compare your new and old shafts, eyeball is close enough. Next leave that thickness of shim out of the shim pack. In reality it doesn't matter a whole lot one way or another. Replacing bushings (and you should be doing springs as well) is going to change everything way more than the offset shafts. Just be sure to go immediately to the alignment shop else your tires will pay the price. Note that you'll need another alignment in a year or so, once your new springs and bushings have been broken in.
#75
Brother, I hear that. Took my b body to a tire shop chain. Two hours later they tell me no one knows how to align it. Took it to my old school muffler shop that rents a space to a front end man. Gave the guy a copy of the assembly manual page showing how it goes together and he still screwed it up. He ended up doing it again, but got it right the second time. Now I always take it to him since he's got it figured out.
#76
Brother, I hear that. Took my b body to a tire shop chain. Two hours later they tell me no one knows how to align it. Took it to my old school muffler shop that rents a space to a front end man. Gave the guy a copy of the assembly manual page showing how it goes together and he still screwed it up. He ended up doing it again, but got it right the second time. Now I always take it to him since he's got it figured out.
#77
Icky weather - just doing some thinking on my project - 1) my new Moog front end components ... are they going to instant rust like my new brake master cylinder did? Or keep the dark grey metal finish?
2) any advice on how to inspect my spindles (bearing contact points) for wear - concerned for safety reasons and not 100% sure what I want to look for
2) any advice on how to inspect my spindles (bearing contact points) for wear - concerned for safety reasons and not 100% sure what I want to look for
Last edited by 72442455; June 1st, 2019 at 04:52 PM.


