When you click on links to various merchants on this site and make a purchase, this can result in this site earning a commission. Affiliate programs and affiliations include, but are not limited to, the eBay Partner Network.
I LOVE this thread - AWESOME attention to detail with high quality.
I smile as I remember the days at the GM B-O-P plant in Framingham MA in 1972, watching a guy "dust" an assembled frame with the absolute minimum of GM
reconditioning paint - just enough to keep the frame and suspension from flash rusting at the dealership.
And all the brackets were dipped in slop paint with no primer and hung to dry, with mediocre coverage and tons of drips.
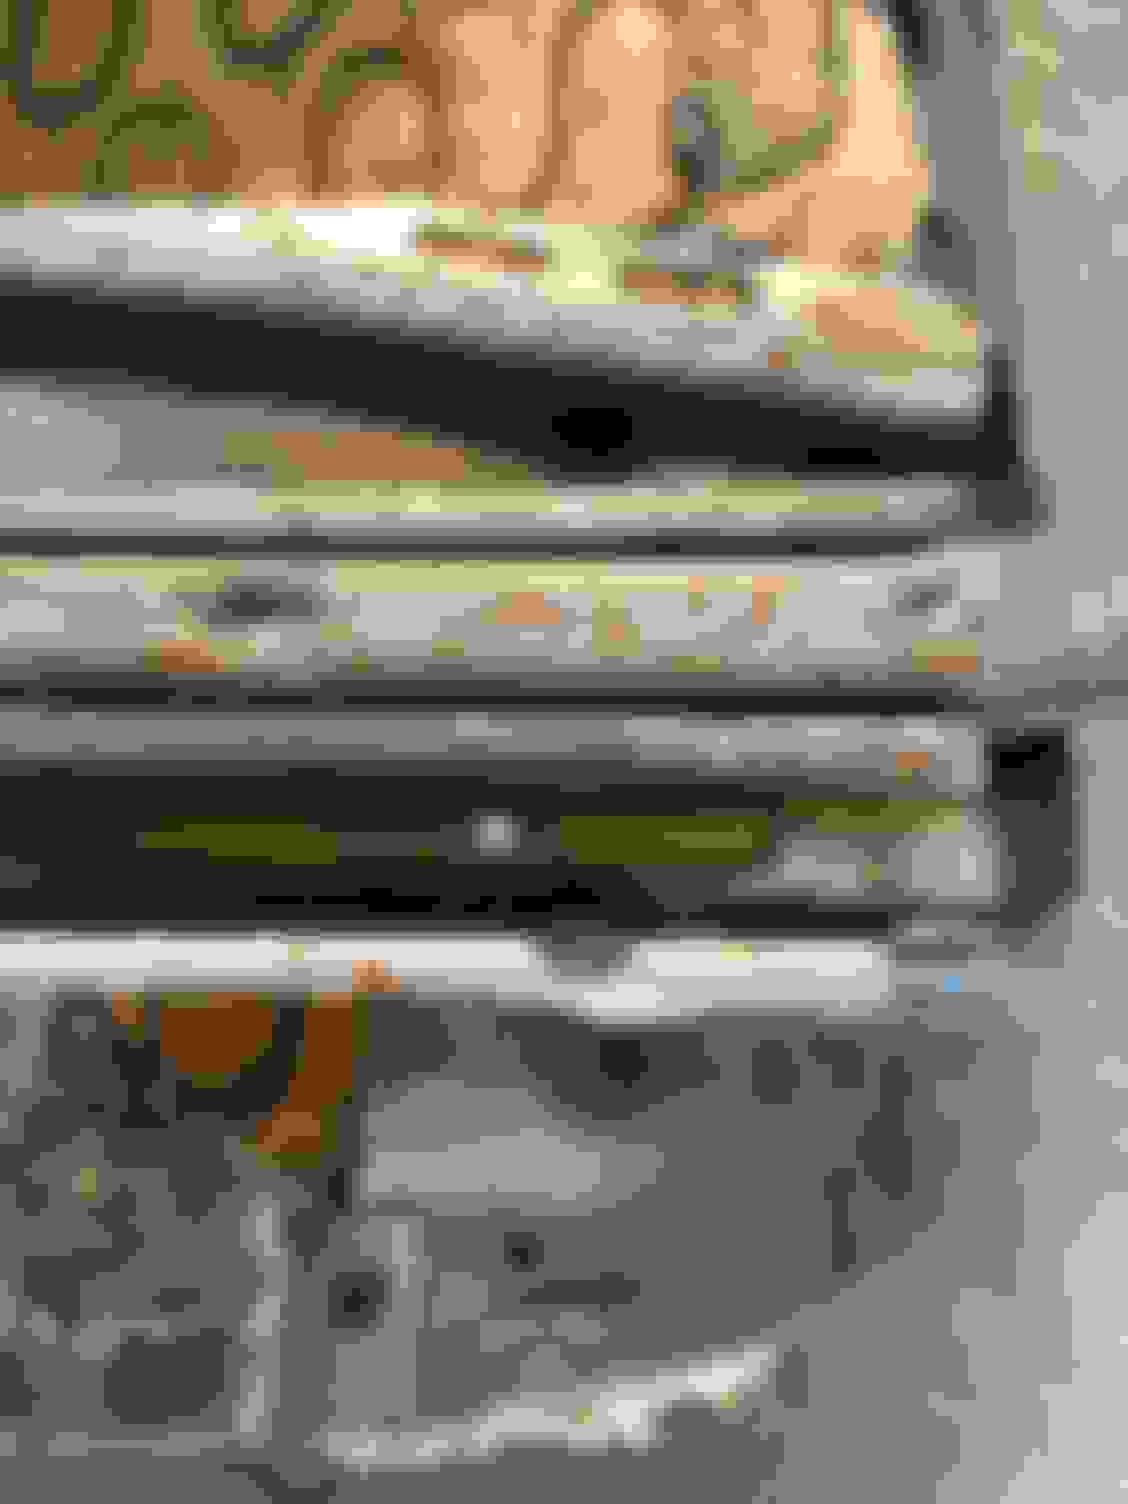
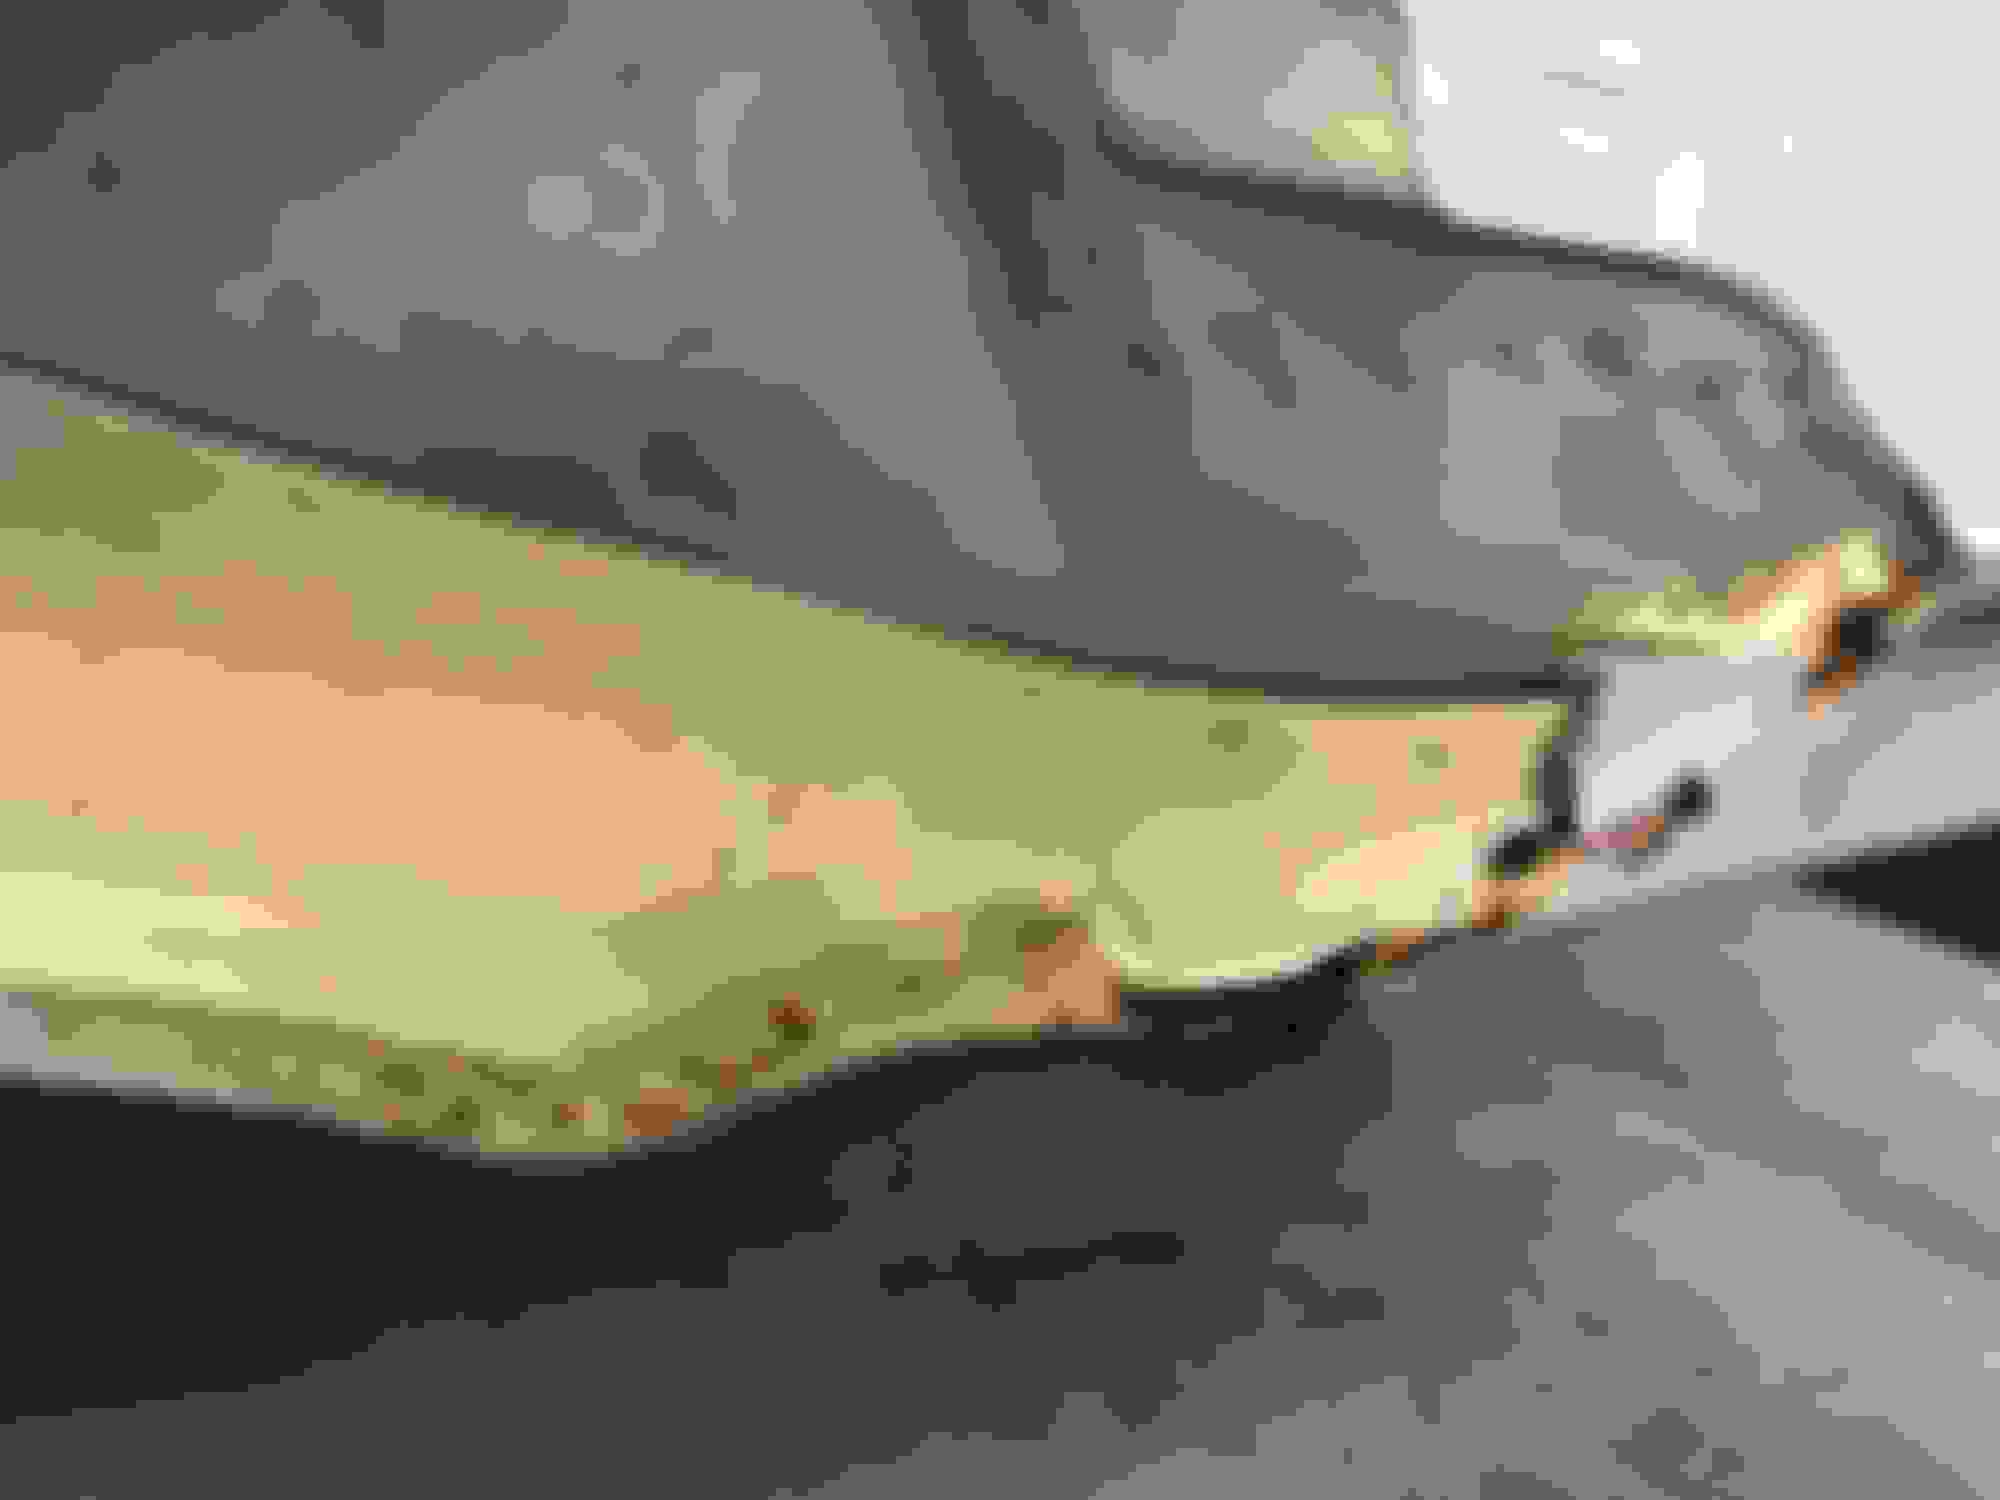
Received some less than stellar news yesterday around the passenger door. Looks like there was a drainage issue that caused some nasty rot on the passenger side door. See below.
So typical for these doors. I probably have 1/2 doz doors with the same area in varying condition. Definitely drainage issues.
Yep, very common. Not really bad news, as more normal news. Most doors have these problems...or you get nice frames with crap door skins. Hard to find both in great shape. I have both scenarios above. Just the way it is most of the time.
Doesnt look too bad to fix...no?
Update....just zoomed in on pic and yeah, it is a bit worse than normal. But still should be able to be fixed from donor door I'd think.
Jimmy I finally finished reading this thread. Your doing a killer job with incredible attention to detail. This will be so useful for reference for restorations in the future. Wow talk about about educational and the input from the other members is so valuable.
Spent Friday morning at Bob's shop going over the W-31. I'm really pleased with how the car is progressing. It was great catching up with Bob; likely could've spent a full day swapping Oldsmobile stories.
I'll trust Bob when he says he's dealt with far worse rust and that this isn't too bad. The beauty of blasting the car is to flesh out rusted areas like you see below. I had no idea some of these areas were rotted away. You can see that there is some prior body work completed. I want to say the car was repainted in the '80's after a side swipe on the drivers side.
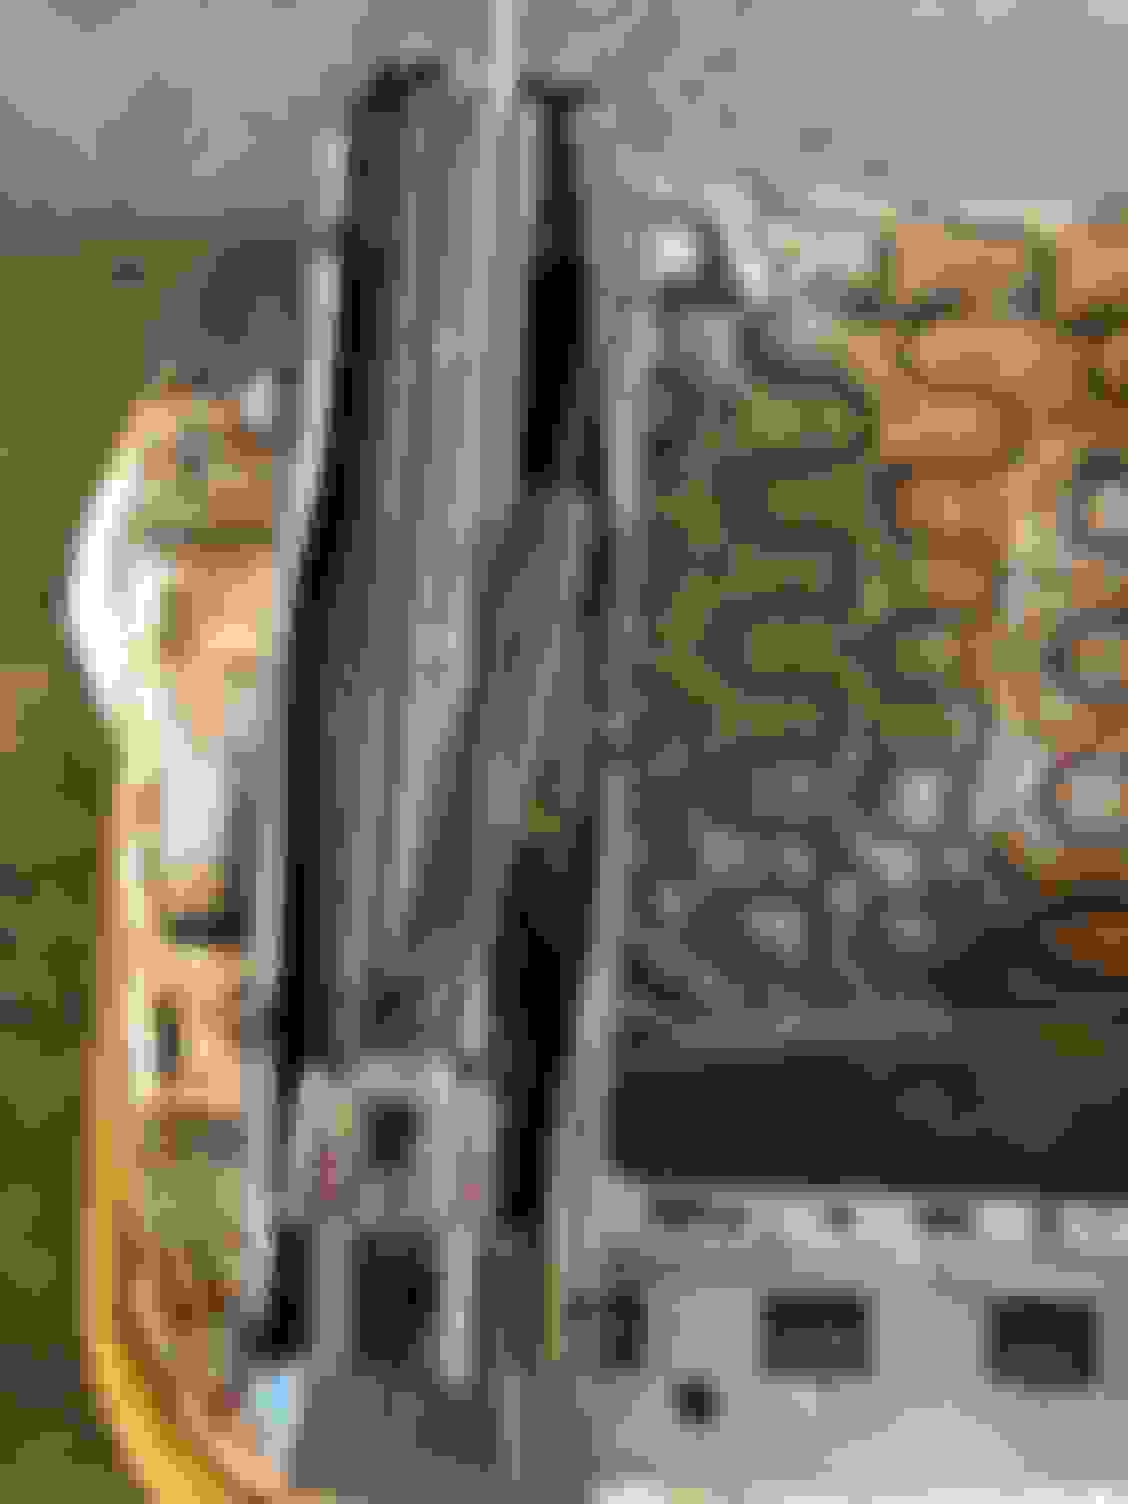
Drivers side rear quarter panel is a bit on the rough side.
Cool stampings on the underside.
Turns out the hood is in really great shape. No signs of any previous repairs.
Just wild to see the car turned 90 degrees.
Passenger side rear quarter panel has been repaired at some point in its 50 year life.
Last edited by WTHIRTY1; Jun 18, 2019 at 11:43 AM.
Jimmy I finally finished reading this thread. Your doing a killer job with incredible attention to detail. This will be so useful for reference for restorations in the future. Wow talk about about educational and the input from the other members is so valuable.
Appreciate the comments and kind words, Al. It has been a fun journey with a long road still ahead.
Received some less than stellar news yesterday around the passenger door. Looks like there was a drainage issue that caused some nasty rot on the passenger side door. See below.
Jimmy:
Are planning to fix this door? I have a door from a Texas car with a bad skin and rust elsewhere but the front part of the shell is still good. You could patch the rusty metal on your door shell and put a new skin on and be back in business. Let me know if you're interested and I'll get you some pics. I'm in Houston, TX.
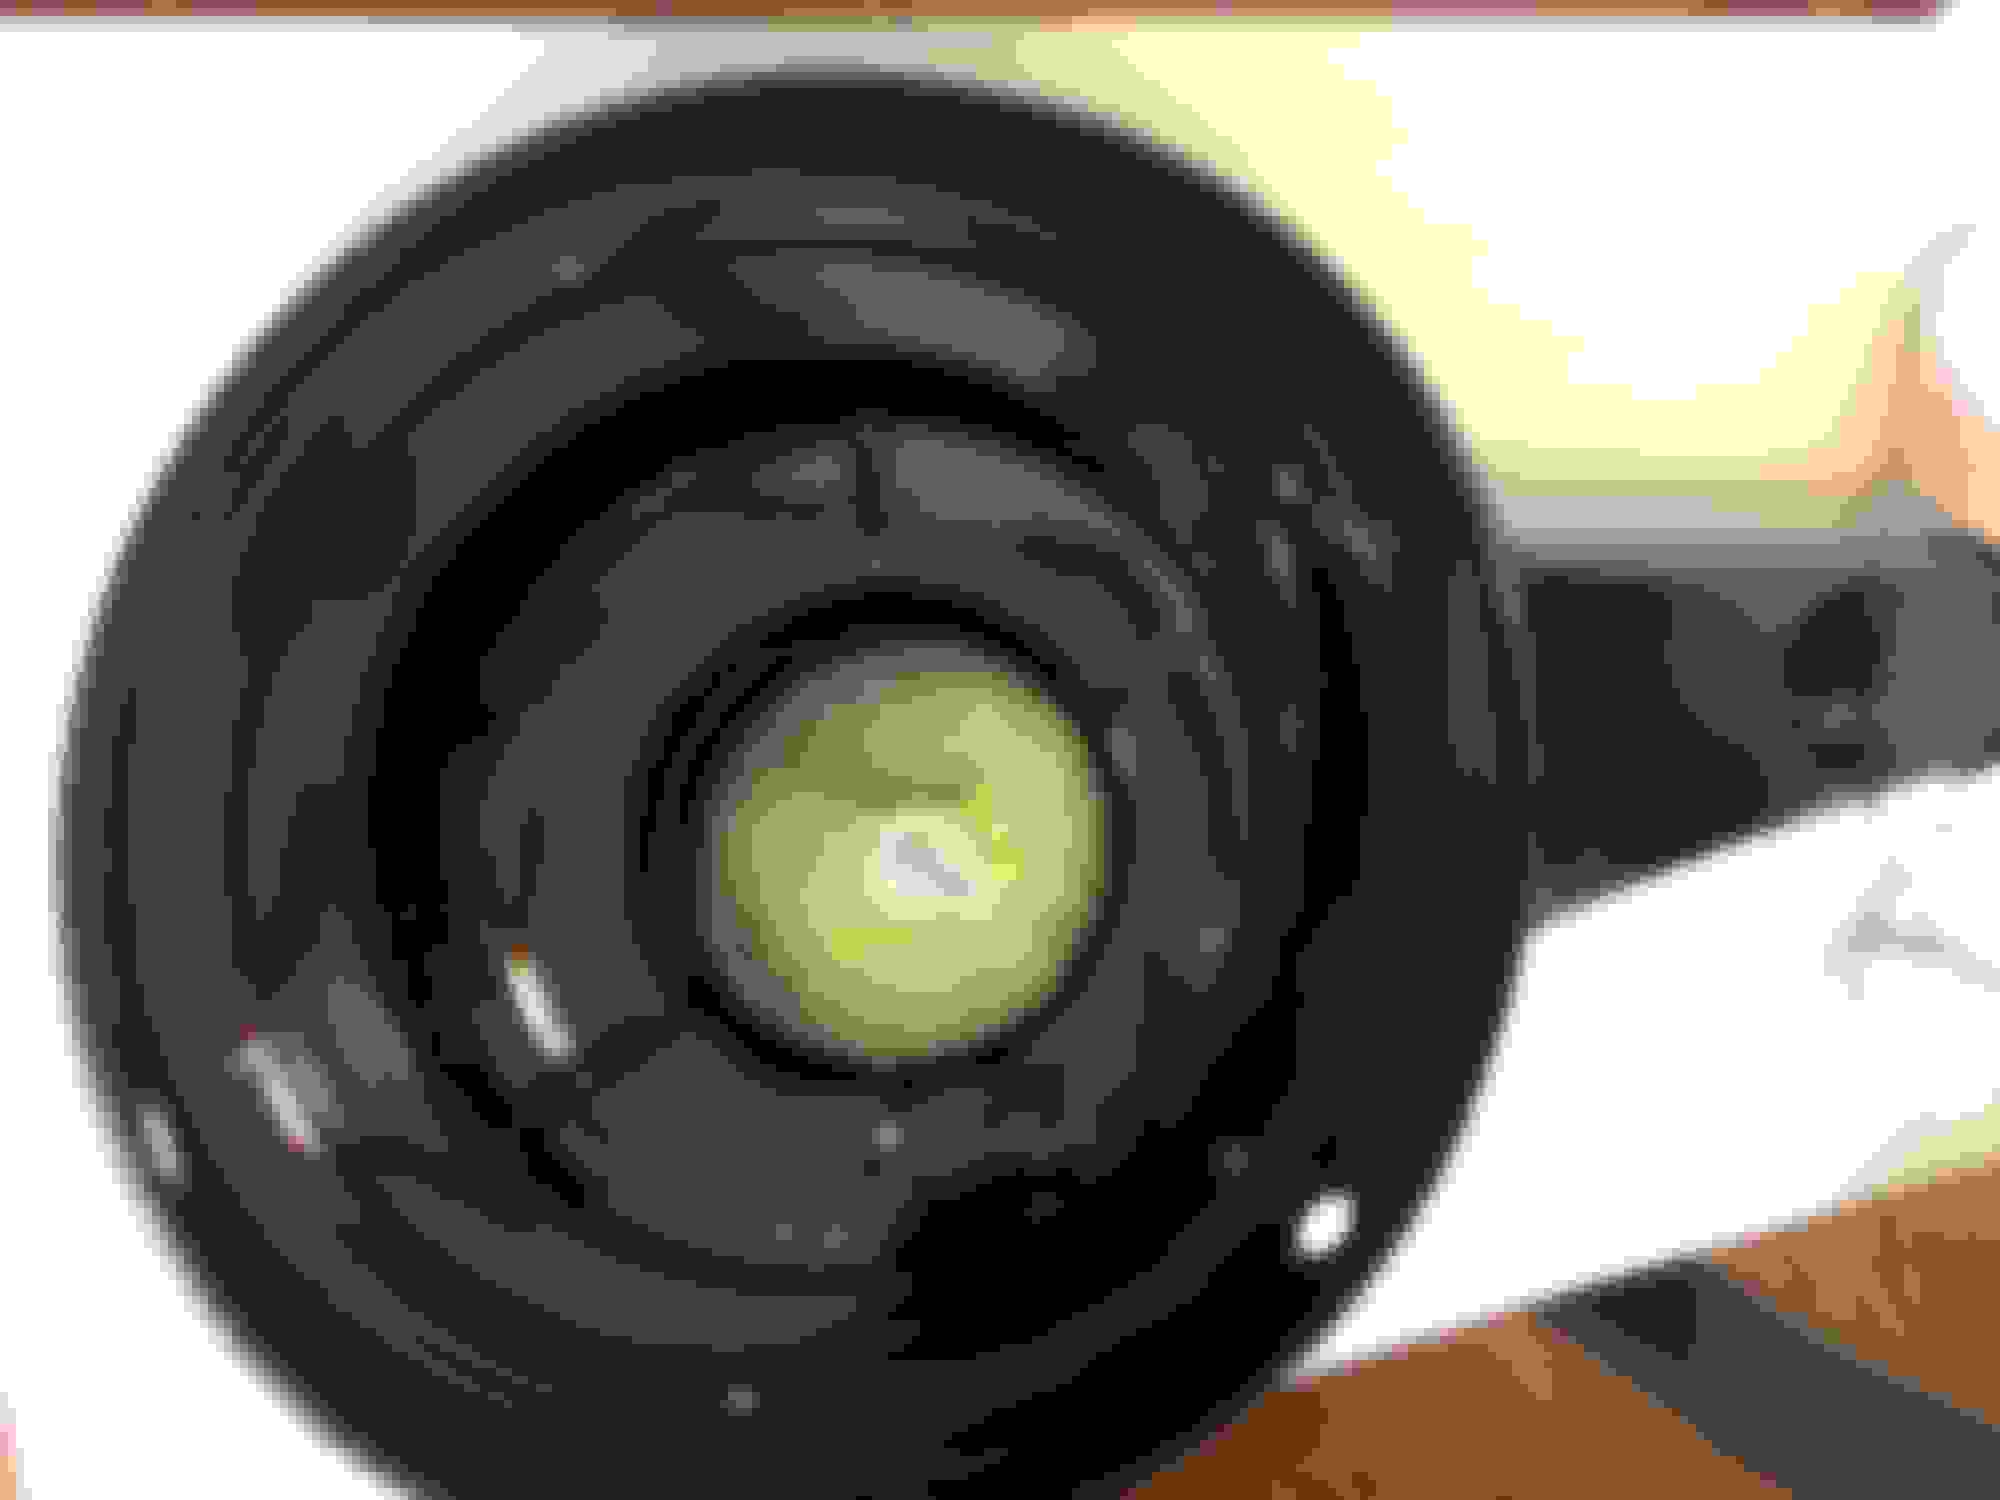
Sent this wheel out for restoration this week. It has a few cracks and is showing its age. The car came with a sport steering wheel but I like the look and feel of this wheel a bit better.
Spent 30 minutes on Sunday organizing and putting together a few small pieces. I sent my original hood bumpers out for replating and I�m very pleased with how they turned out. I have a NOS hood bumpers that I planned to use but you can see from the photo below that they�re slightly different in length. We�ll see on those.
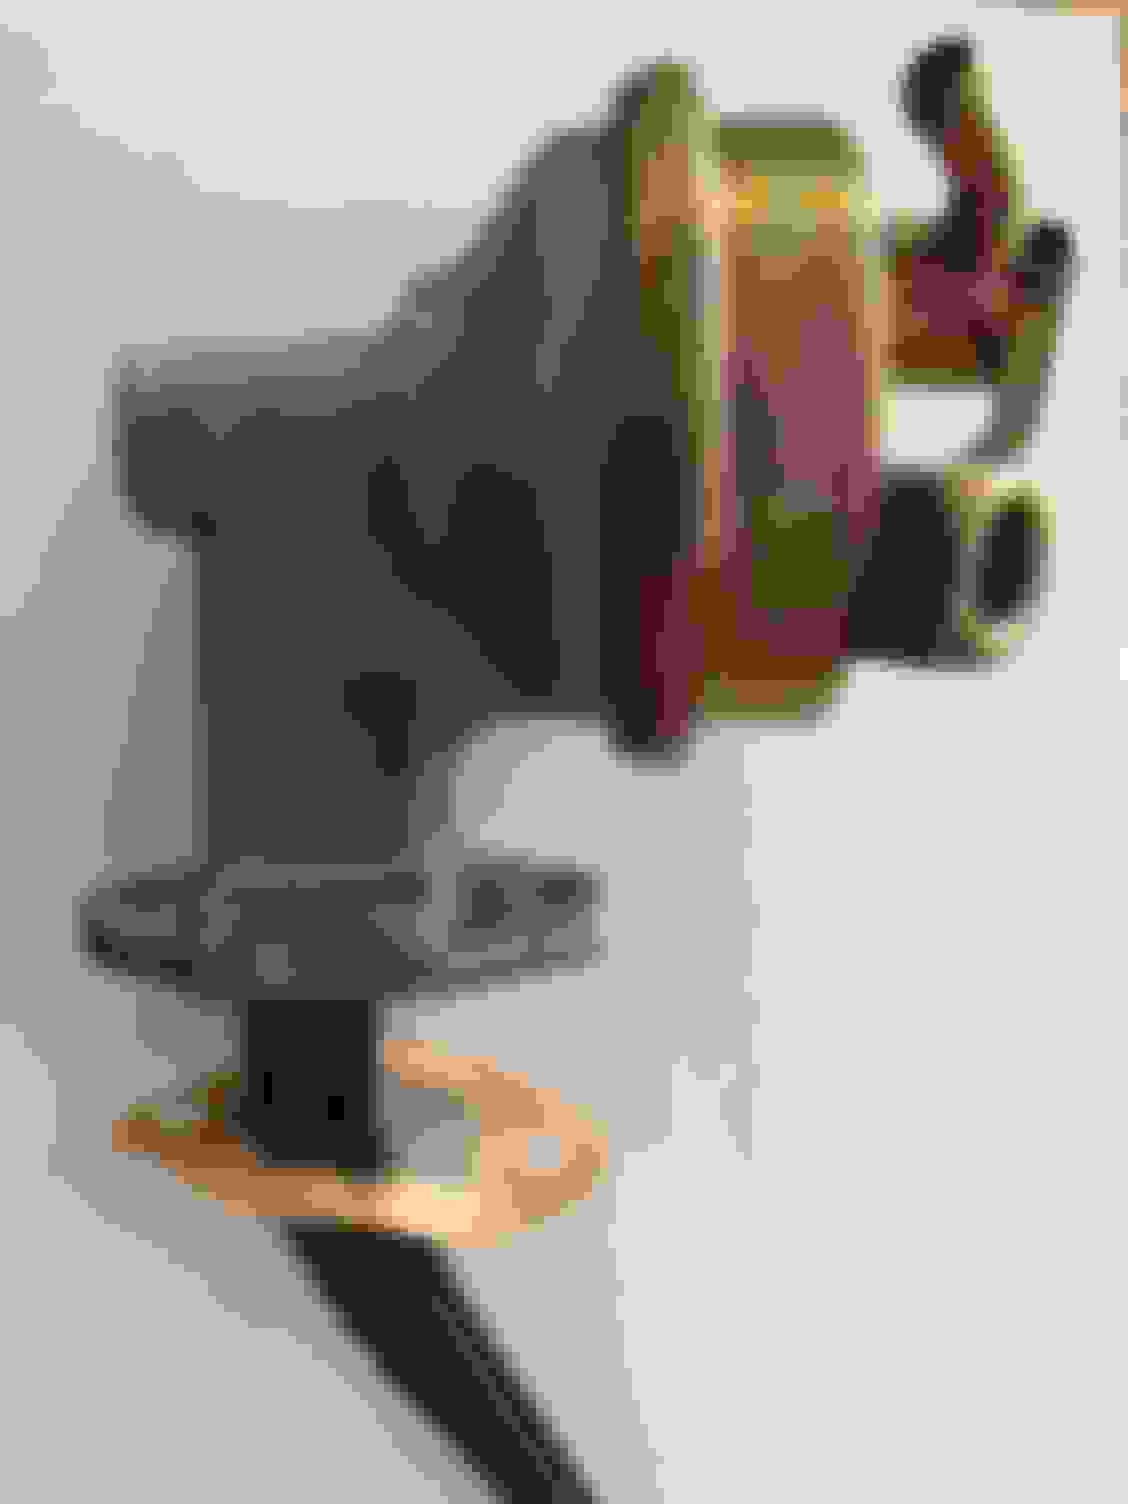
I had the components of the TCS switch / bracket replated. The stud with the nut was rephosphated. The bracket itself was replated as was the clear zinc nut. This is an NOS TCS switch so it won�t have the �bling� like The Parts Place repop.
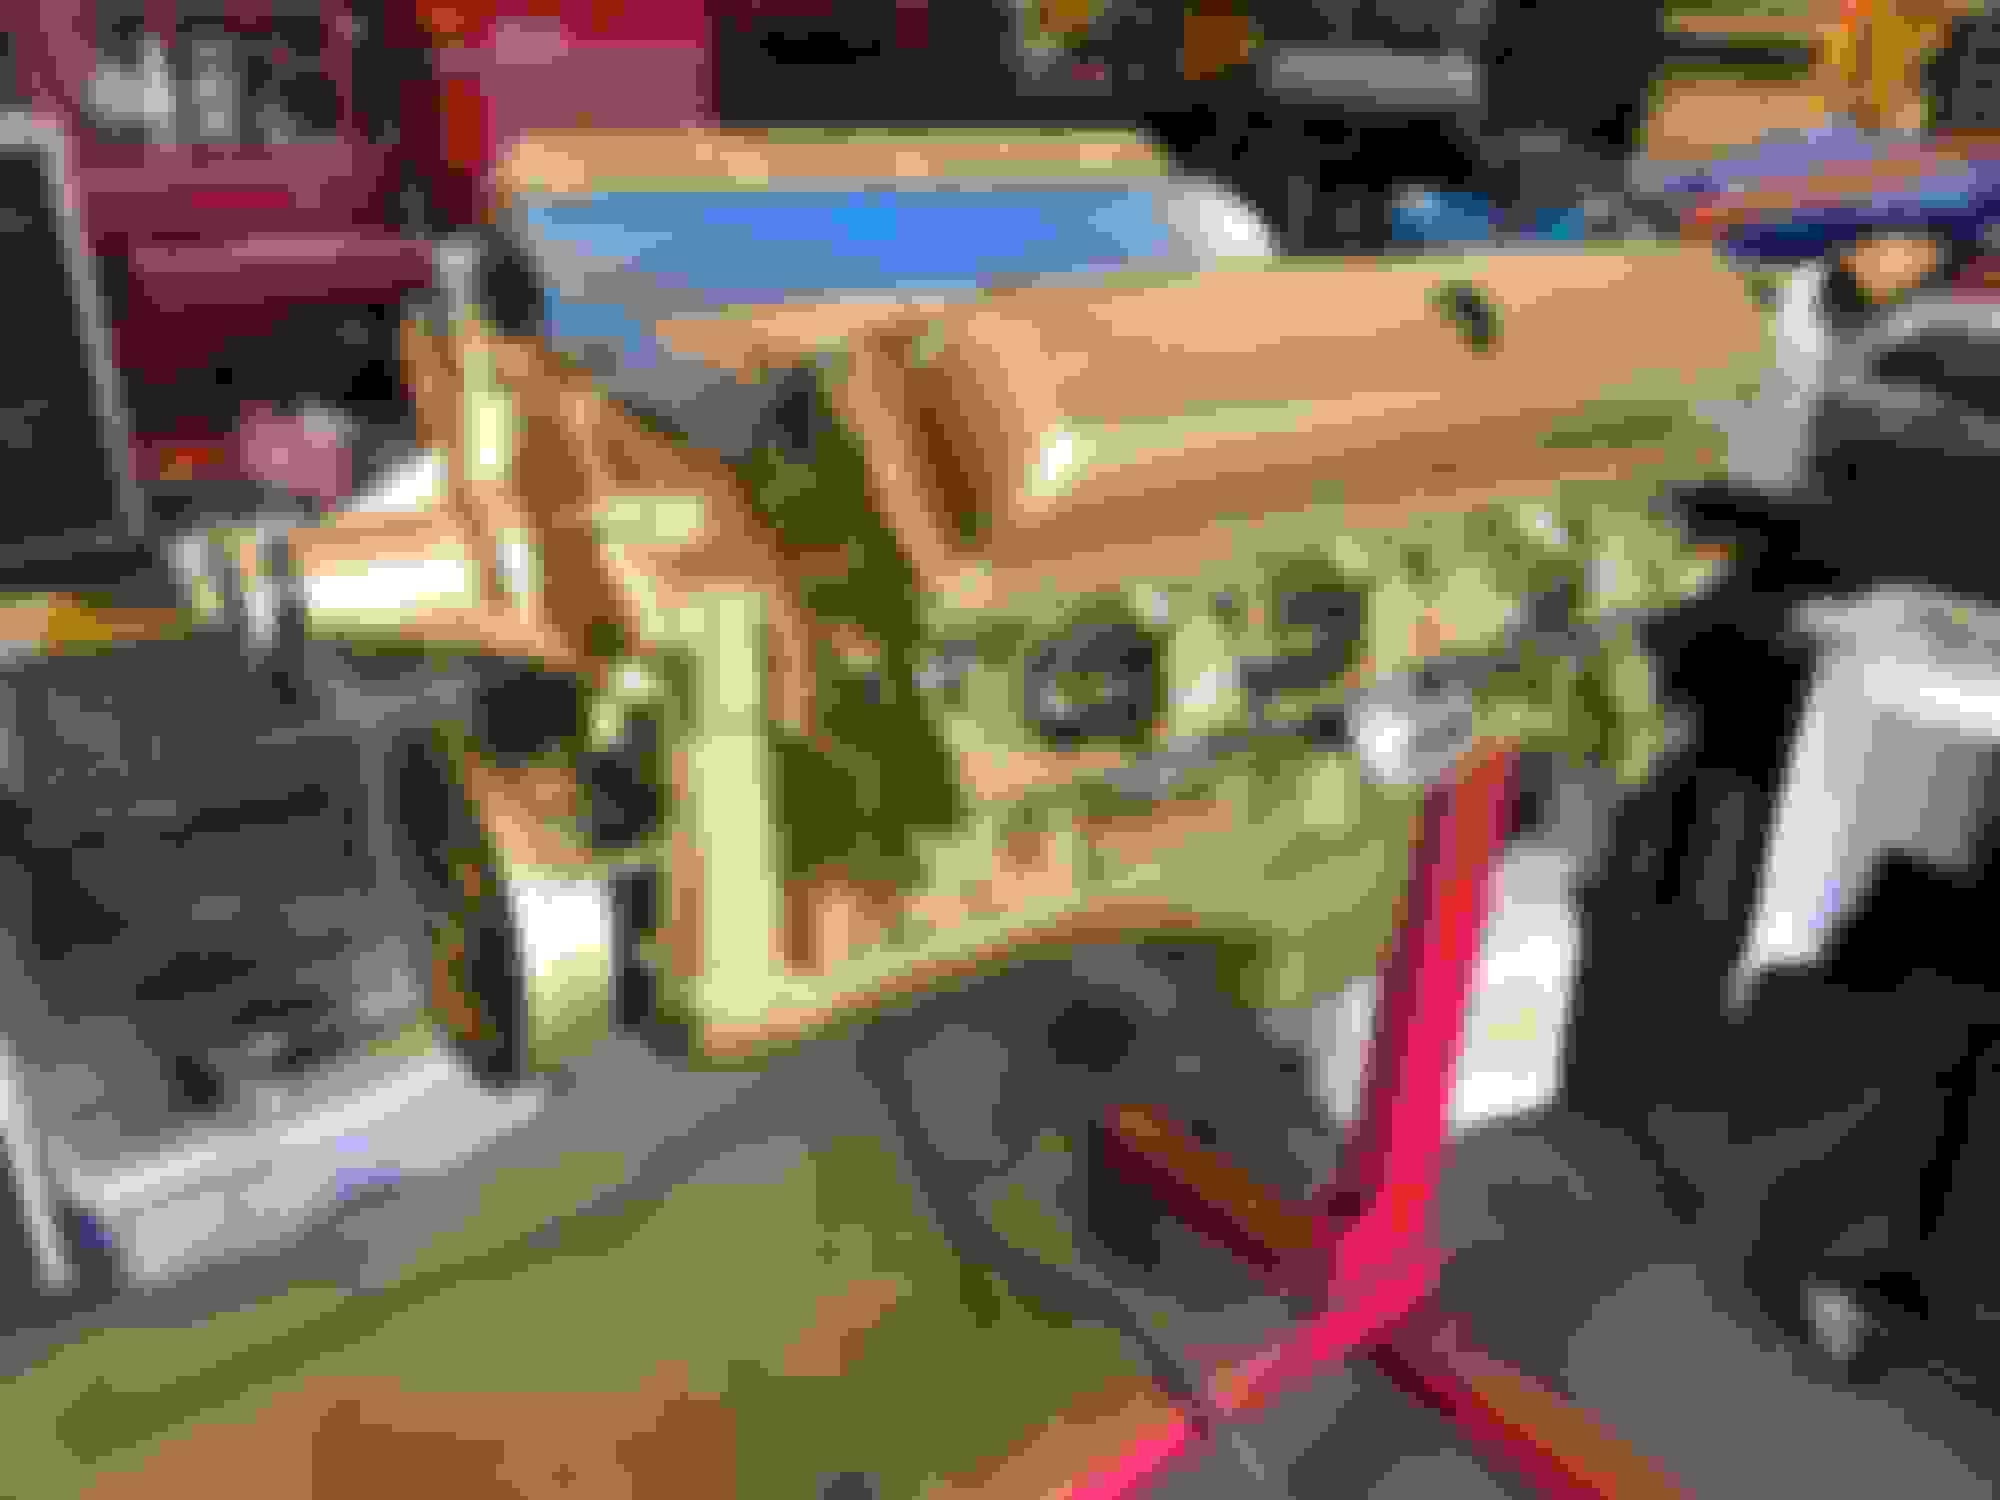
Gathering pieces to put the air cleaner base back together. I had picked up an NOS 403617 grommet for the side of the base. In comparison to the original, the NOS piece is different. The numbers are missing. The more and more I go through the new old stock parts, I'm realizing they're not all that similar to the assembly line part. In some instances, it's a dead match. In other instances, like this grommet for example, it's a slight variation. The original piece should clean up nicely.
Went to assemble the headlight housings and buckets last night and realized the hardware for the buckets has gone MIA. I'm looking for replacement hardware if anyone has anything available.
In sticking with the factory correct theme, I'm going to use this NOS fuel pump on the engine as part of the rebuild. Nobody will see the numbers on there, or the AC stamping, but I'll know it's there.
Last edited by WTHIRTY1; Jun 30, 2019 at 06:30 AM.
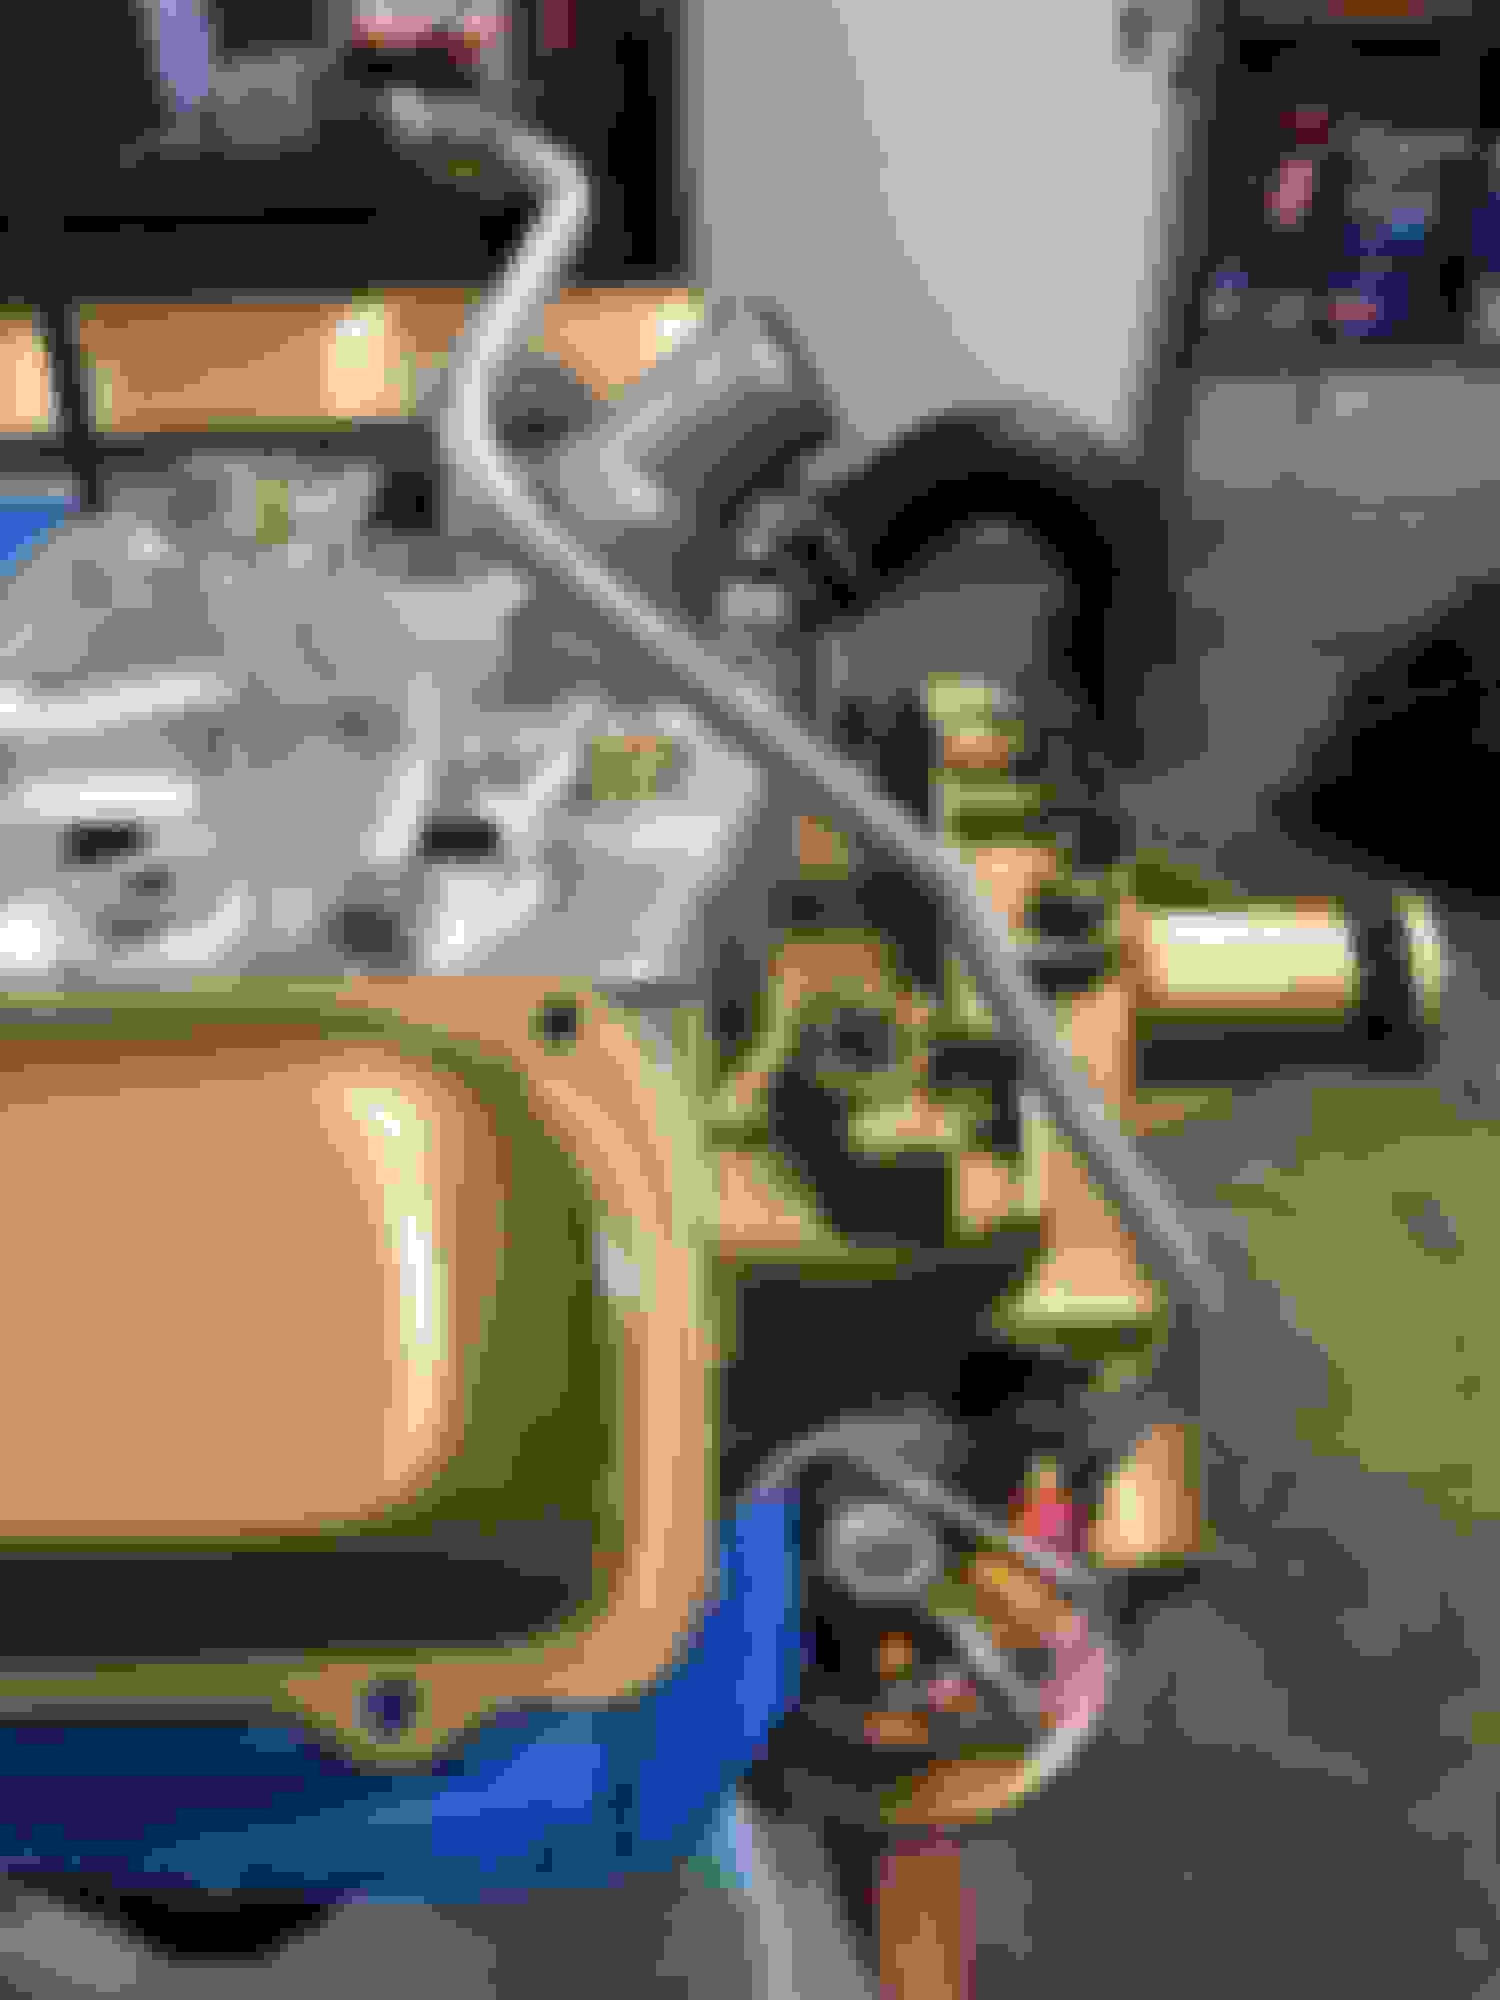
For whatever reason, the original engine from the 31 was painted blue with the valve covers spray bombed black. I used an environmentally friendly paint stripper with a brush to remove the black paint. The gold paint underneath was preserved well enough to get a sense for the original shade. I applied another round of stripper this evening to get the factory gold paint off. After a power wash, and some light sanding, the valve covers will be ready to go back on.
Out of all the original paint I have that kept all these years, my can of original GM Olds 350 gold did not fair well This would have been awesome for a restoration like yours. It was still good about 20 years ago the last time I used it. I opened about 5 years ago and it was dried up. Most of the rest of my paint is still good just the engine paint did not. I keep it just for conversation now. How many out there still have original paint?
Unwrapped the bumpers from North Star Plating in Minnesota. Overall, I�m pleased with the work they performed. My rear bumper was smashed in at the top in the middle. They repaired the dent nicely; no traces of the dent whatsoever.
Haven�t posted many photos of the engine. Not only do I want the 31 to look the part, but I want to run it at the Pure Stock Drags. My friend, Casey Marks, is doing the rebuild of the numbers matching block. Casey ran an F-85 W-31 that set a record at PSMCDR years ago and built one of the most potent Olds small block setups. We�re looking to really push the envelope on this build, too.
Received the rebuilt 7040255 carb this week. Sparky did a nice job on the rebuild. Prior to the rebuild, this carb had been significantly �messed with.�
The original door handles to the car were pitted and in rough shape. I sourced a pair of NOS handles along with NOS buttons. The button shaft is a bit longer than the originals but they�re made to be trimmed. Once I figured out that the retainers just needed to be depressed and twisted 90 degrees (thanks Scott Winn), I disassembled the original handles to get the springs out. The retainers and springs were degreased and now soaking in Evaporust to clean them up a bit. The NOS handles are an identical match to the originals. I�ll hit them with a nice chrome polish tomorrow and reassemble. The bolts for each handle have already been soaked in Evaporust and coated with Boshield so they�re ready for install once paint is complete.
A huge shout out to Patton for his handiwork and to Joe for bringing my repaired air cleaner base from Texas to Kansas. My friend Dan carried the neatly packaged base from Kansas back to Chicago in his �70 W-31.
The original base to the car had the snorkel removed. Awhile back, I sourced a correct snorkel and sent the base and snorkel to Patton for repairs. What a work of art! The welds replicate the originals as well as the quality (or lack of quality for that matter). The last step will be to replicate the green stamped date on the center of the base.
The seat covers have been removed, and I�m now starting on cleaning up the frames and sliders. The frames have a bit of surface rust, but they�re not bad and I think steel wool will suffice. Besides, nobody will see that part of the seat. As for the sliders, they�re a bit rusty but should clean up with a dip in Evaporust (God�s gift to the car restorer) and some elbow grease. On one side, there�s a giant spring that I disassembled. On the other side, there�s a thinner yellow spring used on the slider arm mechanism. Both springs have been removed and will be repainted their correct colors.
The thought is to have the seats recovered, minus the sliders, use the sliders to cut the carpet, and then put the sliders back on the bottom of the buckets.
Can someone send photos of the correct way to cut the carpet for the bucket seats?
Ordering all new glass for the car. The side glass could probably be salvageable but there are fine scratches right near the top that�ll drive me nuts. I�m in the process of capturing the correct date codes and documenting where the etching occurs. The etching is far from perfect and is either on the inside or outside. In other words, the glass etching is inconsistent at best so I�m asking the glass shop to replicate.
What�s odd is the front windshield wasn�t the original glass. In speaking with the original owner, and his family, there�s no recollection of ever having that replaced. The photo I have of the car when it was brand new at the dealership shows the car with a service tag hanging from the rear view mirror. Purely speculation, but I believe the front windshield cracked during transportation and replaced before the car was delivered.
The letter correspond to a month and a year. Months: JAN=N FEB=X MAR=L APR=G MAY=J JUN=I JUL=U AUG=T SEP=A OCT=Y NOV=C DEC=V Years: 1963=C 1964=G 1965=J 1966=A 1967=Z 1968=X 1969=V 1970=T 1971=N 1972=Y
AS1 - Windshield Glass AS-2 - All other glass EZI - Soft-Ray TintedLOF - Libby, Owen, FordSafety-Plate = Original Safety-Float = Replacement Date
The date codes break down as follows:
XT-4
X=Feb
T=1970
Last week, I dropped off a few stainless pieces to be polished. Call it a trial so I could assess their skills. I had them polish the lower cowl piece since I figured it would be a challenging piece since it�s an awkward shape and flimsy. I also took an original wheel well moulding to see how �bright� they could get it. My preference would be to use the originals and save / sell the NOS set I have.
The glass has been ordered. Dave at Auto City Classic is the man. They provided a nicely detailed order form so the etchings can be a perfect recreation of the originals.
After soaking the seat rails, there is definitely traces of black paint on each �end.� See below.
Lastly, I spent some time disassembling the console so I can get the trim polished. It�s almost as if the worker in 1970 knew that whoever tried to disassemble the trim from the console would have a helluva time getting the tabs straightened out. Talk about a pain in the as$! Anyone have a �pro tip� for getting it removed. The metal is soft...made the mistake of putting a flat head under it from the outside. Oops.
My recommendation on the trim pieces is a snub nose pair of pliers gripped tight and try twisting them somewhat straight. Gripping with the pliers alone be enough to straighten them somewhat. They don't have to be perfect to get them out and reinstalled. After installing it then becomes a gamble on which ones may or may not break when twisting them back again. The trim is anodized aluminum FYI so polish or refinish appropriatey. Ive r&r a few.
[QUOTE=WTHIRTY1;1185061]The seat covers have been removed, and I�m now starting on cleaning up the frames and sliders. The frames have a bit of surface rust, but they�re not bad and I think steel wool will suffice. Besides, nobody will see that part of the seat. As for the sliders, they�re a bit rusty but should clean up with a dip in Evaporust (God�s gift to the car restorer) and some elbow grease. On one side, there�s a giant spring that I disassembled. On the other side, there�s a thinner yellow spring used on the slider arm mechanism. Both springs have been removed and will be repainted their correct colors.
The thought is to have the seats recovered, minus the sliders, use the sliders to cut the carpet, and then put the sliders back on the bottom of the buckets.
Can someone send photos of the correct way to cut the carpet for the bucket seats?
the carpet is cut in a T I still have the original carpet from my bucket seat W-31. You are welcome to look at it. hell, even borrow it if you wish. it's a bit dirty though.
On the seat springs, both buckets and rear seat. I bit the bullet, took them to redi-strip and had them blasted as I didn't have the time or patience to blast them myself. driver back needed some minor welding repairs. bucket backs and bottoms usually need spring repairs and/or replacement too. I then sprayed a satin clear over them before embarking on the joy of upholstery work.
Laid down the first coat of gold paint on the engine. Trying something creative with the intake so I�ll be sure to post photos of the final product. I�m a big fan of the gold from Supercars Unlimited!
Dug out an NOS fuel pump. Nobody will ever see the 40772 stamped, or the AC embossing, but I still like knowing it�s there.
Transmission is done. I had the case vapor blasted last year which is why it might look a bit brighter than it should. If that�s the case (no pun intended), then I�ll shoot with a dusting of dull aluminum to bring it down a bit.
Going to have to strip the gold paint off the nut for the power steering bracket as I don�t believe it would have been painted gold.
RH side of the trans. Without getting in to the specifics, the trans is built for Pure Stocks. Chris can attest to the builder as he uses him, too. Top notch work. Also, note the assembly correct black NOS trans modulator. The reproductions, and even the superseded part numbers, all come with a dichromate / yellow zinc finish.
Original date coded water pump freshly rebuilt by Mr. Water Pump last summer. X marks the spot with a 335 Julian date.
I LOVE this thread - AWESOME attention to detail with high quality.
I smile as I remember the days at the GM B-O-P plant in Framingham MA in 1972, watching a guy "dust" an assembled frame with the absolute minimum of GM
reconditioning paint - just enough to keep the frame and suspension from flash rusting at the dealership.
And all the brackets were dipped in slop paint with no primer and hung to dry, with mediocre coverage and tons of drips.
GM had Quality as Job #2.......
as a gm worker and retiree,i beg to differ on the quality as #2. quality was #1. there are reasons that it was done the way it was. one of them was,its just a car,transporation,albeit nice transportation.noone worried if the car would last 50 yrs. they still aren't.
1.) Who makes a quality Turbo 350 transmission mount?
2.) Need new hardware for the engine mount to the engine. Does anyone have a photo of the hardware? And for the long bolt that holds the mount to the chassis, can someone confirm it's just a long bolt and a nut? The PIM has a photo with flat washers on each side.
3.) The bolts that hold the trans to the engine are wrong on my car. The PIM calls out (6) 179842 bolts. Anyone have a photo of the head of the bolt? What happened on mine is that I believe the crossmember hardware and hardware for the trans to the engine were mixed up.
I've used the Anchor 2378 trans mount, seems to hold up well. In fact, I have a brand new 2378 that I would sell you if interested. I mistakenly order 2 in the process of restoring my car. Summit has them for $15 including shipping. How does $10 shipped sound to you (within the continental US)?
1.) Who makes a quality Turbo 350 transmission mount?
2.) Need new hardware for the engine mount to the engine. Does anyone have a photo of the hardware? And for the long bolt that holds the mount to the chassis, can someone confirm it's just a long bolt and a nut? The PIM has a photo with flat washers on each side.
3.) The bolts that hold the trans to the engine are wrong on my car. The PIM calls out (6) 179842 bolts. Anyone have a photo of the head of the bolt? What happened on mine is that I believe the crossmember hardware and hardware for the trans to the engine were mixed up.
Pretty sure Inline has that hardware, I also have a trans mount if Rodney can't help you out.
2.) Need new hardware for the engine mount to the engine. Does anyone have a photo of the hardware? And for the long bolt that holds the mount to the chassis, can someone confirm it's just a long bolt and a nut? The PIM has a photo with flat washers on each side.
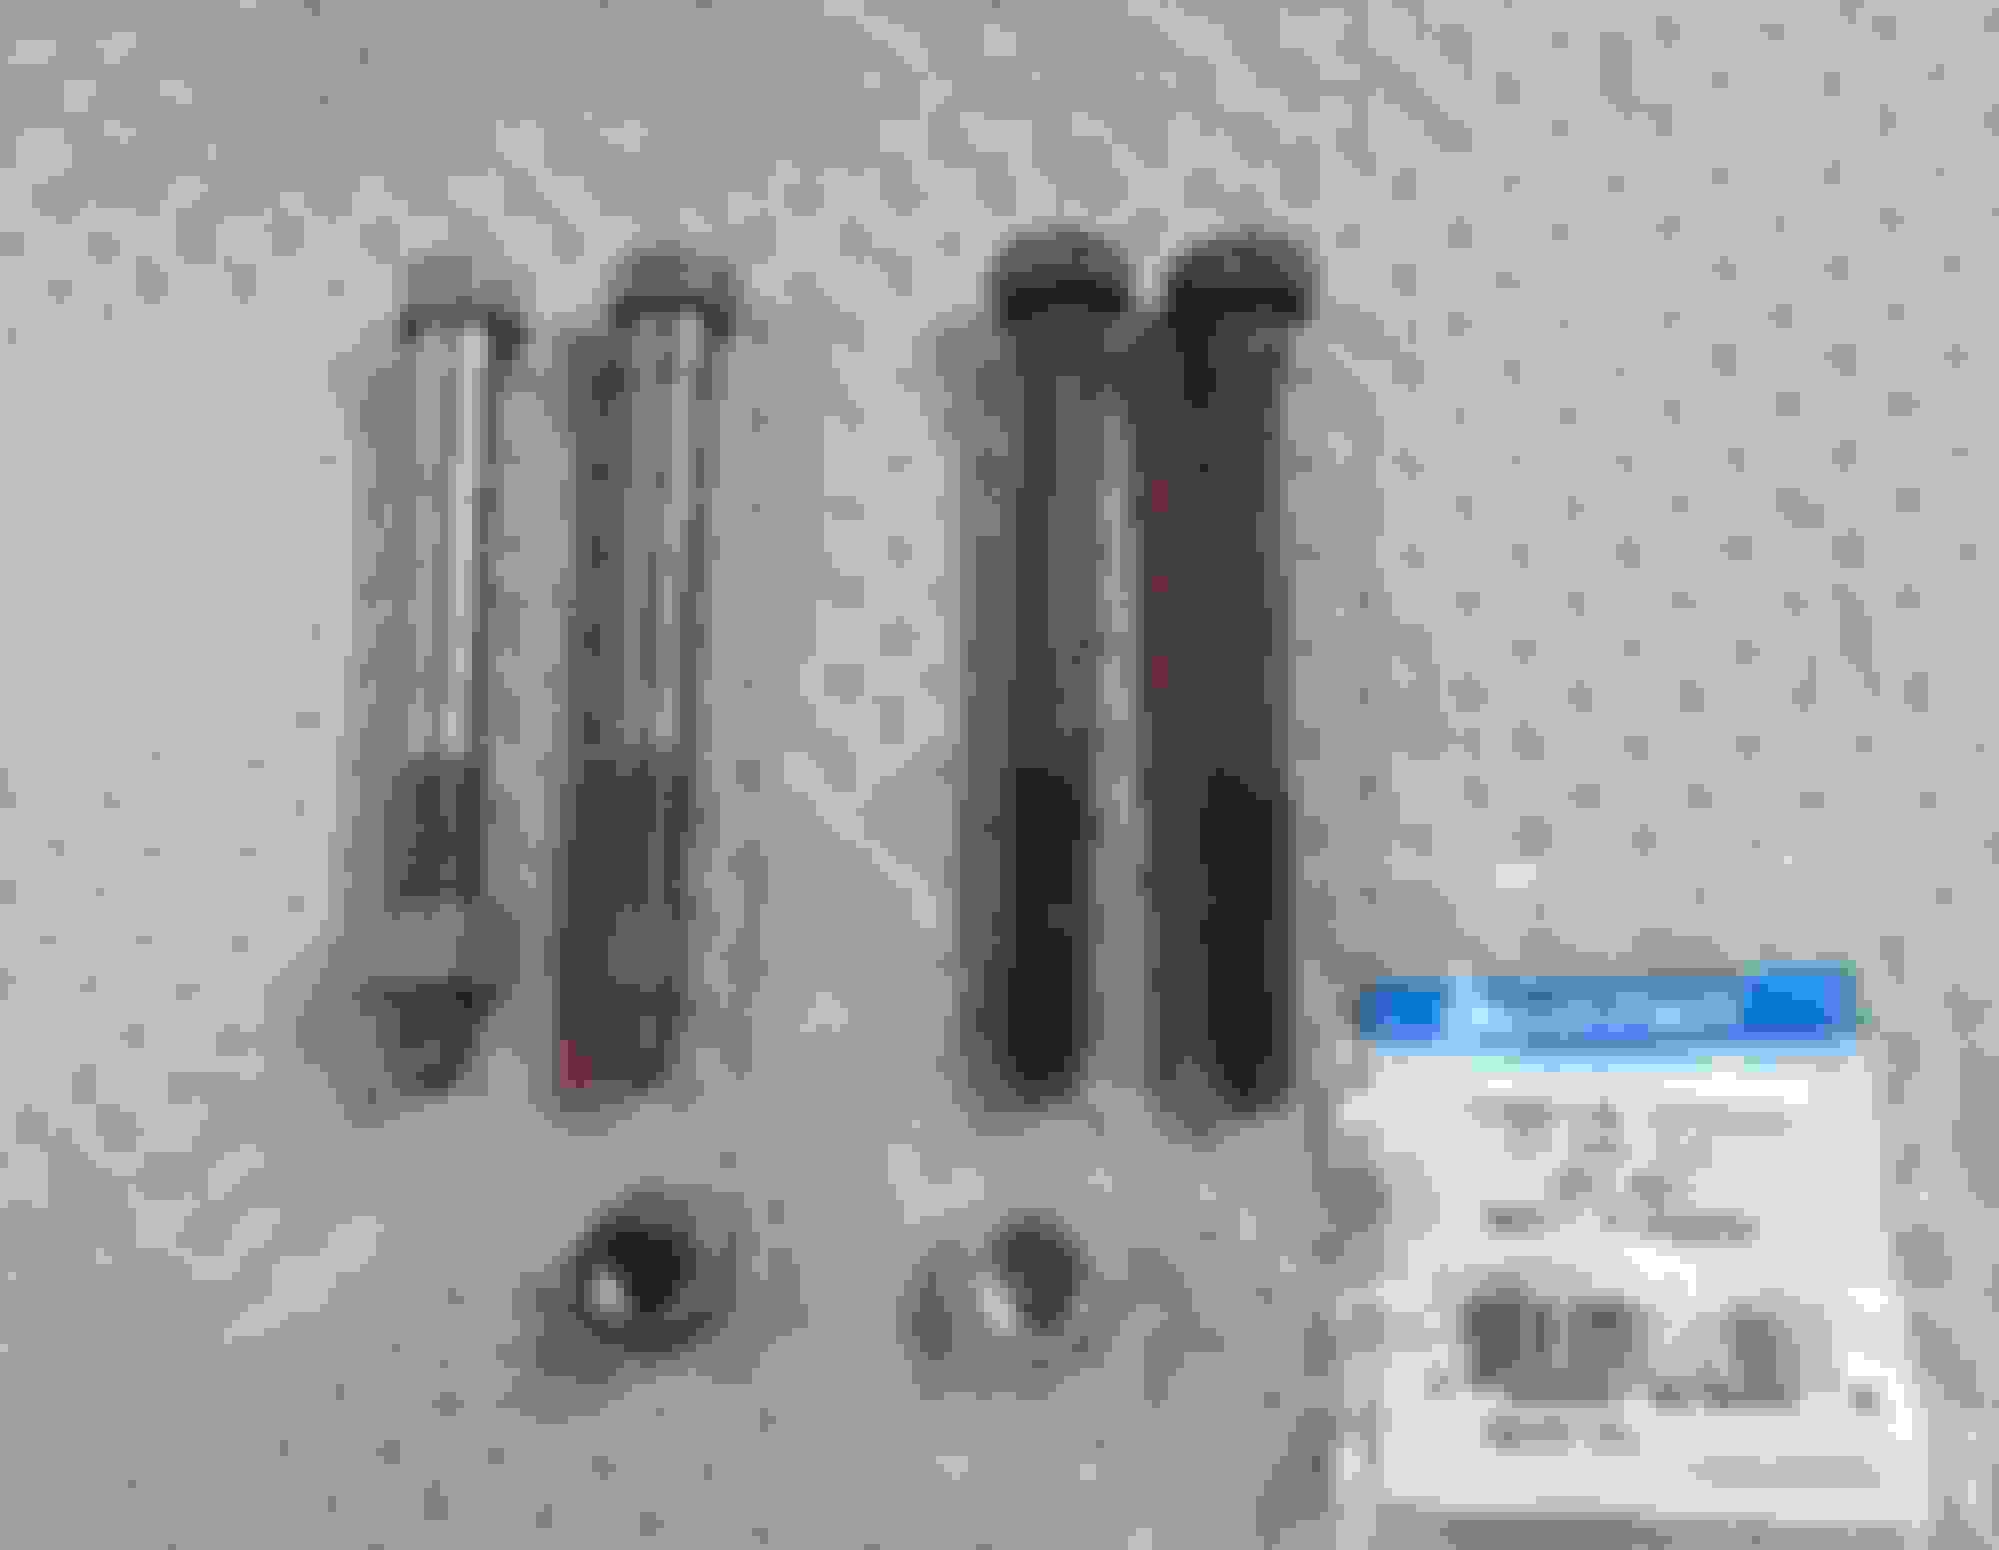
Below are pics of OEM and repop motor mount hardware. The OEM bolts have been stripped to bare metal.
Also, included is a screenshot I took from the 1970 Assembly Manual. It only shows a bolt and nut - no washers. That jives with what I've seen and removed from a couple of my cars.
Below are pics of OEM and repop motor mount hardware. The OEM bolts have been stripped to bare metal.
Also, included is a screenshot I took from the 1970 Assembly Manual. It only shows a bolt and nut - no washers. That jives with what I've seen and removed from a couple of my cars.
Same here - I've never seen any washers on either end of the mount to pedestal bolt. Also, I've only seen a large lockwasher on the mount to engine bolt. I always thought that was weird looking. Don't forget to install the heat sheld at this point! It is a lot easier to do it now rather than after it is in the car. Made that mistake twice!
Same here - I've never seen any washers on either end of the mount to pedestal bolt. Also, I've only seen a large lockwasher on the mount to engine bolt. I always thought that was weird looking. Don't forget to install the heat sheld at this point! It is a lot easier to do it now rather than after it is in the car. Made that mistake twice!
Thanks, Joe. I ordered the bolts and washer for the mounts to the block from AMK yesterday.
And for whatever reason, the W-31 doesn�t appear to have a heat shield. None of my four have one. Anyone on the site have a 31 with a heat shield?
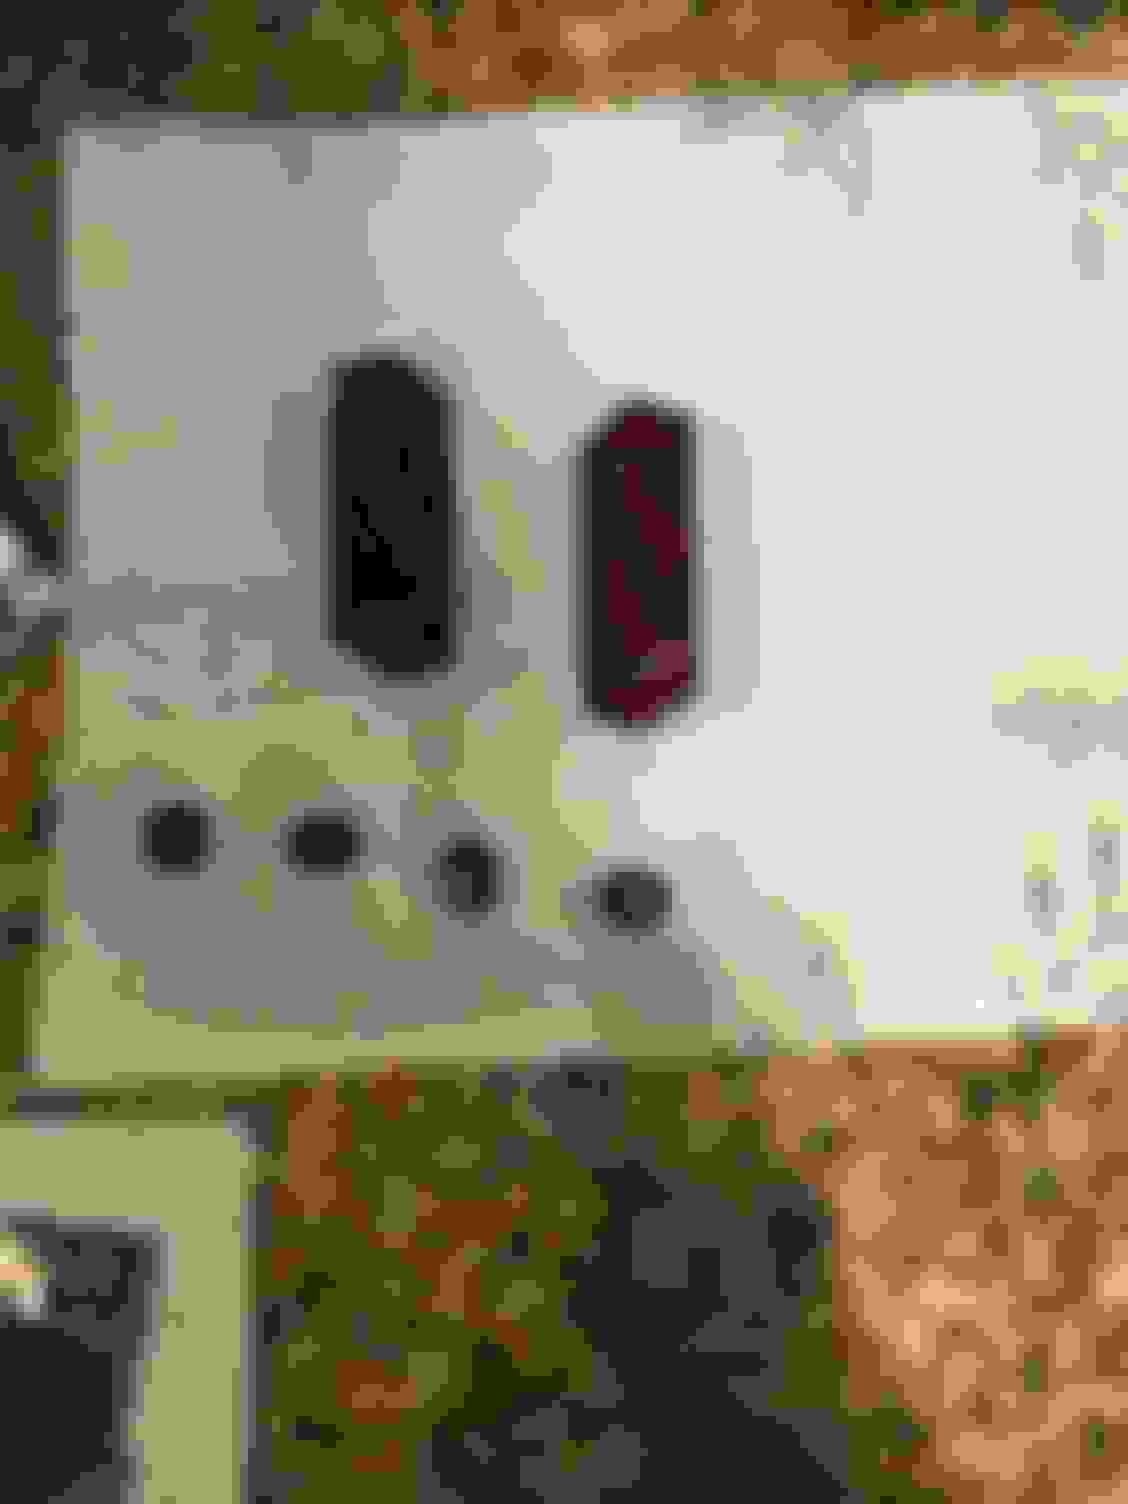
Getting ready to assemble the front door panels. These are the only two original emblems that�ll remain on the car. Soft bristle toothbrush and some TLC. There�s a tiny red spot that is missing but they�ll get the job done. The paper cardboard backing stuck to the retainers so I scrubbed that off, too.
I was fortunate this week to score a set of NOS SS2 lugs. It�ll be fun to compare these to the set that I just picked up from Fusick.
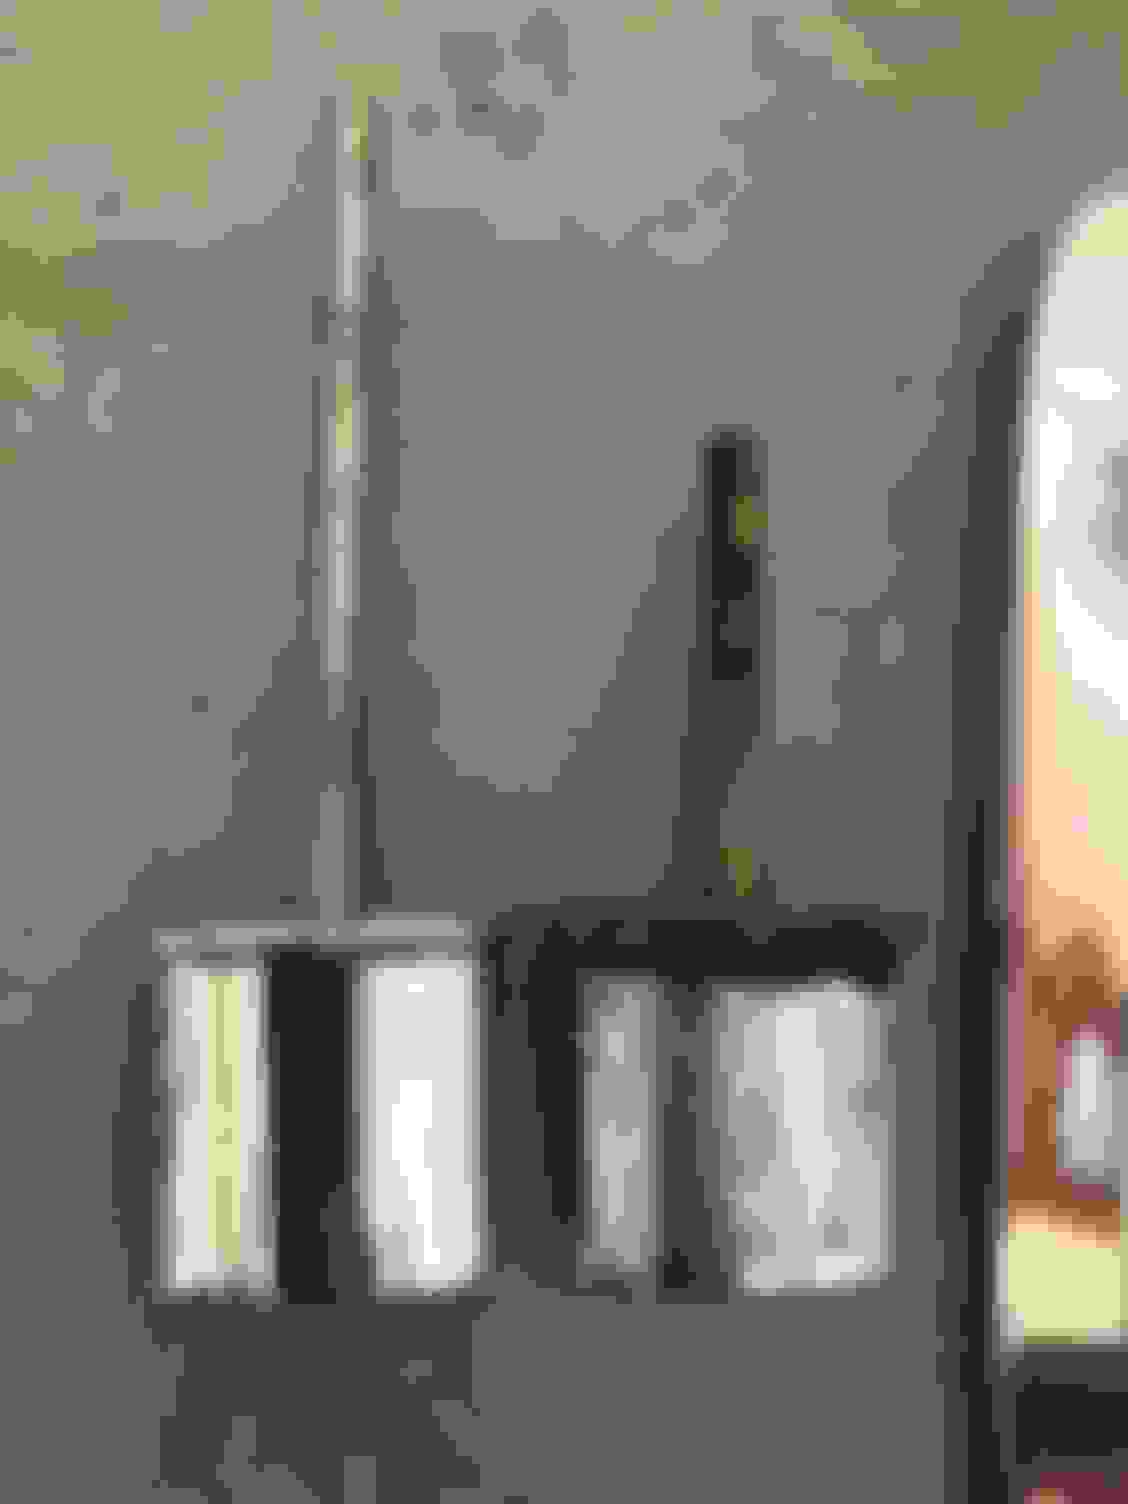
This is one of the original power steering hoses. Notice the yellow stripe that runs the length of the hose. The pressure hose had an orange line that did not run the length of the hose itself. This yellow line will be recreated on the new hoses.
I won�t comment on the vendor (PM if you must know) but this is unacceptable. As for the engine, those are a spare set of valve covers that�ll go on for the dyno. The plug has been removed from the intake so we can use the RH side. Dyno time is set for the end of the month.
When I pulled the original glass, the hardware was a rusty mess. Since I�m using glass from Auto City, I wanted to ensure everything was rust free. That reminds me that I need to get the hardware for the rear glass from Bob�s shop.
Looking good!
How will you be replacing the metal in the quarters? Will you piece in some repro metal or something salvaged from another car? I've heard but yet to confirm, a RF fender has the same profile as LR quarter and vice versa. Im really interested how the metal will be spliced in.


 This would have been awesome for a restoration like yours. It was still good about 20 years ago the last time I used it. I opened about 5 years ago and it was dried up. Most of the rest of my paint is still good just the engine paint did not. I keep it just for conversation now. How many out there still have original paint?