When you click on links to various merchants on this site and make a purchase, this can result in this site earning a commission. Affiliate programs and affiliations include, but are not limited to, the eBay Partner Network.
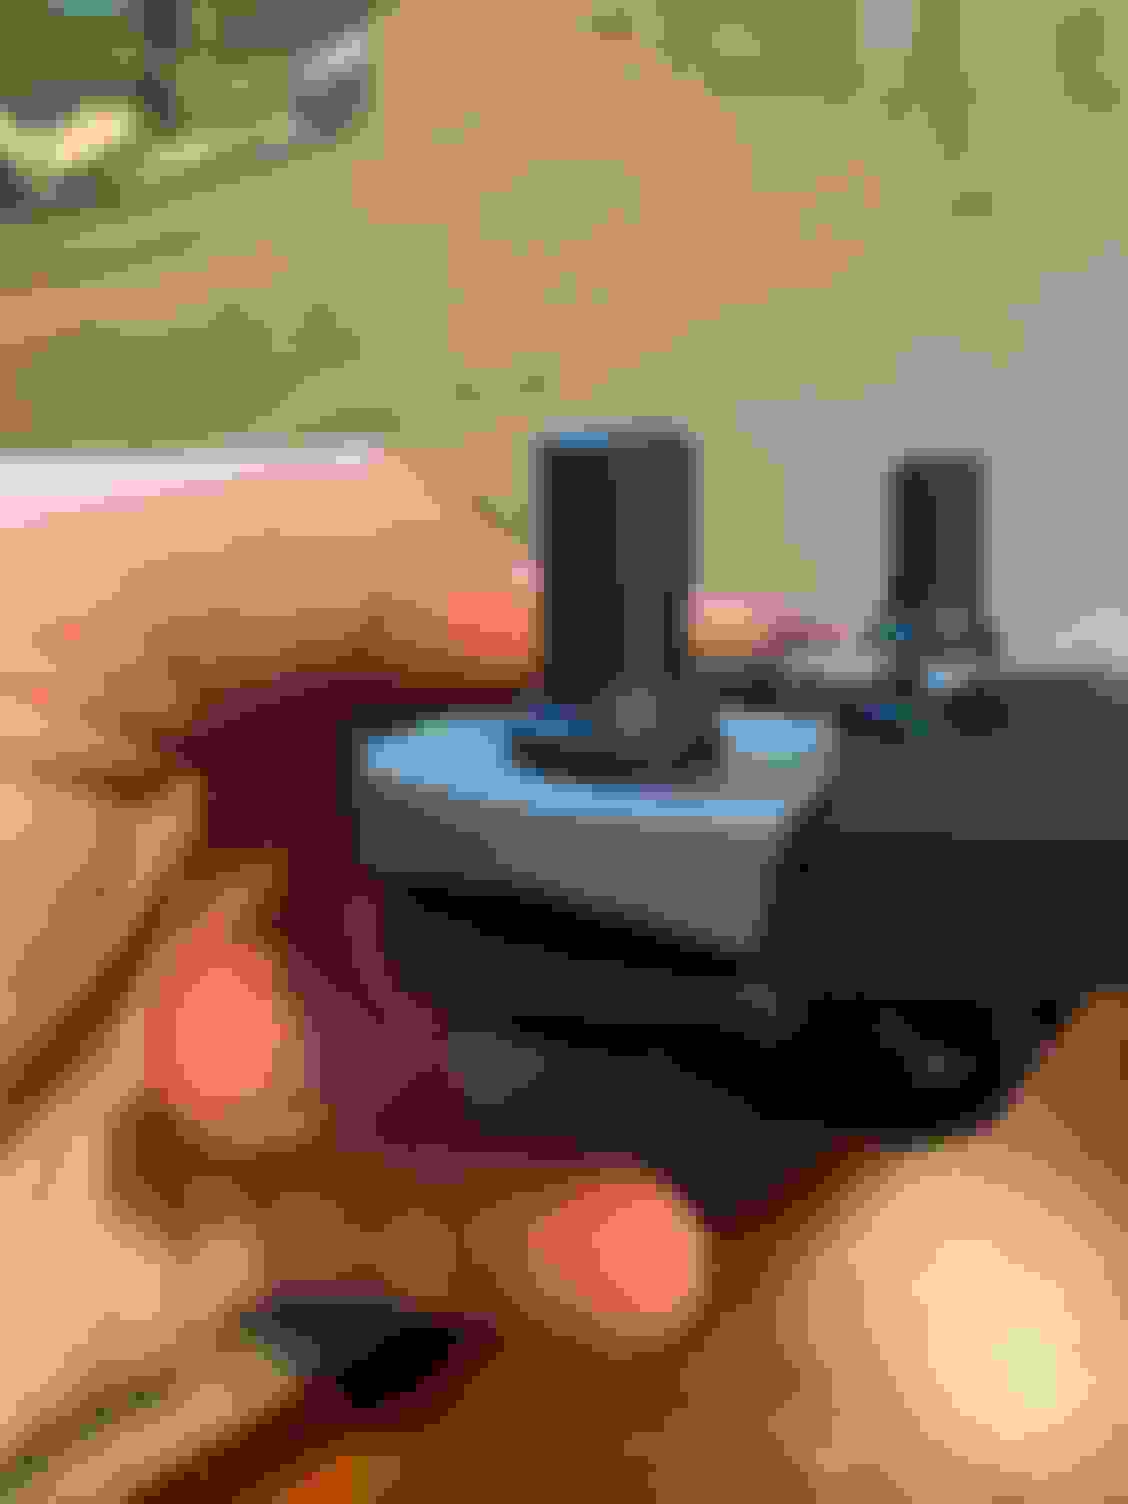
Just wanted to provide a glimpse in to the different blues going on within the interior. I wanted to see which blue mats would look best so I figured I may as well pull the carpet out of the ACC box and let it settle a bit. Between the console, steering wheel, and the light blue mats you can start to see all the various shades. The steering column is a different shade than anything else, and the dash pad will also be different than the blues that you see here.
The factory carpet for the 1970 blue interior actually is a little brighter. I think I posted about the carpet matches last year, but this is the closest color that is available in the market.
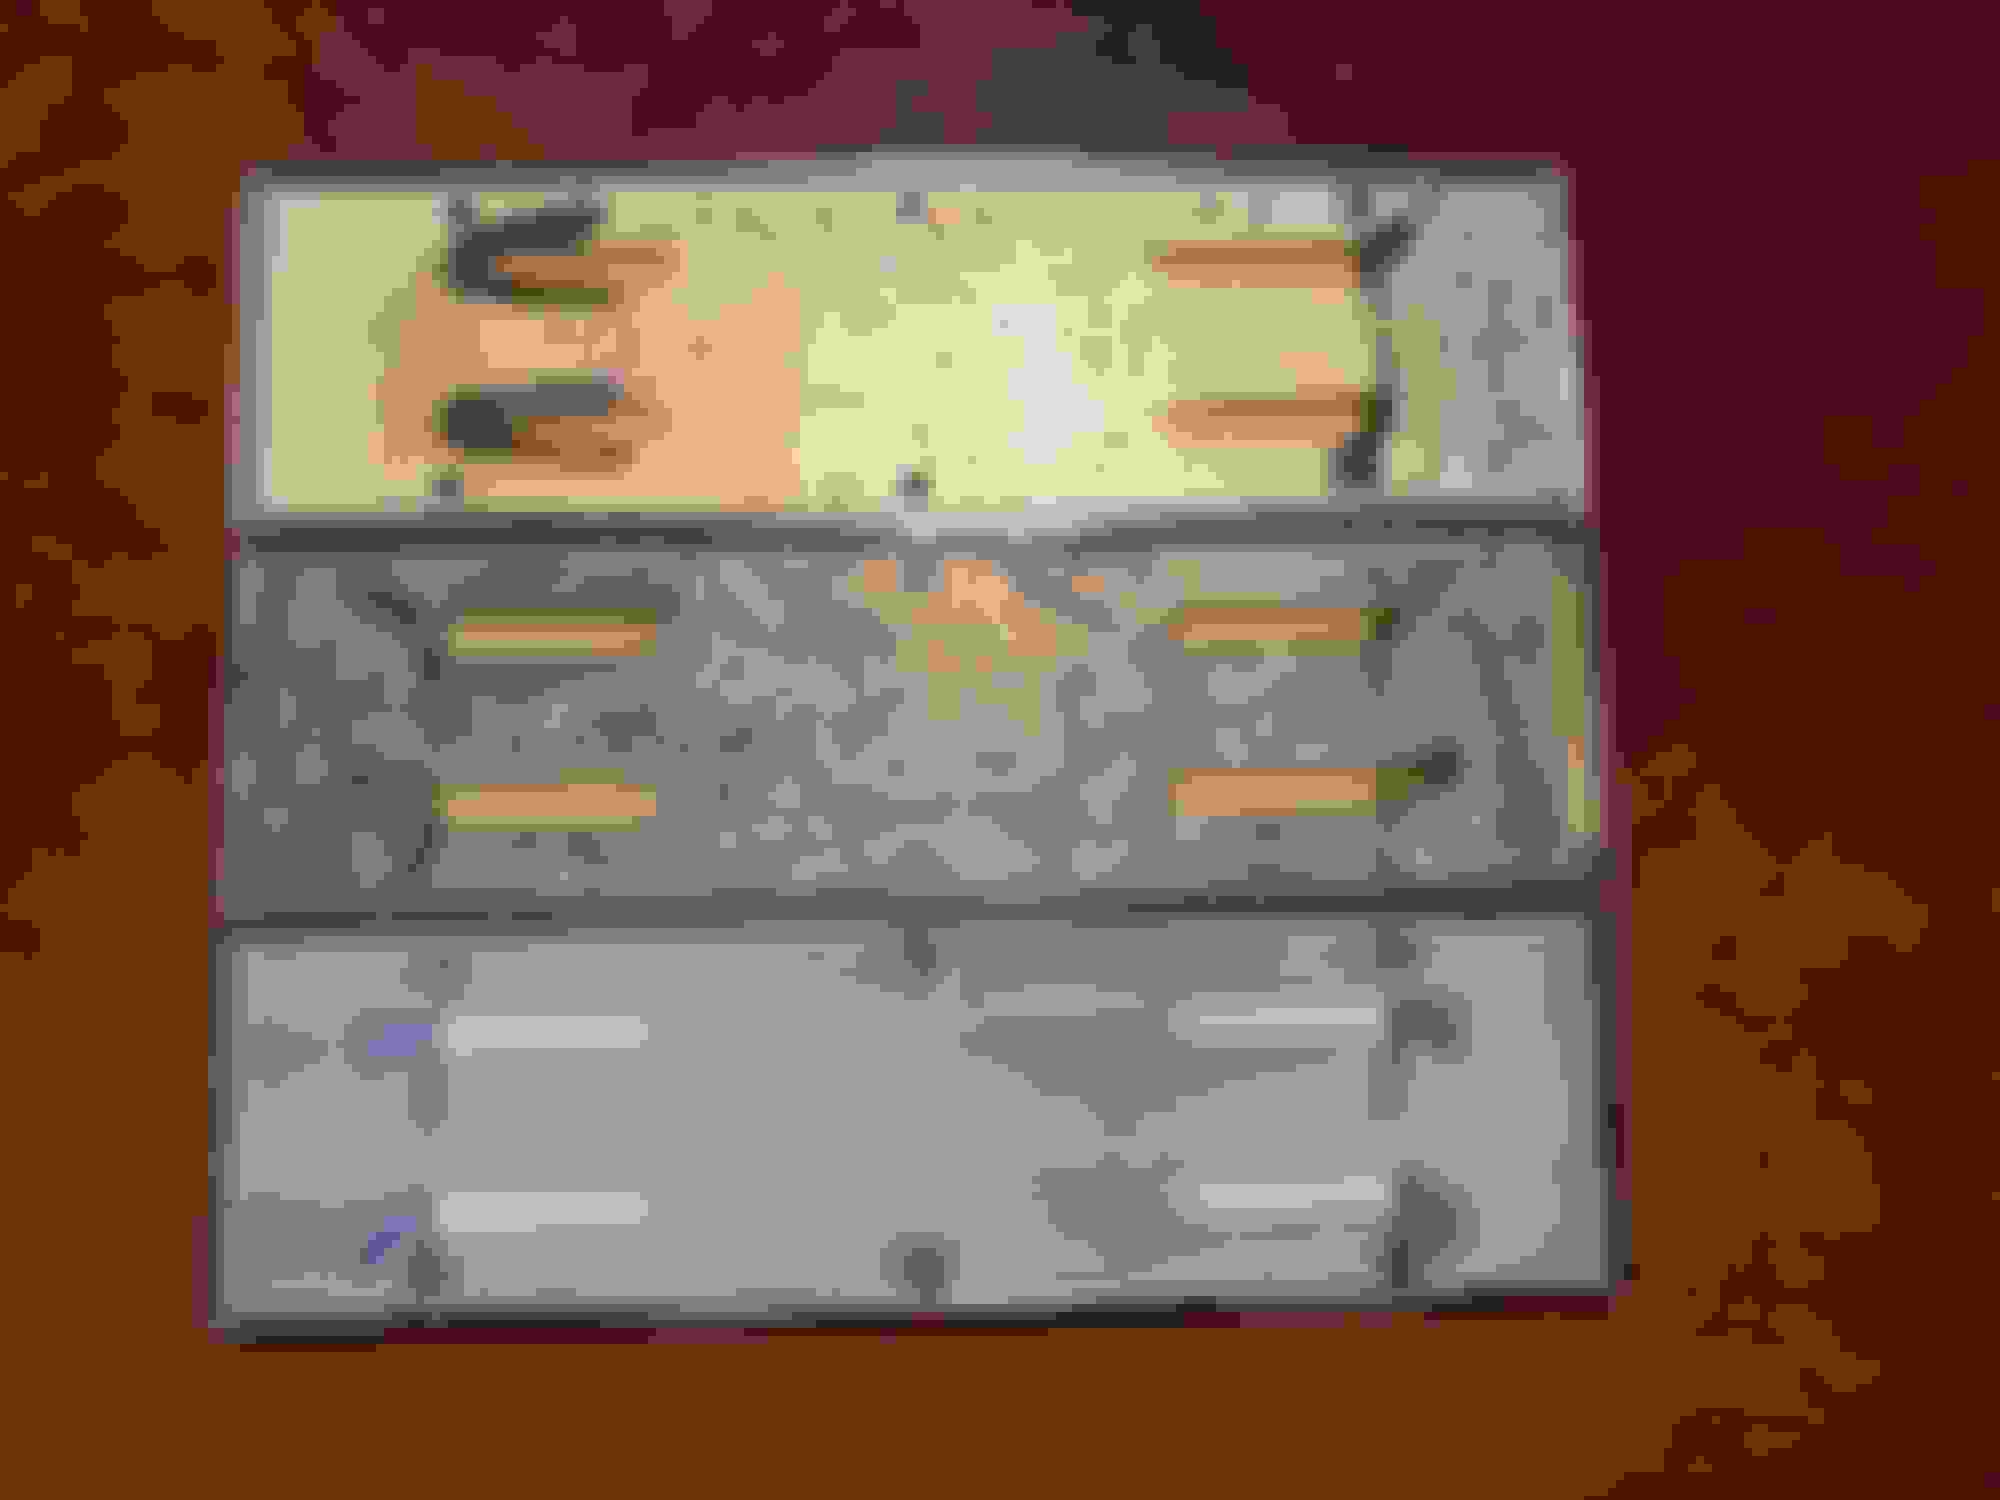
I think most of us have seen the NOS floor mats listed from the seller in the Northwest on eBay. Well, I went ahead and ordered two sets; one set in the lighter blue and a set in dark blue. The first set arrived today in the lighter blue. Pretty cool to see the original packaging sent from General Motors Parts Division in Beaverton, Oregon to Russell Chev-Olds in Port Angeles, Washington. Now to get 50 years worth of rolls out of them...
Ruddell Chevy-Olds is the selling dealer for my 70 442!
Slow two weeks as I await the interior panels to be sprayed before I go get the car.
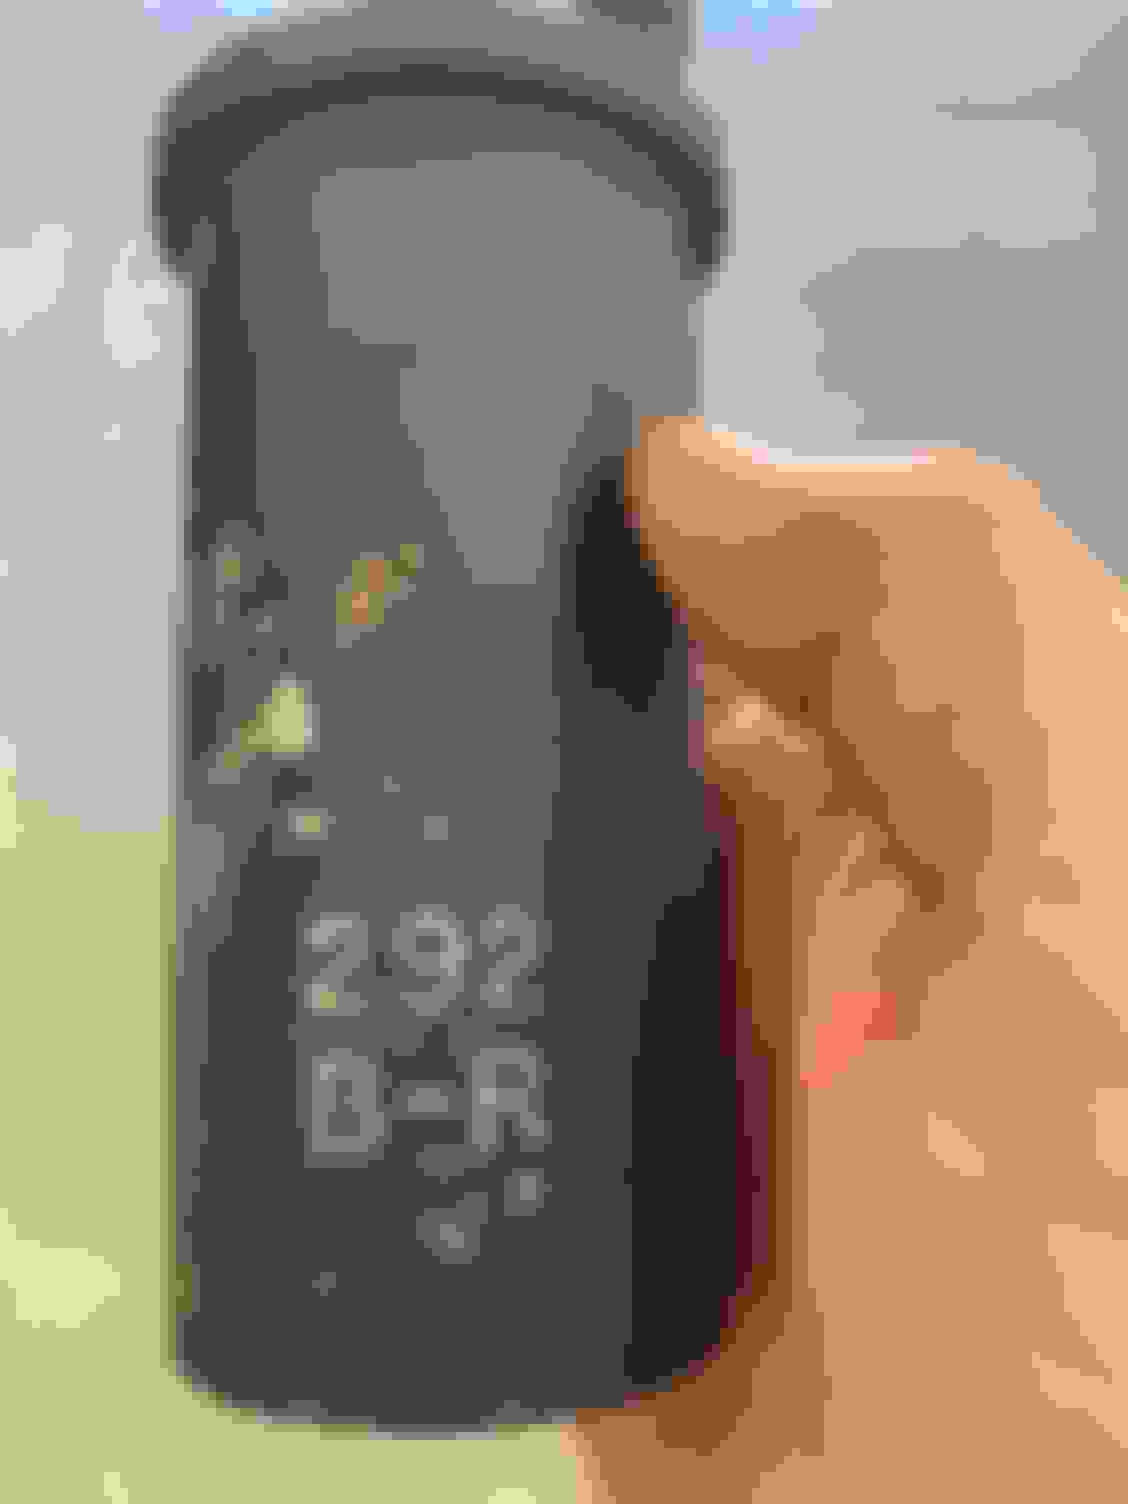
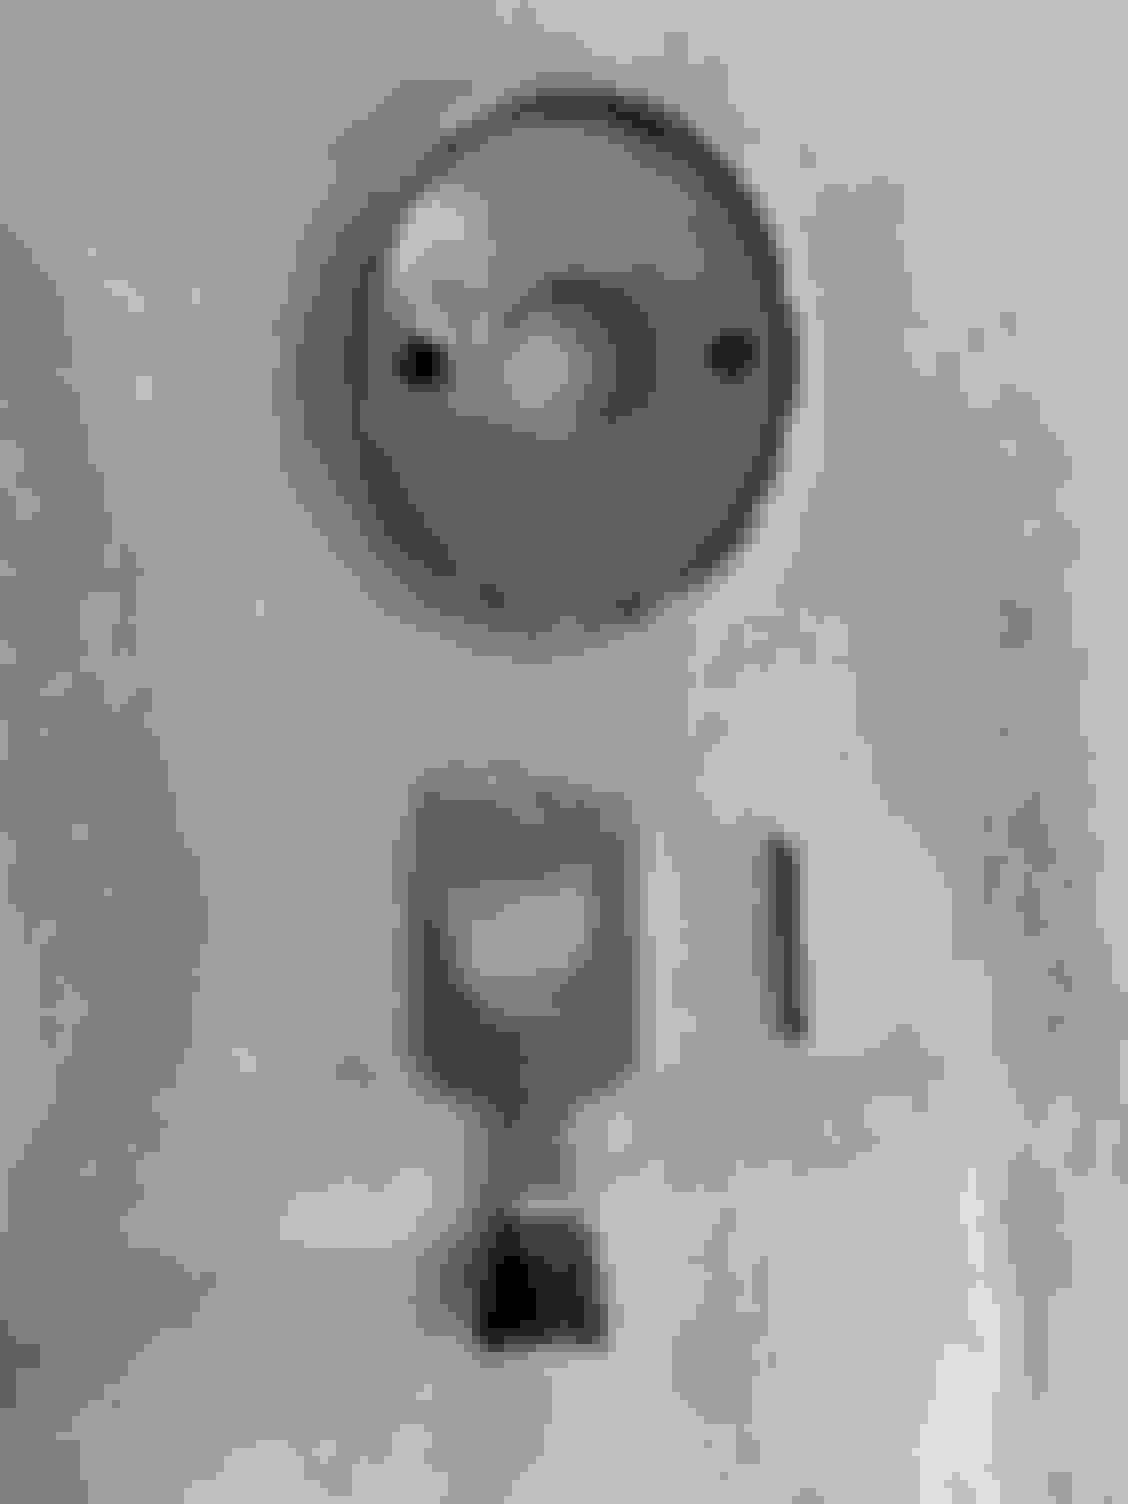
I started working on the restoration of the B R 292 coil. I took a toothbrush to the top part to remove the grime which worked well. The surface of the coil appears to be a gloss so I�ll replicate that this weekend after I finish scuffing it. How does one test the coil to see if it�s any good?
This week I picked up a few minor odds and ends.
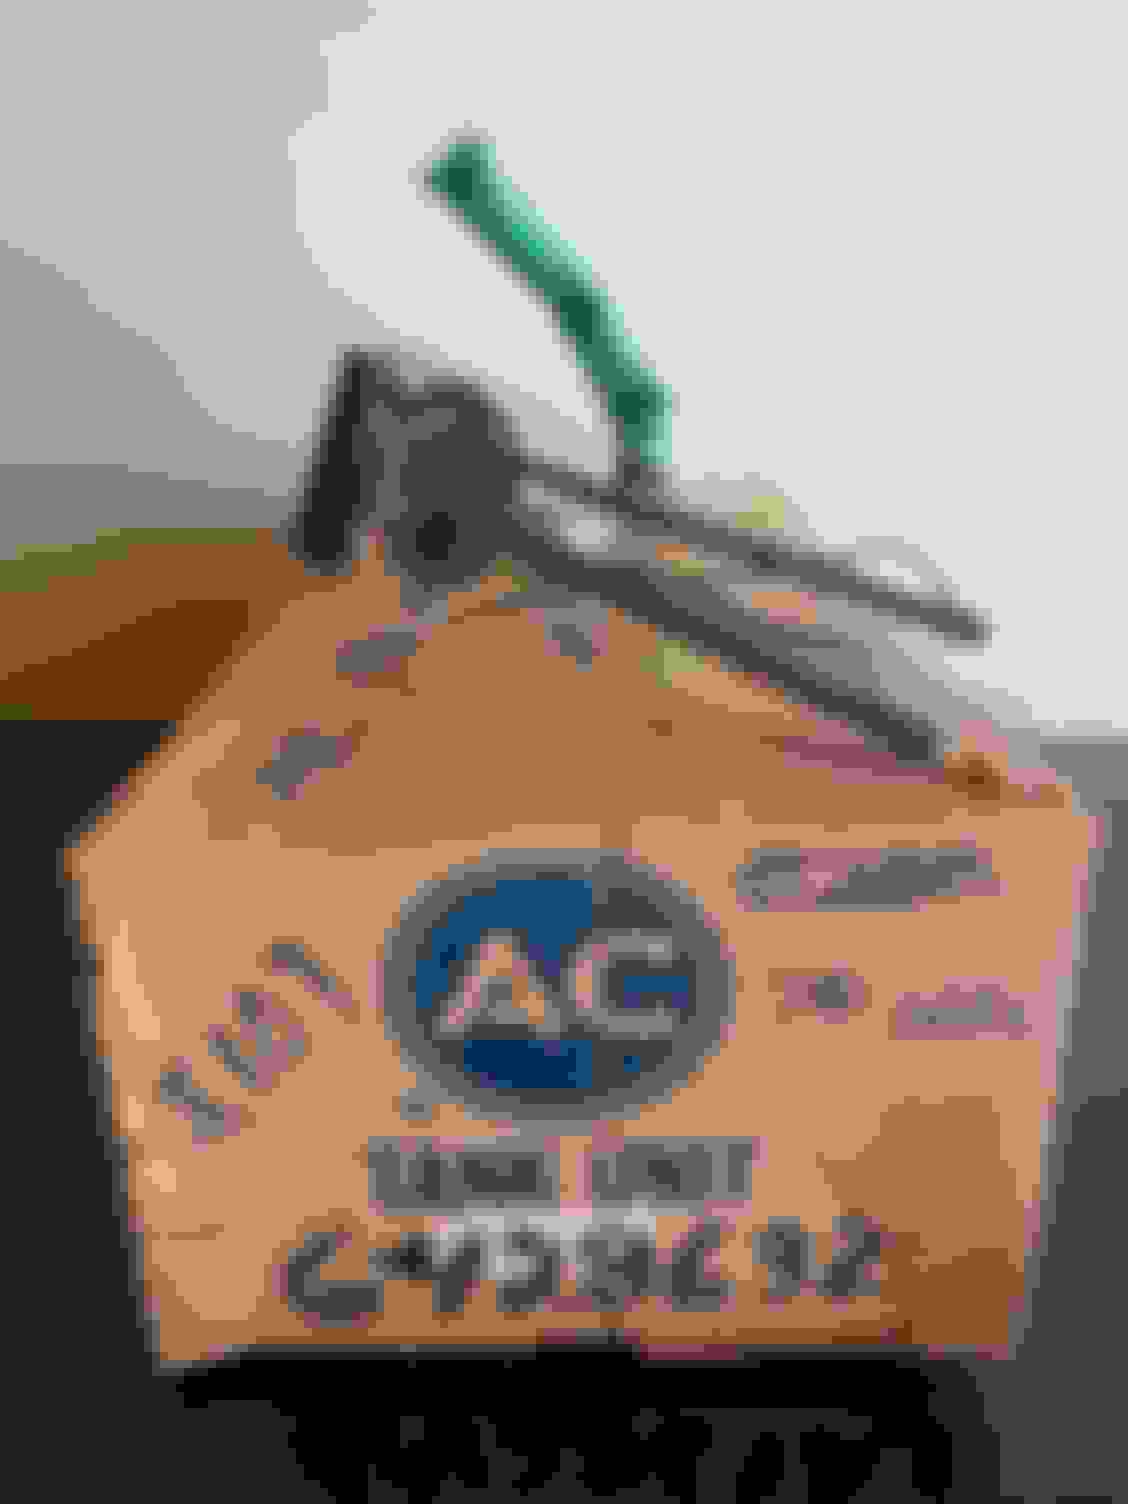
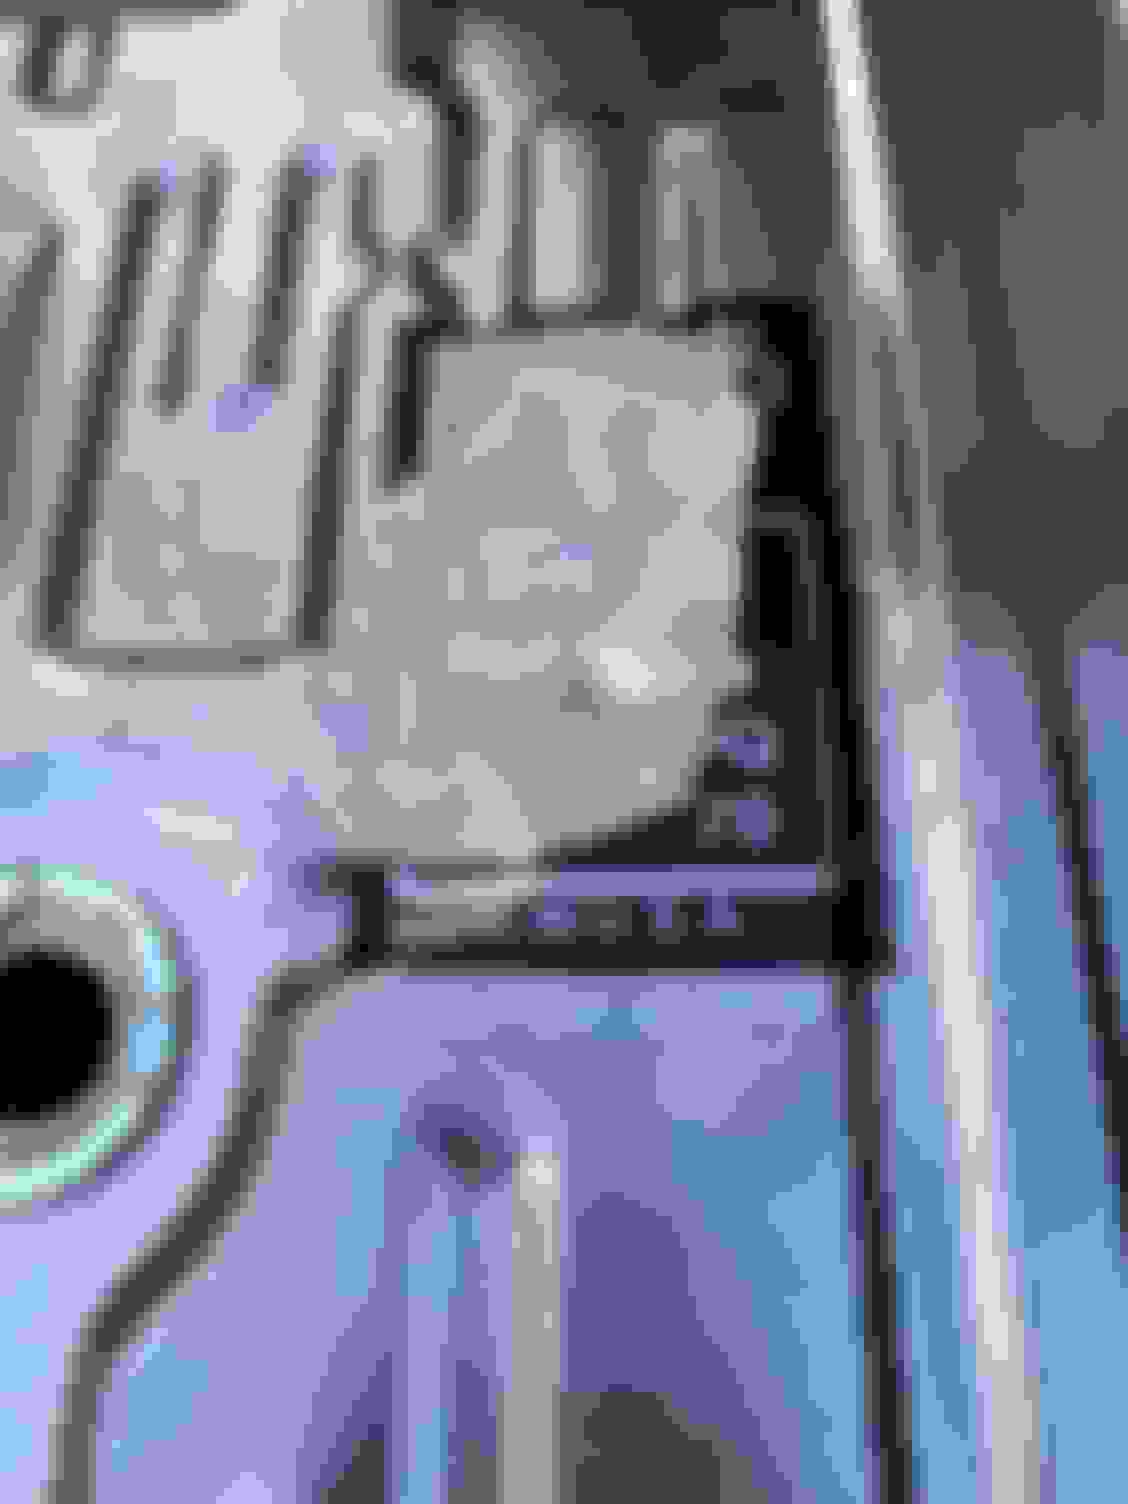
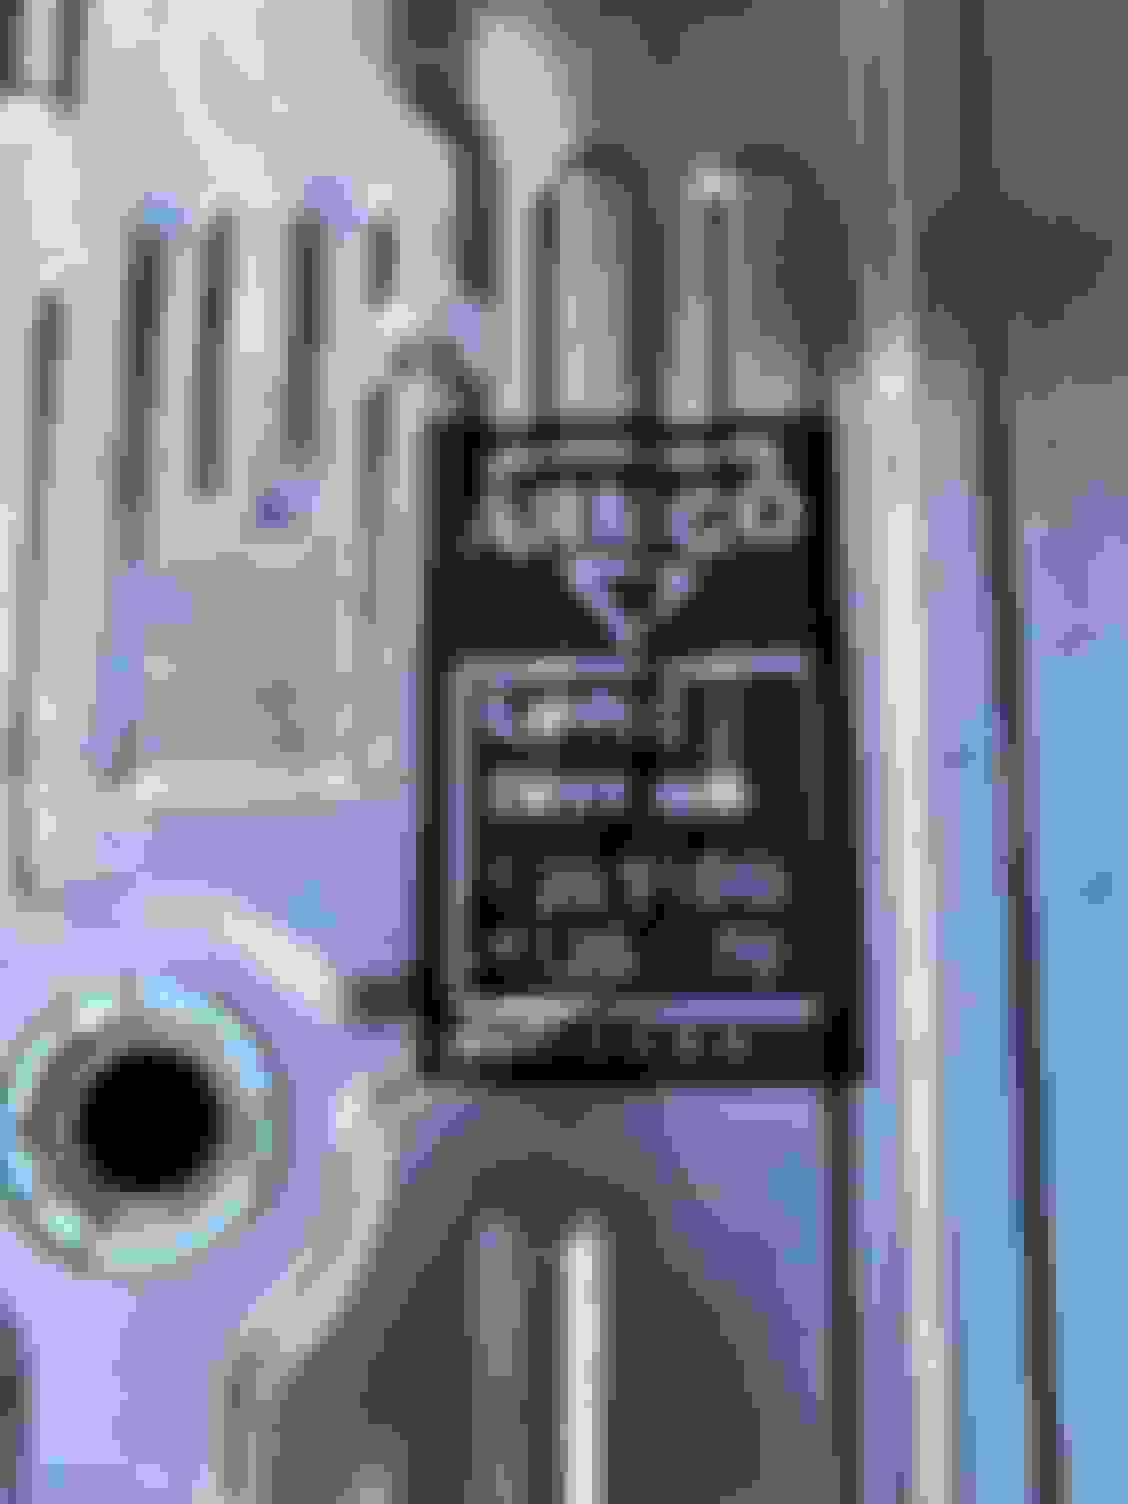
I�m having some work done on the new gas tank, and once I get it back, I�ll replicate the blue stencil. I located an NOS �gauge� or sending unit. Pretty cool to see the 1971 date on the AC packaging.
I found a sweet NOS three prong door jamb switch. I�d love to find another if anyone has one!
How does one test the coil to see if it�s any good?
Jimmy, you'll need only an ohm-meter to check it out.
Put your ohm-meter across the two screw (primary) terminals. The reading should be 1.2 ohms plus/minus 40%
Put your ohm-meter test leads on the secondary (spark-plug) terminal and on either of the screw terminals. The reading should be 9000 ohms plus/minus 20%
If you are significantly outside those ranges, your coil is probably defective.
I got docked a point or two at the nationals for the red tint to the pin switch in the door jamb. I didn't dispute it or anything because I am not really a points guy but that is how the cleanest ones were that I find used or NOS.
I got docked a point or two at the nationals for the red tint to the pin switch in the door jamb. I didn't dispute it or anything because I am not really a points guy but that is how the cleanest ones were that I find used or NOS.
Thanks, Eric. Elaborate on this. What do you mean by red tint? I'll grab a picture of my originals and post them at some point today.
Most NOS and many (but not all) of the really nice originals have a red tint to the nut that threads into the door jamb. This red tint is more prevalent on some more than others. Looks like in your picture above that your NOS one has this red tint to it. It is correct but they may dock you points for it if you are worried about points.
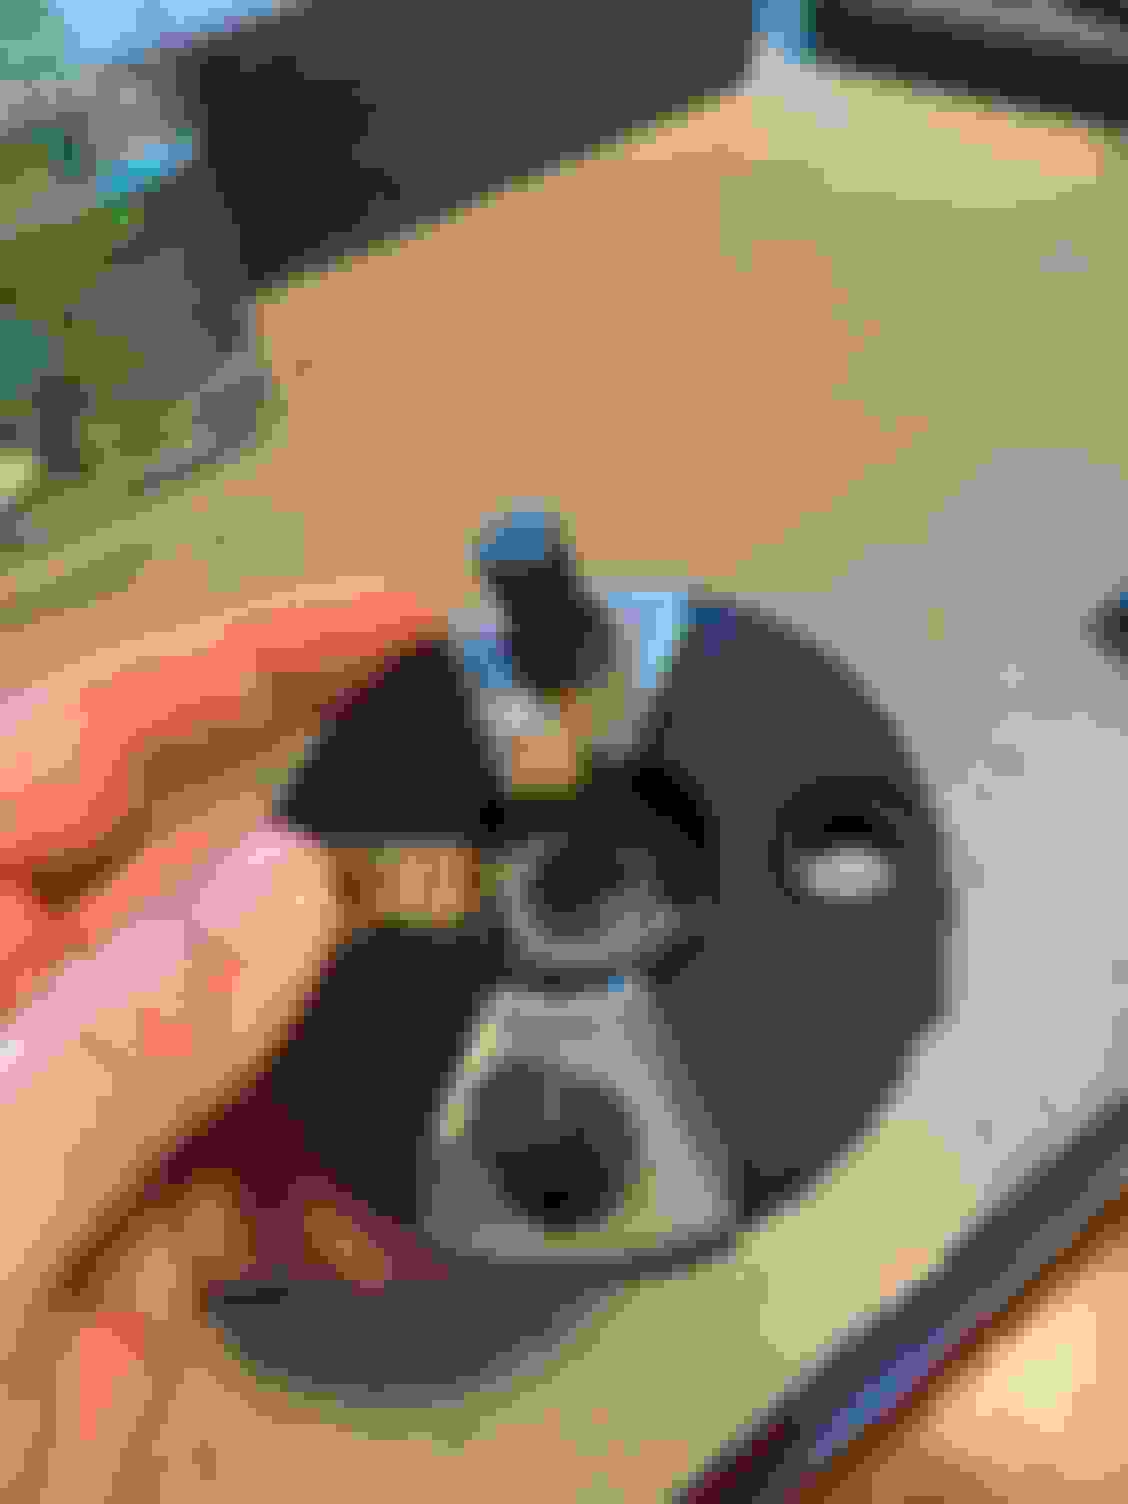
Disassembled the rag joint to restore the correct finishes. Does anyone have a source for a copper plated bolt or a place that will do the copper plating? The two bolts look similar, however, one is a little thicker in size.
Also pulled out the bag that had the switch for the trunk alarm. This car came with a dealer installed alarm for $69. The alarm consisted of this switch along with an additional two door jamb switches. I have no idea how the wiring was hooked up as it was disconnected when I bought the car. Hindsight, I should have had the additional two jamb switch holes in the door plugged, but it�s too late now so I�ll be trying to solve the alarm in the future. Anyone familiar with basic alarms from the late 60�s or early 70�s?
Most NOS and many (but not all) of the really nice originals have a red tint to the nut that threads into the door jamb. This red tint is more prevalent on some more than others. Looks like in your picture above that your NOS one has this red tint to it. It is correct but they may dock you points for it if you are worried about points.
That is a bogus point deduction. I found one of my original door jamb switches last night and took a picture of it. You can clearly see the red around the nut. That is unfortunate to hear that someone would deduct for that. Or are we completely missing something here?
That is a bogus point deduction. I found one of my original door jamb switches last night and took a picture of it. You can clearly see the red around the nut. That is unfortunate to hear that someone would deduct for that. Or are we completely missing something here?
I didn't say anything because I was not worried about it but maybe I should have let them know for the next time they judge a car. I had radial tires and other things they found that were legit so this deduction was not a big deal to me.
I didn't say anything because I was not worried about it but maybe I should have let them know for the next time they judge a car. I had radial tires and other things they found that were legit so this deduction was not a big deal to me.
Eric�again, thanks for sharing. I think that sucks if there was a deduction for that. I�ll post in our Facebook group for us to discuss further. Here�s a side by side comparison of the factory door jamb switch from my W-31 and an NOS 402925 switch. Identical.
I agree with you guys, that's a crazy deduction! Jimmy, the alarm probably had a key switch to arm it, probably on the drivers fender. There were like 2 types of alarms back then, key activated and electrical draw activated. Or, it was a combo of both. The draw type went off when the alarm sensed an electrical change, like if you opened a door, the dome light coming on would set it off. The trunk or hood light would set it off. If the windows were down and somebody reached in to open the glove box that light would set it off. Because you have switches, it's not that type. I think you need a key switch, and dealers didn't hide them. I'm sure you know there are ID numbers on the fenders. Check your front left fender. GM actually made a very nice key switch that they used on 'vettes at that time. I think it used the factory key(s), too.
I agree with you guys, that's a crazy deduction! Jimmy, the alarm probably had a key switch to arm it, probably on the drivers fender. There were like 2 types of alarms back then, key activated and electrical draw activated. Or, it was a combo of both. The draw type went off when the alarm sensed an electrical change, like if you opened a door, the dome light coming on would set it off. The trunk or hood light would set it off. If the windows were down and somebody reached in to open the glove box that light would set it off. Because you have switches, it's not that type. I think you need a key switch, and dealers didn't hide them. I'm sure you know there are ID numbers on the fenders. Check your front left fender. GM actually made a very nice key switch that they used on 'vettes at that time. I think it used the factory key(s), too.
I'll check in to it, thanks for the info! I have a call with the original owner this week so hopefully he can walk me through the alarm. Unfortunately, the original fenders are long gone so if the setup was installed there, it's long gone. To make sure I'm following, a person would lock the doors on the car (presumably), then use the key to "activate" the switch in the fender? I'm guessing the owner must have taken the alarm out when the car was painted in the '70's and the fenders were replaced. The jamb switches were gone when I started on the car, the wires were disconnected, and I couldn't find a buzzer or alarm switch anywhere. I'll start digging in to this a bit more!
Yes Jimmy, you would lock the doors, then walk to the key switch, turn and it's armed. That started on 'vettes, the switch/lock was the same style as the door lock, and the key was often the same. There was an early type switch, and a later type switch. The change was right around 1970. That's assuming it was an actual GM alarm. But even if they used an aftermarket kit, it probably had a similar switch. If you run GM alarm key switch on ebay, you can see some...like this... https://www.ebay.com/itm/New-Theft-A...ss!02771!US!-1
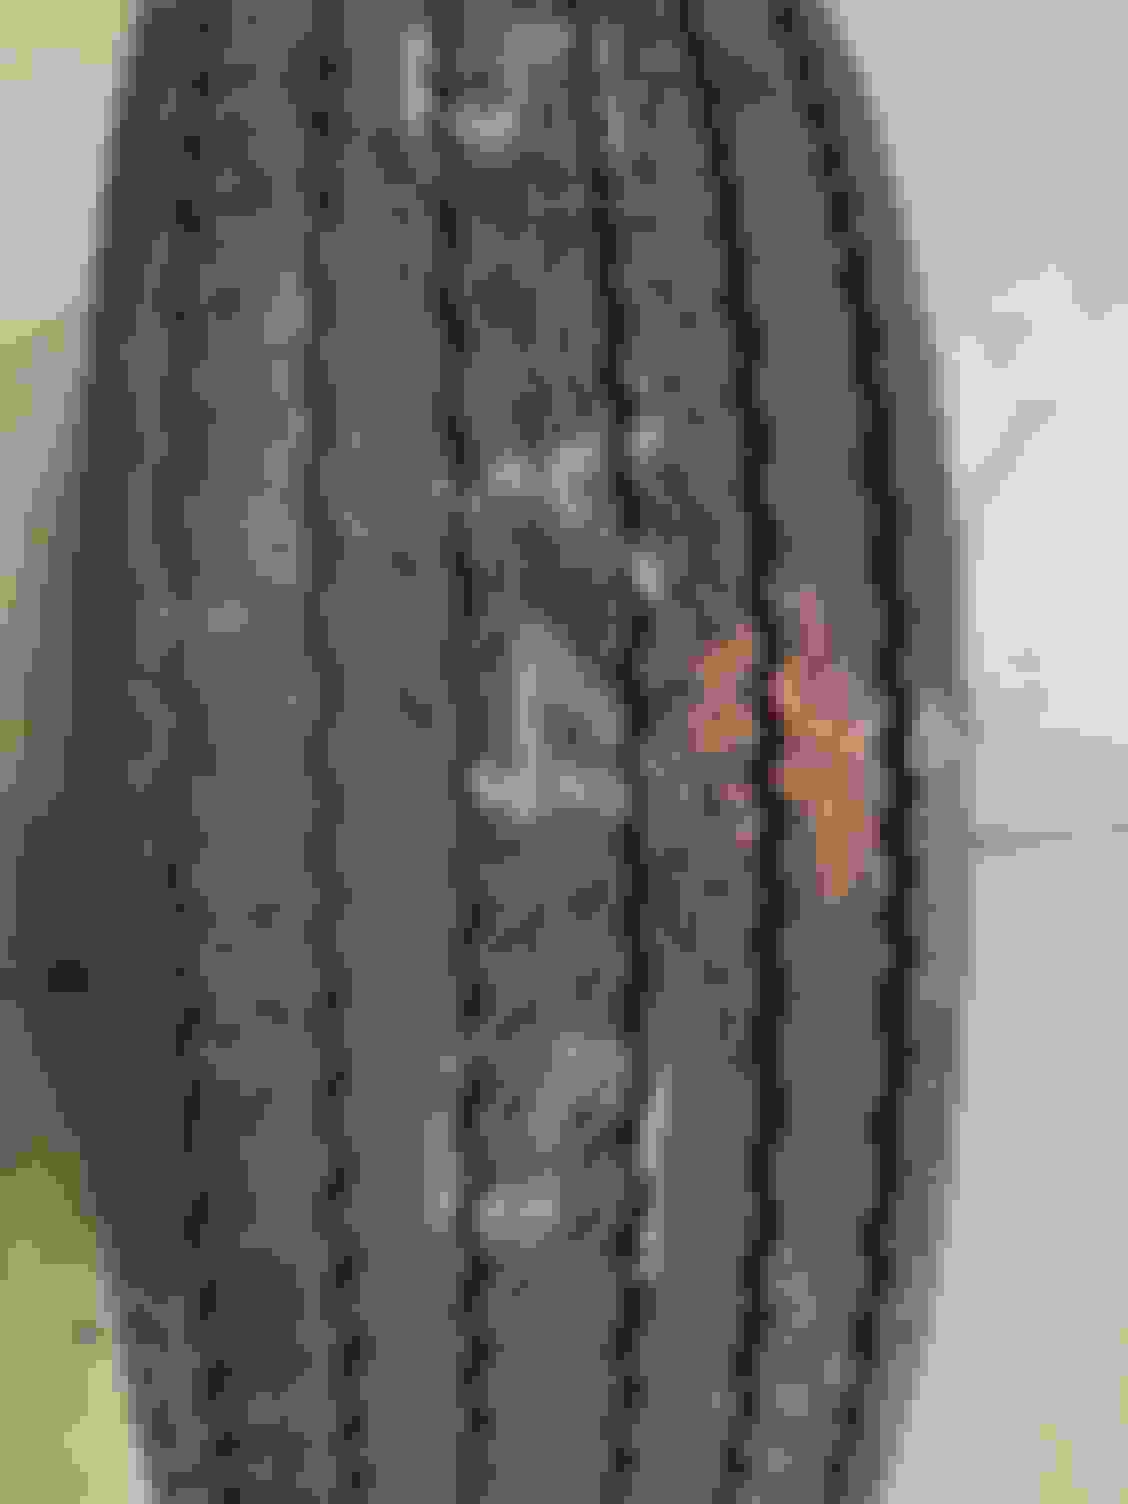
Tackled restoring what I believe to be the original spare Goodyear Polyglas for the blue 31. The tire has the nubs still on the side, but there were some tiny pebbles in the tread, so it definitely saw some action on the road. I started with Tuf Stuff tire cleaner and a brush. From there, I switched to Pinnacle�s Black Label tire cleaner gel with a long bristled carpet cleaning pad hooked up to the Flex. Even after I thought I had the tire clean with the hand brush, the machine polisher took it to the next level. Once the suds were white, I rinsed and applied Pinnacle�s tire clear coat. This is a non-oil, dry to the touch finish that isn�t greasy or slick. I�m not a fan of the tire shine on a Polyglas, however, I figured I should dress the 50 year old rubber with something to protect it for a bit. I also used a tiny pick and removed every pebble that embedded itself in the tread. This tire will serve as my spare.
I�m going to contact the local tire plant and see if they can share some of their blue tire protectant. It was used to protect the white letters when tires were stacked and transported. I want to replicate that look! Anyone familiar with what the solution is?
...blue tire protectant...was used to protect the white letters when tires were stacked and transported. ... Anyone familiar with what the solution is?
Back in the day it was blue-colored liquid soap. Not sure what is used now.
Your spare looks amazing! Nice work. I particularly like the subtle finish from the Pinnacle clear coat.
Two comments:
The OEM tires (and ones made by Goodyear up to 1980 or so) have a different tread pattern in the outer blocks than later reproductions. In your first picture, you can see grooves in the side of the tire just below the tread surface. That is the sign of an original Goodyear tire. Later repros don't have those grooves.
Sometimes, even after a thorough clean, there remains a residual, faint brown tint to the letters. Original formula Westleys Bleche-Wite removes it, as will any powerful alkali (such as saturated solution of washing soda). Always take care if using either of those; wear eye protection and rubber gloves.
Slowed progress a bit over the holiday. A few quick hits.
A friend in the tire business is hooking me up with the solution used to create the blue on the whitewall letters. I�ll be doing this for the spare. I have an original photo of the car from the dealer on the day it was picked up, and the white on the tires appears to be bright meaning the blue was removed.
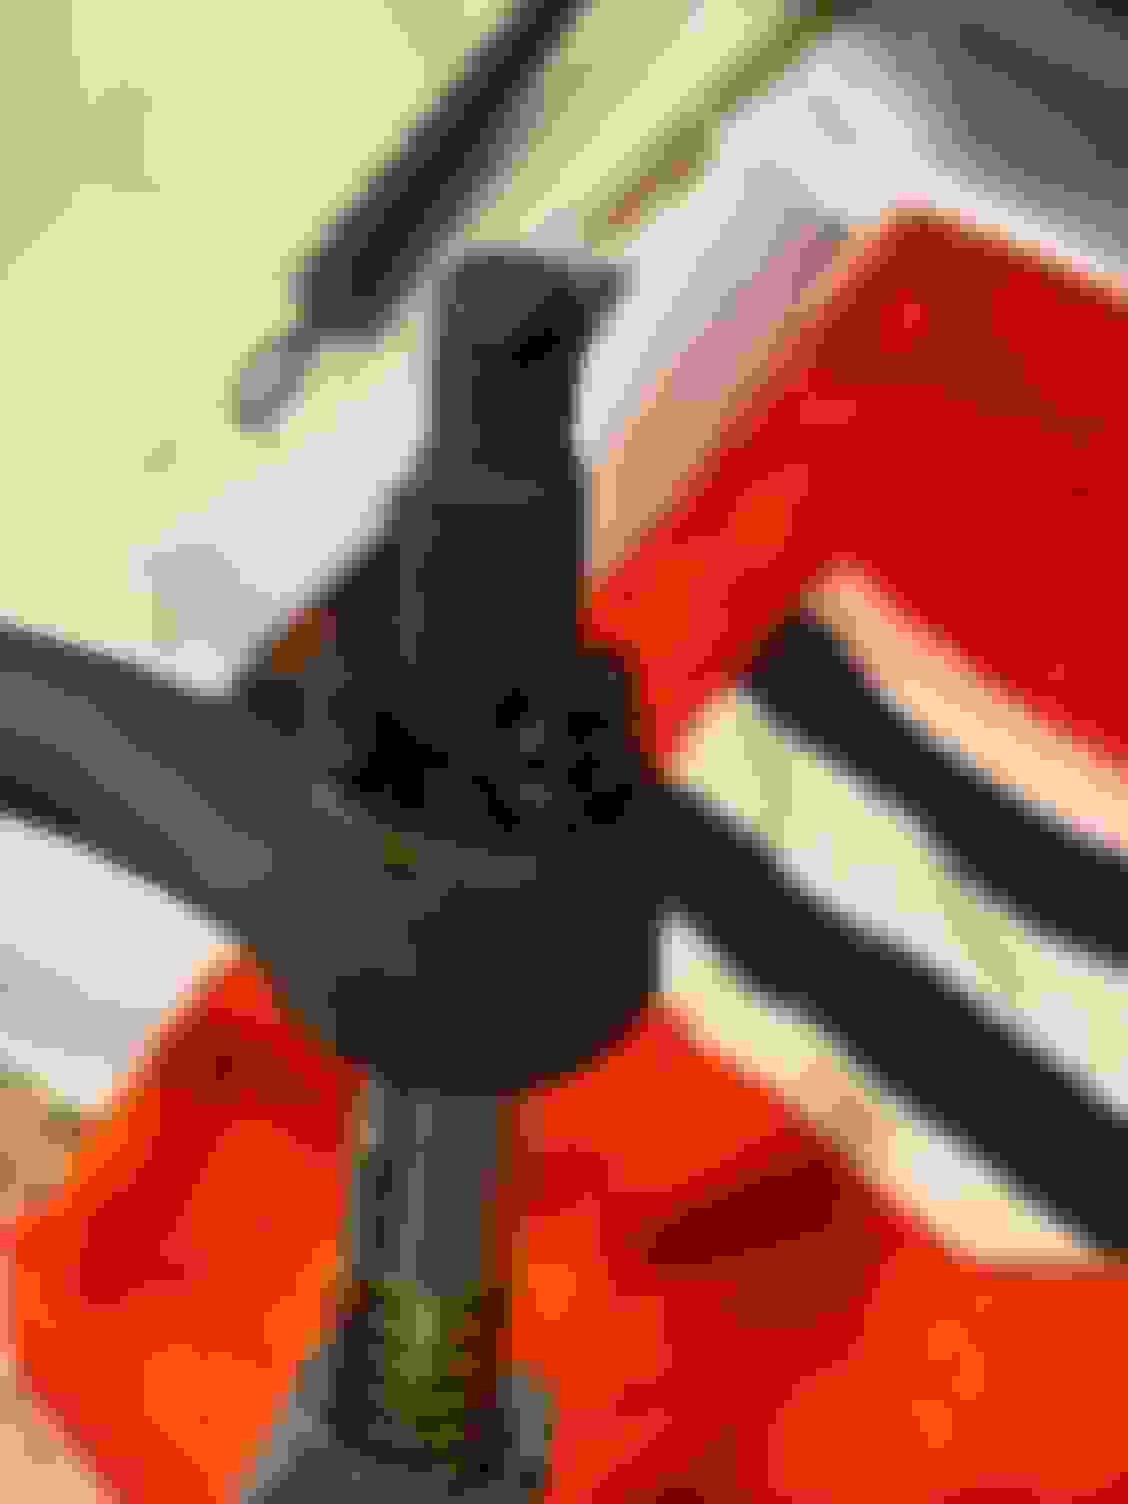
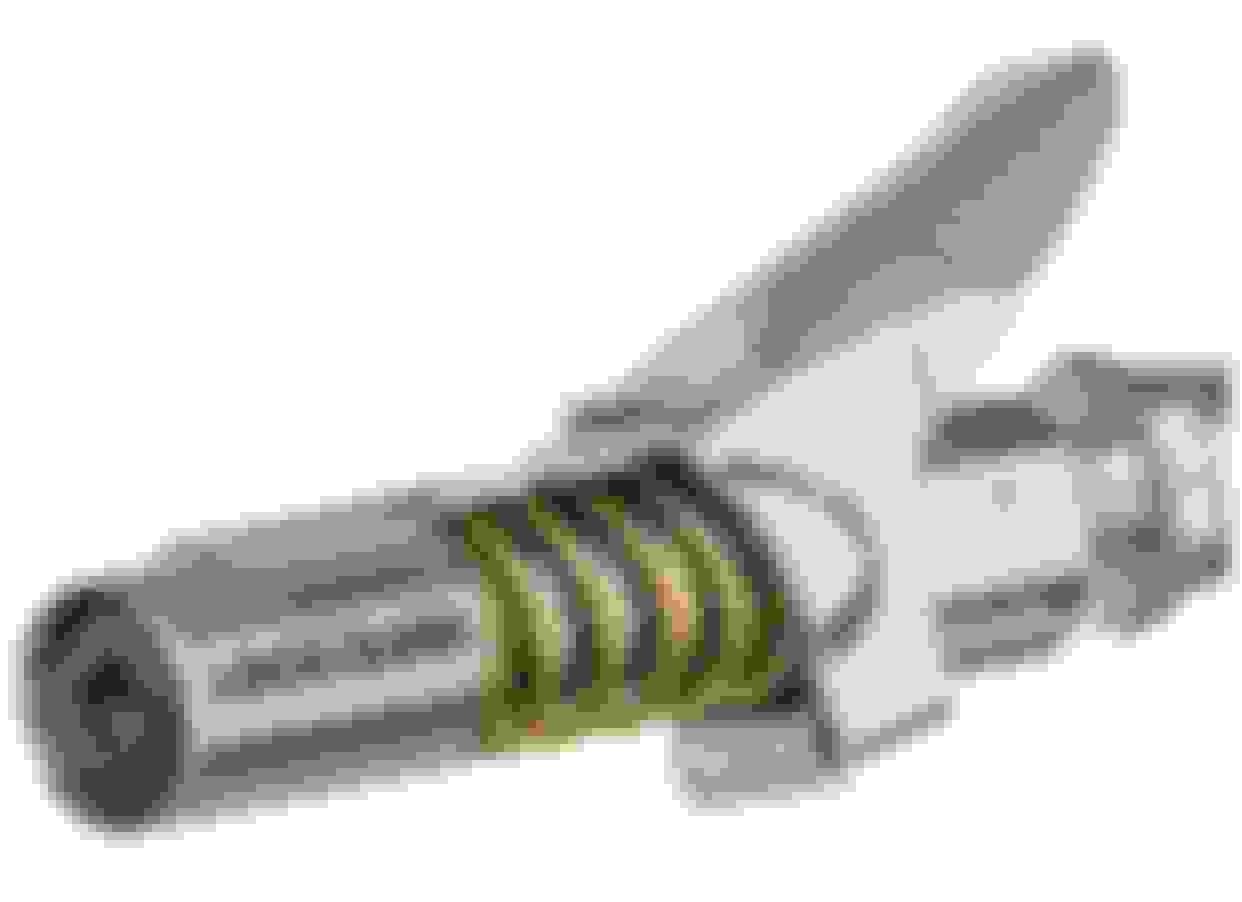
I pumped some new grease in to the ball joints on the tie rods and center relay. The old grease was pretty nasty so I pumped until I removed most of it. I just need to hit the threads to clean them up a bit for the nuts, and then they�ll be ready for install. I�ll add more grease when all the parts have been installed.
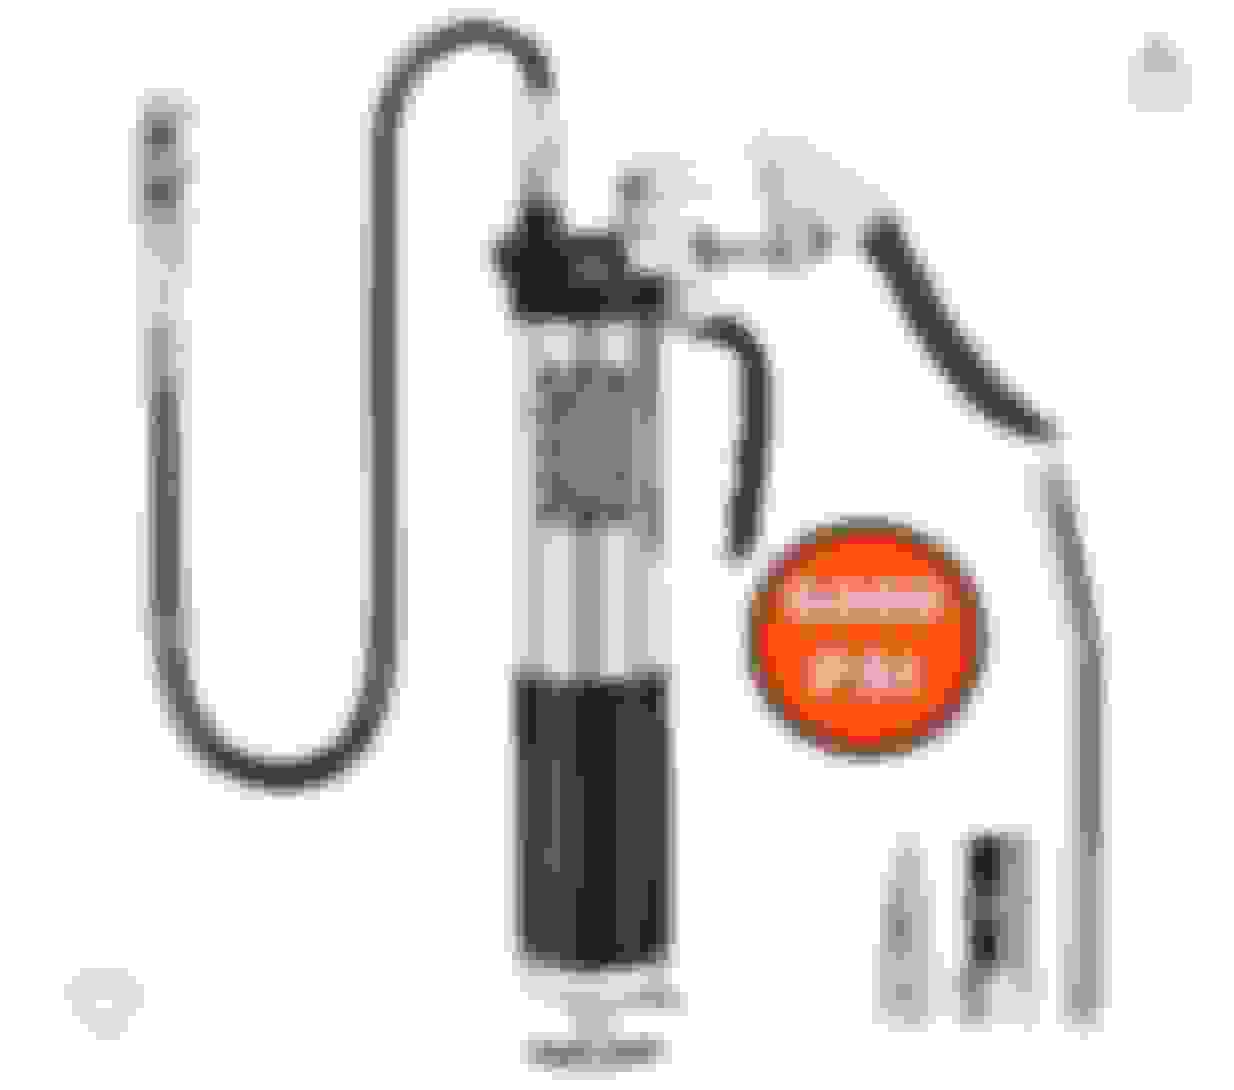
Quick plug for the new grease gun I picked up a few months back. It worked awesome with the LockNLube coupler!
BraveX grease gun available on Amazon for $30-$40. The LockNLube was an additional $30 and well worth it IMO based on how it �clamped� on to the grease fittings.
Have a request to those following the thread. I tossed the original package tray to the car, and I need to get a sample of the blue for Legendary. Does anyone have their original package tray for their '70 that would be willing to share a scrap of it for me? I know there are quite a few blue interior restos going on right now...I'm willing to do the leg work to help get us the right blue for the mesh package tray. Appreciate everyone's help on this!
Have a request to those following the thread. I tossed the original package tray to the car, and I need to get a sample of the blue for Legendary. Does anyone have their original package tray for their '70 that would be willing to share a scrap of it for me? I know there are quite a few blue interior restos going on right now...I'm willing to do the leg work to help get us the right blue for the mesh package tray. Appreciate everyone's help on this!
mine was long gone to. I�m interested in what you find out is correct for the light blue interior.
Slowed progress a bit over the holiday. A few quick hits.
A friend in the tire business is hooking me up with the solution used to create the blue on the whitewall letters. I�ll be doing this for the spare. I have an original photo of the car from the dealer on the day it was picked up, and the white on the tires appears to be bright meaning the blue was removed.
I pumped some new grease in to the ball joints on the tie rods and center relay. The old grease was pretty nasty so I pumped until I removed most of it. I just need to hit the threads to clean them up a bit for the nuts, and then they�ll be ready for install. I�ll add more grease when all the parts have been installed.
Quick plug for the new grease gun I picked up a few months back. It worked awesome with the LockNLube coupler!
BraveX grease gun available on Amazon for $30-$40. The LockNLube was an additional $30 and well worth it IMO based on how it �clamped� on to the grease fittings.
i have one of those lock and lube devices also. So much easier than the conventional snap on head that gets stuck all the time. I lube up my tractor and zero turn mower a lot and the lock and lube was a huge time saver. Only drawback I have found is that it is bigger and does not fit into tight places as well. I have a separate grease gun with the standard snap on head to use in tight places like my cutter gearbox and u joints on the mower.
Worked a little bit over the weekend restoring the rag joint. My local metal polisher is able to replate the copper bolt which should be done this week. Read a great article about the copper plating and how it was that way to allow for different torquing. The rest of the hardware is being re-phosphated, and hopefully I�ll have it back soon. Still need to add some �inspection marks� when it�s fully complete.
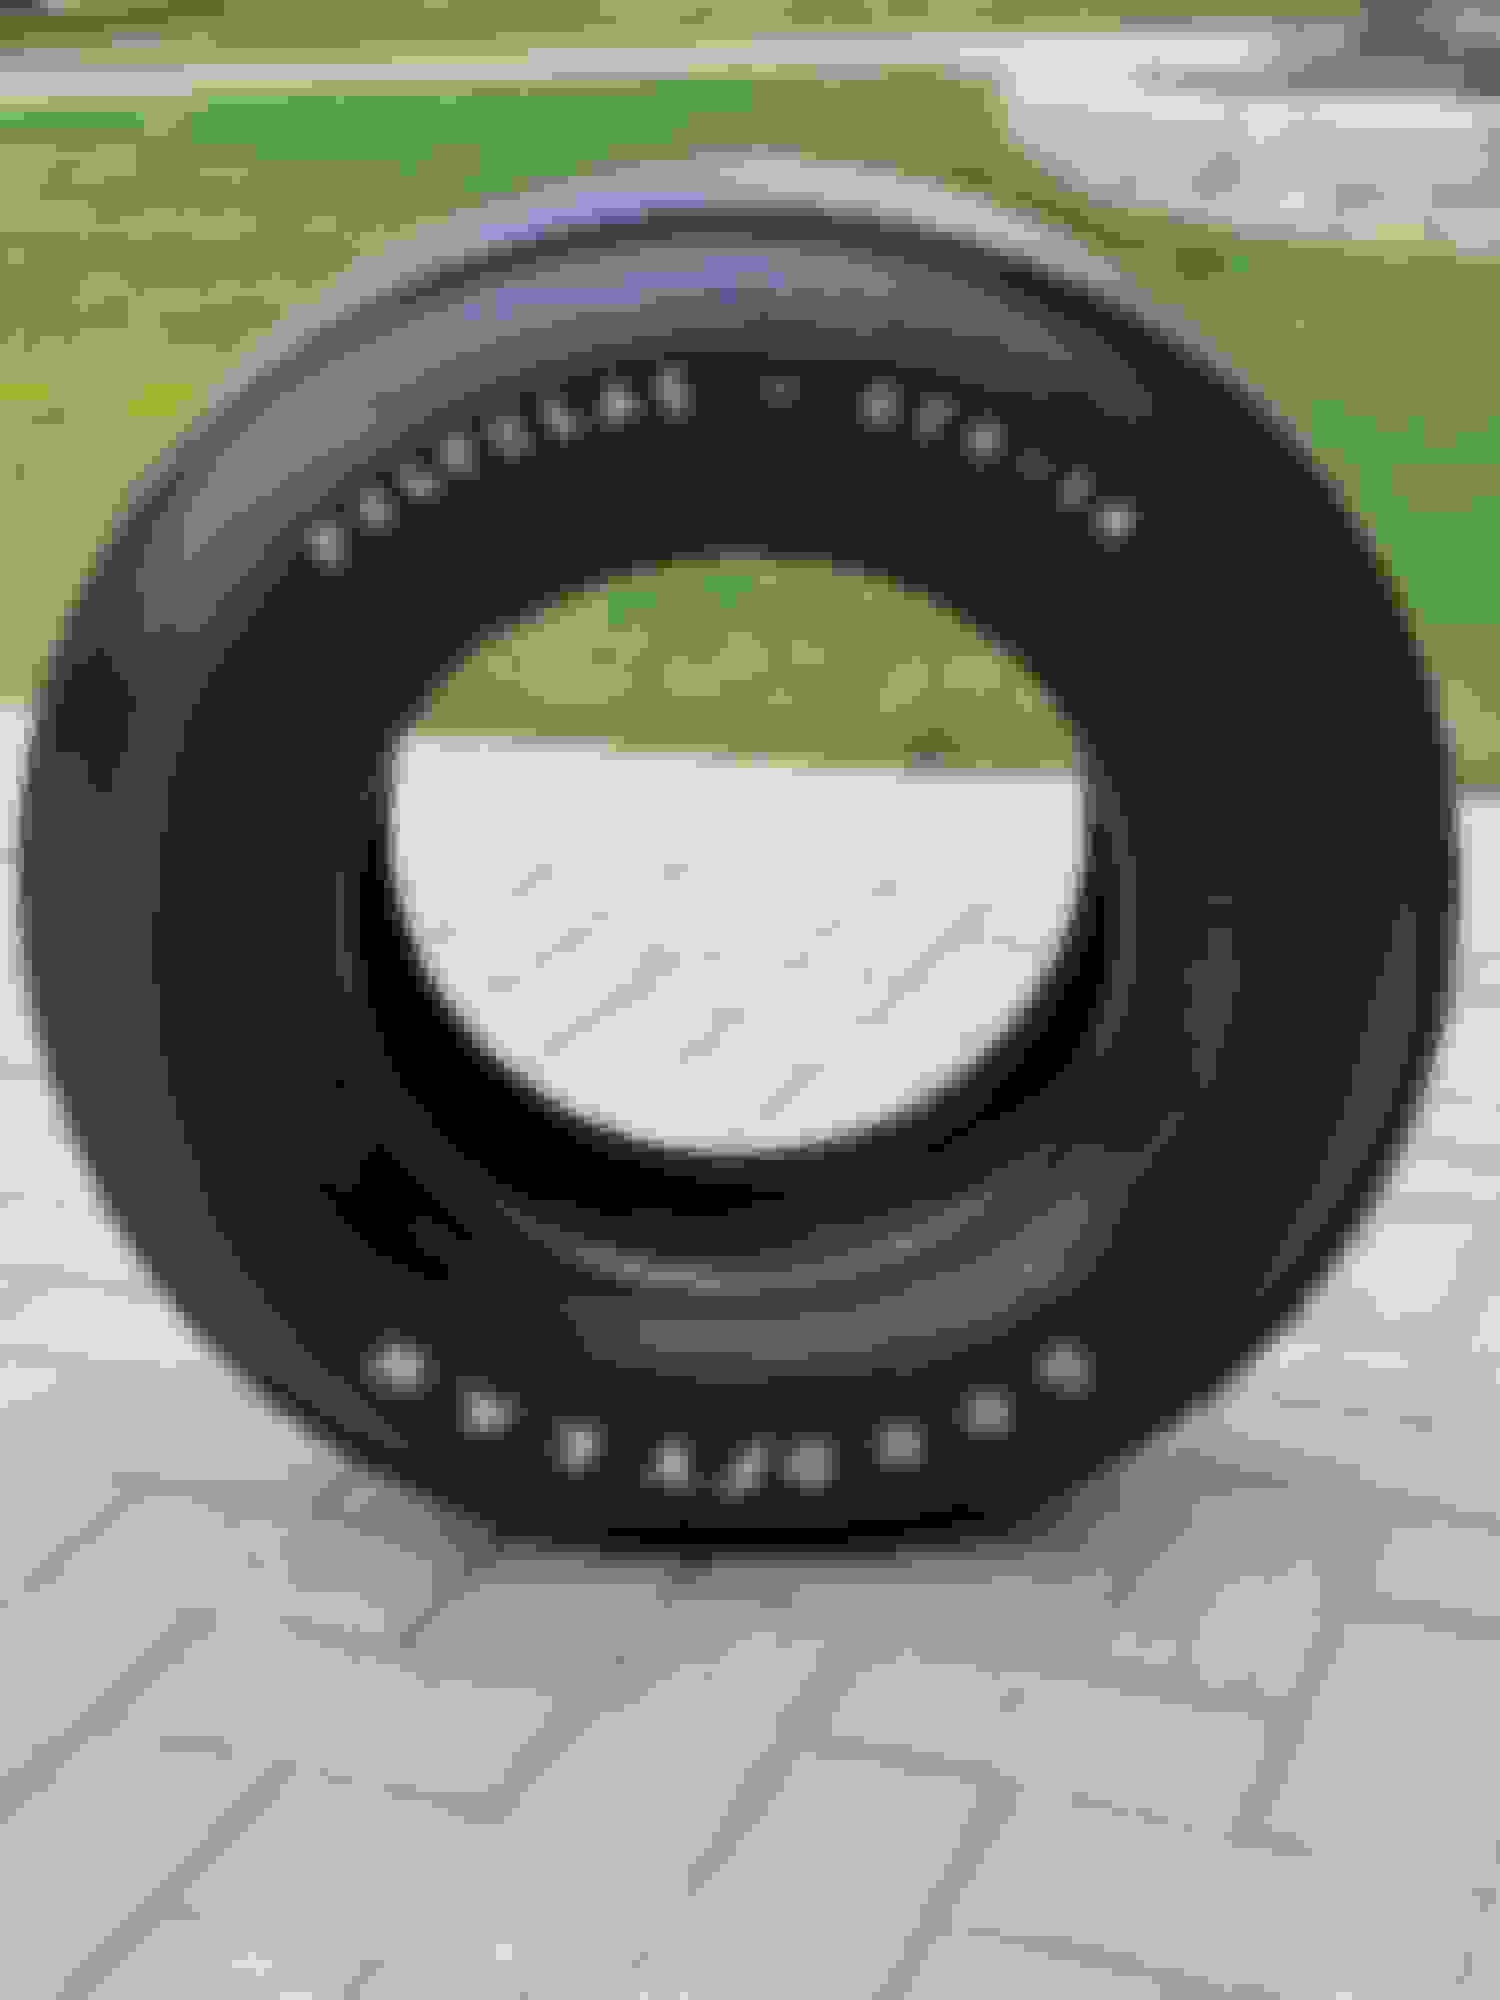
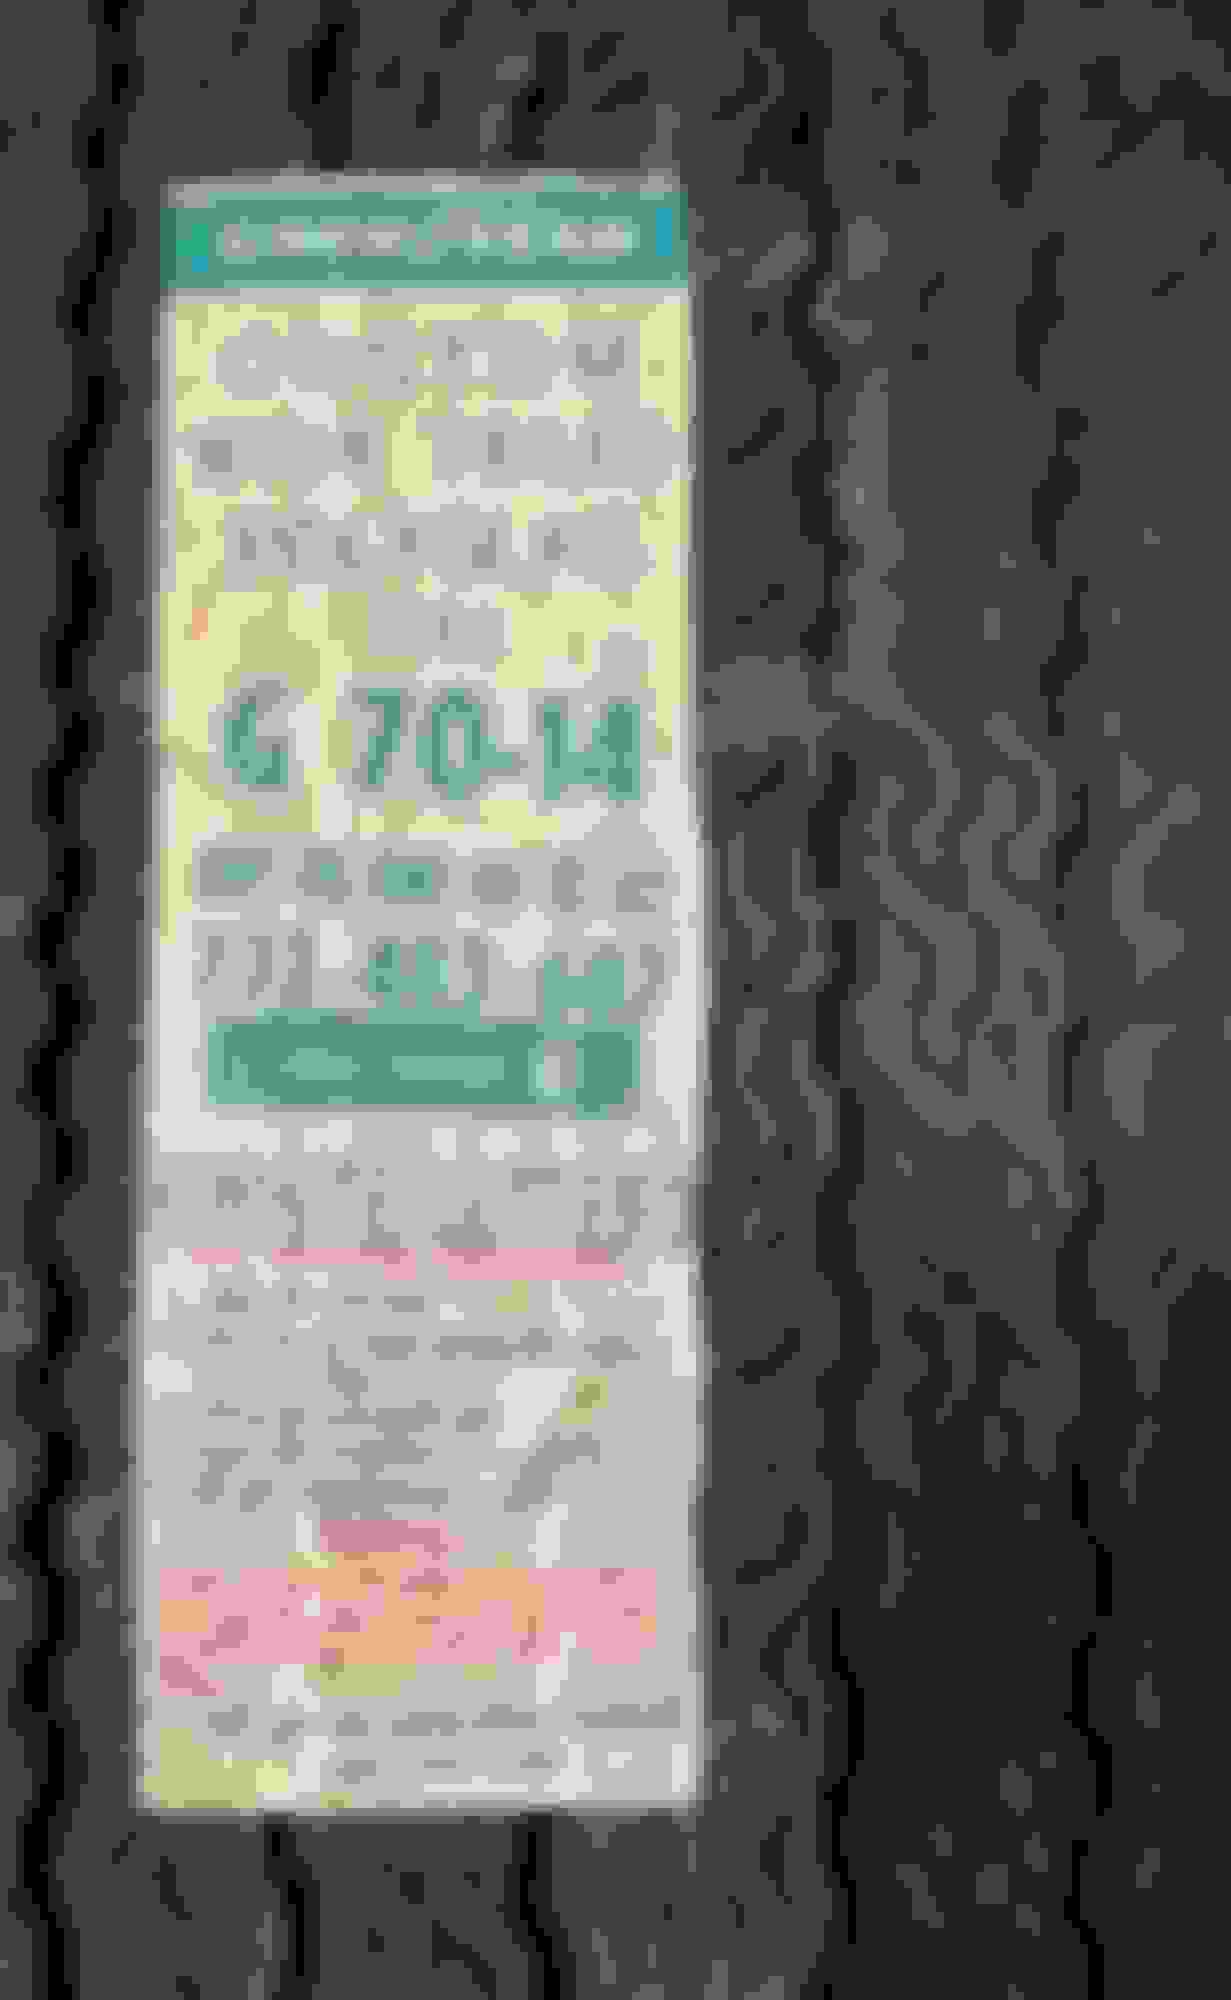
At this point of the restoration, I�m going all in. The car will be displayed at MCACN and the 2021 OCA Nationals sitting on a mint set of NOS G70-14 Goodyear Polyglas tires. The markings on these tires are super cool to see. The original SS2 wheels will get these tires, and the repop Polyglas tires are getting a special treat
Cool to see the original �F� markings.
Last edited by WTHIRTY1; July 14th, 2020 at 08:38 PM.
Shifted gears to the mess of parts inside the house tonight. The bucket seats were recovered beautifully last year, and I am just now getting around to the hardware installation. Most will go on when the plastic panels are completed so I decided to knock out the headrest escutcheons. I ordered four new ones from one of the vendors (maybe Fusick?), and did a side by side comparison to the originals. Of course, the new ones from Taiwan were different than the originals. The original slider is bare metal with the exception of the **** whereas the reproduction is all plastic chrome. The angle of the slider is significantly different, too. The grey plastic is glued on which holds the slider and spring in place.
I wanted to use my original escutcheons and simply replace the plastic chrome base or �body.� Seemed straight forward enough so I dug in with the heat gun and carefully pried the original plastic (with the part number) off. Swapped the original slider, spring, and retainer in to the main part of the escutcheon, added some glue, and it came out like new. Granted, nobody will ever know the difference in these, nor will the bottom side showing the part number ever be seen, but I figured what the hell anyways...
The hardest part is getting the back glue loose. Heat it from the top side to avoid melting the grey plastic retainer. Unfortunately, the heat will ruin the original �base,� however, in my case they were junk anyways.
Factory headrest escutcheon.
Factory slider, spring, and escutcheon �body.�
Reproduction escutcheon. Note the chrome plastic retainer.
Factory slider on the right.
Factory slider on the bottom. Note the steeper incline in the reproduction.
Factory �guts� with the reproduction �body.� A dab of white grease for good measure!
Glued back together and ready to go back on the seat.
Finished and needing a light buff to remove the smudges
Last edited by WTHIRTY1; July 14th, 2020 at 09:25 PM.
Have a request to those following the thread. I tossed the original package tray to the car, and I need to get a sample of the blue for Legendary. Does anyone have their original package tray for their '70 that would be willing to share a scrap of it for me? I know there are quite a few blue interior restos going on right now...I'm willing to do the leg work to help get us the right blue for the mesh package tray. Appreciate everyone's help on this!
I have my original from my W-30 but don't want to cut it. If I had to do it over I would have sprayed it and reused it. I had to send it to Legendary for them to get my new one right. I had them make one with only one speaker cut like original. The standard one they send has two cuts instead of the original one side only. When I get home from Colorado next week I can look up my old paperwork and see if they put on it what color they used.The first one they sent me was the lighter color and is not correct.
I have my original from my W-30 but don't want to cut it. If I had to do it over I would have sprayed it and reused it. I had to send it to Legendary for them to get my new one right. I had them make one with only one speaker cut like original. The standard one they send has two cuts instead of the original one side only. When I get home from Colorado next week I can look up my old paperwork and see if they put on it what color they used.The first one they sent me was the lighter color and is not correct.
I�ll drop you a note. I�m hoping they can just look up your old order
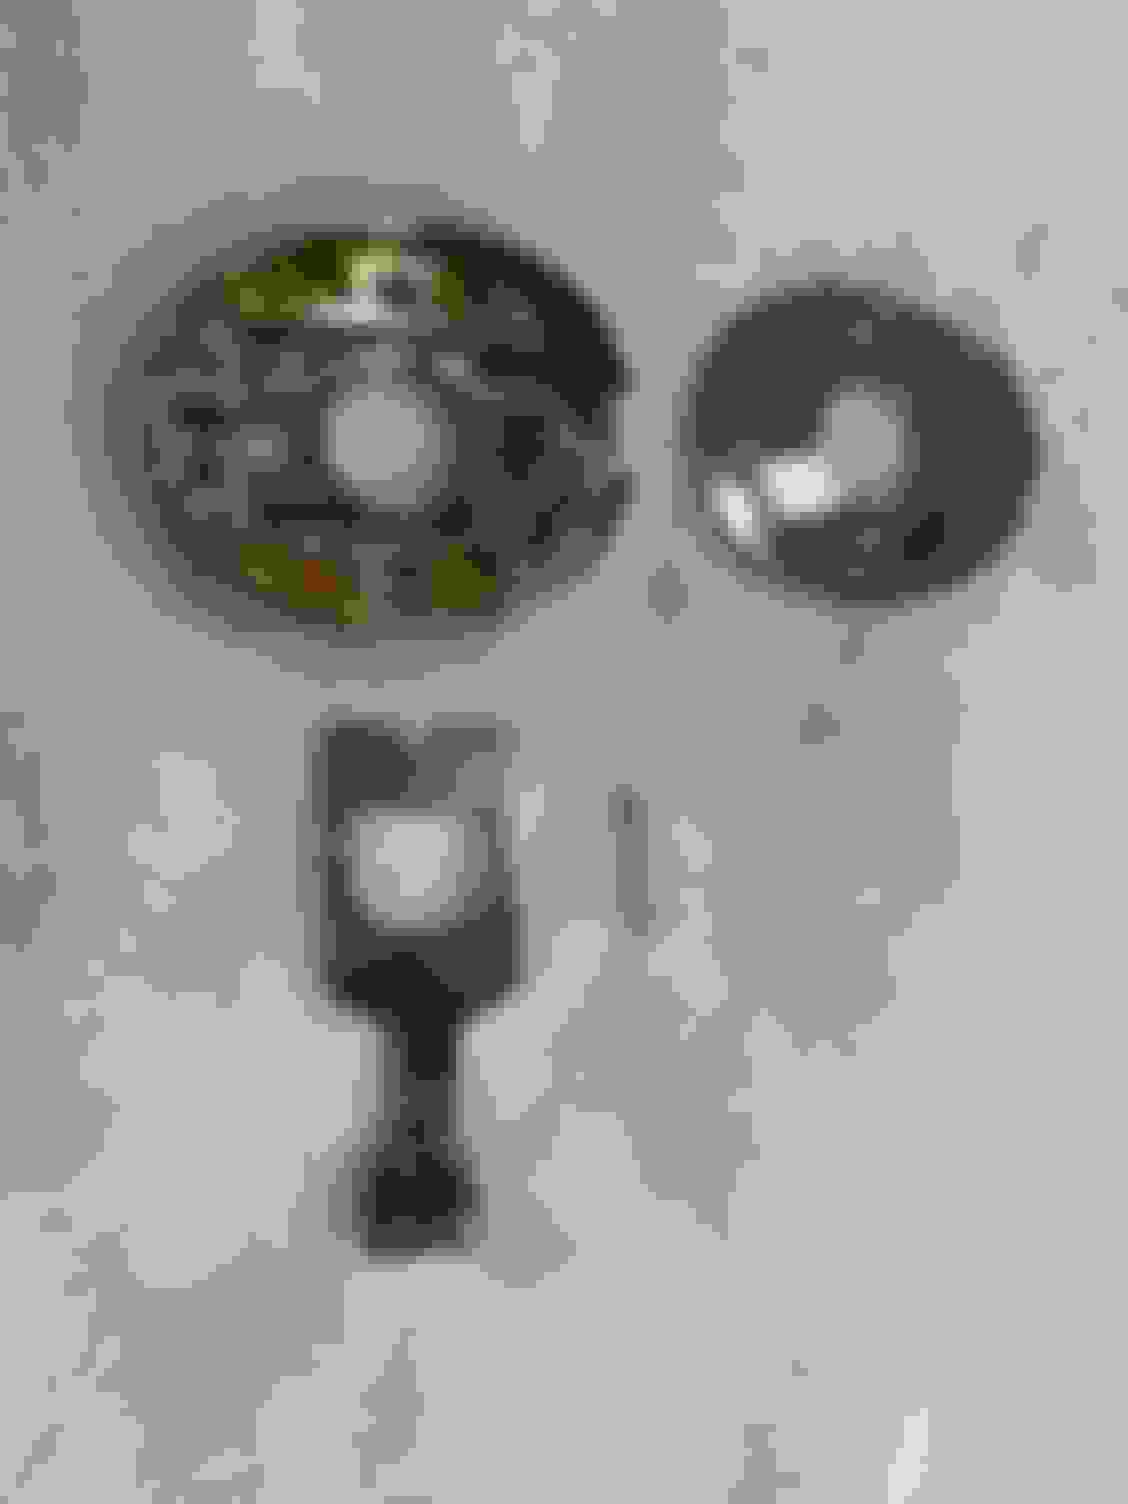
Sticking with the them of minor interior items, I spent this evening cleaning the door panel reflectors. I�m fortunate that the original metal wasn�t pitted on these! Same clean up process as always...Dawn soap and a brush, toothbrush and toothpaste, metal polish, and a plastic detailer. The silver from the passenger panel was nearly perfect. The silver from the drivers panel was nearly all gone. I used a metallic Sharpie for the silver and tried my best with a steady hand to get it just right. I�m okay with how it turned out.
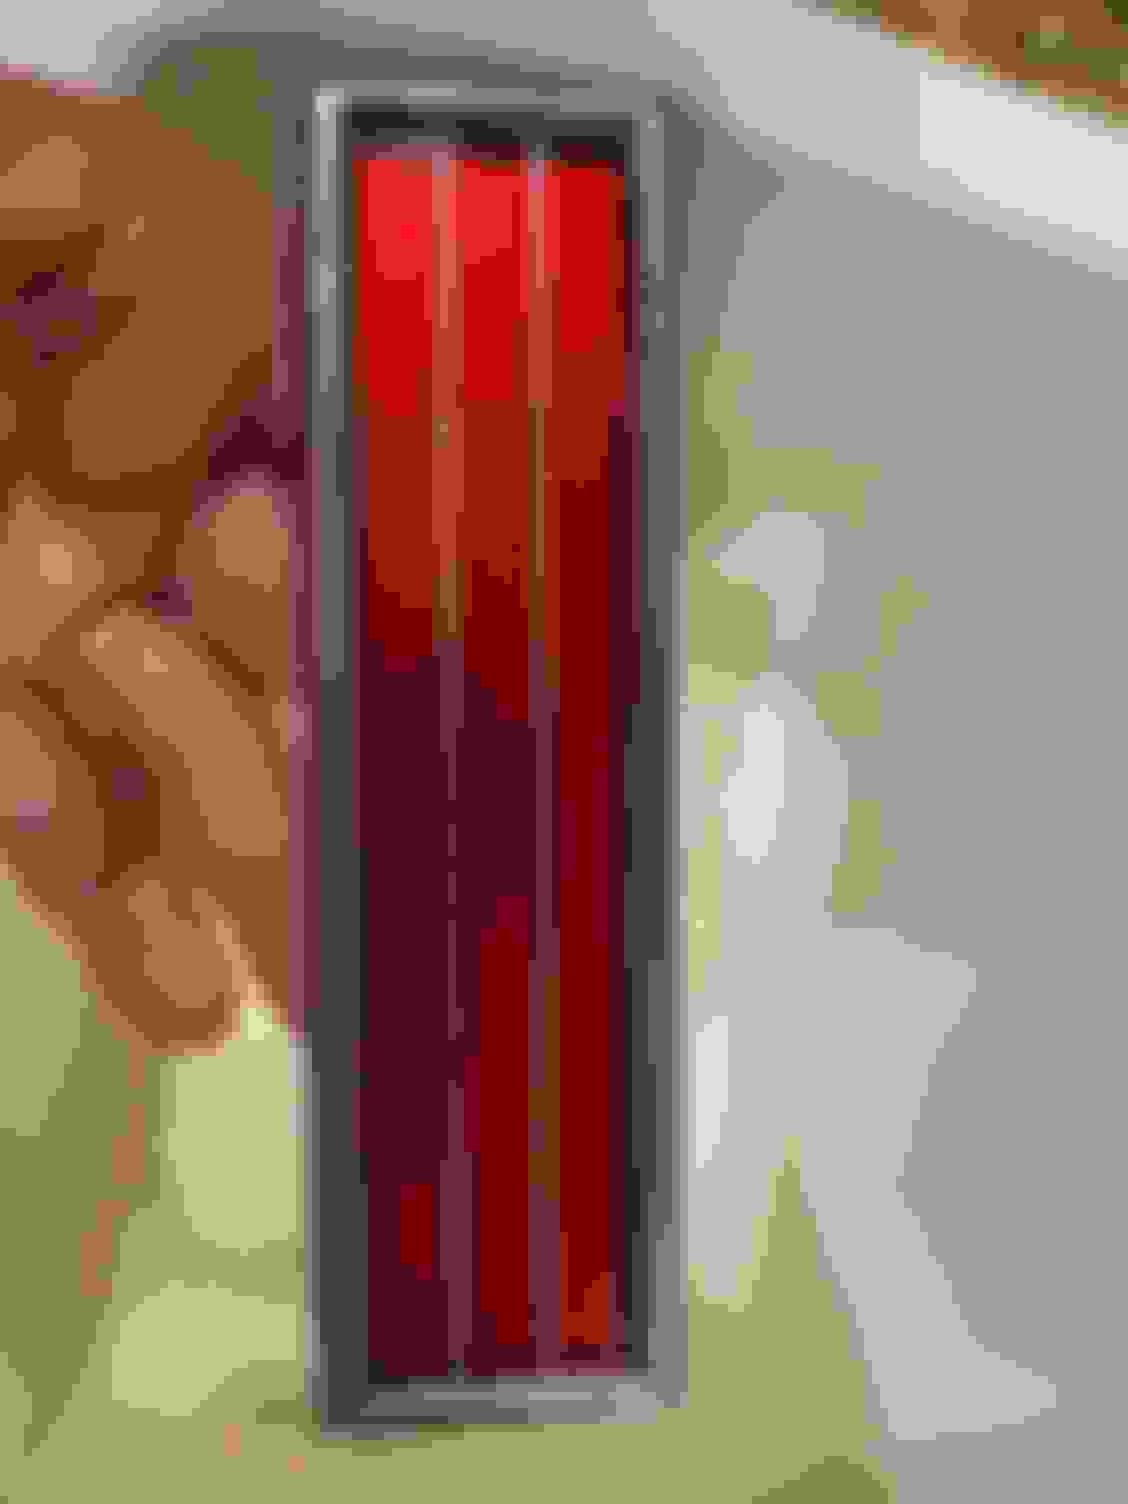
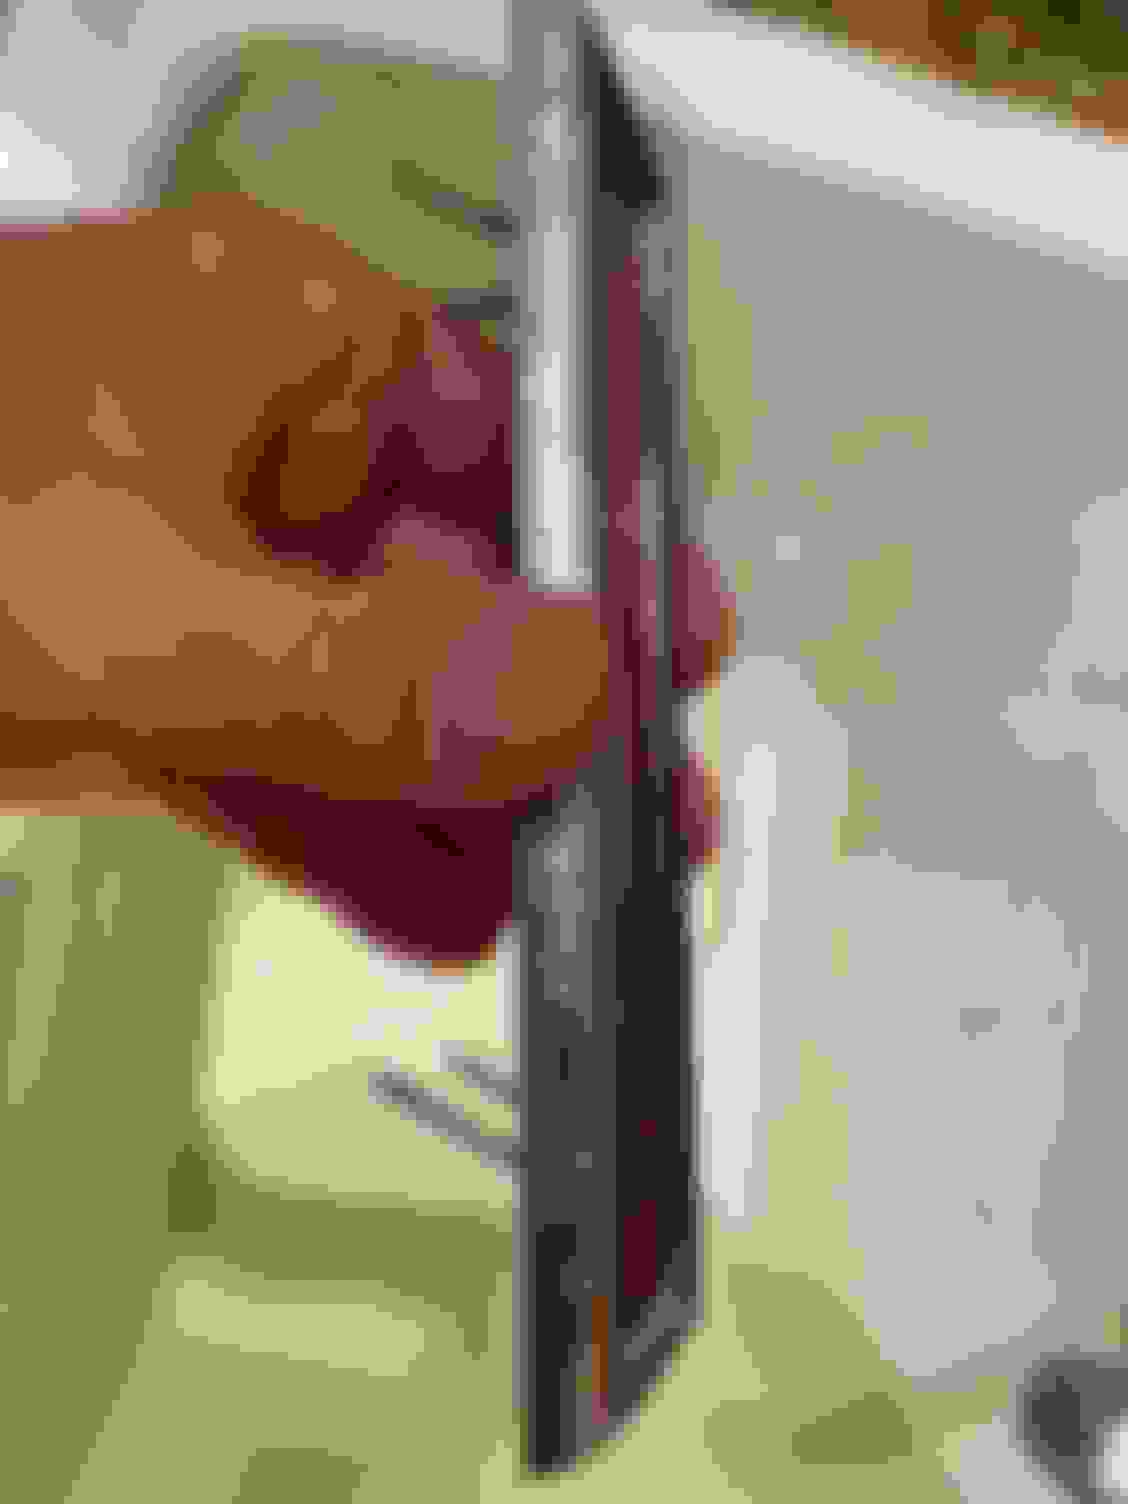
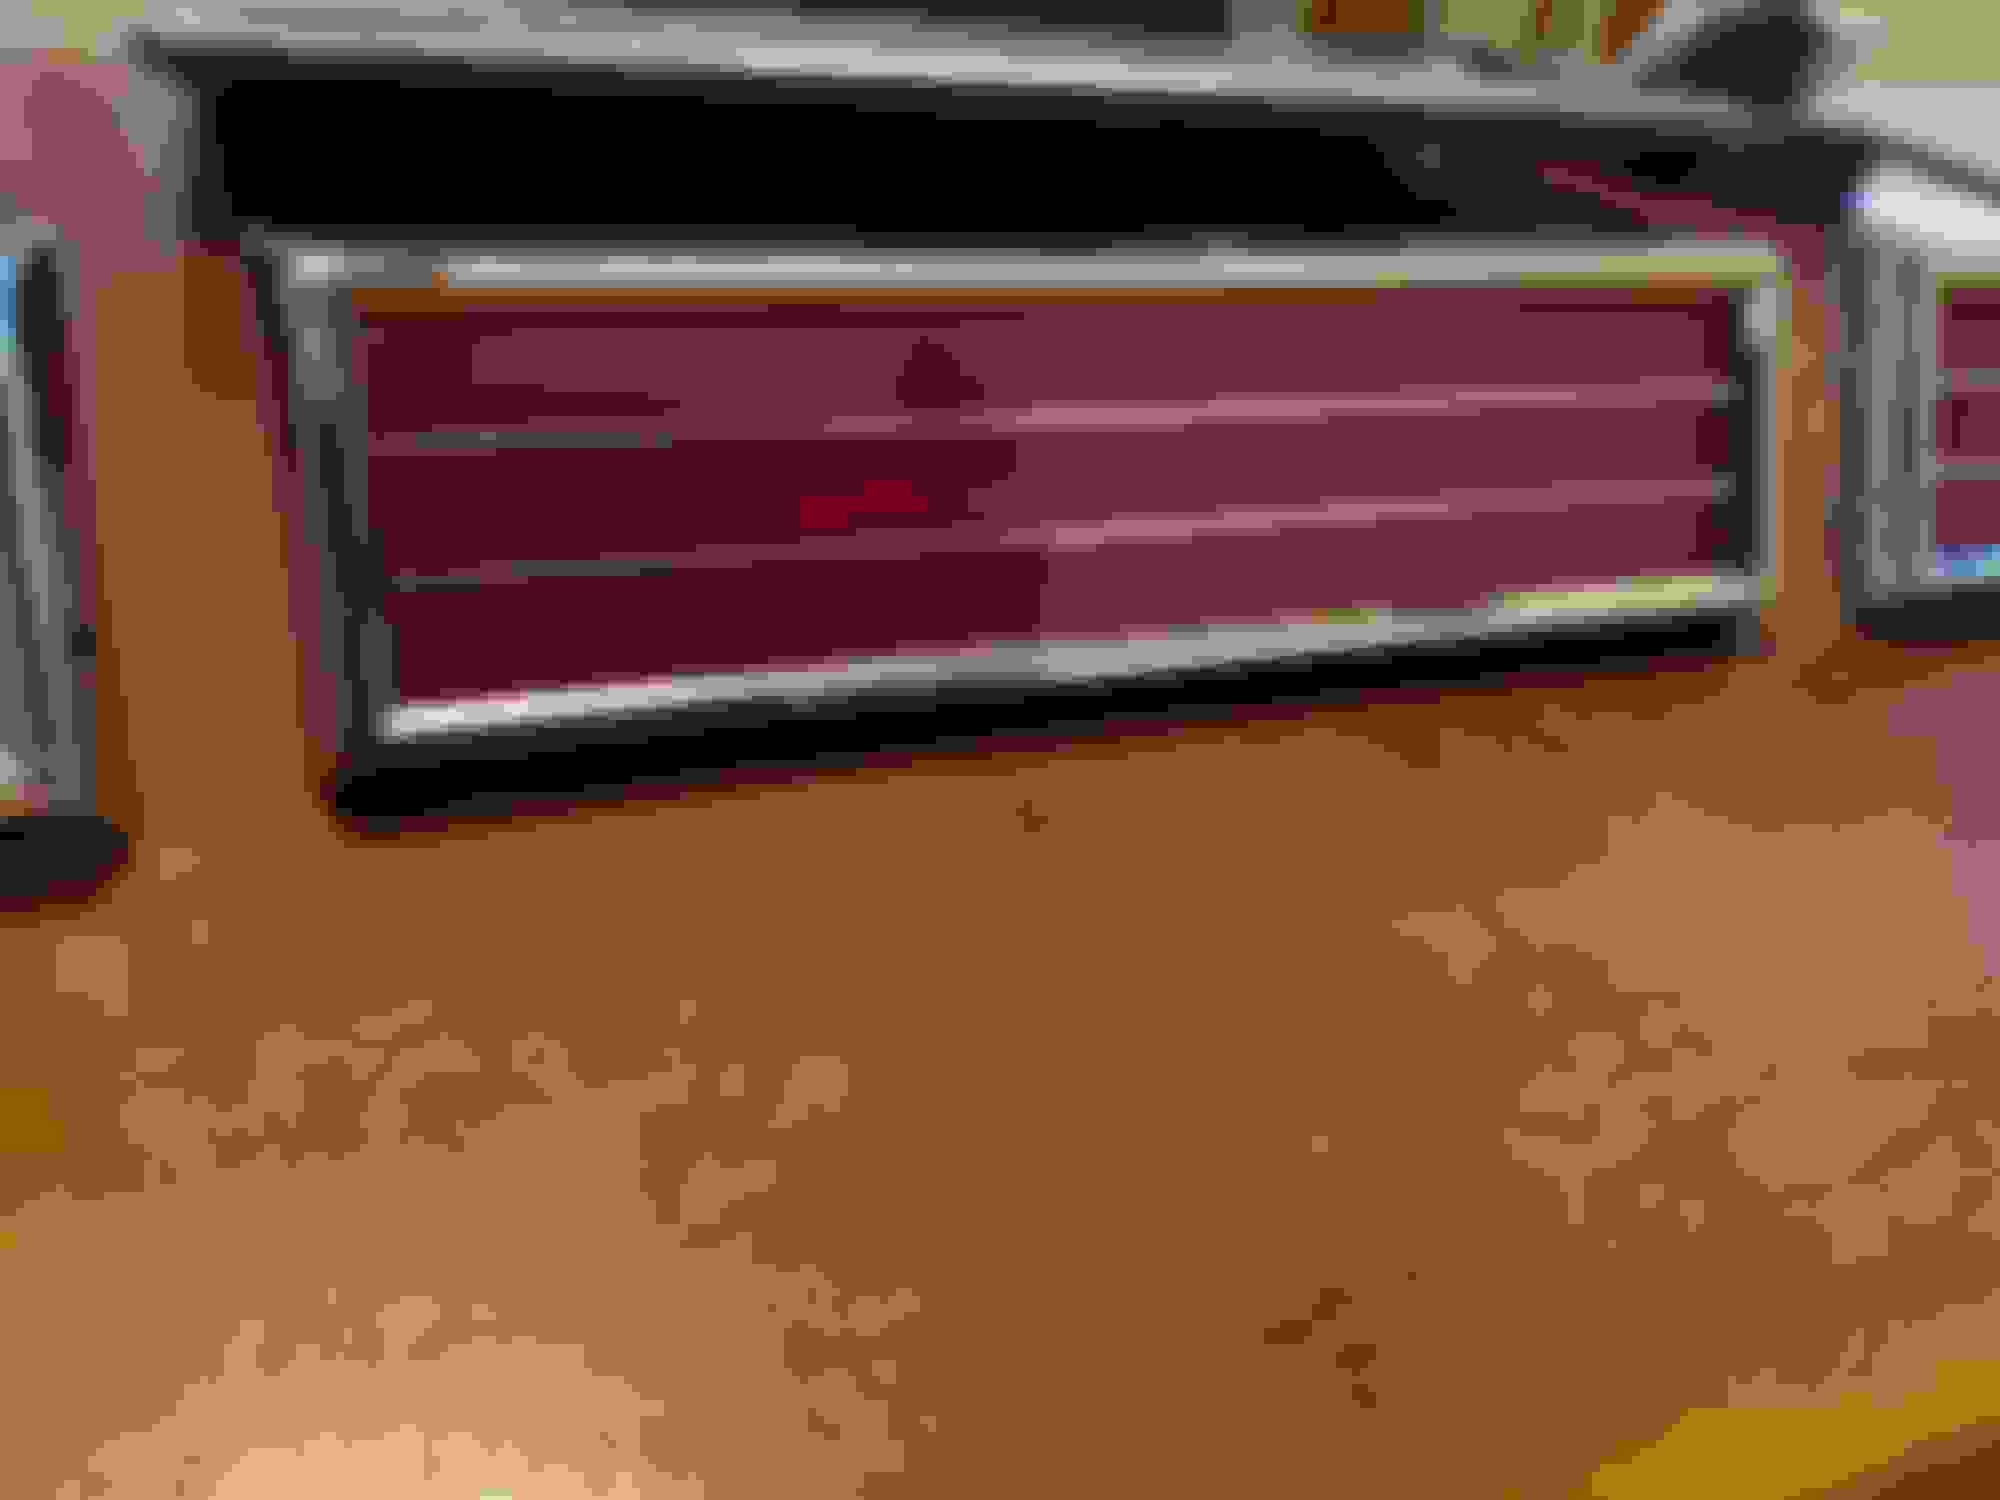
I had an NOS set of reflectors in the parts closet along with a set of repops. The NOS reflectors have a pattern in the red plastic. The repops are damn near perfect with the exception of being half the weight of the originals. I�ll let the group observe the differences between the three.
Factory reflector from the RH door panel.
50 years of gunk but no pitting!
Post It notes to mask off the silver area. Ran the Sharpie over the sides to get it even.
Finished product.
See if you can spot the differences...
From left to right, here�s the original factory reflector.
NOS reflector
Fusick reproduction
Top to bottom. Factory, NOS, repop.
Subtle differences.
Last edited by WTHIRTY1; July 16th, 2020 at 07:35 AM.
A lot of repro stuff is pretty good and Im glad we have an option sometimes.
Your in the final stretch and it must feel good after so much work. Appreciate your work and level of detail to reference. Outstanding work and looking forward to seeing the car finished.
Not much to report this weekend. Replicated a few inspection marks on the tie rods. Turned out just okay...might wipe them clean with lacquer thinner and make another pass. I'm trying the water based paints instead of the Testors enamels.
Blue seat panels and interior parts were sprayed last week. A perfect match to the original light blue metallic finish from the factory!
Original factory finish on the side panel on the left in the picture below. Matched color on the seat back on the right in the picture below. A few minor scratches on the seat backs, but I don't want to get repops an would rather use the originals. From what I've seen, the reproduction plastics have a different appearance to their grain that "repeats" throughout the seat back. The originals are different.
Fresh coat of paint.
Last edited by WTHIRTY1; July 21st, 2020 at 02:21 PM.
A lot of repro stuff is pretty good and Im glad we have an option sometimes.
Your in the final stretch and it must feel good after so much work. Appreciate your work and level of detail to reference. Outstanding work and looking forward to seeing the car finished.
Paul, appreciate the words of encouragement. Thank you. I couldn't have made it this far without the help from you and others on this site. We're getting closer. I hope to pick the car up towards the end of July or the first week of August...need to get a 24' car hauler to get this thing moved from place to place.
I wanted to give a shout out to my bud Patton for doing a marvelous job on the steering column. The finishes turned out better than I could have imagined. The blue is a dead match, and the end through the firewall has all the correct finishes. I�m also excited that the new key cylinder was adjusted to work with the original keys to the car.
On a negative note, the four yards of blue vinyl from SMS arrived today incorrectly. The material isn�t even close to the material originally used on the seats. The backside also shows a Mopar star so I�m confident it�s way wrong. I know SMS is notoriously slow but this is a new record.
That looks great, Nice job Patton!
Jimmy whats the material going to be used for? Are you using Legendary or are you having custom seat covers made?
Rear arm rest covers. Seats were done with Legendary covers. SMS was great for the headliner and it even had the right date code stamped on the backside. I get that upholstery companies likely all supplied to the "big 3" but this is way off.
Last edited by WTHIRTY1; August 5th, 2020 at 07:05 AM.
Picked up the radiator today after having it recored. Hope to lay down some black paint mid week. Pictures to follow.
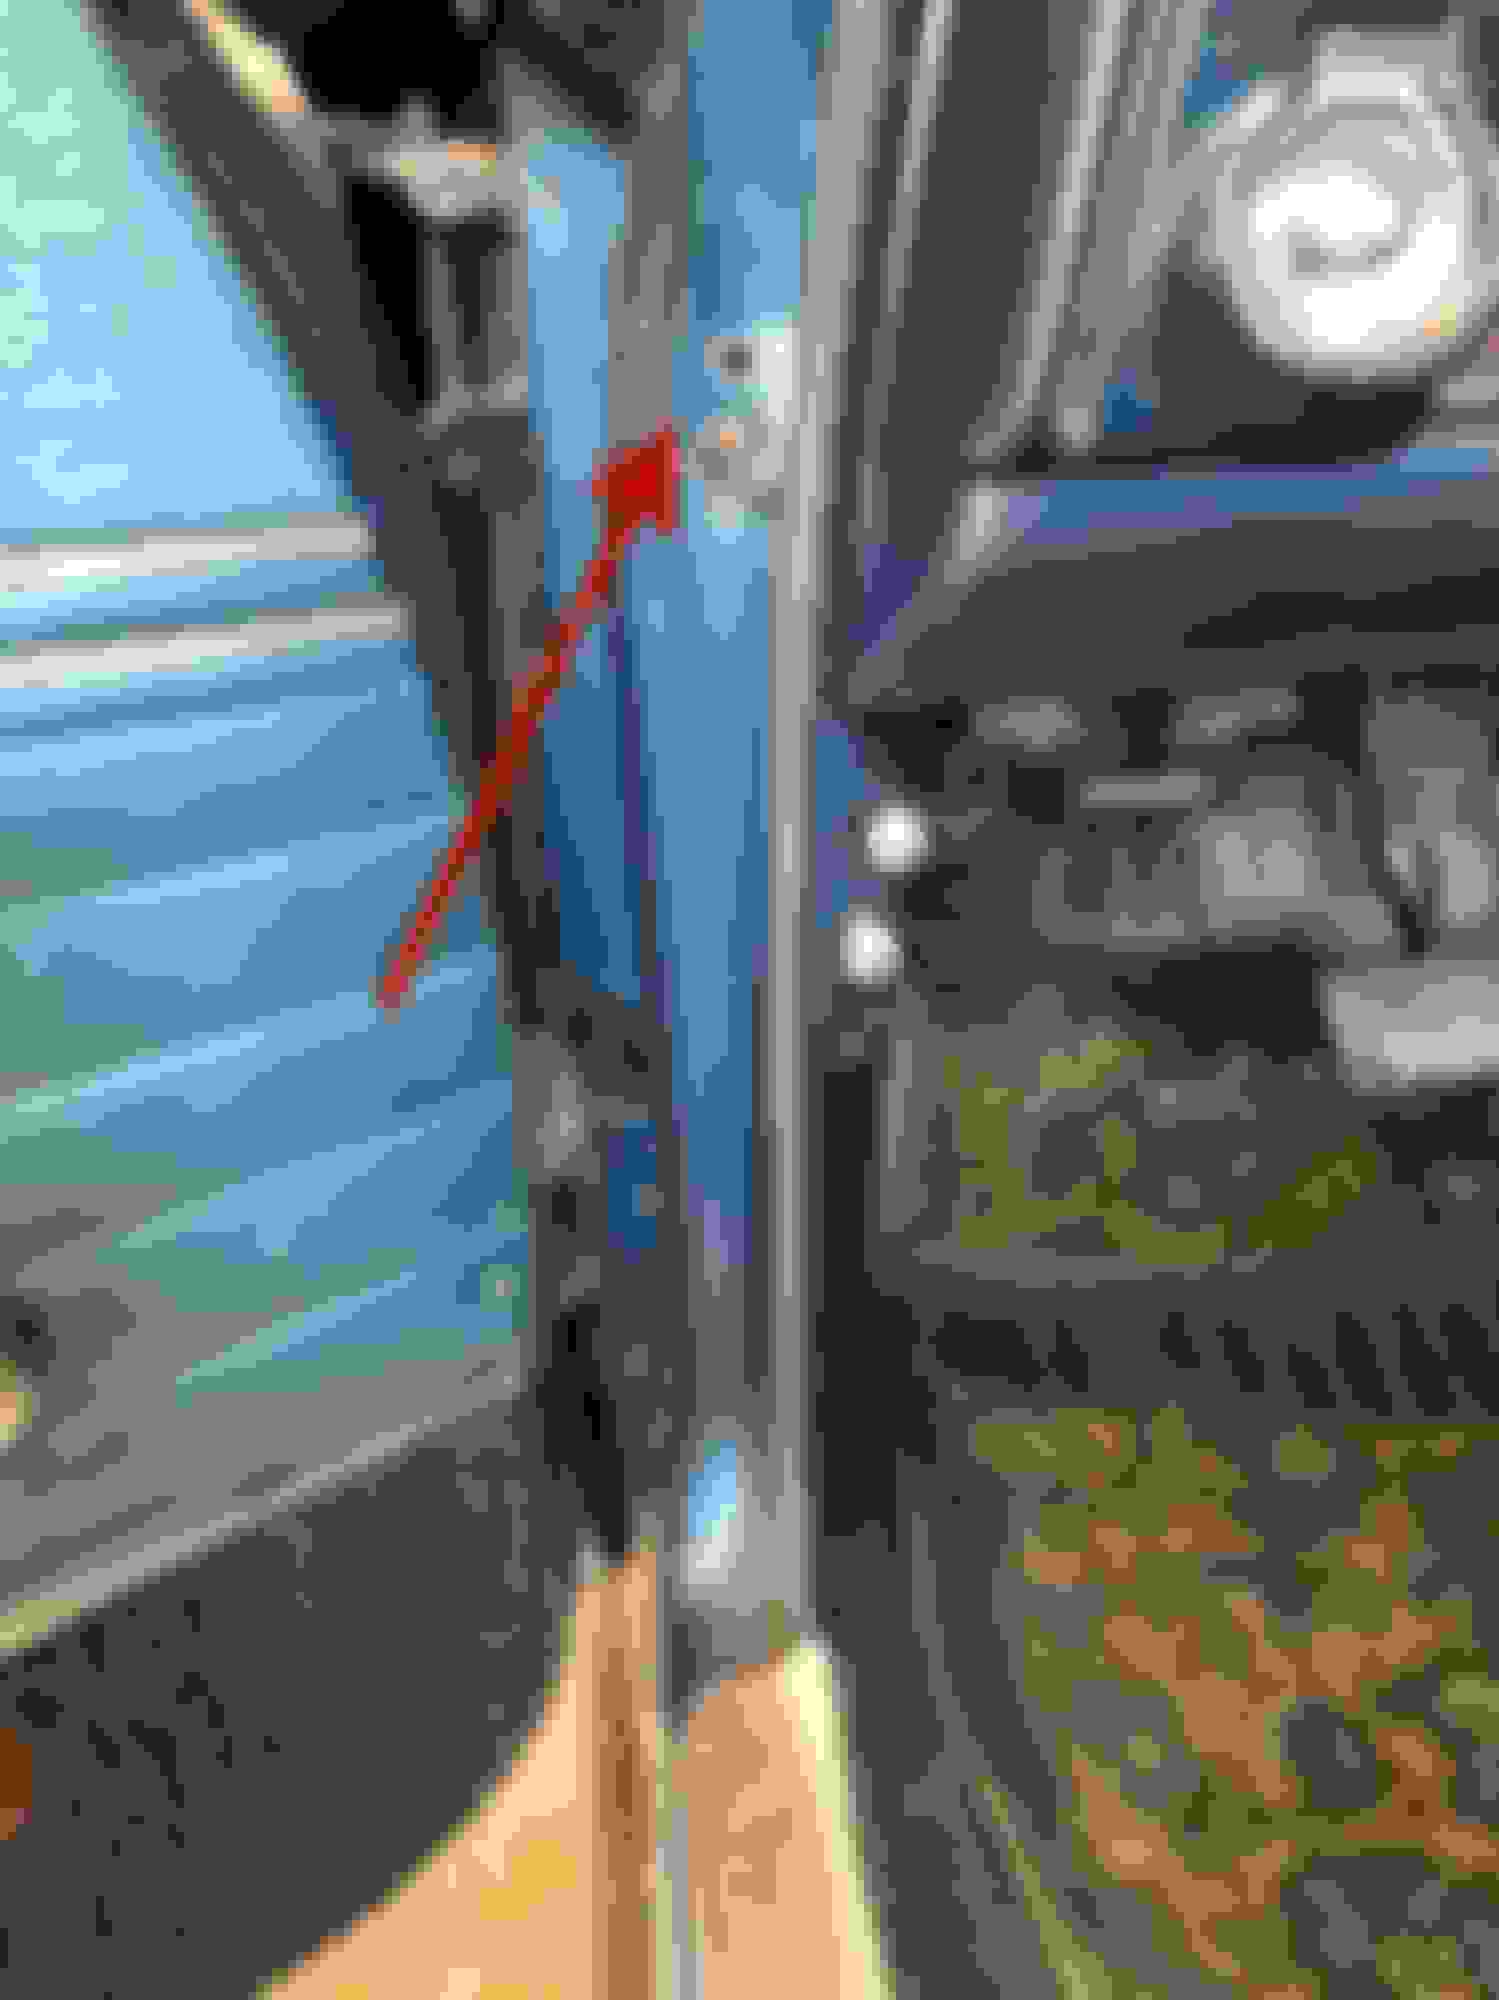
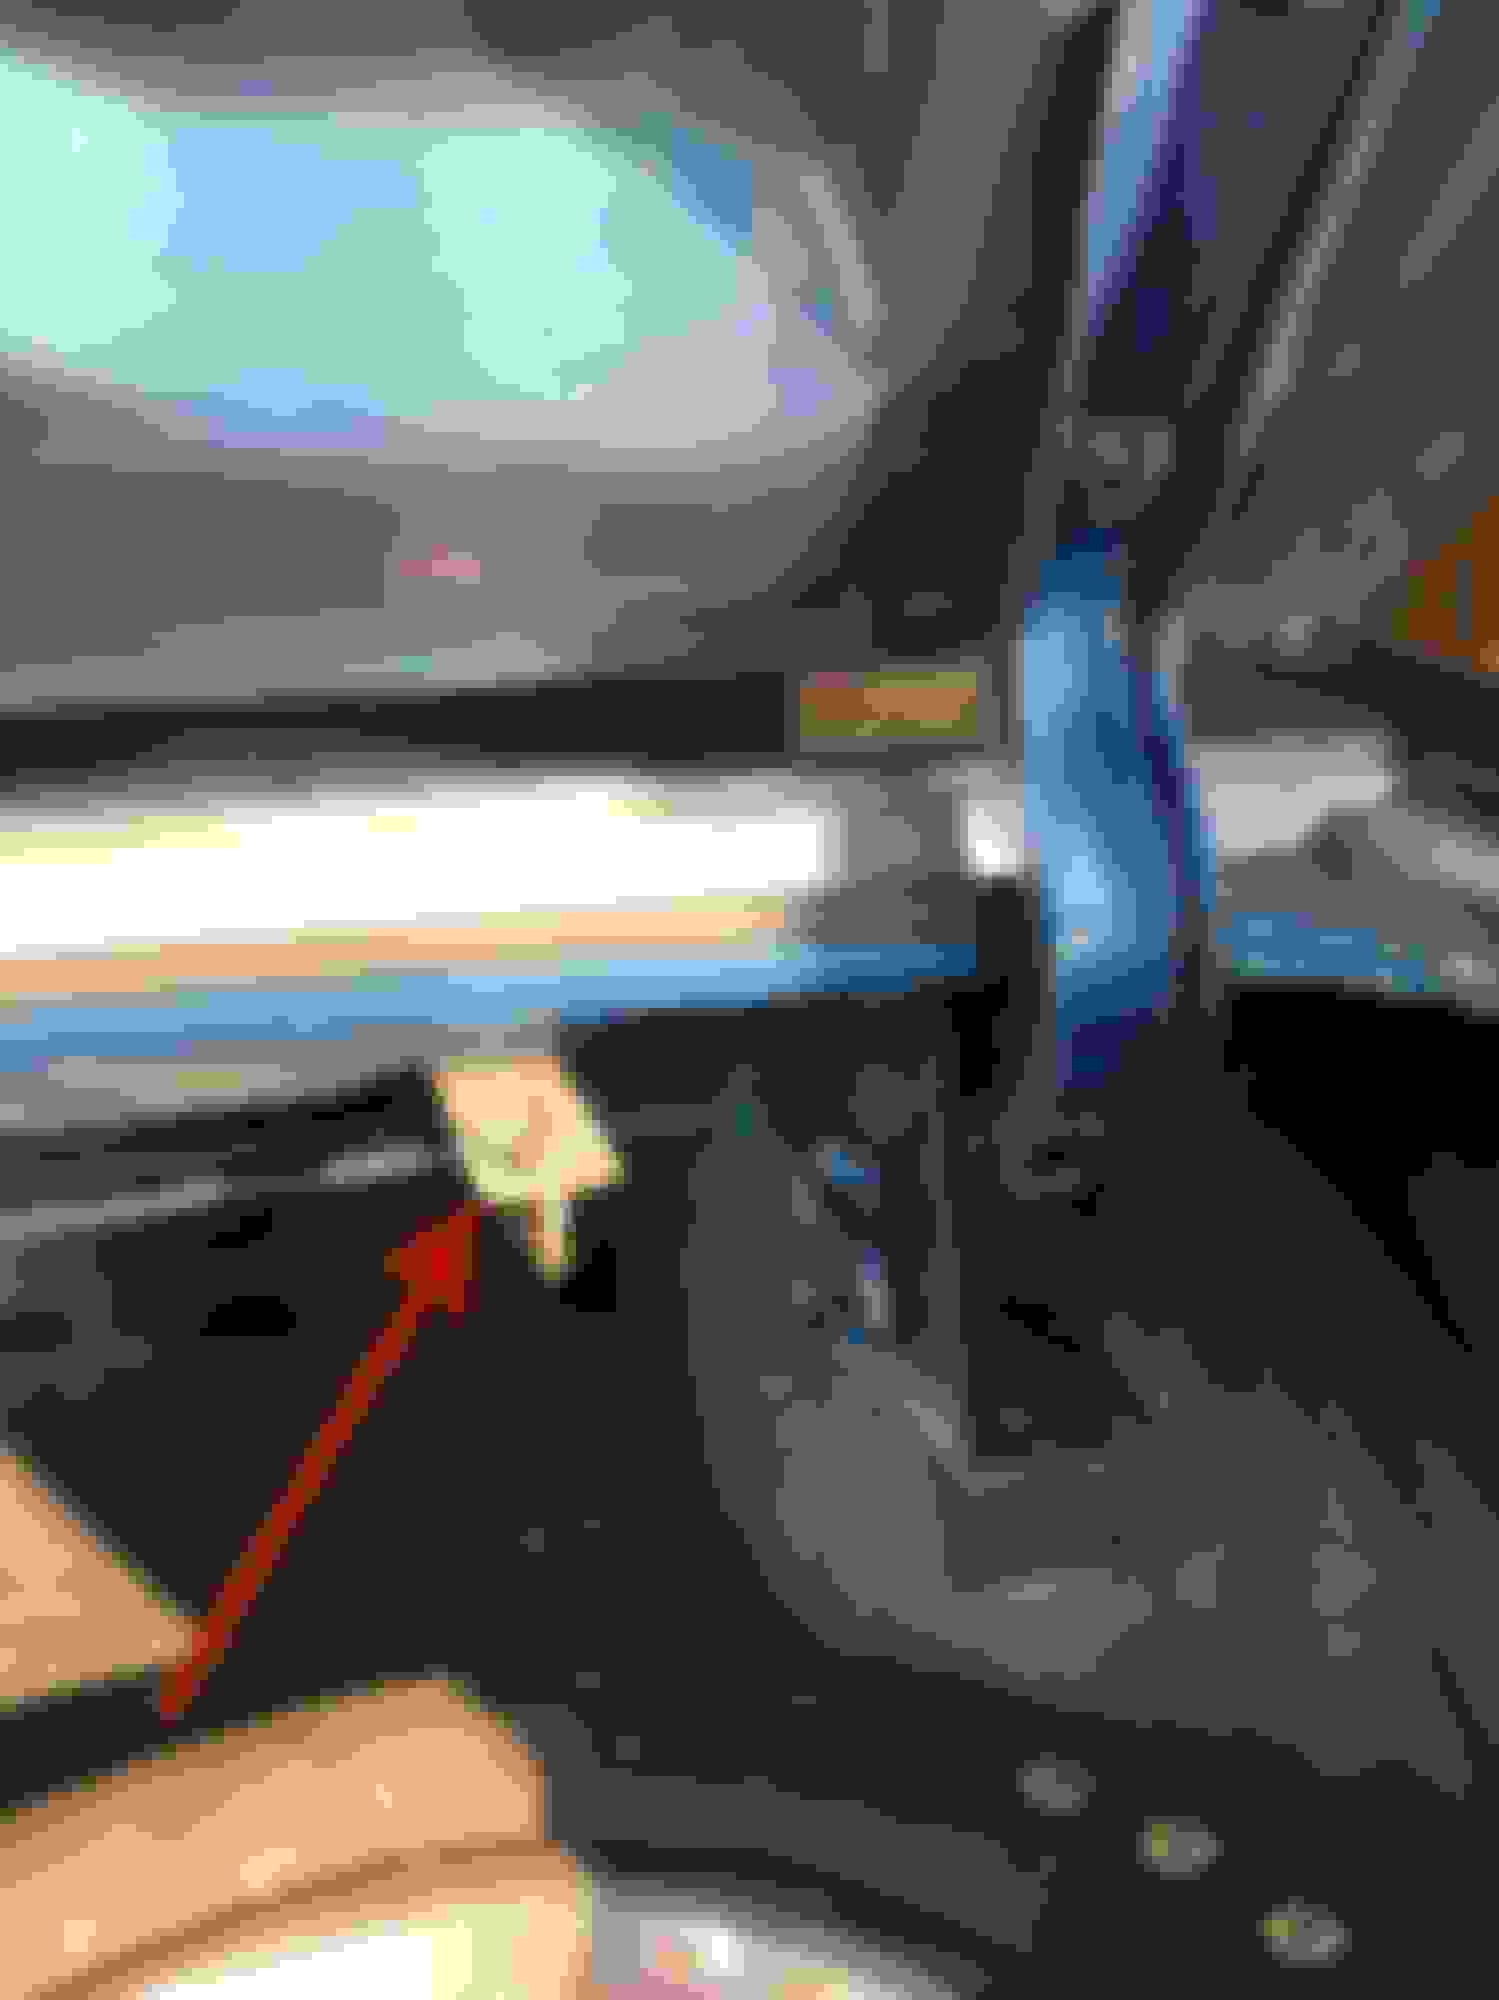
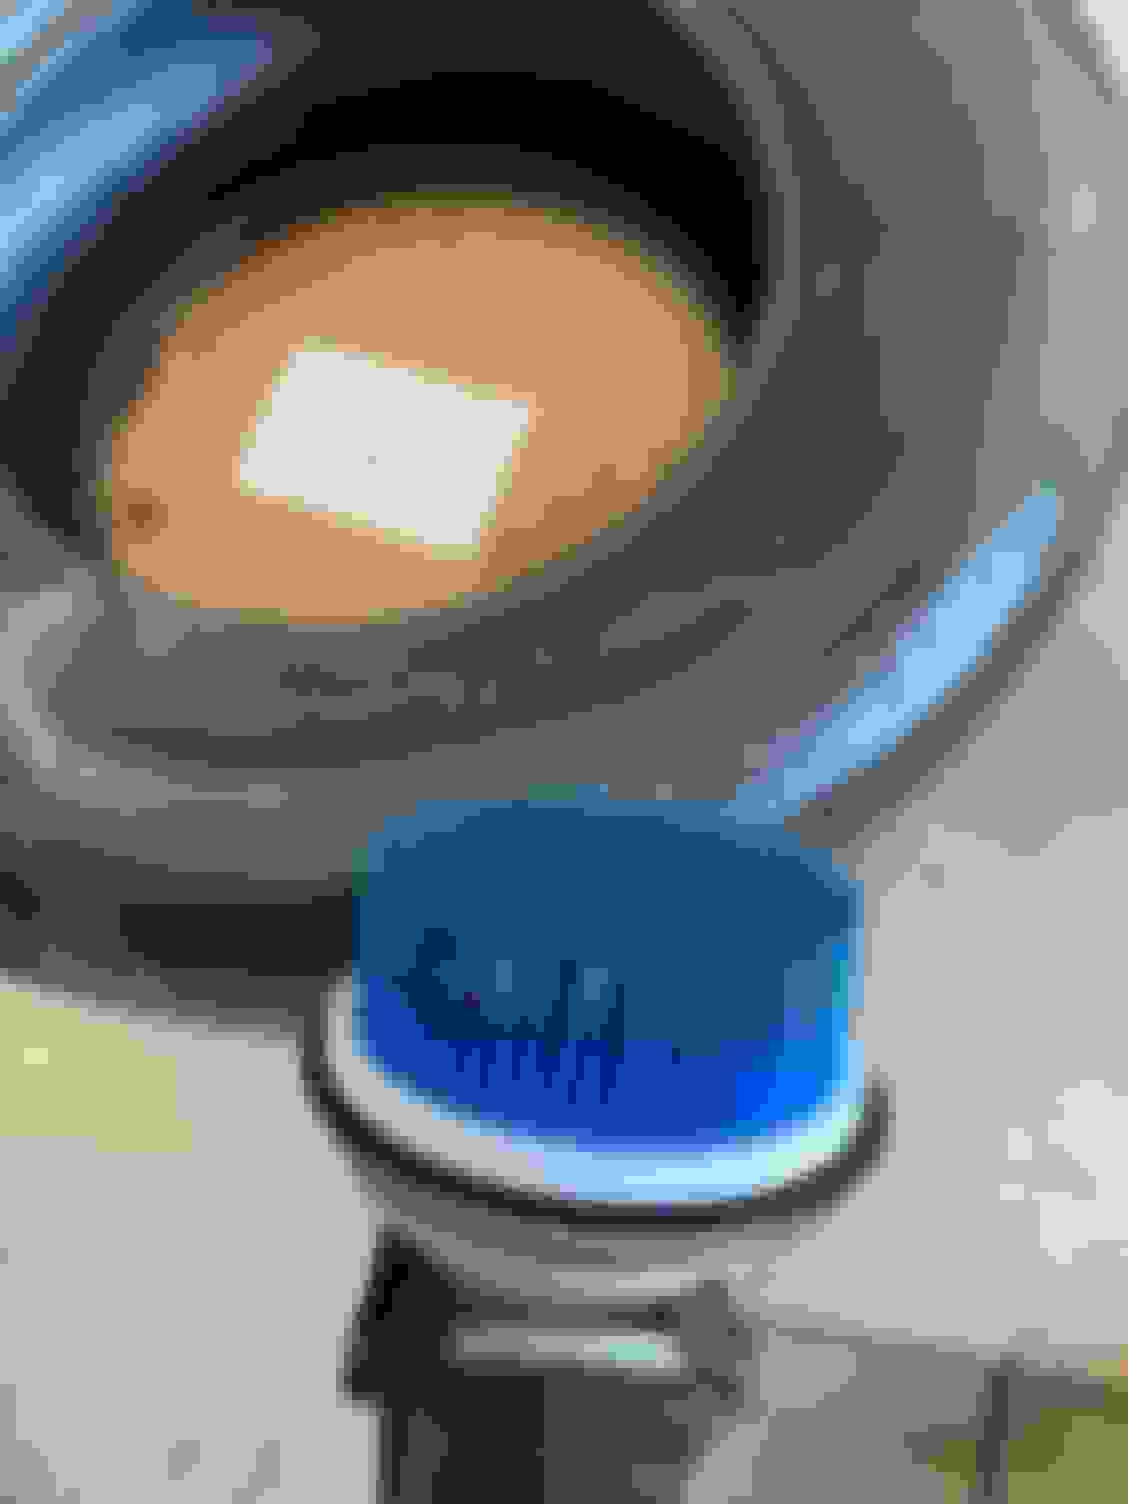
I also took my Spectra fuel tank to the radiator shop. I wanted the top part of the neck adjusted so the cap would sit like the original tank with the ears at 3pm and 9pm when twisted closed. The picture shows the NOS cap, too.
I used the stencil from Mark Cornea aka Dr. Decal to recreate the original marking. I started with the top of the tank to get a feel for the stencil and how the paint would adhere to the galvanized steel. Hat tip to my good friend Chris for the blue paint recommendation. I know many will stick the stencil on the flat part of the underside of the tank and call it a day, which is likely much easier since you don’t have to battle the curves of the tank, but I wanted to get it close to he original. Once that stencil went down, it was a pain to get just right. I suspect I’ll be doing minor cleanup with lacquer thinner in the morning!
Adjusted top portion of the neck. The cap is sitting just like the factory tank.
Peeling the stencil back. I should have pushed down at the curves and worked it left to right a little bit better.
Pushed everything down.
Testors transparent blue enamel spray paint. We'll see how it looks in the morning.
For reference, here is the original tank. The stencil is just a touch different. I think others have commented on the stencil being a part of the steel before it was shaped in to a tank which is why the location differs or may not even be visible at all.
I am kicking myself for not wiping the crap off the tank and documenting the grease markings. Lesson learned the hard way. What does it look like? I see what looks like a ‘3’ but can’t decipher the rest. I thought maybe the sequence number but I don’t see a 269 in that. The car was built 3/2 so maybe it could be a ‘3’ and a ‘2’ but that could be a stretch.
Last edited by WTHIRTY1; August 5th, 2020 at 07:04 AM.
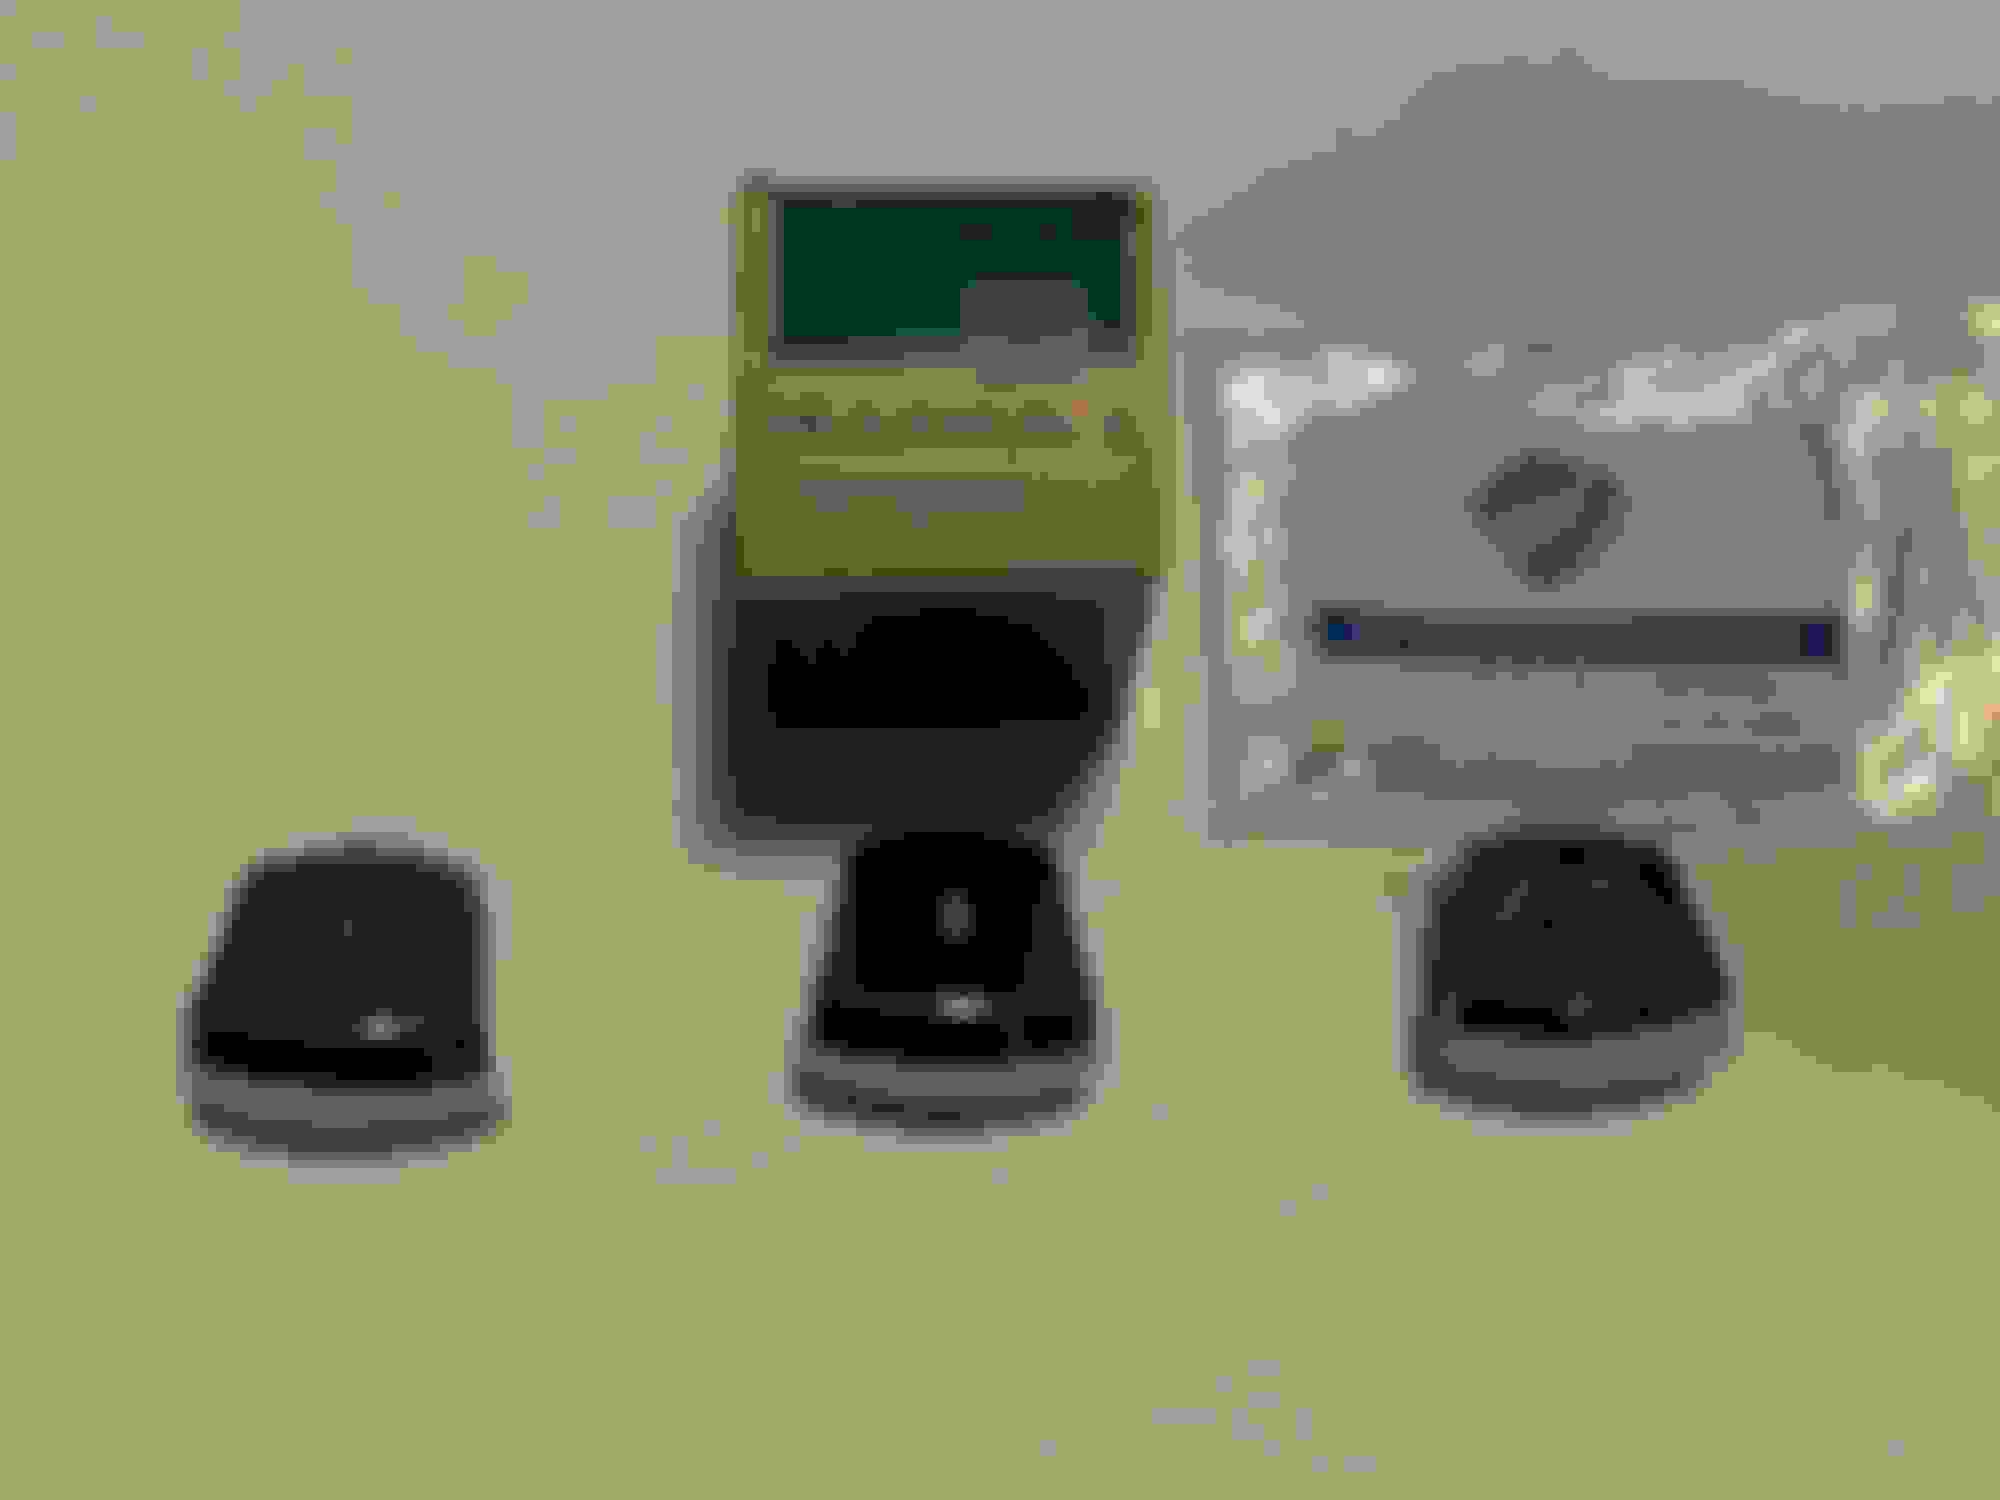
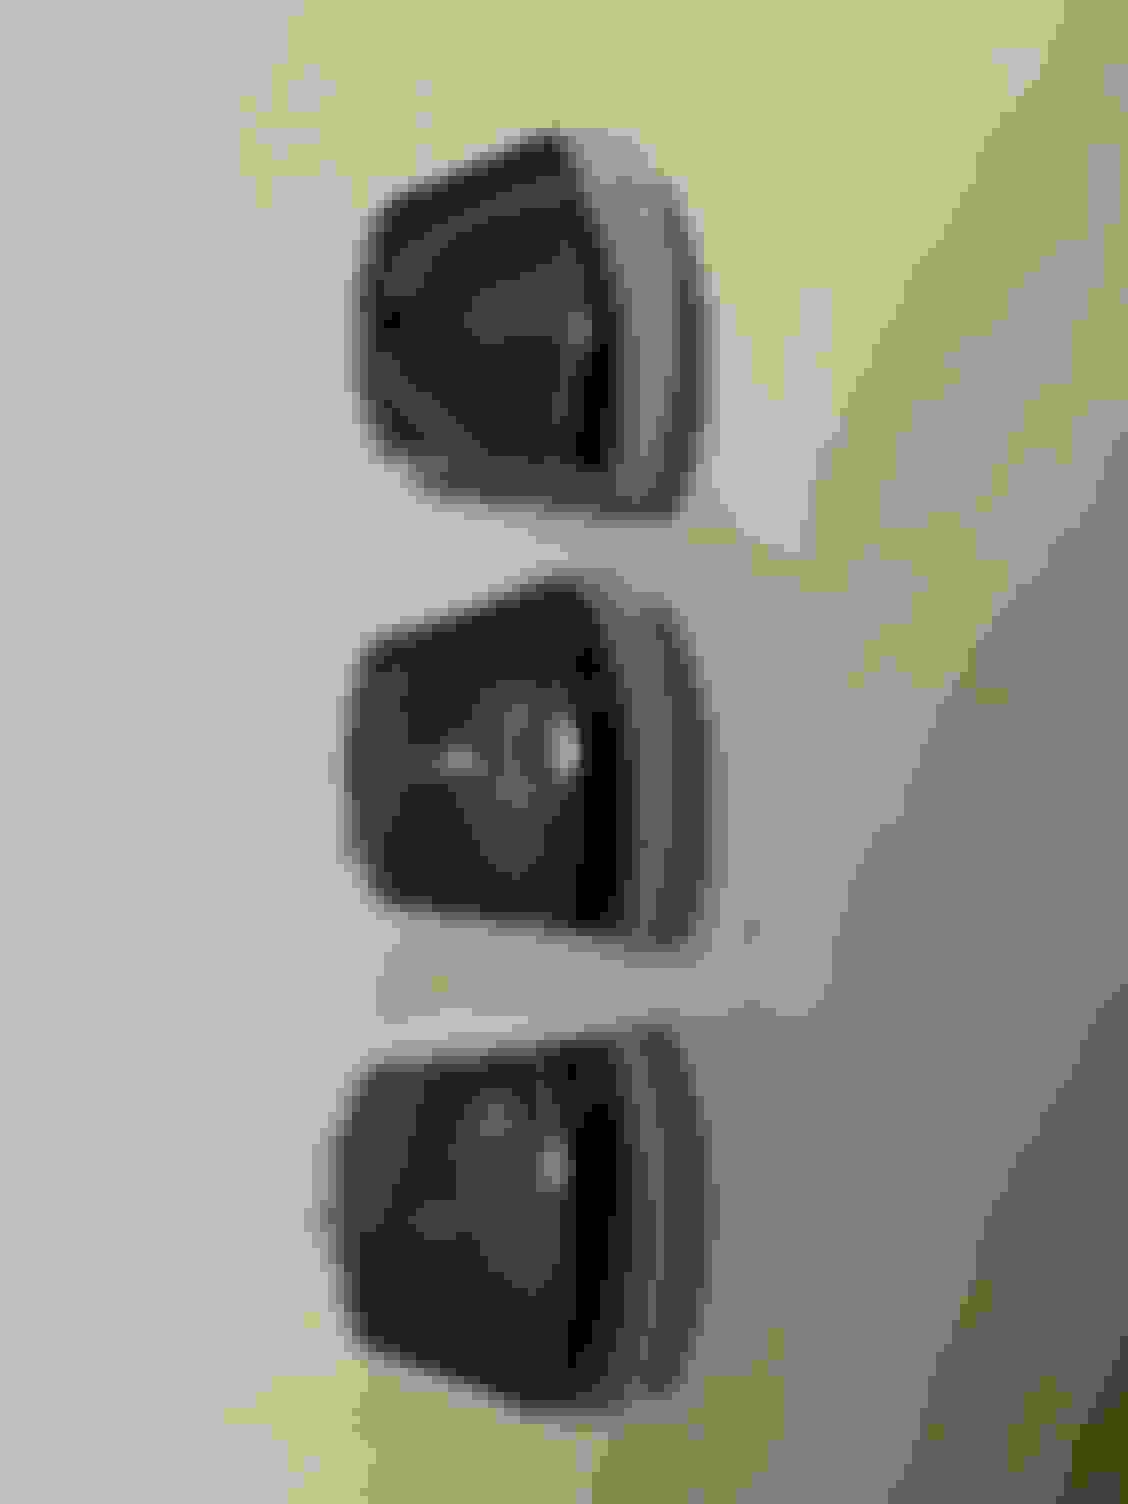
Thought I would share some comparisons between the reproduction bucket seat **** and the factory seat ****. The reproduction is a beautiful and heavy chrome piece. It’s incredibly nice. Unfortunately, it's incorrect. The factory slider ****, as well as the NOS ****, are made of plastic and chromed. They are also much lighter than the repop. There is also a tiny indent on the bottoms of the factory and NOS *****, whereas, the reproduction has a larger honed hole.
Left to right: factory, NOS, reproduction
Top to bottom underside: factory, NOS
Top to bottom: reproduction, NOS, factory
Last edited by WTHIRTY1; July 31st, 2020 at 03:05 PM.
Thought I would share some comparisons between the reproduction bucket seat **** and the factory seat ****. The reproduction is a beautiful and heavy chrome piece. It�s incredibly nice. Unfortunately, it�s incorrect. The factory slider ****, as well as the NOS ****, are made of plastic and chromed. They are also much lighter than the repop. There is also a tiny indent on the bottoms of the factory and NOS *****, whereas, the reproduction has a larger honed hole.
Left to right: factory, NOS, reproduction
Top to bottom underside: factory, NOS
Top to bottom: reproduction, NOS, factory
Jimmy are you saying the re pop is made of metal where as the original is plastic?
The repops with the set screw (like Jimmy shows) are metal. Originals are plastic. I believe Ames Pontiac sells a chromed plastic repro version but I'll have to double check.
BTW - it's the "reverse" of that on the door panel reflectors Jimmy showed. He mentioned the repro being "light" or "lighter". It is...b/c the chrome outer surround piece is plastic.
Heater box, heater core, and heater cover on the firewall installed. Dash assembly coming soon. The steel wheels I picked up for the reproduction Goodyears came out looking great. NOS correct length valve stems for the XTs in the bag next to the wheels. The original wheels will get the NOS rubber.
 June 11th, 2020, 08:51 AM