When you click on links to various merchants on this site and make a purchase, this can result in this site earning a commission. Affiliate programs and affiliations include, but are not limited to, the eBay Partner Network.
They did that at a lot of manufacturing plants like that. Ford was almost famous for that.
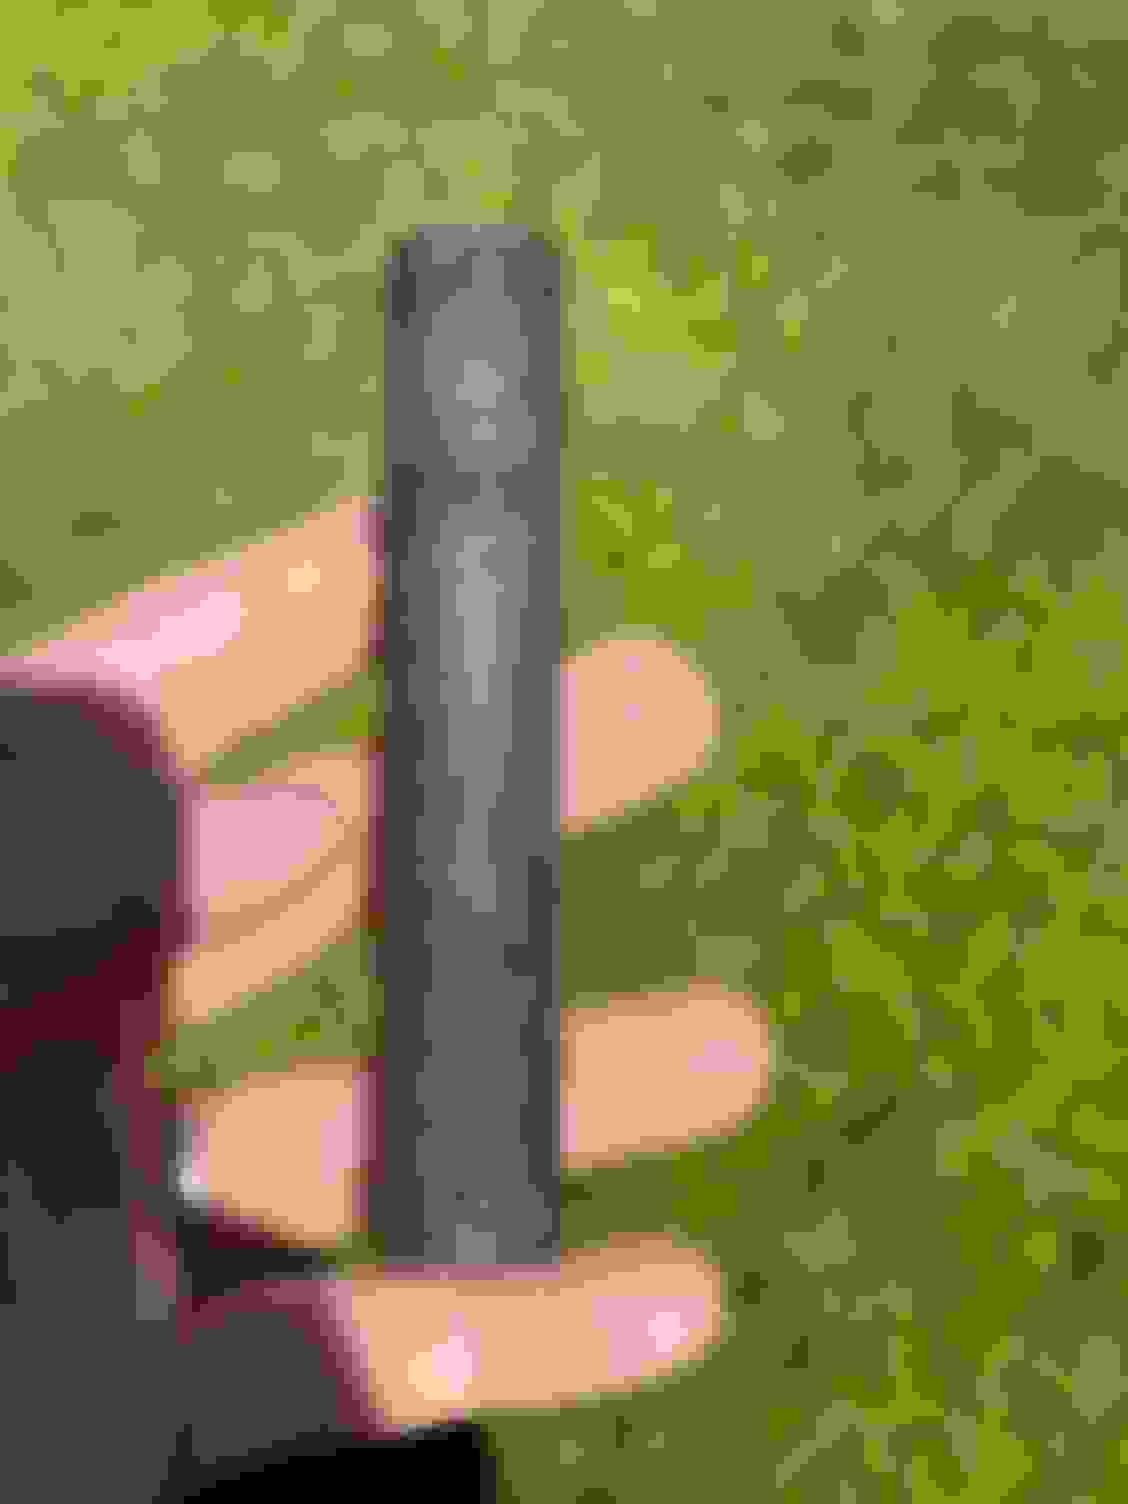
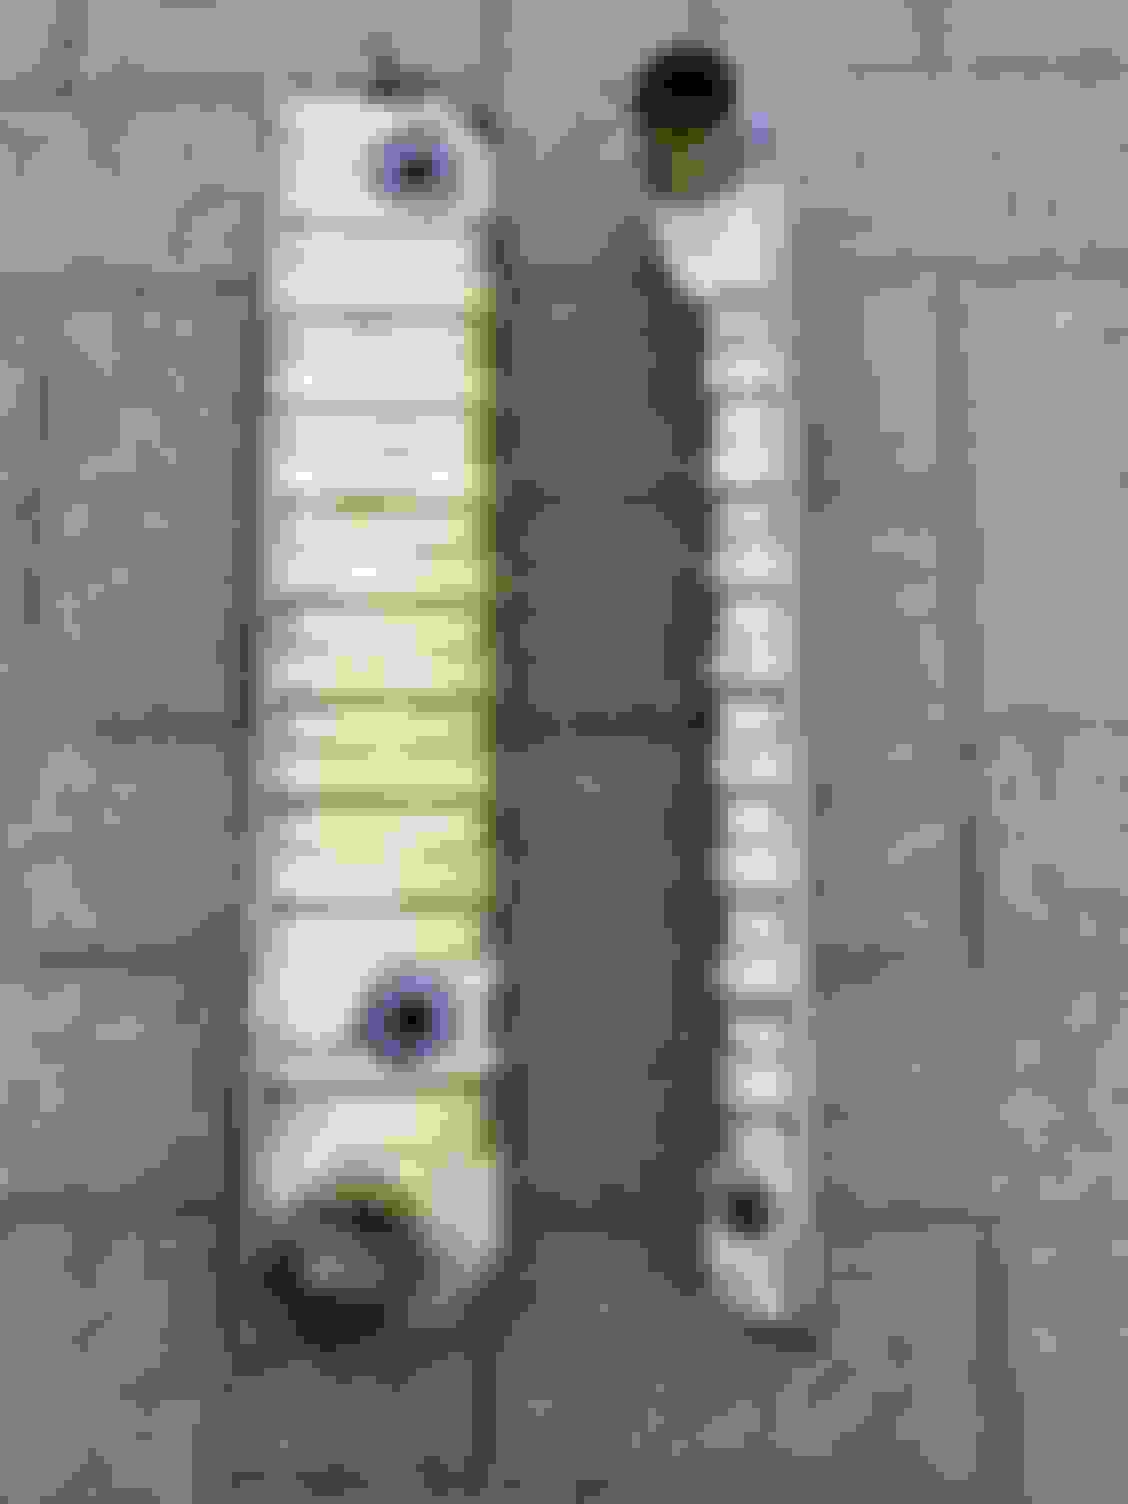
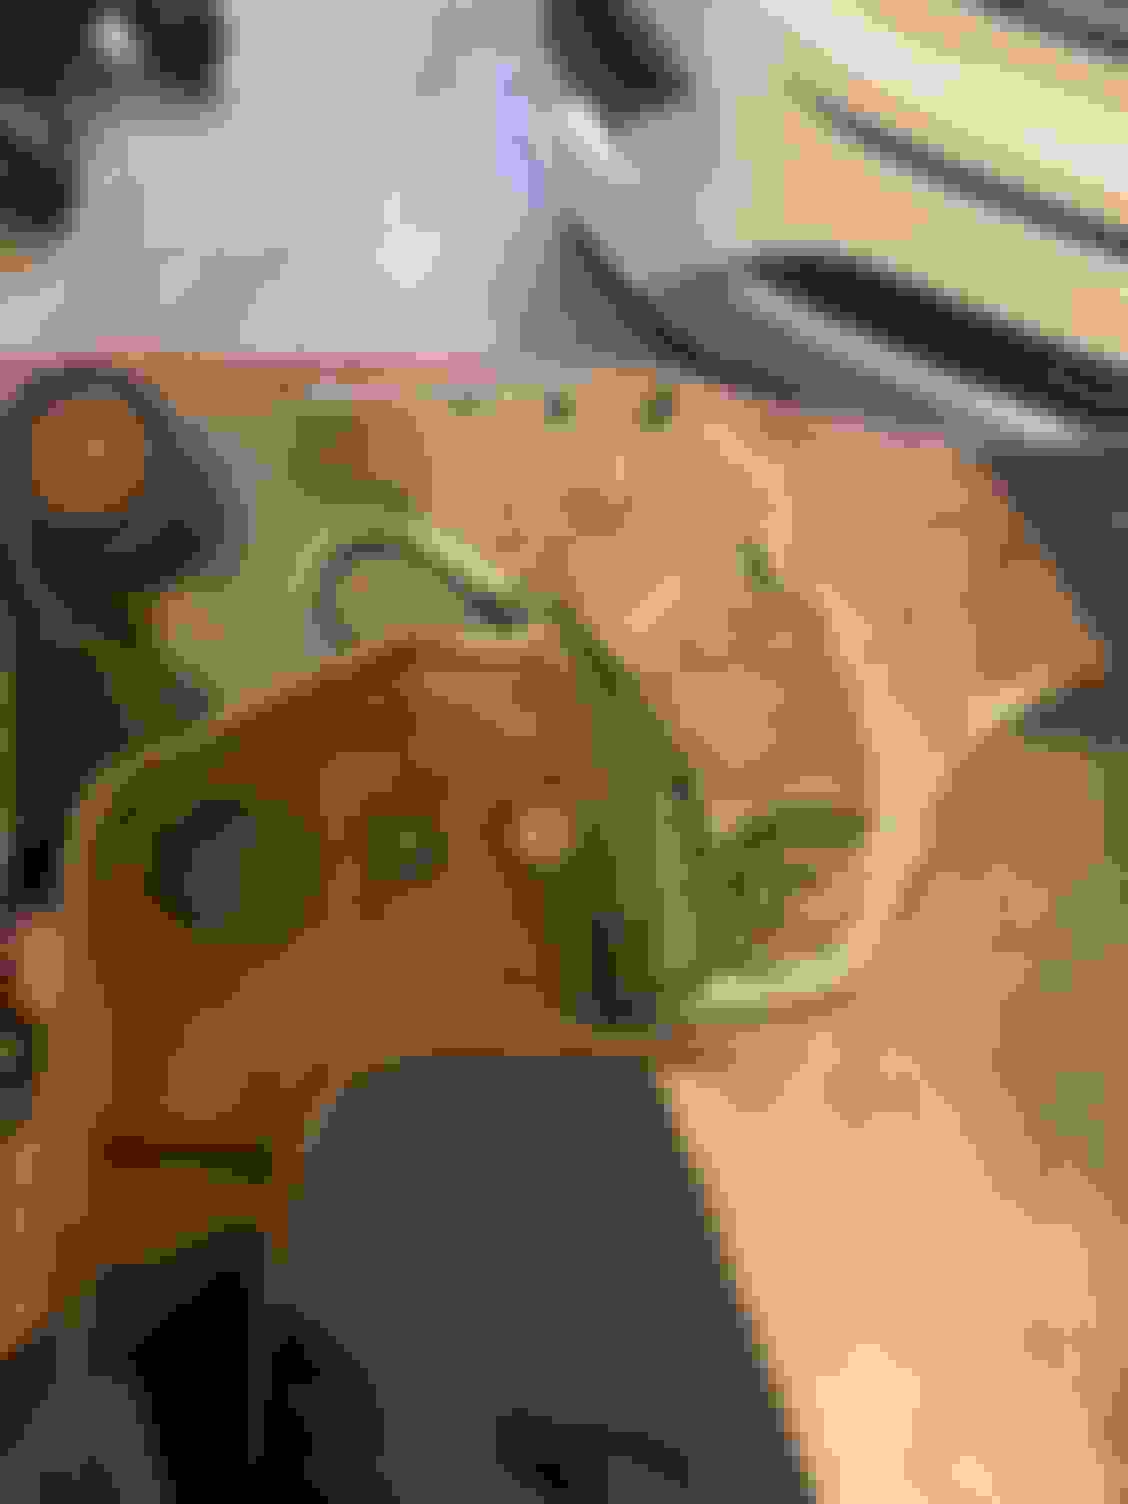
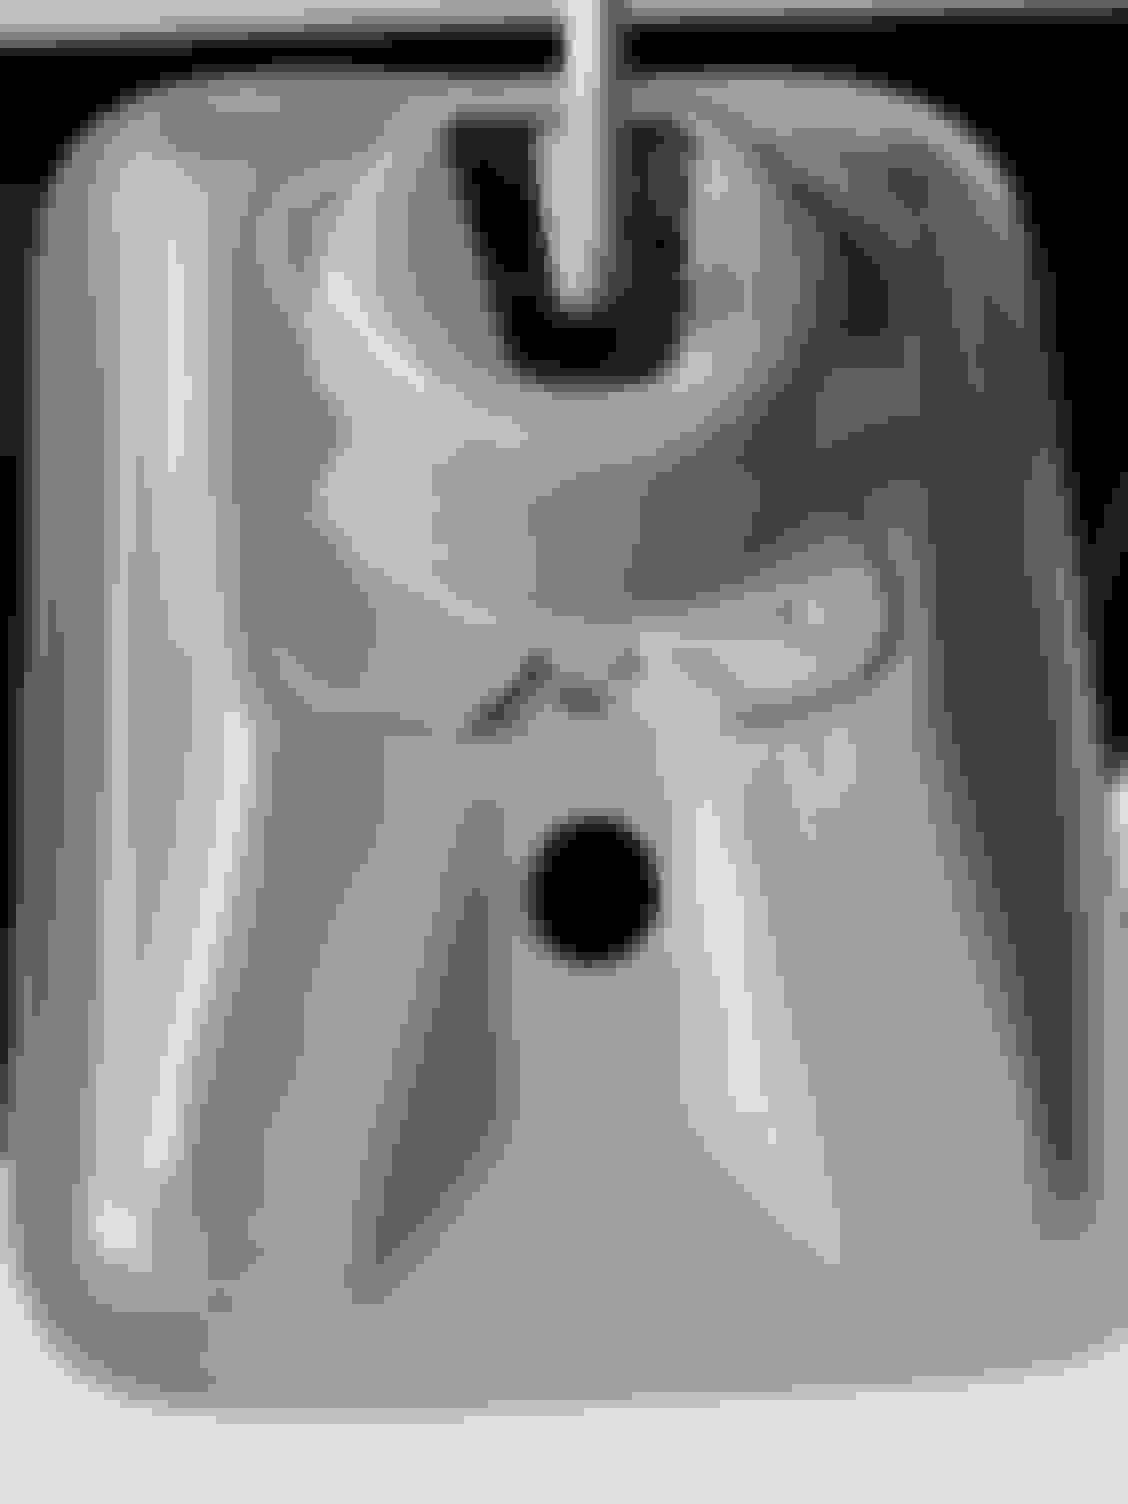
I see your brake pedal bushings are looking a bit worn if my eyes aren't deceiving me. Is it that you want to reuse them or not wanting a newer part number? I believe it's 379256. 5/8". If it is, here's some white NOS "white" ones along with a few translucent ones, as a lot.
If not, no big deal. Was just wondering. The new ones may be a bit brittle anyway for their age.
That's a keen eye you have, indeed! One of the plastic bushings has a small section missing from it right where it splits. The plastic is actually in good condition and not brittle on the other one, but I'll be replacing them. Appreciate the eBay link as I've had my eye on that since it was listed this week.
That's a keen eye you have, indeed! One of the plastic bushings has a small section missing from it right where it splits. The plastic is actually in good condition and not brittle on the other one, but I'll be replacing them. Appreciate the eBay link as I've had my eye on that since it was listed this week.
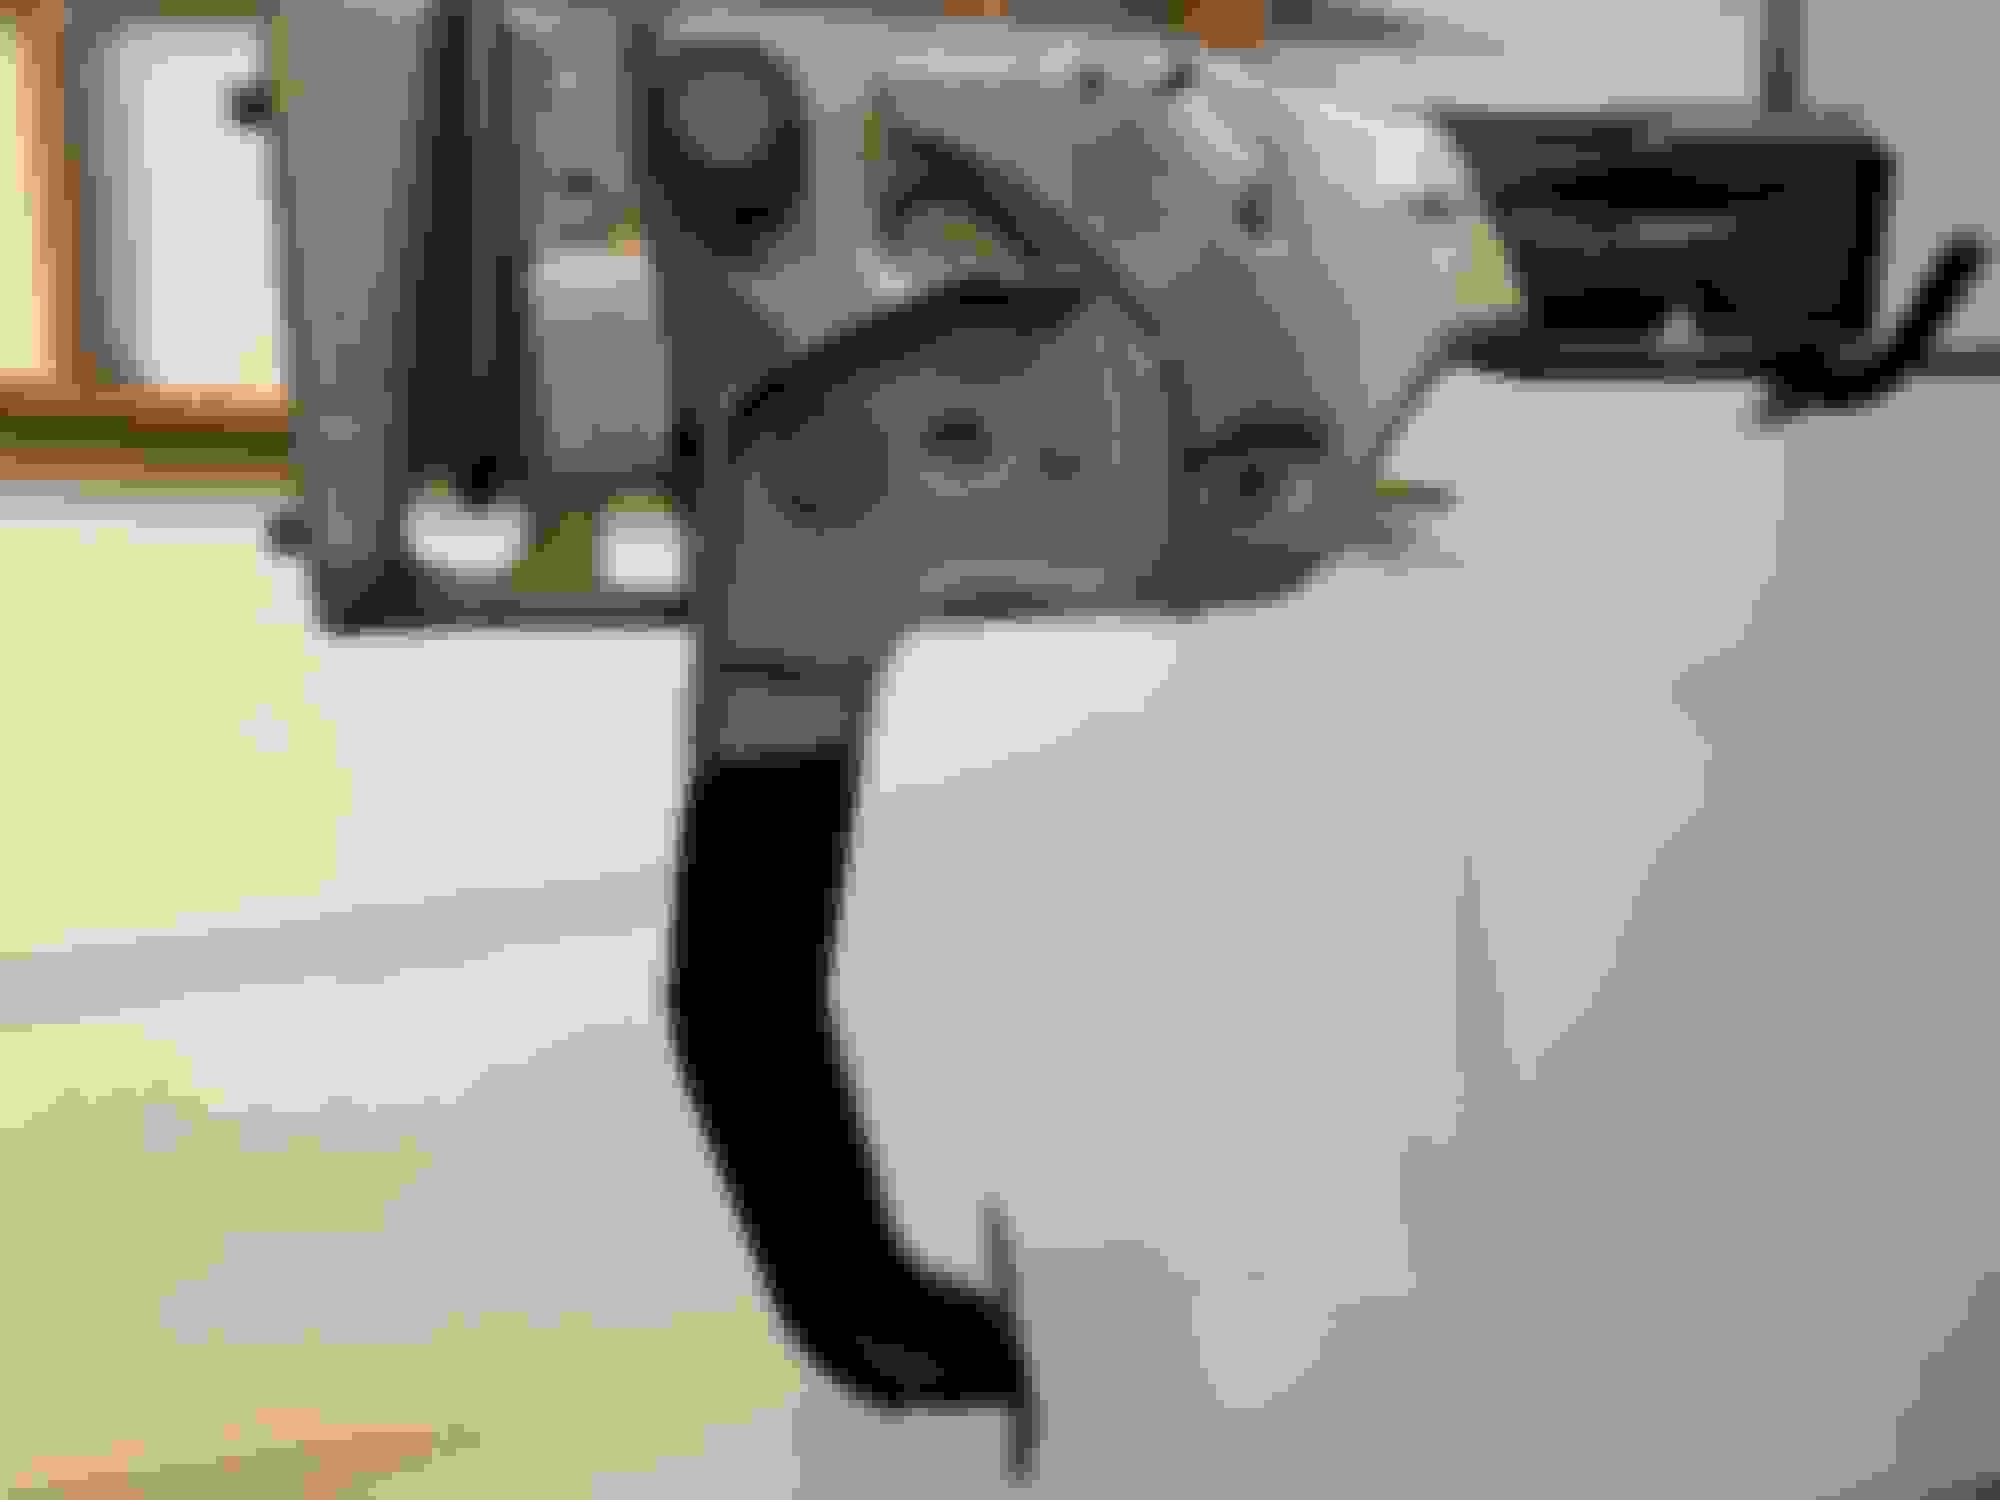
Would you use a little lube when reassembling?
Not sure if it's necessary to lube. Every one I've ever taken apart (all GM cars) have never had any evidence of lube, although some looked like they could have used it. I believe the design was that the plastic part would act as a squeak inhibitor without the use of grease while being the sacrificial part of the assembly. If I were to lube it, I might lean toward a fingertip wipe of a thin film of lithium grease on the inside. The pivot rotation isn't much as it is, so the introduction of dirt to get things all scored up is minimal.
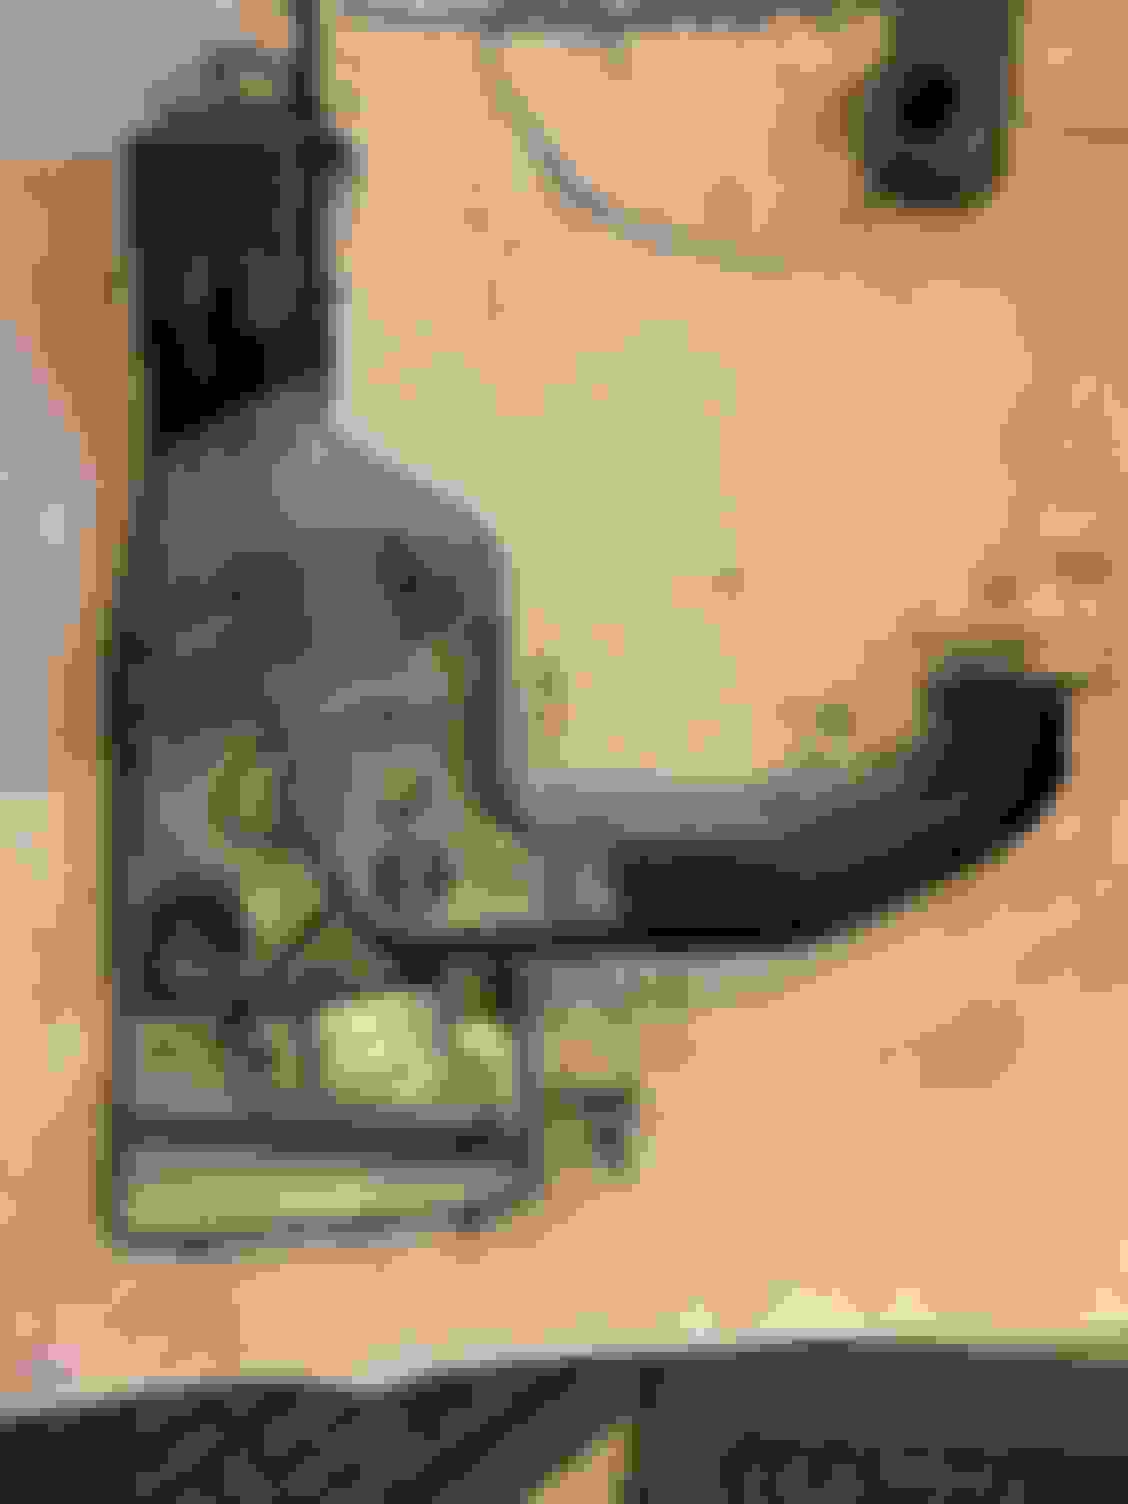
Went through the bins in the garage and rounded up all the remaining parts that need to still be restored. Tonight I started on the e-brake and brake pedal arm. I soaked both in a vat of Evaporust for 48 hours to remove the surface rust from the bare metal. I took the parts out tonight and was pleased with how clean the metal was. I scrubbed the parts in a Dawn dish soap to remove and grease or oil, scuffed the black paint with a red scotchbrite, prepped the metal, and sprayed. I used the SEM landau black that I love so much. I masked the original lines as they were done at the factory.
I know some spray the bare metal with a detail gray paint. I may regret not doing that, but I�m going to leave the bare metal and spray it with Boeshield. I did this with the bucket seat sliders, and they�ve helped up well over the last year. I�ll likely have to keep wiping the metal with oil from time to time but that�s okay because I like the look of the original finish.
Rusty brake pedal arm before Evaporust.
More surface rust.
Original black paint and masked lines.
Julian date on the e-brake.
Right out of the vat.
Masked and painted.
Finished product.
looks good Jimmy. I enjoy finding the Julian dates and codes in stuff also. It�s cool that sometimes you can�t initially see them and then they appear after you strip or evaporust them. I find it fascinating that the factory stamped so much with a date.
I am like you on many parts that were bare from the factory I like leaving bare steel if they look good. You can�t replicate that look. I also use Boeshield on some items but on some I shoot a light coat of matte clear on the steel to hold the surface rust at bay. The clear has seemed to stick well as long as the steel was super clean before spraying.
The difficult part for me and my limited knowledge is knowing what was bare steel from the factory!
Spent a few hours this afternoon blasting the parts for the jack. You can see some runs in the original finish. I�ll assume the runs are from the dipping process but who knows. I left the original runs and painted over them. I used a Valspar enamel that is a good match to the original finish. I want to say the color is Federal Grey, but I�ll need to double check on that.
Restored the clevis, rod, rubber boot, and cup for the brakes. Lesson learned that when soaking this part in Evaporust, separate the rubber boot from the �cup� to get the gunk off under the boot.
The rod appears to have a red anodized finish. I can�t imagine this part being non-factory, but maybe someone replaced it over the years. Anyone familiar with the red finish?
Also received a few new parts in the mail this week.
Just nastiness.
After.
See the arrow. I haven't seen a red finish like this anywhere on the car. I believe this is a Moraine part.
Since everyone loves the GM parts boxes, here's a cool sticker on the outside of the NOS door weatherstripping box.
Scored original rubber for the RH and LH doors. The rubber is in really nice condition, and it's cool to see the white clips like the factory pieces
Last edited by WTHIRTY1; May 7th, 2020 at 01:15 PM.
Spent some time over the weekend cleaning up the original tie rods to the car. They were caked in grease and gunk so I soaked them in a pretty strong degreaser that did some of the job. Subconsciously, I think I avoided dealing with the arms because I knew it would be a mess. I used a scraper and scotchbrite to get the rest of the mess clean. The red Scotchbrite brightened the bare metal so I figured I may as well tape them off and blast them to get them extra clean. I also blasted the original sleeves and found a set of NOS clamps. The original bolts and nuts are going to Sparky's. For the time being, I threw in extra TR head bolts from the ILT stuff I did last year. The reproduction bolts aren't as long nor do they have as long of a shoulder.
After blasting, I coated the tie rods and sleeves with Slip Plate. Thanks to Chris for the recommendation on Slip Plate. For those that haven’t used this stuff before, it’s a graphite spray that sprays just like a can of paint. It’s dry within a minute and leaves a light grey coating of graphite. What’s cool about the finish is that the more you touch the part sprayed with the graphite, the more it just rubs in similar to smudging pencil on a piece of paper.
I opted for the ILT reproduction boots since they’re identical to the originals I took off the car. The last detail will be cleaning up the threads on the studs as they took a few hits during tear down.
One of the four original tie rods.
One of the two original sleeves. These were bare metal when they left the factory.
Sleeve after sand blasting and Slip Plate.
One finished assembly. Original castle nuts rephosphated. New rubber boots. NOS clamps.
Removed the zerk fittings and polished them lightly before re-installation.
Left the Saginaw S logo visible. I look at the original tie rods as a bit of a differentiator among the other show cars.
Greased the tie rods so adjustments will hopefully be easier this time around. Lesson learned from the first time!
Last edited by WTHIRTY1; May 11th, 2020 at 12:28 PM.
Picked up the radiator tanks after having them dipped to remove all paint and corrosion. The inside of the tanks were pretty corroded...likely from having water sit in the radiator for 20+ years. Next step will be to remove the dings and dents ever so gently before taking to the shop for the core.
Not much to update this week. I’m back to detailing hardware for the interior. The screw heads on the door panel hardware needed to be cleaned out to remove the tiny bit of rust.
I painted the original lug wrench in its original black finish. I used a semi gloss black paint that looked really close to the original finish. And for Al S., here’s a close up of the 'O' for Orr.
Last edited by WTHIRTY1; May 26th, 2020 at 09:14 AM.
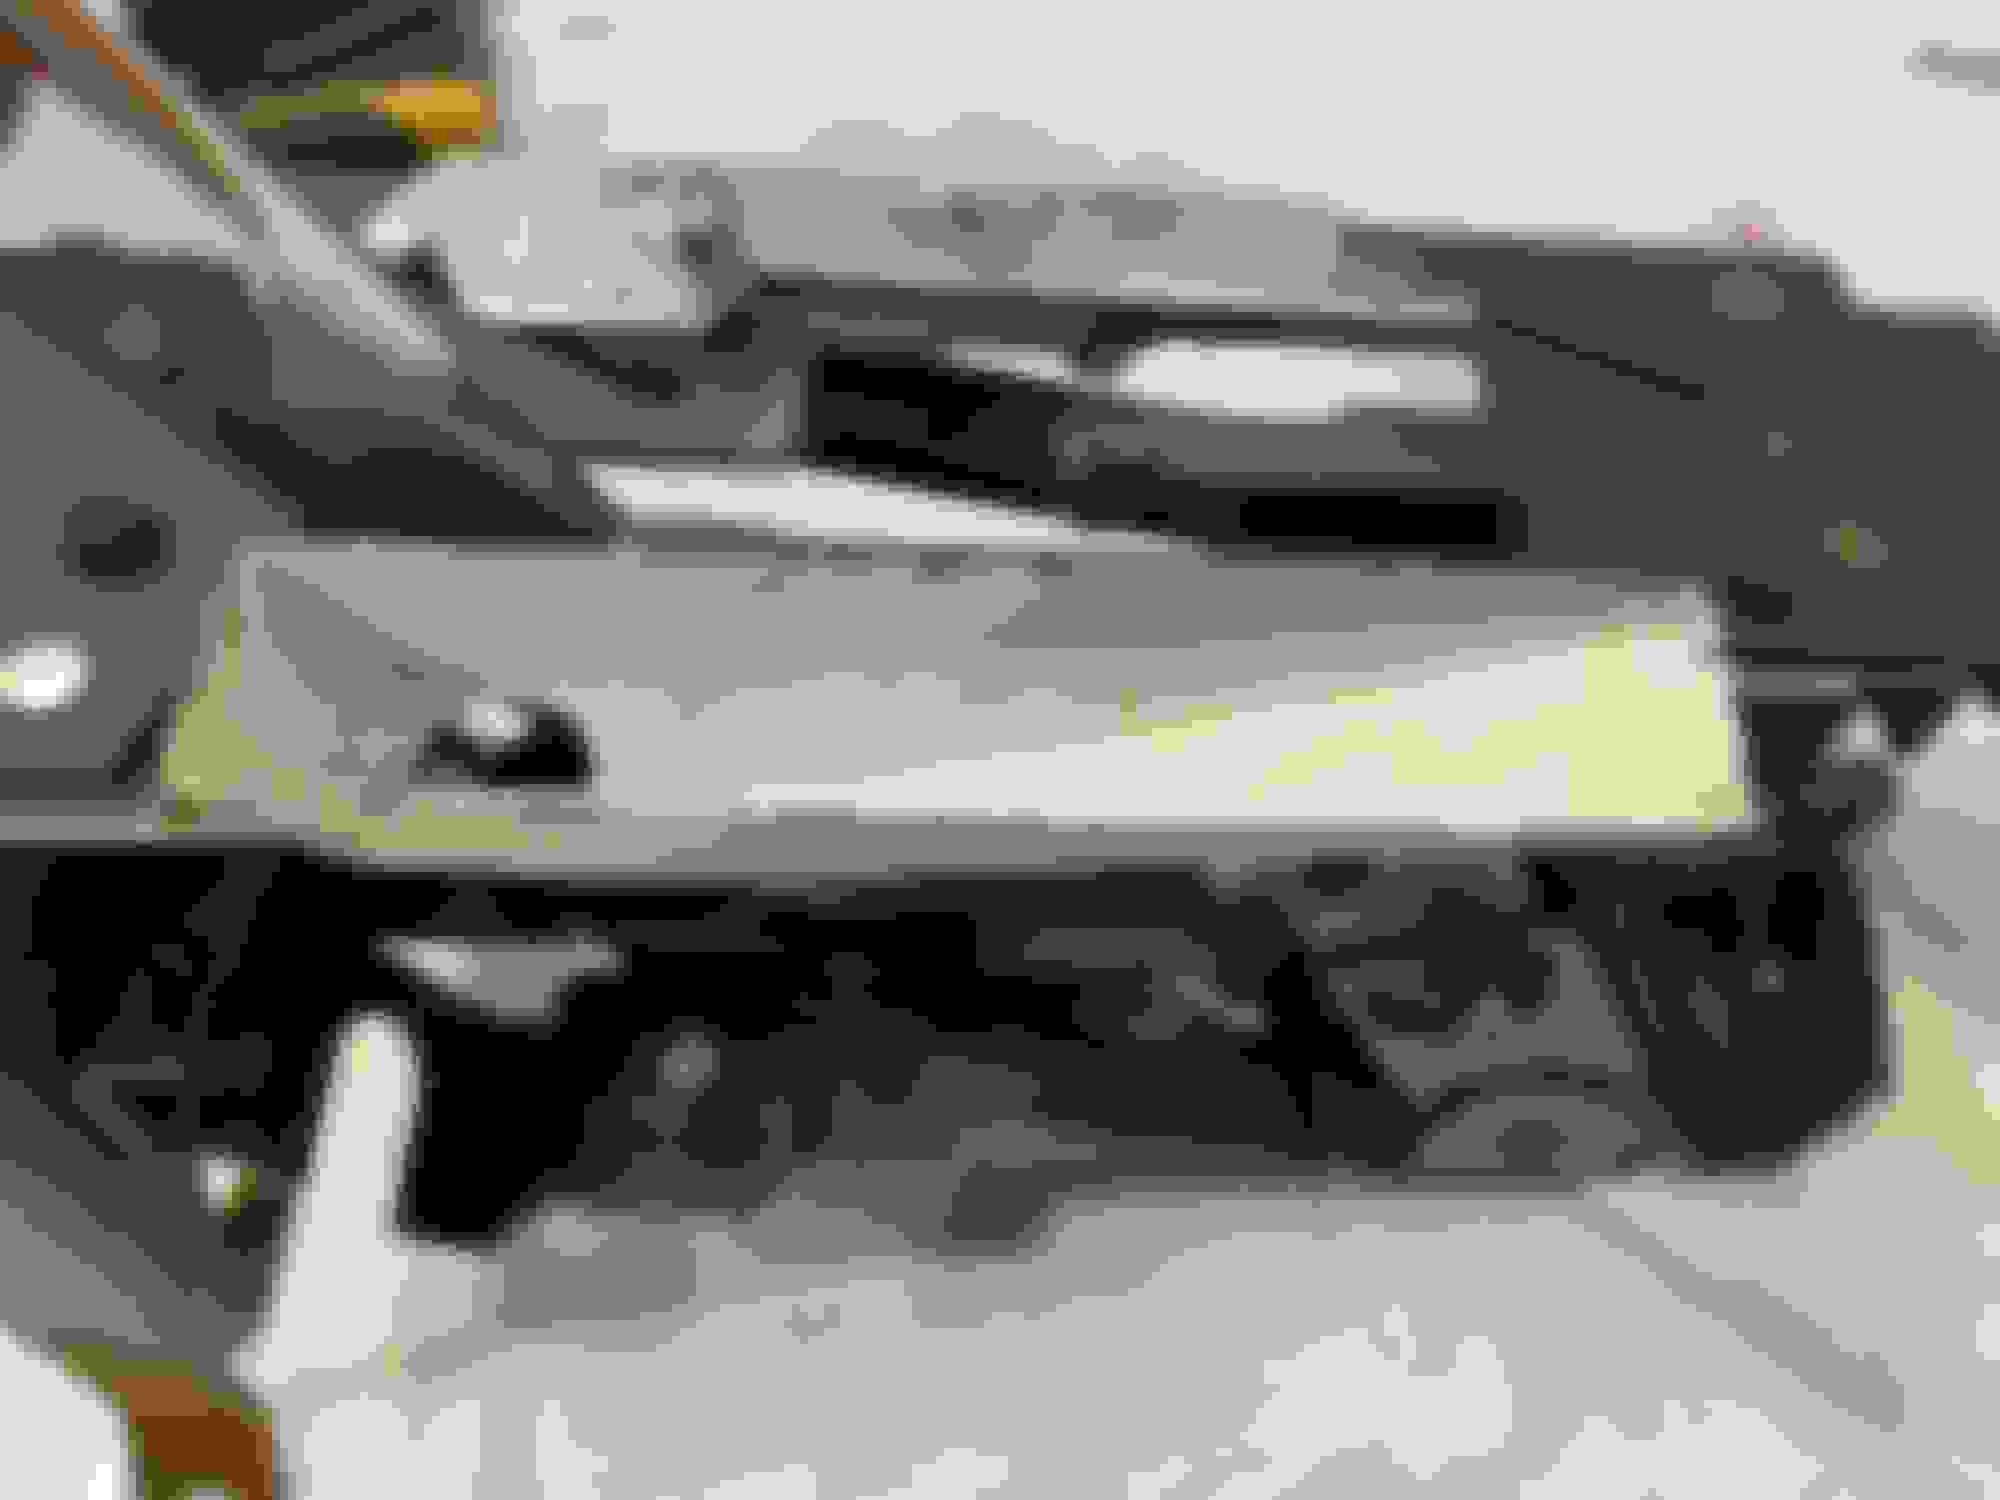
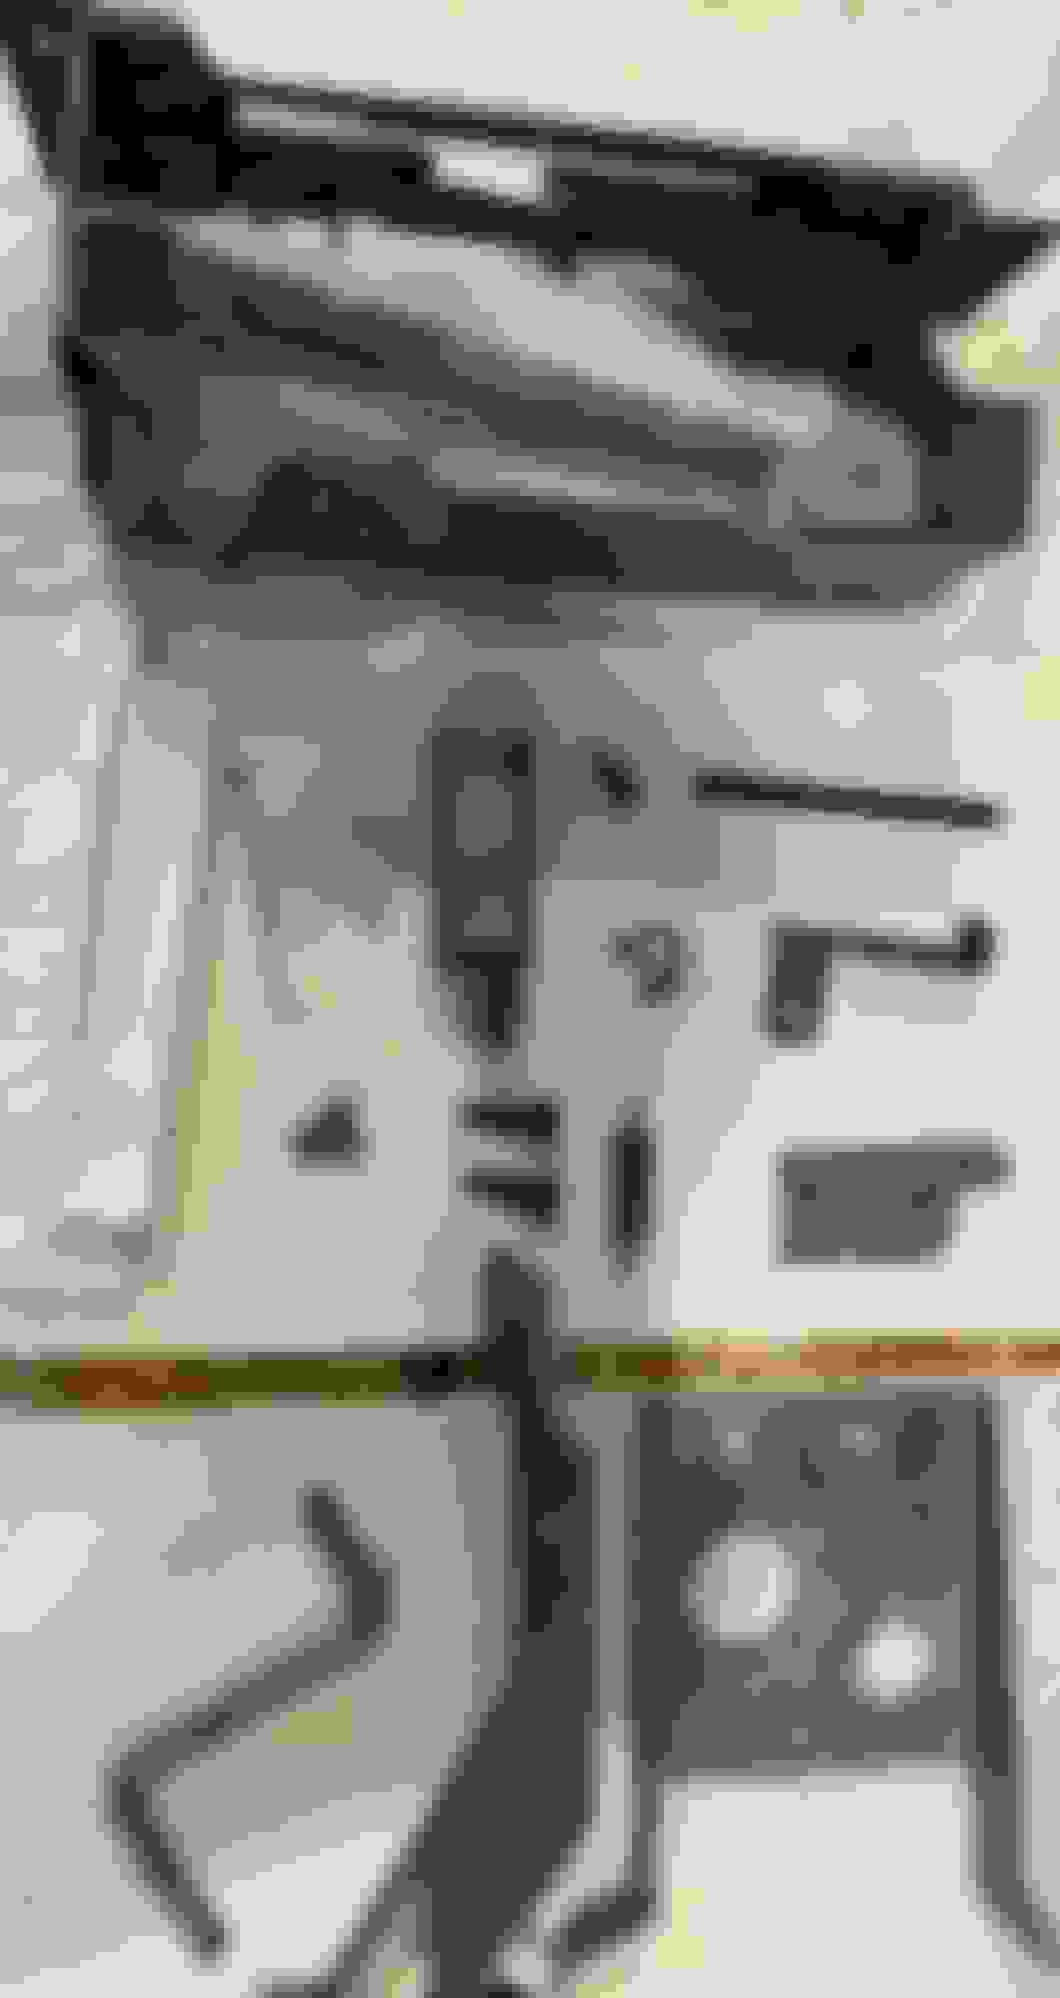
Started phase 1 of my dual gate tear down for the 31 last night. The shifter appeared to be in decent enough condition, but I just couldn�t help myself from ripping it apart. It appears all the parts are there including the black tab on the metal slider. At first glance, I thought it was gone, but the black portion was just covered in 50 years of gunk. All in, this tear down took about 45 minutes and was really straight forward.
A few minor observations...
1.) The long shaft needs to be tapped out with a long punch, and once that is removed, the �internals� easily remove.
2.) The tiny spring that holds the slider has the craziest curve when in place.
3.) All four tiny screws for the neutral safety switch have a different head marking. Another example where head markings are inconsistent.
4.) The a front plate held on with the two bolts has a nice adhesive mark for the foam with houses the shifter cable.
5.) The arm that holds the handle to the base appears to have a part number etched in to it. I need to take a closer look but there may be a date code, too. The text is too small for my eyes!
6.) Inside the neutral safety switch shows a dried brown substance for the slider. What�s the right lube to apply to the switch for ease of sliding?
7.) The white paint is chipping off the metal for the light harness. It has a bit of a sheen to it so I�ll hit it with a gloss white after a quick blast in the cabinet.
Next steps are to soak the front and rear brackets in Evaporust to remove the minor surface rust and degrease the main housing. I�ll include additional descriptions on the individual photos.
Jimmy. Shifter looks good. Easily restored and readily available parts like a new chrome slider and shifter handle if you need that. I got those items from Shifter Doc, and a missing pin from Patton. I replaced my handle with a rechromed one since mine was pitted to bad for my liking. I hated to drill the shifter handle rivets out but had no choice. I replaced the rivets with small screws and nylock nuts with loctite.
Jimmy. Shifter looks good. Easily restored and readily available parts like a new chrome slider and shifter handle if you need that. I got those items from Shifter Doc, and a missing pin from Patton. I replaced my handle with a rechromed one since mine was pitted to bad for my liking. I hated to drill the shifter handle rivets out but had no choice. I replaced the rivets with small screws and nylock nuts with loctite.
Thanks, Andy. Shifter is in really nice condition. I think the surface rust should come off fairly easily. I'm fortunate that the chrome on the handle is really nice and should polish up well; drilling out the rivets would be a tough call for sure! I ordered a new slider and spring, but I'm not sure if I'll use it or not. How close to the original was the slider and black tab?
Last edited by WTHIRTY1; May 19th, 2020 at 02:22 PM.
Thanks, Andy. Shifter is in really nice condition. I think the surface rust should come off fairly easily. I'm fortunate that the chrome on the handle is really nice and should polish up well; drilling out the rivets would be a tough call for sure! I ordered a new slider and spring, but I'm not sure if I'll use it or not. How close to the original was the slider and black tab?
The black tab was missing from my original chrome slider so I can�t compare to original. The new chrome slider looked pretty good to me and fit like a glove. My original chrome slider was surface rusted pretty good so not usable in my resto. The new slider came in an �official� hurst package from Shifter Doc so I will call that NOS! My springs were good so reused all of them.
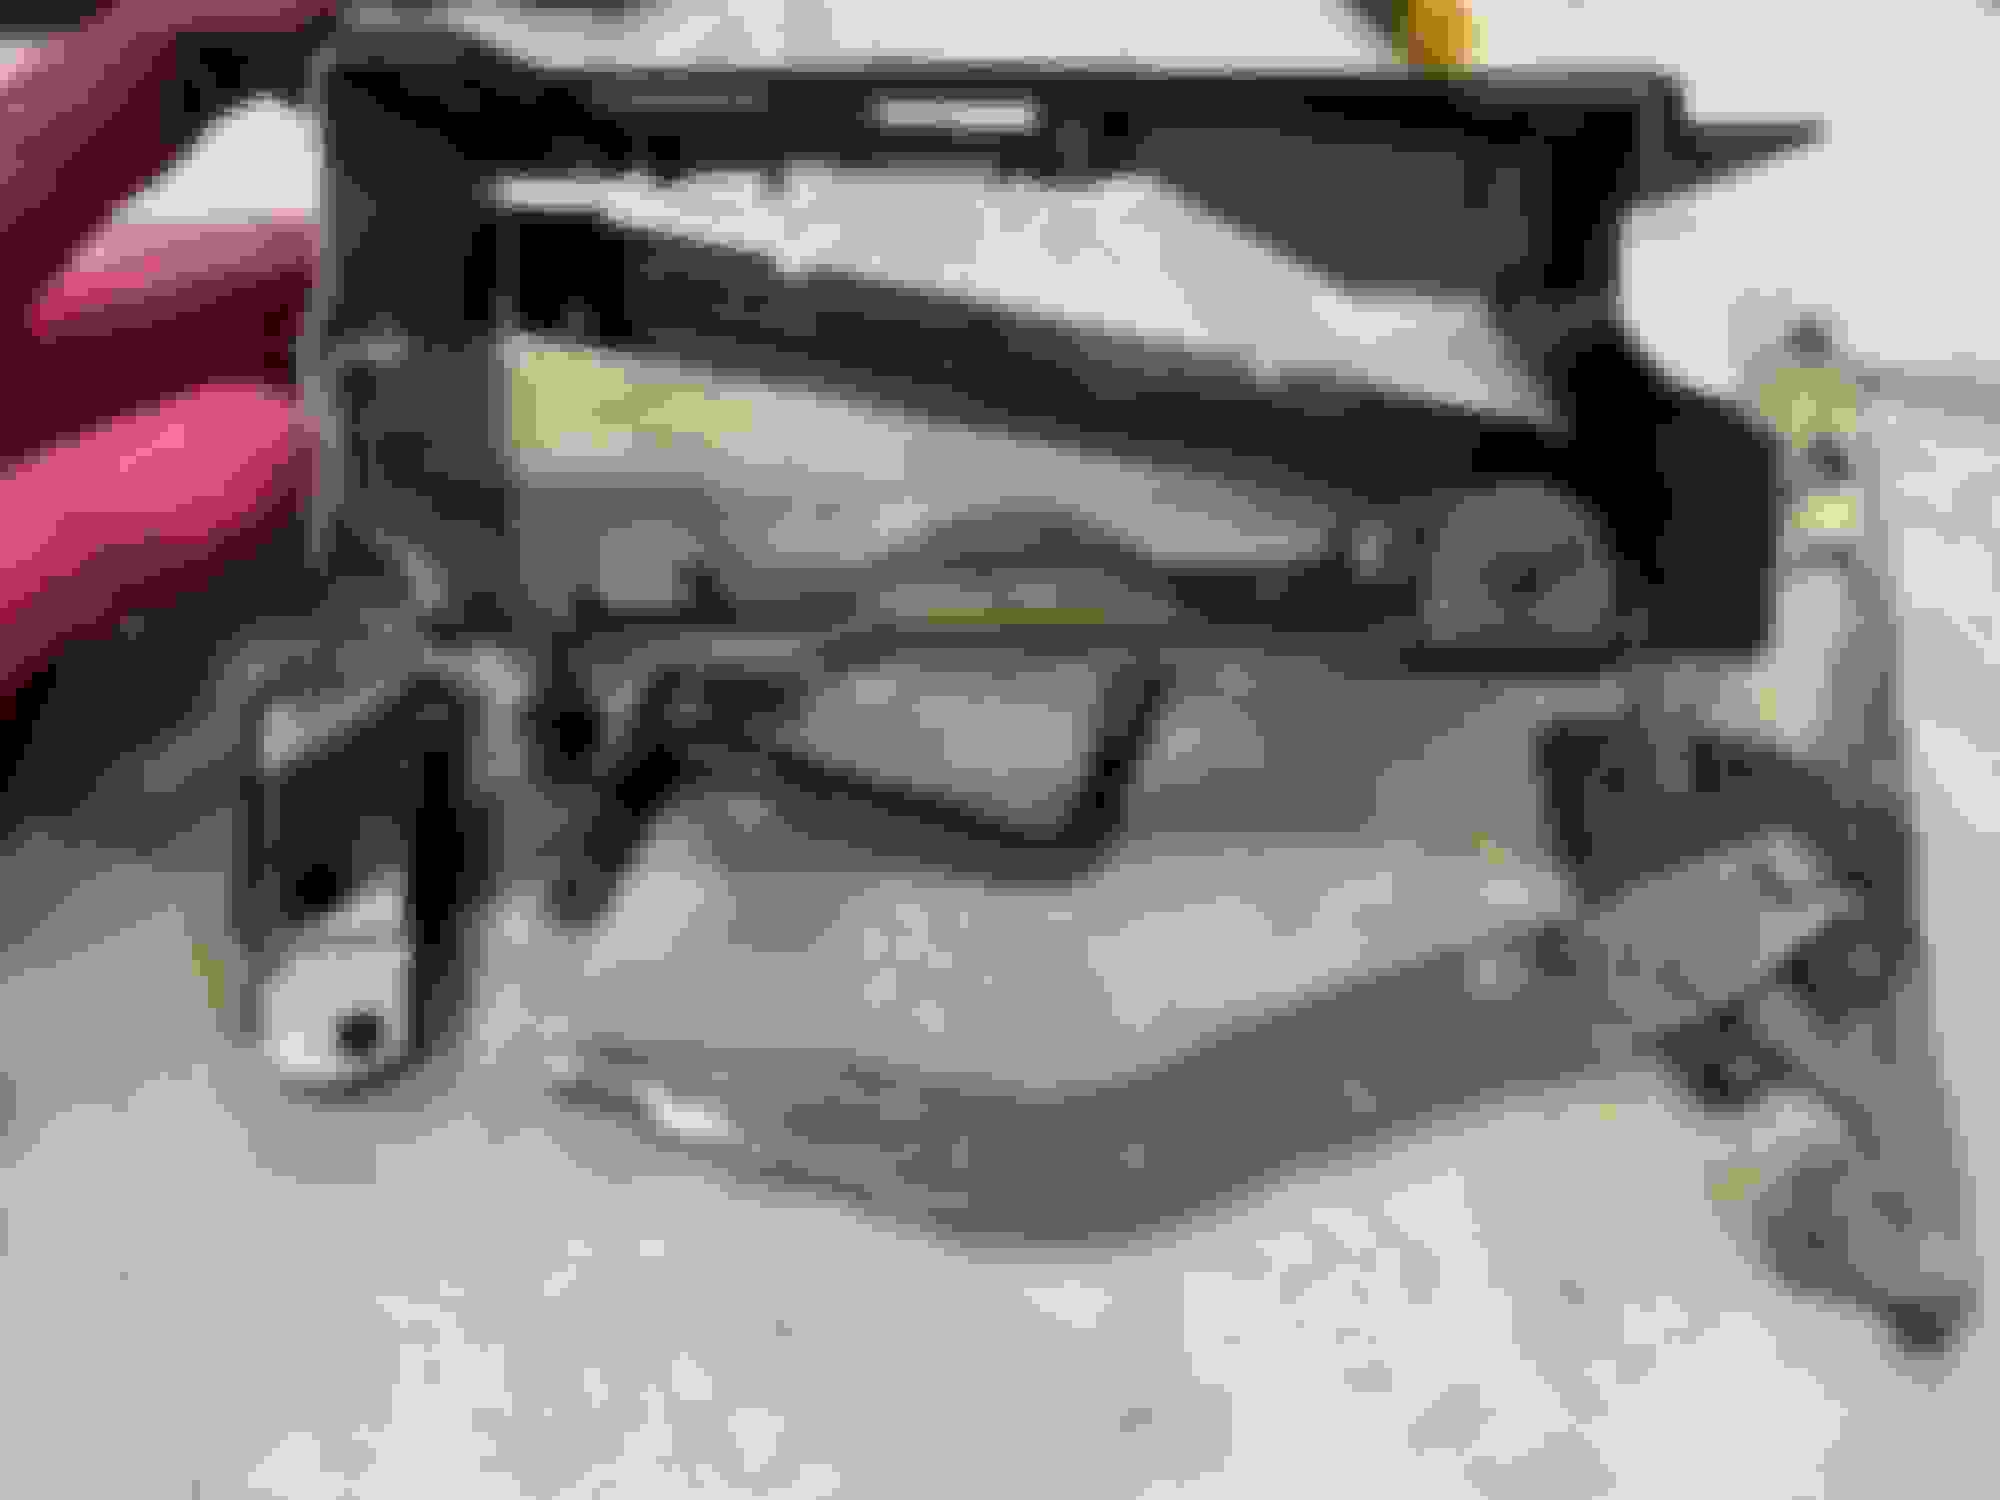
Minor update on the dual gate hardware. The front and back brackets cleaned up nicely! All the surface rust came off as expected. The other hardware cleaned up nice after 24 hours in a small Tupperware container of Evaporust. Blasted the light housing and will shoot it with white tomorrow. Hope to have the shifter reassembled by the weekend.
Thanks to my friend, Chris, I was able to get my hands on some perfect blue lacquer for the steering column. This paint was made from the original code, and after 27 years, it still looks / sprays great.
Finished the last clean up on the dual gate parts last night. I used a gloss white Rust-Oleum on the metal for the light that matches almost perfectly; should reassemble the unit this weekend. I ordered a new slider and spring from Hurst (part came in a Hurst bag but not sure if it�s an �authentic� Hurst part or just someone who owns the licensing). You can see the differences compared to the original slider. The new one is a bit wider, has a chrome finish on both sides, and the black tab is a little larger.
Finished with the restoration of the dual gate shifter last night. After disassembly, I soaked the rusty parts in Evaporust for 36 hours. All the parts came out like new. I had ordered a new slider and spring, and despite both pieces having Hurst branding on the packaging, I suspect the slider was more of a generic piece as it varied from the original. I opted to keep my original, and after a deep cleaning, the chrome and black tab came out like new.
This is a fairly straight forward teardown and rebuild for anyone considering it.
A few other notes.
1.) I sandblasted the white piece for the light and sprayed it with a gloss paint from Rust-Oleum. I�m happy with how it turned out compared to the original.
2.) I used a q-tip to remove the crusty old grease from the neutral safety switch. I used a lithium grease on the sliders. To clean up the switch itself, I used 000 steel wool to restore the finish.
3.) The original slider spring was tweaked perfectly so I reused it. The replacement spring is an exact match, too.
4.) You can see the Hurst replacement slider is wider, chromed on both sides, and the black tab is also wider.
5.) The most �challenging� part of the rebuild was keeping the handle aligned to the front hole. I�d recommend not applying the stiffer spring until after you insert the sliding rod so you aren�t fighting it the entire time.
6.) Just for fun, I threw on the original top plate that I restored with the original burlwood grain.
7.) While using the �NOS� Hurst grease seemed cool in theory, it was a little too liquid-y at first. After a thick coating, the lever shifted noticeably better.
Beautiful work. Are you concerned about just evaporating parts and leaving them? I used Evaporust for much of my restore and some of the parts I left unpainted after flash rusted over the past 5 years. Just humid air with no direct moisture can cause it. Even some of the the Evap parts I clear coated didnt hold up.
Beautiful work. Are you concerned about just evaporating parts and leaving them? I used Evaporust for much of my restore and some of the parts I left unpainted after flash rusted over the past 5 years. Just humid air with no direct moisture can cause it. Even some of the the Evap parts I clear coated didnt hold up.
Great question. Yes and no. I spray the parts down with an oil that will protect them for a year or so. After that, I�ll have to reapply the oil. The car will be stored in a climate controlled garage inside a car capsule that used a fan to circulate the air. If you haven�t seen the capsules yet, check them out.
Last edited by WTHIRTY1; May 31st, 2020 at 03:56 PM.
Yes, that's the entry level capsule. I'd recommend the Showcase product they make which has inflated columns so you can get inside the capsule to wrench or move your car in and out.
Last edited by WTHIRTY1; June 18th, 2020 at 08:49 AM.
As always great work! You are soo close. The Dual gate cleaned up really nice.
As for the car capsule, I would agree. I got the lower end one. Good news it is a very heavy plastic, bad news is it is a very heavy plastic. It is ok if you are putting away for winter, not a weekend to weekend type thing.
Yeah, I have the original and it works well but every time you inflate and store and deflate and remove and you walk around to remove you introduce dirt. I used it one year when it was new to store my 76 Vette in over the winter. Next time I use it I will use a soft car cover first. You'd want the car clean either way, then either use the Car Capsule by itself or better yet, use a soft car cover. Every time you want to get the car out you have to deflate and roll up the clear part, then remove the car cover and pull the car out. When you put it back in you need to reverse everything but no matter how clean the car is, by the time you drive it back in and cover it, your shoes and the tires/underbody have re-introduced dirt into the interior of the capsule. IMO, if you had a pristine show car like the W-31 being restored in this thread, I'd buy the Showcase model where you can drive the car in and not have to roll the plastic cover over the car every time you get the car out. There will still be dirt introduced into the showcase but with the Showcase the contact between the car and the clear plastic is almost eliminated. You also still might want to put on a soft car cover on anyway. The cost of the Showcase is out of this world compared to the Original Car Capsule but when your spending the big bucks on the pristine restoration like the W-31 it most likely is in your price range. Not mine though!! LOL!!
The Original Car Capsule is a heck of a lot bigger than you think it will be. When inflated it "rounds out" and takes up a lot of space. I imagine the Showcase is big too but seems to be the better design. I suppose you could/should build a PVC frame for the original so that when you roll the clear plastic out it rolls on top of the PVC frame instead of the car. I may try to come up with that when I put the Vette into my new 24X30 garage this fall. If that works and I get my 1972 442 restored, I may buy a second Original Car Capsule for it.
Take care,
OLE442
Last edited by OLE442; June 2nd, 2020 at 05:42 AM.
Finally finished the other set of tie rods and the center relay. I blasted the steering relay rod to get the factory finish off. It definitely was a heat treated part. We’ll see how the ball joints even hold up after I grease them; these could end up being “show only.”
Lower column outer tube restored / repainted.
Original steering relay rod taped off to prevent sand from getting in the ball joints.
Original dated relay. 58 B70.
Restored tie rods and steering relay rod. NOS seals for the relay are in the mail. If you’re looking for the relay NOS seals, they’re part number 5693125.
Really pleased with how these turned out. In comparison to the original survivor cars I’ve documented, the finishes came out better than I could have hoped for.
***Yes, I know how the clamps are supposed to go relative to the sleeve opening. I tossed the bolts in to the clamps just for the pictures.***
Last edited by WTHIRTY1; June 9th, 2020 at 07:01 AM.
This weekend was spent going through all the parts bins to see what I�ve missed and what parts still need to be refinished. The good news is that the list is very short. And I have a TON of parts that I need to sell so keep an eye out in the For Sale section.
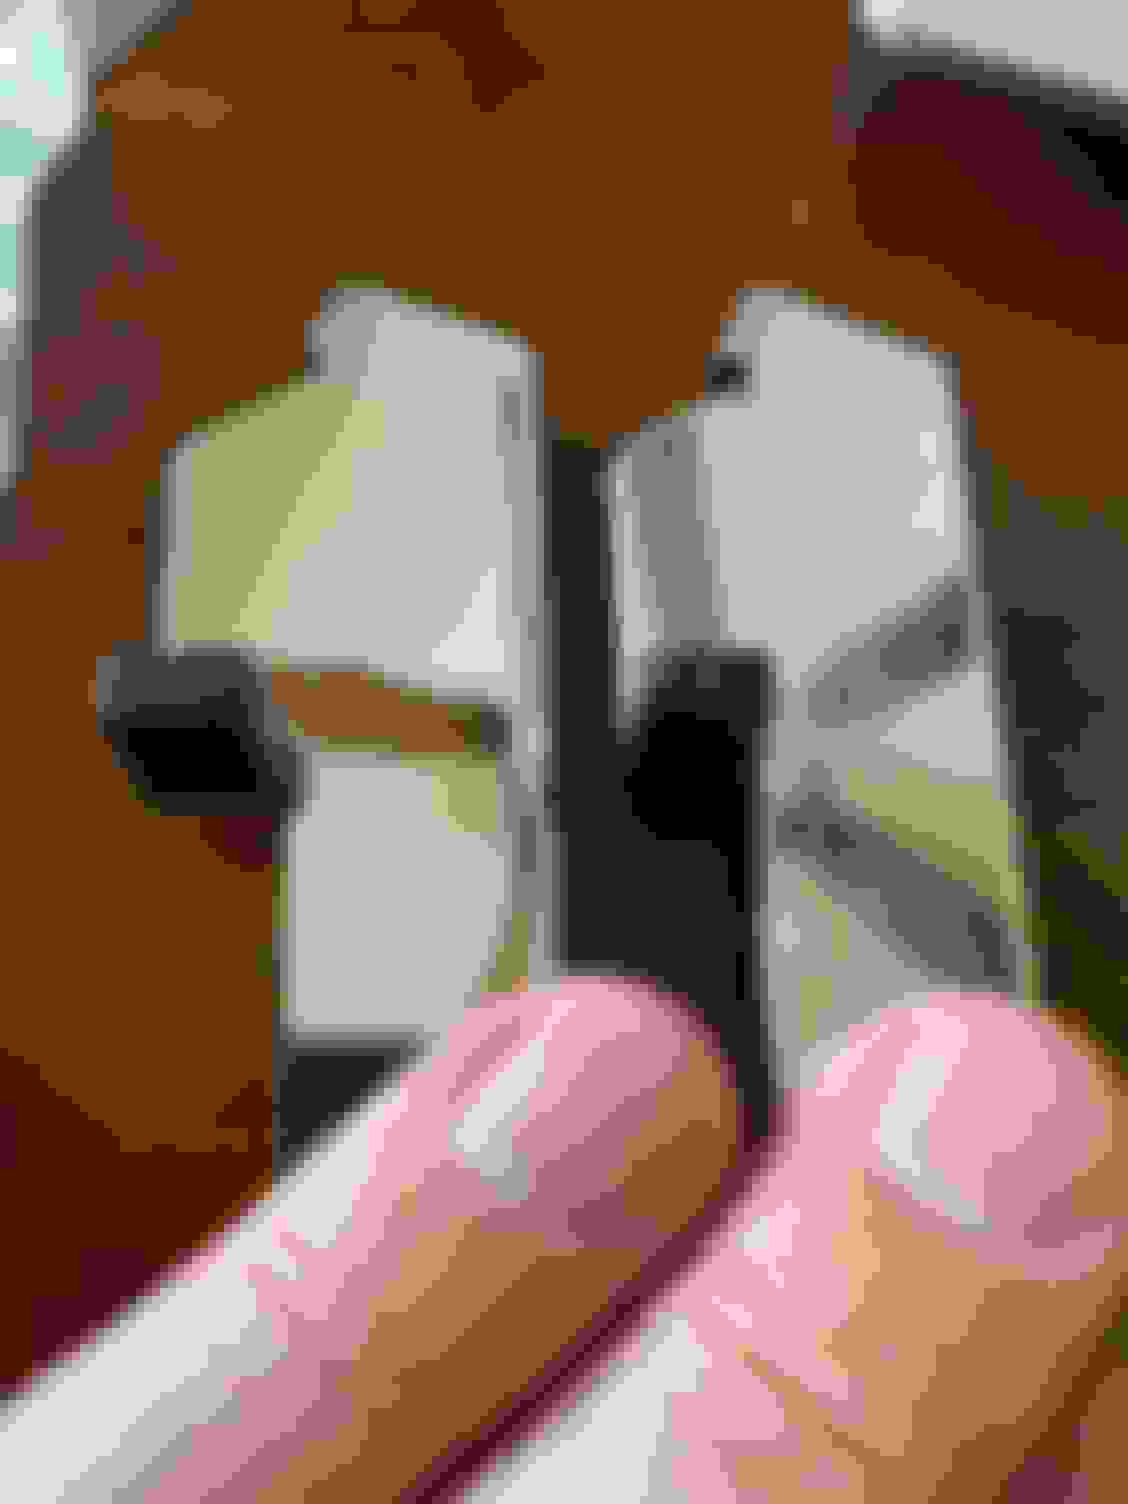
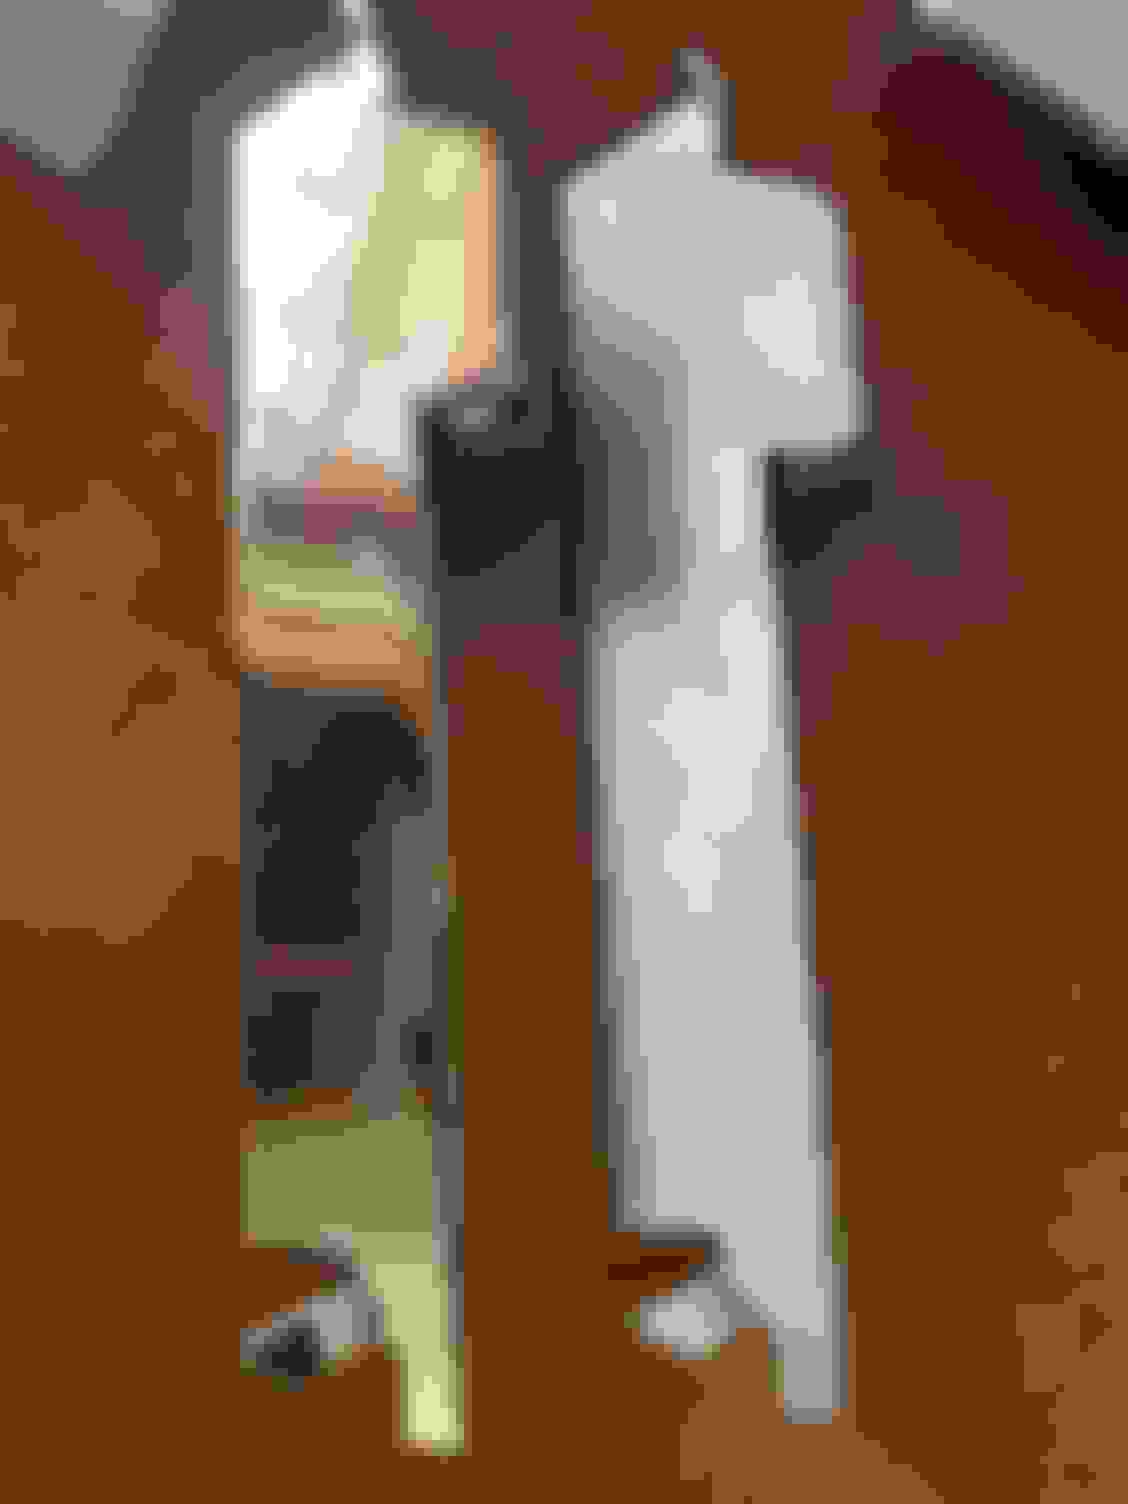
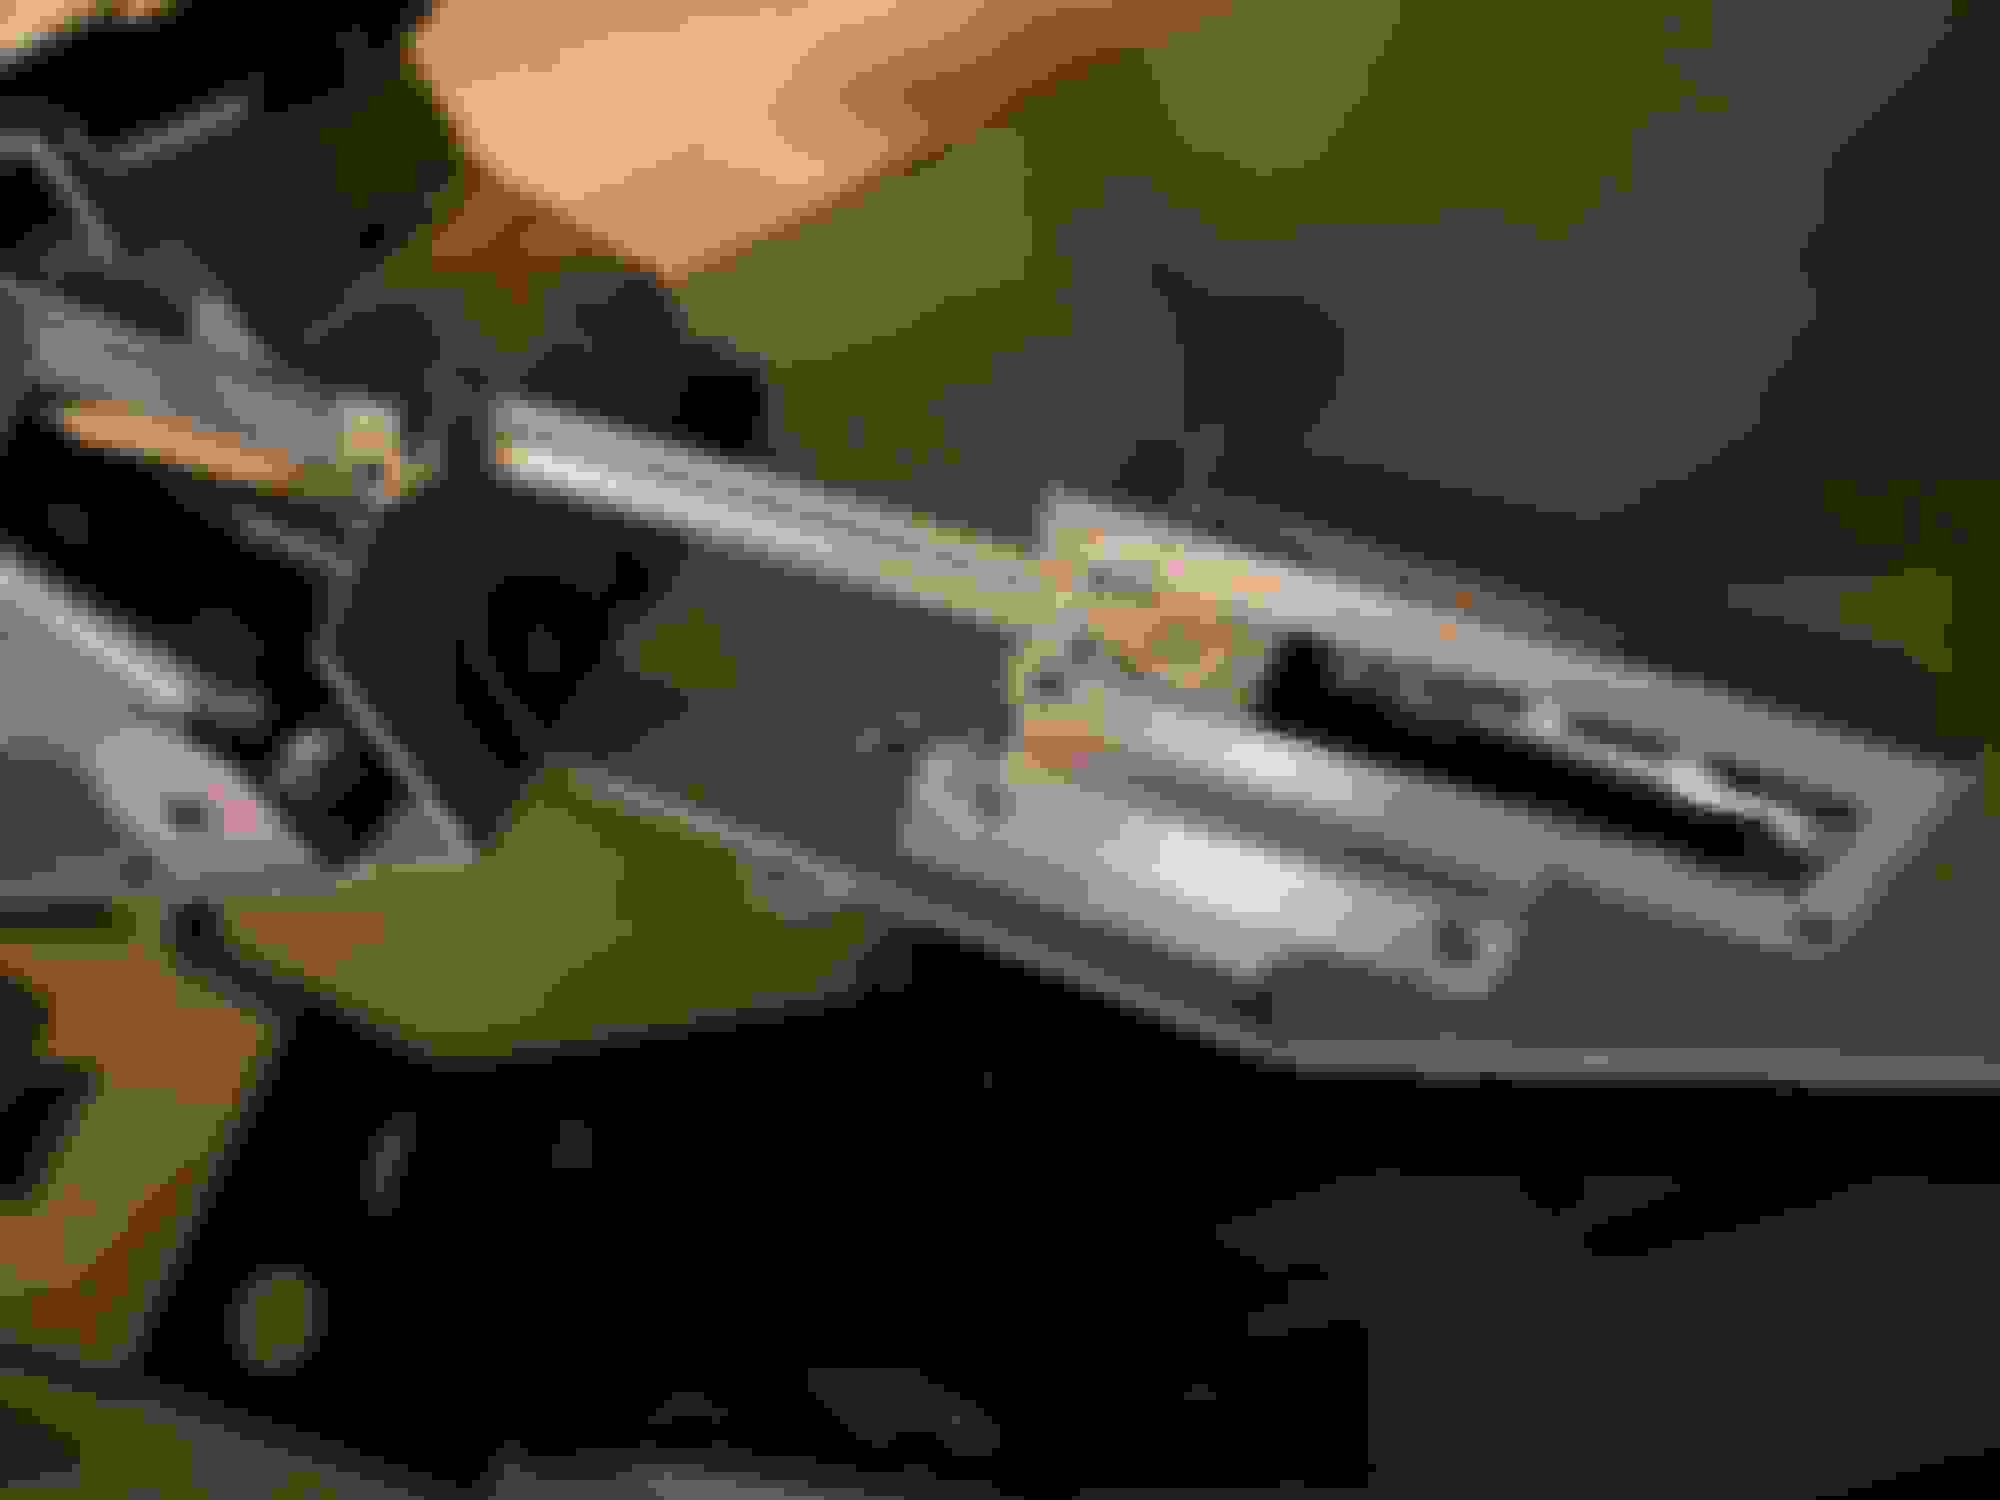
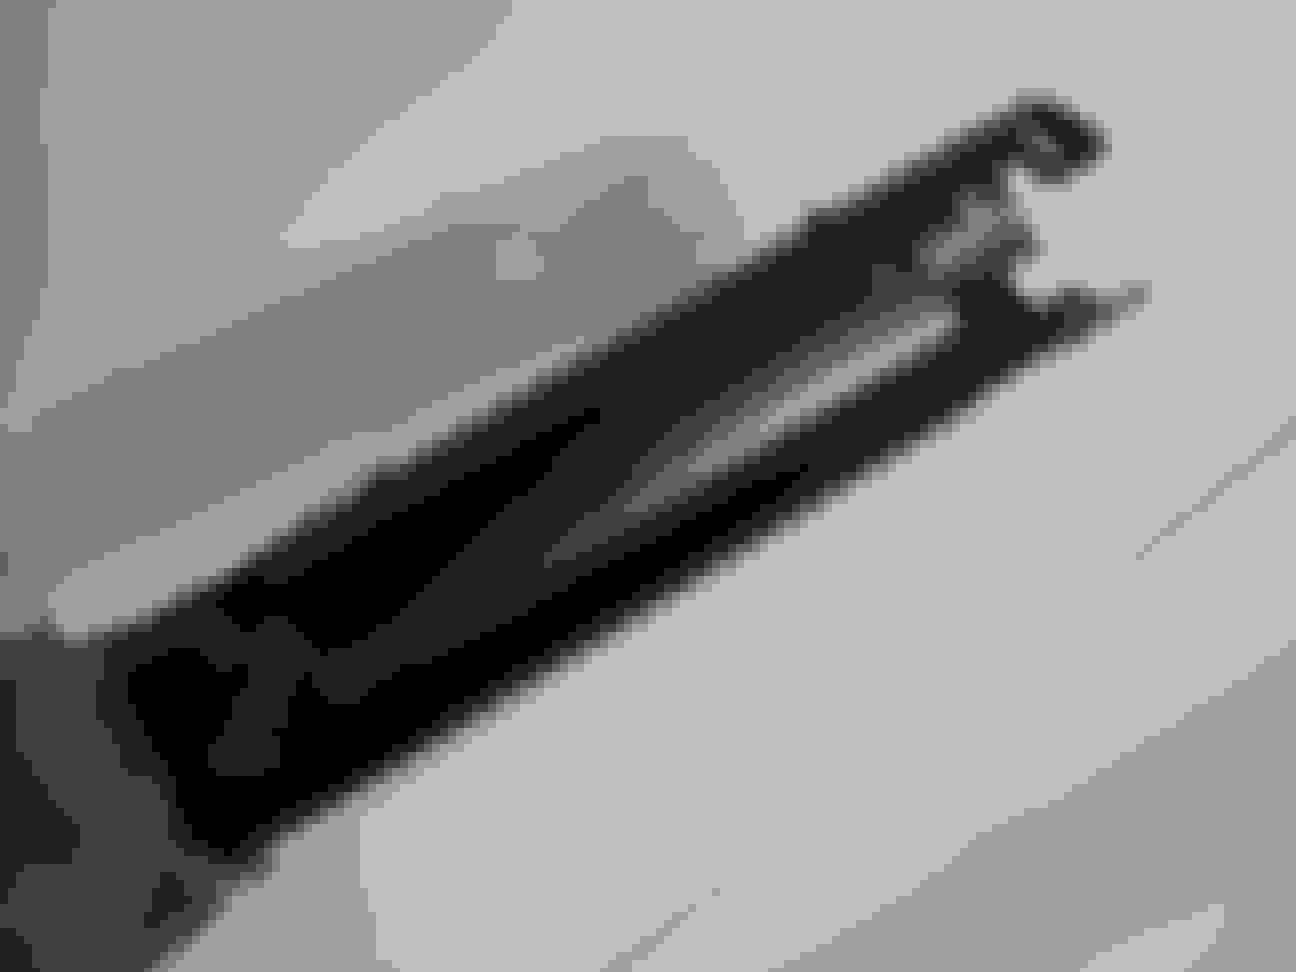
I pulled out the original wiper arms and worked on cleaning them today. The rubber wiper blades appeared to be the original Trico Made In USA style. For the arms, I just soaked them in a tub with soap
to break down any gunk that had built up on them. They turned out decent the first pass through. I think I�m going to remove the springs so I can clean a little better on the underside. There are also a few blemishes on one of the arms that I am hoping steel wool will take care of.
The pivots here were the most gunked up areas on both arms. I�m assuming a lube will be needed here for reinstallation?
I know Andy had black on his spring, but my spring appears to be just a dirty natural steel.
Had to get the toothbrush out for this.
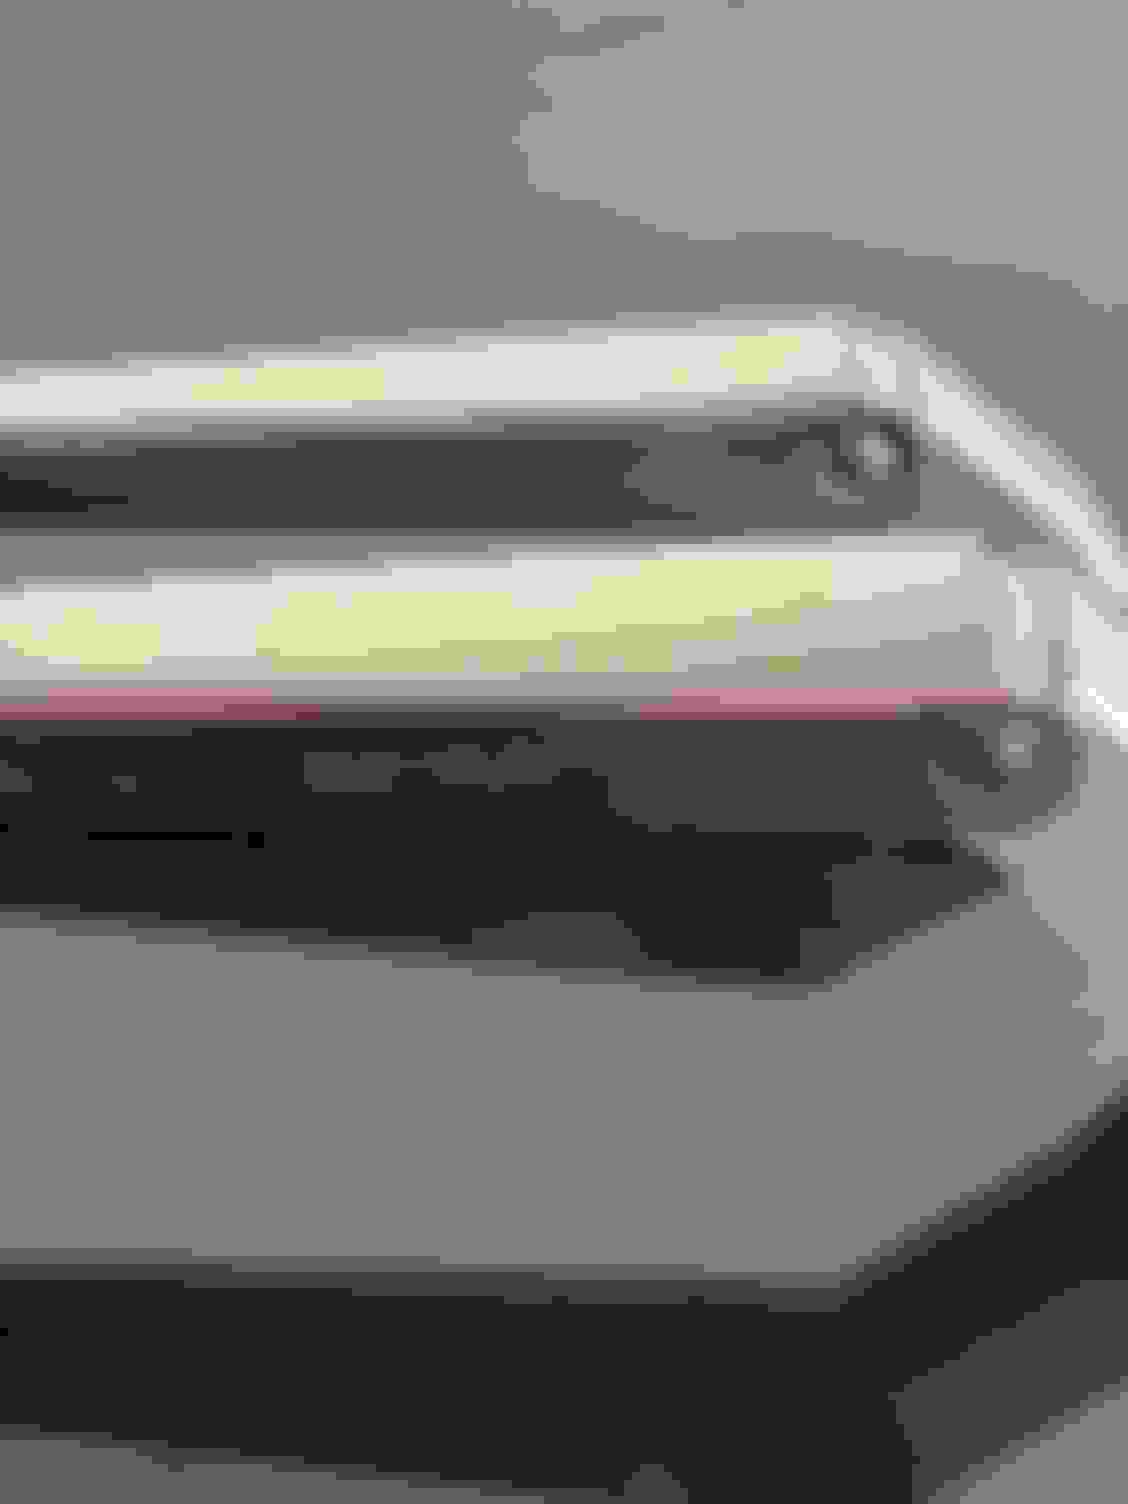
Wiper blades removed from the car. With 64k on the odometer, there is no chance these are original to the car. Assuming they made replacements
in this exact style well in to the �80�s?
I believe those are correct blades, Jimmy. Obviously, the clip is in backwards, and the inserts are probably wrong. In the old days, people only did refills. It wasn't until later in the 70's they started to push people to throw the whole deal away. Where the red arrows are you can clean with like 4-0 steel wool. My favorite product is Simichrome for like that area. Springs were natural, but tend to rust or weaken. Ames makes SS springs now. Weirdly, your springs look very clean, but the rest of the wipers look well used. I paint the springs, because the SS springs are new. If your springs are rusted like most are, you can see the reflection in the lower windshield reveal and it looks like crap. The most important part to grease is the small pin that attaches to the articulating arm where the clip is.
Last edited by mrolds69; June 7th, 2020 at 08:02 PM.
I believe those are correct blades, Jimmy. Obviously, the clip is in backwards, and the inserts are probably wrong. In the old days, people only did refills. It wasn't until later in the 70's they started to push people to throw the whole deal away. Where the red arrows are you can clean with like 4-0 steel wool. My favorite product is Simichrome for like that area. Springs were natural, but tend to rust or weaken. Ames makes SS springs now. Weirdly, your springs look very clean, but the rest of the wipers look well used. I paint the springs, because the SS springs are new. If your springs are rusted like most are, you can see the reflection in the lower windshield reveal and it looks like crap. The most important part to grease is the small pin that attaches to the articulating arm where the clip is.
0000 Steel wool is what I did also On all those parts. . I Evaporust soaked the joints of the assembly a bit to eliminate the flash rust on the bare steel parts. My build is a car sitting since about 1980 so it still had the old trico wiper refills. Rubber was obviously toast but was able to get refills to work in the original arms I had and cleaned up nicely. I did paint the end of the wiper arm alumablast where it goes on to the splined shaft cause it seemed like pot metal and was kinda flaking or pitting slightly like pot metal does. Smoothed out real nice with a little rubbing of steel wool. My springs had remnants of black paint. Not sure if they had been painted before. Highly unlikely given the cars status and the wipers I had looked untouched. Painting the springs seems highly unlikely someone would do just that and nothing else was touched but you never know. So I painted my springs. Boeshield on the parts at the end. Looks good As usual Jimmy.
Finished the wiper arms this morning. I scrubbed them last night and went to town on them this morning with the 0000 Steel Wool. I had a rather large portion of the steel wool, and I would jam it in to all the hard to reach areas. It seemed to do the trick. I used a q-tip to get inside the hinge on the two piece arm.
I also pulled out the set of NOS wiper blades to see how they’d look in comparison to the one I removed. @mrolds69 was right in that the one removed from the car was just the rubber fill. Feels good to finally be running out of parts to restore!
The nice part about that 4-0 steel wool is that it still keeps the metal dull and doesn't add a sheen.
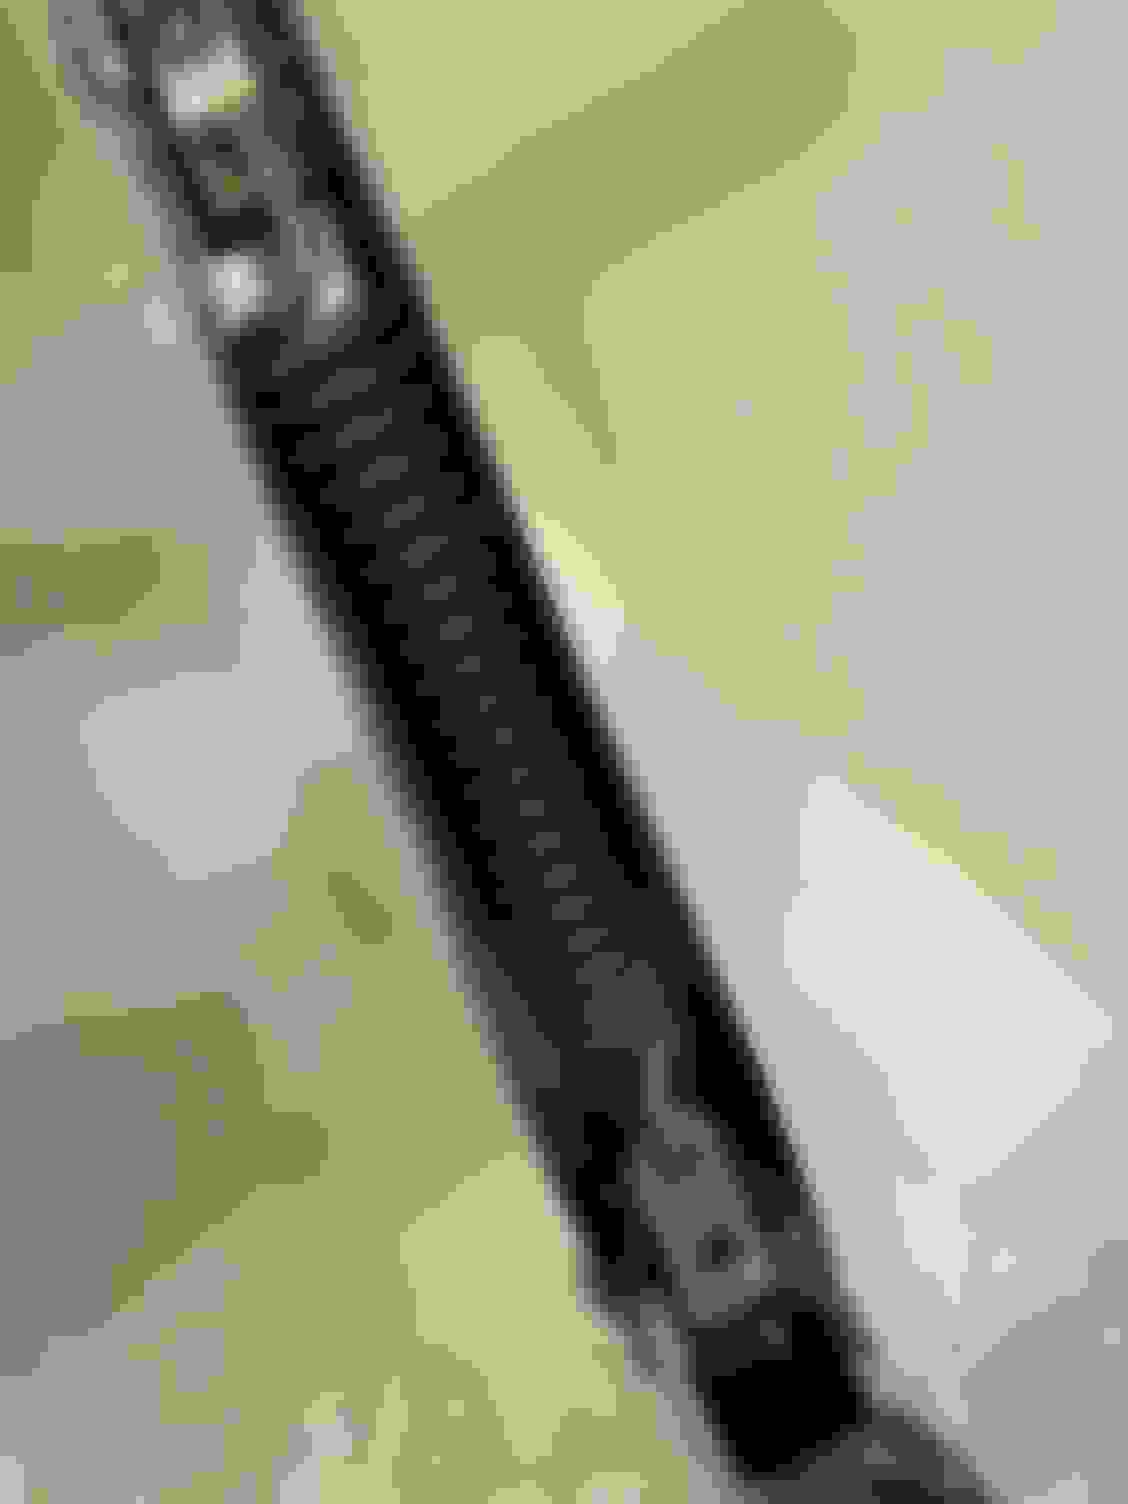
Original arms with 'TRICO' etched in.
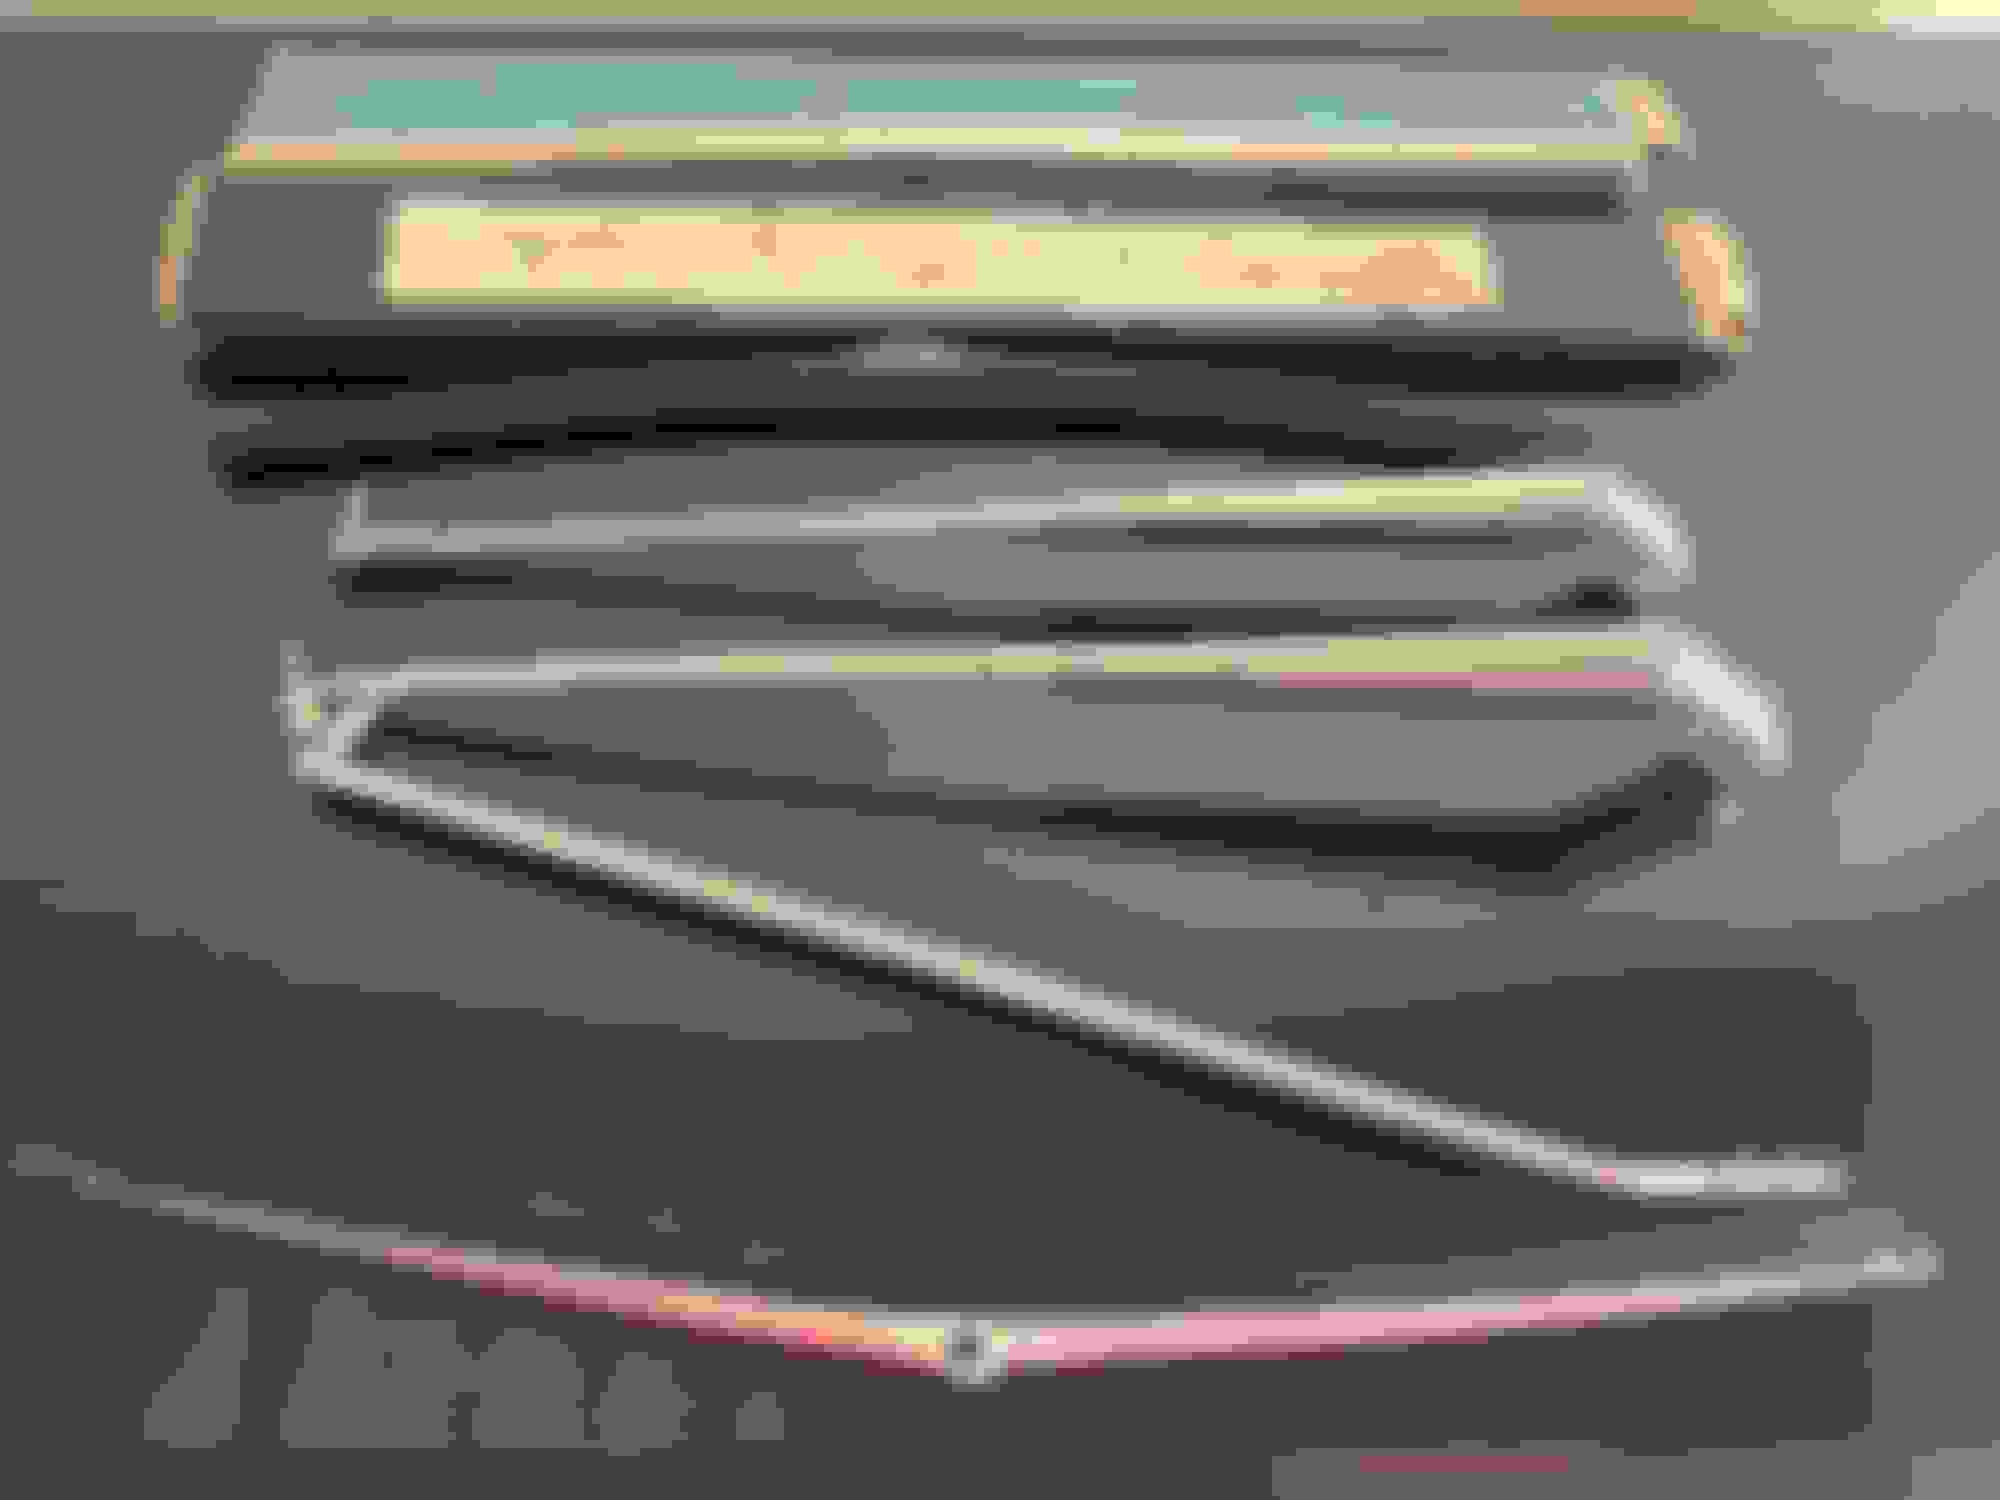
NOS Trico wiper blades in GM packaging.
Gotta love the old GM instructional drawings on the back of the packaging.
Last edited by WTHIRTY1; June 8th, 2020 at 12:48 PM.
Nice Jimmy, they look great! Weird how grungy they were, they must have been used a lot. Be sure to look the pin on the transmission over carefully. When the wipers got used a lot that pin would wear a lot. I've seen them like sawn half way through. They do sell a kit to repair just the pin for info for others. I'm curious about the paint on the spring now. I'm a huge fan of the 4-0 wool, it rarely damages anything. I was just using it to clean bugs off my T3's today!
I think most of us have seen the NOS floor mats listed from the seller in the Northwest on eBay. Well, I went ahead and ordered two sets; one set in the lighter blue and a set in dark blue. The first set arrived today in the lighter blue. Pretty cool to see the original packaging sent from General Motors Parts Division in Beaverton, Oregon to Russell Chev-Olds in Port Angeles, Washington. Now to get 50 years worth of rolls out of them...
Last edited by WTHIRTY1; June 11th, 2020 at 08:05 AM.
Nice Jimmy, they look great! Weird how grungy they were, they must have been used a lot. Be sure to look the pin on the transmission over carefully. When the wipers got used a lot that pin would wear a lot. I've seen them like sawn half way through. They do sell a kit to repair just the pin for info for others. I'm curious about the paint on the spring now. I'm a huge fan of the 4-0 wool, it rarely damages anything. I was just using it to clean bugs off my T3's today!
Good tip. I'll take a look. Appreciate it.
Last edited by WTHIRTY1; June 11th, 2020 at 08:03 AM.
 May 1st, 2020, 07:28 AM


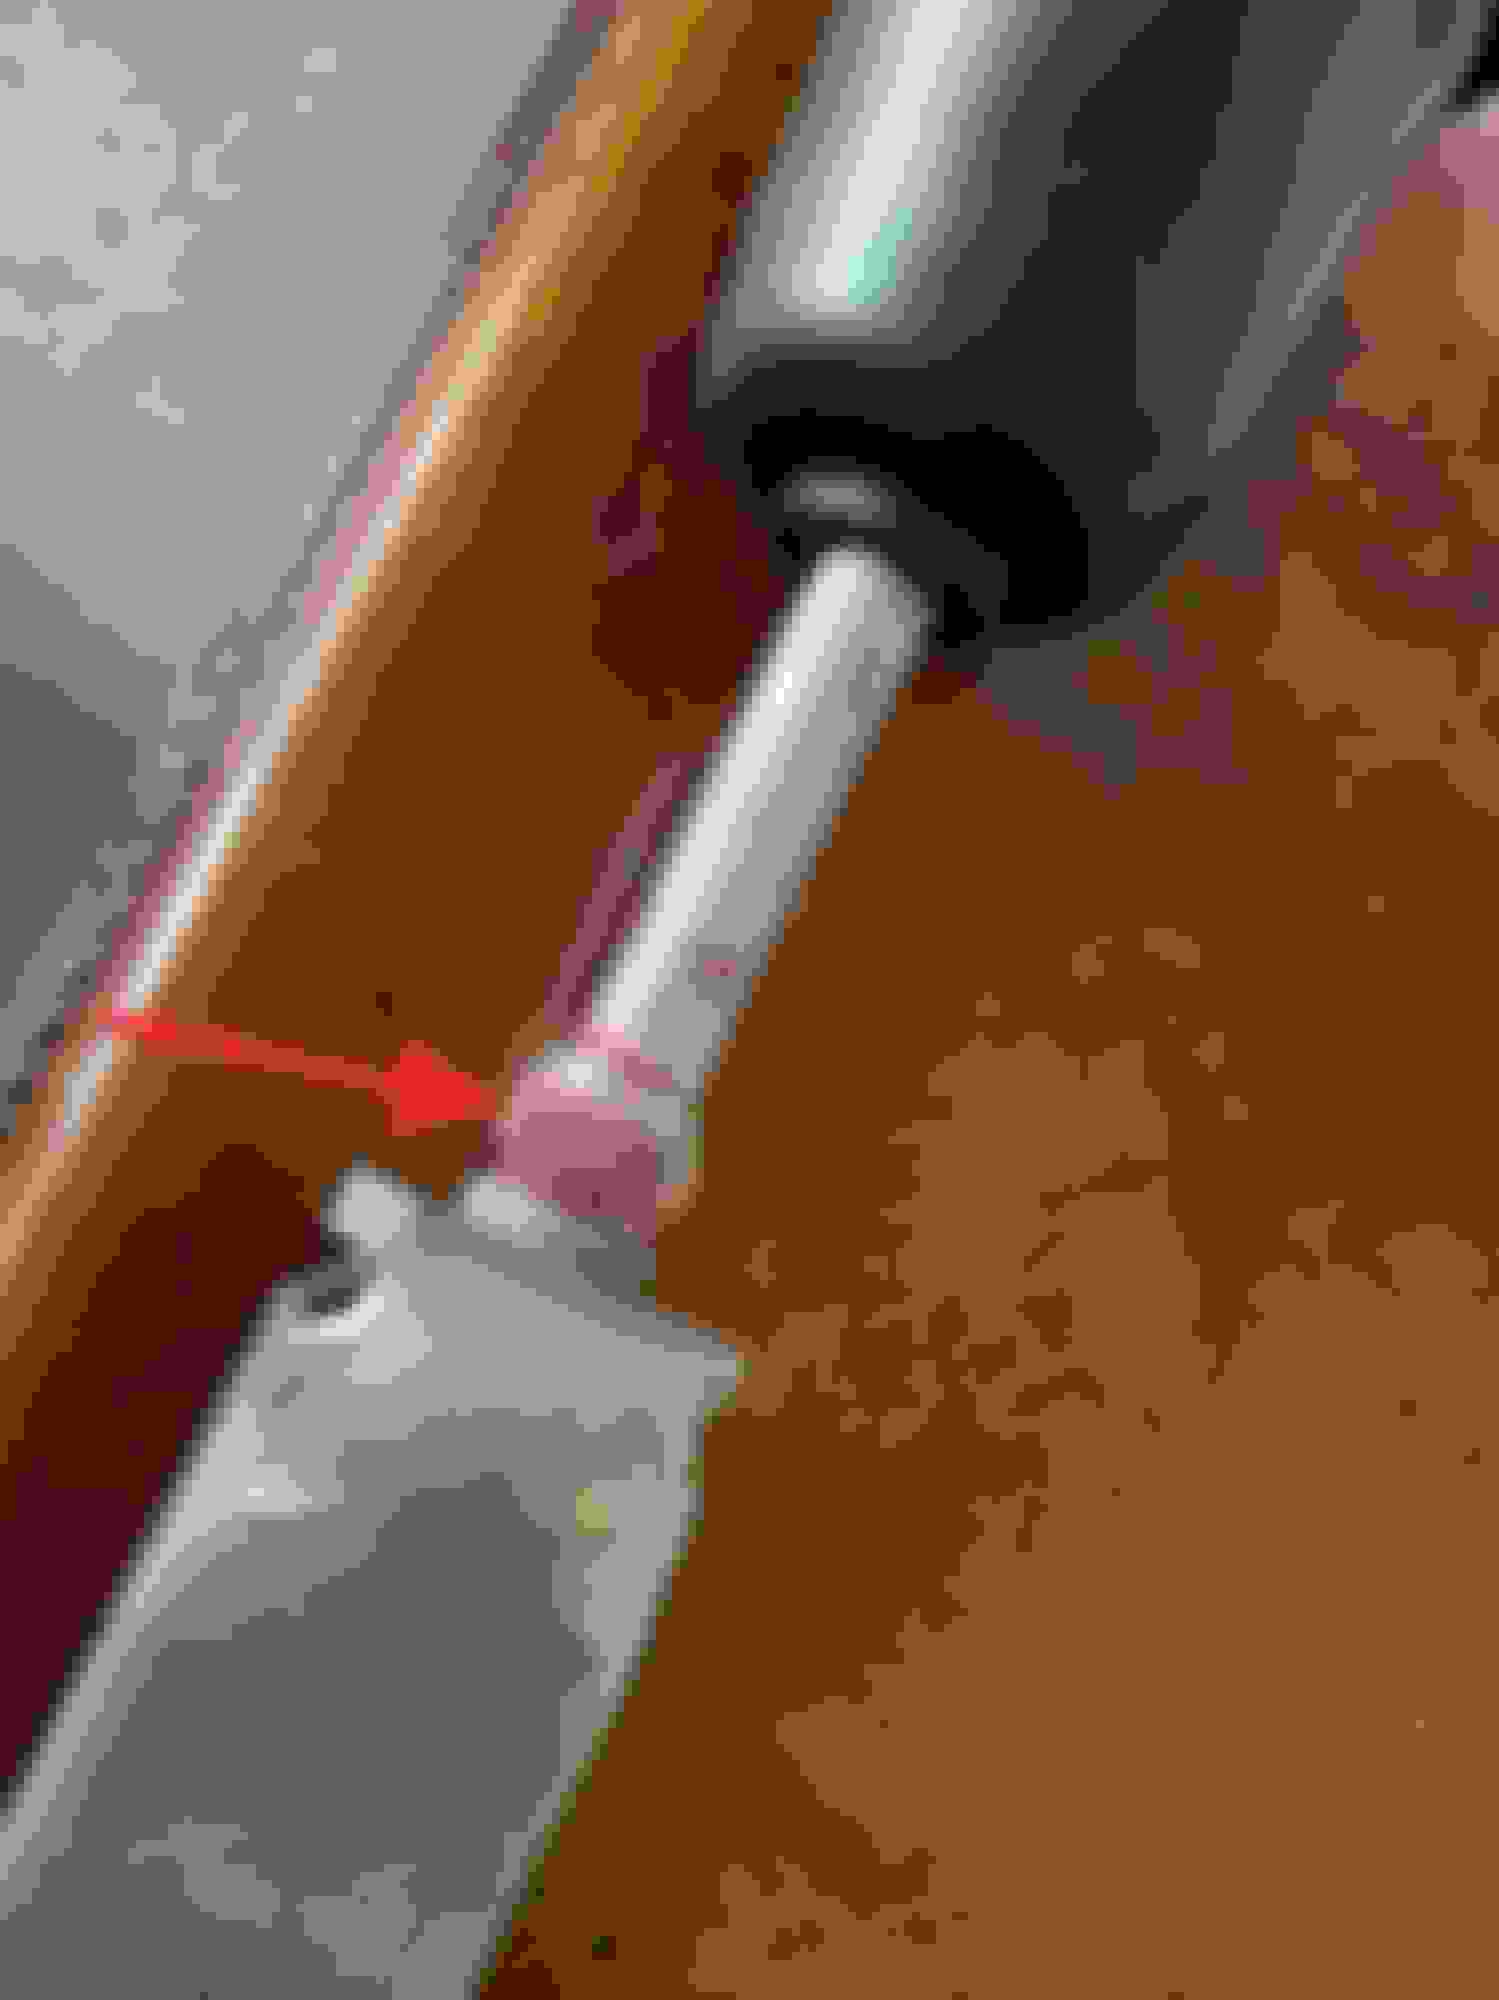


 I have the same finish to me it looks like red oxide primer