When you click on links to various merchants on this site and make a purchase, this can result in this site earning a commission. Affiliate programs and affiliations include, but are not limited to, the eBay Partner Network.
As noted the body bushing �kits� are not accurate, So my interpretation of the PIM is that for 1970 a body coupe that the only bolts to the body are the two front ones by the cowl and the 4 in the back by the trunk. Correct?
Correct. And then the two bolts at the core support.
The original arm rest pads on the car are a bit faded and chewed up on the LH side. The reproduction structures are different than the originals. I called SMS today and ordered a few yards of the blue vinyl since they�re offering a 19% discount.
Their vinyl appears to be original material and matches the underside of the pads that hasn�t been exposed to the sun. My headliner from SMS had a �69 or �70 date on it so I�m hopeful I�ll see something similar on this material.
Correct. And then the two bolts at the core support.
wonder why they did not install bolts to the body in all the places that they could? Seems you would want to tie the body to the frame as good as you can to reduce flex and stiffen things up. That�s the idea with newer cars For handling and when you install a roll cage. Maybe some of the factory guys on the forum know this one. Maybe it�s was about tuning out road noise or vibration. Interesting topic. Might post as a separate topic in the forum to not cloud up your post Jimmy.
wonder why they did not install bolts to the body in all the places that they could? Seems you would want to tie the body to the frame as good as you can to reduce flex and stiffen things up. That’s the idea with newer cars For handling and when you install a roll cage. Maybe some of the factory guys on the forum know this one. Maybe it’s was about tuning out road noise or vibration. Interesting topic. Might post as a separate topic in the forum to not cloud up your post Jimmy.
In talking with @Carshinebob, it sounds like there are nuts in the body for two more bolts. I can't recall which two of the six could take the additional bolts.
In talking with @Carshinebob, it sounds like there are nuts in the body for two more bolts. I can't recall which two of the six could take the additional bolts.
My body is in the shop also right now but if I remember right the body mount right by the rear trailing arm connection to the frame has a caged nut in the body. It�s just strange they did not put a bolt in there if the nut was there. Got to be a reason.
the body bolts would be a fisher body thing. under the door is two nuts, but those get pucks without bolts. well, for hardtops.
we won't get those hp/tq numbers. I believe it was earlier in the thread. I made my guess earlier in the thread. or was it on fb? if he's racing at the pure stock drags, there are no mods
Good idea on the arm rests. That is what I wanted to do and never got the material ordered and ended up with the repop arm rests and was not at all happy with them. it was something I was going to upgrade at some point but never did
Good idea on the arm rests. That is what I wanted to do and never got the material ordered and ended up with the repop arm rests and was not at all happy with them. it was something I was going to upgrade at some point but never did
The email from SMS this morning said they've never had a sale in their 43 years of business. Figured 19% off was too good to pass up!
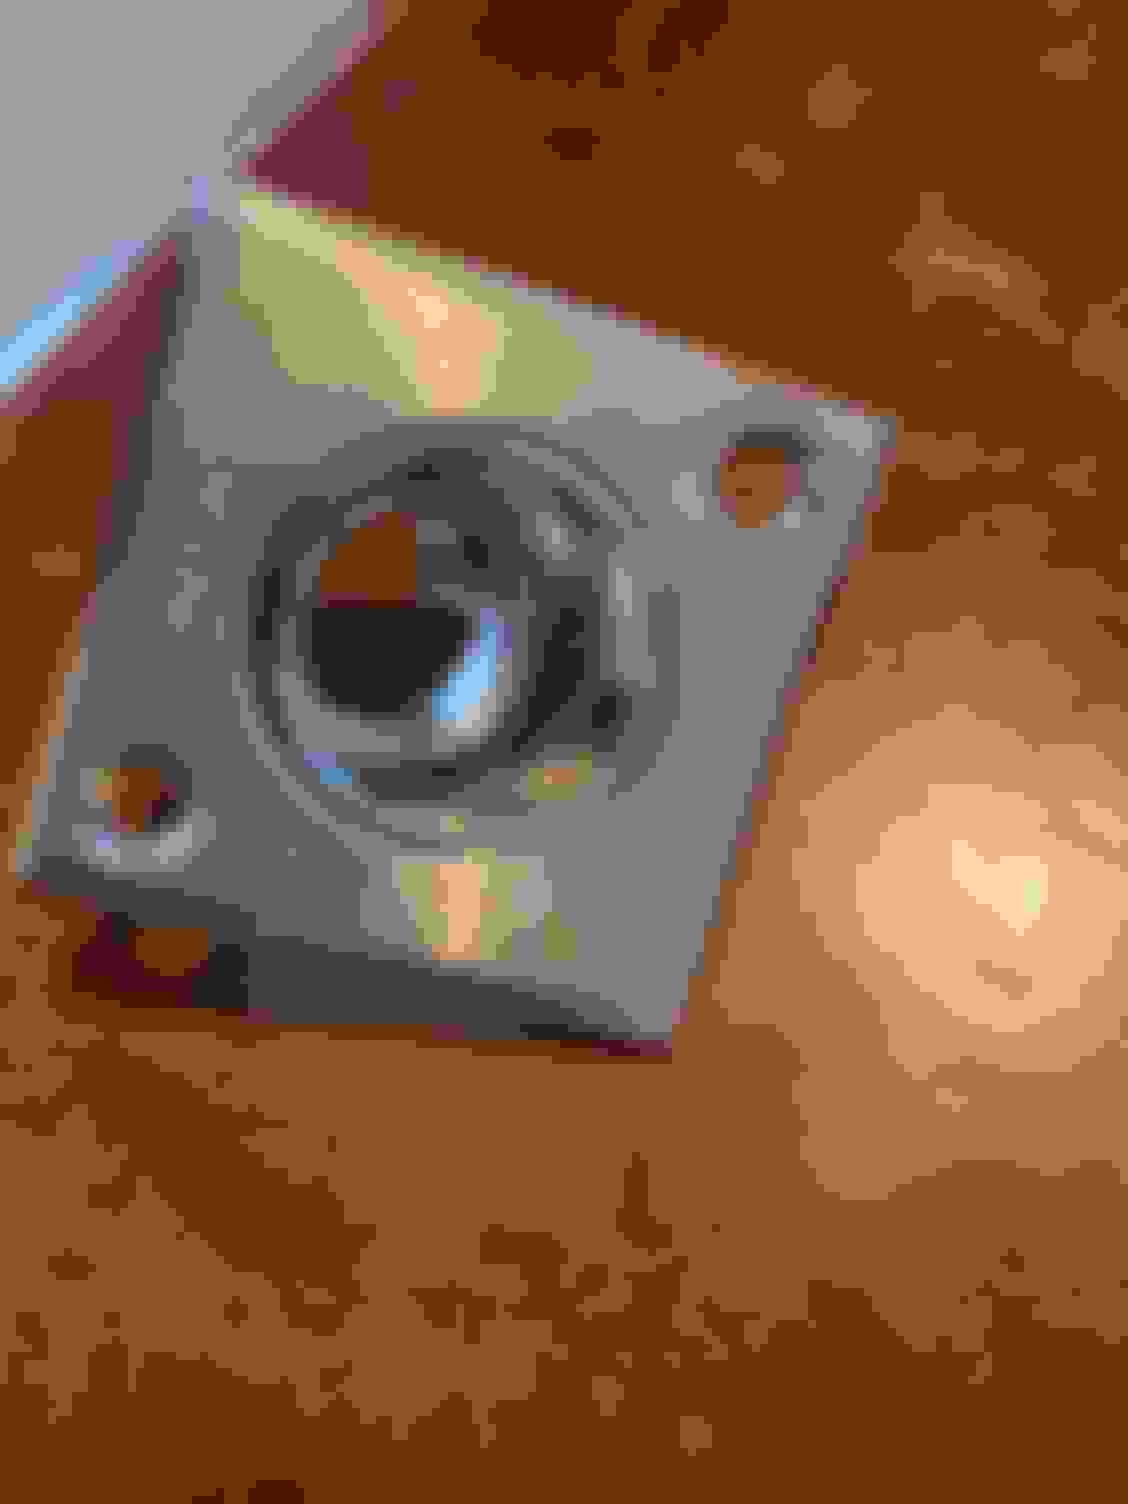
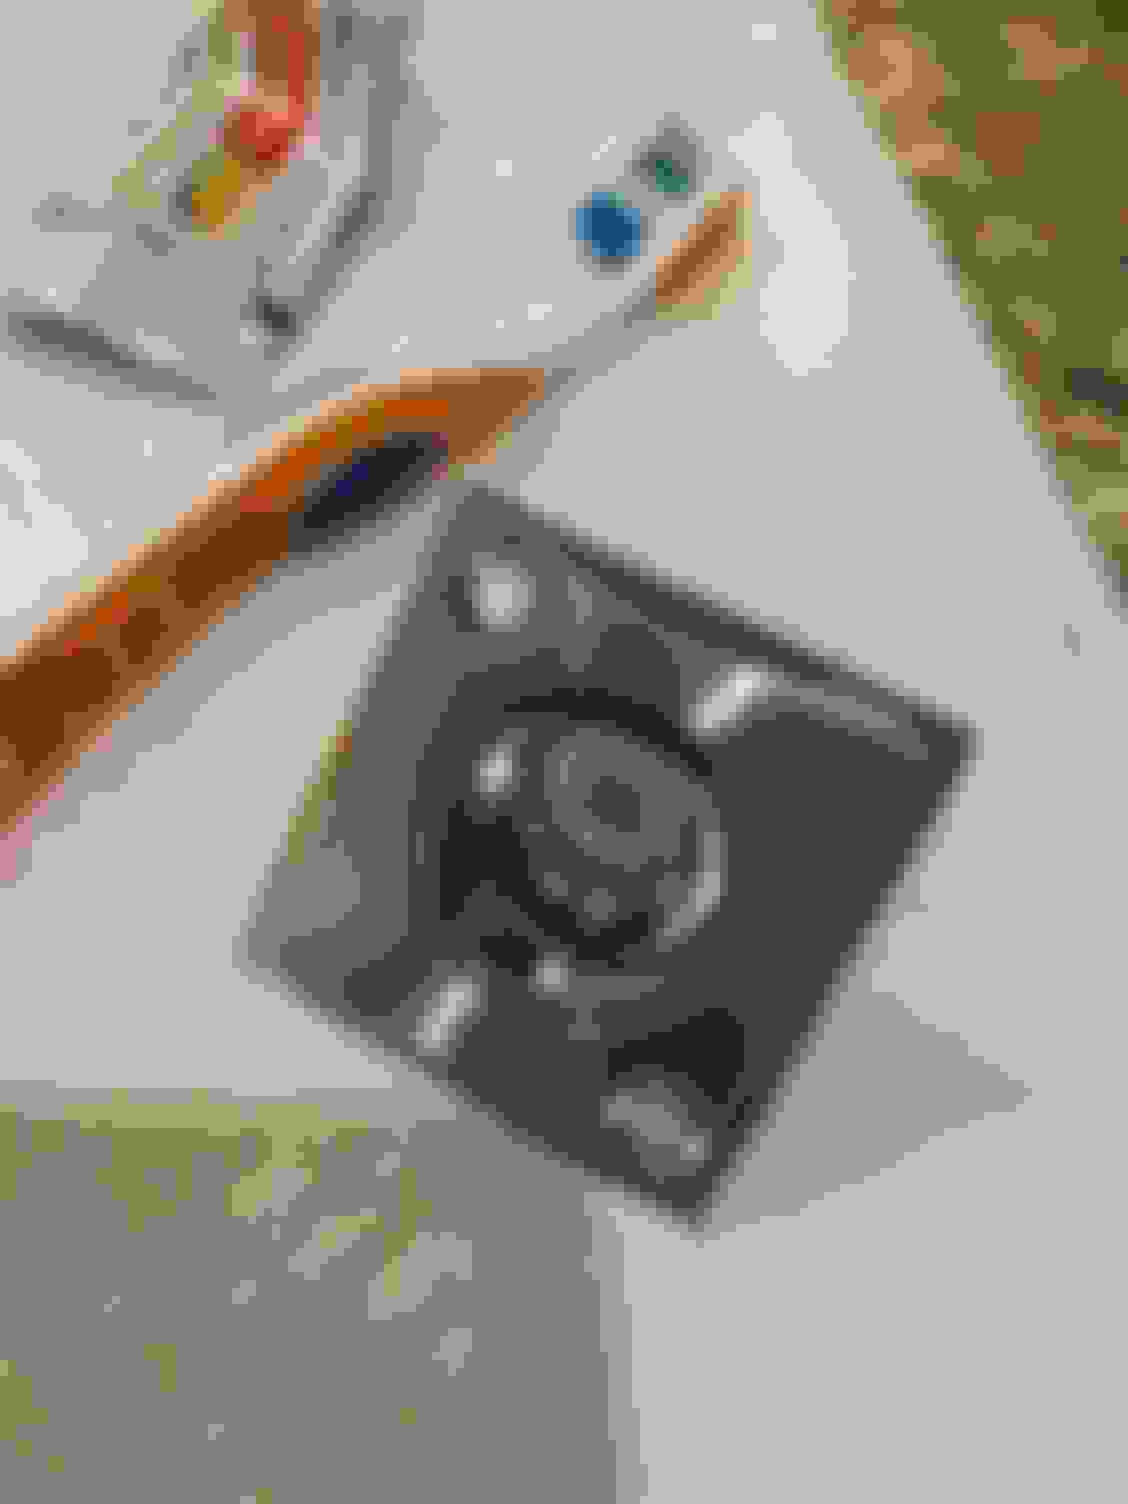
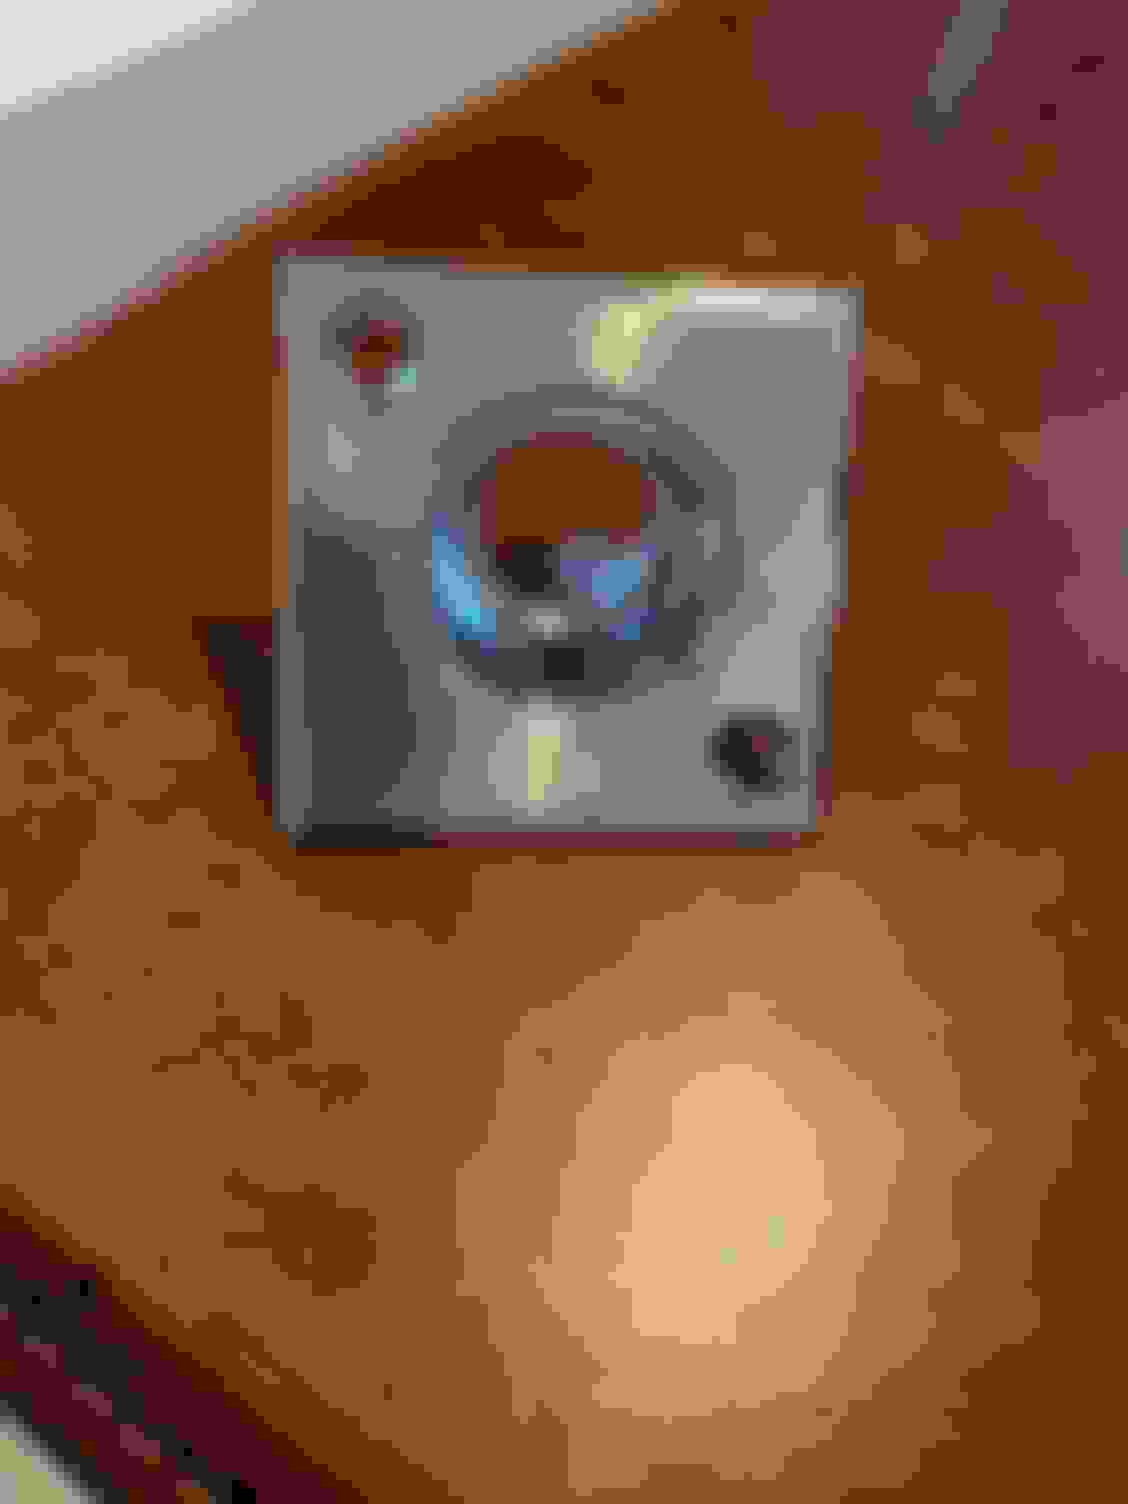
Had a few minutes in between work calls and squeezed in some light cleaning and polishing on the bezel (or is it an escutcheon) for the remote sport mirror.
Last edited by WTHIRTY1; April 2nd, 2020 at 06:16 AM.
In the quest to save and preserve my original woodgrain, I dug into my instrument cluster tonight. These things are notorious for having the metal “bubble up" in the skinny areas around the cluster cutouts.
My original piece is in decent condition. It appears that the plastic chrome is done over the black surface because I can see areas where the black is emerging. I’m going to try and salvage the original plastic, but I may end up transferring the woodgrain over to the Fusick reproduction. Gotta love the original pattern versus the reproduction!
Last edited by WTHIRTY1; April 17th, 2020 at 01:34 PM.
My buddy also has a '70 W31. He bought the replacement chrome dash bezel from Fusick but he got the wood grain from the Parts-Place. The woodgrain was pretty awful!! Very dull & I had to do quite a bit of massaging to get the pieces to fit.
Jimmy. Jimmy. Jimmy. I am blown away at the level you are taking this restoration.
Well done, this will be a 999 car...�.. but what will the one point deduction be.... a fleck of dust on the frame? Will this be the 1000 point car like the Charger at MCACN years ago? NOS Tires?
Thanks for sharing all the details, so many of us are following along waiting for new updates!!!
I remember the days when you couldn't just open up a catalog to buy new repro stuff. I sent my 71's original gage surround and console plastic to Mr. G's plastic replating services who has recently got out of plastic replating from what I hear. And back then, the repro woodgrain for 71's wasn't horrible, so I went with what was available. I wasn't going for 1000 point resto anyway, so it was fine. The nice part was that the little droop in the plastic top made it fit perfectly back into place since it was the original part. When I got the pieces back, I just taped off the insides and top section and scuffed and painted them black. This was back around 1990. But I get the idea of trying to save the original woodgrain if possible. The 70 original stuff looks better than the repro.
How did you go about removing the Applique without breaking it?
Nice work , Great detailed Thread
Gary
Gary, I used a heat gun from a distance on started on a corner and slowly worked the metal backing away from the plastic. The metal backing actually is relatively sharp so be careful. My finger tips are showing the brunt this morning!
Originally Posted by 69HO43
I remember the days when you couldn't just open up a catalog to buy new repro stuff. I sent my 71's original gage surround and console plastic to Mr. G's plastic replating services who has recently got out of plastic replating from what I hear. And back then, the repro woodgrain for 71's wasn't horrible, so I went with what was available. I wasn't going for 1000 point resto anyway, so it was fine. The nice part was that the little droop in the plastic top made it fit perfectly back into place since it was the original part. When I got the pieces back, I just taped off the insides and top section and scuffed and painted them black. This was back around 1990. But I get the idea of trying to save the original woodgrain if possible. The 70 original stuff looks better than the repro.
Looking good! Keep it up!
Appreciate the kind words. Thank you. The reproduction from H&H just isn't my cup of tea--especially when compared to the original burlwood for 1970.
Originally Posted by Ryan 1969 Chevelle SS396
Jimmy. Jimmy. Jimmy. I am blown away at the level you are taking this restoration.
Well done, this will be a 999 car...�.. but what will the one point deduction be.... a fleck of dust on the frame? Will this be the 1000 point car like the Charger at MCACN years ago? NOS Tires?
Thanks for sharing all the details, so many of us are following along waiting for new updates!!!
Ryan W31
Thanks, Ryan. We'll see! Much respect for the guys and shops that go above and beyond on these cars as it's incredibly challenging / time consuming / costly.
Originally Posted by rob1960
My buddy also has a '70 W31. He bought the replacement chrome dash bezel from Fusick but he got the wood grain from the Parts-Place. The woodgrain was pretty awful!! Very dull & I had to do quite a bit of massaging to get the pieces to fit.
Originally Posted by Factoryhotrod
Very nice Jimmy. Worth the effort. Sorry but the reproduction stuff is bad.
I'm going to mock up the original woodgrain on the Fusick part this morning and see just how off it is.
I tried this too, its not the woodgrain off , , getting the repo chrome backing it did not fit around the guages correctly, ended up getting my surround plastic chromed , and he puts back the black at the top and around the guages with a stencil , great job, I'll have to look up who did it it was a few years ago, Tim
note mine was done by Bob at Chrometech, but he has since retired, he did a great Job!
Last edited by green1972; April 2nd, 2020 at 02:50 PM.
The newest version of this bezel that Fusick sells is a really nice piece but there is just something about knowing you have an original part that you restored that is really satisfying. I used the Fusick part on my W-30 but did not use the wood that come with it.
I tried this too, its not the woodgrain off , , getting the repo chrome backing it did not fit around the guages correctly, ended up getting my surround plastic chromed , and he puts back the black at the top and around the guages with a stencil , great job, I'll have to look up who did it it was a few years ago, Tim
Originally Posted by jensenracing77
The newest version of this bezel that Fusick sells is a really nice piece but there is just something about knowing you have an original part that you restored that is really satisfying. I used the Fusick part on my W-30 but did not use the wood that come with it.
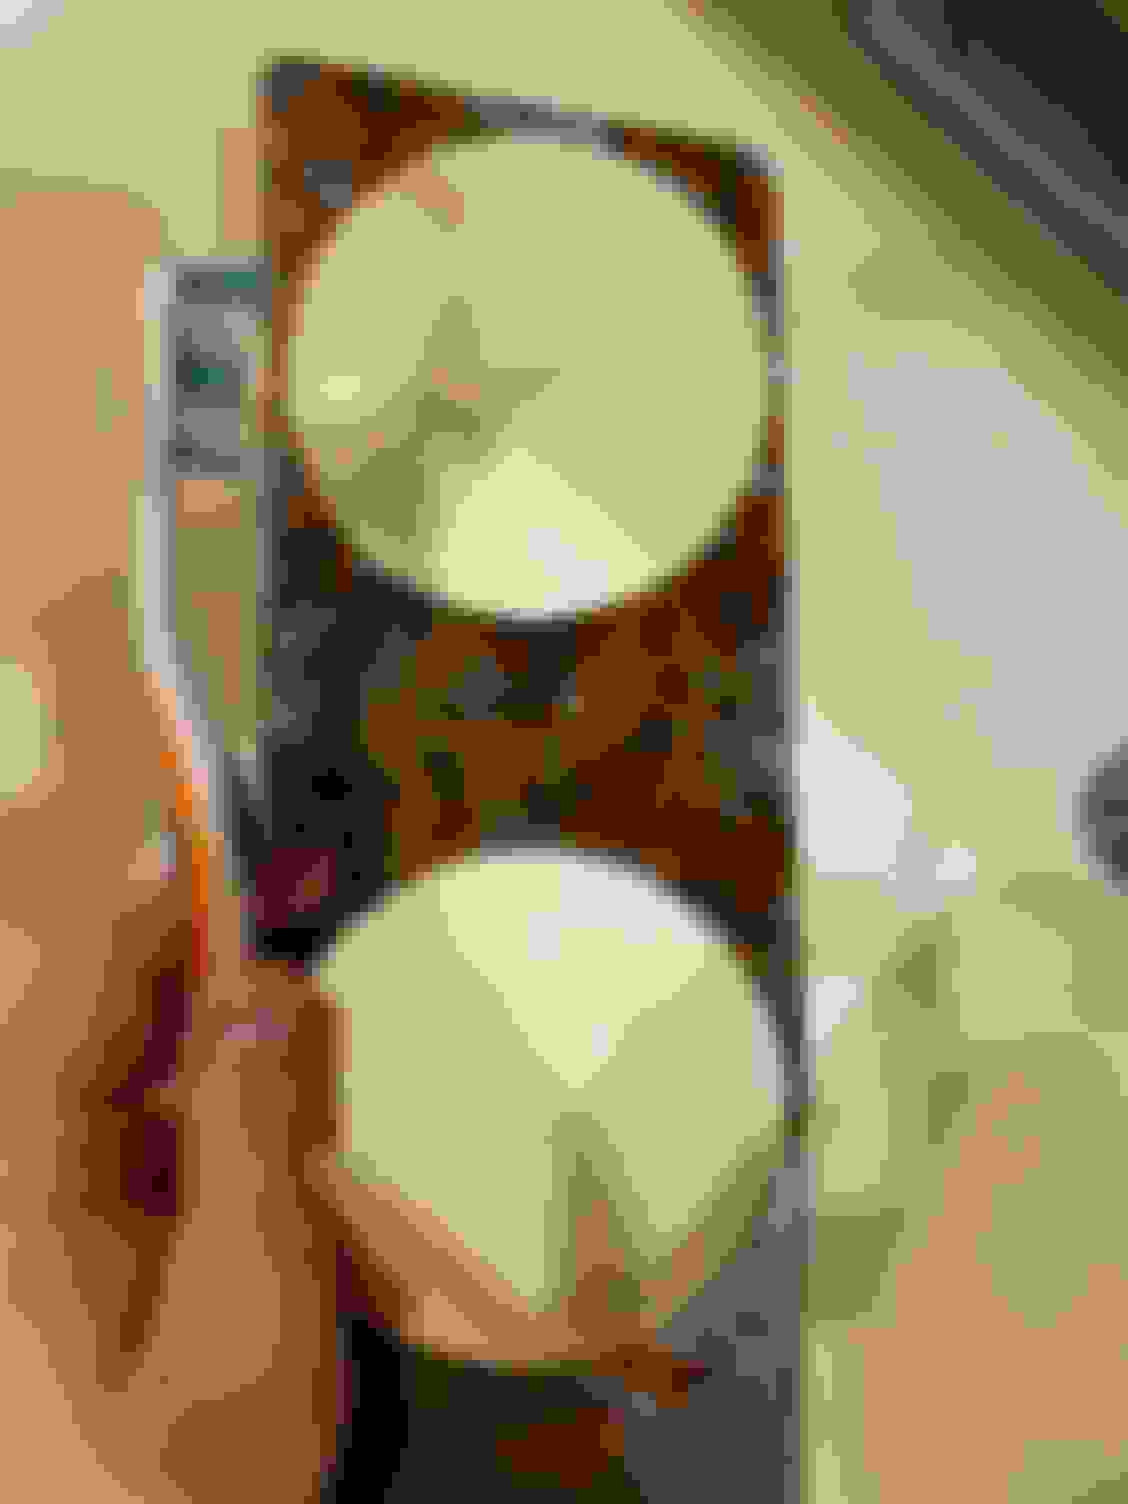
So here’s where this gets interesting. The picture below with the circle drawn on it is my original part. You can clearly see the fit isn’t great as it extends over the side. I’ve played with the metal and the plastic for the last hour, and there’s no way in hell the woodgrain will line up correctly with the original part. The second picture is the woodgrain placed in the reproduction part. Same exact issue. If I push the edges in to place, the woodgrain bubbles up in the thin areas under the circular cutouts.
My point is that the reproduction piece isn’t all that far off from the original. With that being said, I’ll likely just glue the piece back on the original and call it a day. The plastic chrome isn’t perfect, but I’m thinking the black is either overspray or it’s simply showing from underneath.
Original part from the car:
Fusick reproduction:
Last edited by WTHIRTY1; April 2nd, 2020 at 08:05 AM.
Nice restoration, have you looked into having the original dash plastic rechromed, I've heard there was companies who do this, although I no personal experience.
The newest version of this bezel that Fusick sells is a really nice piece but there is just something about knowing you have an original part that you restored that is really satisfying. I used the Fusick part on my W-30 but did not use the wood that come with it.
It's a nice piece. The only difference, besides the numbers on the back, is the top part is painted whereas the original is painted and then the plastic chrome on the top (the top that is unseen).
As with everything on these cars when you look at most parts in detail you notice the fit and finish is not the Greatest
Tell the Judges you are copying Industry Standards from the time period
Last edited by Schne442; April 2nd, 2020 at 10:53 AM.
Another exciting day as the car gets closer. The fenders went on this week along with the stripes. Every panel on the car is correctly date coded and appropriate for this car. Bob and Carlos used their original blueprints from Oldsmobile to get the stripes dialed in. I wanted the stripes to be sprayed over the clear. We also did a few other details based off stripes from original cars.
I�m really pleased with how it looks and can�t wait to see once the paper is removed!
Last edited by WTHIRTY1; April 4th, 2020 at 03:50 PM.
If I would have kept my W-30 it would have eventually got stripes also. I was also going to have them on top of the clear. I think that is the best way to do it on a restoration at this level.
If I would have kept my W-30 it would have eventually got stripes also. I was also going to have them on top of the clear. I think that is the best way to do it on a restoration at this level.
Why exactly? Is it for judging and correctness or something else? just curious
Why exactly? Is it for judging and correctness or something else? just curious
It is more original that way. The original paint was not clear coated but it is hard to not clear with modern paint when the color has metallic in it. The stripes were put on last when the cars were built so it is nice to have them on top of the clear to replicate original the best you can. All that said, if you are not worried about being as correct as possible, I would put it under the clear.
Had a small window to work on the car today, and the weather warmed up a bit, so I painted a few small pieces. The door lock retainers were covered in primer when I removed them from the doors. The inside of the doors had a red oxide primer sprayed and it covered these retainers. I also blasted and sprayed the red-ish tabs that screw in to the cowl for the moulding. The red may be a bit too bright but it’ll do.
Original retainers with an ‘M’ stamped in to them. EDIT: To the dude saying these weren't painted, you can see remnants of the original oxide color inside the 'M' on the retainer.
Need to get these in the mail so we can get the locks and molding installed.
Last edited by WTHIRTY1; April 25th, 2020 at 02:32 PM.
It will definitely be worth it when she sees the sunlight. I had my stripes cleared over, but I was not going absolute factory correct. Yours will be stunning when it is finished!
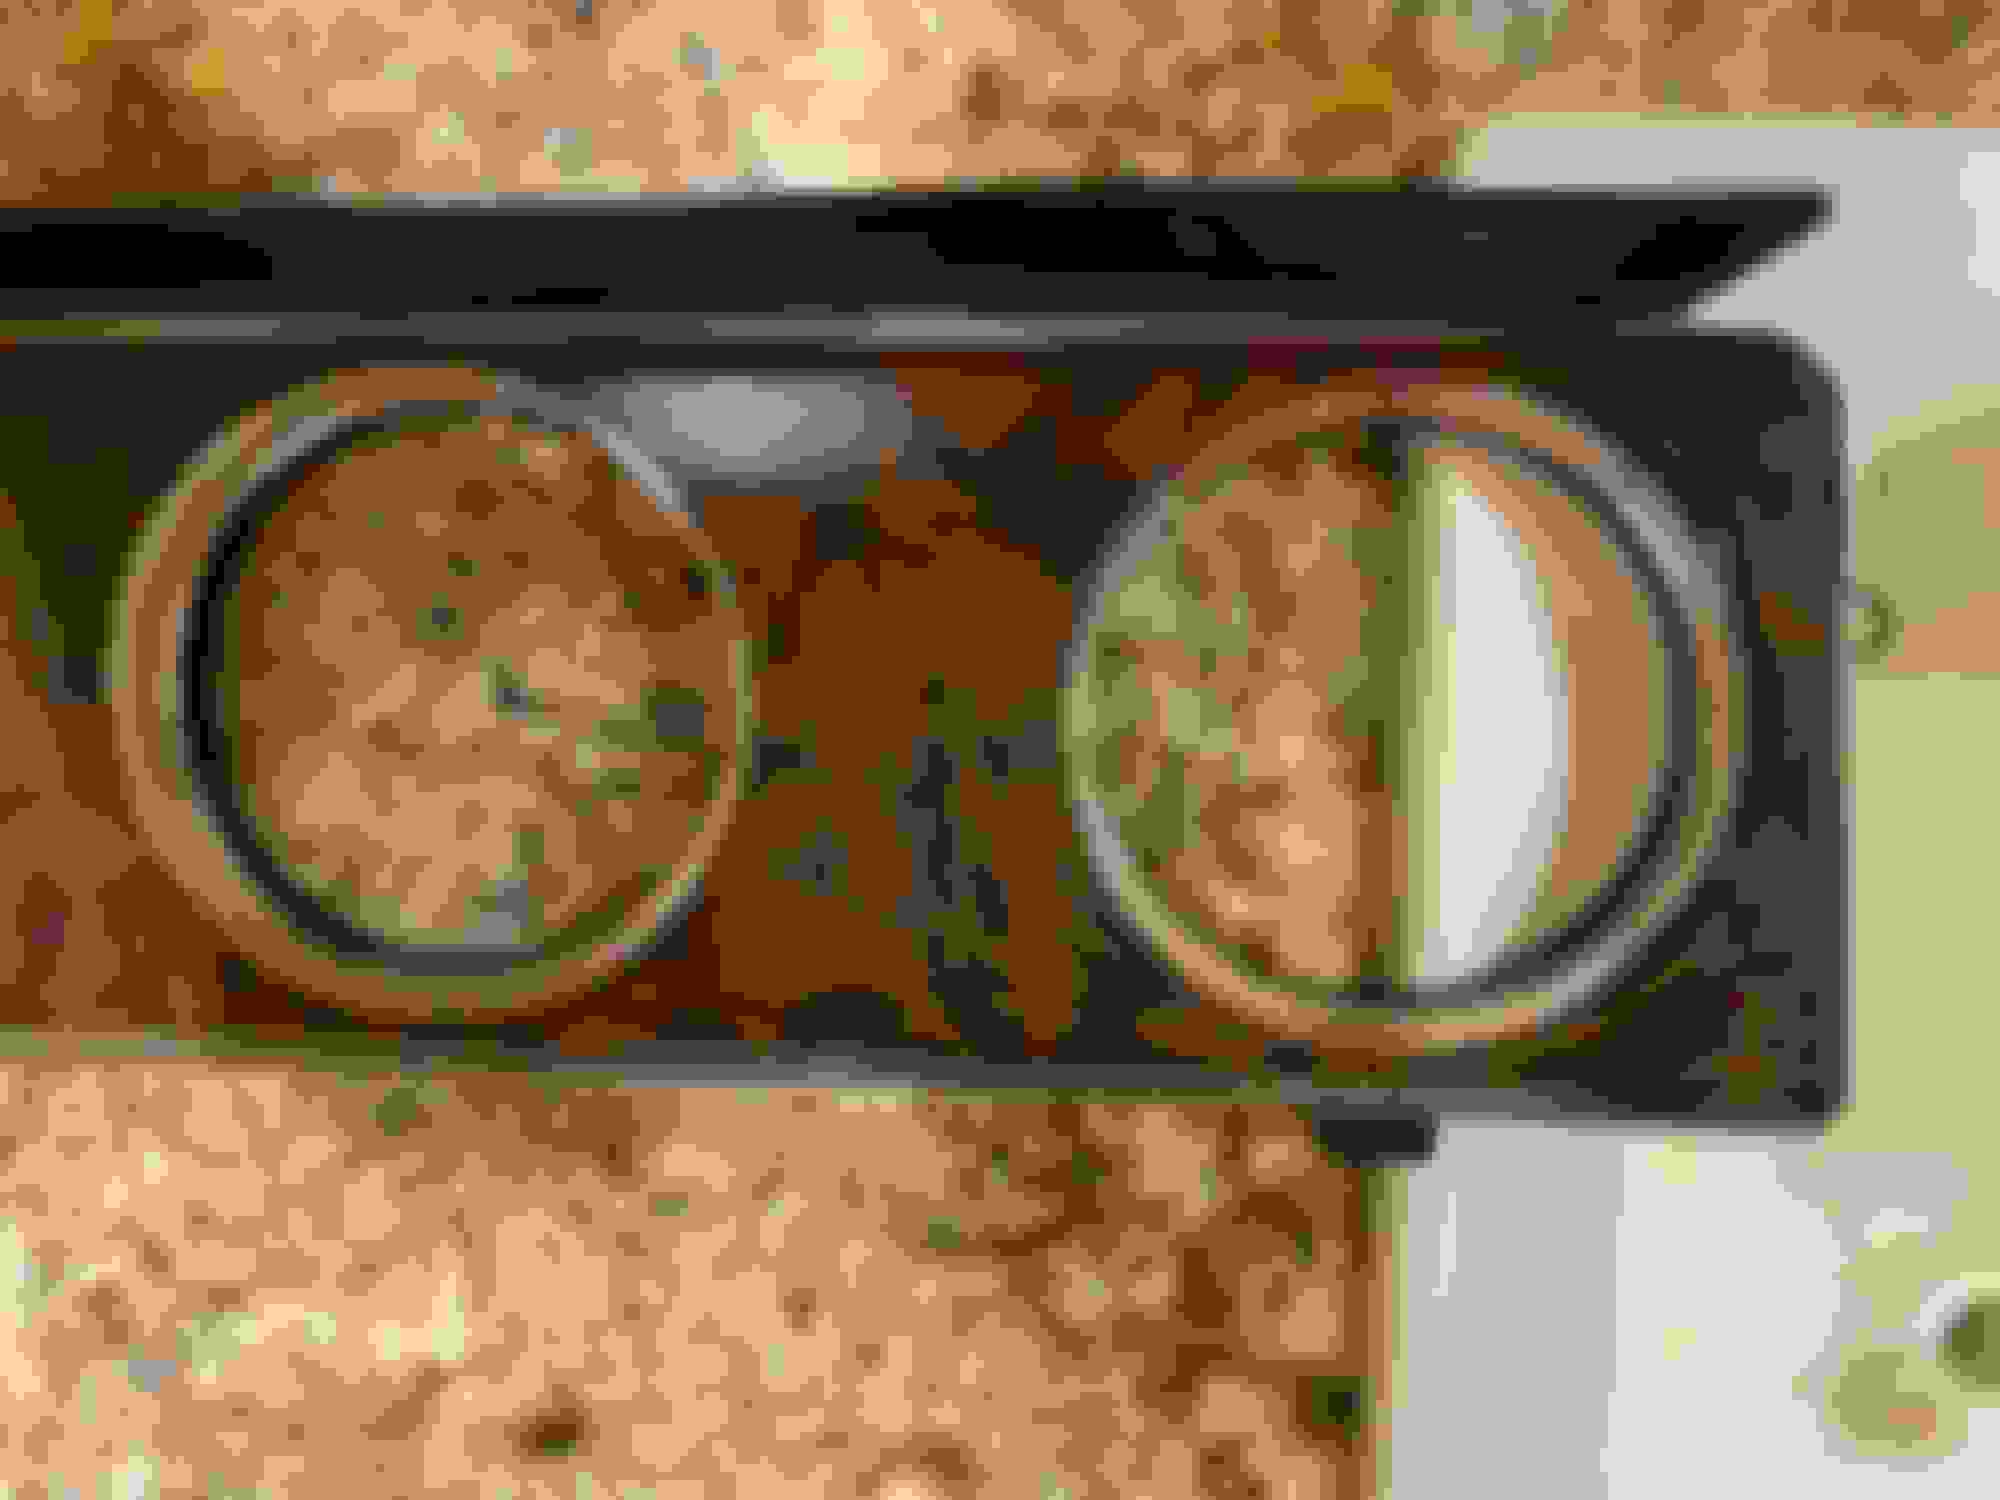
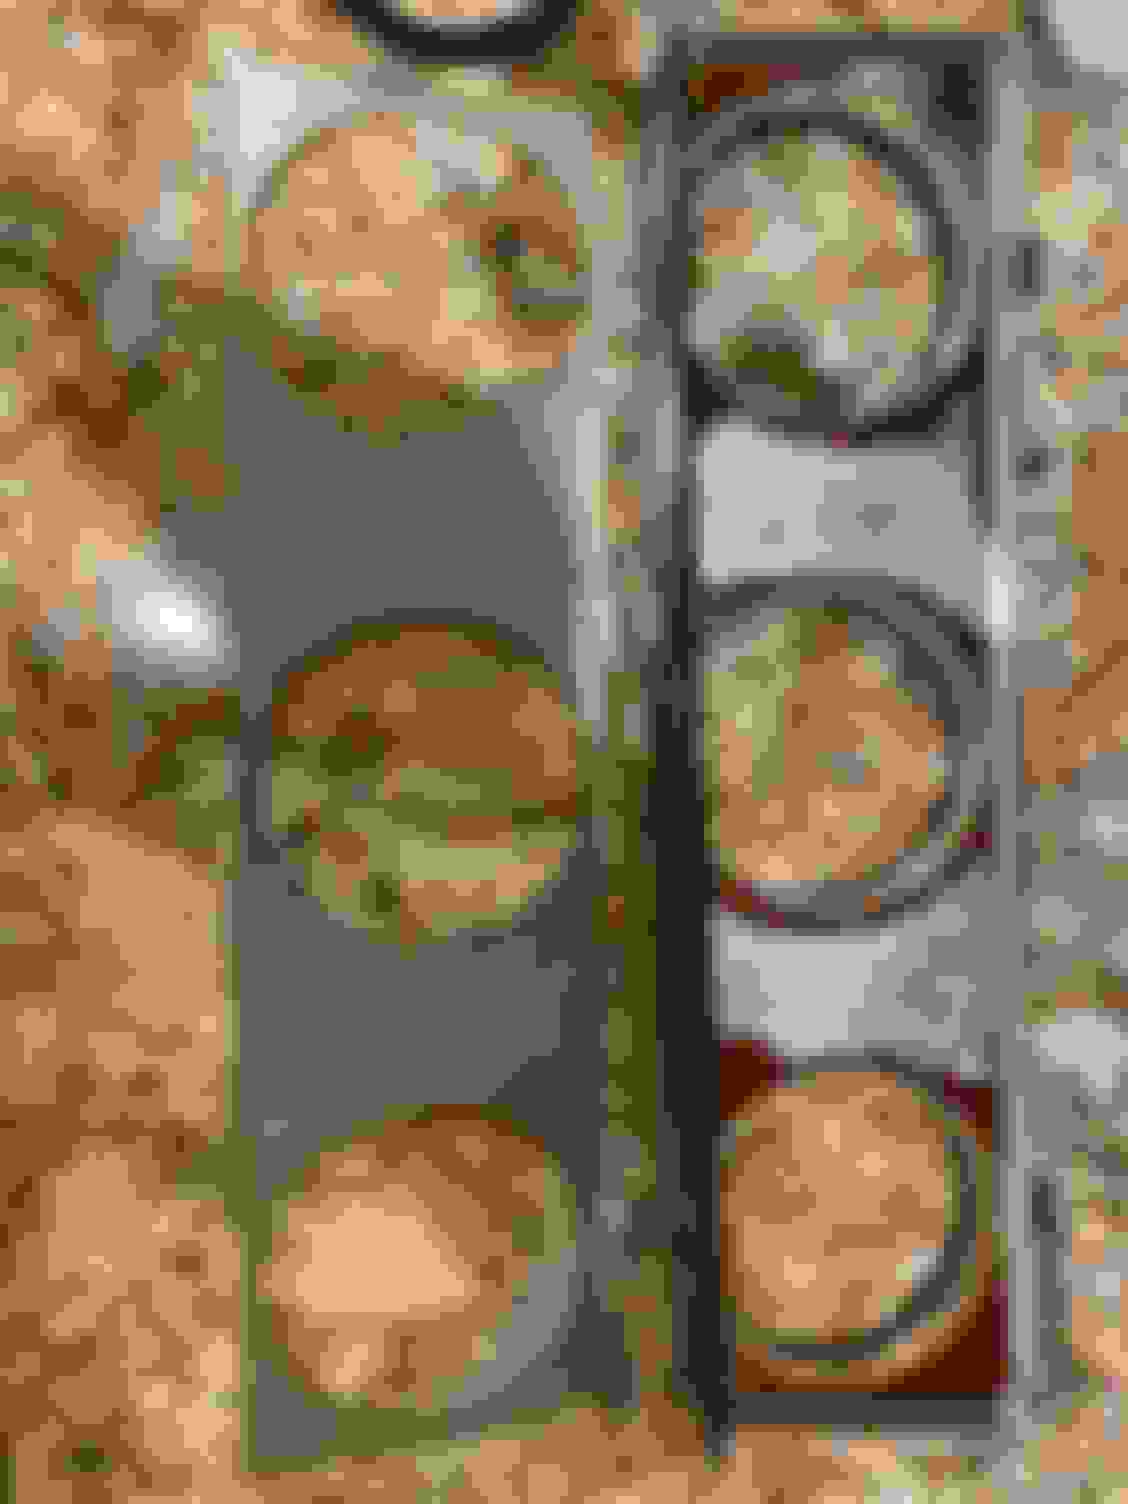
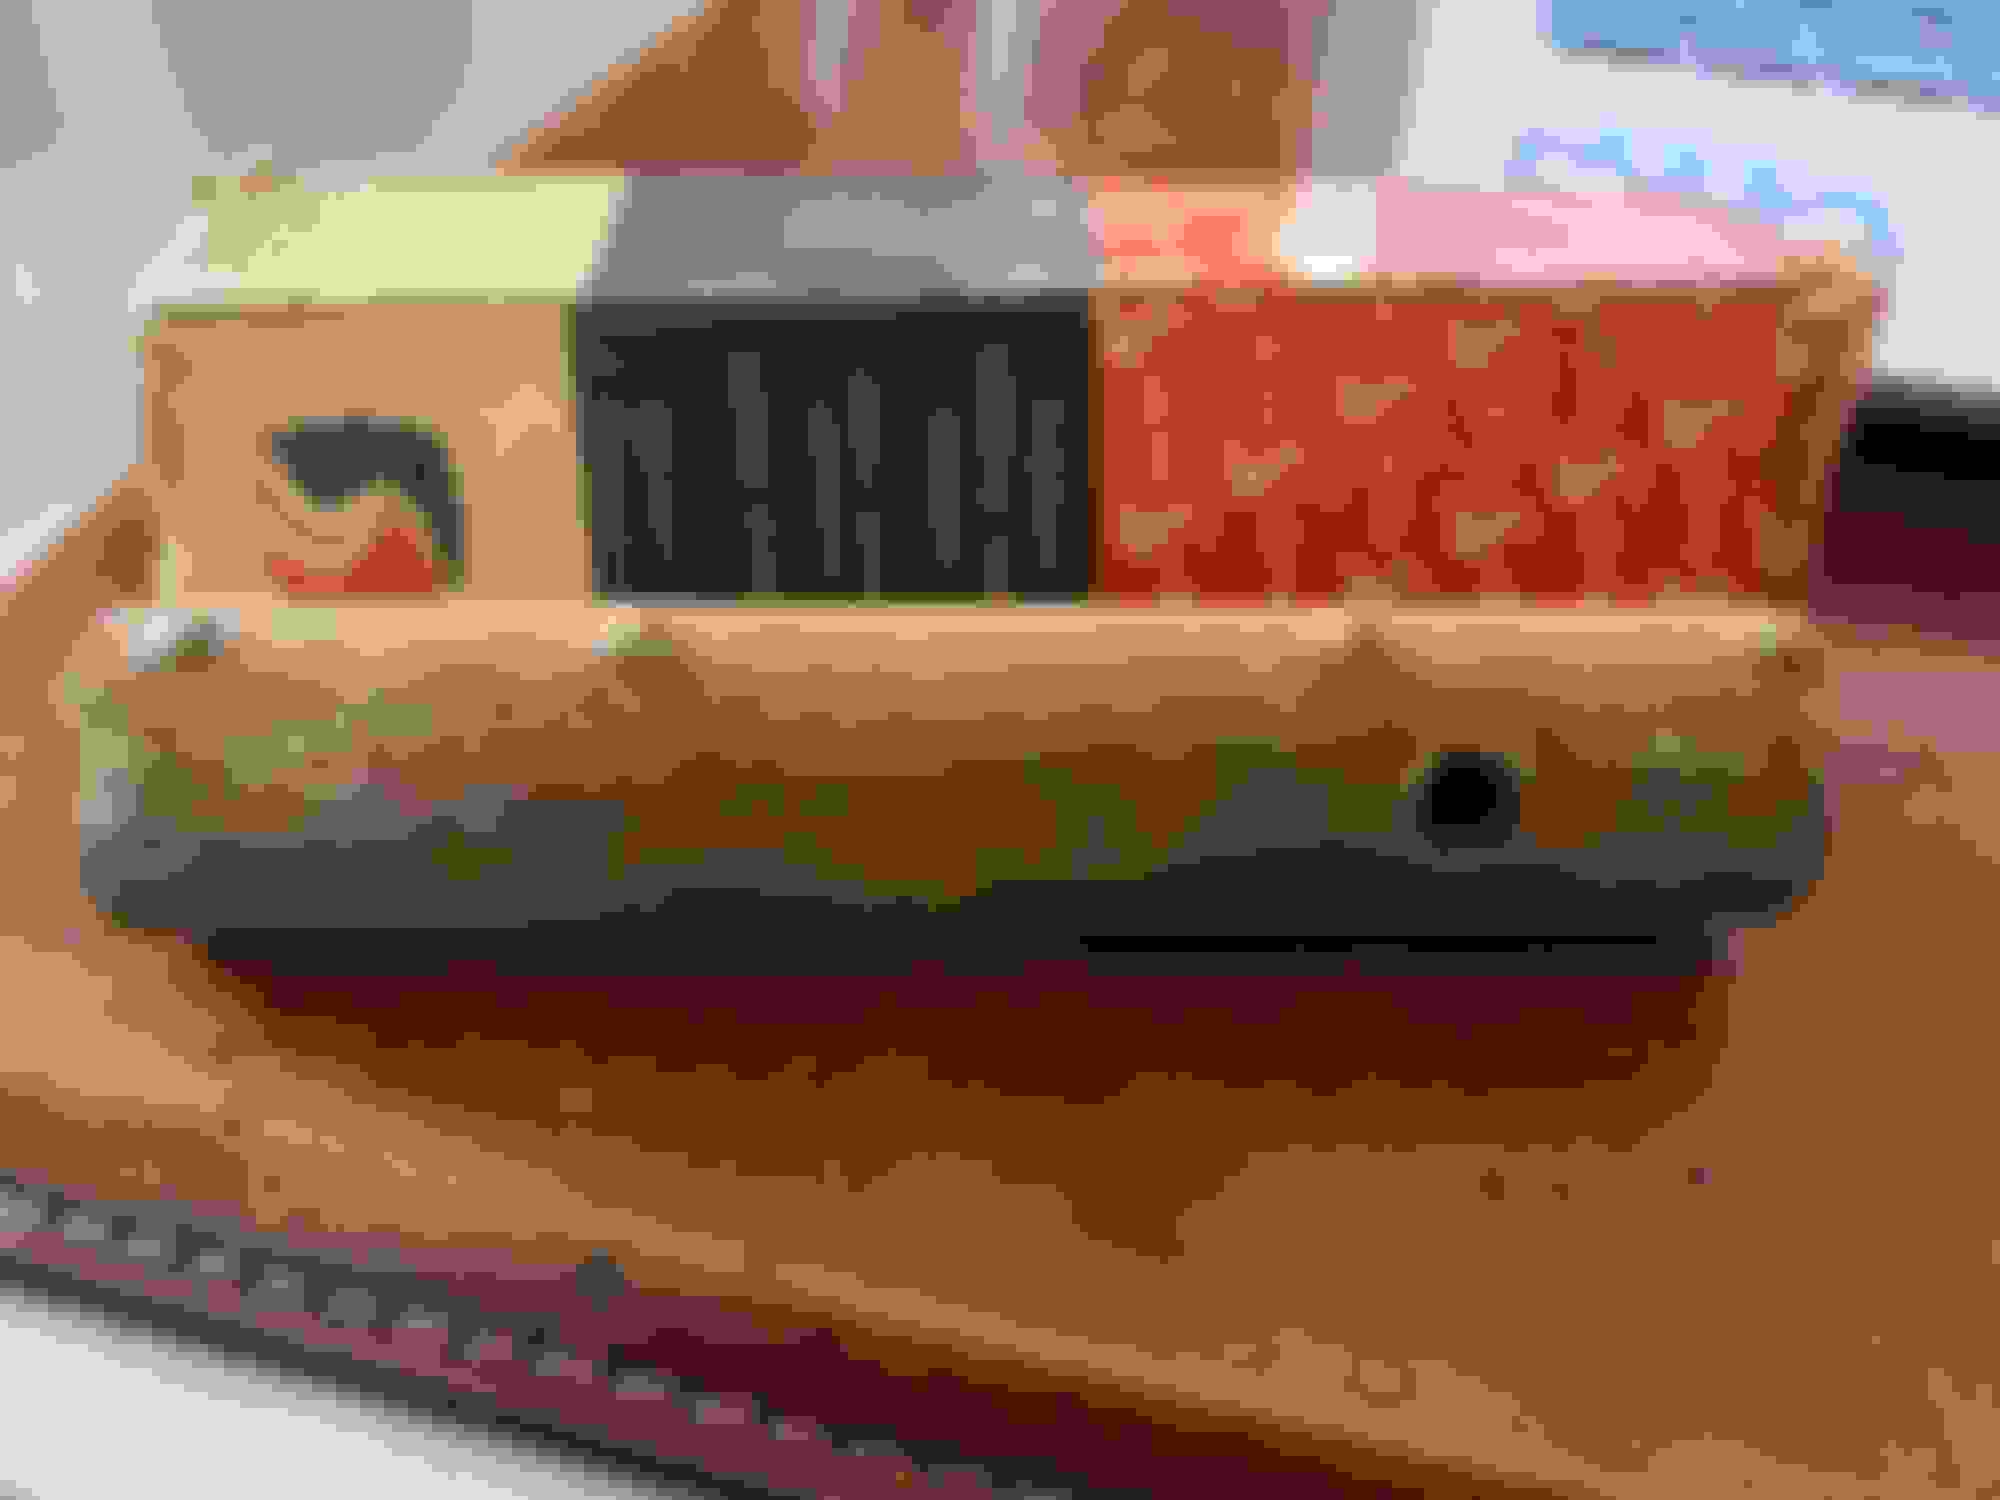
Removed the vinyl material from the rear arm rests so I could clean it. I dunno if the car was stored with the windows down or what, but the panels had a fair amount of mold and remnants from mice. The material peeled off easily, and I made sure not to pull the padding. Pretty cool to see the dated material stitched together with the 1969 and 1970 dates. I did the usual soak and scrub in Dawn, odor eliminator spray, and vinyl cleaner. The vinyl cleaned up well enough to be reused.
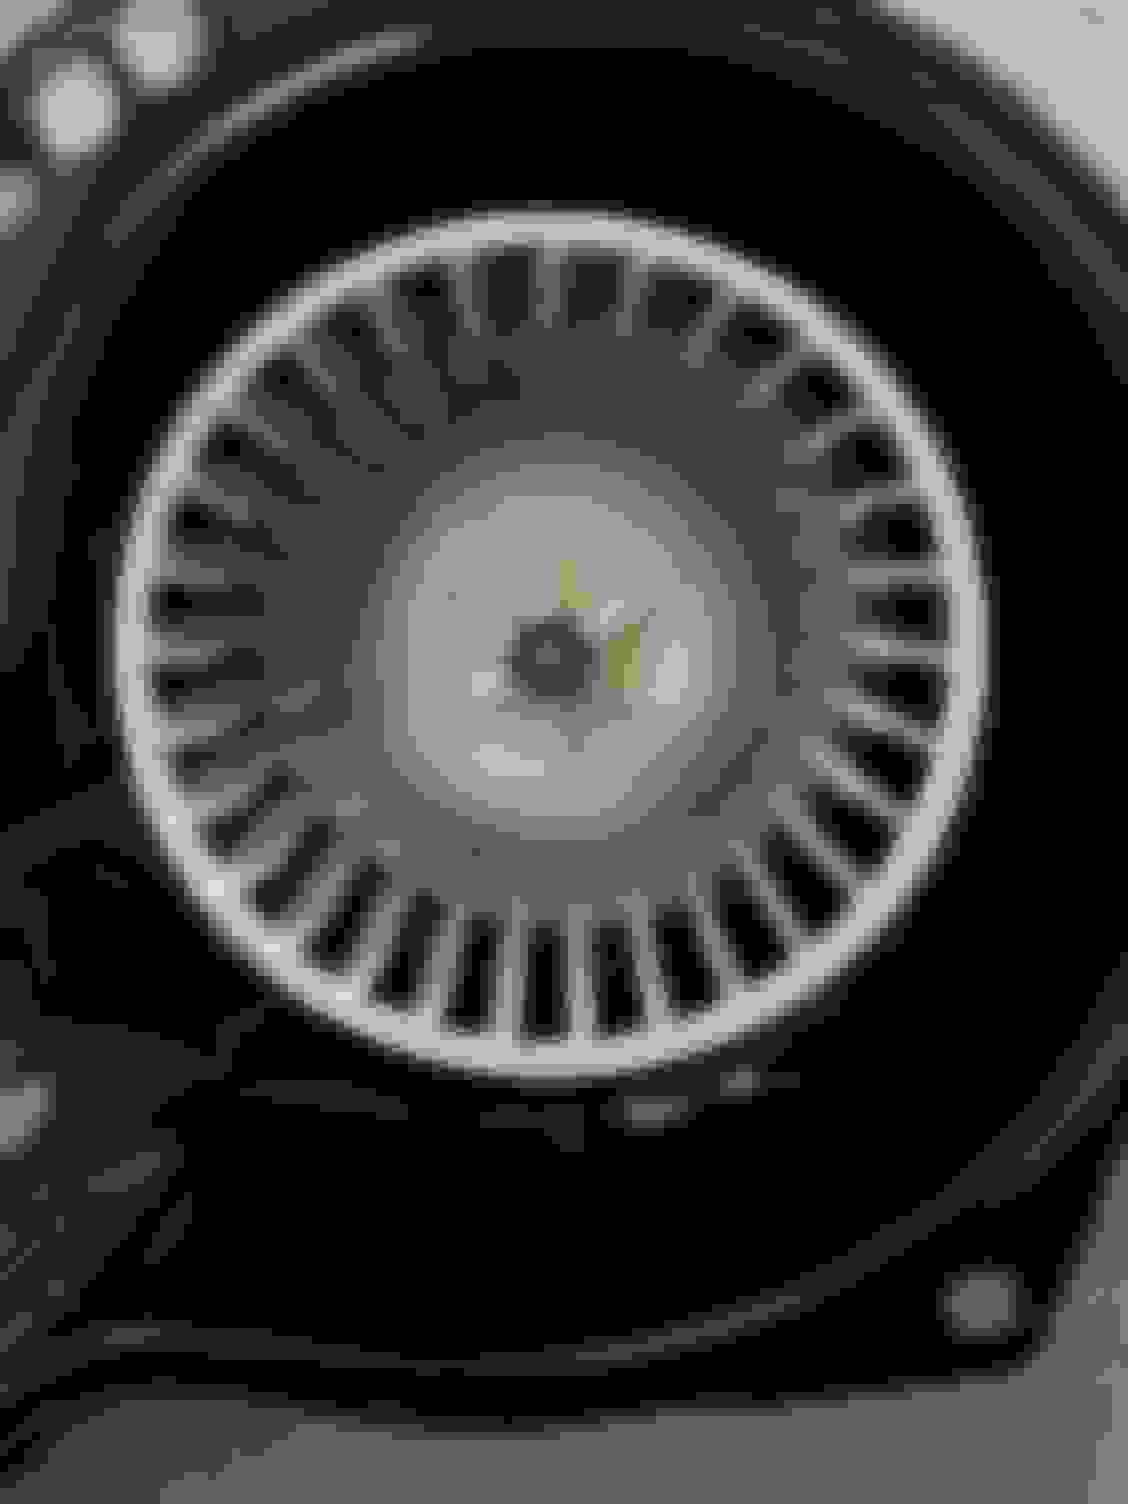
I also finished painting the blower motor. I blasted, primed, and painted with Eastwood paints. I installed an NOS capacitor for the U58 stereo and used the screw per the PIM even though the factory placement had it on the screw below the prong. Go figure.
Finally, took a few minutes to clean and polish the original cigarette lighter.
Rephosphated the original screws for the motor.
Last edited by WTHIRTY1; April 8th, 2020 at 07:51 PM.
Picked up NOS tie rod sleeves. I was more curious to see the finish on them than anything and they were only a few bucks. They�re bare steel. Too many times I see these painted in black or bright clear zinc.
Forgot to post a photo of the back side of the motor. The plastic cleaned up nicely and the nut and retainer were soaked in Evaporust to restore the finish.
 March 26th, 2020, 11:42 AM