When you click on links to various merchants on this site and make a purchase, this can result in this site earning a commission. Affiliate programs and affiliations include, but are not limited to, the eBay Partner Network.
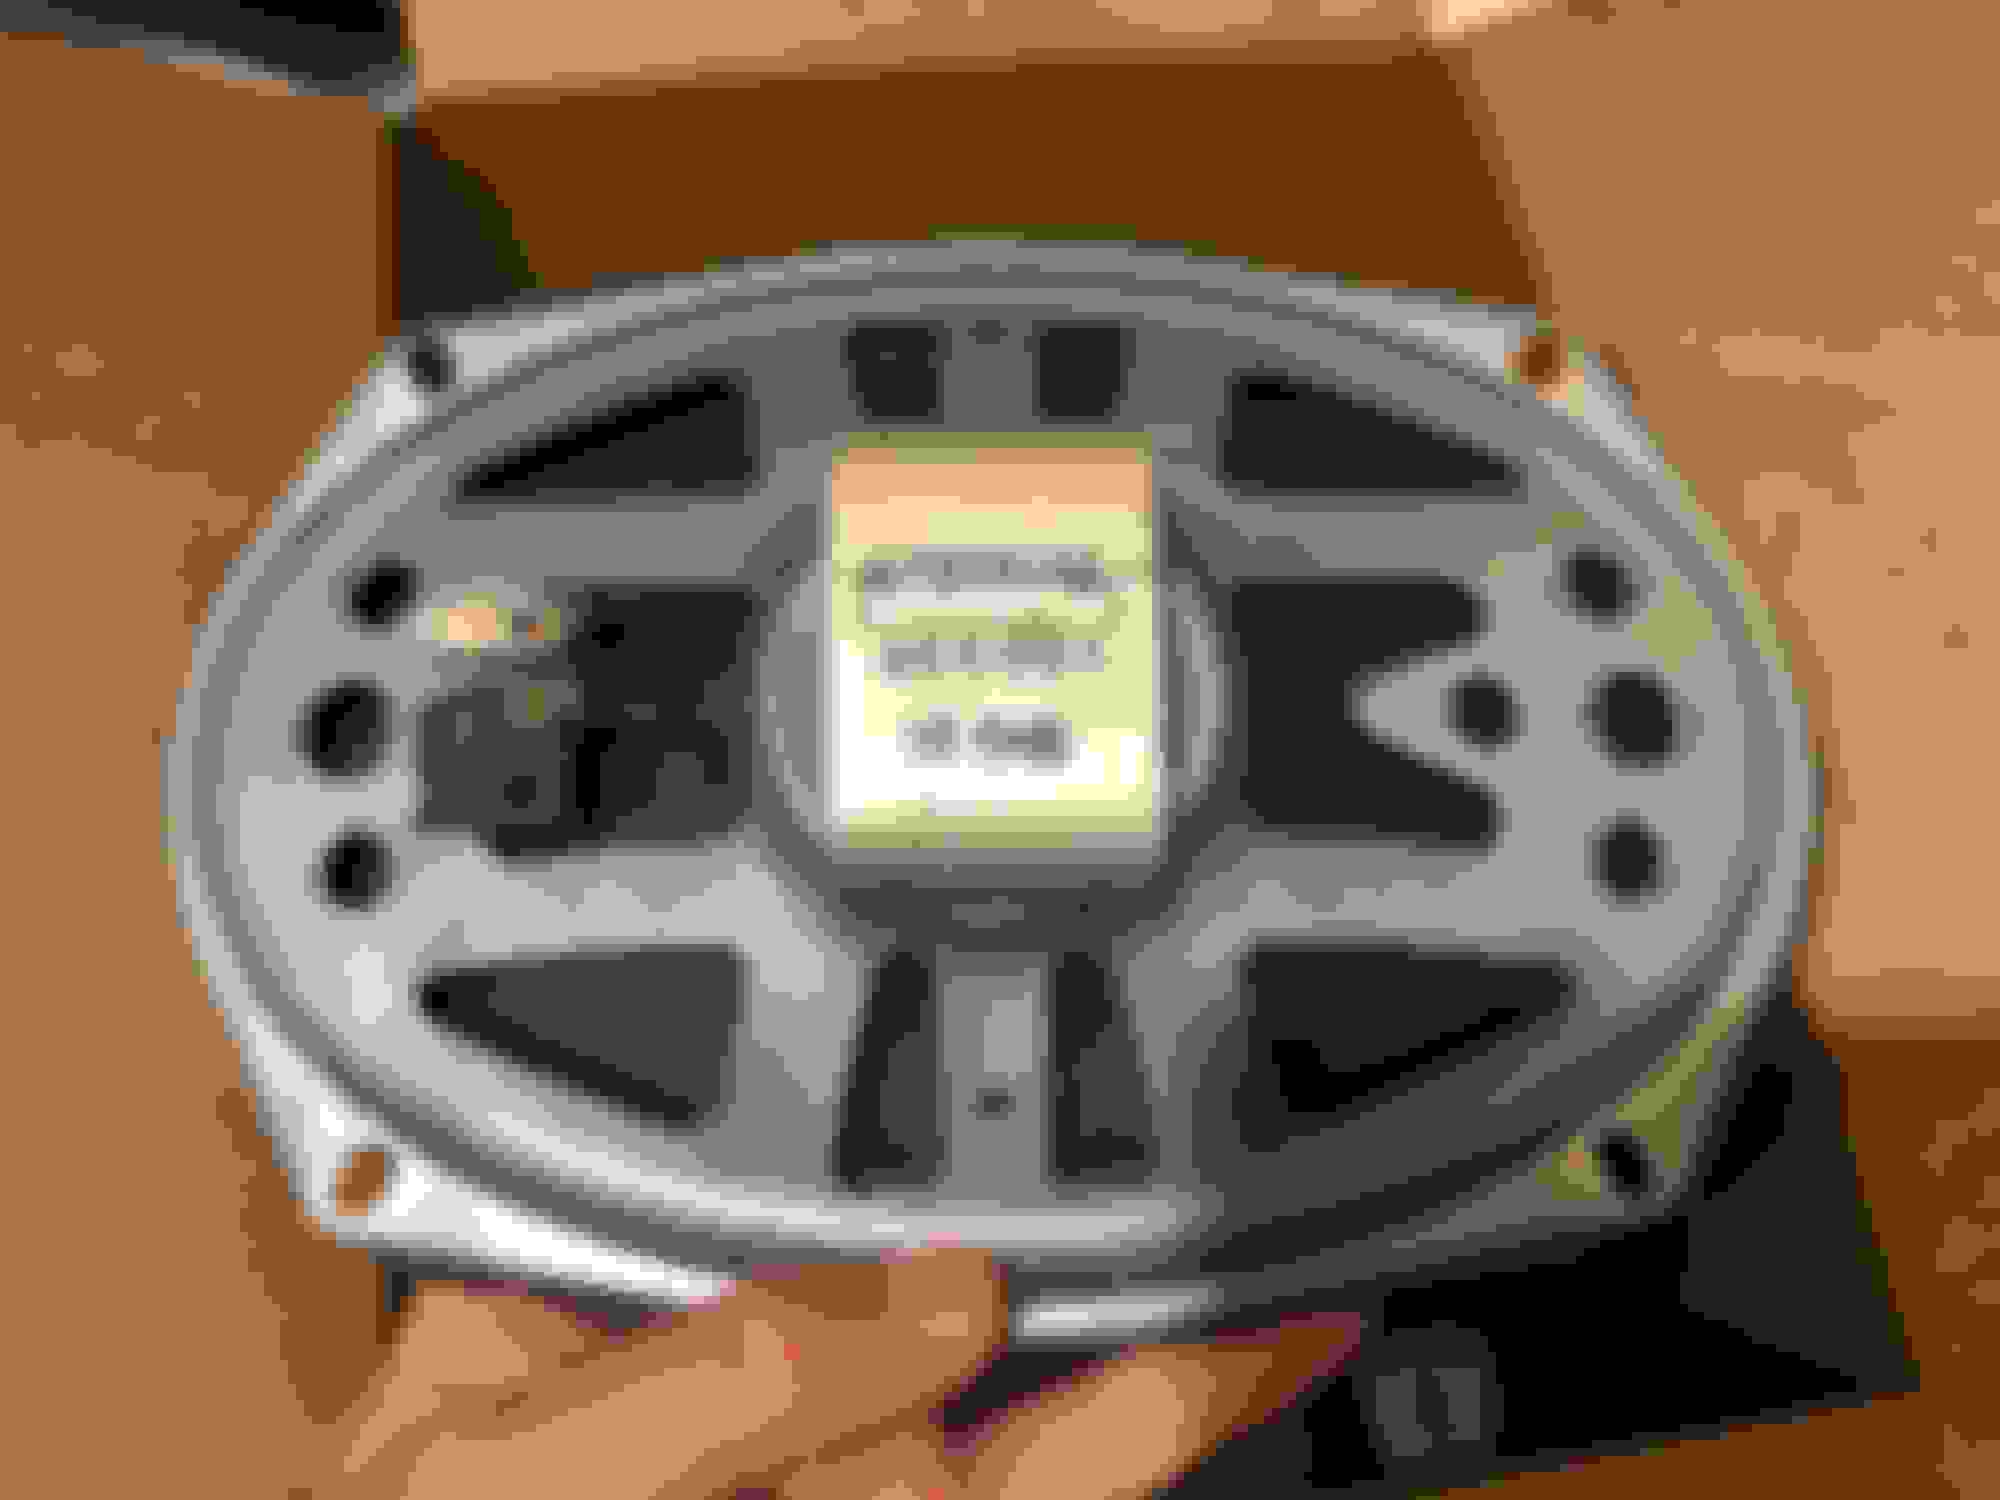
Packaged up the front and rear speakers and sent them out to Jackson Speaker Service. If you dial the number on Ron�s Facebook page, it�s disconneted. Just call the number that comes up on Google. Prices are $50 per speaker.
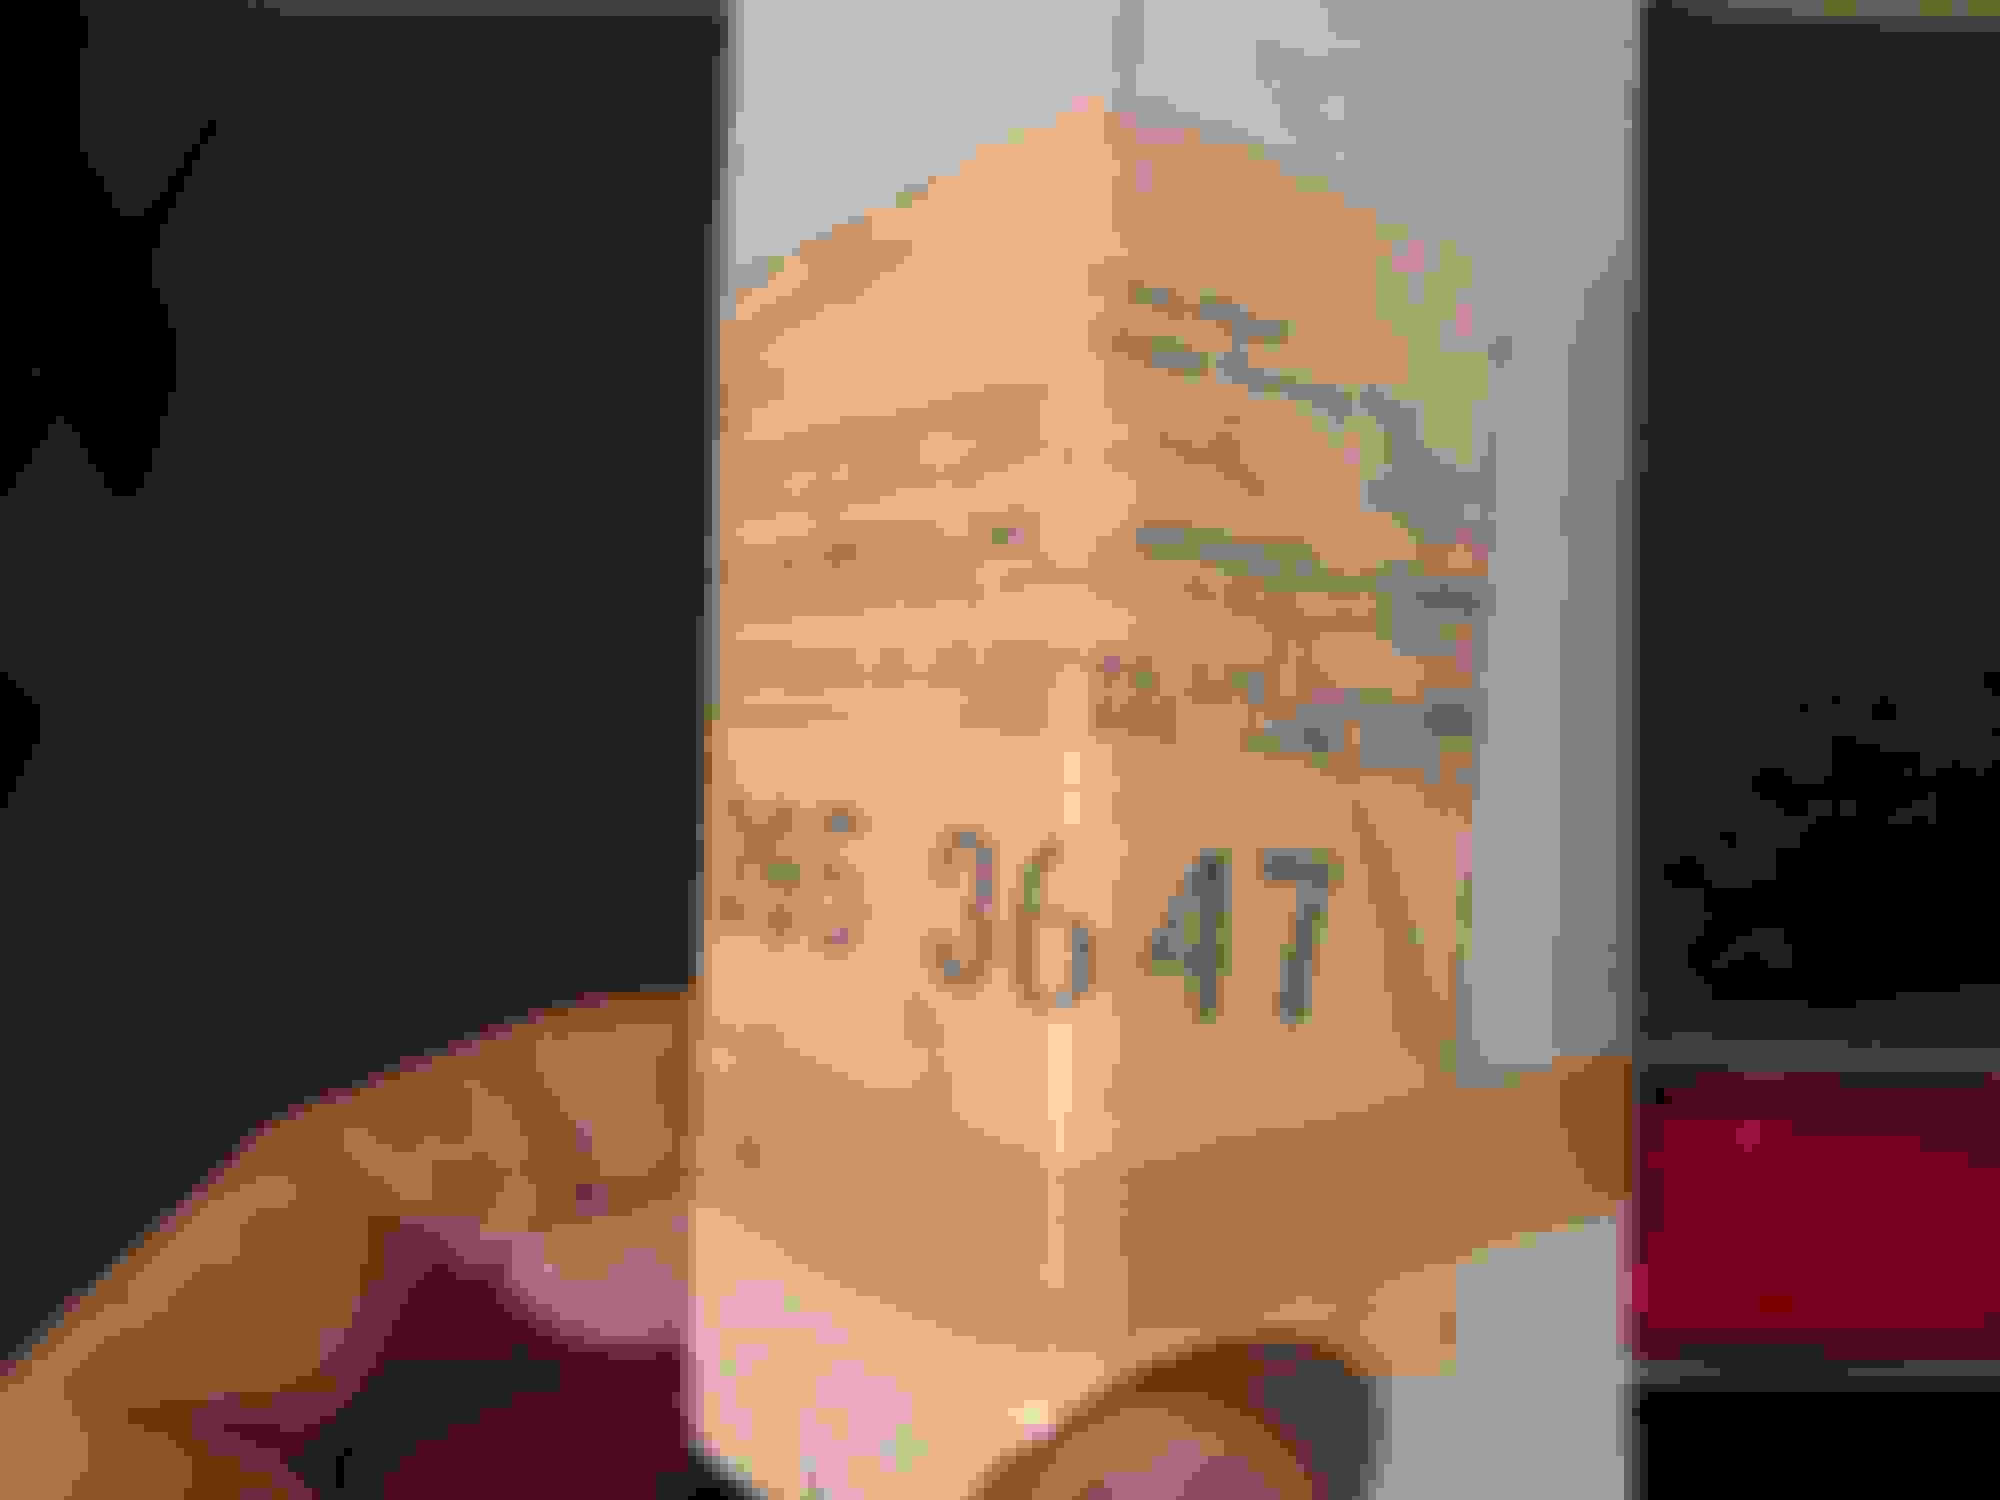
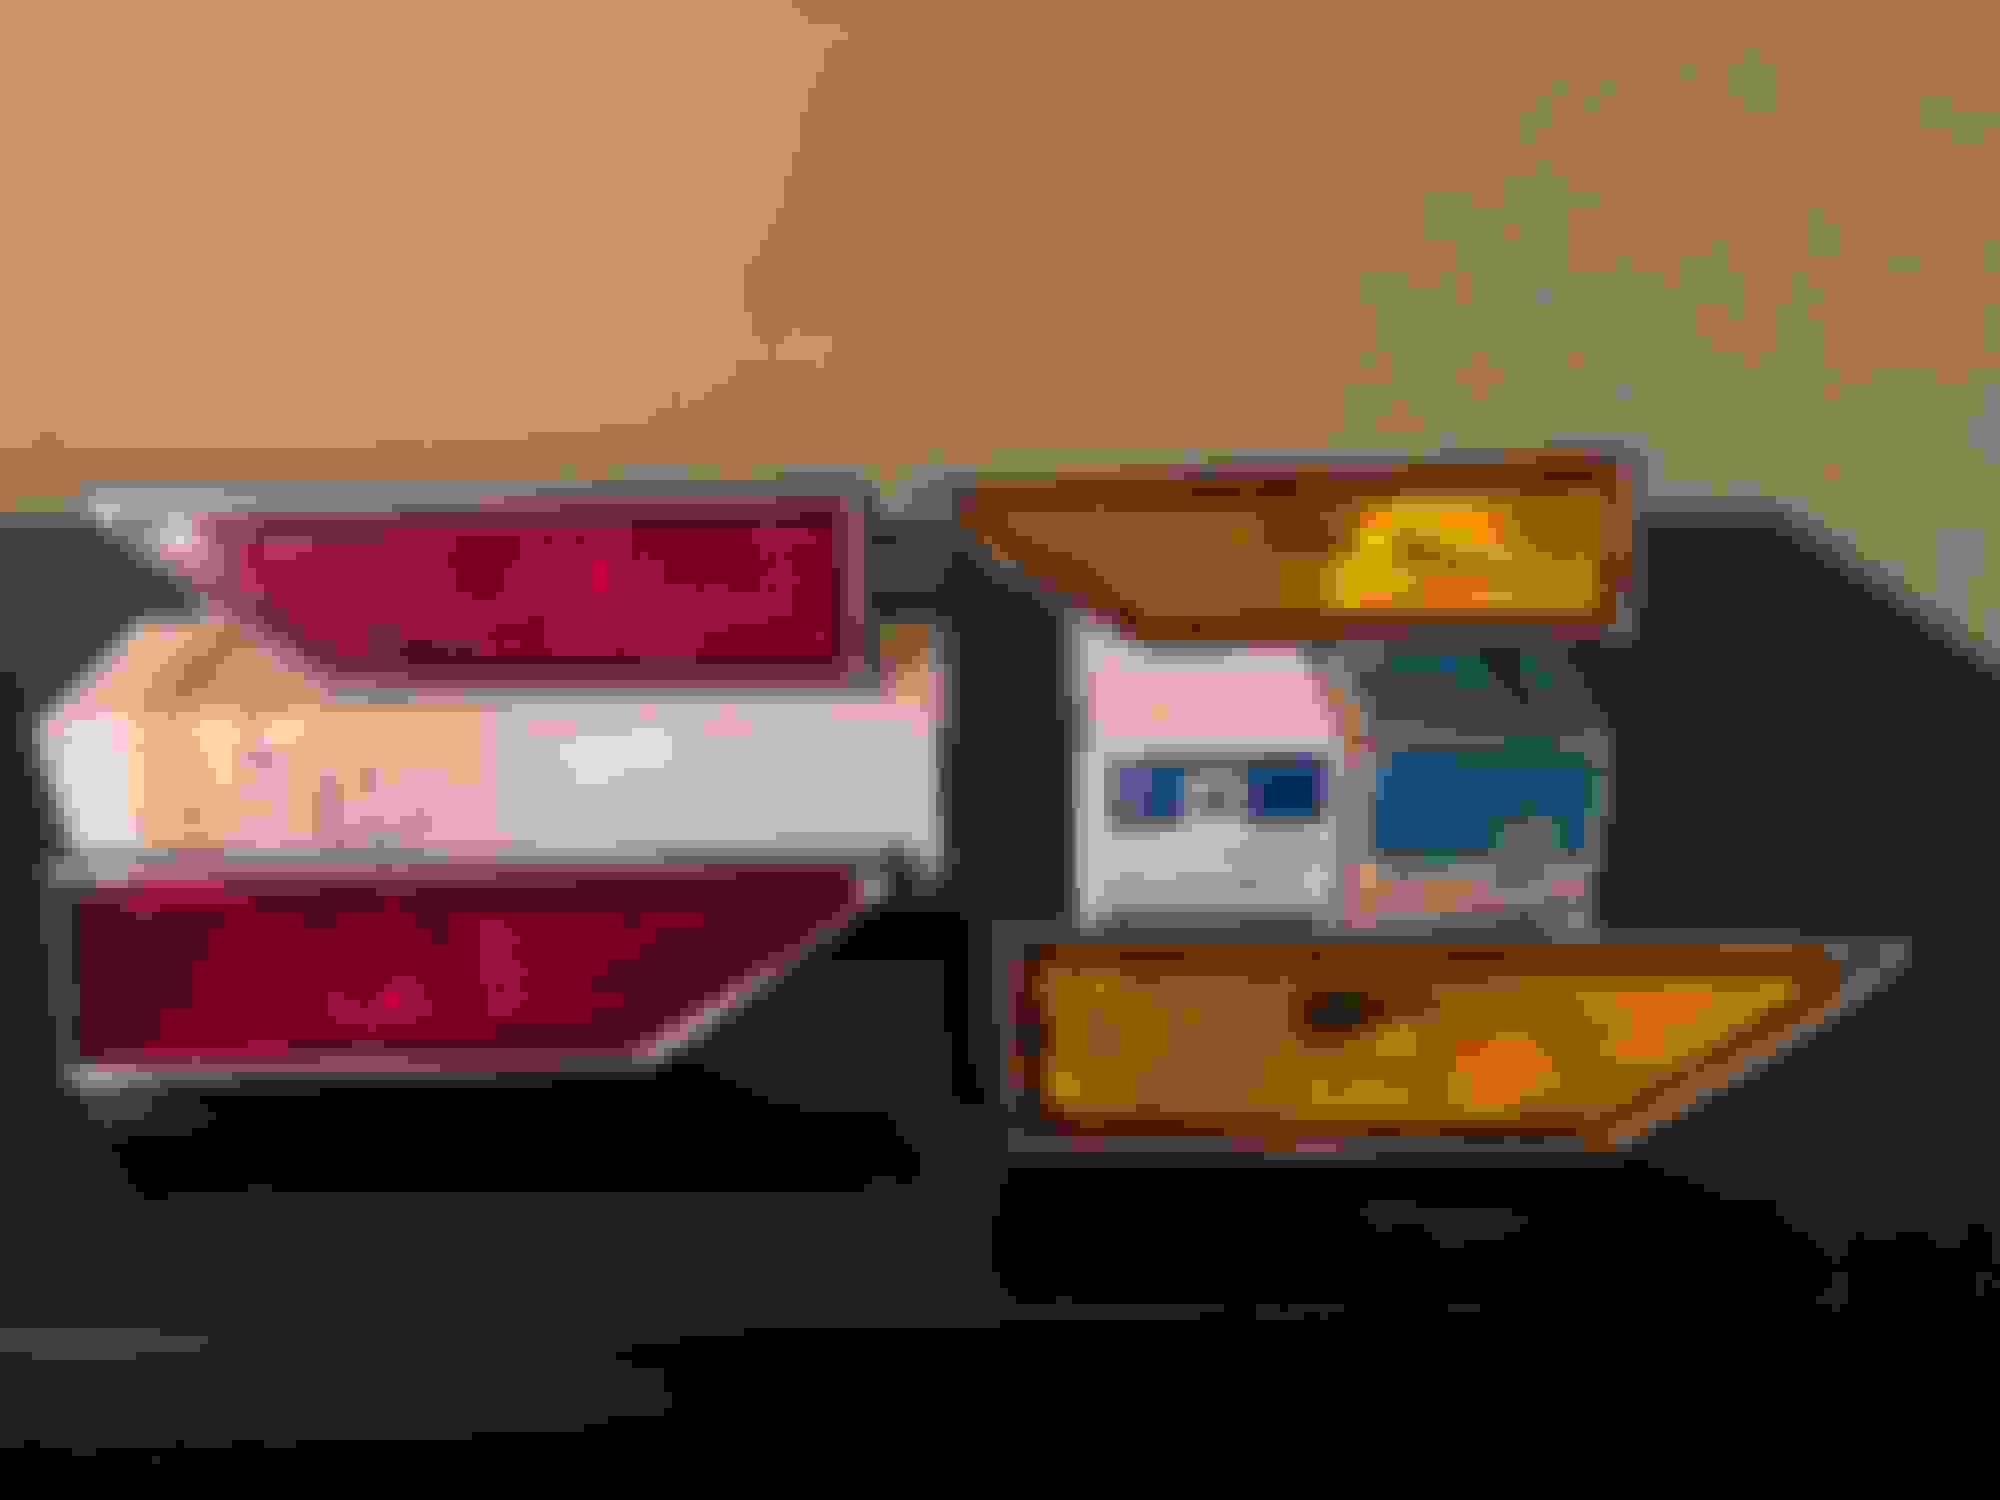
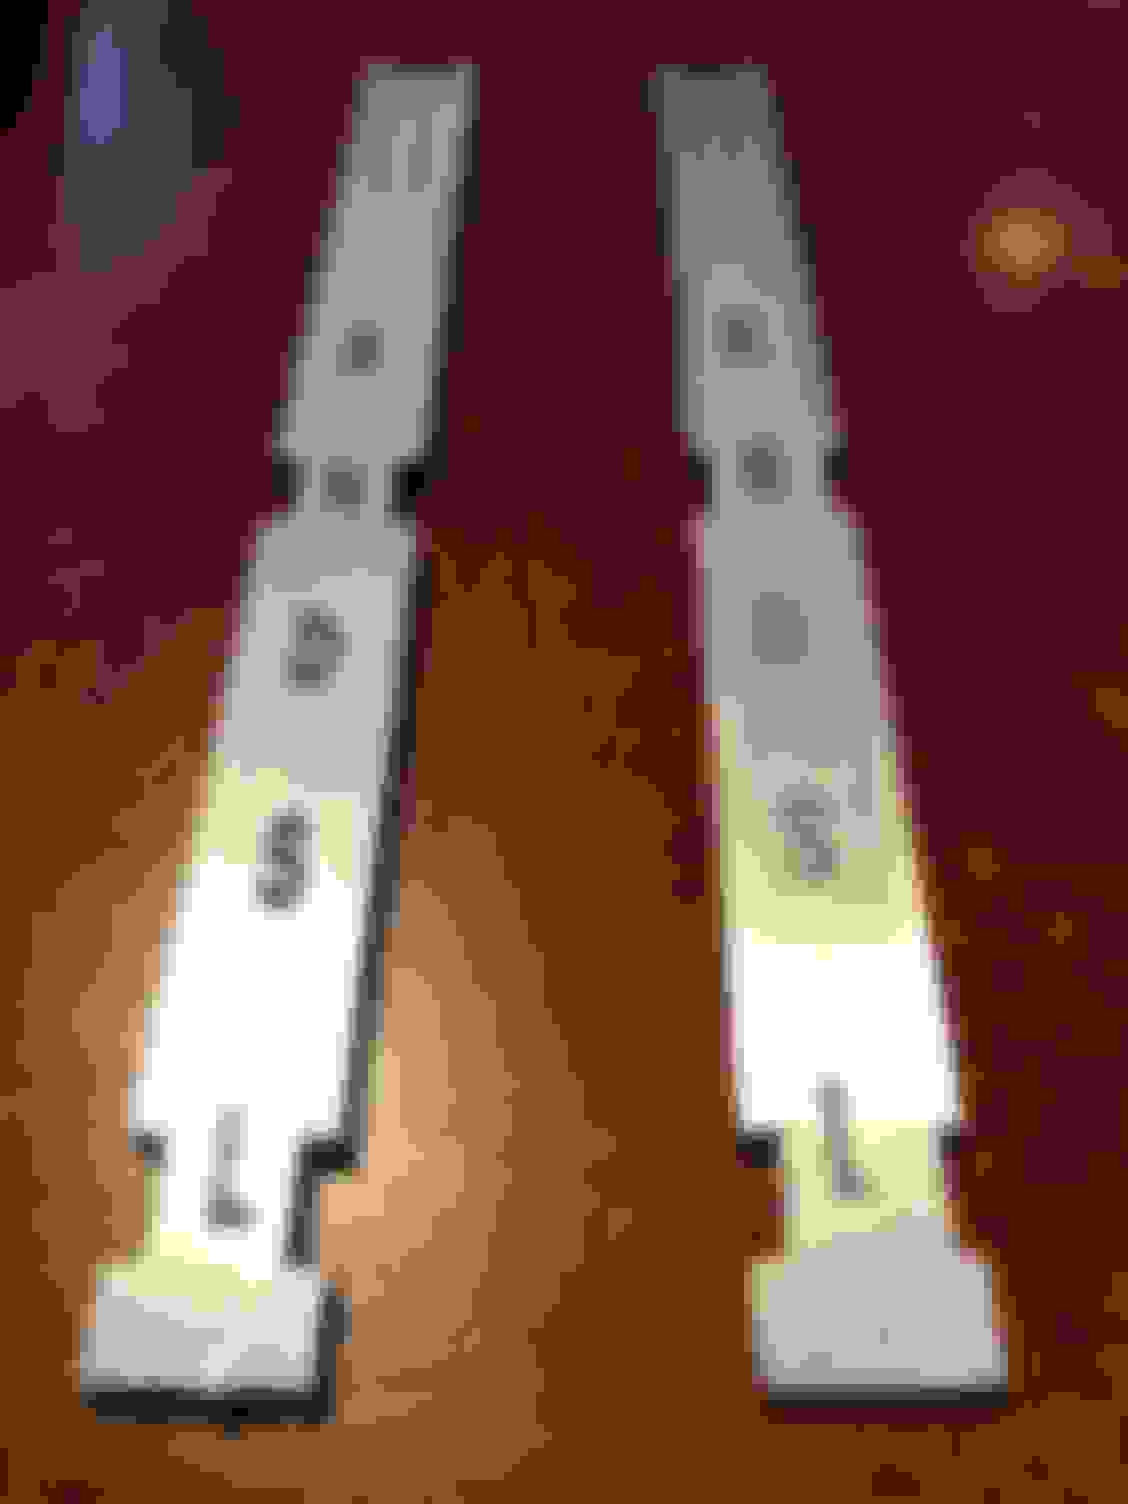
NOS pick up of the week are the elusive rear side markers. I won�t get in to the specifics, but the reproductions aren�t close to what originals or NOS markers look like.
Kinda cool this part was picked up 35 years ago on 11/14/84 two days after I was born.
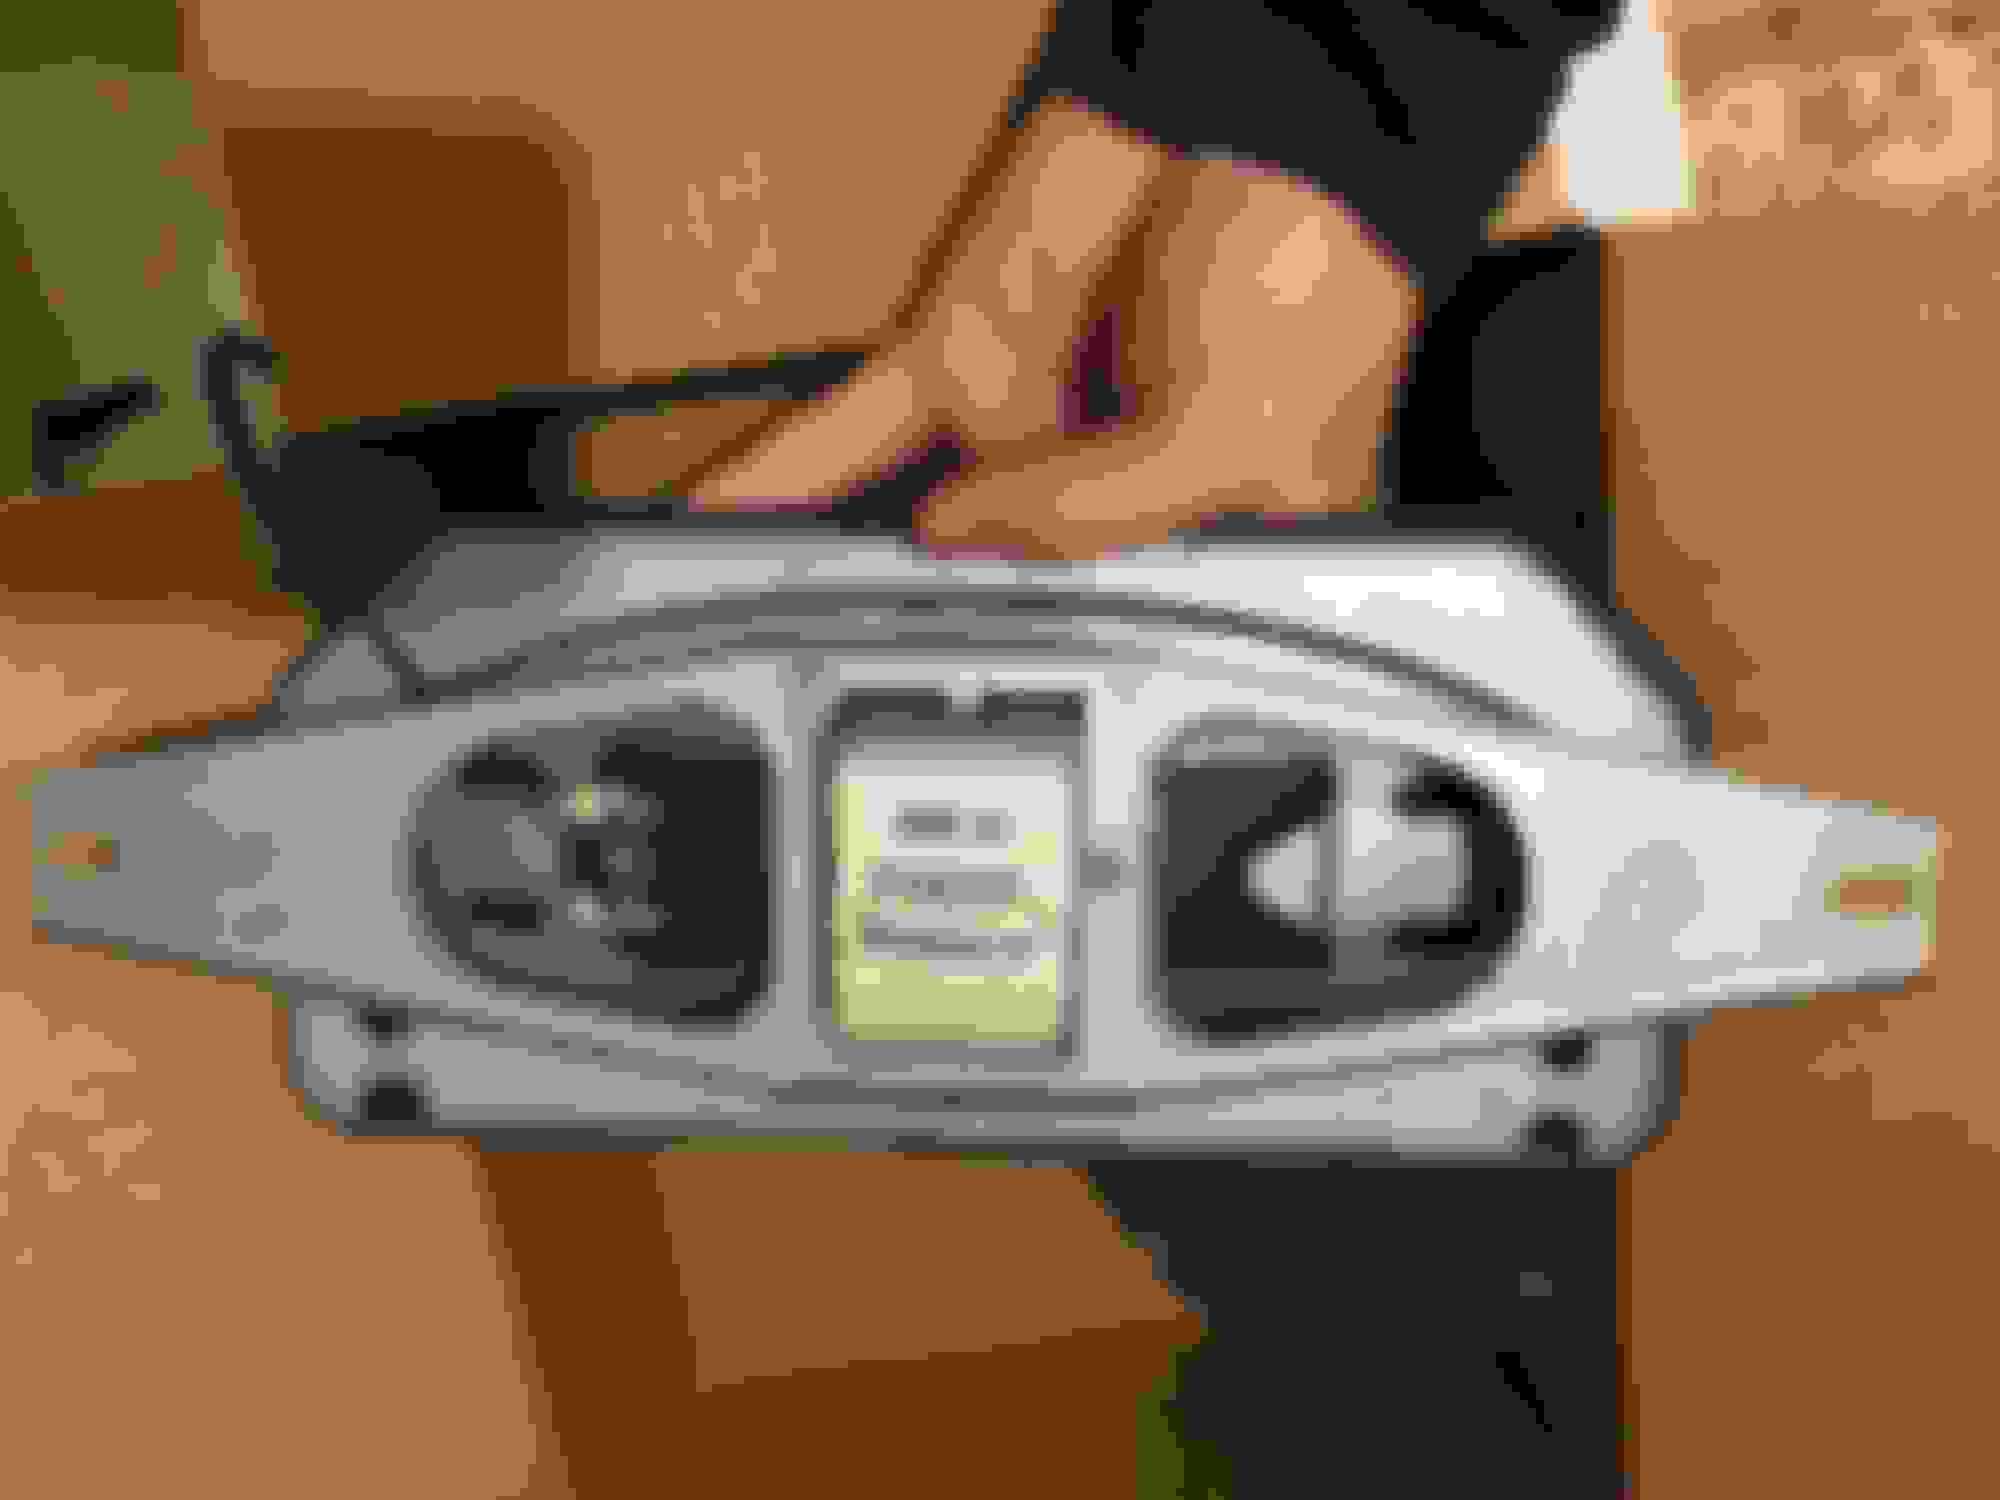
I pulled out the factory two-piece AM FM stereo radio to send it out for a rebuild. The shop I chose is is S&M Electro Tech in Minnesota. They offer a variety of services including Bluetooth conversion, etc., but I�ve opted for their �repair to original� service.
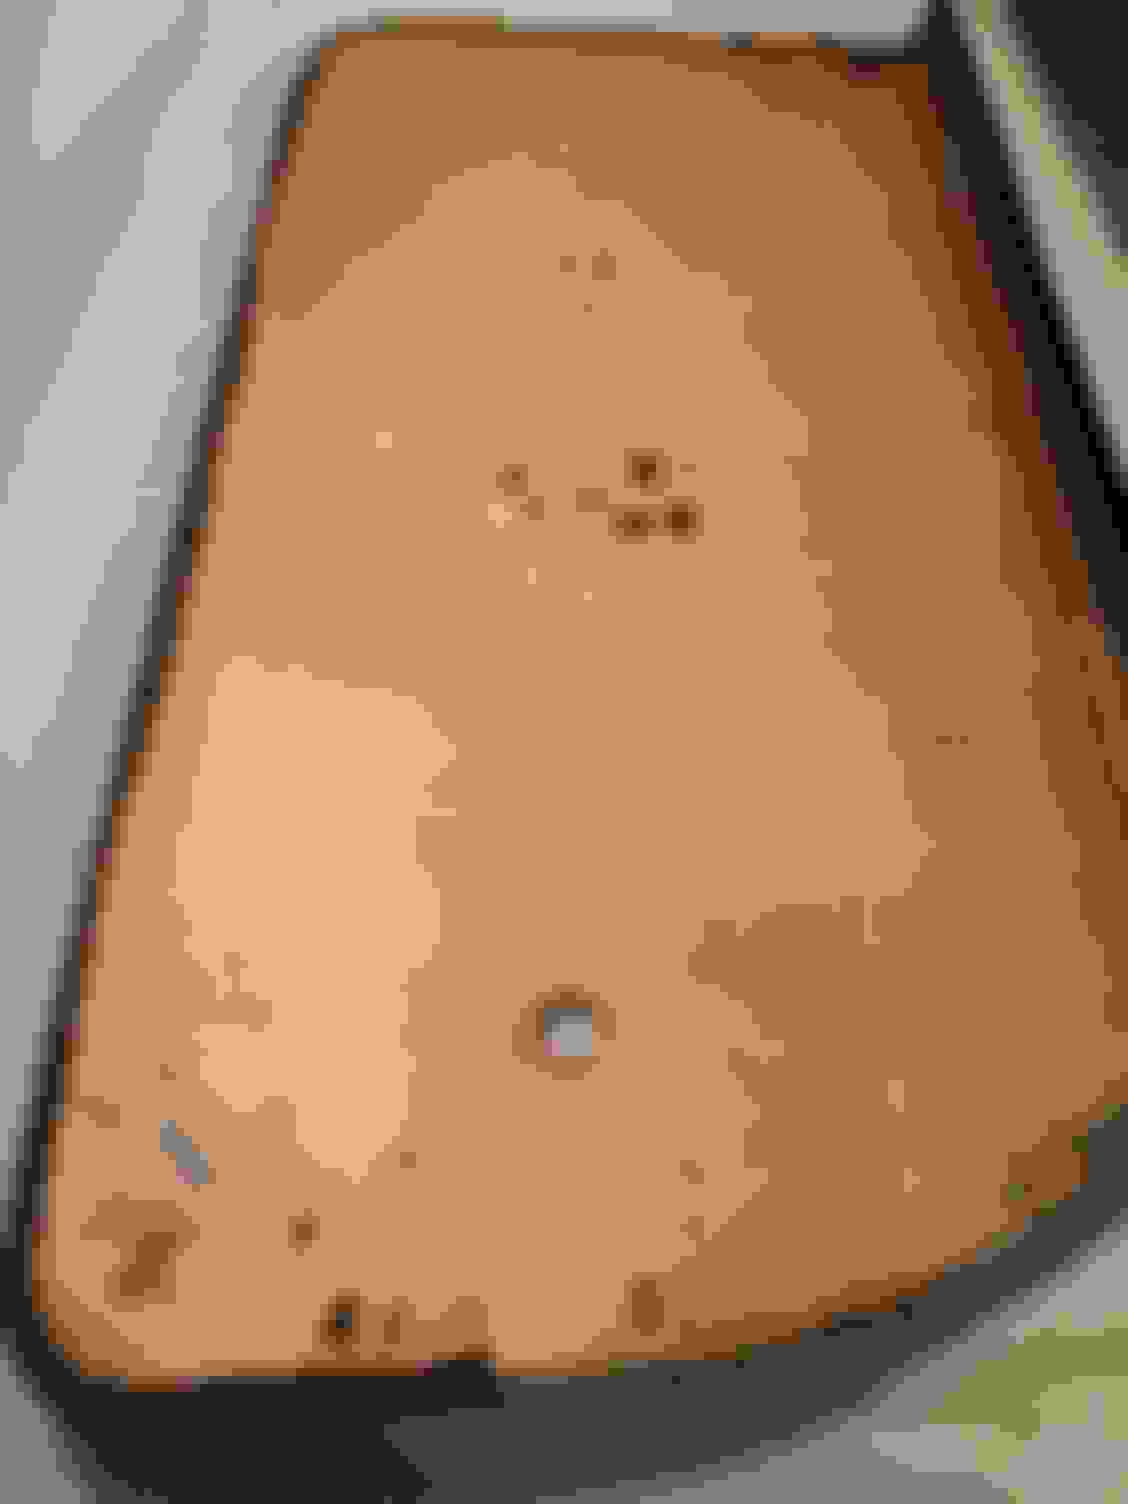
I�ll be curious to see what the repair shop finds when they open the stereo piece up. When I pulled it from the car, mice had made their way through there as seeds fell out of the hole on the side.
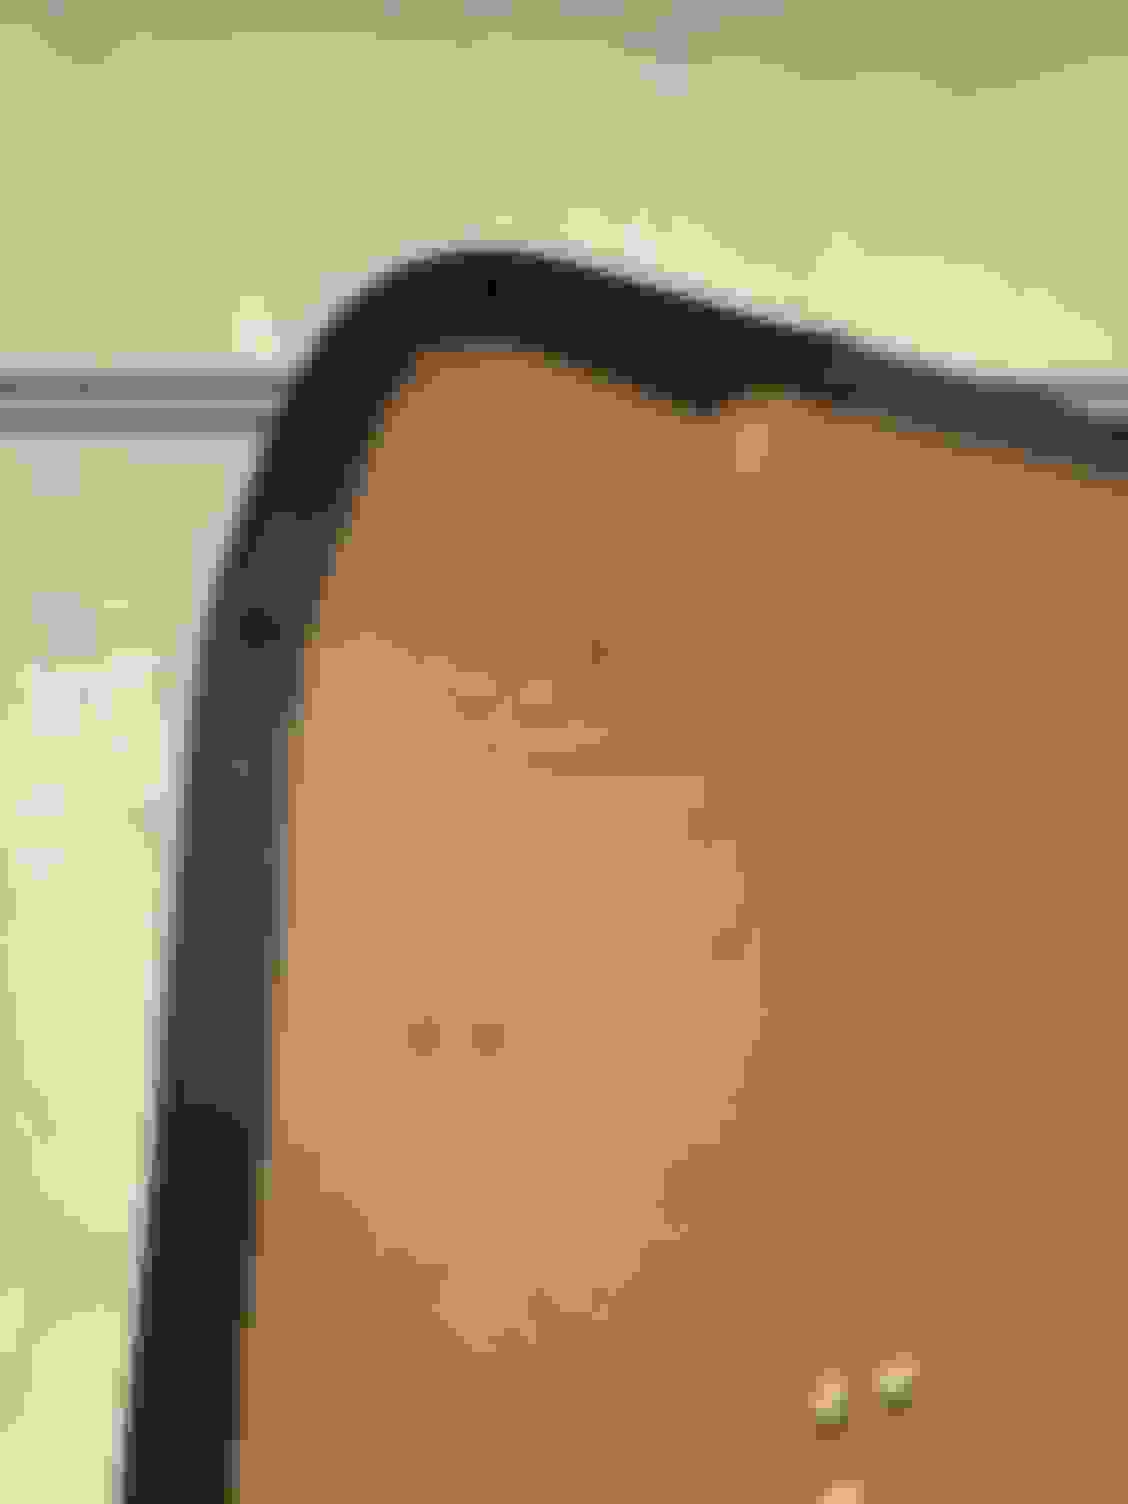
My favorite part to this radio is the writing on the case from the dealership / repair shop. The original owner doesn�t recall bringing the car in for radio repair, but let the markings on both pieces the units were serviced in October 1970. I suspect the dealer pulled them out and sent them to a local electronics repair shop hence the AD Pelunis name scribed in marker.
Weekly update on the body work. We’re getting closer! The second coat of primer has been put down after filling and block sanding. Early stages of block sanding the second coat of the body is underway.
Spent an hour in the garage going through bins and seeing what parts still need to be restored. Few observations and questions...
Original arm rests are faded and will need to be dyed. I grouped all the light blue metallic pieces together, and they�re all the same shade. There�s a small section under the arm rest pad that I�ll use to match. I pulled the trim and will drop it with my polisher. The LH arm pad is split so I�ll be sourcing a new set. Undecided on whether I�ll dye them or leave them a different shade of blue.
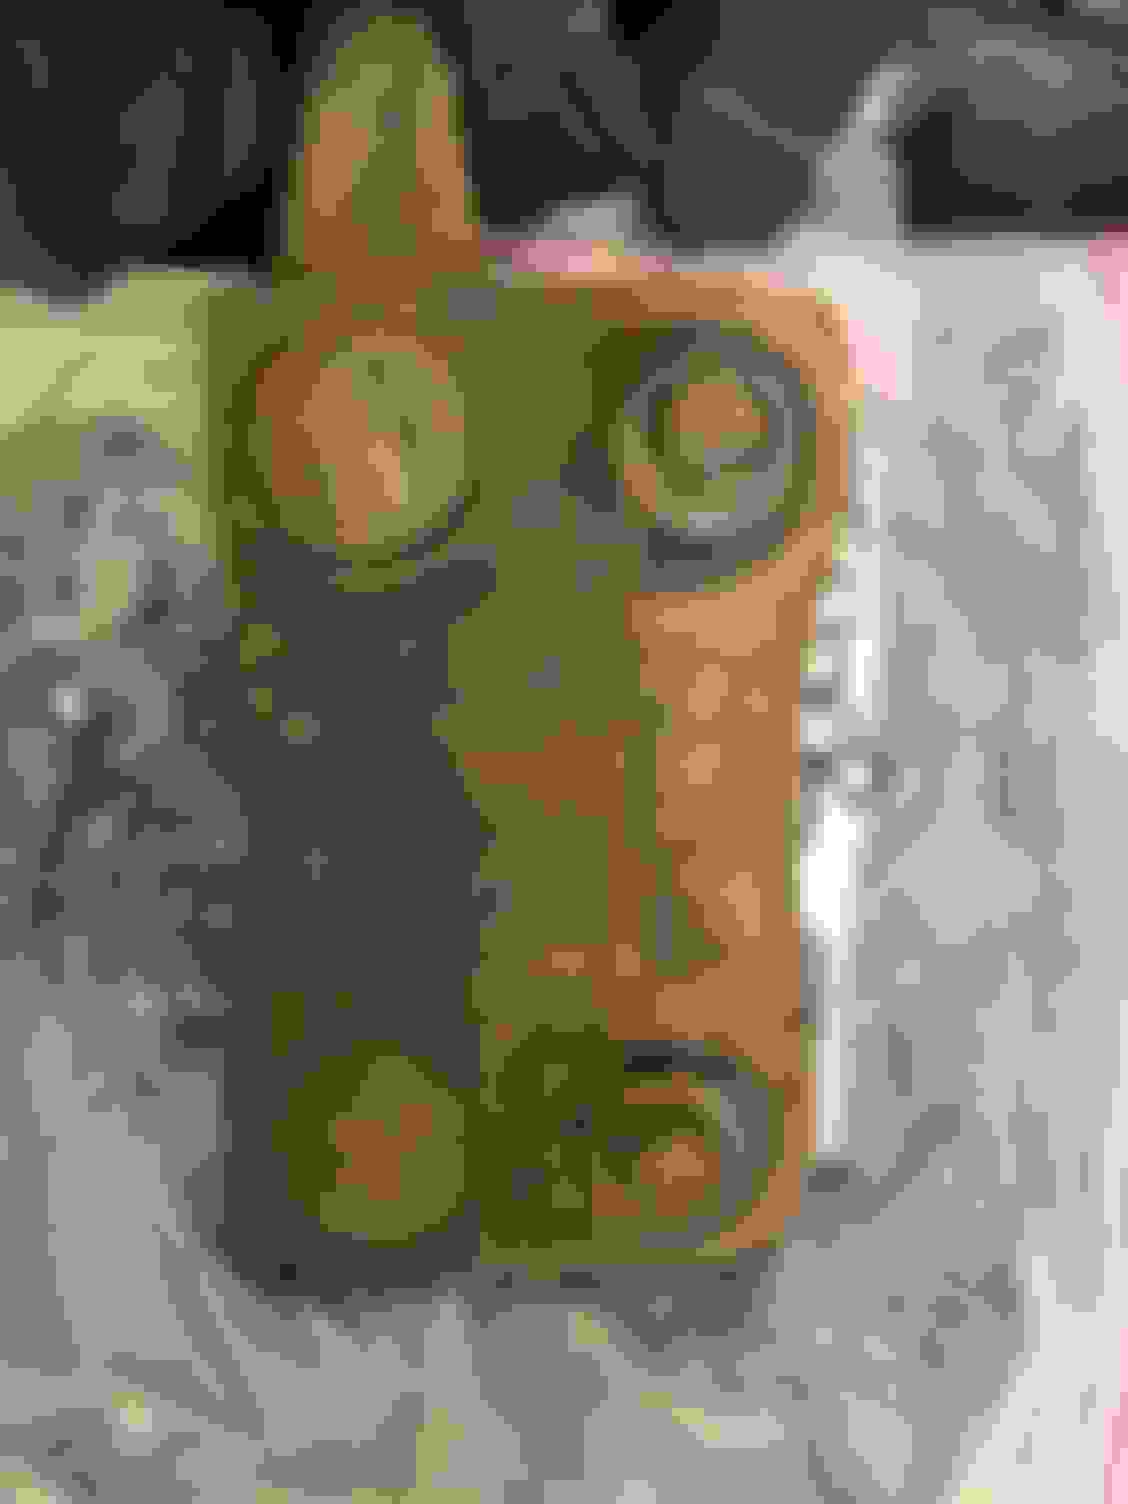
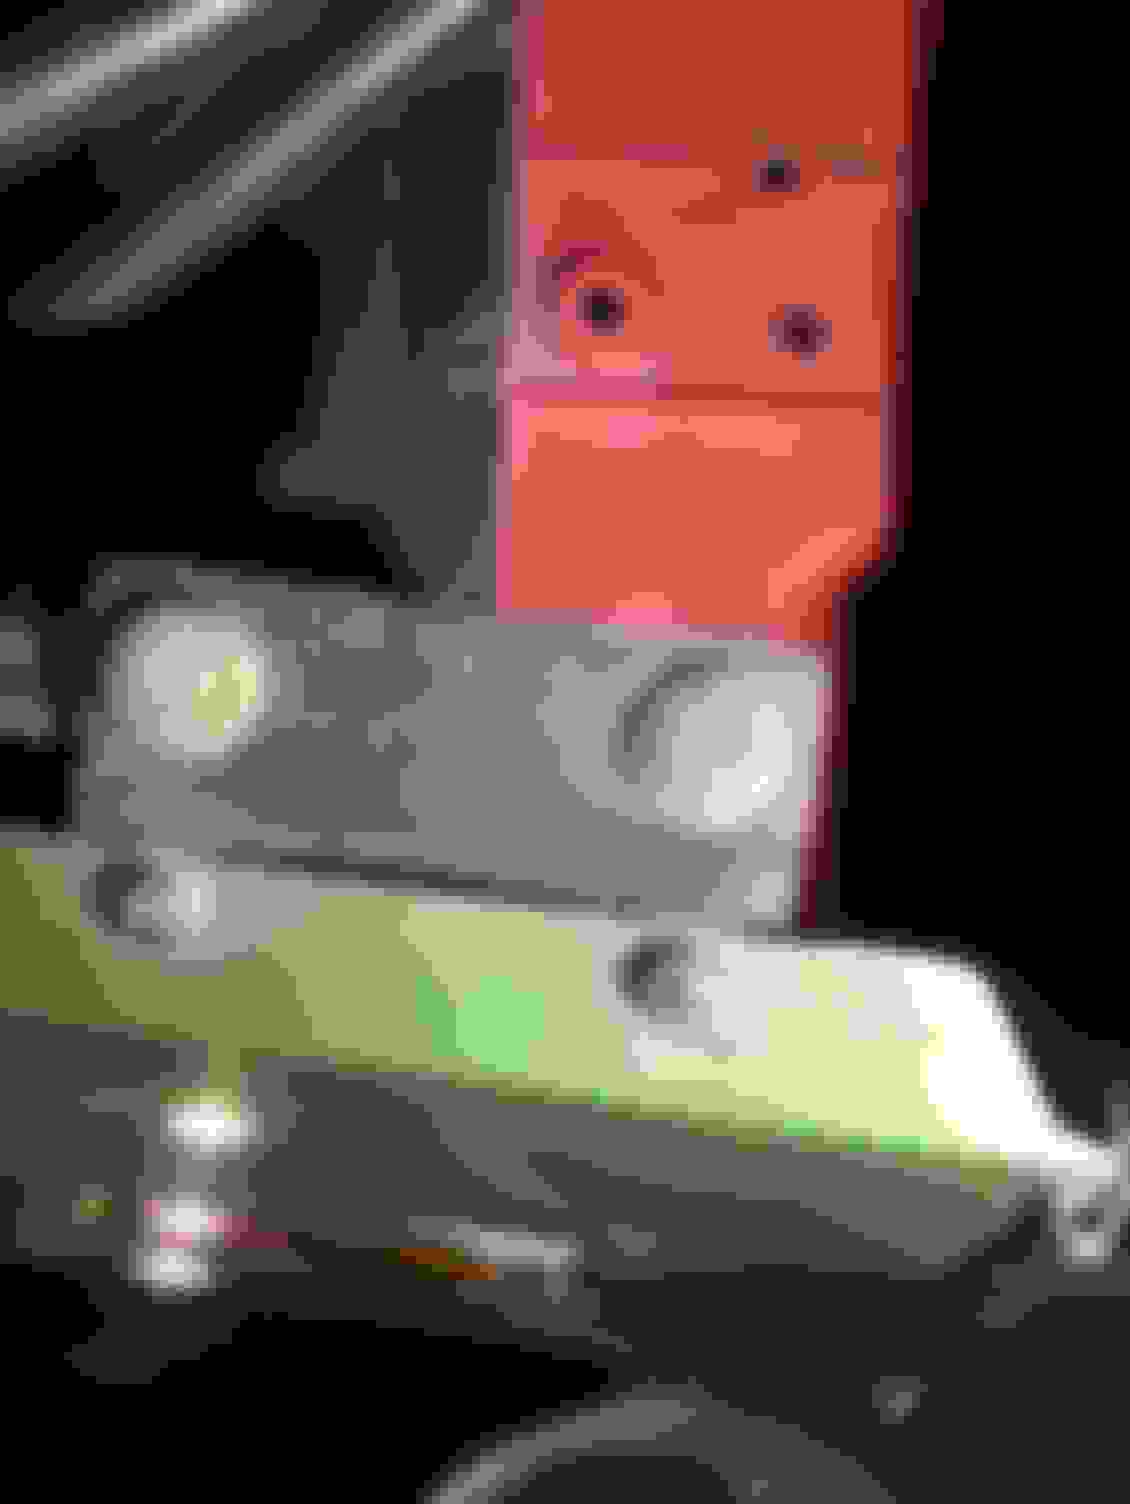
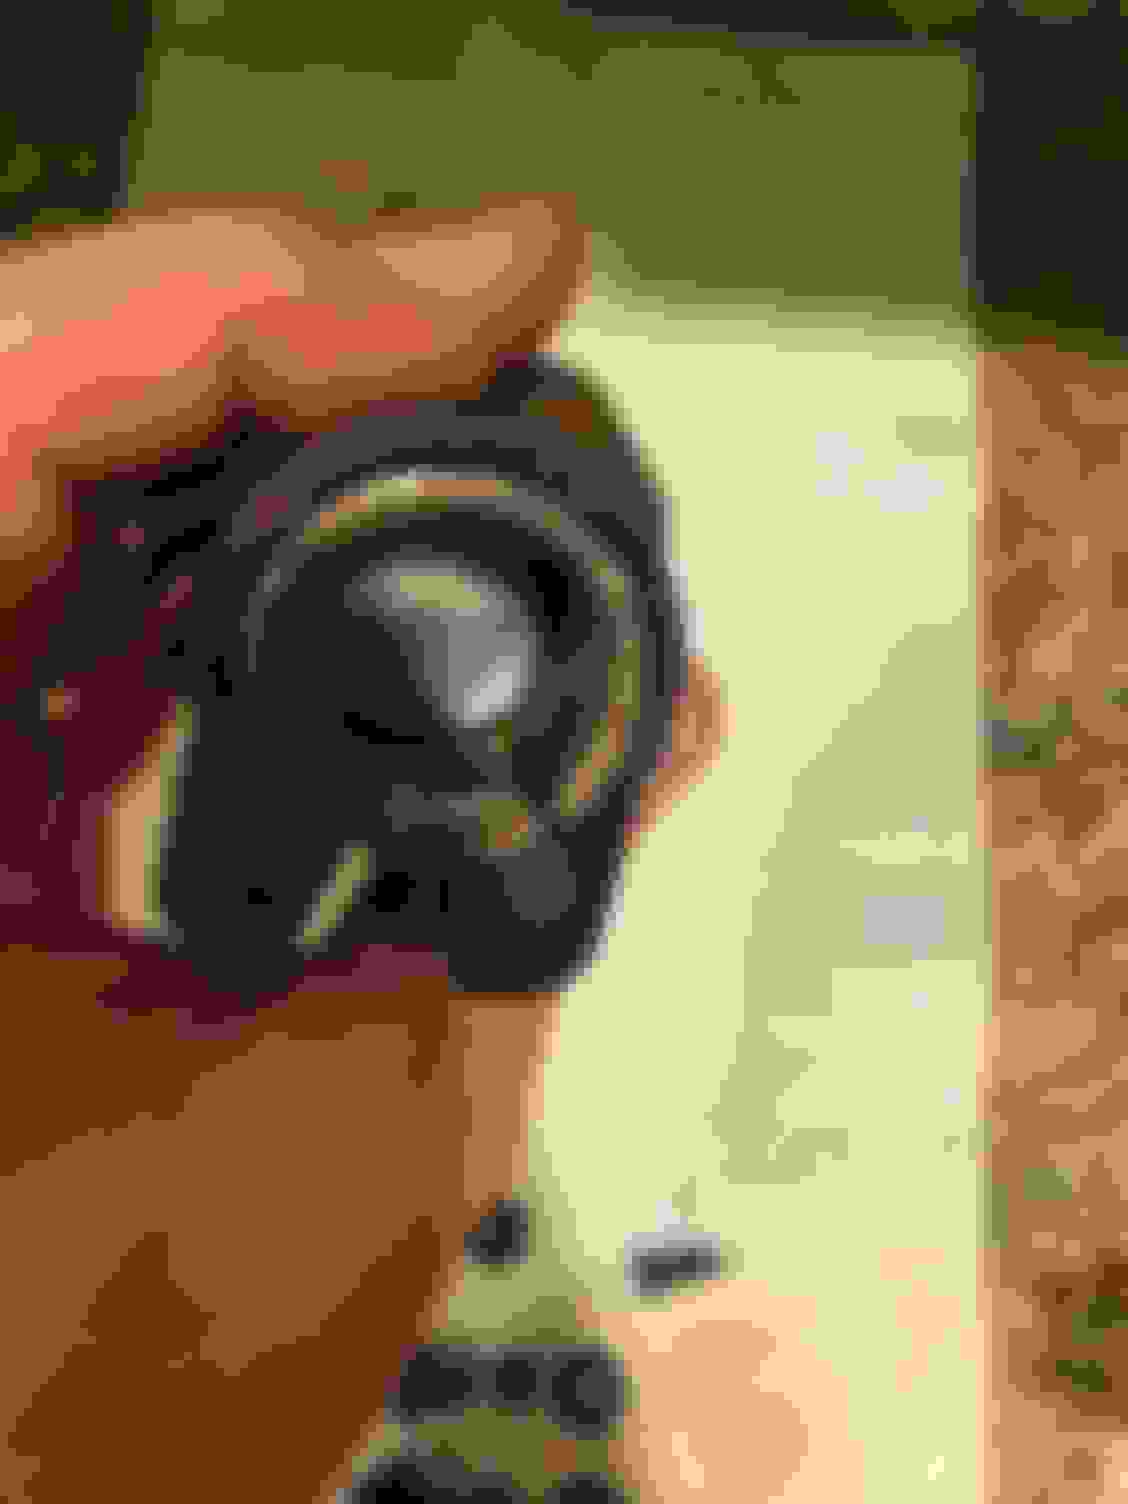
Below is my original trans adapter. This is an auto car with dealer 4.33�s. The adapter is .7333 which the parts book says is for a 3.42 or 3.91. The 4.33 adapter is .7692. What is the difference and what are the implications? Speedo off? I thought that was driven by the plastic gear.
The adapter in my hand there appears to be part number 535614. This is correct for a 3.91 car, which this W-31 had originally, but it doesn�t appear to be updated to 535615 which is the adapter for 4.33, 4.66, and 5.00 gears.
Pulled the original fender braces and found a pretty cool tire marking on the one side. I need to check the PIM and see what date switched from screws to bolts. The originals (and maybe the hardware had been replaced) included three bolts and one screw. Can someone with originals verify for me?
The blue paint is from the repaint of the car which leads me to believe they�re originals.
Last edited by WTHIRTY1; November 10th, 2019 at 06:20 AM.
This is an auto car with dealer 4.33’s. The adapter is .7333 which the parts book says is for a 3.42 or 3.91. The 4.33 adapter is .7692. What is the difference and what are the implications? Speedo off? I thought that was driven by the plastic gear.
Yes, the plastic gear is part of this system. The plastic gear range is limited in ratio, so deep rear gears don't have a suitable plastic gear for them. The factory used an external gearbox to get the speedometer to read correctly with the deep gears.
Your gearbox is 1 : 0.7333 ratio, meaning that the rotational output of the plastic gear is reduced by about 27% ahead of the speedo. The CSM lists this gearbox for use with 3.91 axle with G-70 tires (as you stated), paired with a 40-tooth (black plastic) driven gear.
The CSM lists gearbox 1 : 0.6190 paired with a 37-tooth (red plastic) driven gear for your 4.33 axle with G-70 tires. This is pn 540180, not 535615.
The speedo in your car, with the 4.33s and the 0.7333 adapter would read too fast unless the dealer swapped the driven (plastic) gear to dark-gray 44-tooth when changing the axle. That would make the speedo read correctly. This would have been cheaper for the dealer than getting a new gearbox--faster too, since the dealer probably had the plastic gears in stock.
The take-away is that you need to look at which color driven (plastic) gear you have in the transmission before you can plan for a different gear box.
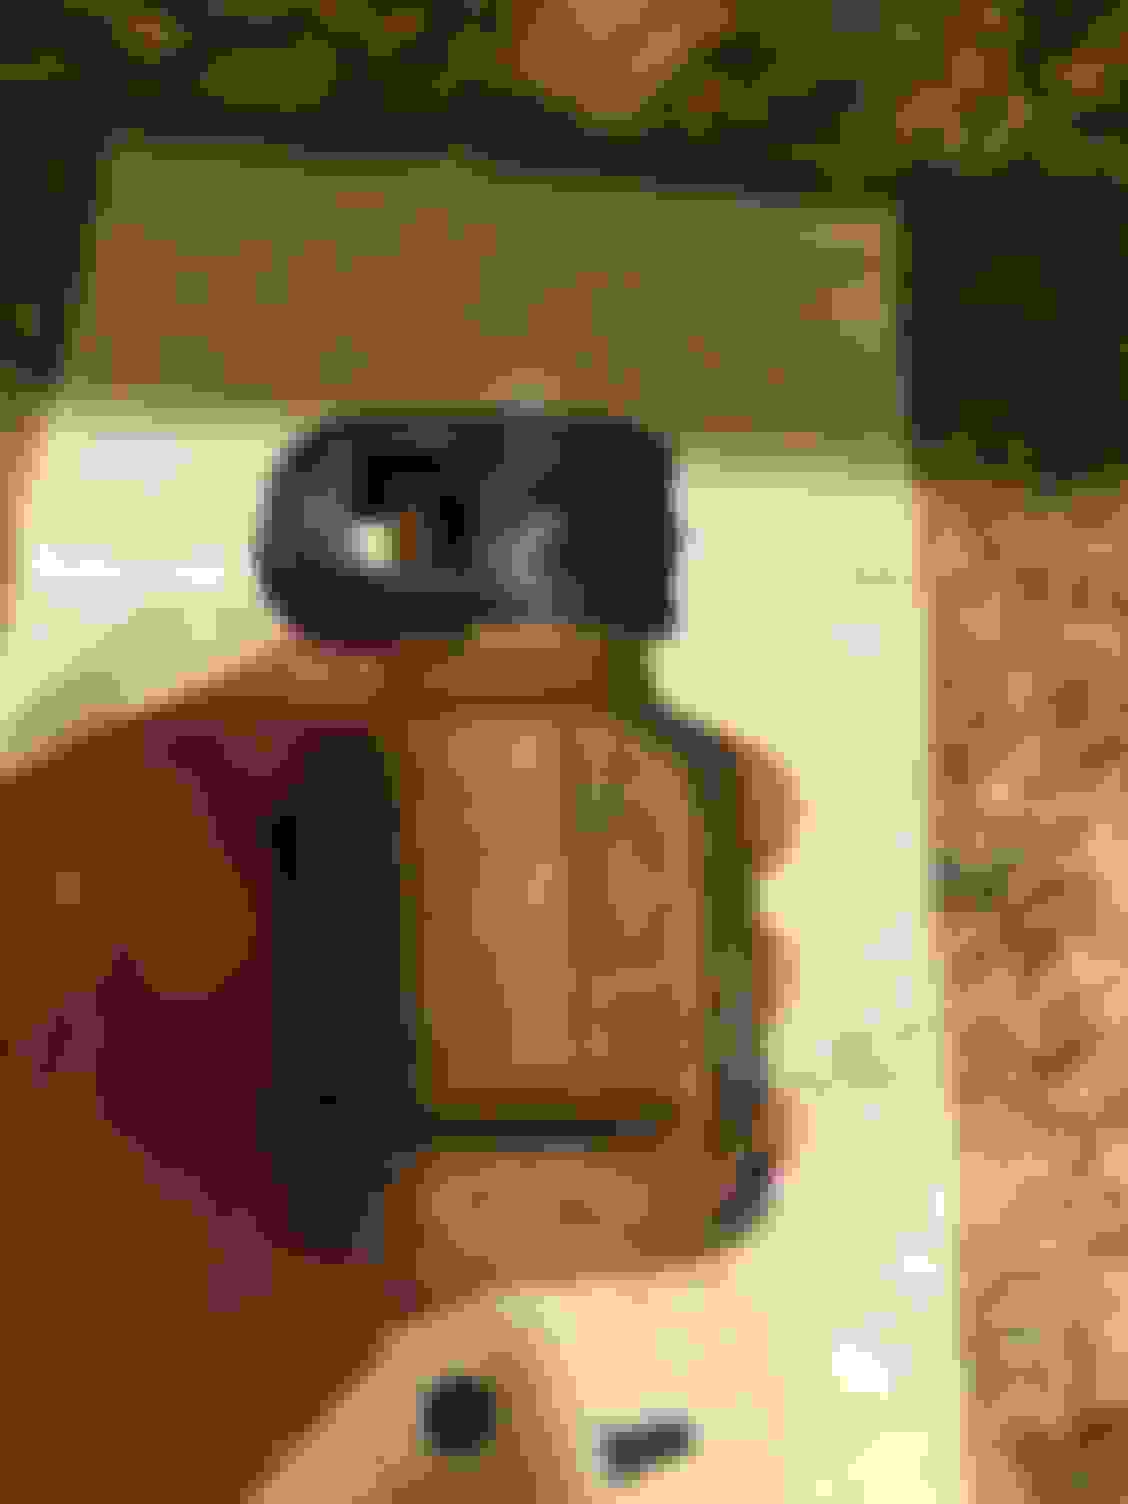
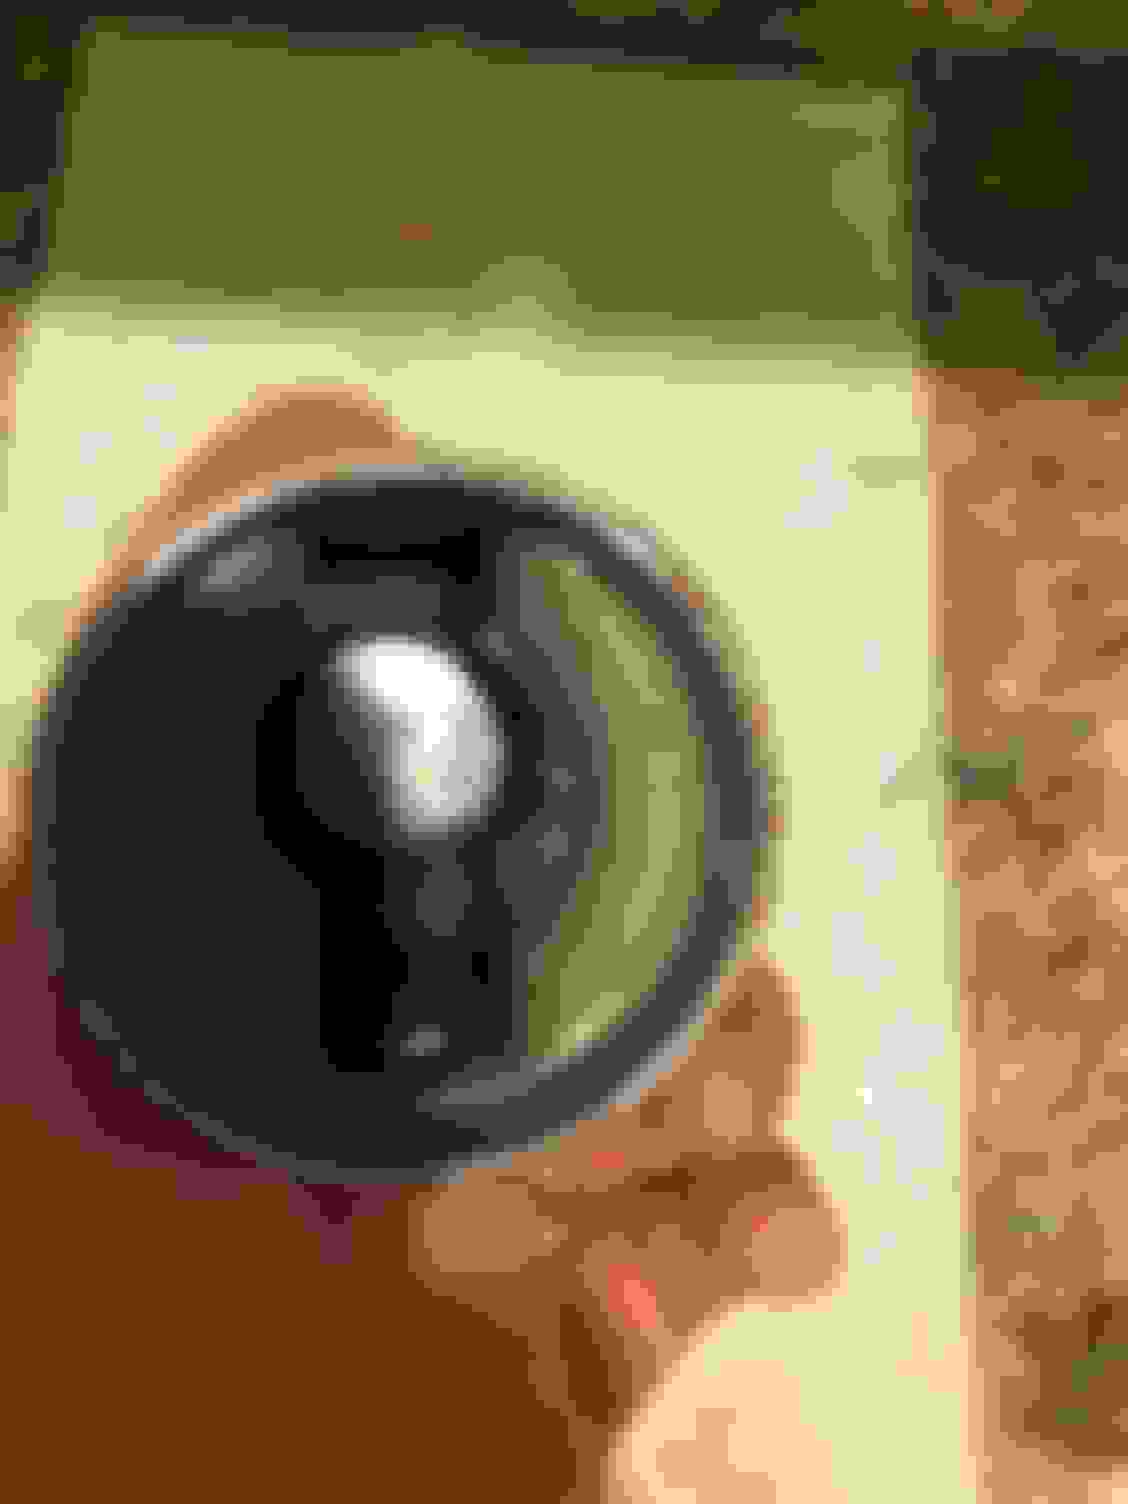
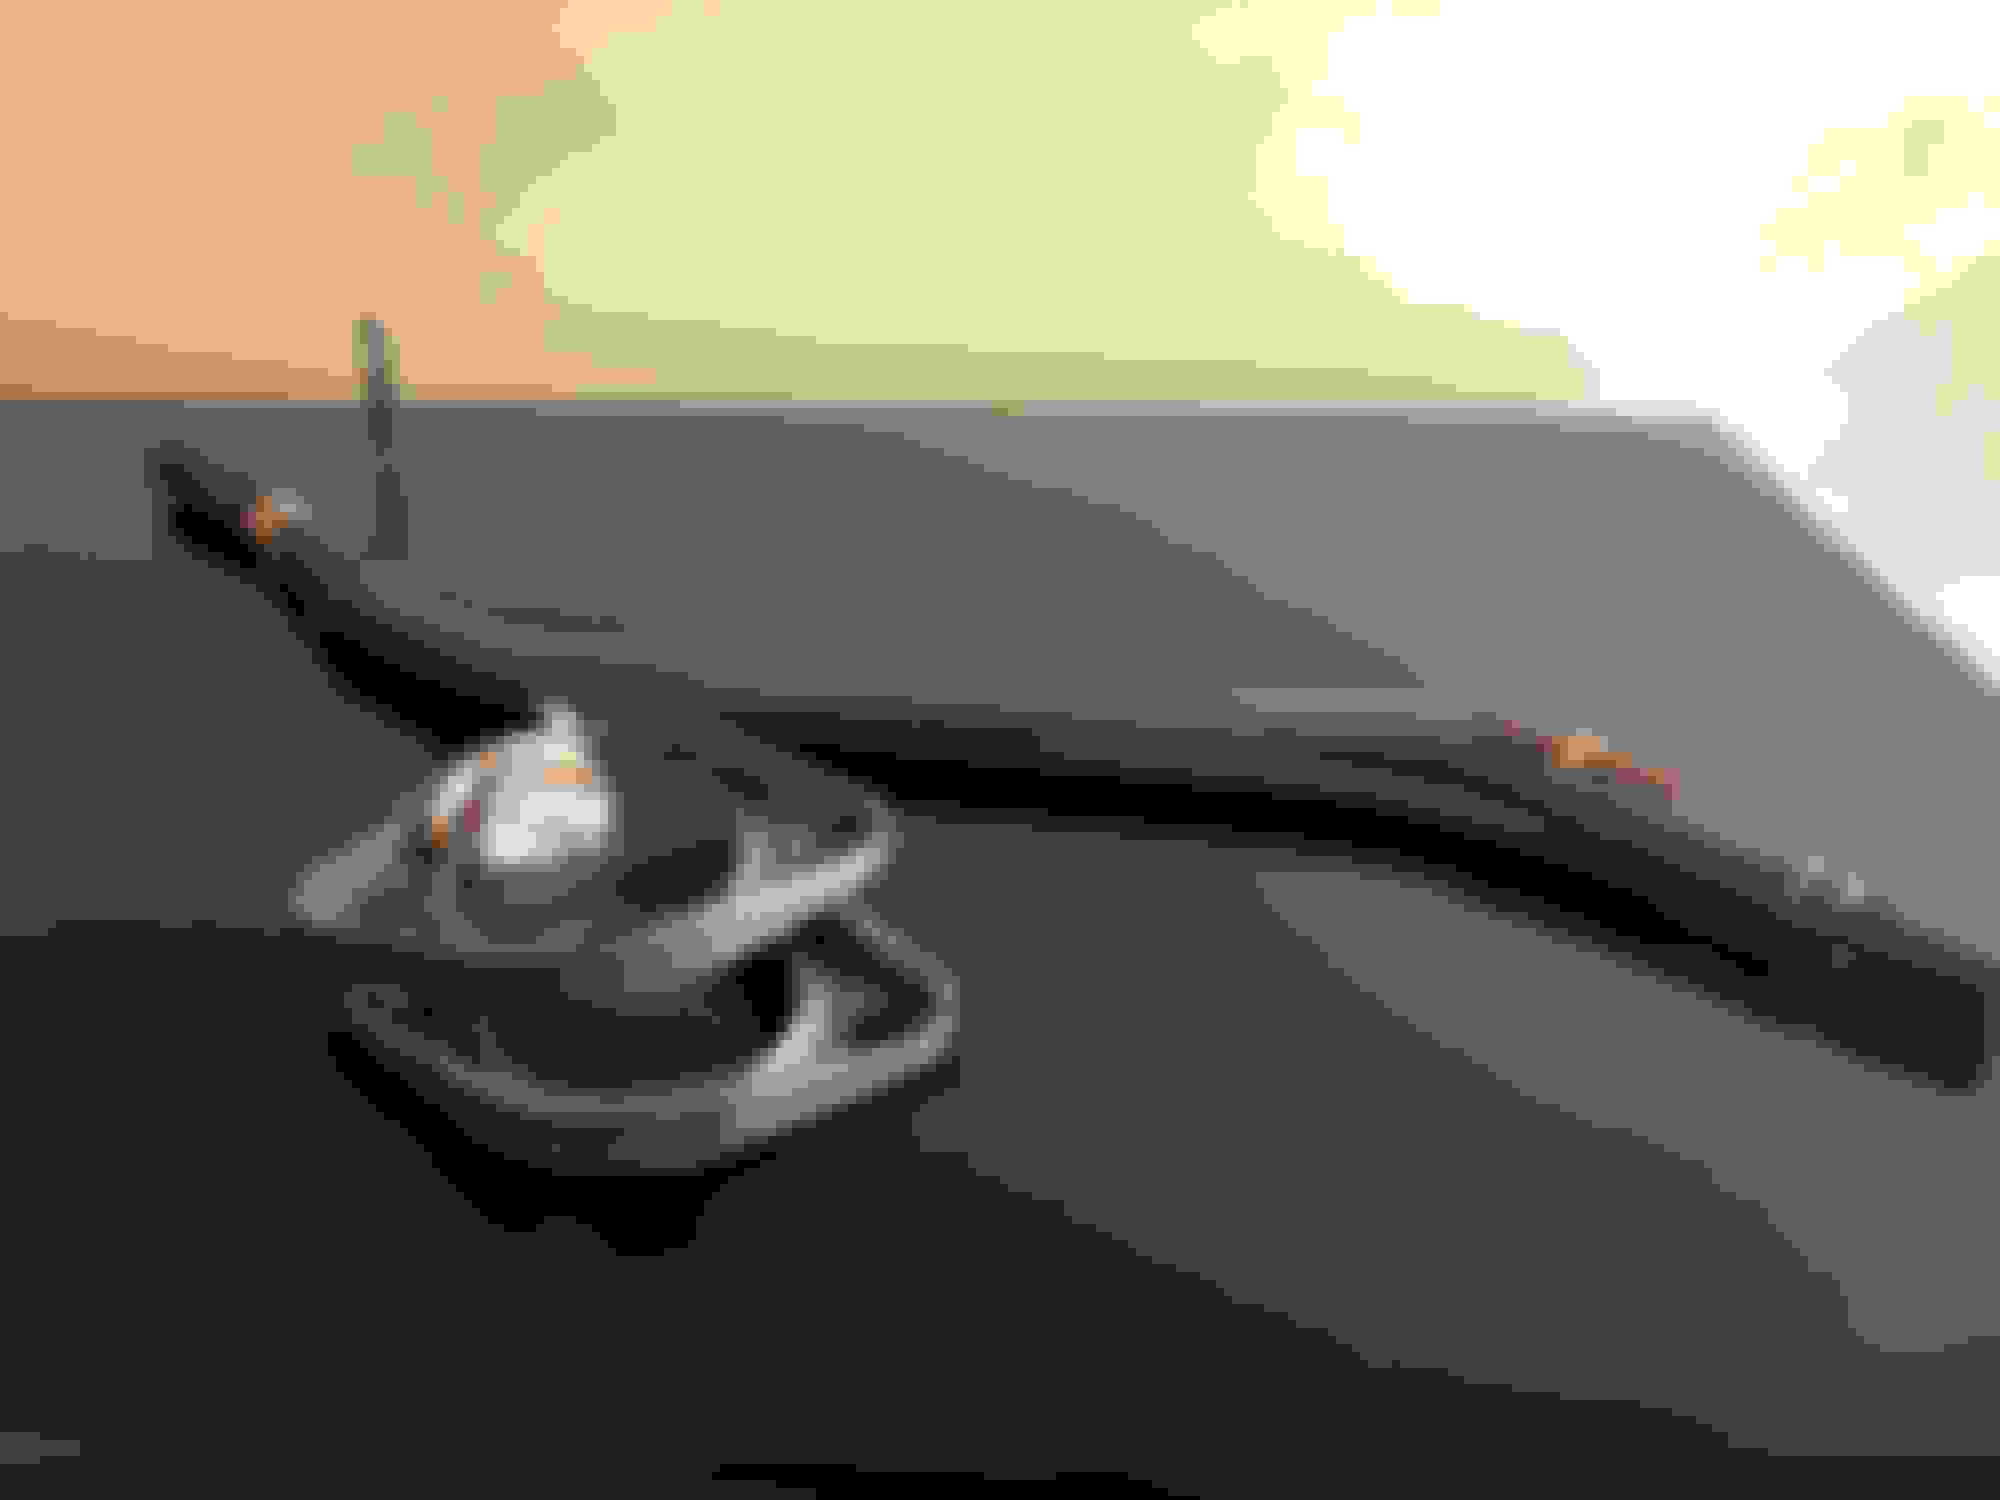
Here’s the plastic gear I removed. It’s the black gear with 40 teeth. So this gear, combined with the .7333 adapter, would have given me what? And if this setup is incorrect, would it result in an incorrect odometer? I’ll get the PIM and check the colors for the gears.
Last edited by WTHIRTY1; November 12th, 2019 at 07:20 AM.
Good point. If this combination of gear box and driven gear had been in the car from the purchase date, the mileage showing on the odometer would be about 10% higher than actual miles driven.
To get the correct odometer reading, multiply the miles shown by 0.903.
Don't be overly concerned about which method is more accurate to correct the speedo.
The difference between the two methods is 0.38%--this is only 2 tenths of a mile per hour at 60 mph. That's too tiny to matter. And without a lot more calculation, we don't even know which is closer to "perfect."
a dark gray 44-tooth driven gear with the 0.7333 adapter, or
a red 37-tooth driven gear with the 0.6190 adapter
If you want what the factory would have used, you know how to proceed. If you want to use the easy method, go for it--with no worries about accuracy.
Very appreciative for the help on the adapter and gear. I decided to go with the 540180 adapter and the red 37T gears for the 4.33. I may may end up with a 4.66 gear further down the road. Fortunately, the 540180 adapter will work with the 4.66 and only require swapping back to the black 40T gear. Thanks again, guys!
Last edited by WTHIRTY1; November 12th, 2019 at 07:20 AM.
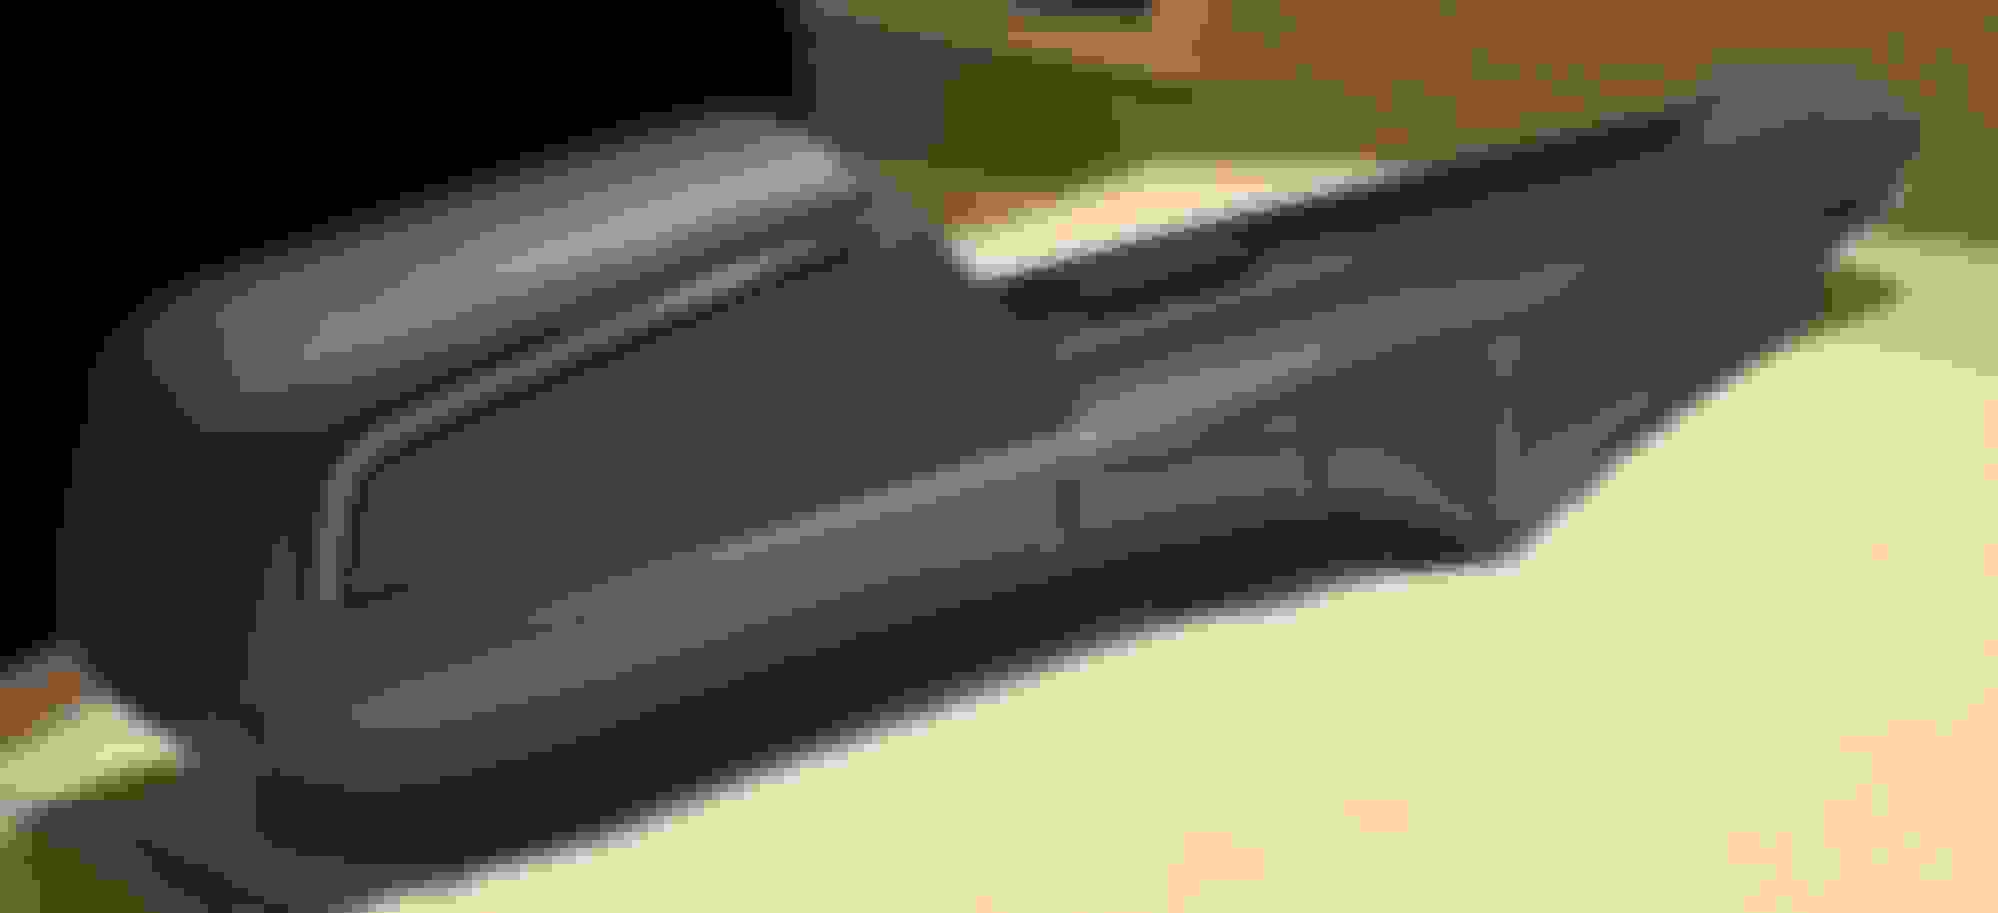
Console returned from H & H yesterday. All in all, the turn around time was just under a month. It likely would have been faster, however, the crack repair set us back. Overall, I’m impressed with the final product.
We used the NOS upper molding and removed the original since it was bent. Don’t lean on your console doors, folks!
After much debate, I opted for a solid color on the console. In my original, the vinyl molded piece under the door was a darker shade of blue. After extensive research of original consoles in blue and green, I concluded that piece just fades / reacts more quickly.
The shifter top plate is original to the car as is all the burlwood grain.
The reproduction shift indicator lens on the left. Original on the right. A few subtle differences but overall a really nice piece.
If anyone has a suggestion on how to paint the black accent on the upper trim now that it has been polished, I'm all ears!
Original screws for the top plate after a nice bath in Evaporust and coated with T9. The original rocket emblem is fading a little bit, but it's still presentable.
Re-flocked inside. All screws were removed, soaked in Evaporust, and sprayed with T9. I shipped them all in baggies to Jeff for assembly.
Original lens. It had a nasty rust stain (pictured in an earlier post) but it cleaned up nice after a bath in Dawn dish soap. Jeff doesn't just use a silver sharpie so the outline looks much more original!
Can't beat the original burlwood grain!
Last edited by WTHIRTY1; November 12th, 2019 at 07:18 AM.
The front and rear speakers returned from Ron @ Jackson Speaker Service in just over one week. The speakers sound clear and crisp with zero distortion.
Trying to knock out little projects while the car is in paint. Tonight, I went through the original door panels to peel the original blue decals off. I used a razor blade by hand, and all four decals came off easily. The LH decal was under the blue vinyl which tells me the cardboard received the decals and then the vinyl was applied. The 442 cardboard would have the knockouts for the plastic chrome that goes behind the arm rests.
There was a red scribble on the back of the RH front panel.
I tried my best to recreate. After I did it, I realized I'm nuts for trying to recreate some Lansing workers scribble...
I placed the decal in as close of a position as the original that I peeled off.
Mind you, I pulled these panels from the plastic bags that Legendary put them in. These were assembled in 2011. I purchased these from a friend last winter, and this is the first time I've gone through the front panels. On the LH front panel, the "chrome" trim has peeled completed away from the panel.
You can still see the protective tape on the chrome trim.
And my favorite part...Legendary's seal of quality. I'm hoping Legendary stands behind their product...we shall see.
Not even sure how these were affixed to the panel itself. There's no clue residue. Perhaps a vacuum process? Either way, I'm not a happy camper.
I have original panels like this that could use the chrome trim replaced. Anybody have a remedy besides buying new panels?
Received a call from Stuart @ Python Restorations that my seatbelts were finished. Looking forward to having these back in my possession after 8 months. If you�re not in a time crunch, I�d certainly recommend their services.
Spent the day in Michigan just outside of Detroit working on final detail of the engine. While I didn�t finish, I�m much closer and have a plan to get this completed by mid-December.
NOS dipstick tube with factory marking. Check the PIM for other applications; I believe there were 3-4 different colors called out.
NOS R43S plugs with a �69 date on the box. Pretty cool swap meet find for only a few bucks a couple years back.
Took a friend�s advice and sprayed cast paint on the block, used Testors enamel colors from Hobby Lobby, and then fogged over the color with the gold paint from Supercars. I tried my best to match these colors to factory markings on a W-31 block.
We wanted overspray on the plugs but didn�t want it anywhere near where the boot connects. I imagine Olds had some type of cover they�d pop on and off when spraying their gold. We taped together two round protective pieces of cardboard that came in the NGK plug box.
Didn�t get to the passenger side of the engine for detail. Next month.
This is an NOS PF30 filter with the embossed bottom that�s basically just for show. It would be foolish to run a 50 year old filter. When we pick back up on the detailing, this will be covered in gold.
Exhaust locks. Figuring out how these would have been applied and when the power steering bracket would have been installed left us scratching our heads a bit. Ideas?
Starter and starter brace installed.
Final product on the LH side with gold overspray. It felt a bit odd to start spraying over newly minted parts but it looks cool!
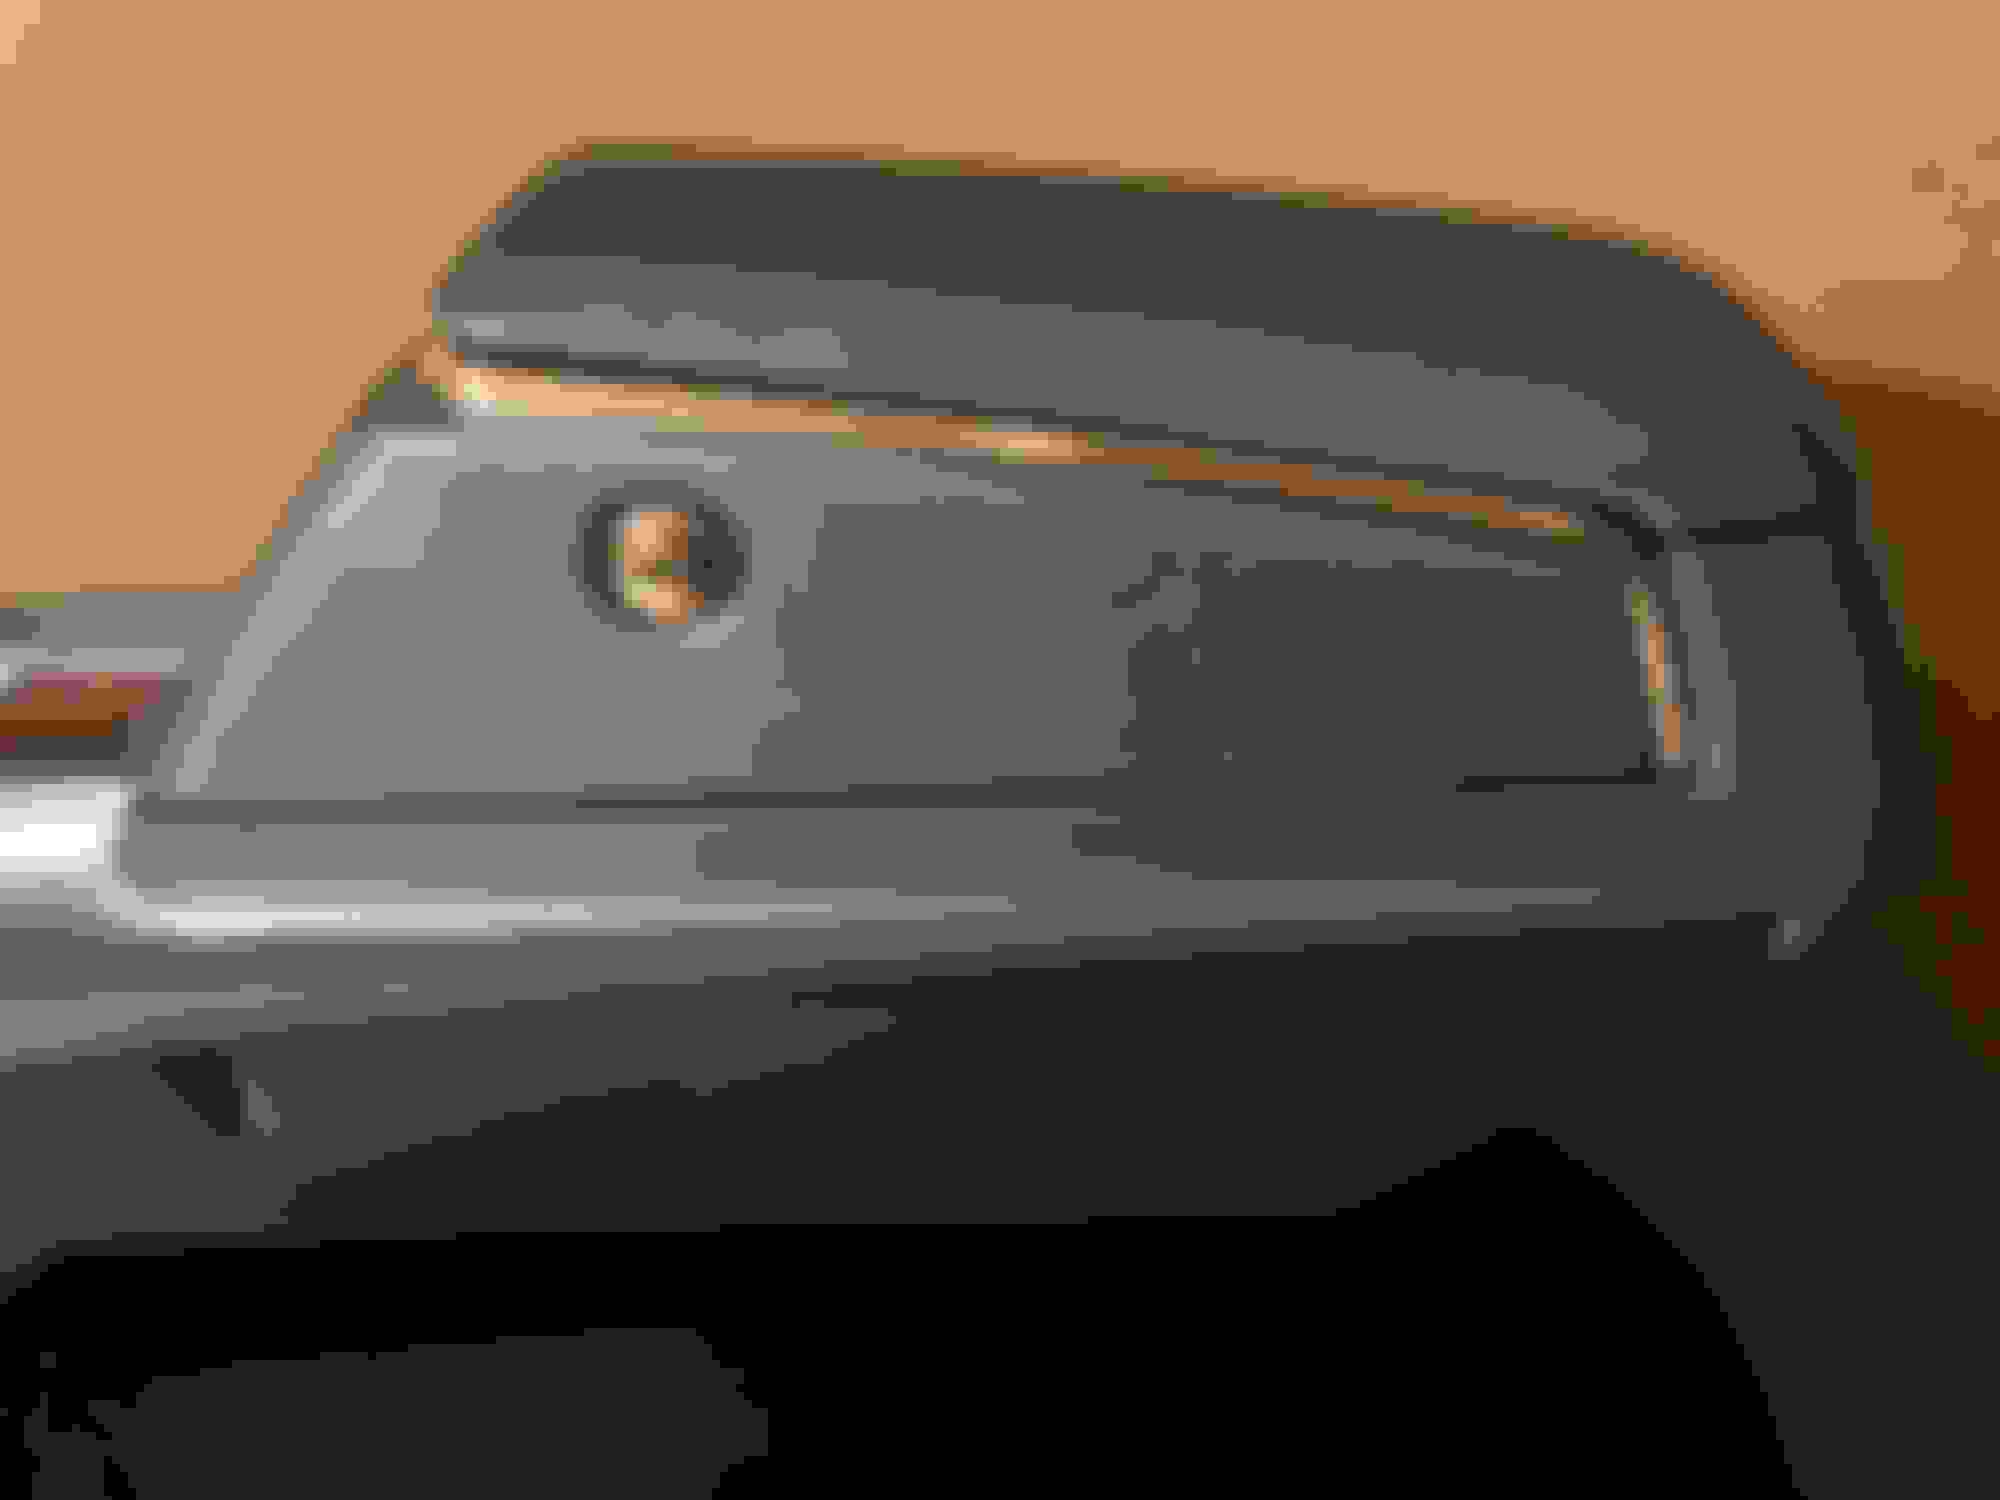
Did the original license plate holder have plastic inserts for the license plate bolt to thread into or was it a nut and bolt that holds plate on in 1970?
Did the original license plate holder have plastic inserts for the license plate bolt to thread into or was it a nut and bolt that holds plate on in 1970?
I chose not to put the plastic inserts in the plate frame. My original plate door in the rear didn't have the plastic inserts nor did the front plate bracket. I'm not sure what "correct" would be, but I'll take a flip through the PIM and see what it calls out.
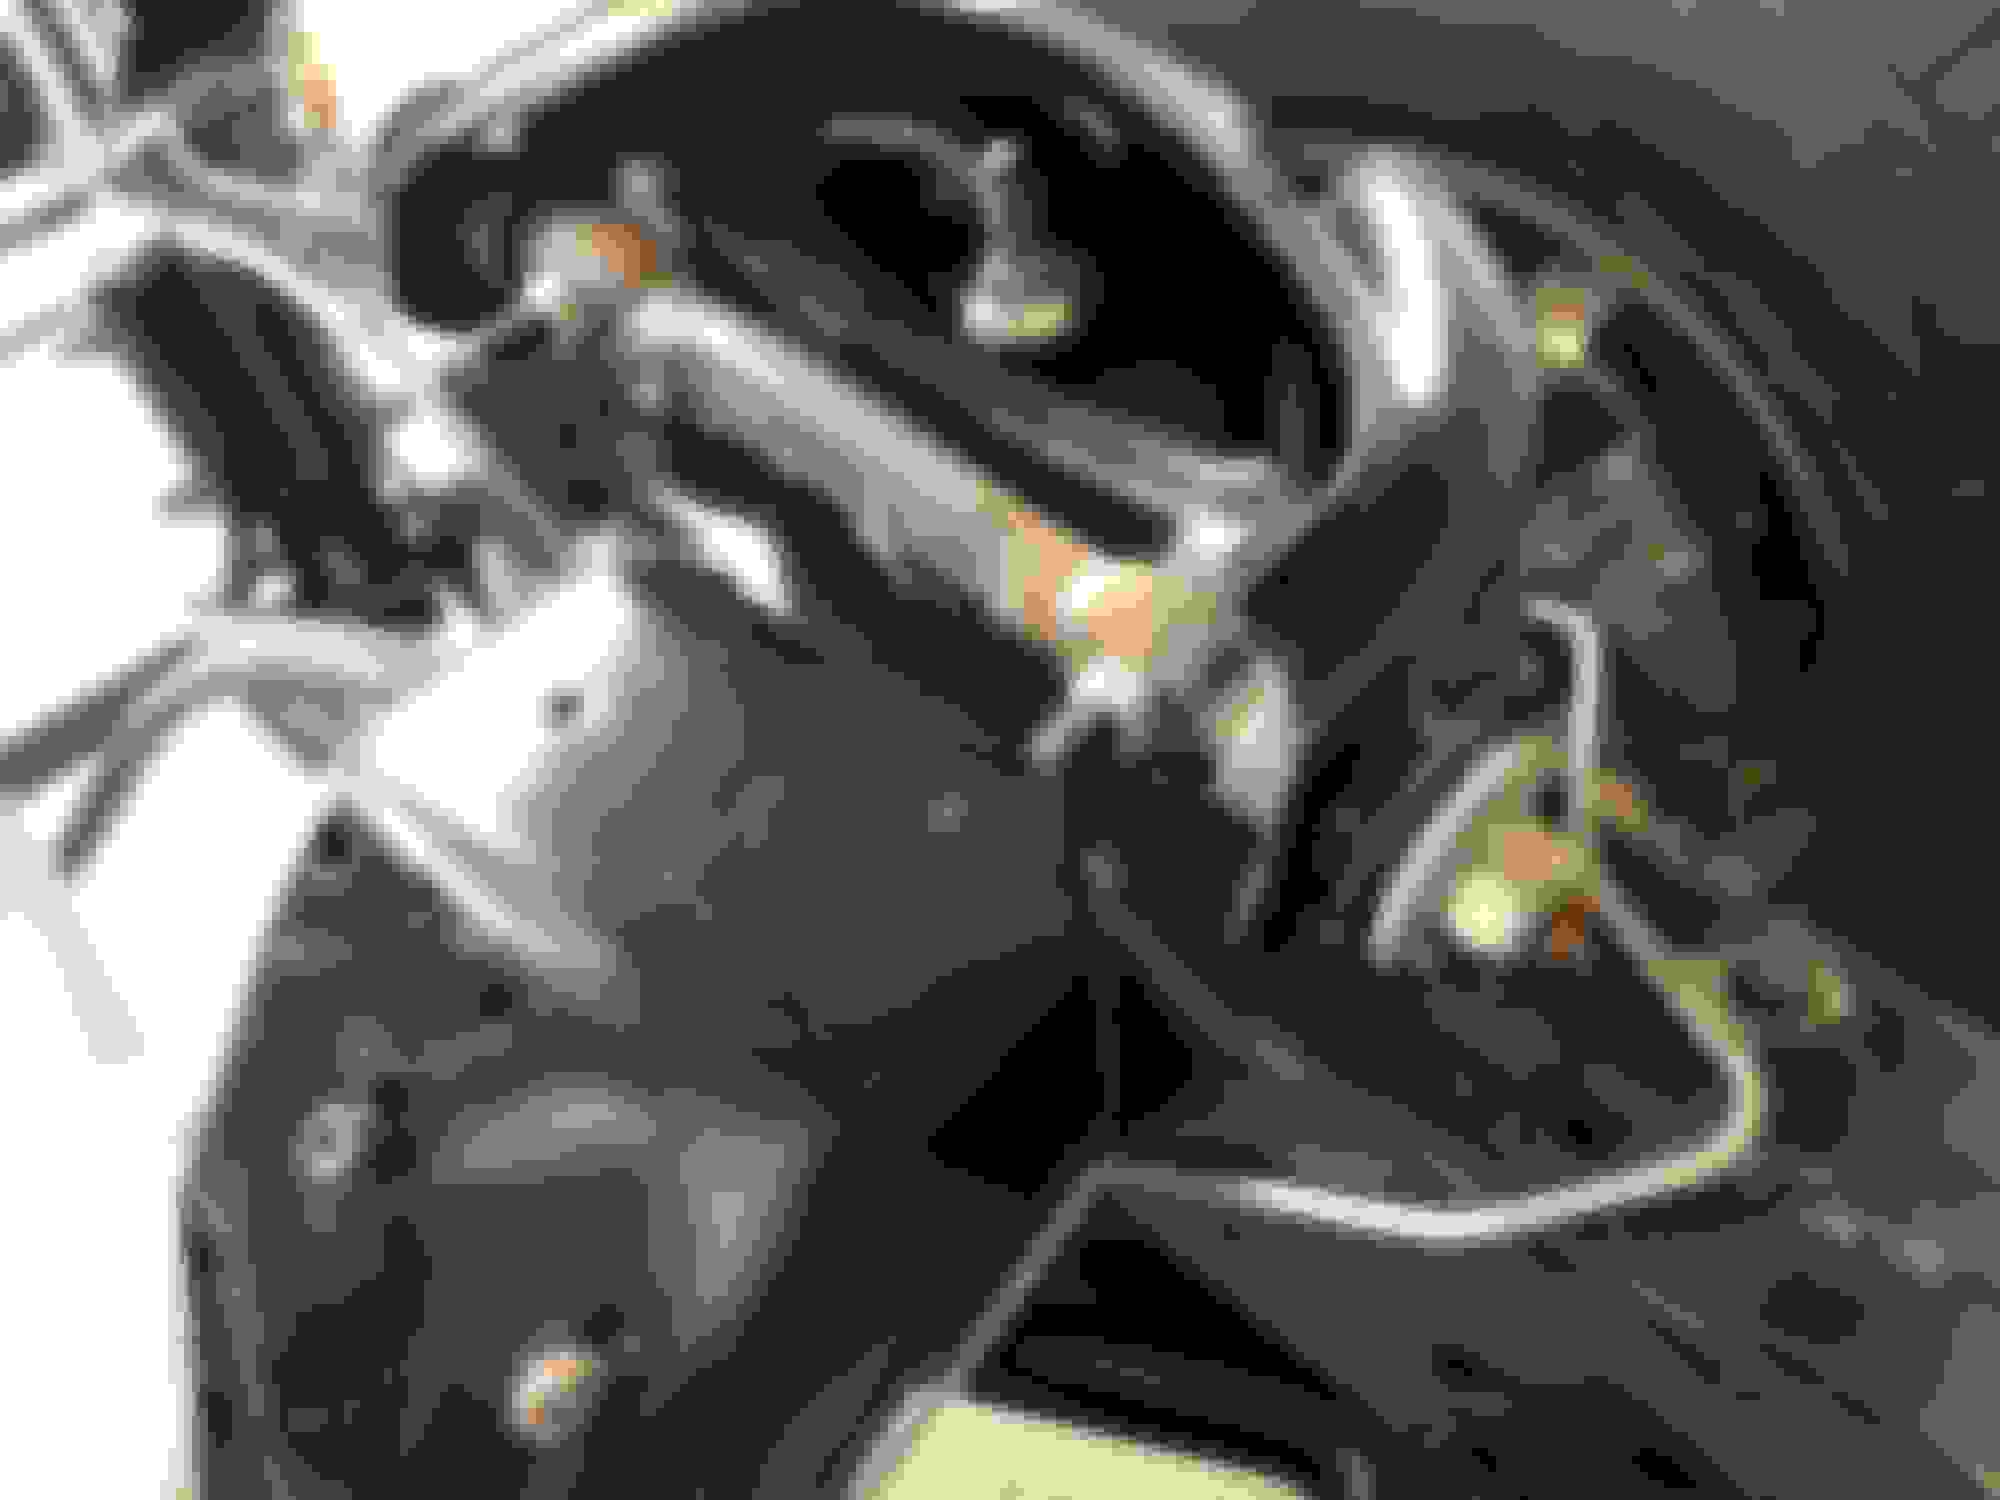
I took the hardware off the factory front fender braces. I know Olds made a change from the screws to the bolts. The change is documented in the PIM but with a May date. The hardware on my braces consisted of one screw with a nut and three bolts with flat washers and nuts. The screw looks similar to what I’ve seen on earlier production cars. The bolts and nuts I’m unsure of. Can someone with March ‘70 chime in? I know my 12A W-31 has screws for the fender brace to lower portion of the fender.
I'm inclined to think that the flat washers at a minimum aren't original since of of them is smaller than the original two. The bolts with the washers look similar to maybe the three bolts used on the trunk latch??
The PIM shows the bolts with flat washers and a nut.
5-6-70 note states that the screw was switched to the bolt.
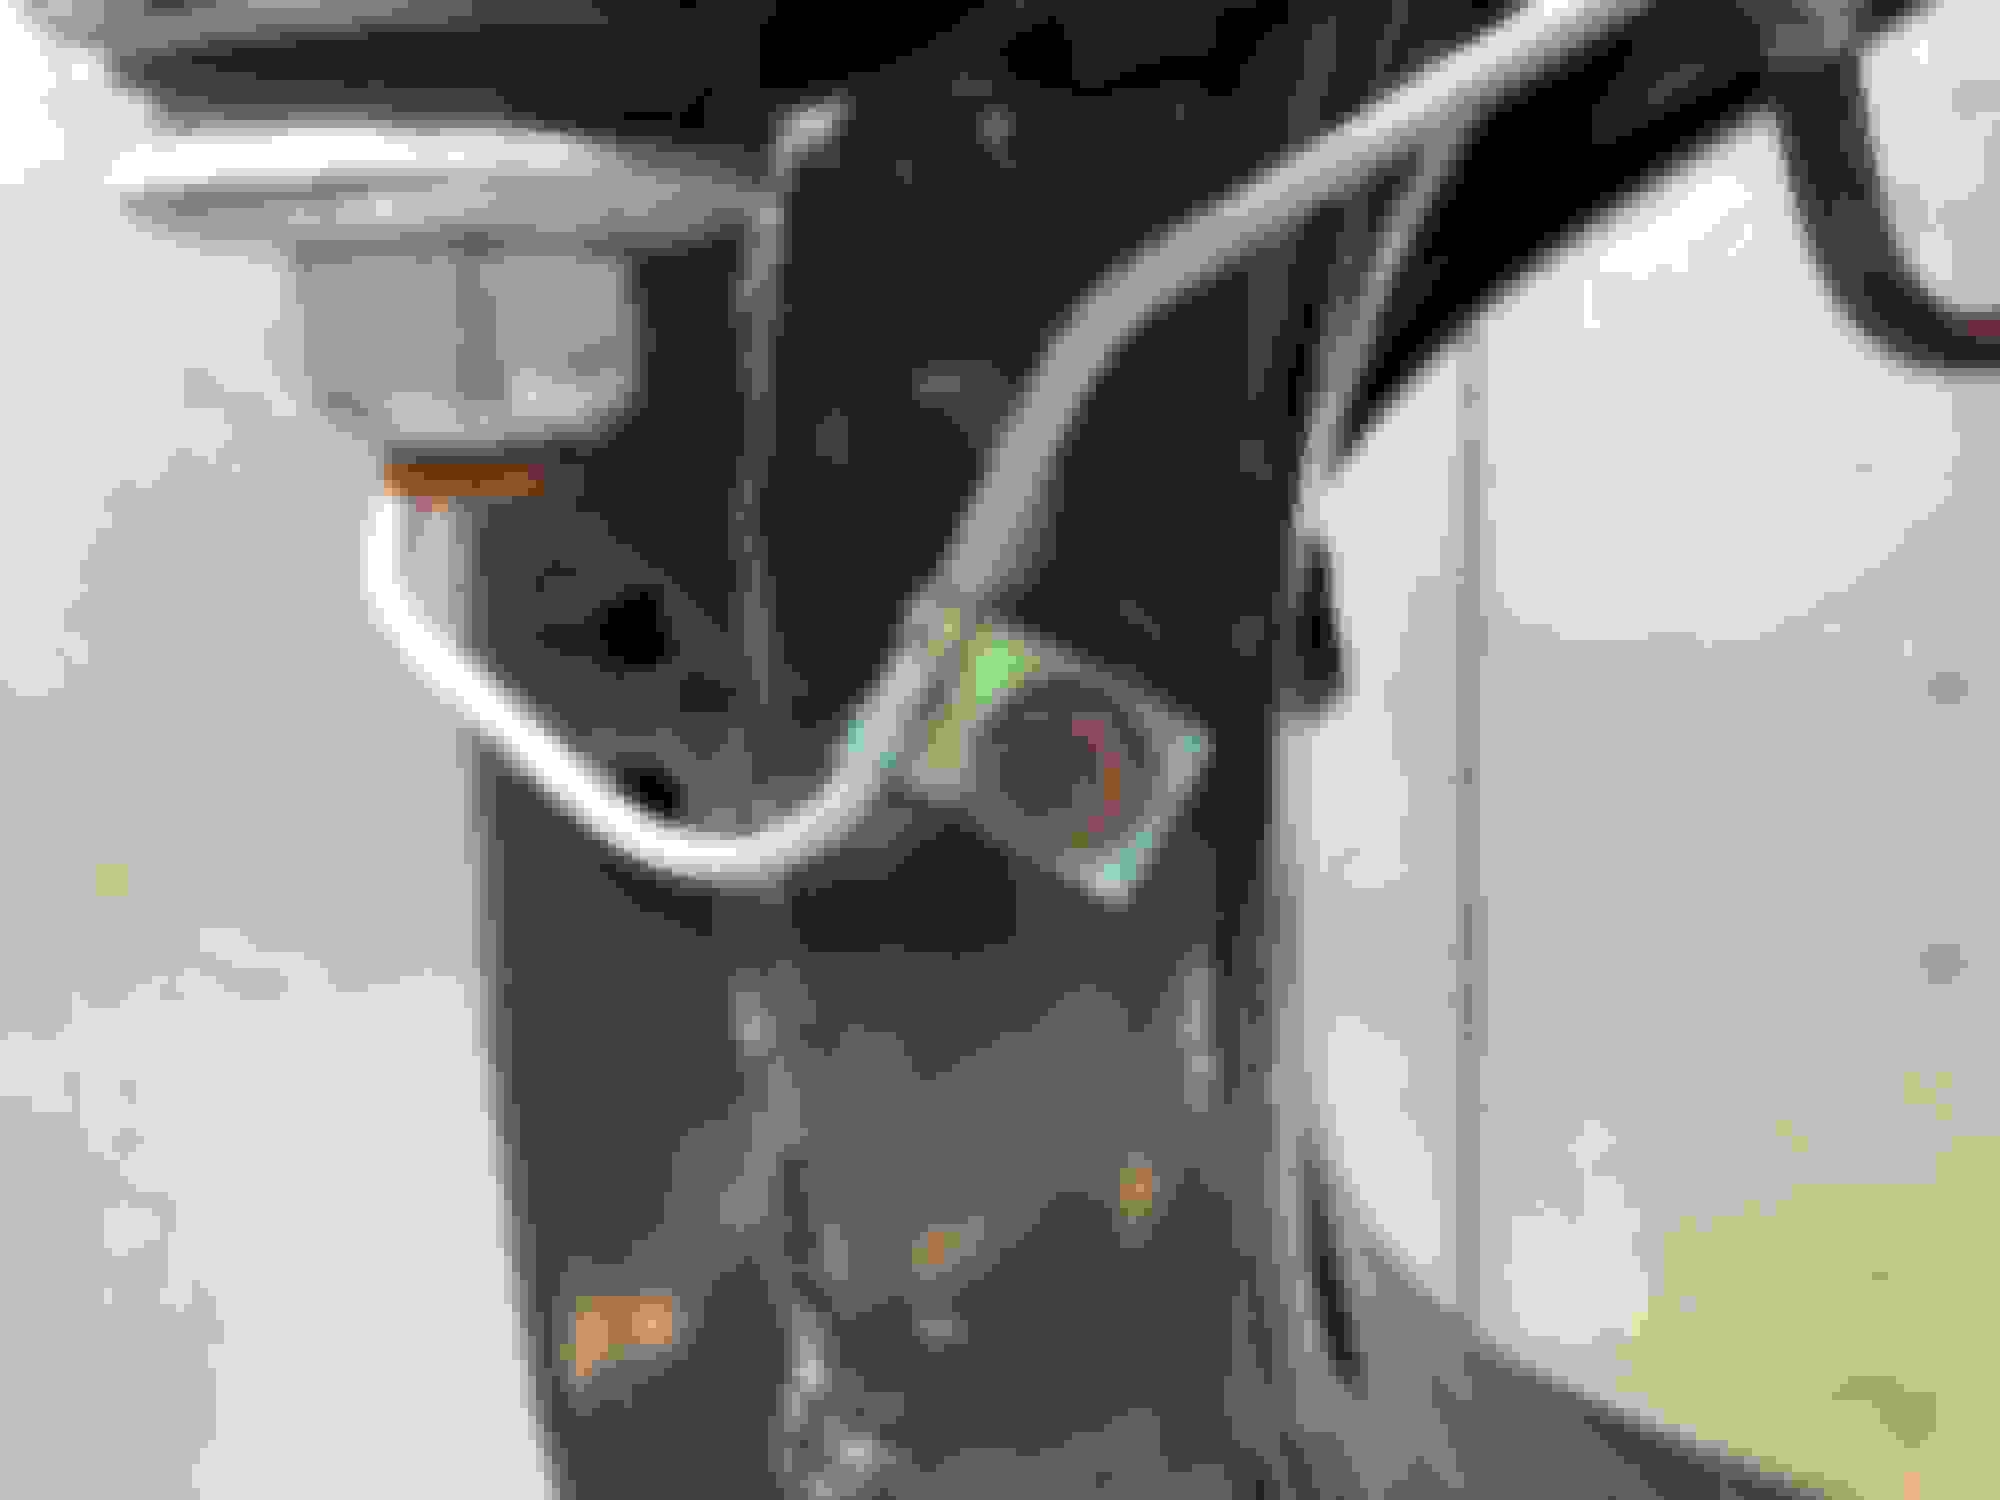
Here's the head of the bolt.
Last edited by WTHIRTY1; November 18th, 2019 at 09:29 AM.
Not knocking it because gaskets are easier, but with so much other attention to detail, why the exhaust gaskets? I was to understand that wasn't a factory item? Or was it ok for 1970?
Not knocking it because gaskets are easier, but with so much other attention to detail, why the exhaust gaskets? I was to understand that wasn't a factory item? Or was it ok for 1970?
Had an outstanding time at mcacn this year. Fortunately, there were half a dozen original W-30’s that I went through trying to determine fender brace hardware. The bottom line is that the bolts and screws are inconsistent at best. A May car had screws. A February car had bolts. A 03B car had screws. None had washers.
The plan is to pick up the rolling chassis, engine, and transmission sometime in the next few days and get them back to my garage in Chicago for the install. Instead of trying to rush everything in Michigan, I’m hoping that doing it all in my own garage lessens the anxiety a bit.
Once the chassis is back, I’m swapping the front control arms, as well as the boxed rears, and replacing them with rust free original pieces. I also want to swap out the ILT brake block for the restored original as well as swap on the NOS slotted rotors and brake pads. The chassis will head back up to Michigan mid-January to be married back to the body.
Few other recent pickups this week. Surprisingly, there was a vendor at mcacn with a few Olds parts. I had been looking for a vacuum motor with the correct arm orientation for quite some time!
Last edited by WTHIRTY1; December 18th, 2019 at 06:31 PM.
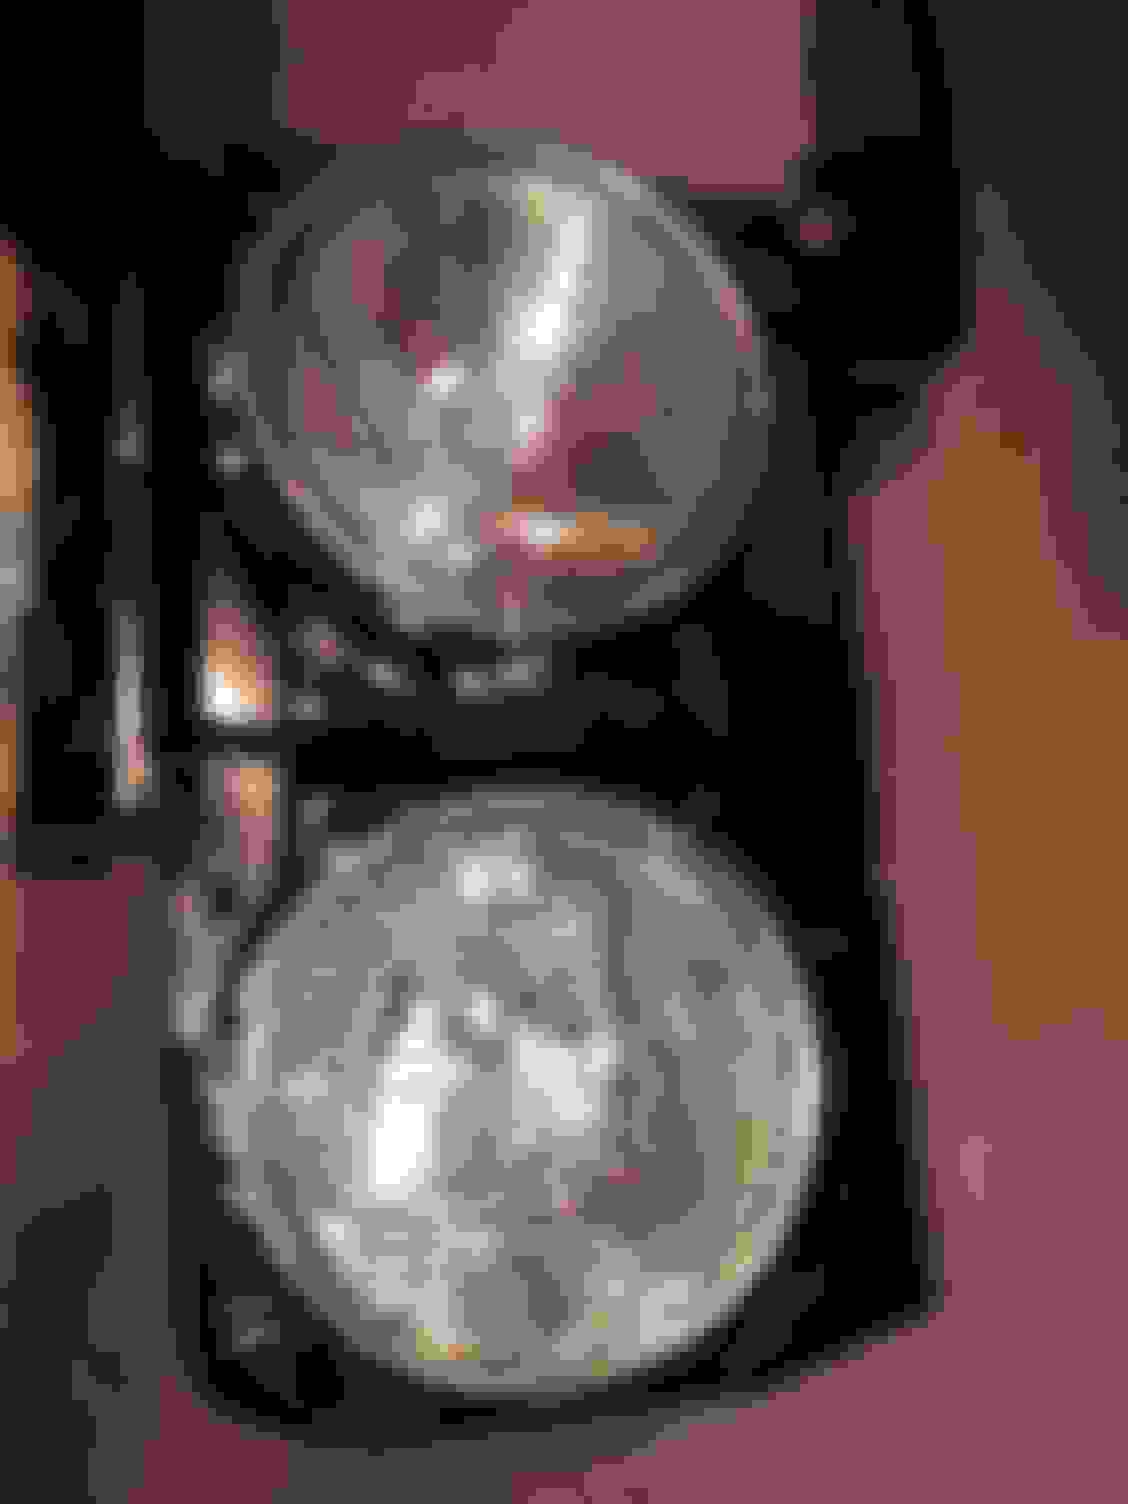
Hopeful that a short bath in Evaporust and a shot of clear on the center section will keep these looking good. The date coded original rotors off the car just don’t have any life left in them.
Last edited by WTHIRTY1; November 25th, 2019 at 12:23 PM.
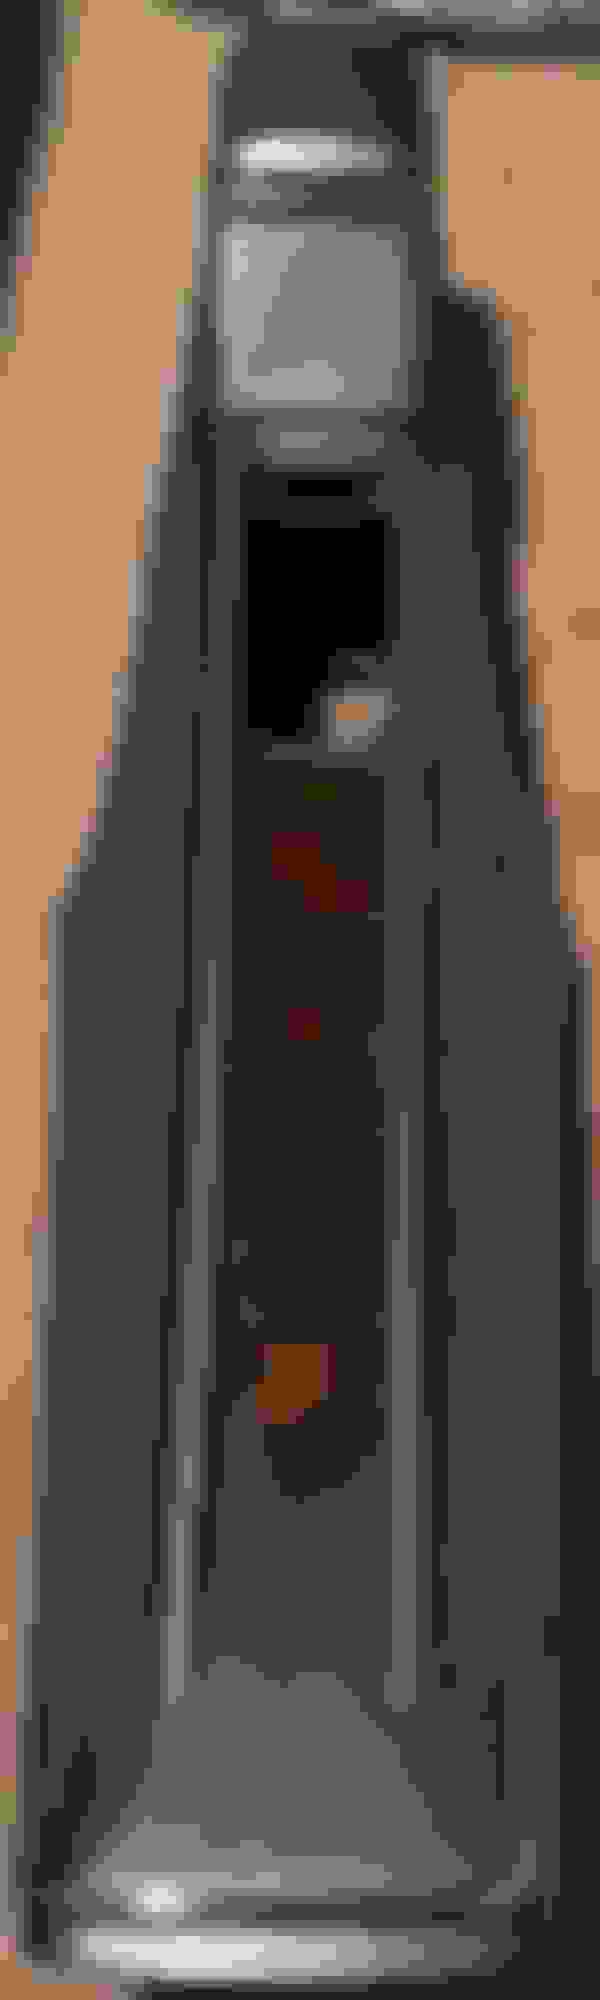
And after a few baths in degreaser, the top part of the intermediate shaft came out looking clean. Does the black piece come off? You can see the original finishes pretty clearly now that the grease has been cleaned off. I get that this likely varied from plant to plant, but for this W-31 the shaft was black, the upper portion was bare metal, and the clip is black.
Question regarding 1970 SS2 wheel bezels. While cleaning my originals, it appears the inside portion of the bezel isn’t polished like the front facing portion. Was the inside polished like the exterior? I found one NOS example, however, the pic isn’t great so it’s hard to tell.
Last edited by WTHIRTY1; November 26th, 2019 at 06:39 AM.
All I have seen are stainless steel polished only on the outside, no paint
Originally Posted by VC455
X2.
Every one I have seen has a 2B mill finish on the inside. That would be similar to a smooth satin except with a bit of luster.
Very helpful, thanks. So how would I replicate that 2B mill finish? I was thinking perhaps a fine steel wool grade 0000 for the inside. My polisher will take care of the outside portion.
Boil them in a caustic degreaser such as washing soda (sodium carbonate) and then let them cool undisturbed for a day. It should bring back the original finish. There may be a bit of residue left, which should brush off. The 0000 may give it too much shine.
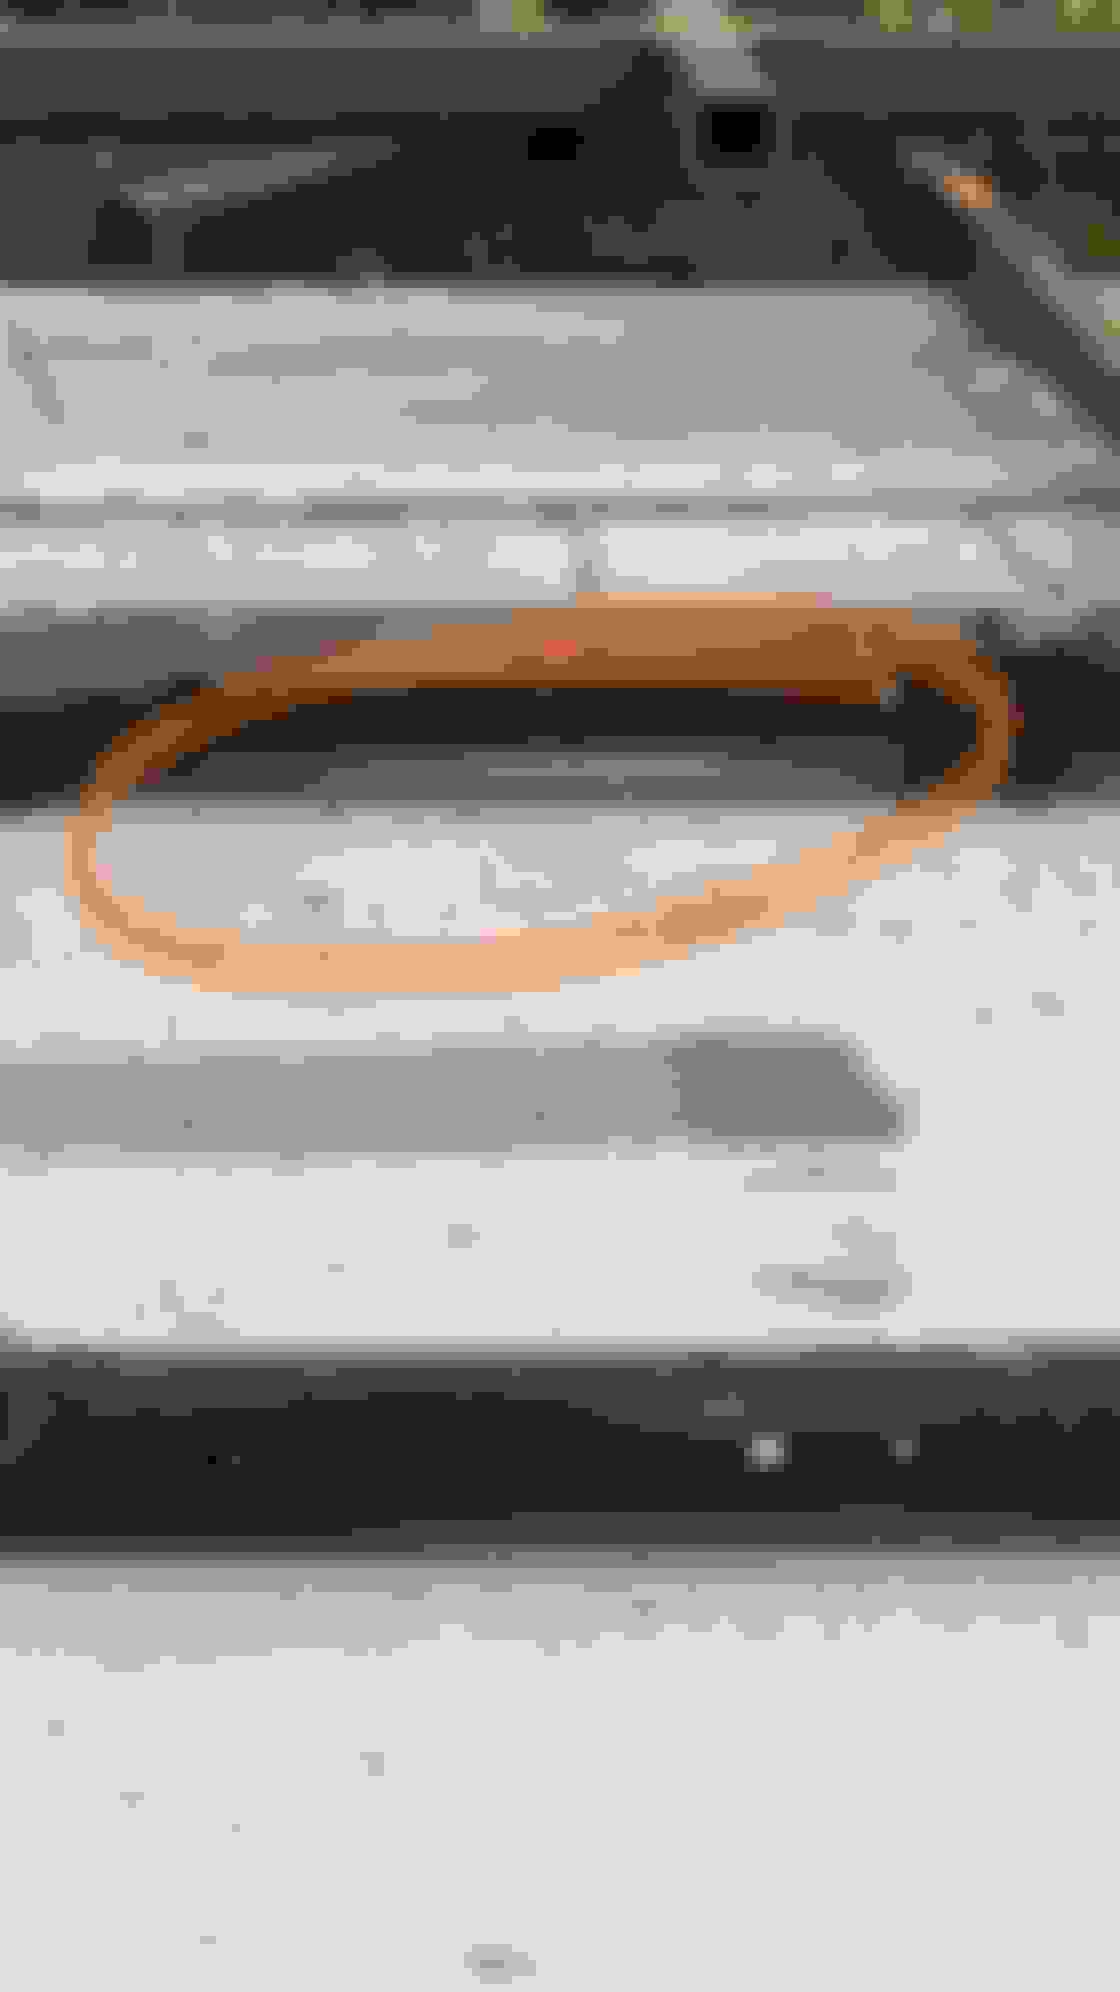
Looks like the frame on each side under the door is bent from someone putting a jack in the wrong spot. I’m hopeful that can just be bent back.
Had my friend pick up the rolling chassis from Bob’s and bring it back down to Chicago with the engine and trans. I figured it would be easier to assemble on my own time versus making several pit stops up to Michigan.
I have some serious work cut out for me on the chassis. I’ve learned the hard way that a bath in Evaporust to remove heavy rust actually eats away at the phosphate coating. The bulk of my hardware over the last year flash rusted pretty bad. I don’t believe I was using Boshield at the time I reassembled the frame. Because of my OCD, I opted to disassemble the entire rolling chassis. I had already planned to swap arms in the front since the powder looked terrible over the pitted metal and I scored NOS upper and lower ball joint. Now, I’m using this as an excuse to scuff the entire frame and respray it with Eastwood chassis black. The powder is a great protectant but doesn’t give that “factory” look I’m going for. The plan is to get it all assembled by mid-January with the engine and trans and back up to Bob’s for the body to drop back on.
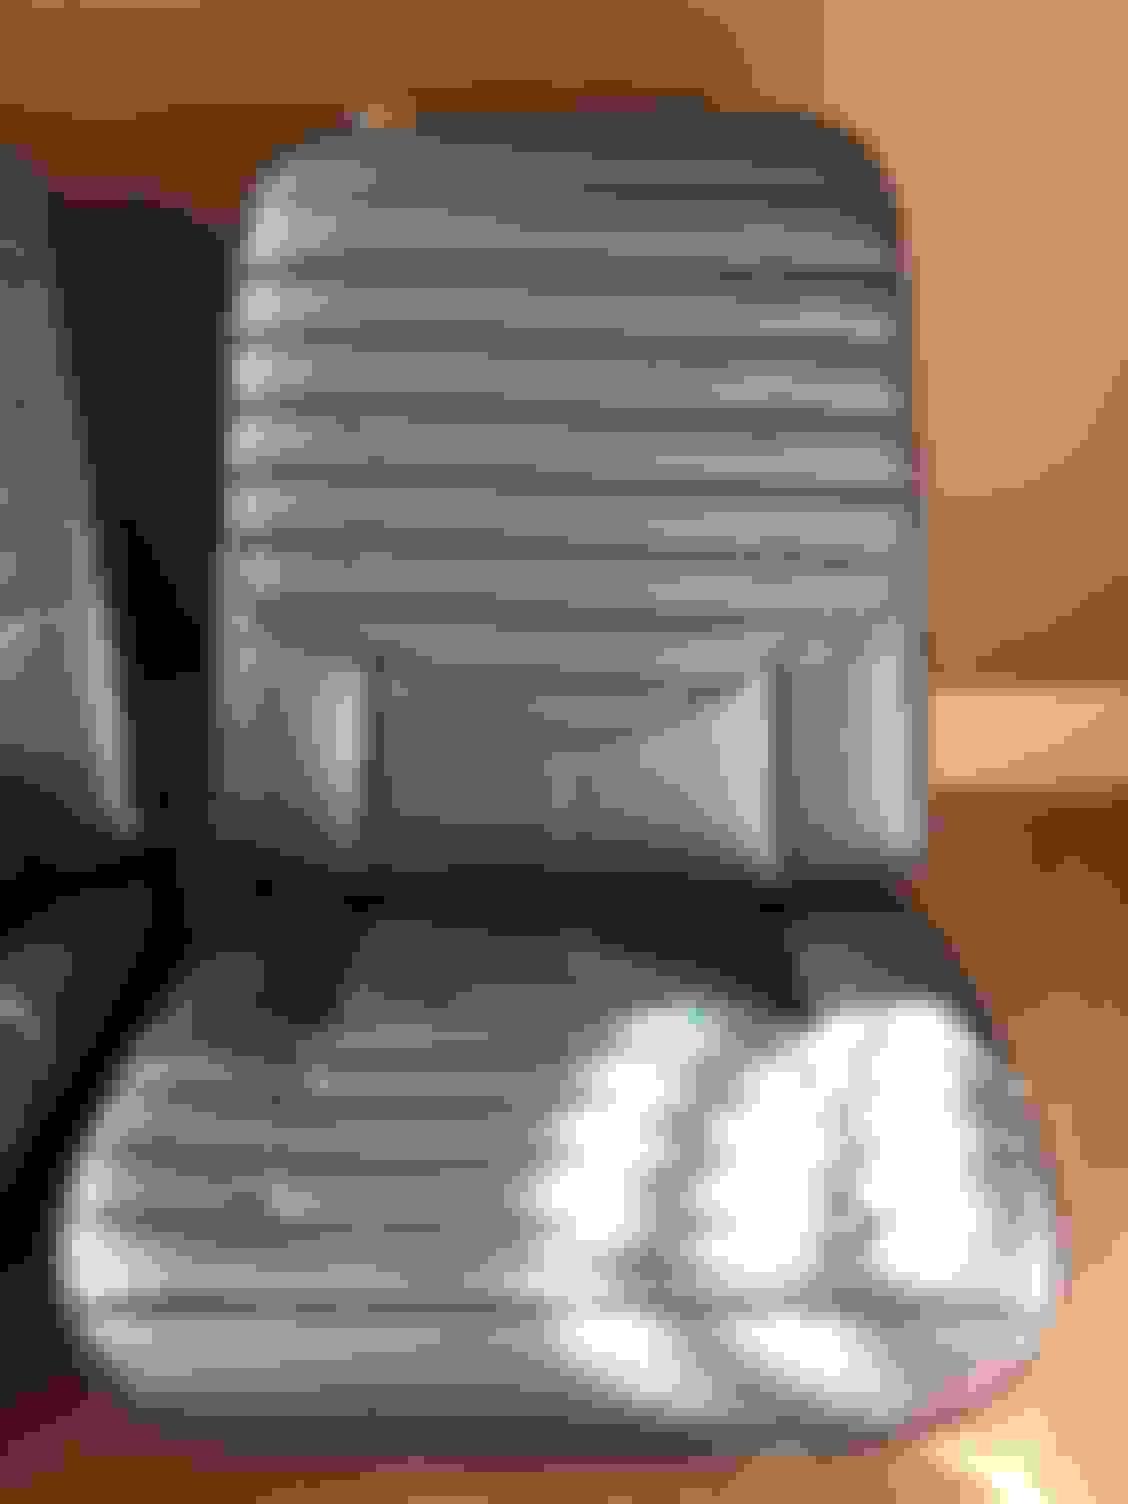
The seats are finished and turned out great! We used burlap material to get it as close to the originals as possible.
One step forwards and three step backwards but I’m still being optimistic!
Scored an NOS sleeve and had a few rubber seals in my stash of parts.
Thanks to Fred on hooking me up with the NOS exhaust flanges. Silly me also managed to misplace the original trans dipstick. I think when I had the trans cleaned up, we removed it to get it in to the blasting cabinet (don't worry, pre rebuild) and forgot to grab it afterwards.
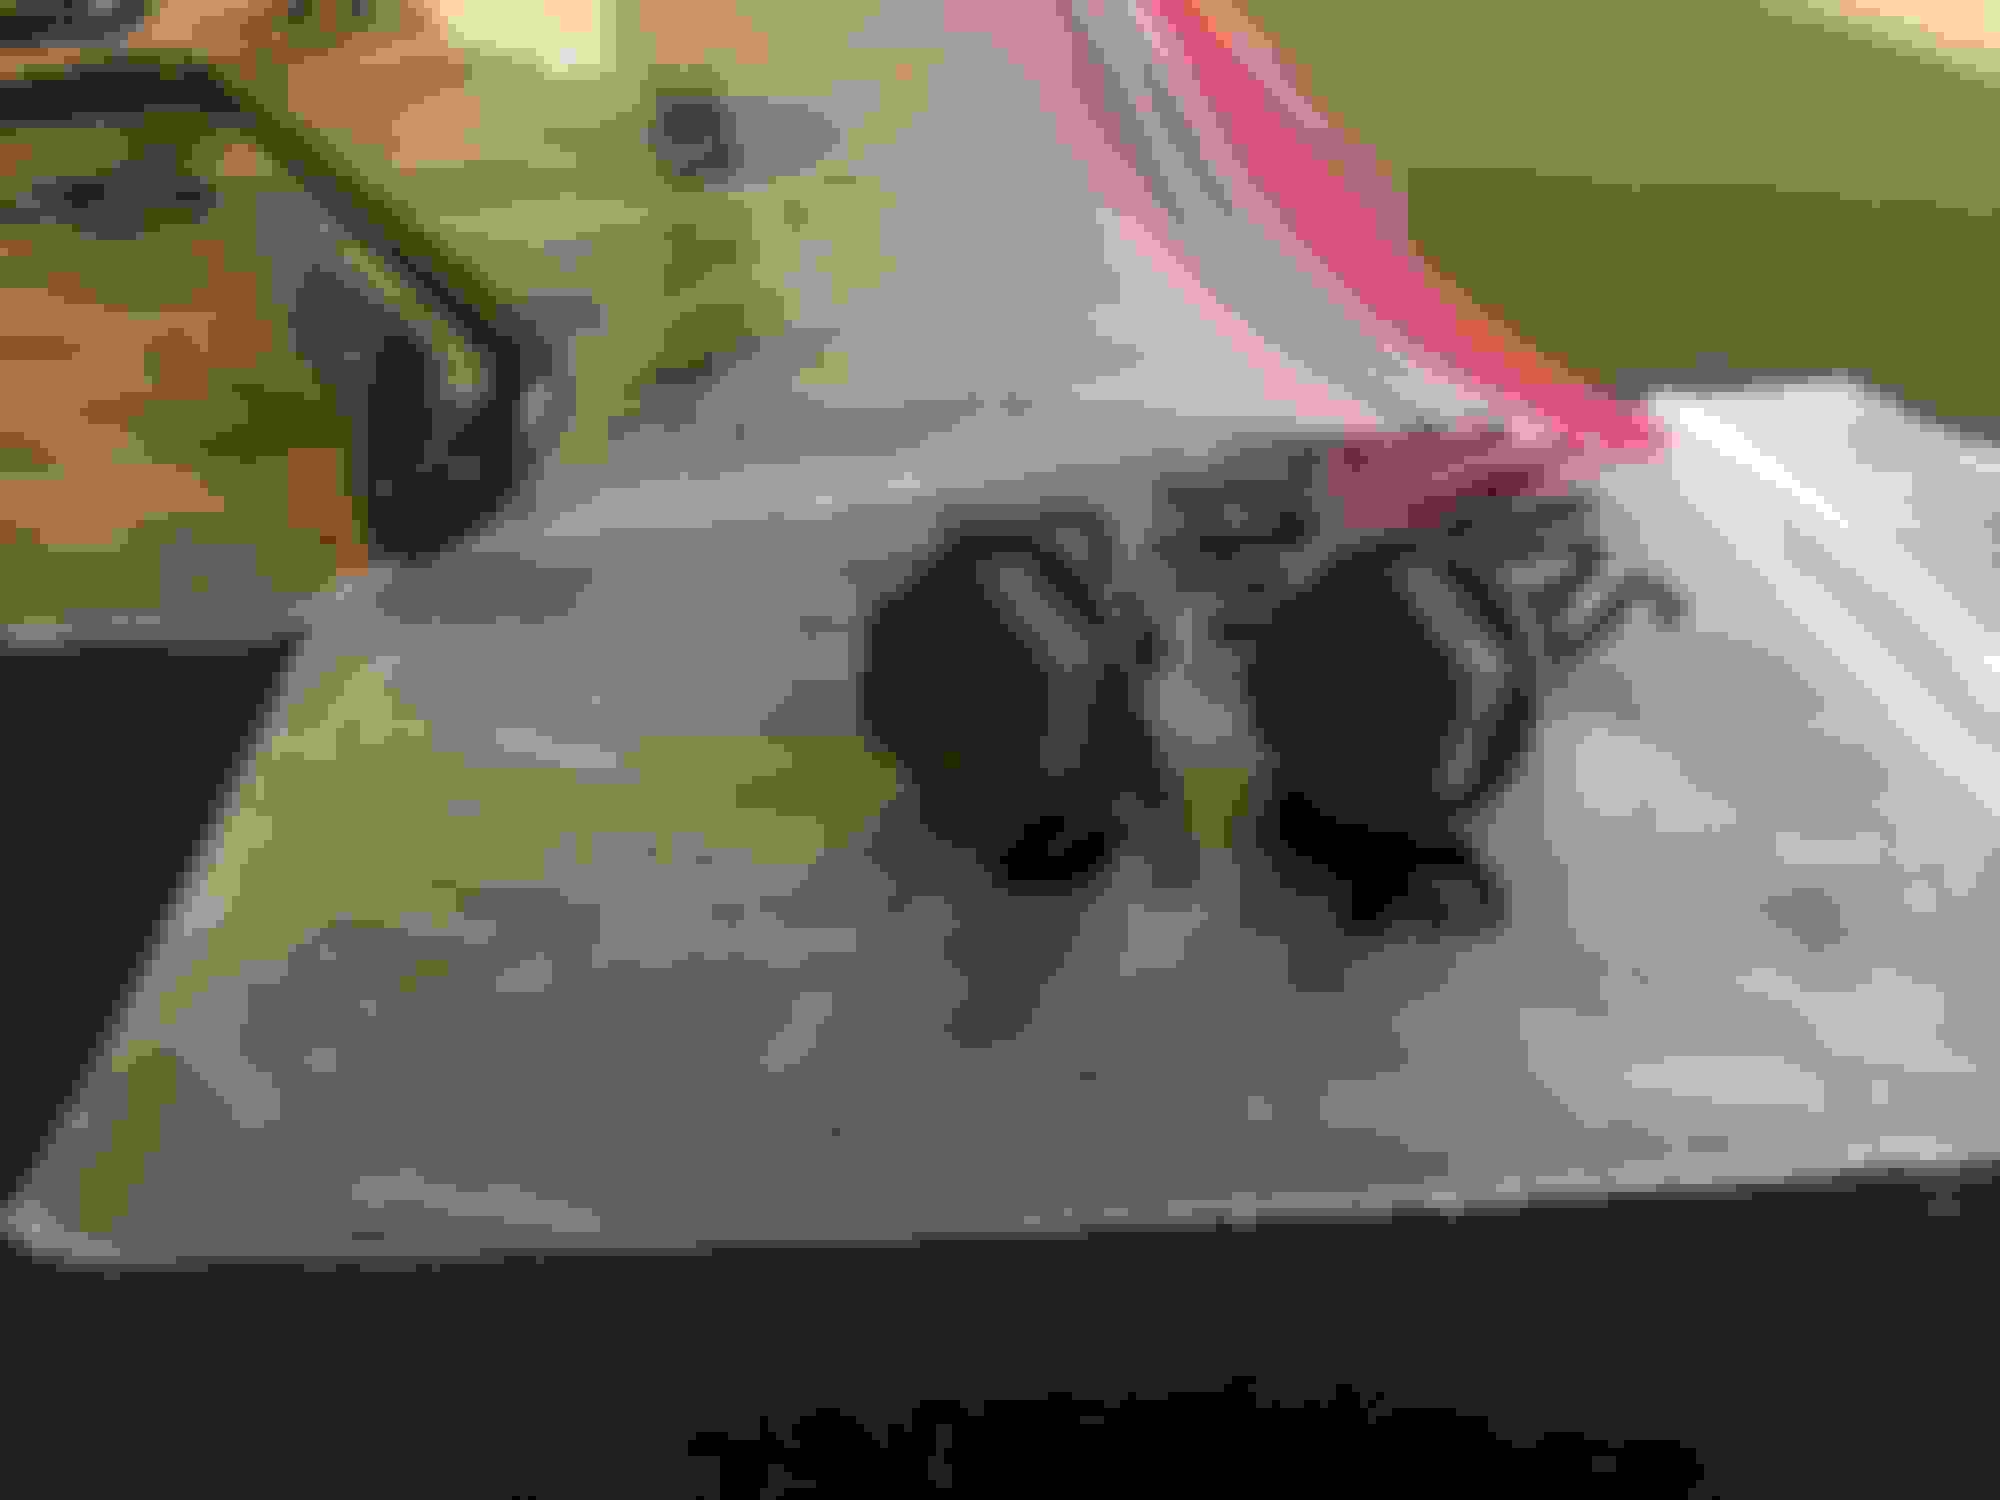
You can see the flash rusting on the arm shafts. I'd recommend painting them. I stripped them to bare metal, cleared them, and they rusted under the clear. Next time, I'll take the advice of others and dab a little Testors clear on the end of the shafts.
What happened to the bolts here, from what I can recall, is that they stayed in Evaporust entirely too long. The original phosphate finish was eaten away.
The green grasshopper clips didn't do too well, either. Fortunately, I think they can be cleaned up.
Restored bucket seats with covers from Legendary. The original headrests look good against the blue despite the covers being just a shade darker than the original light blue material. I'll leave the headrests as is since they cleaned up well.
New foam from Legandary, too.
Recovered as close to the original with the burlap and foam.
"NOS" Anchor head bolts for the top of the core support. These bolts have a more traditional grey phosphate look to them which I like. I know the point of phosphate is to absorb the oil and protect the finish, but once you put Boshield on the hardware, that grey turns to a "wet" black look.
The back of the core support with the headlight assembles installed.
Pretty pleased with how this turned out. Truthfully, powdercoat on a pristine piece of metal doesn't look all that bad.
Here's a shot of the frame where it's bent at the bottom. I've done my homework on this, and in talking with others, I should be able to put an I beam on each side and with clamps / big *** pipe wrench bend that section back down. We'll see. If anyone in the group has any suggestions, I'm all ears.
Last edited by WTHIRTY1; December 17th, 2019 at 02:59 PM.
Beautiful Beautiful work also welcome to the OE restoration world like you said 1 step forward 2 or 3 back .You still going to race it?
My 2 cents I am saying this with great respect for you.I do a resto like you and once it is done I will drive it.I live about 5 hrs from Lake George
Once I finish the car I it drive down to the show .We are a groupe of 4 or 5 each year.I love the comments I get from all the purist that start from I am a mental midget to dum frog
Also the Adirondack Nationals is not a judged show.We have a great time Saturday MARGARITAS outstanding.
Again this is not a barb toward the fantastic work you are doing
Have a great day
Alain
I’ve learned the hard way that a bath in Evaporust to remove heavy rust actually eats away at the phosphate coating. The bulk of my hardware over the last year flash rusted pretty bad.
I've not used Evapo-Rust so I don't have personal experience with it. But I'm commenting because I've used POR15 Rust Remover extensively. When steel or iron comes out of a POR15 Rust Remover bath it has a phosphate coat. I've never had flash rust problems with any of the pieces I've done. The downside for you would be that the phosphate gives a gray color and that may not be what you want in some instances.
Just letting you know so that you have an optional method that will work in certain circumstances.
 November 4th, 2019, 07:03 PM


 Beautiful Beautiful work also welcome to the OE restoration world like you said 1 step forward 2 or 3 back .You still going to race it?


