When you click on links to various merchants on this site and make a purchase, this can result in this site earning a commission. Affiliate programs and affiliations include, but are not limited to, the eBay Partner Network.
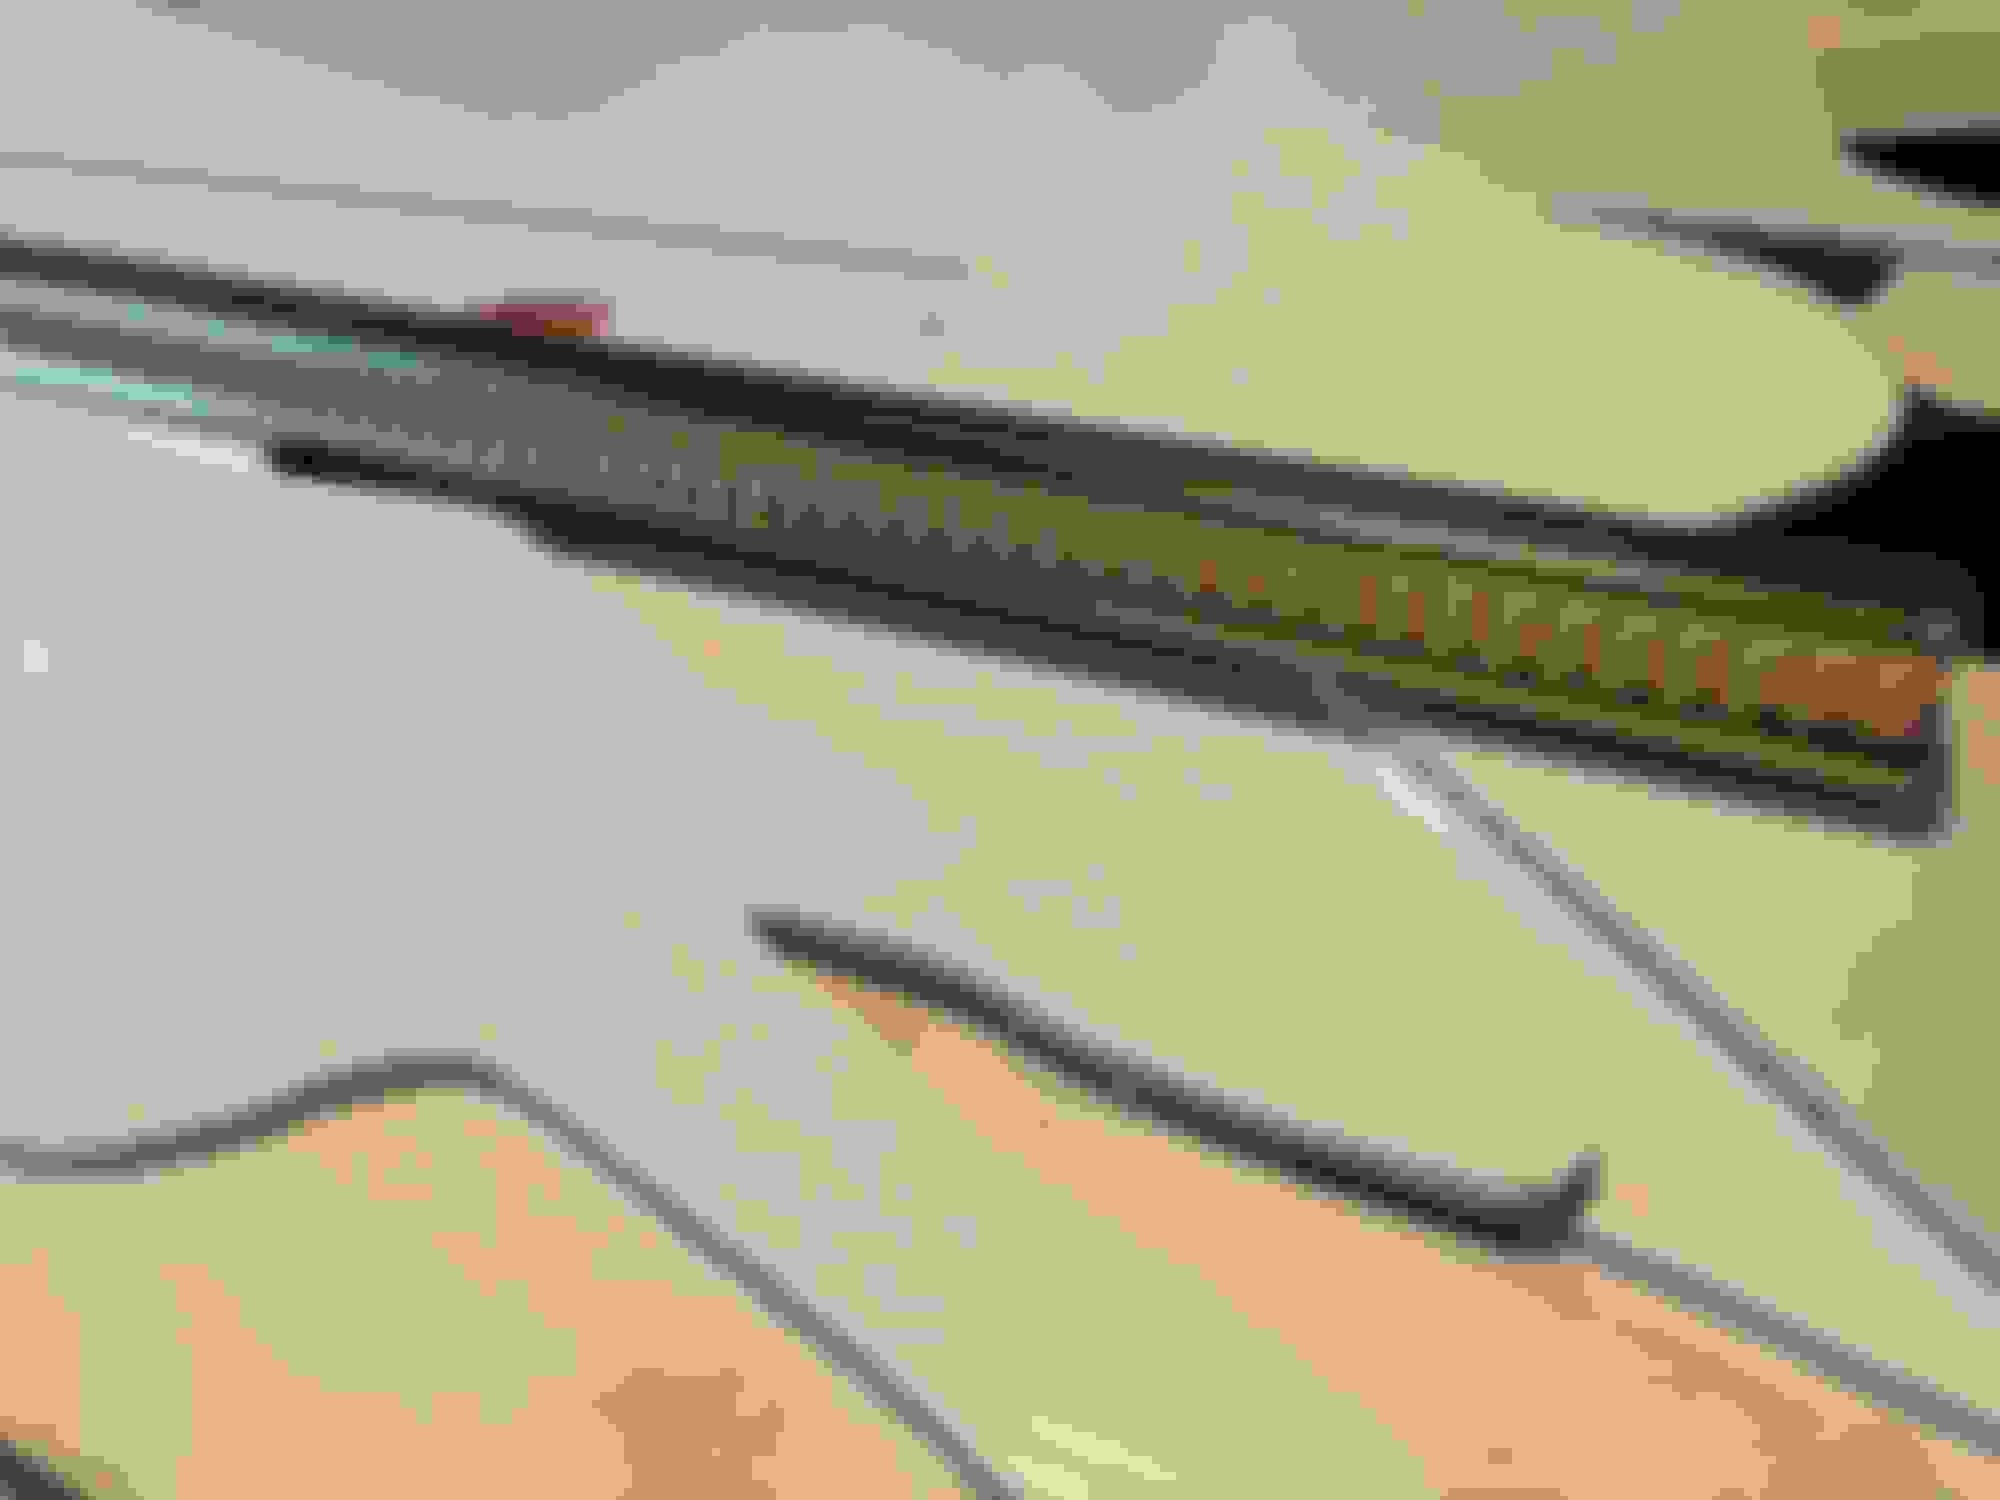
Looks similar to what I had to do on one of my quarters recently. I wanted to save as much original sheet metal as possible as looks you are trying to do. So I just replaced the lip where metal was thin with a repro patch. I chose to cut it back to a flat spot on the quarter to avoid messing with the curve on the edge. This is a pic before grinding the welds. Came out real good. Lots of effort to fit the patch in though.
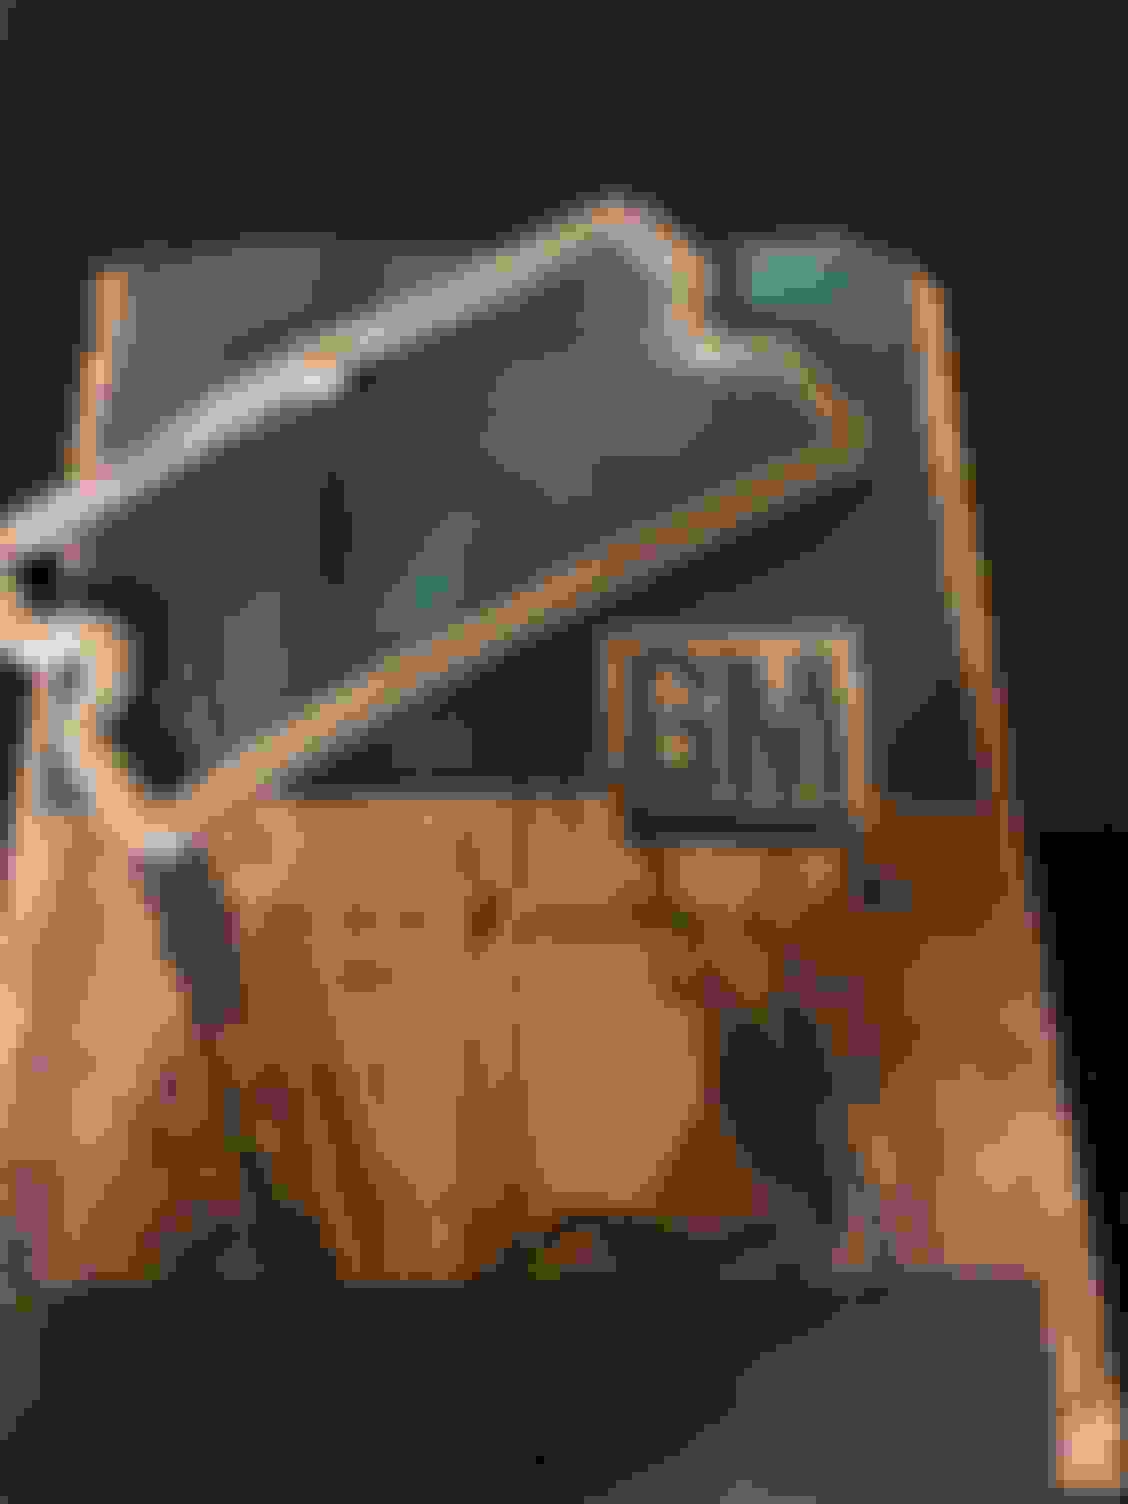
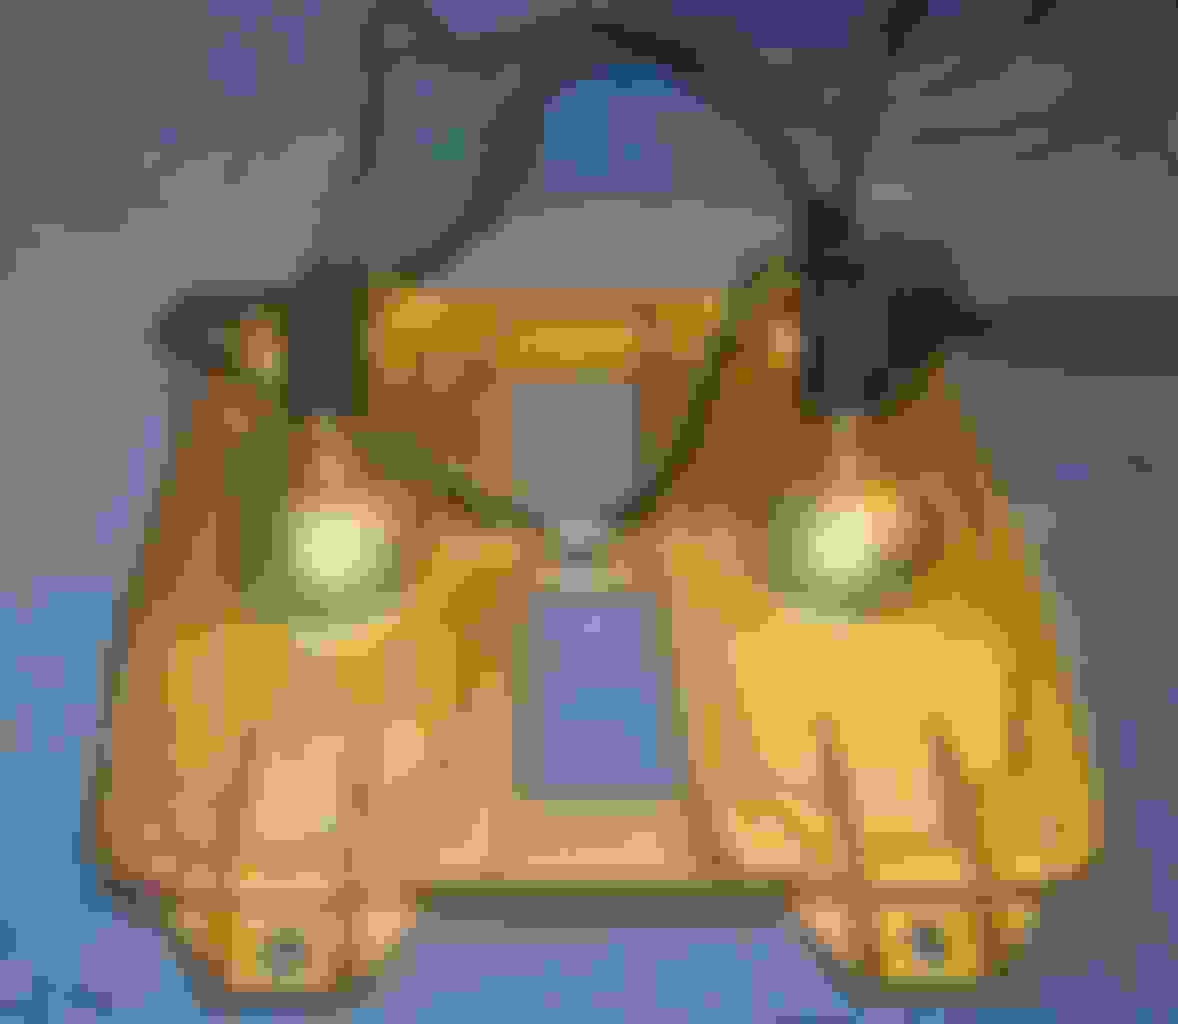
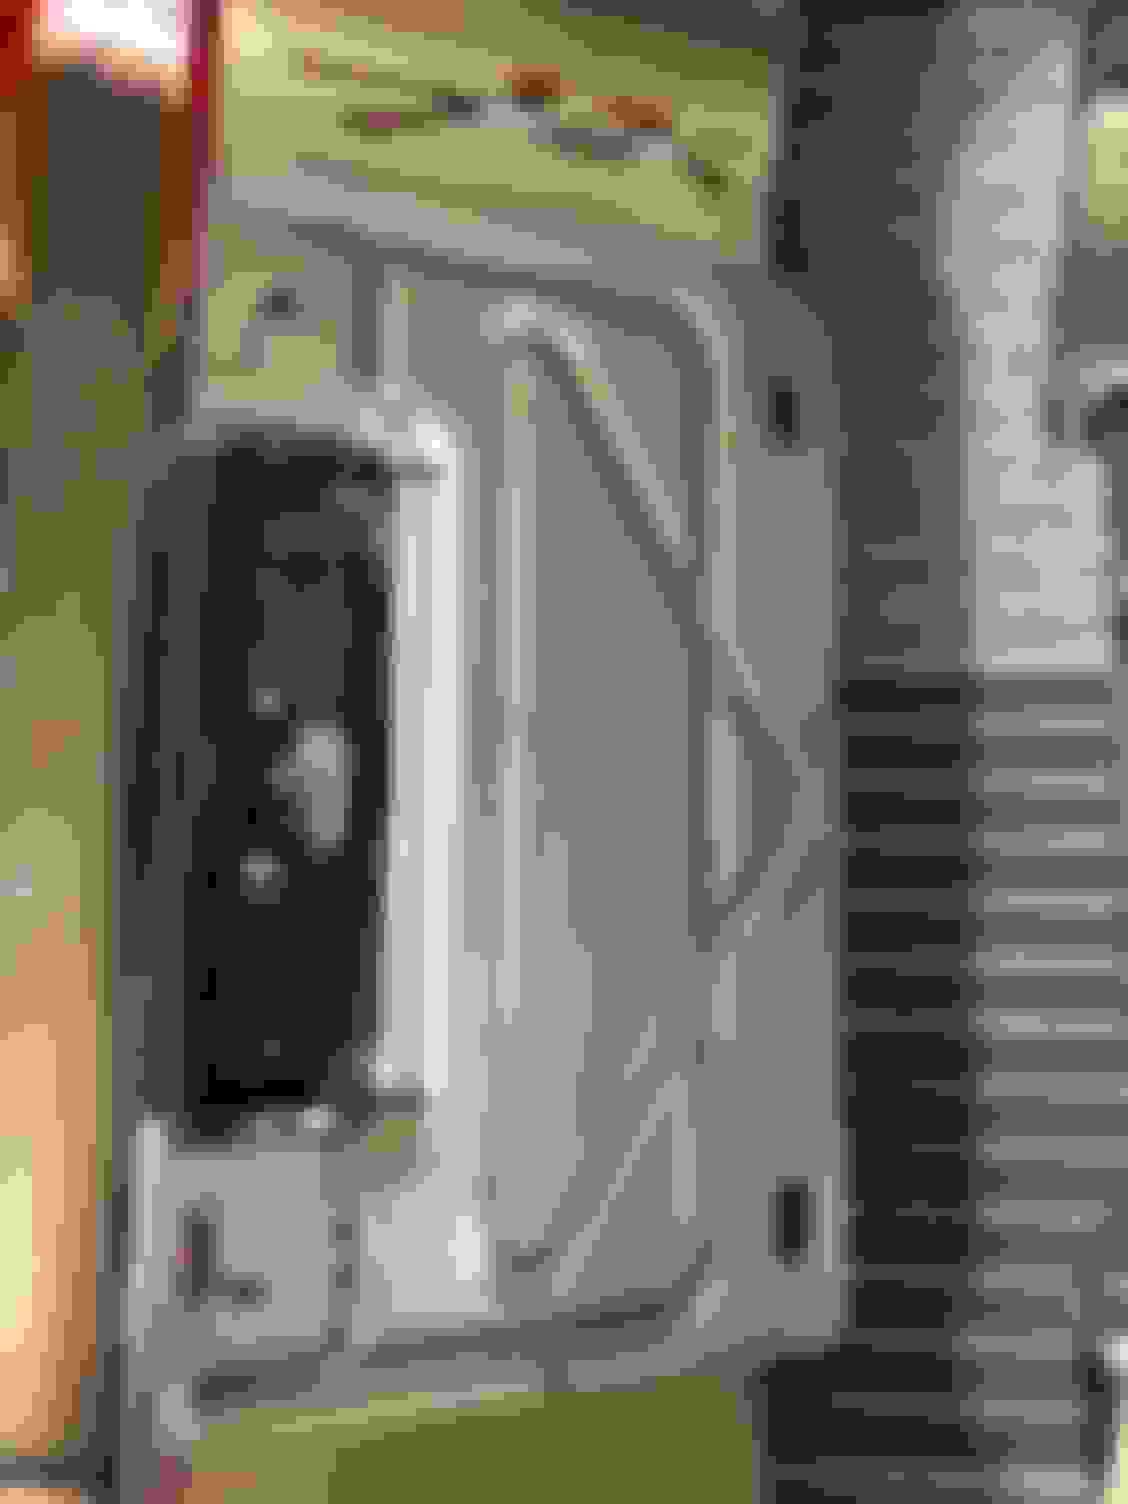
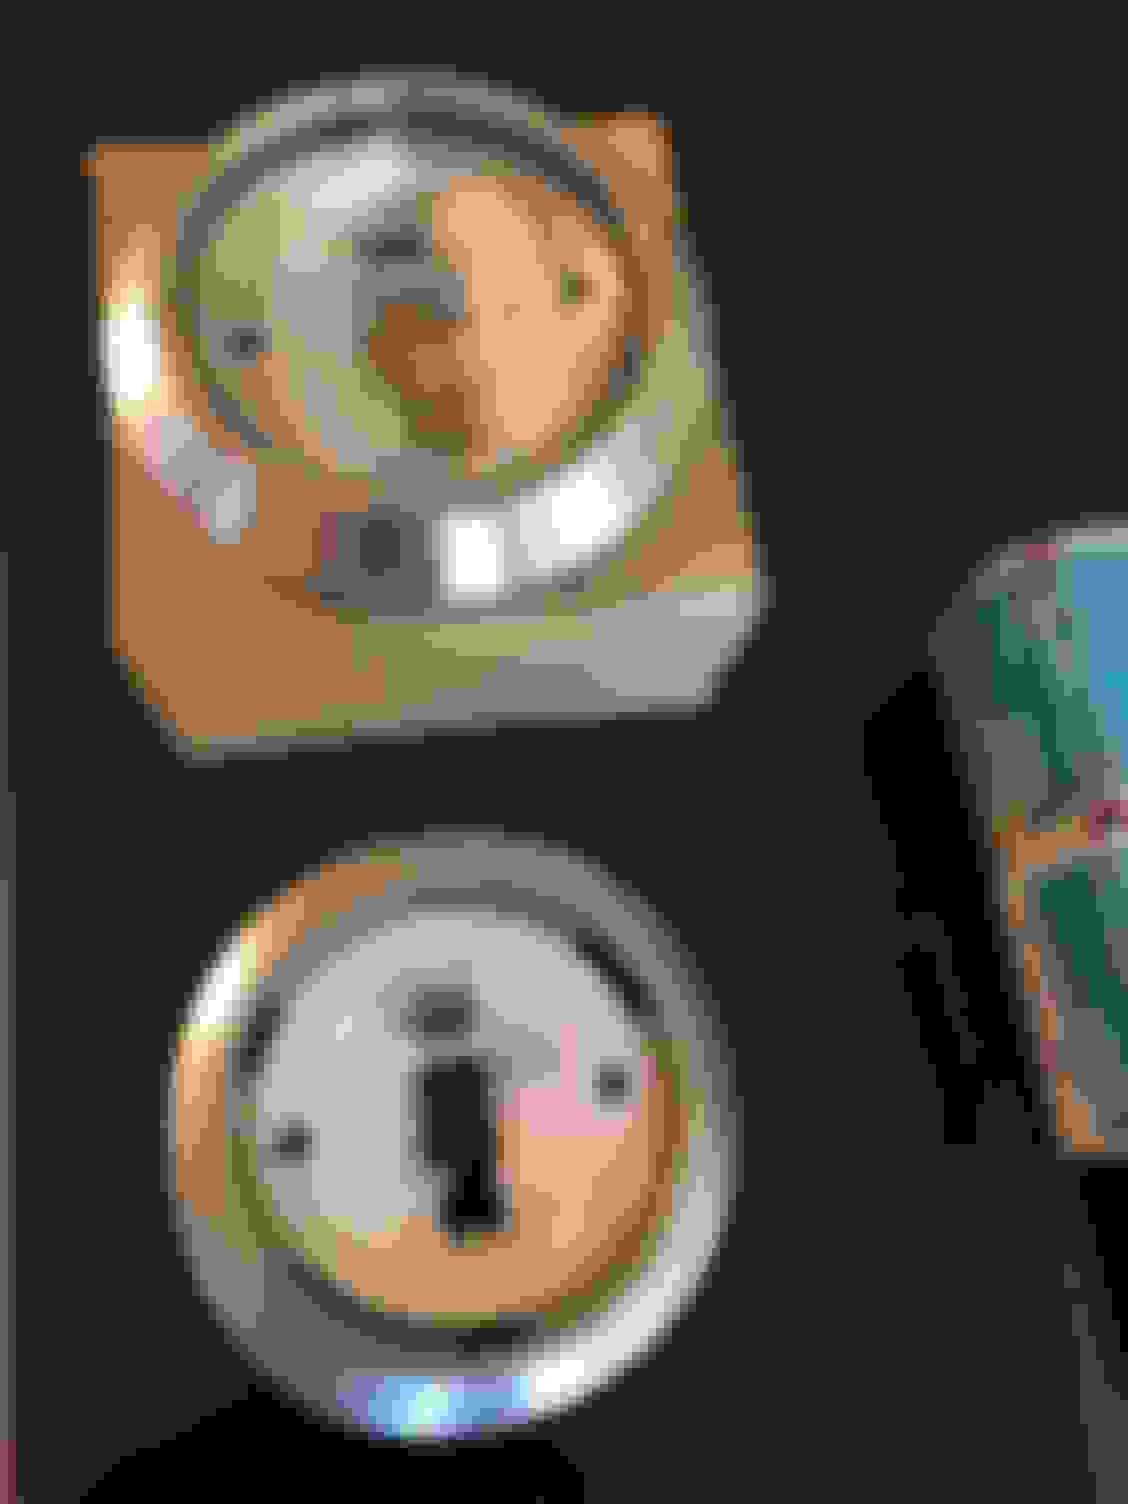
Getting ready to assemble the front door panels. These are the only two original emblems that�ll remain on the car. Soft bristle toothbrush and some TLC. There�s a tiny red spot that is missing but they�ll get the job done. The paper cardboard backing stuck to the retainers so I scrubbed that off, too.
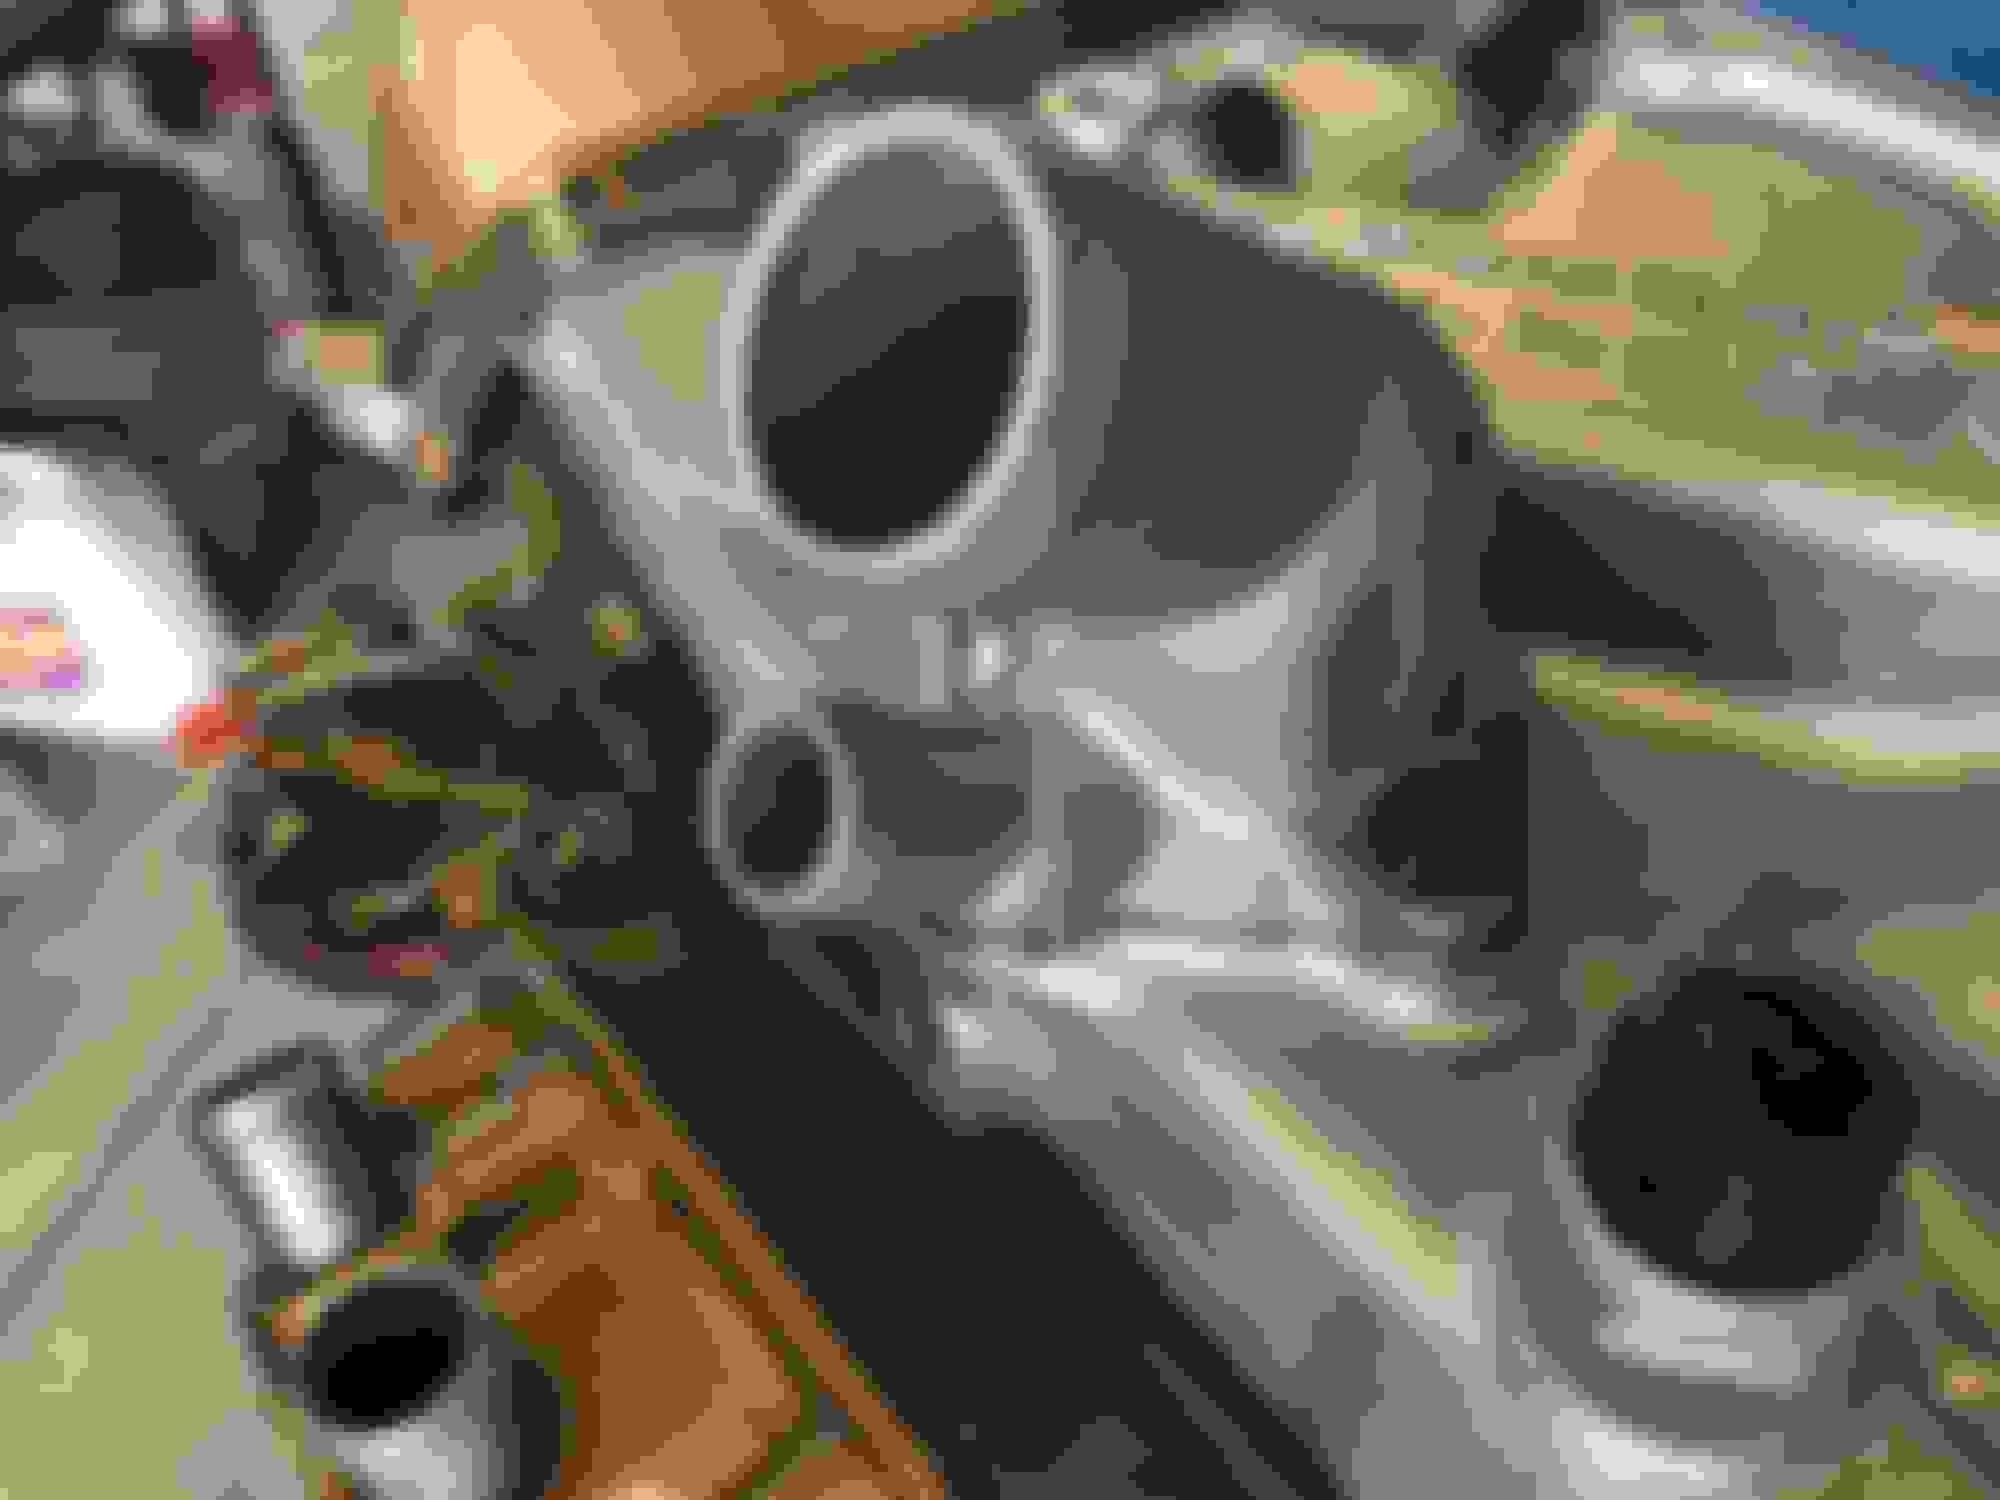
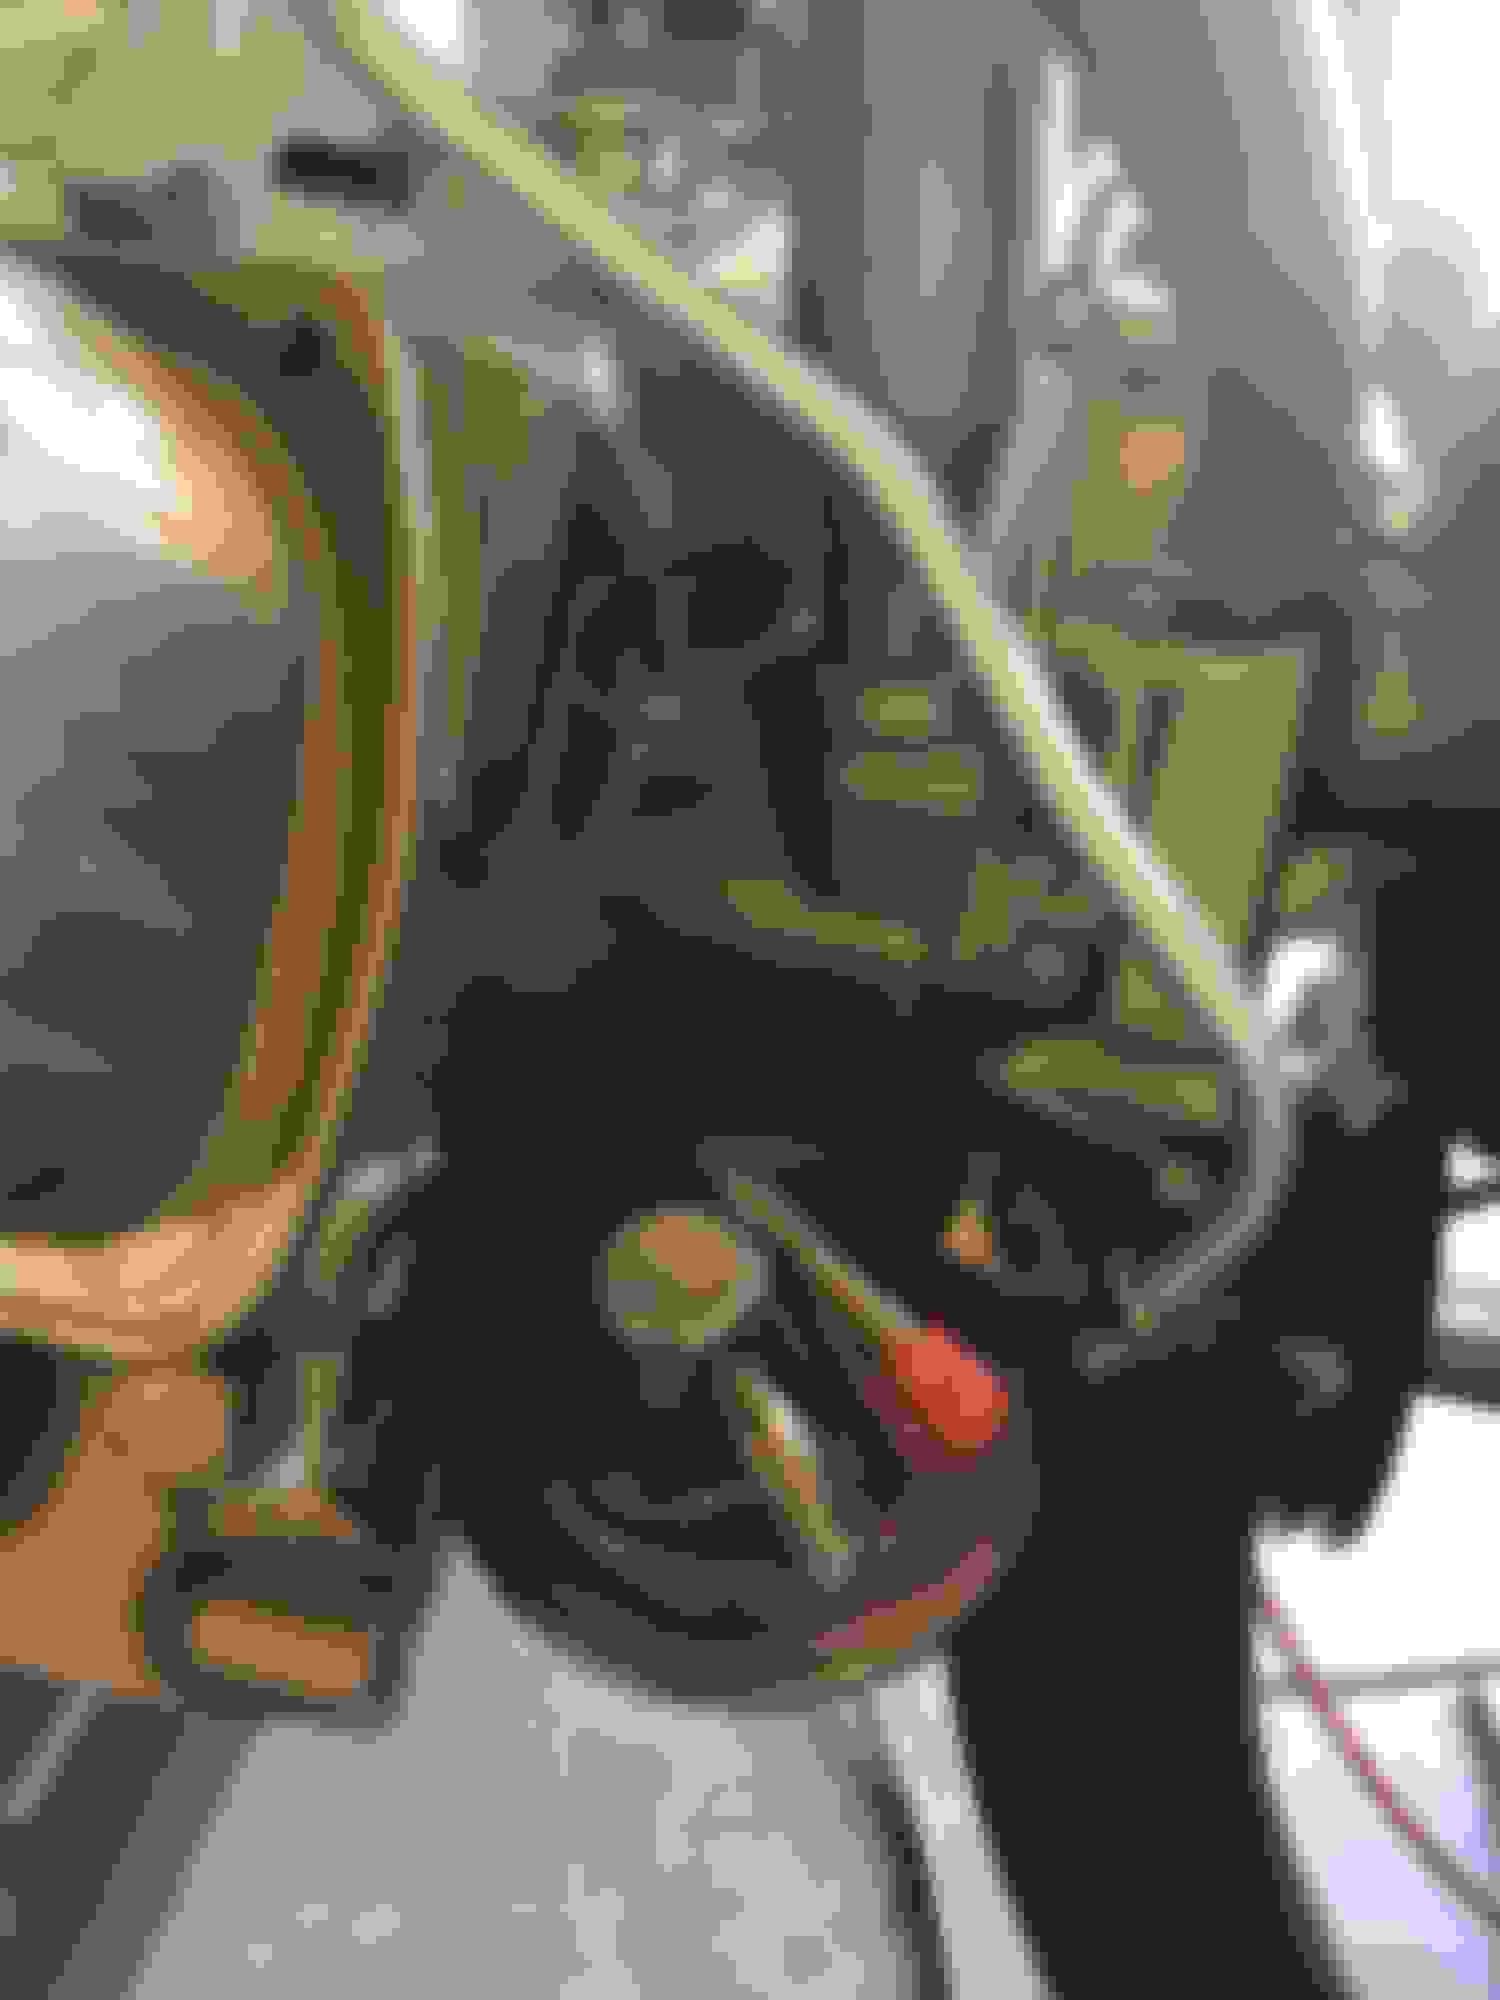
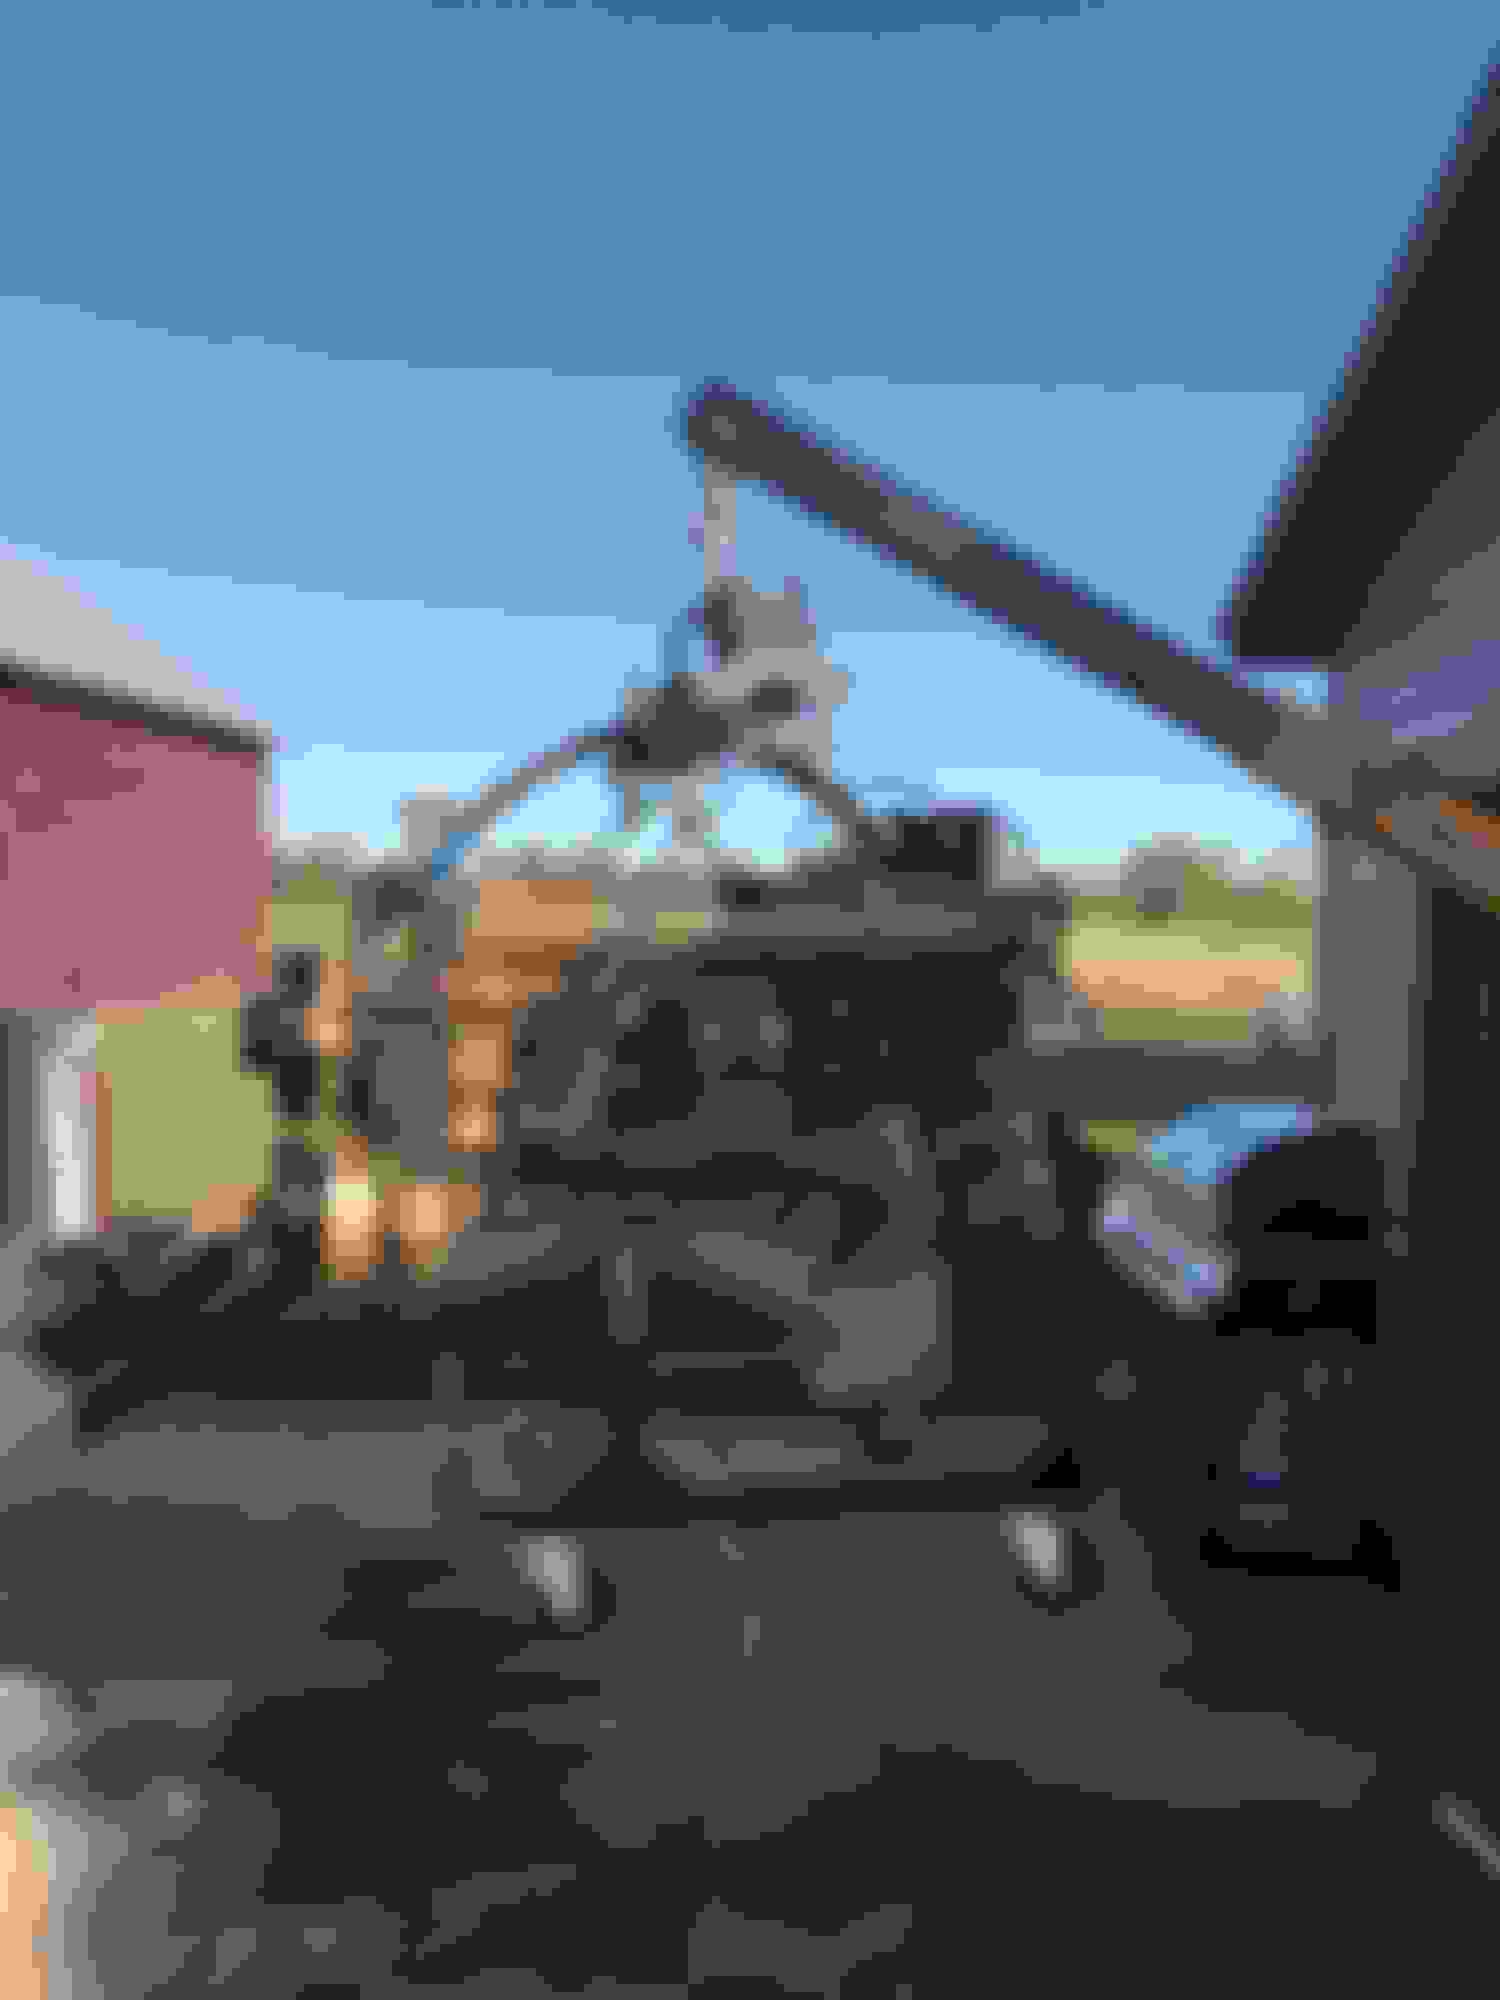
I won�t comment on the vendor (PM if you must know) but this is unacceptable. As for the engine, those are a spare set of valve covers that�ll go on for the dyno. The plug has been removed from the intake so we can use the RH side. Dyno time is set for the end of the month.
when installing those emblems on the legedary door panels, expect to have a lot of trouble. cardboard legendary uses is much thicker than OEM, at least that was my experience.
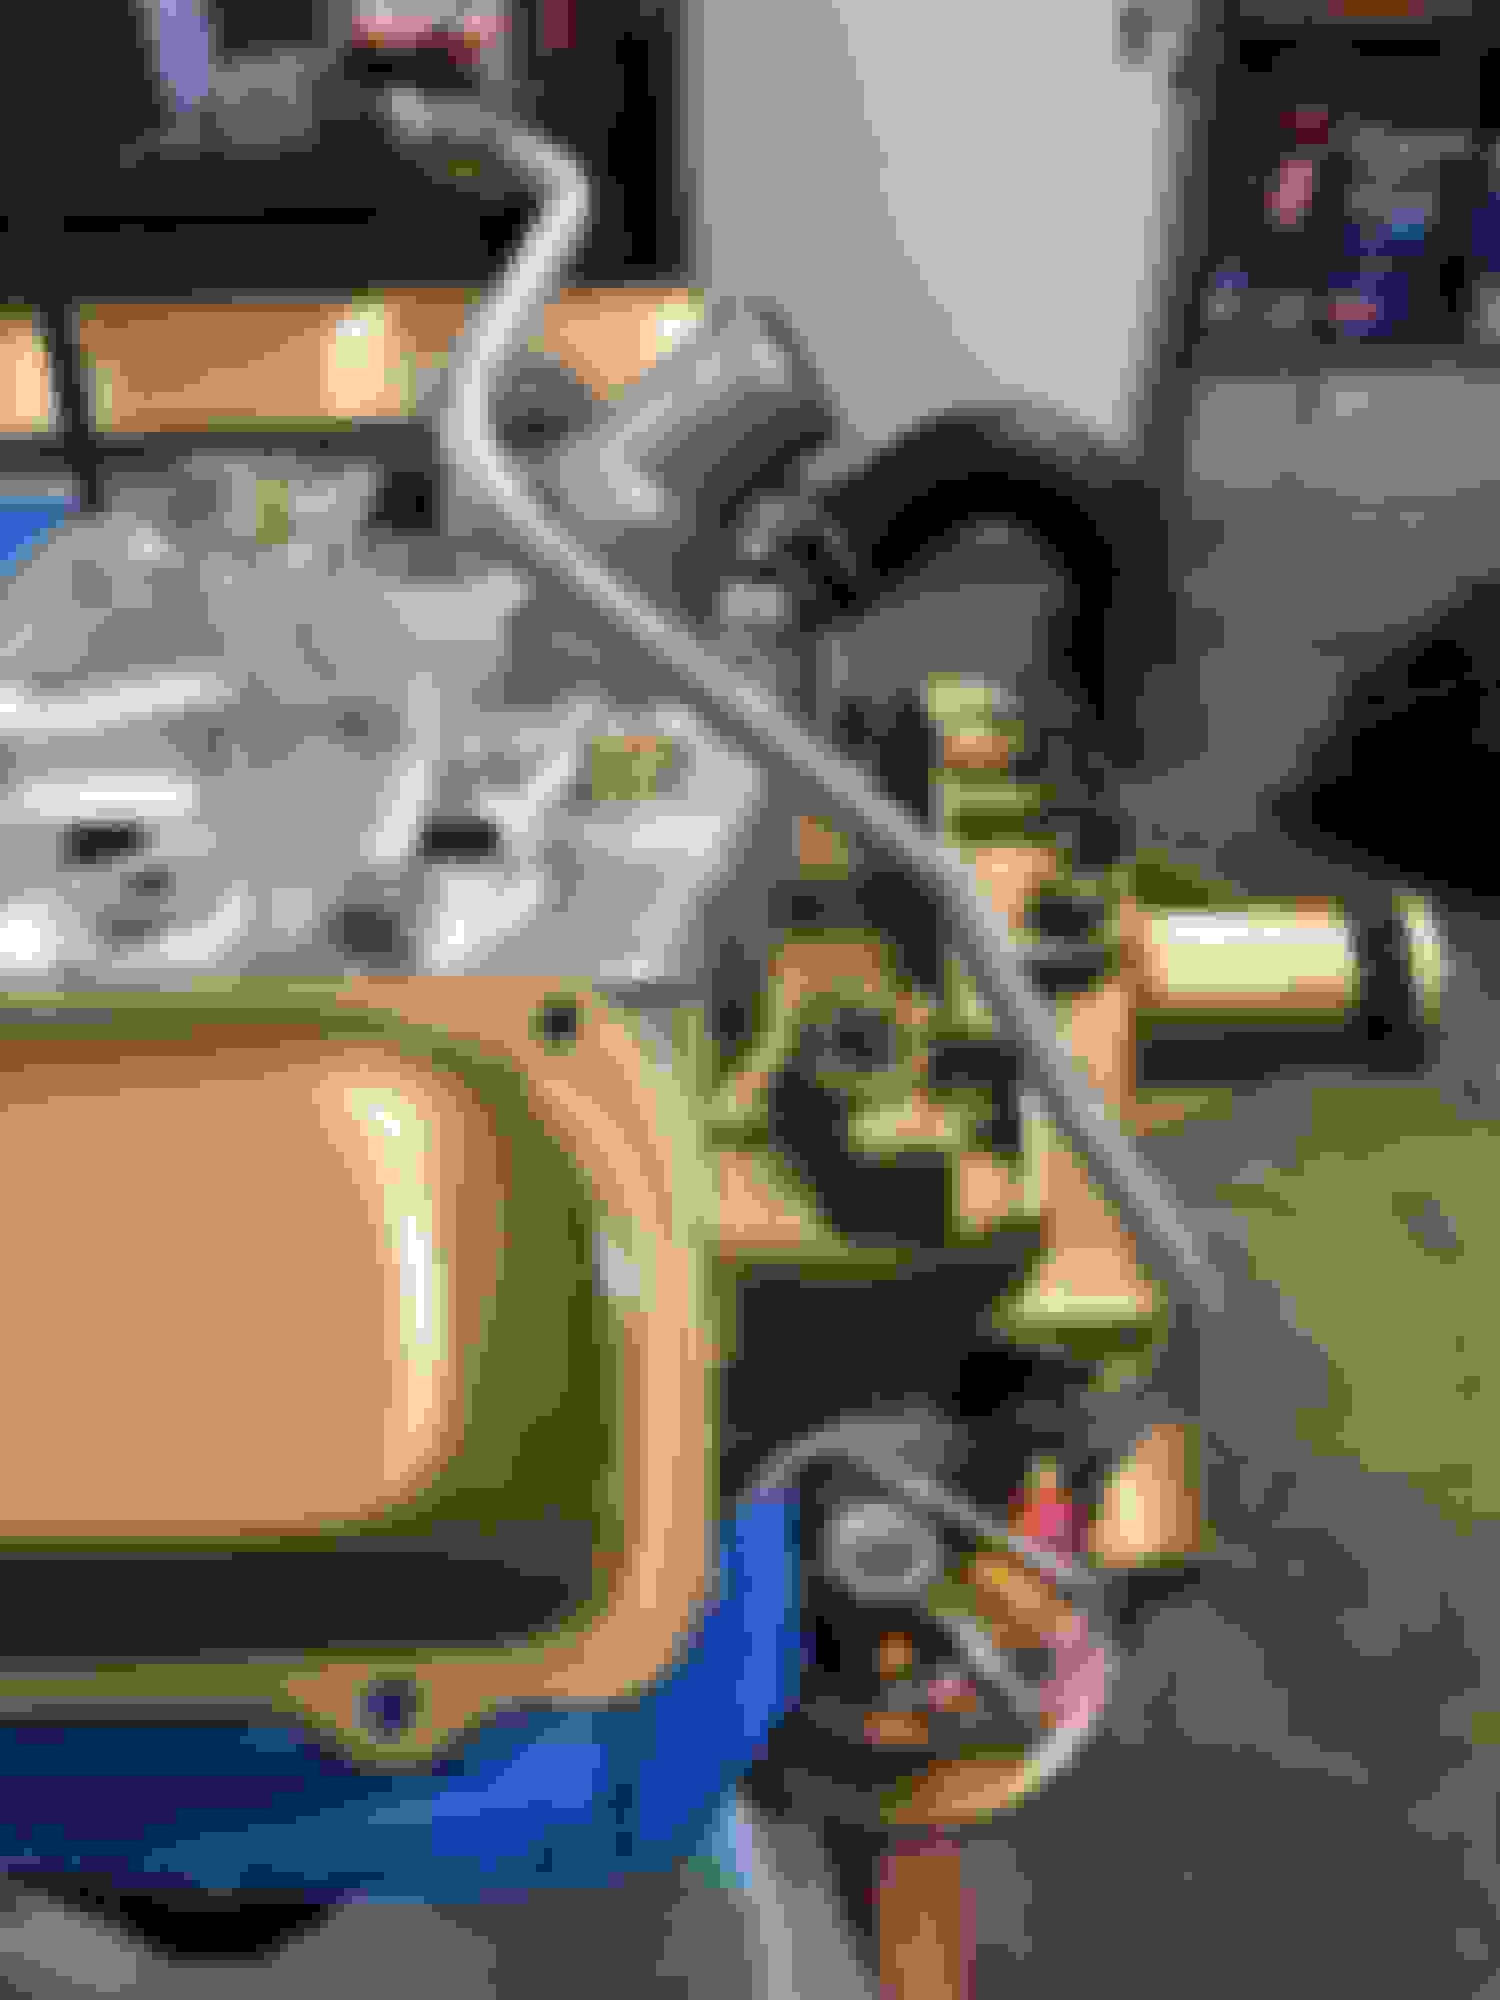
don't get me started on that joke of a pump to carb line. 350 and 455 are a fooking atrocious from them. my 350 pump to carb line even had a metal chip sitting in the carb end waiting to get sucked into the fuel filter or carb. actually, that wouldn't have happpened because it was nowhere close to fitting. I buy my lines from other places now.
Looking good!
How will you be replacing the metal in the quarters? Will you piece in some repro metal or something salvaged from another car? I've heard but yet to confirm, a RF fender has the same profile as LR quarter and vice versa. Im really interested how the metal will be spliced in.
Hey, Scrappie.
I'll let @Carshinebob weigh in on how he does this. Not sure if the lips are the same on each side, either.
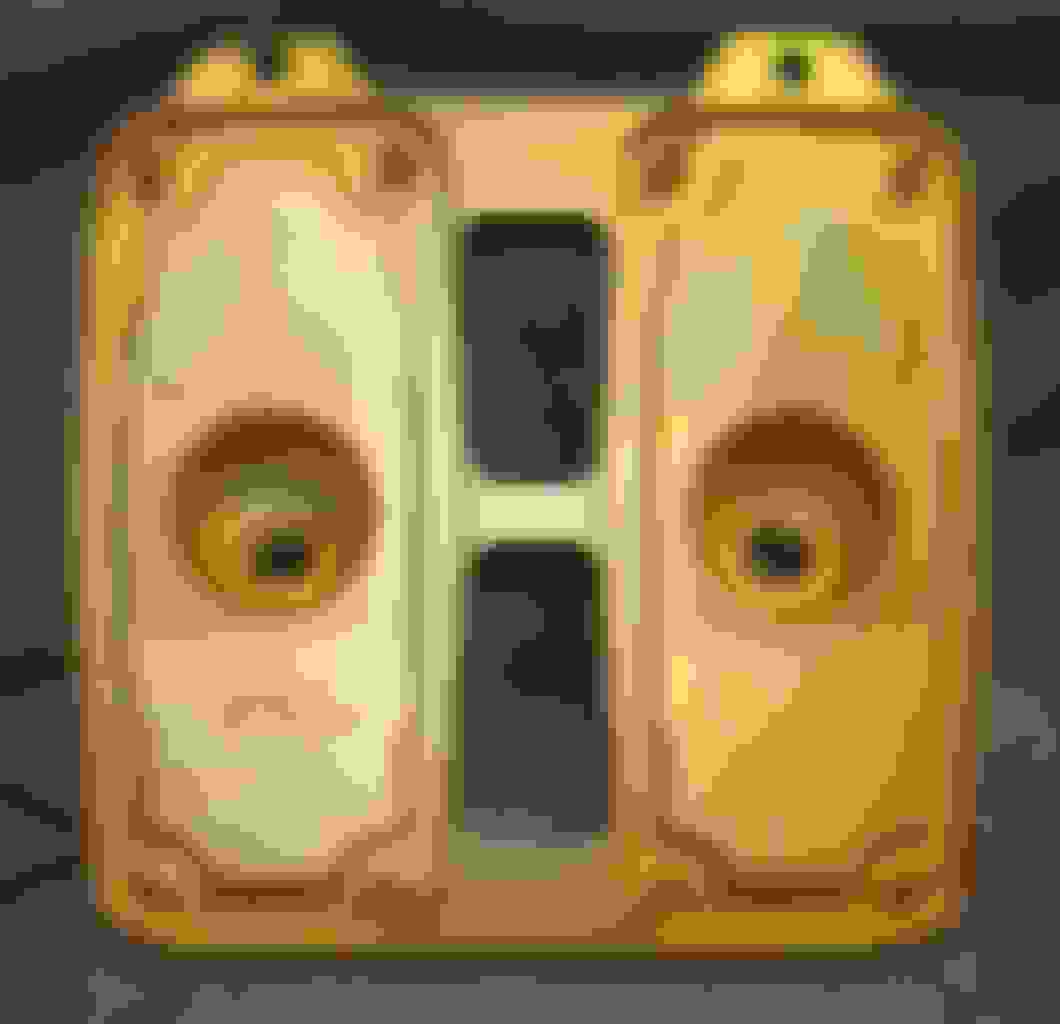
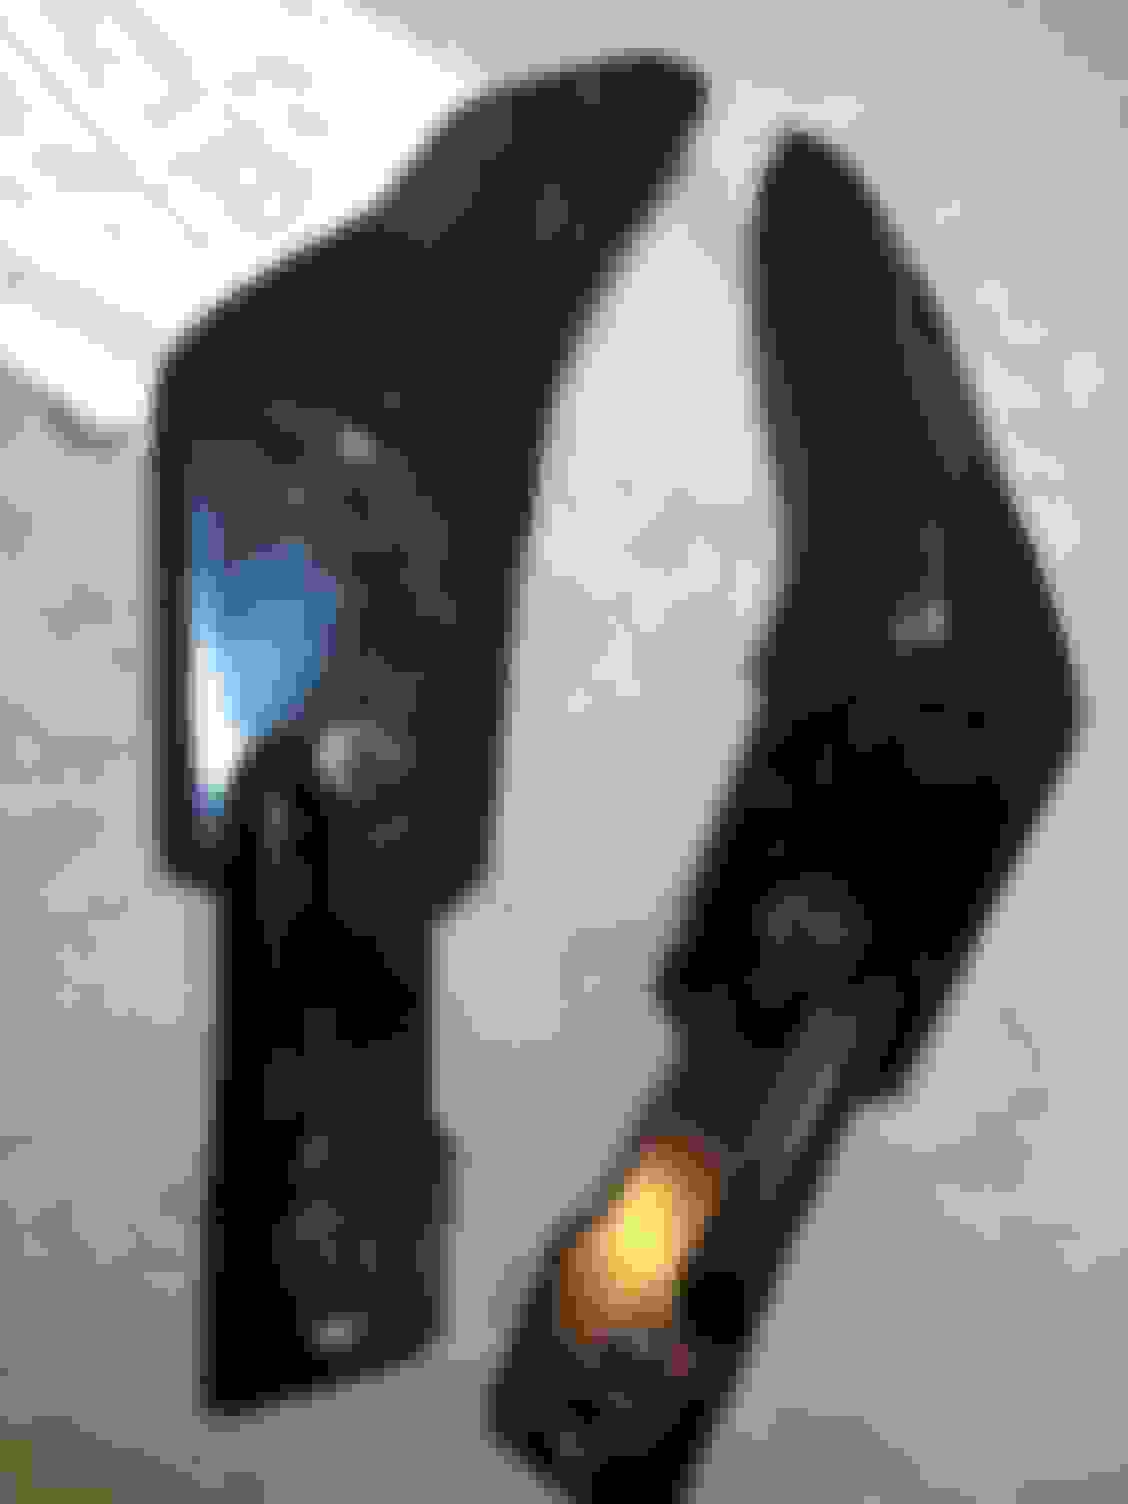
Nice! Are those the same ones? I can't even see made in USA on the old pics? Does the L mean Left and just flip one for use on the Right side? Is that a cad plating? Are the bulb sockets easy to remove and replace? What about he license plate light, is that socket removable and replaceable?
Nice! Are those the same ones? I can't even see made in USA on the old pics? Does the L mean Left and just flip one for use on the Right side? Is that a cad plating? Are the bulb sockets easy to remove and replace? What about he license plate light, is that socket removable and replaceable?
Yes, they're the same housings. It's a yellow zinc / dichromate finish. The plater pulled the socket up so the piece could be submerged.
The exhaust shroud was missing from the car so I sourced one from a member on this site. It still had some of the original phosphate finish on it. I sent this piece to Steve G. at brakebooster.com for refinishing.
Taking this week off from the blue 31 to replace the water pump and radiator in one of my other 31�s.
Original jack shaft was also sent to Steve for replating.
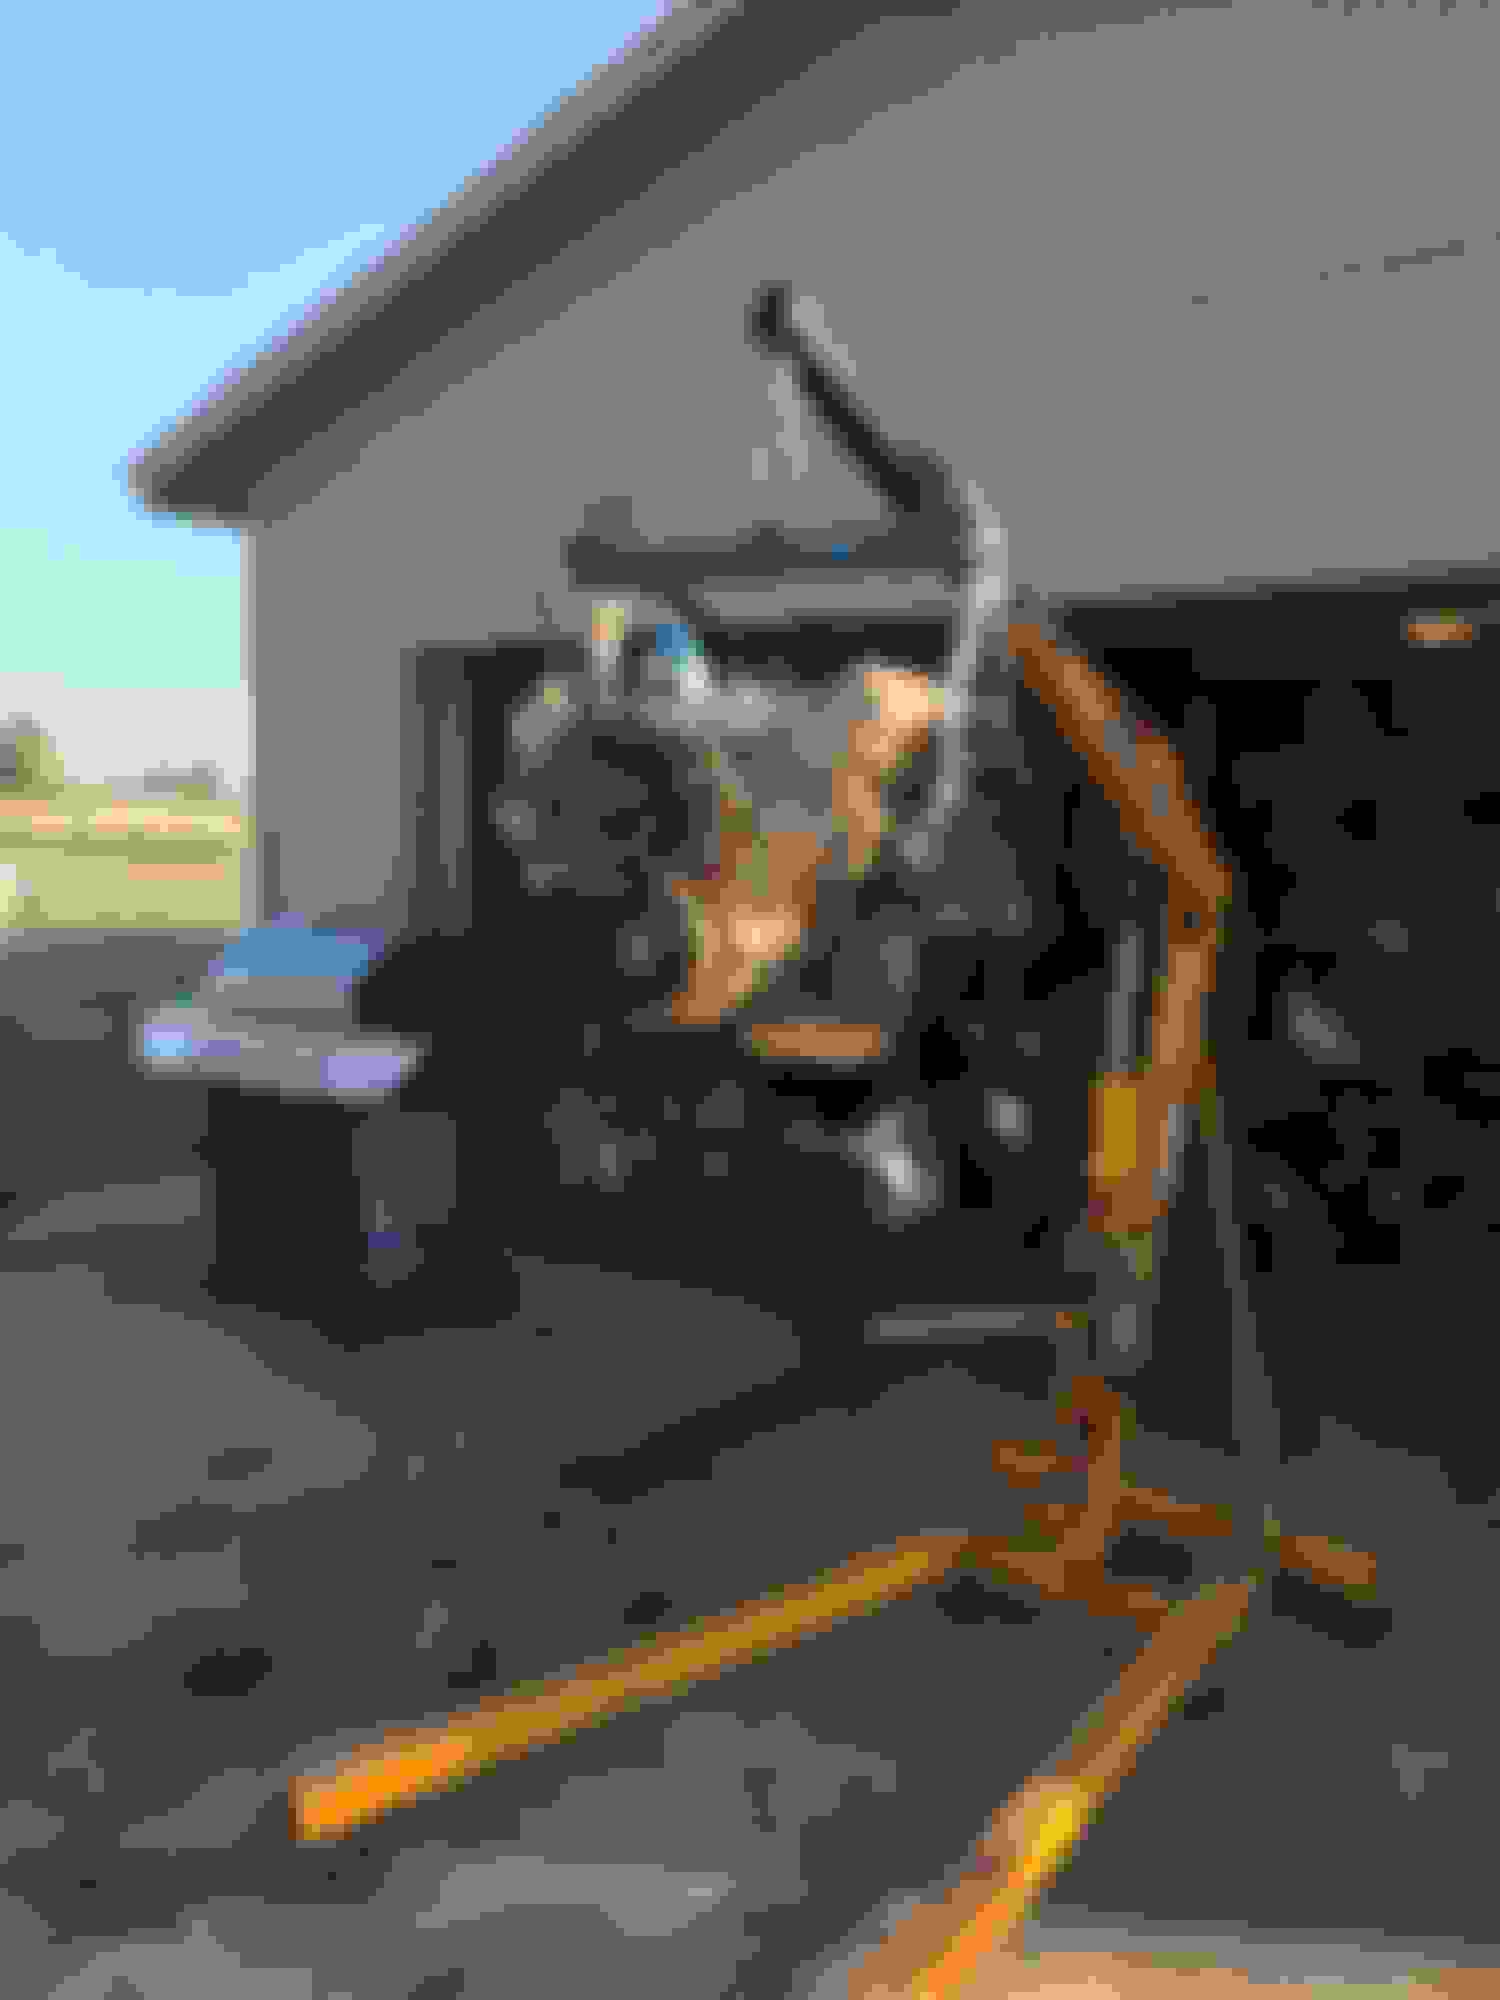
We�re close to getting the engine on the run stand before the dyno. Once the carb and manifolds make it to Michigan this weekend, the engine builder can fire her up!
The exhaust manifolds were finished with a cerakote from my local shop. The finish is great, and hopefully holds up to the heat without issue.
Getting closer...might start the engine on the stand this week.
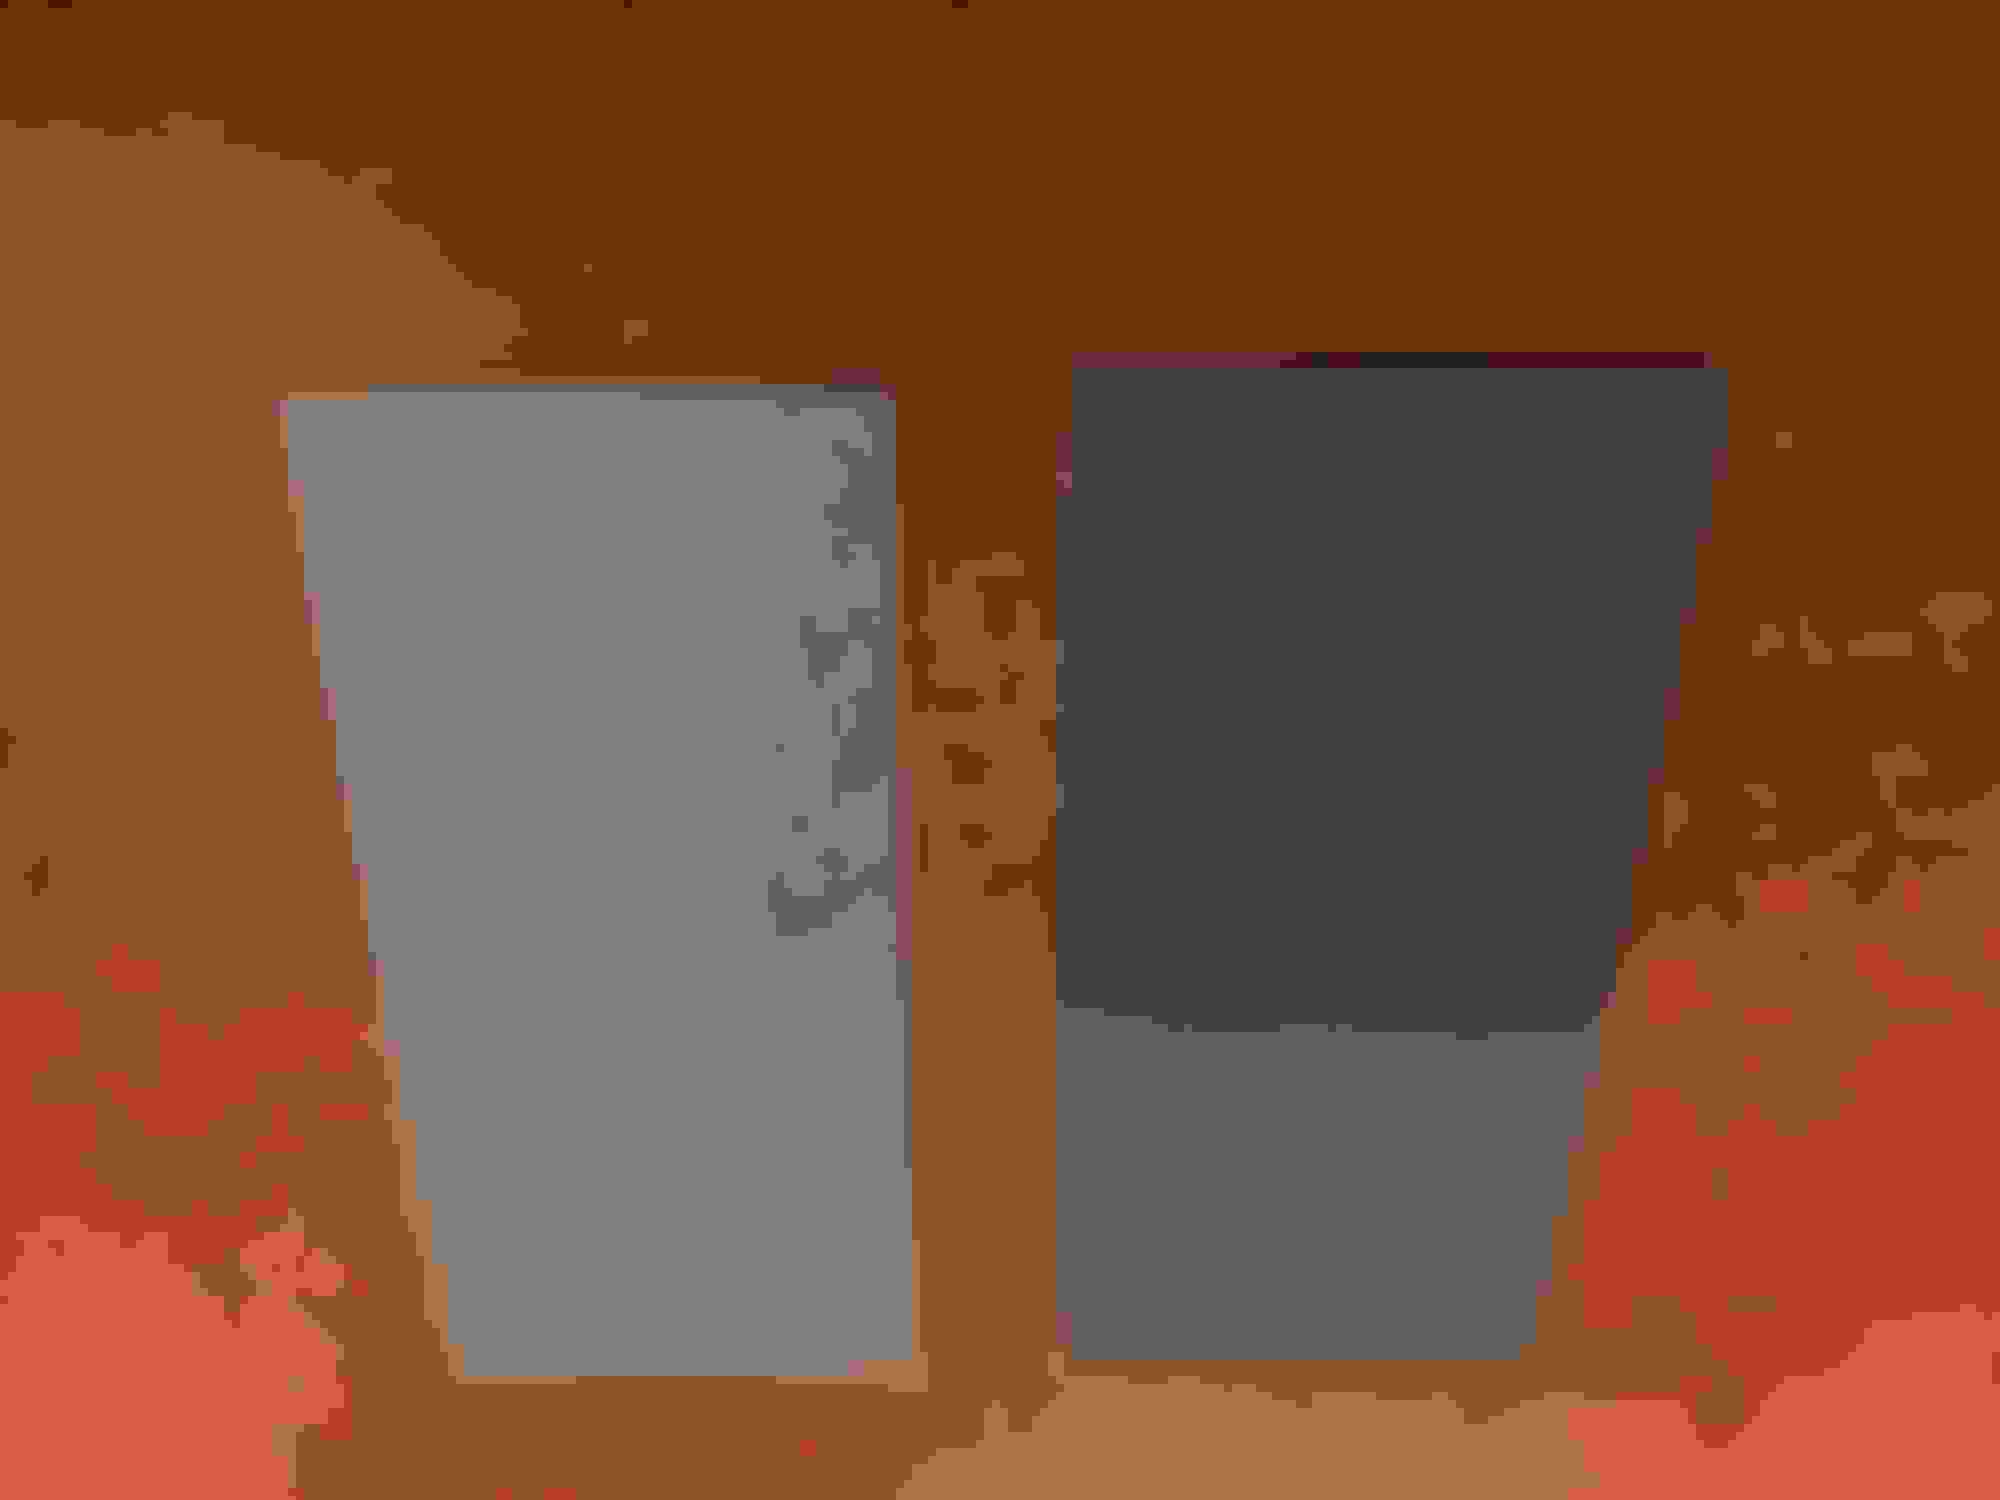
Had a few sample spray outs done by the folks at Kolor Korrect. The medium blue metallic was a no brainer since that covers most of the interior. These two blue are the dark blue poly and dark blue. I�m thinking the dark blue is the dash metal. The dark blue poly is a head scratcher. Probably the dash pad itself. Need to read the breakdown in the books again.
Dark blue:
Dark blue poly on the right:
Carb and other various parts were dropped off at the engine builders over the weekend. Here�s the rebuilt 255 being put on for test fitment.
Not sure if anyone is reading this still but I�m going to keep posting!
Started piecing the rear bumper back together. In the PIM, I noticed the clips for the outboard wires on the TL housings. Based on the note, these were added 2-26-70 which makes sense because this car was made the first week of March. I haven�t checked my 12-2-69 survivor car, but I suspect the clips won�t be there. Should check with @costpenn and his 442 since I don�t see his clips.
Take note of the clip for the wire to backup light top bolt. The PIM clearly shows the clip with the �hoop� facing towards the bumper. This doesn�t feel right. Unfortunately, I don�t have photos of the bumper before taking the TL housings out. What�s right?
Reassembled the license plate light. The screws for the lens cleaned up perfectly in a bath of Evaporust. These things were super rusty. I can�t seem to find the two screws for the bracket to the bumper. Hmm. Correct NOS lens and part number provided in the image.
I really can appreciate your attention to detail and I look forward to reading your posts as you continue the restoration. You are doing an excellent job and it is great reference for fellow Olds enthusiasts.
The car will be spectacular when finished. Keep posting and Ill keep reading.
The hoops that attach to the reverse lamp mounts on my 70 W-30 (that had never been apart) definitely were facing the direction as per the PIM. On the car I'm doing now - don't know if it is because it is a repo bumper, but had trouble getting my socket on the bolt with them oriented the proper direction, so I reversed them. Also, the W-30 idid not have those secondary hoops - it is a late January build.
The hoops that attach to the reverse lamp mounts on my 70 W-30 (that had never been apart) definitely were facing the direction as per the PIM. On the car I'm doing now - don't know if it is because it is a repo bumper, but had trouble getting my socket on the bolt with them oriented the proper direction, so I reversed them. Also, the W-30 idid not have those secondary hoops - it is a late January build.
Had a similar issue getting the socket in there but finally got it. Thanks, Joe.
Spent my lunch hour finishing up the rear bumper. The NOS taillights 1000000% of the time will need touching up. The way GM packaged this in the boxes is just comical. Also, I�m a firm believer that certain NOS parts were deemed not good enough for the assembly line but stashed away as NOS items for future needs.
Still need to add the rubber bumpers for the plate bracket. I just mocked everything up. If you�re doing a resto of your own, there is a difference in finish between the TL screws and the backup lens screws. Also, there�s a different in finish for the license plate bracket bolts to the bumper.
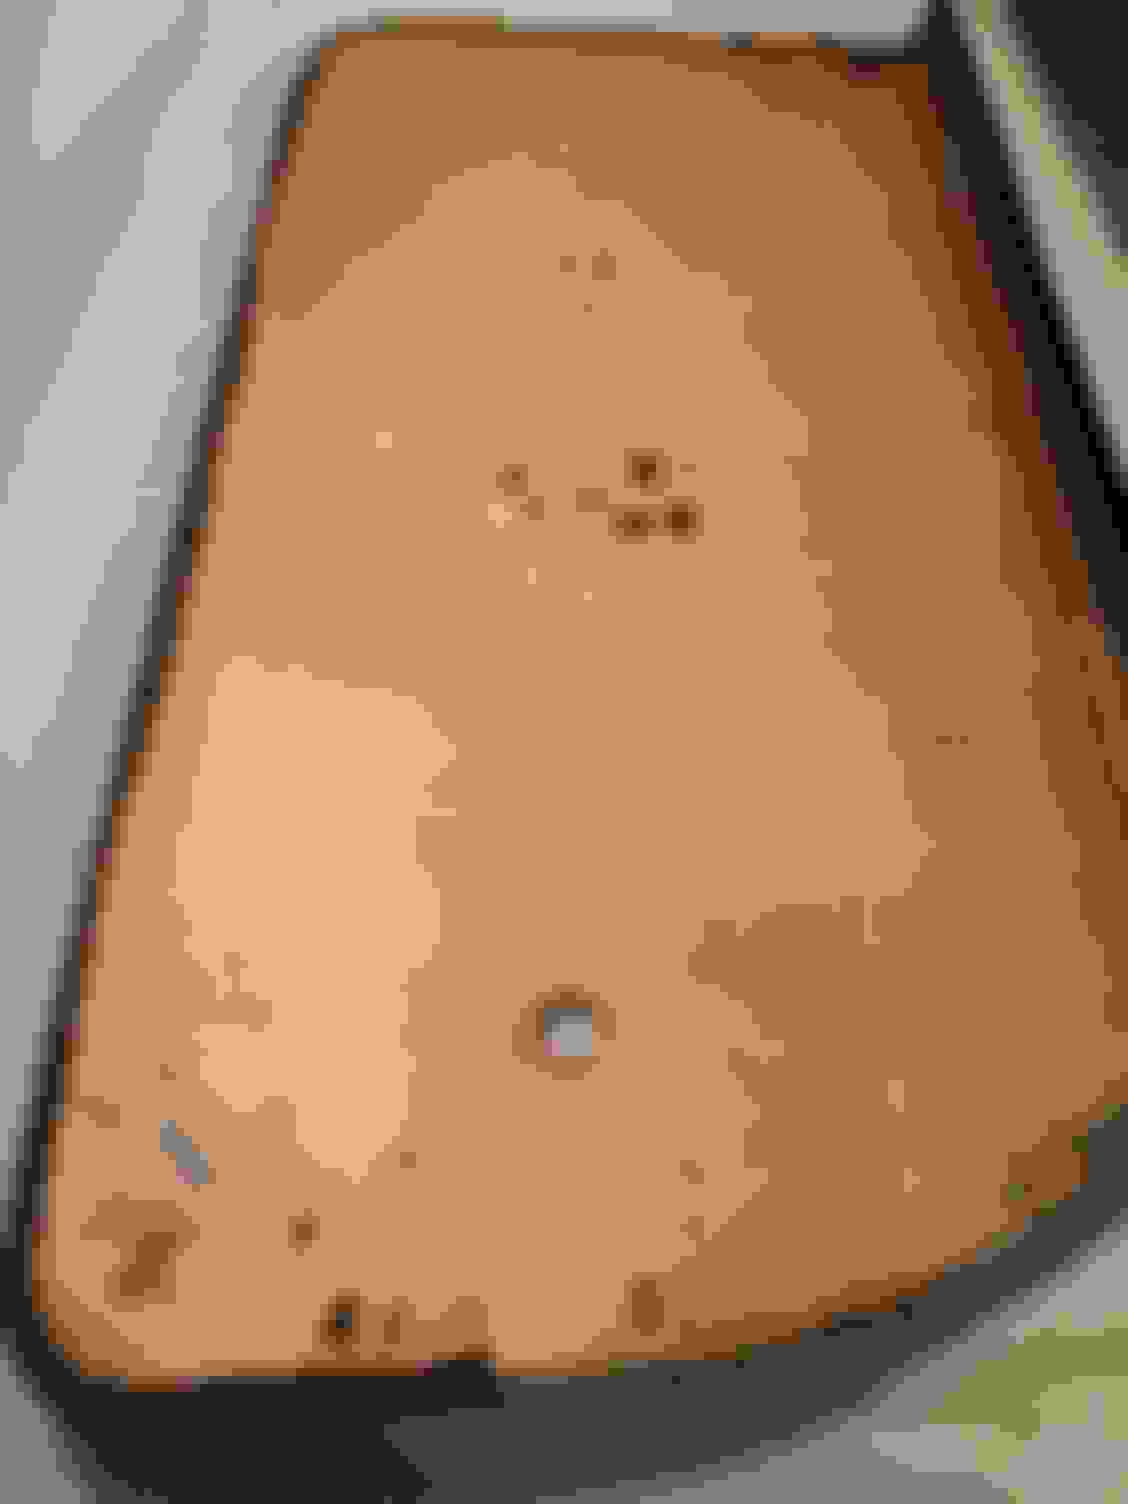
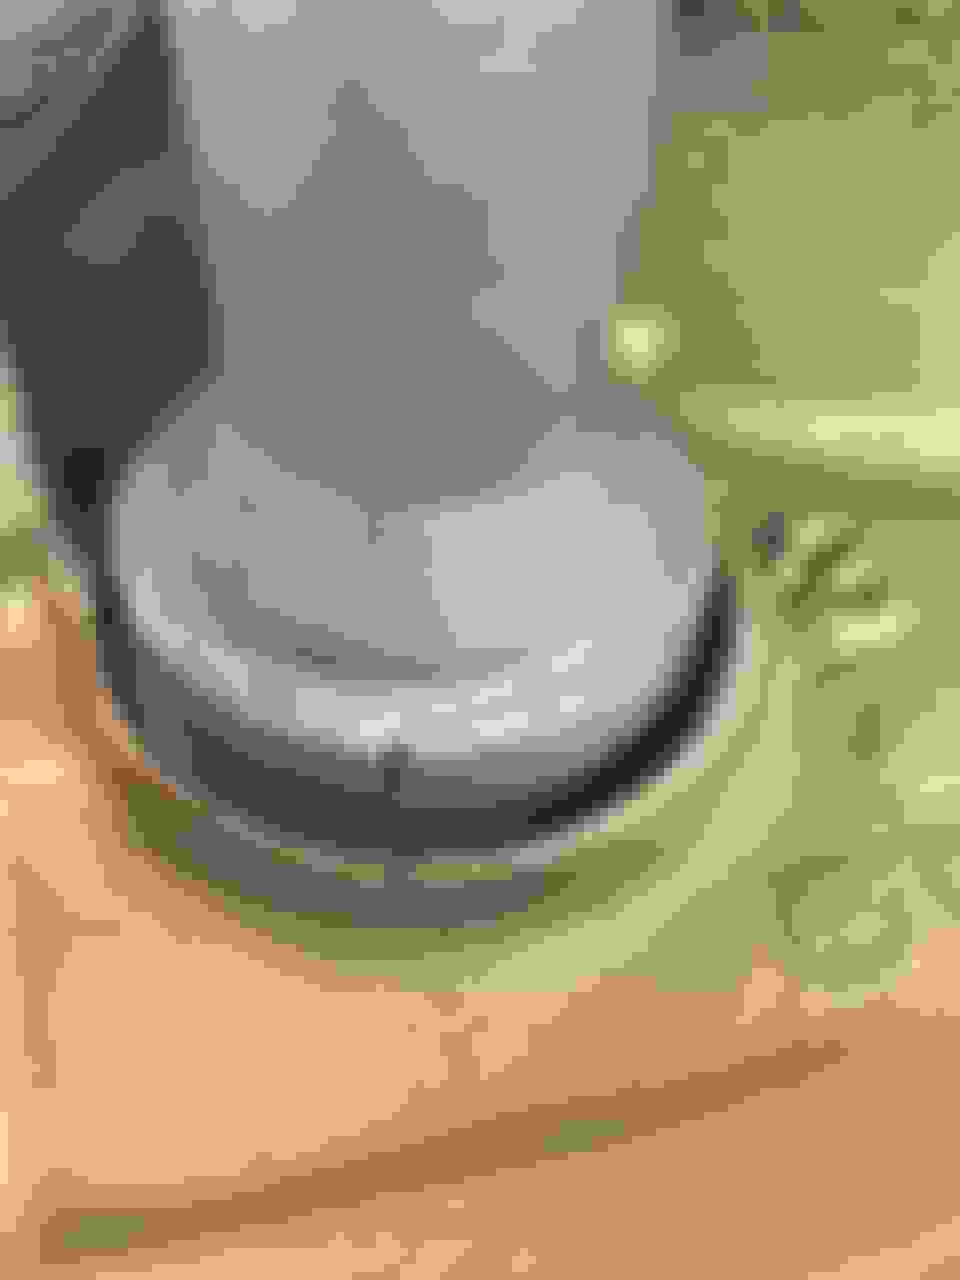
Here�s an NOS fuel door for a �70. The lower portion with the spring has the galvanized finish @costpenn had mentioned earlier.
I�m going through finished hardware and trying to �stage� as much as possible to reduce time sorting through bins. I had all my bumper brackets blasted and powder coated. The original bumper bracket bolts were sent out and replated. Note the �M� on the lower portion of the bolt. Pretty cool detail to see. Outside of the caliper bolts with the �S� I�m not sure I�ve seen other bolts with a marking on the bottom.
To my earlier point, you can see the �damage� to the TL lenses from the box. What�s also cool is the overspray imperfection of the silver inlay. Even on my survivor car, the inlay paint is imperfect.
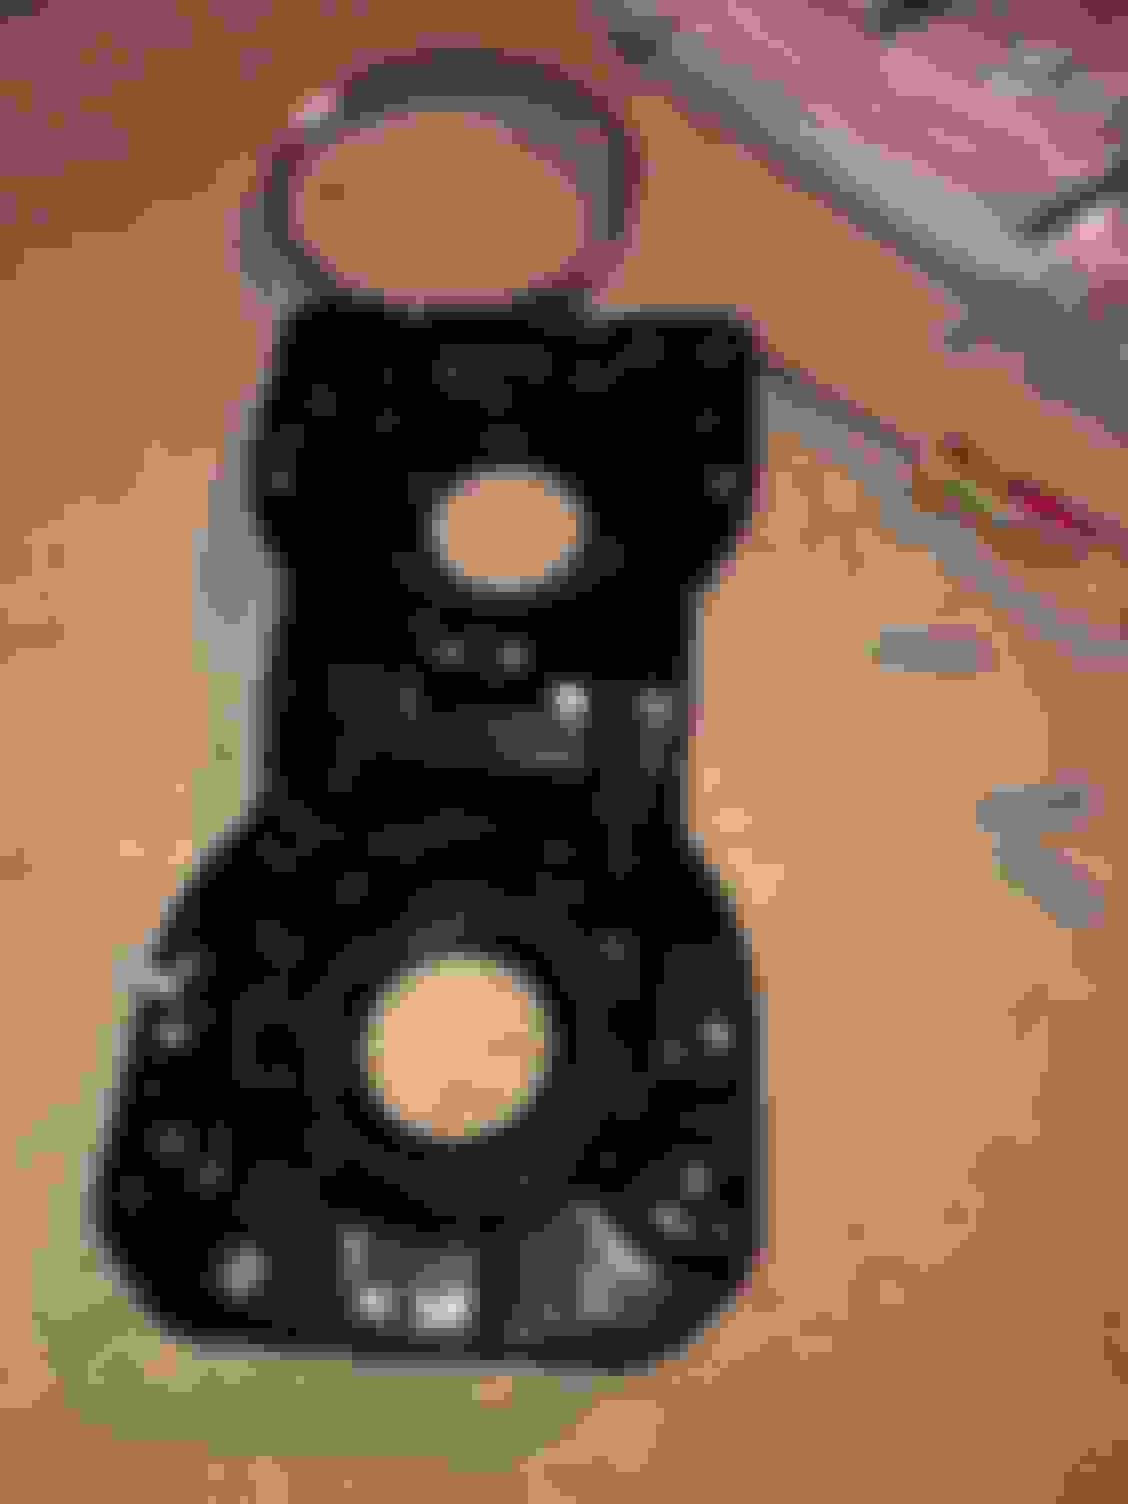
Trimmed the gasket a touch for the thermostat housing.
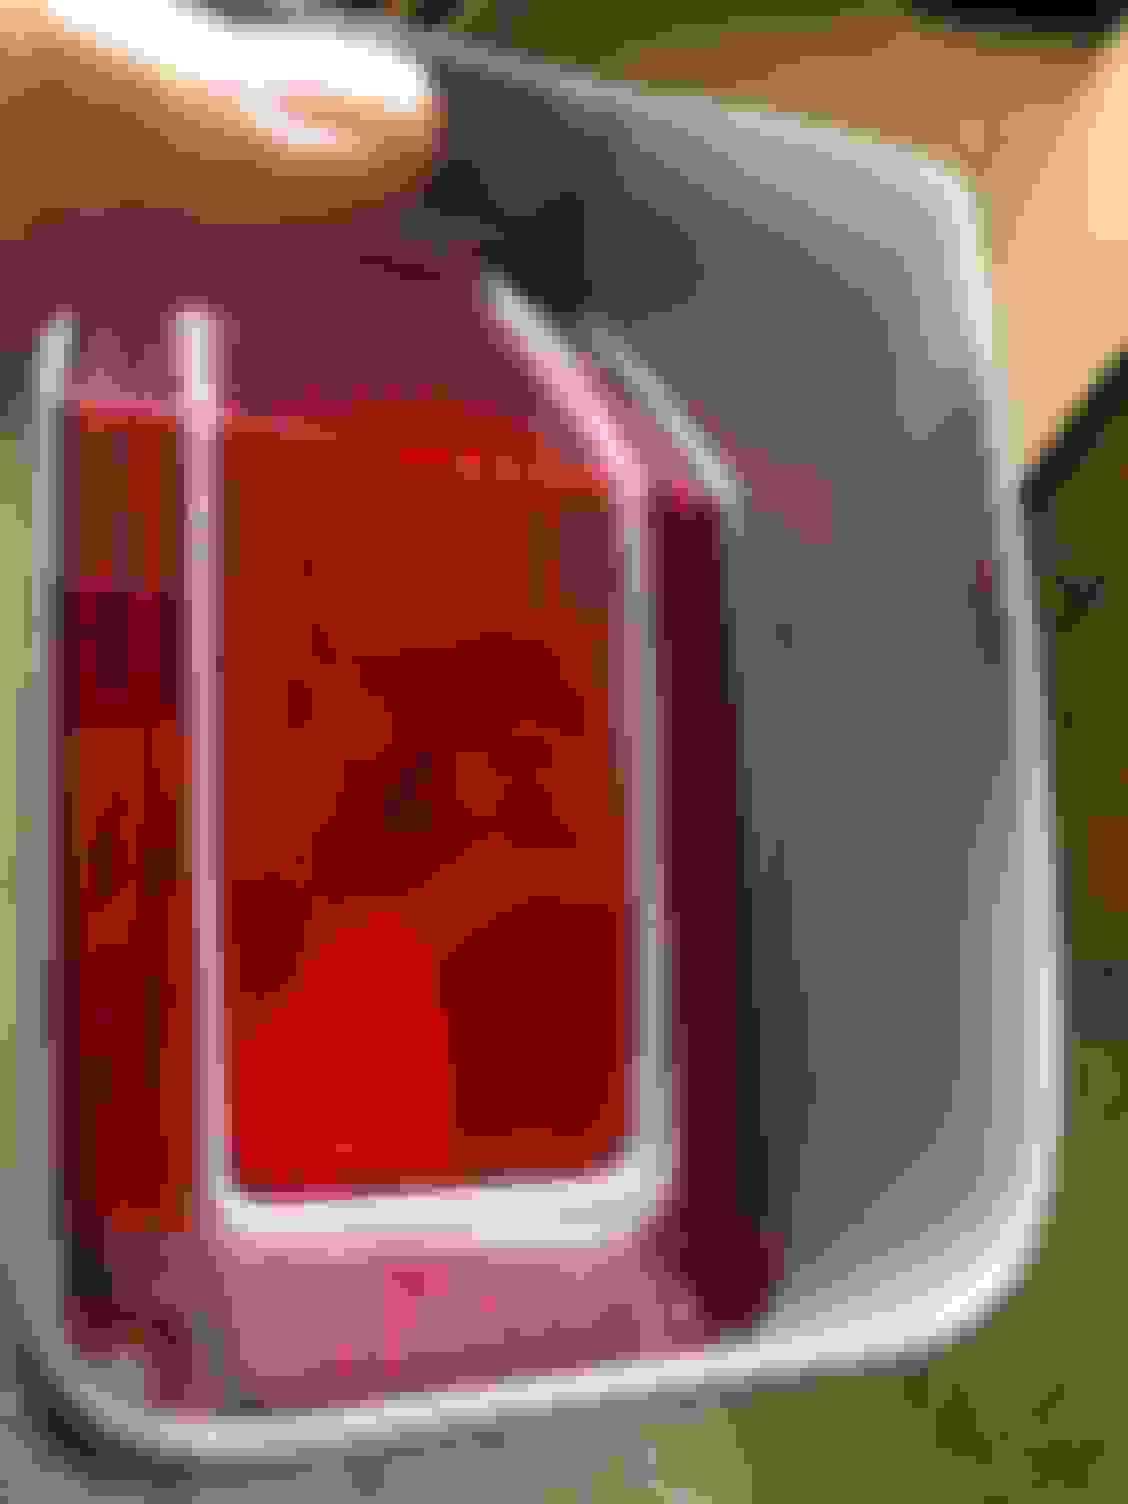
Fuel hose #2 from previous vendor as the first. More junk. Time to find a new vendor for the pump to carb line. That�s an NOS 40772 pump so their argument of the pump being the issue is laughable.
Matching up the original indententations.
Cool stamping from an original hose. V9. Haven�t seen that before�anyone else have that?
...I’m a firm believer that certain NOS parts were deemed not good enough for the assembly line but stashed away as NOS items for future needs.
I believe you are correct. I have seen instances of that. The part that got me into that line of thinking was the 1971-72 front quarter panel.
No. 1--it is remarkable that they put enough into the parts system that they were available after nearly every other part of the era had disappeared from their stock.
No. 2--the lower mount in the dogleg is not welded in the correct position. To fit correctly, the mount must be cut out and rewelded in the correct position. That wouldn't work on an assembly line.
My conclusion was that there was a manufacturing or design error on a main production quantity. That large number of poor-fitting quarters were put into the parts system to make the body shops pay for the correction instead of the assembly personnel.
My NOS front bumper does not fit correctly either, but I didn't discover it until I had it replated to correct the thin chrome.
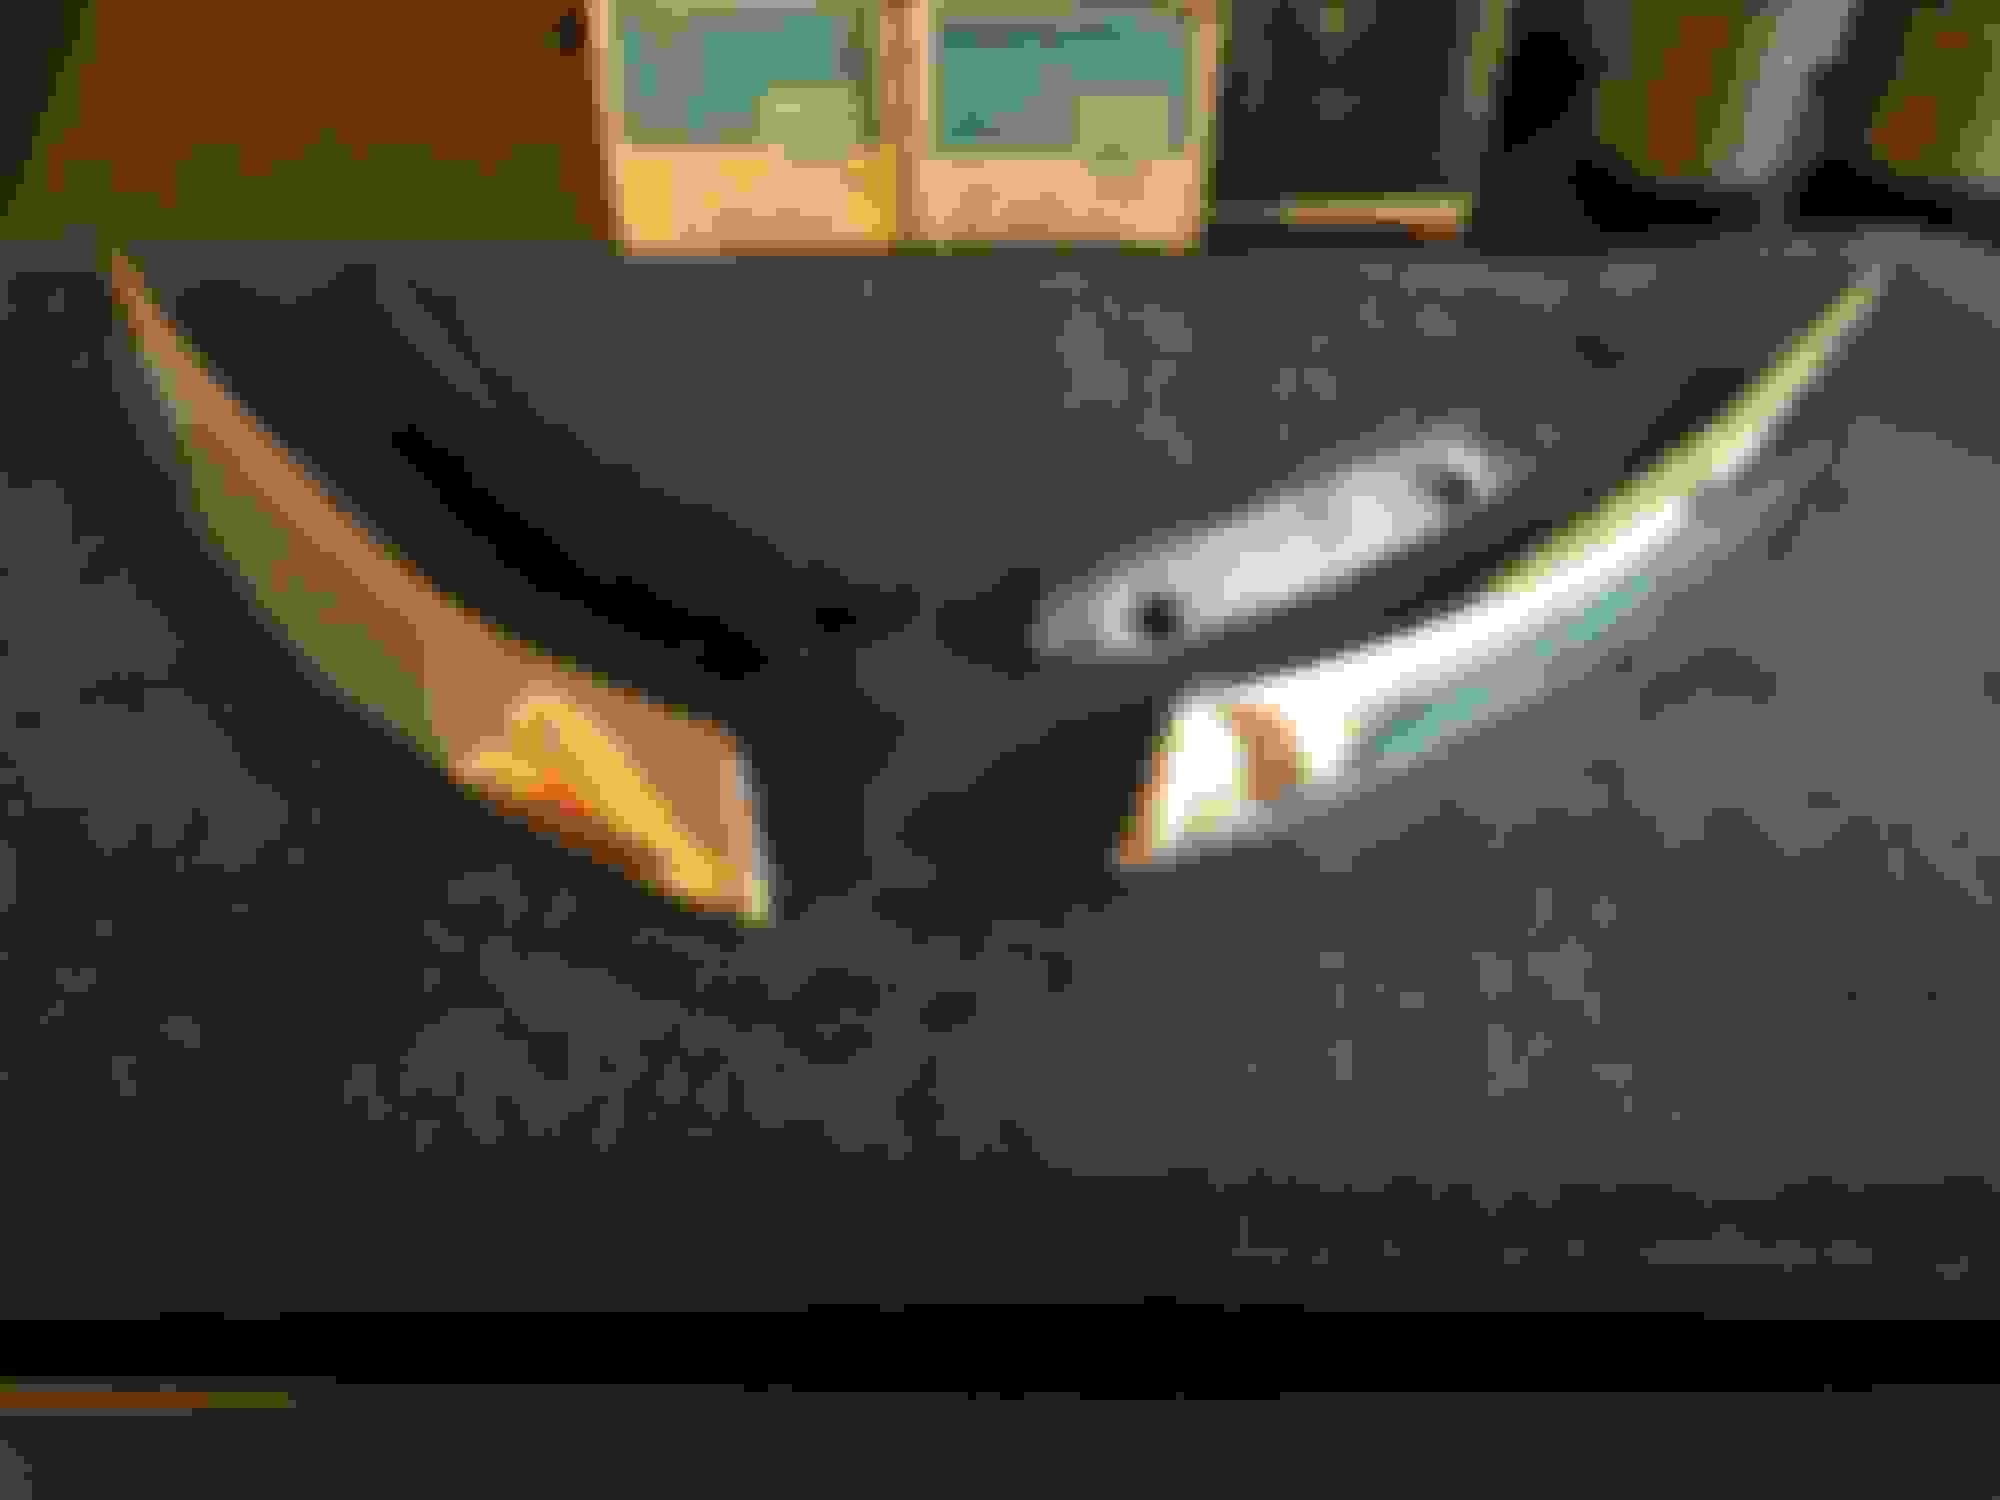
For the first time in 30+ years, the original numbers matching block was fired up. Break in this week and hopefully dyno at the end of the month. The red X on the valve cover is a joke amongst friends and won't be on the final set of valve covers. The plan is to put everything to factory correct once the engine has been on the dyno.
Fantastic restoration over the top .But we have to remember we are dealing with 1970 cars that were built in 1970.
We cannot go back to 1970 but we all do the best we can to bring them back.
Alain
Put the 1157 and 1156 bulbs in the TL and backup lights. Since the housings were taken apart, the connectors needed a bit of lube. See below.
The deluxe steering wheel has been finished. I used Gary�s Steering Wheel Restoration out on the east coast. He�s pricey and somewhat slow, BUT his work is superb! Although this car came originally with a sport wheel, the wheel itself was severely worn, and I didn�t feel like searching for a clean original. Besides, I prefer the look of the deluxe wheel better than the sport wheel.
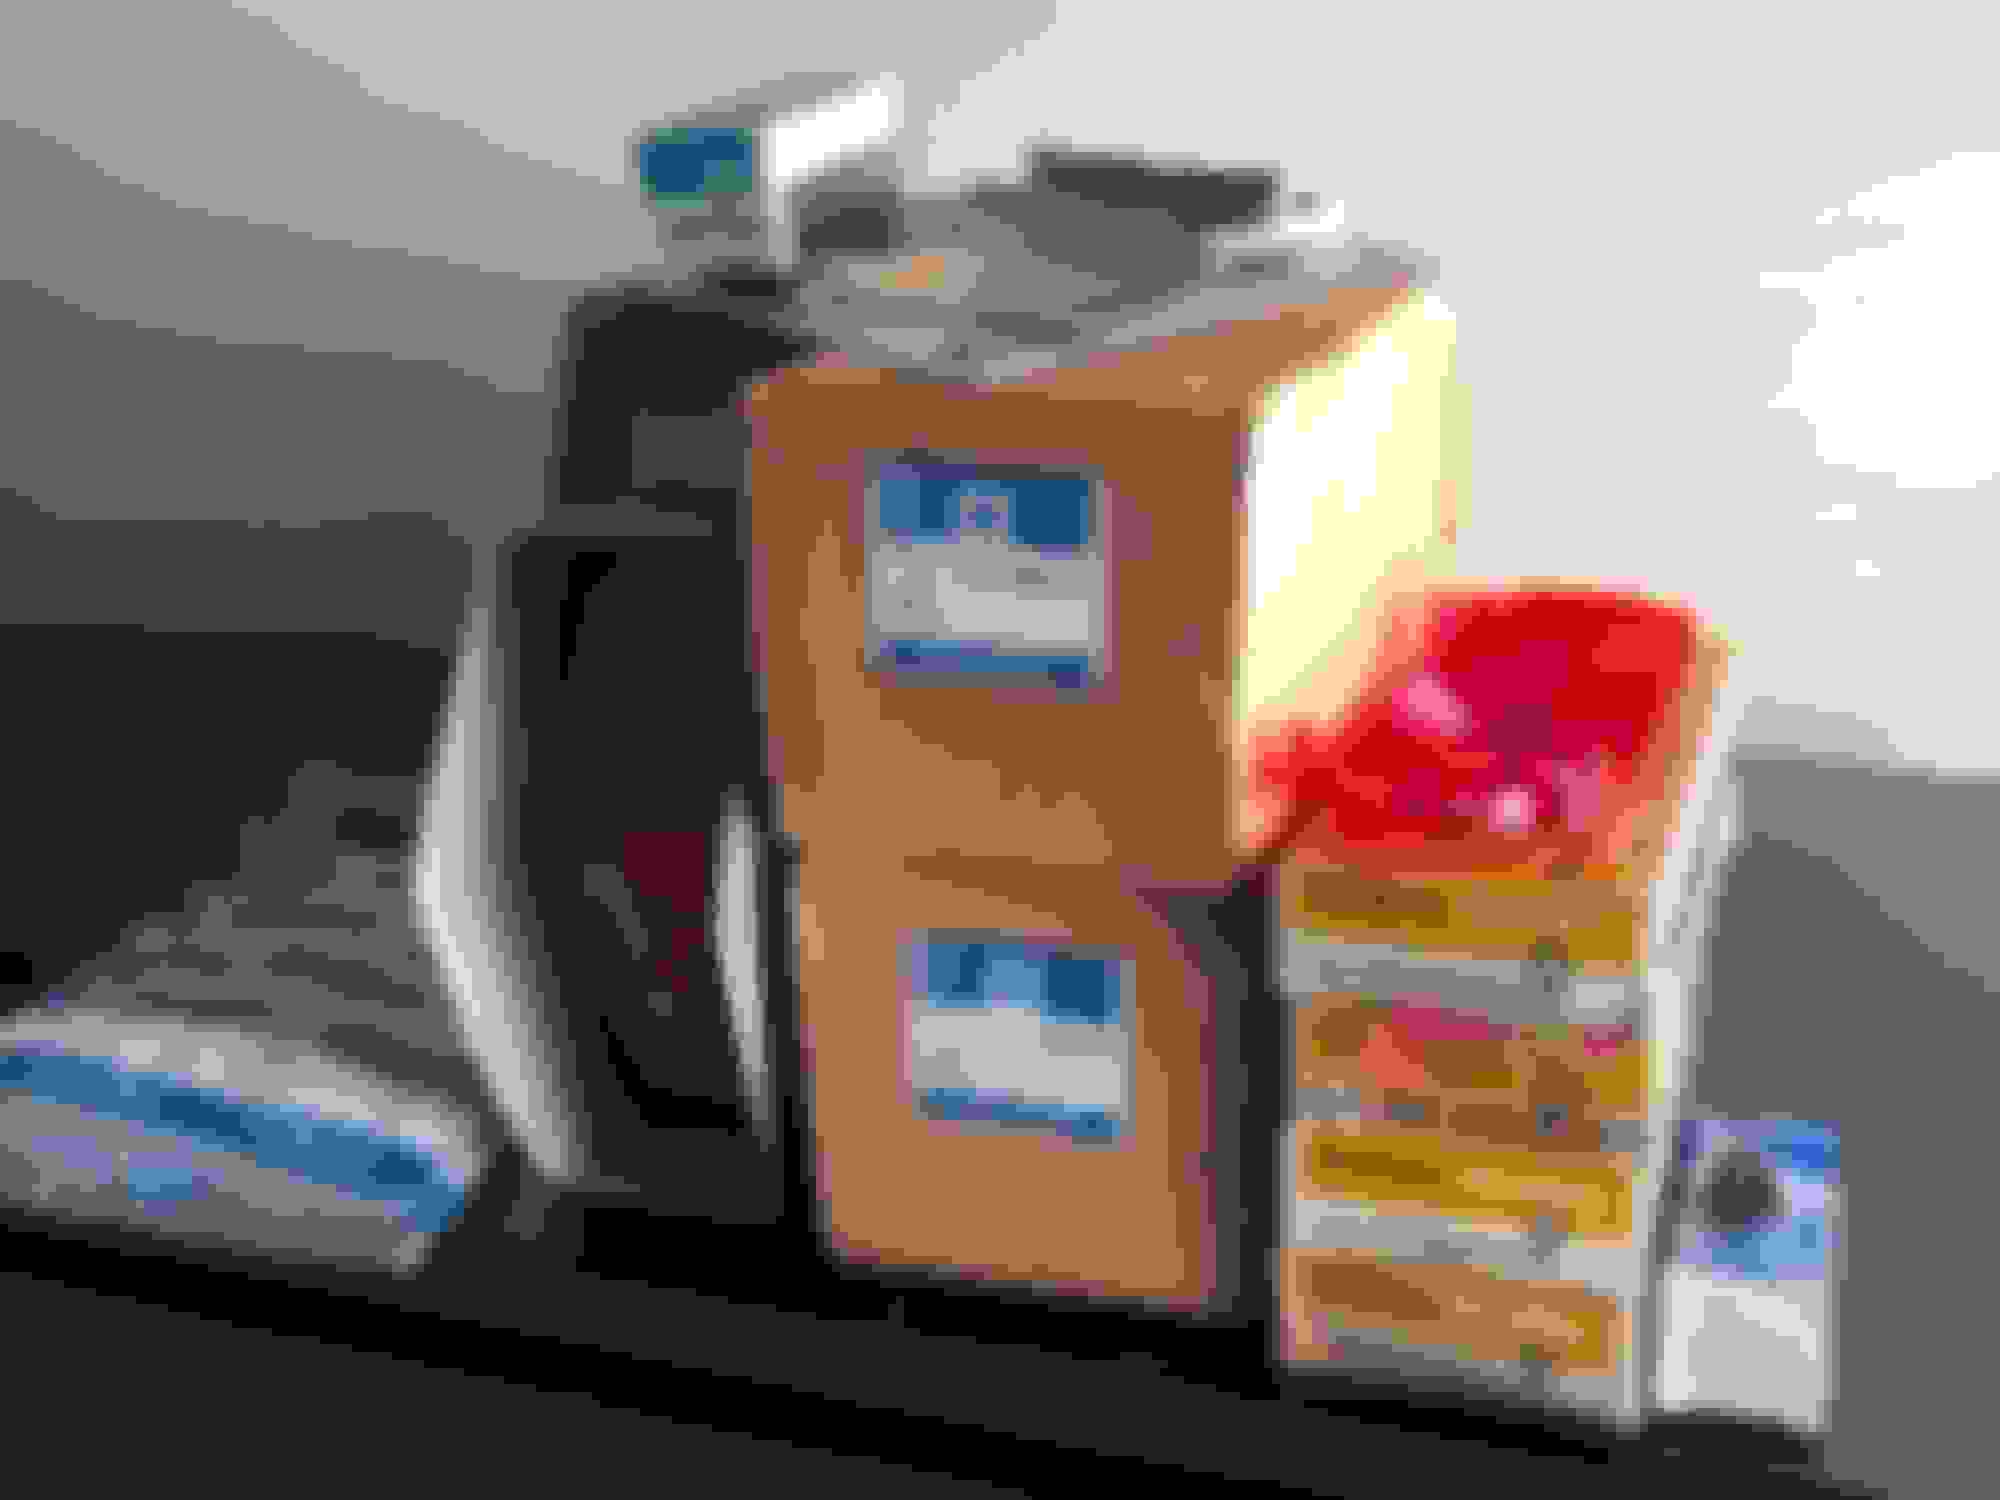
Amazon carries this dialectric grease with a long nozzle for a few bucks. I like this particular product since it shoots in to the socket just like a can of cheese whiz!
Mounted the pipe to the manifold shroud. There are two little screws with a unique head marking on them.
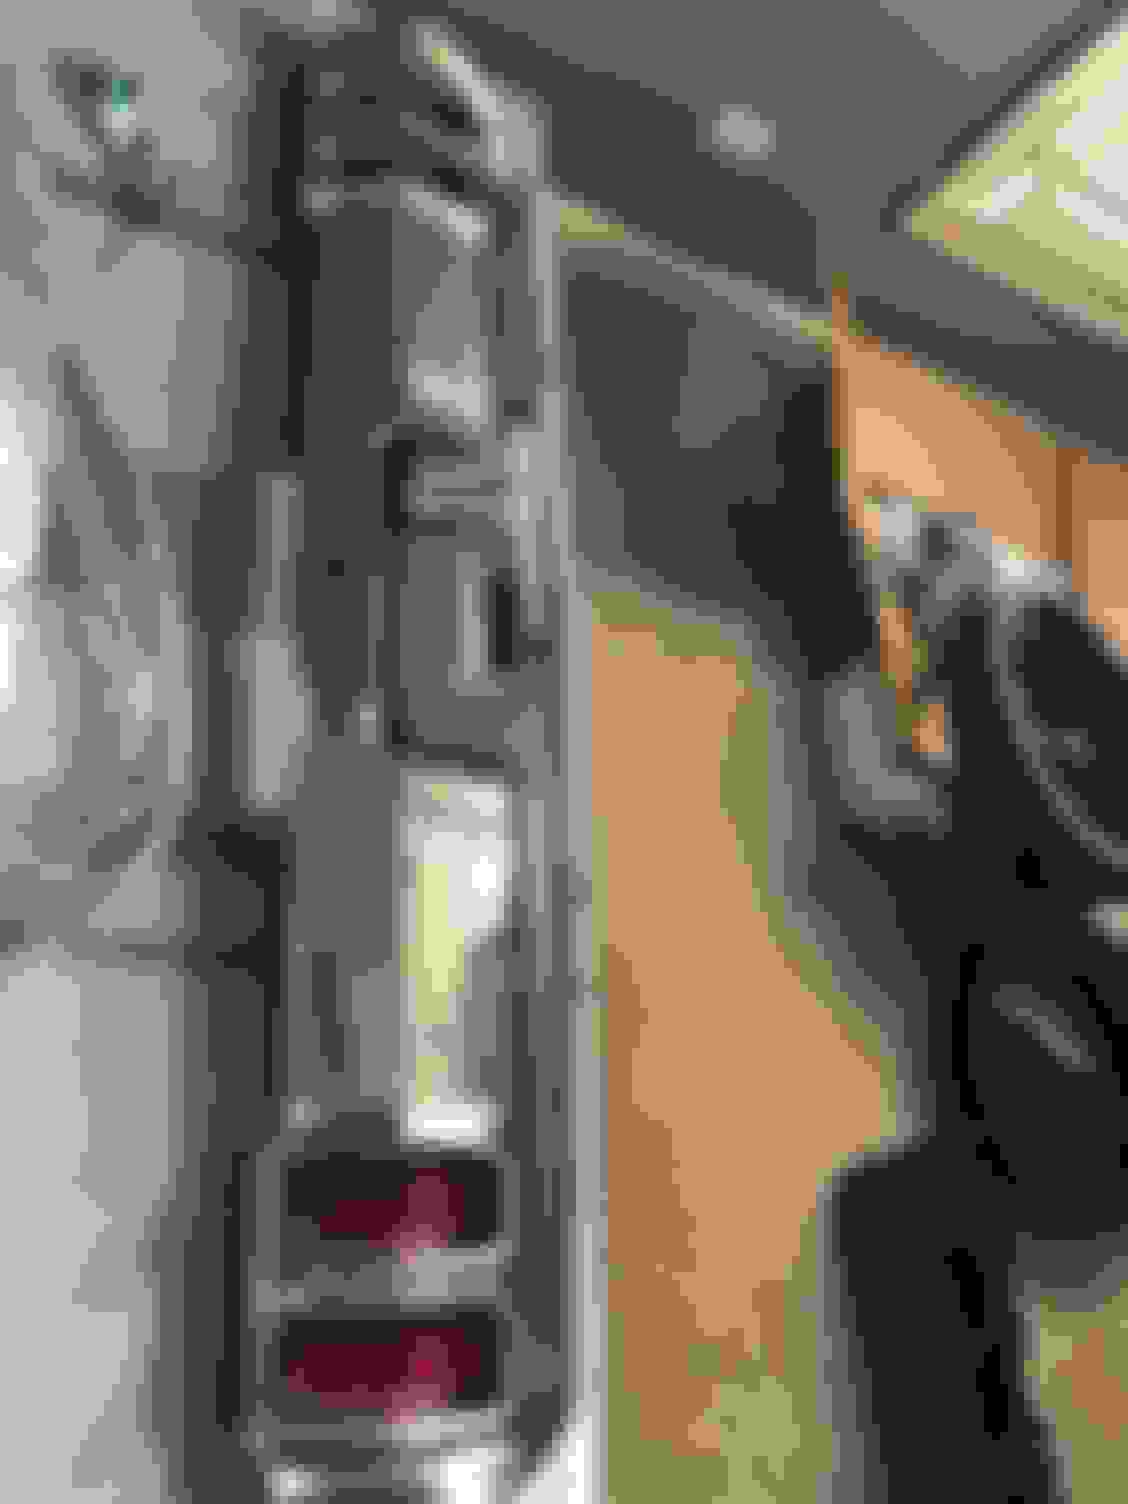
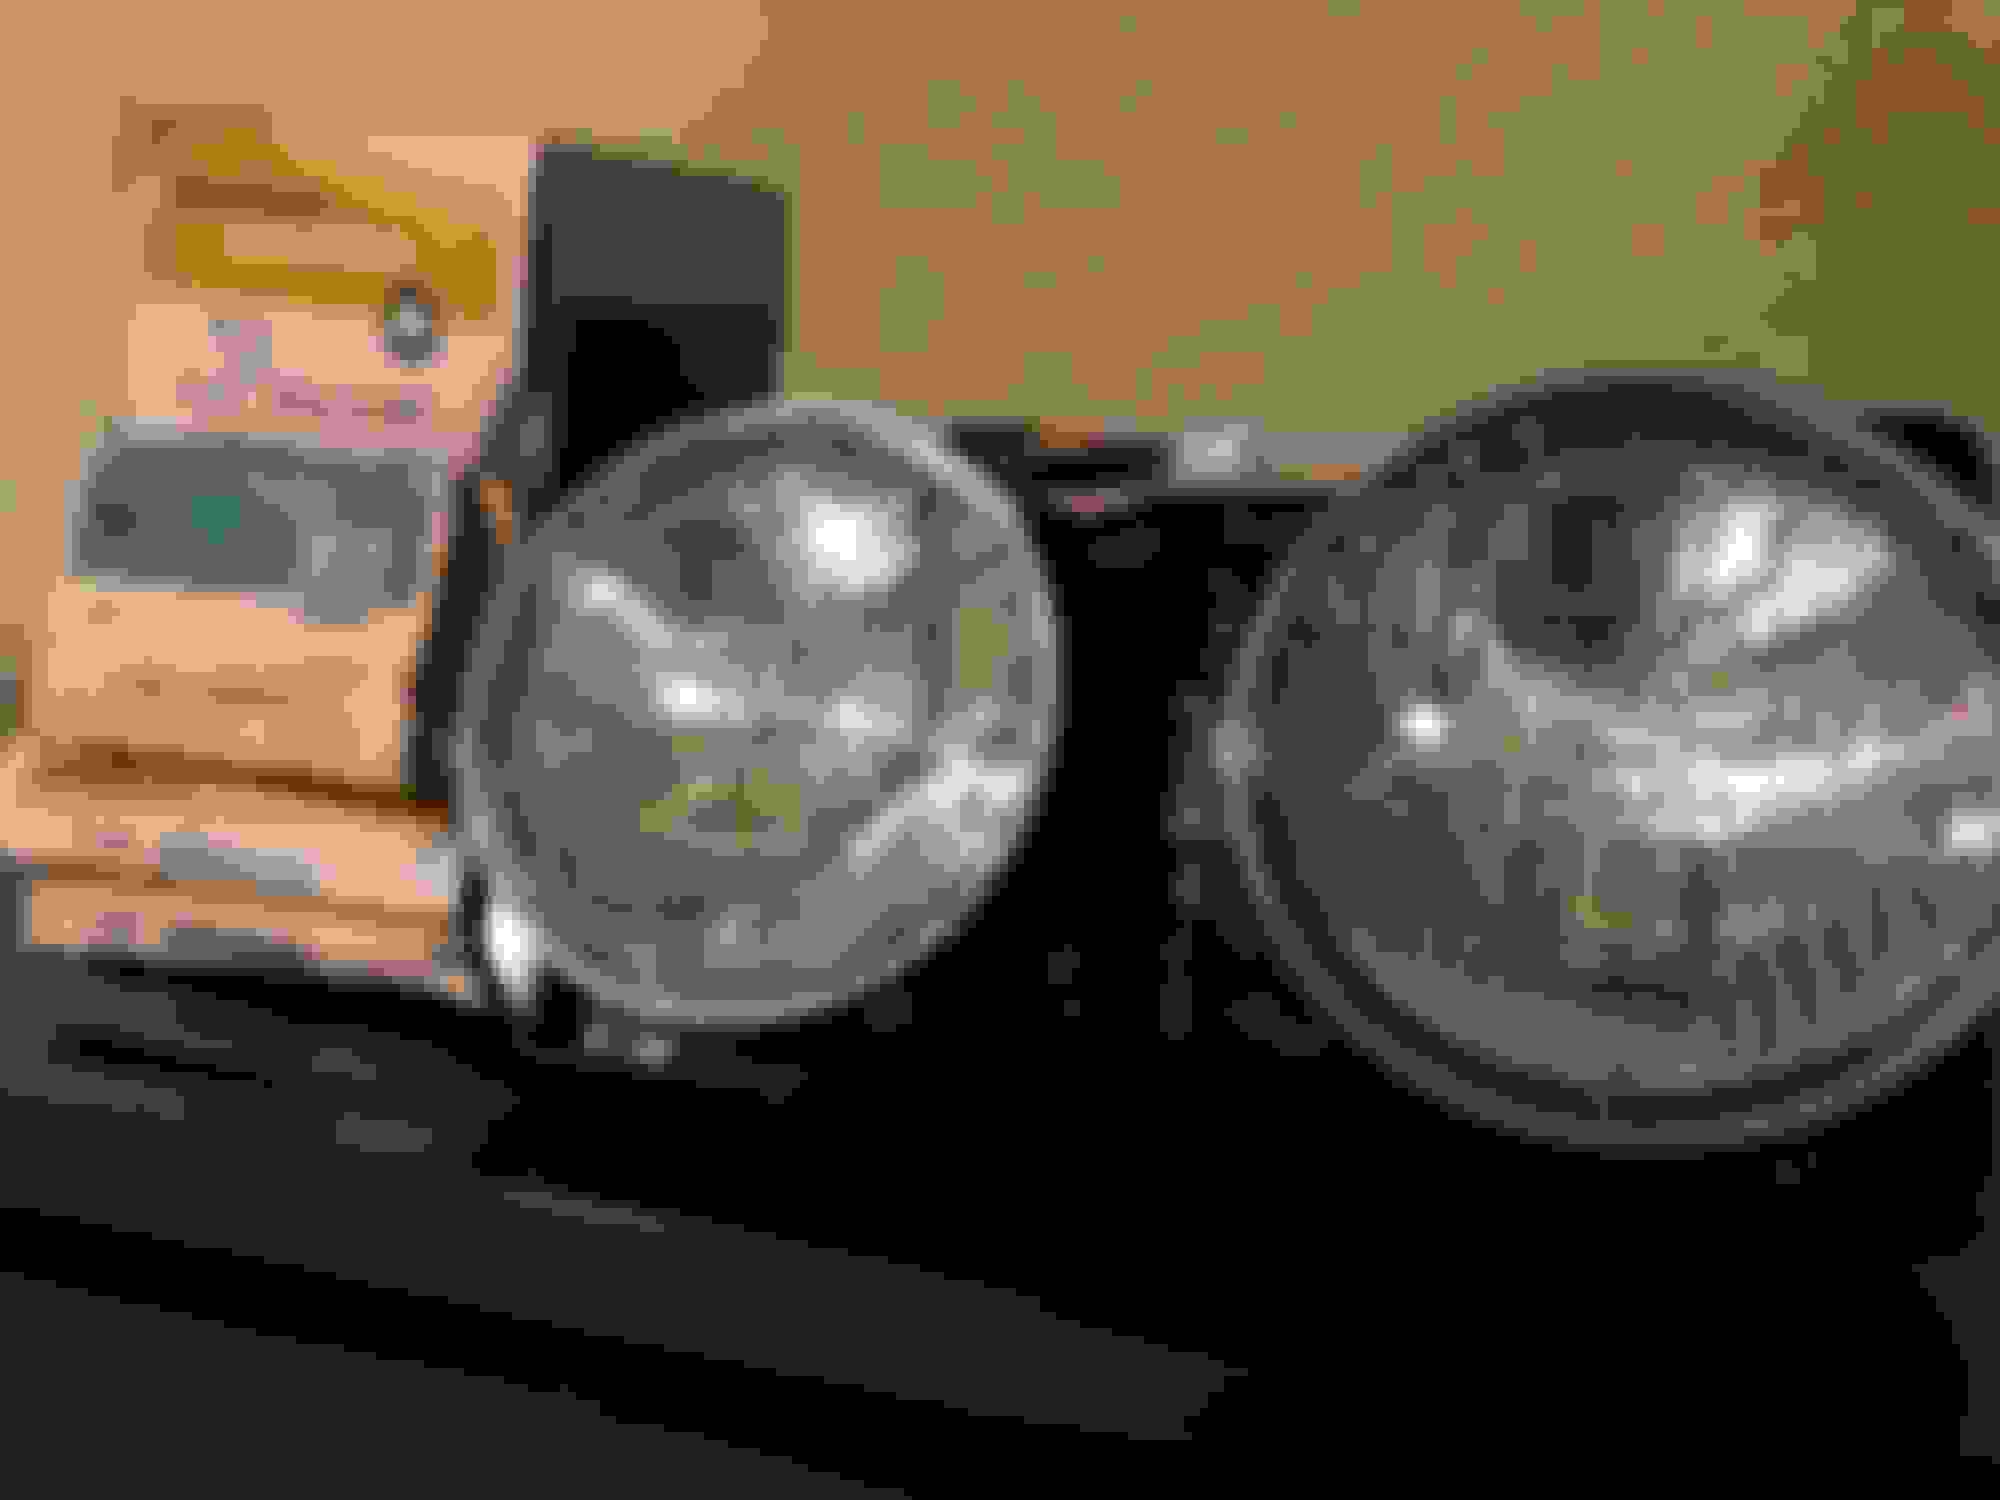
Back at it again this evening. I didn�t like the way the rivets were fastening on the headlight housings. Fact: the rivets in TPP kit aren�t the right diameter. I pulled them all out and started over. For this round, I used the following rivets I picked up from AMK. The diameter is perfect and the plastic pieces fit snug.
And in this week�s �NOS part I probably don�t need,� I picked up a carb to air cleaner base gasket.
Weekend update. Had a few hours while the wife was out with friends and the baby was asleep. I jumped back to the headlight housing assembly. The kit from TPP has the wrong sized rivets. Luckily, I had some rivets from AMK that were a perfect fit. My only fear is that they may stick out the back too far. We'll see. I had to get new "buckets" since my tabs had broken off at some point. The rings are NOS and were actually reasonably priced. There are a few part numbers out there for these rings so do your homework.
Since the "buckets" were "new," the screws had to tap their way through. It was only tough to get the screws in on the side with only the spring. I can see why these screws are often stripped.
The completed housing for the RH side. T-3 headlights are reproductions from Lectric Limited.
You can see the rivets in this photo.
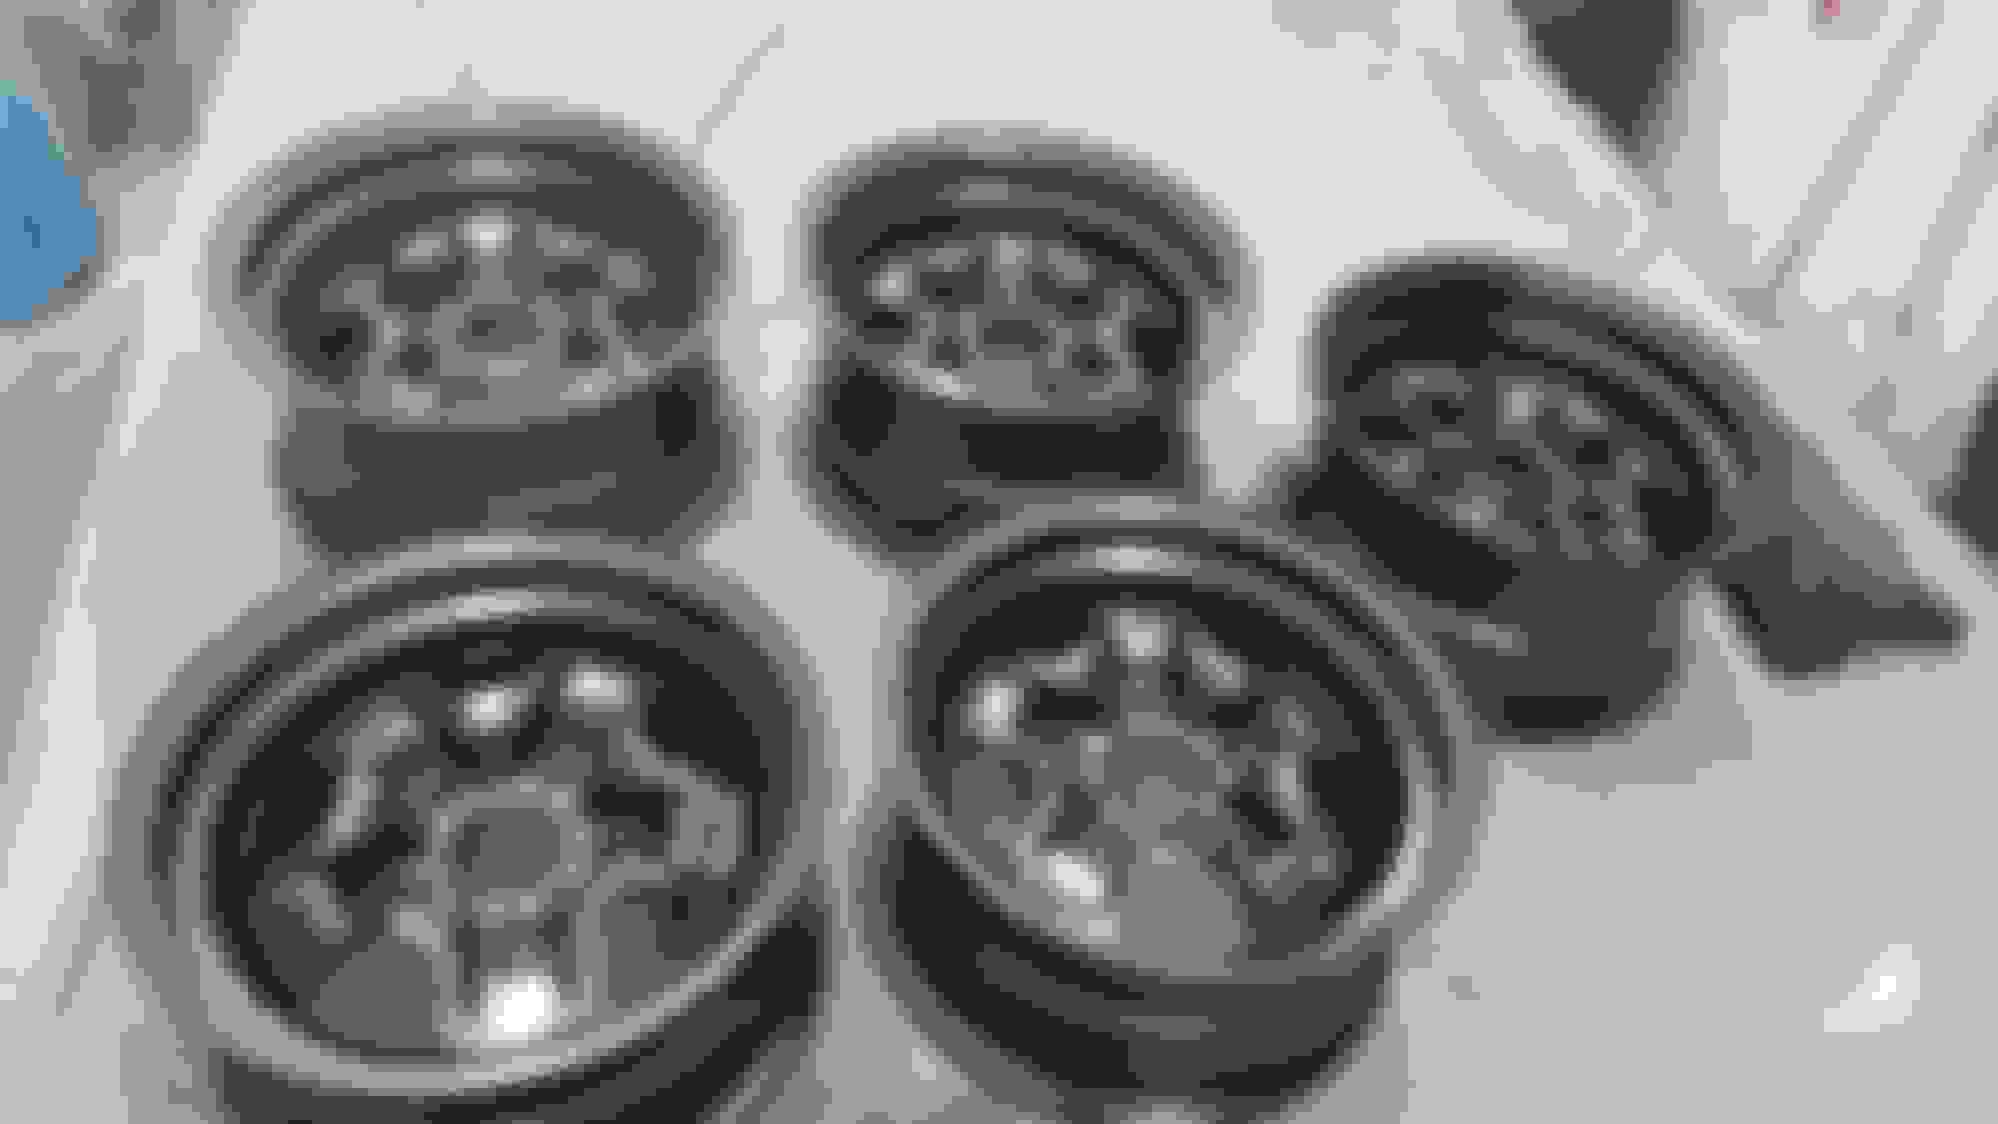
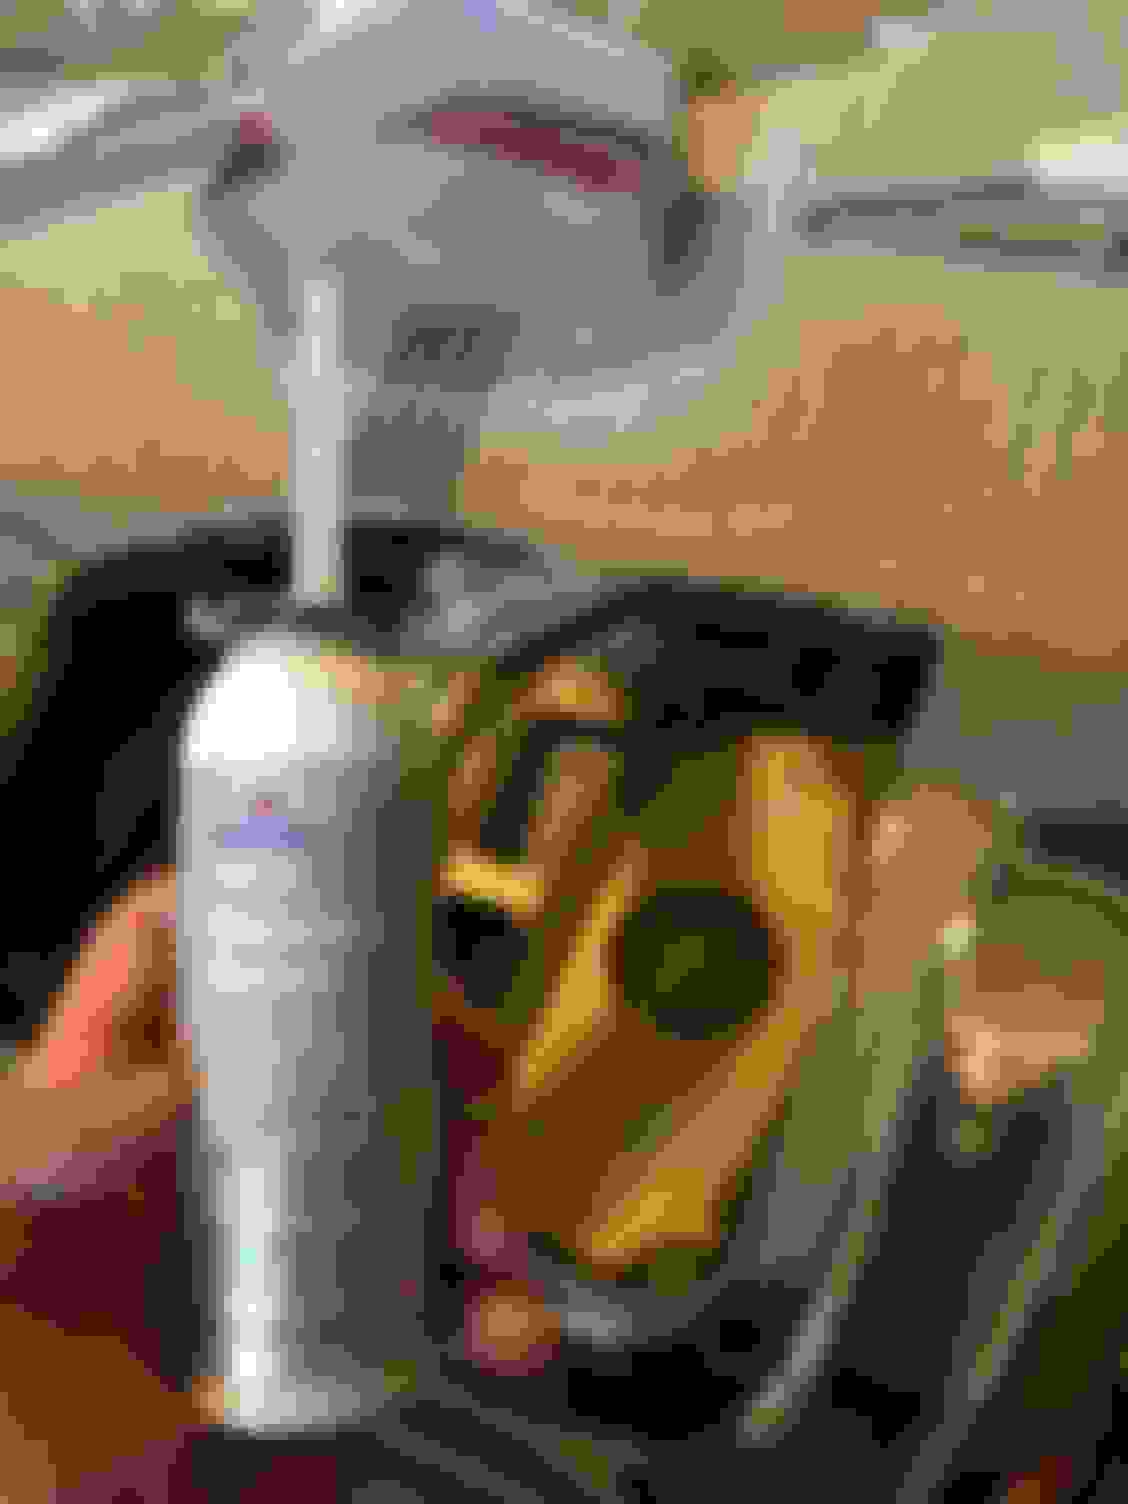
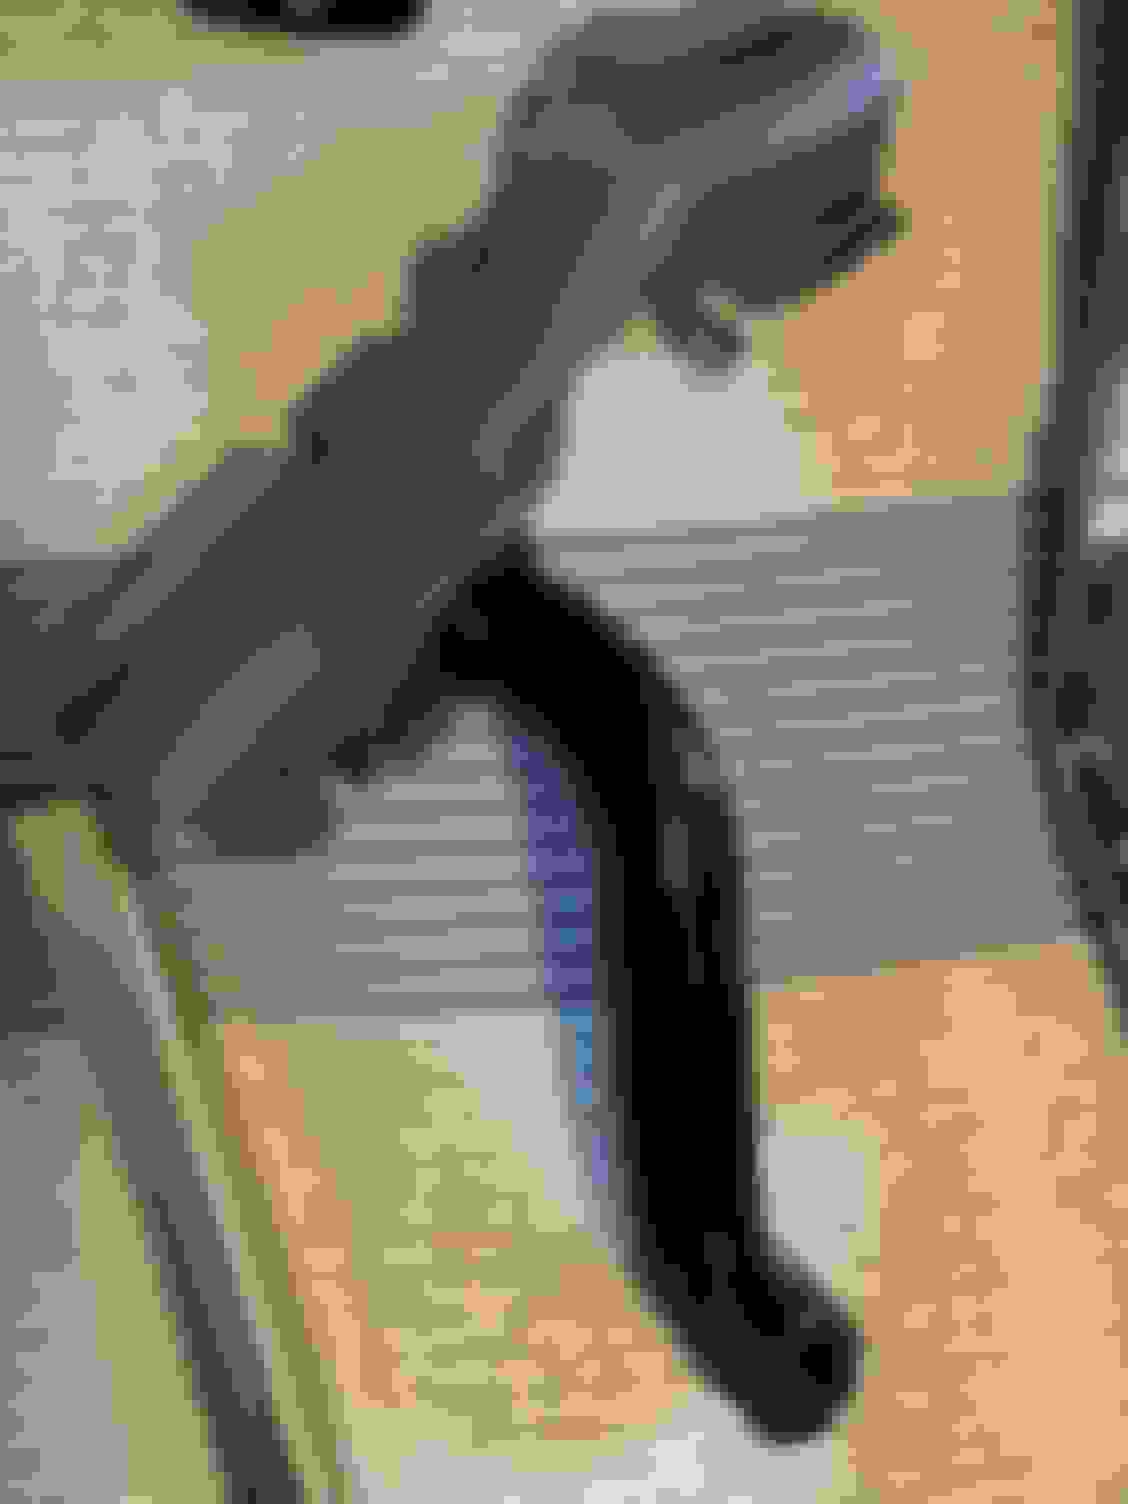
Started putting the brackets on the power steering pump. Everything has been blasted, repainted, and all the hardware has been replated.
Could use help on this one. The photo in the manual shows a washer behind the bracket in between the pump and the bracket. Does it really go bolt, two washers, bracket, washer, pump??
I have a tiny gap between the bottom of the taillights and the bumper. I tried to loosen all four bolts on the housing and shift it around, but it doesn't look like it made any difference. Is the gap too much or am I just looking at it too closely? I'll check the other cars tomorrow and see how the factory gaps were.
Last edited by WTHIRTY1; September 28th, 2019 at 09:07 PM.
Yes, It does go bolt,lock washer,flat washer,bracket,flat washer,pump. My manual does show 2 different part #s for the flat washers though. It's been along time since I had mine apart for detailing but I think the thinner washer goes behind the bracket.
Those taillamp mounting flanges can be somewhat bent a bit to get the housings aligned in the bumper slots. It is trial and error - like trying to align door and quarter windows . Also you could obviously elongate the mounting holes, but on the original cars I've looked at, the lens location in the bumper is pretty inconsistent.
Also, P/S services painted my pump cap. I stripped it off, those caps should be paint free. Early 68 cars use a metal cap that is painted.
I'll bend the tabs on the bumper and see what type of impact that has. Thanks for the tip.
As for the cap being painted, you had mentioned that last year to me, so I made sure to request the cap didn't get any paint
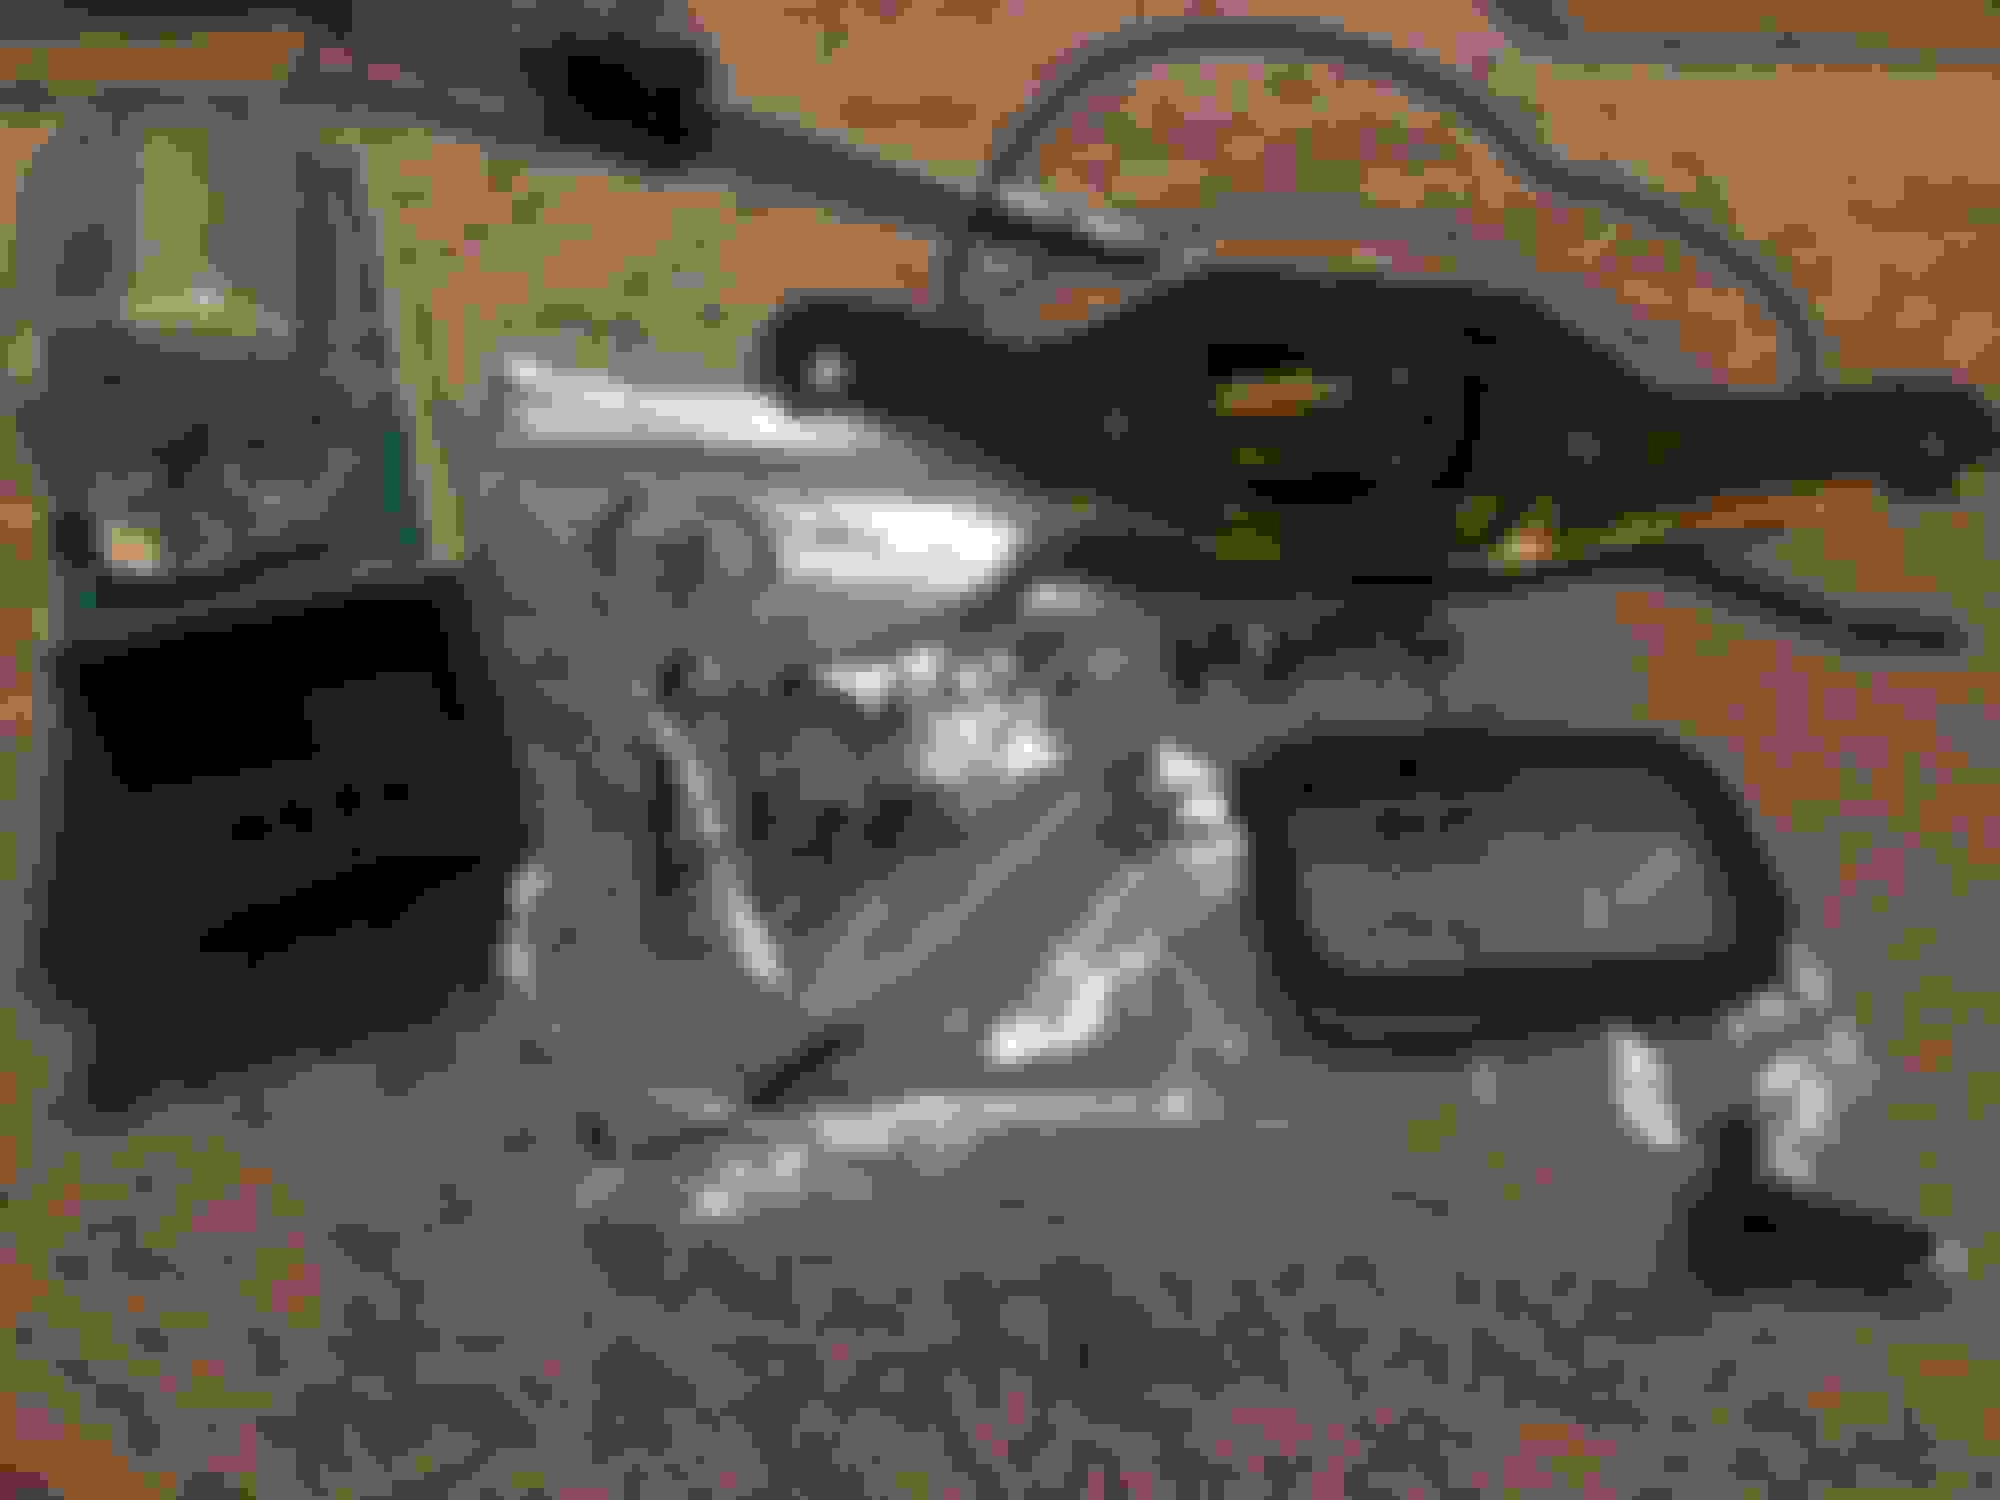
Progress on the seats. Covers and other materials have been removed. Looks like the springs on the LH side back are broken. Hope to have the seats completed in the next few weeks.
Slow weekend and week. The engine was supposed to go on the dyno tomorrow but the shop is delayed. Target date for the dyno has shifted to next week. Less than ideal since getting the engine in and out of the truck is a pain.
Polishing shop called today and the rest of my trim has been completed. I'm excited to pick the parts up since they also rechromed my fender “eyebrows” as well as repaired the pot metal on my dealer plate frame.
As for this week's random NOS find, I picked up a dome light bezel. The white plastic lens is easy to find, however, the silver ring has been hard to chase down. You can see from the original piece that it’s painted white. I’ll need to get the new piece sprayed.
Last edited by WTHIRTY1; December 18th, 2019 at 06:59 PM.
Picked up the following pieces from the metal shop.
Three front windshield pieces
Two door panel trim strips
Pelunis license plate frame (rechrome)
3 wheel well mouldings
(2) side 1/4 glass dividers (rechrome)
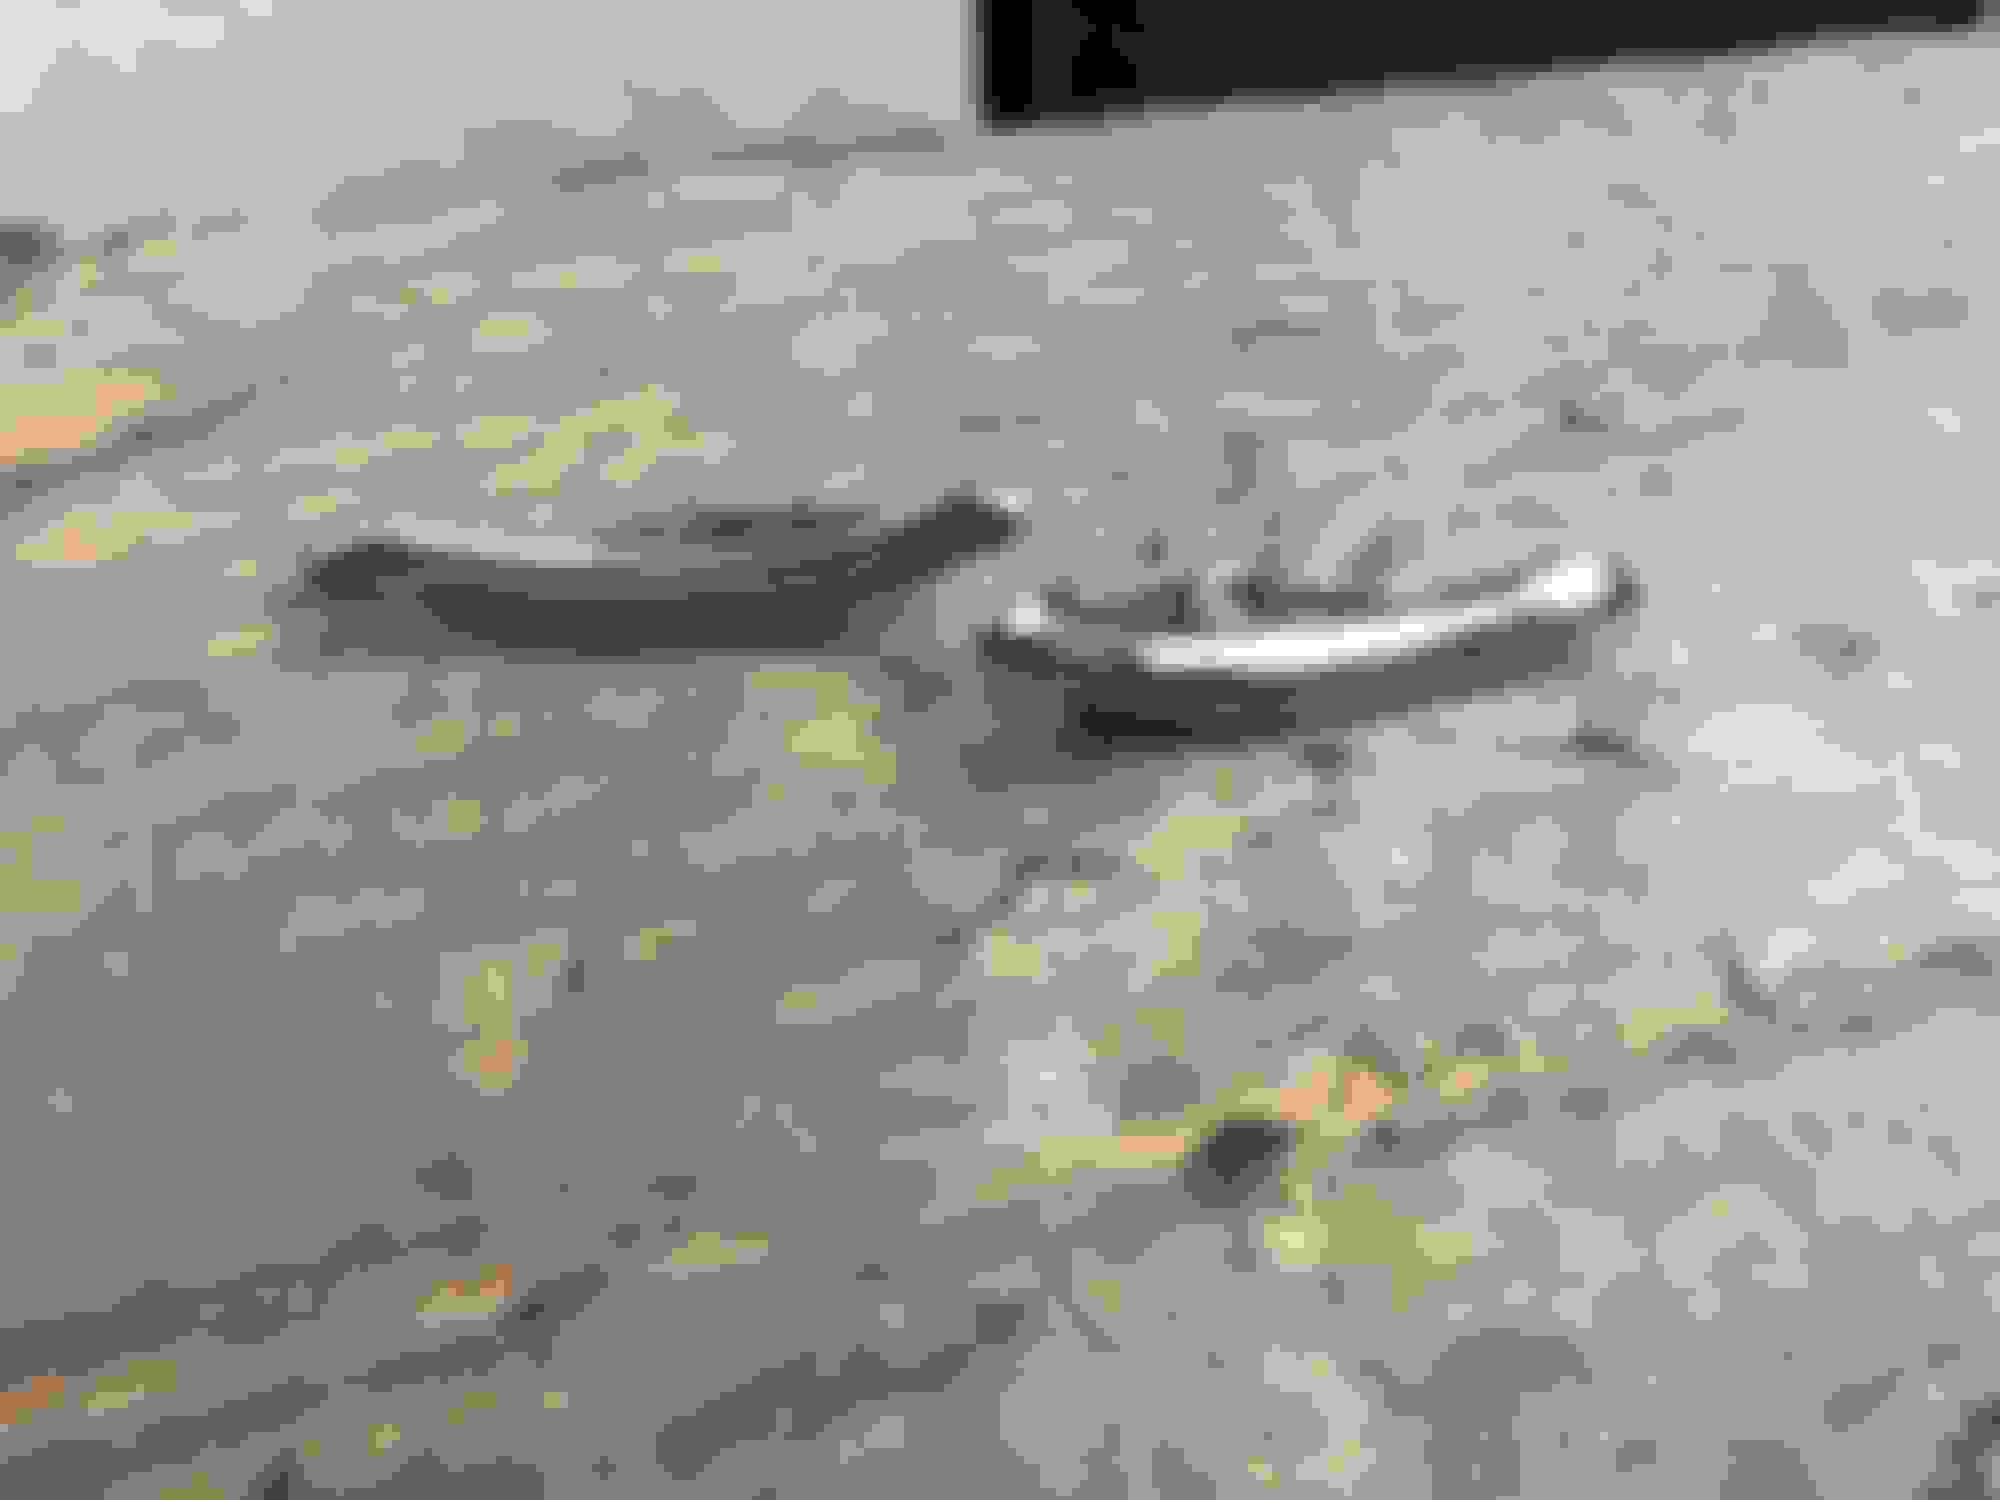
(2) eyebrow fender moulding (rechrome)
The license plate frame turned out incredible! Somehow, they managed to get out 99% of the pits. Next step will be to paint the letter area and letters black and paint each letter in white by hand.
The chrome eyebrows came out nice. I took a few photos with the original rubber gaskets that I cleaned up a few months back.
The door panel trim is likely over the top, but the originals lost their luster from sitting all those years. The metal shop said it was a pain in the *** since the metal pieces on the back are quite sharp.
Engine will be on the dyno dyno next week. Restoring a new set of control arms that were rust free with NOS ball joints and bushings.
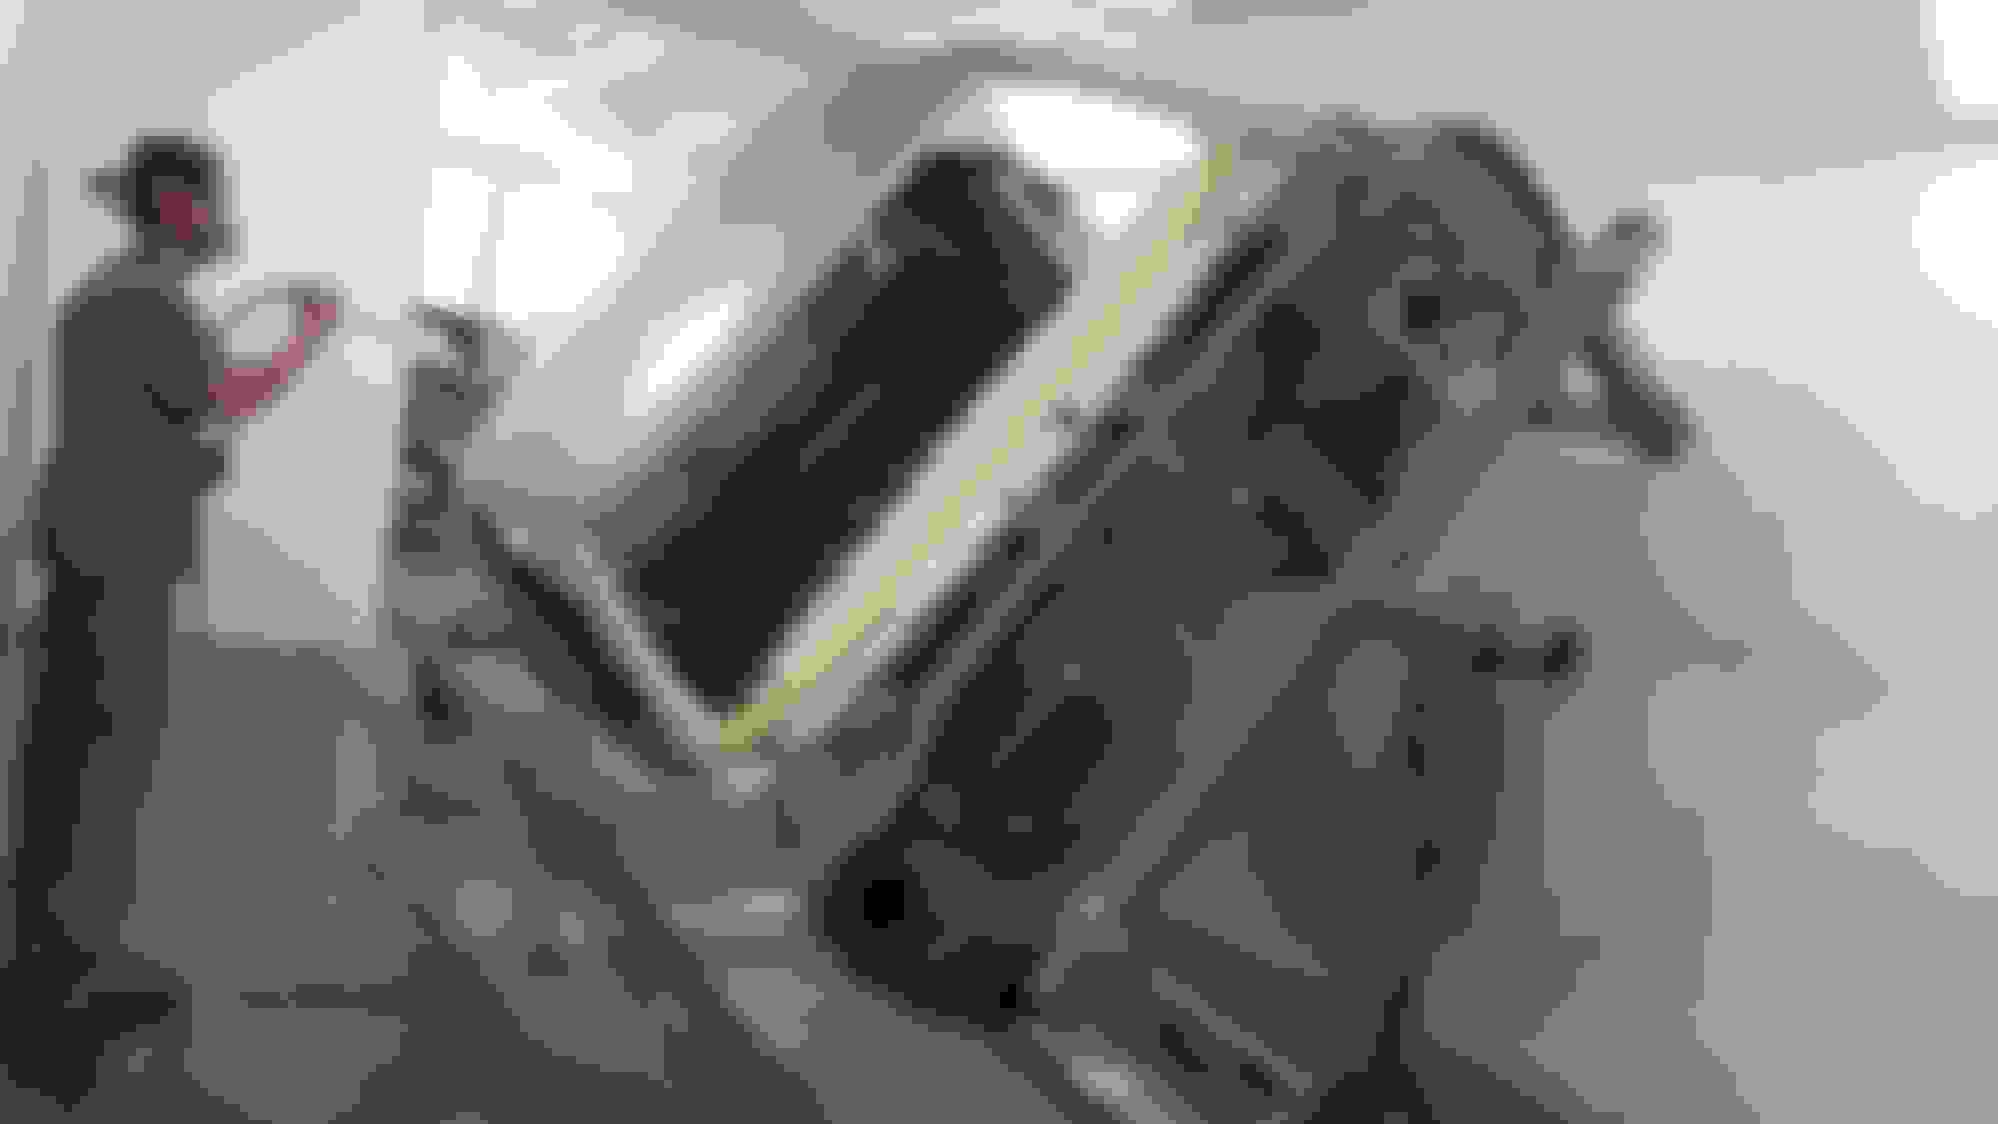
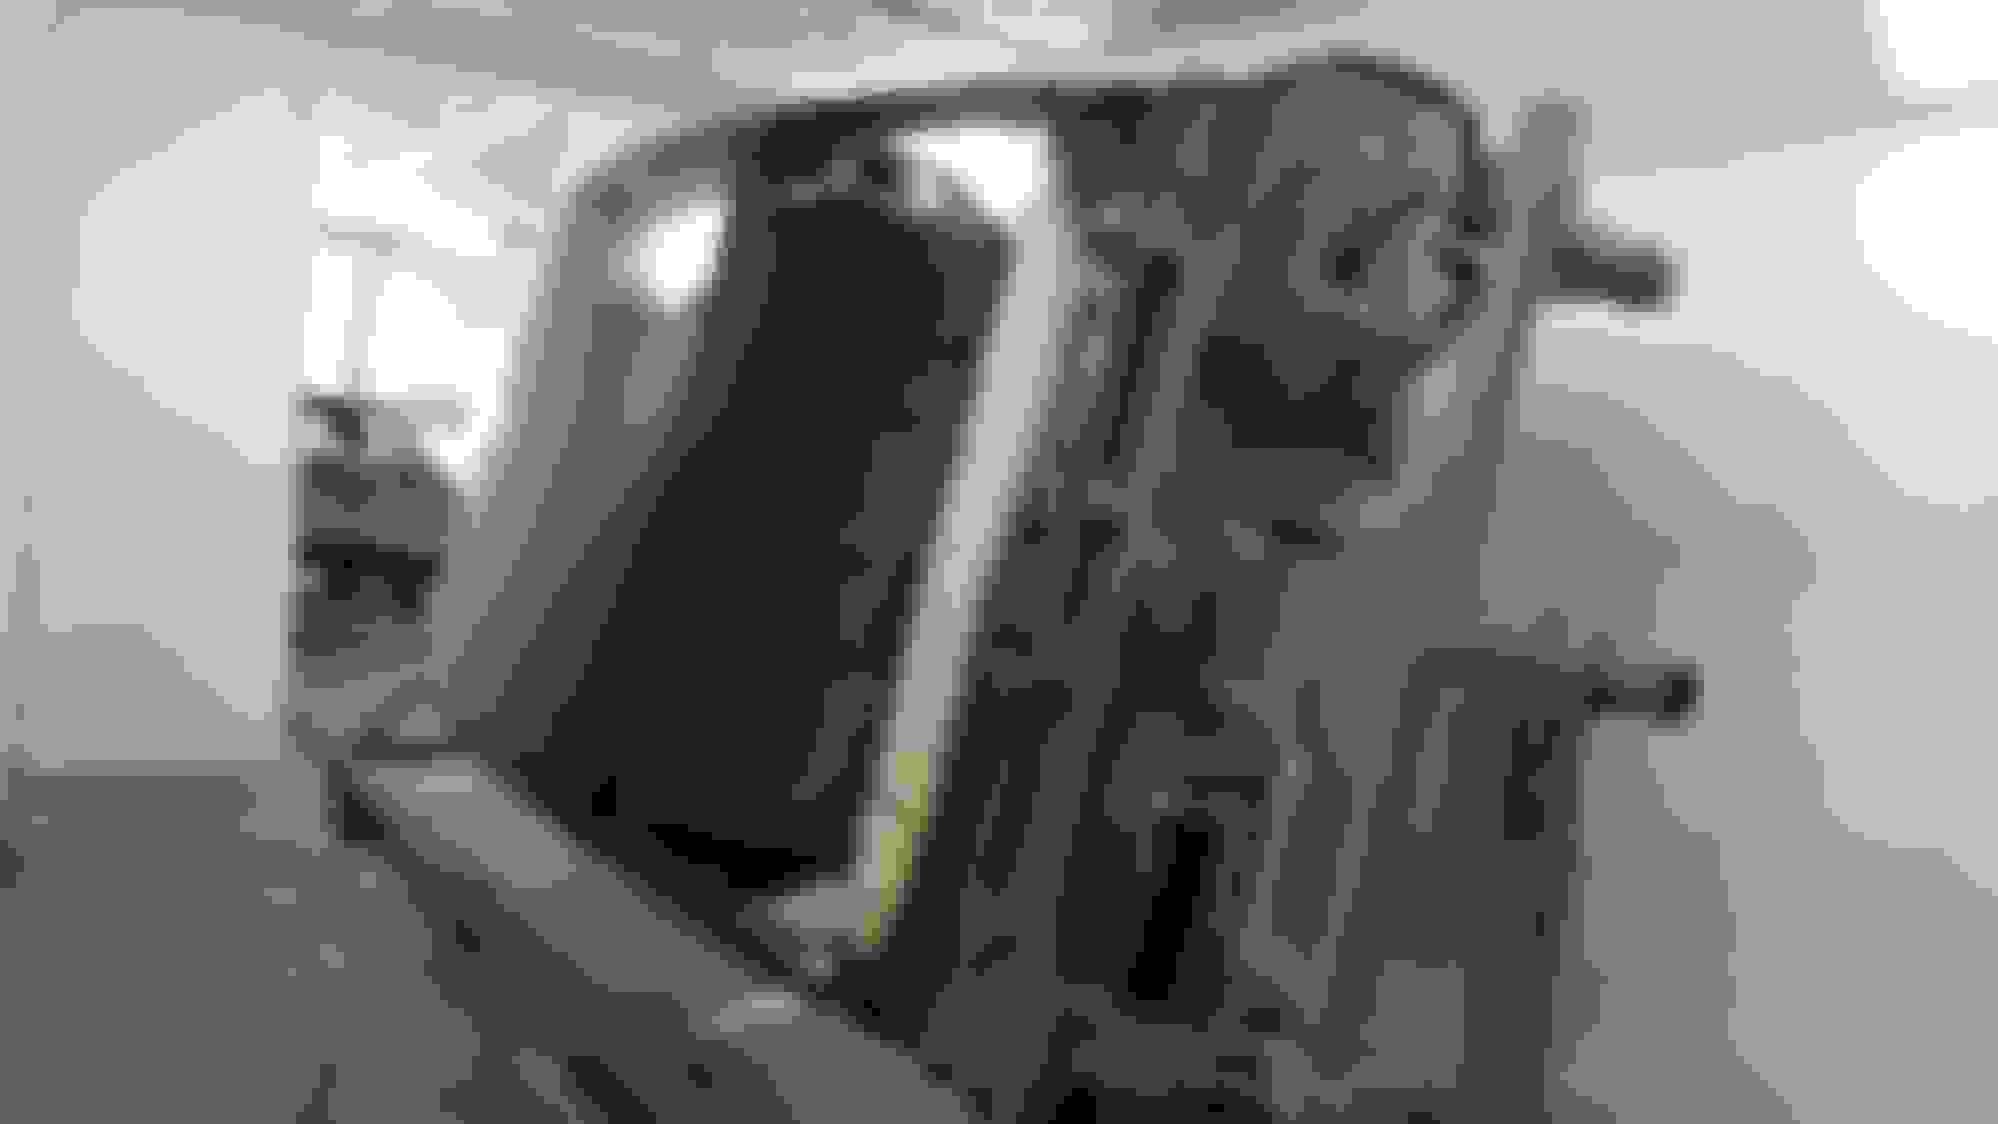
Rear quarter trim polished on the right. Unreal how awesome these buffing machines are.
It was fun to watch the metal polisher work his magic.
This is one of two original A D Pelunis plate frames I picked up for the car. My understanding is that it's hard working with pot metal like this. The shop worked their magic getting the pits out and chromed it to look like the original.
Original moldings rechromed with original gaskets.
Part numbers on the original plastic pieces.
Final polish on the trim.
Last edited by WTHIRTY1; December 18th, 2019 at 06:57 PM.
Very nice work, I'll be following along
I am doing a restoration on my 72 442 convertible albeit with a greatly reduced budget and at a much longer time frame
I need to find one more gasket. This was just a couple of bucks which made it hard to pass up. Worst case, I'll scrub the best of the two originals and reuse it.
Last edited by WTHIRTY1; October 19th, 2019 at 06:12 PM.
Trying to knock out little projects while the car is in paint. Tonight, I went through the original door panels to peel the original blue decals off. I used a razor blade by hand, and all four decals came off easily. The LH decal was under the blue vinyl which tells me the cardboard received the decals and then the vinyl was applied. The 442 cardboard would have the knockouts for the plastic chrome that goes behind the arm rests.
I placed the decal in as close of a position as the original that I peeled off.
Mind you, I pulled these panels from the plastic bags that Legendary put them in. These were assembled in 2011. I purchased these from a friend last winter, and this is the first time I've gone through the front panels. On the LH front panel, the "chrome" trim has peeled completed away from the panel.
You can still see the protective tape on the chrome trim.
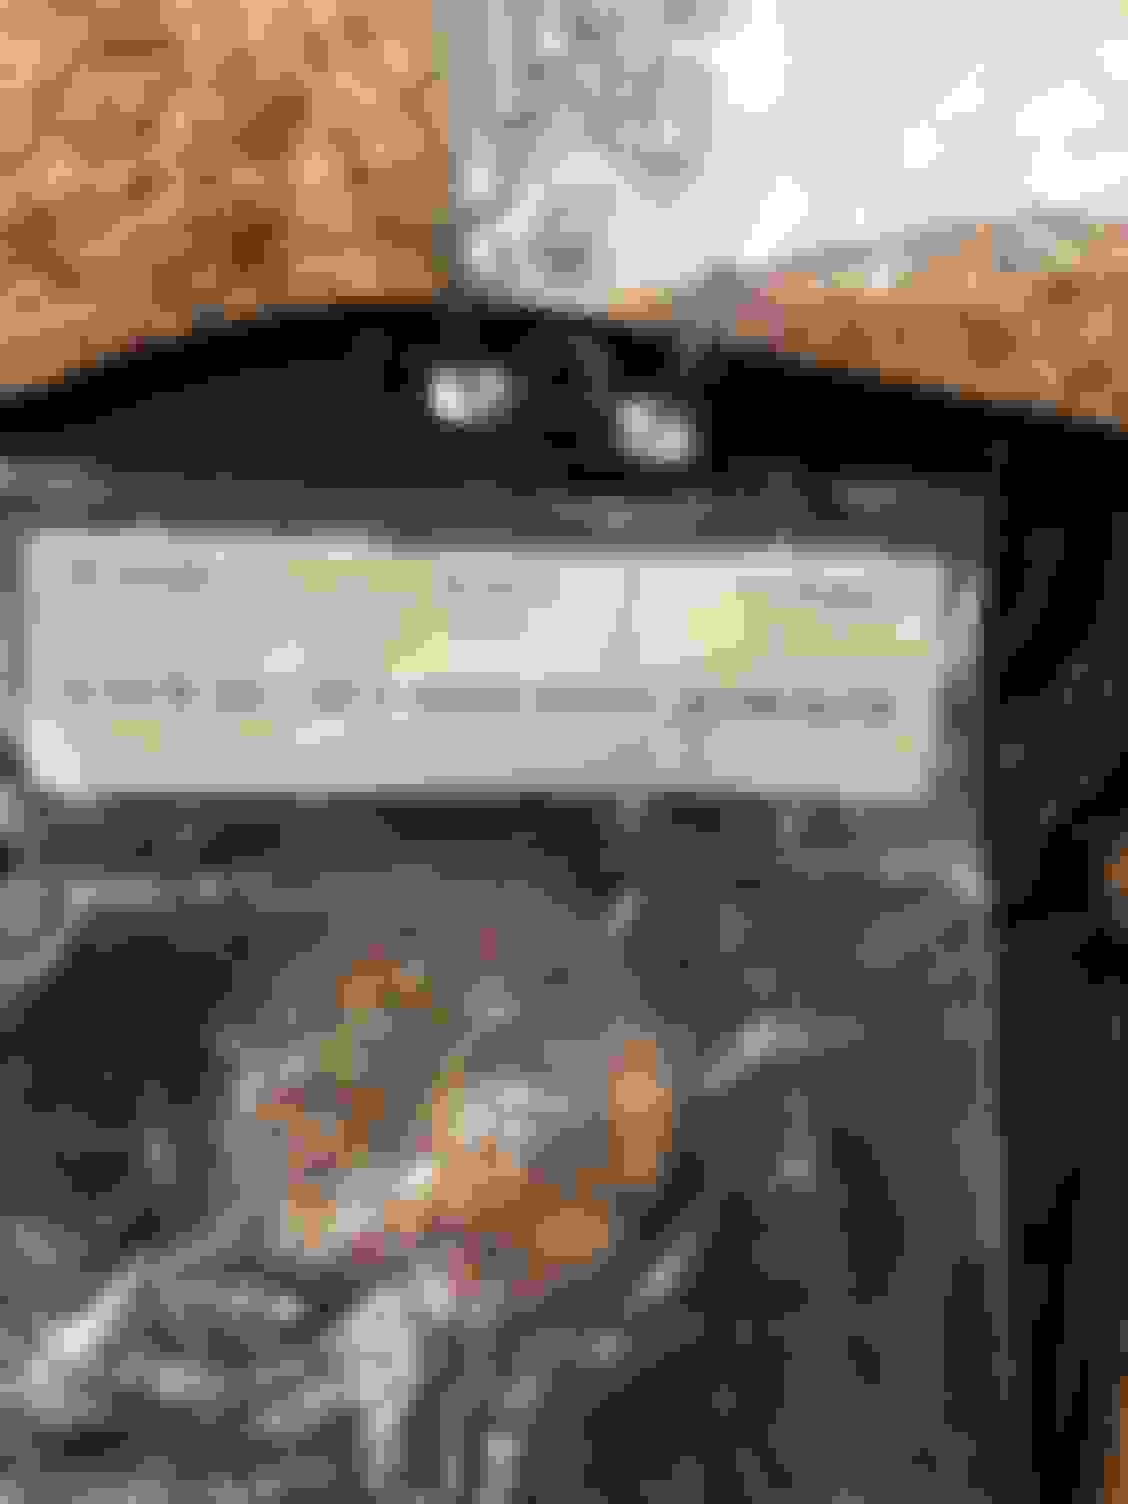
And my favorite part...Legendary's seal of quality. I'm hoping Legendary stands behind their product...we shall see.
Not even sure how these were affixed to the panel itself. There's no clue residue. Perhaps a vacuum process? Either way, I'm not a happy camper.
Last edited by WTHIRTY1; August 14th, 2020 at 11:46 AM.
Engine went on the dyno this past Thursday. Most of the morning was consumed with the shop's bellhousing and starter combo. Once the issues were resolved, we managed to get 6 pulls in before calling it a day.
Overall, I am quite pleased with the results. The 255 with the stock AU rods and .57 jets right off the truck put down nice numbers. All pulls completed with stock exhaust manifolds.
I’m beyond excited knowing that in a few weeks this engine will be mated back to its chassis.
Question for the group. I understand that the aftermarket mounts are total junk. Is there a trick to getting them to sit on the engine pads for the frame properly? And how best to line up the engine mounts on the frame? I removed mine to refinish them, and I’m not sure if I’ll be able to put them back in their original place.
Last edited by WTHIRTY1; December 18th, 2019 at 06:52 PM.
Incorrect/bad fitment complaints for the motor mounts are usually related to the '70-72 455 mounts in the A-body. I don't recall seeing folks with the same complaints when it comes to the 350 motor mounts.....but......
You'd pretty much need a set of NOS 350 mounts to compare to the current aftermarket mounts to see if there is a real fitment/placement problem.
As far as the Legendary door panels. Have a customer here that had the same "delamination" of the "chrome"/mylar trim around part of the door panel woodgrain on a '72 Cutlass convert. Legendary made "a little noise" about hearing about it approx 2 years after he got the panels but they did make it right.
NOTE: The "certificate" you show the pic of mentions "the bearer".......so that doesn't seem to limit the warranty to the original purchaser IMO. You'll probably have to explain that to them and/or just be very persistent but they SHOULD make it right. Don't take "no" for an answer...especially considering the "bearer" form of that warranty/certificate.
 September 5th, 2019, 11:21 AM


")