When you click on links to various merchants on this site and make a purchase, this can result in this site earning a commission. Affiliate programs and affiliations include, but are not limited to, the eBay Partner Network.
I've done a lot of these Jimmy, but I haven't done one for a long time. I thought there was like a 1/8"? 1/4"? foam strip sewn lengthwise under the vinyl that made it kind of self-adjusting. I think I've only used PUI or REM before, though.
There is. But I could pull it tight against the trunk divider or I could give it a bit of a “hump” and not pull it as tight with the glue. I’m realizing I didn’t take many pictures of that area during disassembly.
This is a decent shot.
Last edited by WTHIRTY1; December 18th, 2020 at 07:45 AM.
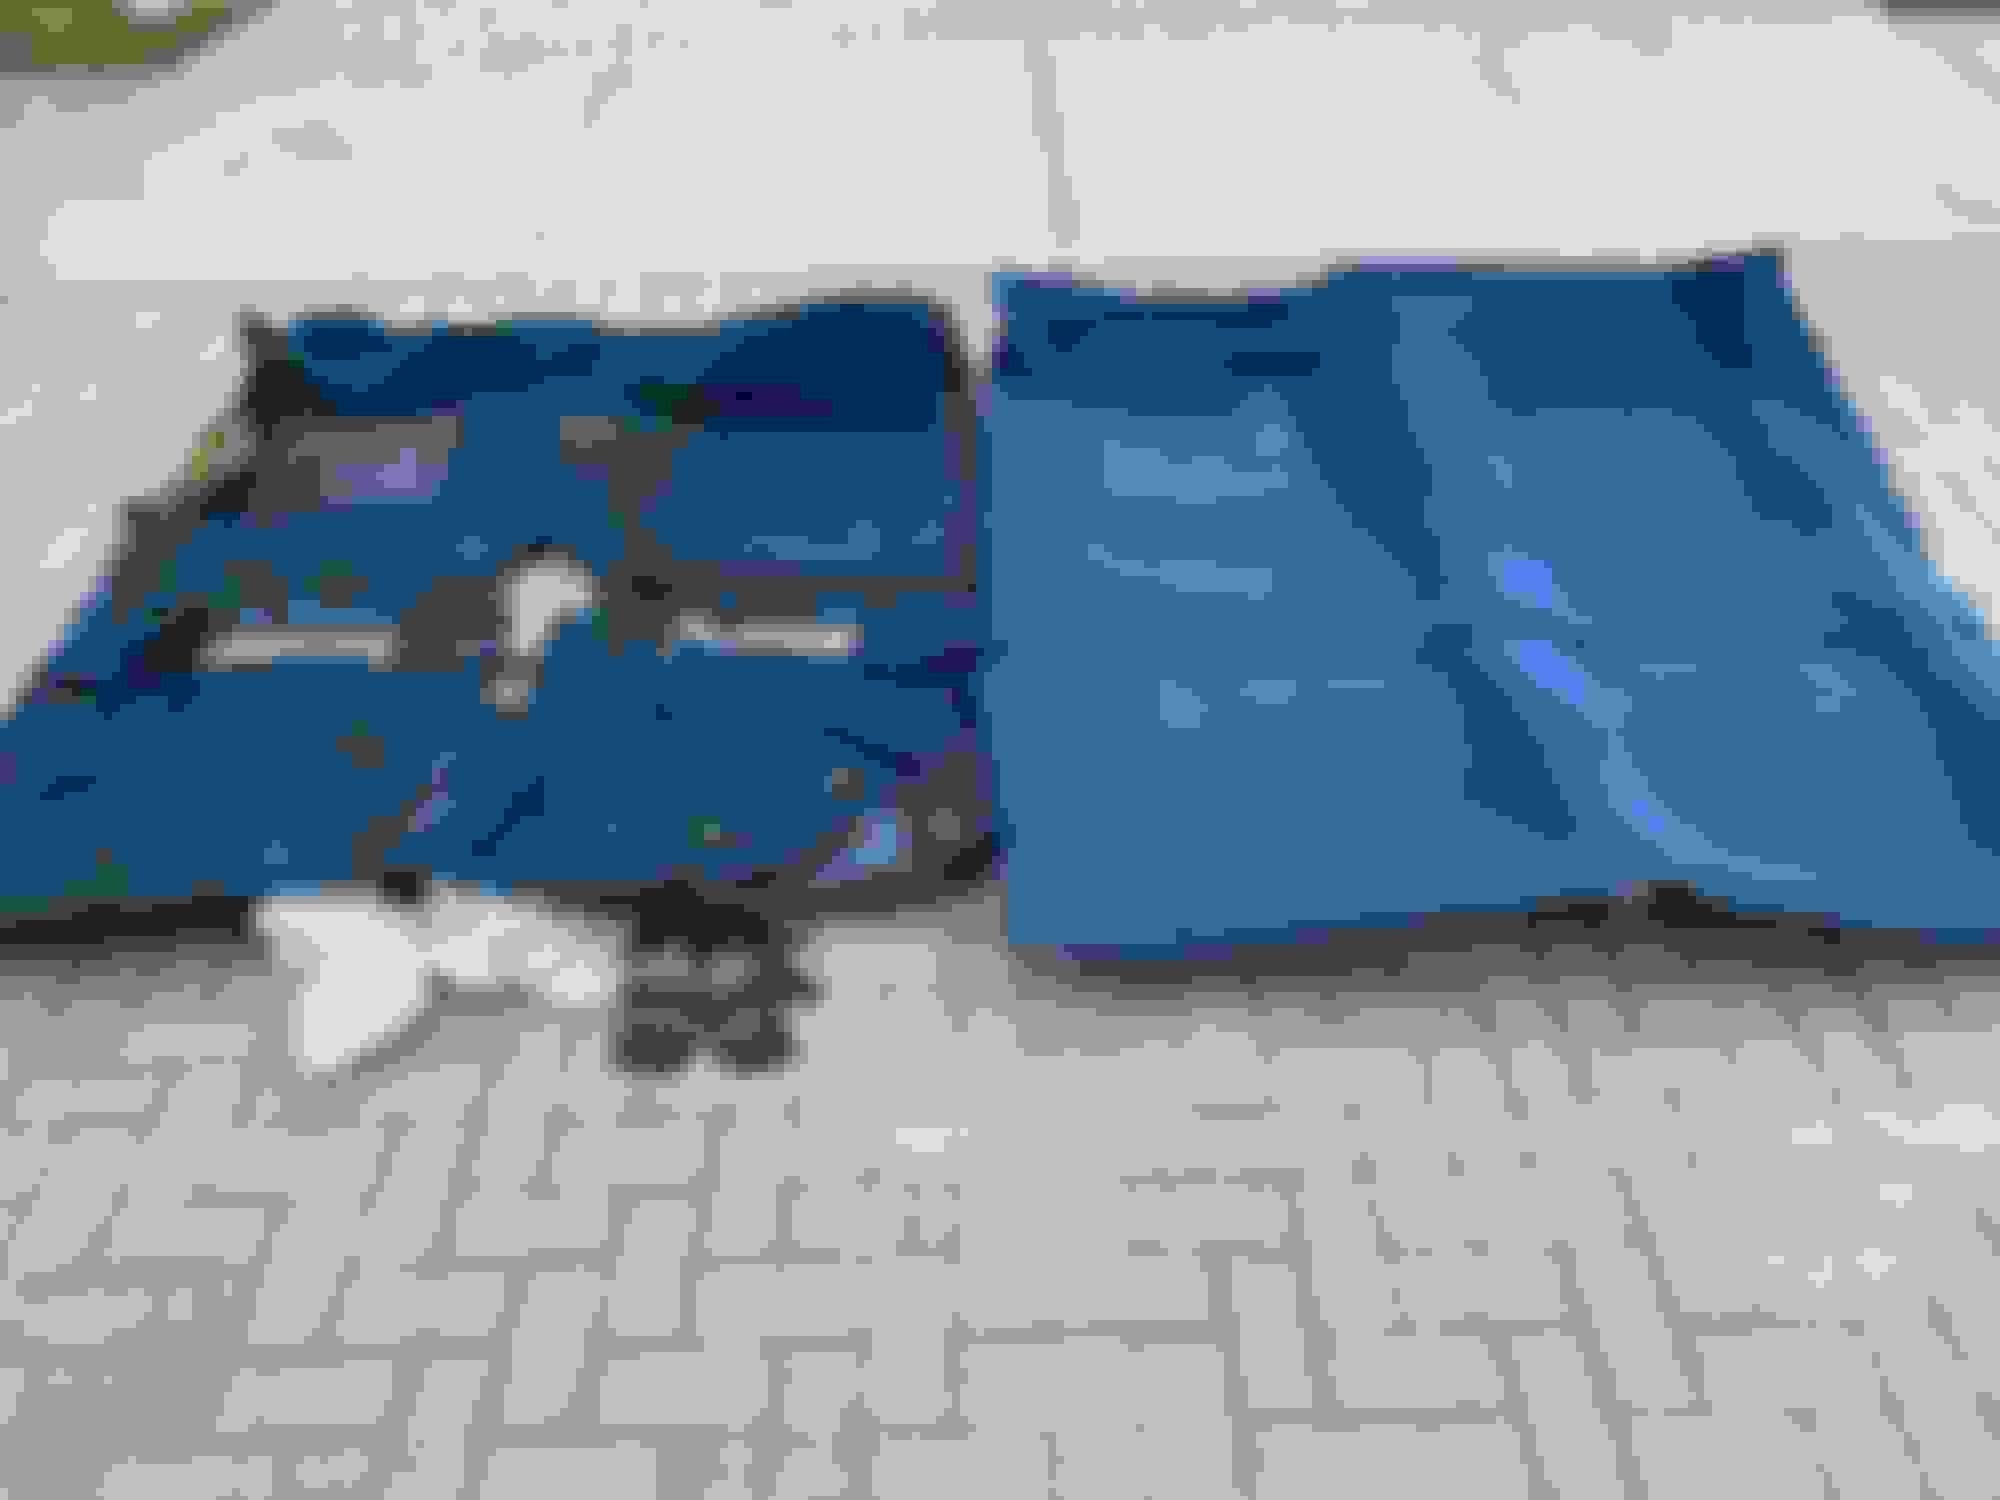
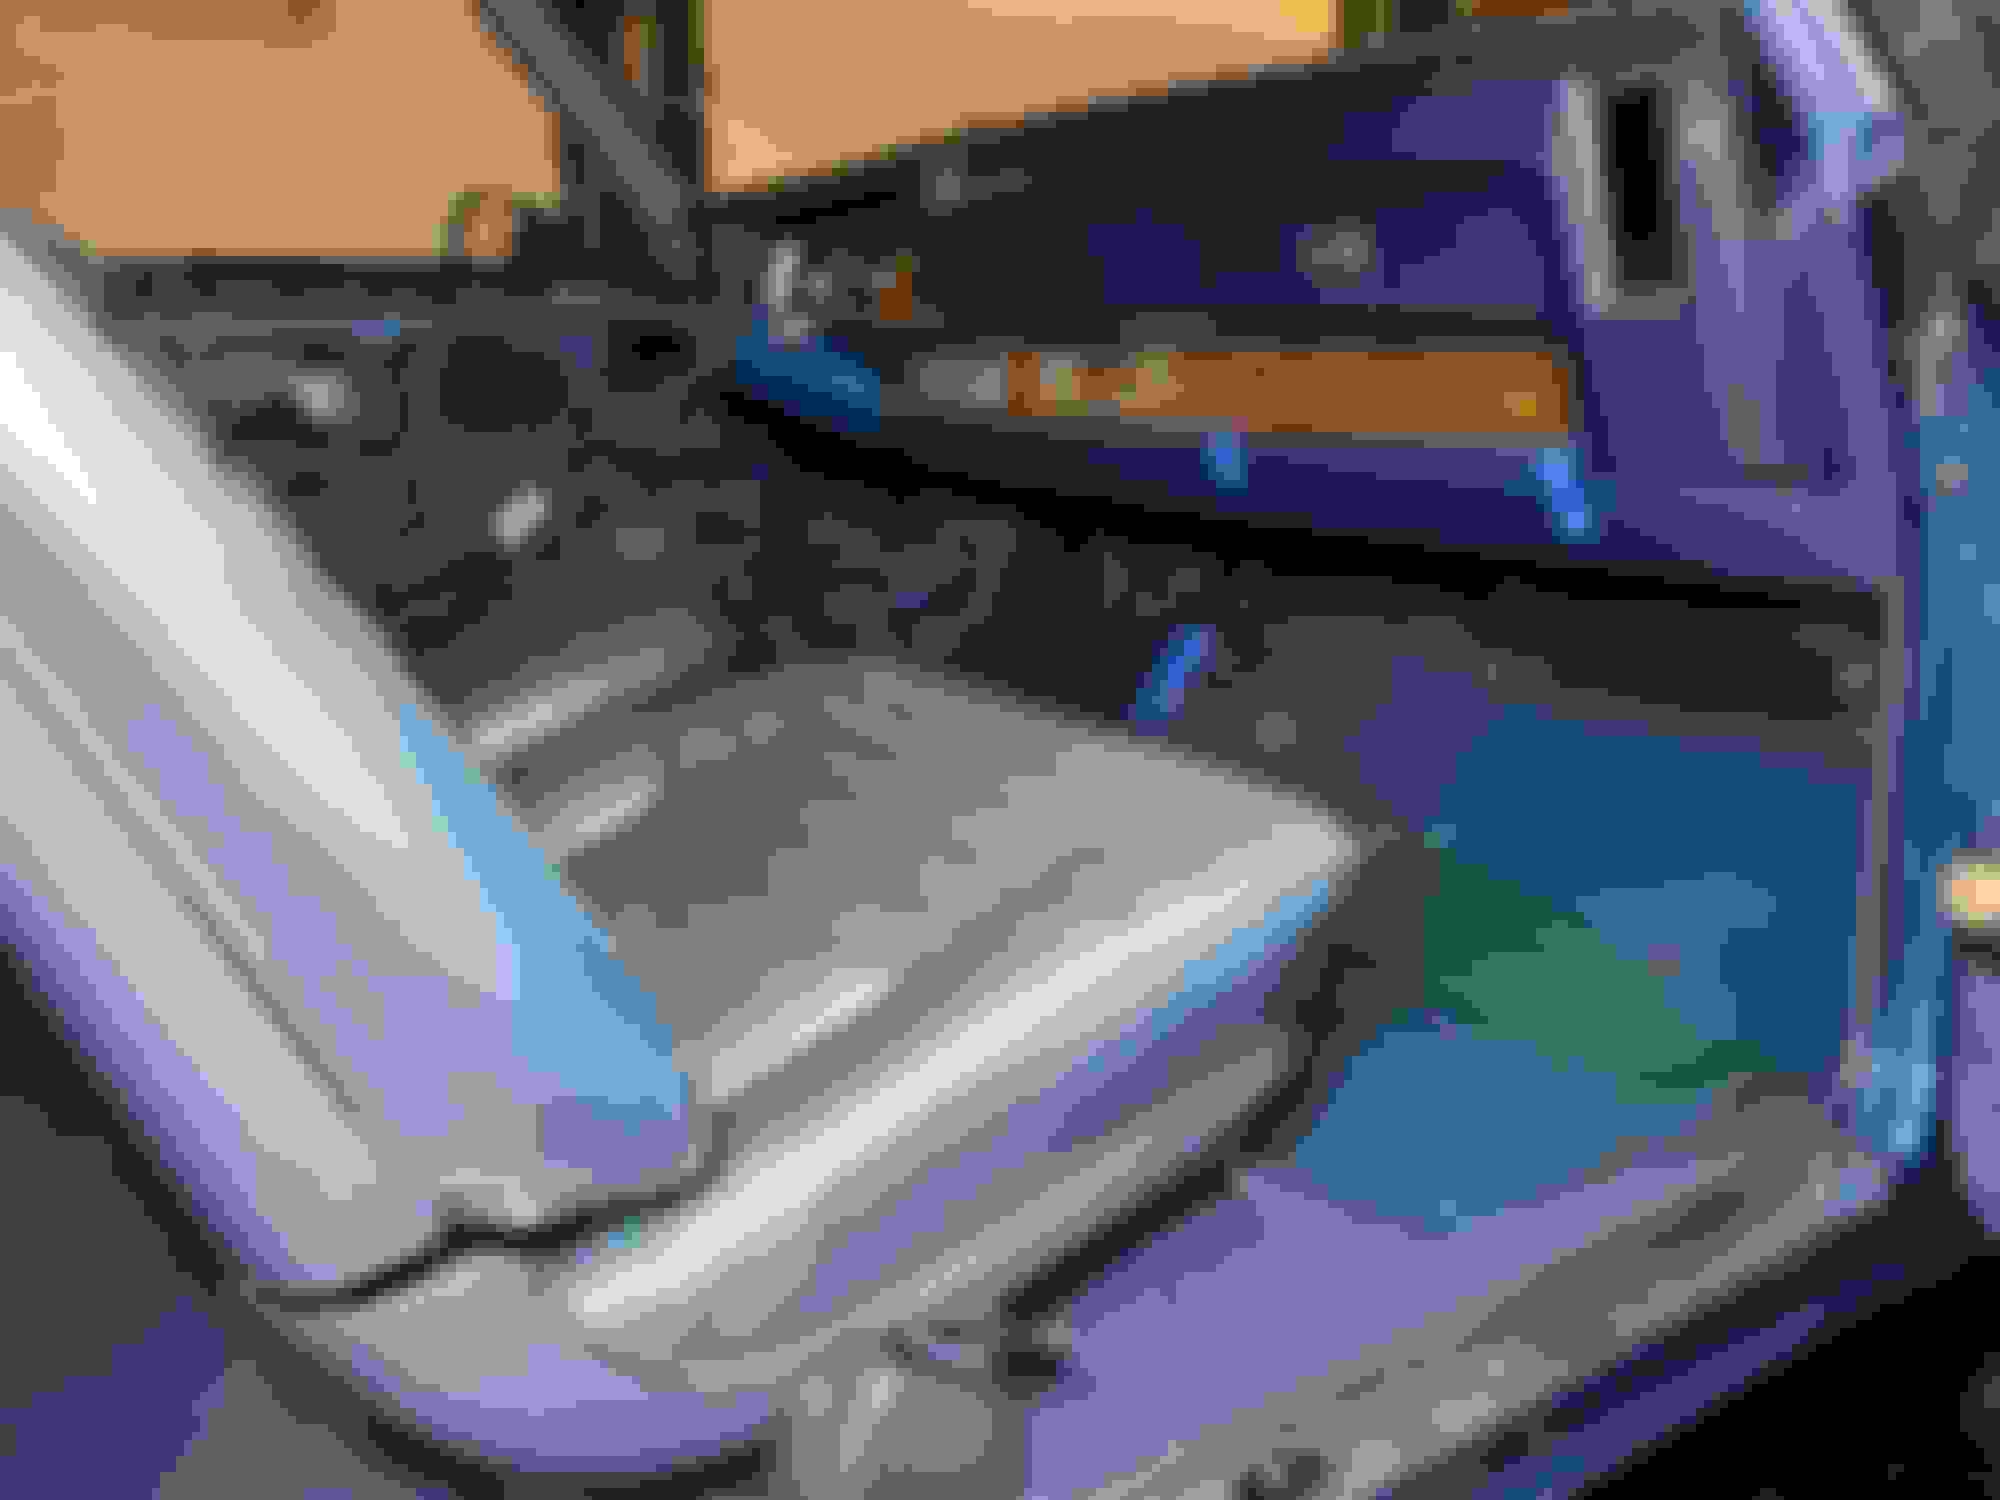
Last night I started on the package tray installation. I used a straight edge to bend the flaps upwards on both sides and tried sticking it in the car. I learned quickly that with the sail panels and trim installed, it just wasn�t going to work! I ended up pulling the trim molding and sail panels to get some additional real estate. I also separated the jute padding because it was way too thick. I probably ended up pulling half a layer off and tossing it. I also cut the jute around the speaker since it didn�t make sense having the jute cover the top of the speaker.
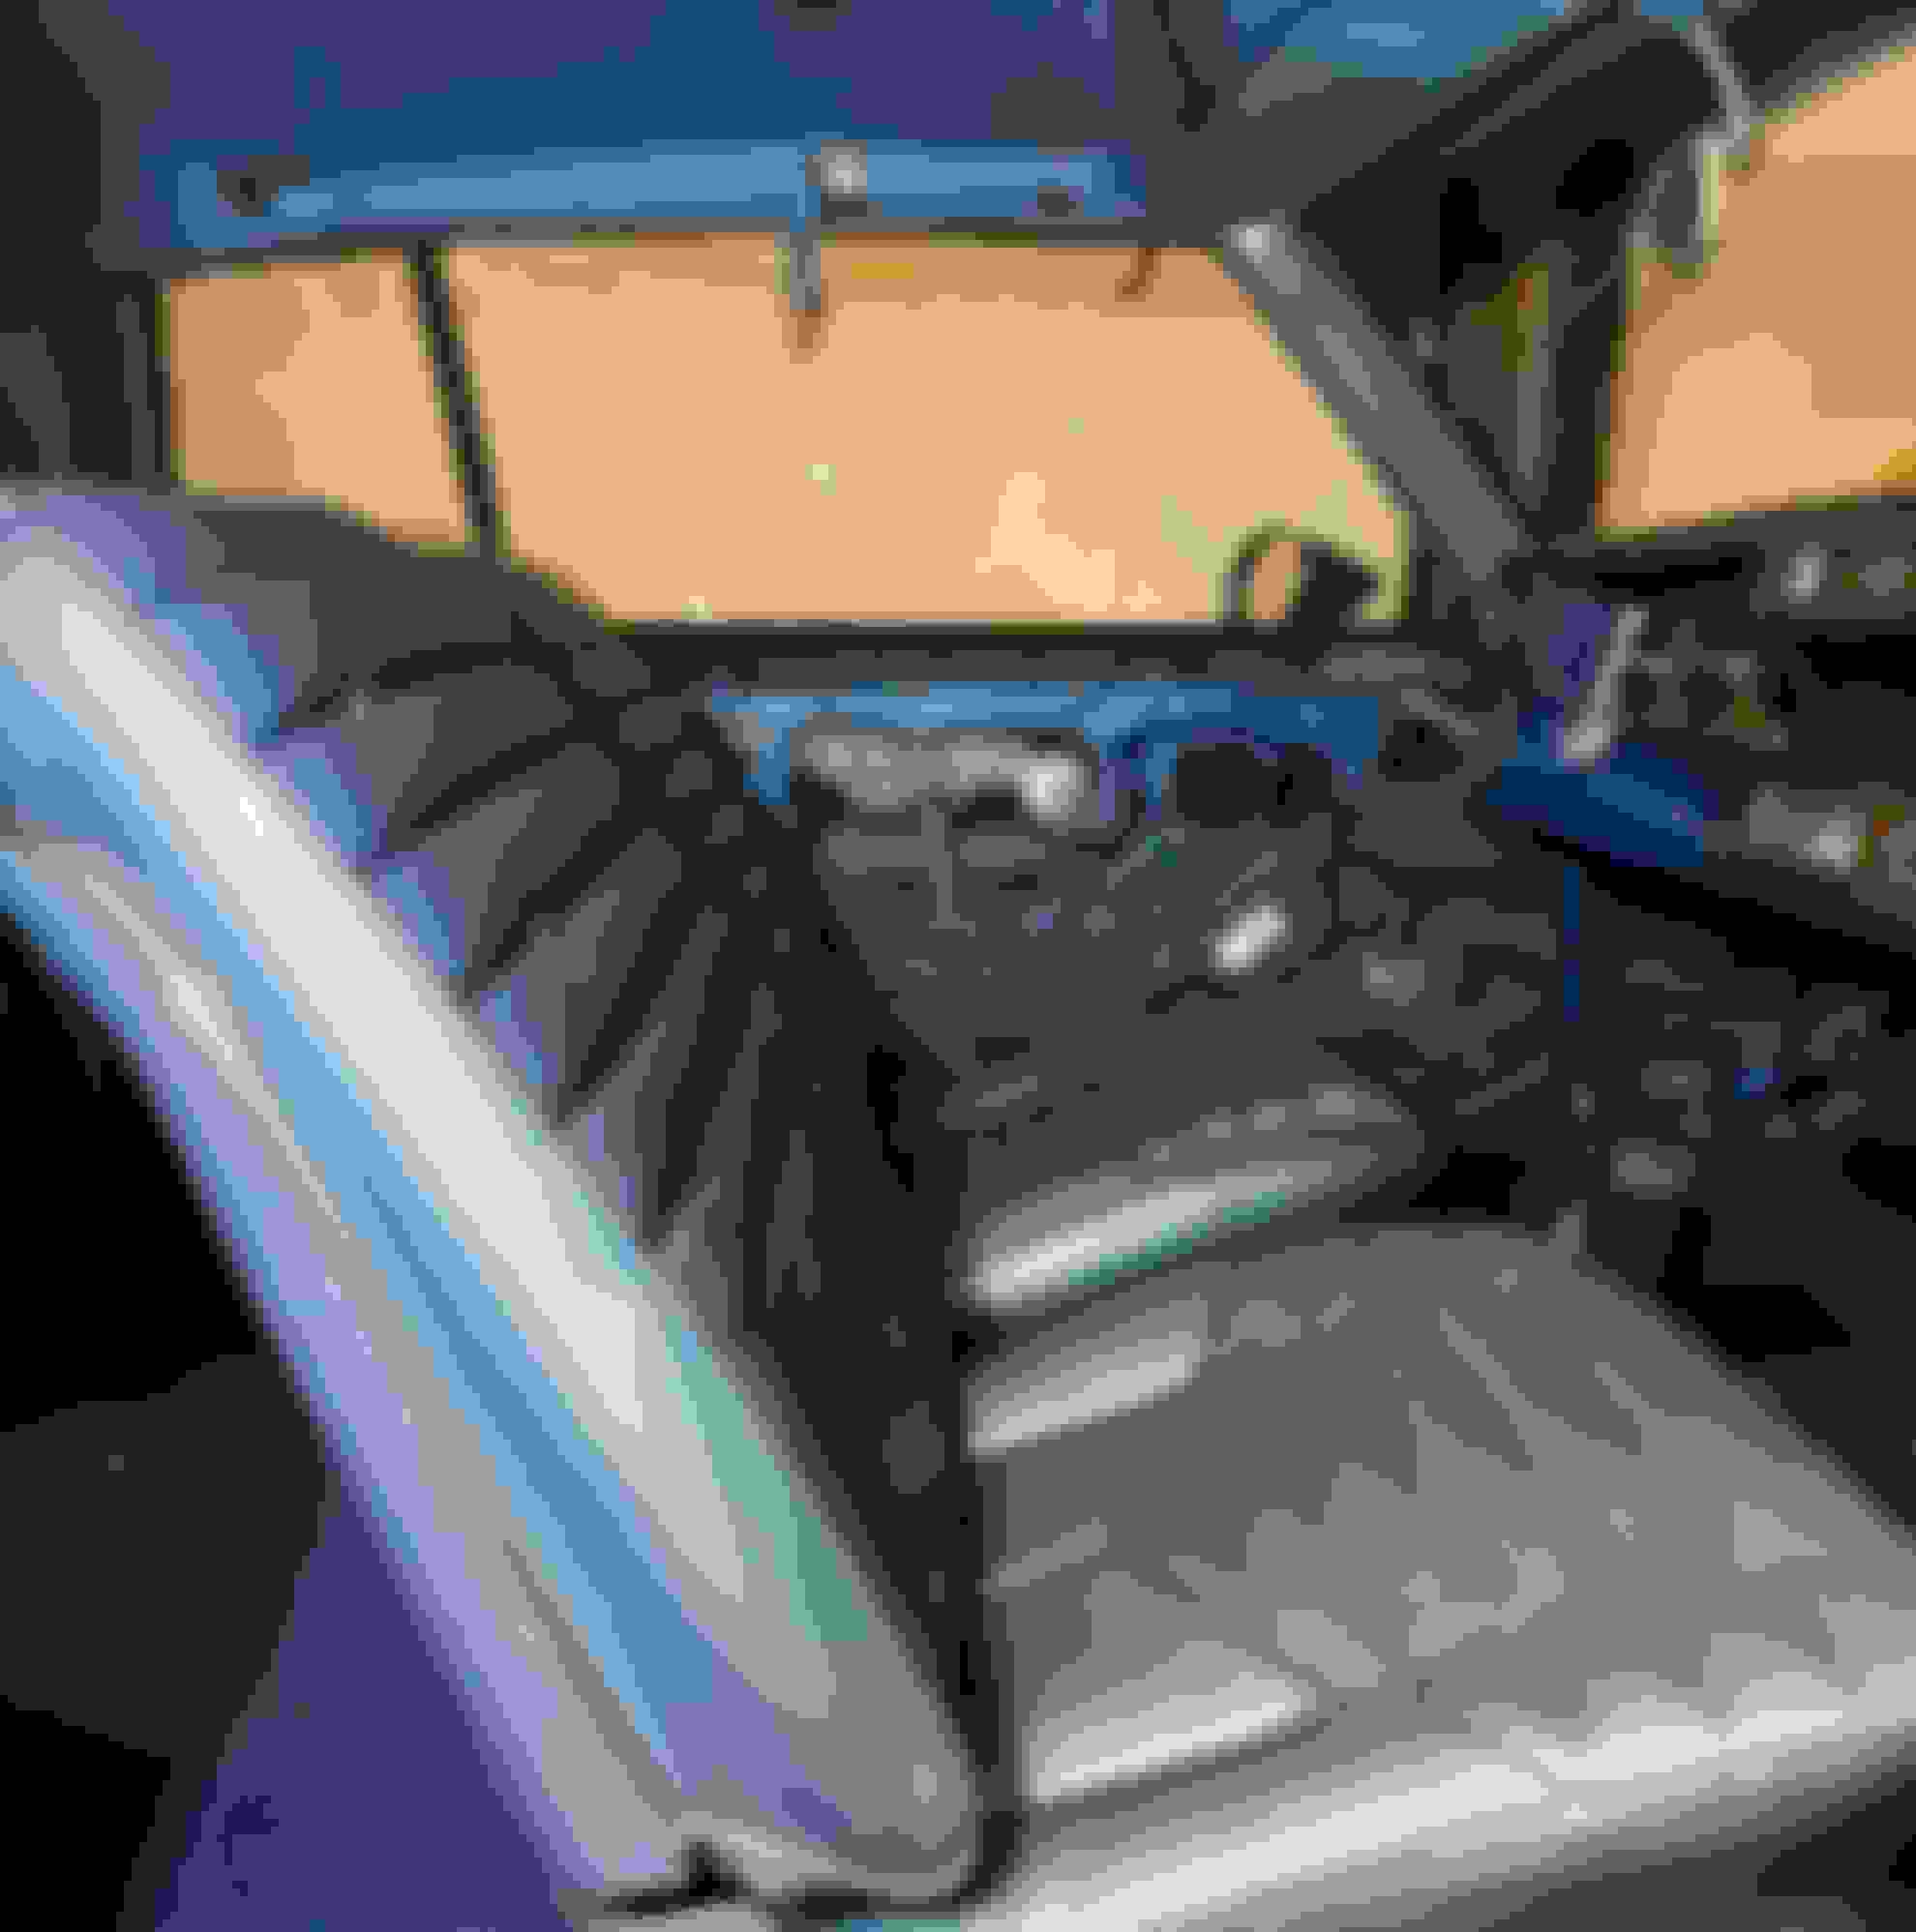
I used 3M headliner glue and tried to get it as nice as I could. The good news is the factory glue was a mess and the flap didn�t look perfect so the bar was pretty low. I ended up tossing in the back seat back to lean against the vinyl for the package tray to help with adhesion. The seat will come back out when I start on the rear panels.
I broke the black plastic clip that hooks in to the body for the sail panel. Where can I get another? I didn�t see it in my searches last night.
Frustration reached a new level with the sail panels and the trim. Installing the interior has been an incredibly frustrating journey thus far but at least the end is somewhat in sight.
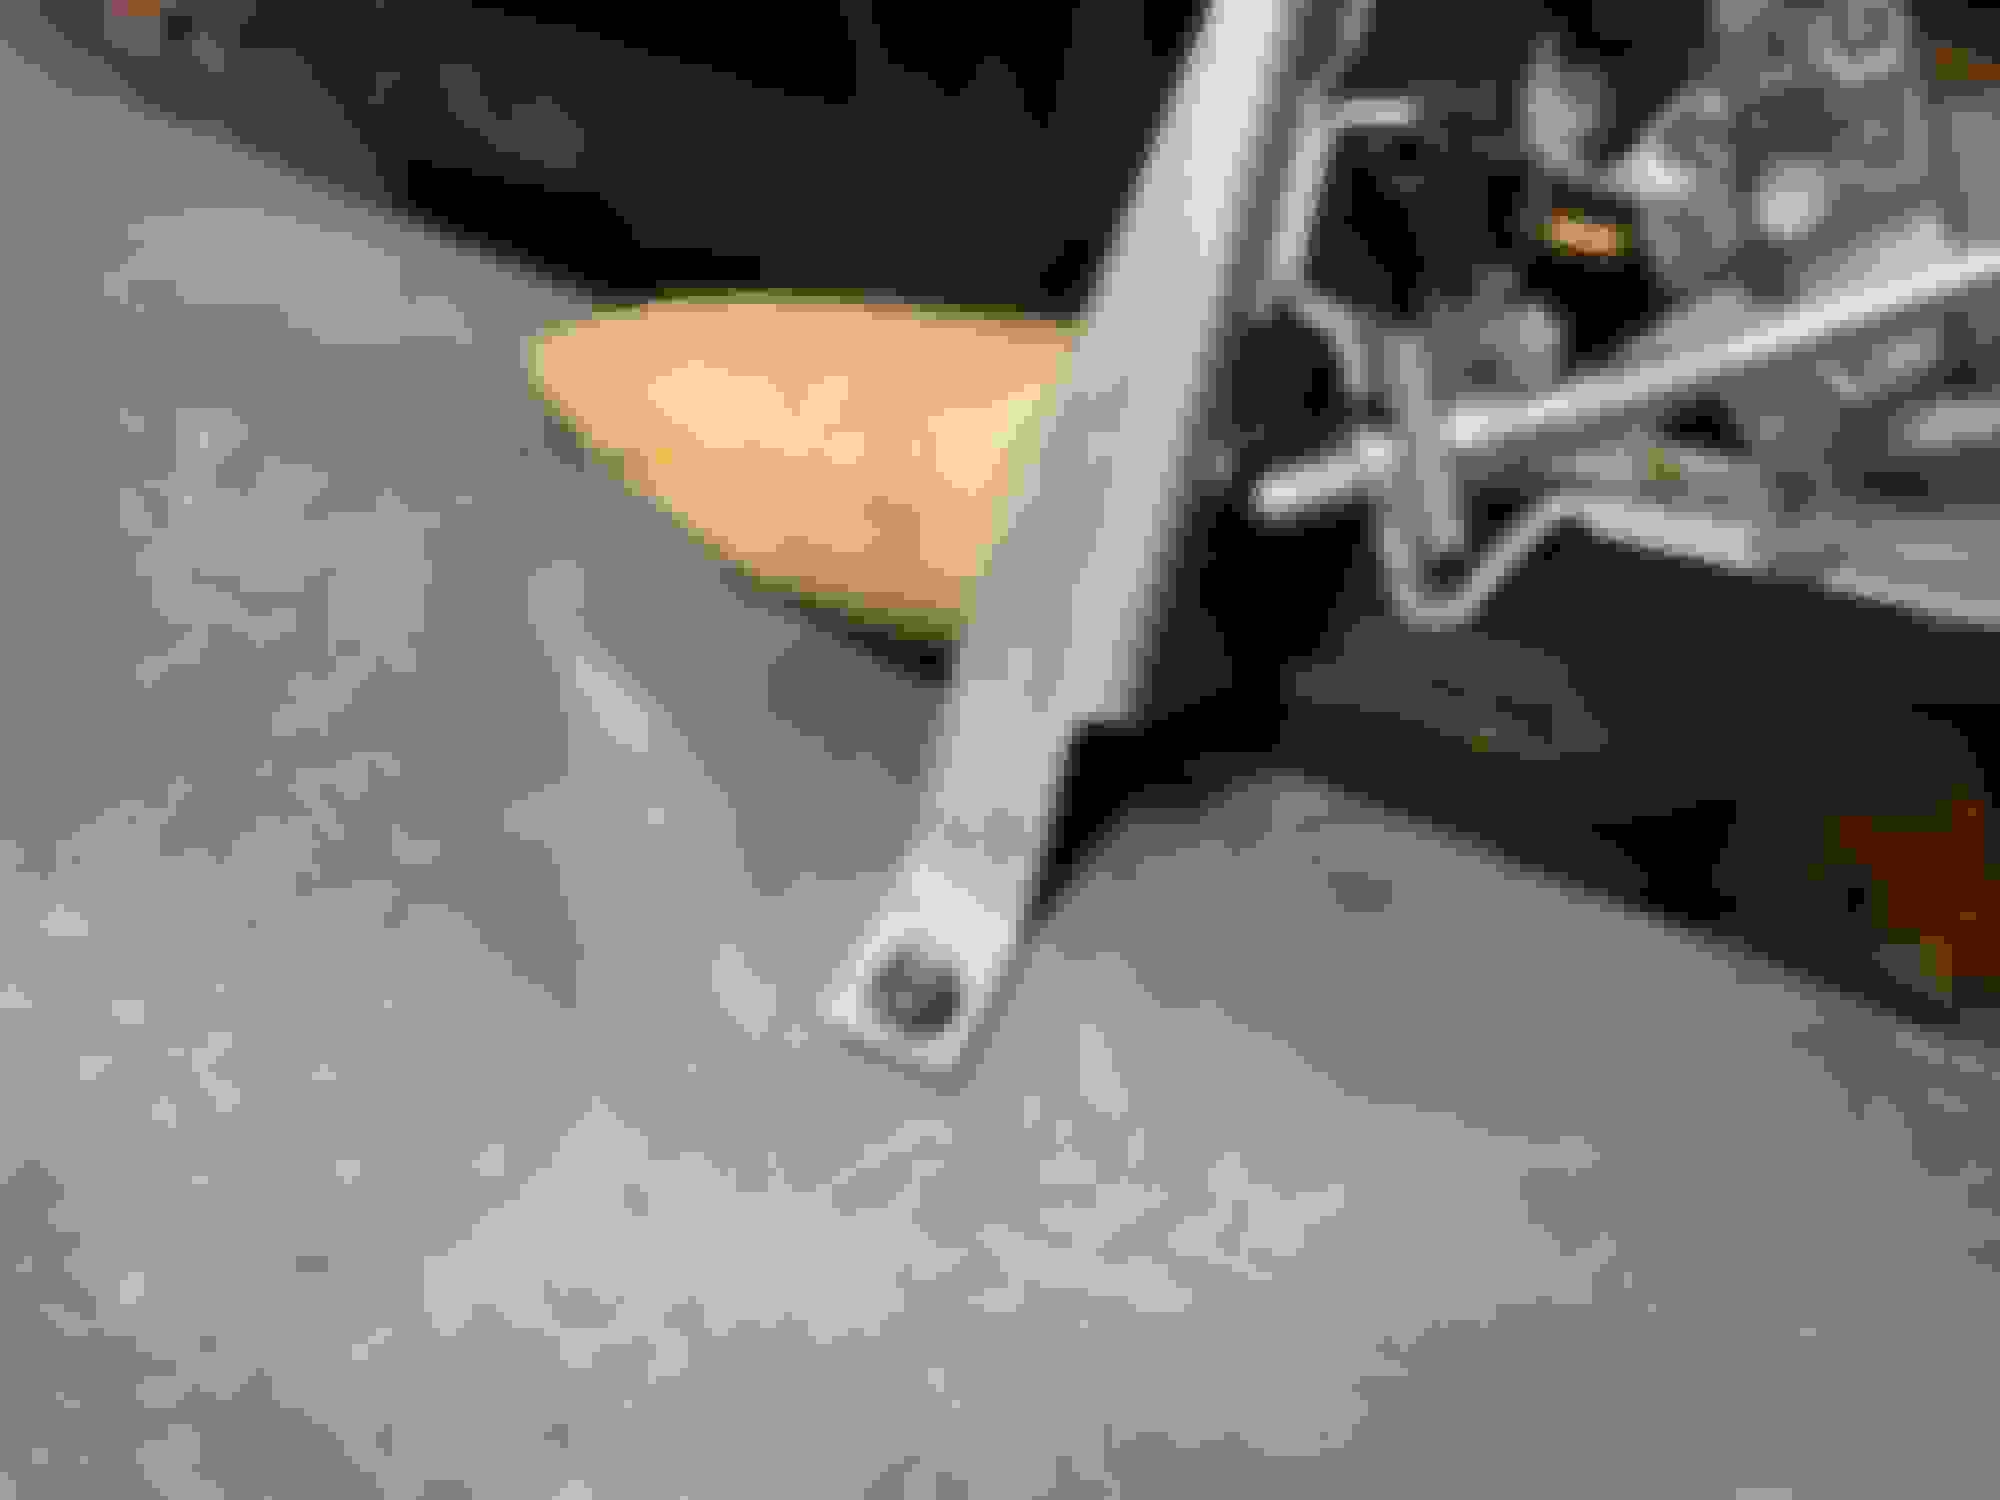
I trimmed the jute along the sides and the back to ensure the material tucked in properly.
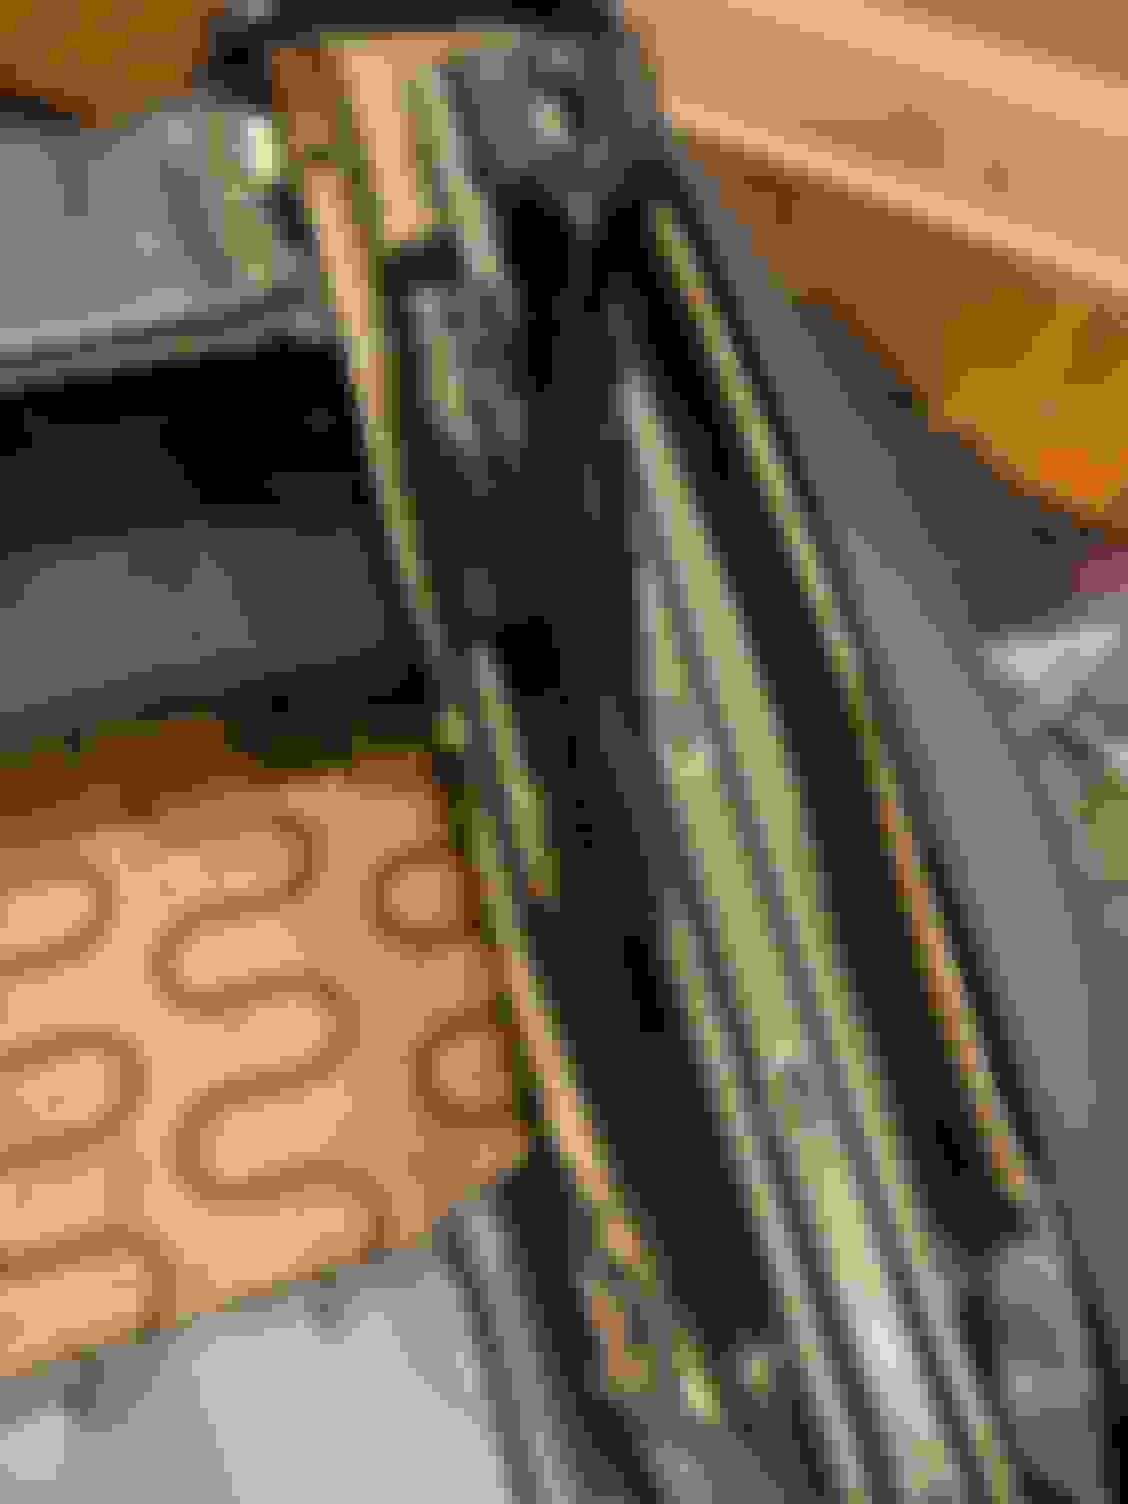
Not sure why but the foam was longer than the vinyl.
Little trim action.
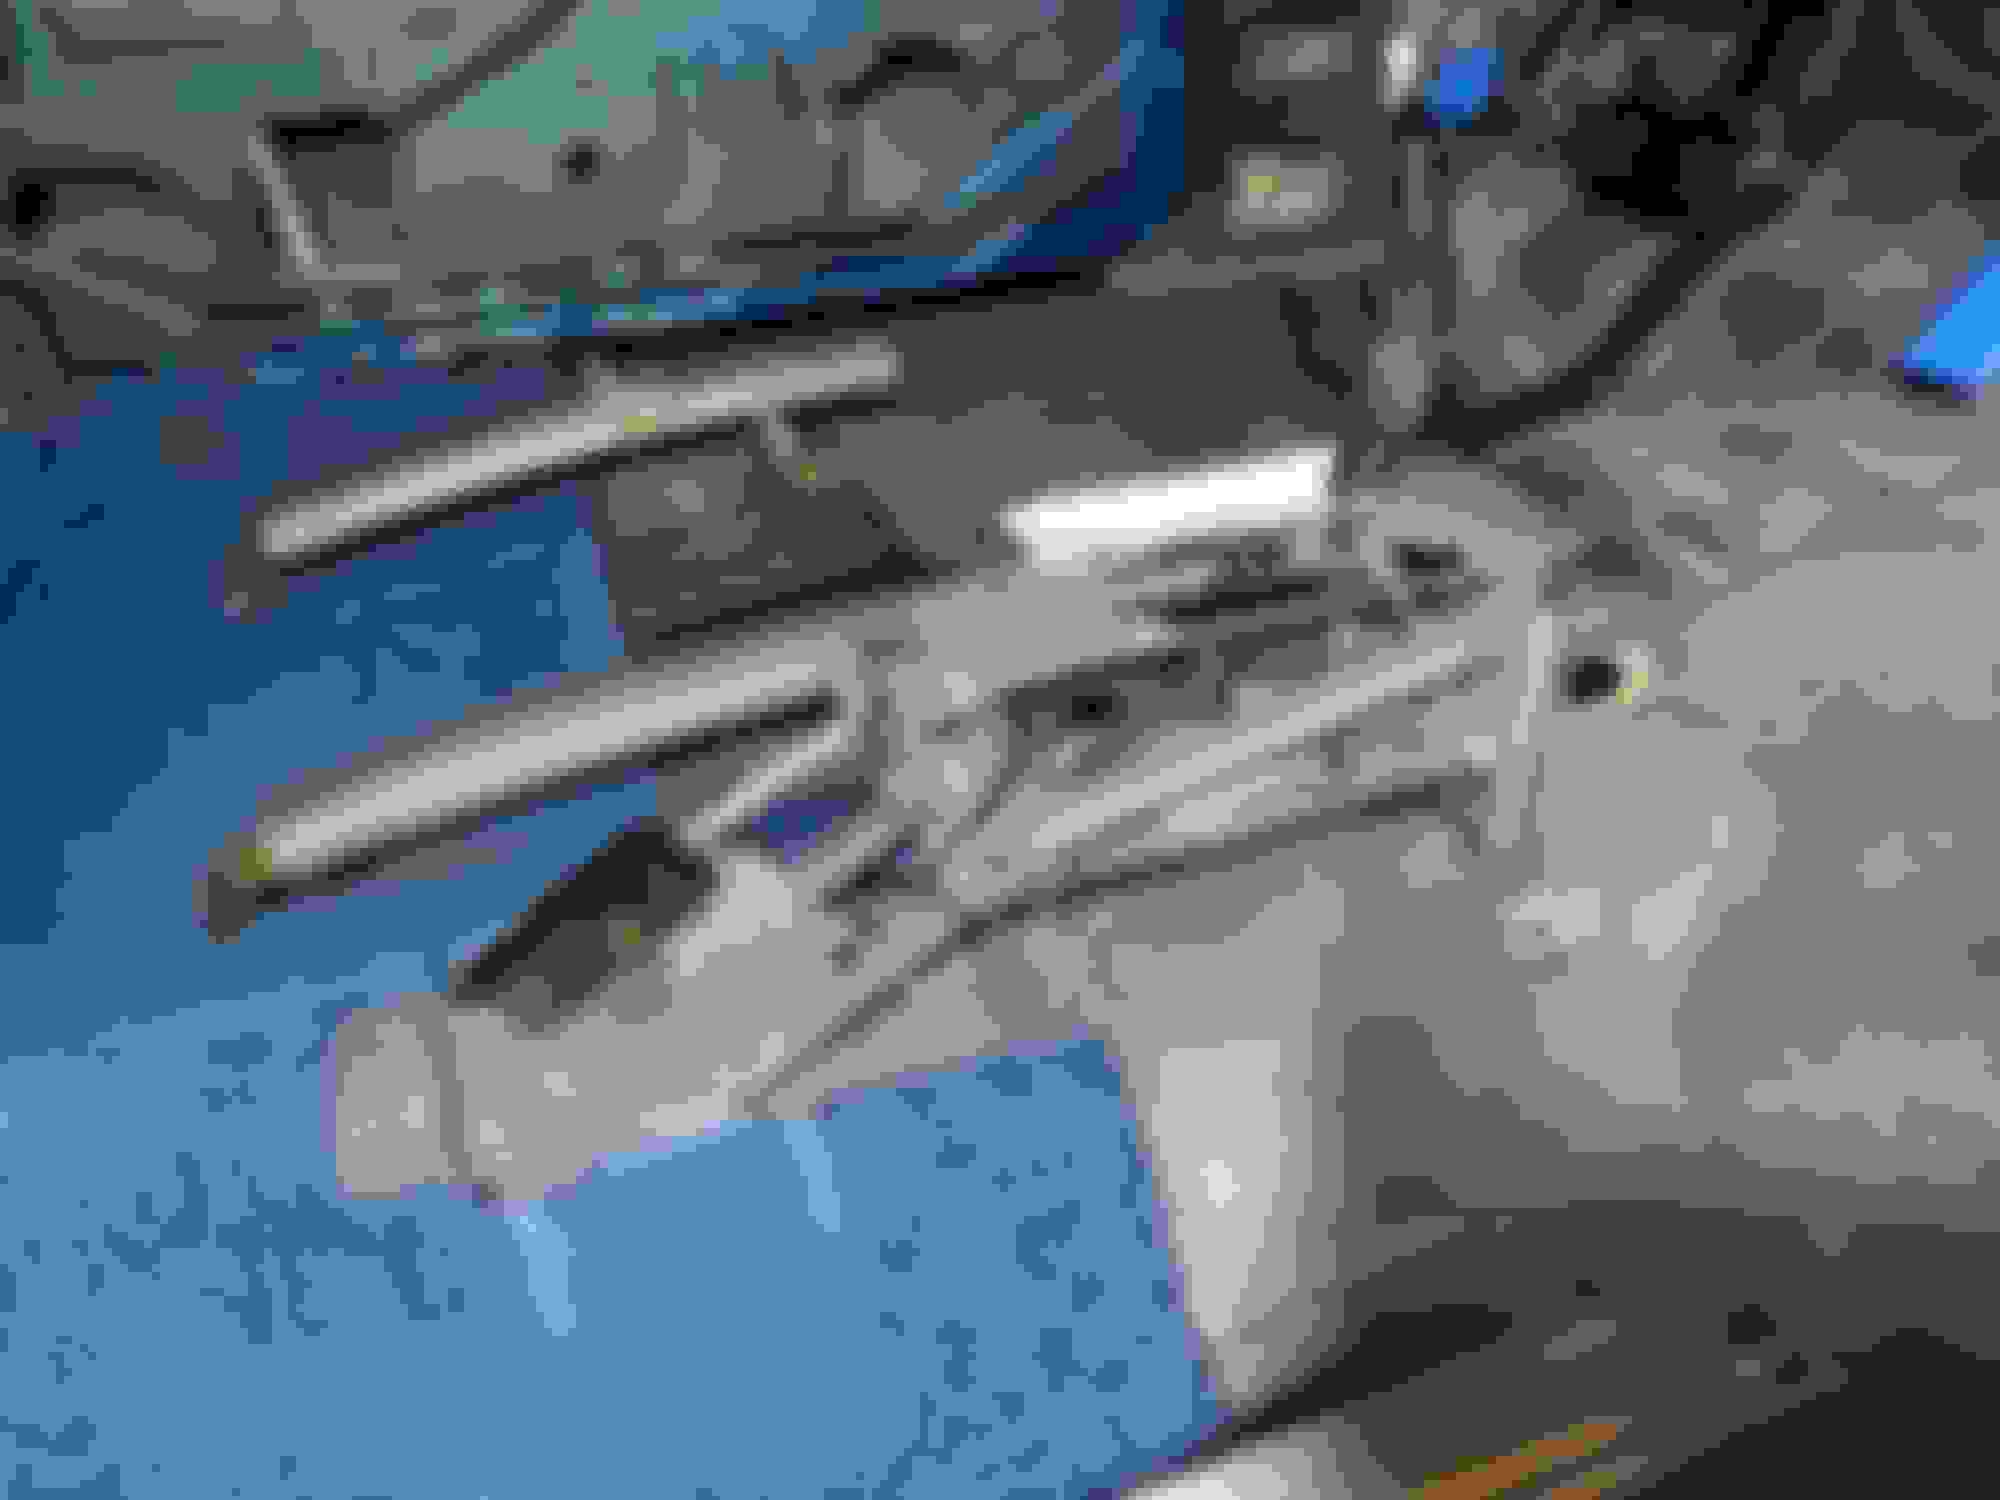
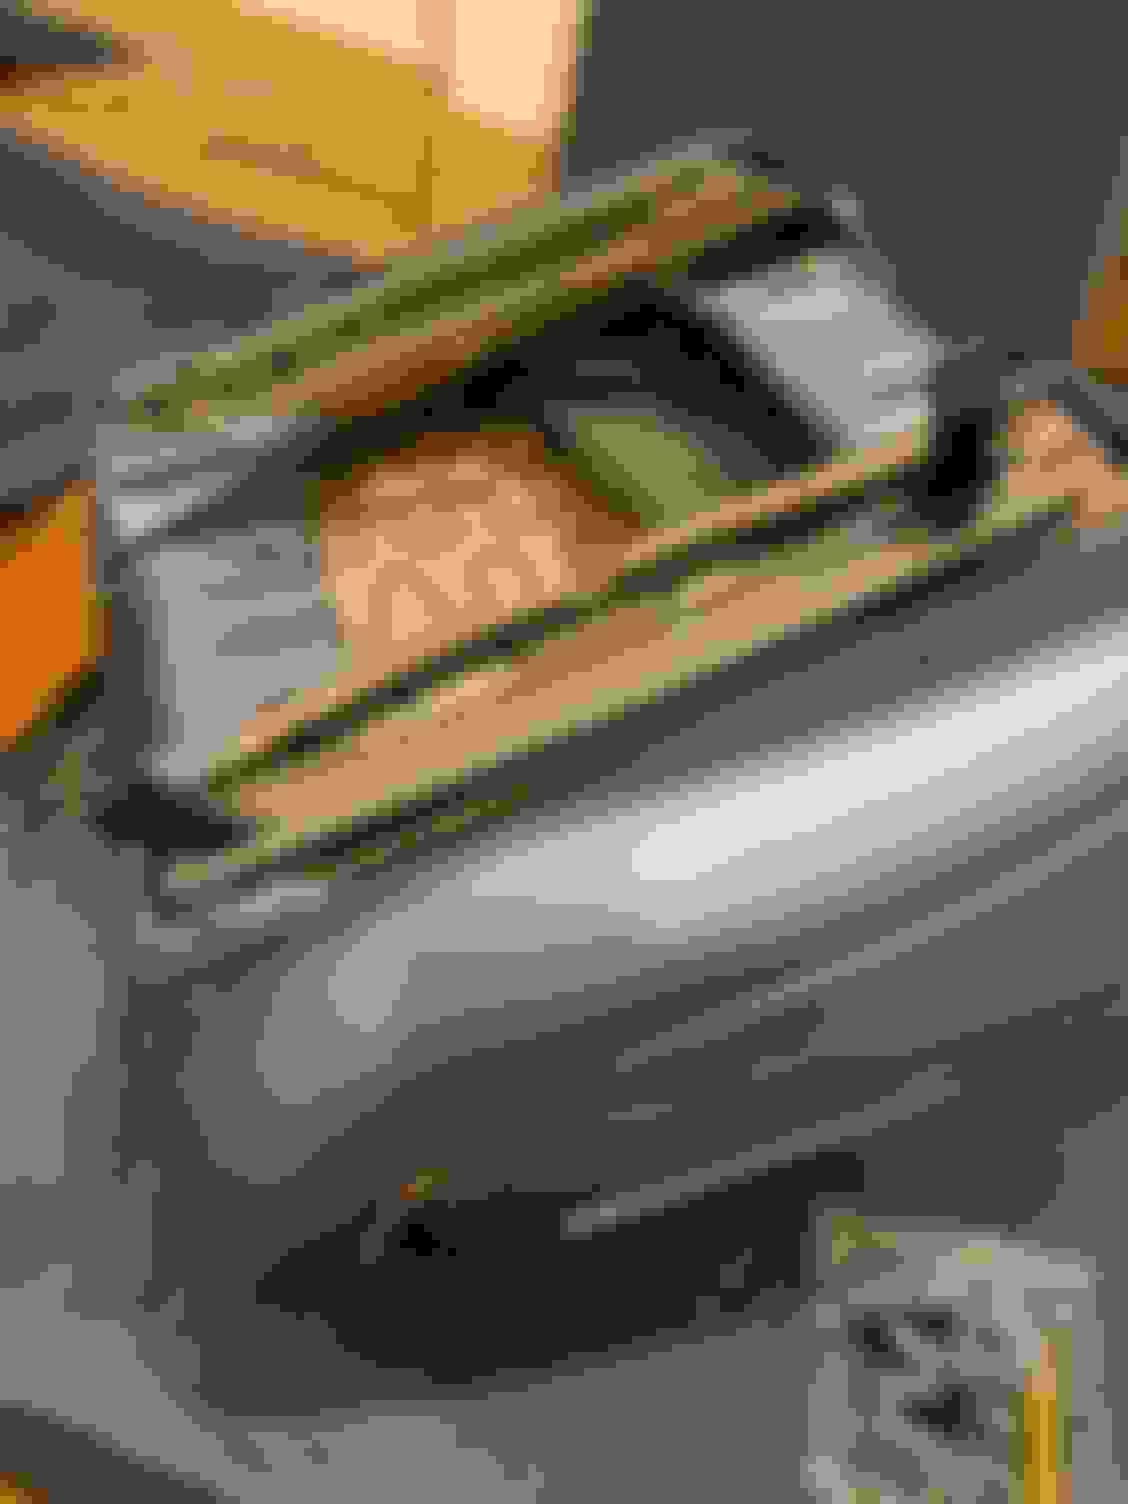
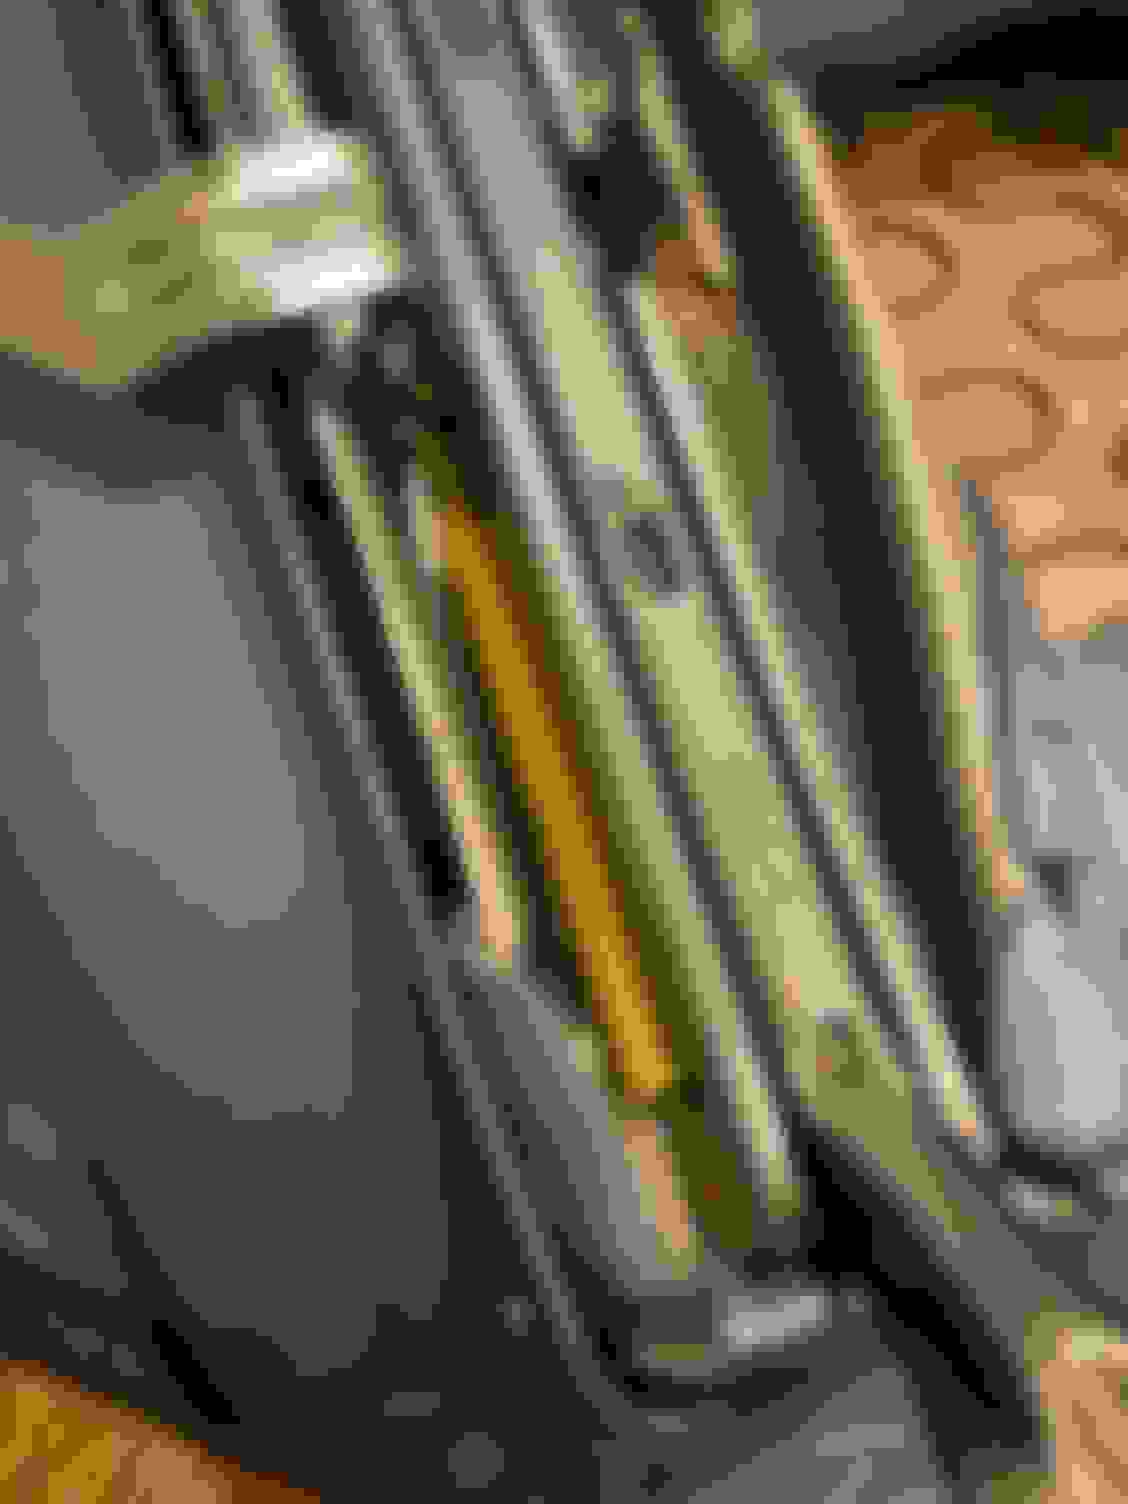
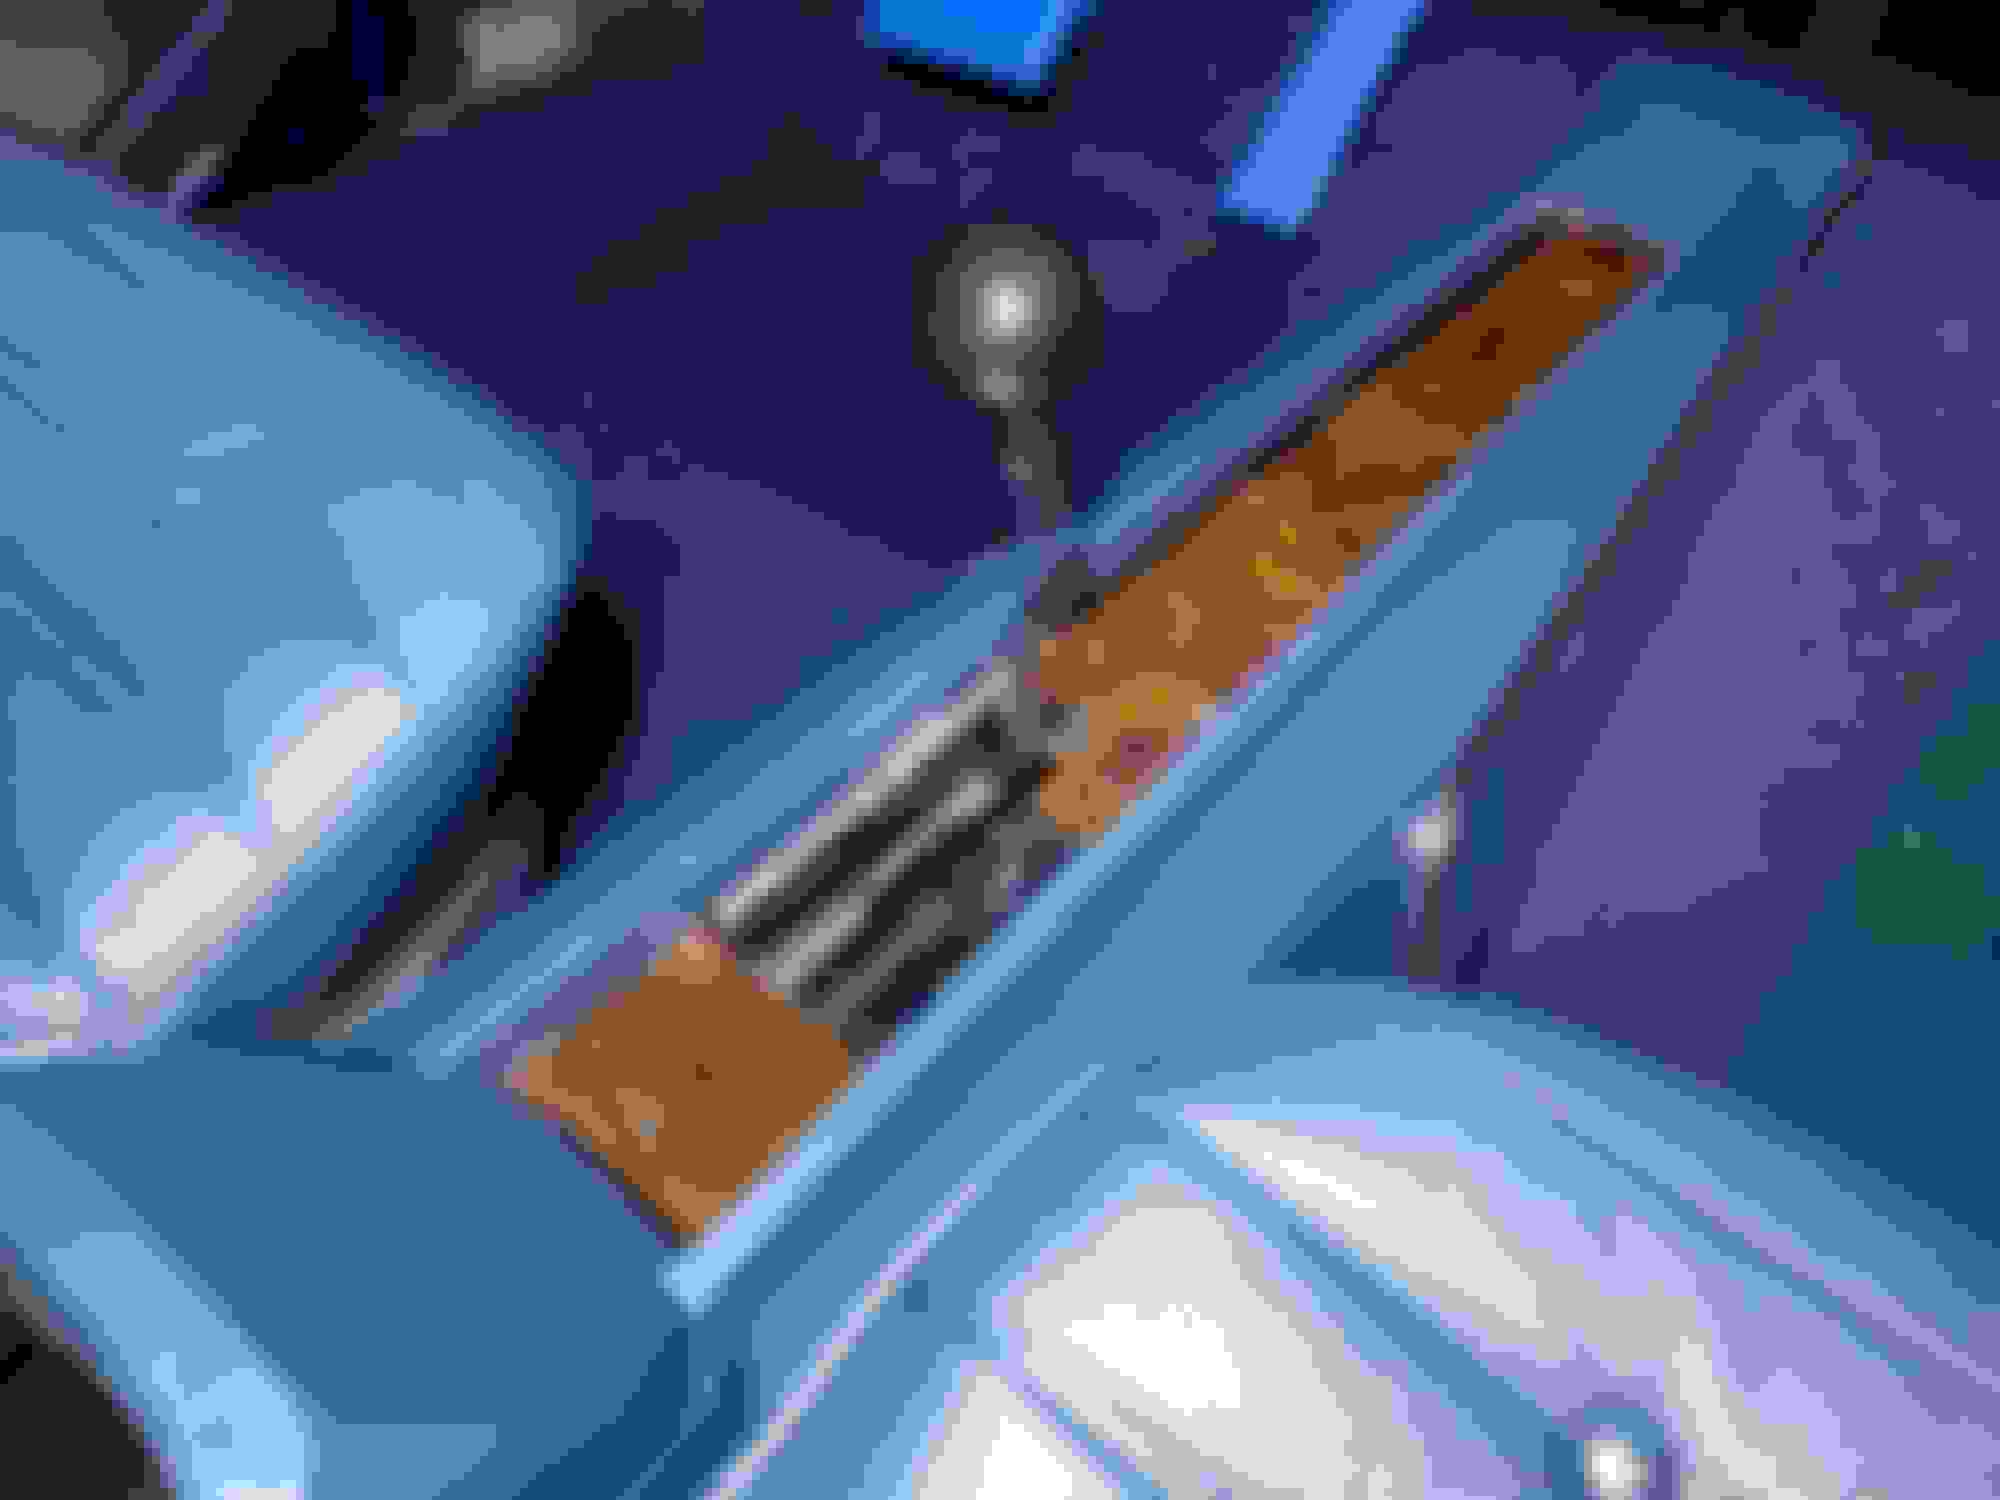
I drenched the metal seat divider in glue and waited a few minutes for it to get tacky before stretching the vinyl.
Here�s all the material I cut out.
Last edited by WTHIRTY1; December 21st, 2020 at 08:32 AM.
Another frustrating day working on the back of the interior. The two plastic corner trim pieces are about a 1/2� off. I removed the sail panel and the trim molding and they�re still way off. I thought maybe it was the black cardboard but that doesn�t reach that far back. I did a closer examination and it appears there is foam used for the back glass that is creating fitment issues for the corner pieces and the trim. I�m thinking the back glass installation may also be the culprit for the stainless trim not fitting properly so it�ll likely have to be removed.
Have I mentioned how installing an interior sucks?
That is a foam "dam" that some installers use in conjunction with the urethane chalk used to "glue in" the back glass and windshield. Can make for a "cleaner" installation look but as you mention, now you have interference problems.
There should be plenty of installers that can lay down a nice straight bead of the windshield urethane WITHOUT also using the foam dam. Then again, I've seen some fairly sloppy/zig-zagging caulk beads laid down as well.
There should be plenty of installers that can lay down a nice straight bead of the windshield urethane WITHOUT also using the foam dam.
Look for installers with experience on our older cars. They may no longer work for a commercial glass company because of those companies' emphasis on fast versus well-done.
Ask local restoration shops who they use to set 1960s and 70s glass. That's how I found my glass installer.
As a follow up to the glass, I am going to think through next steps. I may take a razor to the foam but that won’t solve the glass being up too high and the stainless not sitting tight. A friend who installs glass for a living offered to help redo the rear glass.
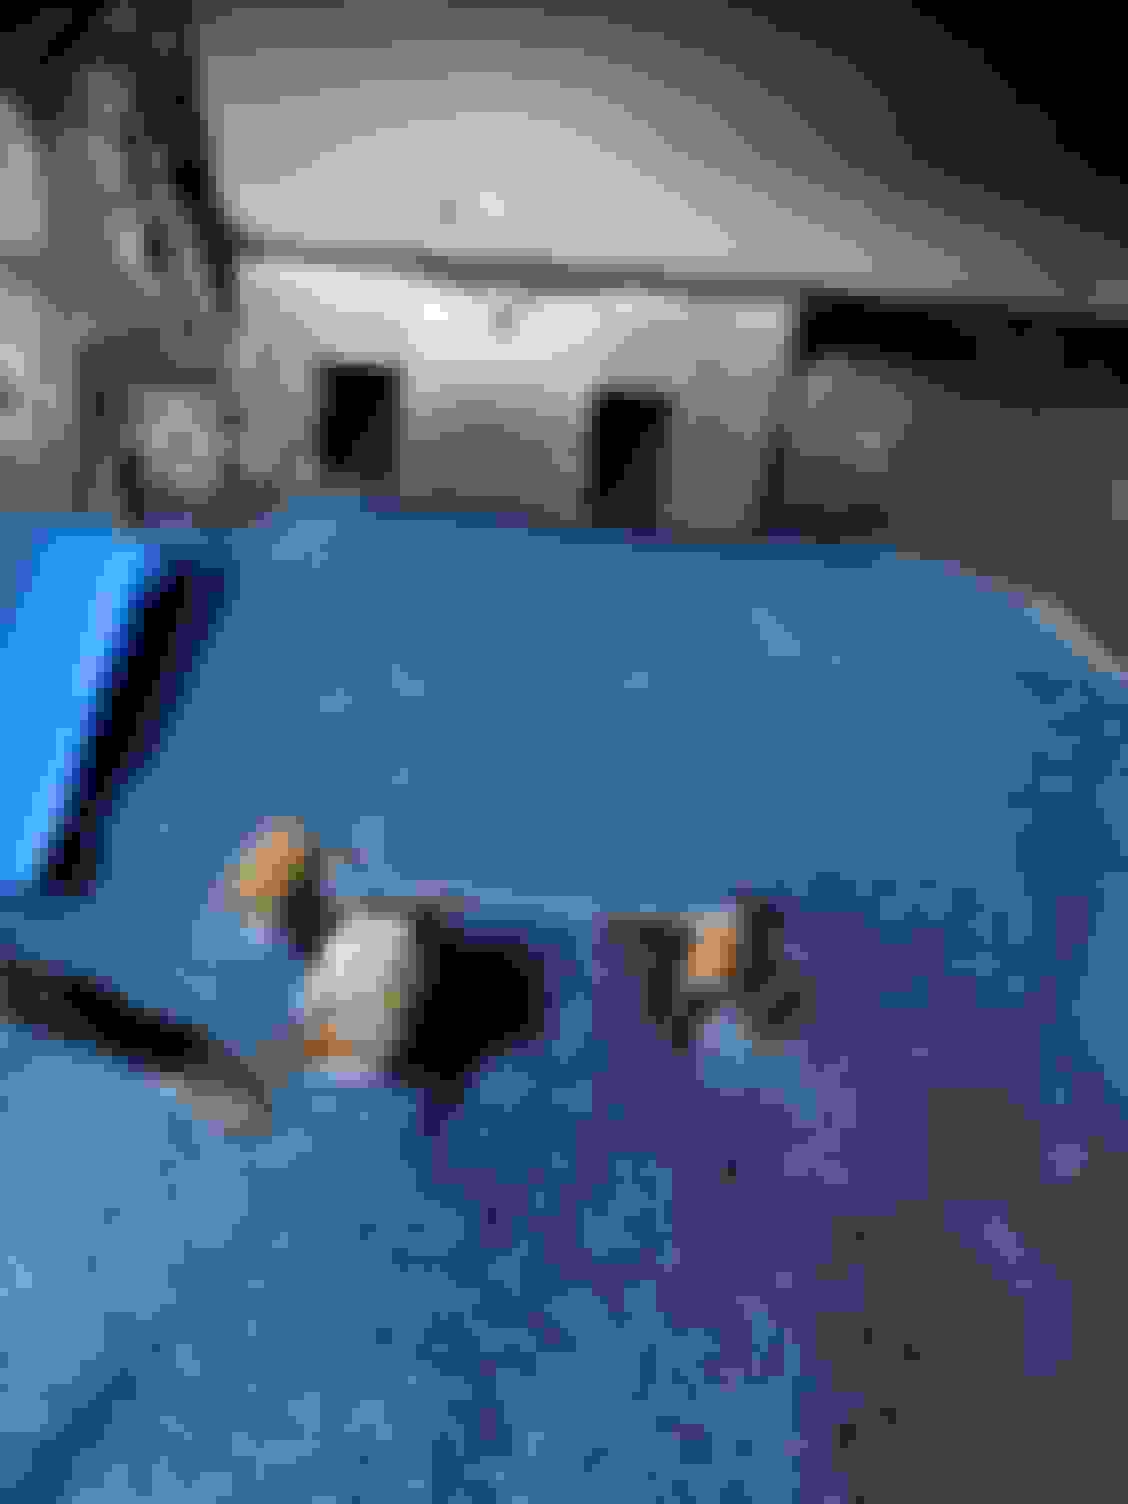
I pushed the car out of the bubble to get some work done on the driveway Sunday.
I installed the rubber around the rear side glass in the door jamb on the LH side. I had to drill a new hole in the metal. My original seals, as well as the seals on my survivor cars, all had a slit in the rubber. I’m guessing this just happens over time.
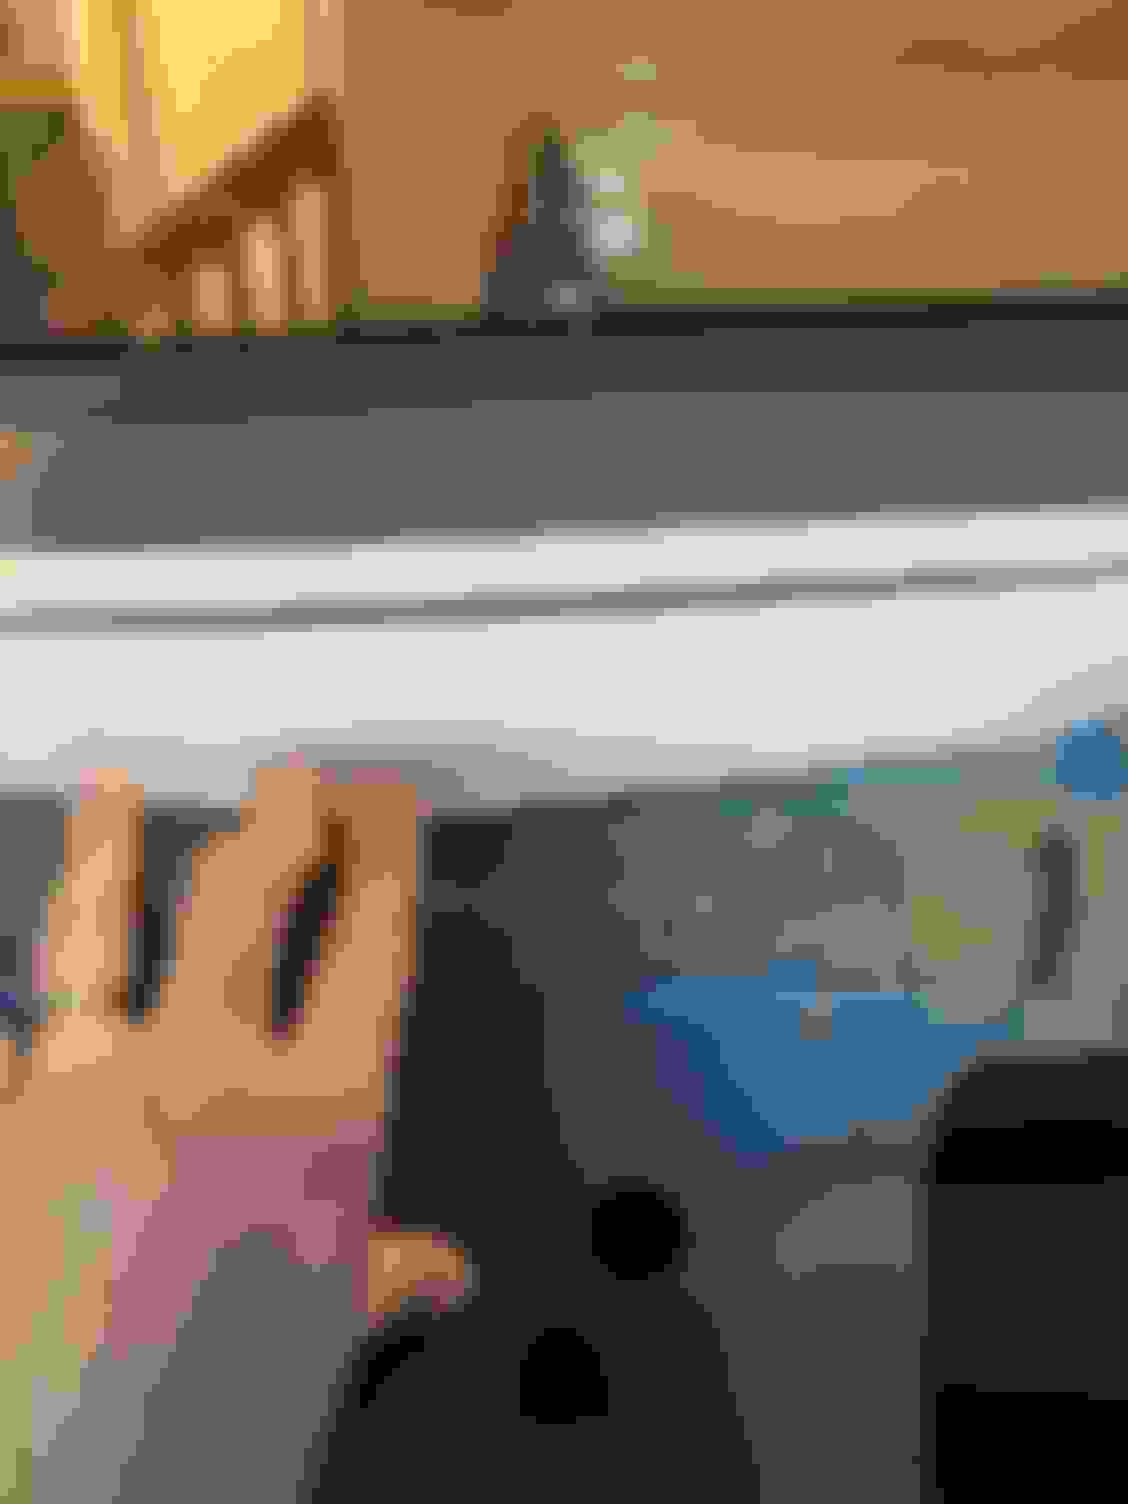
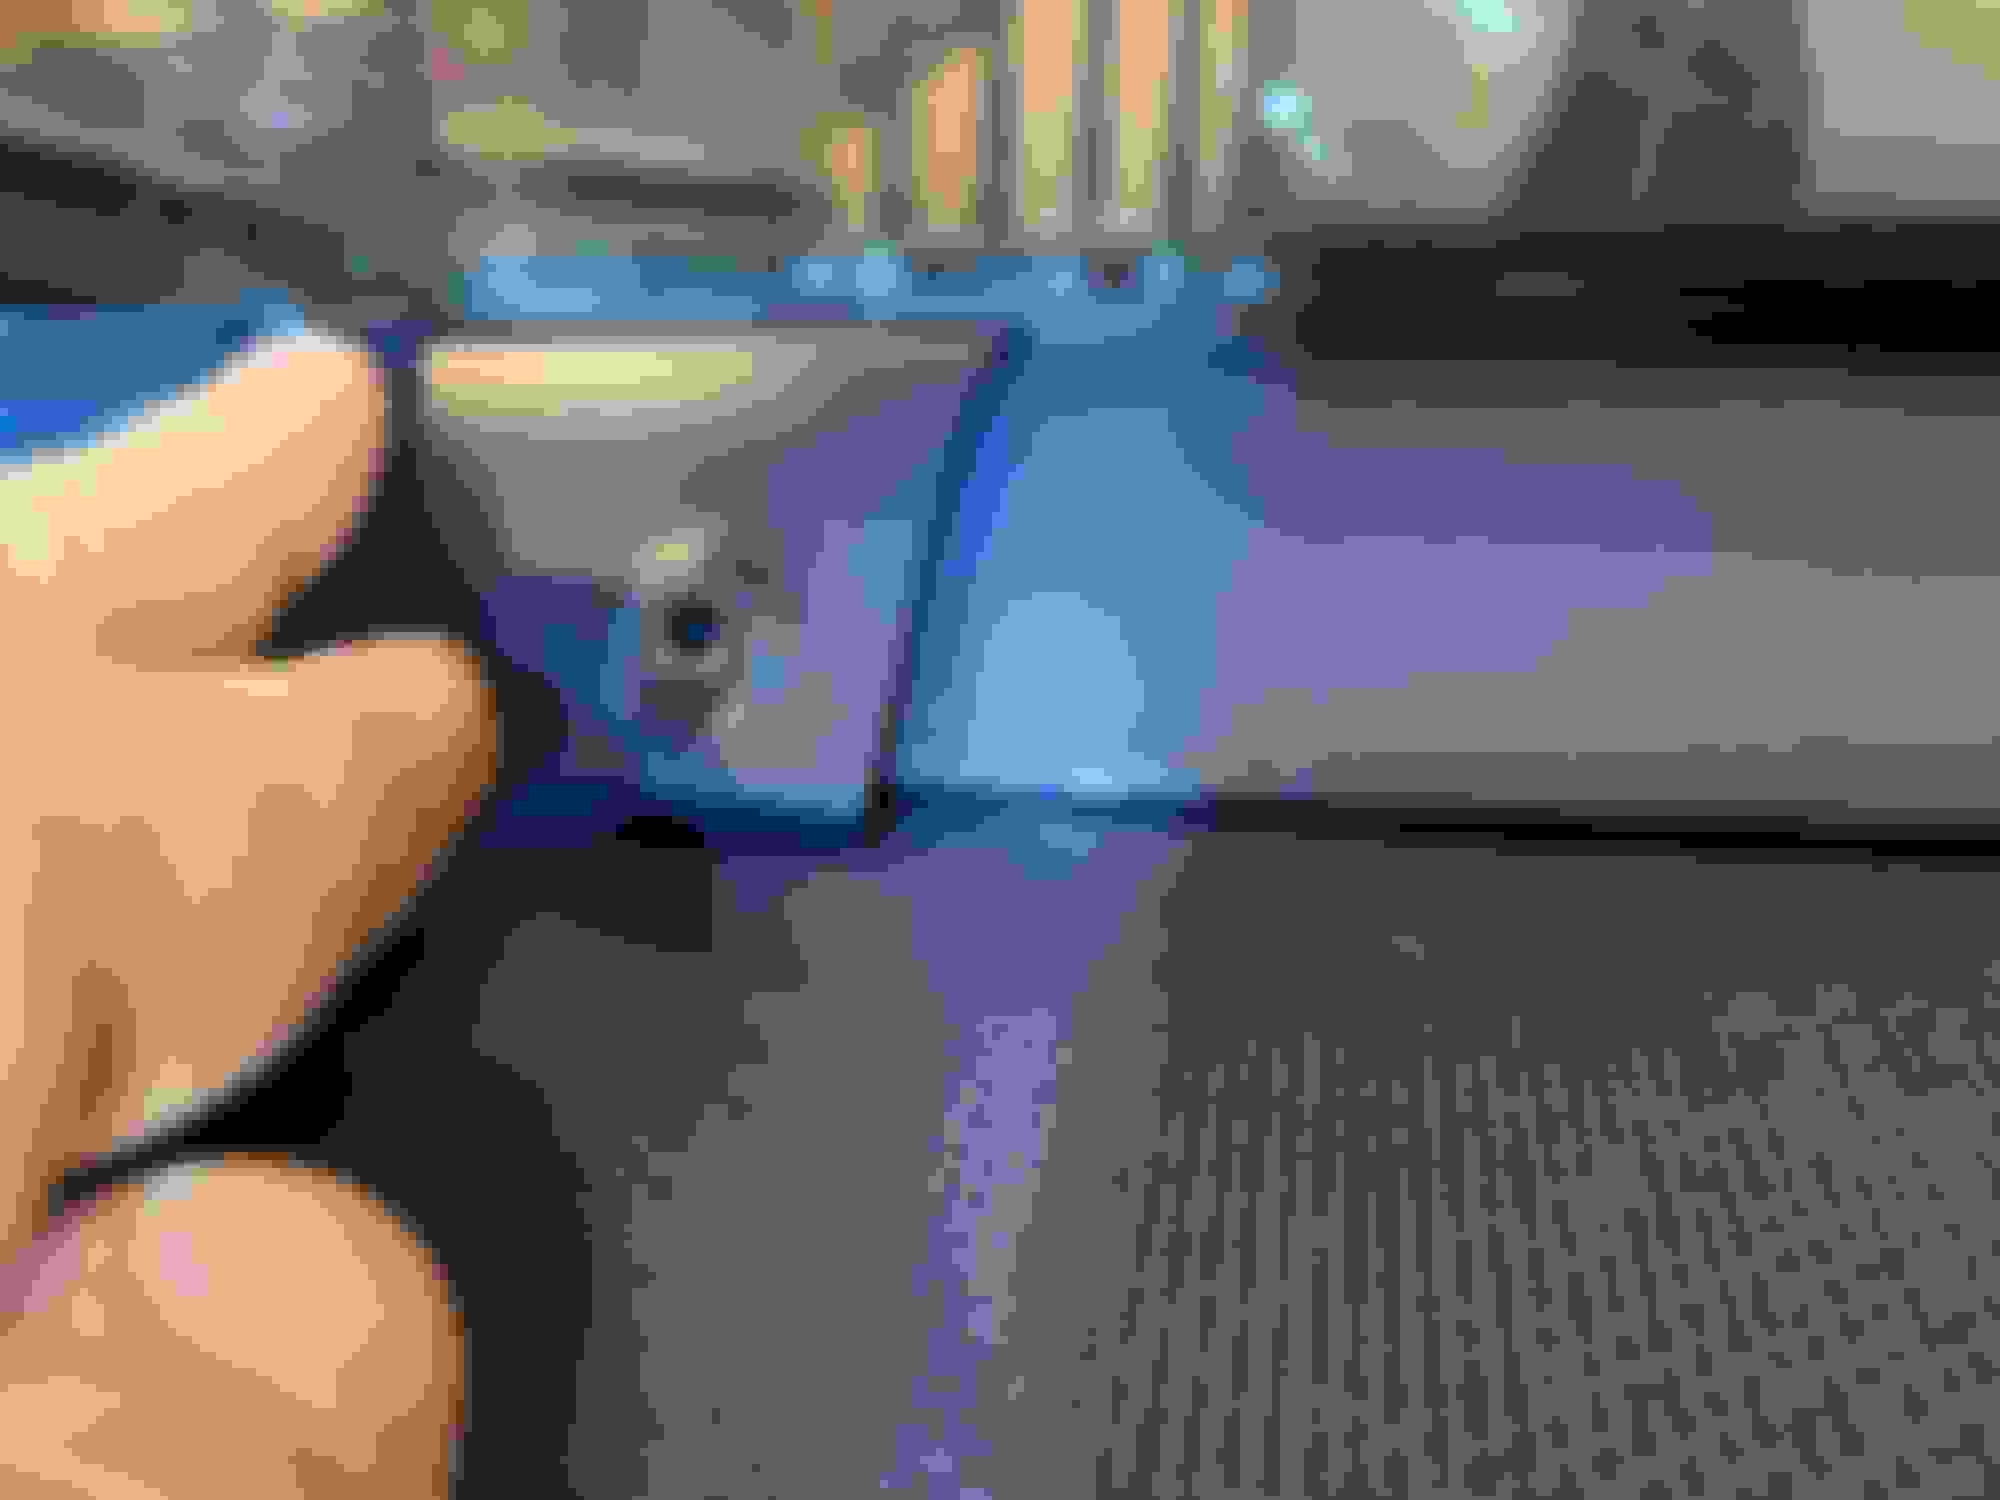
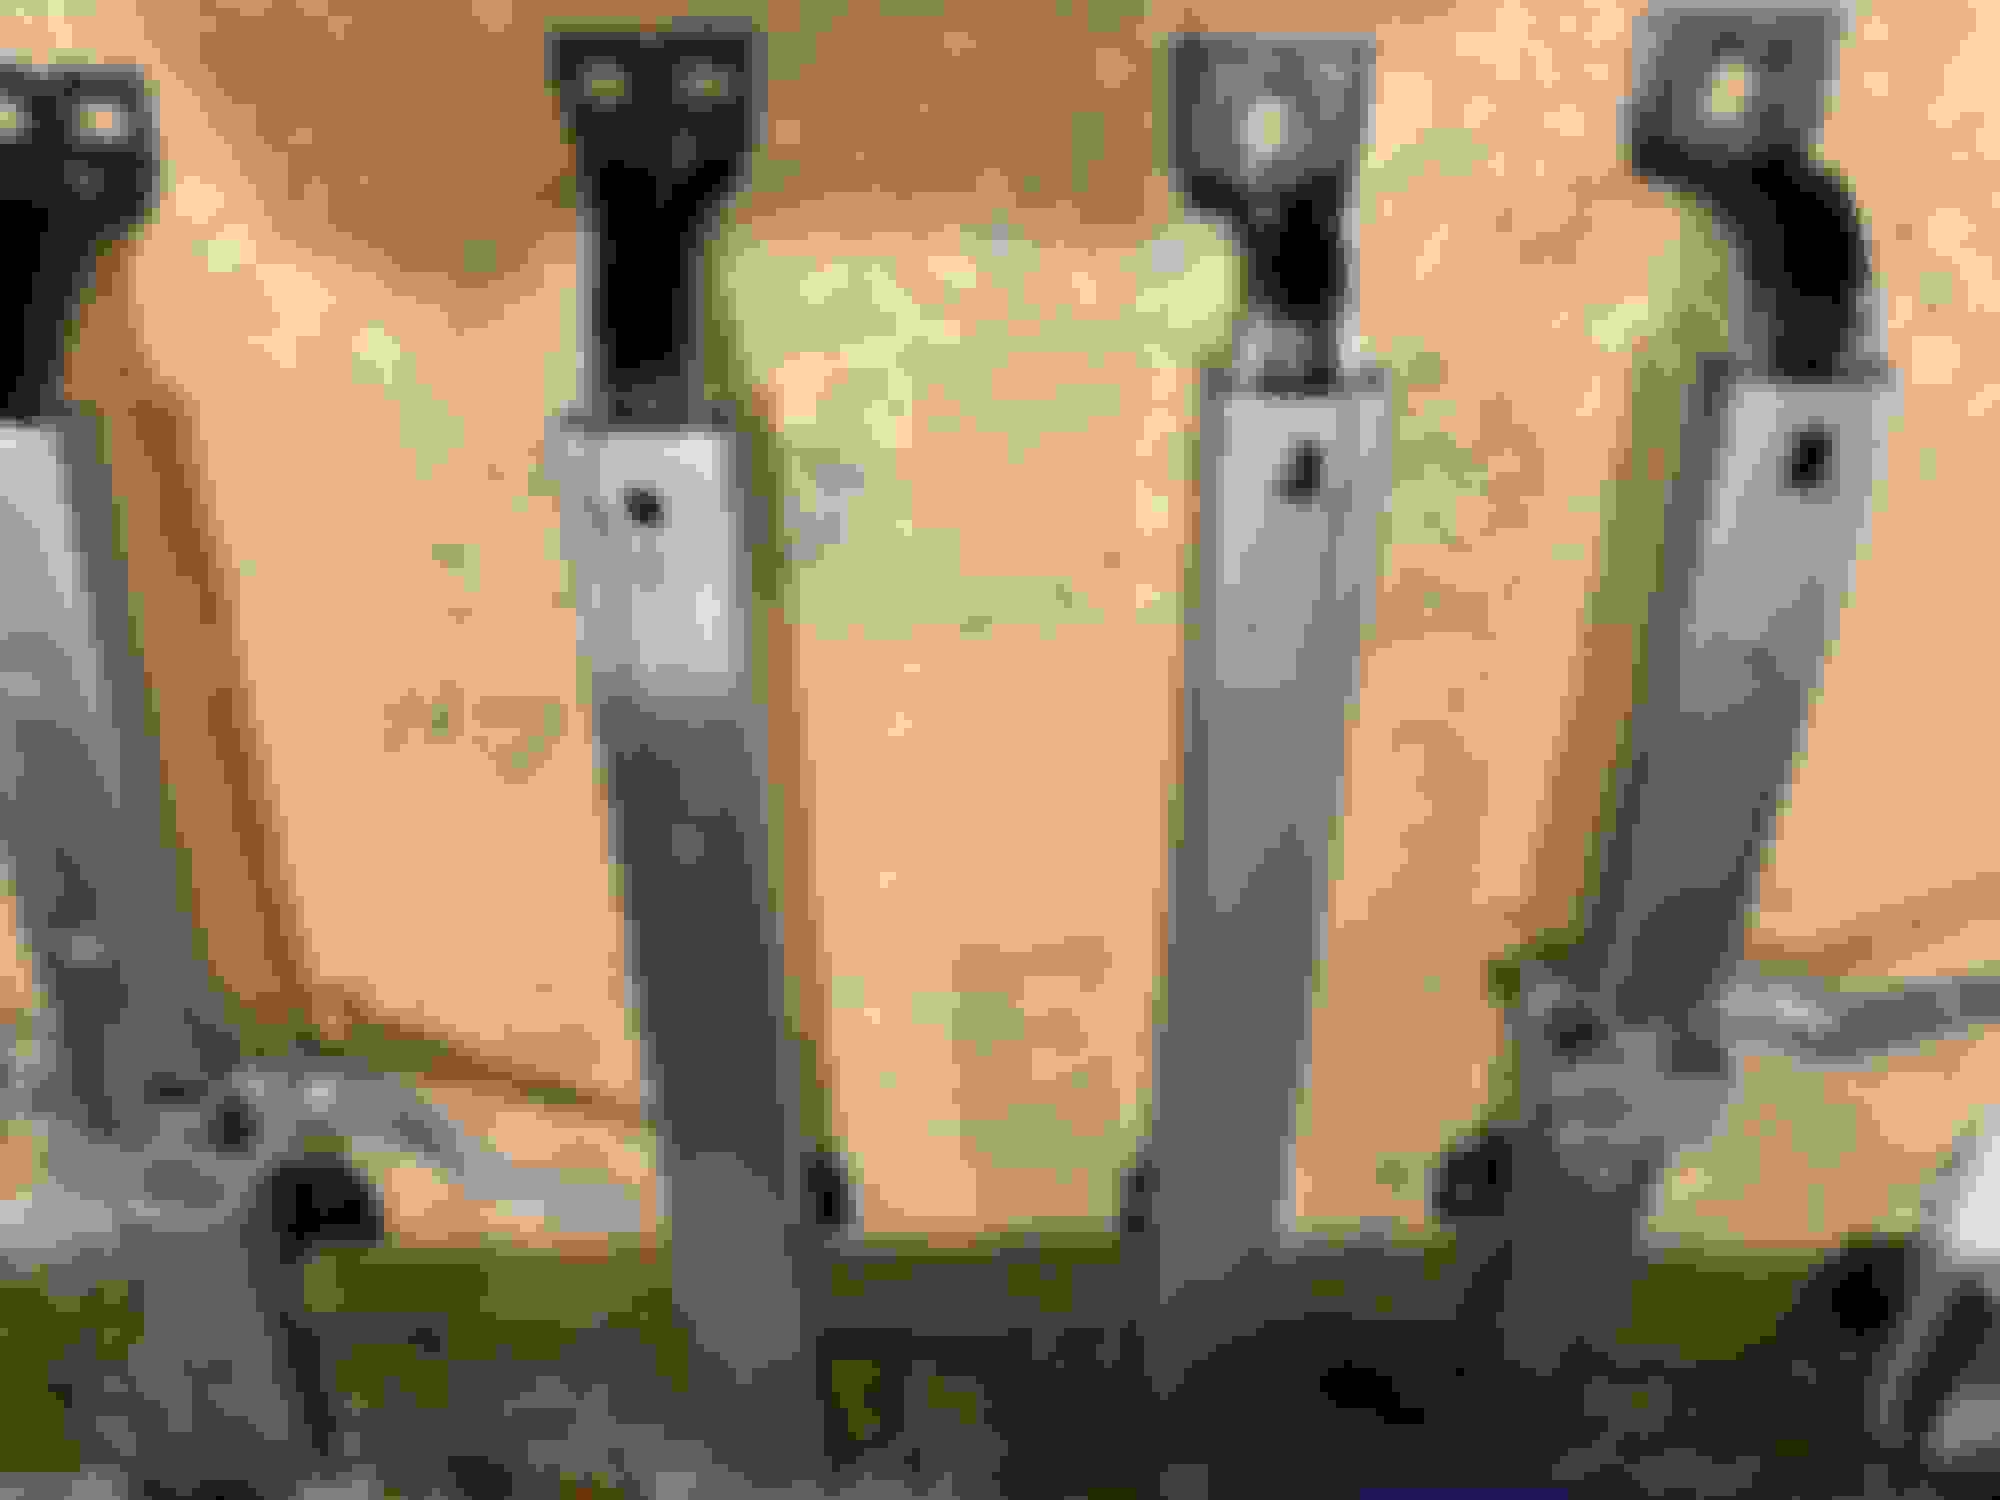
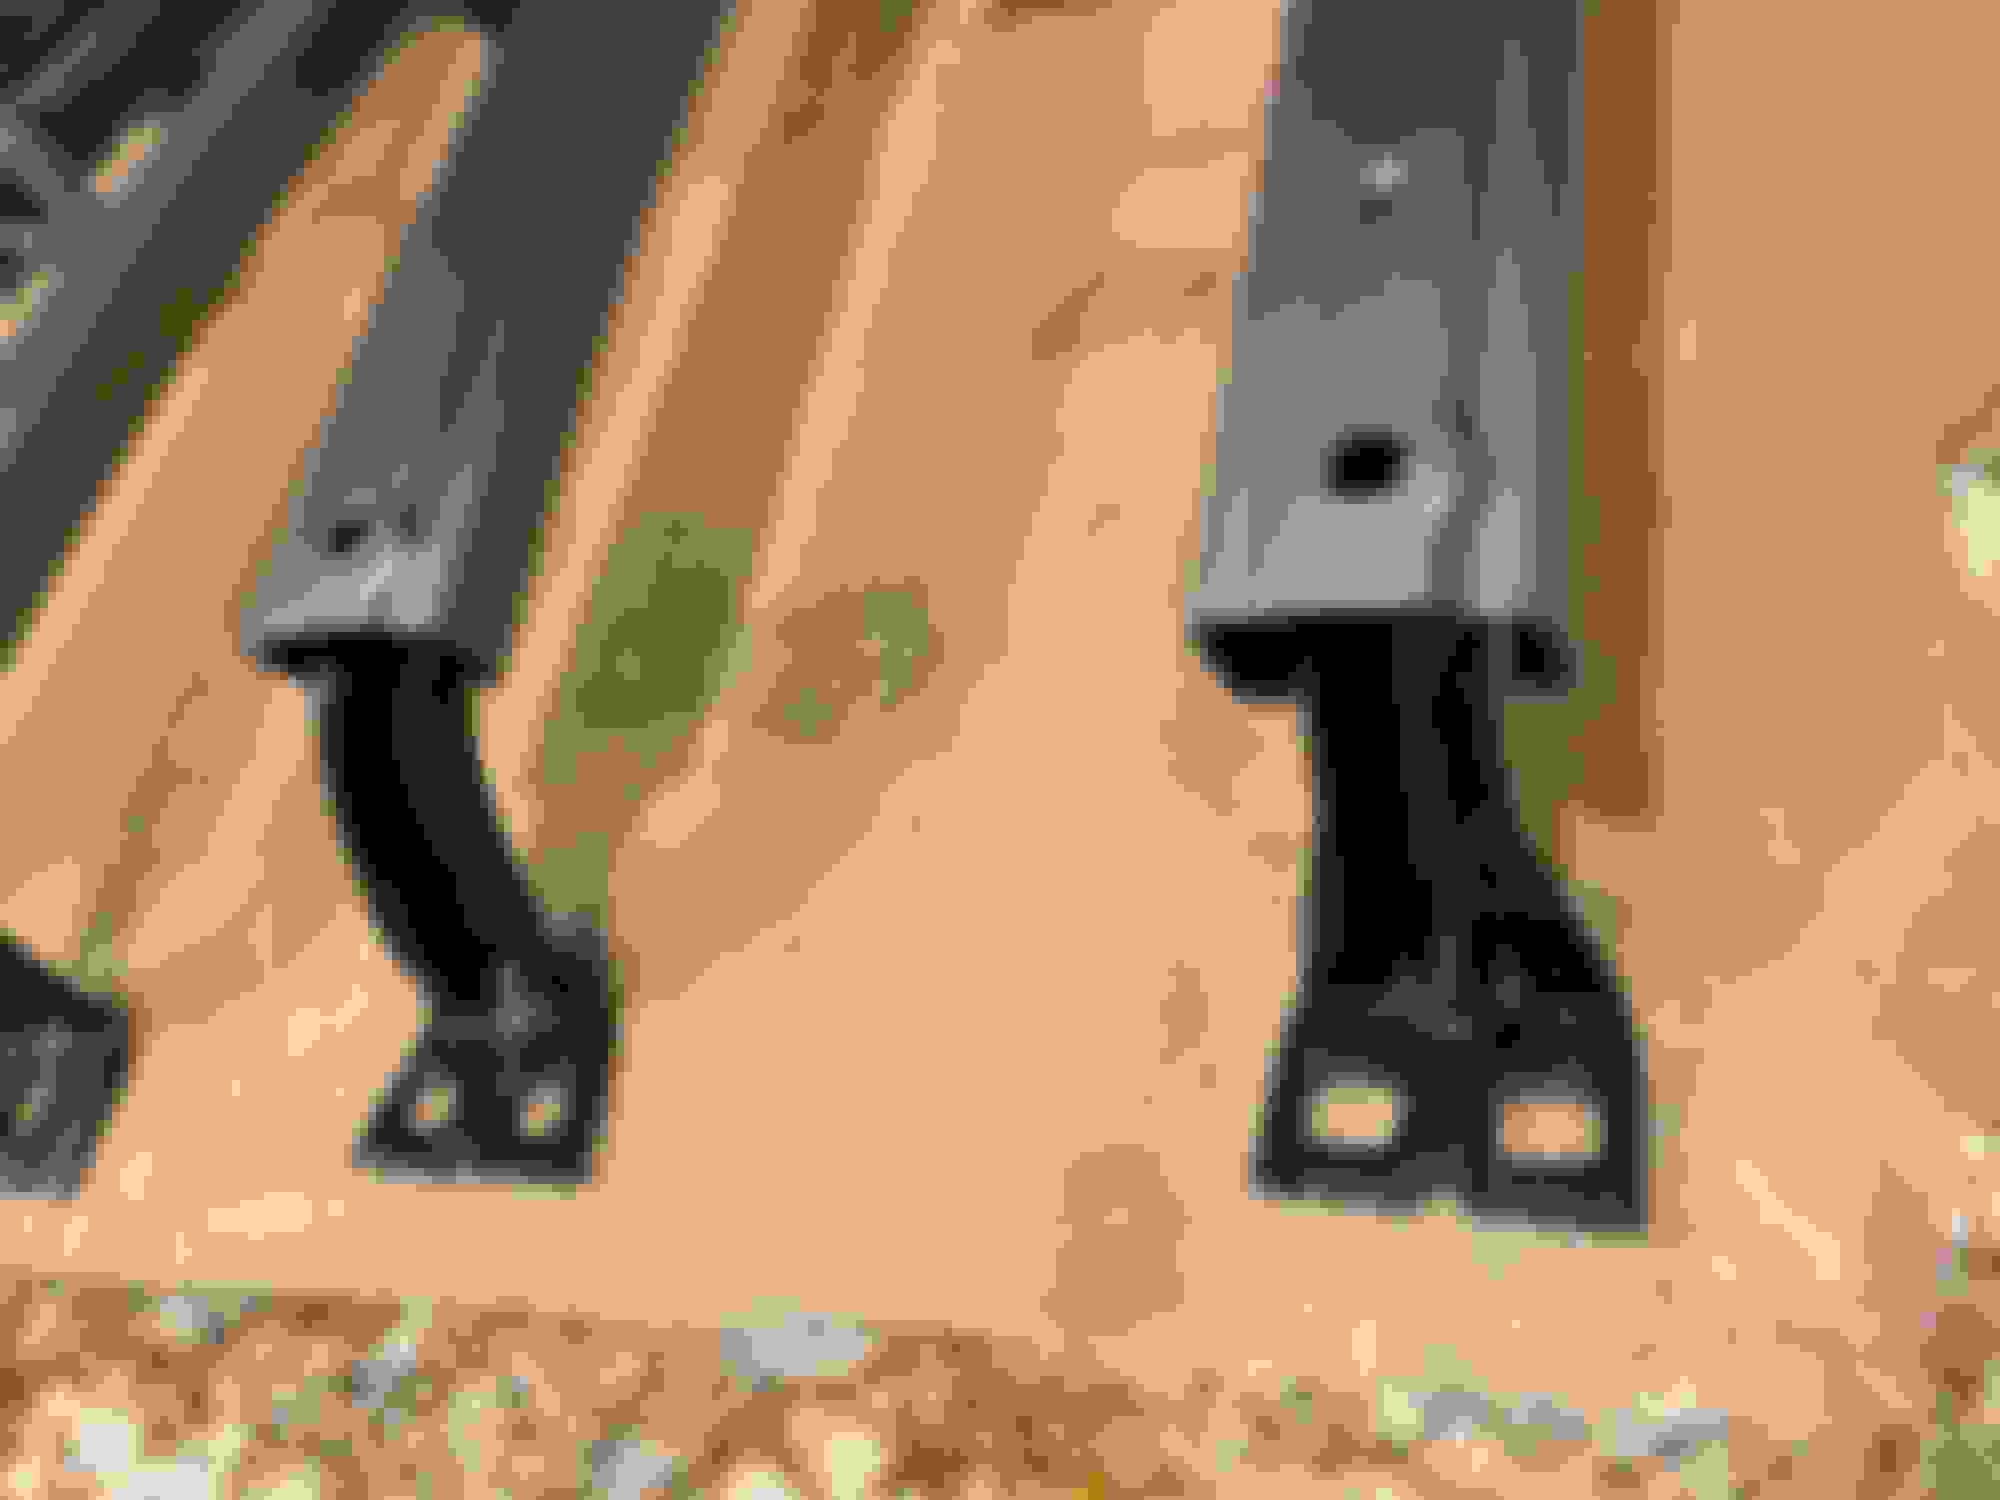
Today’s focus was around getting the harness in the trunk placed correctly. On my former burnished gold W-31, there was a clip near where the harness popped out from the seat divider. This harness doesn’t have that. But this harness has a black clip (prong...whatever you want to call it) near the LH lip where the metal clips are. Where does that go?
Update: I have now looked at three survivor W-cars, and it appears not all cars had that clip near the seat divider. Phew!
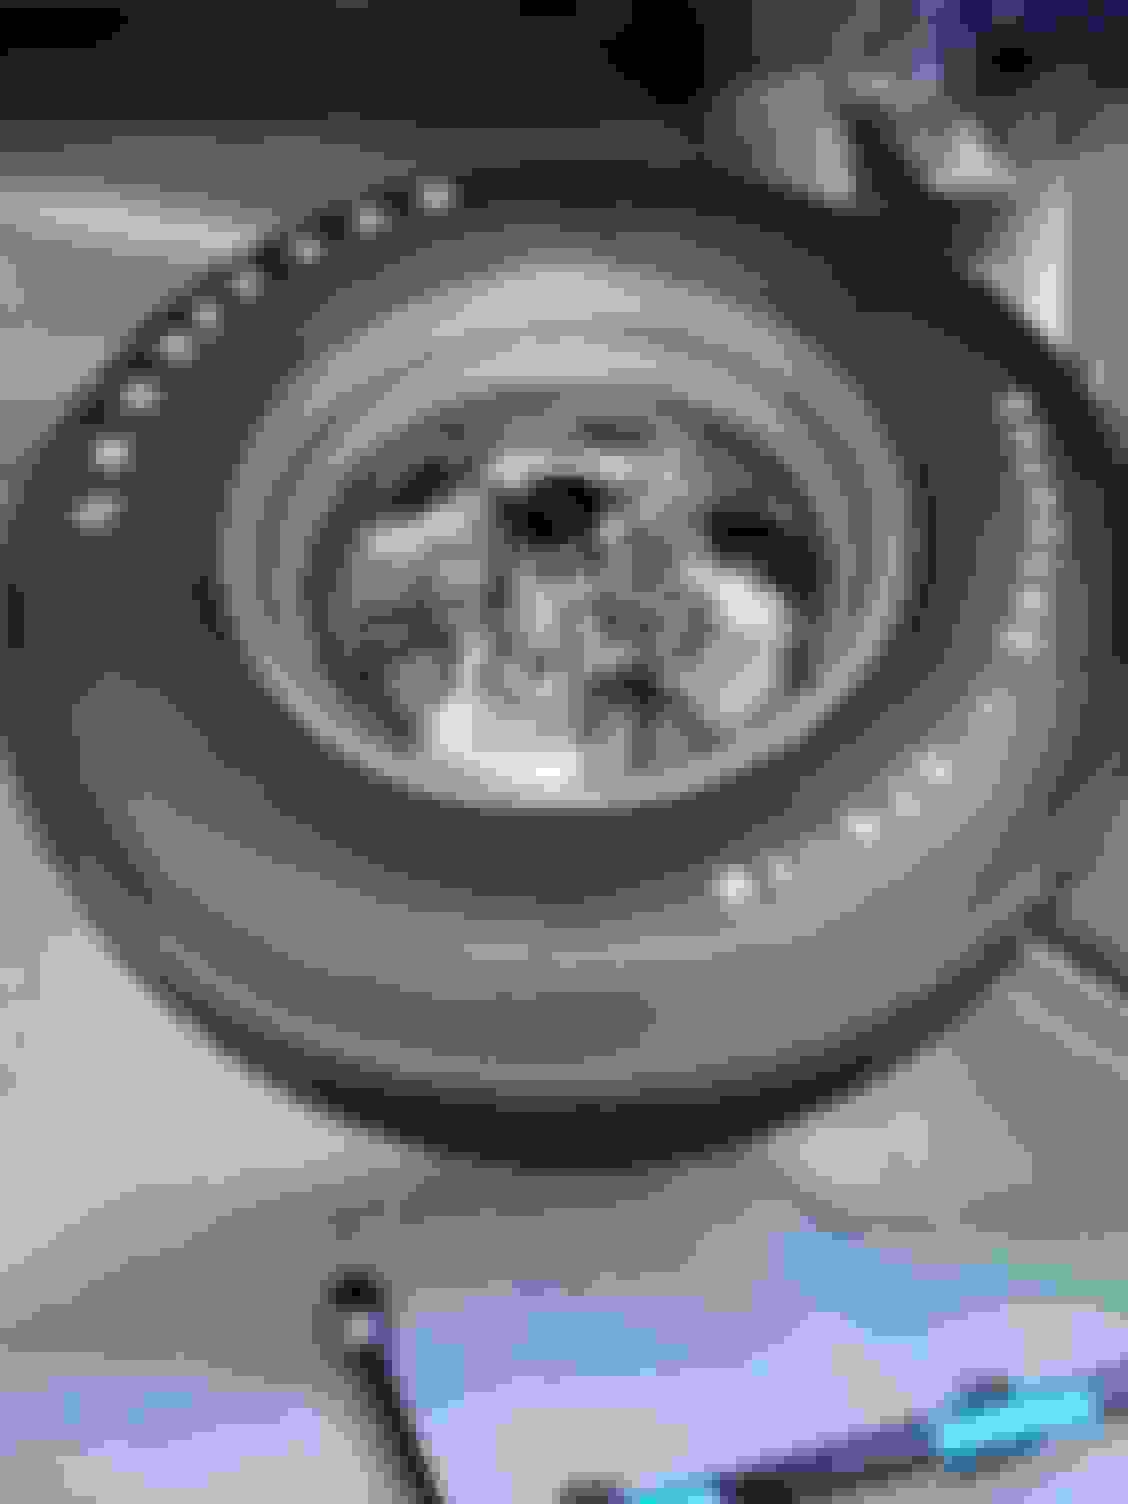
I hate the reproduction trunk mats. They don’t look like the originals. I need to do some trimming on the sides. I pulled the mat up to where the factory did there’s and installed the two clips for the lug wrench. I had the clips and two screws rephosohated.
I also had the original spare tire hardware replated. It’s hard determining the hole for the hook based on the decal so I went off pictures I took from a survivor car.
The same survivor car was used as a reference for the acorn style caps on the rear side markers. I only had 1 of the 4 original acorns on during disassembly.
RH rear marker. We were able to save most of the factory trunk spatter.
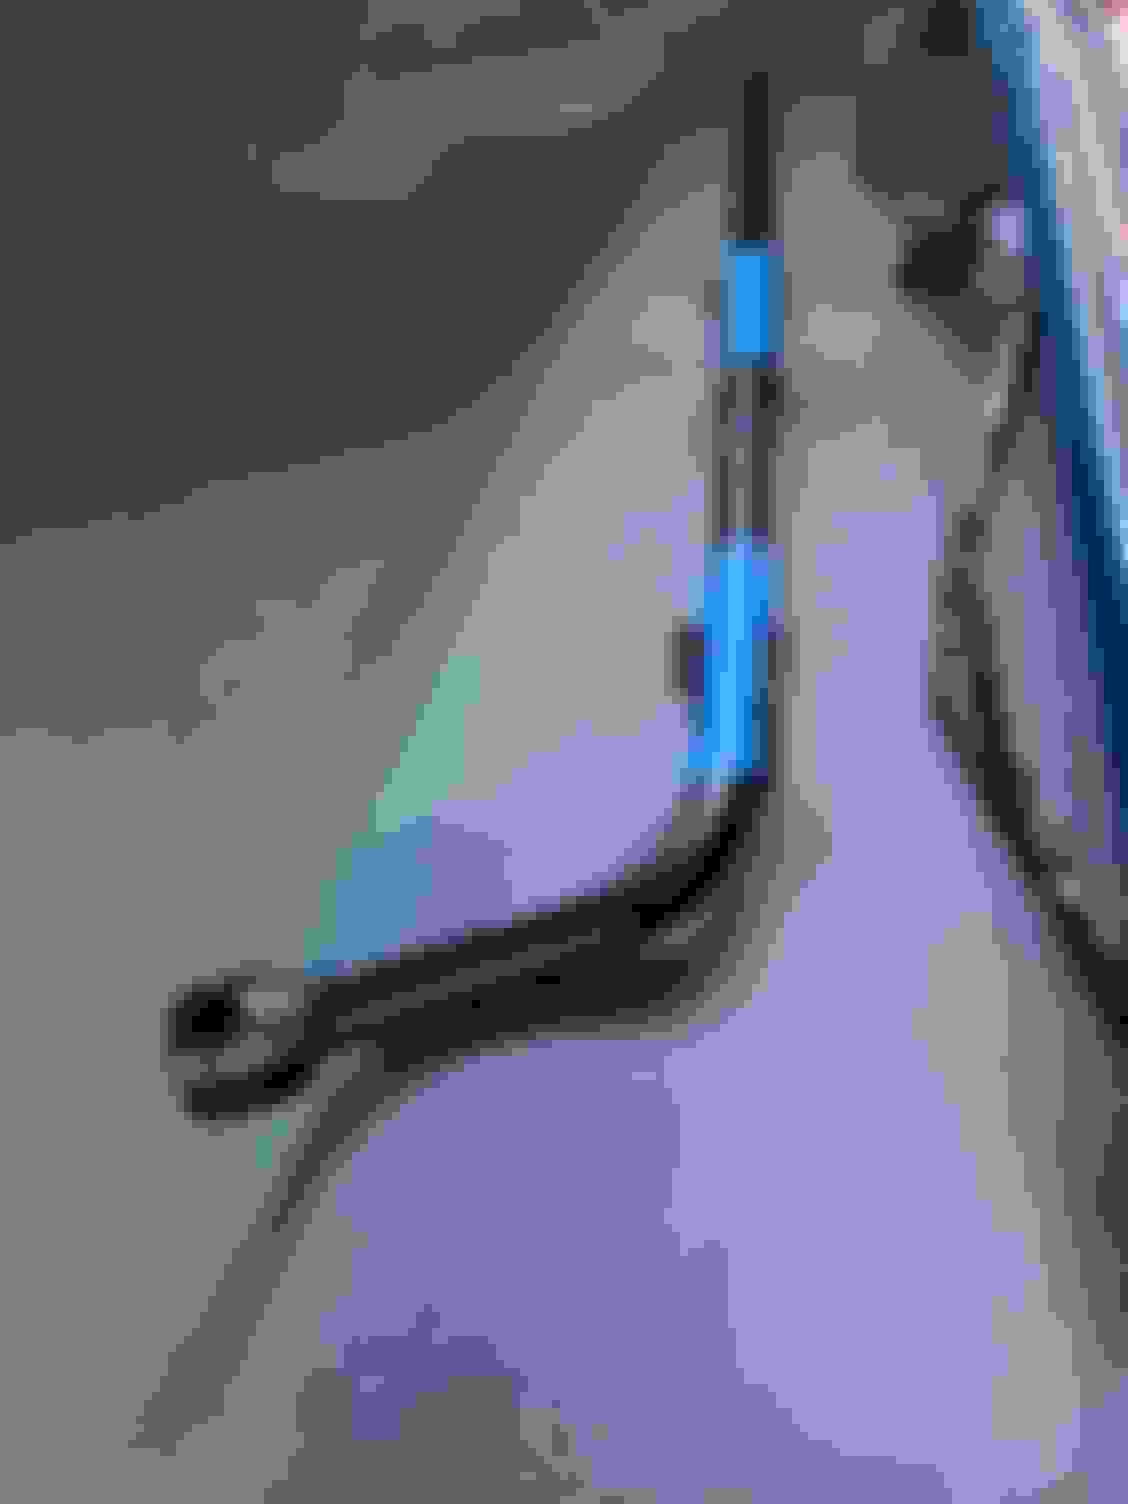
Lug wrench clips.
I wrapped the lug wrench with painters tape so the clips wouldn’t scratch the black paint...just in case the wrench needs to come out a few more times.
Replated spare tire hardware.
If I read the decal illustration correctly, the hook actually needs to go in the hole to the left of where it is now. That means the tire has to shift way over. I’ll mess around with it. That’s the original unused Polyglas.
NOS light on the right. Factory trunk light on the left. They are identical except the rounded hook appears to have discolored.
Merry Christmas.
Last edited by WTHIRTY1; February 9th, 2021 at 06:42 AM.
Factory lug clips. Haters will question the mat location.
Clips refinished.
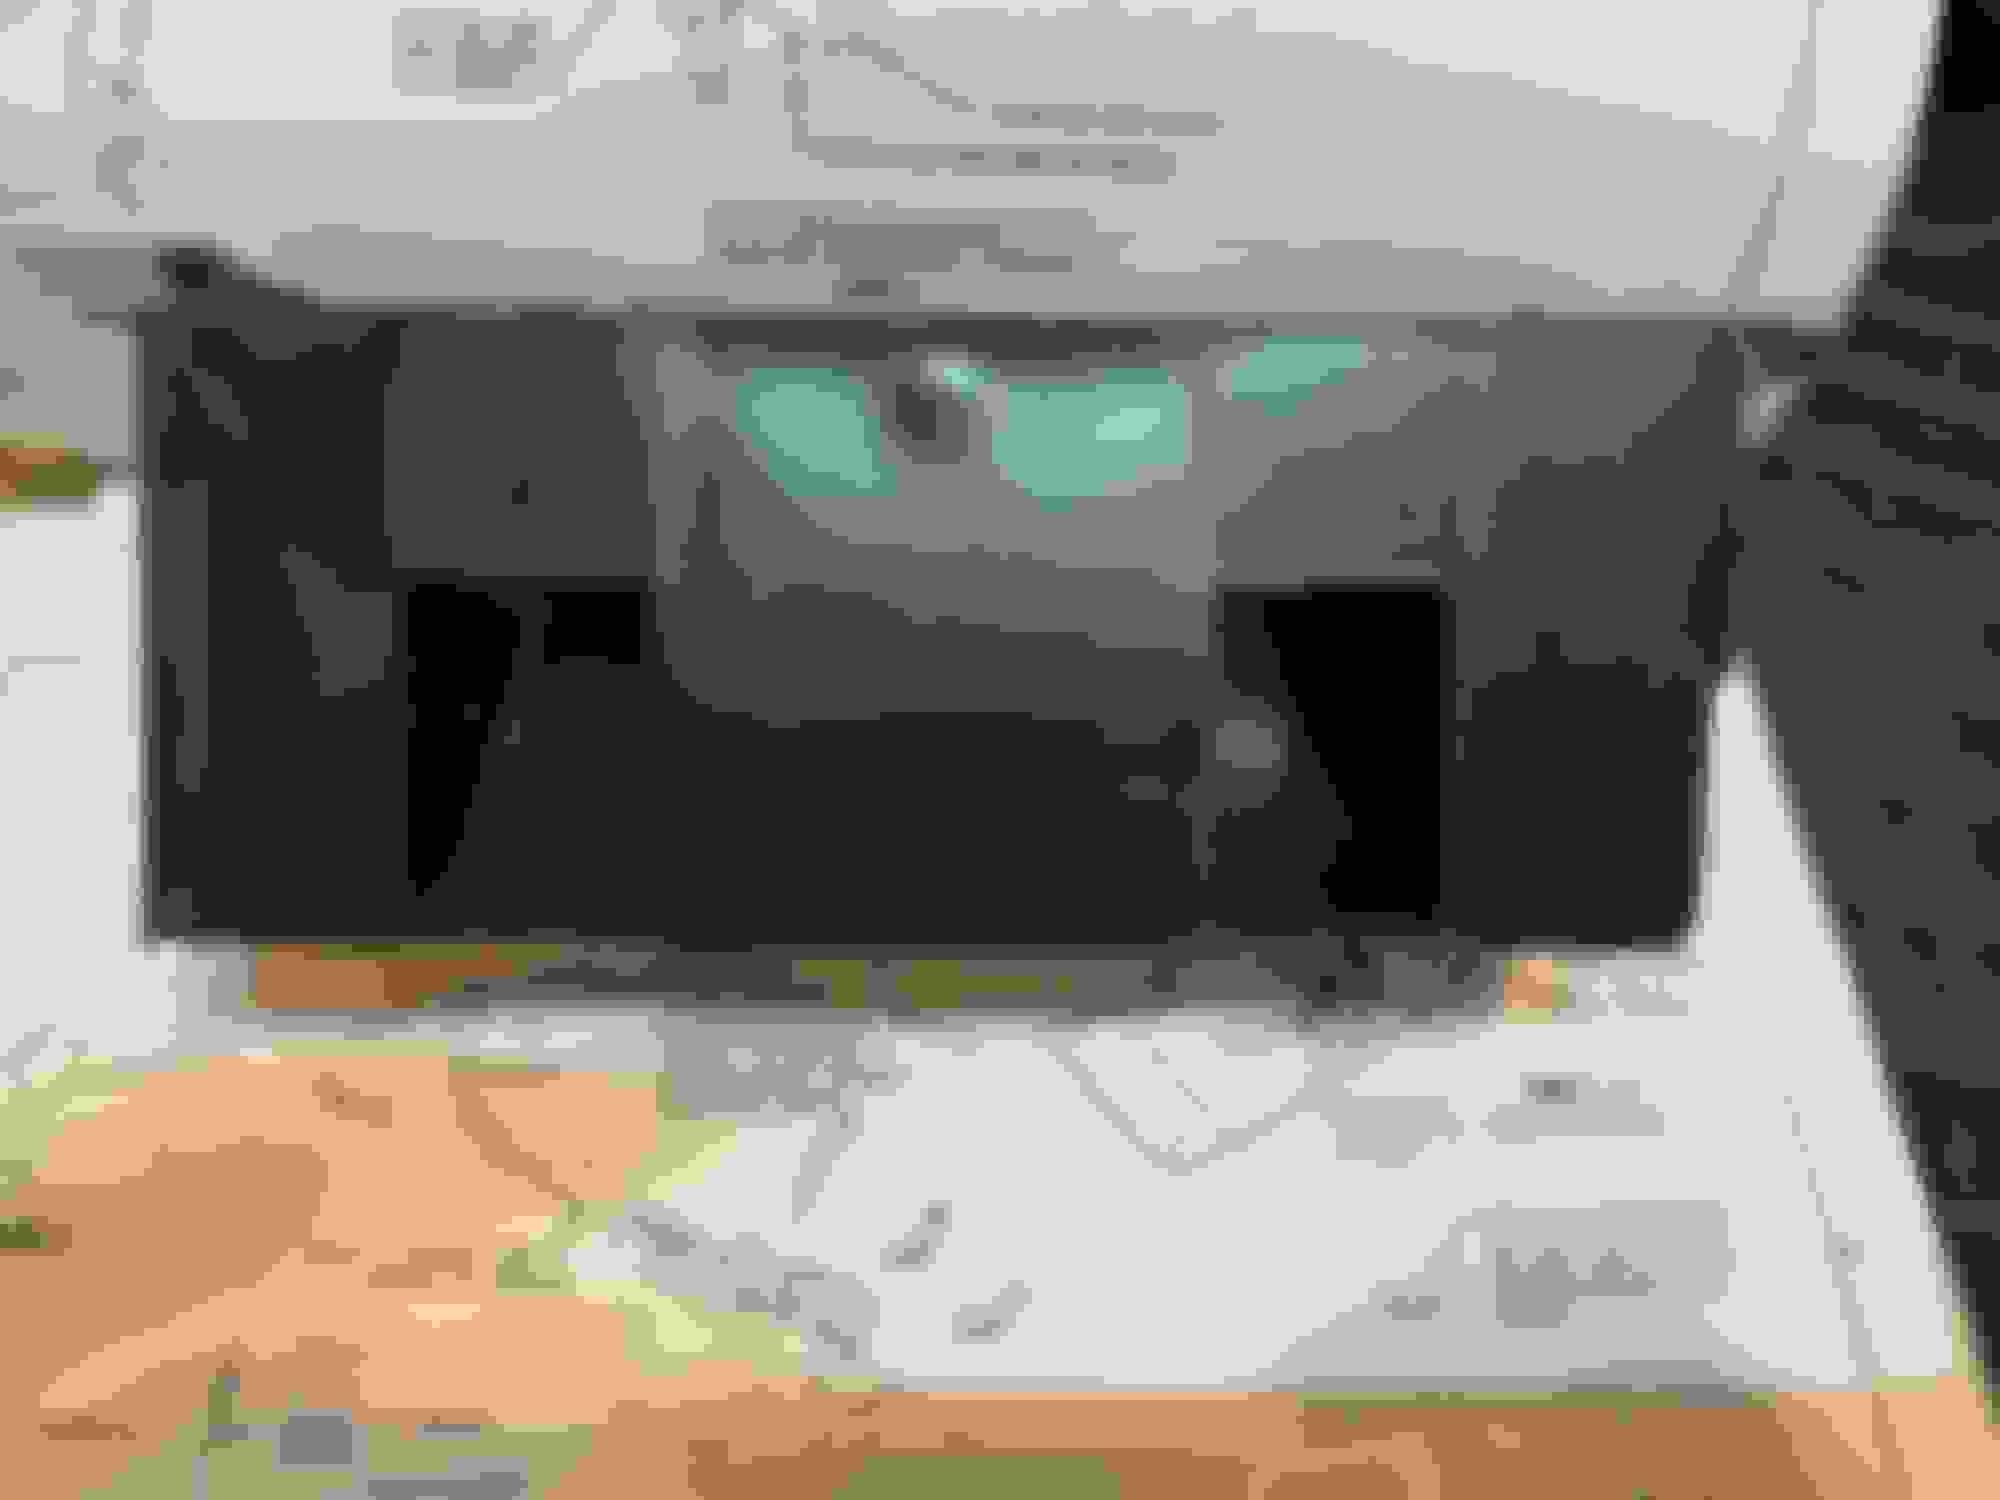
Here�s the frame on June 8th, 2018 when I pulled it from the body. This is on my driveway. The picture below is from today, December 20th, 2020, on the same driveway. Pretty cool to see the transformation.
Few more months...the car will make its debut at the May 2021 AACA Nationals in Auburn, Indiana.
Last edited by WTHIRTY1; December 21st, 2020 at 08:24 AM.
Thanks for the reference. We checked a few cars and it seems a bit inconsistent with regards to that clip. A friend has a survivor �70 F-85 and the clip wasn�t done on his. In fact, if you try to line up the clip to the hole, they�re way off. I will keep researching this one.
The last two days have been all about the carpet. Without giving away too many details, the carpet doesn’t simply go in and then you make a few holes for seat studs, belts, etc. and then you’re done. Nope. There are several cuts that need to be made.
With that being said, original carpet is your friend for a carpet install. I’m a firm believer that the seats were installed before the carpet even went in to the car.
I finished up the back half of the carpet tonight. The shifter will go in tomorrow, and from there I will start trimming the front half of the carpet. The soldering iron worked wonders on the holes and with cauterizing the carpet cuts, and I would highly recommend using one for the holes and edges.
A few other nuggets from over the holiday.
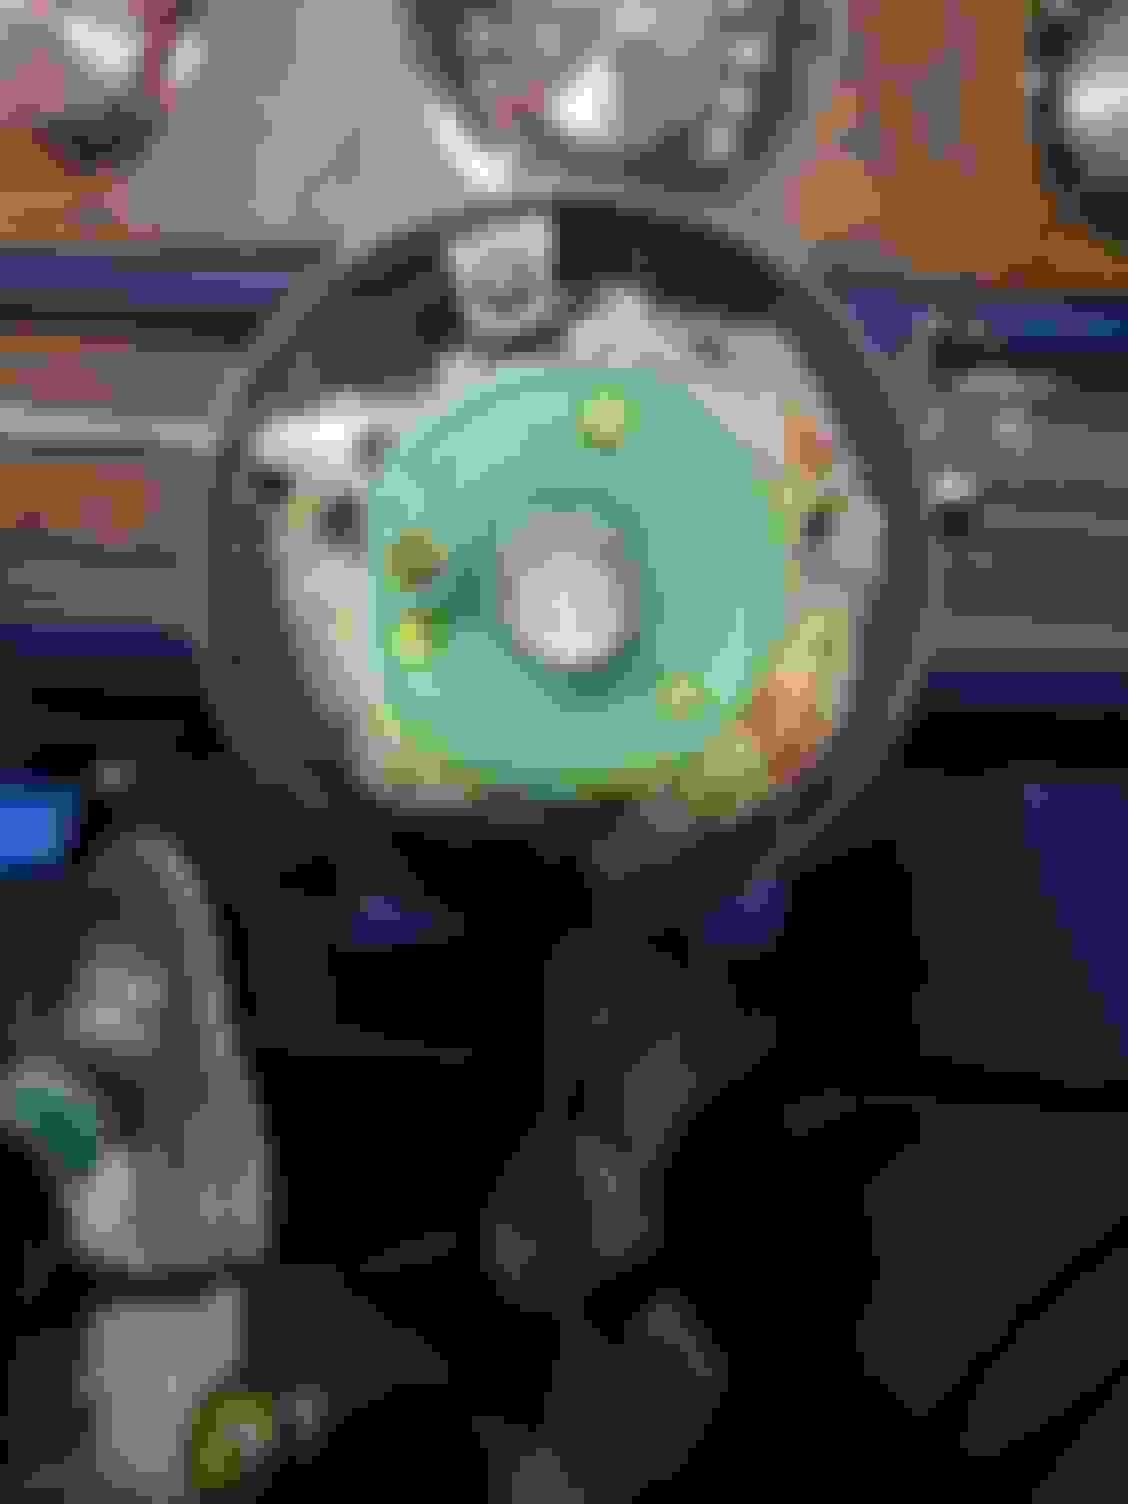
I scored an NOS horn pad for the blue ‘70 wheel. Part is #9751158 and is the correct dark blue. For the blue interior, the horn pad is a different shade than the blue plastic wheel itself (not shocking, right?).
I am searching for a cancel cam to replace the one I accidentally broke. Oops. This is the friction type and not the black bushing with the nub. If you have a spare non-tilt cancel call, please PM me.
Finally, I wanted to do a break down on brake pedal pads (no pun intended). I was having a tough time finding the correct NOS pad #3858199, which is the number for the factory pad, so a friend turned me on to #1363630. It’s literally the exact same pad with a minor exception only visible on the backside. Whereas the factory brake pad has two circles at the top of the backside, this part number has four circles in each corner. If you’re looking straight at the pedal pad, you can’t tell a difference. Regardless, I found the correct number and will likely sell the pad for the ‘64-‘67??
Factory carpet on the left. ACC carpet on the right.
Note the portion under the sill is a close match to the ACC carpet. The only downside to this approach is the original jute makes a mess on your new carpeting but it’s worth it!
The seat sliders need a little more detailing.
NOS blue horn pad for the ‘70 steering wheel. Thanks again, Brandon.
NOS brake pads. Identical from the front. I'm going to have to clean the correct NOS pad as it appears to have some shelf wear.
Tiny difference on the back...
Last edited by WTHIRTY1; December 29th, 2020 at 06:30 AM.
Slowly pecking away at the carpeting. The amount of “jute” padding on the reproduction carpet is ridiculous. Luckily, it pulls off relatively easy.
I am doing the cuts for the dual gate shifter still replicating all the factory cuts. Tonight I’ll hook up the shifter cable and prep the foam to the floor.
Final step really holding everything back is the detail work on the seat sliders. It’s too cold here to paint the “legs.”
Last edited by WTHIRTY1; January 18th, 2021 at 10:53 AM.
The last two days have been all about the carpet. Without giving away too many details, the carpet doesn�t simply go in and then you make a few holes for seat studs, belts, etc. and then you�re done. Nope. There are several cuts that need to be made.
With that being said, original carpet is your friend for a carpet install. I�m a firm believer that the seats were installed before the carpet even went in to the car.
Factory carpet on the left. ACC carpet on the right.
Note the portion under the sill is a close match to the ACC carpet.
I took mine apart say 10 to 15 years ago and I hope the original carpet is in the attic of my barn! I can't imagine I tossed it.....I usually save most everything but you never know! LOL
Wow, without the untouched carpet under the sills you'd think the new wasn't a color match.....looks good!
Happy New Year. Had a major thrashing in the garage last night so I can shut down and watch the Bears beat the Packers today.
I finally finished the carpeting! The front was much more challenging than the back. The front cuts are challenging around the shifter and cable so I would recommend test fitting the console to see what carpet is covered and what carpet is actually visible. I would also recommend putting everything in its place before making cuts. Tuck the carpet where it needs to be tucked, put flaps under areas that get flapped, etc. I ended up with a medium sized box full of carpet scraps and jute padding that needed to be removed. Again, don’t be afraid to rip and tear out the padding! Now I just need to rub out the excess chalk marks in the carpet and vacuum!
I installed the shifter and cable as well. Since I already had the cable installed on the trans, I had to climb under the car and unbolt the two bolts for the bracket. Once I removed those, I could push the cable forward enough to slide it back through the hole in the floor. I reinstalled the foam protector over the NOS cable and then bumped it flush against the shifter. The only word of advise is to use something to “pry” the cable up so you can push the retainer clip in. The cable seats in the hole but a stiff new cable needs a little help getting the clip on the lower side. The cable needs adjusting at the trans. When I put the shifter in park, I cannot get the key turned to off so I can remove the key. I don’t think there are any adjustments to be made at the shifter cable itself outside of the neutral safety switch.
Lastly, I detailed the seat sliders. Last year I soaked them in Evaporust and then coated them with T9. I didn’t like the look so I took 0000 steel wool to the entire slider focusing on the areas that are visible with the seat installed. I finished with a shot of black paint on each “leg” to replicate what the factory did. If I had to guess, I would say the factory dipped the legs since there isn’t paint on the actual slider itself. Once these dry, I’ll mount them back to the seats and install the seats back in the car. So far my plan for order of operations / install will be the shifter, front seats, windlace, carpeting, kick panel vents, console, seat belts, and sill plates.
Today should be console detailing and cleaning up the console harness. I haven’t checked the PIM on this yet, but does the console harness connect under the dash over or under the carpet?
Front carpet cuts. No glue of any kind used.
I reattached the foam using 3M super weatherstripping adhesive and a 5 lb weight. There is no adhesive on the shifter side of the foam.
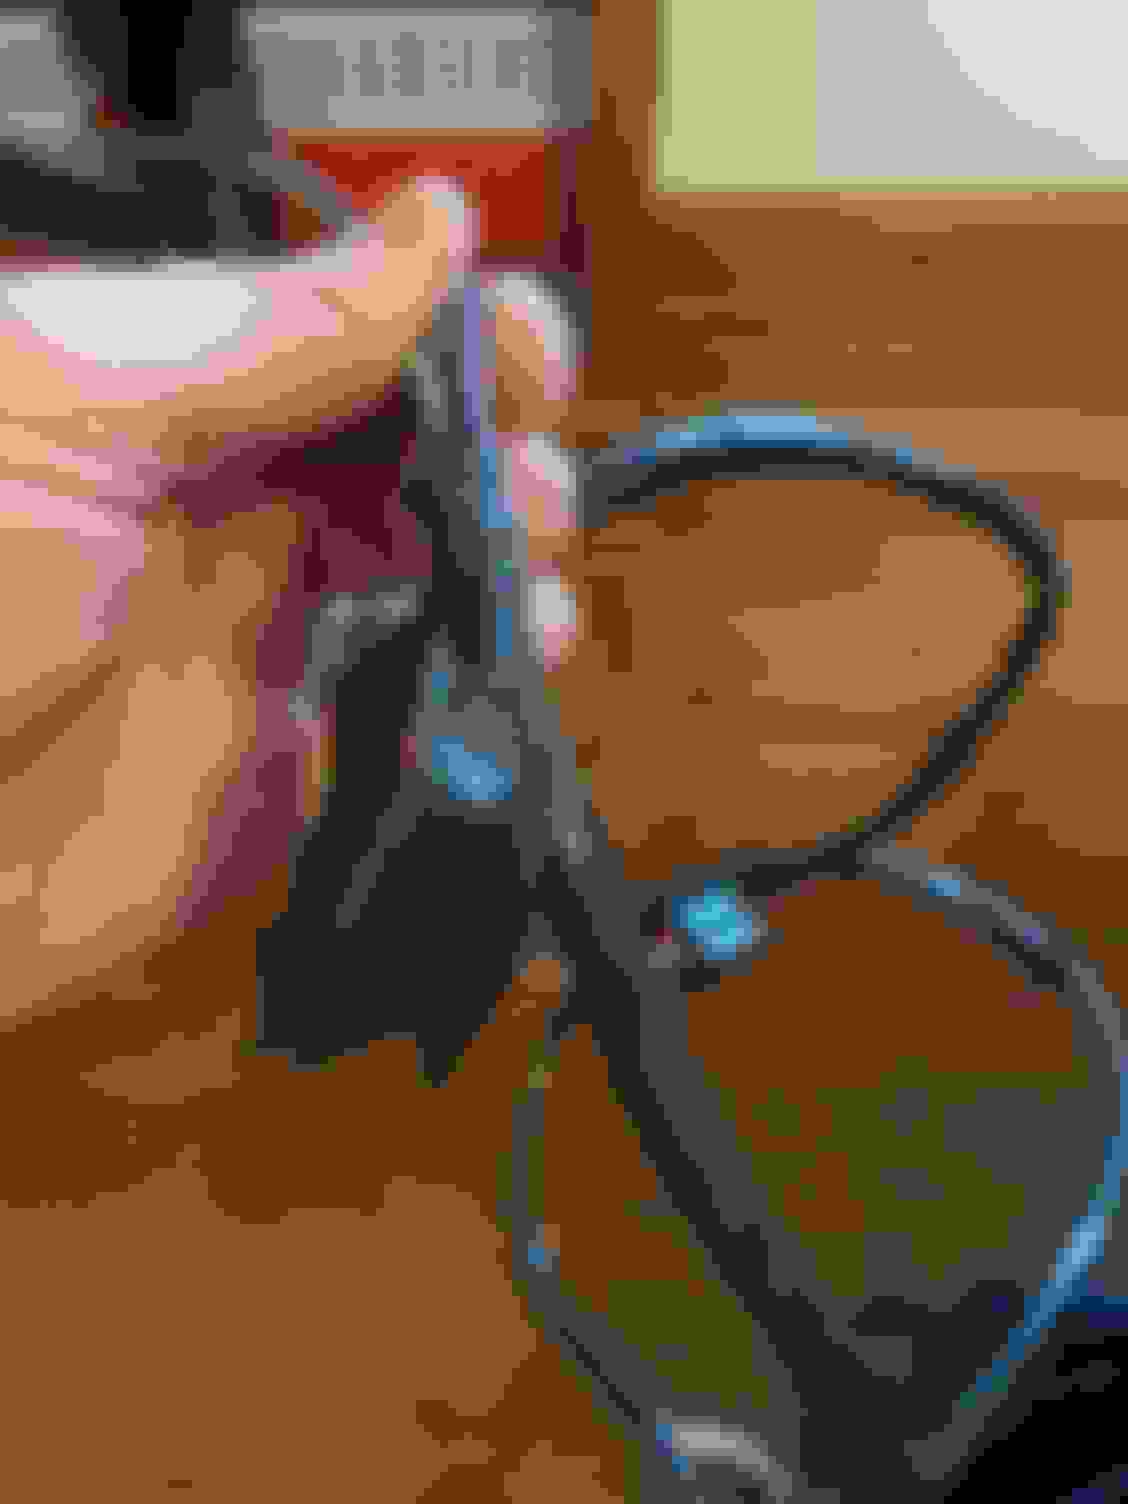
The clip for the cable was a pain. I put a breaker bar under the cable for leverage and pulled it up so the retainer would “bite” the top and bottom of the cable. I used a rubber mallet to tap the retainer clip in to place.
Restored seat sliders. The paint is still drying.
Detailed seat sliders.
Test fitting the set of NOS door sill plates. Surprisingly, they’re really clean and the adhesive from the packaging was not an issue. I wanted to see how much carpet would tuck under the sill plates without creating an issue getting the screws in.
Last edited by WTHIRTY1; January 18th, 2021 at 10:53 AM.
The goal for today was to get the seats installed. So,
I carried the bucket seats downstairs to the hallway outside the garage to reattach the sliders. Figured trying to carry the seats down two flights of stairs with the “legs” would have been questionable.
I had taken reference pictures a long time ago when I disassembled the seats but only of the passenger seat. It took me a bit to remember the slider handles are a bit different between the two seats. The passenger side handle has more of a bent angle to it. I was careful to reassemble each side as they were done at the factory.
The seats went in the car without issue. I must say it felt pretty rewarding to have the shifter and seats installed and then tuck the carpet in without any issues. I must have moved the carpet in and out of the car two dozen times trying to get the cuts for the flaps just right.
The seats are stuffed. I wouldn’t say they’re overstuffed, but they could certainly use some breaking in. The mice that inhabited the car did a number on the upholstery, and I’m sure the broken springs that were also replaced aren’t helping. Either way, I’m pleased!
Thanks to Ron N., Al S. and the Don’t Restore A Car crew for the reference pictures!
Detailed hardware.
Freshly painted sliders.
I sprayed a decent amount of white lithium grease in to the sliders which seemed to help a bit.
What’s interesting on the big spring is that the passenger side went to the lower hole whereas the driver side went only to the first hole. Dunno why.
You can see the carpet just “flaps” right around the shifter. And to think that for years I battled removing the seat hardware while the carpeting was still in the car.
Getting closer. Kick panels next.
Last edited by WTHIRTY1; January 18th, 2021 at 10:53 AM.
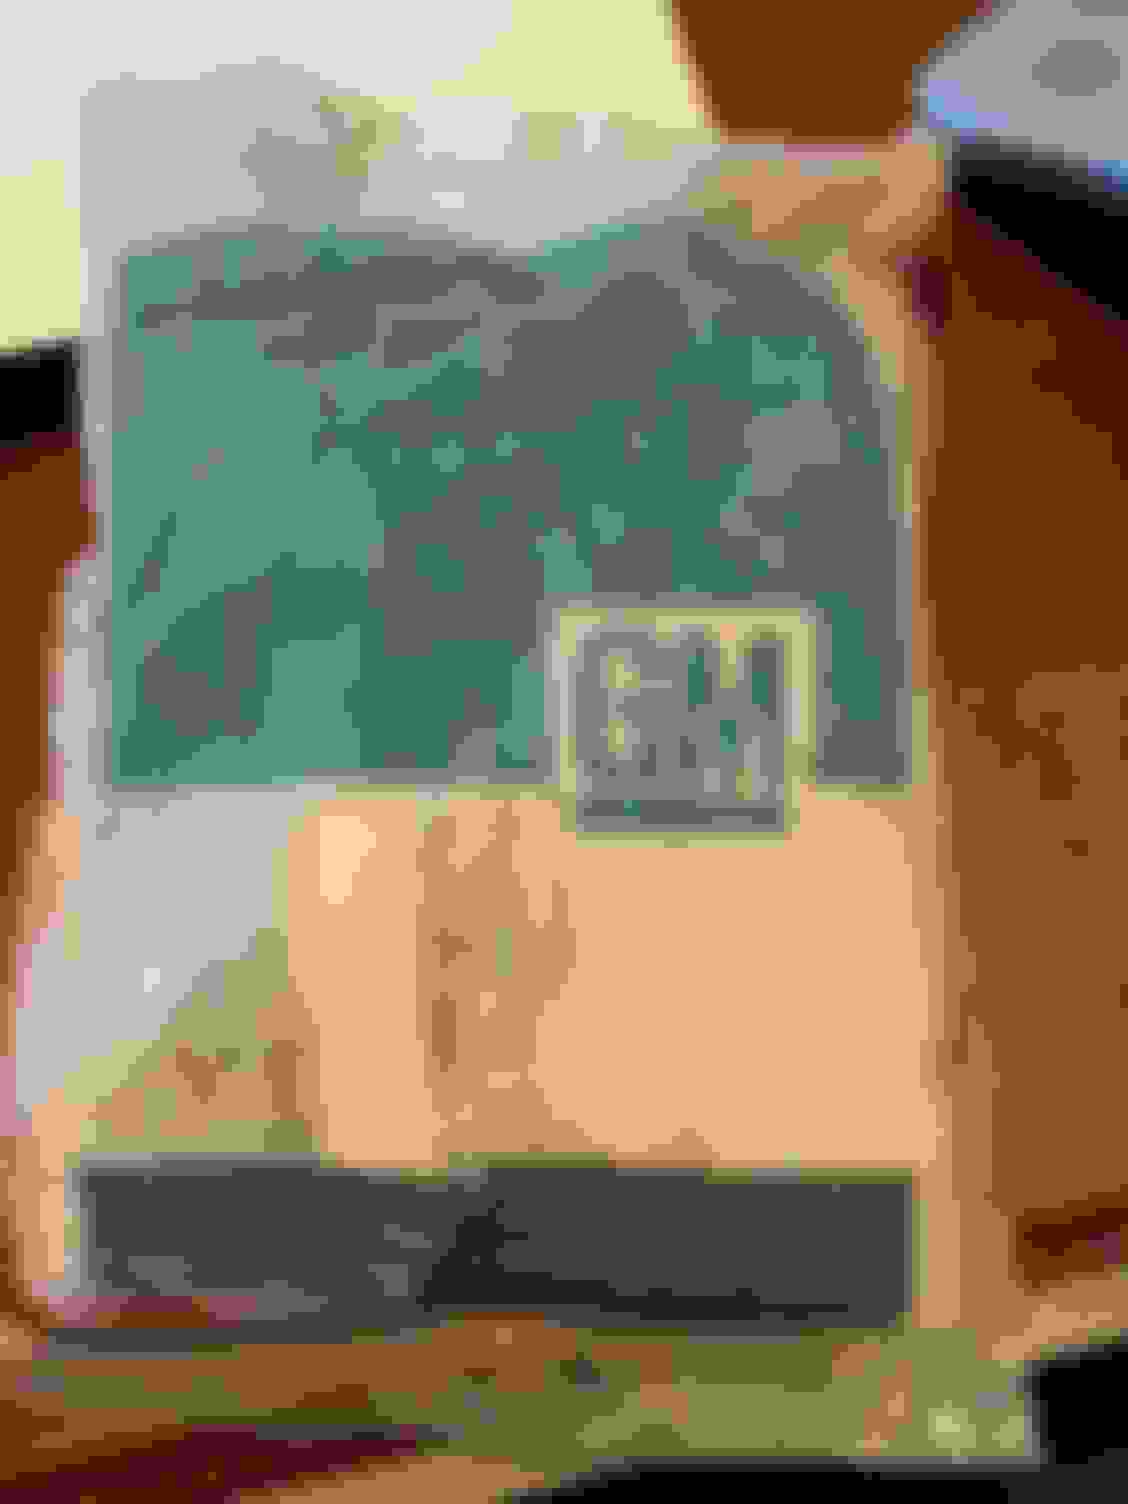
Worked on cleaning the non A/C kick panels / vents. I wanted to preserve the molded blue plastic on the grilles...and you guessed it...they are another shade of blue! Cool to see the part number, too. These should go in soon.
I need to pull the passenger seat and adjust the large spring as the seats aren’t quite aligned in the car as I would expect. The large spring likely need to be in the hole for the shorter pull versus the second hole. Luckily, it should take no time at all to move the carpet back.
Part number.
Last edited by WTHIRTY1; January 18th, 2021 at 10:52 AM.
The NOS horn pad arrived for the deluxe wheel and it is awesome! It’s also really cool to see more contrast with the blues as the rim of the wheel is a lighter blue and the horn pad is a darker blue. I located an NOS cancel cam that will replace the one I accidentally broke, and once that is installed, I’ll install the wheel.
I polished up the “plastic chrome” for the seat slider *****. These are NOS and looked great out of the boxes. I was worried I didn’t install these while the seat sliders were off but luckily they just push right on with a little bit of pressure. I even tried to pull them back off...they’re not going anywhere!
I installed the lap belt and the two receivers. I was careful to install them the same way they came off the car with ‘C’ over ‘E.’ I also remembered to put the receivers a bit at an angle with their protective blue pouch / cover. The plastic for the lap belt needs to be repainted. It appears that Python painted the plastic the incorrect blue as it should match the kick panels. That'll need to get addressed later. Sigh.
The kick panel vents went in last night. What a pain in the ***. I had the panel all the way in and didn’t like how the five holes were lining up for the screws so I pulled it back out. Word of advice...once they’re installed, don’t try to take them back out! And put painters tape on the metal part of the dash so the plastic doesn’t scratch the paint as this saved me big time! I would also recommend the carpet be installed first and “swooping” the kick panels in from the side left to right (for RH panel) so it pushes the carpet against the body of the car. This kept the carpet nice and taut for me.
The NOS sill plates cleaned up okay. The wrapper left a tiny bit of residue that took awhile to remove. I reused the factory screws.
Next on the list is to clean and detail the console harness and get that plugged in.
Just for grins, I threw in the NOS passenger front floor mat. A lot going on with that color blue...the blue is getting to be a bit too much.
Sill plates installed. You can see the blue plastic for the lap belt isn't the correct shade of blue so that will need to be addressed.
Seat adjuster ***** ready to go.
Belts and ****.
I may need to actually angle the belts a bit more now that I'm looking at this picture. I'm going to try and get the cover under the metal part of the belt a bit better. These are the longer seat belt bolts.
This car was ordered with the door edge guards. I personally don’t like them, but I still picked up an NOS set. The PIM calls for these to have been shipped in the trunk from the factory. I suspect they came loose and not in the paper packing, though. For now (and forever bc they’re hideous IMO), they’ll sit in the trunk.
Last edited by WTHIRTY1; January 18th, 2021 at 10:52 AM.
Spent time tonight cleaning up the console harnesses. I used a cloth rag with some detailer to get the dust off the taped areas and pre-clean on the wires and connectors. I also used all new bulbs (section 12-63 in the chassis manual has the bulb specifics, FYI).
I need to check the parts bins, but I know the harness tag that fell off is somewhere in a bag in the house here. When I find it, I will reattach the tag.
I now understand the different sizes in screws for the neutral safety switch and bracket. The larger head is used to secure the harness clip so it stays positioned under the rear groove of the shifter assembly. The tiny ground wire appears to go under the same bracket screw.
Cool example of how the factory harnesses were tied off.
All clean. Looks like the the original owner had placed a green and blue bulb in to the console. Psychedelic.
Before pictures. Damn mice!
After. Ground wire goes to the same screw as the clip for the harness.
Last edited by WTHIRTY1; January 9th, 2021 at 08:08 PM.
Didn’t want to spend too much time in the garage this weekend so I used the thirty minutes I had to run the console harness to the connectors near the column (hence why it’s such a long harness!). There’s a reason it’s the tightest wrapped harness compared to all the others in the car...it has to snake through under the carpet and under the dash.
I made the mistake of not initially running the harness under the shifter housing. There is just enough room to push the connectors under the housing at the front shifter screw in the passenger side. The harness disappears under the carpet to the right of the foam, reappears with a single plug where the brackets are (this explains the cut that traverses the two brackets), and the rest of the harness continues under the carpet to the firewall. The PIM has a good diagram for this.
This is how I initially had it which didn’t make much sense. The harness didn’t have any marks on the tape from rubbing against that edge so I knew this was wrong. (Yes, I know the console goes in before the woodgrain piece). Thanks for the detail, Ron!
Ran correctly under the shifter housing. The foam looks goofy but that’s just from the weights I used to adhere it to the floor.
The one connector that connects to the harness for the console lights sticking out of the slit in the carpet.
Harness snaked through under the carpet.
Thoroughly cleaned this vent. This was a revolving door for mice at one time...
Installed the vent with the correct stubby little screw.
Last edited by WTHIRTY1; January 18th, 2021 at 10:51 AM.
Today I was either going to mask the entire console and paint the black trim on the stainless under the lid OR remove the trim entirely and paint of separately. I opted for option 2. I drilled the plastic rivets out and removed the trim. This was a bit nerve racking as the console was completely restored and ready to go—with the exception of the missing black paint. I think Jeff @ H&H will hook me up with another set of plastic rivets which is a plus.
What this allowed me to do was finish the install of the console, shift plate, and woodgrain. Cranked up the garage heater so it reached about 50 degrees in the house garage and commenced...
A few pointers from what I learned myself. Test fit the console to the front brackets for the screws that go on each side. My brackets were bent and needed adjusting. Also, don’t be afraid to crank the screws down as you’re widening the metal slit on the bracket and not really torquing the plastic assuming you’re not in the exact same spot as when you removed it. Lastly, the carpet tucks under the back of the console so make sure the carpet isn’t too thick for the rear most screws.
The clip that mounts to the LH side of the console needed to be reattached to the inside of the console. I mounted it towards the base, per the PIM, so it’s easier to attach the harness to the clip.
I’ll mask this trim, spray it with black, and source new rivets. Hopefully, I don’t regret this!
This is the clip that sticks to the inside of the console for the console light harness.
Original hardware replated.
Reproduction console jamb switch on the left and factory original on the right.
View of the shifter with the bulb visible.
Original woodgrain and shifter ****. With the flash on the camera, you can really see the specs in the ****.
I’ll install the trim, liner, and lid inside the car. For now, I am happy to have less parts inside the house and more parts back in the car!
Last edited by WTHIRTY1; January 18th, 2021 at 10:51 AM.
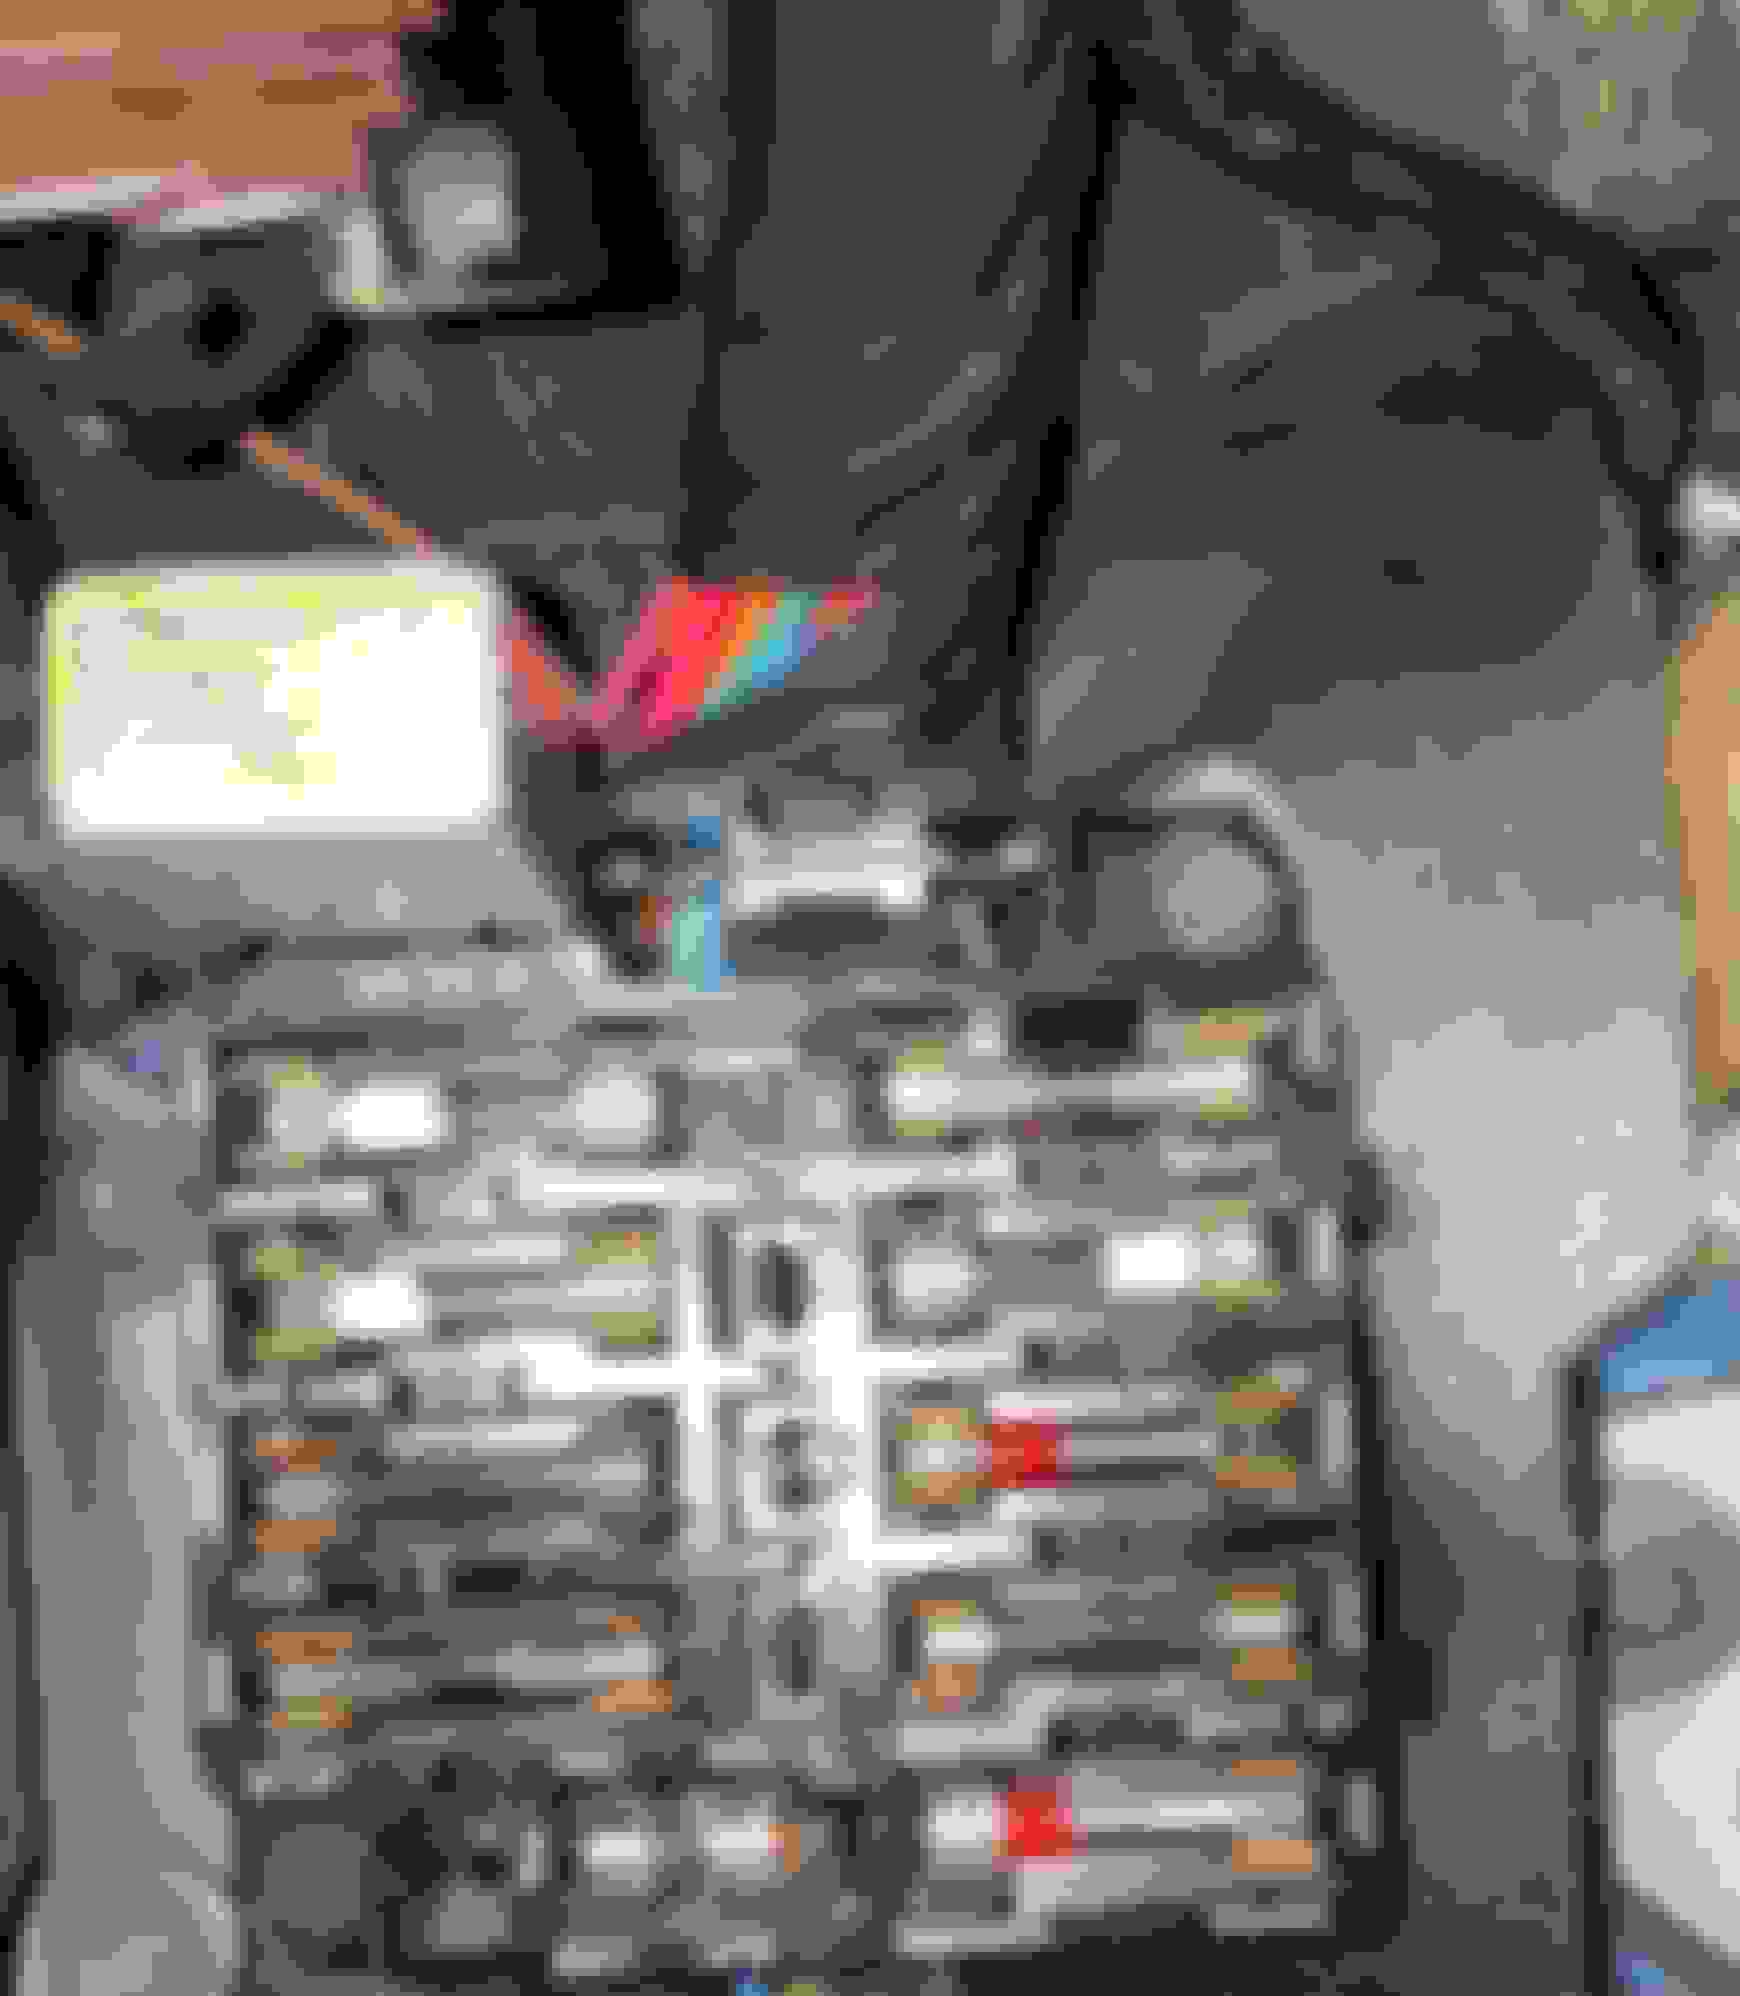
I had detailed the fuse box and all the original fuses, and tonight I reinstalled the factory fuses (tested!) as well as what I believe is the factory emergency flasher.
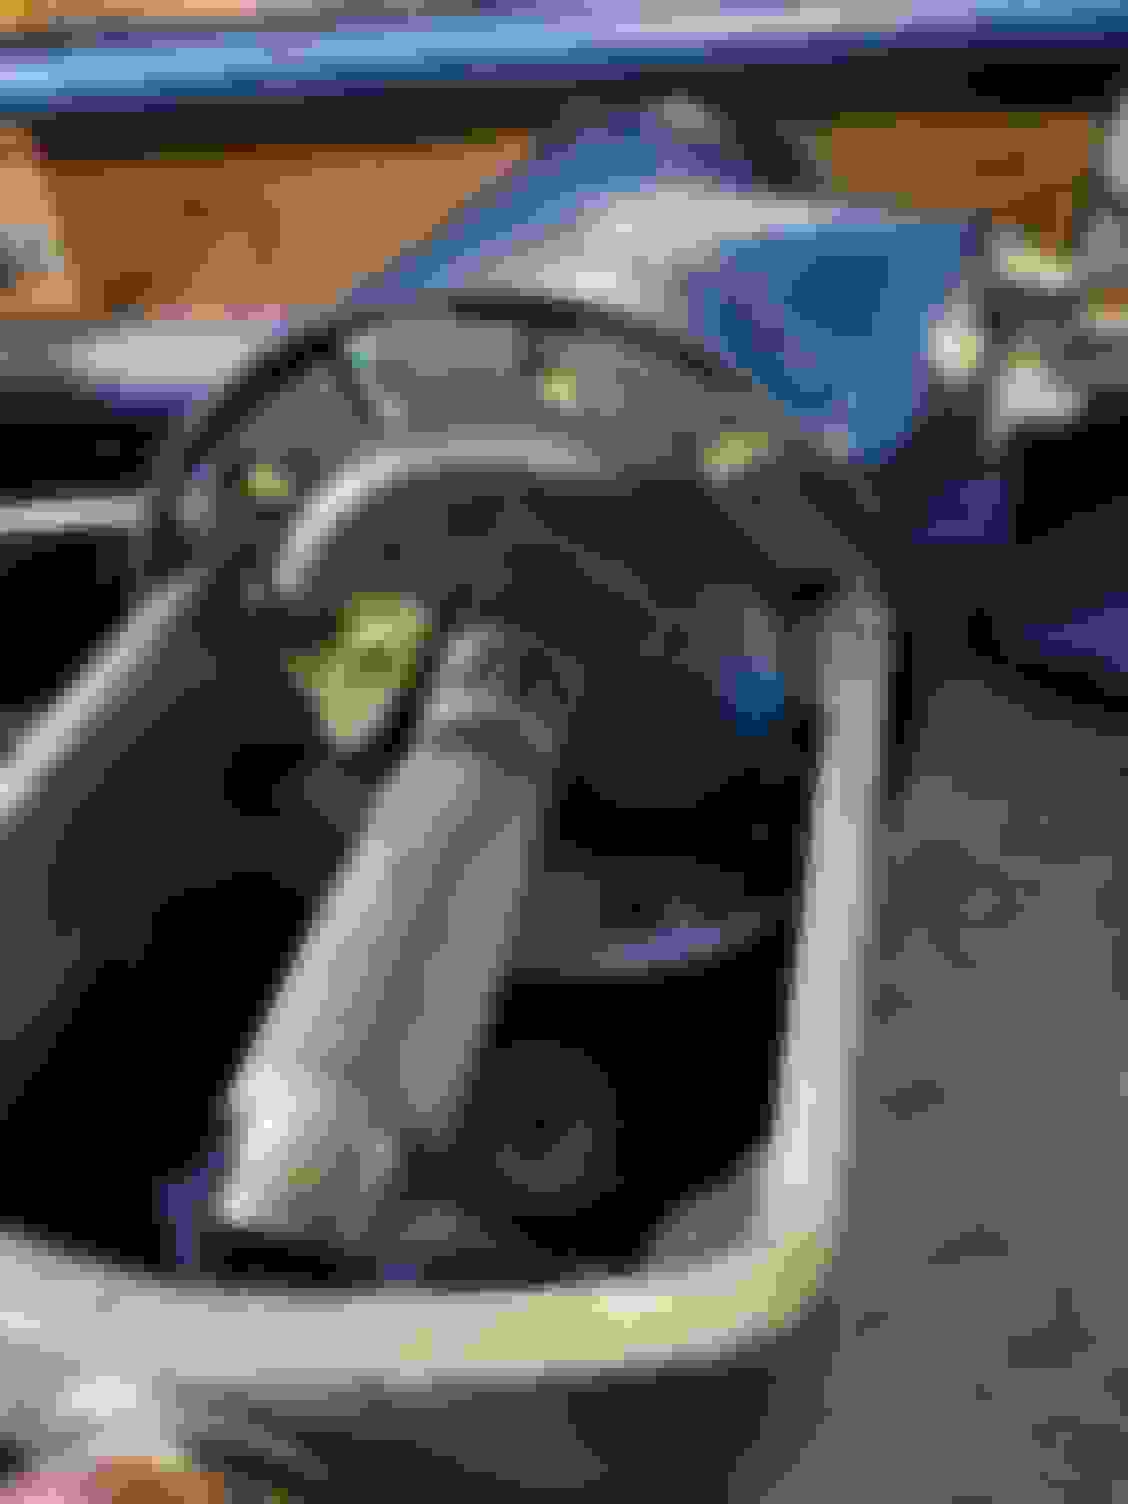
I also started on replacing the cracked cancel cam in the steering column. I found an NOS cancel cam that is the later style with the notches as opposed to the factory compression fit used in ‘70. I battled the clip...I hate that thing. I used a couple of picks and finally muscled the clip out. I’ll finish putting it back together later in the week when I get more time.
Fuses ready to go back in. I have a spare NOS flasher that I will hold on to just in case. They’re relatively cheap on eBay if anyone is looking for one.
Finished fuse box. I put the white 25A in the same position they were removed.
Still can’t believe I cracked the cancel cam. Oops.
The kit for the replacement cancel cam is 7812210.
Here is the NOS cam installed.
Last edited by WTHIRTY1; January 18th, 2021 at 10:50 AM.
Masked and painted the console trim tonight. I sprayed it with a durable SEM bumper paint that is supposed to stick to almost anything. A few light coats and a final top coat should hopefully do the trick. We’ll see how it turns out in the morning.
The plastic rivets should be here by the weekend so I can get the console finished.
As in the past, if anyone sees something that looks incorrect to them please do not hesitate to bring it to my attention. Many people have sent me notes and corrected me on things I was not aware of so by all means speak up. I do not have a problem with constructive criticism, and I am always happy to learn something new.
Last edited by WTHIRTY1; January 18th, 2021 at 10:50 AM.
In a quest to get more parts out of the house and back on to the car, I ended up tackling the passenger side rear door panel and arm rest. I also installed the splash shield as well.
DO NOT TRUST LEGENDARY’S OUTLINED CUTOUTS!
I made the mistake of trusting their pattern (shame on me!) for the window crank. Oops. It was probably off by at least a 1/4”. NOS plastic cup and NOS crank used just like the front panel. These are NOT the clear *****, either. Chris will appreciate that.
The preassembled door panels have been a nightmare on this car. What makes it worse is that my OEM panels happen to be in the garage and fit so incredibly perfect it’s not even funny. For a brief moment, I considered just cleaning up the originals, but they’re too far gone cosmetically.
My only advice would be to buy new panels and have your factory metal caps installed on them at an interior shop. I spent several hours trying to get the panel pushed back far enough so it would sit better at the windlace. It’s far from perfect but it’s the best I could do with my abilities.
I also managed to get the screw in the side which I have seen quite a few guys skip. This actually helped set the panel in place somewhat, too.
There is definitely an order of operations for how these rubber pieces go. You can see the panel goes over the rubber. It’s obvious why when you’re looking at the panel from an angle. The chrome and rubber on the rear side window are both new old stock parts.
I may try a steamer to get the wrinkles out of the arm rests. This is the SMS NOS fabric. I may rework the screws and loosen them a bit and see if that helps any. I also shifted the windlace down a bit so it fits better at the sill plate.
This was a new one for me. Basically, push the panel so it gets as tight as possible in to the roofrail weatherstripping. I tried to bend and manipulate this area of the panel as much as possible since this appeared to be the culprit for the fitment issues.
Last edited by WTHIRTY1; January 18th, 2021 at 10:50 AM.
Nothing to report today. Awaiting a few parts in the mail for the interior so I’m somewhat stuck.
I did finish the detailing of the deluxe steering wheel hardware. One cup was missing so I went ahead and detailed the other two cups and three springs.
Last edited by WTHIRTY1; January 18th, 2021 at 10:40 AM.
This morning I installed the four plastic rivets for the console trim. Hat tip to Patton for the Auveco part number. Spent maybe 15 minutes adjusting the three screws for the lid hinge and have it in a good enough closing position.
For grins, and now that the fuses are back in, I hooked up the battery to see what would work. Surprisingly (or maybe not) lights started working!
Door jamb lights worked. Buzzer for the ignition worked. Moved on to the radio; check. Lights; check. Brights; check. Turn signals; check. Wipers; check. I was nervous for the blower motor since it is the original that I restored and it worked in low, medium, and high. Clock; check. Light package; check. Red light for high beams; check. The console light harness isn’t hooked up under the dash yet so once I do that I’ll check things more thoroughly. I also forgot to check the light for the rear view mirror.
I can’t recall...does the glove box light and map light piggyback off the console harness?
Cool little story tonight, too. This car was in Cleveland since day 1. The original owner and the original owner’s son are still local to that area, and they’re Browns fan. In the video, I turned the radio on for the first time and what happened to be playing live but the Browns vs. Chiefs AFC playoff game. Pretty cool. I sent the video to Andy and that was the first thing he texted me back!
 December 16th, 2020, 08:31 PM