When you click on links to various merchants on this site and make a purchase, this can result in this site earning a commission. Affiliate programs and affiliations include, but are not limited to, the eBay Partner Network.
Working on the main harness that runs from the fuse box to the back of the car. Since this car had mice and all sorts of nasty, I wanted to get everything nice and clean. I took the long plastic wire protector off and soaked it over night in detergent. Today I scrubbed it clean and removed all the junk off of it.
Tomorrow I�ll wrap the harness and try to figure out how to save the factory part decals. I picked up a clip for the part of the harness that needs to be taped in so I can clip it under the dash. Thanks, Scott Winn!
Worked a bit on the wiring harness that runs the length of the car. The plastic came out really clean after a 24 hour soaking. The wiring harness is surprisingly clean and all the wires are intact. I initially thought I would rewrap the entire harness, but only two spots really needed a touch up. I left the factory tape on 95% of the harness and wiped the tape down with a light cleaner and detailer. I used brake clean to get any gunk off the wires.
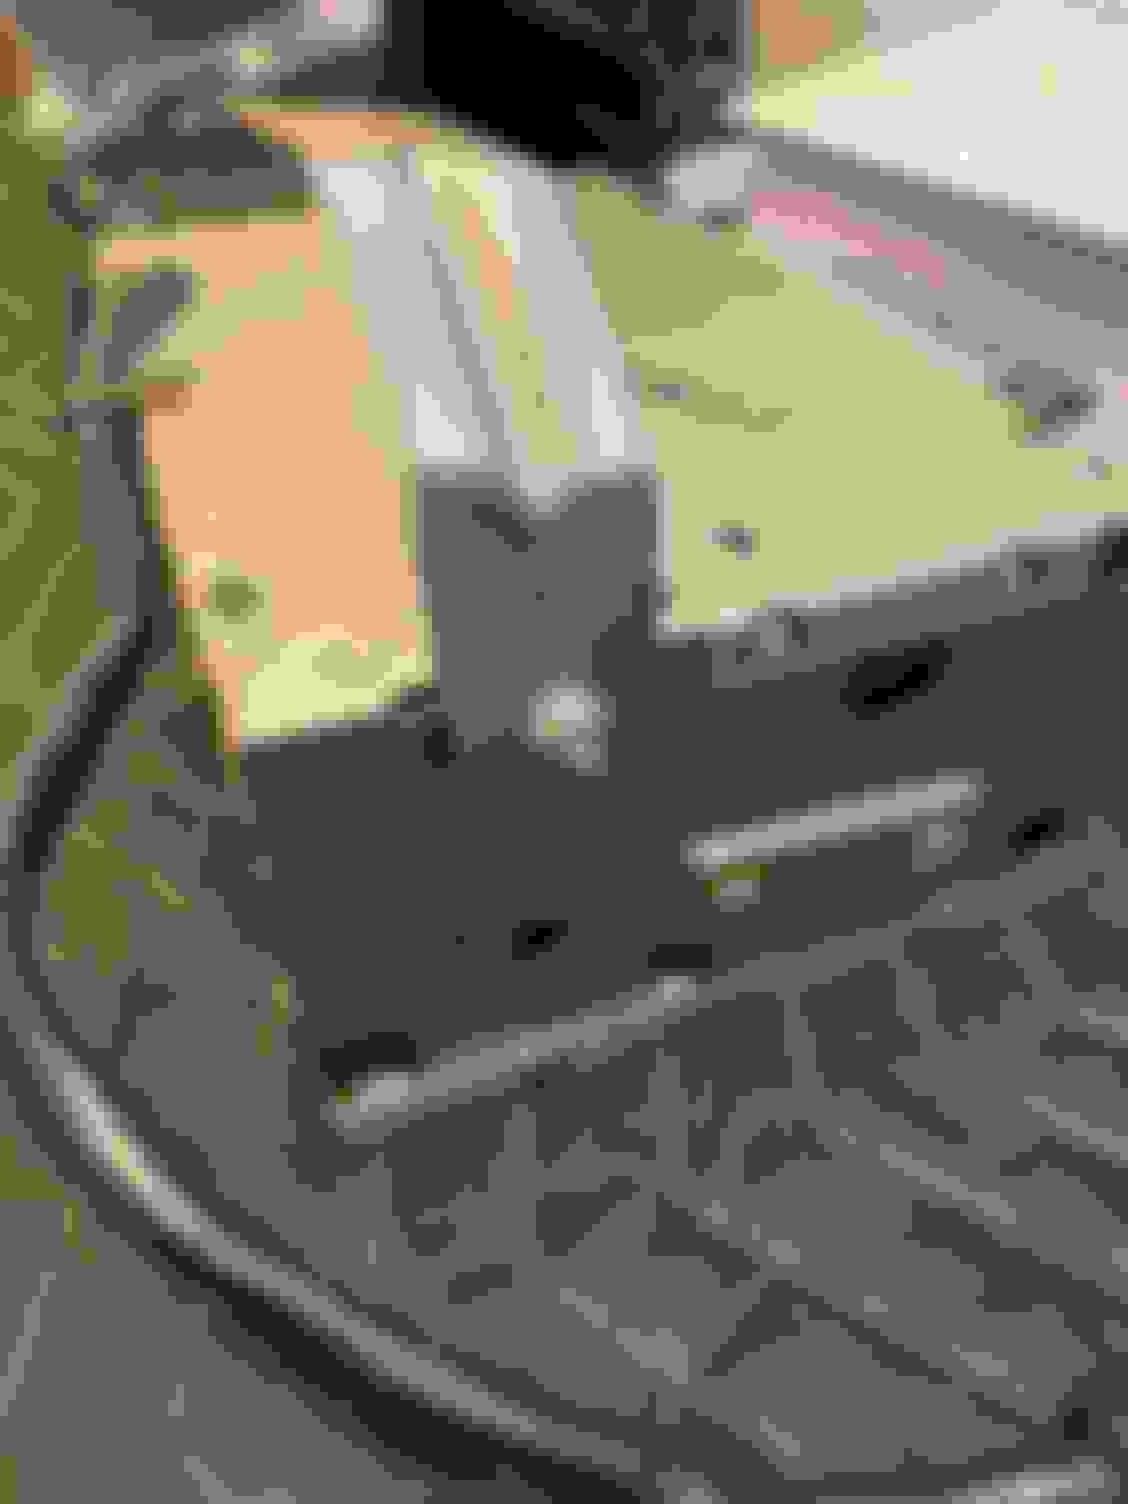
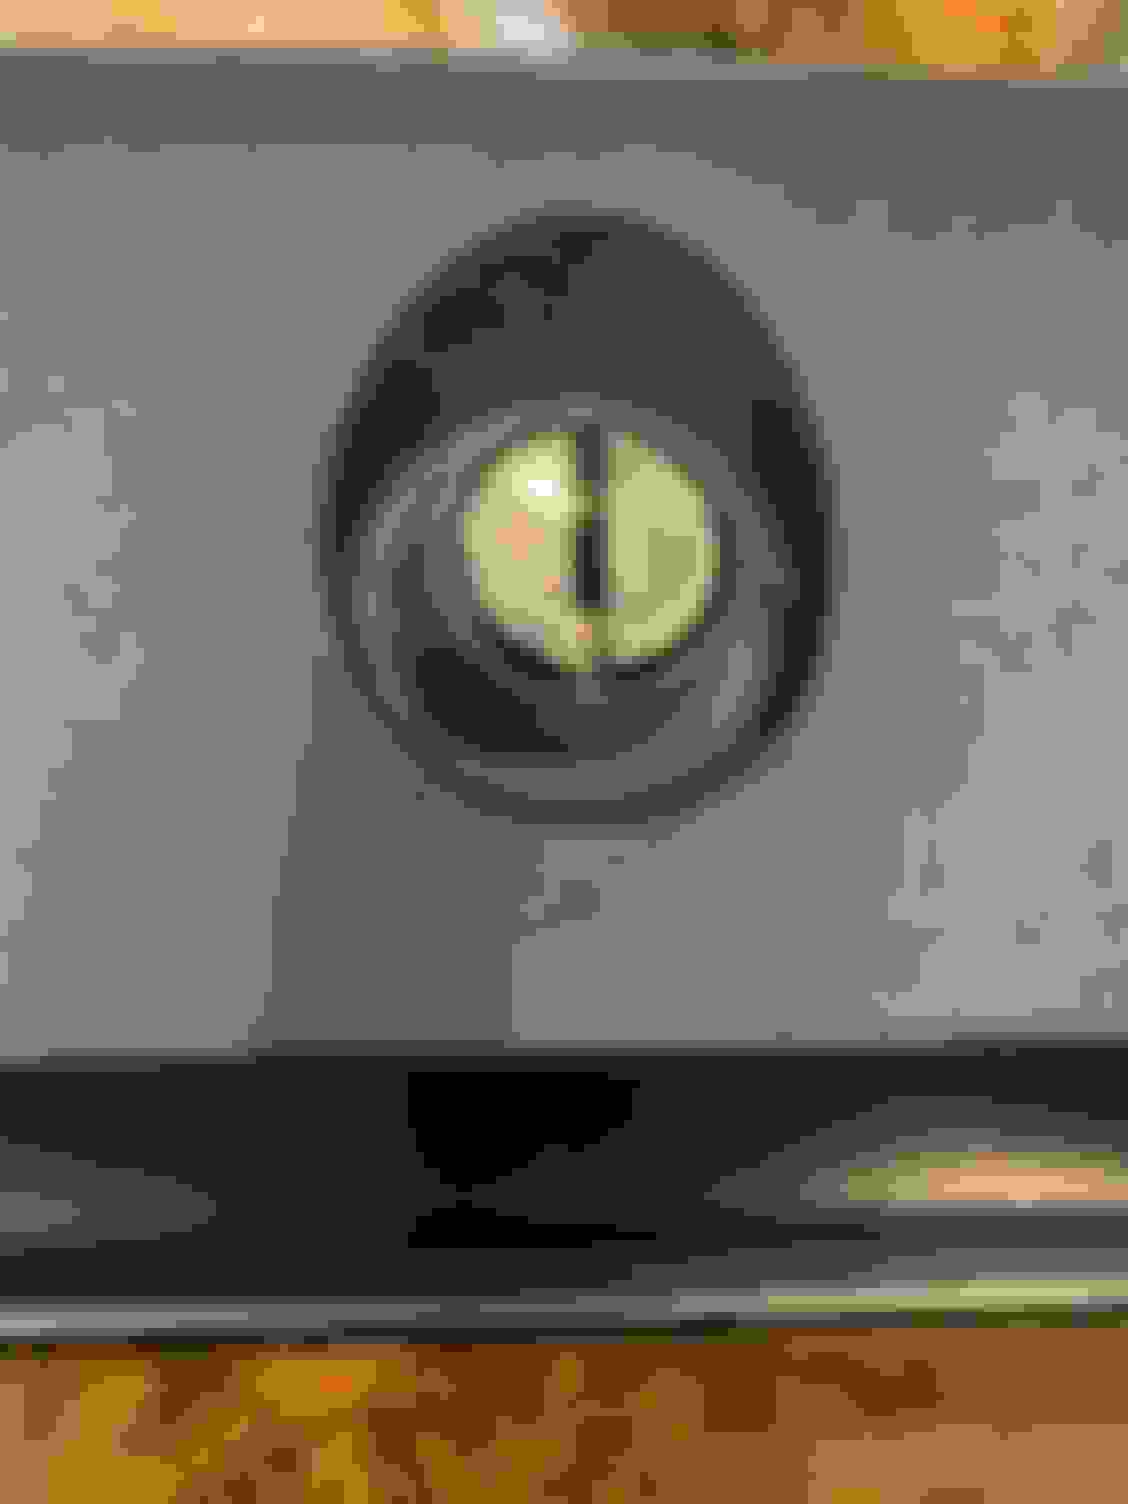
The only two areas that need more attention are the RH rear side marker socket and the clip at the front of the harness that clips to the firewall. The car was painted in the 80�s and the painter must have been sloppy because there is blue paint all over the socket. I think some thinner should clean it up.
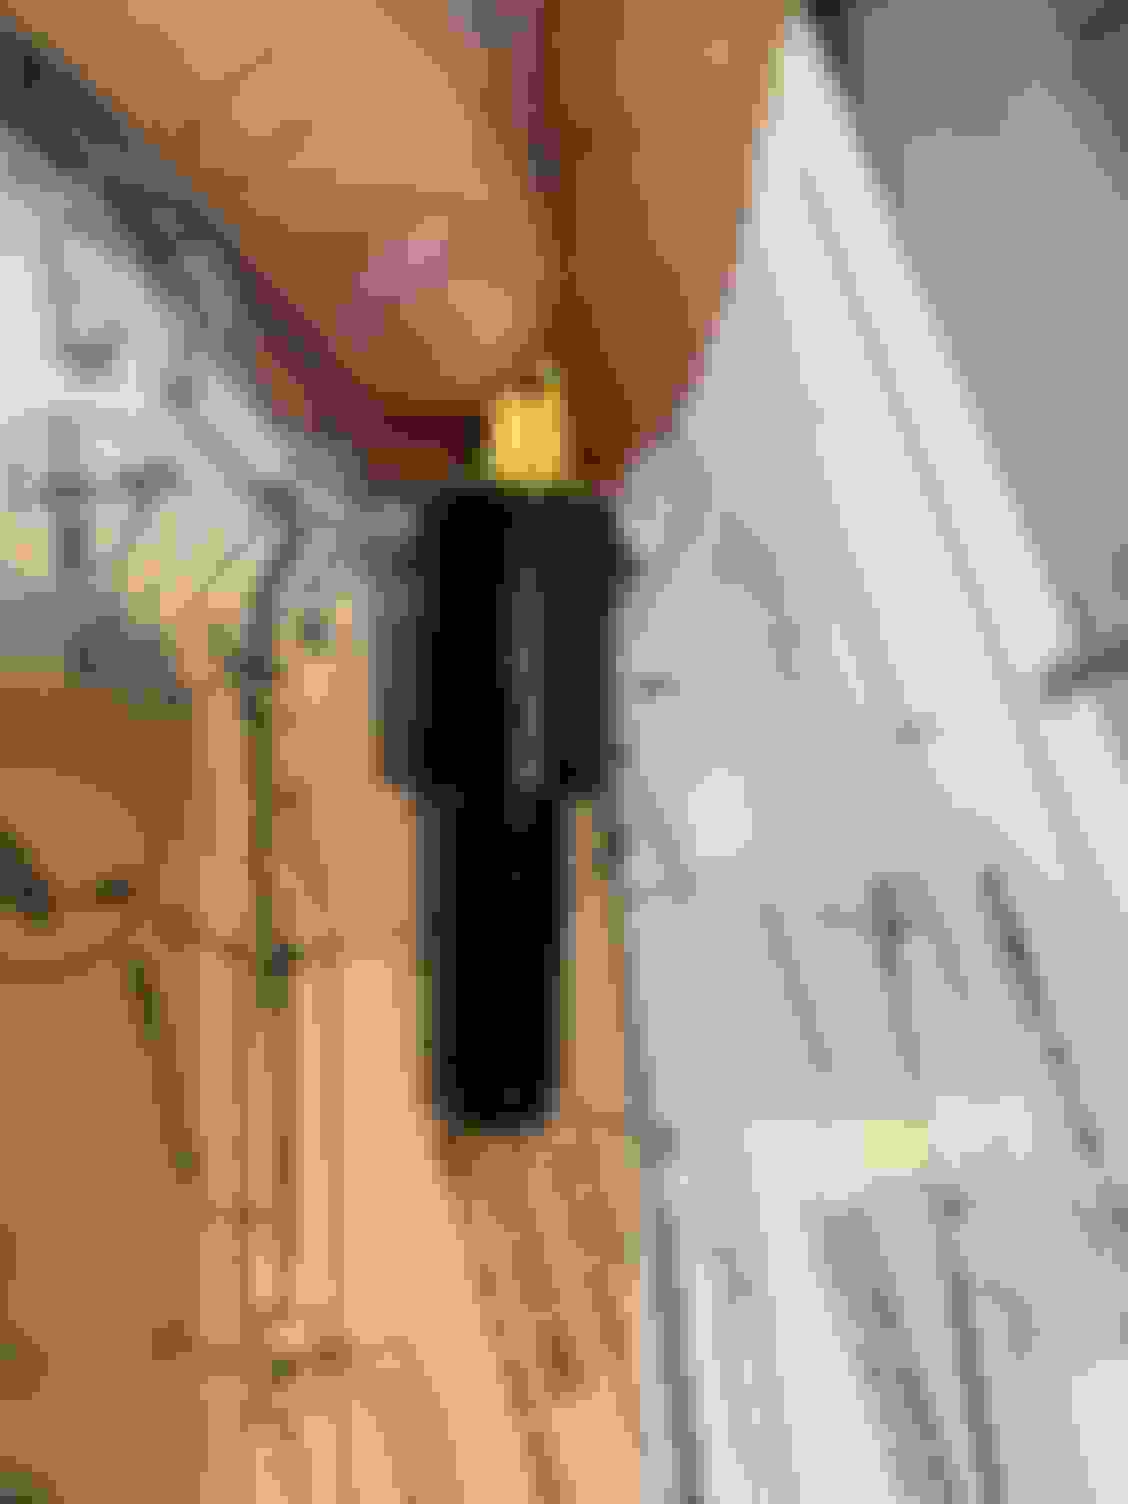
The other area of concern is the little black clip that wraps in to the harness under the dash. All the other clips were fine. This clip must have broken upon removal. Oops. I searched the usual parts sites and can�t find an exact match...anyone have a source?
Since I left the factory tape on the wires I didn�t have to worry about the tags. I gently wiped the tabs cleaned along with all the connectors so I should hopefully be ready to reinstall this weekend.
Socket needs more elbow grease.
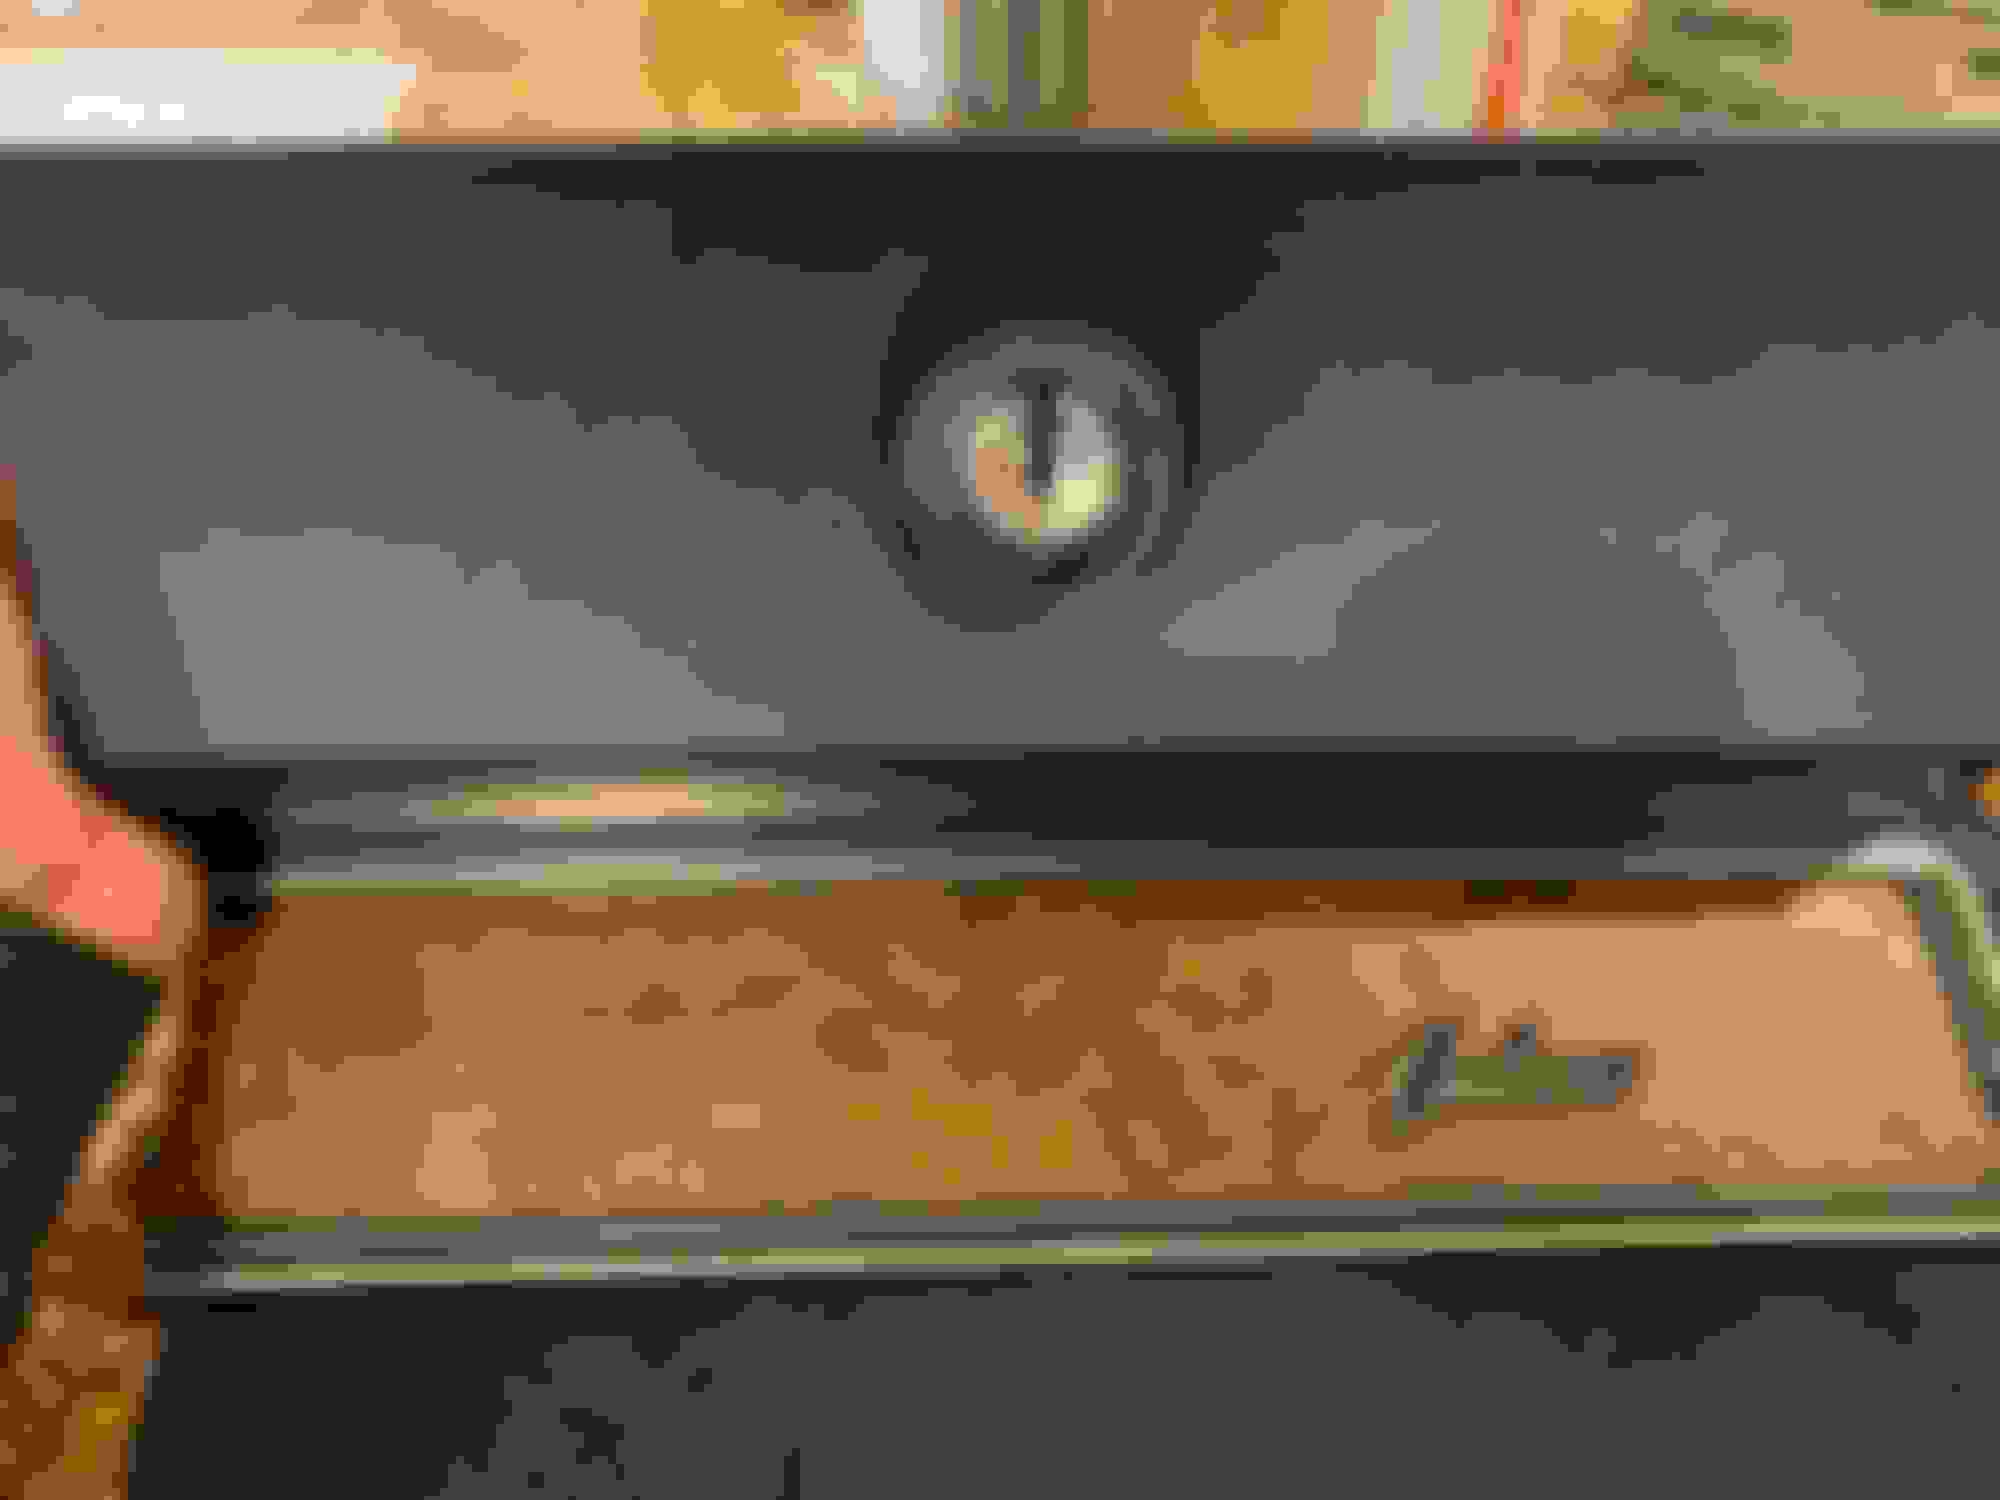
Part tags.
Here is the broken clip. The prong is the broken part. The picture below shows what a non-broken clip looks like. Where can I get a few more of these clips? You can see the clip has a slit on each side for the wires to tuck through.
There are a few of these clips throughout the harness. Anyone have a source?
Need the group�s collective help identifying a bag of �mystery interior screws.� I didn�t disassemble the inside so some of this is new to me...the one bag that was actually tagged just says mystery screws...go figure.
Looking at the pics, what could these screws before? I suspect they�re near the front of the car. Maybe the kick panels? I think the long one is for the steering column plate. The zinc plated screw I am guessing is maybe for the capacitor. Thoughts?
I think the four screws lined up are for the heater box. The two in the lower left...kick panels?
Tonight was all about getting the radio and gauges back in to the car. The last few days have been centered around detailing hardware and felt like I needed something a little more substantial.
Somehow my original radio bracket disappeared. Not sure if I misplaced it or if the radio repair shop didn’t send it back. Regardless, I picked up a bracket from Scott Winn, soaked the bracket in Evaporust and cleaned it up for the install. When installing the radio, don’t forget to put the nylon strap under the bracket. The PIM has a clear picture of the order. I had to phone a friend to get a tip on the antenna...for whatever reason, the antenna just didn’t want to go in. I needed to twist it a bit to get the right angle and it popped in.
Next, I moved on to the gauges. I am short three screws. I forgot that when I bought the car it had a Sun Tach wedged in where the clock goes. I suppose I could have installed the gauges on the bench, but I like being able to access the speedo cable from the other two cluster holes. I started with the speedo, then the fuel gauge, and finally the clock. I always get nervous about bending a pin so I installed the plugs from underneath so I could get a better grip.
I also installed the ***** on the wiper switch as well as the three ***** for the heater controls. This may just be the set of ***** I had, but the two ***** for the sliders are visually the same. When I installed one of them, it looked crooked, so I swapped it with the other **** and it fit much better.
The carpet is still just laying inside the car. Working in the car has actually helped form the carpet a bit. Once we get some warmer weather, I’ll roll the car outside and cut it in to place.
The e-brake went in this weekend as well. Reminder to trim the insulation as the aftermarket pad covers the area a bit. Without the trim, your e-brake mechanism won’t sit properly. I used the original two nuts that still had the sealant from the firewall. It would look silly to have nuts without the sealer, however, I know most restorations have the sealer removed when they refinish the firewall.
One more thing...I finished the harness. After I cleaned the black plastic that covers the middle portion of the wires, I hit it with a detailer spray, and then pushed the wires back in to the fold. I was also able to score a clip from a harness around the house so I swapped out the broken one for under the dash.
Rusty radio bracket before cleaning it.
Restored bracket and hardware.
At least the correct nut was still attached to the radio.
Factory harness was a bit messy.
Taking off the broken clip.
Detailed the wires.
Tried to get the plastic pieces back in their correct spots. The main plastic protector cleaned up better than imagined!
Hole in the radio for the antenna. Patience!
Gauges ready to go.
December 1969 dates on the boards.
Radio installed. Need to swap out the ash tray cover as it has a crack. Is there a way to separate the plastic from the metal backing plate without destroying the plastic nubs?
Gauges installed and hooked up. Need to procure three more tiny screws.
Last edited by WTHIRTY1; December 7th, 2020 at 07:00 AM.
Looking good. The cover has the plastic tabs melted after they go through the holes. Probably try to take a small soldering iron to release? IDK could be tricky
Looking good. The cover has the plastic tabs melted after they go through the holes. Probably try to take a small soldering iron to release? IDK could be tricky
I experimented with one door by just pulling the metal backing and the plastic nubs popped off. I'll try melting some plastic back on...may need to get the tweezers out and try to melt the original nubs back on. I just can't have that rusty metal underside visible every time that door opens.
If the black plastic nubs broke off the back of your cracked ashtray door you now have "donor" nubs that you can transfer onto an uncracked ashtray cover.
OR....you could try to carefully trim away the "melted over" parts of the nubs on your replacement door, remove the metal backer, do whatever you're going to do as far as refinishing to the metal backer, GLUE the metal backer onto the backside of the ashtray door, and then try to "melt over" the trimmed-down nubs again.
OR....make new nubs from the old ashtray door (cut and trim the black plastic to form these cylindrical "nubs") and GLUE them onto the backside of the donor door (Versa Chem Plastic Weld adhesive.....don't use an ordinary epoxy). Let the glue fully cure and then "melt over" the glued-on nubs.
What happens to these ashtray doors is the PLASTIC cover shrinks over time and butts up against the L or R edge of the metal backer. Plastic continues to shrink and eventually cracks vertically where that "collision" is taking place. If you're worried about another one cracking in the future you could create some additional space b/n the edges of the metal backer and the plastic door by filing down each end of the metal backer slightly (before refinishing).
In other words....how to invest 2 hours or more in your ashtray door
Looking good. The cover has the plastic tabs melted after they go through the holes. Probably try to take a small soldering iron to release? IDK could be tricky
Now that the gauges are in it was time to glue the factory metal backing woodgrain to the instrument cluster bezel. I used a 3M headliner adhesive and some crate and barrel container lids from my wife�s junk to get the glue nice and adhered around the holes. I�ll let it set overnight and see how it looks in the morning. I suspect I will need to take some 3M adhesive cleaner to a few areas to get any excess glue off.
I also didn�t like the look of the glovebox hook that the door patches to along with the hardware. I must have missed that hardware during dash prep. I took the tiny screws out, along with the metal plate and hook, and dropped them in Evaporust for a day or two. I�ll put them back in later in the week when I install the glovebox.
It does not look like much glue was used originally.
2 container lids, some glass bullshit my wife uses for Christmas bells, a few 2.5 lb weights, 4 clamps, and some fictional novels.
Follow up to the appliqu�. The process for securing the woodgrain actually worked. With that being said. I would give the Fusick plastic chrome bezel a 6 out of 10. The fitment in to the dash really sucks. The holes don�t line up. It�s too snug on each side of the dash. Once installed, it looks decent. I was afraid to crank down (or I guess up in this case) on the screws for the blue lenses. These seem to crack with minimal pressure from the single screw.
Deciding if I want to leave the original turn signal lever in place...
I would give the Fusick plastic chrome bezel a 6 out of 10. The fitment in to the dash really sucks.
The one I got from them fit perfect. There were many versions of the originals and the one I had matched one style of original perfectly. I wonder if you have an older repro from them? I know they updated the mold for this part at some point.
The one I got from them fit perfect. There were many versions of the originals and the one I had matched one style of original perfectly. I wonder if you have an older repro from them? I know they updated the mold for this part at some point.
I�ve heard that about Fusick making an update. I have probably had this one for a year and a half. It could also be an issue with the dash itself as there was a little bit of rub on each side of plastic dash area from the factory part. Hard to say.
Just looked thru you entire thread' What a great job! Wise decision to have Carshine Bob do your body/ paint- etc- He is a magician !!! Looks like you are almost done now!! Excellent!!
Pulled the carpet back out and installed the �Fisher Body� harness in to the clips and up under the dash.
Can someone please send me a picture of their factory wiring positioning under the dash for this harness? I know it clips to the holes.
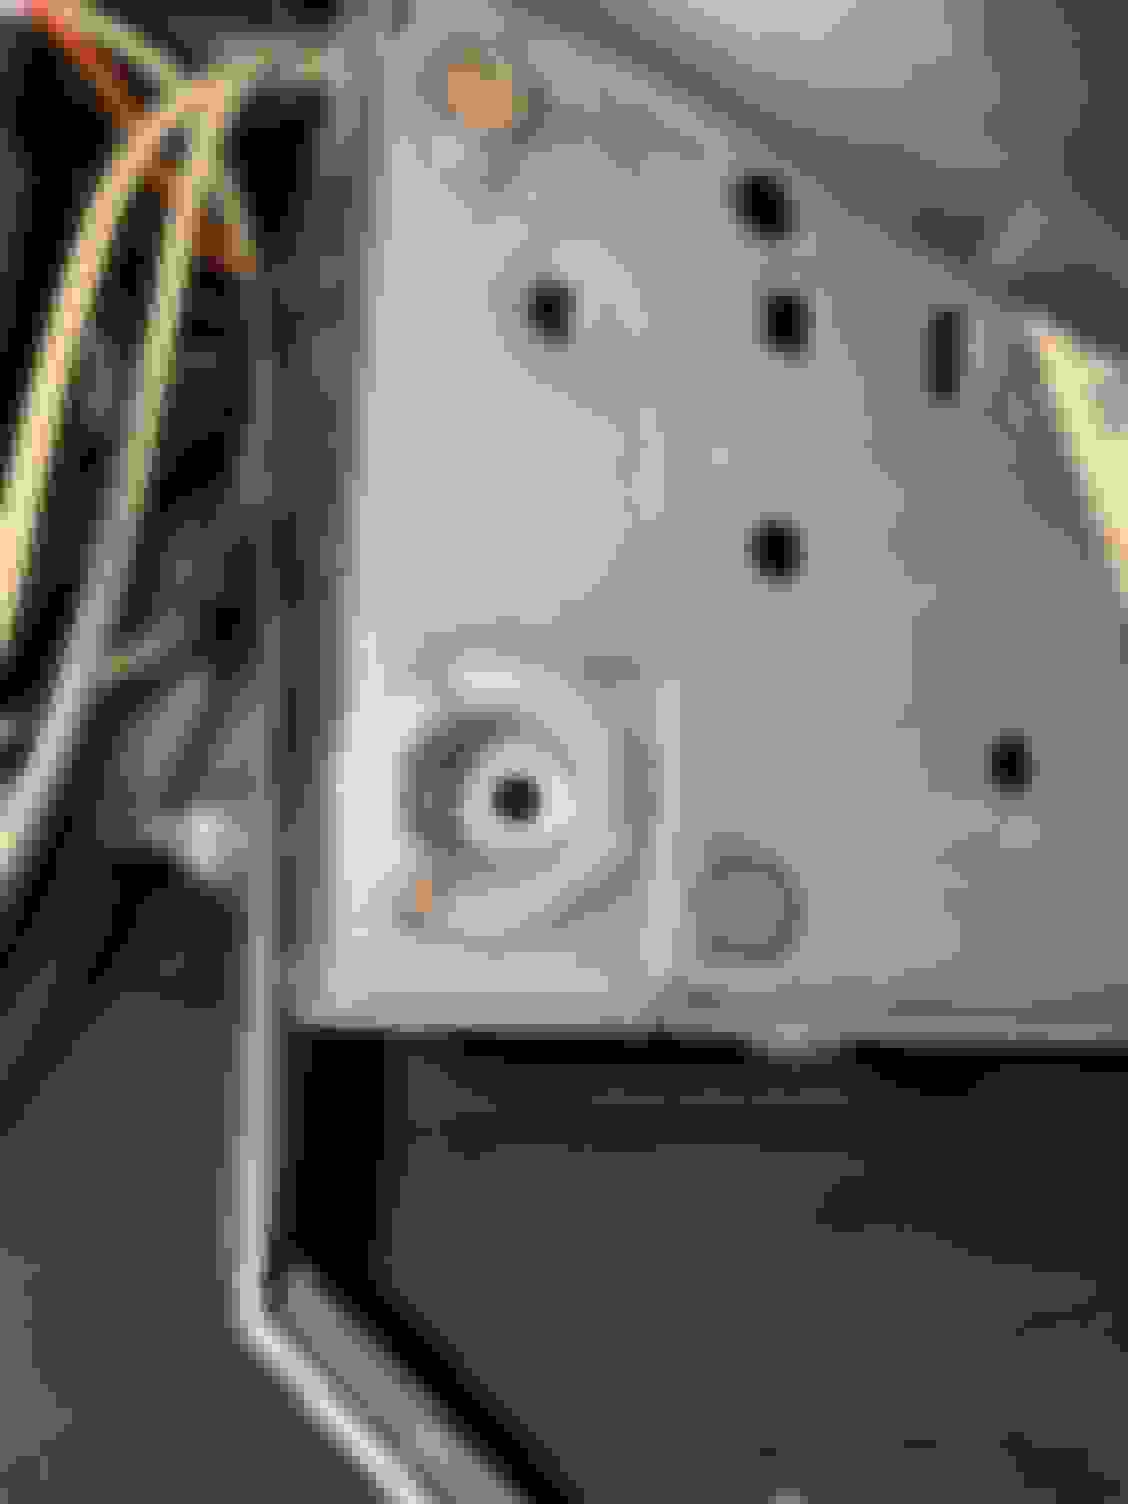
I located the tiny holes under the firewall pad for the two screws that hold the plastic �sleeve� for the harness. Anyone know what type of screws actually go in there?? I tried tugging the firewall pad plastic retainer out but it wouldn�t budge. I may just make a couple of cuts in to the firewall pad so I can roll the pad up to get the two screws installed for the harness. I think the pad should fold back in under the retainer, and I�m 99% certain the carpet guard will hide it anyways.
If anyone can share a picture of how the harnesses are positioned, I would really appreciate it.
Anyone know what type of screw holds the plastic sleeve in to these two tiny holes.
I think if I make cuts here, I should be able to fold the pad up towards the dash. Either that or keep tugging at the retainer that goes through to the firewall. Even then, I think I still need at least one cut to get the upper hole.
Spent a LOT of time on my back detailing the under dash area. I still need to add the clip to the kickdown and the nuts to hold the cables.
Last edited by WTHIRTY1; December 10th, 2020 at 06:55 AM.
For the "plastic sleeve" - attachment should be w/ a couple #8 x 1/2 sheet metal thread hex washer head screws (ie - same screw head style as used for the two hex washer screws attaching your fuse box to the firewall...but smaller size).
Note: I'm referring to the black plastic sleeve shown in Scrappie's pics in posting #872 above....the "sleeve" that mounts to the R of the fuse box.
Last edited by 70Post; December 9th, 2020 at 08:17 PM.
For the "plastic sleeve" - attachment should be w/ a couple #8 x 1/2 sheet metal thread hex washer head screws (ie - same screw head style as used for the two hex washer screws attaching your fuse box to the firewall...but smaller size).
Note: I'm referring to the black plastic sleeve shown in Scrappie's pics in posting #872 above....the "sleeve" that mounts to the R of the fuse box.
Thanks for the quick reply. For this, right?
The holes in the firewall look really small but you can see the outline of the head on the plastic which looks aligned to the size you described.
Yes - that's the "plastic sleeve" I'm referring to....going through the same thing myself on the car I have here now. Firewall pad was installed before it got here so I'm in the same situation. On top of that I'm dealing with the power window harness but I think I've got that figured out thanks to some great pics (from a very helpful member) answering my question on a thread I posted in another section of this site ("Electrical").
I saw your inquiries a few days ago regarding that "sleeve" and knew I was in for the same "problem" so I've been trying to figure out where all that was originally attached as well as how it was attached.
I’ve been following this thread and referenced it a few times in my own build. You do great work with an excellent eye for detail. For the gauge bezel, I can’t remember who I bought mine from but it was several years ago but it looks like you were having the same issue I had. In one of your pictures it looks like the bezel is not fully seated on the bottom. I tried cranking the lower screws down to pull it down more and I cracked my blue lenses. I was able to get mine to fit better by filing off the plating on the standoffs on the bottom. I may have also shortened them slightly until I got them to fully seat.
Last edited by 4speed455; December 9th, 2020 at 10:03 PM.
I�ve been following this thread and referenced it a few times in my own build. You do great work with an excellent eye for detail. For the gauge bezel, I can�t remember who I bought mine from but it was several years ago but it looks like you were having the same issue I had. In one of your pictures it looks like the bezel is not fully seated on the bottom. I tried cranking the lower screws down to pull it down more and I cracked my blue lenses. I was able to get mine to fit better by filing off the plating on the standoffs on the bottom. I may have also shortened them slightly until I got them to fully seat.
Thanks for the note. It�s definitely something I need to look at more closely. I�m searching for a shop to redo the vacuum chrome on my original.
Yes - that's the "plastic sleeve" I'm referring to....going through the same thing myself on the car I have here now. Firewall pad was installed before it got here so I'm in the same situation. On top of that I'm dealing with the power window harness but I think I've got that figured out thanks to some great pics (from a very helpful member) answering my question on a thread I posted in another section of this site ("Electrical").
I saw your inquiries a few days ago regarding that "sleeve" and knew I was in for the same "problem" so I've been trying to figure out where all that was originally attached as well as how it was attached.
I found a picture from one of my other cars that shows the screws for the plastic sleeve through the firewall (at least I think it�s them). I will do some homework based on what Patton said, and see if I can�t find a match out of all the AMK hardware I�ve acquired. Thanks!
I took a shot of the screws coming through the firewall, and they are the same as yours - but one above and one below the fuse box. I couldn�t see the heads from the inside of the car
on the inside you can see the plastic sleeve goes behind the insulation. Can you remove the insulation retainer to give yourself some space?
I ended up making two cuts in the insulation pad at the plastic retainer. By doing this, I was able to pull the pad up towards the dash and install the plastic sleeve. This should have been done before the pad and fuse panel were installed because it�s a pain in the *** trying to do this after the fact. The top screw for the sleeve was next to impossible with the padding up there. I put a tiny bit of glue back on the pad, and you can�t even tell I made the cuts. And most of it actually gets covered by the carpet guard.
Finished up a few other things tonight, too. Installed the NOS dimmer switch, connected the wire harness to the hole in the dash, and detailed more wires under the dash.
Finally, I positioned the carpet in to its final place for final cuts. I also tried emptying out the tote of hardware so like always I mounted as much as I could in advance just to make sure nothing is missing. Tonight I tossed the seat hardware back on to help with the carpet slicing. This is the original seat hardware that has been replated.
Here are the cuts. Even if I had pushed the retainer out, I wouldn�t have been able to pull the pad up high enough.
The pad when pulled down covers the plastic sleeve.
Restored factory seat hardware.
Wire harness in place. I also pulled the brake switch bracket off to let it soak in Evaporust after I snapped this picture.
Last edited by WTHIRTY1; December 10th, 2020 at 09:17 PM.
The car looks amazing for a 50 yr old. I think when someone sees it initially, they will be impressed. Once they get a closer look I believe they will be amazed with the attention and the level of detail that not many people restoring cars spend that kind of time and effort on. You have really set the bar with restoring a vehicle to as close as it could be to original condition. Well done!
Personally I can appreciate the time and effort to do so along with this resto being an invaluable reference for me and many others. Thx for taking the time posting this whole thread.
What are you gonna do with all your free time when this is done?.........................
Last edited by scrappie; December 11th, 2020 at 02:03 PM.
The car looks amazing for a 50 yr old. I think when someone sees it initially, they will be impressed. Once they get a closer look I believe they will be amazed with the attention and the level of detail that not many people restoring cars spend that kind of time and effort on. You have really set the bar with restoring a vehicle to as close as it could be to original condition. Well done!
Personally I can appreciate the time and effort to do so along with this resto being an invaluable reference for me and many others. Thx for taking the time posting this whole thread.
What are you gonna do with all your free time when this is done?.........................
Originally Posted by stlbluesbrother
Car looks dynamite in the natural light!
Appreciate the love, Paul and Mike. It has been fun sharing the journey and seeing the work you guys have also been putting in on your �70�s.
Tonight was going to be a quick glove box liner install that turned in to a much longer install. Note number 1: make sure you remove the two screws for the hinge so you can get any remnants of the old liner out! Also, get comfortable knowing that if you have a two piece stereo unit, the fins on the stereo will f*ck up the top of the liner! It�s inevitable! I ended up folding each side flap in and then compressing them with the top of the liner. I installed the entire from my back while still keeping the sides and top compressed until it was shoved upwards in to the dash. The two screws on the RH side go in to the dash, the top part of the liner sits behind the metal as does the LH side. Also check that the two screws go in for the hinge without issue. My hinge was corroded so it�s bathing in Evaporust overnight. We will see how it looks in the morning, however, I suspect it�ll need paint.
Minor items tonight included installing the clip for the kickdown. I went off where the factory put the clip, and I�ll follow the PIM instructions when I am able to floor it. I also did more detailing of the plastic vents under the dash as well as detail the wires for the dimmer switch which went in yesterday. Finally, I wrapped with trying to get as much dust and junk out of the little crevices of the fuse panel.
This is what blocked me on the liner. The hinge hasn�t been out so the old liner must have just been torn out. Oops.
Last week I posted a picture of this area with rusty hardware; everything has been cleaned up now.
Pedal area. Pedals are covered with painters tape in the off chance someone tries to step on it with a muddy shoe.
NOS 1997037 dimmer. Thanks to @costpenn for educating me on how to spot an aftermarket or later NOS dimmer.
Finished up the glove box liner last night. I
let the hinge soak overnight in Evaporust to remove the surface rust. Pulled it out this morning, washed it, and greased the hinge with white lithium. The original black paint looked great so I left it as is. Not the easiest putting the two screws in for the inside of the hinge! I dunno how scientific this is, but I left the two screws loose along with the five screws to the back of the glove box so I could calibrate the alignment. I put two pieces of tape to protect the paint on the metal dash. Once I had a position I liked, I slowly lowered the door and tightened the two hinge screws first, refit it, and then worked my way up to the two screws for the arm. (Side note: I removed the rubber for the arm, pushed the arm through from the front, and reinstalled the rubber bumper from the underside of the dash).
I went through maybe three or four iterations of alignment and finally settled with this. I wanted the silver of the dash to be aligned and most importantly I wanted the woodgrain to be flush. I see too many cars where the glove box door is not flush.
Tomorrow I will install the brake parts, brake switch, bracket, and clip. These parts flash rusted in my house at 68 degree temps in under 5 months. I cleaned them up with the steel wool and soaked them with T-9 to provide some protection. The bare metal under the dash seems to flash rust regardless of what you do.
Factory glove box hinge.
Installed the lock today, put the emblem back, and reinstalled the plastic back.
Up close of the lock ****. Complete pain in the *** masking this for paint but pleased with how it turned out.
Brake parts ready to go for tomorrow.
Flush woodgrain between the main dash and the door.
That looks to be the best its gonna get. Worth taking the time aligning the door. Looking at my original dash it has the paint worn off from opening and closing where the door rubbed the metal dash. Dash looks mint.
Installed the brake switch bracket and screw, tightened the brake pedal arm, and slipped the clevis in through the firewall and pinned it to the brake arm. I had to order a new retainer for the pin as the original one is too far bent�good news is that GM still carries the retainer.
As I was putting the master cylinder back on the firewall, I started thinking about the four nuts that are used in that area. There are two nuts that hold the MC to the firewall (and prop valve) and the two nuts that secure the dash mounting plate to the firewall. I vaguely recall a source mentioning that the MC nuts would be a clear zinc while the other two nuts were phosphate. It was too hard to decipher during the tear down from all the brake fluid and corrosion. I have seen power boosters use the clear zinc nuts. What has this group seen? The PIM calls out nut 1361640 used in all four locations.
I had ordered an NOS brake switch but decided to reuse the factory switch. You can see there are a couple slight differences. I found it pretty cool how you push the body of the switch as far forward against the clip and then pull the brake arm back to set the switch. Such a simple design.
Clevis and Rod installed. This was my first time doing this. The clevis goes through the firewall so the rubber boot�s metal lip sits on the other side of the firewall. I used 0000 steel wool to clean the pin.
NOS switch on the left and factory switch on the right.
Here�s the PIM page calling out the nuts. So, would the two nuts for the MC to firewall be a clear zinc / cad or a phosphate finish?
Last edited by WTHIRTY1; December 21st, 2020 at 08:35 AM.
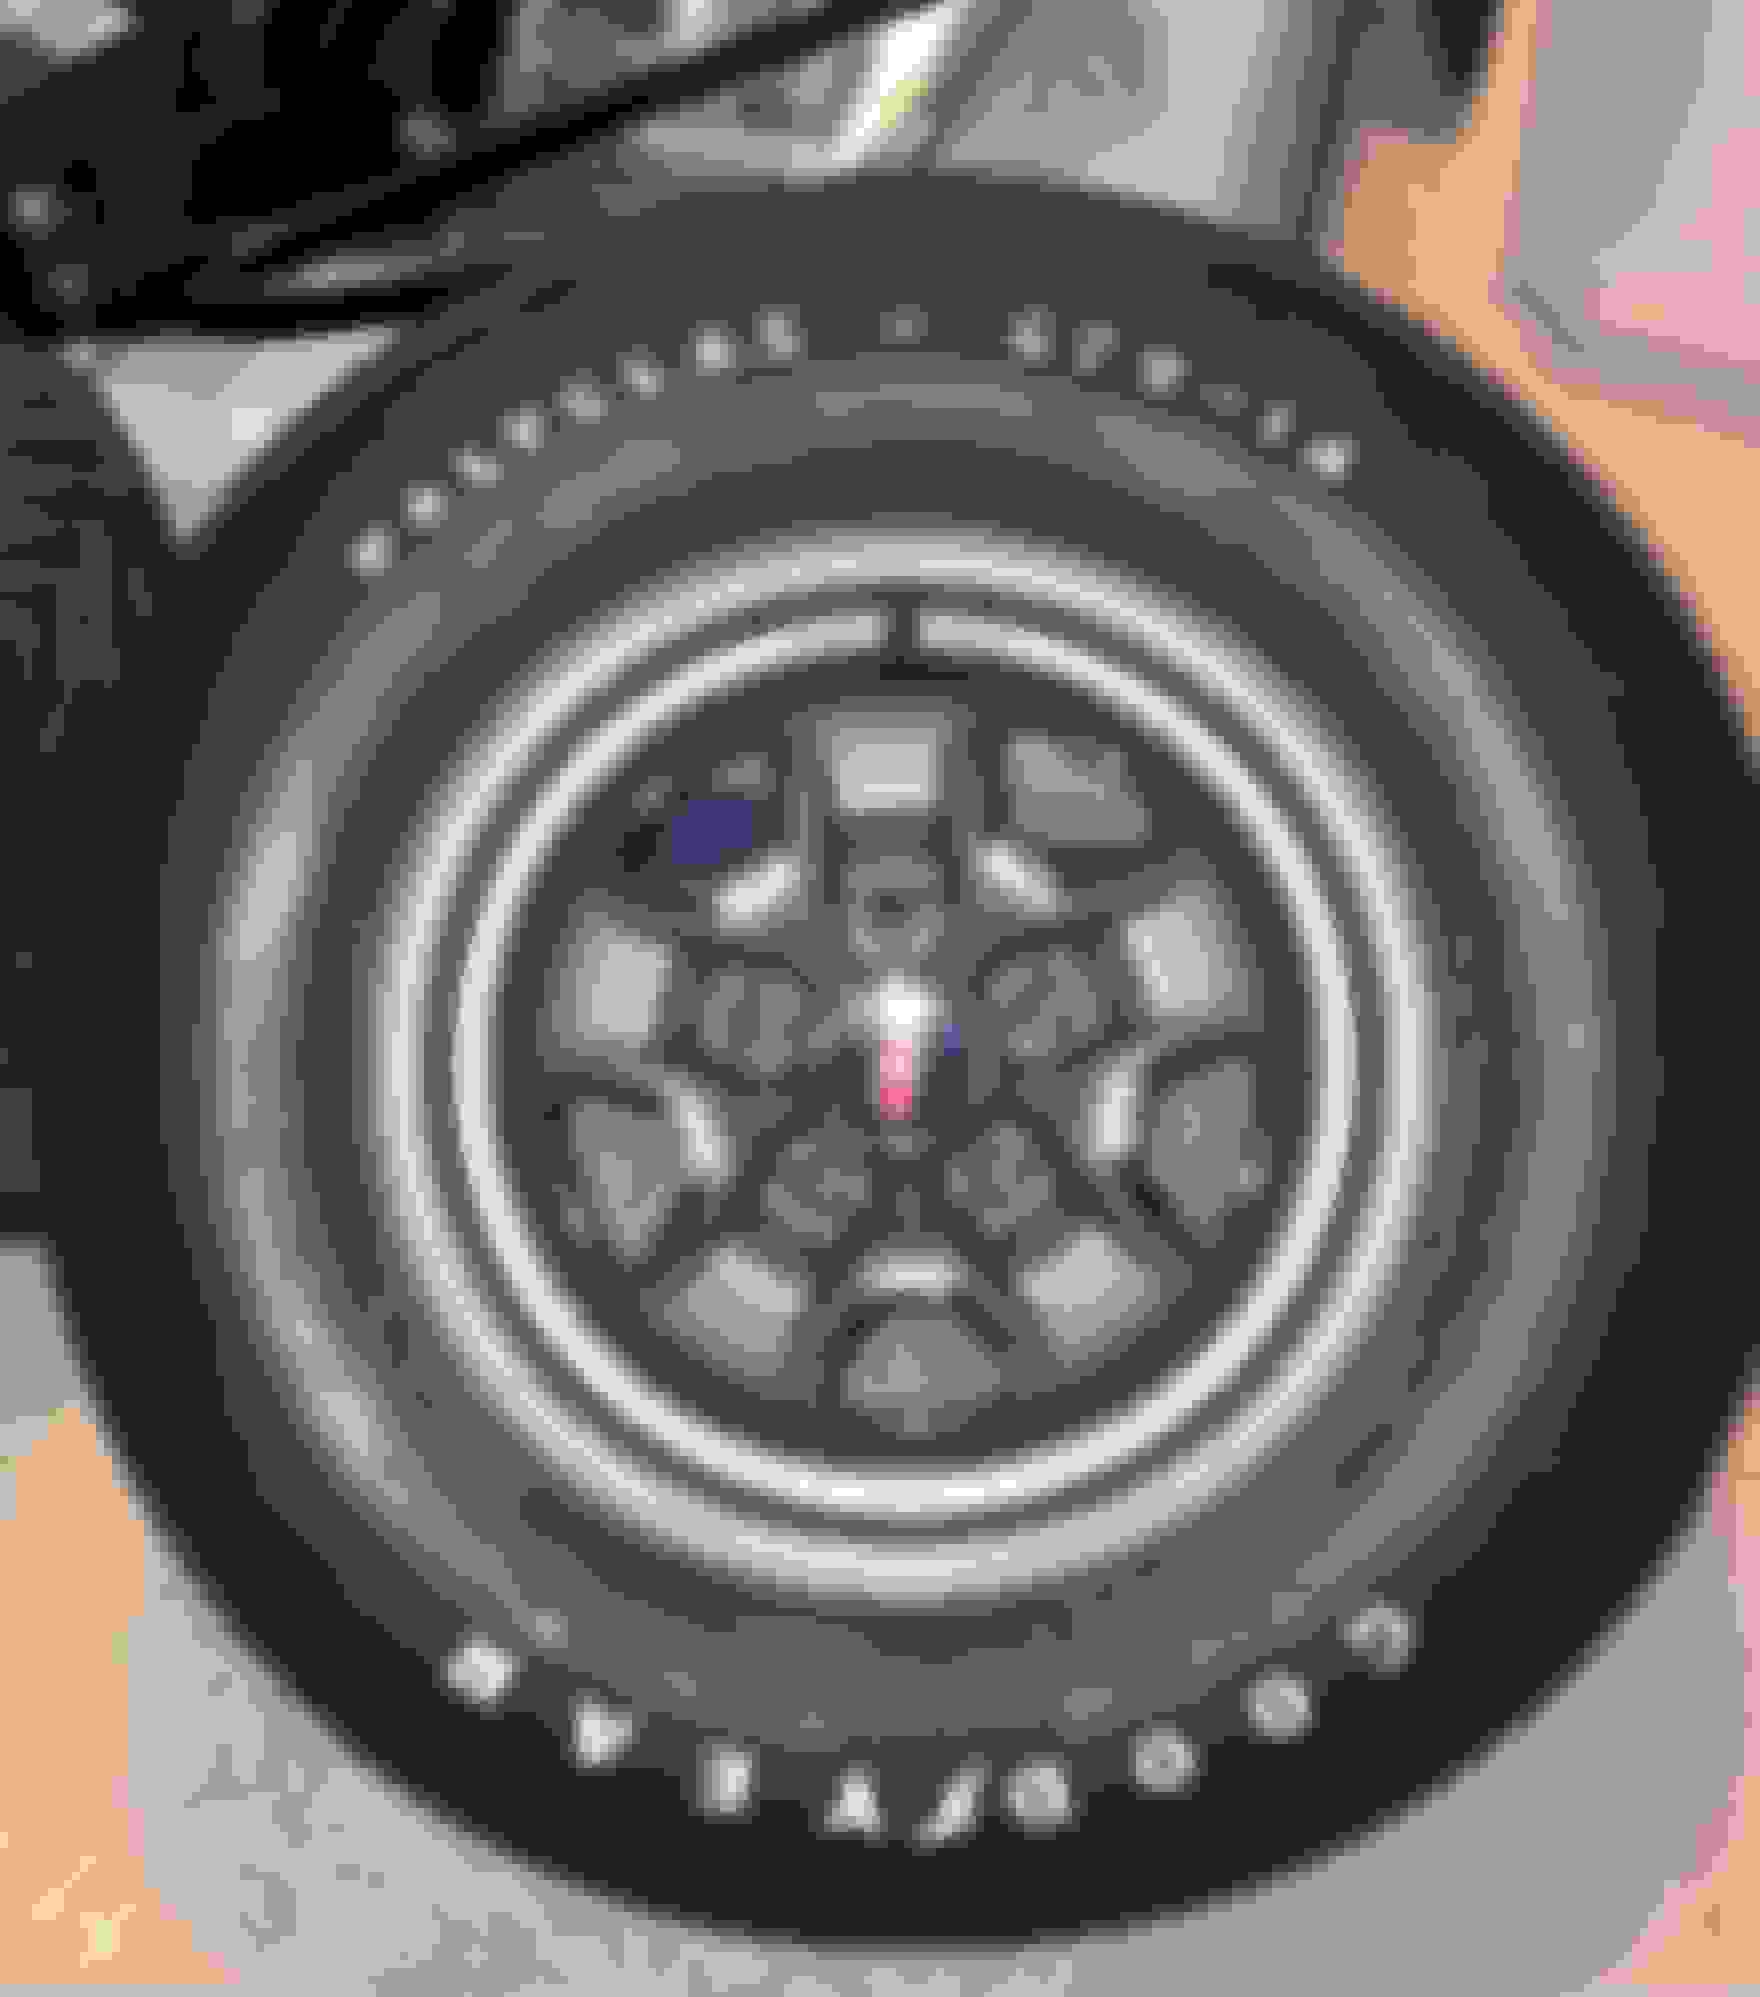
In an effort to get parts out of the house, I worked a bit on the spare tire last night. This is what I believe to be the original Polyglas spare (you can tell and original versus the repop a few different ways�one of which is the ridged line as the first �tread� on the sidewalk). I had all the original bezels professionally polished. The inside of the bezel was not polished. I used NOS center caps that have the raised rockets but no ribbed red part. I need to decide what I want to do with these. I have the Thornton decal that has raised and ribbed rockets, but the decals just look c
�cheap� when installed. For now, these caps will suffice. NOS valve stems, too. I still need to put the blue on the letters, but I can do that while it�s in the trunk.
If anyone has an NOS SS2 cap with raised AND ribbed red rockets, I would love to see how they look!
Last edited by WTHIRTY1; December 21st, 2020 at 08:34 AM.
With all the Christmas packages being delivered I figured this afternoon�s delivery was just more junk. I was wrong. Legendary finally finished my custom package tray! I had ordered this back in August and four months to the day it arrived.
Custom blue to match the original package tray along with a few other customizations at my request. This is the piece I have been waiting for to get the back half of the interior finished.
Last edited by WTHIRTY1; December 21st, 2020 at 08:33 AM.
I've done a lot of these Jimmy, but I haven't done one for a long time. I thought there was like a 1/8"? 1/4"? foam strip sewn lengthwise under the vinyl that made it kind of self-adjusting. I think I've only used PUI or REM before, though.

 November 28th, 2020, 08:25 PM