When you click on links to various merchants on this site and make a purchase, this can result in this site earning a commission. Affiliate programs and affiliations include, but are not limited to, the eBay Partner Network.
I would try reinforcing the top part of rail with a length of metal to double it up and use C clamps to secure the metal to stiffen it. I would then get the spreader in there with padding of some sort and see if the lower portion gives before the top and slowly see if that works.
That would also be easy work for someone who had a frame machine if that doesn't work.
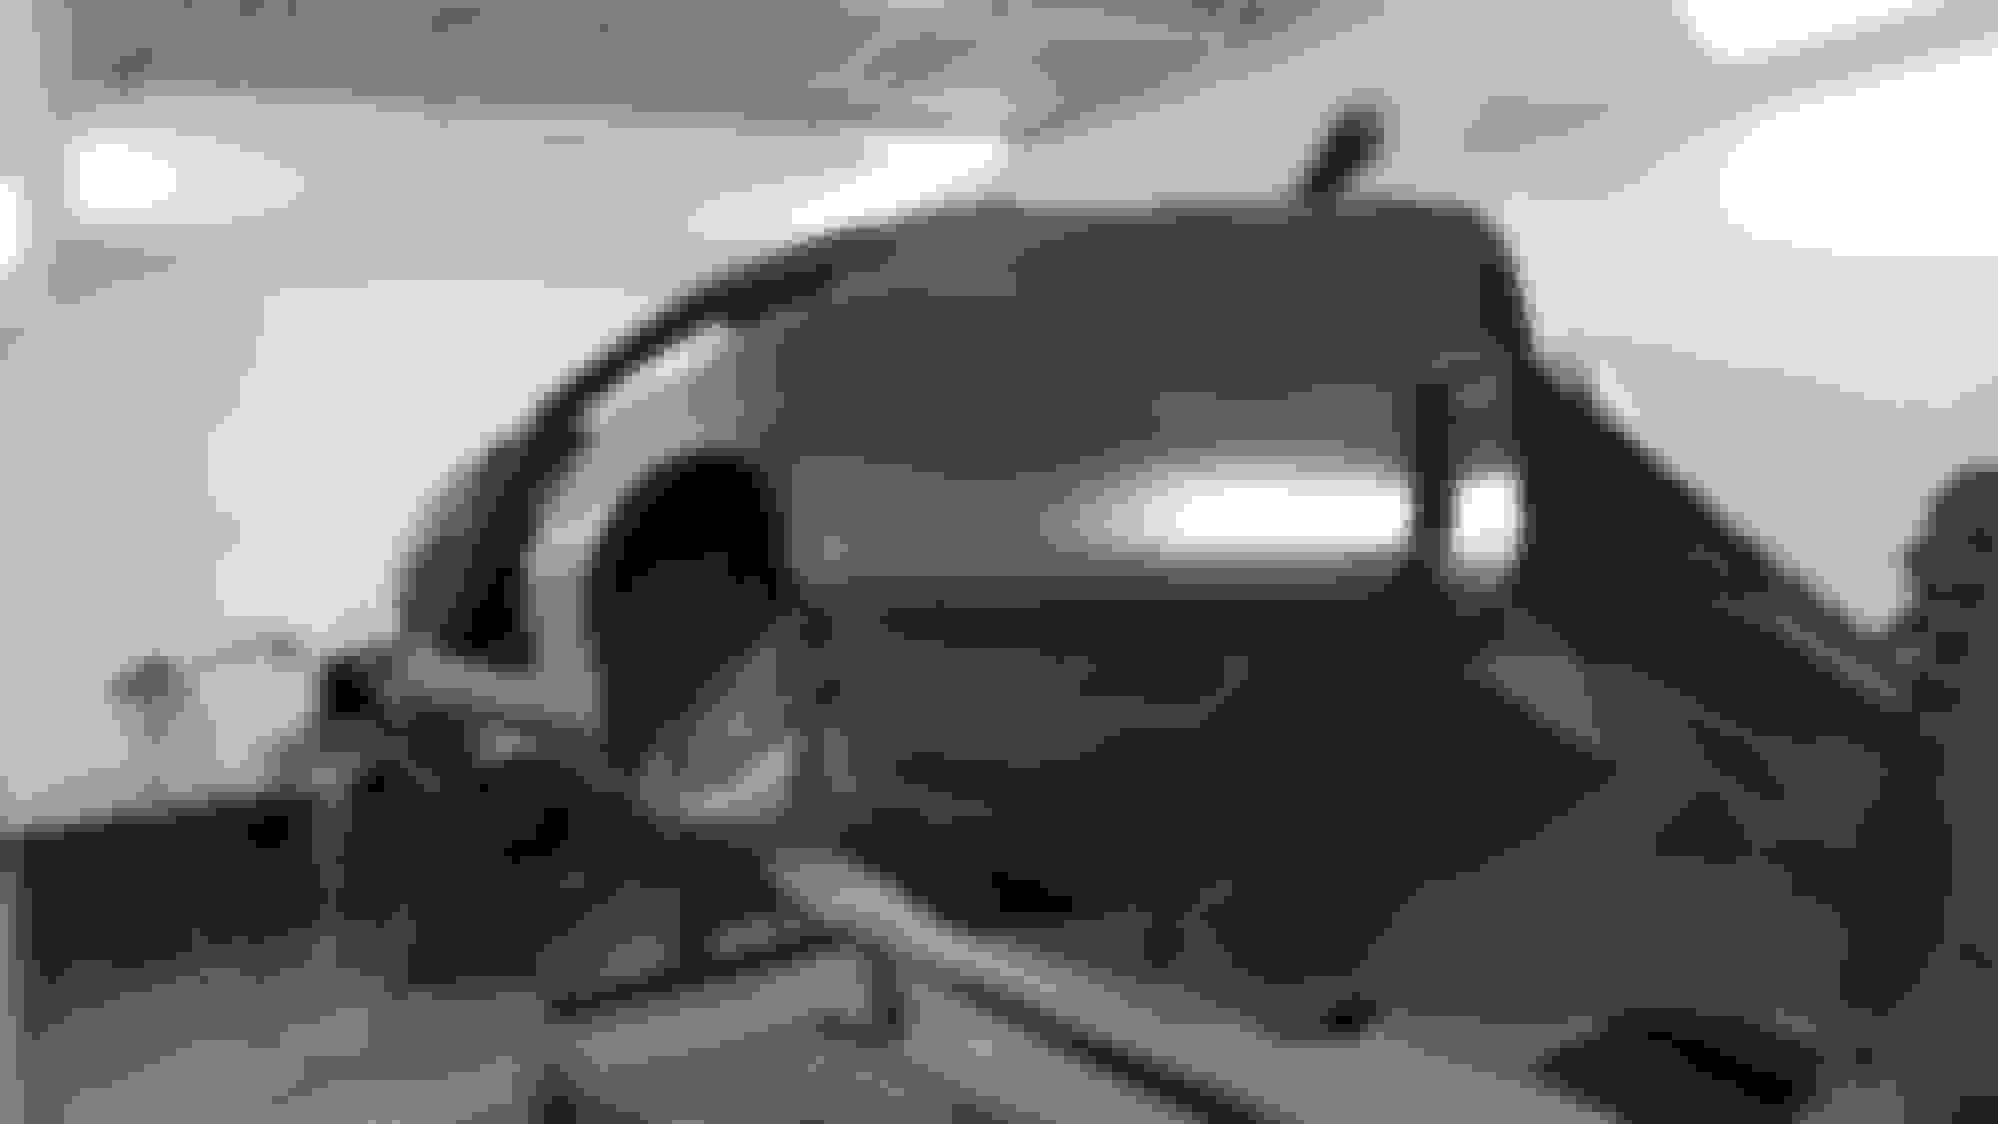
Frame has been completely stripped. In a strange way I’m glad to be starting this over again. The pitted powder finish would have driven me insane! I also have learned a lot more in the year that I initially put the chassis back together so there are a few things I look to correct.
I started sanding a few areas with 120 by hand just to see how it would turn out. The plan is to use the DA with 120 and then build it up with some filler. I’m definitely a novice when it comes to this so we’ll see how it goes! The weather in Chicago this week is supposed to be high 50’s which will help.
I’m going to re-bend the frame Monday.
A few updates from the body shop. Color soon...which means I need to get moving on the chassis!
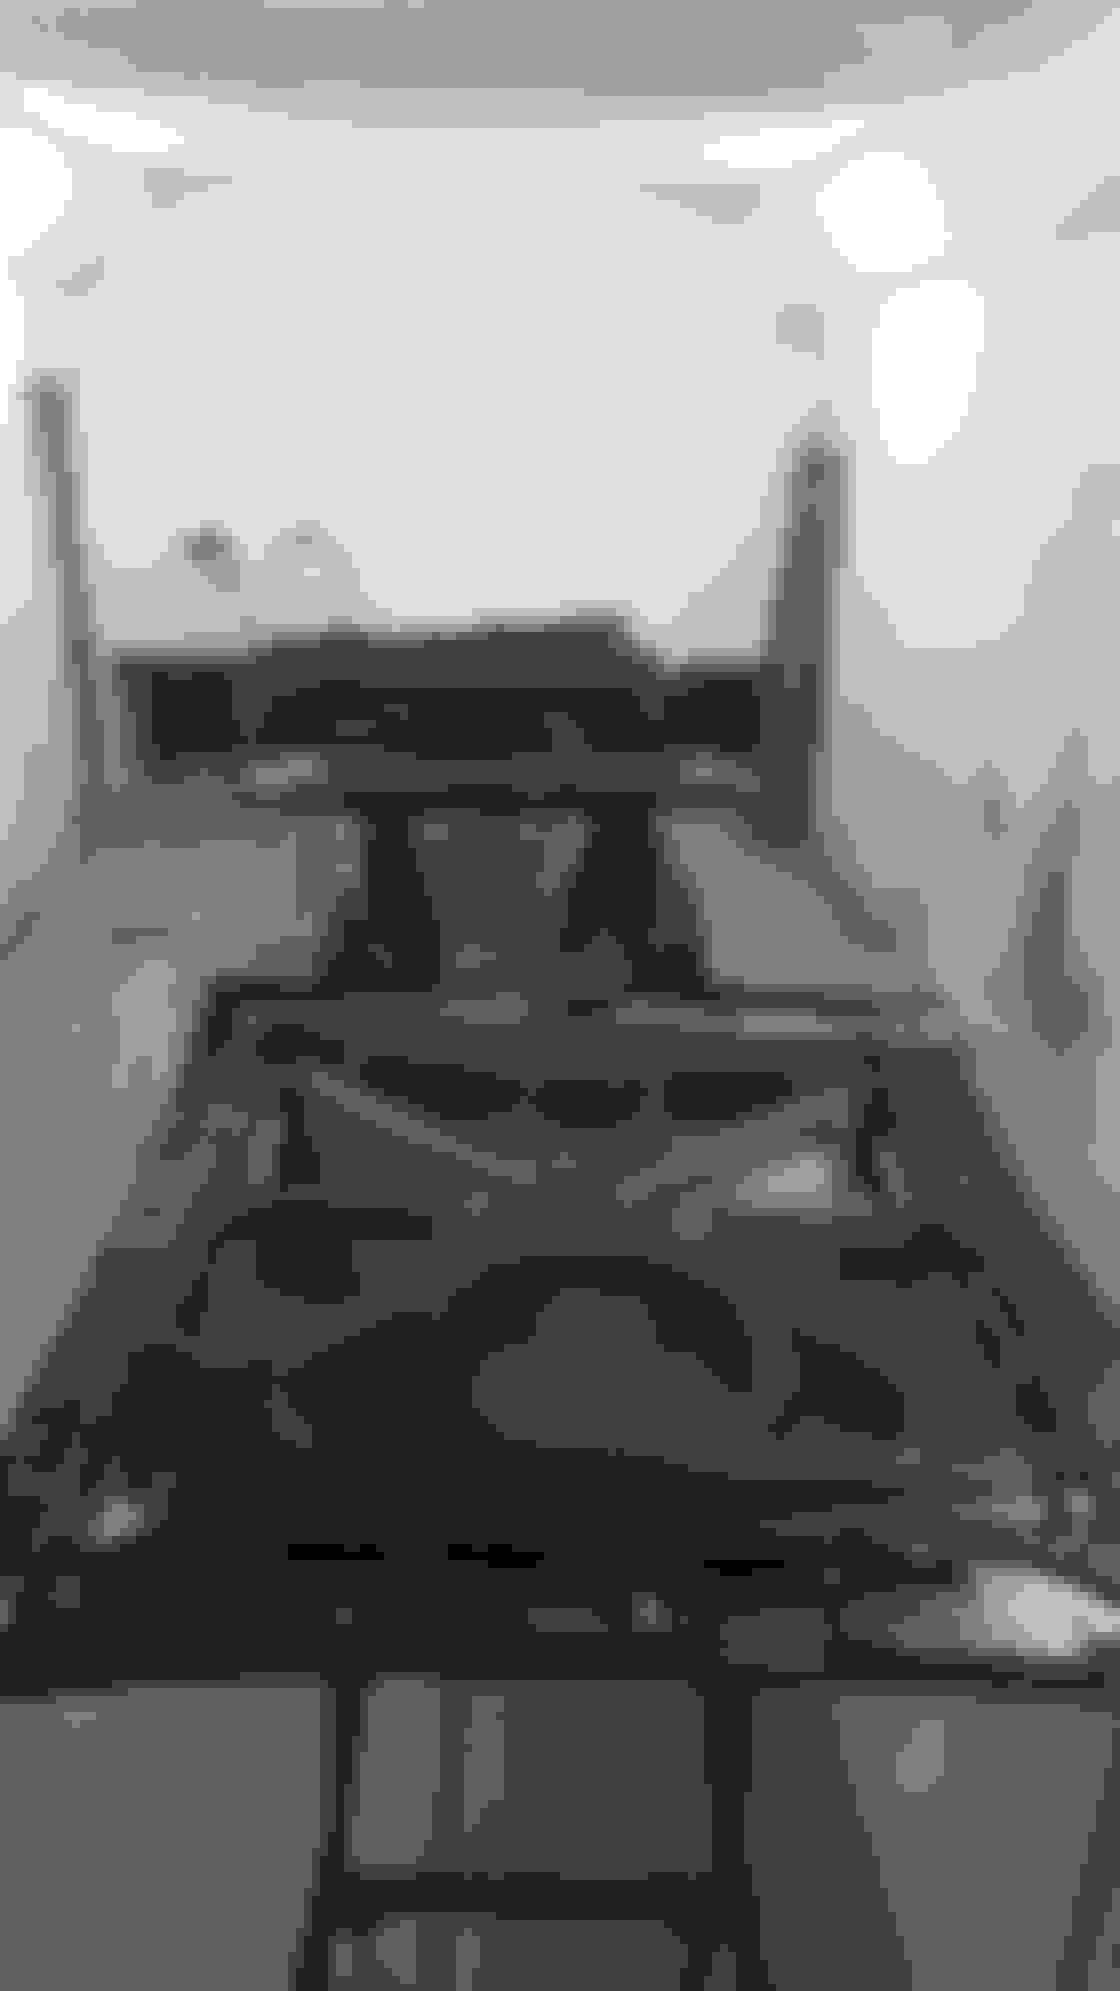
Frame 2.0.
Rear end needs some cleanup. Need to put the white cap on the vent. Also thinking of shooting black paint over the brake lines since that’s how my originals were done.
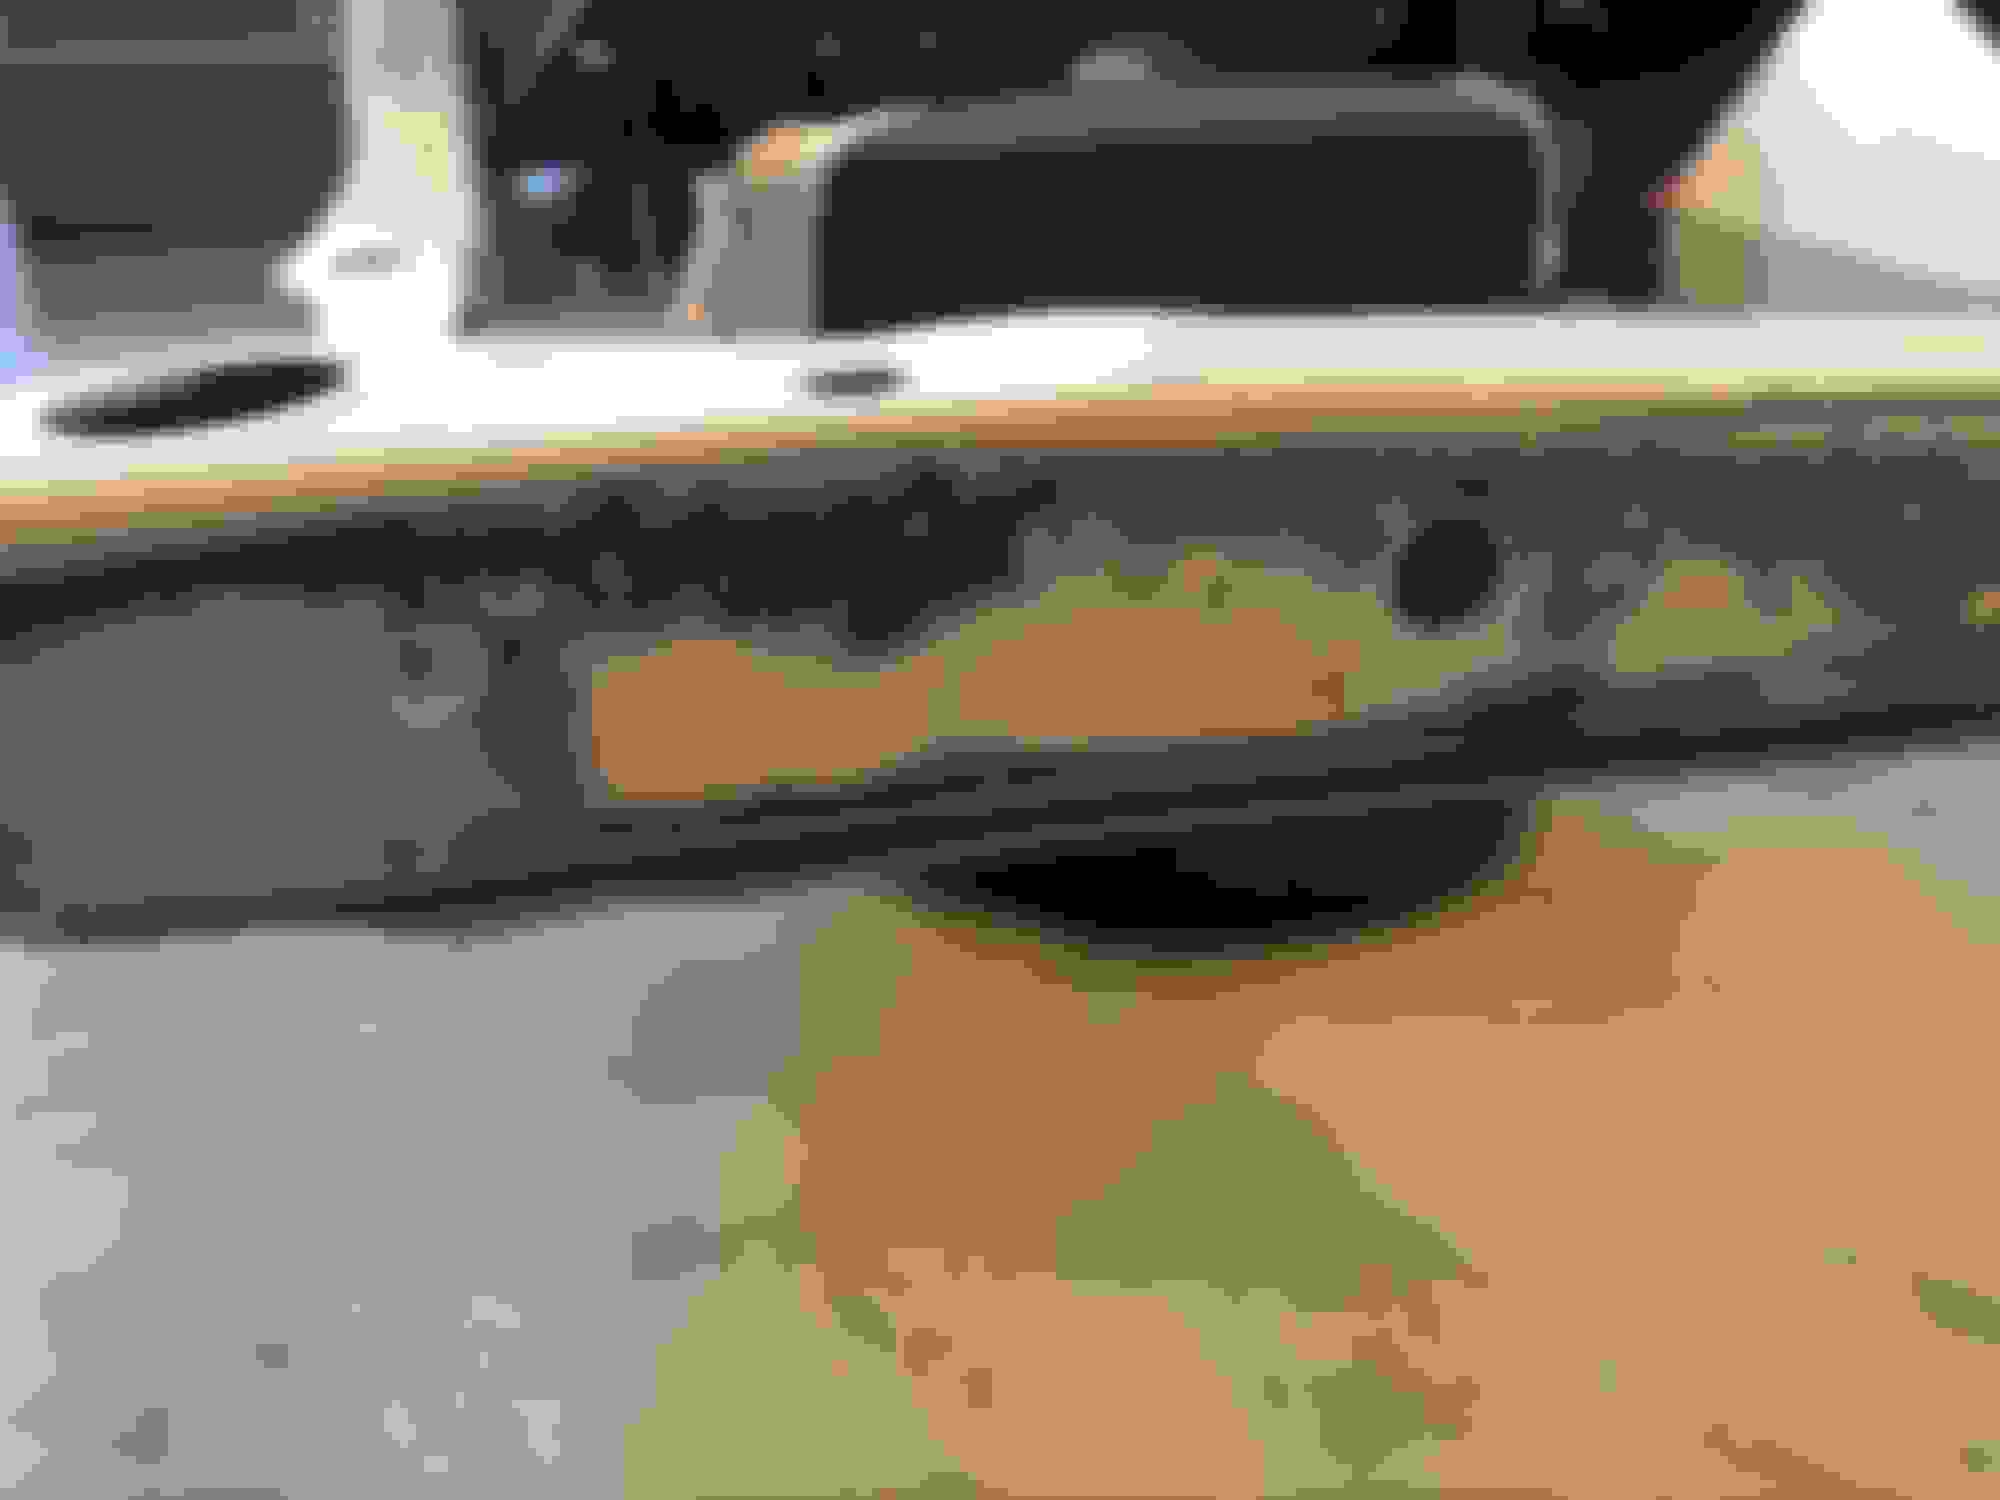
You can see from this pic just how bad the pitting is. Do NOT restore a Midwest car!
Last edited by WTHIRTY1; Jan 28, 2020 at 01:10 PM.
Still working on the frame. Sanded the pitted areas with 120. Scuffed the other areas to get primer to stick. About to hit the “rough spots” with some high build primer from SEM later today. Talk about a tedious process! All the hardware that was removed from the roller was sent to my plater before the holidays and should be coming back like new soon.
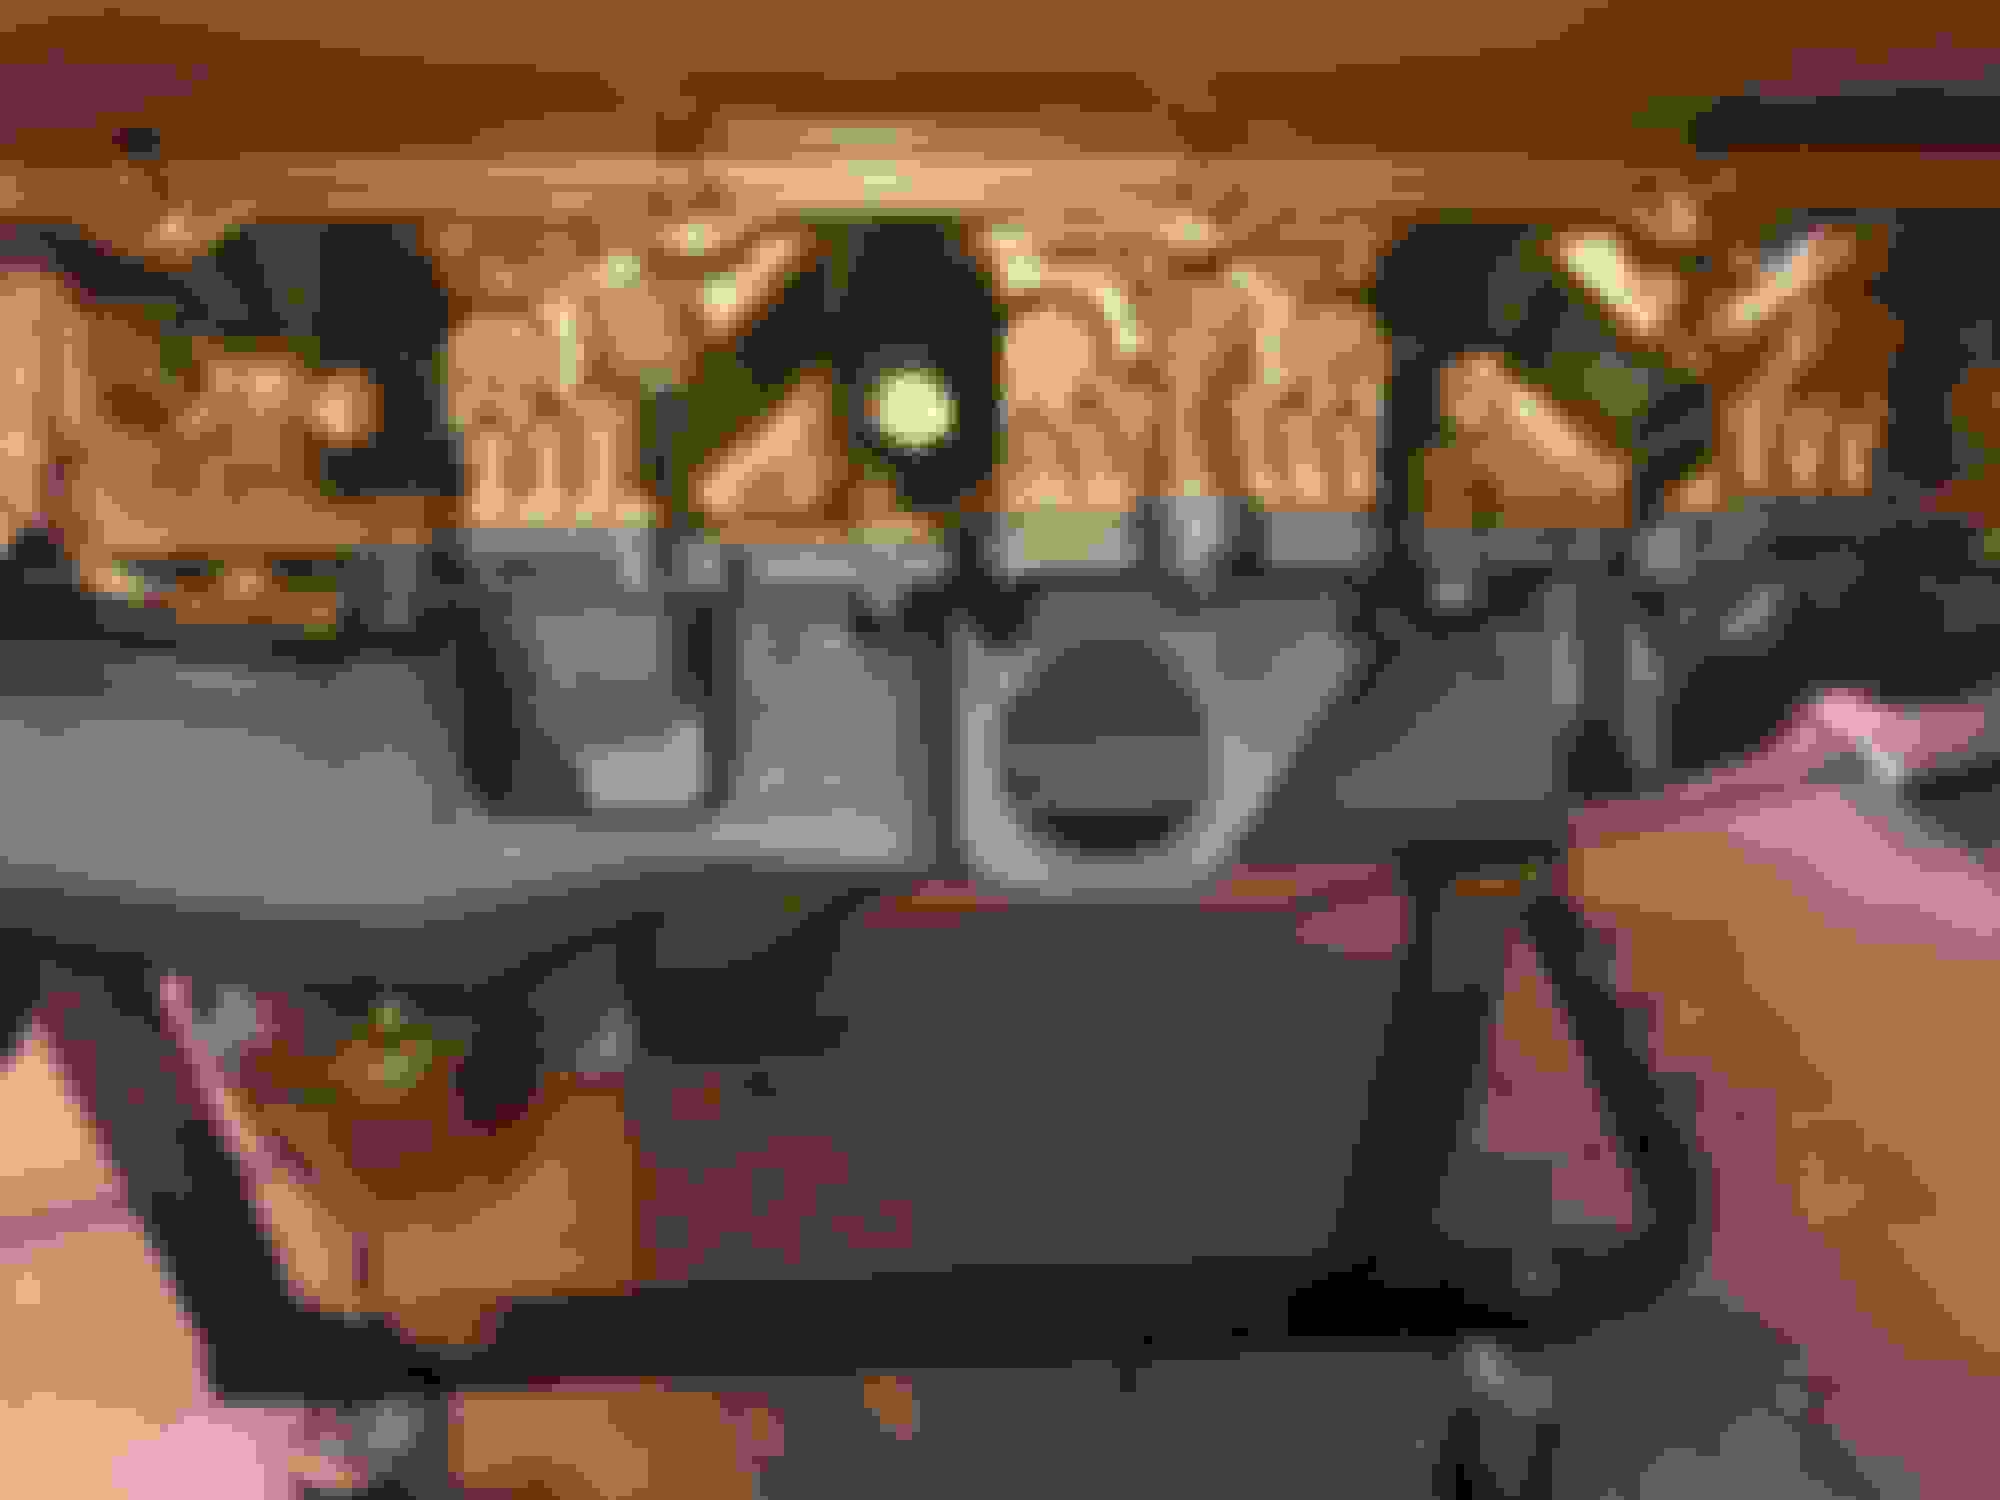
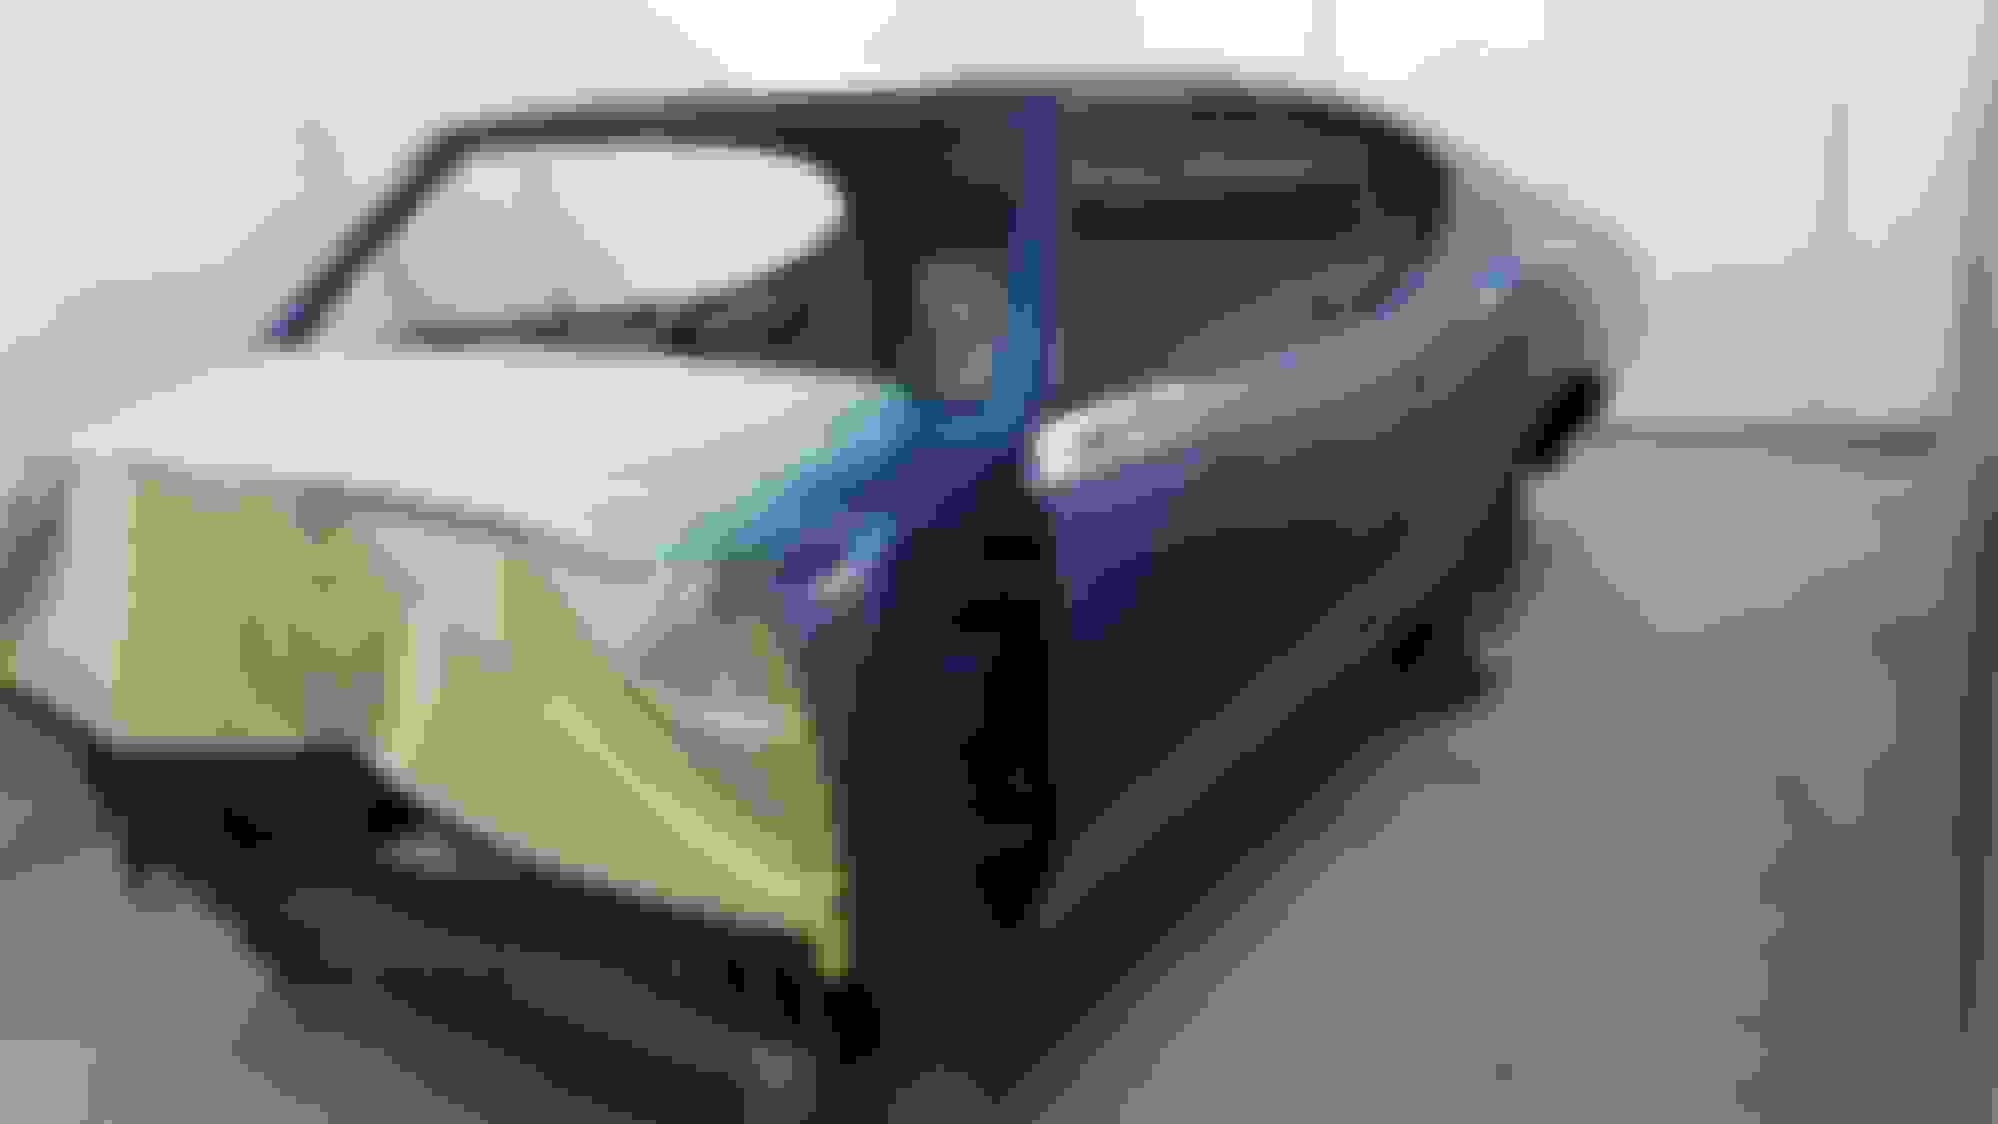
Carshine is making awesome progress on the body. I think we may be close to color here in a bit. Such a cool process. Here you can see the doors have been fit back on along with the correct style and date coded deck lid. The fenders are the flat style and off a rust free ‘70 rally red 442. The 442 holes had to be welded up and new holes drilled for the Cutlass and W-31 emblems. Looks good!
Engine is fully detailed and ready to go. I don’t want to give away too many secrets on the final product, but it’s a bit different than what most do when restoring a car.
I am missing the power steering bracket bolt and washer that goes in to the block below the #1 cylinder. Luckily, I still have the spacer. Anyone have the bolt and washer for me??
Correct part number and date coded starter coated in gold overspray.
RH side exhaust manifold and phosphated shroud with a light coating of gold overspray. Phosphating completed by Steve Gergori. Unreal quality!
Black distributor marking and gold overspray on the wire to the coil along with the "back side" of the distributor.
NOS choke tube fit like a dream. I had ordered one from a vendor that wasn't even remotely close. Not shocking...
NOS carb to intake gasket.
NOS springs for the OAI adapter as well as the throttle. I posted this on Facebook that the quality of these out of the packaging is far from the perfect white you see on the repops.
NOS carb to air cleaner base gasket.
NOS PCV. I was able to clean an original valve cover grommet and procured an NOS rubber grommet for the breather side.
This is actually one of my favorite parts I've located. The NOS A366C filters just look cool placed in side the base. There's something about the patina and the mesh that just looks right.
Correct rubber hose for the back of the 255 carb.
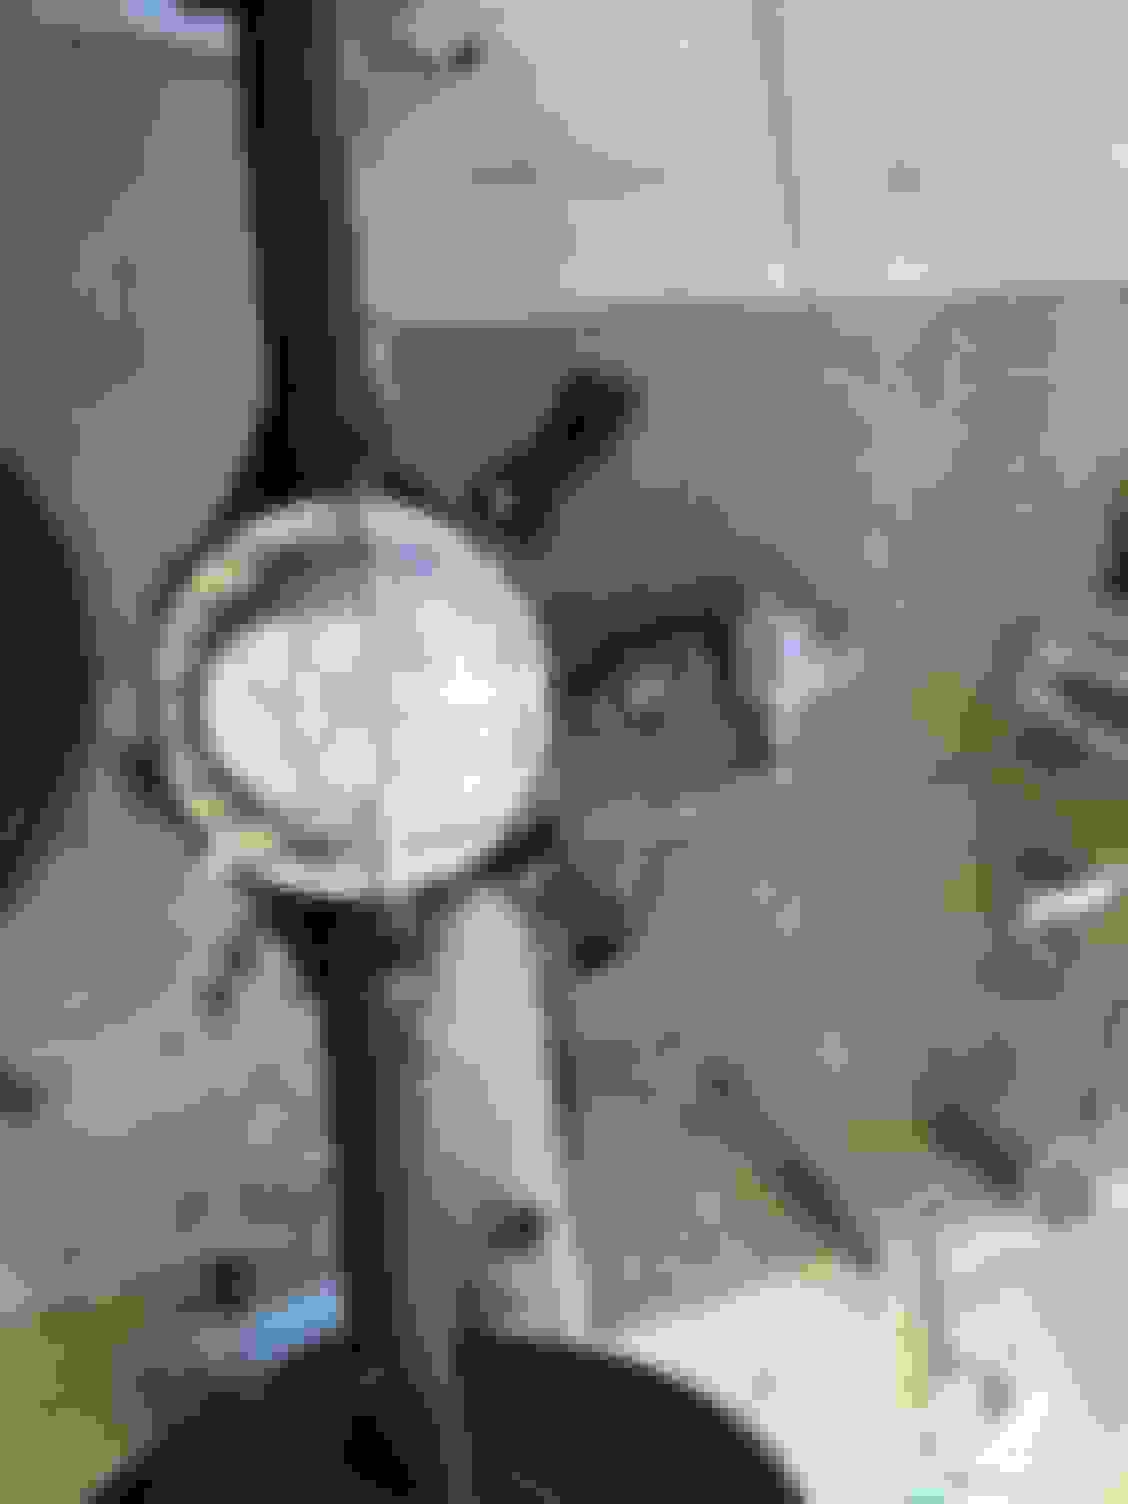
NOS therm sensor. Kind of a cool old part.
Lucked out finding this piece at MCACN amongst a display of NOS Chevy parts. This vacuum motor was mounted to an NOS adapter.
***This is the bolt and washer that I'm missing for the lower power steering bracket to the block. Anyone have one???***
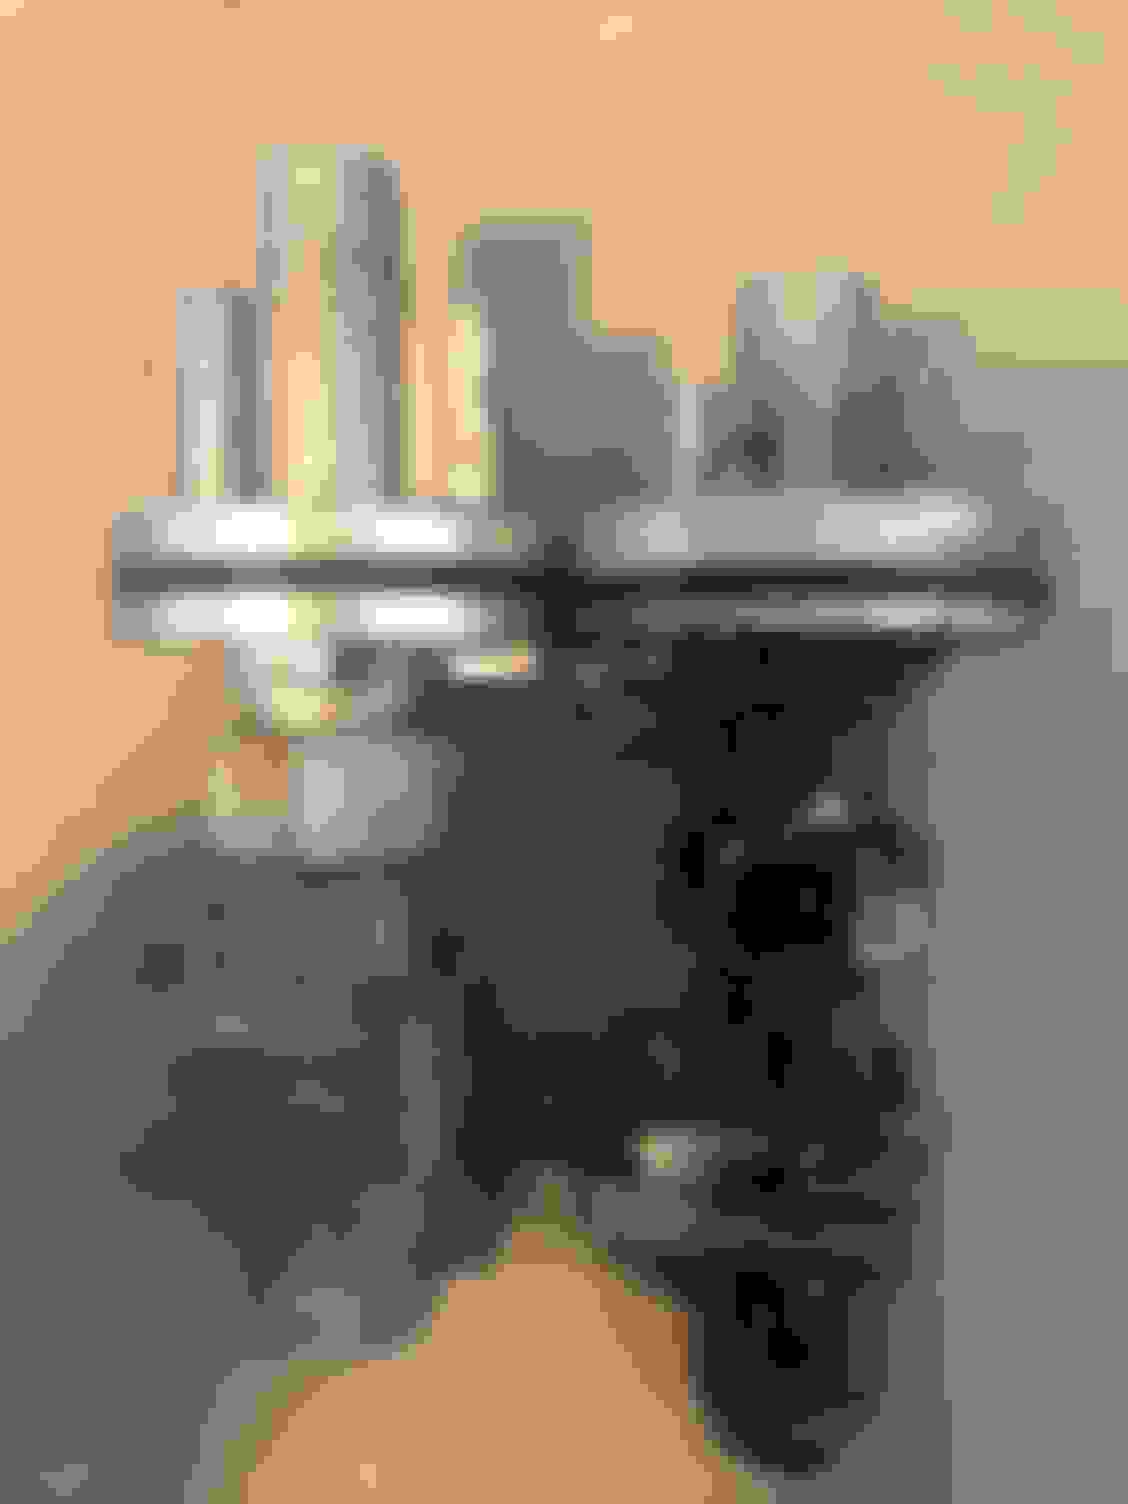
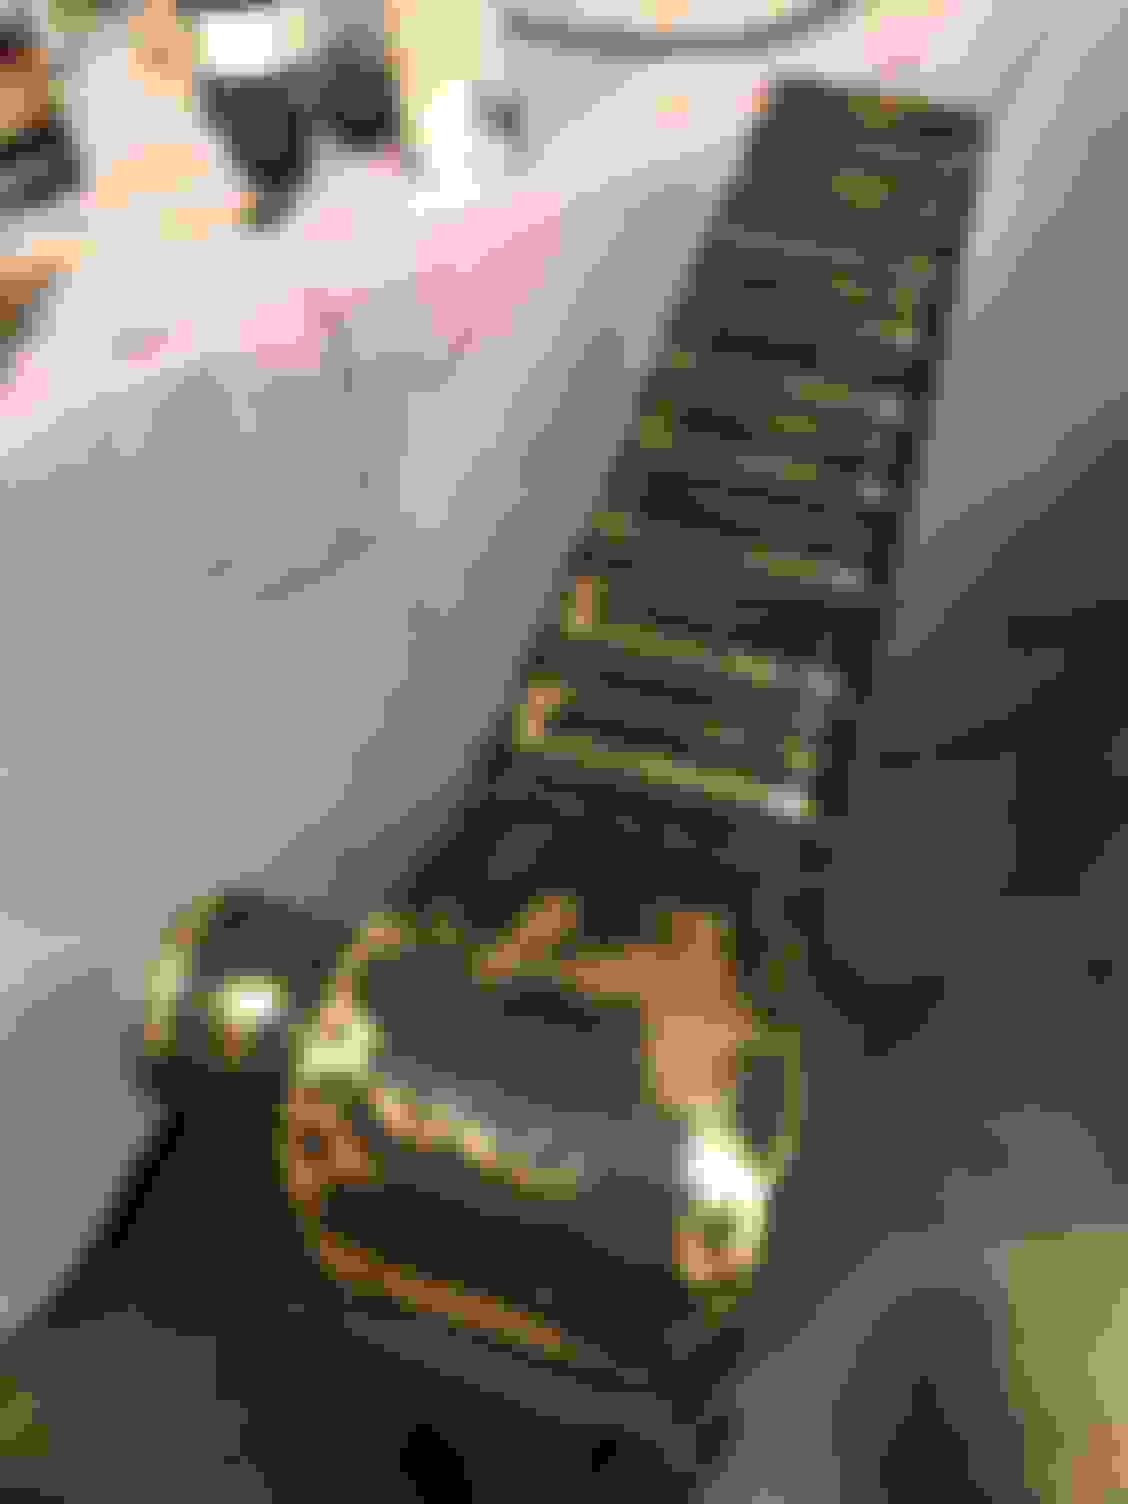
Slowly sanding and scuffing the frame so it can be repainted. Powder looks great on pristine metal, but when you have pitting like this midwest frame did, it unfortunately didn't look too great.
Turned the frame upside down so I could focus my attention on the areas that'll be seen from underneath the car. Truthfully, I'm less concerned about the areas of the frame that will be covered by the body and completely out of sight.
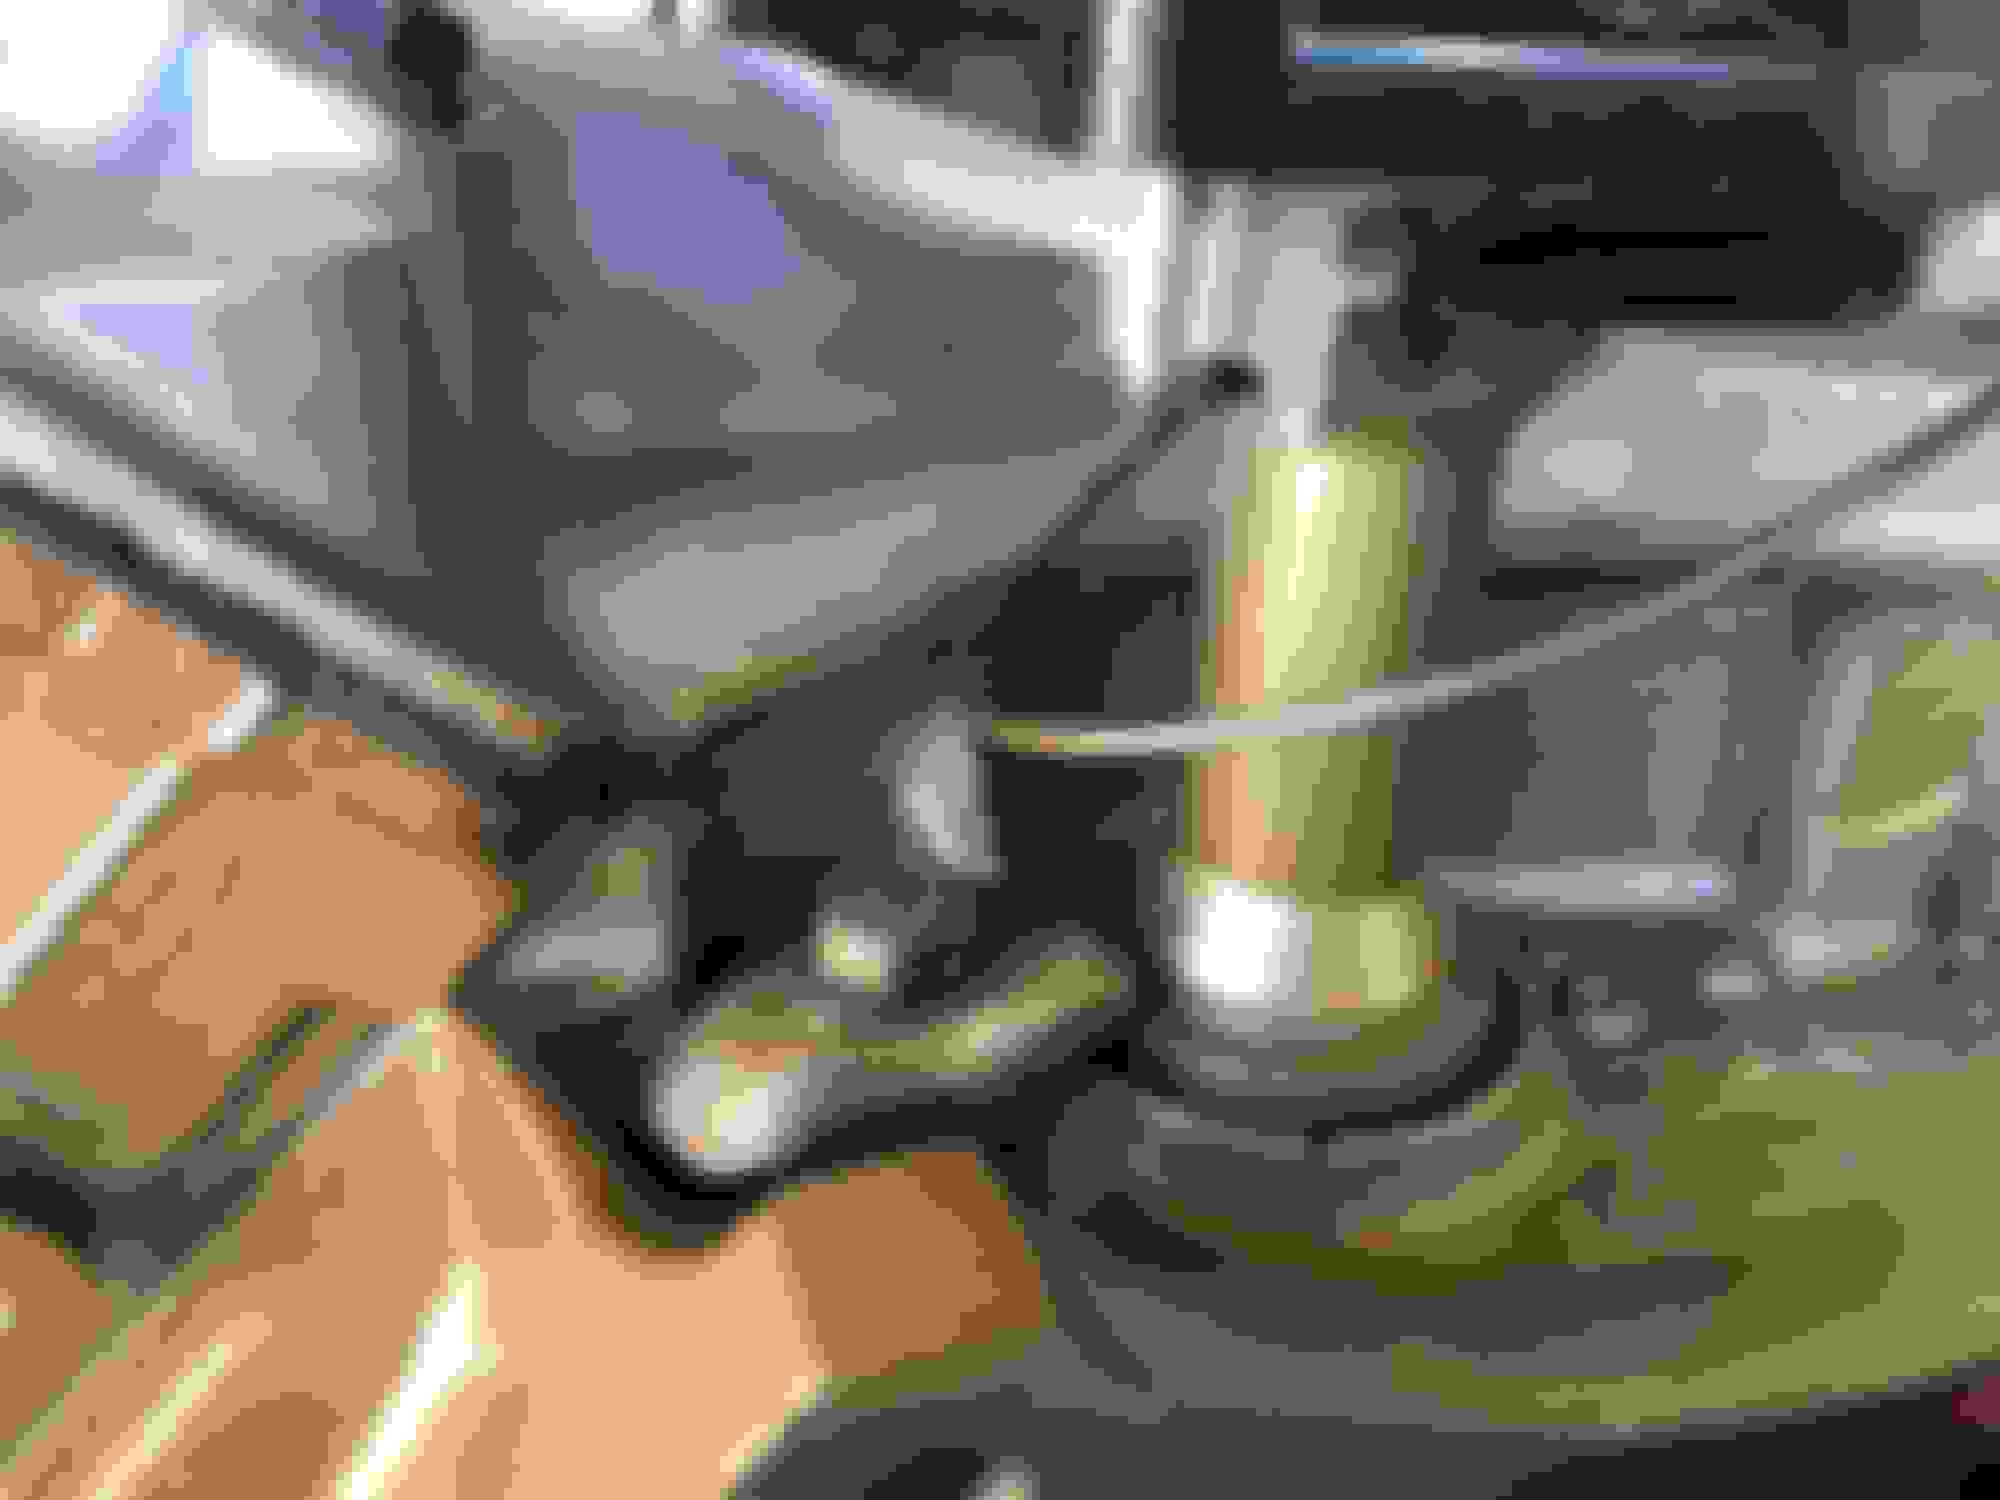
I sandblasted my original clips so I could reuse them. I found great matches to the olive and red at the local hardware and sprayed the clips.
I put painters tape on the pliers to prevent scratching the fresh paint. It turned out okay. I had to consult the PIM on proper clip placement. Glad I did because if the clips are positioned appropriately, the alternator bracket touches them.
That's also gold overspray on the NOS 40772 fuel pump. The fuel pump to carb line is from The Right Stuff. Again, the vendor I initially purchased this from wasn't even remotely close with the bends. The replacement they sent had a kink in it. I didn't give them a third attempt to correct the issue.
Fenders appear to be prepped and ready for color soon. Nice alignment on the emblems. The car will receive a set of NOS Cutlass scripts as well as NOS W-31 emblems.
Don't forget not to remove the press-marks and weld splatter on the frame. When it is done, it will be ready for the museum! Hey what's the story on that 1973 CS in the background?
I thought I was making some progress and stepped out during lunch to install the trans gear, sleeve, and adapter. Turns out the sleeve in the box wasn't what it should have been. When I tried to put the assembly in to the trans it ended up being too long. You can see the difference in the sleeves between the original and the NOS piece. The sleeves are different for the 36-39 tooth versus the 40-45 tooth. The original sleeve in my car is for a 40T black gear. With the 4.33 gear, I switched to a more "correct" adapter (see earlier posts). I'll be running a 37T red gear moving forward with the .6190 adapter. I am going to clean up an original 1362237 sleeve in the meantime. I think the sleeve I received is for a TH400.
The fins on the adapter for the TH350 should be a bit shorter based on my understanding.
The original sleeve on the right for a 40T. I get that depending on the required gear, the sleeve will make it sit deeper or shallower in the trans to make contact with the gear of the output shaft of the trans. There's a range of tooth counts that fit one sleeve, and a range that fits the other sleeve. My understanding is that a smaller tooth count will sit deeper and a larger gear will sit more shallow. Do I have that right?
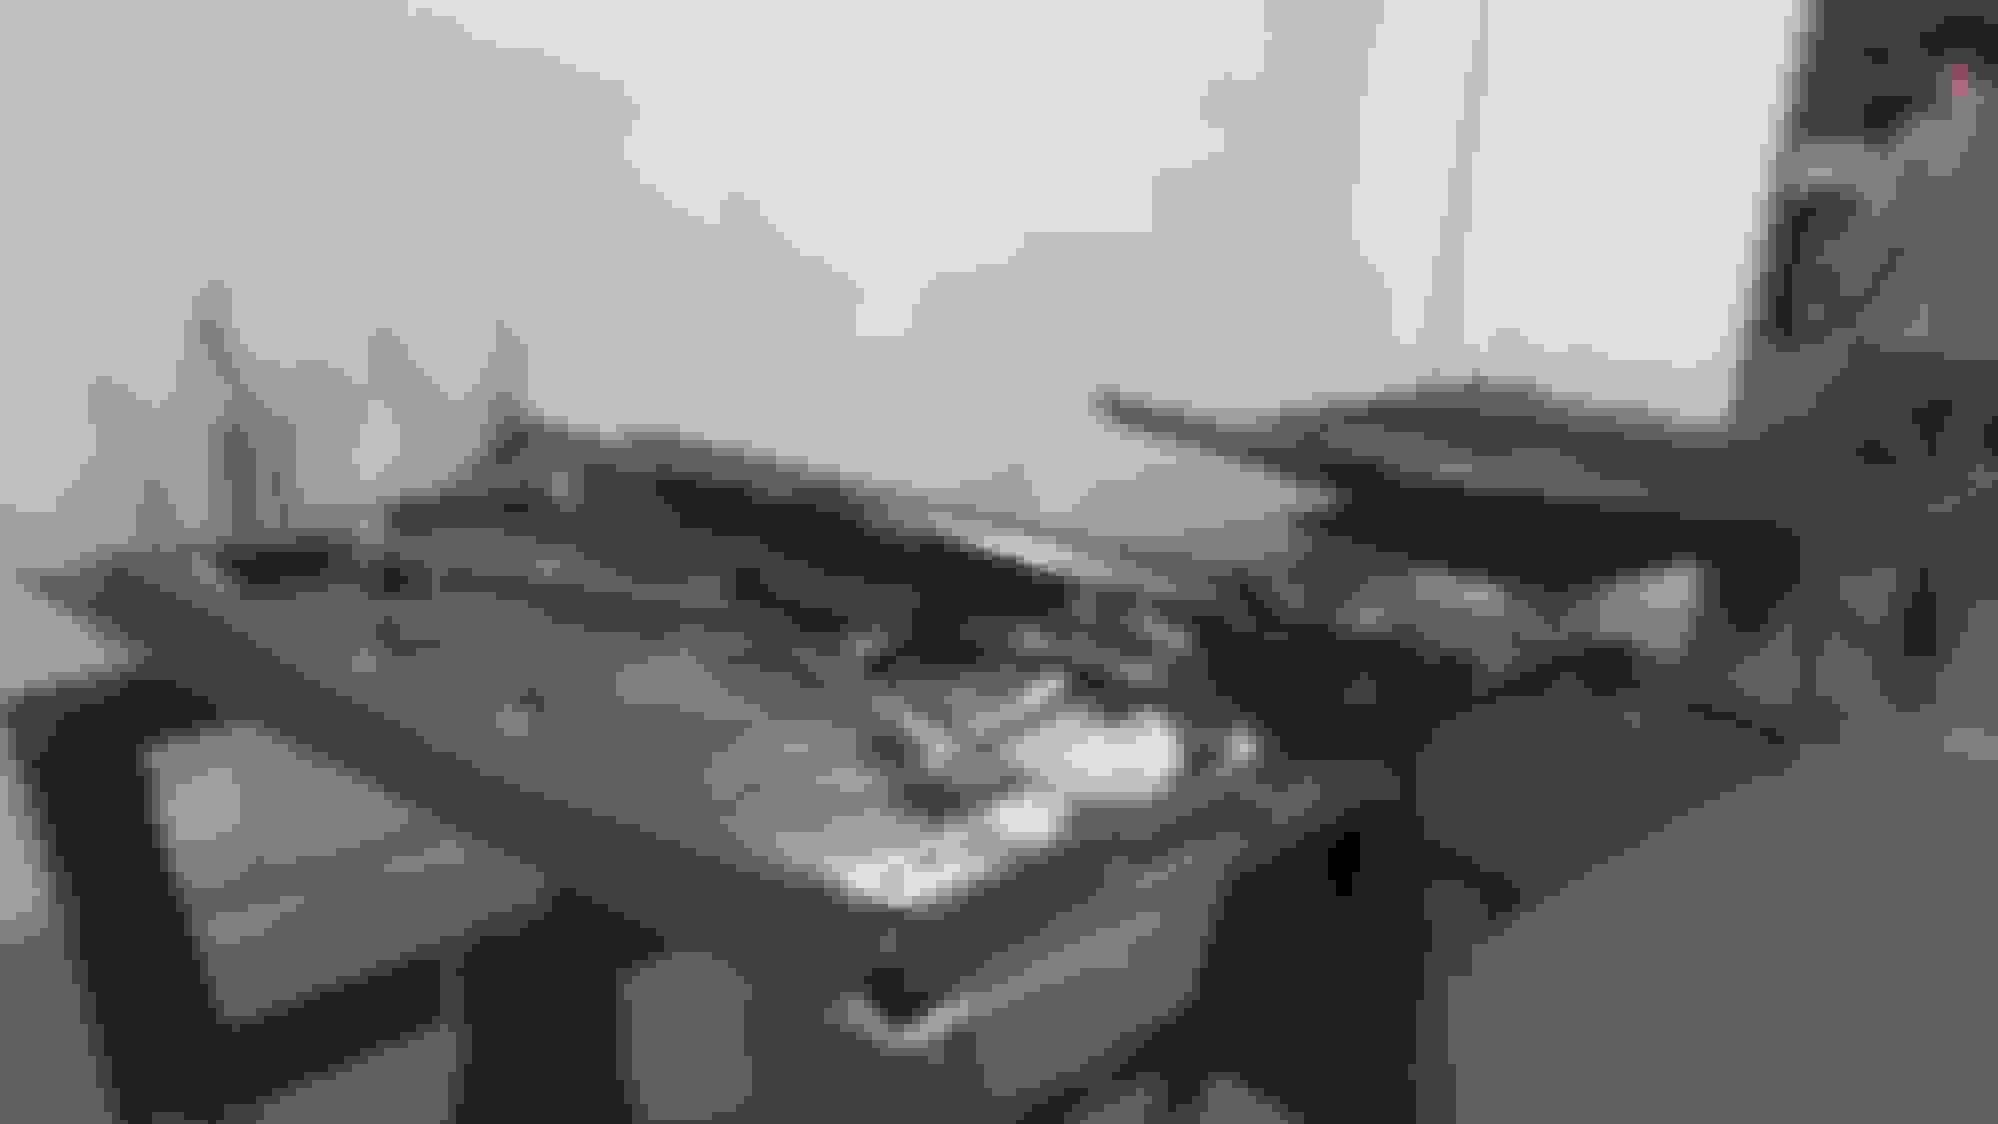
Spent Saturday working on the frame in the garage. I was able to use a couple of big *** pipe wrenches and a piece of wood to bend the frame areas back in to the correct shape. One side turned out better than the other. While it isn't perfect, it's much better than it was!
Being a Midwest car, the frame had some pretty severe pitting. I used this process as an opportunity to correct some of that. I’m a novice body and paint guy but I still gave it an attempt. I used the advice of a friend to scuff the entire powder coated frame with red Scotchbrite; brilliant at getting in the contours of the frame! I hit the really rough areas with 120, primed, used a little filler in conjunction with the high build primer, and plan to finish it off with Eastwood’s epoxy fortified primer and chassis black.
As for the trans sleeve, I figured out the bullet with the “longer fins” is likely for a 4x4 transfer case. I have the right sleeve coming in the mail this week.
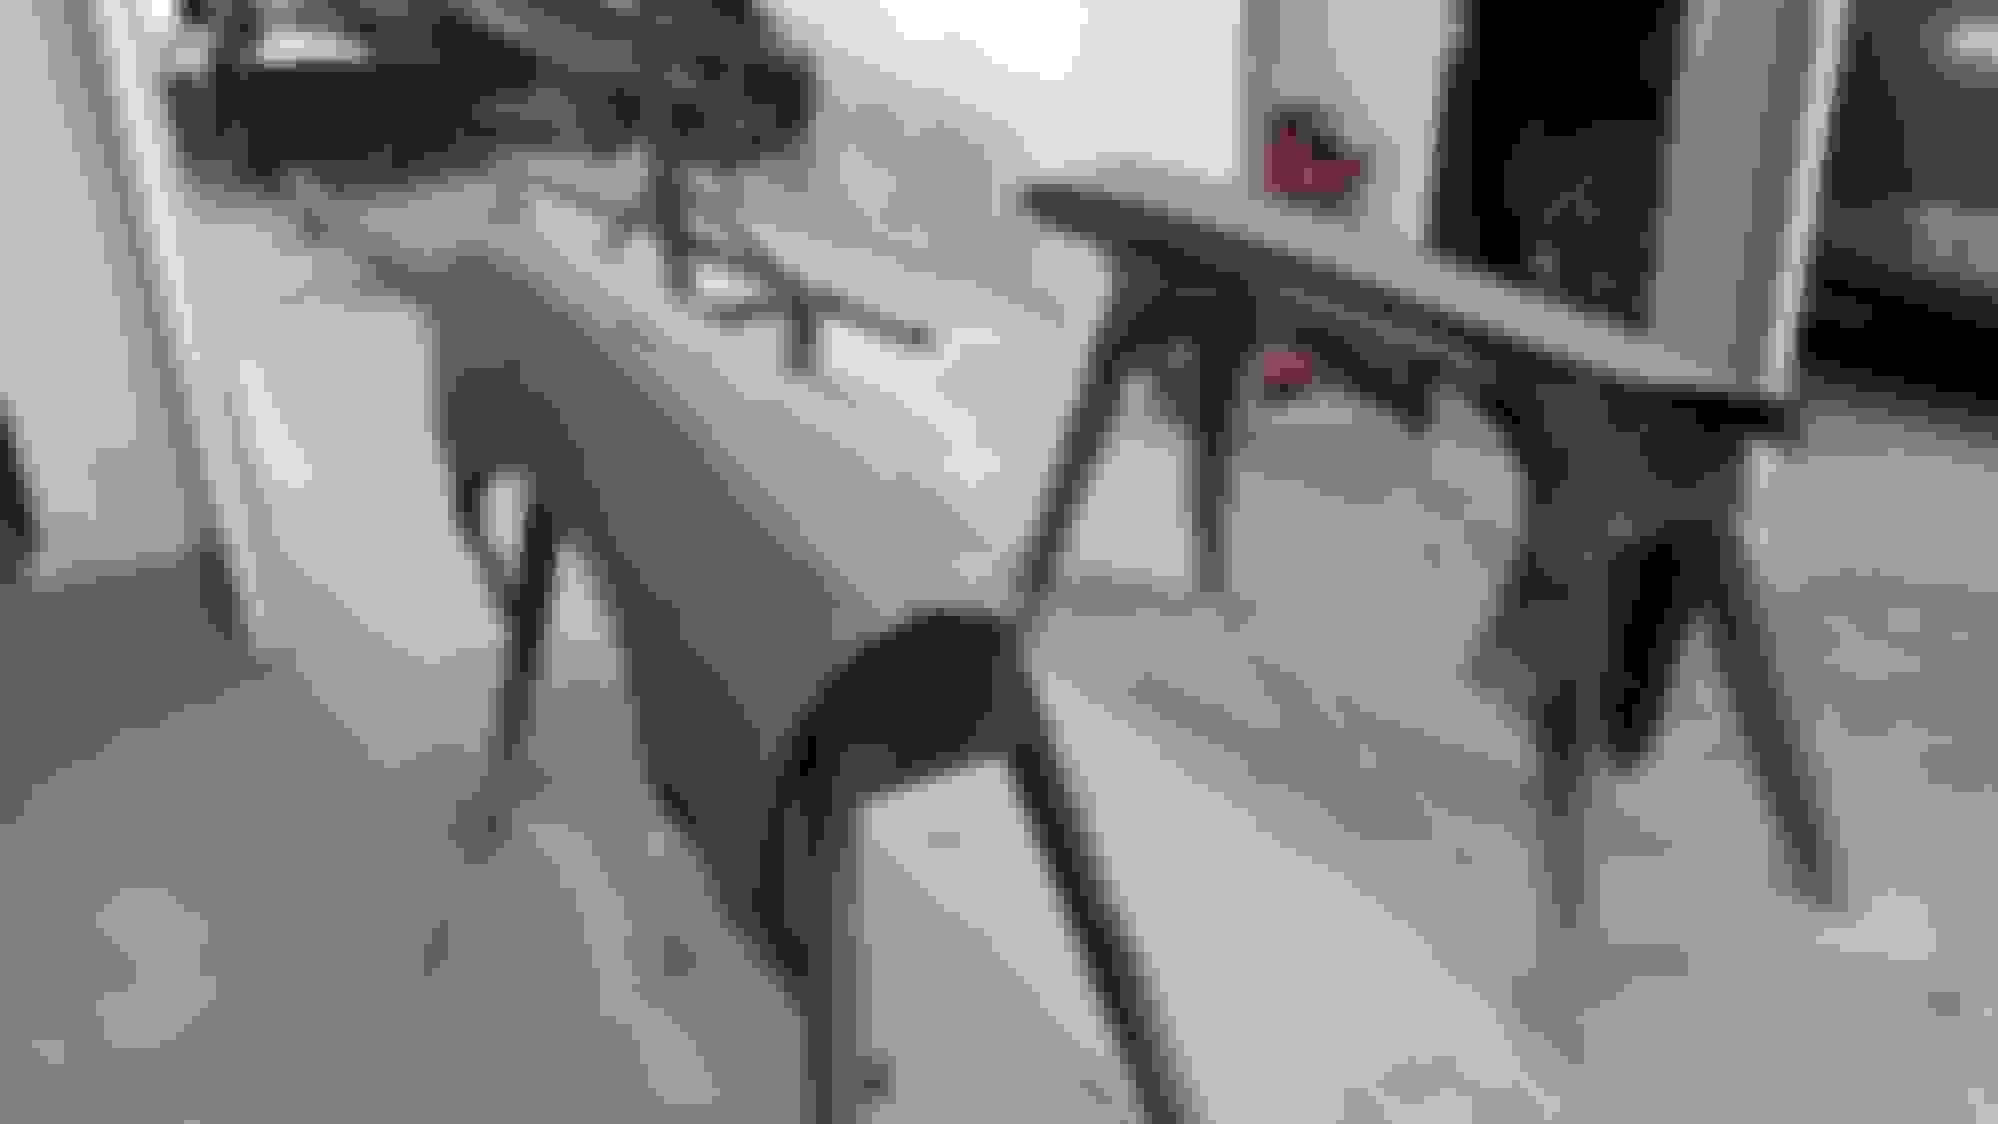
The plan for this week is to get the front arms primed and painted, bushings installed towards the end of the week, and hopefully reassembly the following week.
Also, I picked up the final batch of parts from the metal polisher. I had them polish the wheel bezels, arm rest base trim, door panel lock ferrules, rear hood molding, shoulder belt retainers, door and trunk looks, and the stainless channel for the weatherstripping. I also had them work the pits and rechrome another original dealer plate frame for the front bumper.
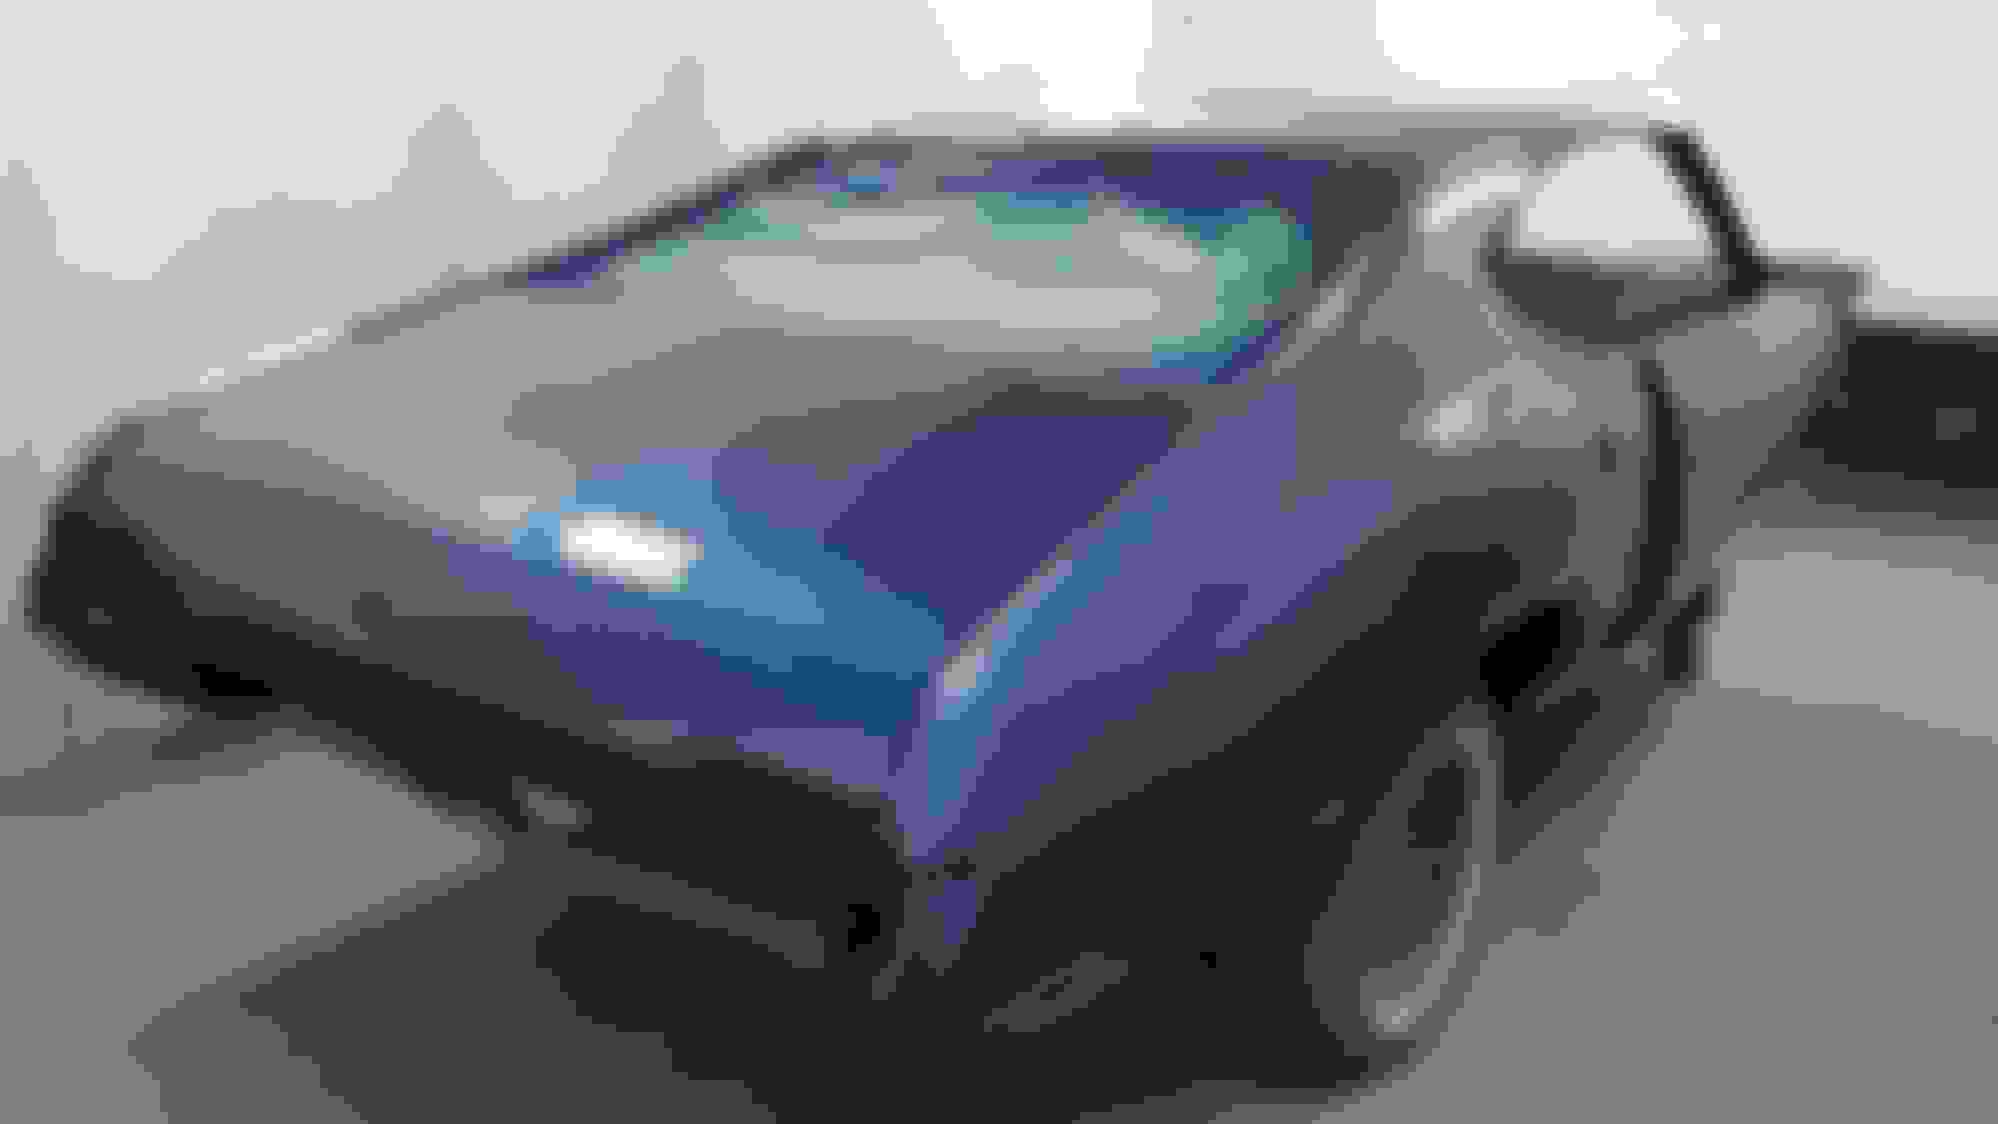
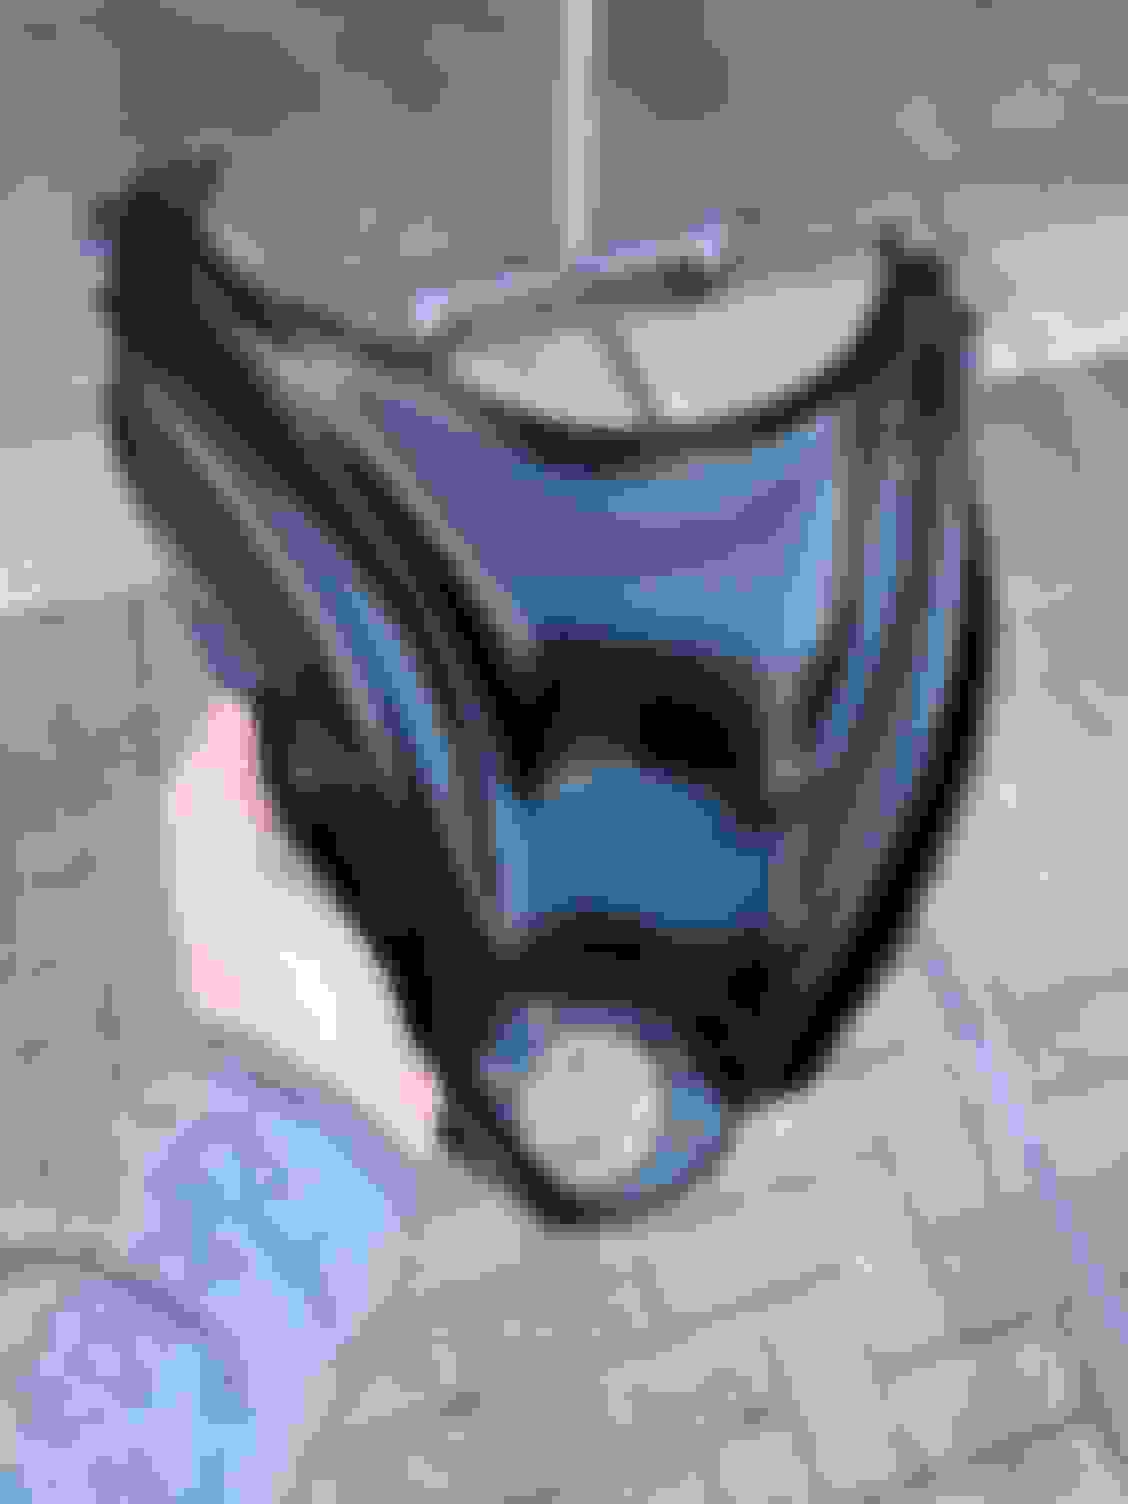
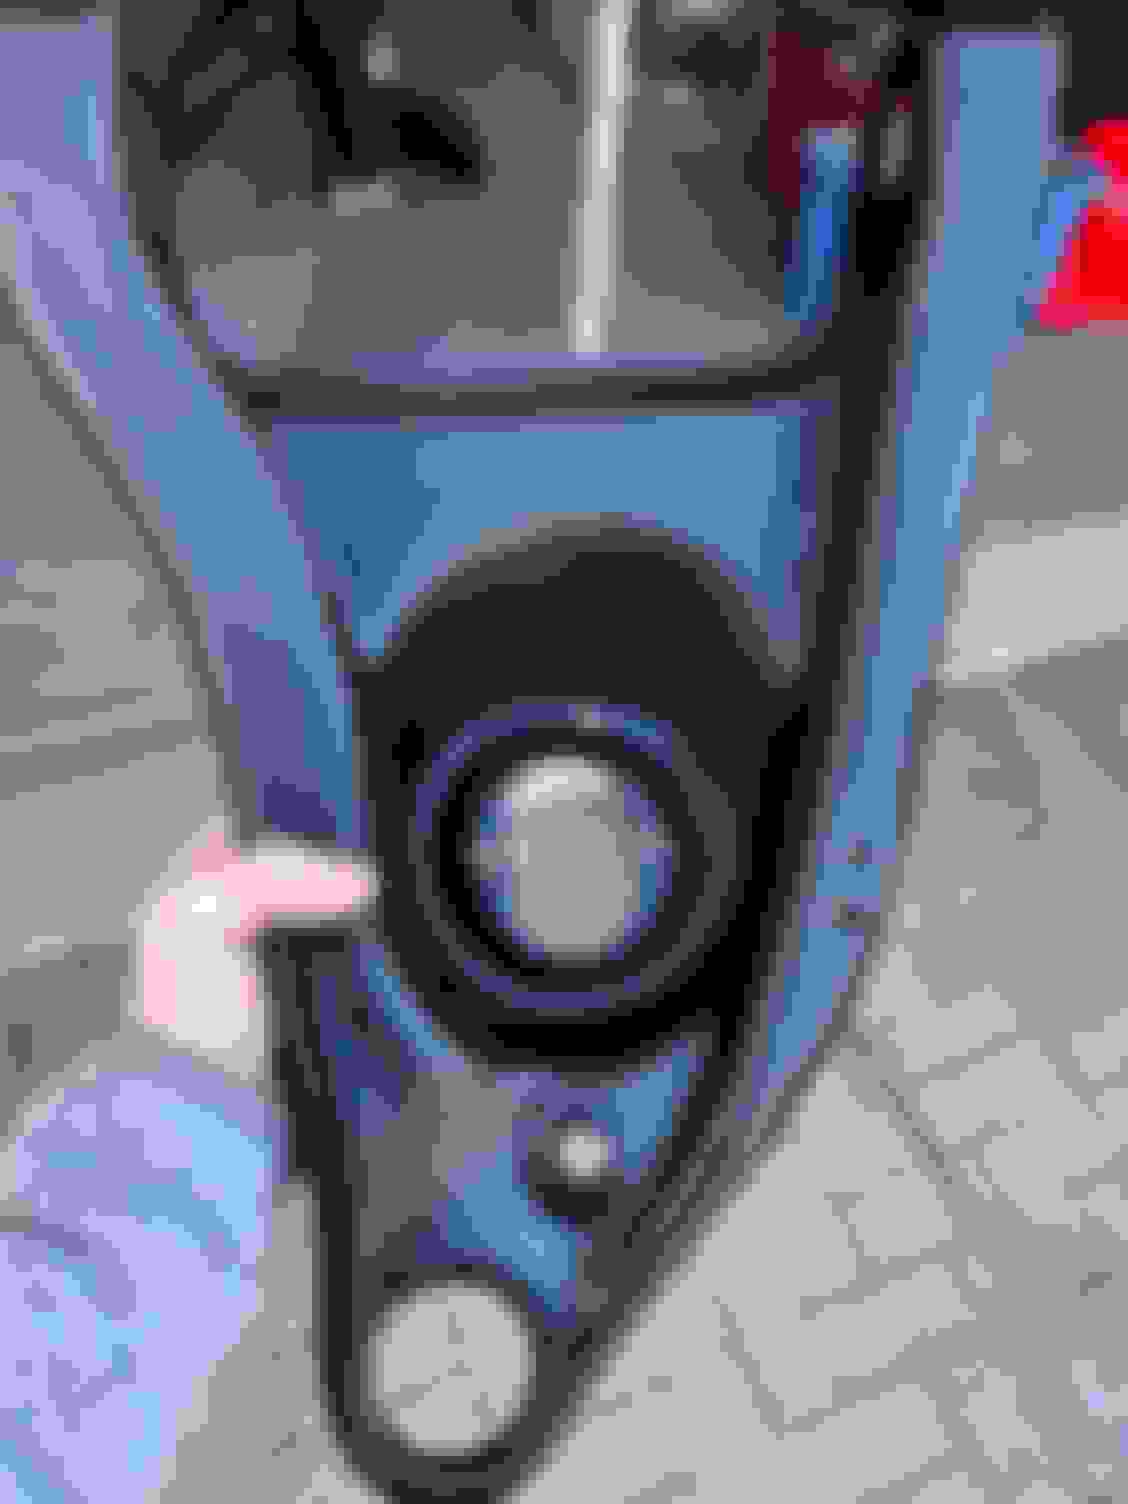
By far they most exciting parts of this project occurred last week when I received photos of the front end getting color. Twilight blue from DuPont never looked so good! Very excited to see the body in color here soon.
Shoulder harness stainless polished.
All three exterior locks polished.
To me, the lock ferrules from Legendary just look different so I had my originals polished.
Arm rest base stainless trim polished.
Outsides polished and inside of the bezels left “unkept.”
Color on the fenders and hood!
Getting closer each week. By far a highlight of the project thus far.
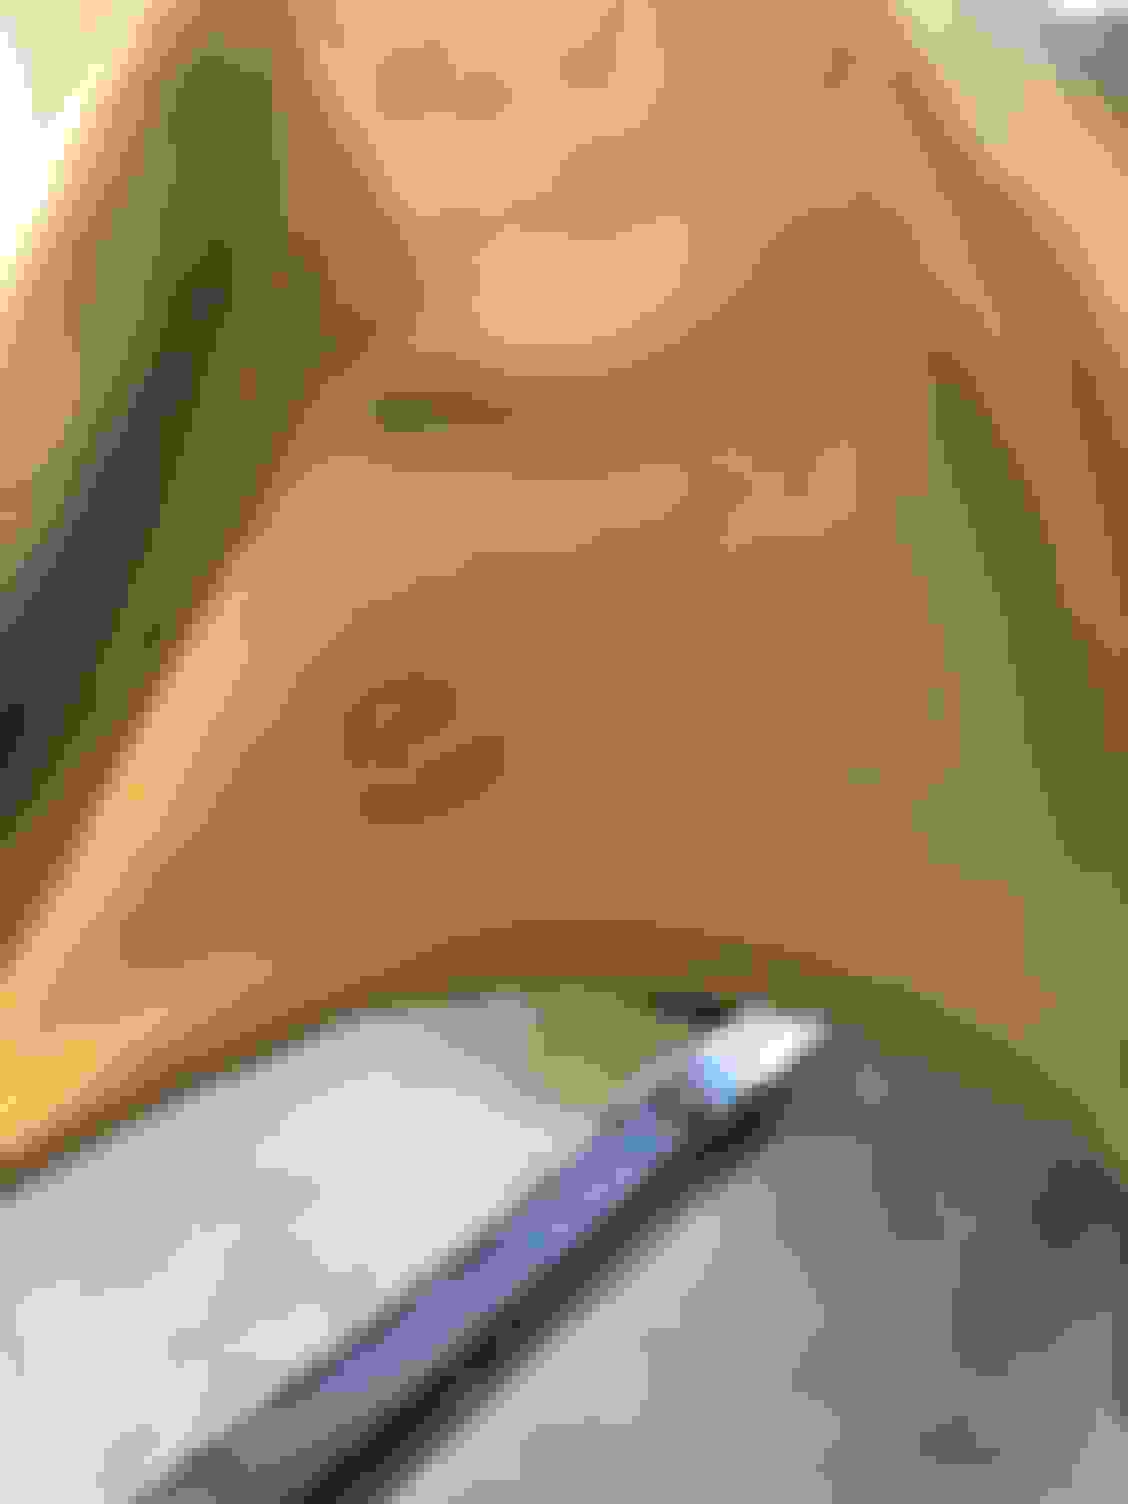
Spent extra time trying to get this part of the frame smooth and pit-free.
Since the rear frame is visible for shows, I wanted to make sure the pits were cleaned up a bit.
Clean Arizona arms ready for paint.
Frame “bent” back in the place.
Powdercoating is nice BUT it just doesn’t have that factory look. The powder will act as a good base and hopefully the top coat has the look I’m going for.
Last edited by WTHIRTY1; Aug 11, 2020 at 06:39 AM.
Another huge milestone hit this week! The body has been covered in twilight blue. Getting closer!
Since it�s too cold in the garage to put the final coat on the frame, I�ve been organizing small projects that can be knocked out this weekend.
I have all the parts to reassemble the front bumper. I need to go back and confirm the correct finish of the turn signal housings to the bumper. If memory serves me correct, the originals that came off the car were phosphated.
What I�ve learned is that GM provided the gaskets on the NOS housing assemblies like these and the side markers.
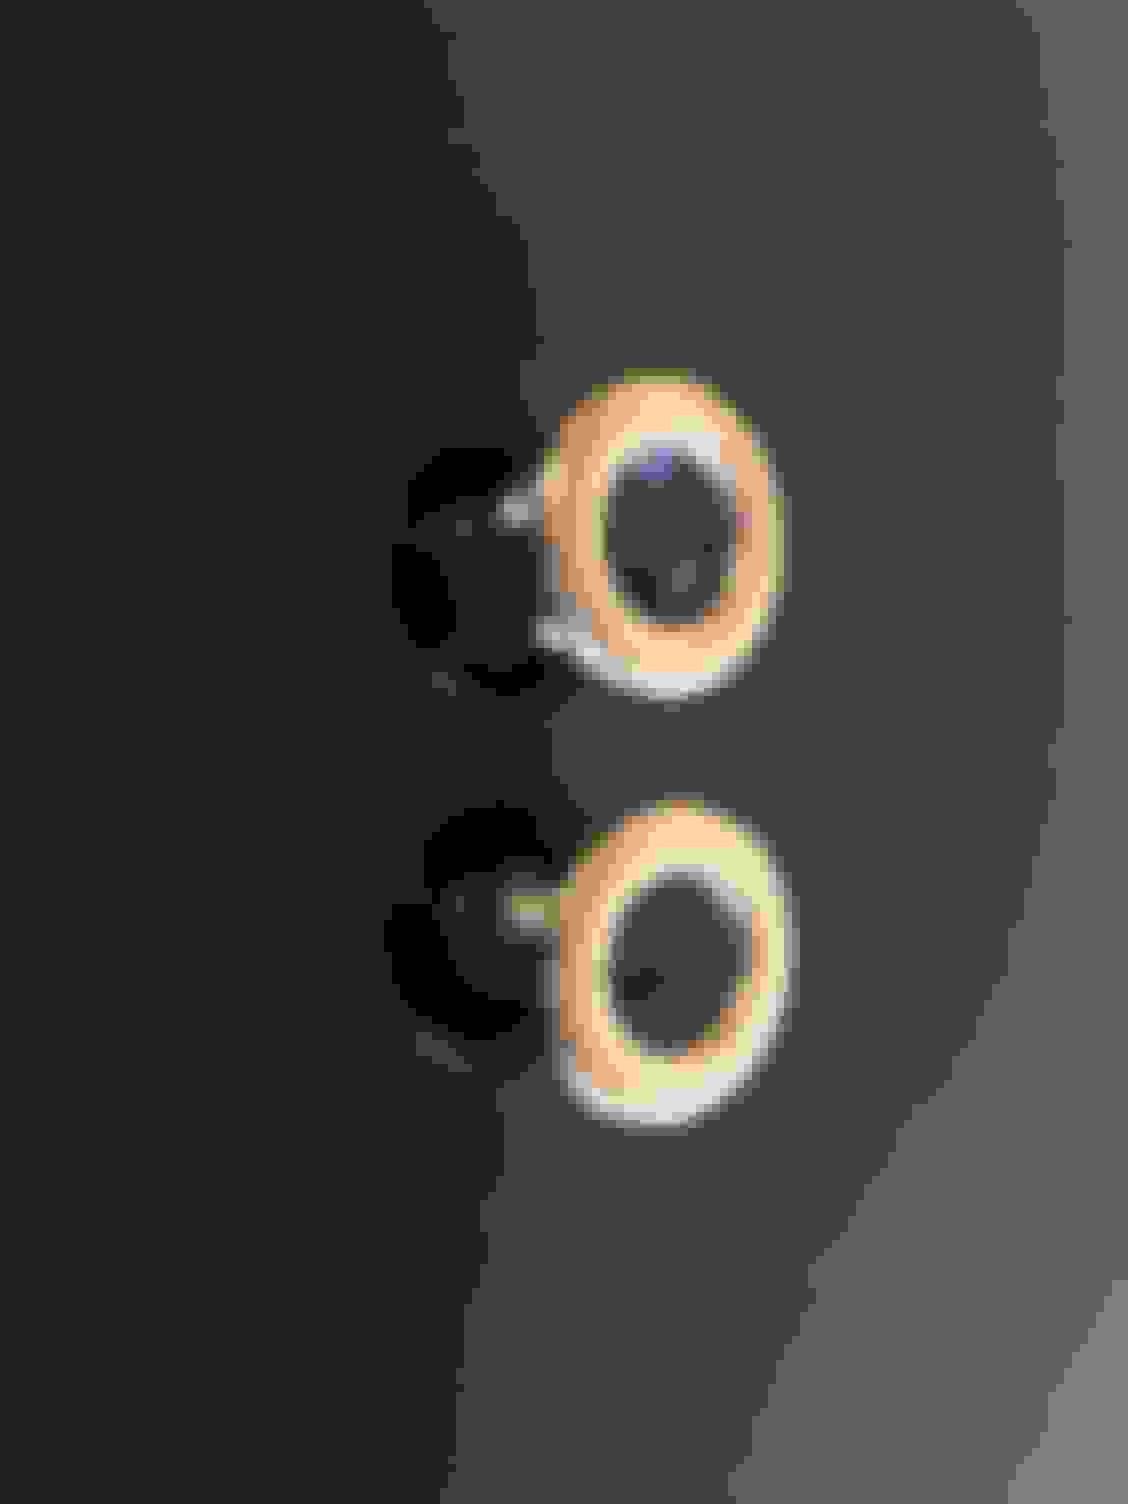
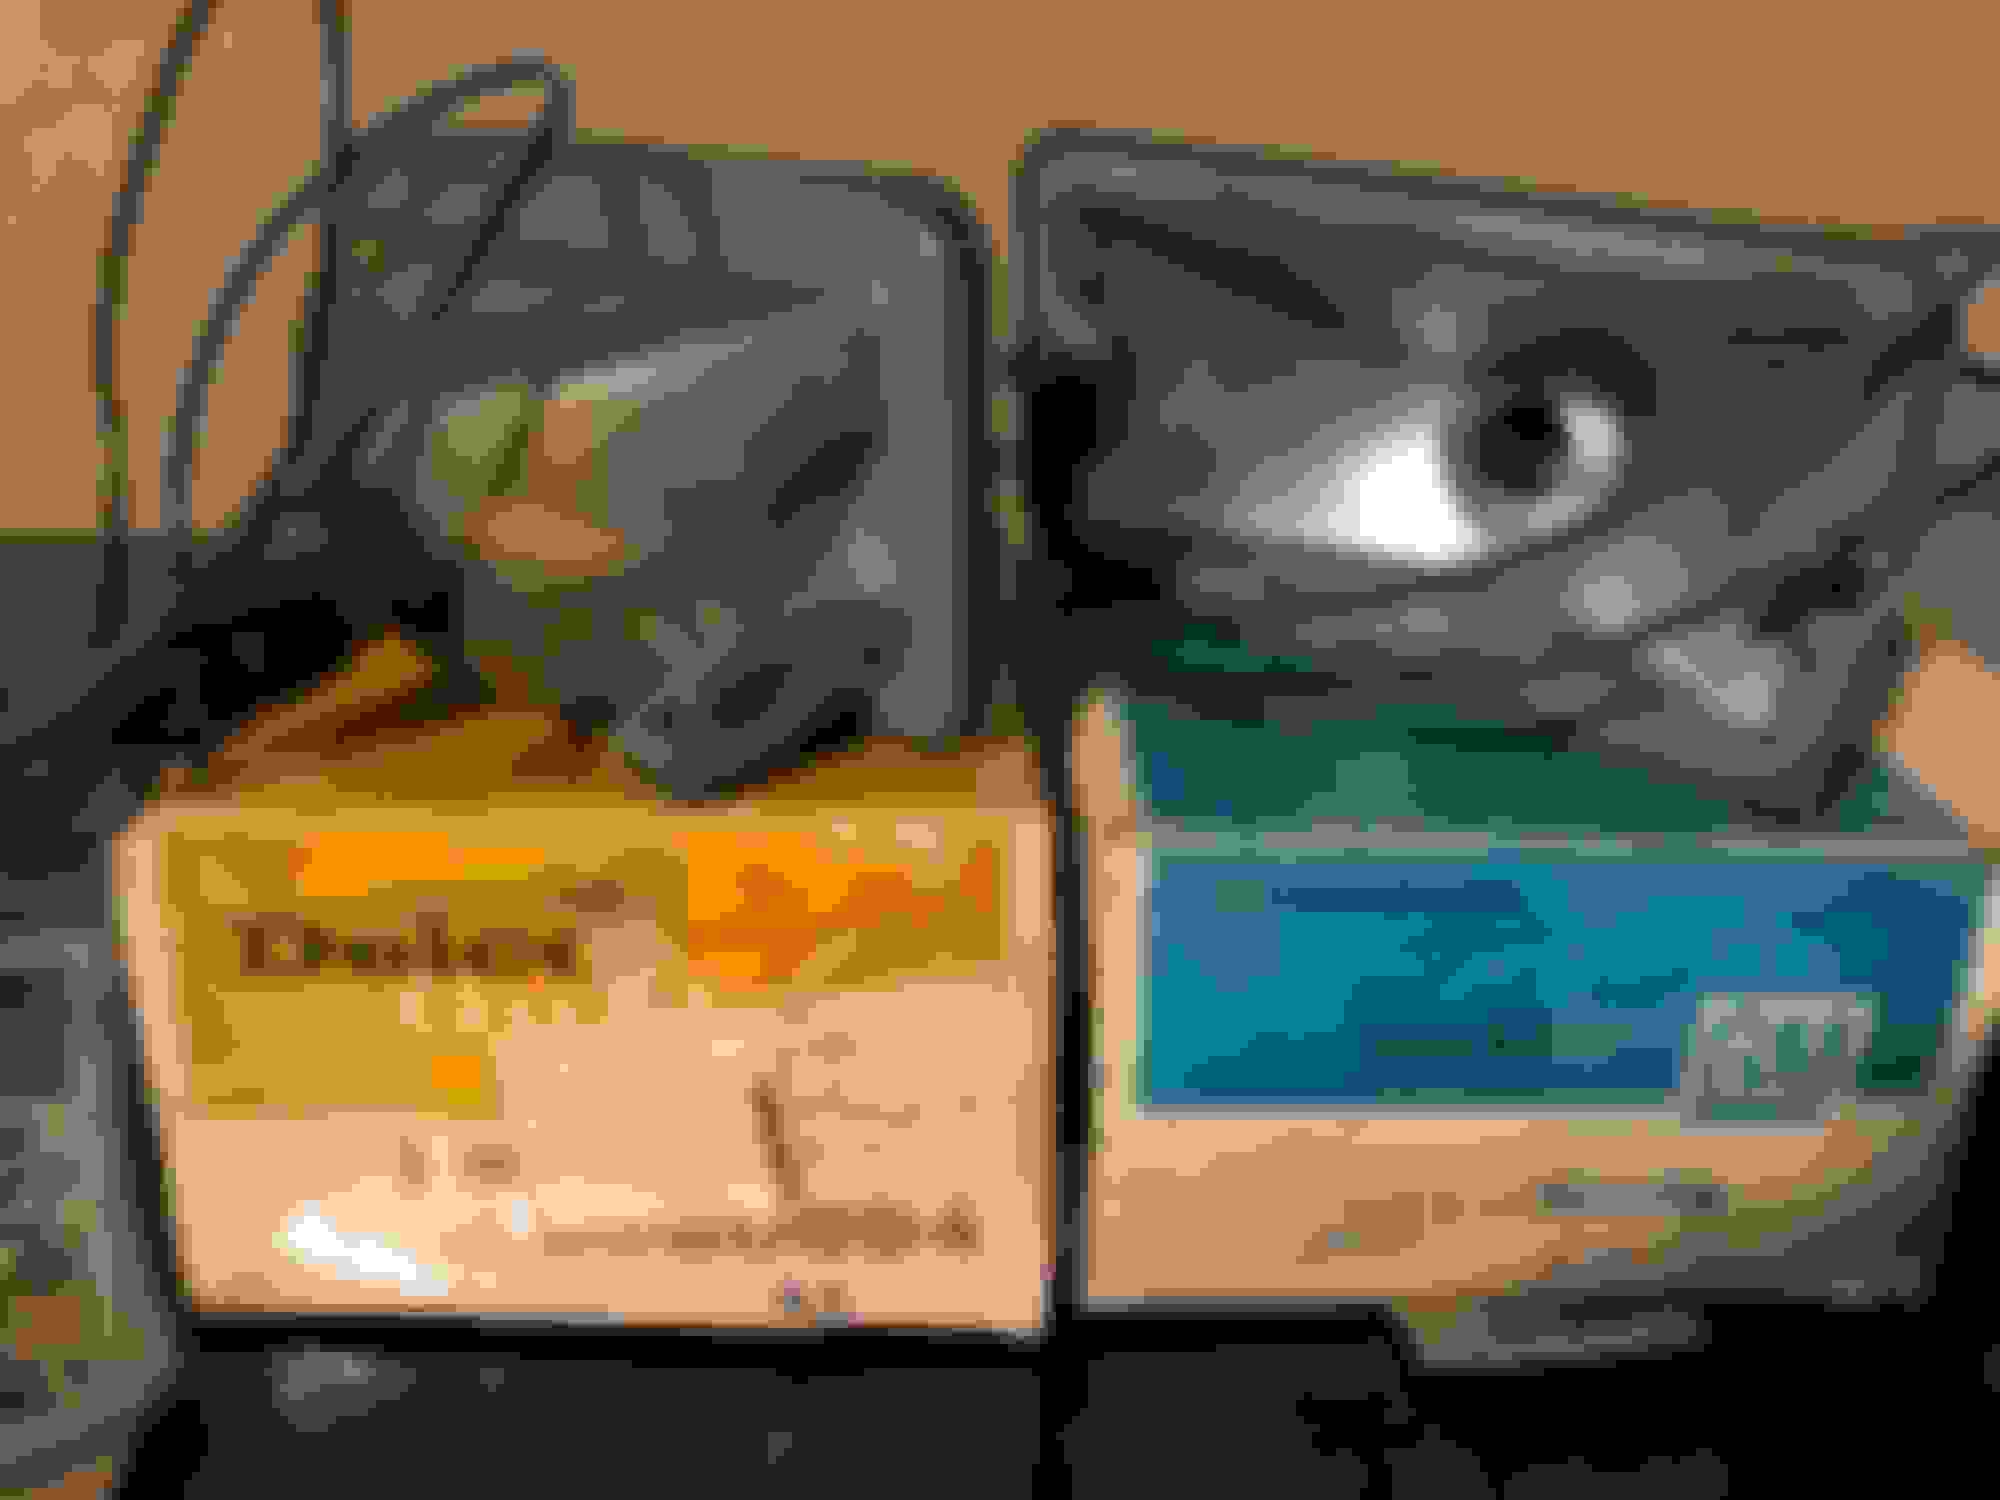
If you zoom in on these 1157 bulbs, you can see how they were painted and covered with overspray. Now I�ll be the first to admit that this is borderline too much as far as restoration, but I had to share these with the group.
Paint looks great! Exciting milestone for sure. You have been fantastically replicating all the factory detail and �blemishes� so the overspray on the bulbs is right up your alley!
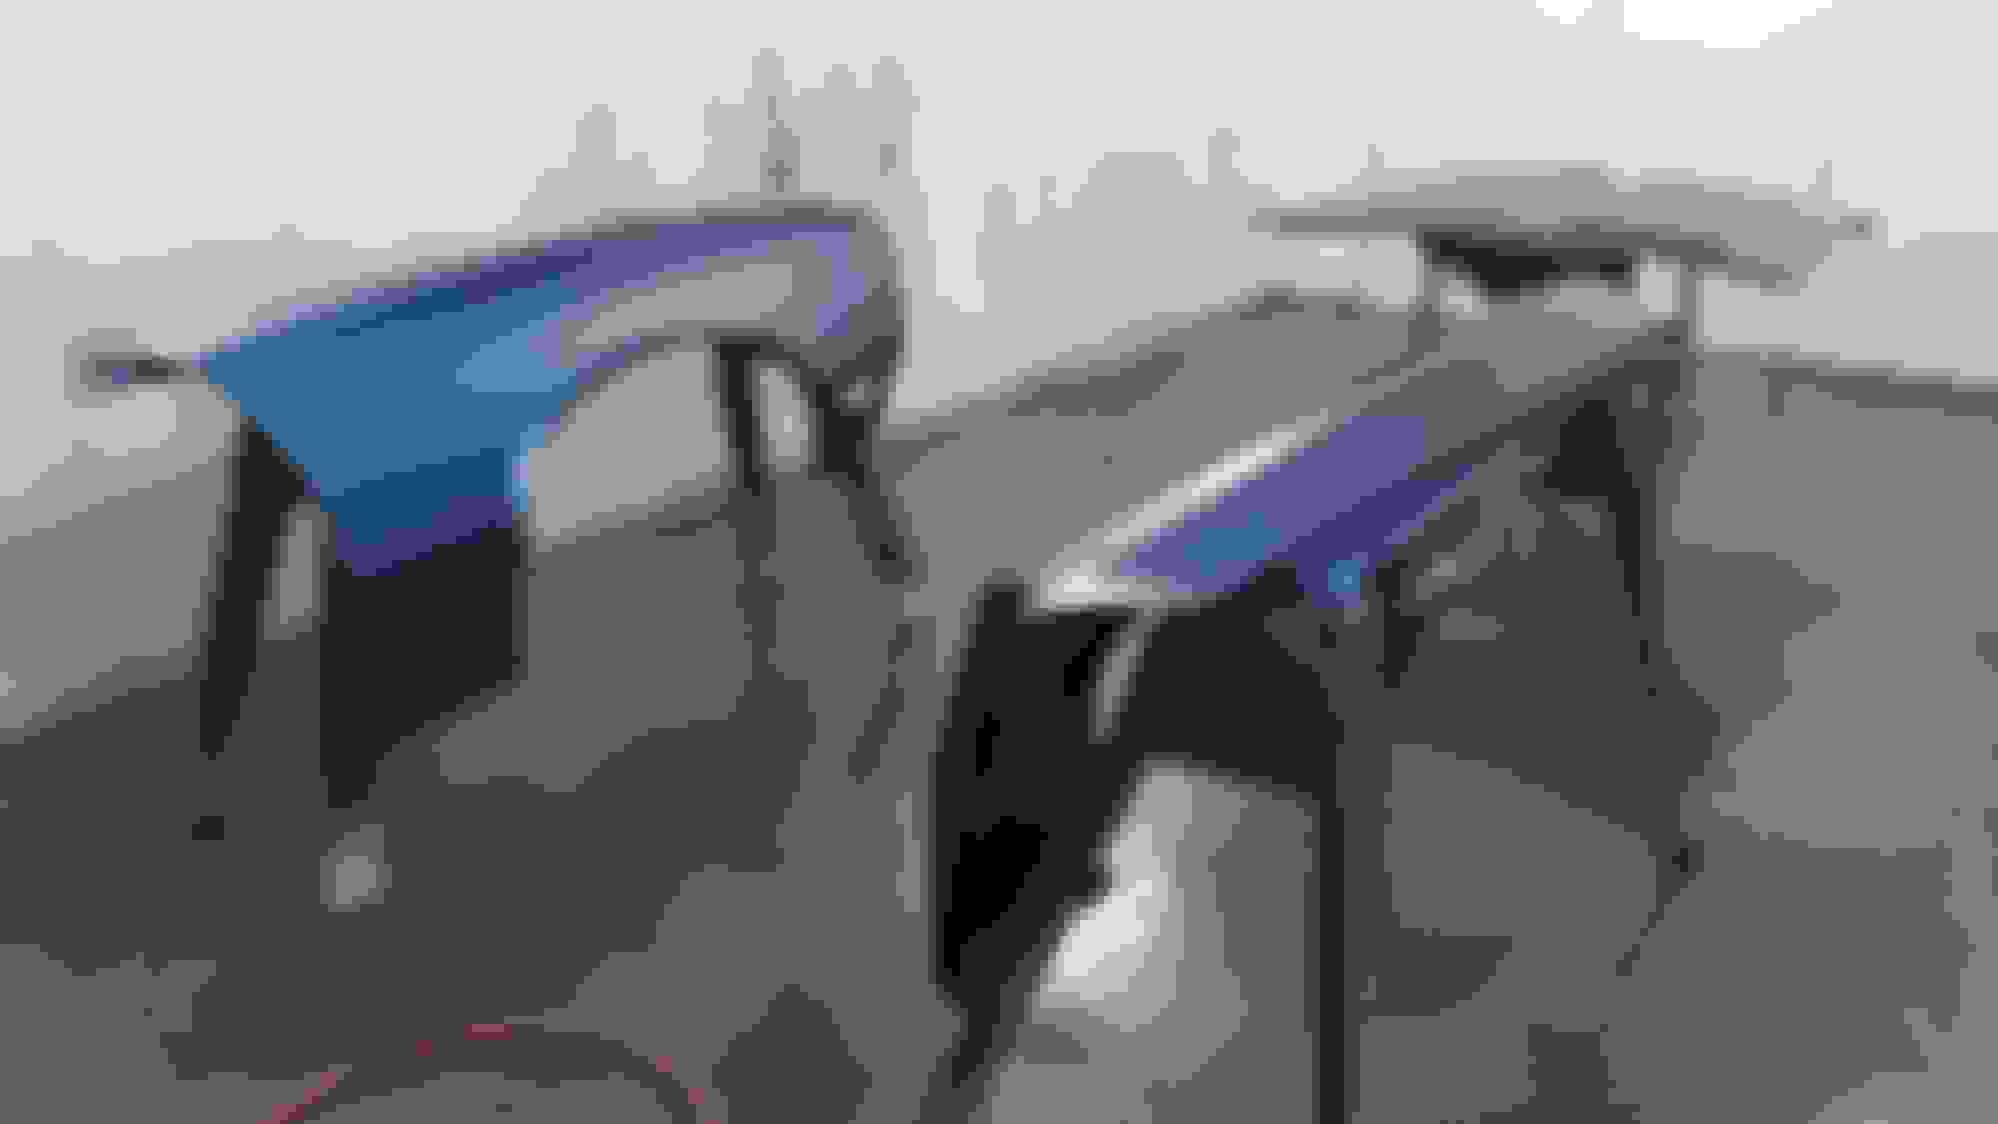
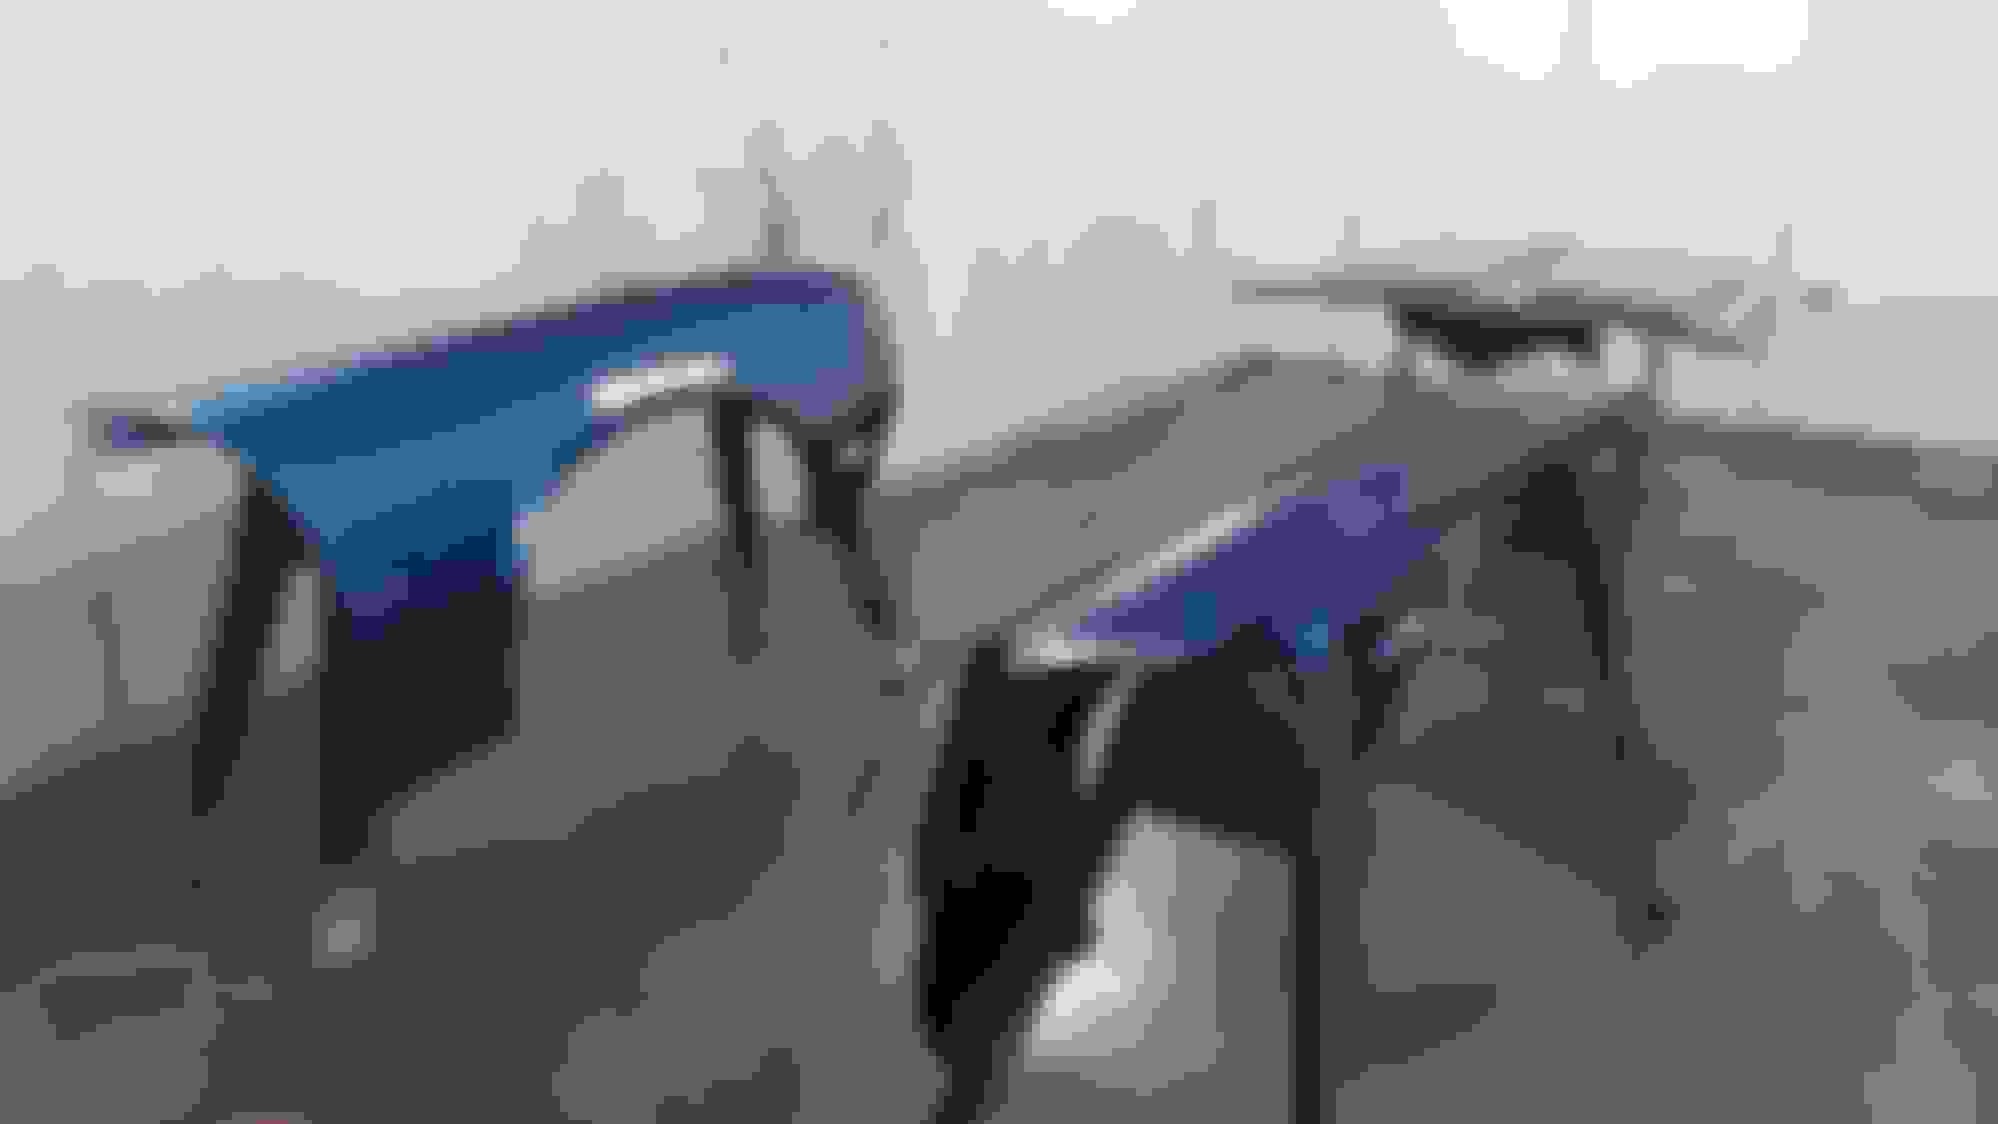
Waiting for some warmer weather so I can do a bit more painting. The arms have two coats of Eastwood chassis primer and a single top coat of Eastwood chassis black satin. Amazing the difference in Arizona parts!
Here's where I need input. This ignition bezel appears to have snapped off the lock cylinder. The GM NOS replacement ignition lock has the "finned ears" which are very different than the stock trim. Closer examination of the original piece leads me to believe it cannot be repaired. Is is possible to remove this bezel from another ignition without breaking it and then reattach it to the original lock cylinder? What I want to avoid is having a separate key for the ignition and doors. What should I do?
And no red arrow on a 03/02/70 built car.
Per my earlier post, I resolved the trans sleeve issue. I found an NOS sleeve that fits perfectly. The fins on the other one, although it was for a TH 350, appeared to be for a different application. Looks like I fell victim to a part mismatch where the part didn't match the number on the box.
LH upper arm.
RH upper arm.
Lower control arm. Again, gotta love the rust free parts! Hope to get another coat of paint on them tonight and then bushings and lower ball joints installed by the weekend. Once the arms are done then it's full steam ahead with putting the rolling chassis back together!
Last edited by WTHIRTY1; Jan 21, 2020 at 02:15 PM.
This ignition bezel appears to have snapped off the lock cylinder. The GM NOS replacement ignition lock has the "finned ears" which are very different than the stock trim. ...I want to avoid ... having a separate key for the ignition and doors. What should I do?
Buy a physically-identical cylinder in good condition. Find a locksmith who will work on our old cars and have him change the pins in the cylinder to fit your key.
Buy a physically-identical cylinder in good condition. Find a locksmith who will work on our old cars and have him change the pins in the cylinder to fit your key.
Paint is drying on the frame. The top half of the frame received the first top coat tonight. I�ll give it another coat tomorrow and then the frame will be flipped so I can spray the bottom side last. I�ll give it a full week to cure before I flip it right side up and start reassembly.
Front arms will be dropped off for bushing and lower ball joint install so I should get them back by the weekend. Just keeping the ball rolling...
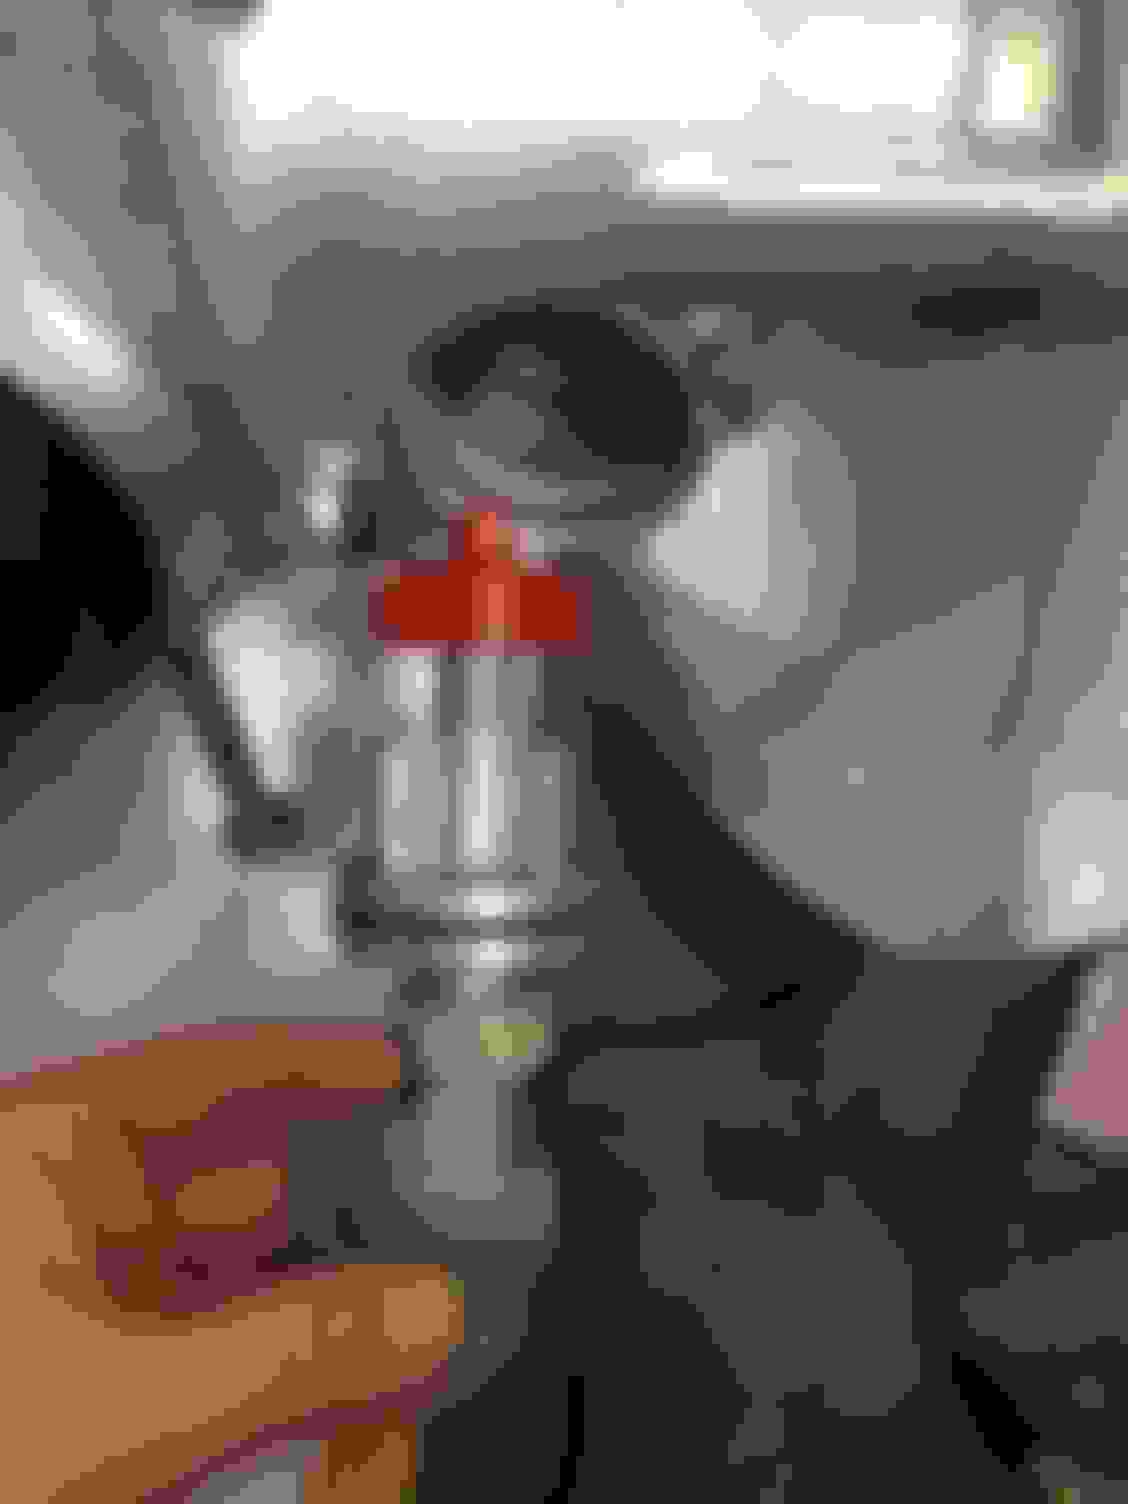
In the meantime, I started in on the radiator. My plan is to have the core support and radiator installed in advance before bringing the car back up to Michigan to be reunited with the body. The radiator was pressure tested last year without issue. I cleaned up one side with red scotchbrite and that seemed to work well. The EC tag was perfectly intact and will be refinished as a side project.
For the radiator finish, what�s the consensus? Semi gloss? Gloss? I�ve seen all types of finishes on show cars, and I actually like the gloss finish.
Lastly, the car has been accepted in to the 2020 MCACN show as a participant in the special 50th anniversary of the 1970 cars. Big honor and tons of work to get done in order to not embarrass myself! Really excited and a nice motivator down the home stretch.
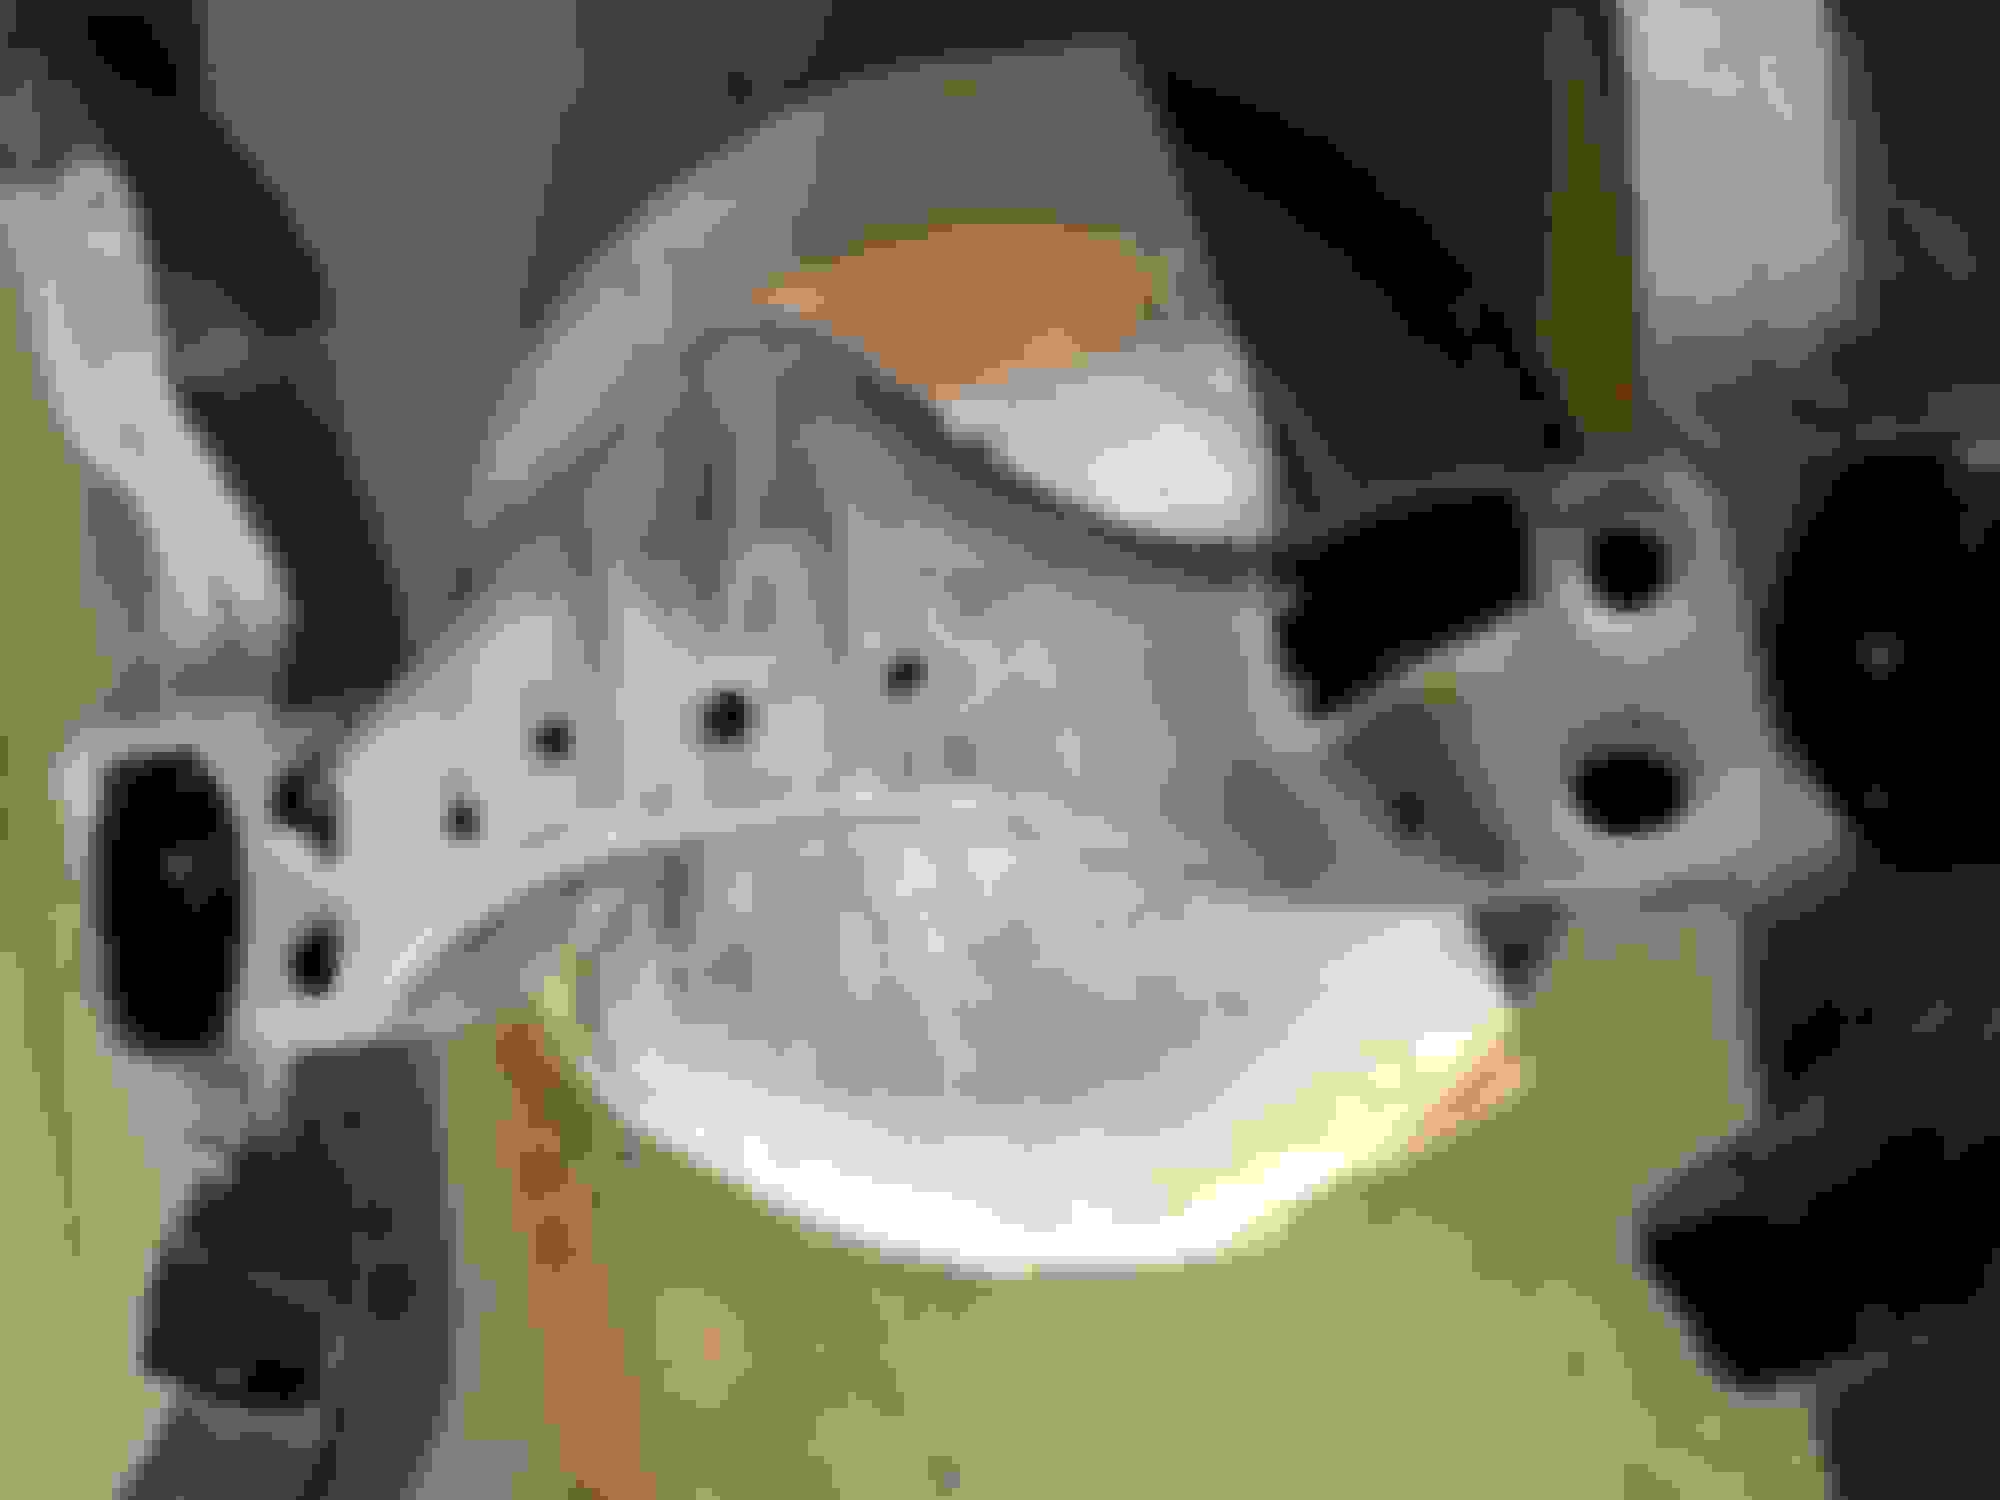
I have a pair of 9757826 NOS lower ball joints for the car. I was checking to see how snug they'd be with the lower control arms, and they went right in. They're not snug at all. If I wasn't holding them in, the ball joints would have hit the floor. The arms are off of a '72 Cutlass. Per the parts book, these are the correct 70-72 ball joints. What gives?
Can I weld the ball joints in place with a few tack welds? I don't want to get Moog of other aftermarket ball joints. In theory, the spring putting pressure on the LCA should keep the ball joint in place, right? Looking for thoughts on this from the group. Thank you.
Last edited by WTHIRTY1; Jan 22, 2020 at 06:11 PM.
Some aftermarket ball joint manufacturers offer "oversize" ball joints for this type situation but that's not going to help if you want to retain originals. I had to use the oversize lowers on an Abody one time. No opinion on welding.
...NOS lower ball joints [are] not snug... What gives?
The ball-joint holes in the arms appear to have no accident damage; they seem to be uniformly round.
When I worked as a junior mechanic in the day, some would always press in oversize ball joints "just to be sure nothing moves." That's a possible explanation.
The ball-joint holes in the arms appear to have no accident damage; they seem to be uniformly round.
When I worked as a junior mechanic in the day, some would always press in oversize ball joints "just to be sure nothing moves." That's a possible explanation.
I'm going to swing by the parts store today and see if I can test fit a different brand of lower ball joints. While welding seems like an option, from a safety perspective I want to do the right thing. Stay tuned...
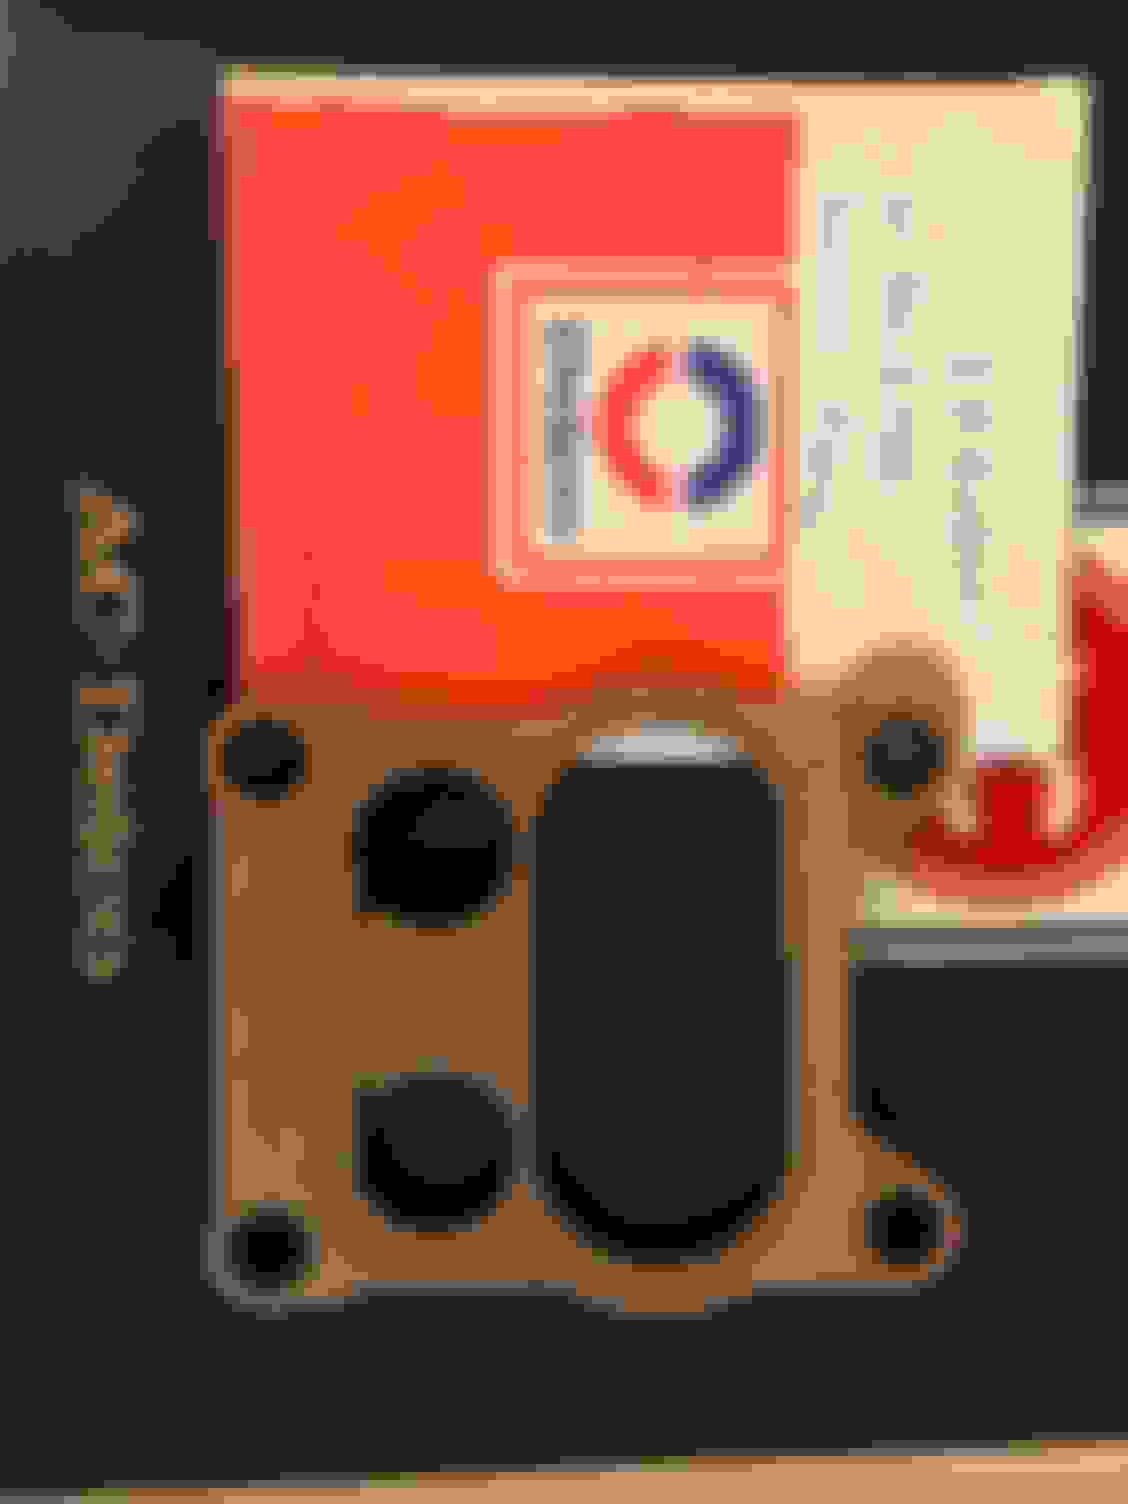
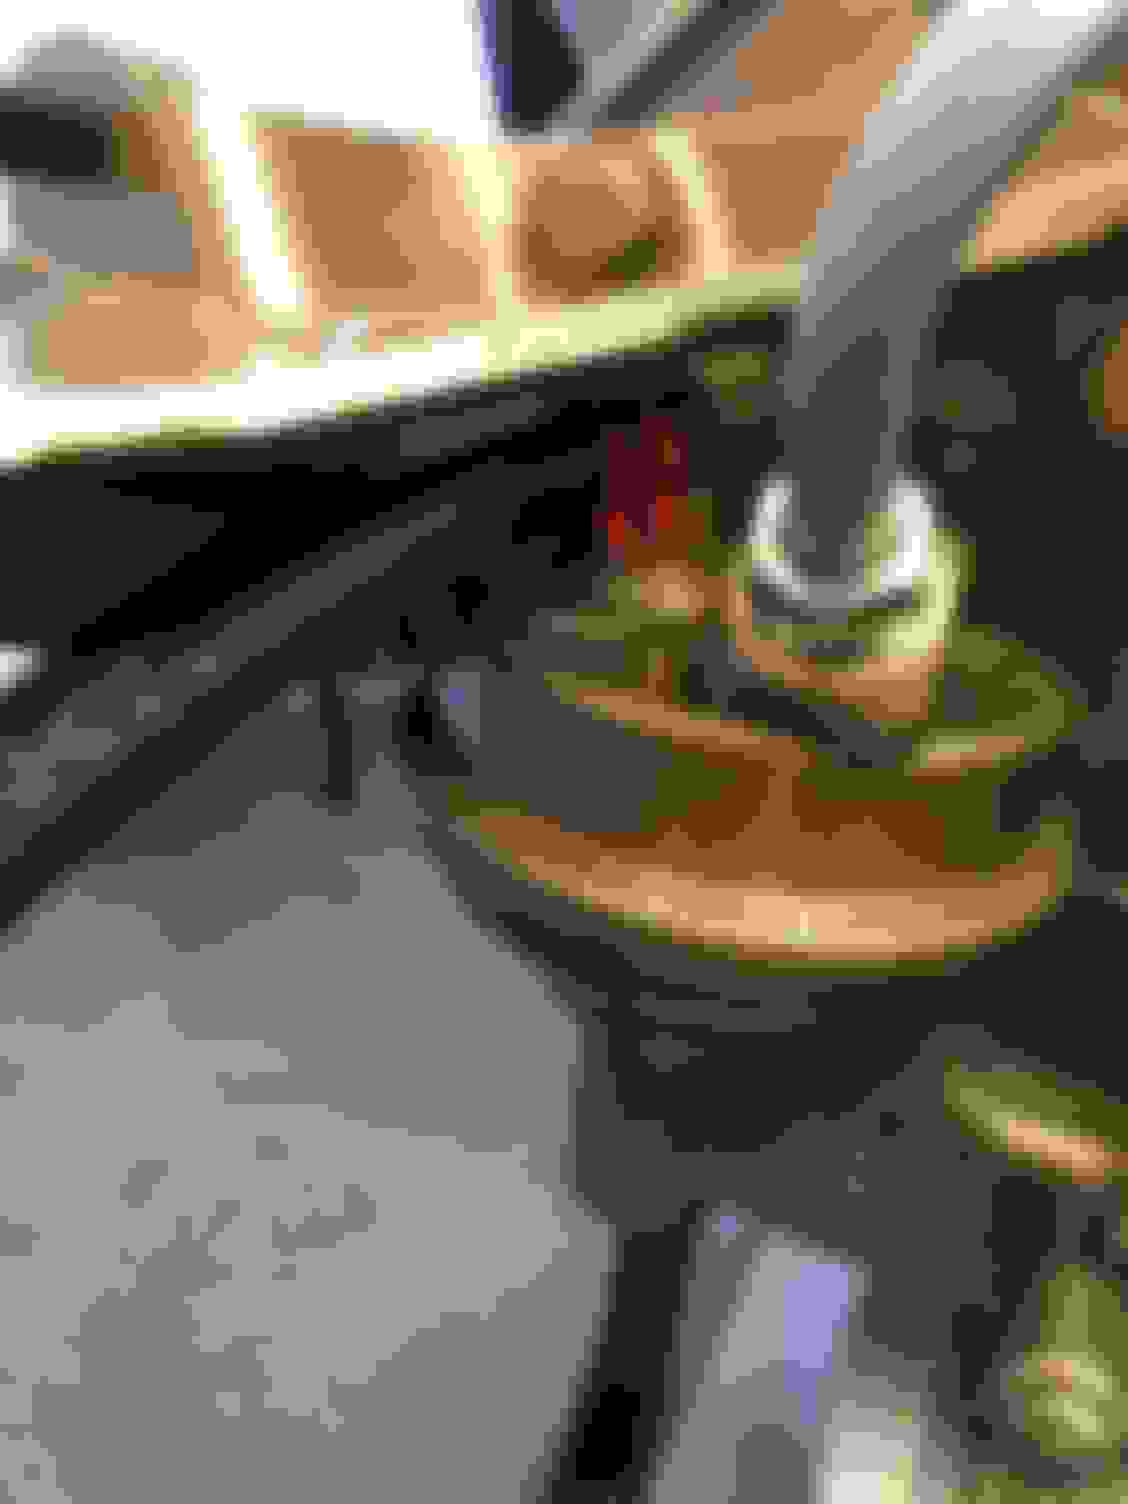
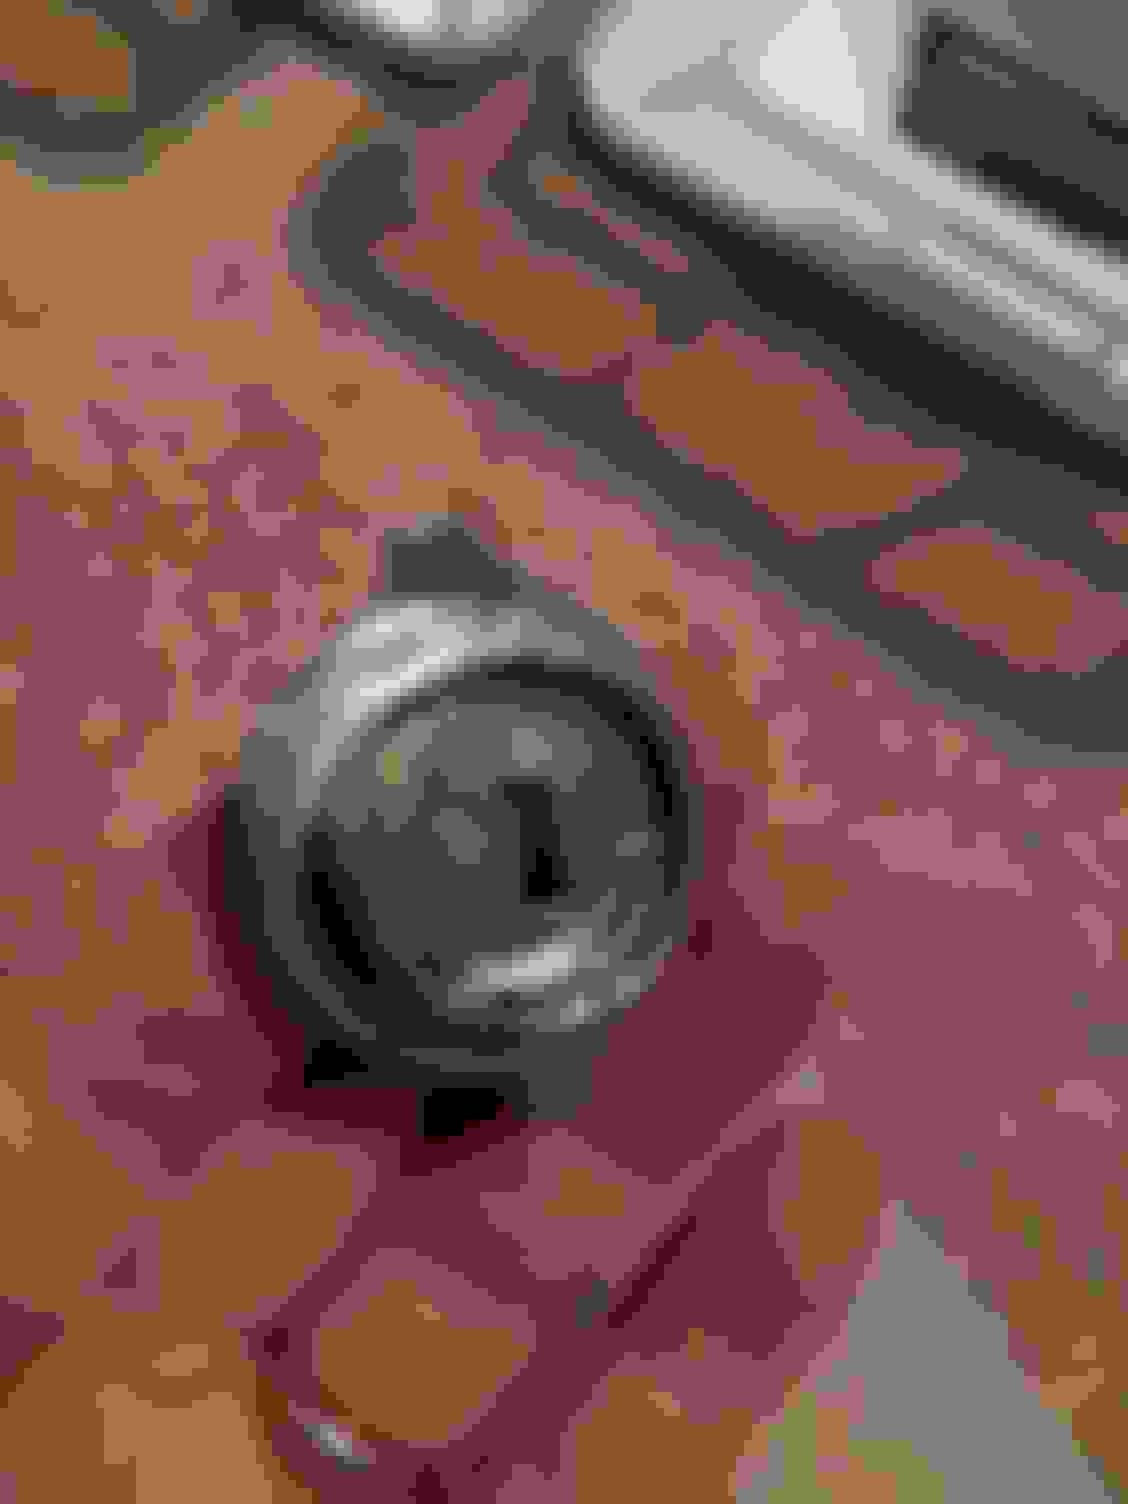
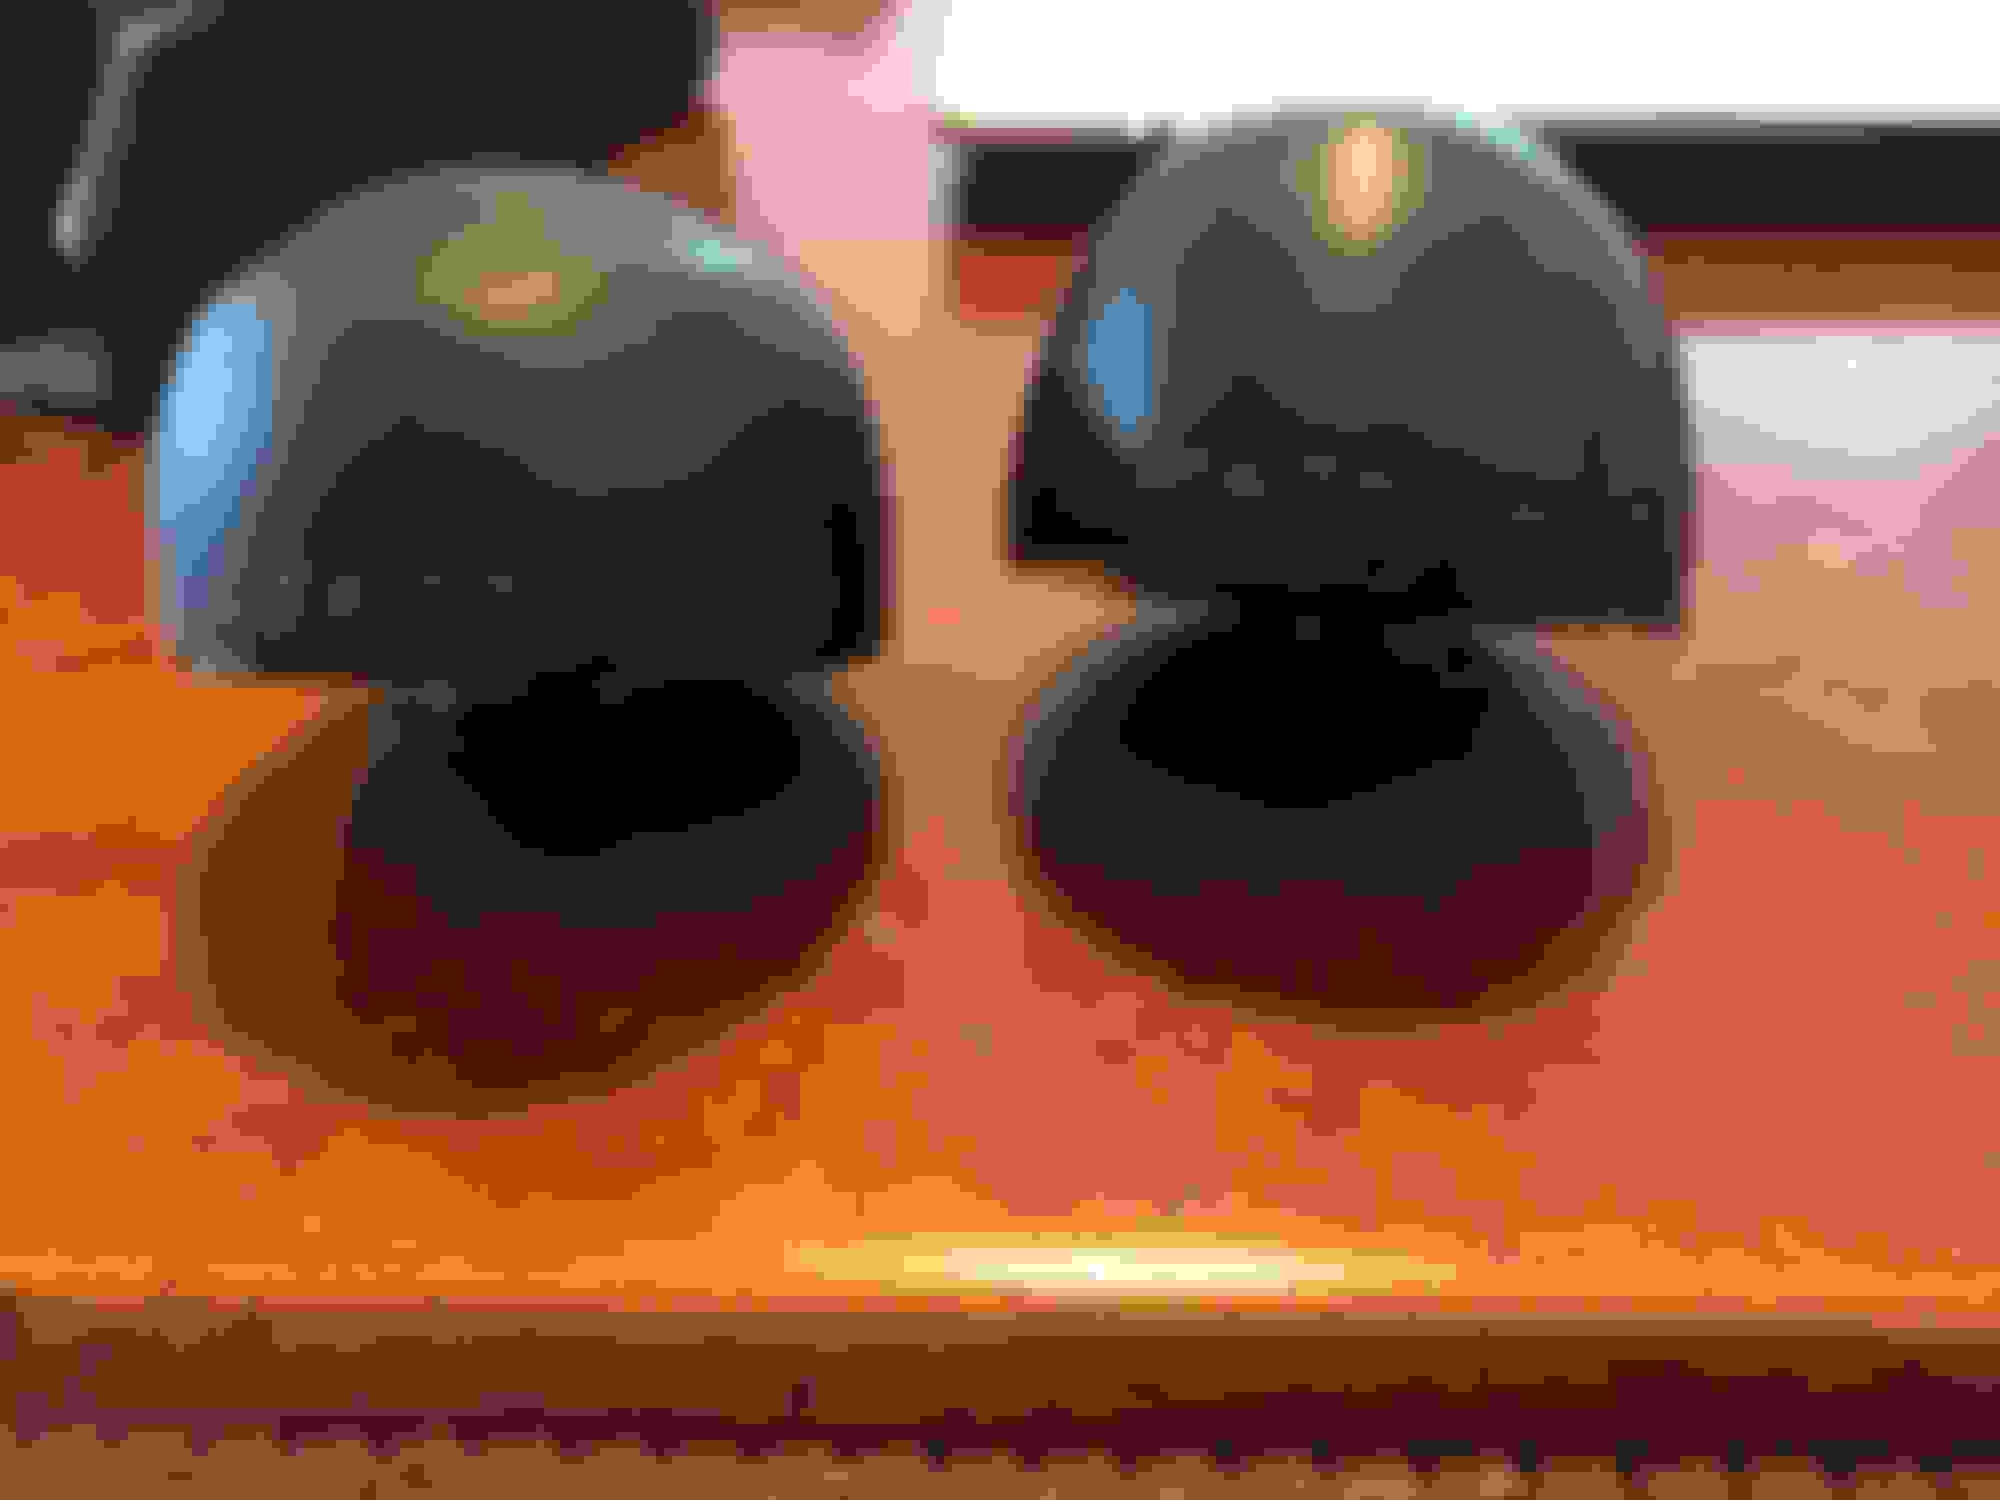
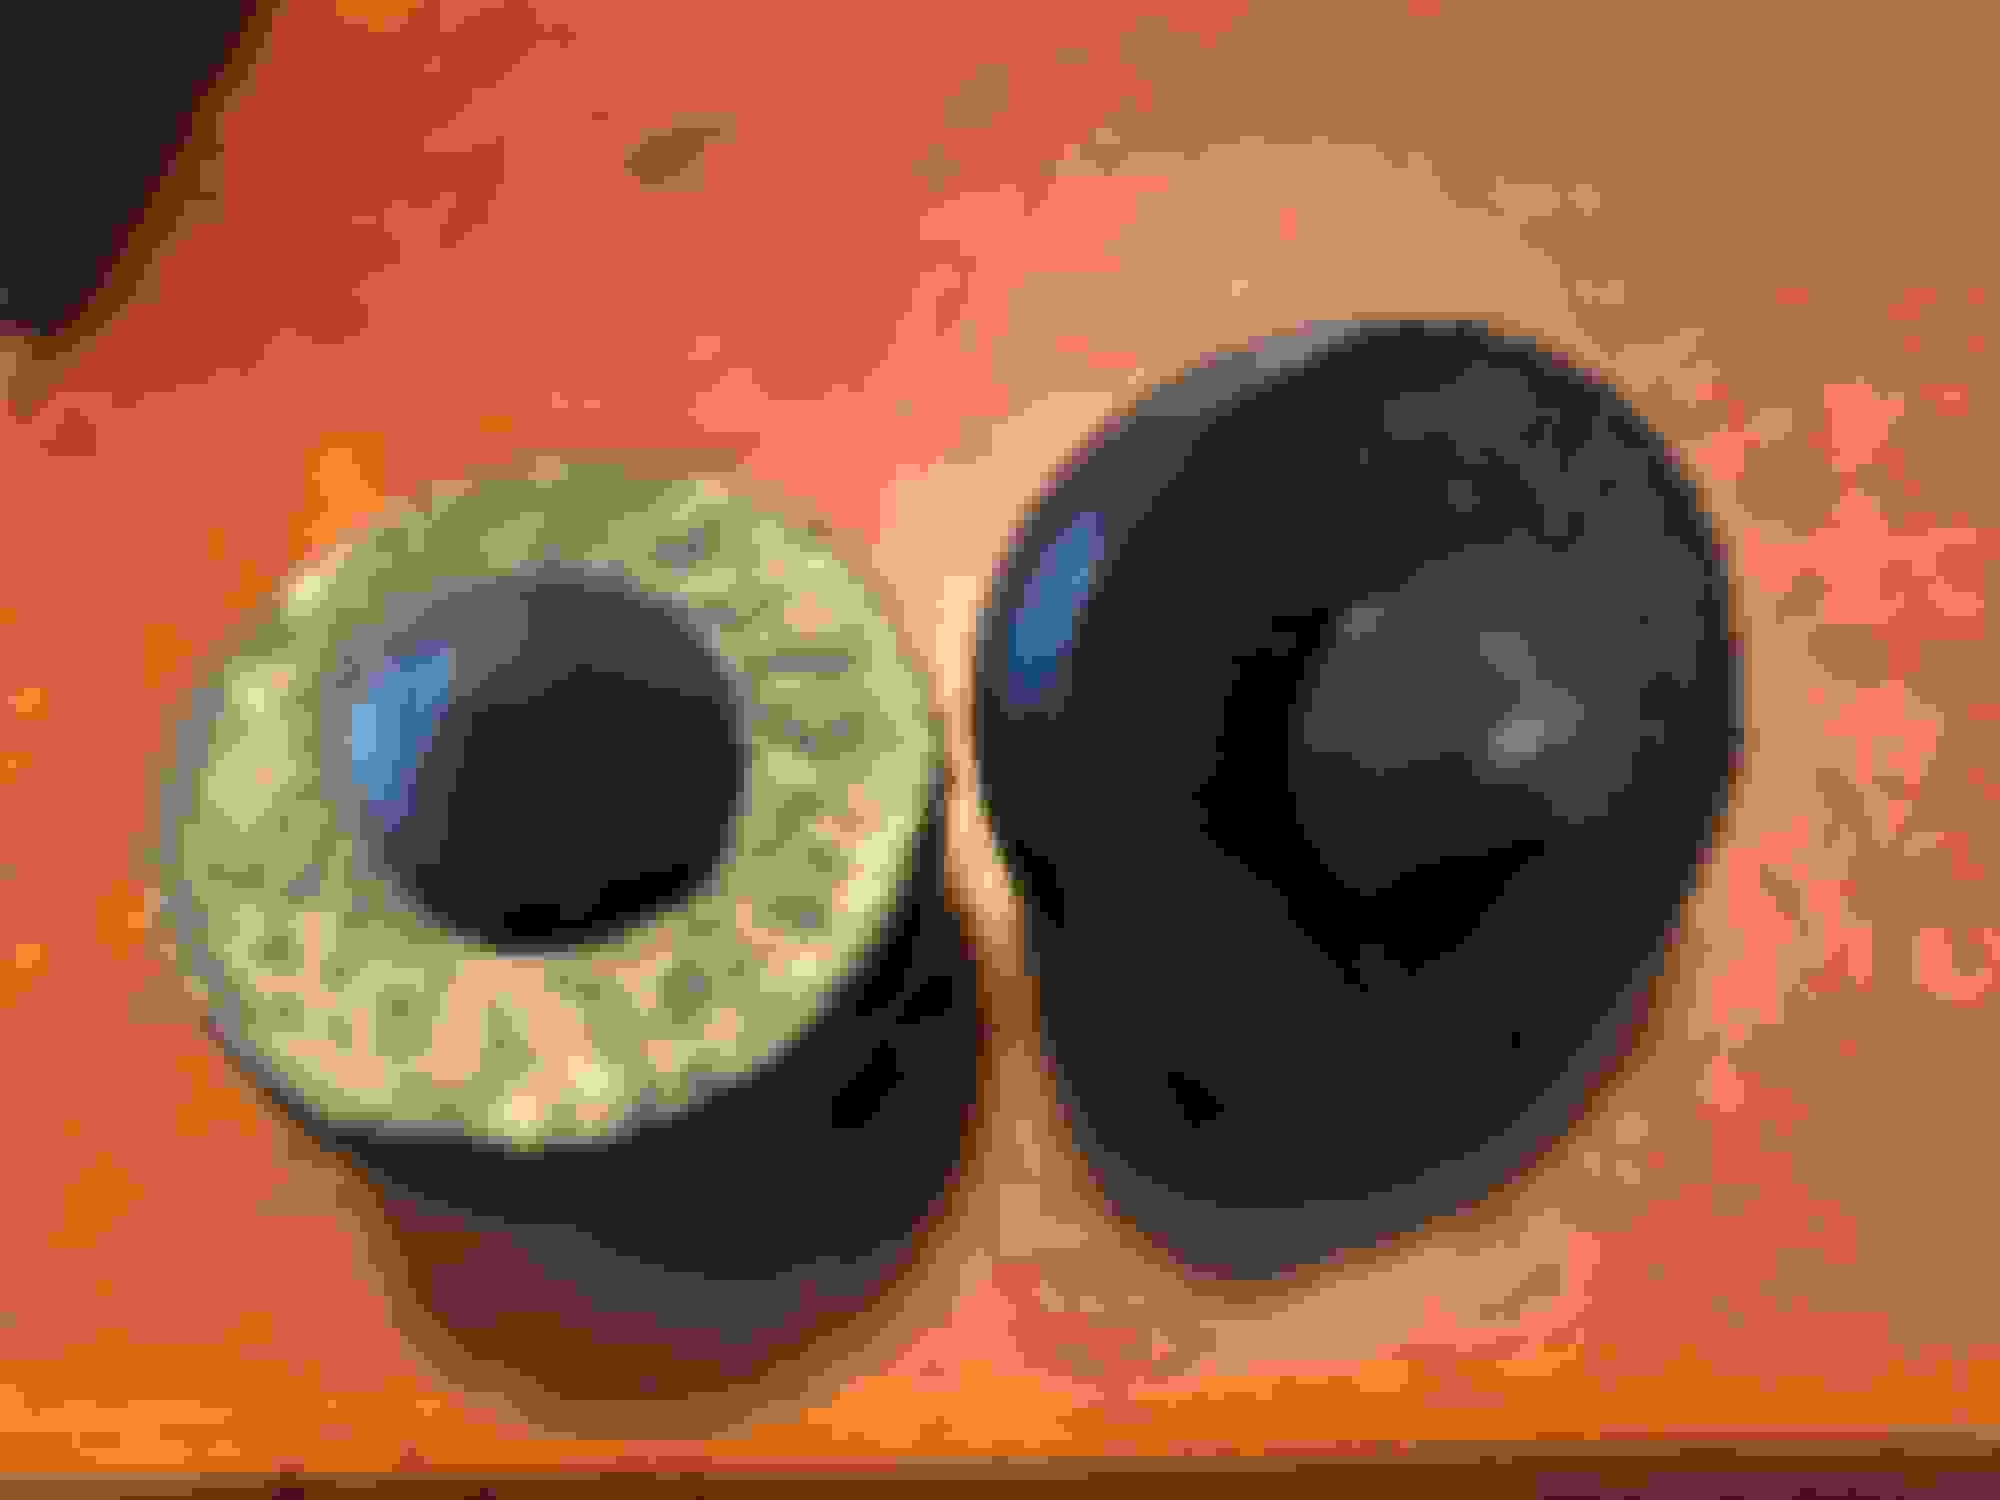
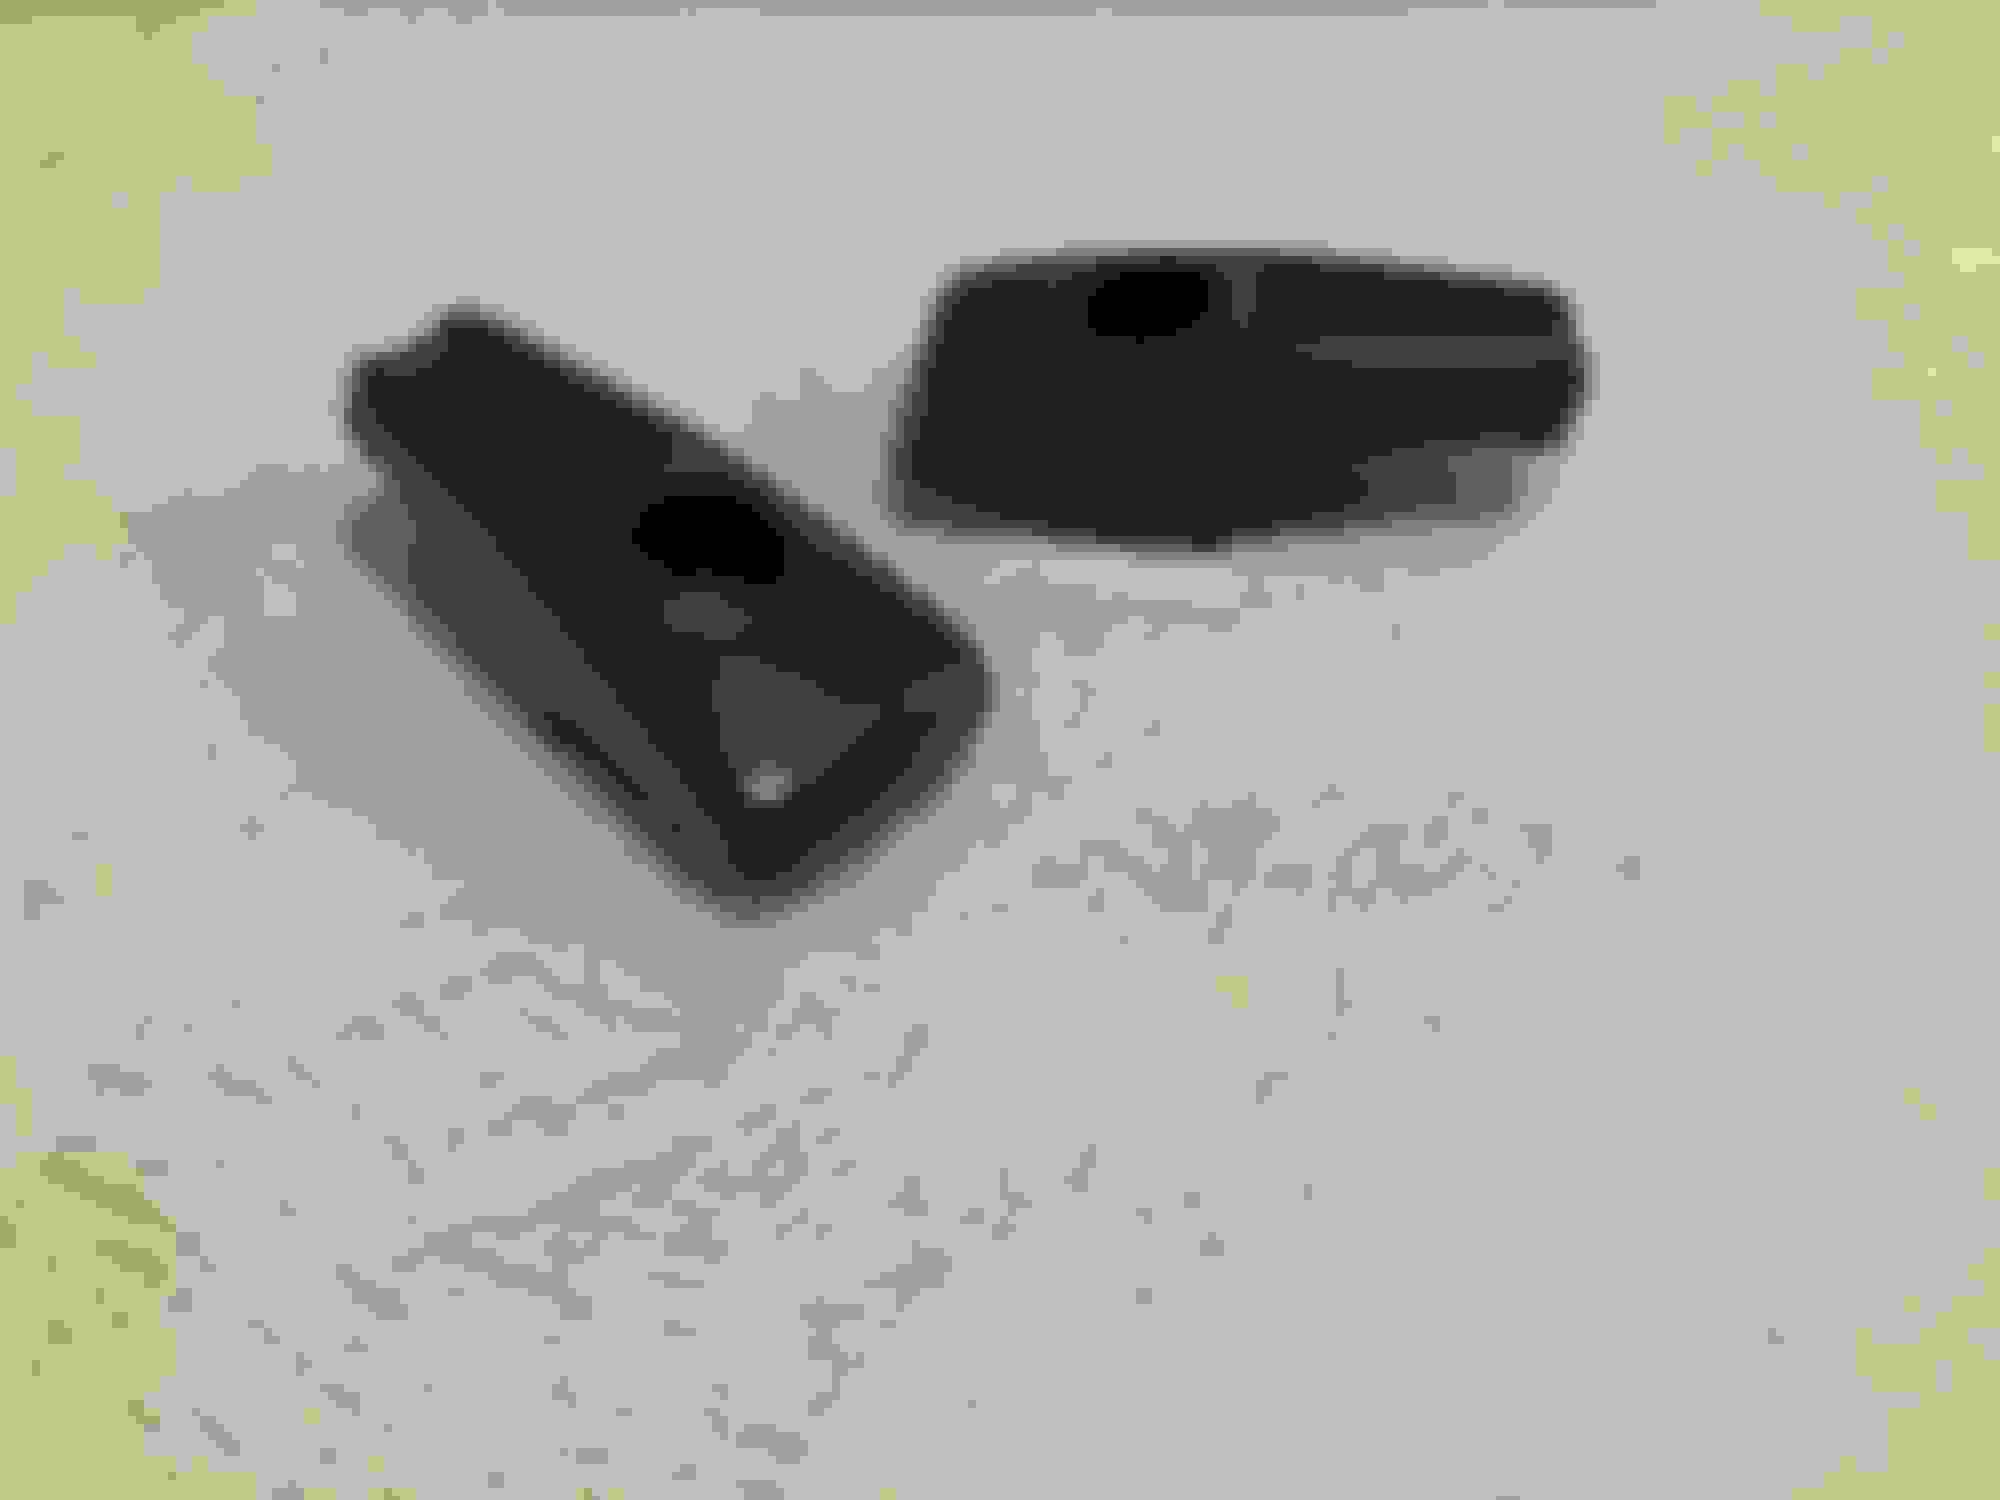
Decided to clean the original rubber bumpers. Pretty cool to see the original numbers embossed. These will be going back in the frame. I�ll have to check the reproduction pieces and see what they have as far as numbers.
I have worked in auto parts manufacturing my whole career, and my opinion would be to not weld on these parts.
Either the OD of the ball joints are too small or the ID of the bore in the LCA is too big, whichever has the NG dimension is NG, one of the two needs replaced.
You and I are going to be racing side by side, neck and neck at PSMCDR one day and I don't want to hear anything like "my ball joints are too loose" at 100+MPH. :-)
For the radiator finish, what�s the consensus? Semi gloss? Gloss? I�ve seen all types of finishes on show cars, and I actually like the gloss finish.
Lastly, the car has been accepted in to the 2020 MCACN show as a participant in the special 50th anniversary of the 1970 cars. Big honor and tons of work to get done in order to not embarrass myself! Really excited and a nice motivator down the home stretch.
Radiator should be gloss black. I'm using Eastwood's Radiator Black for mine as it's viscosity is thin enough as not to cause "clogging" of the radiator's core fins. Nice work!!!
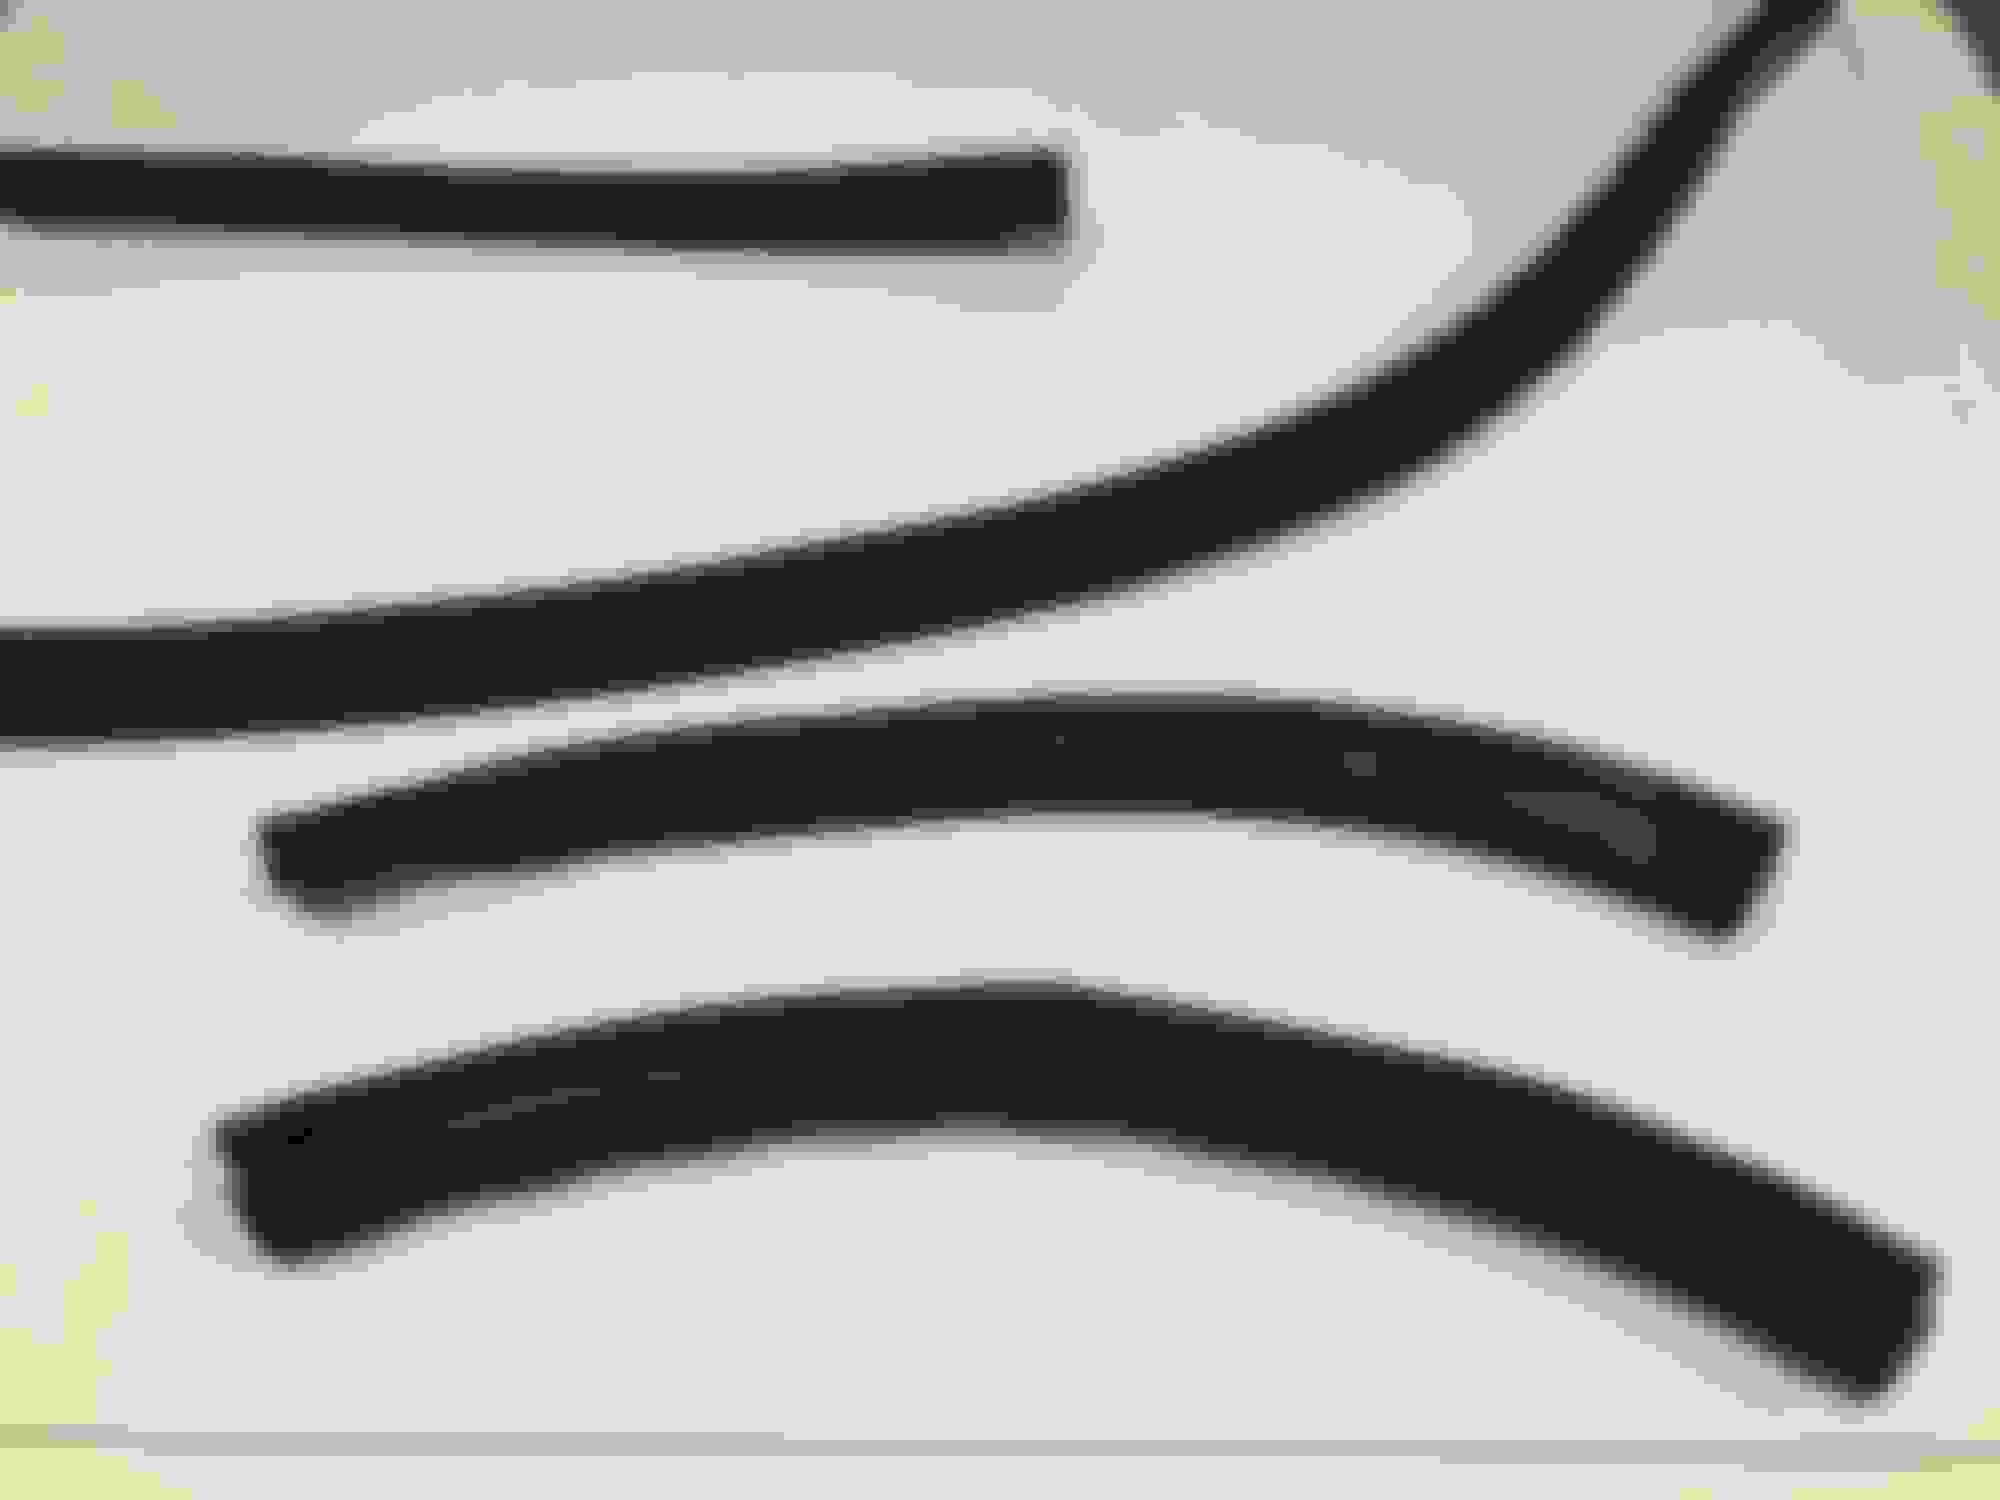
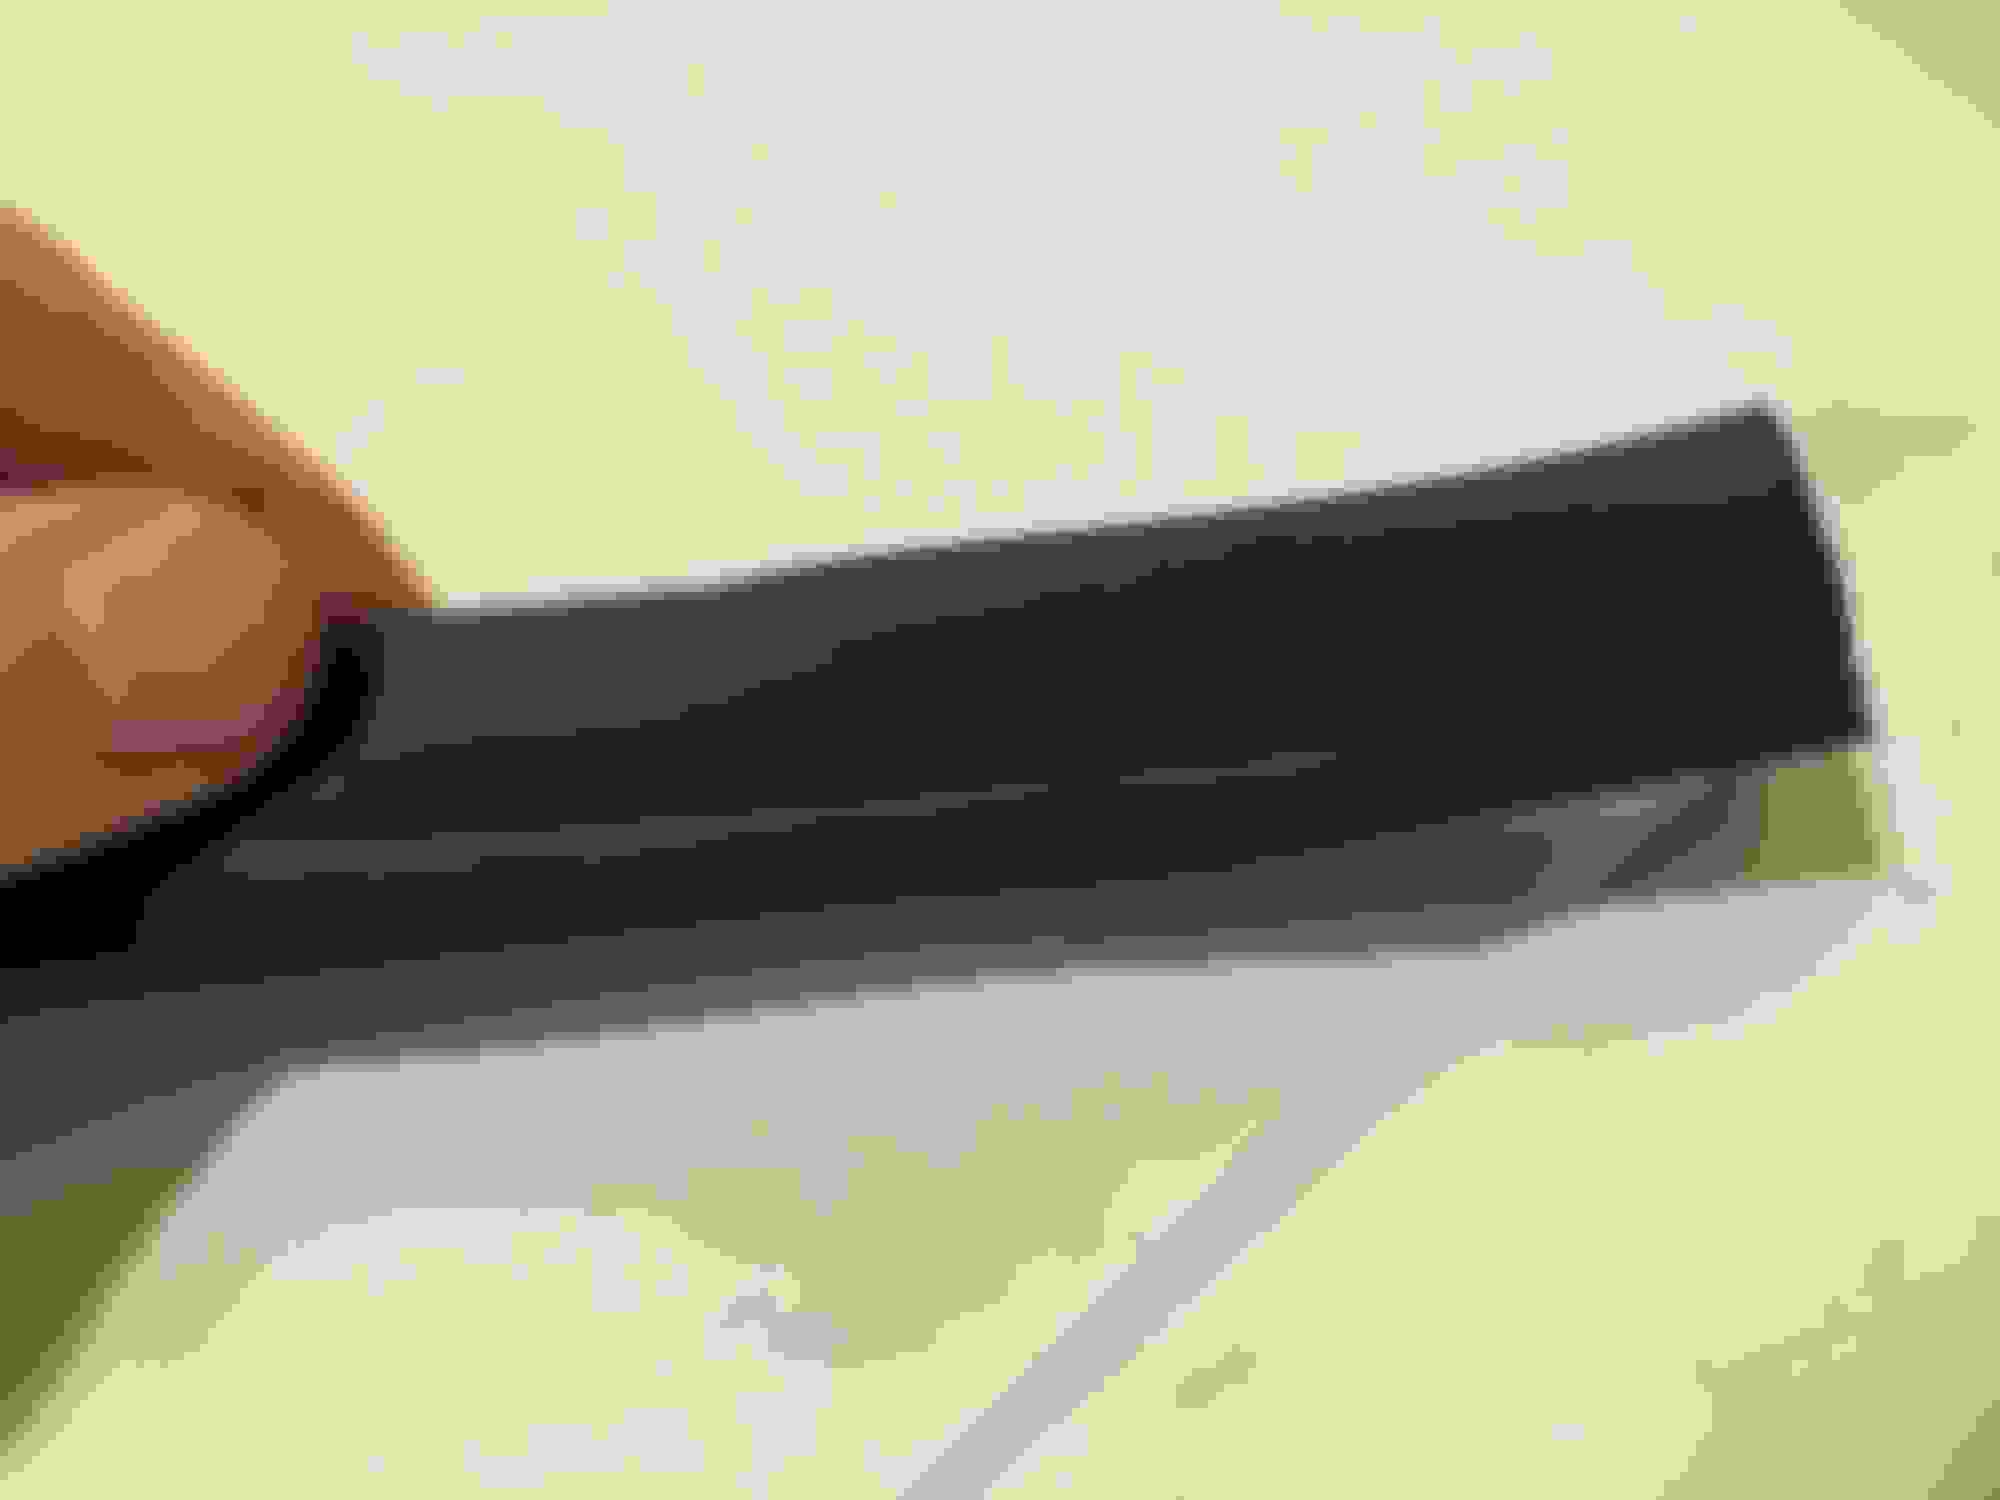
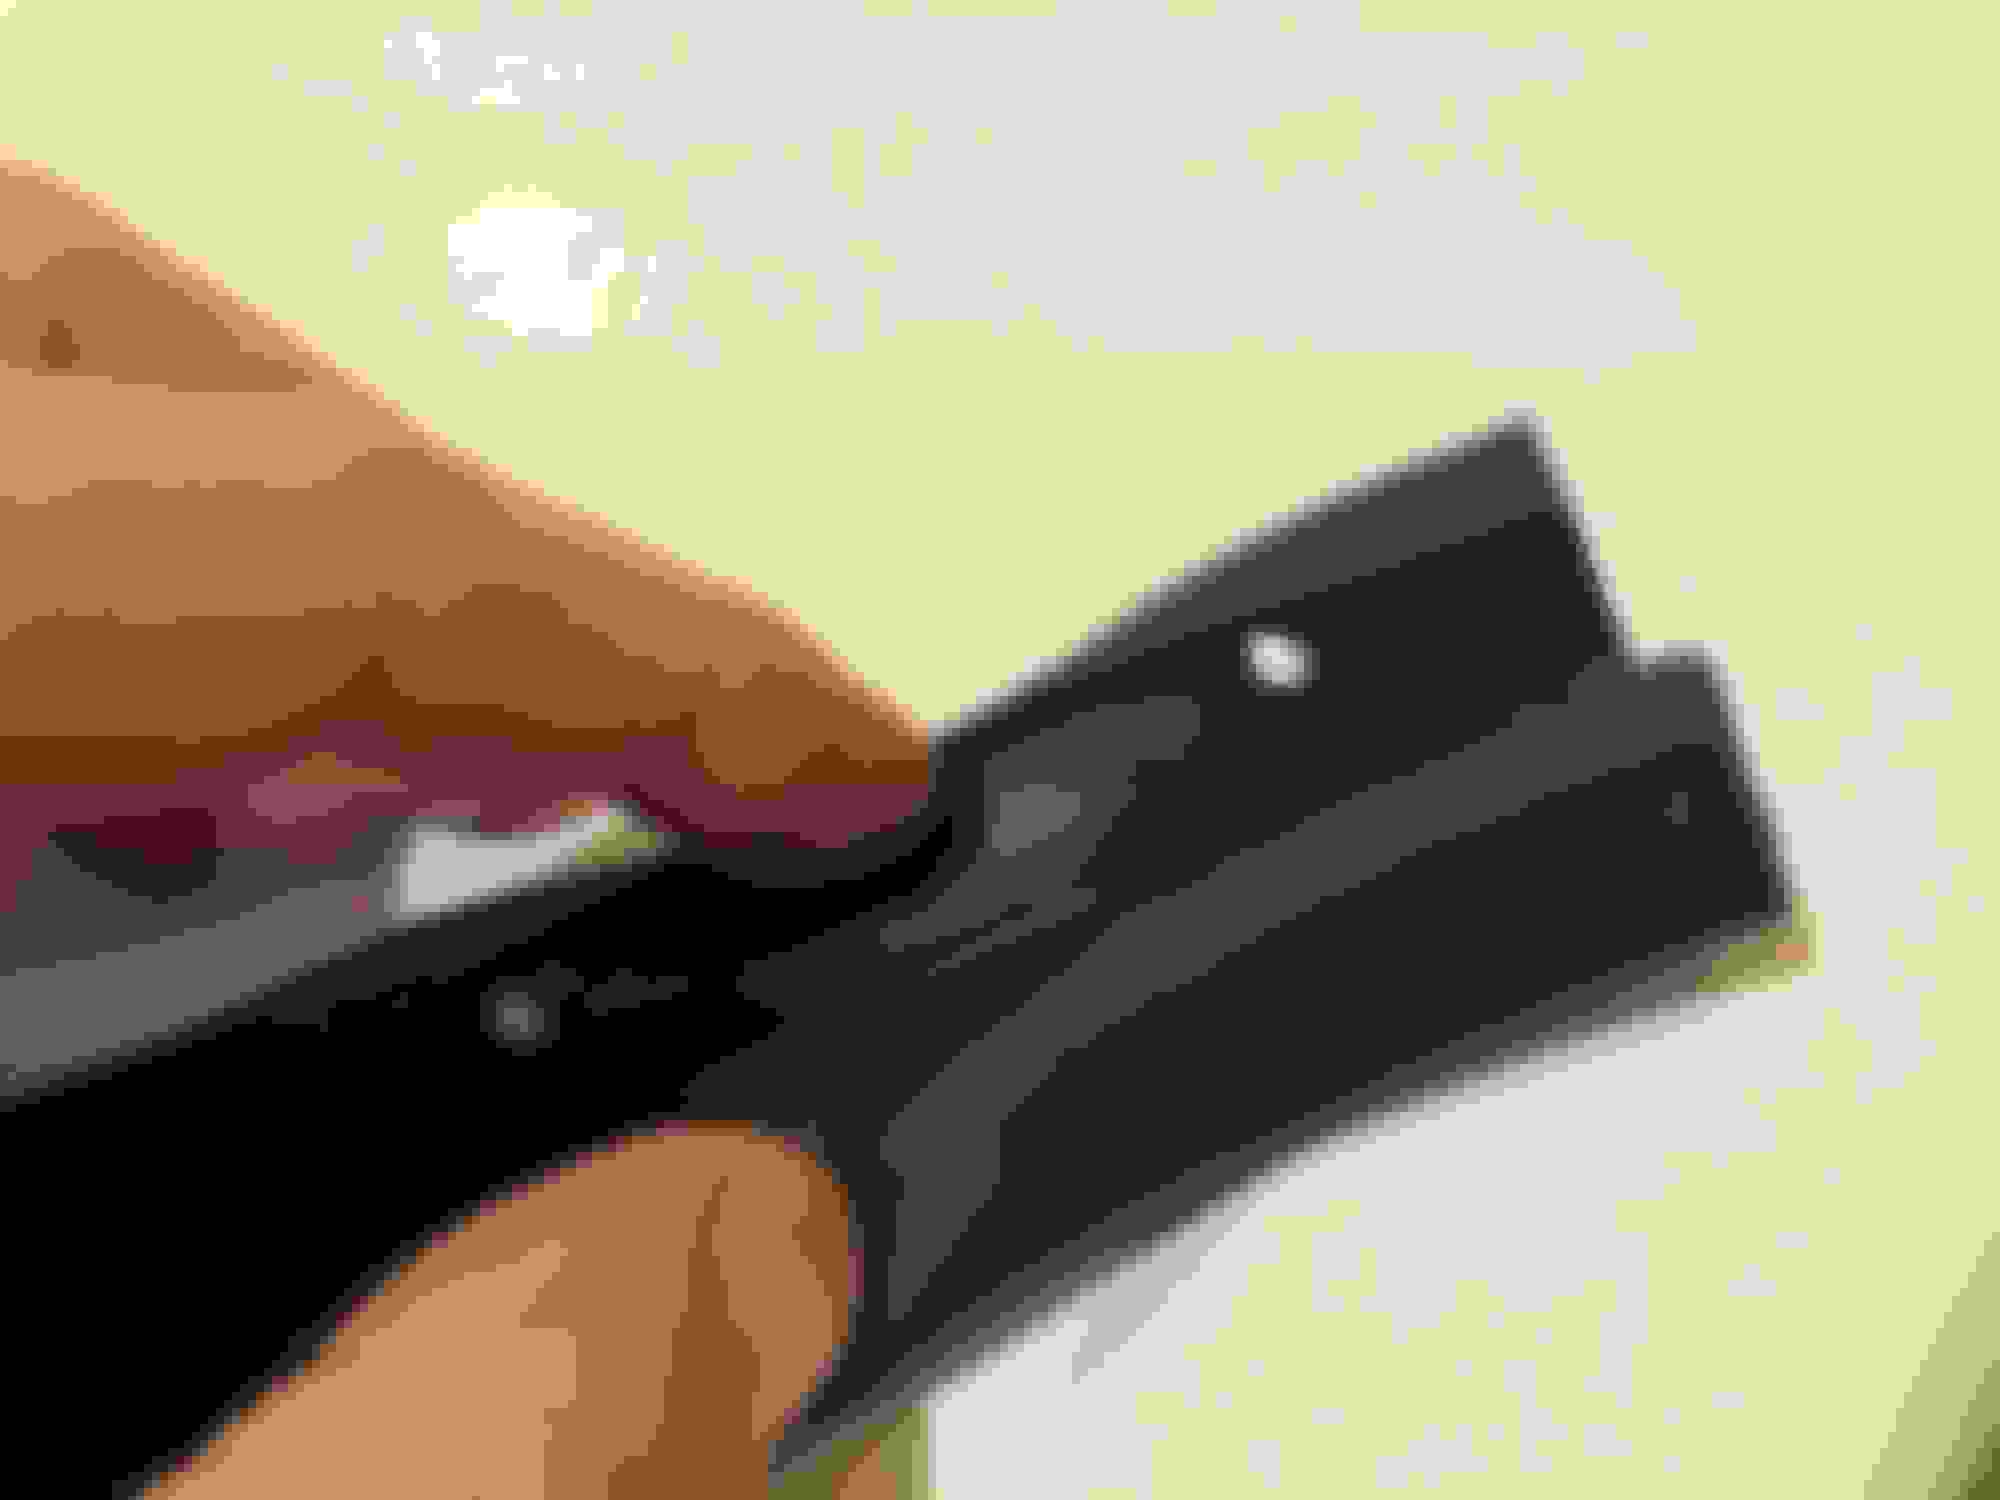
Had a spare hour this evening to work on the car, and since the paint is still curing on the chassis, I used the time to clean some original rubber. Specifically, I pulled out the original rubbers for the top of the radiator, sides of the radiator, and the factory cowl seal. I soaked them in the laundry sink in hot soapy water mixed with Dawn. I used a scrub brush and red scotchbrite (arguably one of the most helpful products I�ve used�thanks Bob!) to get the rubber clean. The cowl seal was by far the hardest since the adhesive / sealer had settled on the �front� of the rubber. After drying the rubber, I wiped each piece down with a liberal coating of Meguiar�s Rubber and Vinyl cleaner. Great stuff.
The rubber for the sides of the radiator are the same as the cowl seal rubber. What I like about the original seal is that there are three ribbed lines that you can see when you pull the flap back, whereas the reproductions I�ve seen just don�t have that.
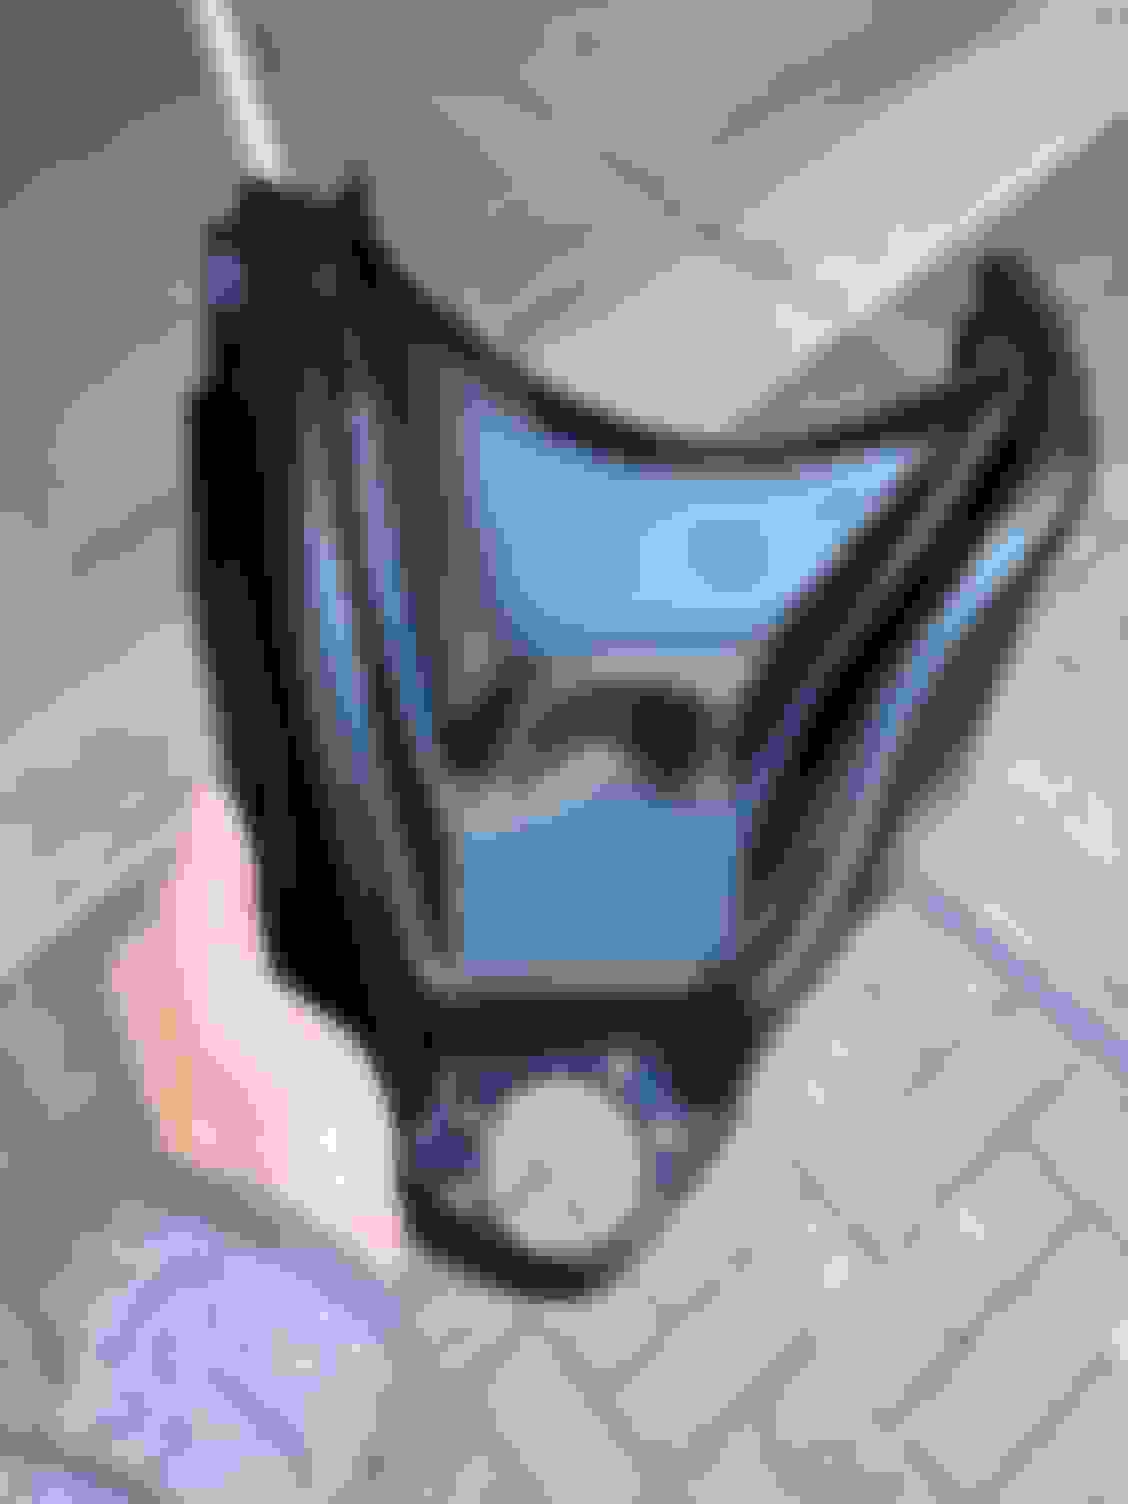
Since I was in the cleaning mode, I took a toothbrush to the blue plastic coat hooks. They came out looking like new!
Last edited by WTHIRTY1; Jan 23, 2020 at 07:57 PM.
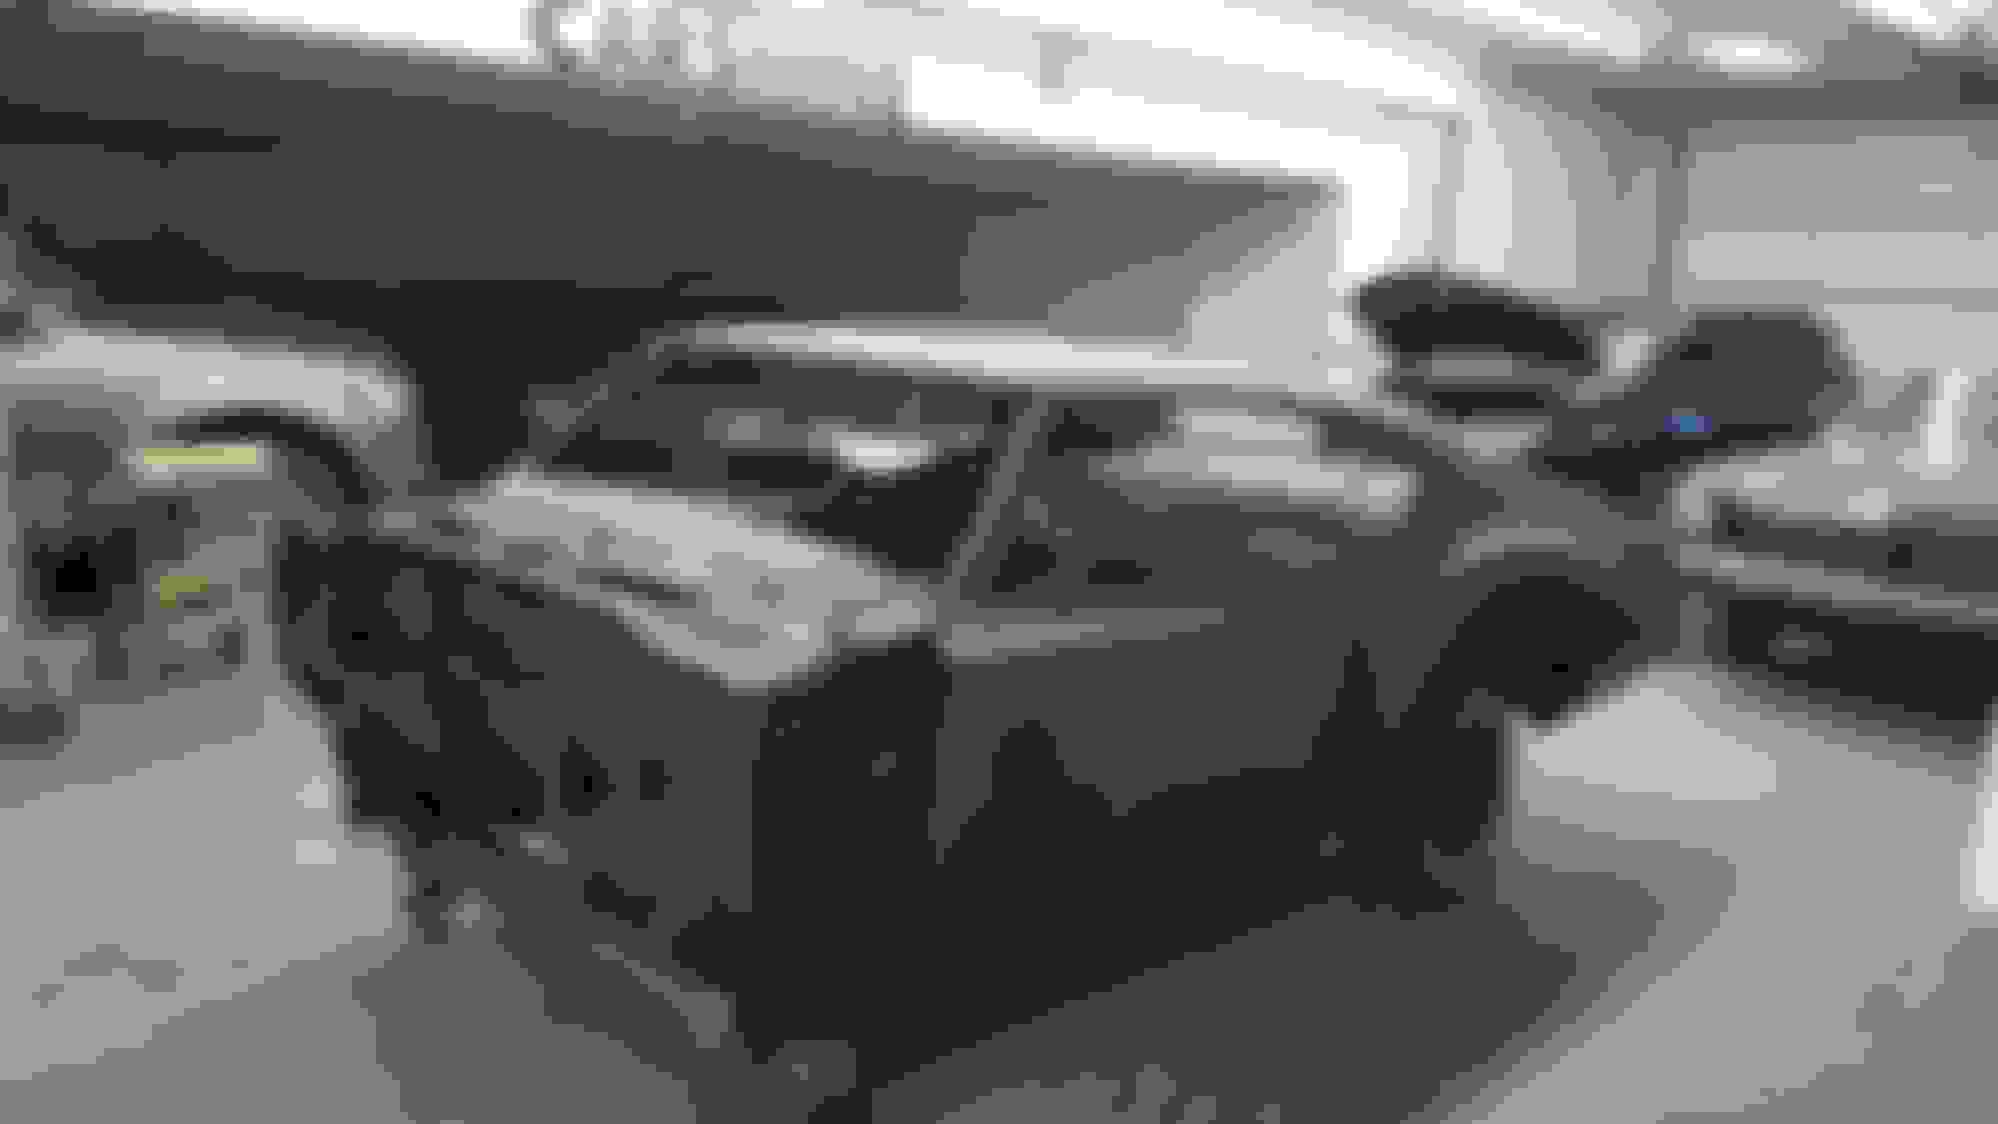
Finished the frame paint this weekend. Put two coats of Eastwood Chassis Black on the bottom side of the frame. My buddy says the sheen will �die down� a bit over the next few weeks so I�m good with the overall finish.
The paint will cure all week. I�ll flip the frame back over on Friday and start reassembly. Since I�ve already put the frame back together once in the last year, I�m hoping reassembly will be quick. Ideally, I�ll be able to get the engine and trans in, too. We shall see...
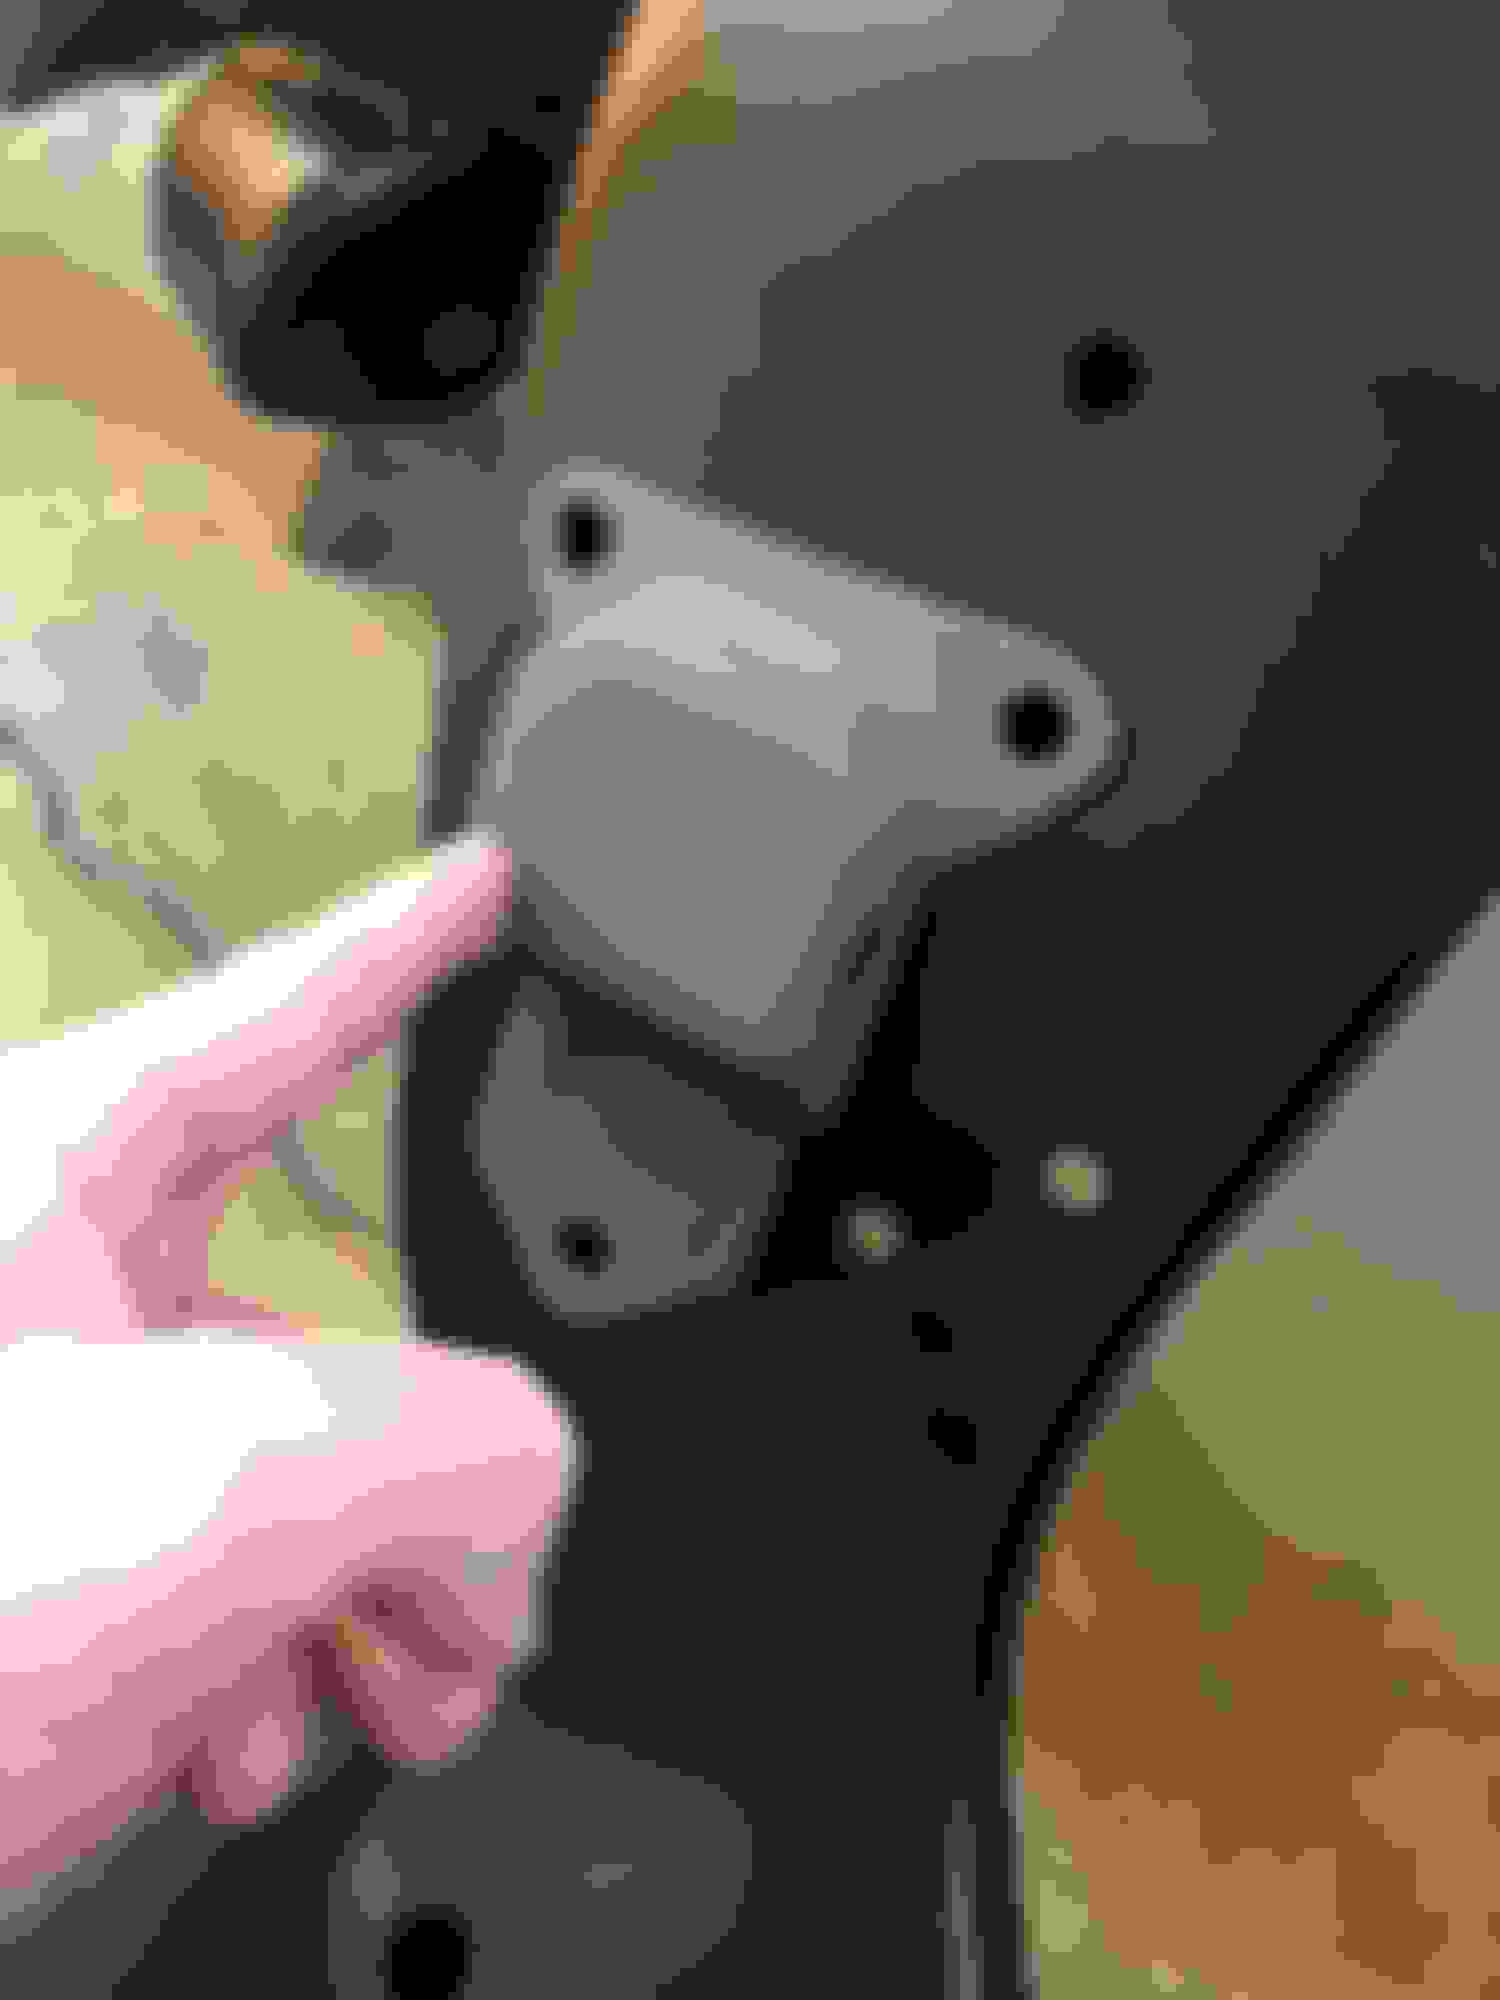
Mocked up the engine pads to see how they�d look. The pads have been finished in phosphate. Pretty cool contrast.
Wet sanding in progress. The blue is looking good!
Frame paint complete. Glad I redid the frame and didn�t stay with the powder.
Frame looks great! Did you use normal body filler to smooth it out? I�m having mine blasted soon, another Midwest car, and I�m sure there�s going to be some pitting.