When you click on links to various merchants on this site and make a purchase, this can result in this site earning a commission. Affiliate programs and affiliations include, but are not limited to, the eBay Partner Network.
That is what I have always found is that the sleeves are supposed to be bare and no coatings. I always coat them with something though. I know it is not original but I don't want it to look rusty after a year and have to clean it off. I suppose Boshield would help it to last longer with the wax it leaves behind. Just have to be sure to hit them again with it after the steering is aligned.
More cleaning. Soaked the rear rubber grommets for the TL wires in Evaporust since these have the four metal prongs that were rusty as hell; cleaned them, hit them with Boeshield, and wiped the excess off the rubber for a nice finish. I also cleaned / degreased the original washer jar cap, hood bumpers, the metal clip for the remote mirror escutcheon, and the plastic clip for the kick down cable.
Stripes are on and they look outstanding! The hood went on this week and it was really cool to see the phosphated hinges and latch mechanism installed.
It feels like we�re getting closer. Fingers crossed the Nationals aren�t cancelled this year!
Unrelated to the resto, I picked up this cool vintage Olds jacket. Love seeing the Dr. Olds embroidered patch!
Started reassembly of the front bumper brackets last night. Truthfully, the hardest part of the process is referencing tear down photos and identifying which plated washers and nuts go where. The kicker is that my survivors cars are all in storage and nowhere near the house to reference.
The bumper bolts from left to right: NOS bolt, original factory bolt, ILT bolt. You can see the square portion that pushes in to the bumper is wider on the original and NOS versus the reproduction. Subtle difference but nothing overly impactful.
Braces have all been sandblasted and painted. Original hardware has all been replated based on what I thought the original finish was. Again, some of the hardware is really difficult to find traces of original finishes.
Last edited by WTHIRTY1; Apr 16, 2020 at 08:19 AM.
Last night I mocked up the front bumper brackets. Somewhere along the lines, my bumper hardware got mixed up. I’m trying to piece together what goes where based on the PIM and the cross reference to the AMK catalog. Specifically, what I’m trying to confirm is whether the washers and nuts for the braces are phosphate or clear zinc. I’m drawing the conclusion that they’re phosphate. I’m also trying to determine the length of the 9419073 bolts used in four places versus the shorter 9419071 above the license plate area. We shall see. I may have to wait until the other cars come out of storage to confirm.
The top bolt is what I believe to be 9419073. The bottom bolt is what I believe to be the short bolt for above the license plate.
Last edited by WTHIRTY1; Apr 16, 2020 at 12:45 PM.
The SSII wheels are painted and look outstanding! These are the original wheels to the car and date code correct.
I�m in the process of nailing down (no pun intended) the correct valve stems for the SSII wheels. I found two NOS valve stems #274083. I need to find three more valve stems that are 1 1/4�. According to the parts book, it appears that the valve stems used on the 1970 Olds were either the 2� or 1 1/4�. Go figure the shorter valve stems are used with the trim ring.
Went through some details on the steering column tonight before tear down. A few observations...
The trim bezel on the ignition cracked off. I want to get a replacement piece but still maintain my original ignition key. I have an NOS �70 lock that is supposed to allow one to recore to their key except it�s a �big ear� version. Thoughts?
I may have mentioned it before, but it�s cool to see the blue paint over the wires in the column.
I was careful to pull the foam off the two plates that touch the firewall. From what I have seen, the reproductions absolutely suck in comparison to the original. I�m not sure this one can be salvaged but I am going to try. The reproduction foam is about a 1/4� thinner if not more.
Anyone have a method to install a new lock with the correct trim AND get it to work with my original key? Locksmith magic, perhaps?
I wanted to at least get the turn signal lever out before packaging the column for shipping.
I am going to clean the foam up. The part that is visible through the firewall appears to be in good condition.
Huge thanks to my friend Chris for hooking me up with the perfect color match for the blue column. Appreciate your help as always!
The valve stems...I'm pretty sure SSII wheels in 69-70 were 1 1/4" DILLS. I think the longer stems were used on hubcaps. AFAIK, you can still buy new 1/14" DILLS. There were 2 styles of caps, a small font (old) and a larger font (newer). They may have different caps now. I used to go to the boneyards and grab caps when I saw them. I totally understand being fussy, I have no probs with using NOS belts, hoses, etc. The stems? I use NEW, with old caps. My car scored 1K in Sturbridge, trust me...they are not going to check the stems and I don't think there's a person alive who can tell the difference. The caps...yeah...you can spot them from 5 feet and all my old cars have them. Honestly, I'd be more concerned about the gloss and color of the wheels than the stems. But...I can appreciate you attention to detail.
Last edited by mrolds69; Apr 18, 2020 at 09:51 AM.
Locksmith should be able to take care of keying. I believe Briggs and Stratton made the originals and still make them today. My locksmith was even able to give me new keys with the little knock out tabs with the code number.
Anyone have a method to install a new lock with the correct trim AND get it to work with my original key? Locksmith magic, perhaps?
On our cars, it's a relatively simple job to fit a new lock to an existing key. You take the lock apart, remove the old pins, and then install new pins cut to the correct length to work with the original key. I did this 60 years ago when I wanted to keep my original key but had no money for a locksmith. I got the pins from the dealer for a few cents each. Not suggesting you do this, but only explaining it is straightforward for a locksmith to do.
As an oh by the way, if you're looking for correct NOS keys and don't have some acquired as yet, you'll be looking for the ones with the J and K on there that are squared up properly on the stamping, vs the angled style they're using on the newer version.
Here's what appears to be old-school GM p/n 320470 (Square J) and 320471 (Oval K) keys.
We�re all good on that front, thanks. An original set of keys came with the car, too. You can see the ignition key is worn down badly. We tried making a copy based off the codes on the dealer paperwork but it didn�t engage properly. I never did check the door locks for a code. Hmm.
Painted the interior dome light bezel white today. The original was white on the inside, but unfortunately the prong has cracked the plastic. The NOS bezel had a rough texture on the middle and didn�t have the white paint. Quick mask and spray.
Painted the interior dome light bezel white today. The original was white on the inside, but unfortunately the prong has cracked the plastic. The NOS bezel had a rough texture on the middle and didn�t have the white paint. Quick mask and spray.
hard to tell from the picture Jimmy but does the original have the rough texture under the white also?
hard to tell from the picture Jimmy but does the original have the rough texture under the white also?
Good eye, Andy. The original one doesn�t have the texture. Another classic example where an over the counter part differs from the factory part. Same number and everything.
Service parts sometimes differ from the production stuff.
These parts are supposed to be Fit, Form, and Function compatible.
Check the revision number between the original and over the counter part and they should be different.
Yes, we've tried to call out several times the differences between the parts, per my last post. The 8732779 reflector appears to have been retired in 1981.
Sneak peak at the W-31 with the fenders and hood installed. NOS Cutlass and W-31 emblems installed, door handles, window mouldings, and a few other small items also put back on the car. She�s getting close and has definitely come a long way!
June 2019
April 2020
Last edited by WTHIRTY1; Apr 23, 2020 at 07:28 AM.
Yes, we've tried to call out several times the differences between the parts, per my last post. The 8732779 reflector appears to have been retired in 1981.
Interesting that the original and NOS service part are mirror images of each other when looking at the backside, according to the lens tab slot locations. Curious as to why the supplier would've swapped the inserts on the tooling for p/n and revision numbers.
I went through this years ago with the dome light housing. I think the newer one is a smaller diameter. I suspect they changed it because there was a bulb change at some point. Maybe the newer bulb put out more heat? Maybe they had to change the plastic? Clearly it would cost more to paint them, maybe they just dropped that step? Who knows?
Had a small window to work on the car today, and the weather warmed up a bit, so I painted a few small pieces. The door lock retainers were covered in primer when I removed them from the doors. The inside of the doors had a red oxide primer sprayed and it covered these retainers. I also blasted and sprayed the red-ish tabs that screw in to the cowl for the moulding. The red may be a bit too bright but it�ll do.
Original retainers with an �M� stamped in to them.
Need to get these in the mail so we can get the locks and molding installed.
Those parts were not inside the doors when the car was dipped in the primer tank.
The body from the firewall back with doors and trunk lid were dipped.
That is how they did it at the Framingham plant in 1972 when I worked on the line
Those parts were not inside the doors when the car was dipped in the primer tank.
The body from the firewall back with doors and trunk lid were dipped.
That is how they did it at the Framingham plant in 1972 when I worked on the line
The lock retainers were that color for a Lansing car.
I'm sure you can agree that what was done at Framingham wasn't the exact same as the process in Lansing. And I'm sure what was done in 1972 may have changed slightly from how things were done in 1970, no?
Last edited by WTHIRTY1; Apr 24, 2020 at 12:11 PM.
I went through this years ago with the dome light housing. I think the newer one is a smaller diameter. I suspect they changed it because there was a bulb change at some point. Maybe the newer bulb put out more heat? Maybe they had to change the plastic? Clearly it would cost more to paint them, maybe they just dropped that step? Who knows?
Nope. Same size with a 3� diameter. See the pictures below. The lens for the housing also fits snugly without any issue of it falling off when positioned as how it would be in the car.
Presently working on a very original W 31 some of the clips are red oxide and others are of a military green colour khaki and this is a Lansing built car.
All W cars were assembled at the Lansing plant .
This is to say that there will always be deviation from the norme.
Always try your best and ------ .Nobody will know all the answers
Alain
Why exactly? Is it for judging and correctness or something else? just curious
I think it's more personal preference. The stripes when new sat on top of the body color. Obviously, base coat / clear coat wasn't a thing back then and it was all lacquer (not sure if the stripes were lacquer or enamel). You'll see stripes applied today and then cleared over. I wanted the stripes to sit on the blue paint so I could feel an edge in the stripes as close to the original as possible. At MCACN, we do NOT deduct for the stripes being cleared.
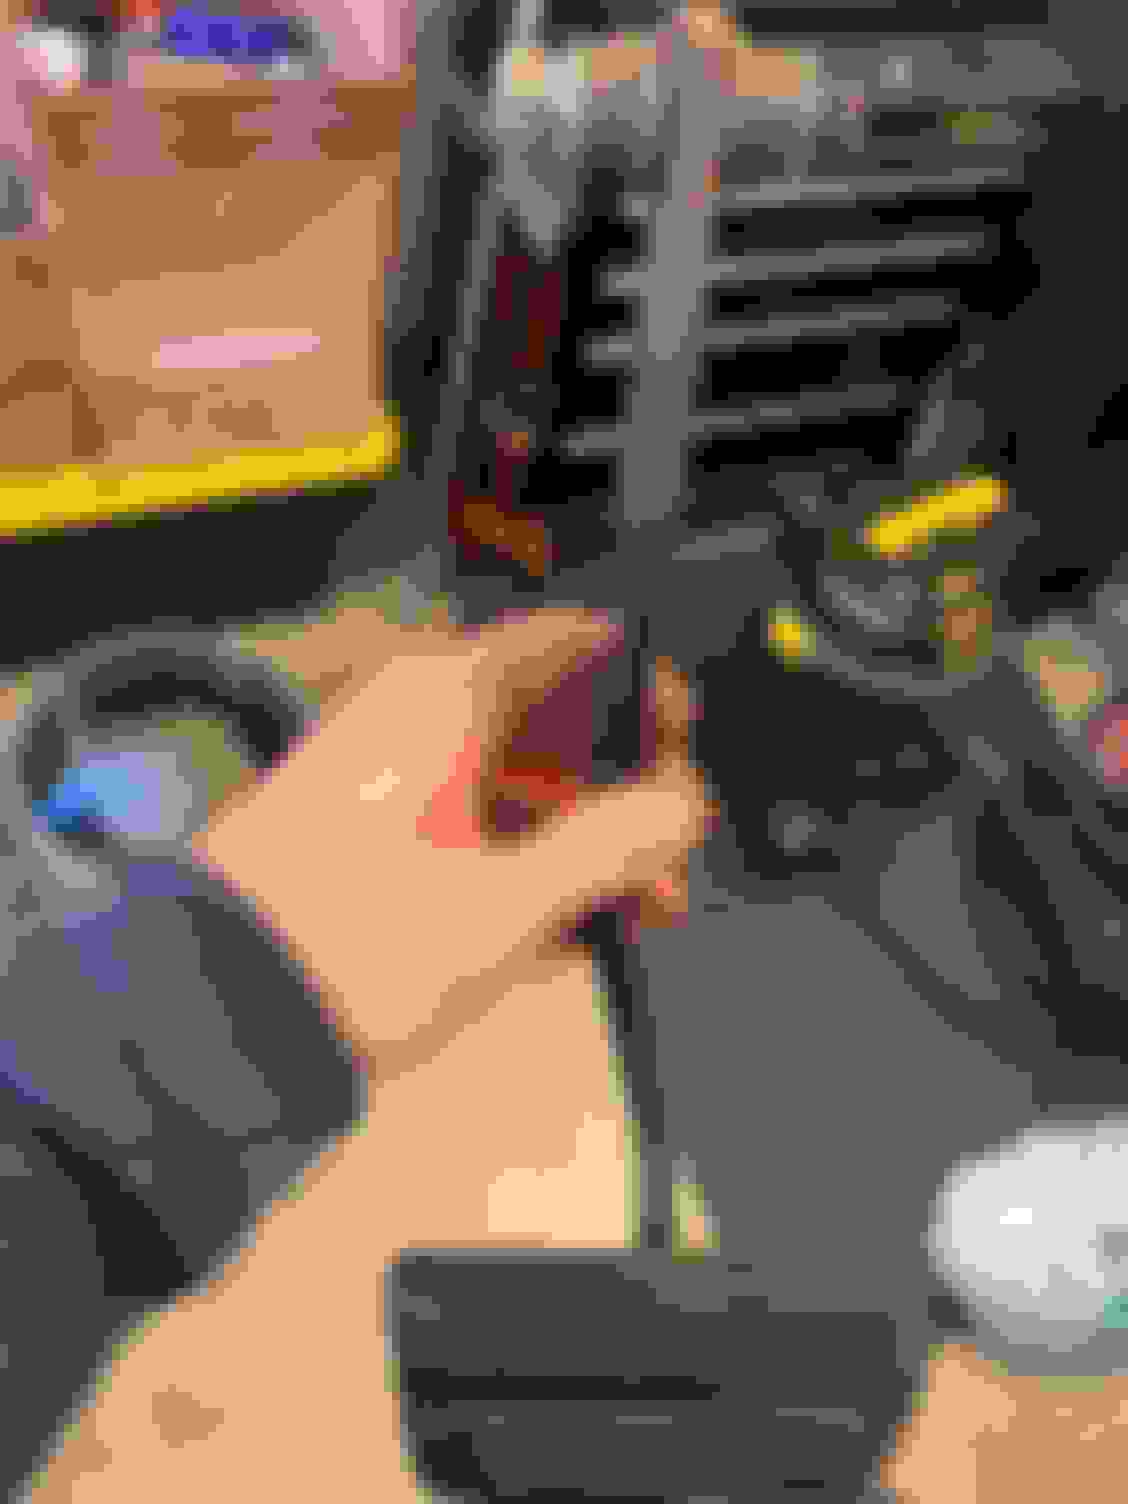
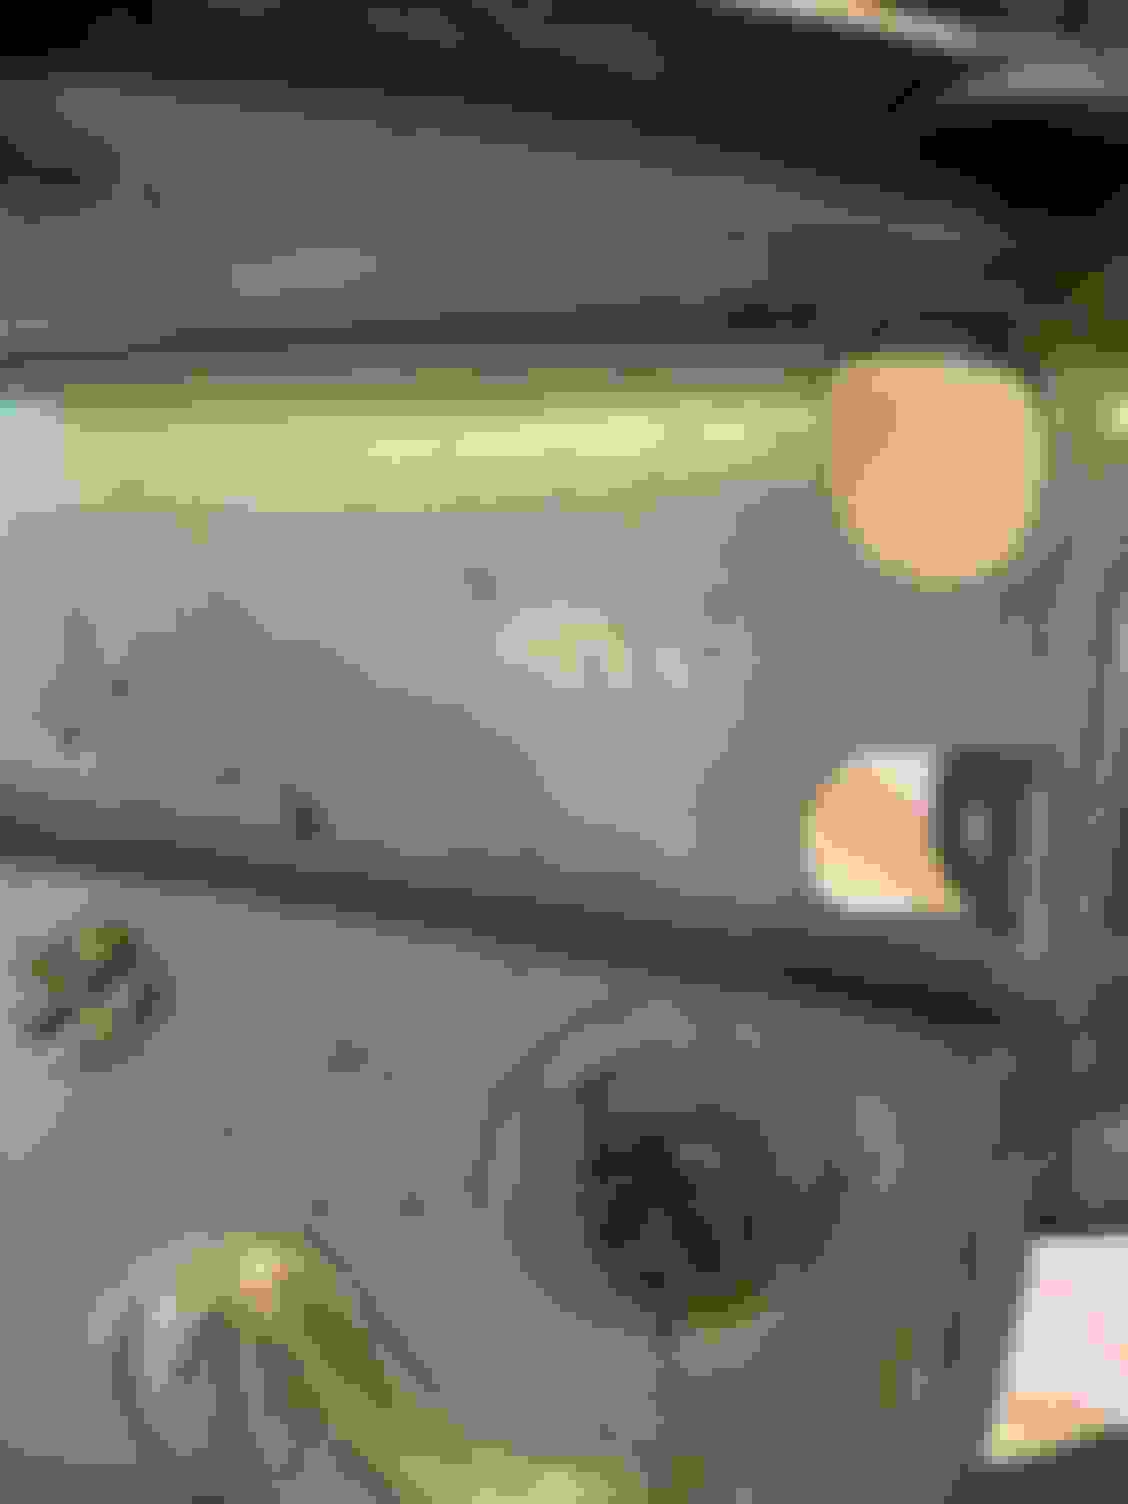
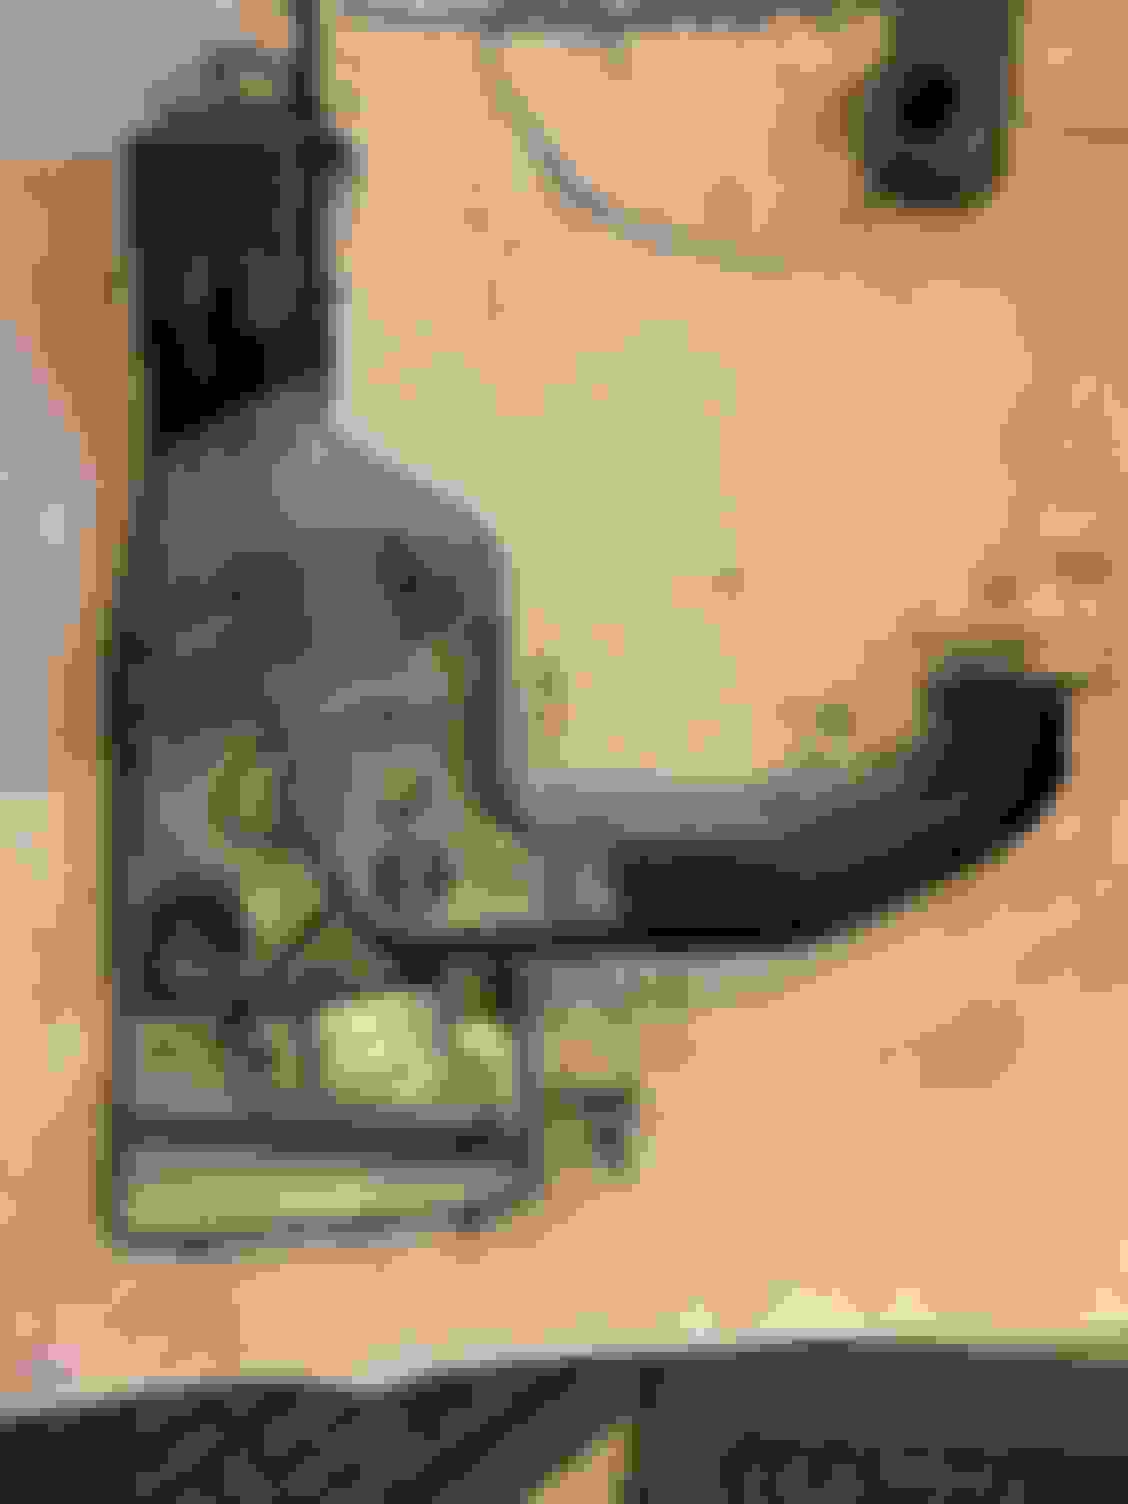
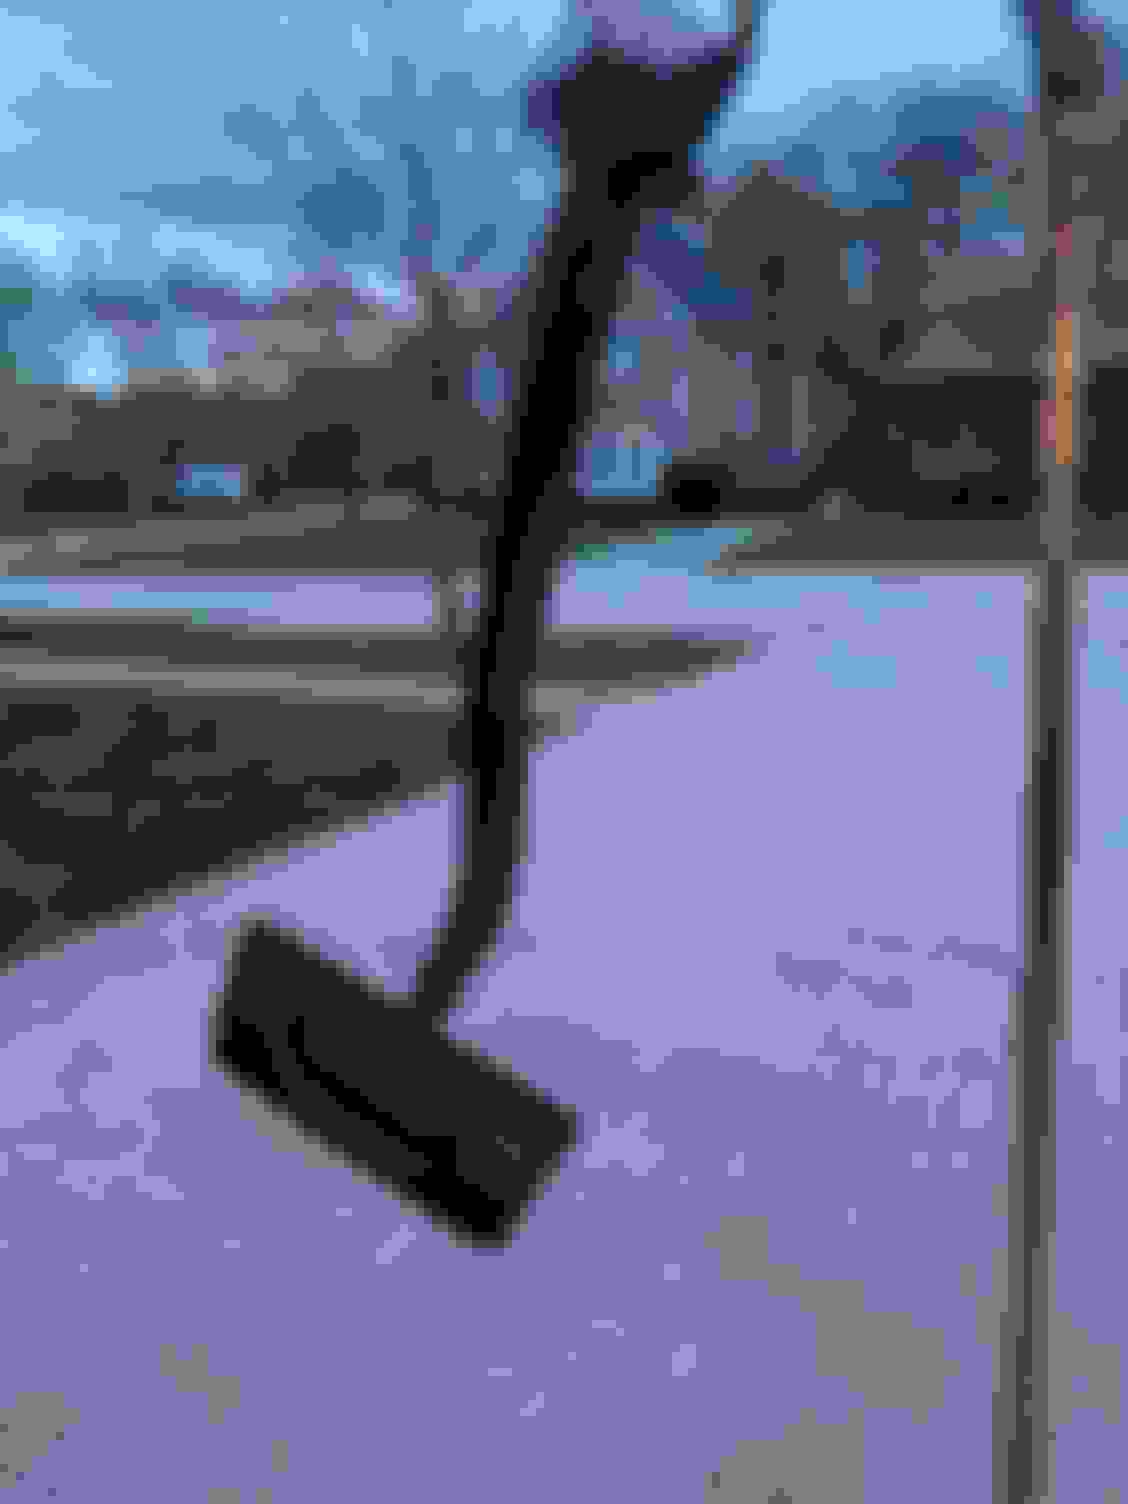
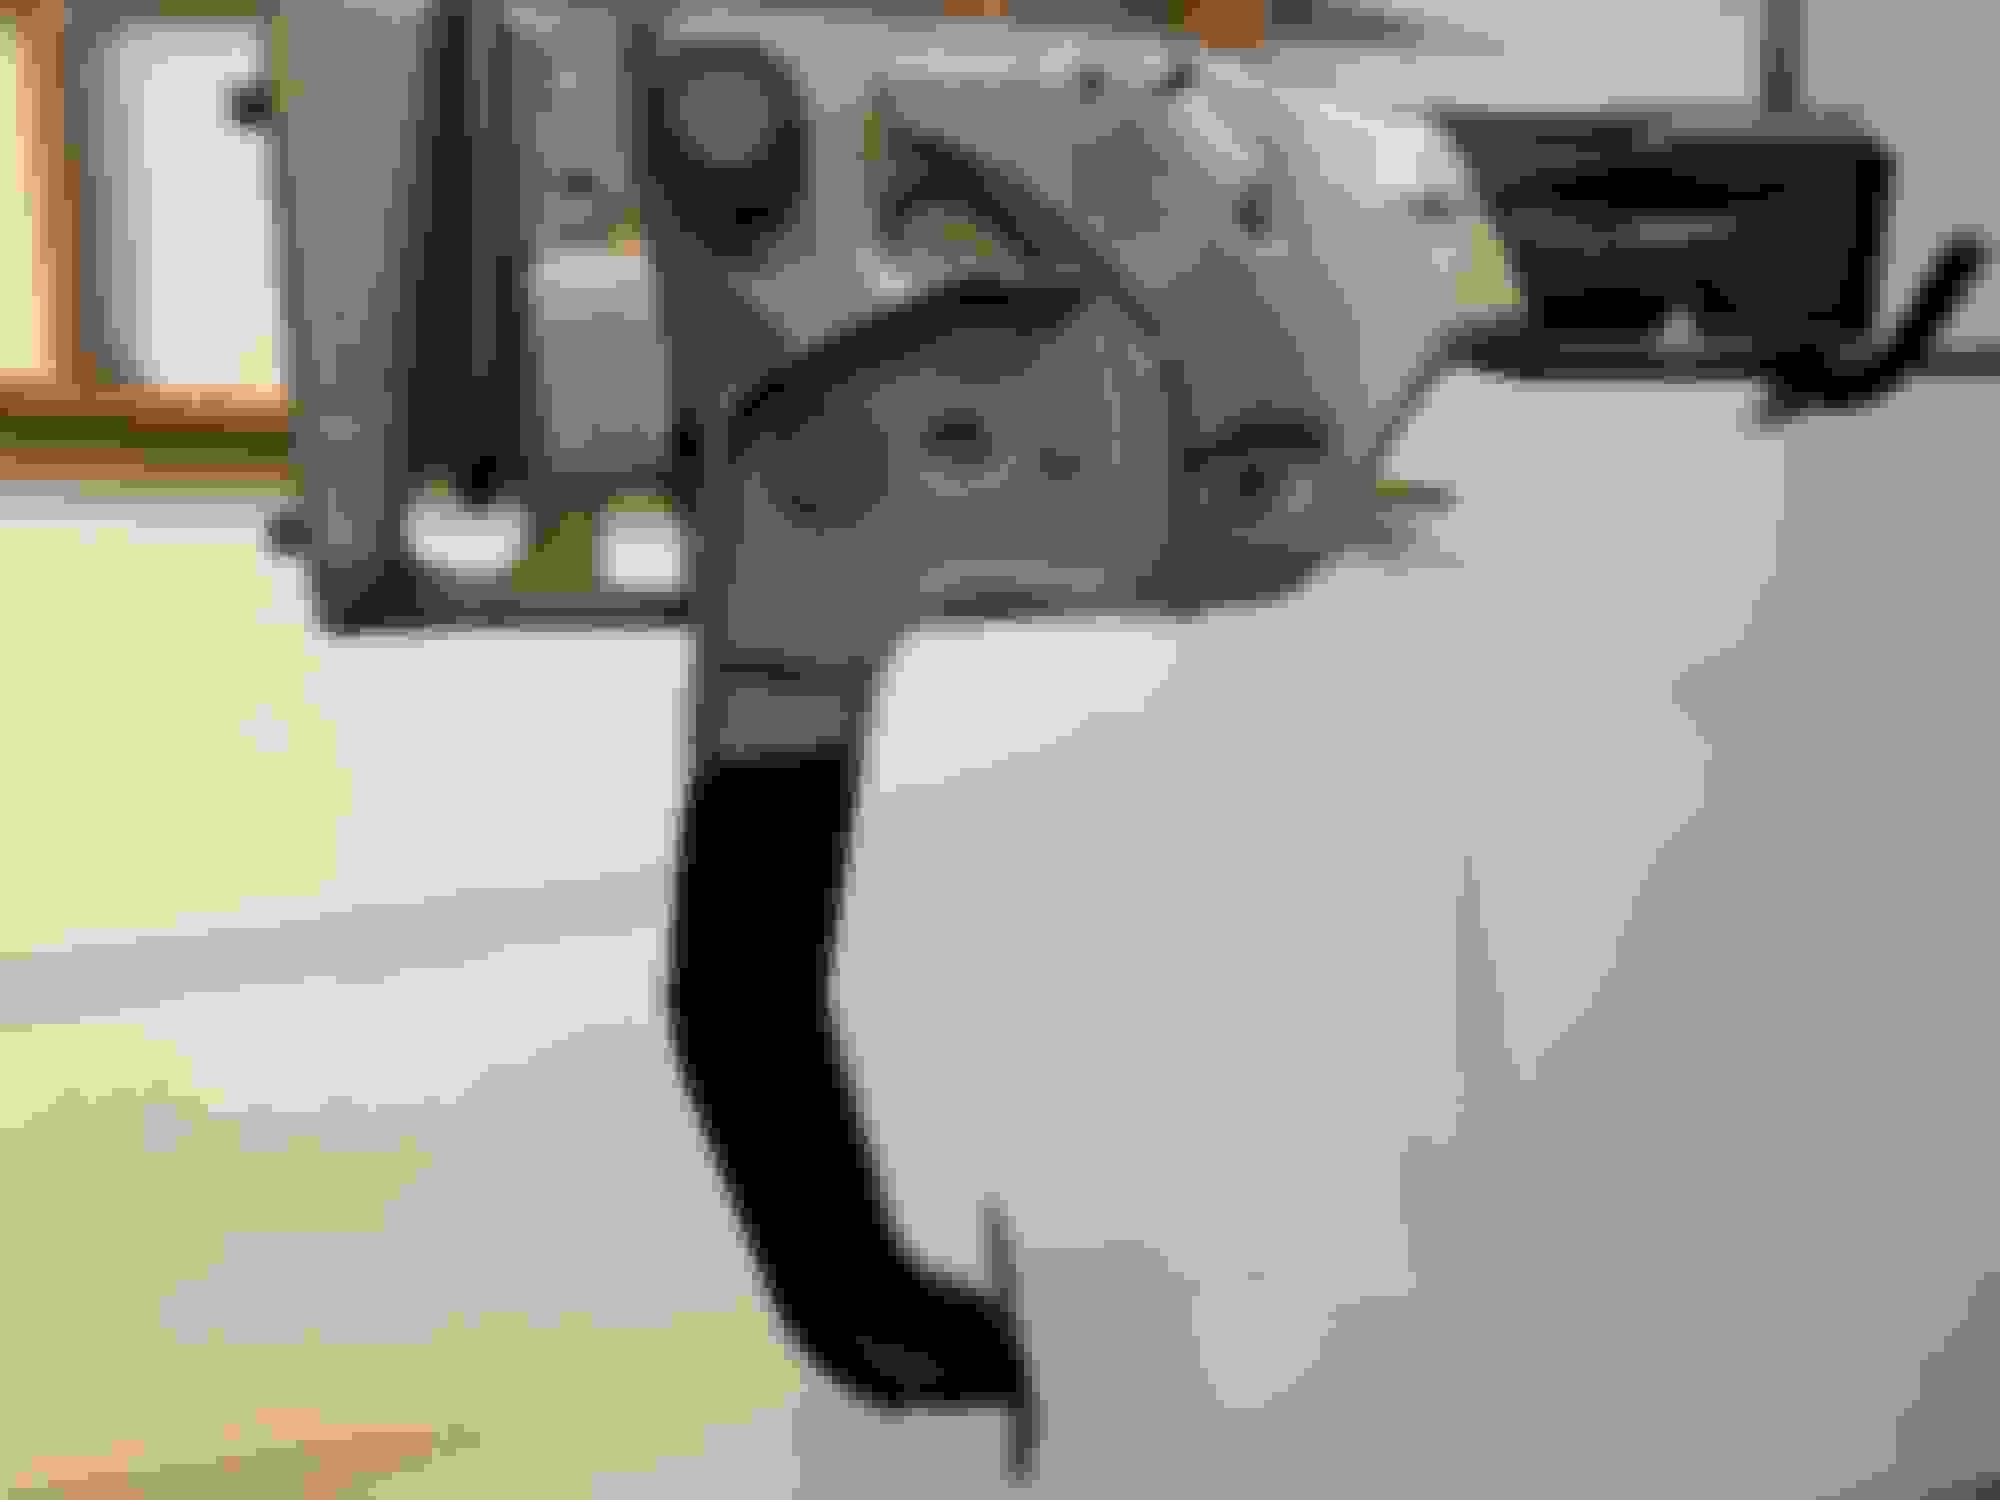
Went through the bins in the garage and rounded up all the remaining parts that need to still be restored. Tonight I started on the e-brake and brake pedal arm. I soaked both in a vat of Evaporust for 48 hours to remove the surface rust from the bare metal. I took the parts out tonight and was pleased with how clean the metal was. I scrubbed the parts in a Dawn dish soap to remove and grease or oil, scuffed the black paint with a red scotchbrite, prepped the metal, and sprayed. I used the SEM landau black that I love so much. I masked the original lines as they were done at the factory.
I know some spray the bare metal with a detail gray paint. I may regret not doing that, but I’m going to leave the bare metal and spray it with Boeshield. I did this with the bucket seat sliders, and they’ve helped up well over the last year. I’ll likely have to keep wiping the metal with oil from time to time but that’s okay because I like the look of the original finish.
Rusty brake pedal arm before Evaporust.
More surface rust.
Original dipped black paint.
Julian date on the e-brake.
Right out of the vat.
Masked and painted.
Finished product.
Last edited by WTHIRTY1; May 11, 2020 at 07:29 PM.
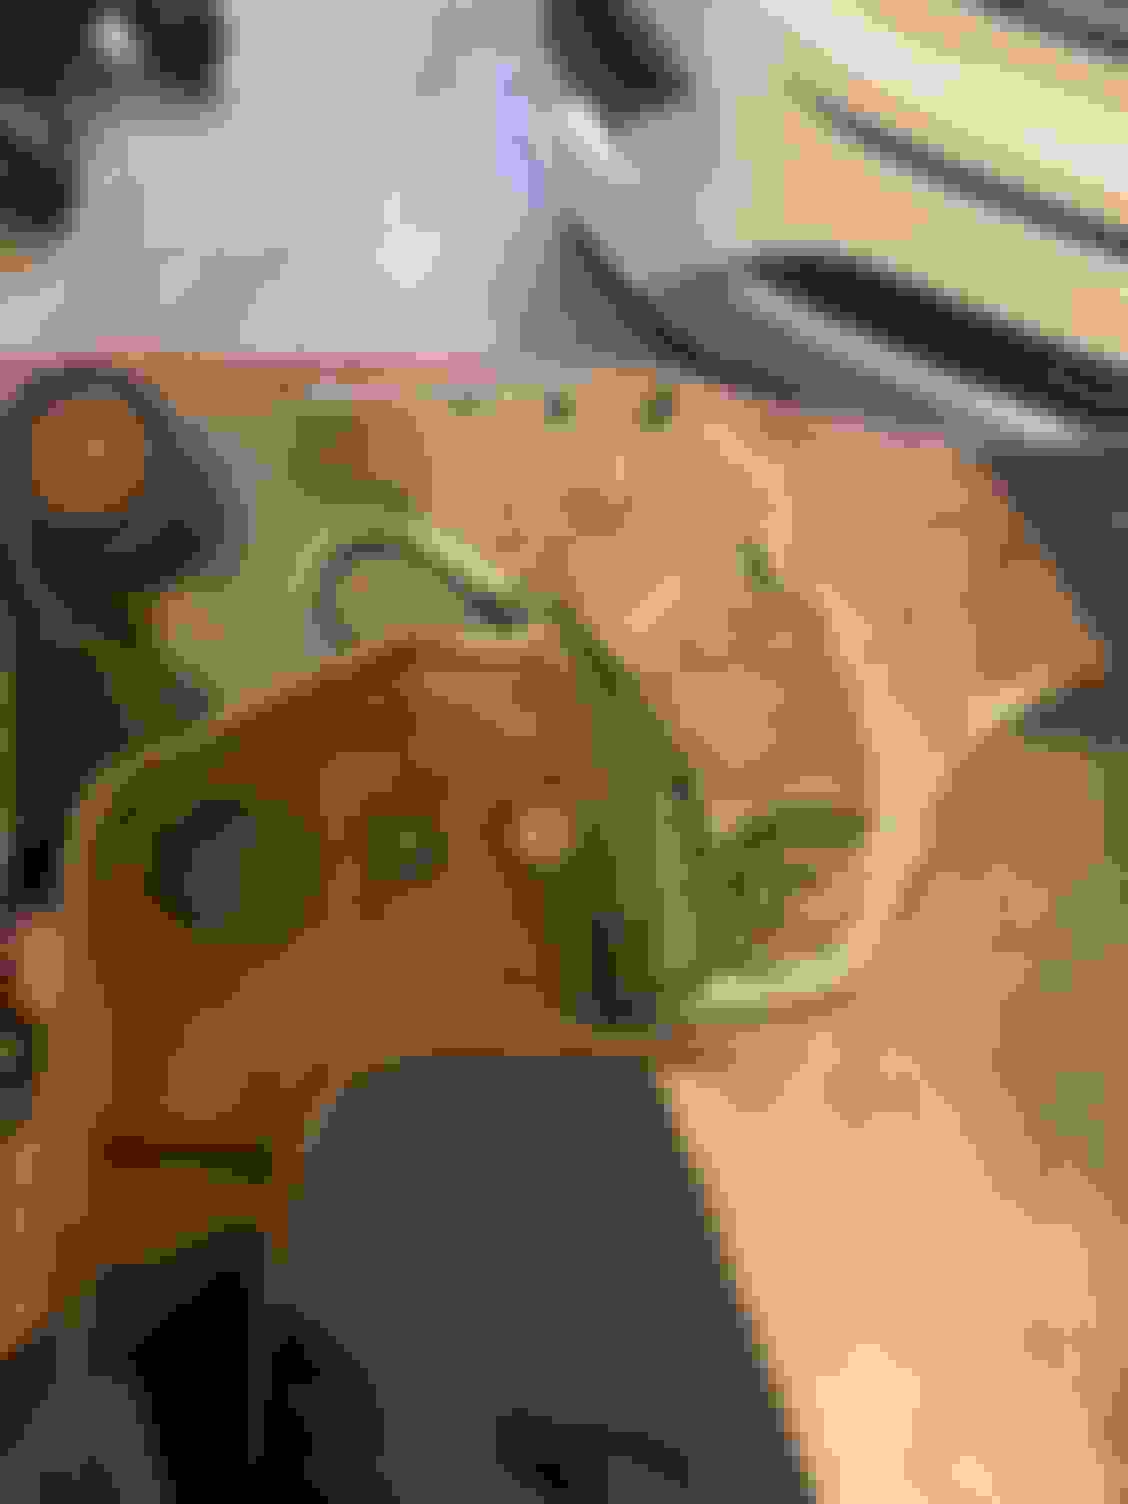
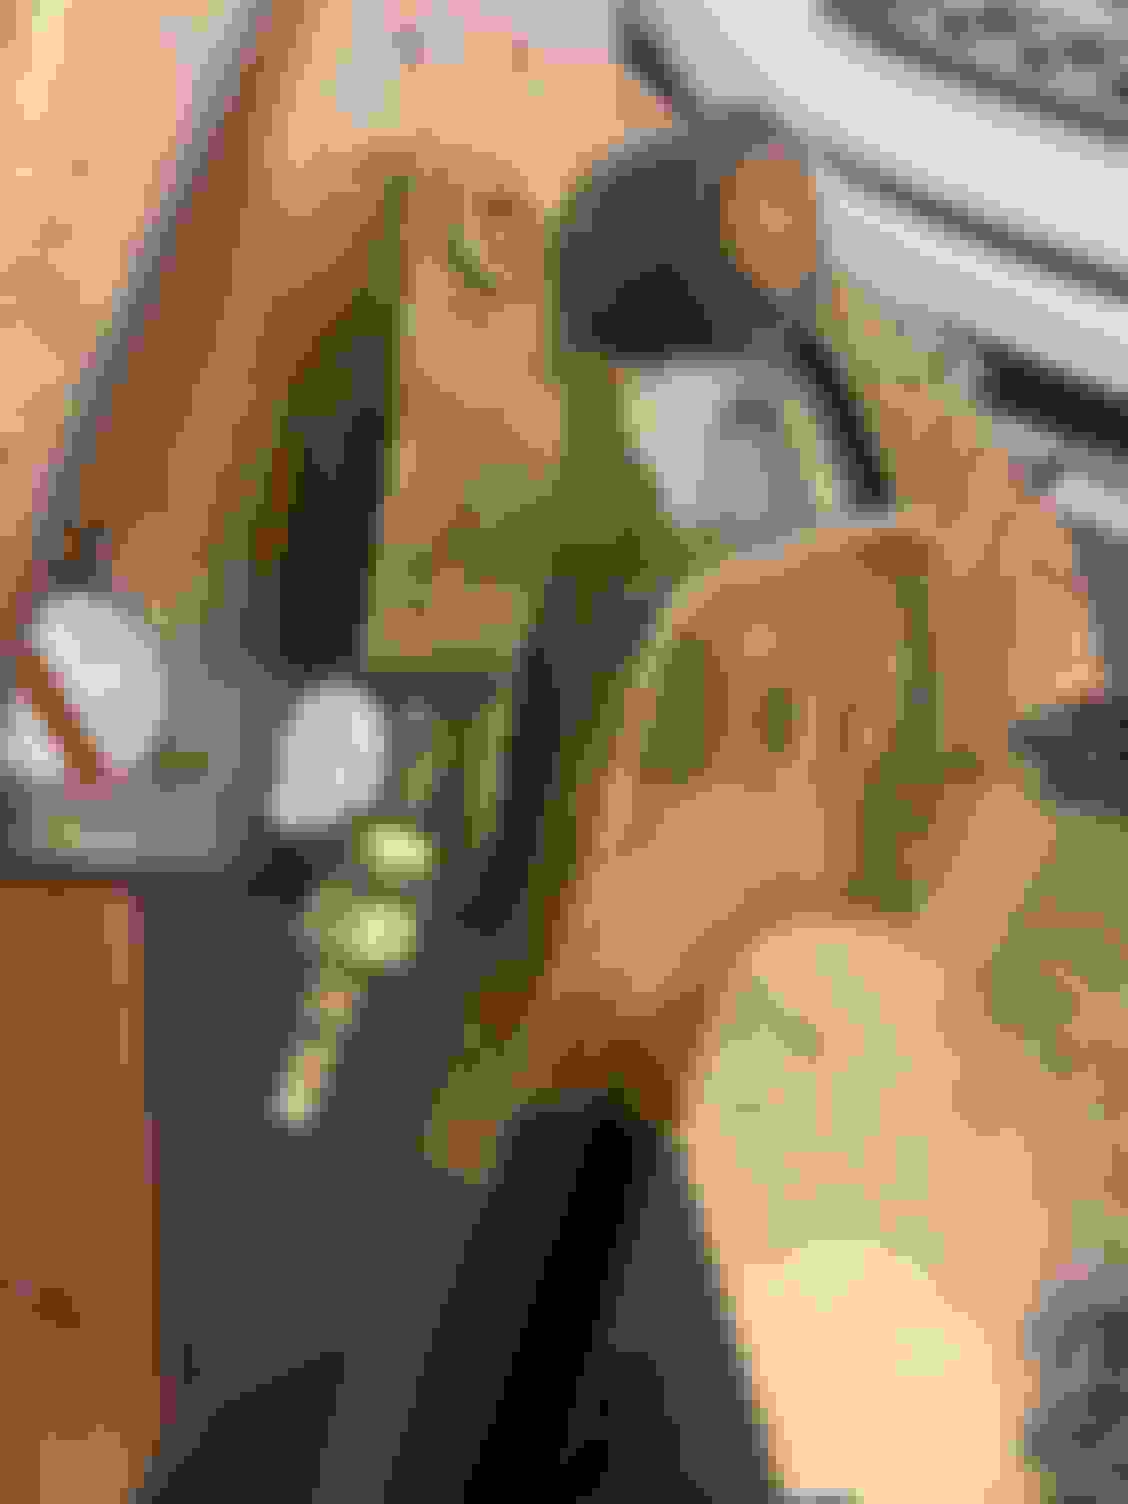
Still cleaning parts for the pedals. Cleaned up the hardware and plastic bushings for the brake pedal. Should I put some grease on the bushing before I reassemble?
I think the original foam can be reused. I gently cleaned it last night and it turned out okay. In comparison to the reproduction, I think it will look better.
Disassembled the accelerated pedal. The arm is soaking in Evaporust as there was some rust developing. The plastic bearing is faded really badly; I‘m going to try one of those black plastic cleaners and see what type of result I’ll get.
Reproduction foam at the top. The foam just isn't as thick nor does it have the same feel as the original.
The other foam in the picture is for the shifter cable. The side that goes to the floor still has remnants of glue so I'll be gluing that back.
Clear zinc nut, bare metal bolt (no phosphate nor clear zinc finish), the two plastic bushings, and the two nuts for the e-brake at the firewall. You can see the "gunk" sealer on the nuts.
Faded plastic...we'll see if it comes back to life with one of those black plastic products off the shelf. Meguiars Ultimate Black will be my first choice.
Last edited by WTHIRTY1; Apr 29, 2020 at 02:53 PM.
Still cleaning parts for the pedals. Cleaned up the hardware and plastic bushings for the brake pedal. Should I put some grease on the bushing before I reassemble?
I think the original foam can be reused. I gently cleaned it last night and it turned out okay. In comparison to the reproduction, I think it will look better.
Disassembled the accelerated pedal. The arm is soaking in Evaporust. The plastic bearing is faded really badly. I�m going to try one of those black plastic cleaners and see what type of result I�ll get.
Definitely put some lube Formosa that bushing. I would use a dab of chassis grease.
Thanks for sharing your labor and techniques. I�ve learned a lot and will apply them to my projects.
Went through the bins in the garage and rounded up all the remaining parts that need to still be restored. Tonight I started on the e-brake and brake pedal arm. I soaked both in a vat of Evaporust for 48 hours to remove the surface rust from the bare metal. I took the parts out tonight and was pleased with how clean the metal was. I scrubbed the parts in a Dawn dish soap to remove and grease or oil, scuffed the black paint with a red scotchbrite, prepped the metal, and sprayed. I used the SEM landau black that I love so much. I masked the original lines as they were done at the factory.
I know some spray the bare metal with a detail gray paint. I may regret not doing that, but I�m going to leave the bare metal and spray it with Boeshield. I did this with the bucket seat sliders, and they�ve helped up well over the last year. I�ll likely have to keep wiping the metal with oil from time to time but that�s okay because I like the look of the original finish.
Rusty brake pedal arm before Evaporust.
More surface rust.
Original black paint and masked lines.
Julian date on the e-brake.
Right out of the vat.
Masked and painted.
Finished product.
Those parts were not masked at the factory.
They were dipped in a vat of water with black paint floating on the top.
Very crude operation, and no primer of surface prep.
Interesting. The factory did a nice job avoiding any runs on the parts...especially the e-brake where it has black paint in two sections.
They did that at a lot of manufacturing plants like that. Ford was almost famous for that.
I see your brake pedal bushings are looking a bit worn if my eyes aren't deceiving me. Is it that you want to reuse them or not wanting a newer part number? I believe it's 379256. 5/8". If it is, here's some white NOS "white" ones along with a few translucent ones, as a lot.


 Presently working on a very original W 31 some of the clips are red oxide and others are of a military green colour khaki and this is a Lansing built car.