When you click on links to various merchants on this site and make a purchase, this can result in this site earning a commission. Affiliate programs and affiliations include, but are not limited to, the eBay Partner Network.
Right, what Patton said...AMES sells a plastic repro. I bought one a few weeks for my GS to try it. It's closely shaped and went on tight. I was happy with it. For a lot of things like that, AMES is my go to rather than TPP, Inline, etc.
Heater box, heater core, and heater cover on the firewall installed. Dash assembly coming soon. The steel wheels I picked up for the reproduction Goodyears came out looking great. NOS correct length valve stems for the XTs in the bag next to the wheels. The original wheels will get the NOS rubber.
Steelies in twilight blue.
Excellent! Question for you. Looks like you installed the heater box with the fender on. Correct? Access from underneath the fender? Do you know if you can install the bigger A/C box and access all the bolts from underneath also?
Very excited to provide a few updates. The XT wheels and reproduction Goodyear Polyglas tires were mounted. The car is really starting to look more complete!
The dash pad blue was color matched carefully and perfectly. The lower dash was left untouched to preserve the variance in blues. The factory woodgrain is being reattached in the places it has popped up.
I finally finished the original steering coupler aka rag joint. Thanks to Sparky on the plating. I used some filler on the retainer “bar” to get as many of the pits covered. The copper plated bolt received the phosphated washer and clear zinc nut. The other bolt was phosphated with a phosphated washer and nut. I added white paint daubs to the hardware to represent line inspection markings.
Just got off the phone with Legendary Interiors in New York. Thanks to @jensenracing77 I was able to call Legendary and reference his past order for the correct blue mesh package tray. For those that need to order one, the color is 342G and request just the passenger side speaker with the mesh. Right now Legendary is running way behind since they were closed for 10 weeks due to Covid. I hope this arrives sooner rather than later.
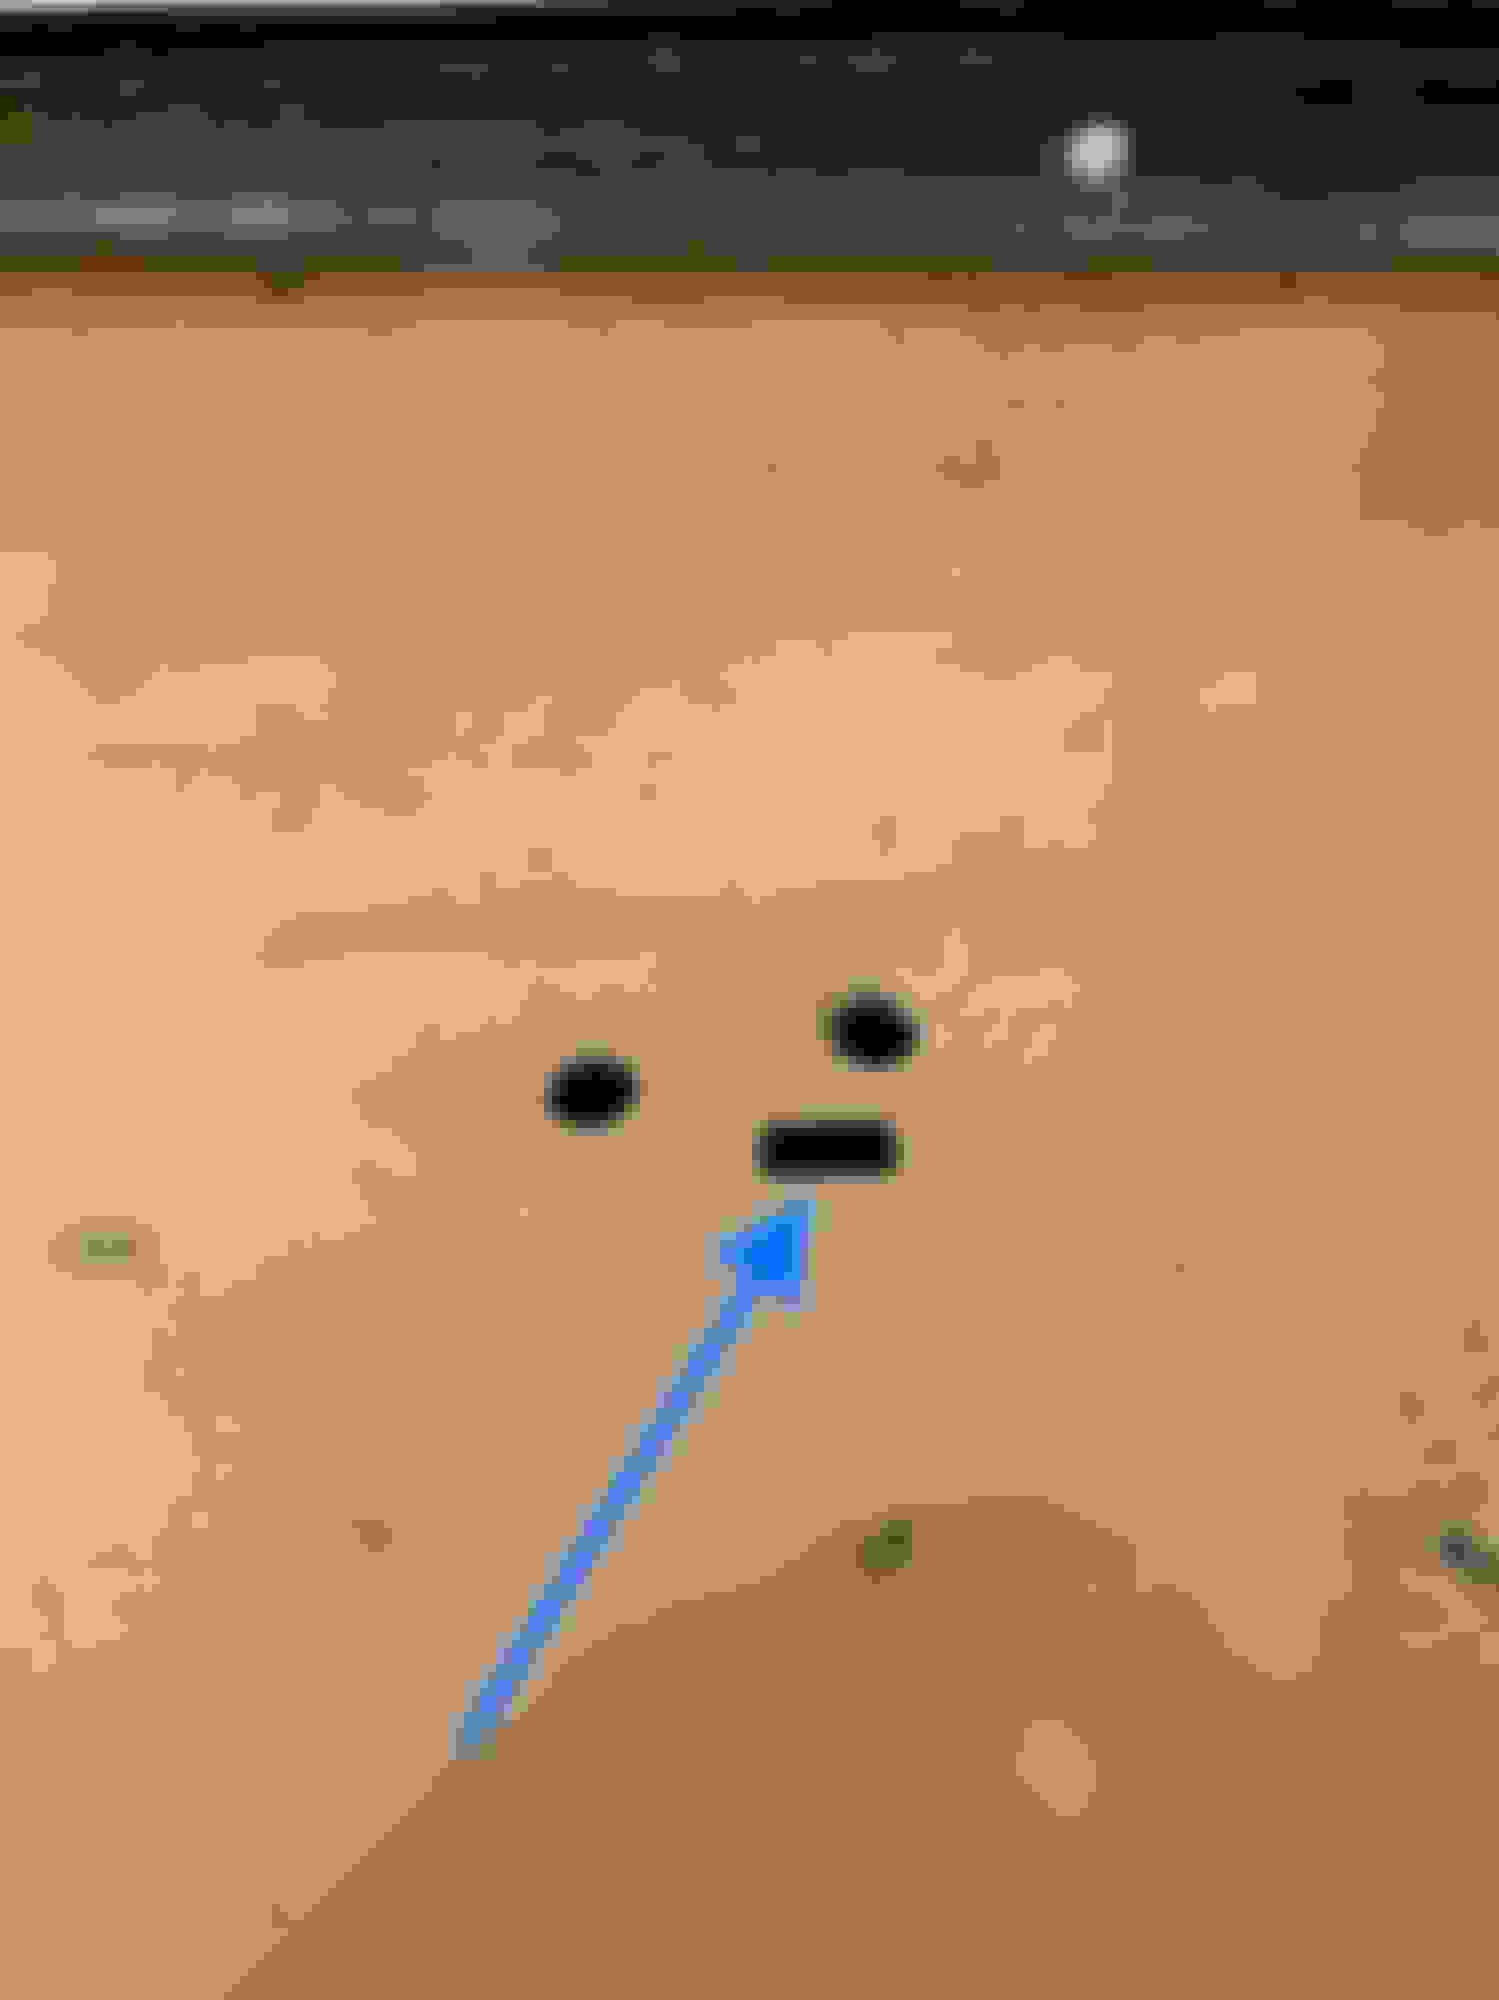
Spent a little time organizing some parts in the garage. The frame work for the headliner and trim all needs to be cleaned up. I started assessing the headliner rods / bows since there were some headliner remnants still present. I hadn’t noticed this during assembly, but it appears that some of the rods were color coded. Not all the rods had colors on them, though. The noticeable colors were primarily in the center of the rods, however, one rod also had orange on the passenger end while another rod had black on the end. Anyone come across this before? I also noticed twilight blue paint on one of the rods which makes me think the rods were in place when the car was painted. Logically, I’m not sure how much sense that makes but that’s definitely blue exterior paint on the rod. Either way, I’m going to clean the rods up, remove the excess glue on the ends, and reapply the colors.
The colored zip ties are my doing and correspond to colored ties inside the car so they go back in the correct location.
Hi Jim
Here are my colours starting from the windshield 1 black end
2 blue and yellow and orange
3 no colour
4 black and pink
5 blak end
These are my colours Hope this helps.
Alain
Hi Jim
Here are my colours starting from the windshield 1 black end
2 blue and yellow and orange
3 no colour
4 black and pink
5 blak end
These are my colours Hope this helps.
Alain
Awesome, thanks Alain! Very helpful. Mine are basically the same with the exception of one having green on an end and one having red in the middle. Great detail. Appreciate the help.
No problem just swimming in the deep end.Also of notice the speed nuts and screws for the heater box from inline are not correct .
Save your originals if this helps .Awesome restoration
Alain
P/S Have a great day
Ordered a VIN decal for the door from ECS last week. Here it is compared to the original that was peeled from the door. Great match. I asked them what font they used, and it’s apparently a custom designed font using copies from original decals. Go figure.
I also ordered their yellow posi decal for the underside of the deck lid. Again, the fonts look great compared to other decals in the marketplace.
Have to appreciate their level of detail around specific spacing of the numbers, too.
Finished the headliner rods this evening. Tried to match the colors as close as possible. The colors for the rods on my car included red, yellow, black, green, orange and blue.
Should hopefully be able to pick the car up and bring it back home to finish reassembly in my garage next week!
Last edited by WTHIRTY1; Aug 18, 2020 at 07:01 PM.
Ordered a VIN decal for the door from ECS last week. Here it is compared to the original that was peeled from the door. Great match. I asked them what font they used, and it�s apparently a custom designed font using copies from original decals. Go figure.
I also ordered their yellow posi decal for the underside of the deck lid. Again, the fonts look great compared to other decals in the marketplace.
Have to appreciate their level of detail around specific spacing of the numbers, too.
Very nice work overall. I love what you are doing. For the super-detailed:
On this sticker you can see the font difference. The top label is set in Futura Regular and Bold Condensed. The bottom is in a Helvetica with different styles. Two very different Sans Serif typefaces. Still a nice label though. I am a graphic designer by trade.
Thank you for the great photos of the excellent restoration.
Some of you may recall I had picked up Legendary panels last year and the chrome started peeling away. Last Christmas I took full advantage of the Legendary discount and purchased a new set after returning the previous panels. Tonight, I took the panels out of the plastic to inspect them. They look good! Despite my prior issue with the last set of panels, Legendary really is the gold standard for assembled interior products.
I have quite a few holes that need to be poked through for the trim and the emblems. I also have some cuts to make. I ordered a new exacto-knife and awl that should be here this week to make this an easy project. In the meantime, I glued the blue 333687 decals back in the position I removed them from the factory panels. I also replicated the red �S� on the RH front panel. I traced the original on wax paper, placed it over the new panel, and recreated the �S� with a red grease pencil.
Few differences in the cardboard that I hope won�t be an issue. The metal clip that slides in appears to be oriented different for the middle on each side.
Moving right along here at home. Fingers crossed I�ll be able to pick the car up next week.
Not sure why the this is oriented differently but hopefully it�s a non issue.
This tab is not even on the template to pop out.
I would have just done this by freehand but it wasn�t as easy with all the holes. I know, silly stuff.
Nothing major to update. Took another pass through the bins in the garage to make sure I wasn’t missing any sub assemblies that needed to be restored. Luckily, the only things left are wire cleaning and rubber seal detailing.
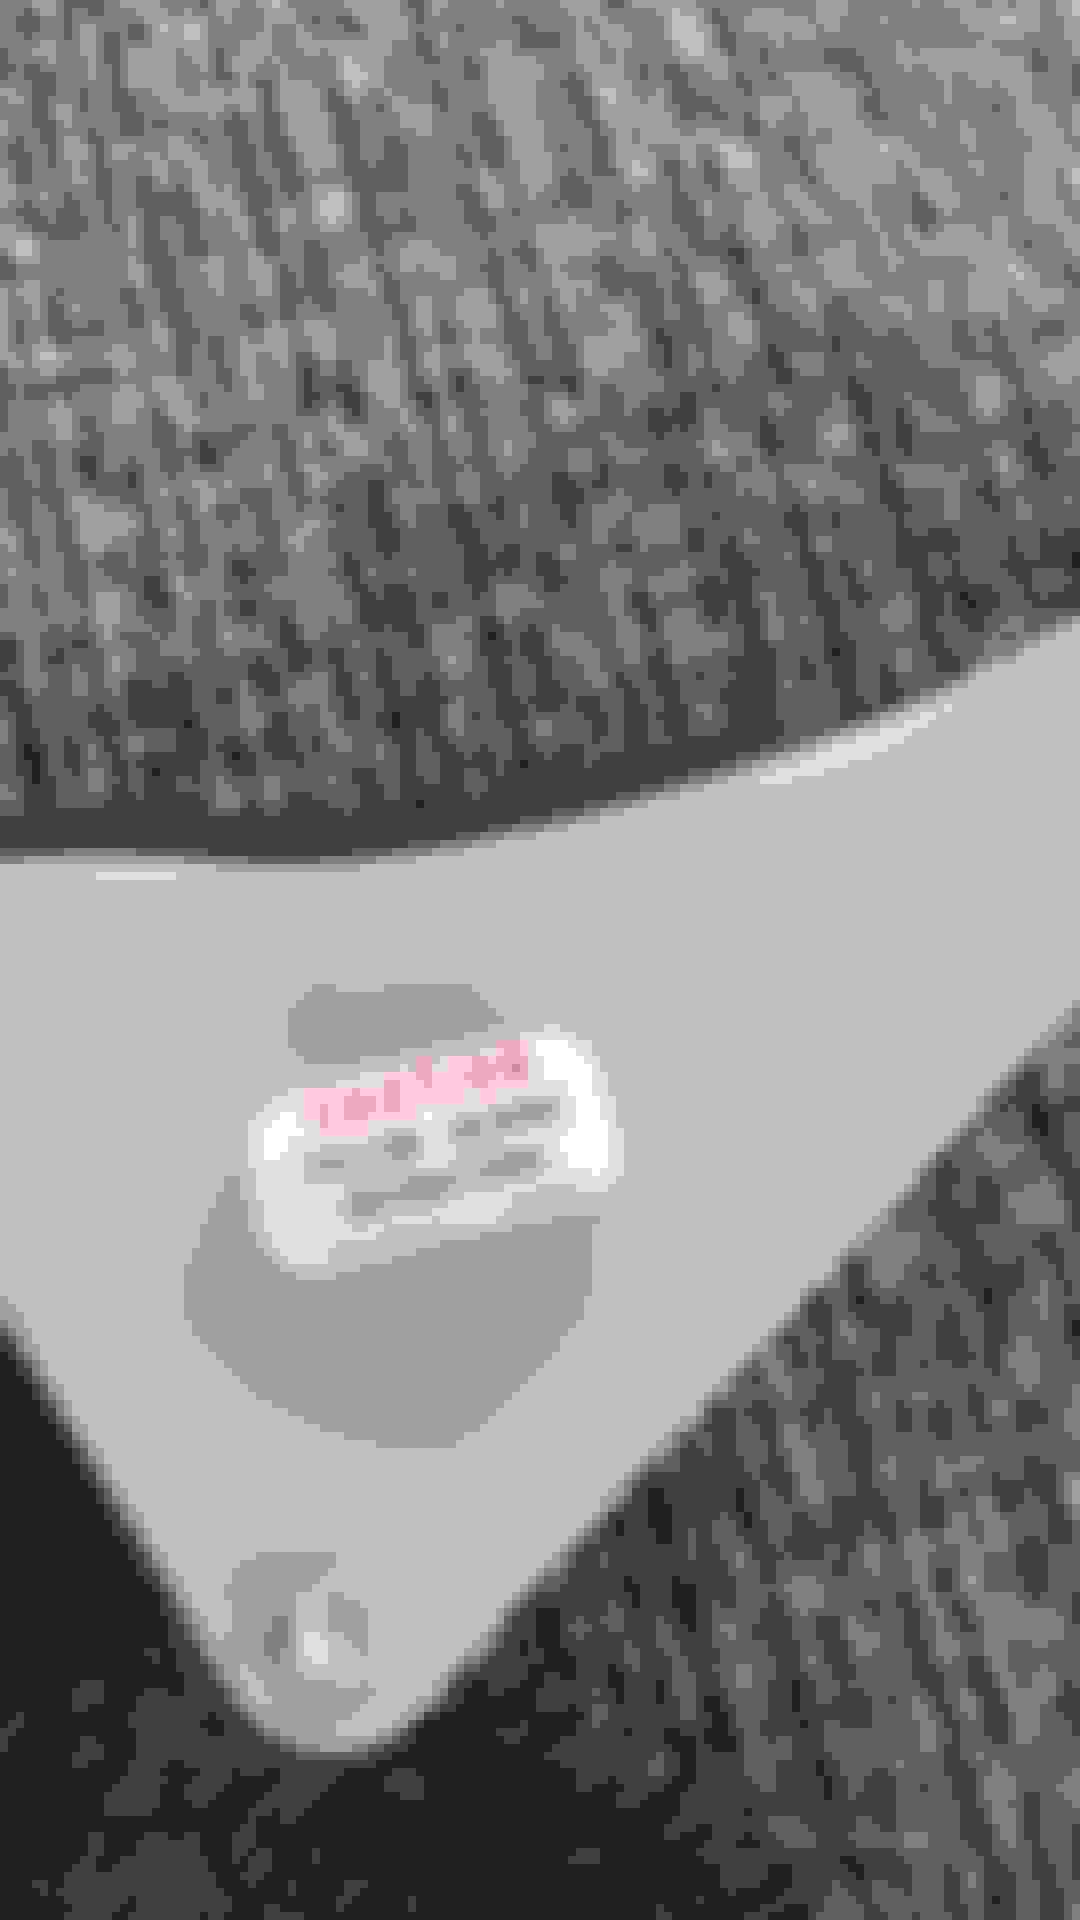
I installed the decal for the jack along with the rubber. I can’t find where I stashed the original decal. This reproduction is a far cry from the original but it’ll do for now.
I had ordered a new wire for the fuel tank sending unit and did a comparison to the original. The original is a bit shorter and has a black connector whereas the reproduction has a clear connector. I’ll use some carb cleaner on the wire and clean it up. I hope to have the tank and sending unit completed this week.
Lastly, I found perfectly matched screws for the door weatherstripping near the hinge. The factory used two screws per side, IIRC. I had only one original screw while the others were too badly corroded and stripped. The local hardware had identical screws so I picked up a few.
Stalk was replated by Steve Gregori formerly of Brake Boosters dot come. The hook and nut were replated by sparky in the correct zinc and phosphate, respectively. The rubber for the bumper piece is from Fusick or maybe from some of the odds and ends I picked up at a swap meet from Memmer. It has the part number embossed on the lower portion of the rubber. I have the original rubber, but it was too stiff and cracked upon removal. It's not like any of this stuff will ever be used, either.
Factory screw center left. Hardware screws next to it.
I hope I don't regret reusing the original sending unit wire. I think / hope it'll be fine. Here's the before.
After a wipe down with carb cleaner. I also picked up these tiny little detail sanding “toothpicks” from Hobby Lobby that I have been using to remove any corrosion on the connectors.
Hopefully my original decal reappears sooner rather than later. This reproduction will do for the time being.
Blue interior panels have been sprayed. Pretty wild to see the light blue of the seat panels and headliner trim and then the dark blue of the kick panels. Again, a very pretty interior but such a contrast in the shades of blue.
I am incredibly happy with the results and can not wait to get the panels installed on the bucket seats.
500 miles and 9+ hours and we are finally back home from picking the car up at Carshine in Michigan. The new trailer and weight distribution hitch worked wonderfully in tandem for the drive!
We quickly unloaded the car in to the garage tonight just to get it out of the trailer. I will go through it tomorrow and start putting the plan for final reassembly together. The car looks great, and I am beyond satisfied with the stripes.
Here are a few pics from the trip today. Now, the real fun begins with the push to MCACN just 2.5 months away.
My wife’s 2019 Expedition Platinum performed better than I expected. I was well under the max tow of 9,200 pounds. I figured between the trailer and car I was pulling about 7,000 pounds.
First time out in the sun with the new twilight blue paint.
Fantastic. Really appreciate you sharing this voyage with all of us. Such a learning experiance. Hope someday I will be lucky enough to see this car in person.
Fantastic. Really appreciate you sharing this voyage with all of us. Such a learning experiance. Hope someday I will be lucky enough to see this car in person.
Thanks
Wayne
Medina, Oh.
Originally Posted by mrolds69
It looks great, Jimmy! They did a good job for you.
Originally Posted by My442
Outstanding work and outcome!!!
Thanks for sharing all the photos.
Originally Posted by rob1960
Gorgeous!!!!!!!!!!!!! Can't wait to see it finished!!
Appreciate the support, guys! Still unpacking everything and working on the plan for final assembly. Hopefully some immediate progress tonight.
500 miles and 9+ hours and we’re finally back home from picking the car up at Carshine in Michigan. The new trailer and weight distribution hitch worked wonderfully in tandem for the drive!
Briefly unloaded the car in to the garage tonight just to get it out of the trailer. I’ll go through it tomorrow and start putting the plan for final reassembly together. The car looks great, and I’m beyond satisfied with the paint and stripes!
Here are a few pics from today’s trip. Now the real fun’s begins with the push to mcacn just 2.5 months away.
Wife’s 2019 Expedition Platinum performed
better than I expected.
First time out in the sun with the new twilight blue paint.
Looks fantastic! And I'm glad to see the posi tag in the right position!
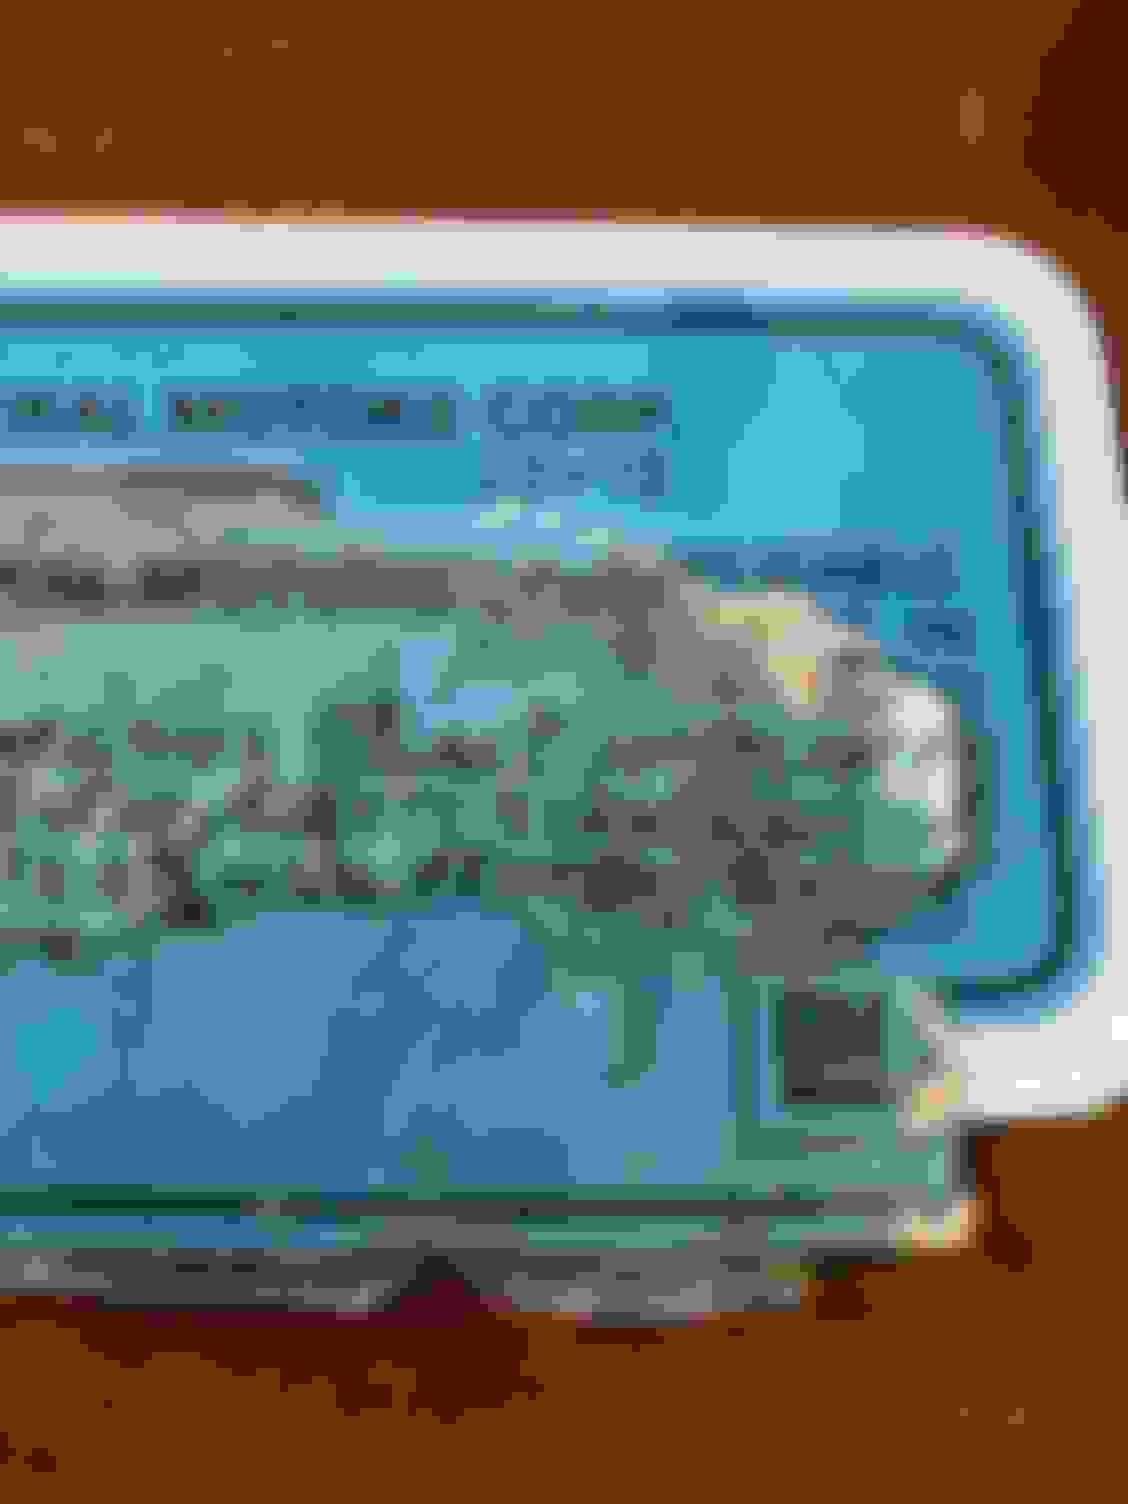
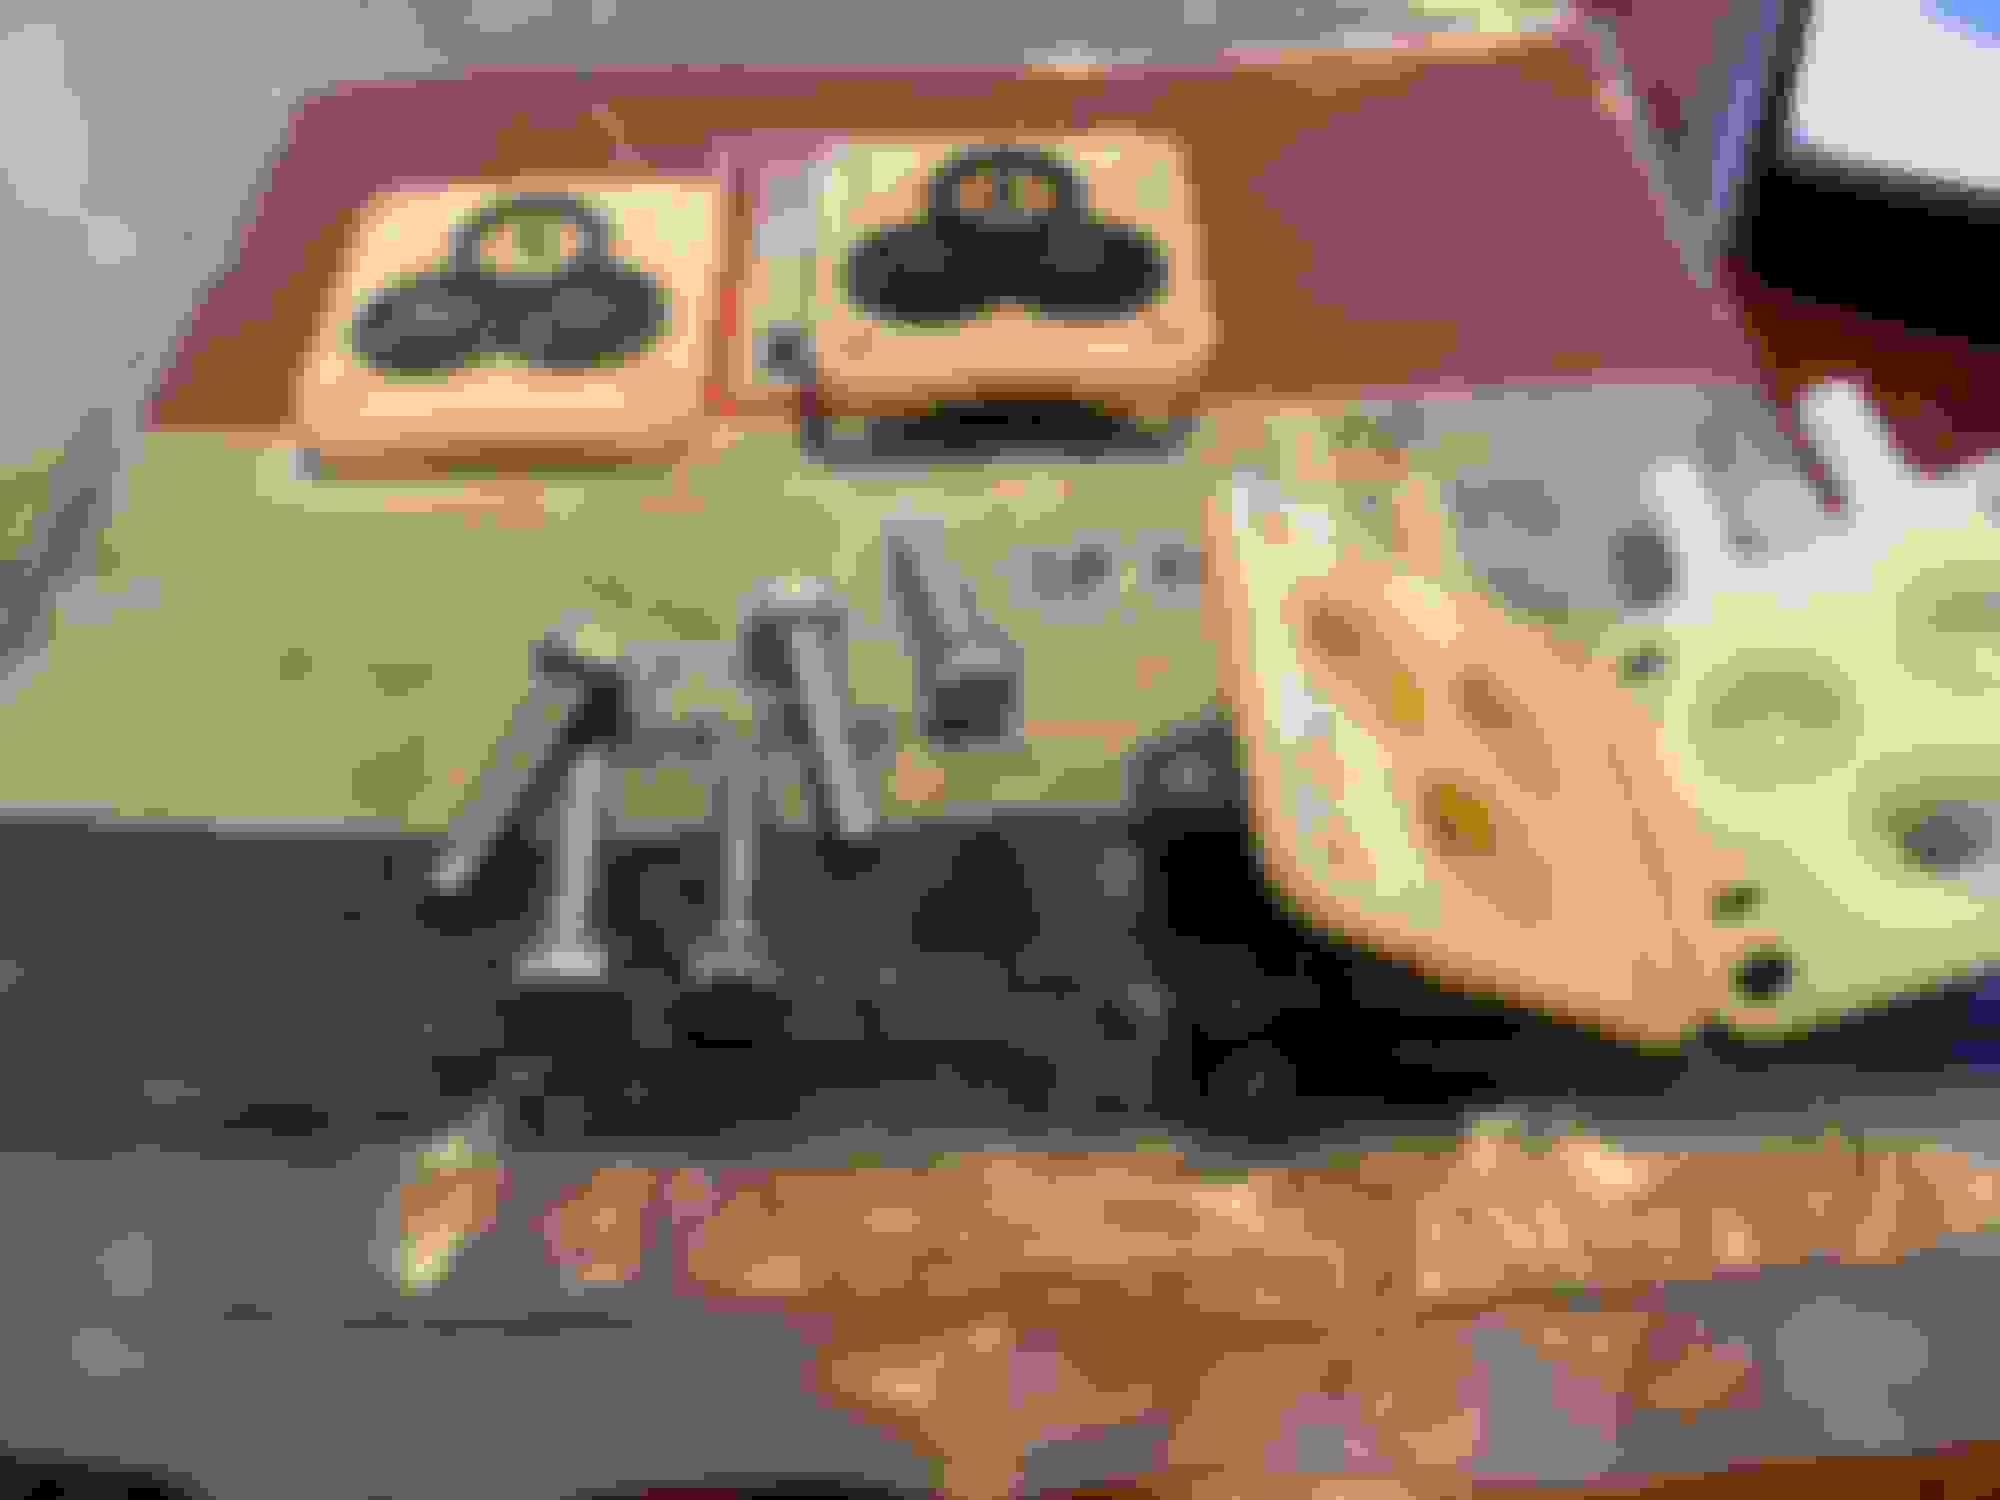
Awhile back I had my wiper pump rebuilt by the dude everyone claims is the greatest in the biz. He did a nice job but forgot to save my original decal. I found another W-31 built a few days after mine and had ECS recreate the decal with the correct part number, date, and most importantly the dimensions of the decal. Thanks Mike for the help.
I also had NOS 90* plastic for the nozzle so I swapped that out. The parts are identical to the factory with the exception being different markings on the bolt heads.
ECS reproduction decal. 5044762 is the part number, 7 is the 7th day of the year, 0 is for 1970, 1 which represents the line assembled (1-7), and A for the day shift.
Hi Jim
Restored my original wiper motor but mine does not have the number 7 cast in the base below the wire leads
Is there early and late castings? Never seen this before but all my Oldsmobile restoration were on early cars.
Fantastic looking W car .Hope mine measure up
Have a great day.
Alain
Spent 4 hours tonight wiping off body shop dust. I need to come up with a way to get in all the tight spaces or else I'm in trouble.
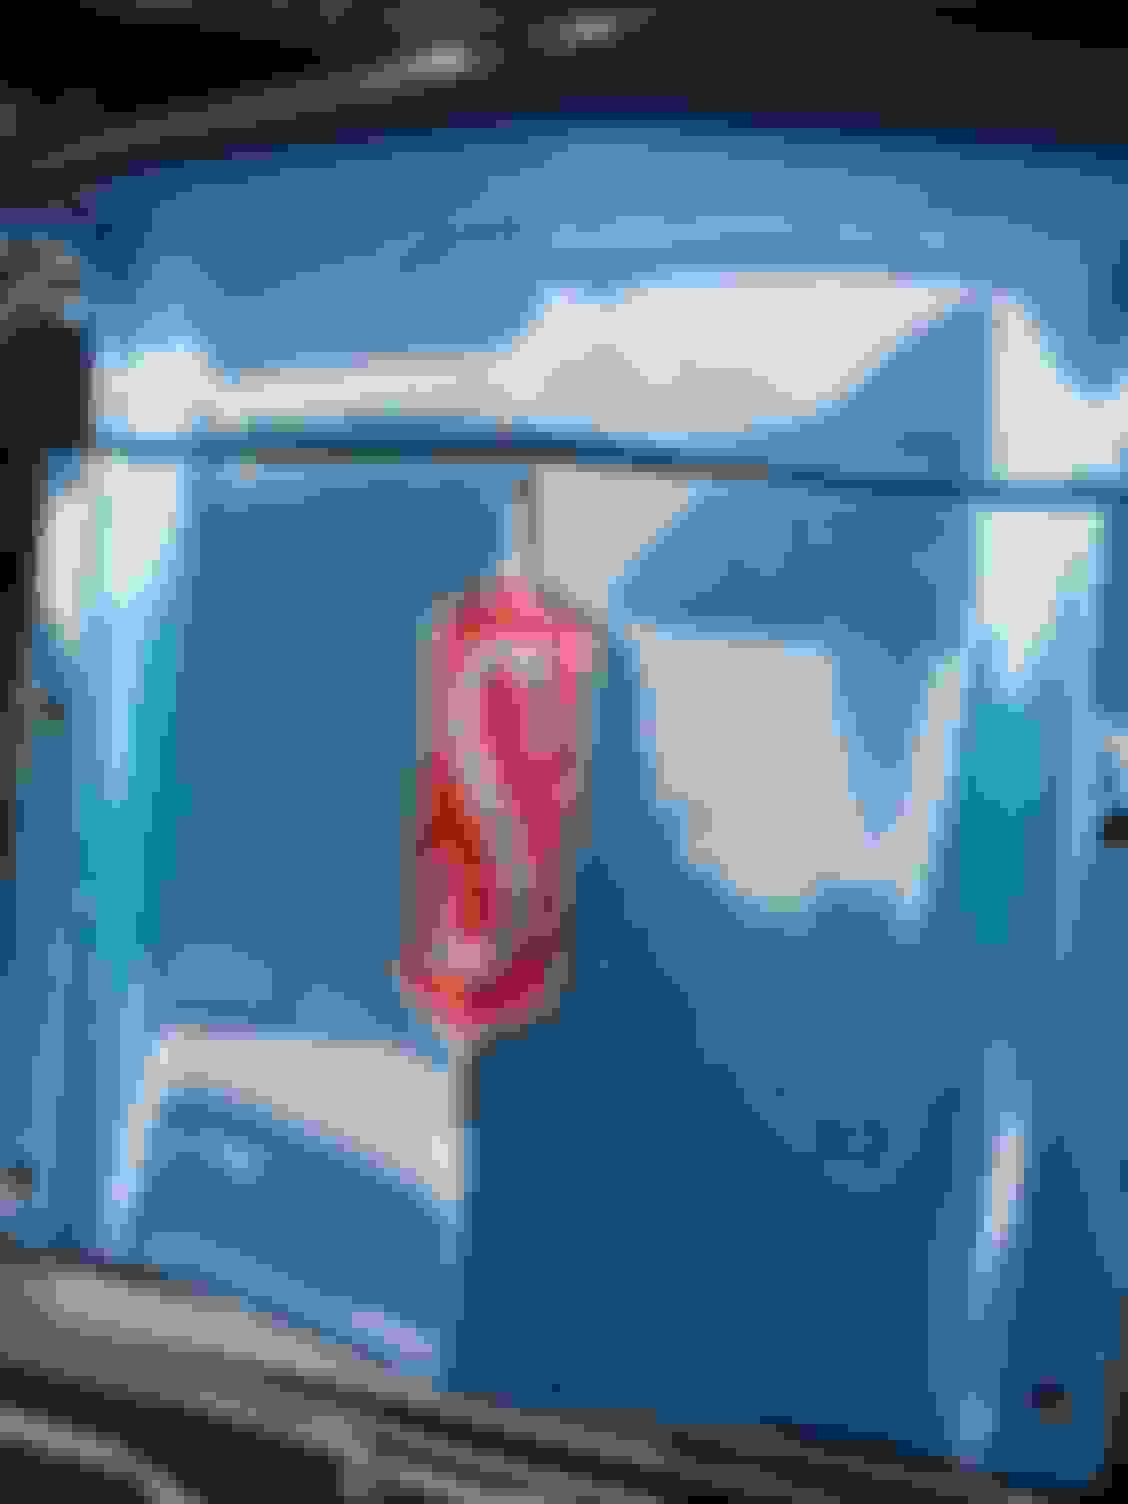
Today included polishing the hood tooth and mounting the NOS ‘S’ emblem. Probably the lowest of the hanging fruit, but it was something I wanted to do.
I also took the front headlight housings out of the GM boxes. I’ve had these for 2.5 years now just sitting in the closet and never opened the box until today. I’ll take the NOS parts over the reproductions, however, some of these parts are junk quality. I know, I know.
I did the same for the hockey sticks on the hood. The LH side fit great. The RH side is fighting me. I tried to adjust the metal on the hood a bit which made it slightly better. It’s also a little shorter on the tooth versus the other side. I need to look at it more closely.
For whatever reason these S emblems are nearly impossible to find as new old stock.
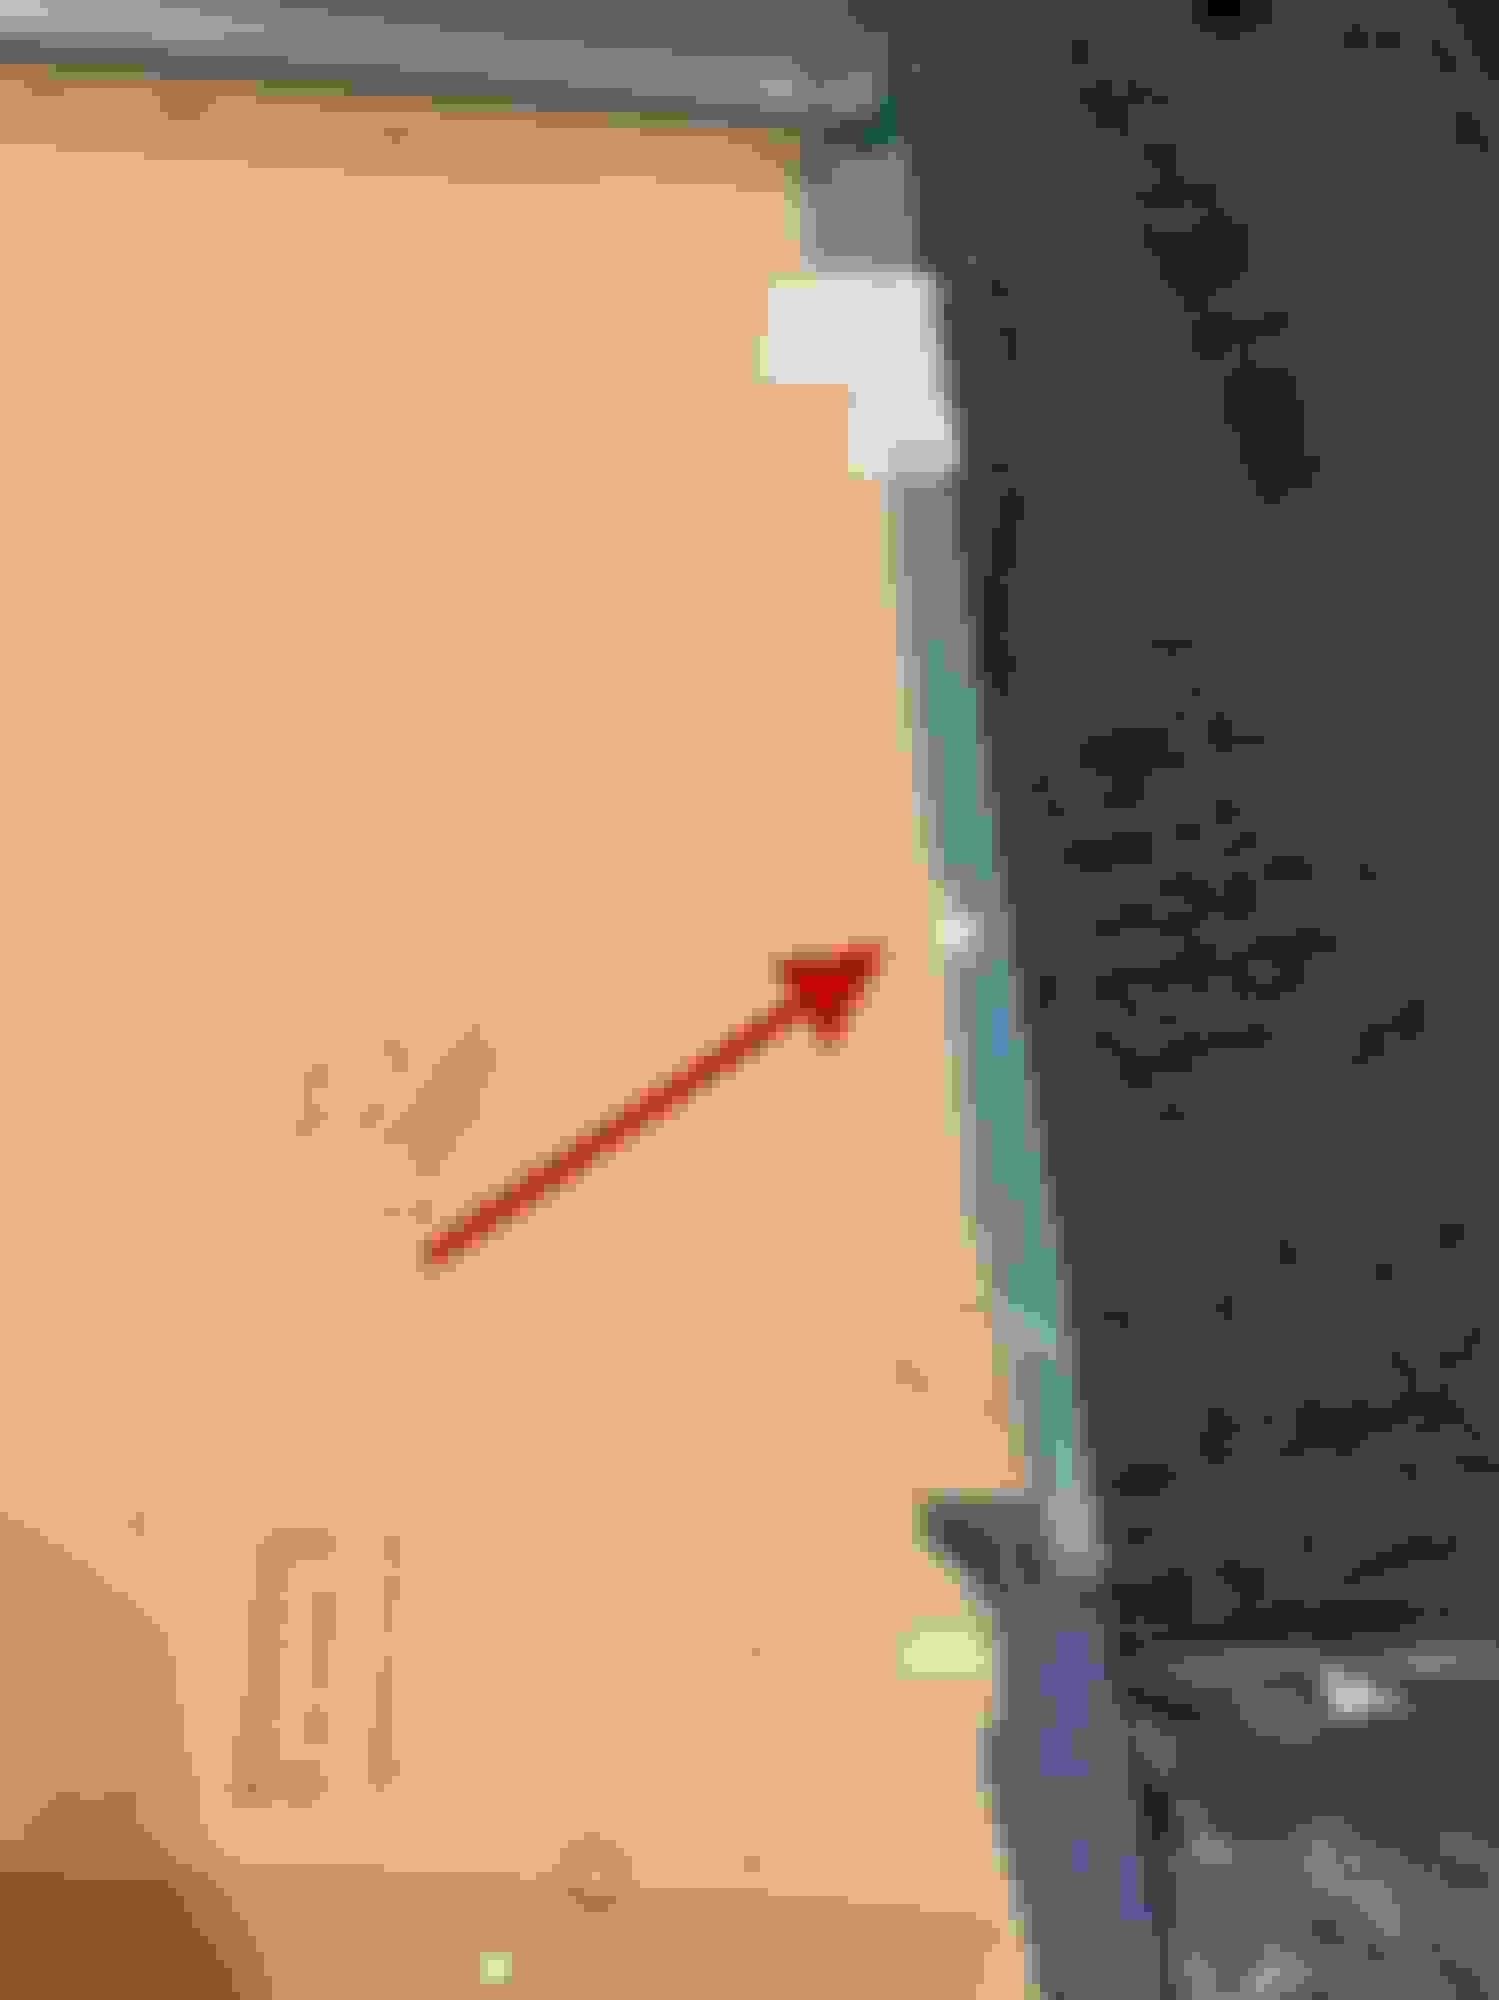
As others have pointed out, the hardware that comes with the NOS hood mouldings are way too long. The factory screw is on the bottom.
Any advice on how to adjust this so that gap goes away?
Left and right NOS headlight housings.
Not the greatest of quality with regards to the finish and paint. Regardless, I’ll take the fit over the repop!
I removed the metal clips for the bezels, had them rephosphated, and reinstalled them tonight.


 Hi Jim