When you click on links to various merchants on this site and make a purchase, this can result in this site earning a commission. Affiliate programs and affiliations include, but are not limited to, the eBay Partner Network.
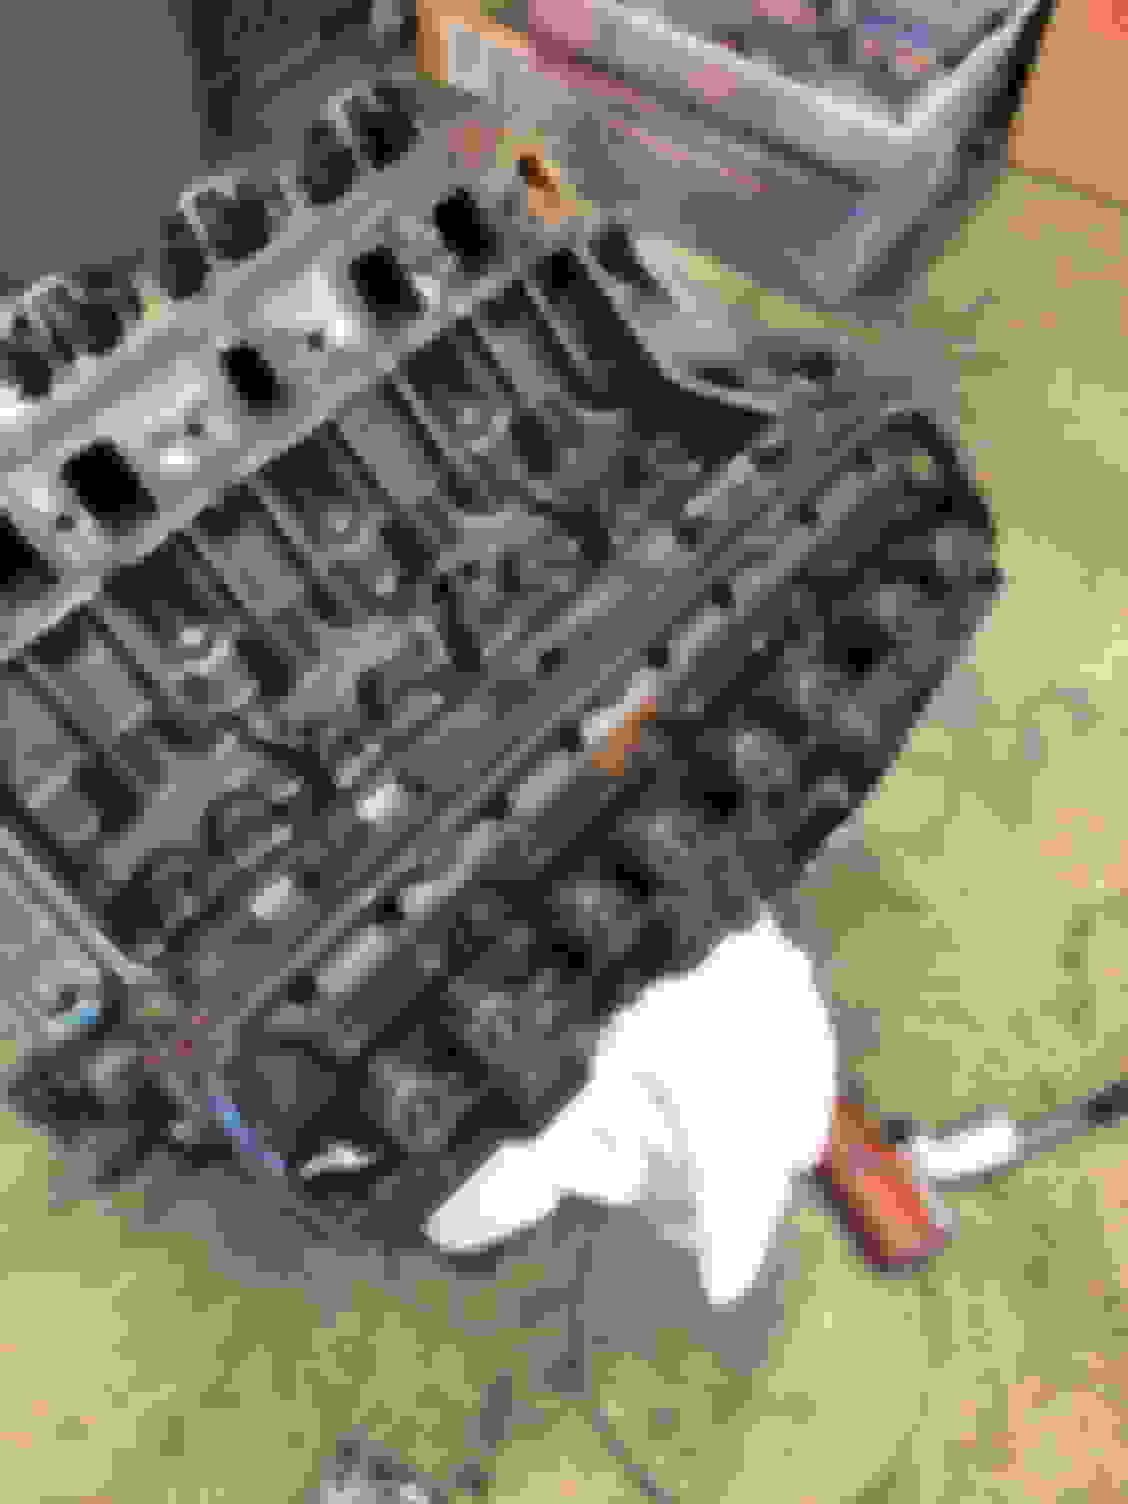
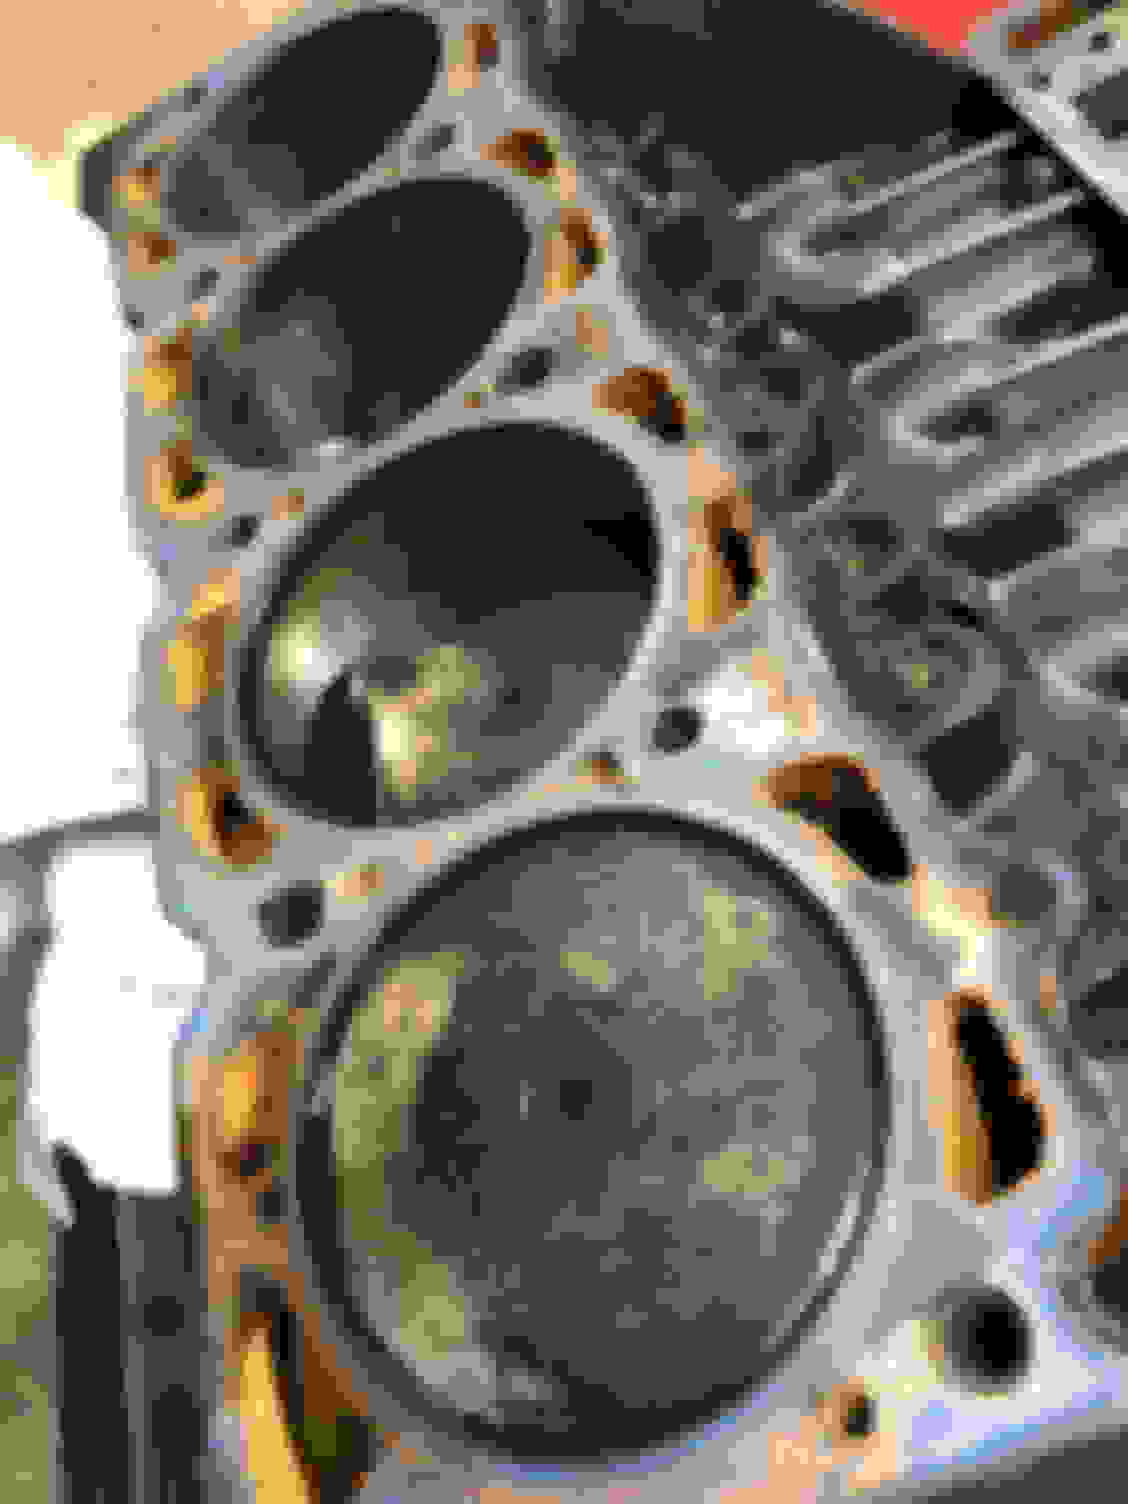
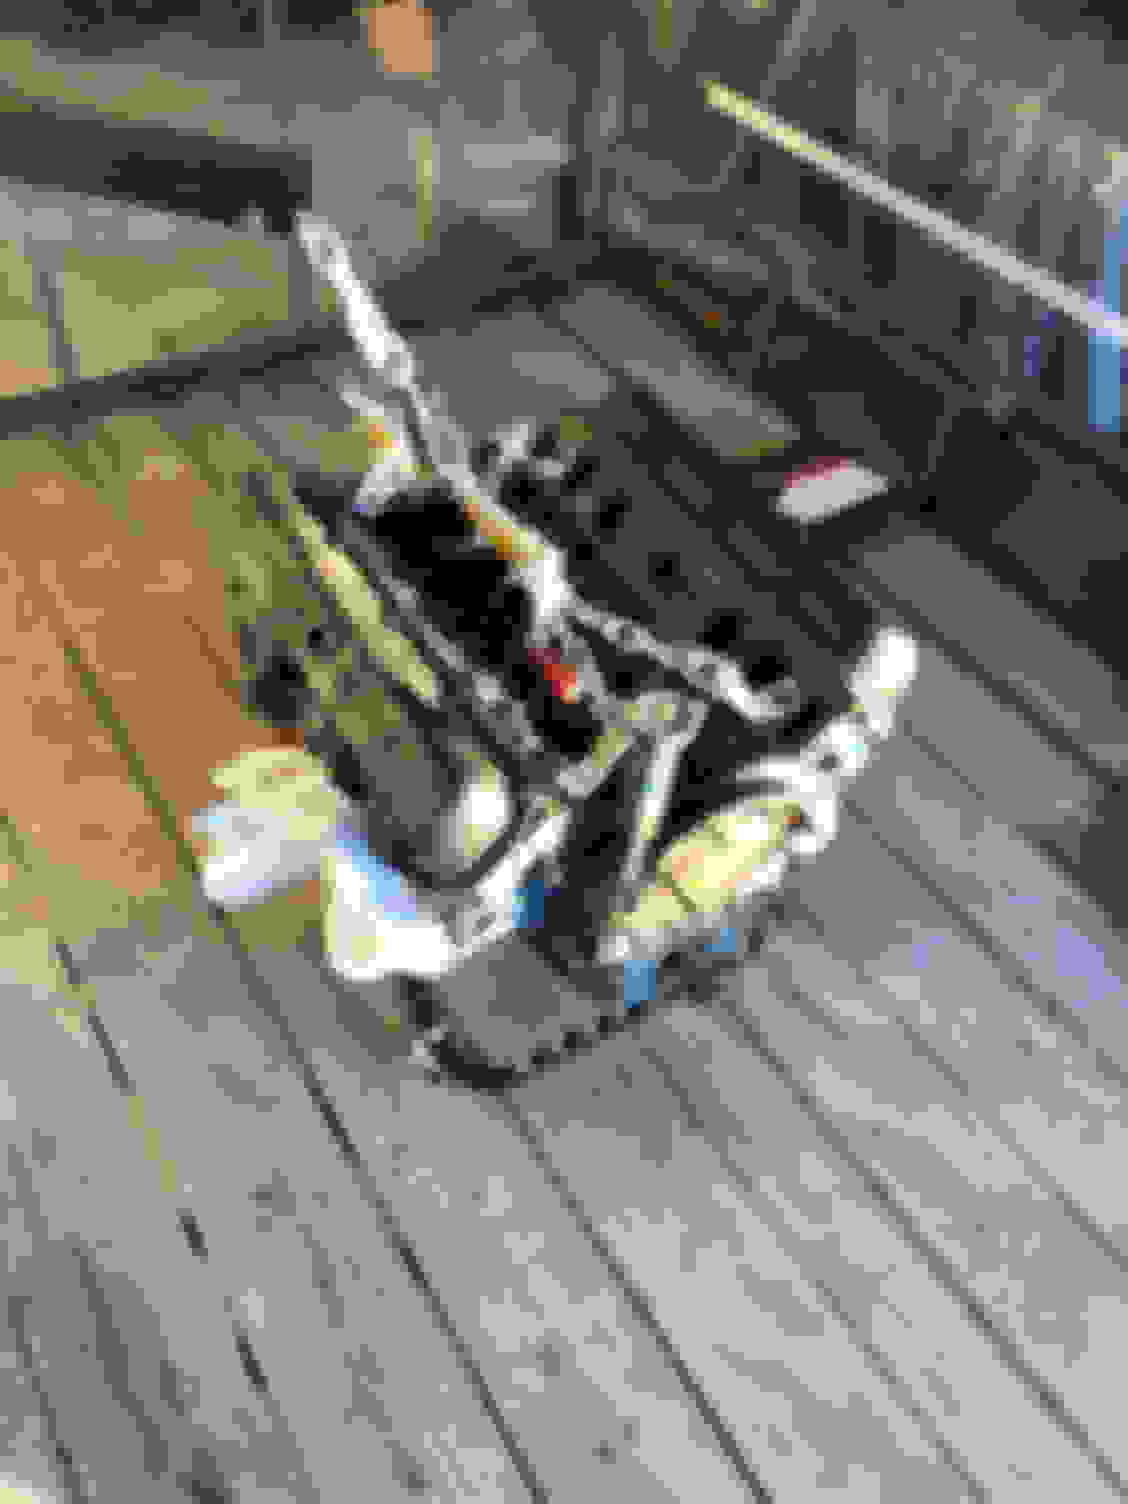
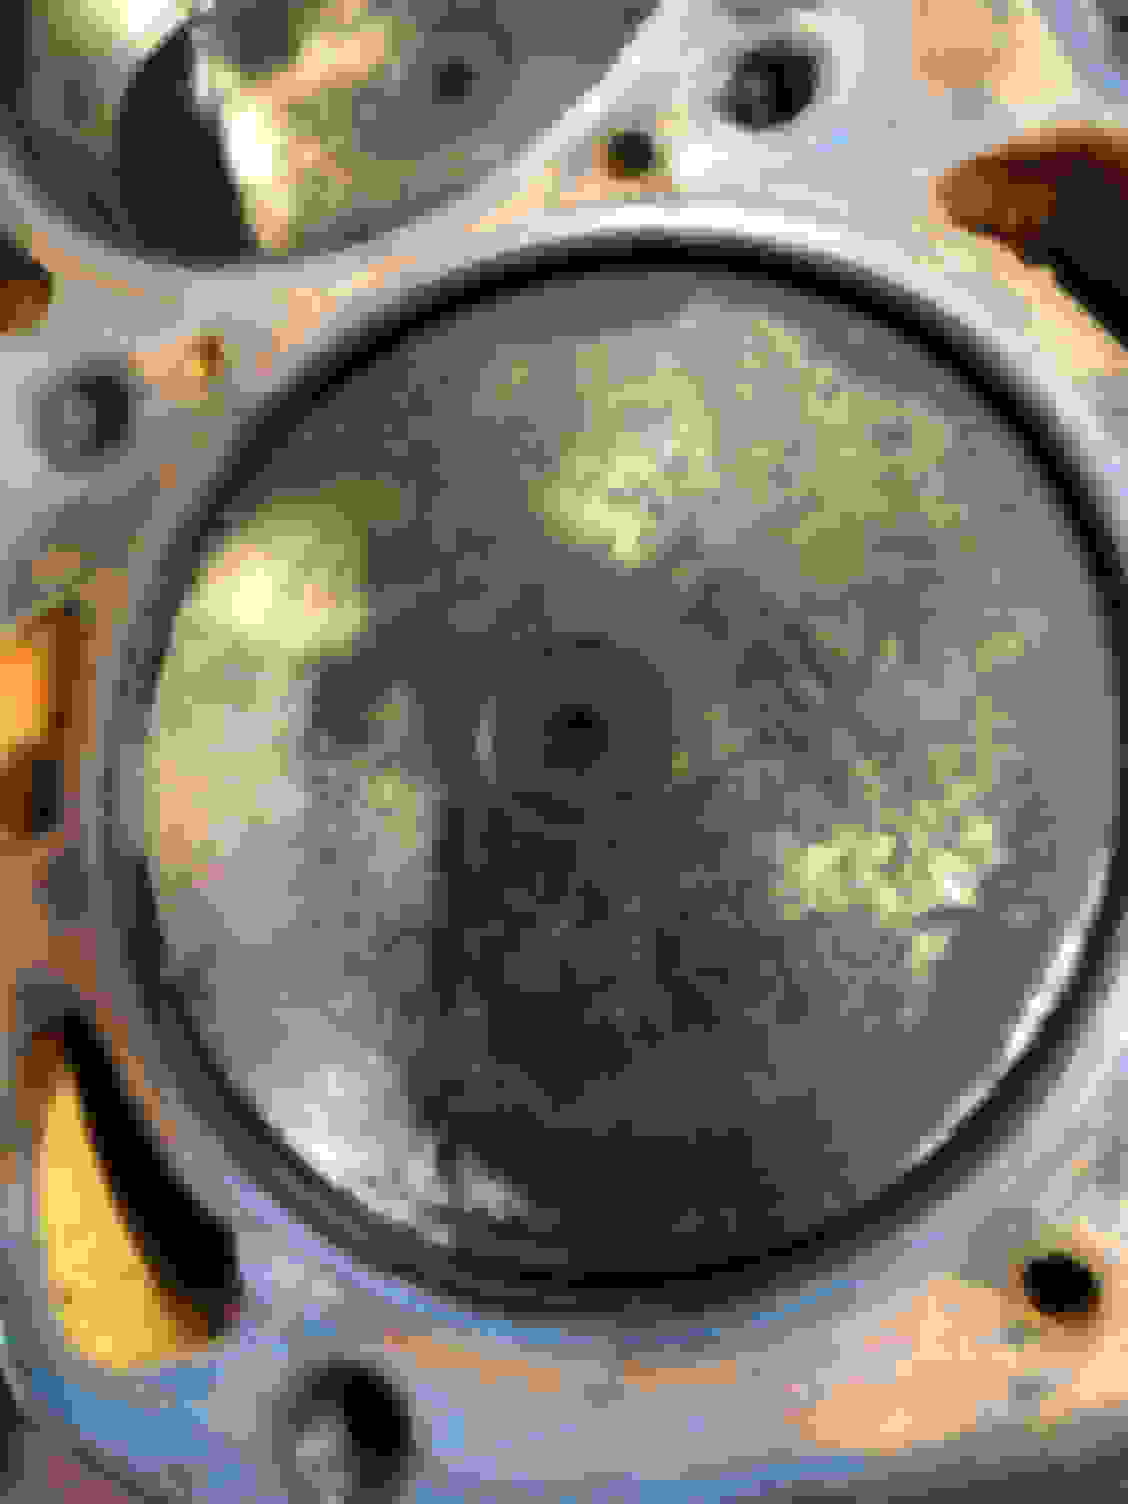
Started the engine tear down process yesterday. Looks like the block is already 30 over with TRW pistons. The engine was �rebuilt� back in �77 but it hasn�t seen much use since then. Looking forward to tearing down the rest and seeing what other vintage racing pieces were installed.
Received my rebuilt distributor block and proportion valve back from White Post. I had good luck with the MC and caliper rebuild, however, I�m disappointed in their work on the block. They were supposed to extract one of the small bracket screws since the head snapped off as well as repair the switch. Neither occurred. I�ll be calling them tomorrow AM.
Stunning absolutely stunning!, I love the hood hinges!! May I ask who you are using for the plating?
Thanks, Eddie. I sent my items that required a grey phosphate finish to Steve Gregori out in California. His site is brakebooster.com. I have other plating related items with a few other suppliers.
Whitepost delievered on their promise to address their miss on the screw extraction and the loose switch. As part of their reconditioning, they also provided two correctly plated screws and washers so we�re all set to move forward.
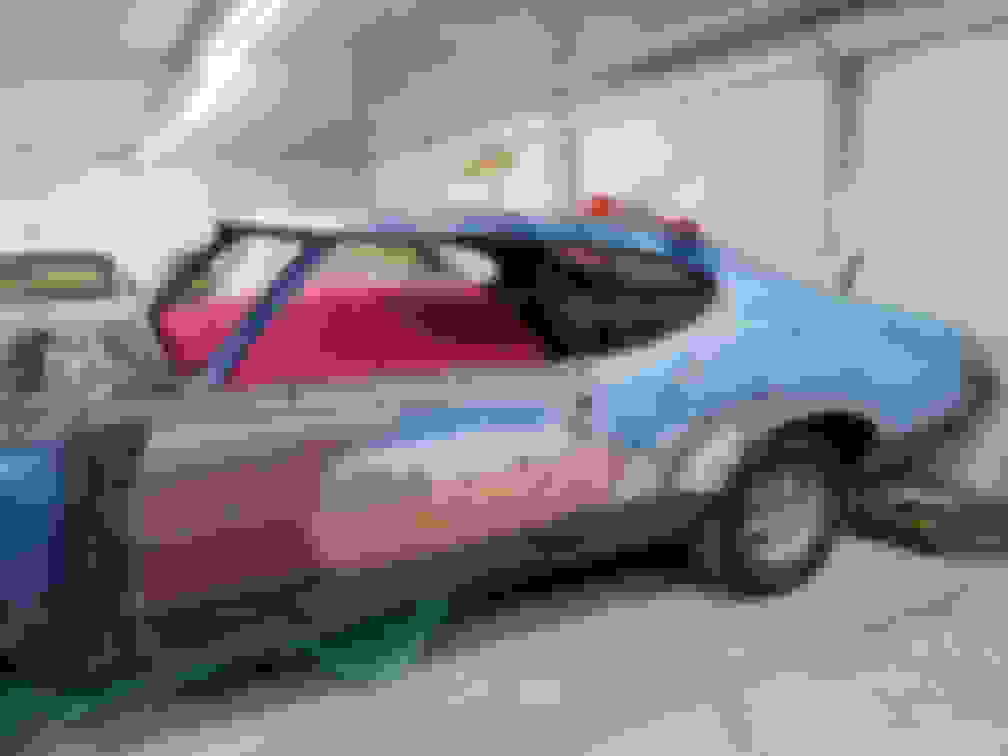
For the first time in 2.5 months, I headed back out to the garage to get the shell of the car stripped. I have to remove the interior before bringing it to the body shop. Few observations...
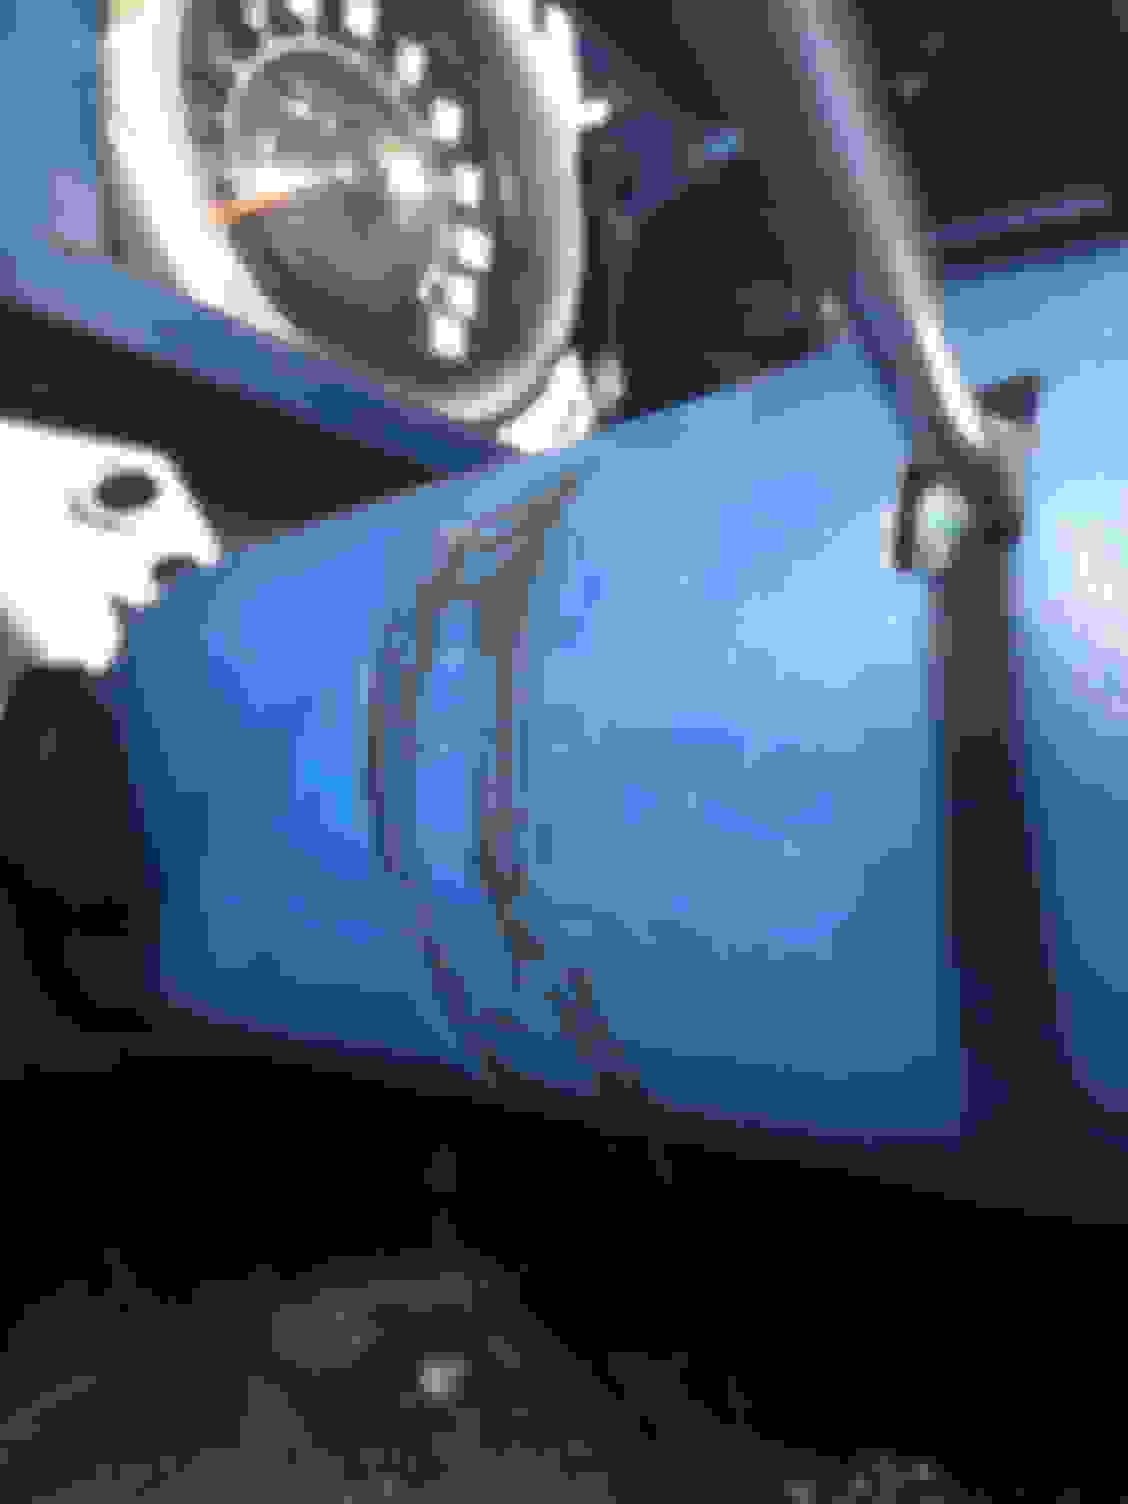
-Olds used about 50 shades of blue. The blue on the metal dash is different than the blue on the dash pad, the door panels are a light blue but the arm pads are darker and the plastic base is even another shade of blue. I have some nice headliner material that the factory left under the back seat that I�ll use as a reference for a replacement.
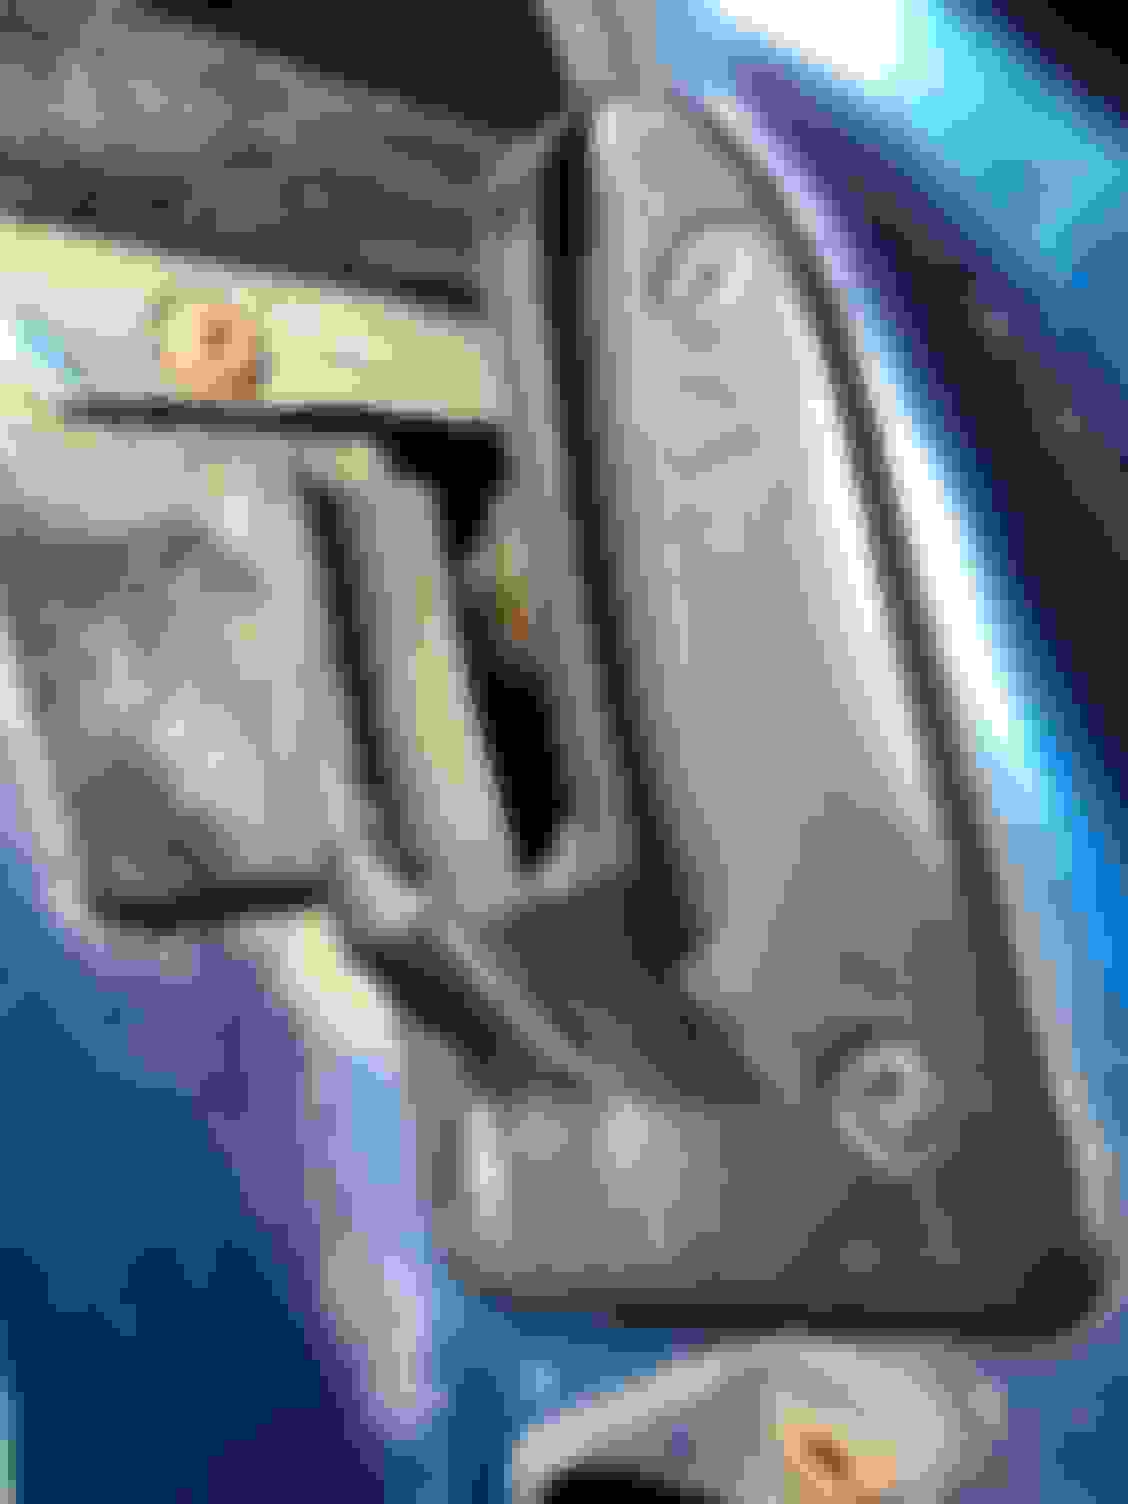
-The metal on things like the interior pull handles, window cranks, and visors is more pitted than I initially thought. I hadn�t spend much time going through the interior so I�m curious what else I�ll find.
-Tach in the dash but it must have been mounted to the steering column at one point based on the marks on the steering column.
Door panels are in nice shape. I may try and reuse the rears depending on how they clean up. Will update with more photos this evening.
I went through all of those same issues with the blue interior in my convertible. I made it a point to try and see restored Olds with blue interiors to see what others had done. There was one at MCACN a couple of years ago where they had done just about everything around the dash (the metal, the pad, the dash, etc.) in a single blue. Absolutely not the way to go. IMHO it did not look good. I wound up using a couple of shades and was pretty happy with the results.
I went through all of those same issues with the blue interior in my convertible. I made it a point to try and see restored Olds with blue interiors to see what others had done. There was one at MCACN a couple of years ago where they had done just about everything around the dash (the metal, the pad, the dash, etc.) in a single blue. Absolutely not the way to go. IMHO it did not look good. I wound up using a couple of shades and was pretty happy with the results.
Eric has codes for the blue which I�ll be referencing when the time comes. I agree that cars that have a colored interior should be anything but a single shade.
I know your pain. Almost finished with my interior. I agree about doing the colors like the factory did. I have found some colors that match and have some orginal blue interior paint left too. I prefer it to be done as the factory did it myself.
The solution for cast iron pieces that were natural when new is Eastwood's spray cast paint. Not only does it look just like raw cast iron, but it resists chemicals and will be durable. Also they have a carb color paint that is good as well.
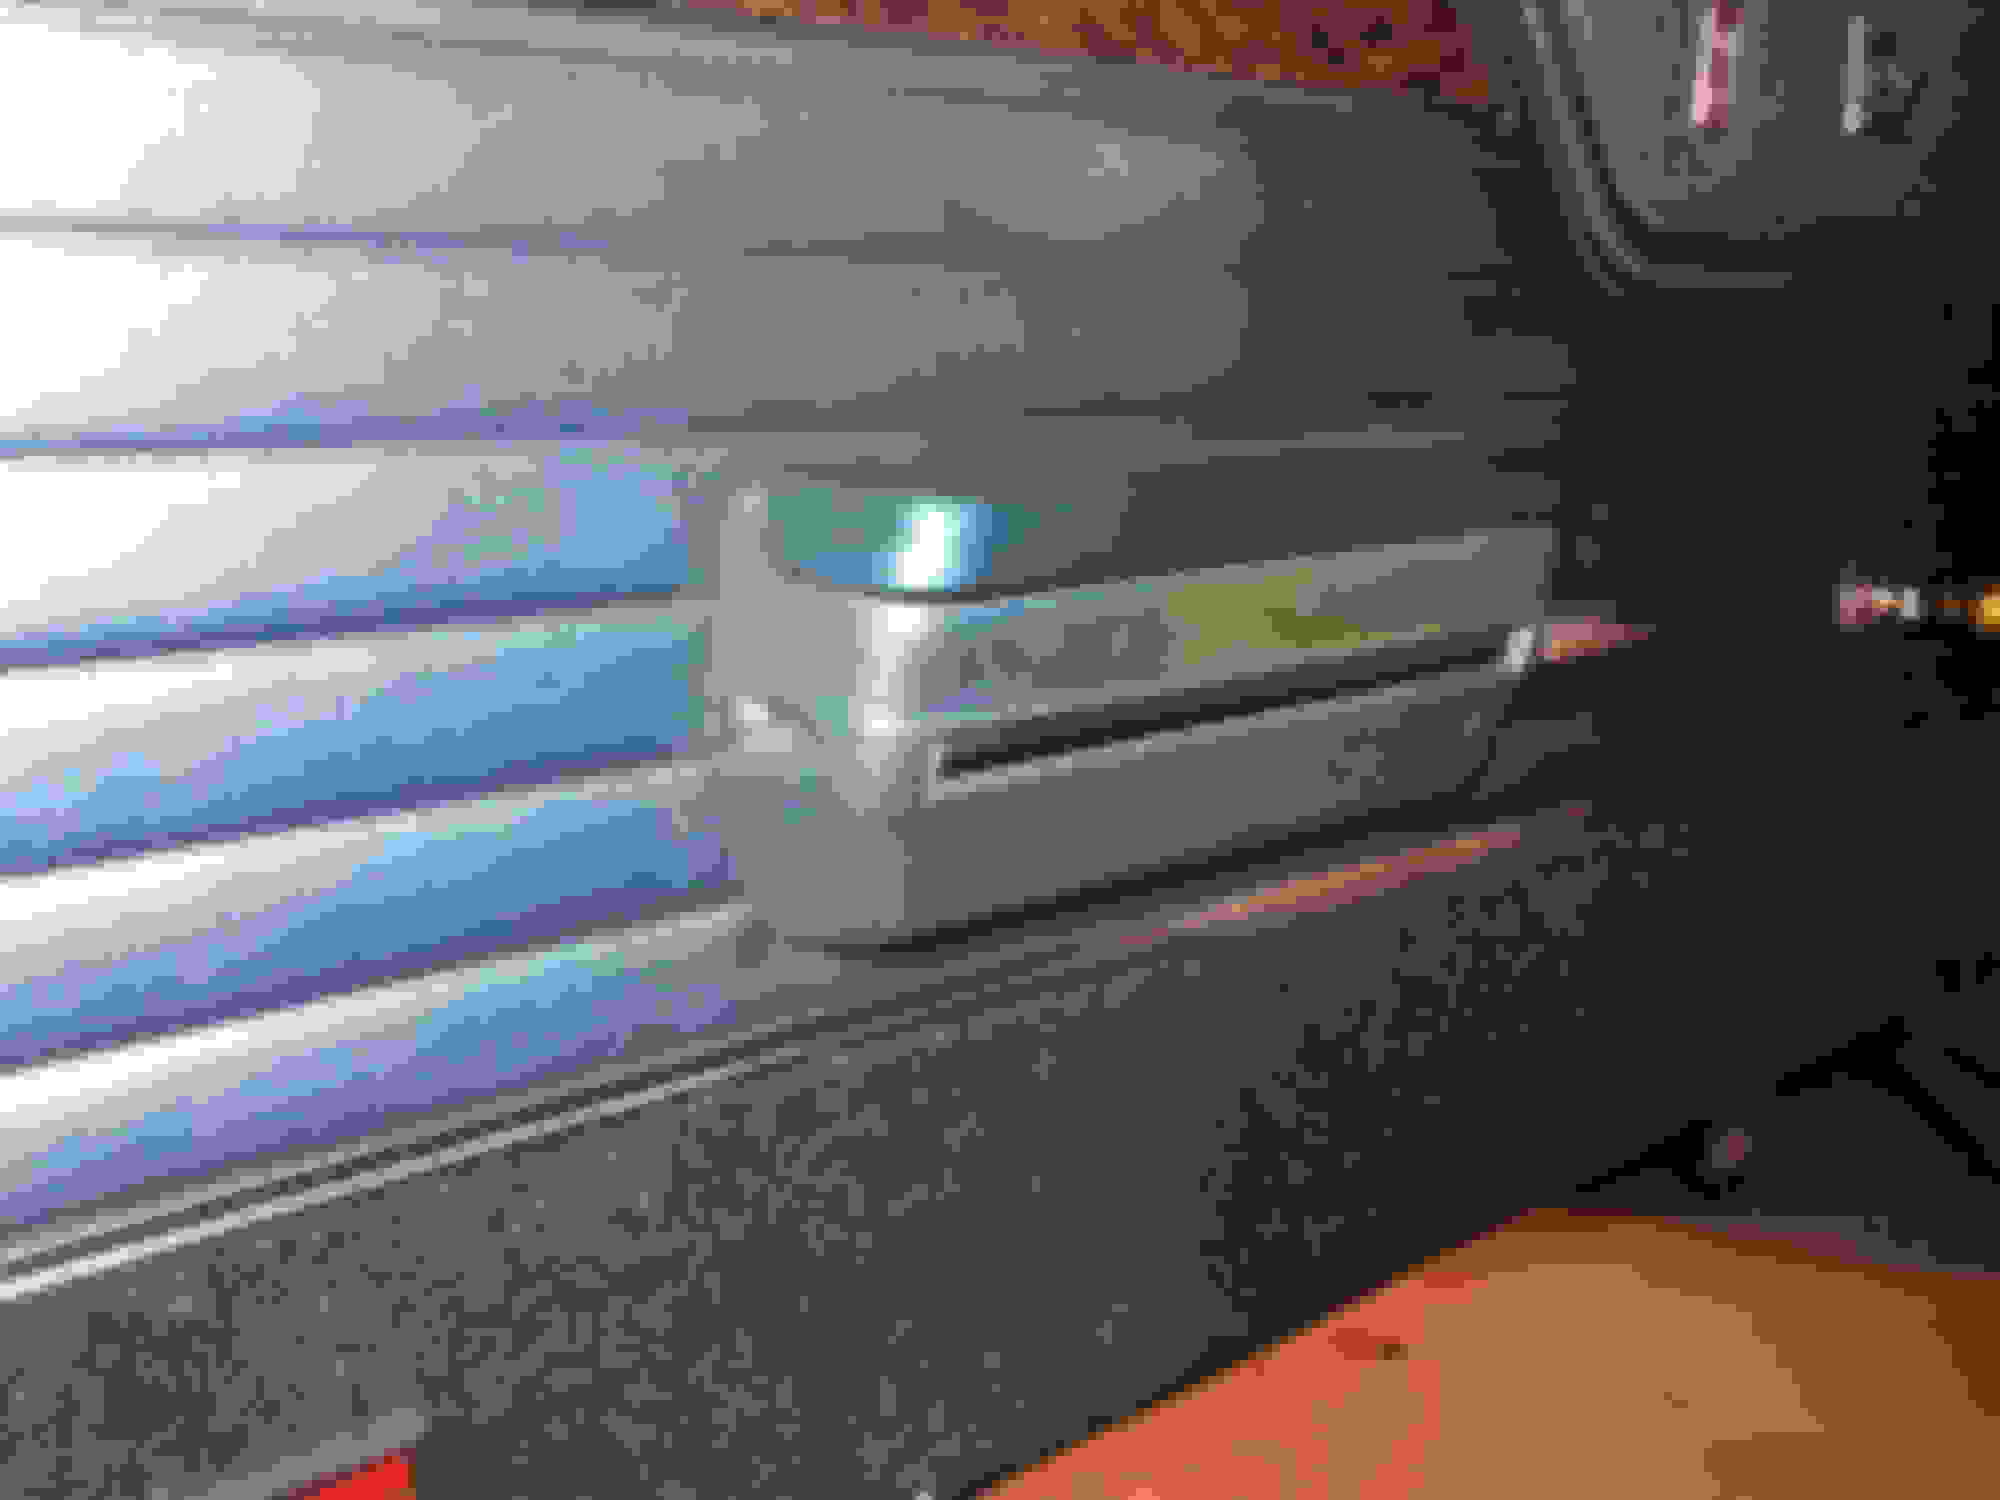
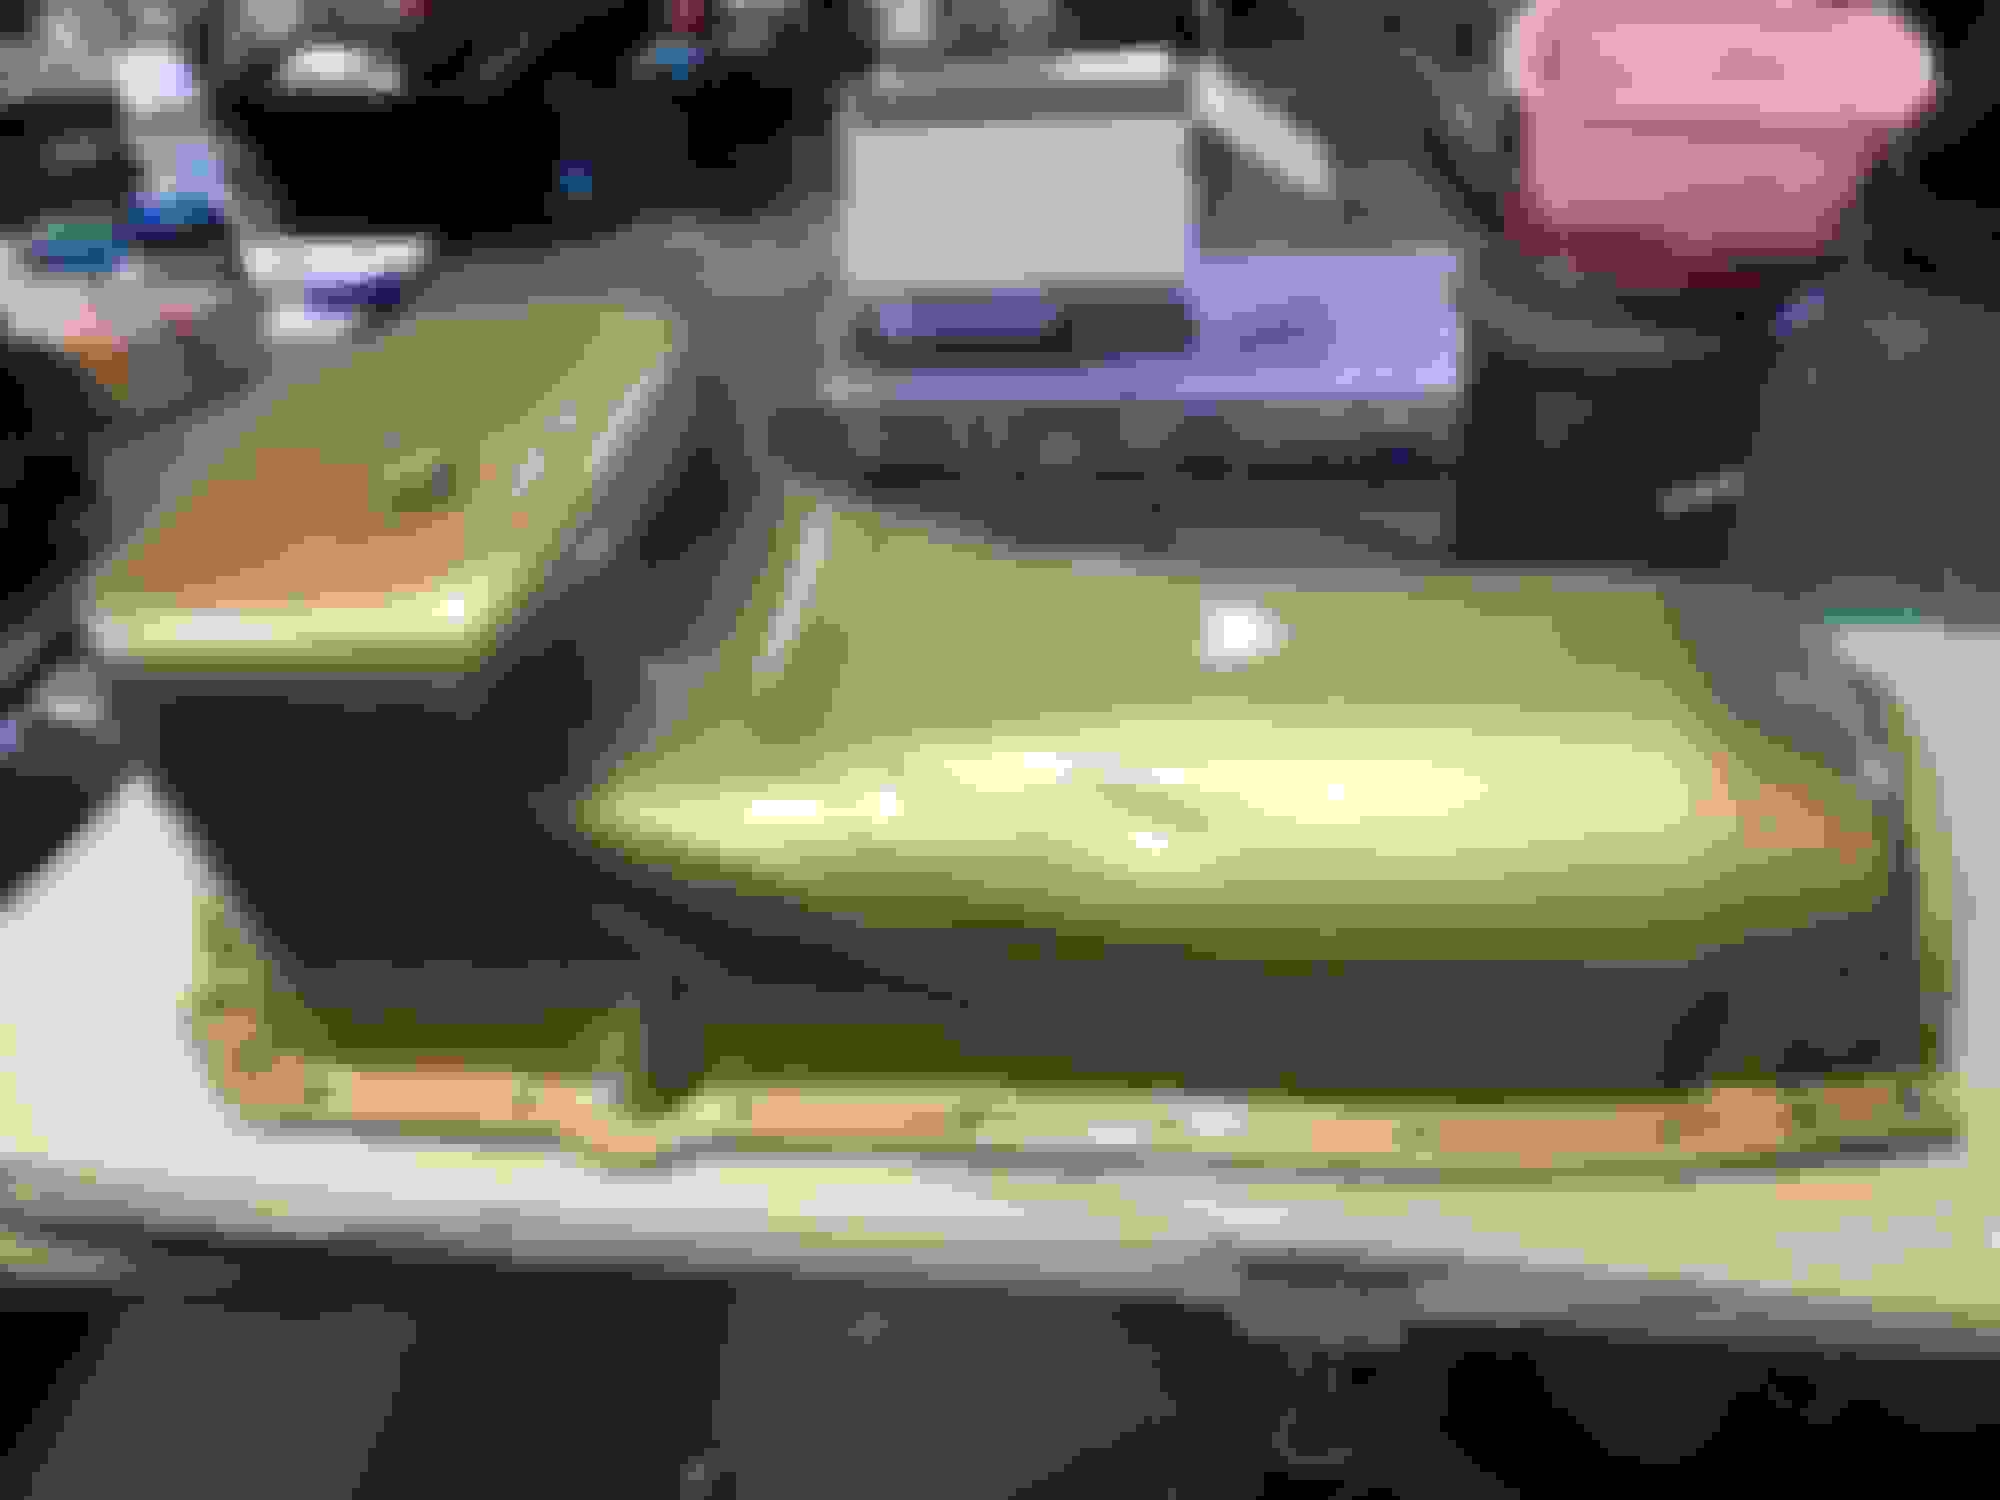
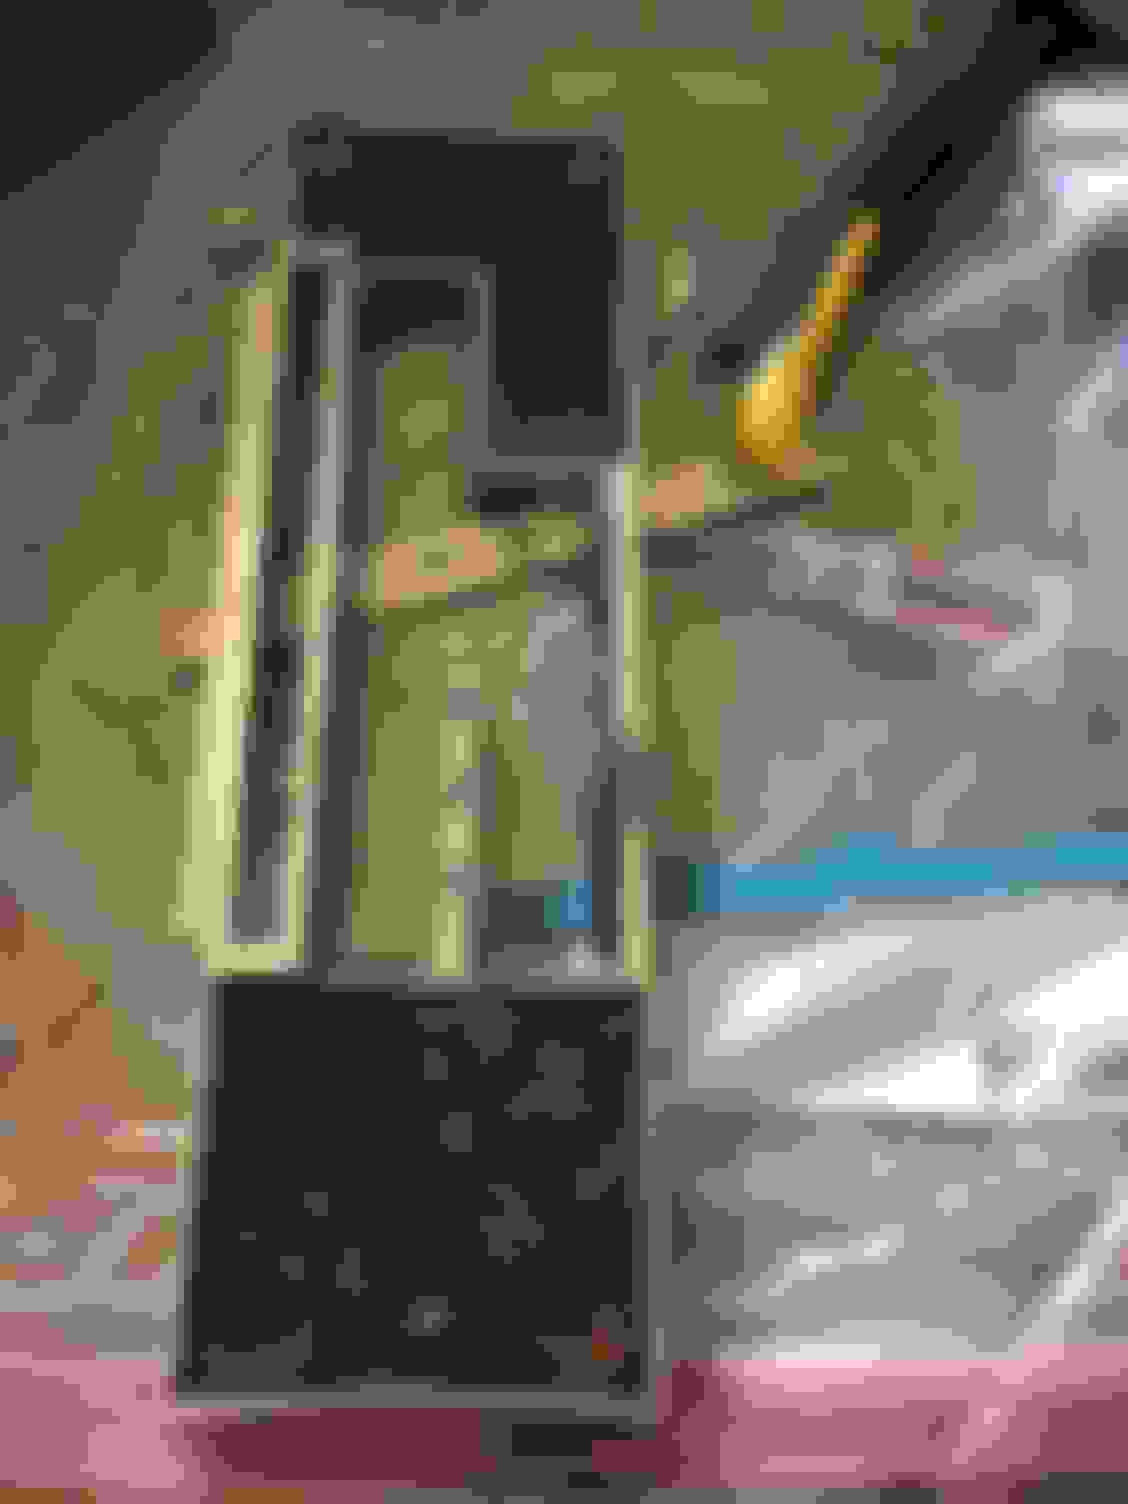
Slowly but surely the interior of the car finally came out. It took a bit of time, but the interior has been completely removed. The hardest part were the studs on the dash and getting a hand on them. The carpet will be replaced along with the door panels and headliner. I’m still going back and forth on whether I have the seat covers restored or use the Legendary replacements since the blues are different. The console and dual gate shifter appear to be in excellent condition and should hopefully clean up well. The chrome inside the car was pitted pretty bad. I’m going to need to replace or refinish the visor brackets, inside door pulls, ash trays, etc. The wiring was good despite the critters that had inhabited the car during its hibernation. The original owner installed some type of “kill switch” mounted inside the metal dash, to the left of the glove box, which will require a bit of cleanup.
Per the paperwork I received when I bought the car, the previous owner had it repainted around 1982. The original fenders, as well as the original l deck lid, were tossed due to rust. Fortunately, I was able to find a correct “1st gen deck lid” as well as correct date coded 1970 flat fenders that were super clean from an original Oklahoma car. The fenders were still wearing their original rally red paint and the deck lid appears to be have been sprayed reef turquoise. The best part about the "new" deck lid is that it’s off a 70 S and the holes are all punched for the rocket and Cutlass emblems.
Last Saturday, we made the trip up to Michigan to have the best Olds body and paint shop tackle the respray and body work. I have nothing but confidence that Bob and Carshine will deliver an outstanding finished product in 3-4 months!
I have submitted the car to MCACN 2019, and I’m hoping the W-31 will be accepted by Bob Ashton and his team for an official unveiling.
When I pulled the heater core I noticed a little bit of yellow on the firewall. I sprayed some carb cleaner and the yellow stamp started to become more clear.
Unloading the car at Carshine. Inside the car we stuffed the deck lid, two flat fenders, the hood, and the inner fenders. I'm fortunate nothing moved around for the 4 hour drive up from Chicago.
Last edited by WTHIRTY1; Feb 17, 2019 at 10:40 AM.
A picture I took Friday. the nearest 70 is a 442 4 speed in epoxy primer. the next one is a 70 W-31 post ready to be primed and the next is the blue W-31 just starting to strip the paint off. ~BOB
Few updates and a couple of questions for the group.
Who do you recommend for seat belt restoration? Ssnake Oyl always seems to be the one that folks reference. Any other options out there?
I saved a clean piece of the original headliner material. Is SMS the right choice for this?
I also saved a few pieces of the original carpet before tossing it (nasty mice did a number on it...). Does ACC send sample swatches? For those that have had the joy of restoring a '70 blue interior, what have you had success with as far as a match?
Dropped the wiper motor and pump off with Steve Hackel here in the Chicagoland area for a restoration. He's done work for quite a few folks on the forum, and I'm confident his work will be of the highest of quality.
In speaking with Bob last week, we've decided to "save" the black sealer / spray / gunky stuff on the firewall versus blasting it all off. Too many times you see a fresh restoration with a completely smooth firewall which isn't how these cars left the factory.
Forget SnakeOyl and contact Python Seatbelts (or Python Seatbelt Restorations...or "Python-something). In the same area as SnakeOyl and it may be run by an ex-employee (I figure the name may be a "jab" at SnakeOyl....who knows?). Anyway, their prices are more reasonable with the same quality. Luke used Python, at my recommendation, for his '68 H/O belts and he was very happy with the results. I believe he posted pics and his impression of them in his "build thread".
They are likely backed up but they do have a good rep.
Realize that if you get the chromed pieces redone they will be much "slicker" compared to the original chrome. You should also ask anyone that might be rechroming the chrome receptacles what to expect in terms of the stamped-in text on the backside of those parts.....will lettering be wiped out, partially filled, etc?
How are your chrome pieces??
>Carpet - LEGENDARY should be able to send carpet swatches (of ACC-made carpet).....we did that years ago when we restored a '70 convert with the same interior color. I may have the sample/swatch sheet here....will check.
>Headliner - get swatches from whoever you're considering. I installed a headliner a few years back in a '70 442 hardtop...again, your color interior, and I believe we got it from Fusick. Fit great but the car wasn't a concours type deal so we went with whatever Fusick had for that year/color headliner. Appeared to be the correct color but I was replacing a messed up replacement headliner so didn't have an original to compare to. I think it was a PUI headliner but don't recall 100%.
Again, you could contact Legendary as well....and get a sample.
Wow, fantastic work. Its time consuming but so rewarding and for others reading very inspiring. Going through similar process on my '70 and the different shade of trim color wasn't just an issue with blue trim as I've had the same dilemma with different shades of gold on the painted and plastic parts. Awesome work so far and I'll stay tuned for your future updates.
Received my rebuilt distributor block and proportion valve back from White Post. I had good luck with the MC and caliper rebuild, however, I’m disappointed in their work on the block. They were supposed to extract one of the small bracket screws since the head snapped off as well as repair the switch. Neither occurred. I’ll be calling them tomorrow AM.
I have the same yr master cylinder, dist block, proportioning valve and calipers. Im contemplating rebuild on some or replace. I realize all these components can be replaced with new replacements pieces and wanted to know if there is a benefit besides being "original pieces" to use the old pieces and have them restored rather than replace? I realize some parts are worth restoring for correct fit and function. Do replacements all work and fit correctly? I see the new distribution blocks are brass too which is probably better than cast? The proportioning valves are available and look to be correct? The master cylinder is pretty obvious when showing so prob restore that but those correct looking MC are also available. The calipers are also available and hardly seen. I'm weighing restoration and cost comparison to restore or replace on these pieces?
Ssnake Oyl or Python. When I went through this I was on a bit of a time crunch, so I went with Ssnake Oyl. As Patton stated, rechoming buckles could wipe away the text. The nicer the core, the better the outcome. I spent a good amount of time going through misc belts oldspackrat had and sent a bunch off to Ssnake Oyl. The results were outstanding. Exactly what I wanted. All the text on the rechromed buckles are clear as day. I elected to reuse my original labels as the repro labels can be spotted a mile away, font just doesn't look right. While Ssnake Oyl recommended new labels they took my preference to use my originals. While my original labels are a little dirty/off white, you can definitely tell they are original. Only one label was a slight issue, but it's what I wanted.
Headliner - Legendary. I'm sure SMS probably has them also.
Carpet - Legendary as they use ACC. And they will provide samples.
does a 69 blue interior count? That was a bit of a nightmare, but the resto shop was able to source all the correct colors by SEM. My 70 F-85 has a blue interior. While I don't plan on restoring that car, I can at least use that as a reference.
Last edited by junior supercar; Mar 3, 2019 at 08:26 AM.
Python has done two sets for me. One in black and one om the exact same blue you are looking for. Both sets were outstanding and a better price then SnakeOyl. I have another set there right now and I know they are backed up a bit so you will need some time to get them done.
For the blue interior in my car I used legendary for just about everything including the carpet. I was very satisfied with all of it.
Ready for this Chicago winter to be over! A few updates over the last few weeks.
The paint on the car has been stripped to bare metal. I was very nervous after getting these photos from Bob, but if he's not worried I'm not worried! You can see that there has been some previous body work at one point during the car's life.
Here you can see just how nasty all that old body work was. I need to connect with Bob on why the holes would have been drilled their...assuming they were needed for some type of repair.
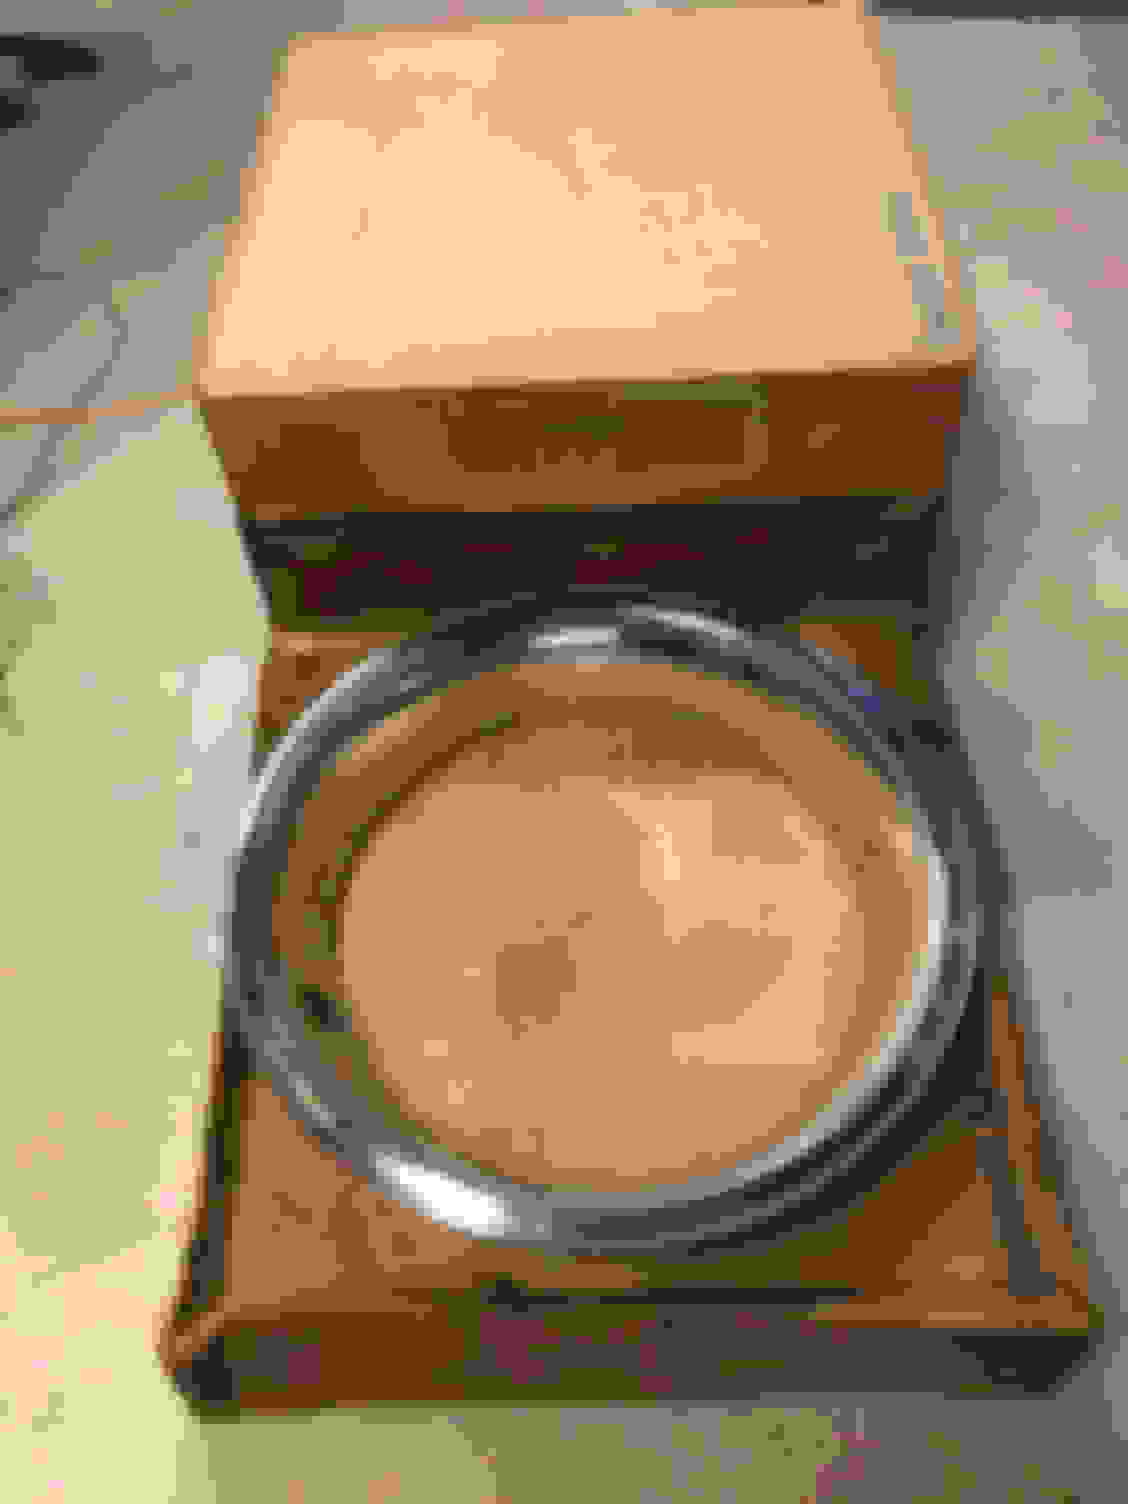
In keeping with the theme of using 95% NOS parts on the car, I was able to score a set of NOS trim rings still in their original boxes. These will be kept until the very end as a final touch.
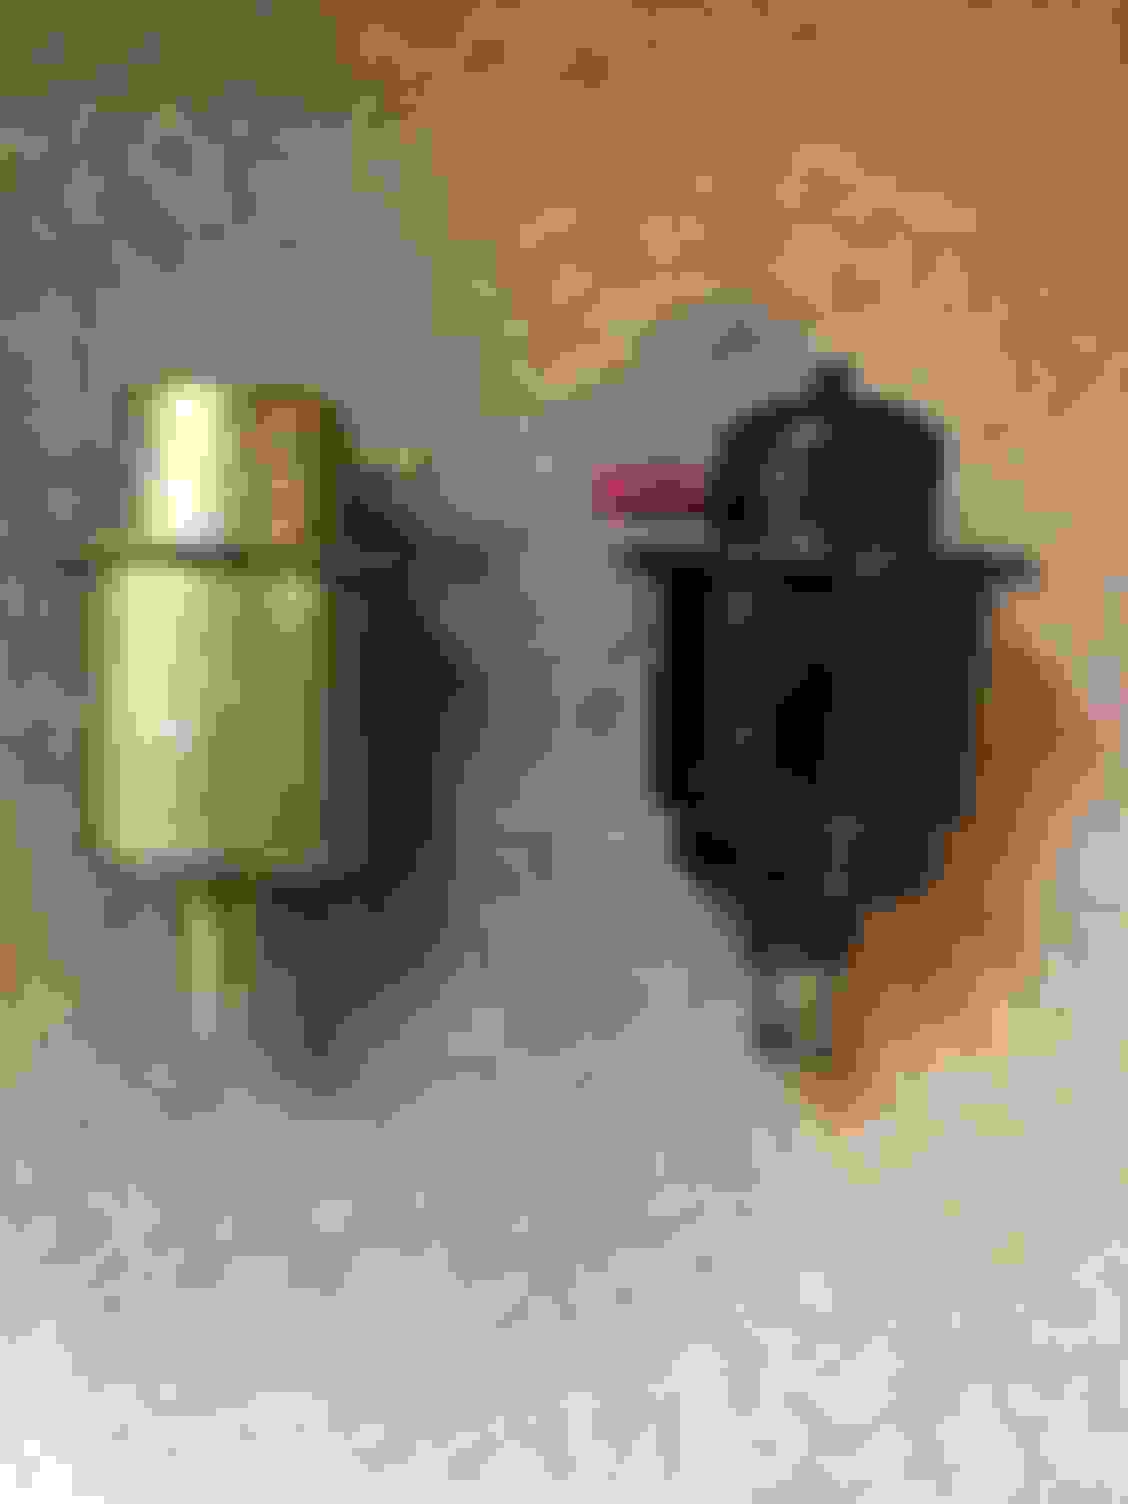
I picked up two NOS transmission modulators. The one on the left is an NOS piece with the correct part number for the Turbo 350. This is a great example of where the NOS part is technically "correct" it isn't factory assembly line correct. The modulator in black on the right is actually what would have come from the factory. I've sent both off to my trans rebuilder to see which one tests out okay...fingers crossed the black NOS piece will work. Most, if not all of the parts suppliers have a generic modulator in the yellow zinc.
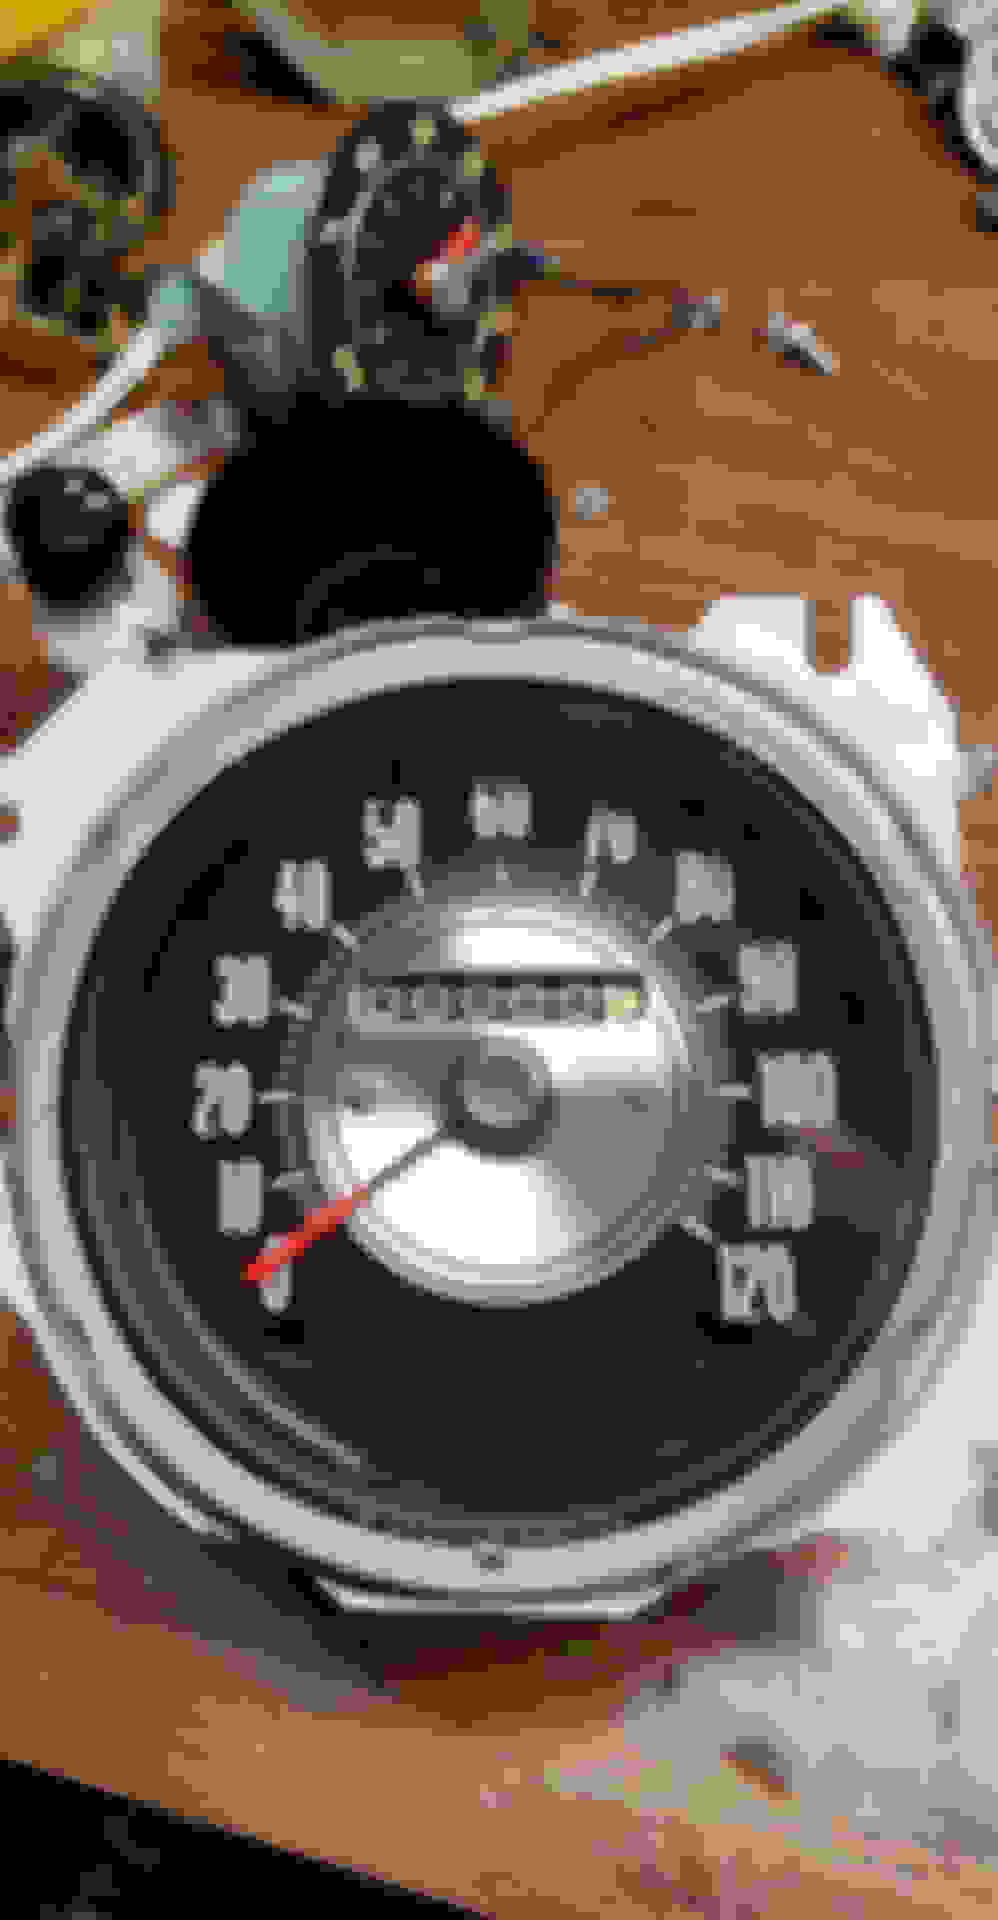
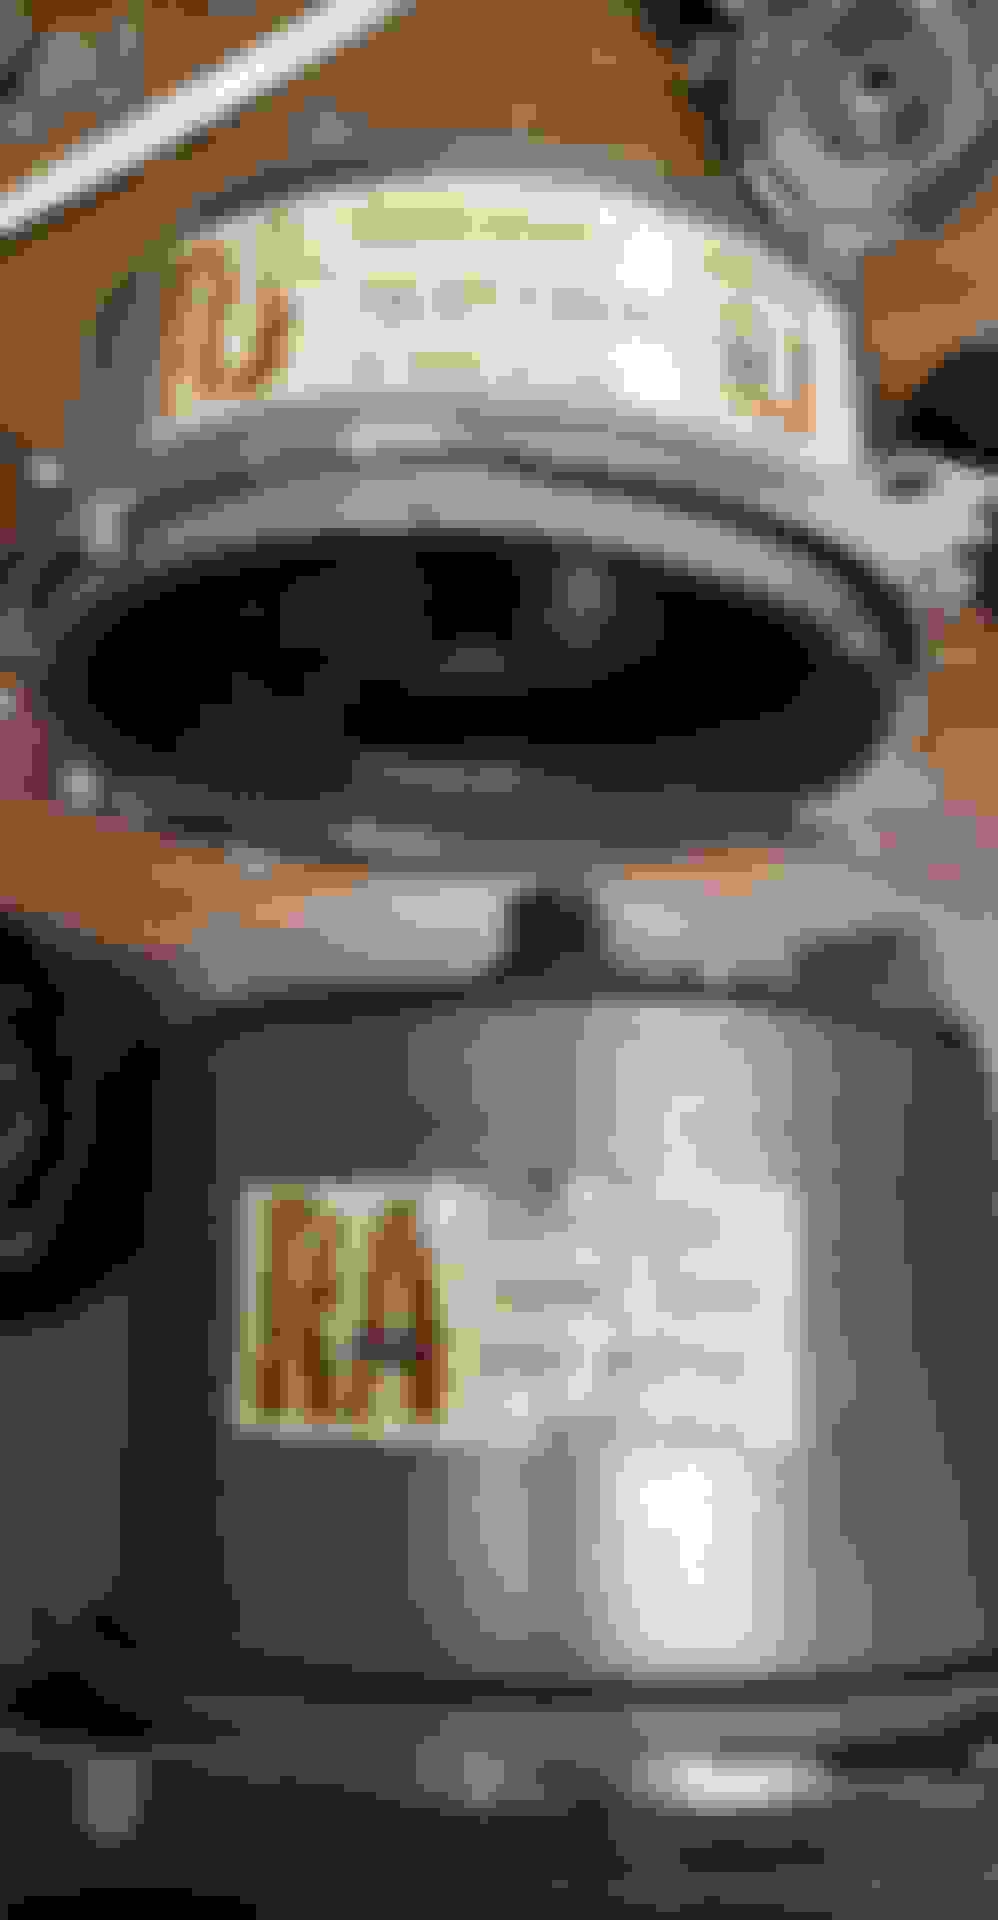
Pulled the gauges and had them send to my friend Frank out on the east coast for a rebuild. The original miles can be seen below, however, I opted to have it rolled back to zeros.
The original clock has seen better days. This was found on the floor of the original owner's backyard shed. We'll see how it cleans up. The Parts Place (hate to even mention them bc I loathe nearly everything about them) reproduced factory gauge lenses with the part number. The quality is nice for those in the market.
While we wait for the engine parts to finish up at the machine shop, we started in on minor items like removing dents from the oil pan. We also went ahead and sprayed a sample gold from Supercars Unlimited to see how we liked it. Pleasantly, the paint is still as good as I remember is from 20 years ago so their gold will be what gets used for the engine.
In a previous post, I had inquired about where to go for interior pieces. I reached out to SMS and they sent along samples for the seat vinyls, carpet, and headliner. The SMS headliner is a spot on match so I'll be ordering from them. The SMS carpet is a bit off. I requested samples from ACC over a month ago through their site but never actually received anything from them. At this point, I'm going to order the carpet through Legendary (which I believe sources their material through ACC anyways) since it'll match the door panel carpet and looks to be a good match.
As for the seat belts, I packaged them up and sent them off to Python down in Texas.
Last edited by WTHIRTY1; Mar 30, 2019 at 05:08 PM.
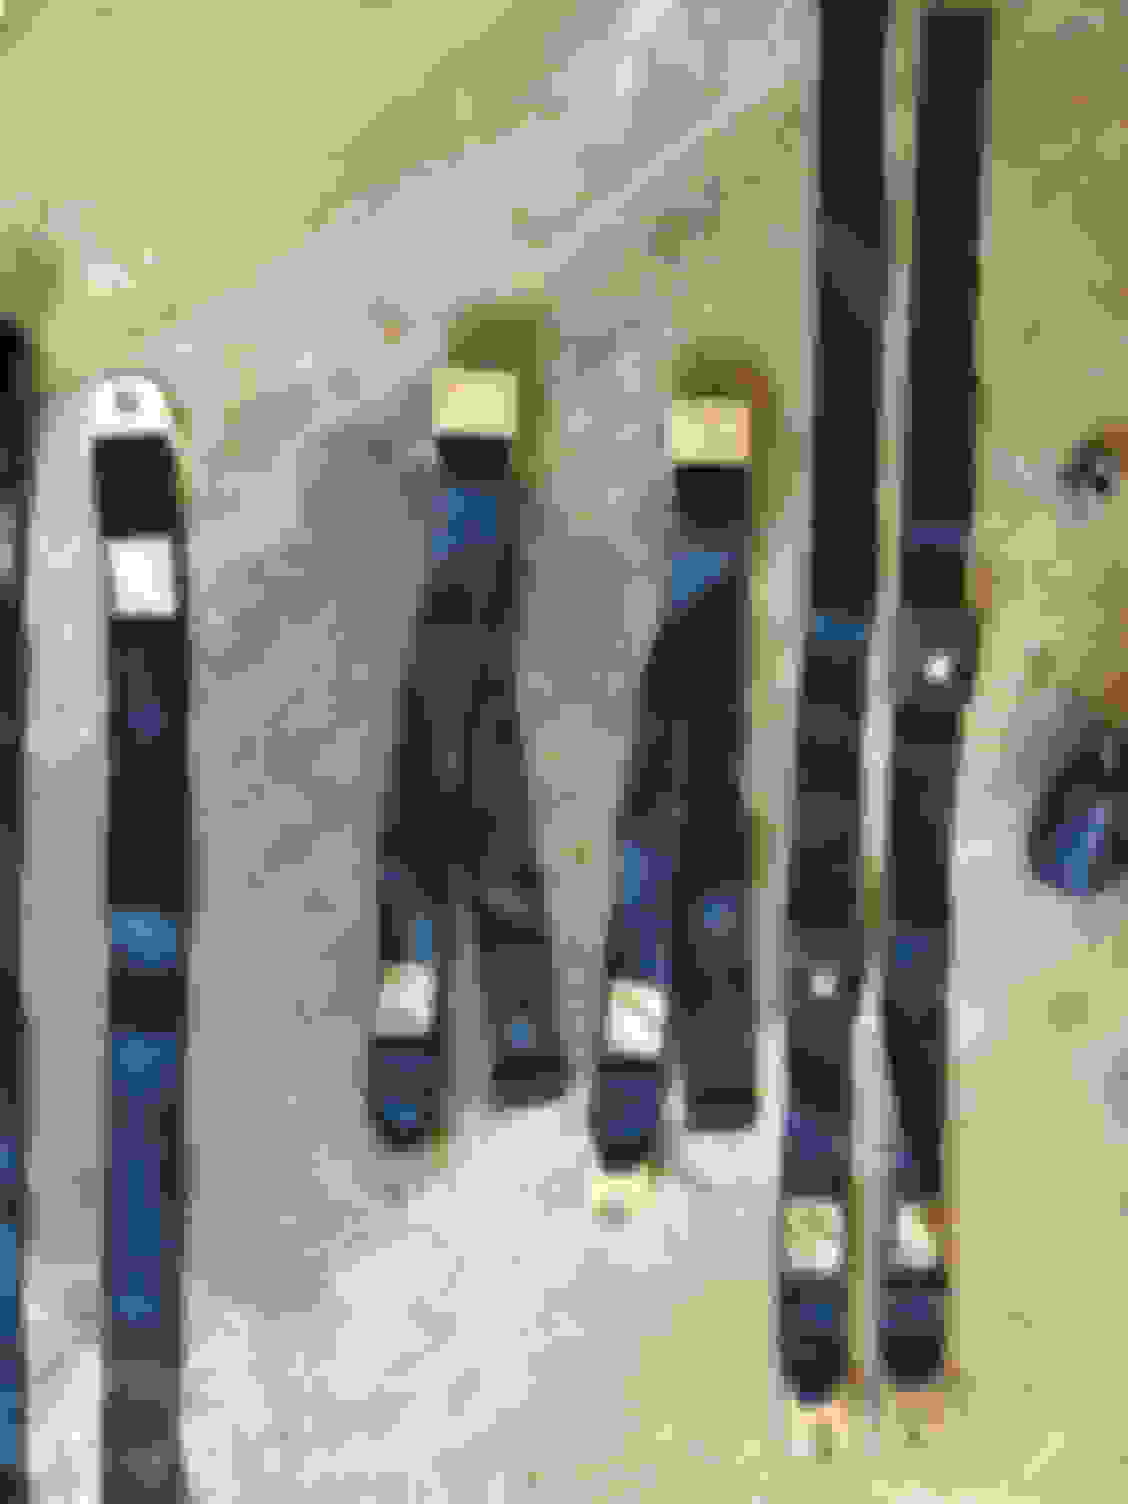
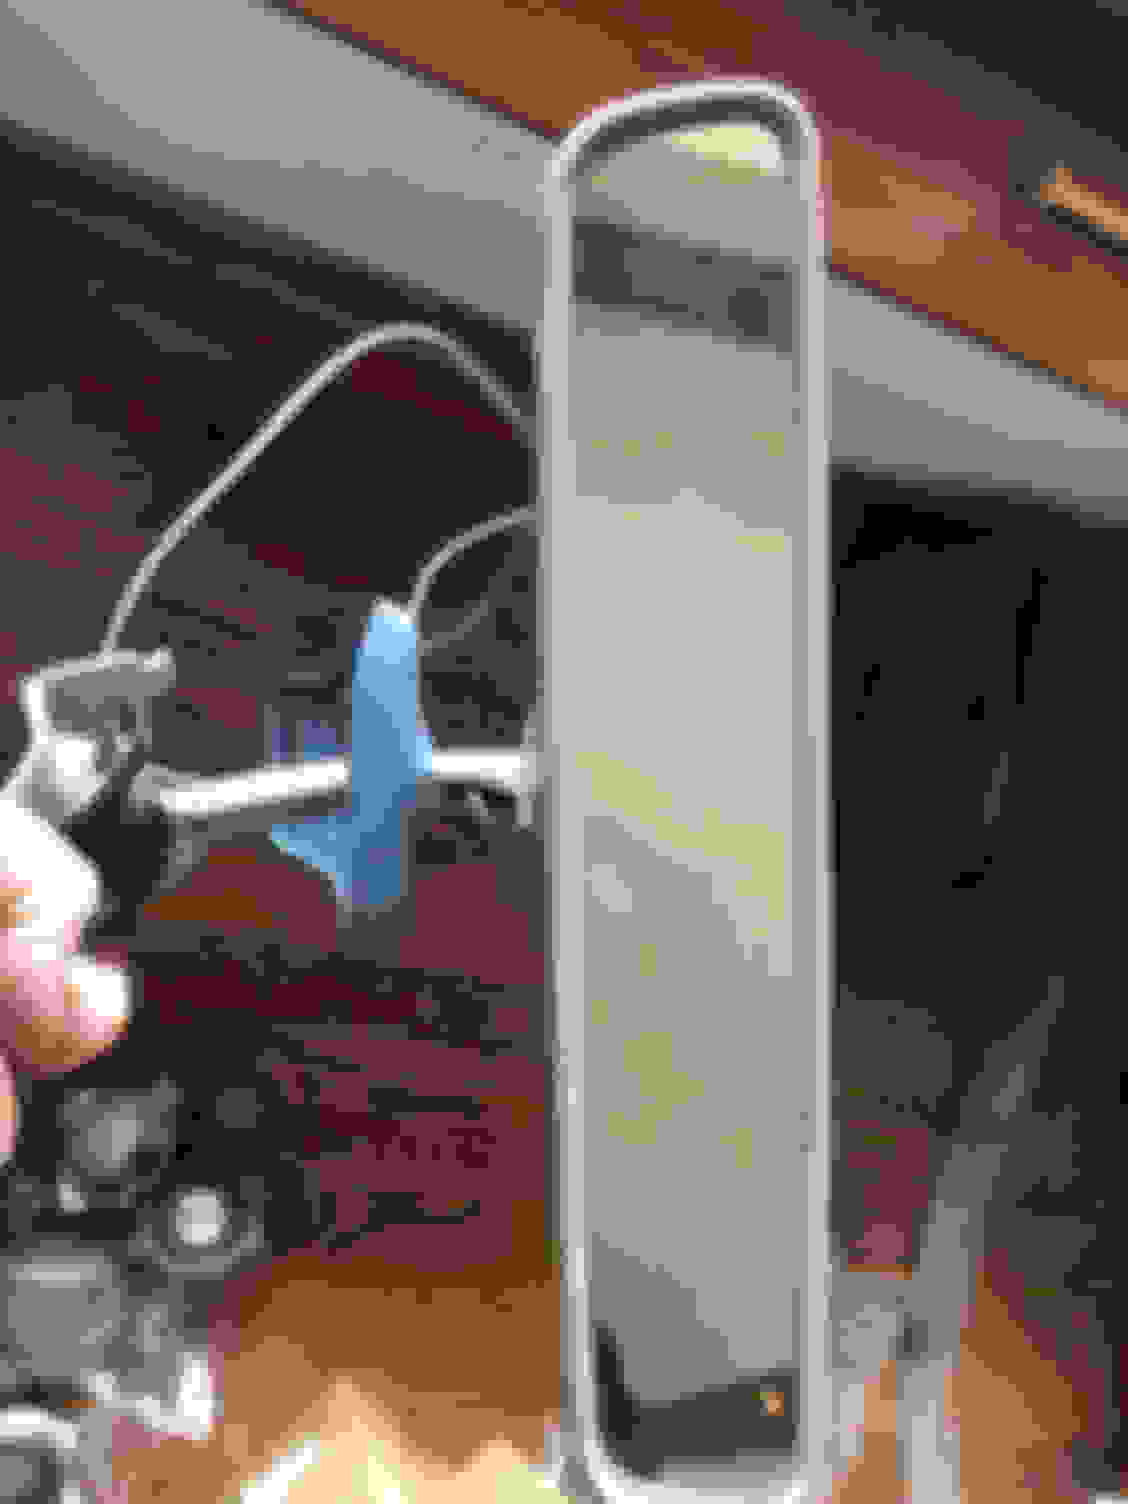
One of the most exciting parts to the restoration thus far has been the chase of hard to find original new old stock parts. It has also been the scariest! This stuff in most instances is priced through the roof! I found a nice pair of NOS side window mouldings along with NOS rubber. The original rubber is a bit stiffer and has a different construct than the reproduction material.
As mentioned above, we're using Greg Rollin's Supercars Unlimited gold paint from a spray bomb on the engine. It's not the brightest of golds, but I like the way it looks when it's dry. Hat tip to my friend for pointing me in the right direction for the proper NOS copper washer for the plug.
These back up lenses seem to be more readily available than the other lenses for our cars. I'm guessing these were produced in to the 90's. My original lenses aren't cracked, but there's just something about the crisp clarity of new lenses compared to weathered 50 year old lenses. I tried cleaning, polishing, and buffing the originals and they just didn't look nearly as good.
I have to say the wife wasn't too thrilled to find this soaking in the laundry room sink, but it had been off the car for 30+ years and covered in mud from who knows what. The plastic has a few minor scuffs, but a nice soak in Dawn and a detail with the toothbrush brought it back to a nice condition. I have the foam from a project I was a part of 20+ years ago that has developed a nice patina from sitting in the garage all that time.
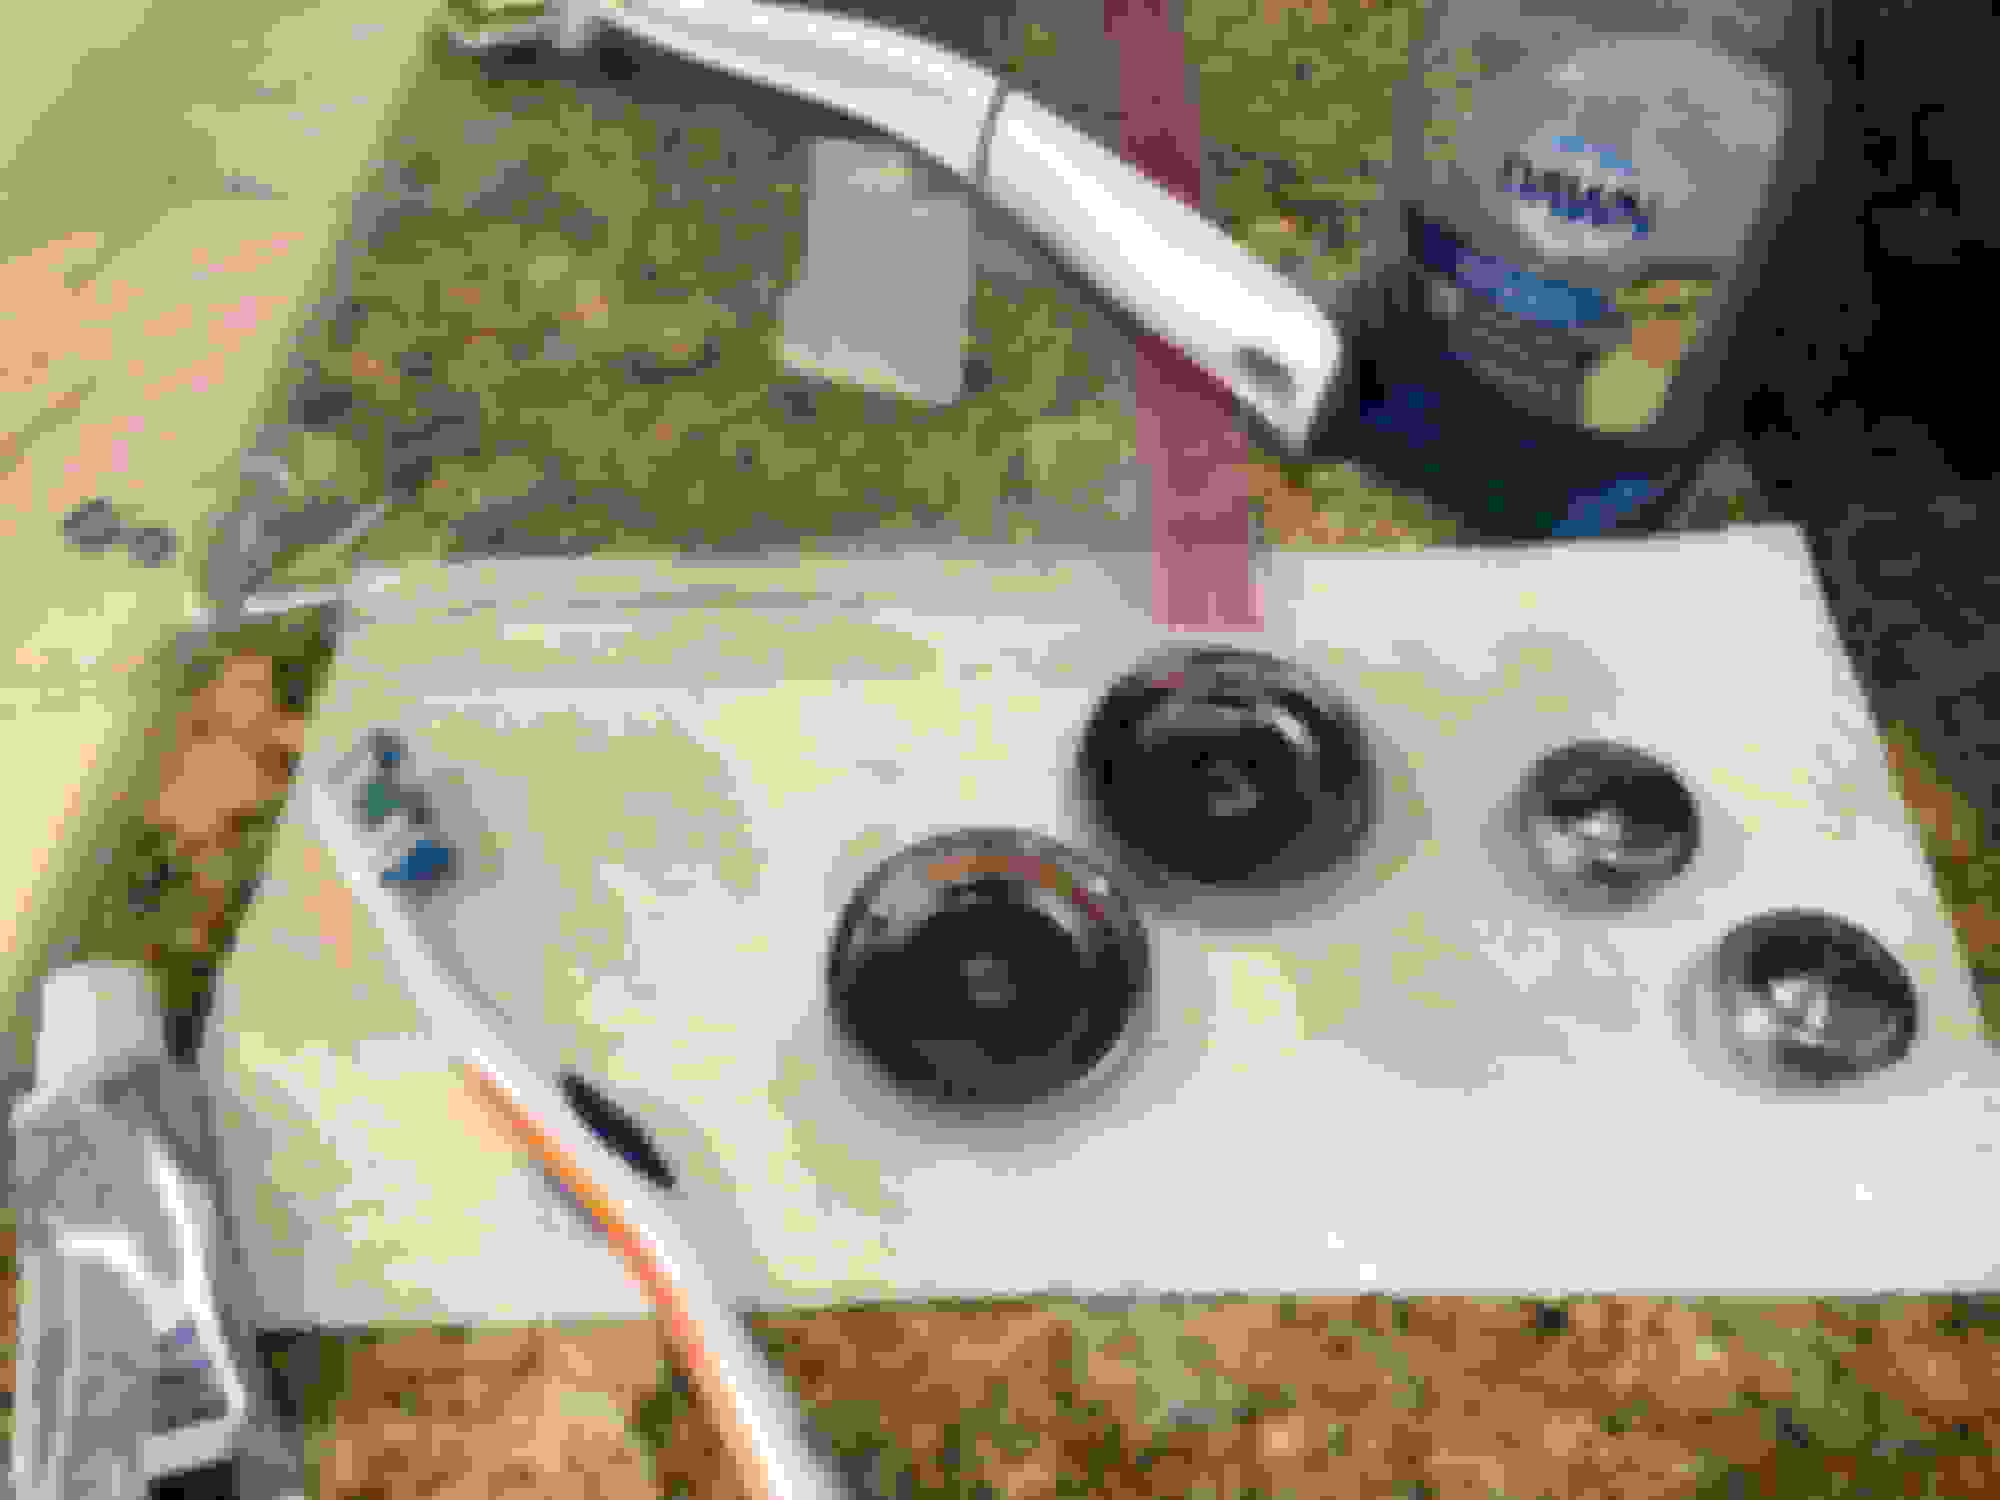
...because the radio ***** needed to be cleaned with a toothbrush and toothpaste. The black paint has worn away and will need to be touched up to make them perfect.
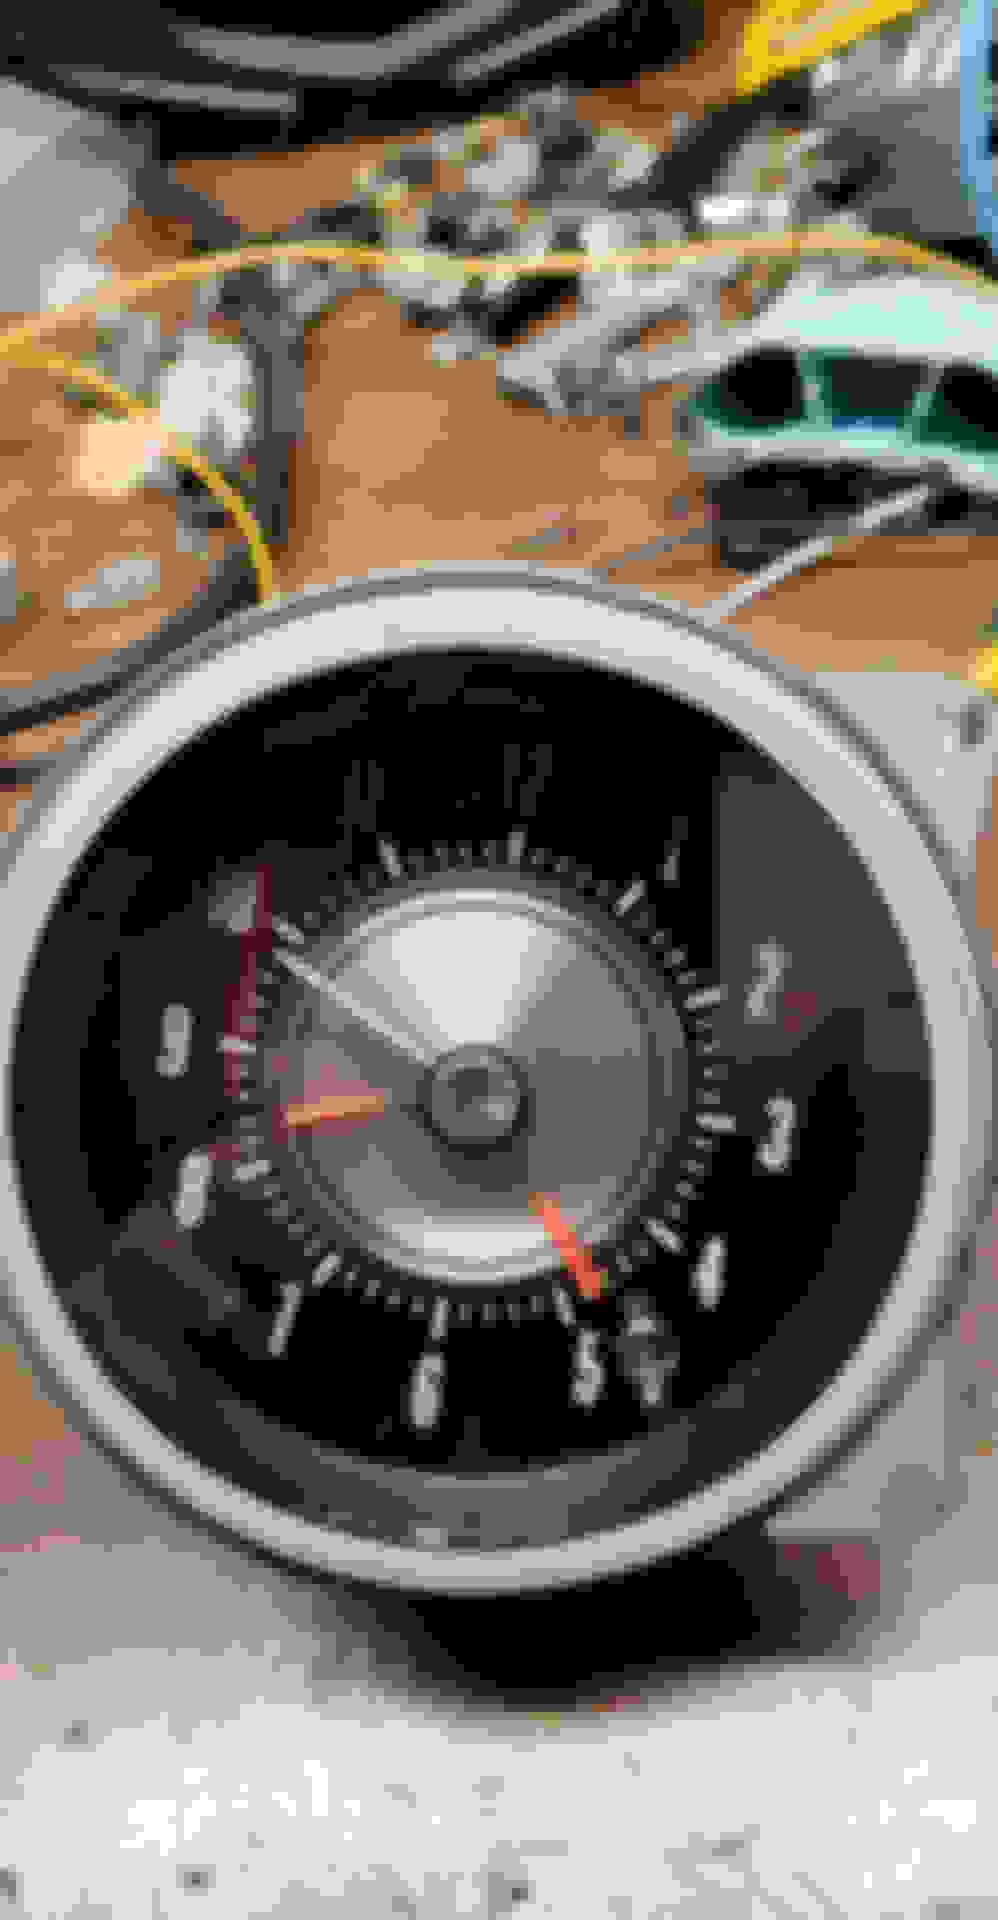
The original speedometer after a thorough cleaning and rebuild. All the gauges have been cleaned and the original clock mechanicals were left intact as they're working...like clockwork
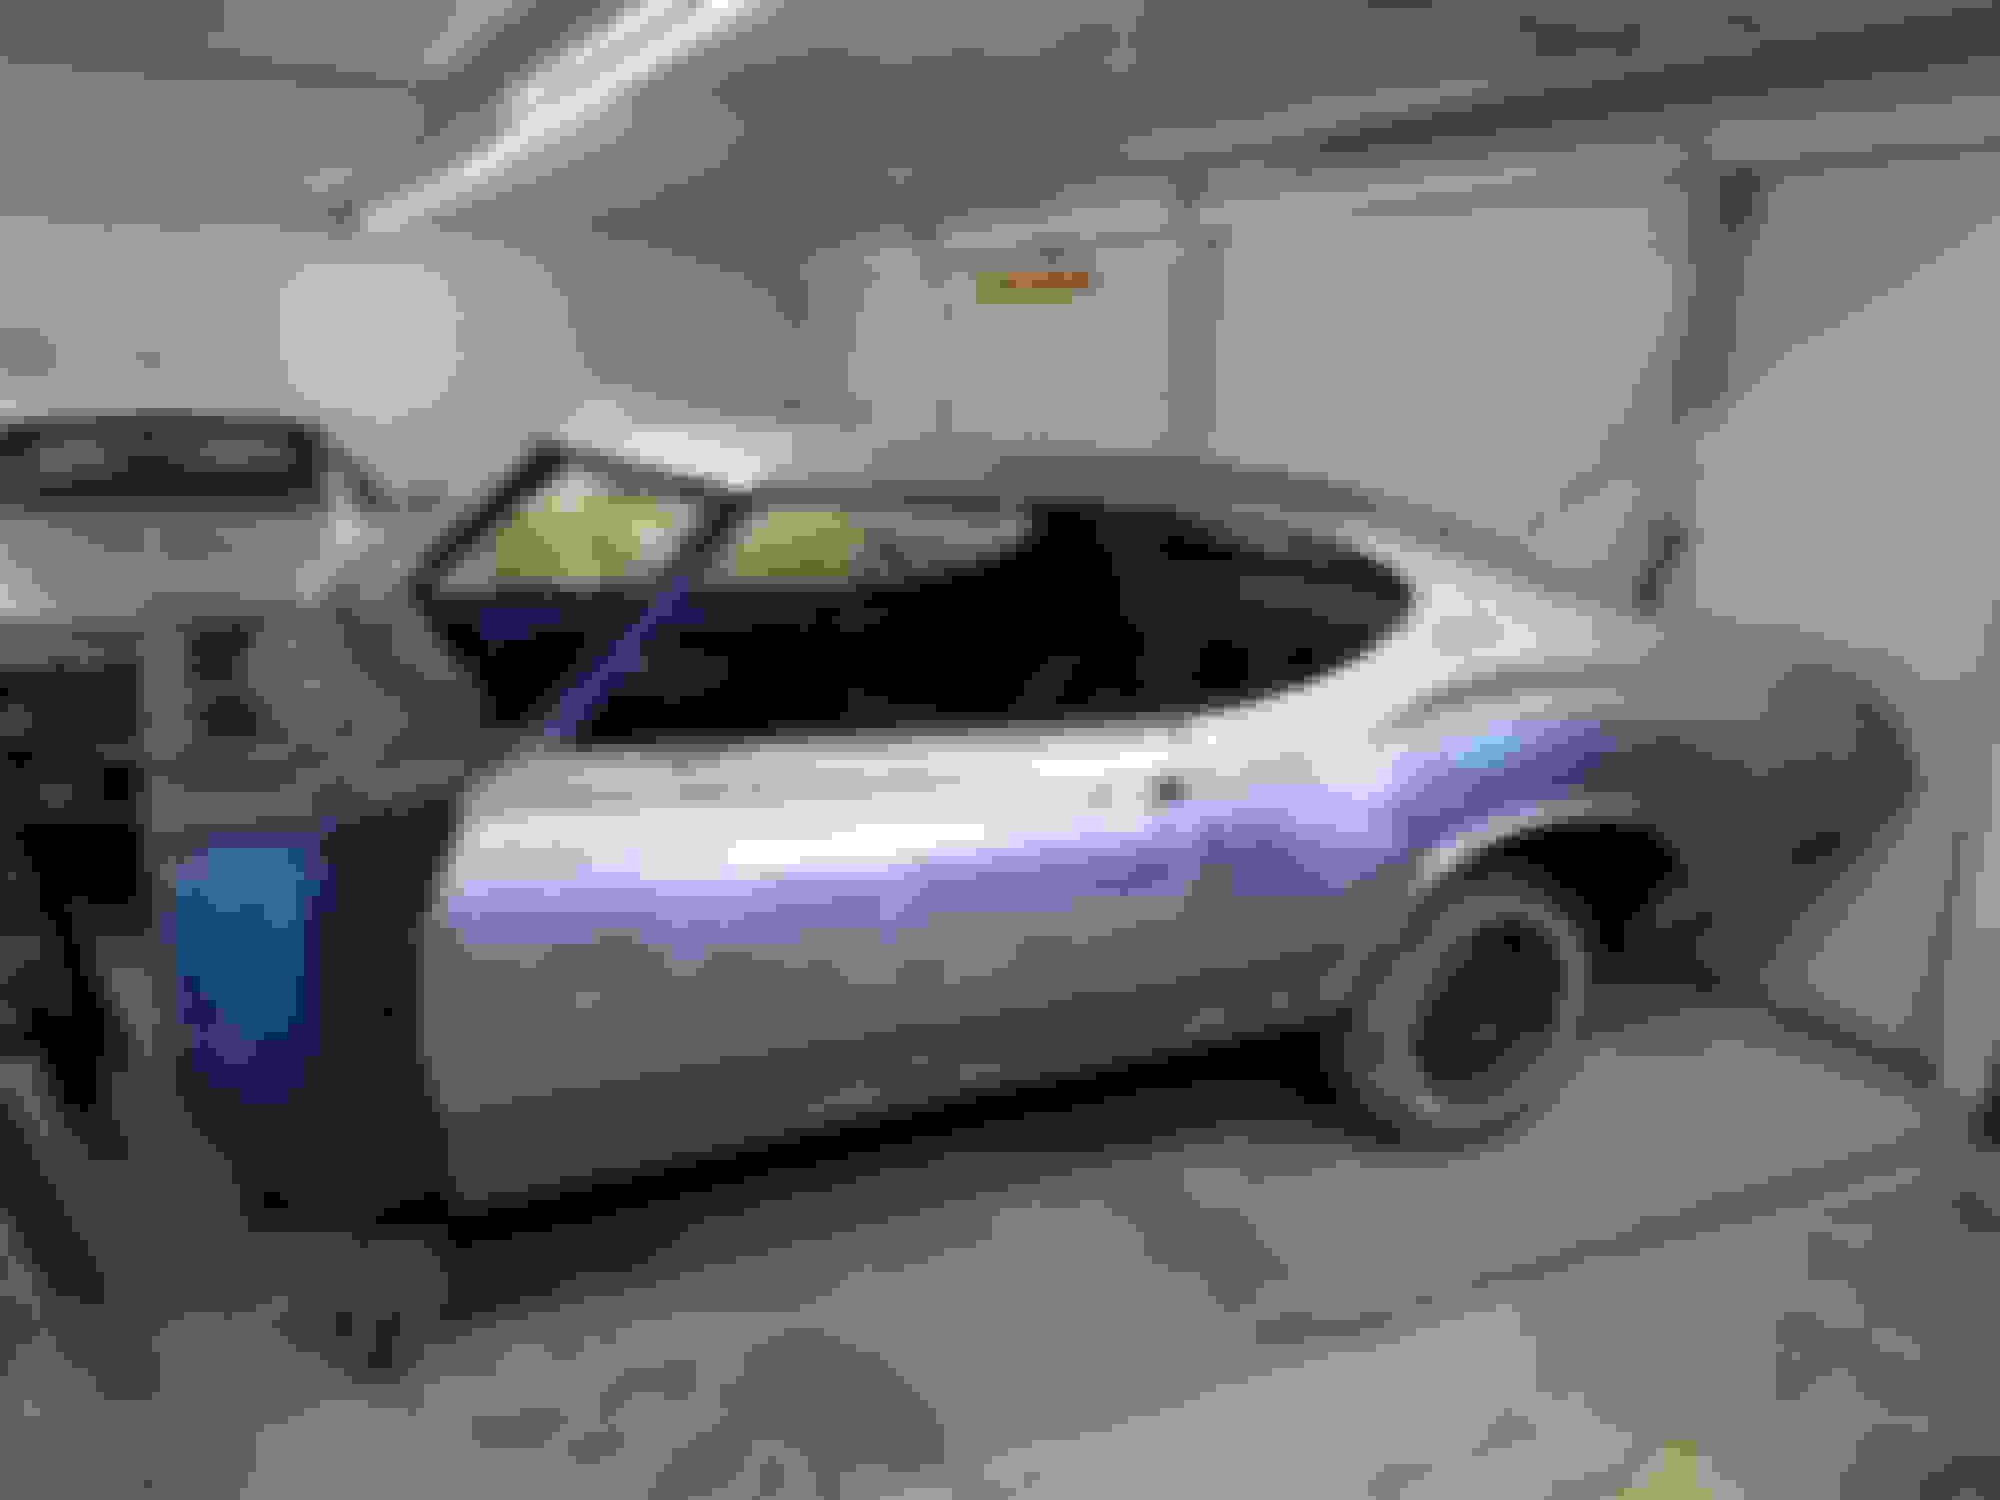
This is how the car looks at Carshine as of 3/28. Bob and crew have pulled the body back off the completed chassis and put it back down on their shop's roller (hence the front half of the frame being cut off). The front windshield was a replacement and has been removed. The odd part on the windshield is that the original owner doesn't ever recall the glass being replaced while he owned the car. I'm thinking that maybe it broke during transportation from Lansing to Ohio via train. It actually would make sense since the photo I have of the car from when it was picked up has a service tag hanging from the front windshield. I pulled the front side glass and had Bob pull the read side glass. I may regret that when it comes to put the glass back in, but I felt like in order to be as thorough as we wanted to be it just made sense.
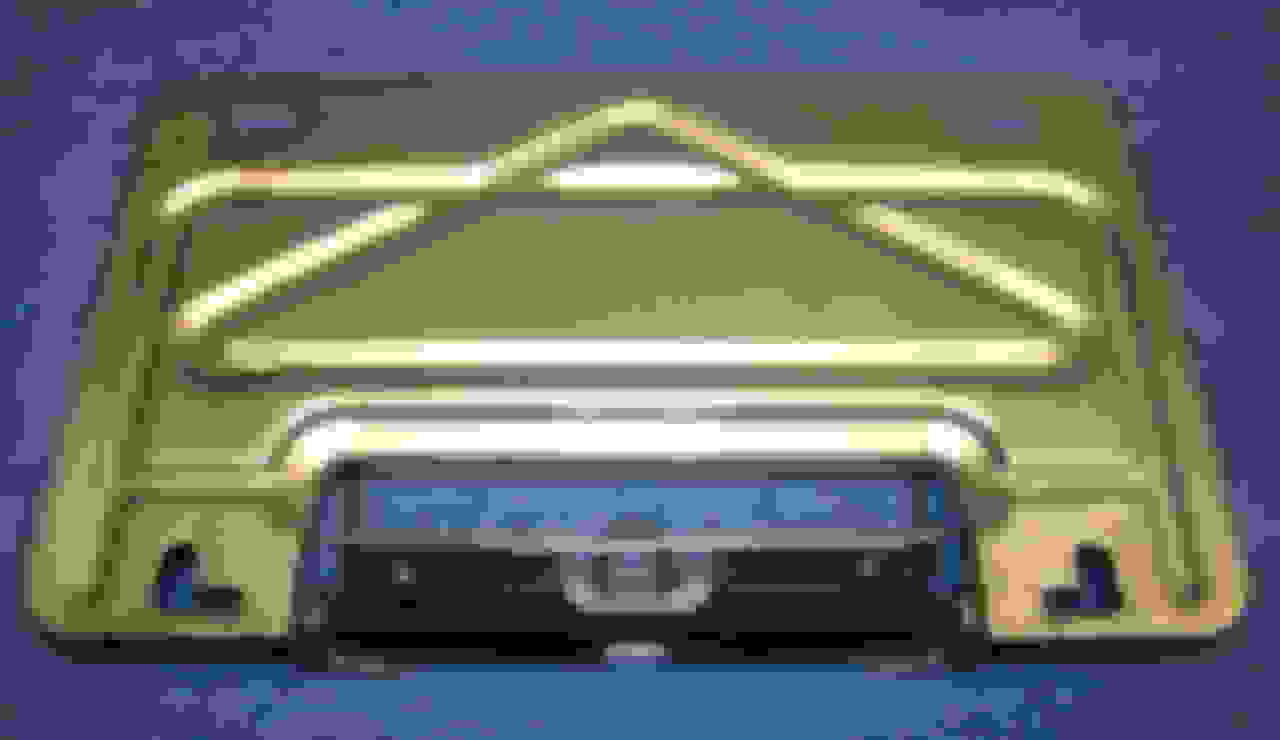
I'd say 75% of the car's hardware and plated parts are with the plater right now. The original license plate frame is a great example of the quality and detail being applied to the 31. We disassembled the door, removed the spring, finished it in the correct phosphated finish, and replated the door. In comparison to a recent NOS piece, they look identical.
Last edited by WTHIRTY1; Mar 30, 2019 at 05:25 PM.
That pan really looks nice!
What did use to coat the licence plate holder?
Looks like you have managed to hold onto some NOS parts.
Your doing some really nice work, please keep the updates and photos coming!
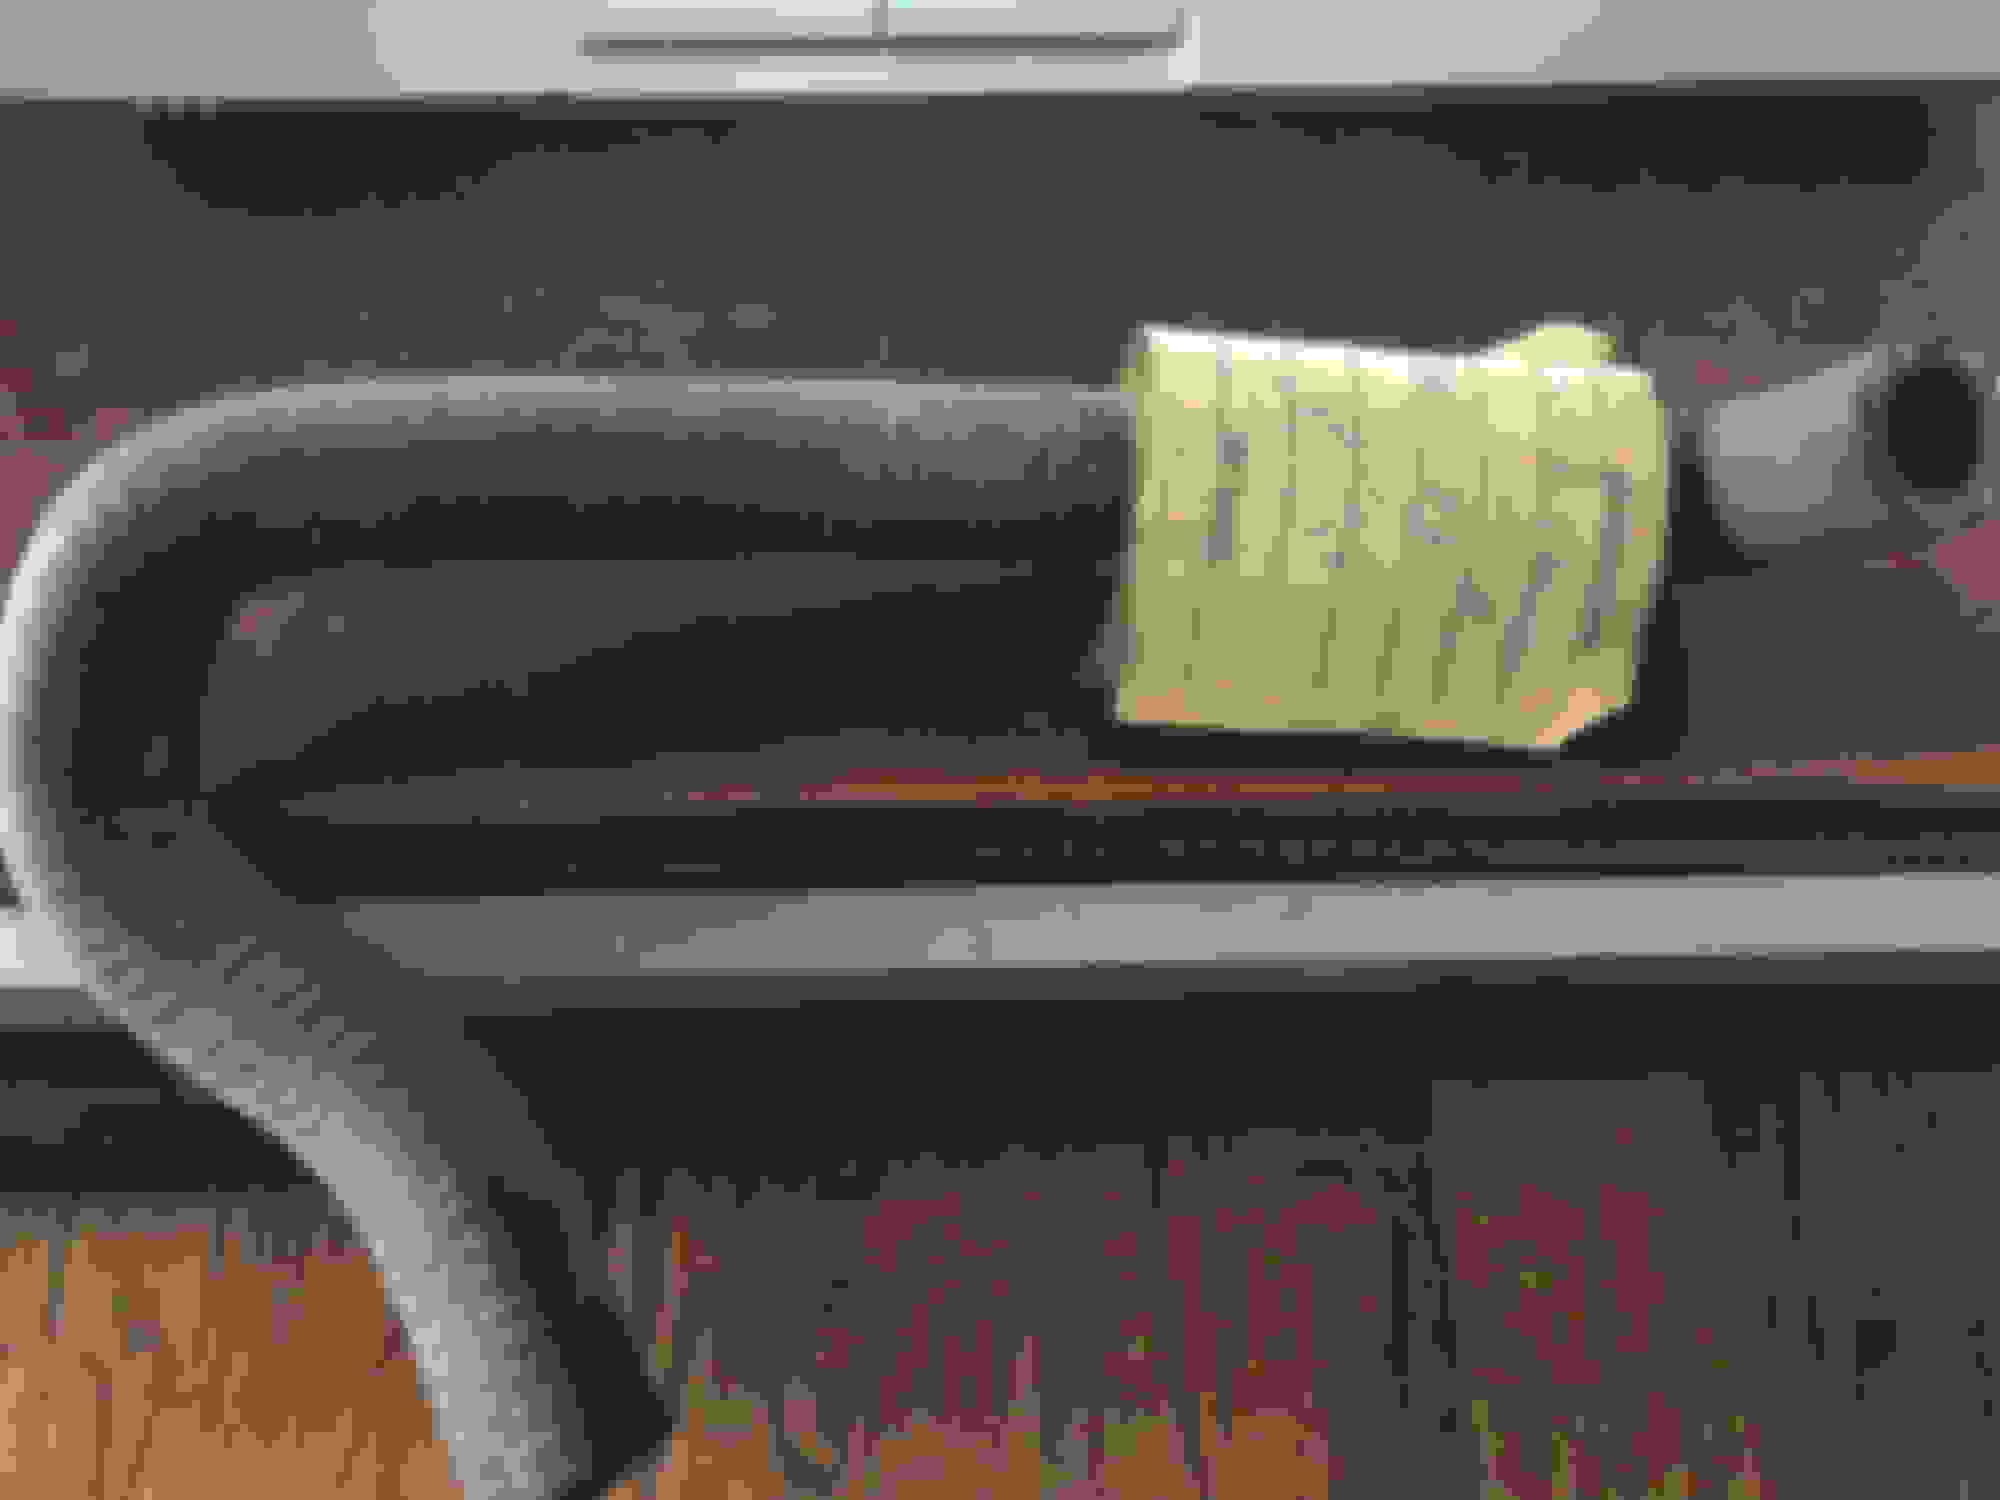
Managed to score this 400548 NOS hose that runs from the back of the manifold to the heater core. I've only seen one other original with the numbers like this. The reproductions have a nice form shape to them, but the painted on part numbers just look a bit cheesy.
The original seat belts have been shipped off to Python for a complete restoration. They were a bit rusty and more deteriorated than I had anticipated. I'm starting to think the car may have been stored in the owner's garage with the windows open because of the putting on a lot of the interior metals. Unfortunately, the plastic pieces for the shoulder belts (not sure what you'd call the plastic) is cracked at the "hinge." Anyone familiar with what I'm referring to?
I used fellow Oldsmobile friend Scott Winn to replace the wire in the mirror and polish the rear view mirror. Appreciate his help. If you haven't used Scott for parts or his services, I highly recommend it! He's a great dude.
I'm trying to keep the original burlwood grain inserts on the console and the dash. It's not that I dislike the H&H products out there because they're good parts, but I just love the look of the original wood.
These are the original rubber seals for the fender "eyebrows." I soaked them in a strong detergent and then used the toothbrush to get in all the crevices. There are a ton of markings and stampings on these with the original part numbers so these will be going back on the car and actually cleaned up very nicely.
After a thorough cleaning and polishing, the dual gate top plate and respective pieces all cleaned up exceptionally well. There's a tiny nick in the PRNDSL piece. I'm hoping it'll get covered when it's inside the plate.
The original cluster decals were carefully removed and reapplied once the buckets were cleaned. Nobody will ever see the back of the gauges, but I like know that the original decals are still in place!
No fancy quartz movement in this clock...just all original AC mechanicals. Here's hoping it holds out until November for MCACN!
Next update on progress will be the tear down of the original bucket seats. No surprise that mice managed to inhabit inside the bucket seats behind the plastic panels. More to follow...
Last edited by WTHIRTY1; Mar 30, 2019 at 05:45 PM.
Hi the holes in the left quarter panel are the old fashion way of pulling a panel to make it strate
Drill hole screw sheet metal screw hook to puller and go at it finish with bondo
Very old fix or bad work by todays standard
Alain
Drill hole screw sheet metal screw hook to puller and go at it finish with bondo
Very old fix or bad work by todays standard
Alain
I remember in the 80's when I didnt know crap about bodywork, in my late teens, remember gypsies used to drive around neighborhoods looking for dented cars and then use the drill hole techniques and then pullers, and bondo, then very minimal light sanding, then want payment of $40, $60 or whatever. I was like what the hell is that mess??!! LMAO! ( laughing now that is )
Hello , I need licence plate holder also. Where can you get one ...Thanks . Your project and pics are great, thanks for sharing. Where did your car originate from (what state?)
Jim
Last edited by shermanpup; Apr 1, 2019 at 08:53 AM.
Received the ACC carpet samples I requested. I think I�m going to end up using their dark blue despite it not being a perfect match. As you can see from my original carpet sample, there is a bit more green to it. I�ll check a few other suppliers and see if there is another option. It�s all very possible that after 50 years of use, abuse, and fading has taken its toll on the original blue carpet.
I have the ACC dark blue. It looks pretty close. Remember too I'm sure there was variances from supplier to supplier plant to plant back then too. don't forget to get the matching door panel carpet!
Didn�t get to anything this weekend so not much to update. A few new parts arrived this week. I picked up a set of NOS Cutlass S taillights still in their unopened boxes. For those that have NOS lights, you already know that the silver paint rubs against the cardboard and ends up missing in places. The cool part about these taillights is the factory silver paint in the red lens itself. You can see the overspray from whatever template they used. The reproductions require this line to be added and those that use the silver pen just don�t quite get it close enough. I�ll make a template to paint the outer silver. My original lights were painted black to match the Rallye 350 and have cracks throughout.
Lastly, we started doing a rough mock up for the intake. The bolts in yellow are simply to call out that I still need to find the originals or I�m just awaiting their return from phosphating. That is an NOS thermostat housing along with NOS choke tubes, carb bolts, and an NOS sending unit. The phosphated throttle bracket and engine hook came out beautifully from Steve Gregori.
I�m going to recreate as much factory overspray if the gold on the intake. I haven�t seen a restoration attempt to do that for a �70 W-30 / W-31, but I have a ton of great original photos of overspray that�ll help during recreation.


 Hi the holes in the left quarter panel are the old fashion way of pulling a panel to make it strate
 )
)