When you click on links to various merchants on this site and make a purchase, this can result in this site earning a commission. Affiliate programs and affiliations include, but are not limited to, the eBay Partner Network.
If you can find a piece of thick walled pipe of an appropriate diameter you might be able to make a "driver" tool to hammer/tap on the lower boots. If you do this MAKE SURE the contact edges on the end of the pipe that touches the boot are smoothed/rounded slightly around the inner and outer edges. Yes, you want flat surface to make the contact but you don't want any sharp edges.
The boots may also have an arrow or some other indicator on it so they're oriented a certain way when you install them. I don't think it has anything to do with making it install easier but I recall having that "feature" on some I installed awhile back on an Abody car. Just checked a pair of Moog lower ball joint boots and they have an arrow and some wording molded into that lip.."Install Inboard" or something like that.
Sorry, left out ‘frame bracket’ from my last post. The bracket that attaches to the frame would be what finish?
Frame bracket appears correct in the ILT pic. I can't tell you 100% what the originals were done in as I have pulled some that looked to be a more "natural" steel finish....others appeared to have some sort of silverish plating on them possibly. Whatever it was on the originals I've pulled it was not a super obvious finish. You should be "safe" with zinc or whatever that photo shows (it looks to be a bit darker than zinc but who knows?...depends on the angle I look at my screen and you said their description says "zinc" so you know how that looks).
It's very possible the originals were a thin clear zinc which can turn duller and somewhat "grey-ish" as it ages.
I can tell you 100% they weren't black (ie painted or plated) or grey (phosphate) or yellow zinc (ie - gold look).
Probably worth spraying it with some Boeshield to help isolate the zinc finish (the more I look at the ILT tube pic the more theirs appears to be clear zinc) from the elements.
Walked over to ACE hardware to get a small 2� pipe I could use to pound in the lower ball joint boots. Worked like a charm.
My OCD is getting the best of me, but I�m going to replace the upper ball joints. The vintage TRW�s ended up being two different colors / finishes. Besides, the boots felt dry rotted and weren�t functioning that great. So I�m out a few bucks off an eBay auction. I may even give the Inline rivet bolts another try.
I mocked up as much of the front end as I could. Once I swap the upper ball joints, I�ll be able to finish the front end this upcoming weekend. I used the NOS stabilizer links I picked up at Homecoming, and they fit great. I tried to replicate the green paint on the spindles as close to the original markings.
I picked up the rubber fuel line hoses from Inline. They came with recent manufacturer dates inked on to them so I took some thinner and wiped them off. This car had original hoses with the SWAN GAS inked on to them. I picked up the stamp from Inline since the other hoses available have a stamping that I believe isn�t correct for a �70 W-Machine with the triangles. The originals measured 1/2� gap between each imprint. My initial thought was to use paint on the stamp, but the finish was poor. I�ll be awaiting the next Amazon shipment
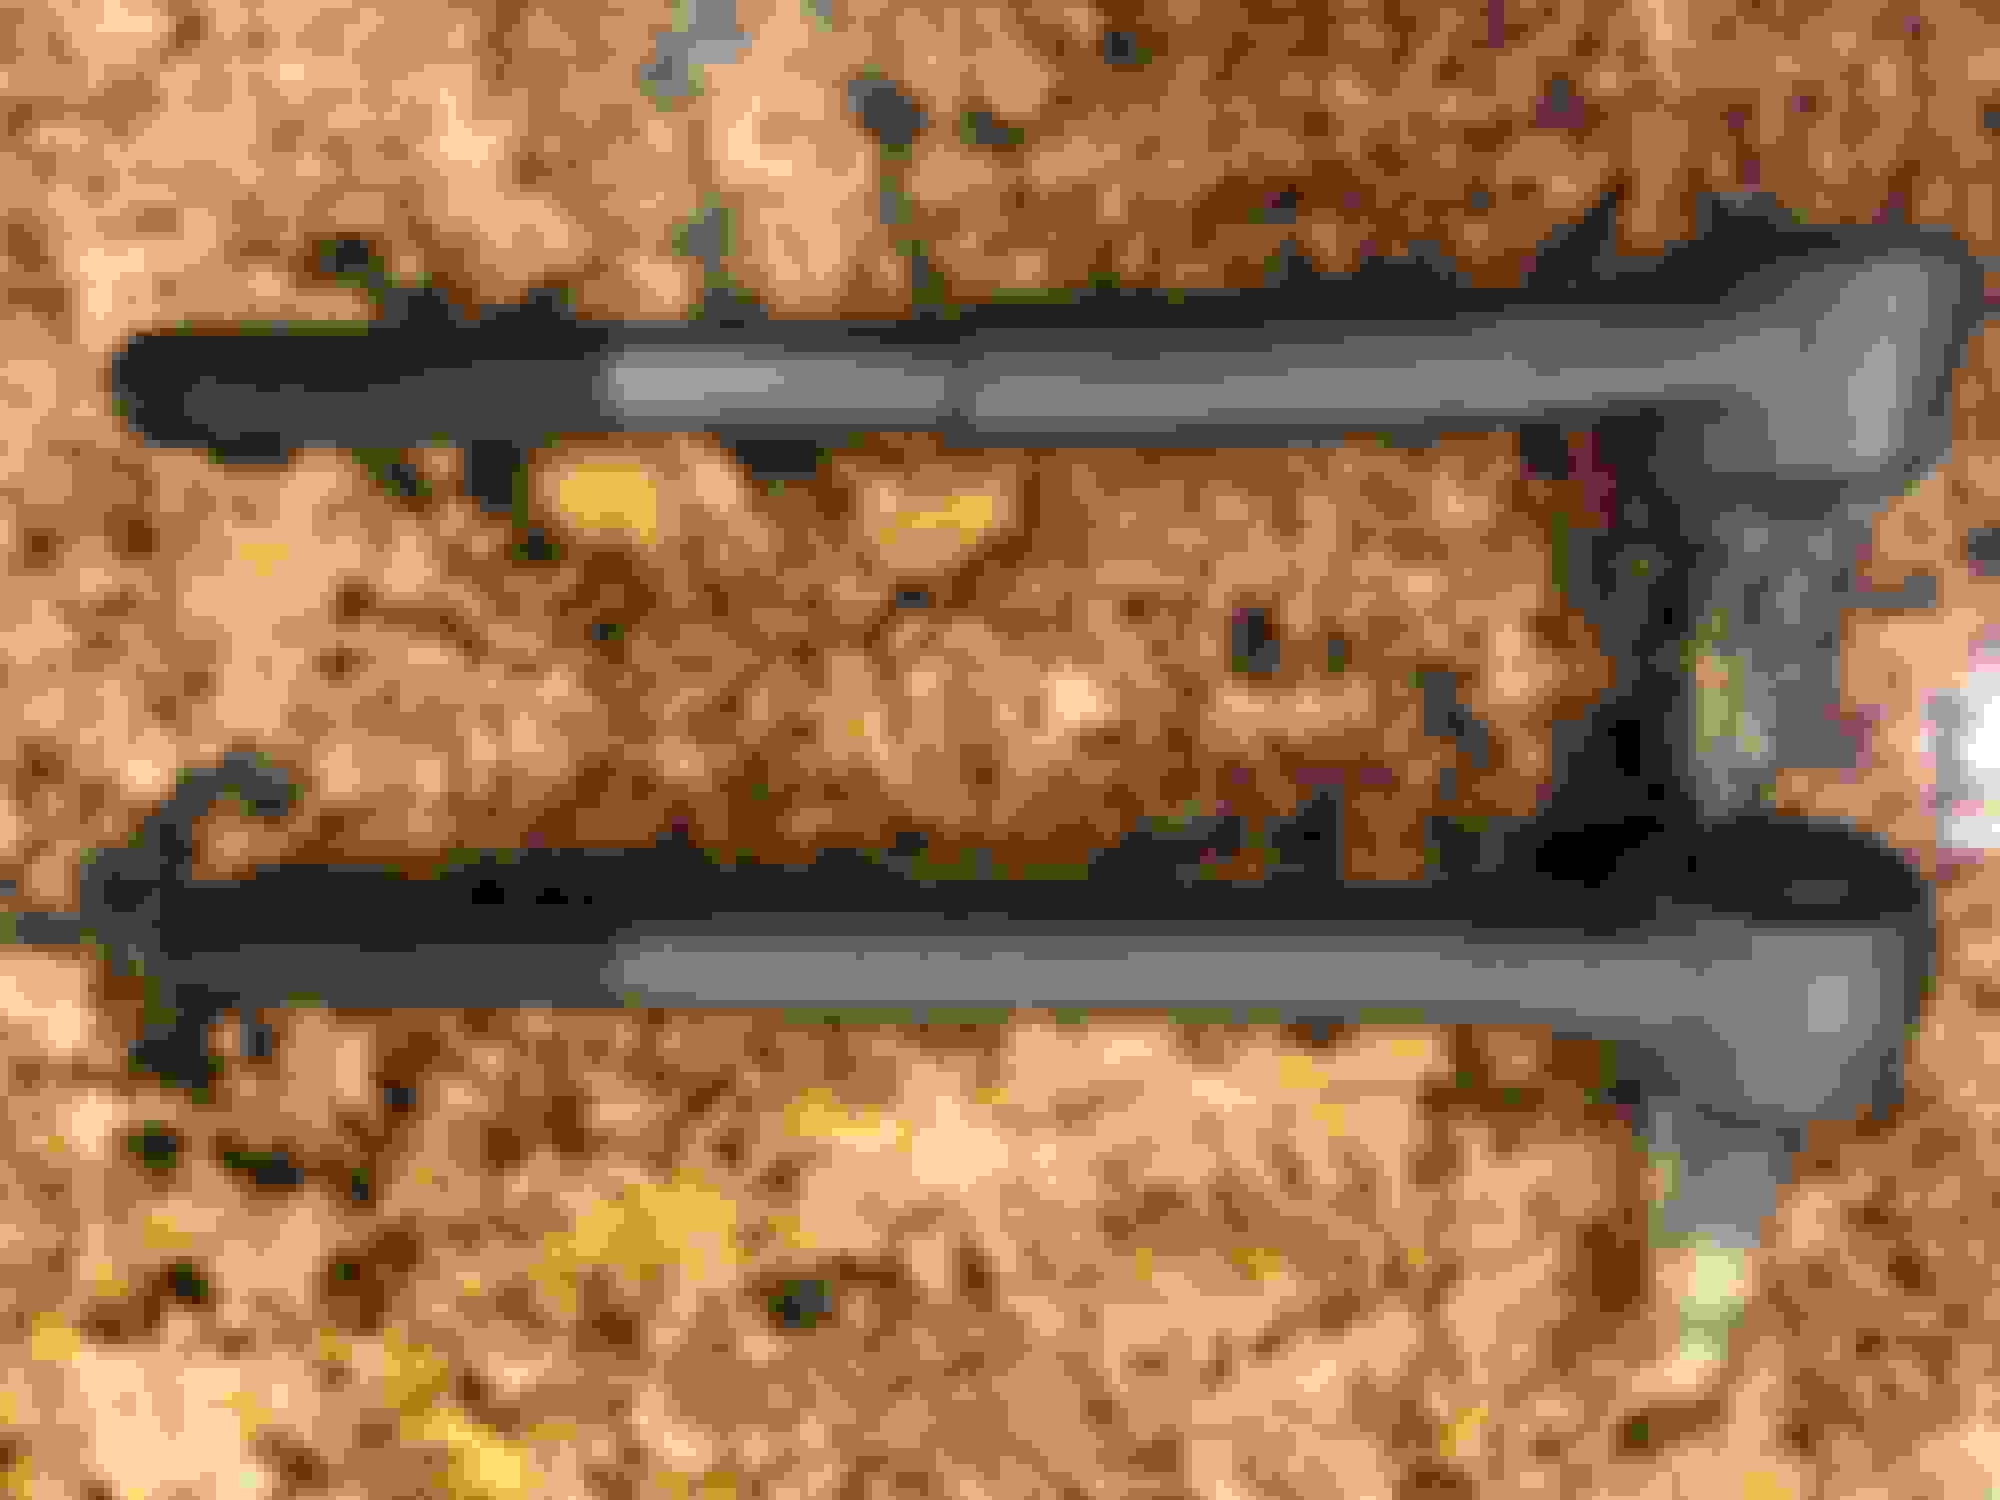
This one has me confused. I ordered new tie rods from Inline. The sleeve is supposed to be for 64-72. The guy at Inline told me 68/69 is the same for 70 for inners. The 68/69 inners fit in to the sleeve without an issue. The 70 outers don�t fit the sleeve and look larger in diameter. Still, I�d think the sleeve would accommodate them. No dice. Do I simply just have the incorrect parts here, or am I missing something? At this point, I�m tempted to just order Moog�s from Rock Auto and be done with the tie rods.
The original tie rods for the '70 car were a smaller diameter design compared to '71/2. If you look up the parts, you'll usually see different PN 's b/n '70 and 71/2 I think.
The ILT inners appear to be the same casting/forging as the outers with the only difference being the inners are machined down smaller on the threaded area. Your ILT outers appear to be the '71/2 style.
I have original '70 pieces here and the inner and outer tie rods are the same smaller diameter. AND....the diameter of the un-machined part of the tie rods is basically the same, or very close, the the diameter of the threaded ends.
Some older MOOG tie rod sets I have here (new in the box but purchased over 10 years ago specifying for a '70 model) are also the smaller diameter pieces.
BEWARE, however......the Moogs inners I have DO NOT have the grease zerks on the end of the rods. They're in the middle of the rod end like the outers. Maybe they've changed this but I don't know. So you might want to make sure on the inner rod grease zerk location if you end up re-ordering.
A Buick buddy of mine ran into the same thing on the inner tie rods....he bought some from ILT for his '68 Skylark and sent me pics asking "if they looked odd".....they were the same machined-down larger rods.
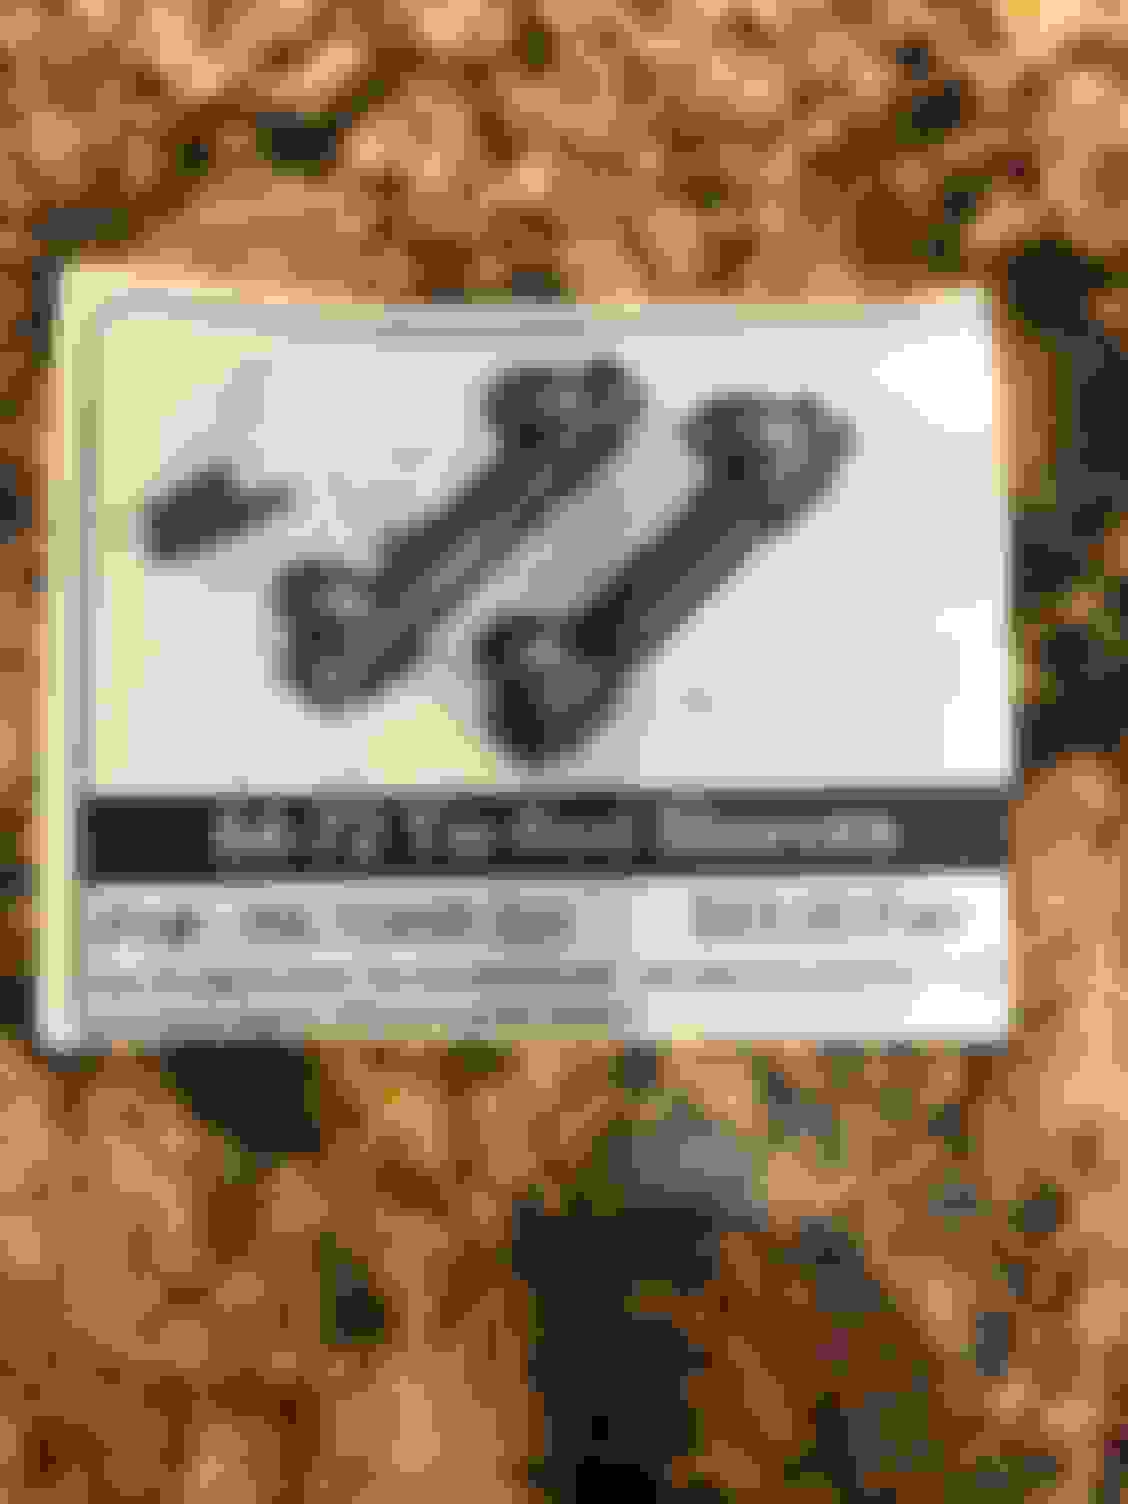
Pic shows the Moog tie rods I mentioned above....both inner and outer are the "small diameter" (68-70) style/size. These are Made In USA tie rods but the grease zerks are in the same spot on both inner and outer (so all they changed was the thread direction apparently). Maybe they make them now with the inner rod having the "end-of-the-tie-rod" grease zerk location....don't know.
Here's a pic of some old aftermarket tie rods I bought when we were at Nationals last year for next to nothing. These are USA made sold under the "Mighty" private label and are the small shaft diameter with the zerk on the end of the inner tie rod so apparently the zerk location changes depending on the weather.
..............and they have the same PN's as the Moogs I have. Shaped slightly different on the big ends. Probably made by Moog for a "private label" deal.
Mine have "Moog Problem Solver" stamped into the covers. Apparently they weren't too worried about the "problem" of putting the grease zerks in the correct locale on the inners!
Thanks, Patton. To confirm, the correct location for the grease zerk on the inner IS the top of the rod, correct? What I believe to be the originals had the zerk on the back of the outer and at the top for inner.
Finally finished up the front end this past weekend. Brakes went on without an issue. The hoses from Inline were good quality.
The rear end was blasted and powdered but showing lots of pits. I went with a reproduction W-27 cover from Tamraz with hardware from ILT. I have hours ahead for sanding and priming before I hit the whole thing with a coat of Seymour�s natural steel paint before detailing.
Didn’t have to travel this week so I’ve made some minor progress during the week.
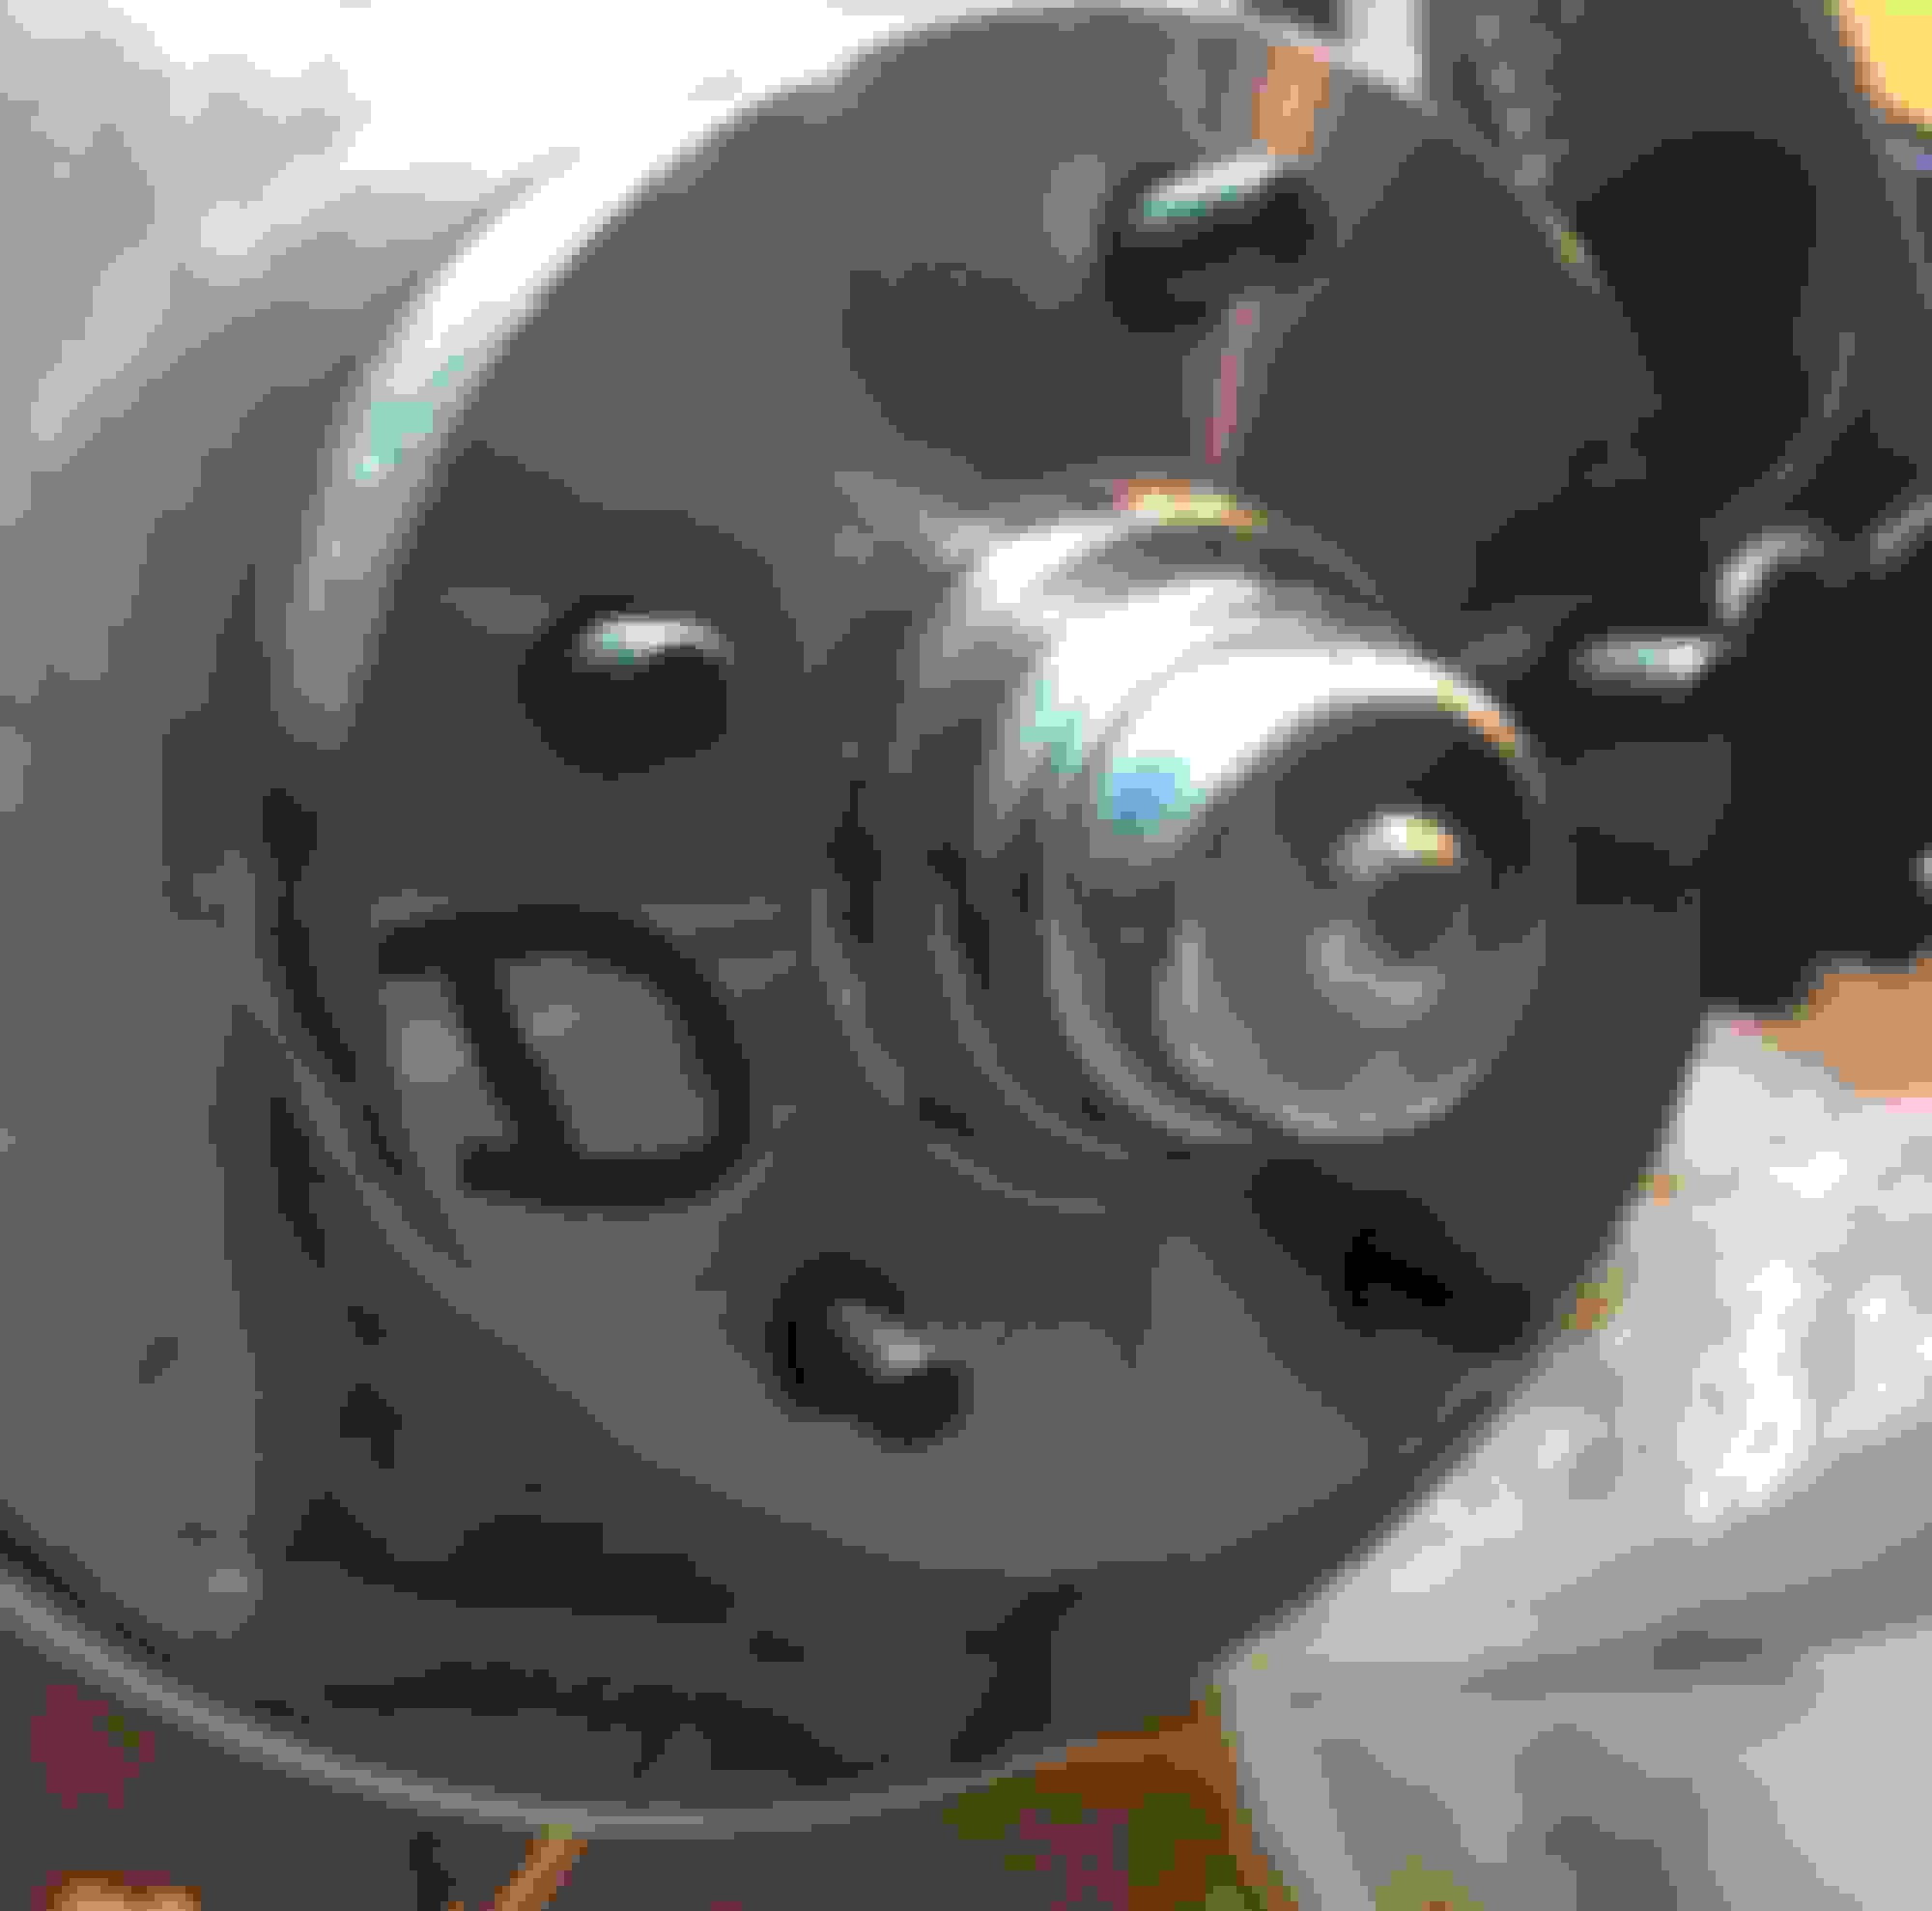
Decided to use reproduction rotors versus putting the originals back on. I still plan on restoring the original rotos and seeing if they can be turned, but for the interim, I’ll use these. My originals had paint markings so I replicated the 'D' and 'V' on the driver and passenger side respectively. Testor paint marker in gloss black.
My original brake hoses had orange “dashes” on them that I wanted to replicate. I used the hoses from ILT and wiped them down with lacquer thinner to get the stampings and date markings wiped clean. I then used an orange paint marker (Amazon) and carefully put the markings on in the same width and length. It’s not perfect but it looks the part.
I picked up the SWAN GAS stamp from Inline since my original fuel hoses had this marking. The original hoses were too far gone to be saved. Instead of using paint with the stamp, and having the frame of the stamp appear on the hose along of the letters, I found a permanent ink pad from Amazon. I then used a tiny toothpick to get any of the "overstamping" white ink off the hoses. It looks close to the original hoses I have. We'll see how long the ink holds up...
I had had several hours in to the rear end right now. I had the gears rebuilt and the housing blasted and powder coated. I then sanded the powder finish to help fill in the pits. It’s not perfect, however, it looks better than it did after a few coats of filler primer and sanding with 320 / 600 / 800. I shot the entire housing with Seymour stainless paint and will finish it with the “blackout” process this weekend.
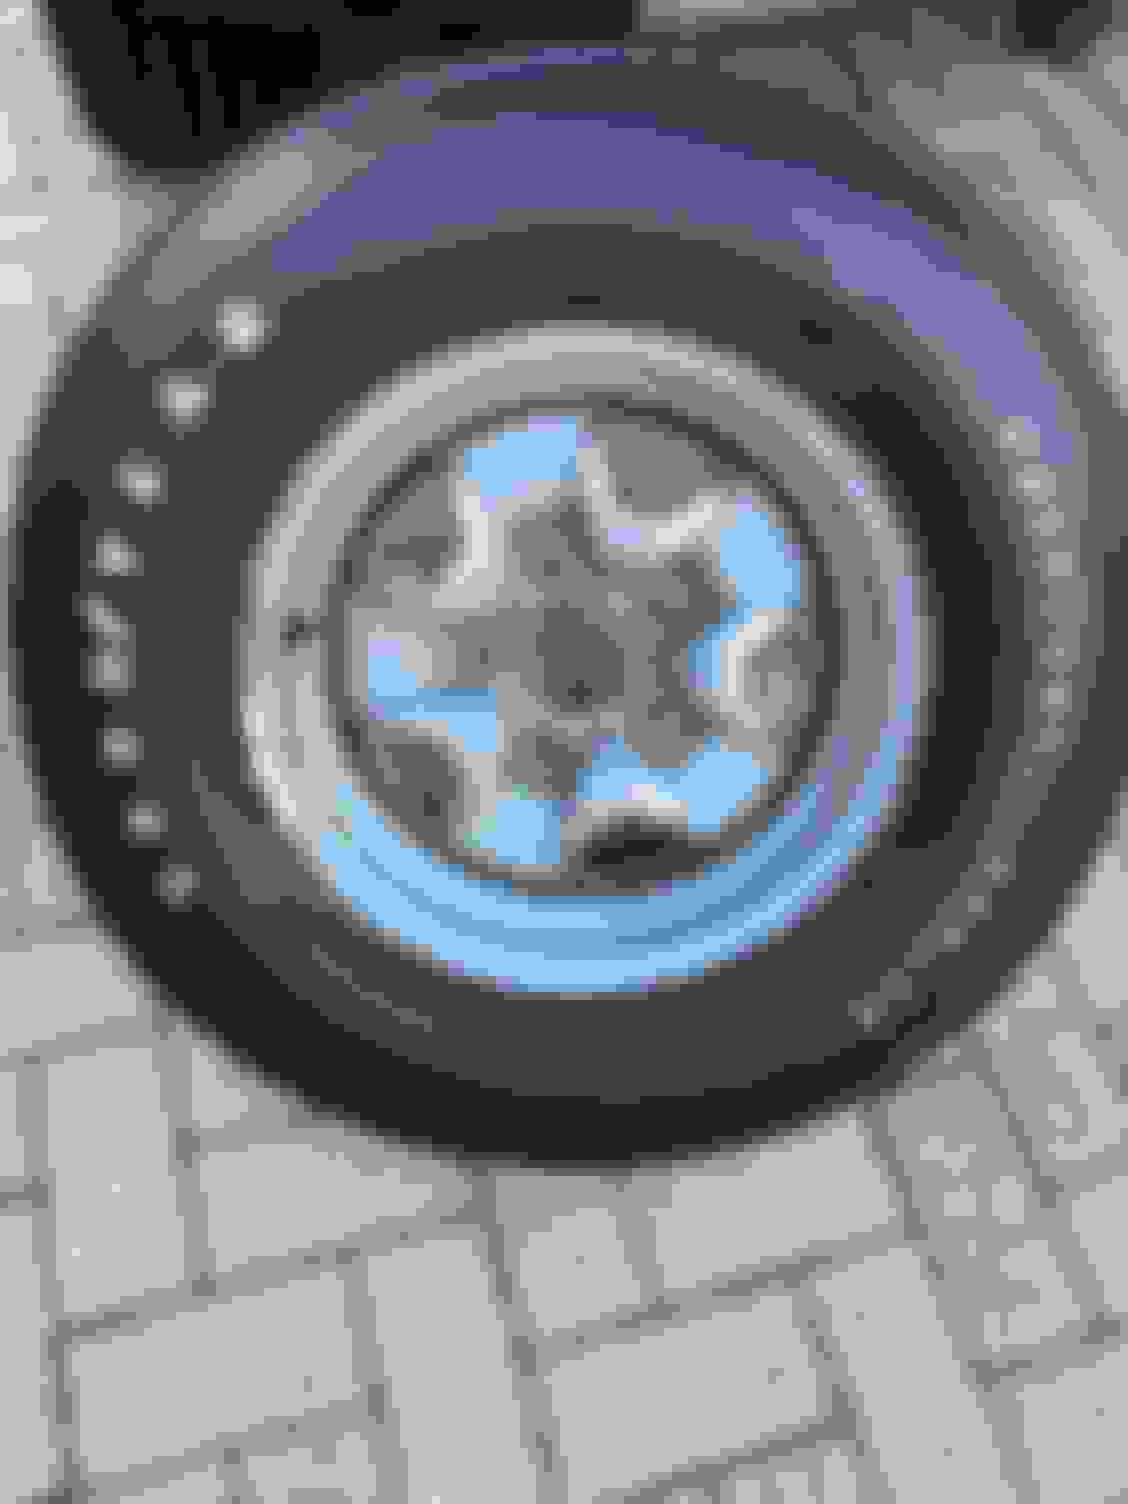
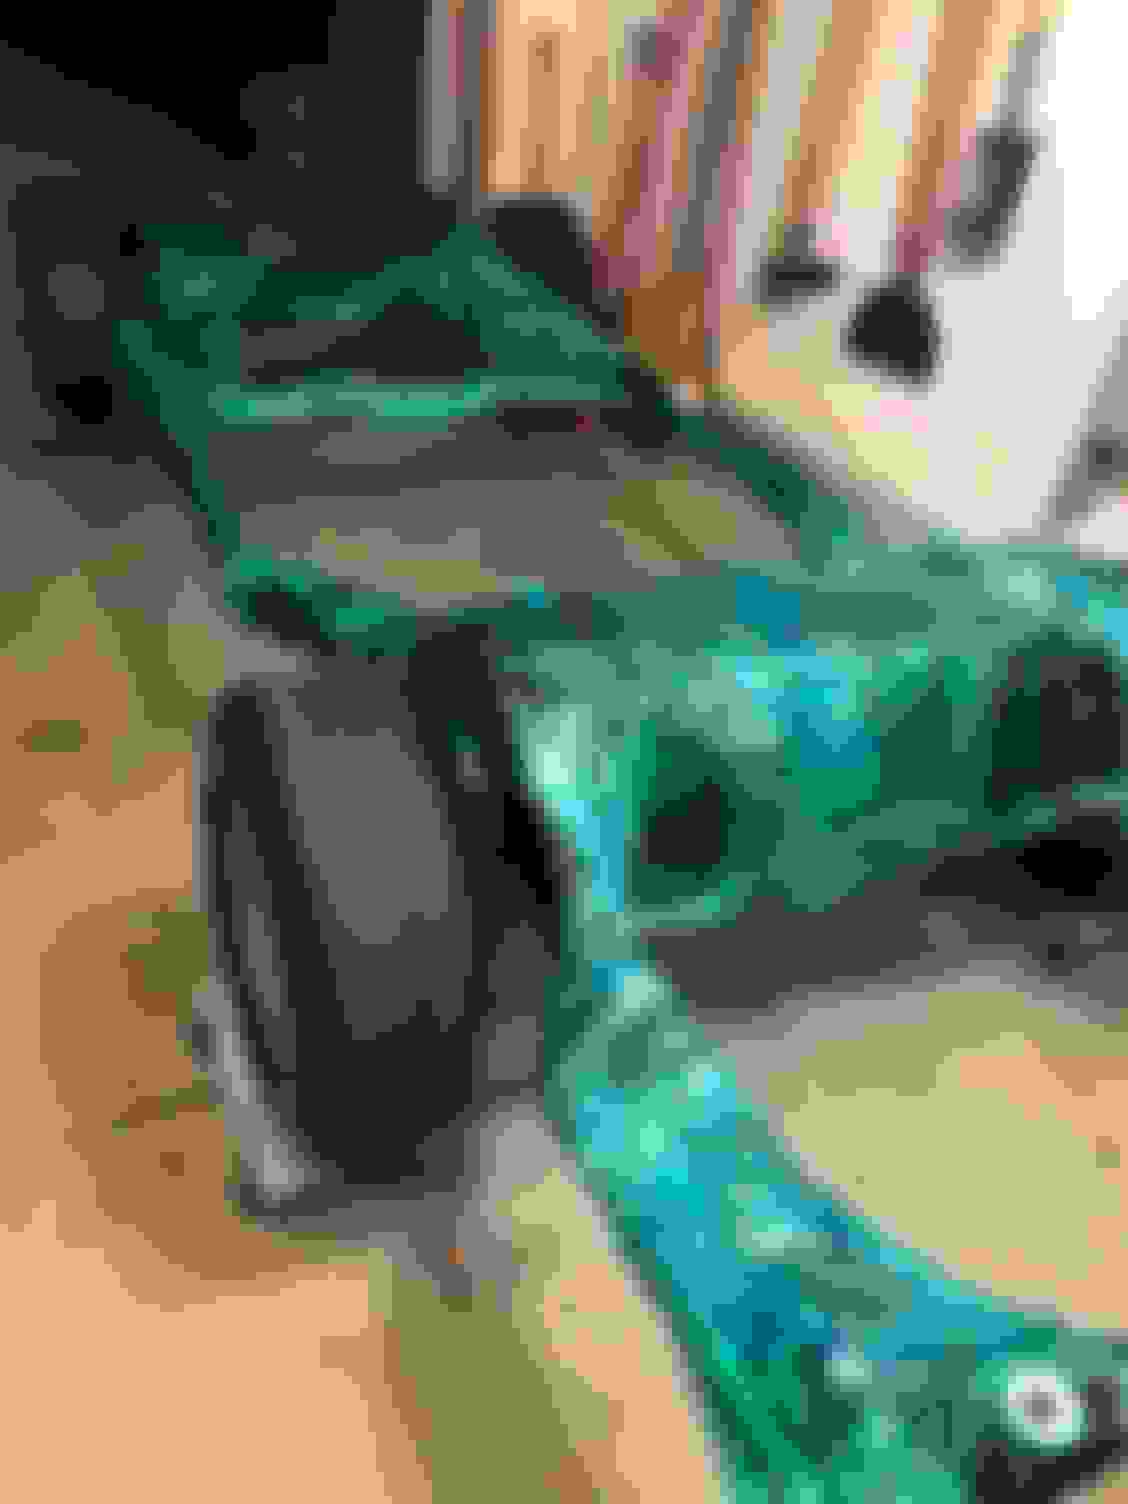
The original wheels and tires needed to be cleaned up after sitting and collecting debris in the garage. I scrubbed the fronts and backs, and they look better now. I’m going to use them just to roll the chassis. It’s cool to see the factory argent grey as well as the black finish on the back.
Hopefully the next update are photos of a rolling chassis. Waiting on a tie rod boot from UPS since I sliced the one I had installed while adjusting the steering arms. Most of the suspension has been torqued, and I'll finish up when the car is sitting on its wheels and the rear is loaded. I have a few yellow paint markings I want to add when done, too.
Last edited by WTHIRTY1; Oct 16, 2018 at 07:04 PM.
Had a pretty successful weekend of wrenching. We kept the rear end on the jack stands and put the wheels back on while it was still up. Then we lifted each side on to dollies and rolled the rear from the front to the rear. I started with aligning the upper arms while the rear was elevated on a jack. Aligning the bolts were pretty easy with the control of the jack.
I still have detailing to complete on the backing plates, axles, and housing itself, but I can do that while the rear is attached to the frame. I also have to blast my original drums so I used a set of reproductions for the time being. The original posi tag was still in place and polished up nicely. I had to bang it flat since it was bent to fit with the original cover. Since I went with a reproduction W-27 cover (Tamraz with bolts from ILT), I flattened it out. The plastic vent on the passenger side axle tube was an NOS piece that I picked up with the green cap. I know a lot of cars have the white cap, but the one I pulled (I believe to be the original) had a green cap so that's what I went with.
The rear spiral shocks fit without issue. I’ve heard the reproductions have a tendency to leak so we’ll see how long these hold up. The original rear springs were blasted and refinished with a clear powder to give that natural look / appearance. I used the reproduction spring insulators from ILT since my originals were gone. The previous owner had a square rubber in place on only the bottoms.
It's hard to tell in the picture, but the rear brake line clamp is anodized blue. The blue has faded in the few months I've had it so I'll need to hit it with a light coat of blue. The green "grasshopper" clips for the front brake line have maintained their color well.
I need to reinstall the triangular rubber supports for the rear. One side has 2-3 vertical lines towards the bottom and one side is flat. Which side faces which way?
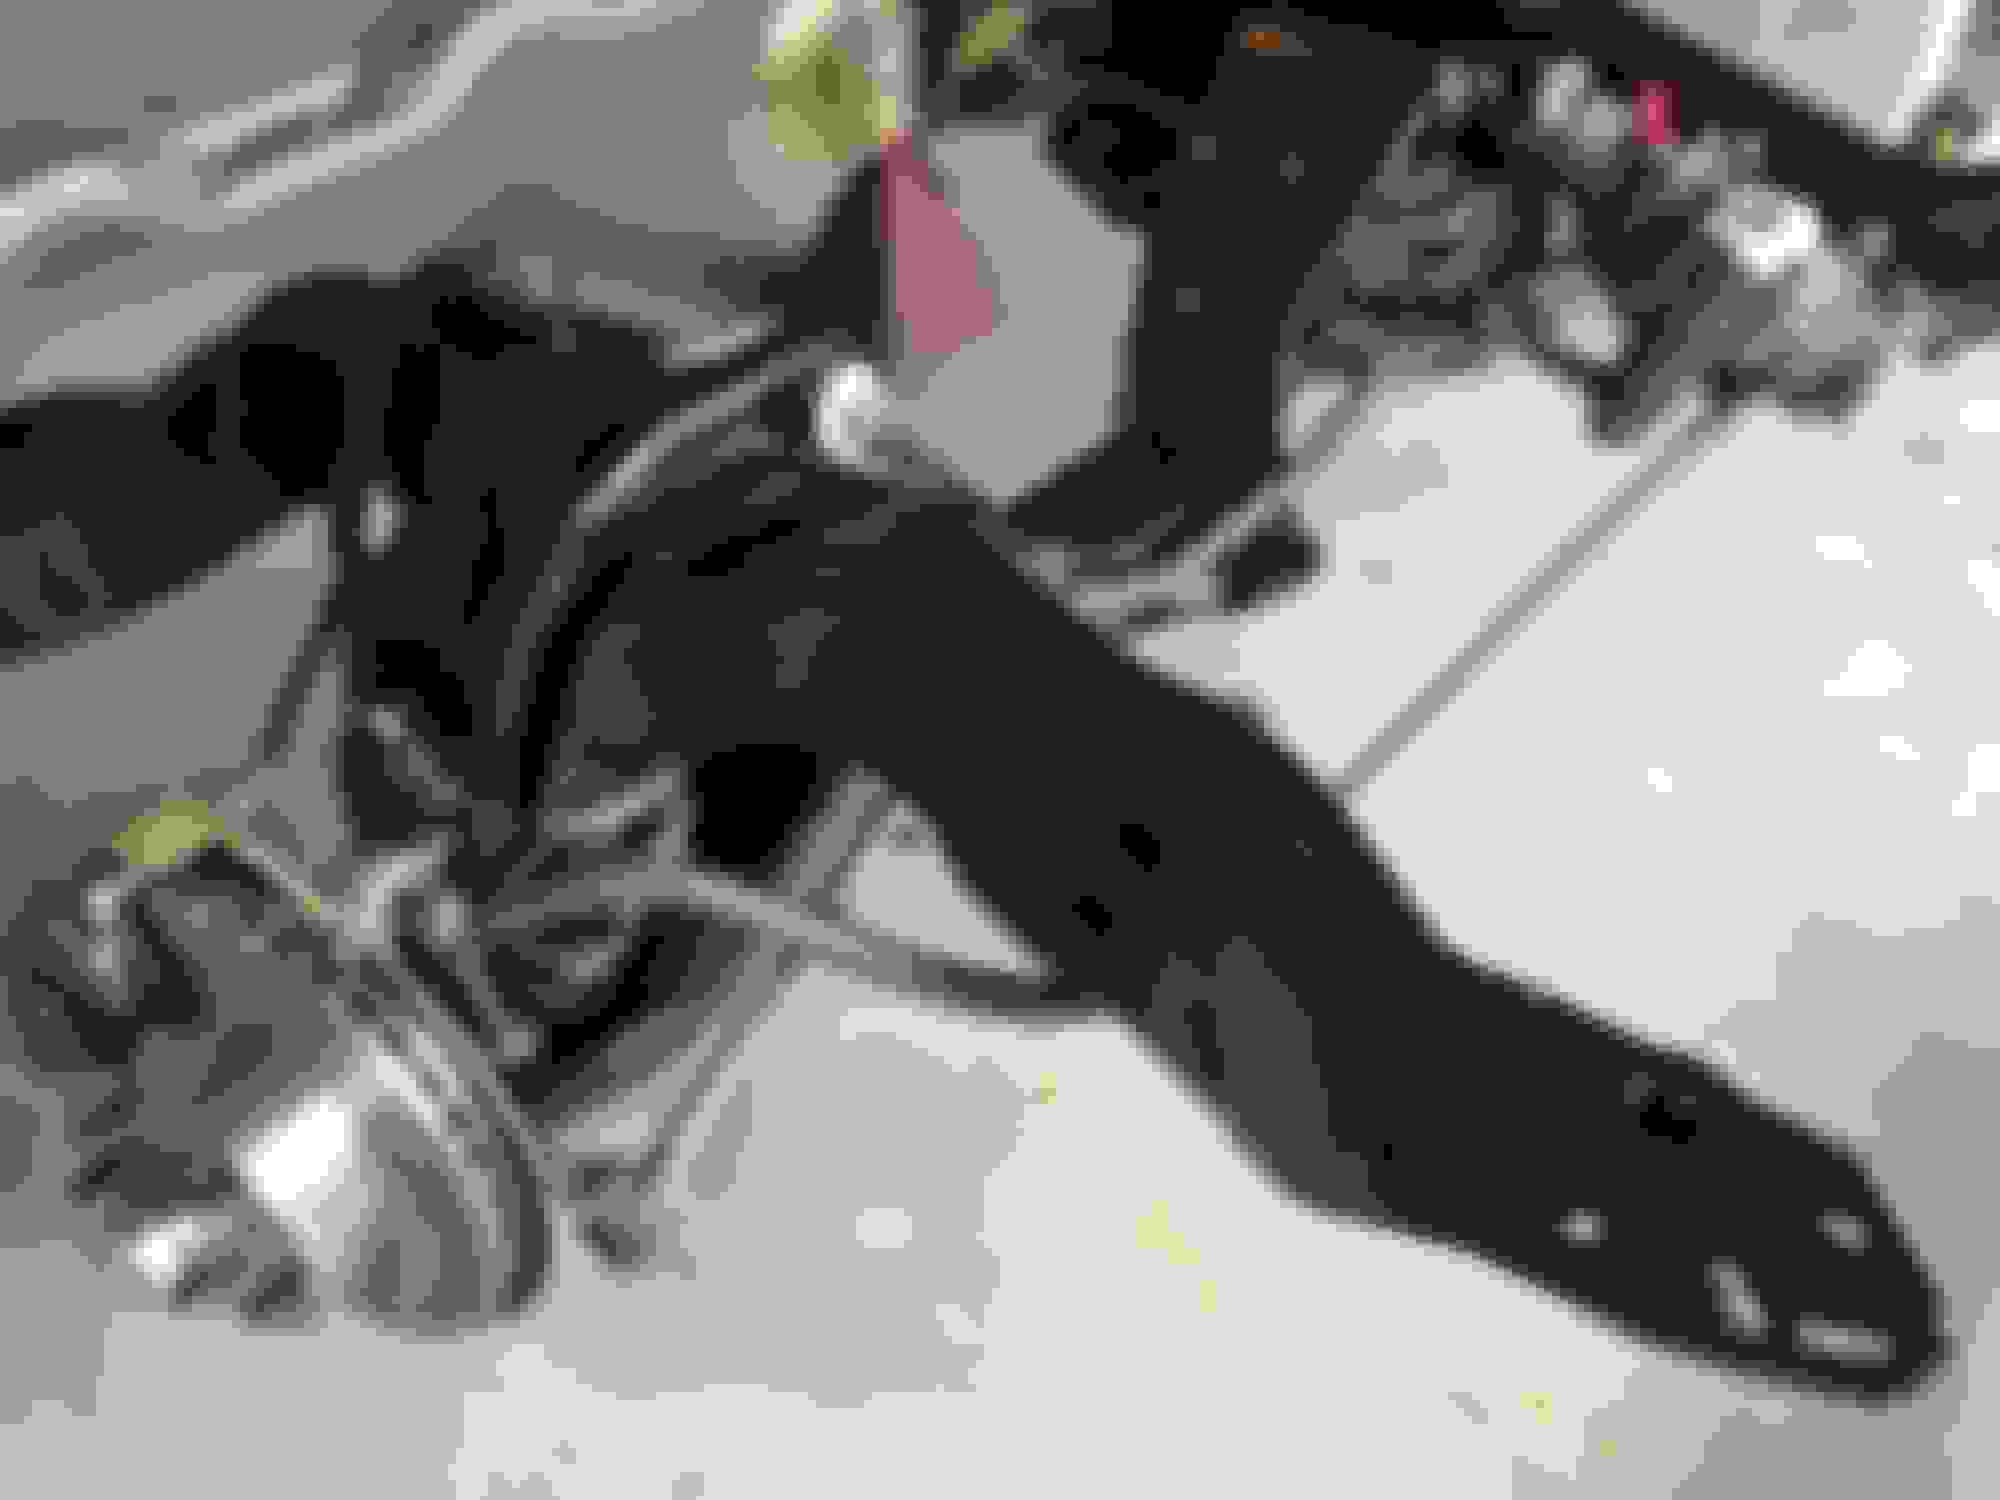
I thought the car would roll, however, I experienced an issue with a vendor’s reproduction caliper brackets. You can see in the picture the “nubs” on either end are rubbing the wheel. Not cool. Apparently, this is a known issue. I dropped my original brackets off at the plater on Monday and expect them back by EOW. Hopefully, the front will roll once the new brackets are in place. It's frustrating that I need to take apart the front to replace the caliper brackets, but I guess that's just part of the hobby, right?!
Last edited by WTHIRTY1; Oct 16, 2018 at 08:23 AM.
Man love the detail, looks like you used powder on frame and suspension? I did and am so glad, it is so much durable that paint.
Hey, Curt. Yes, I had the frame and control arms blasted and powder coated. I know it doesn't have a factory "sheen" to it, but I'm really banking on the durability. So far, I'm pleased because the finish is rock solid and I've probably avoided a dozen chips or dings had I had I used a traditional paint.
Does anyone have a recommendation on paint for the olive green fuel clips? Thanks to Chris S., I learned the uniqueness of the original square tang clips versus the reproduction round tang clips.
Also looking for a source for the correct body mount nuts Lansing cars used at the torque box location as well as the nuts used for the core support mounts. Anyone have any luck on sourcing these? Can't seem to find an equivalent in the AMK catalog.
Does anyone have a recommendation on paint for the olive green fuel clips? Thanks to Chris S., I learned the uniqueness of the original square tang clips versus the reproduction round tang clips.
you're welcome :-) And I haven't looked for a source as I'm busy with other things, which you know about
Been busy getting the gold W-31 prepped for MCACN next weekend so progress has been slow on this car.
I used a custom mix for the body mounts. I had picked up a few NOS bushings and it didn’t look like the metal inserts for the bushings that had bolts through them were painted so I shot them with Boeshied and placed them in to the mounts. I also detailed the rubber "donut" for the core support that attaches between the frame with a daub of white paint just like the originals would have had. You'll notice I left the passenger side "hockey puck" a white color. Earlier, I posted the original that came off the car was all white. Not sure why but I put it back that way.
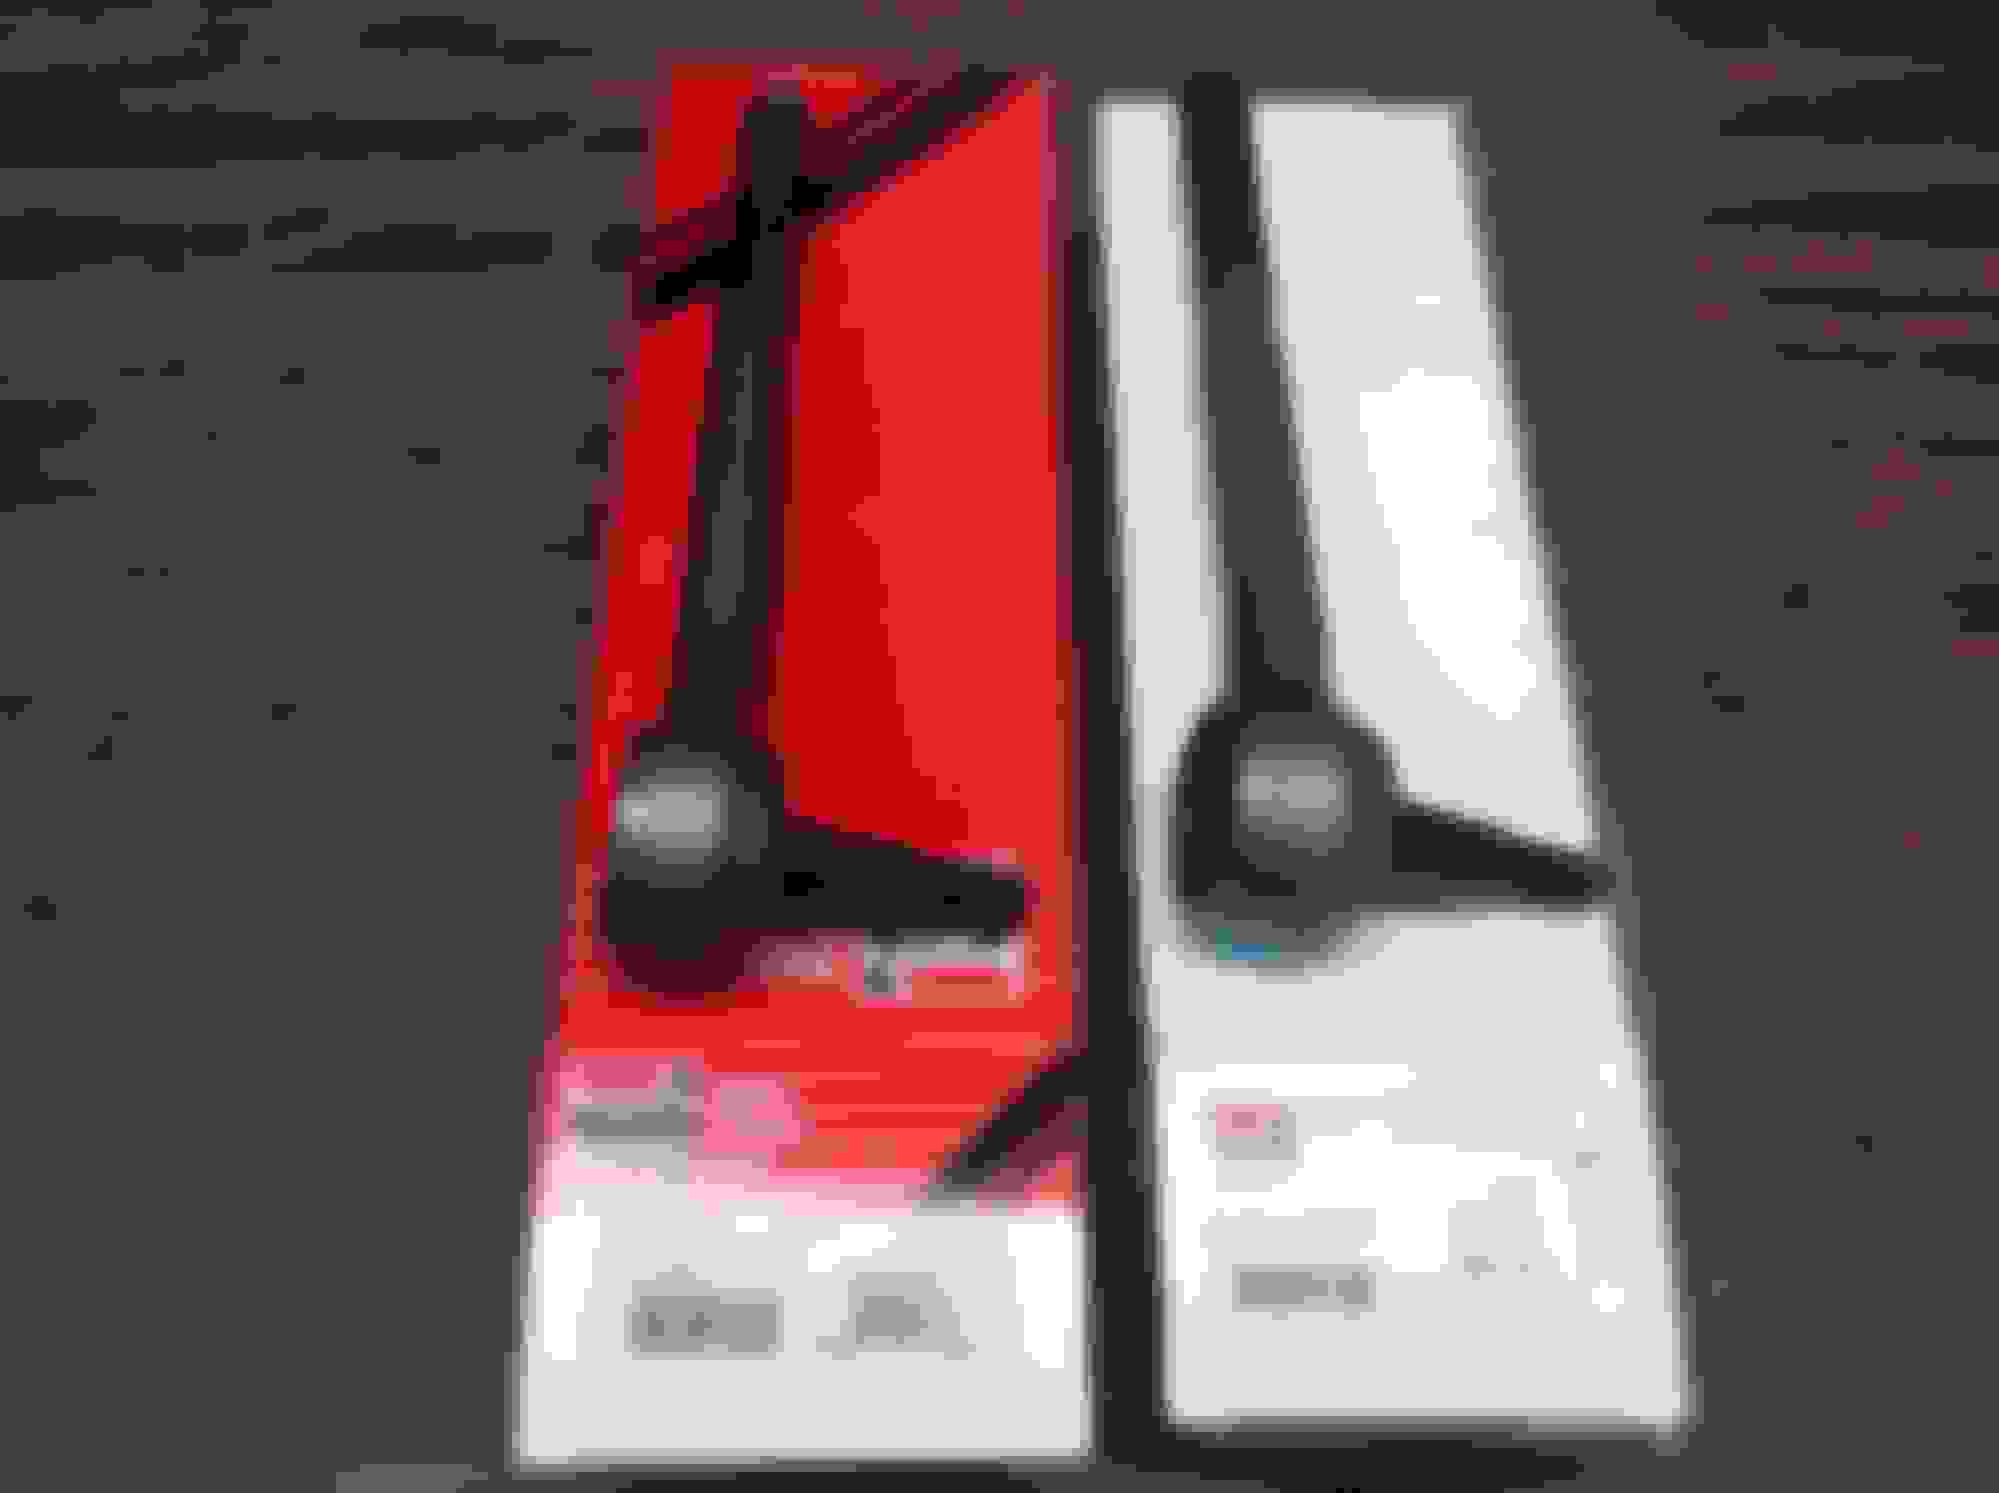
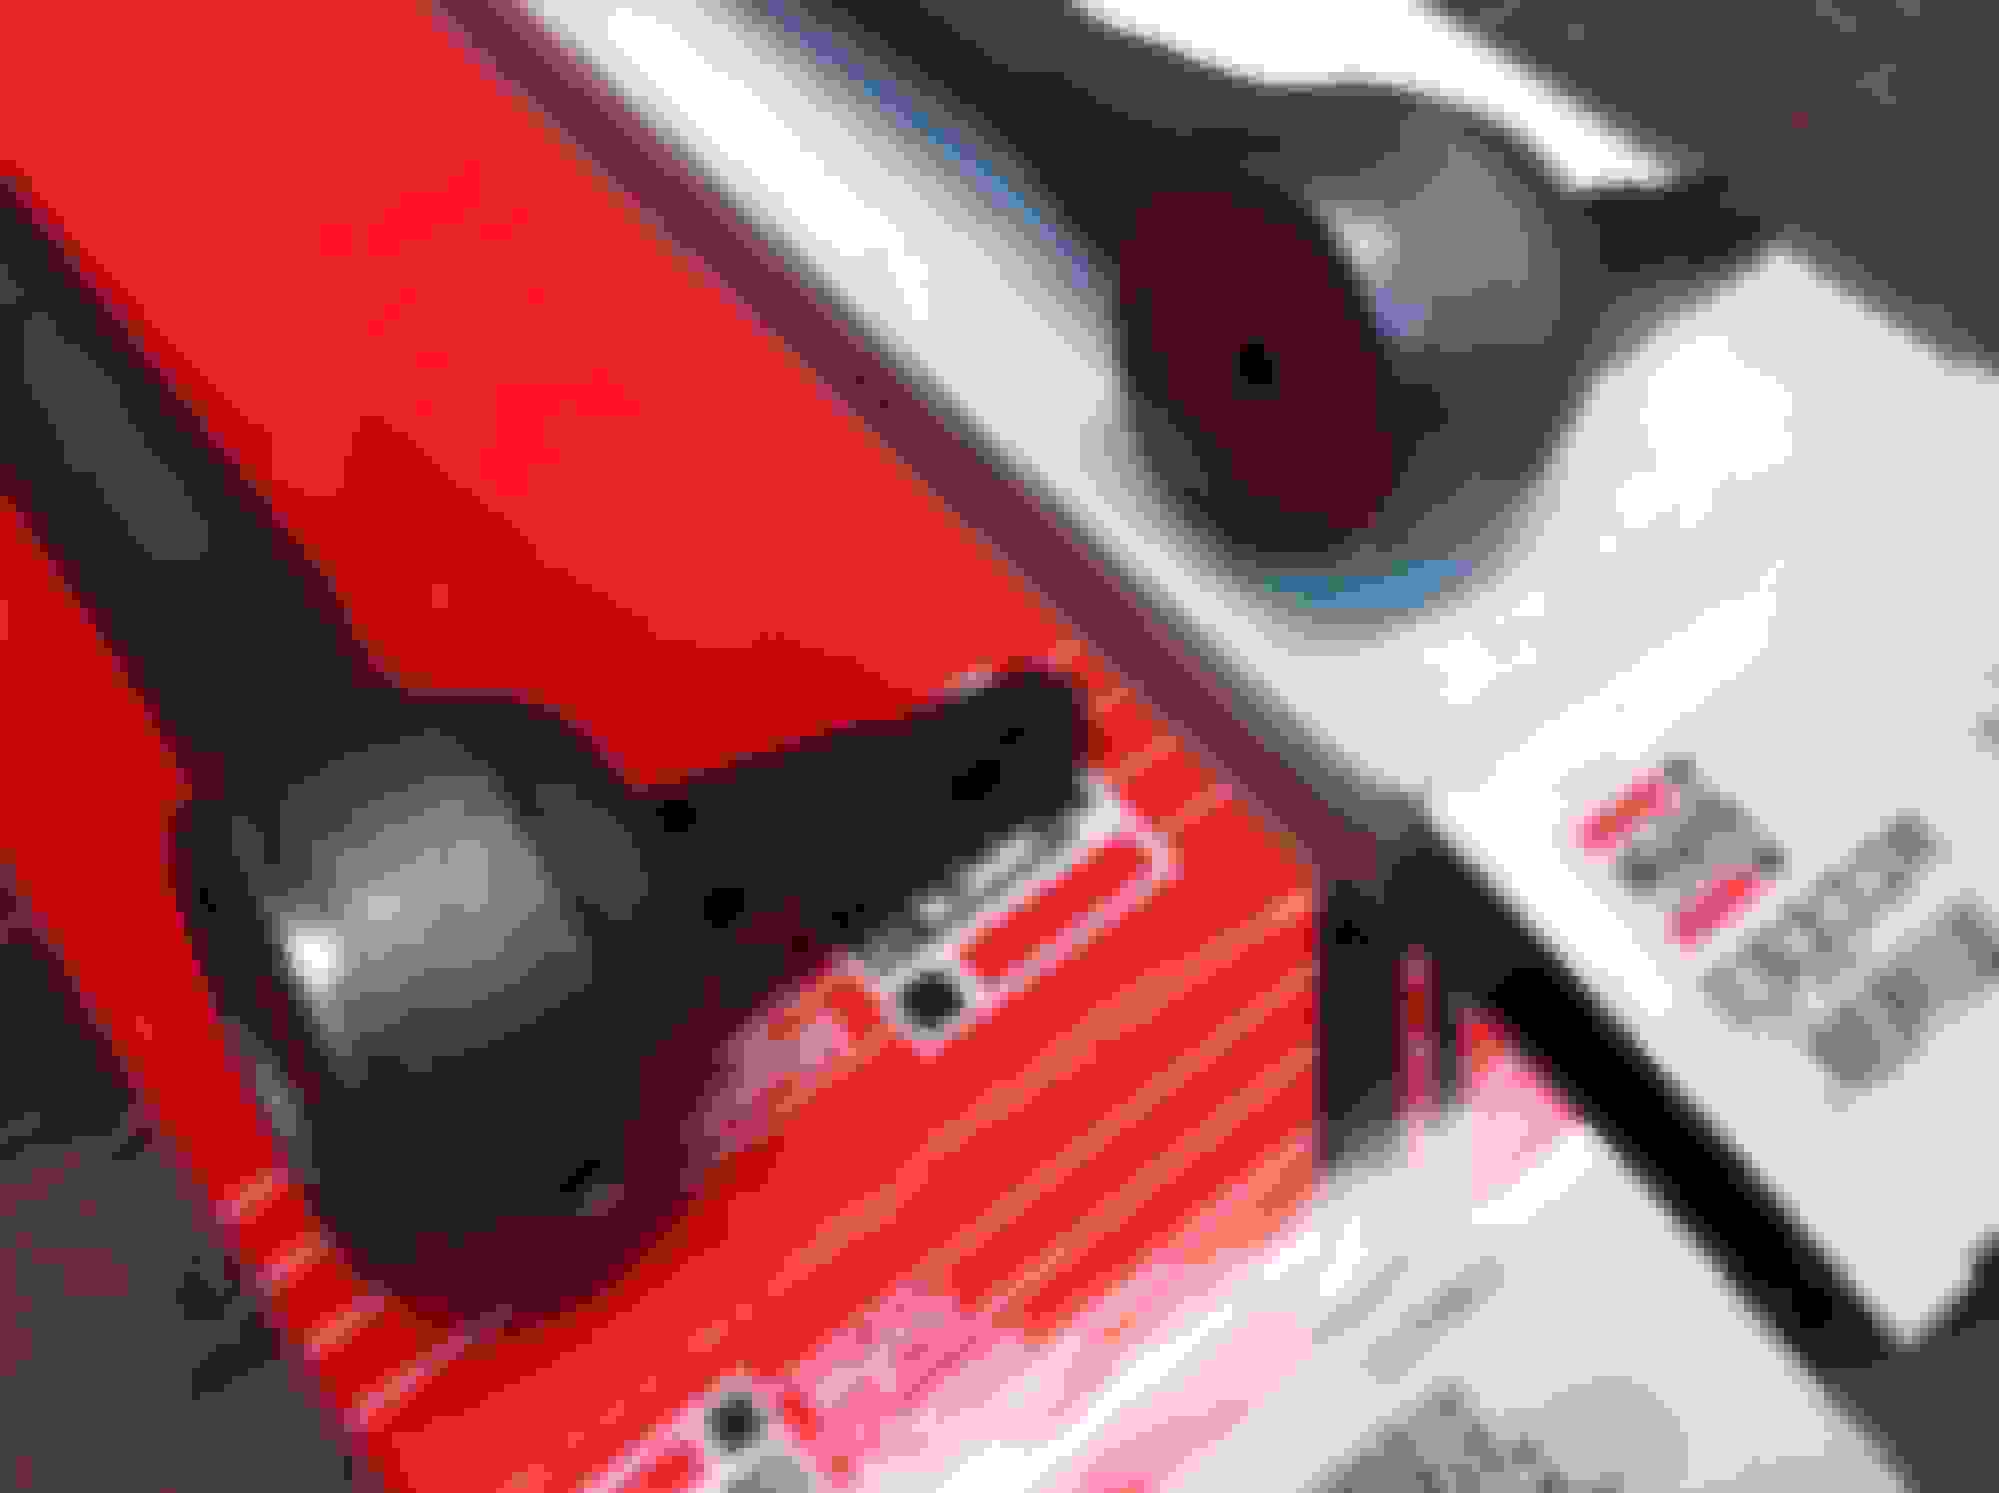
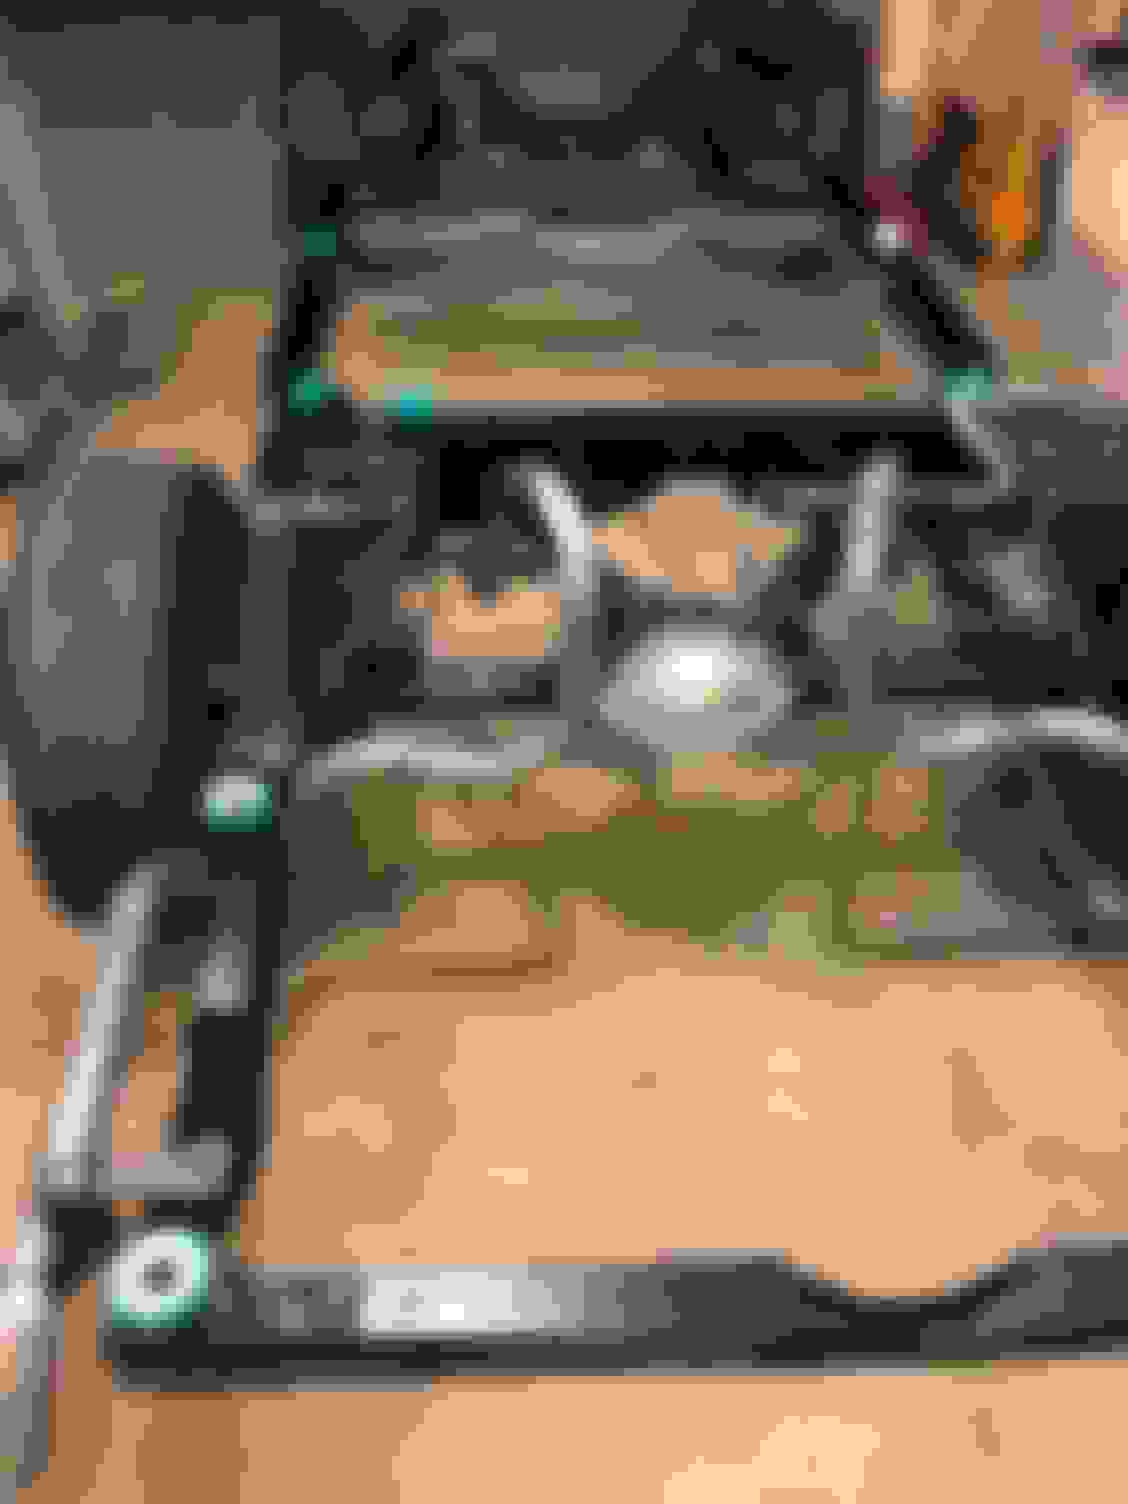
I applied yellow paint markings on the steering pieces. I'll probably leave it as that since those are the marks that were on there, and I don't want to go overboard. Same with the differential. The light green color signifies the posi. I really like the rubber tie rod boots from ILT as they're a match to the originals. My originals were destroyed from the pickle fork when I disassembled the front end. I just can't stand when you see the ugly Moog "finned" boots on a concourse restoration.
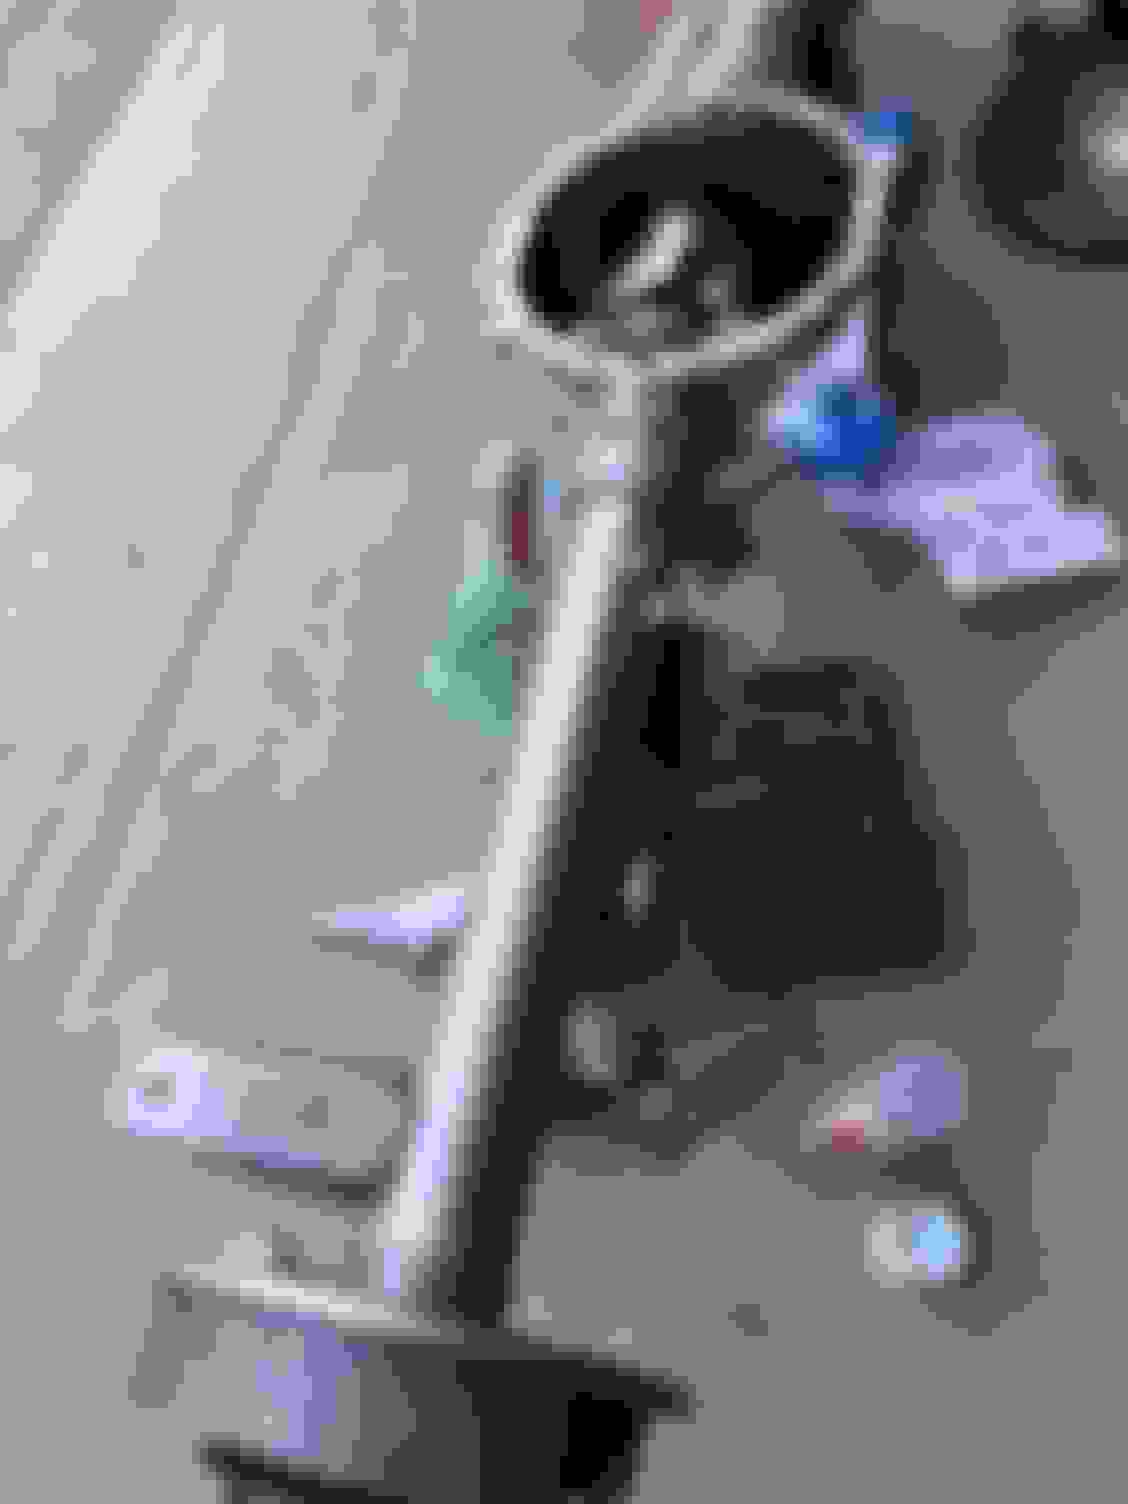
The Gardner exhaust arrived last weekend. Everyone is telling the truth when they say their product is first class. Eric and team and Gardner did a nice job on the pipes and an even better job packaging them up. They came in two massive boxes and shipping isn’t cheap! I mounted the tailpipes using ILT’s hangers since they’re closer to my originals. Same with the tailpipe hangers, however, I plan to restore my originals.
Not sure if I covered this, but I ended up replating the original caliper brackets and sent the reproductions back. I didn’t want to grind the new ones down, per the directions of the supplier. For the price, they should have fit without issues.
I wanted to find a cool vintage plate from Ohio for the year 1970. I stumbled across a site that actually had a plate with 'W 31' on it so I snatched it up. What's cool is that it's actually 'W 3135' which are the same characters in the PIM used to reference the W-31. The pot metal on the original license plate frame has seen better days, but it'll still make for a cool piece to put back on the car.
Next step will be putting the body back on the frame so I can finish disassembly of the body. Hoping the shop I’m using for paint can get the car in sometime next month wink wink . We’ll see.
Looking good there. I have all original suspension parts on my 70 Cutlass S except the idler arm. It's a NJ built car, but if you need any info that would be the same as a Lansing built W31 let me know. Sounds like you have the tie rod end figured out.
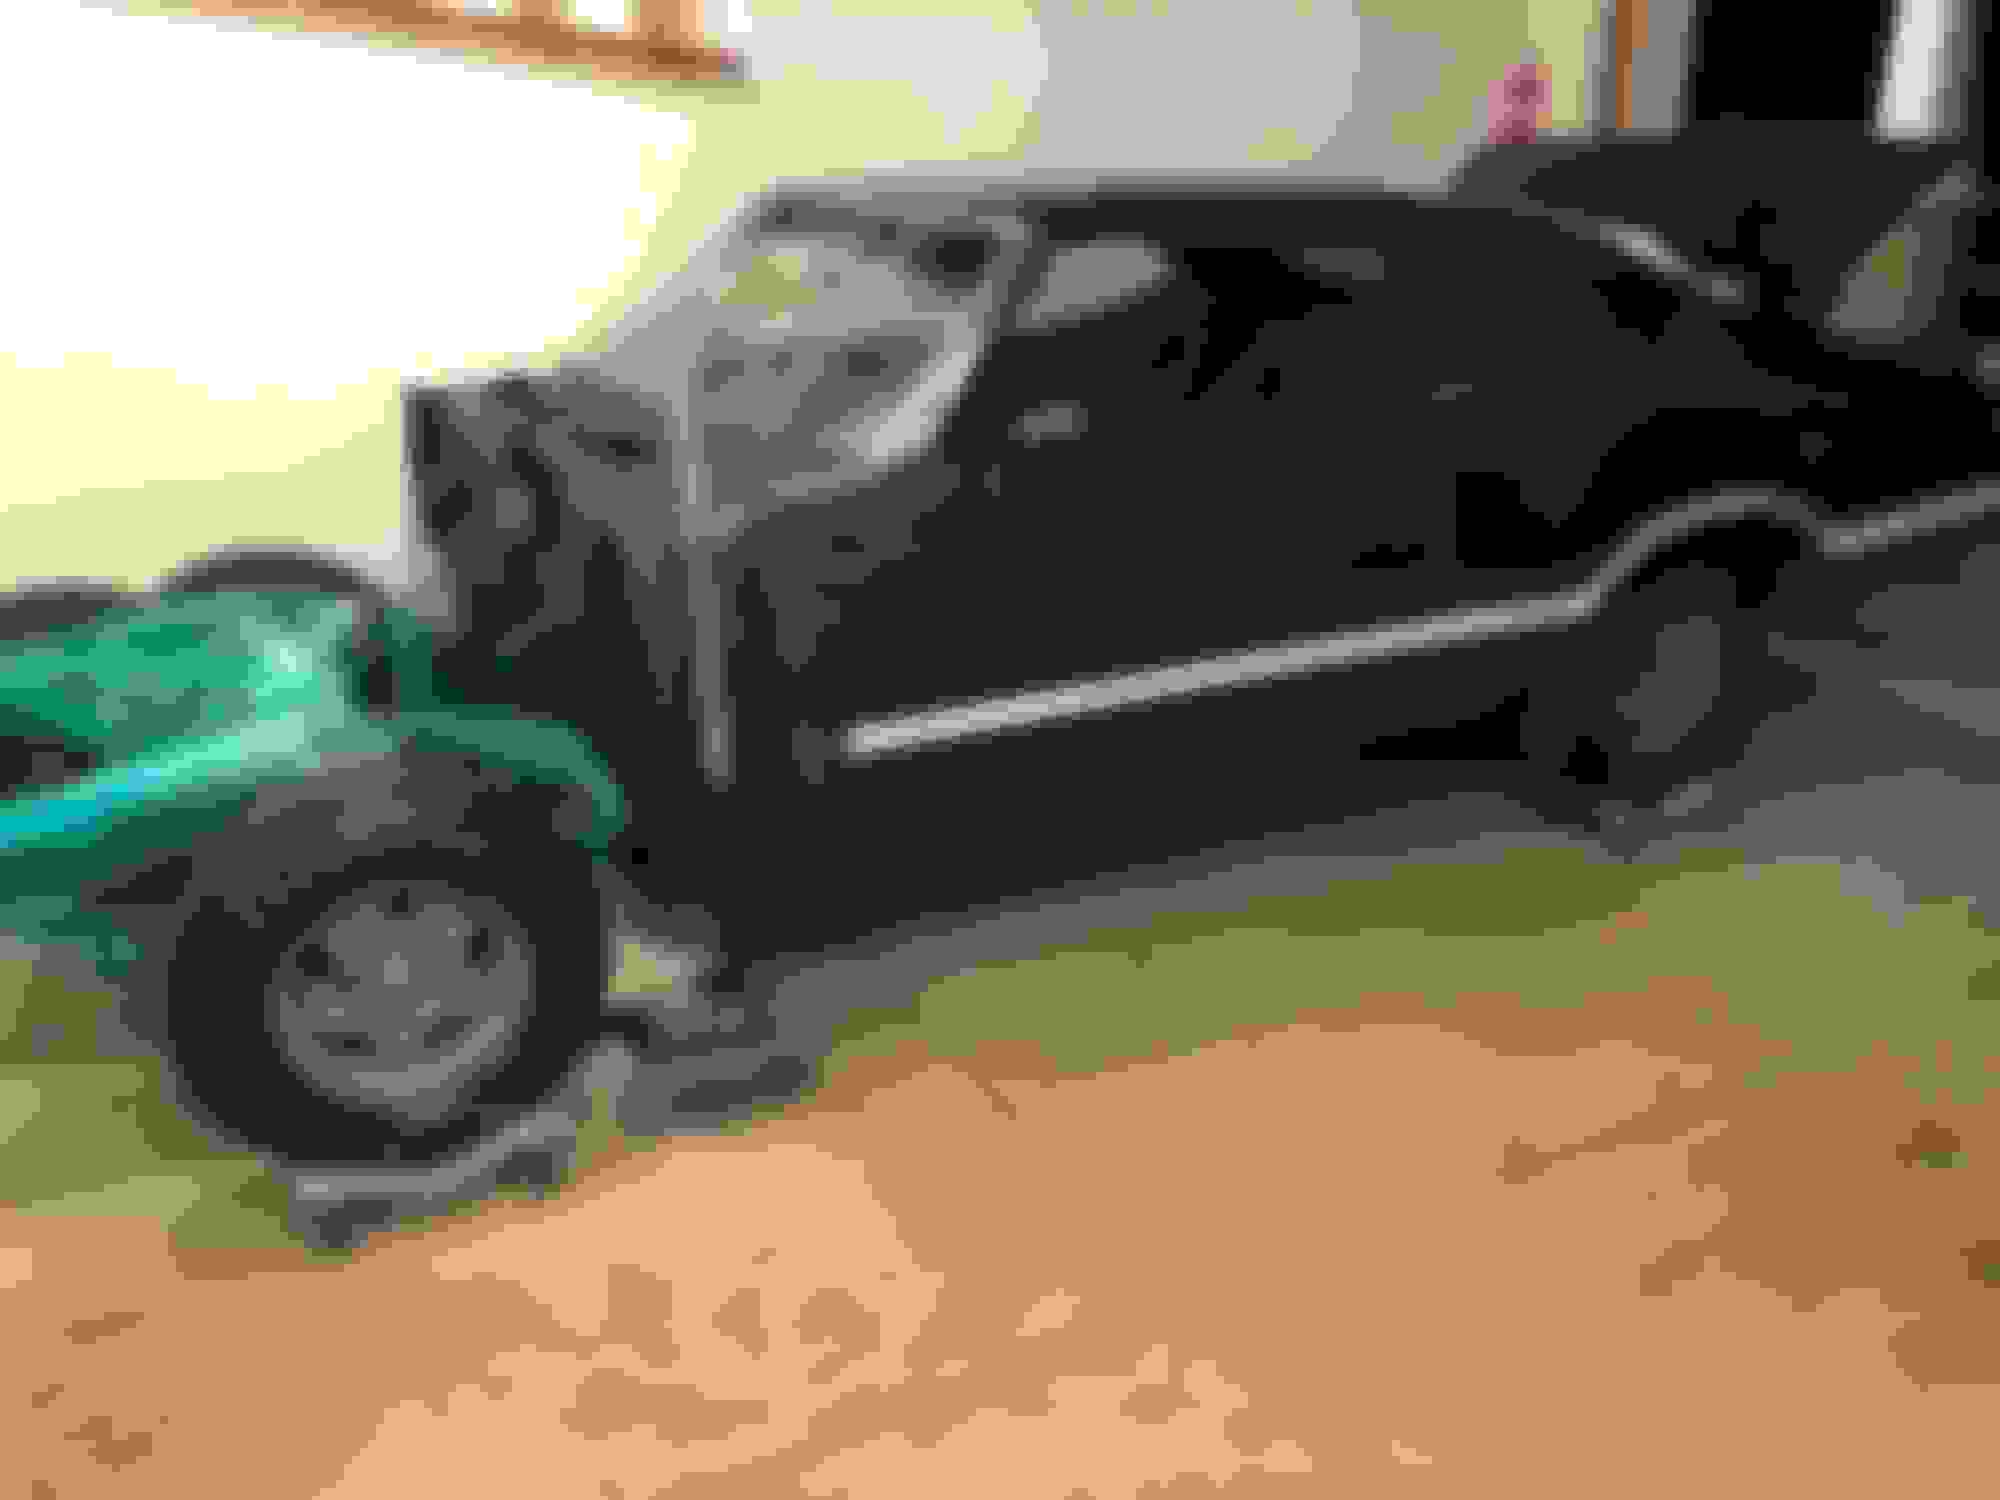
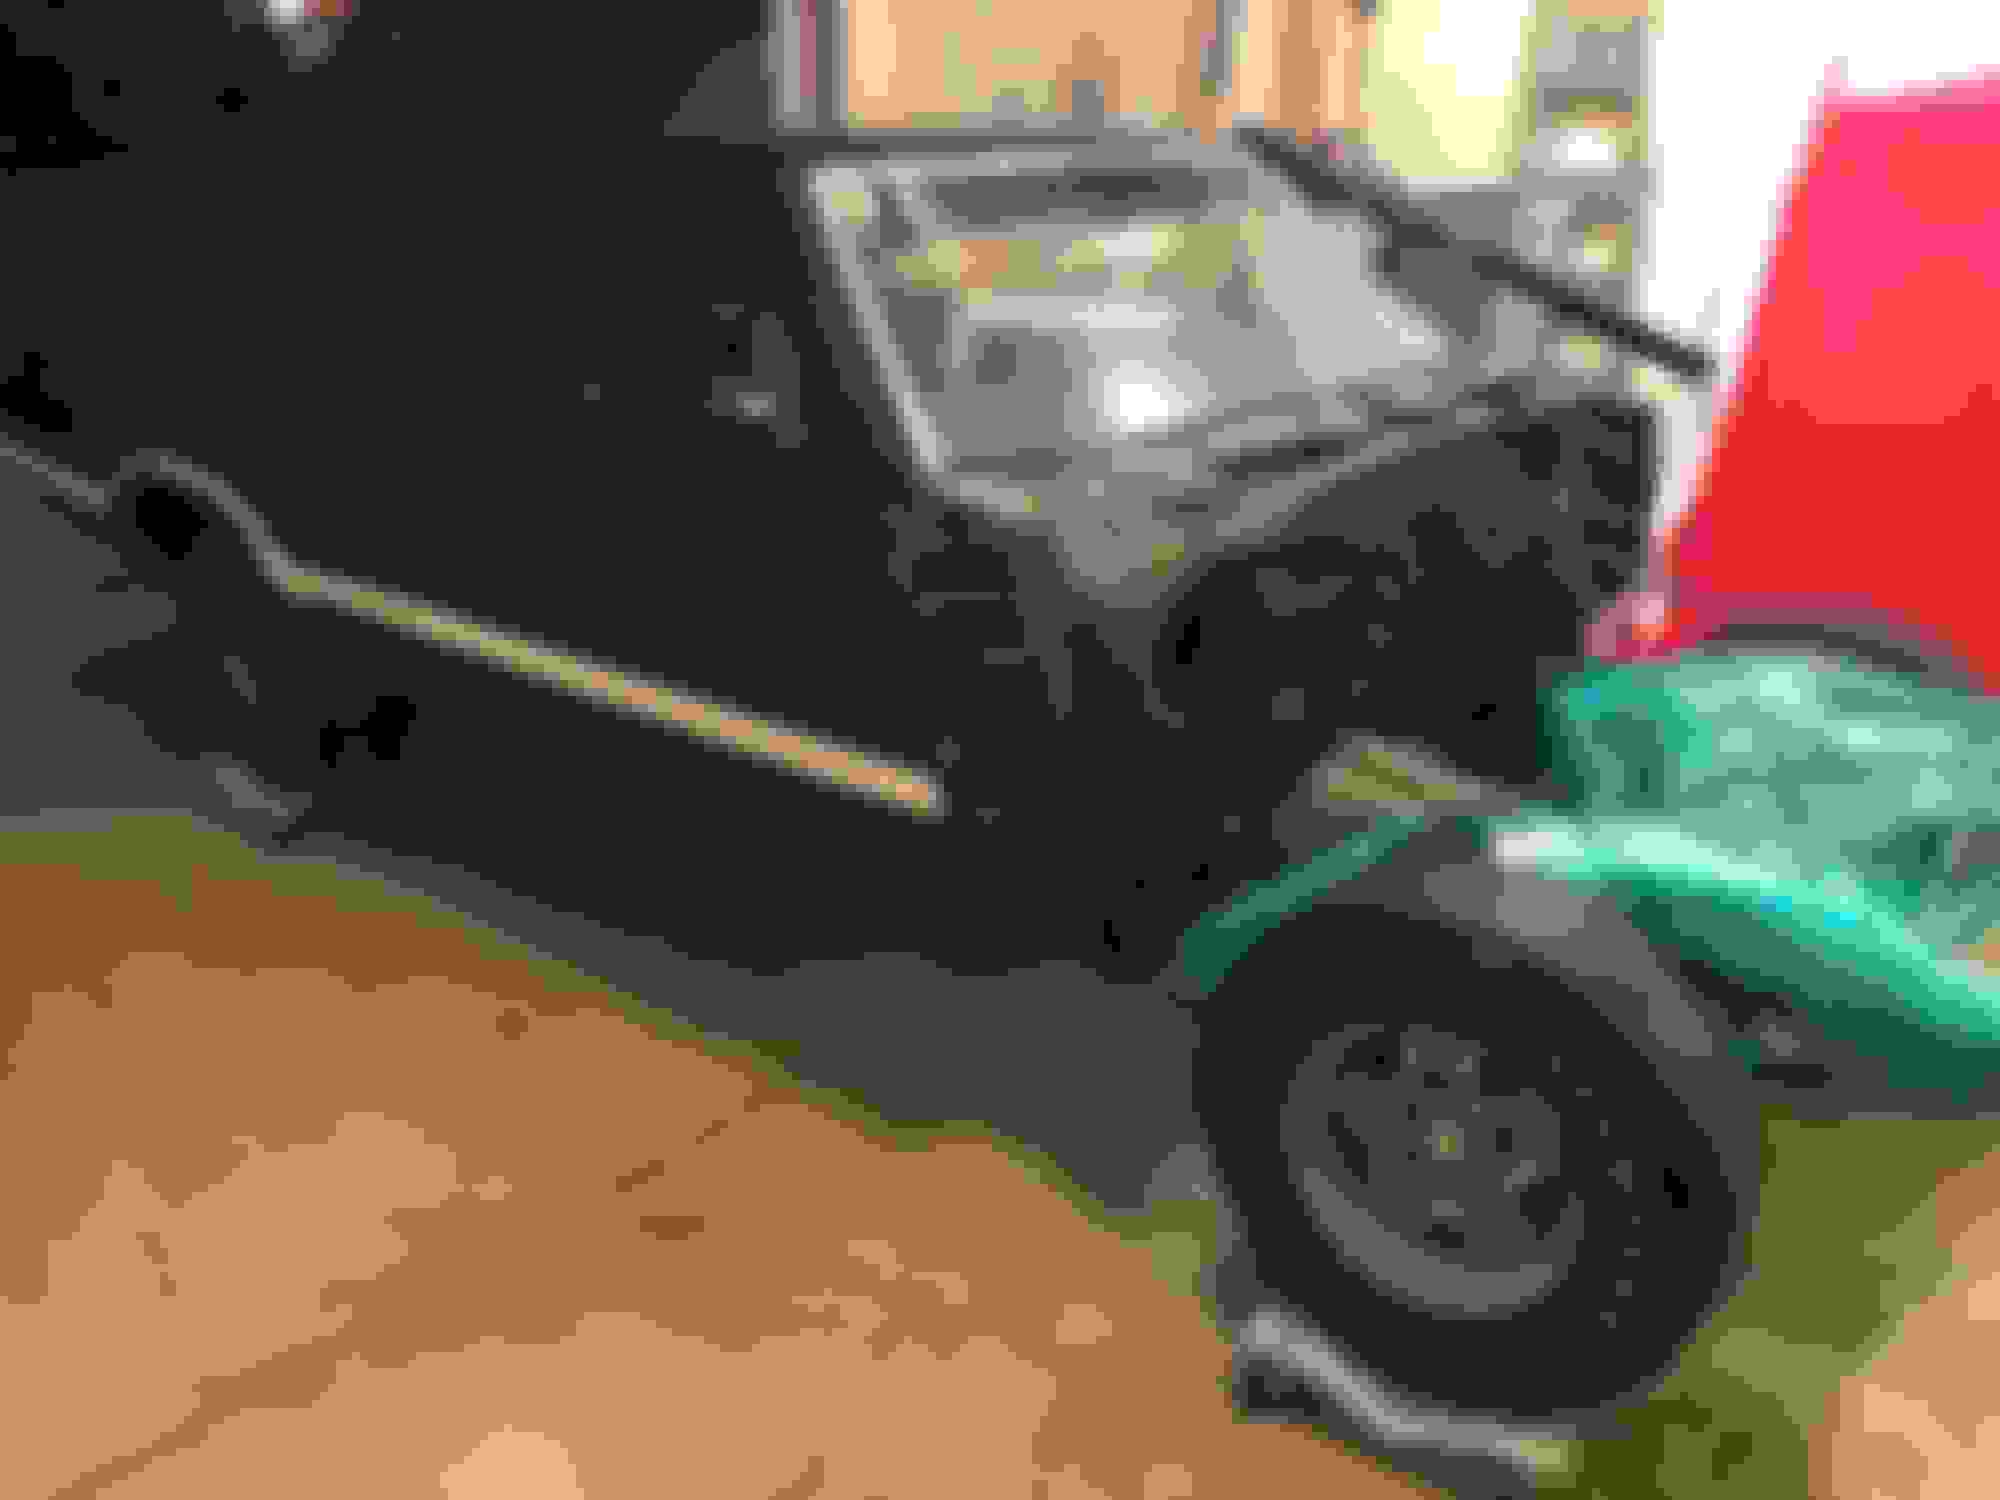
Managed to get the body of the W-31 back on the frame tonight. I used a 2 ton engine hoist and chain through the driver side window to the seat belt bolts. I cranked the hoist up and moved the body off the wall of the garage and slid the chassis with the tires on under the body. With two people in the rear, and two helpers in the front, we were able to get the bolts aligned without issue. As a side note, I saw the additional two cage nuts where I should have bolts, but the factory opted to put �hockey pucks� instead. The body will be coming back off for paint and body so I�ll have an opportunity to swap bushings. Appreciate the help and guidance from the fine folks on this site.
Nothing to update. Sourced NOS brake pads since they're different that then reproductions and a few other NOS trim pieces. The original pads have a yellow zinc backing with holes on the pads, and I wanted the brakes to be as close as possible to factory.
The next step will be to pull the door panels, dash, package tray, headliner, and strip the entire interior so it's just a shell. I'll spend a day or two on disassembly when I get the green light that the paint shop is ready to go. For the time being, I'm taking a month or two break from the car. Putting the body back on the frame and prepping the gold car for MCACN kicked my ***! Targeting a debut at the Olds Nationals in Kansas with a stretch goal of Homecoming. It's possible the car won't be ready until MCACN 2019.
you may already know this, but mark the holes the headliner bows come out of. buy new headliner clips as the originals are probably old and brittle and may or may not last. do you want to take that chance with the new headliner? don't buy the headliner until you are ready to use it. having it sit, folded up, those creases are hard to get out. others may disagree, but pay to have the headliner installed. or have A LOT of patience if you do it yourself. If you do attempt yourself, I have the right adhesive for you, but you'll need to locate the gun to spray it. oh, and have patience.
also, as you know, a deadline can make you speed up and cut corners. don't cut corners. expect everything to take longer than planned, otherwise it's not a restoration. :-)
They�ll have a groove as shown below and a Julian date. The original rotors will be cleaned up and turned so I can hopefully get them back on. For the time being, I threw reproductions on.
I haven't reviewed your progress in a while. Just fantastic. Can't wait to see it done. I like the plate with the A D P frame. This is going to be a real beauty. Thanks for the pictures.
VERY VERY nice resto will a be a beautiful car the stance should be perfect .Just finishing the Stage 1.Will be looking for another W 31 project.
Keep going in the right direction.
All the best in your project
Alain
They�ll have a groove as shown below and a Julian date. The original rotors will be cleaned up and turned so I can hopefully get them back on. For the time being, I threw reproductions on.
Not much going on outside of gathering parts and putting a plan in place for the engine rebuild. I did receive some parts back from the plater yesterday that turned out great. I still have a TON out at the plater, but this is just the first shipment back.


 . We’ll see.


 VERY VERY nice resto will a be a beautiful car the stance should be perfect .Just finishing the Stage 1.Will be looking for another W 31 project.


