When you click on links to various merchants on this site and make a purchase, this can result in this site earning a commission. Affiliate programs and affiliations include, but are not limited to, the eBay Partner Network.
it would be neat to see all three cars side by side with the same interior colors, but all different exterior colors. Would be a neat contrast to see side by side. We will have to make that happen one day.
We got one of the front buckets recovered. I won�t put details in this post but I will put a couple links to threads where you can find the process I used.
Fellow forum user RAMBOW who does Classic Seat Restorations has already posted all the guidance you could need, and will provide you with any materials and extra guidance for details. He was a big help And answered all my questions. A couple of links below will give you the gist of what I did. Hit RAMBOW up for your next seat project. Good guy and very fair prices.
The bucket seat came out great. I took xtra care to get the tucks in the buns nice and deep and to get the welting to fall correct. Especially on the top by the headrest latches. Just need to install the plastic trim covers, other seat jewelry, headrests and restored sliders. The seat just needs to sit in the sun a bit and have a butt sit in them and any small wrinkles will flatten out.
Now I am on to doing the other bucket. I have a new found respect for those that do upholstery work. My hands and forearms are wore out from all the tugging, and cutting and installing hog rings. Lots of details to get it nice but take your time and pay attention to details and they can come out nice.
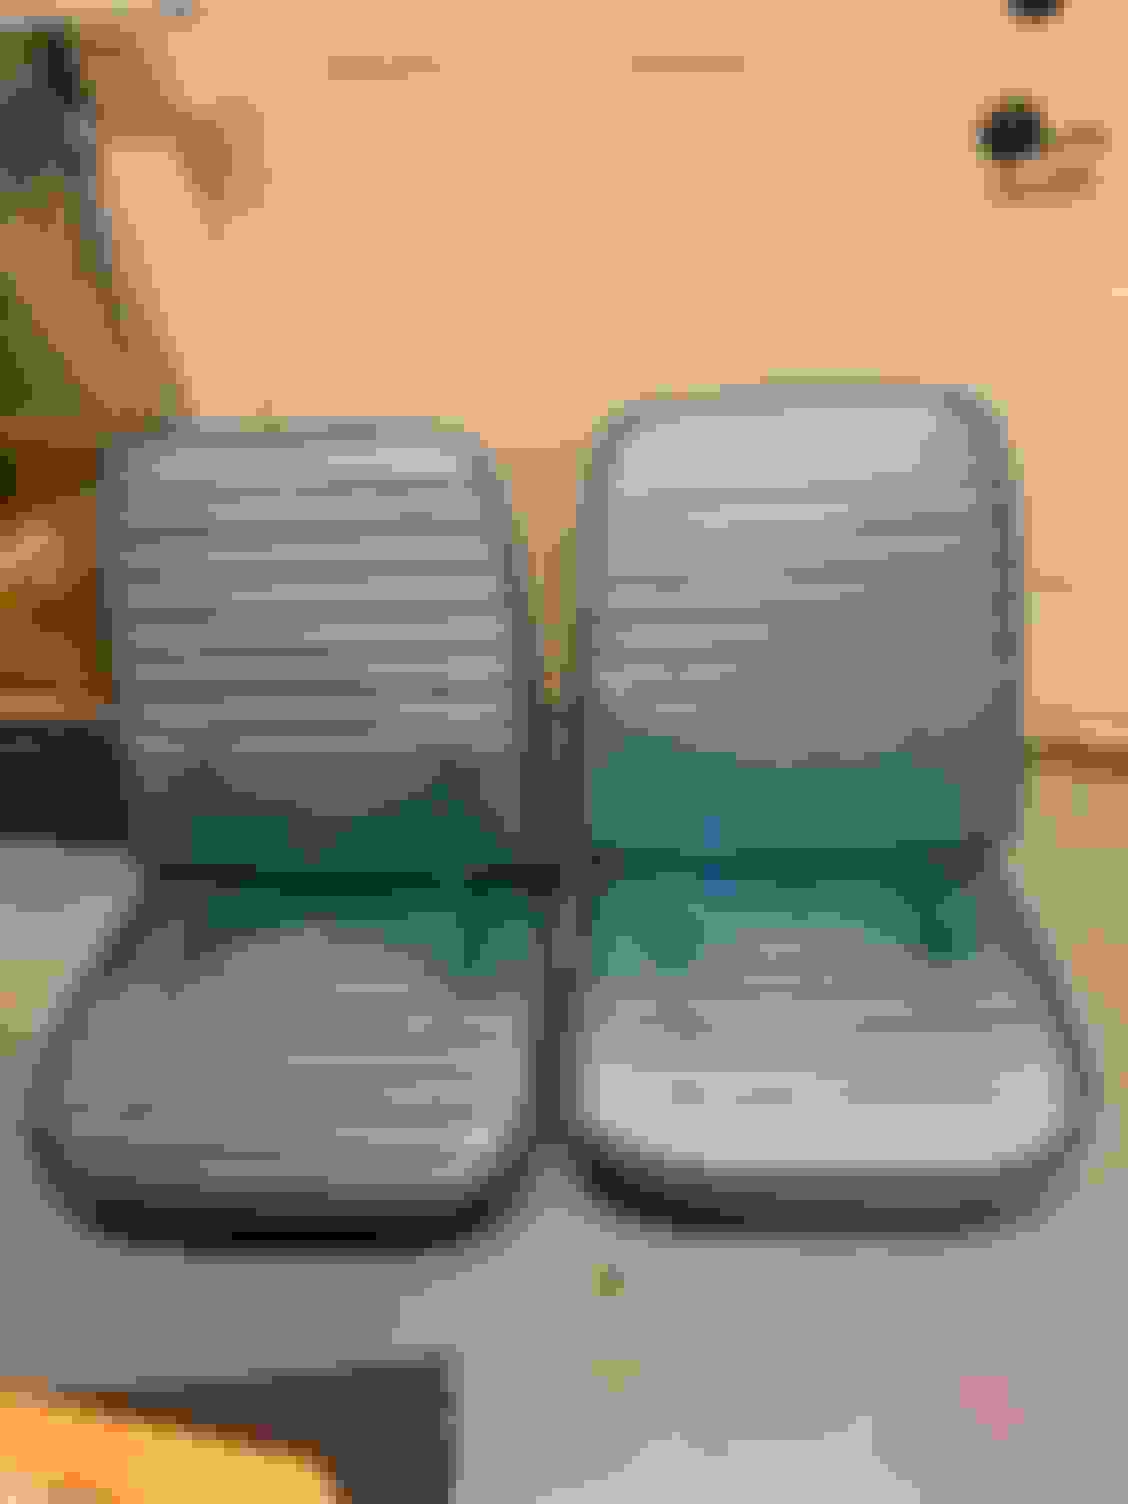
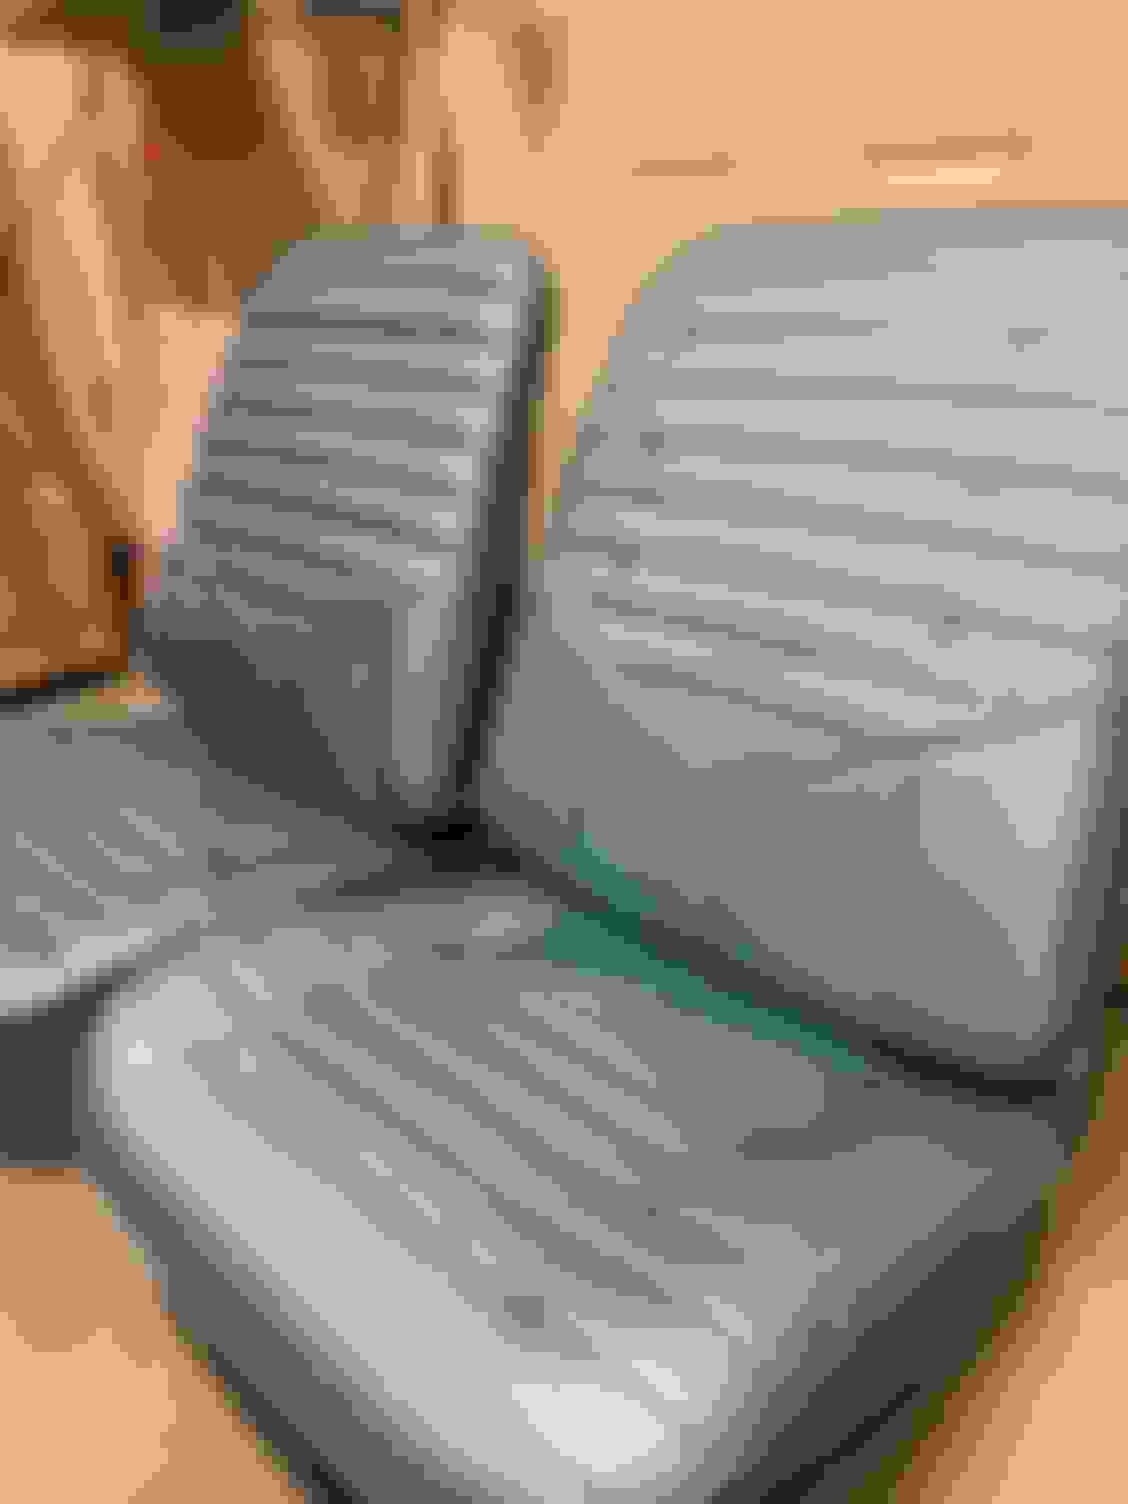
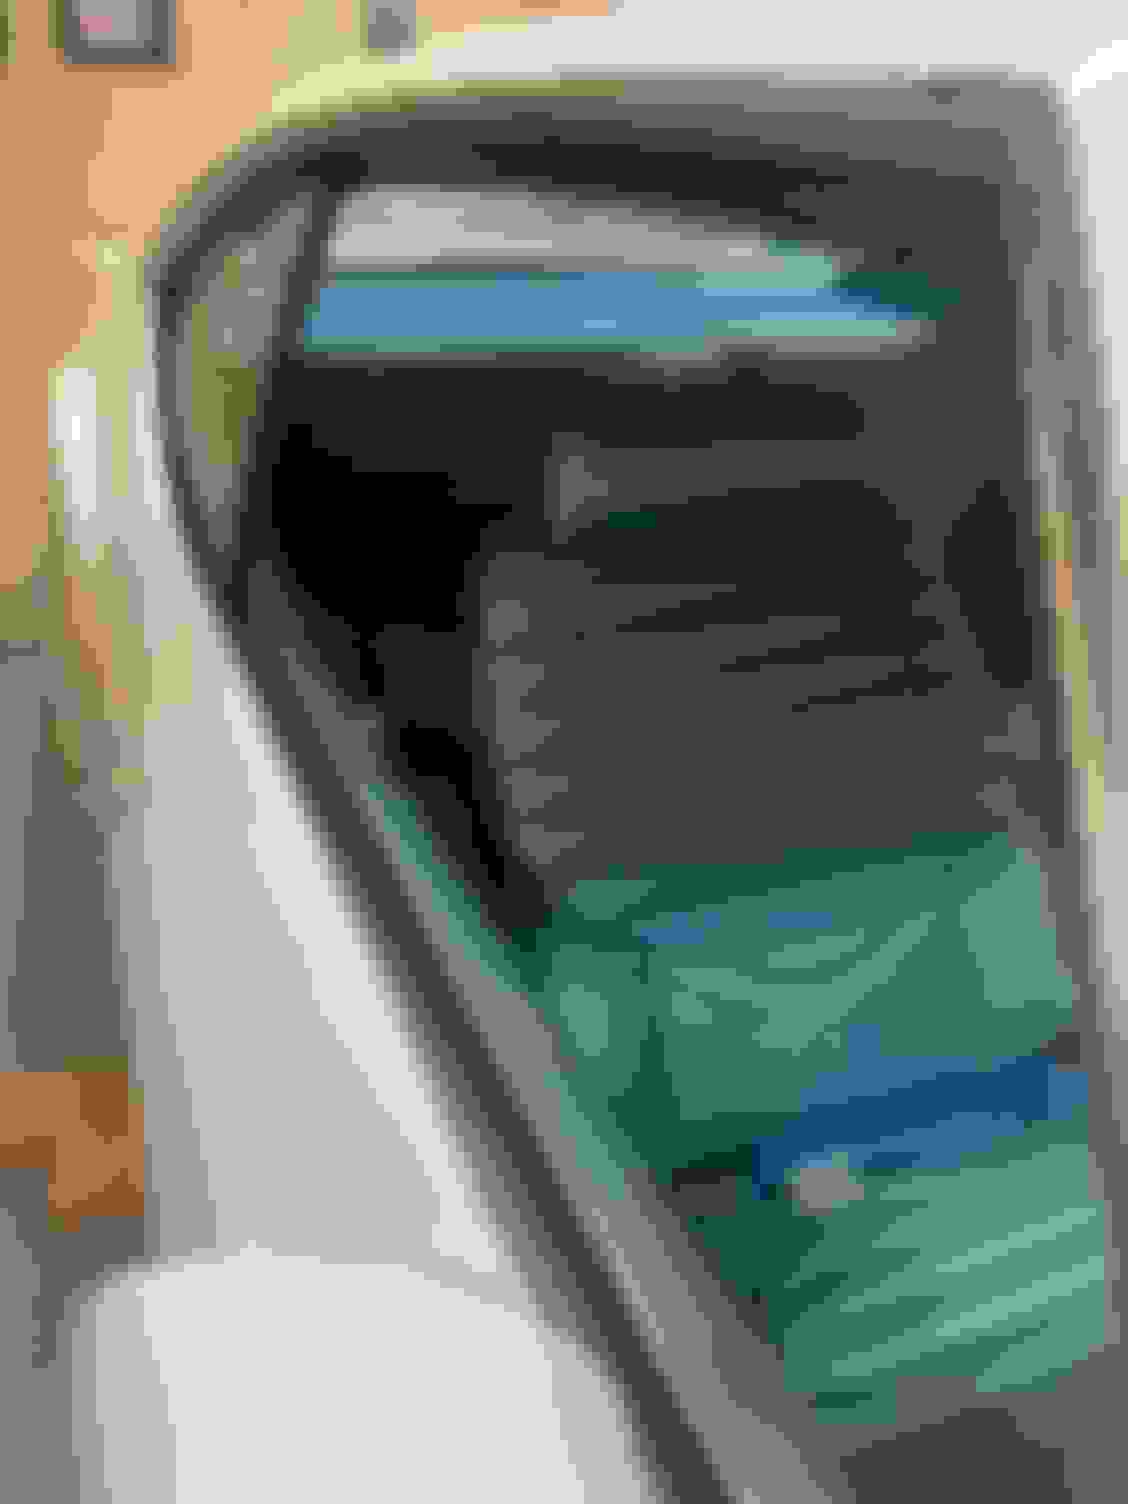
Below is a picture of a rebuilt and recovered seat on the left with the new Legendary cover, and the other seat that had a PUI cover put on it in the 90�s on the right. The recovered front seats were never installed in the car because the PO lost interest. I think the Legendary covers have such better defined pleats and stitching. Yes they cost significantly more.
I took care removing the front cover and will have them both and a never installed PUI rear seat cover for sale shortly if anyone needs them for a project. The rear cover is never installed and the fronts are real nice with just a few blems from moving them around over the years.
Recovered seat with Legendary cover on your left. PUI cover on the right. Different angle
In the picture of the Legendary and PUI seats juxtaposed, the PUI upholstery pleating looks like it goes uphill on the back of the seat, not so much in the second picture, camera angle?
Absolutely correct, Legendary is the way to motor!
In the picture of the Legendary and PUI seats juxtaposed, the PUI upholstery pleating looks like it goes uphill on the back of the seat, not so much in the second picture, camera angle?
Absolutely correct, Legendary is the way to motor!
It May be slanted a bit. I think it�s a bit of camera angle also. If you look closely at the PUI seat on the right you will see a couple things that I made sure were corrected on the seat on the left.
The seat back cover was installed to high and the top pleat interferes with the headrest latches. The Side seams Do not align with the seams on the lower cover. And the �Tucks� on the seat back had very little tuck. They did not catch the listing wire on the seat frame with the inner wire in the seat cover and that prevents the nice 3 dimensional seam.
The PUI covers would look much better with a more detailed installation. But was cool to see a side by side comparison. These PUI covers are in great shape and hopefully someone will want them. I just prefer the look of the Legendary covers.
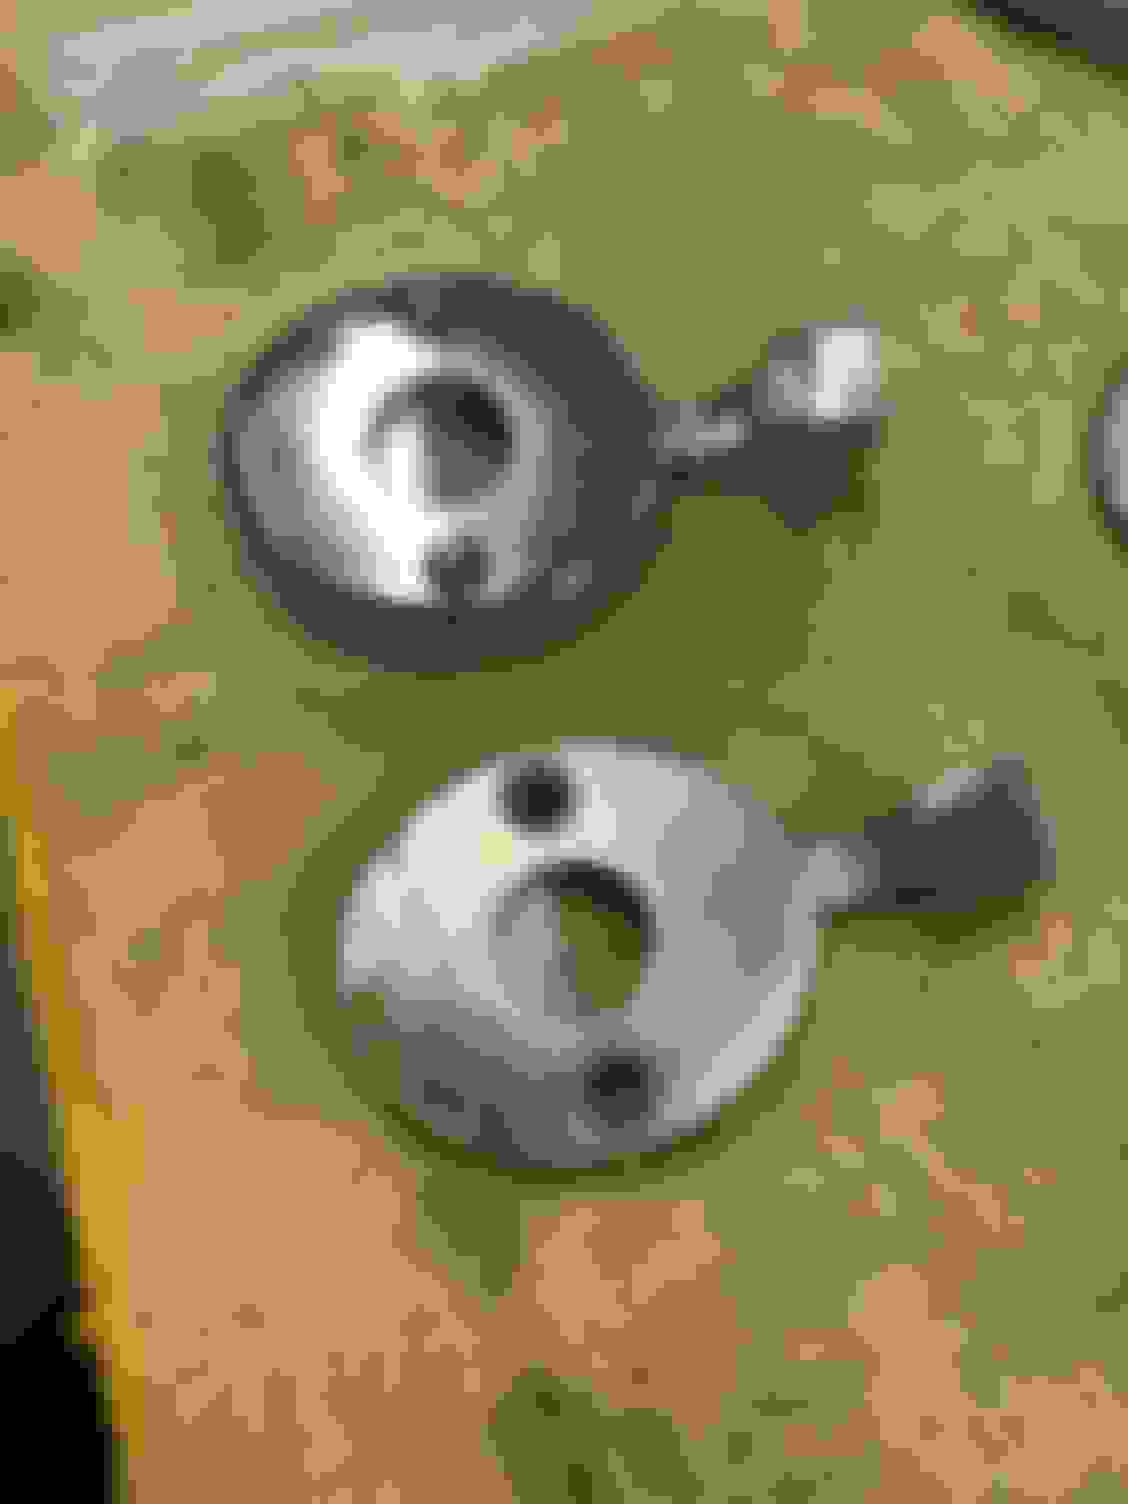
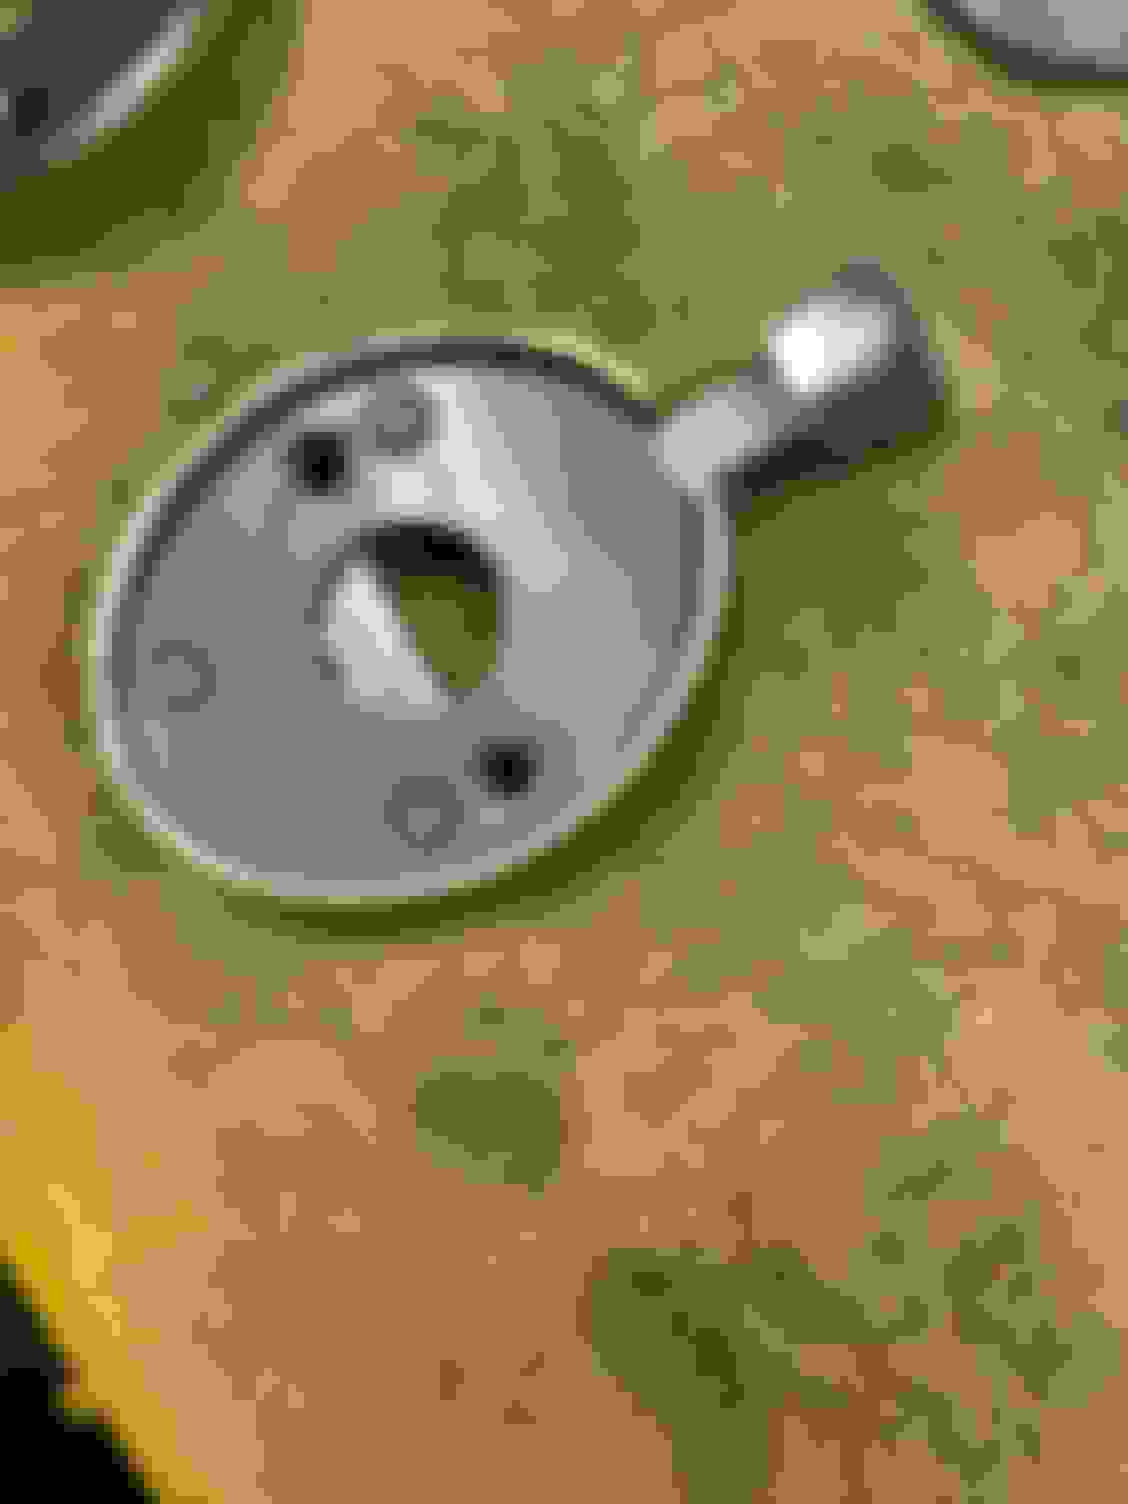
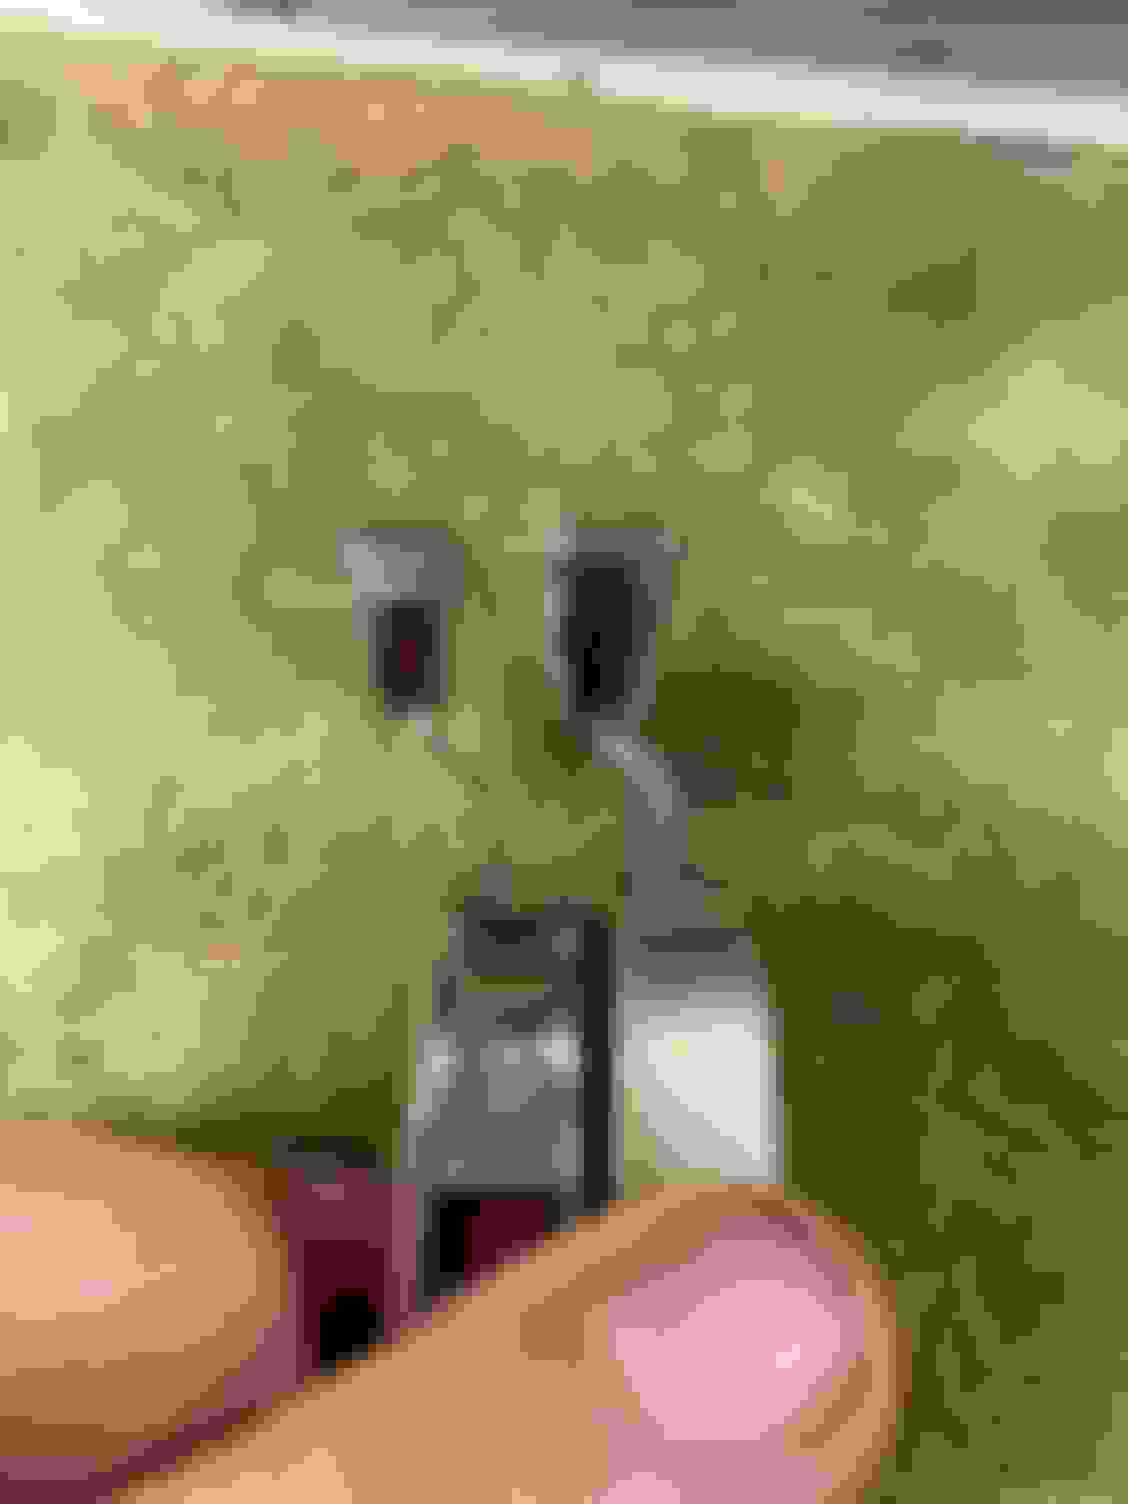
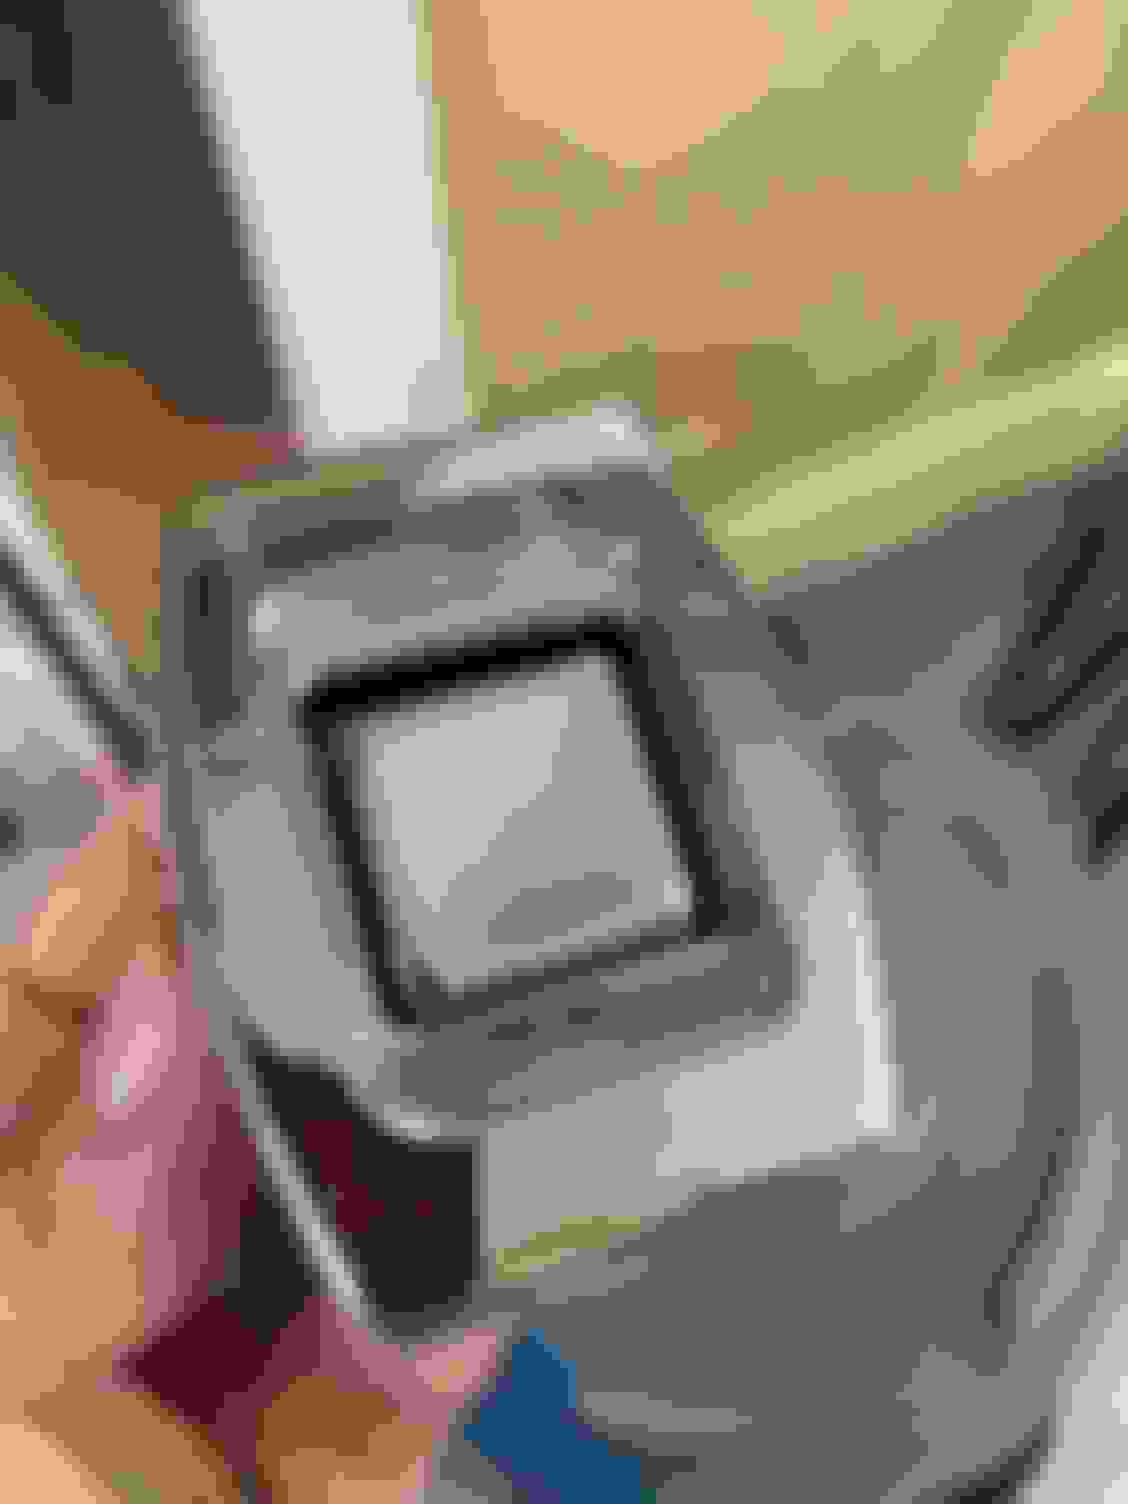
Took a tip from Jimmy and rebuilt my original headrest latches instead of just installing the repops. Just used the repop chrome top cover. The repop handle is thinner and a different angle. The **** is shaped differently. The spring inside the repop is much weaker. And the back of the repop is chrome and does not have a part number on it.
interesting that on my original covers the rear was held on with three plastic weld rivets and Jimmy�s did not have those three rivets. Same part number. May have been a production change. Cool detail.
Repop latch on top Original cover rear view Repop on left. Note the different **** and angle of latch Part number
I saved similar pieces on my car too. Since it has a bench the plastic chrome covers in NOS are difficult to find. Of course, once they are located, then one has to hold nose to pay up.
But it is a done deal now, don't regret for a moment I obtained the correct ones. Yours look super nice too.
I saved similar pieces on my car too. Since it has a bench the plastic chrome covers in NOS are difficult to find. Of course, once they are located, then one has to hold nose to pay up.
But it is a done deal now, don't regret for a moment I obtained the correct ones. Yours look super nice too.
For sure. I did not know the bench seat ones were different. The NOS hunt can be difficult and expensive sometimes. I paid for original or NOS stuff in other instances. This item was just to darn easy to do to hunt/pay for NOS in my humble opinion.
My priority on this build has been 1) Use original parts or rebuild my original first. 2) Use NOS second. 3) Use repop third. There have been a few deviations from this that I will let the judges try and find!
Yes, the bench seat escutcheons are rectangular with the headrest having only one post, while the bucketseat headrest has double posts with round escutcheons.
Last edited by tnswt; August 2nd, 2022 at 01:40 PM.
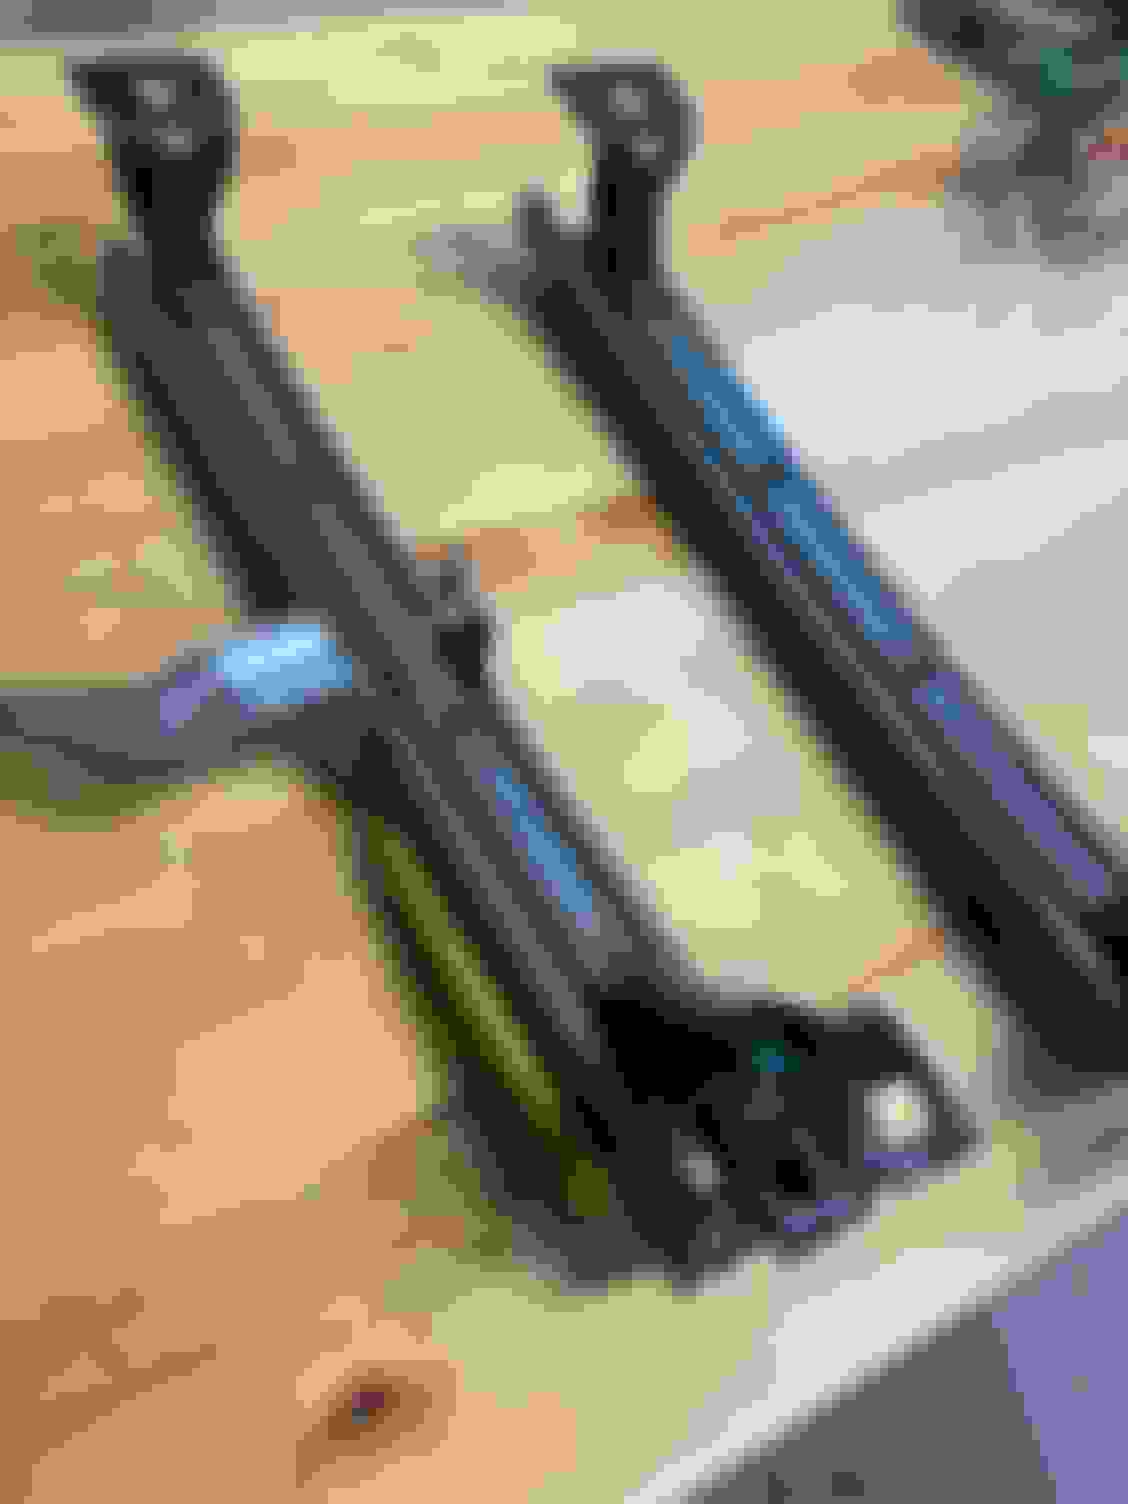
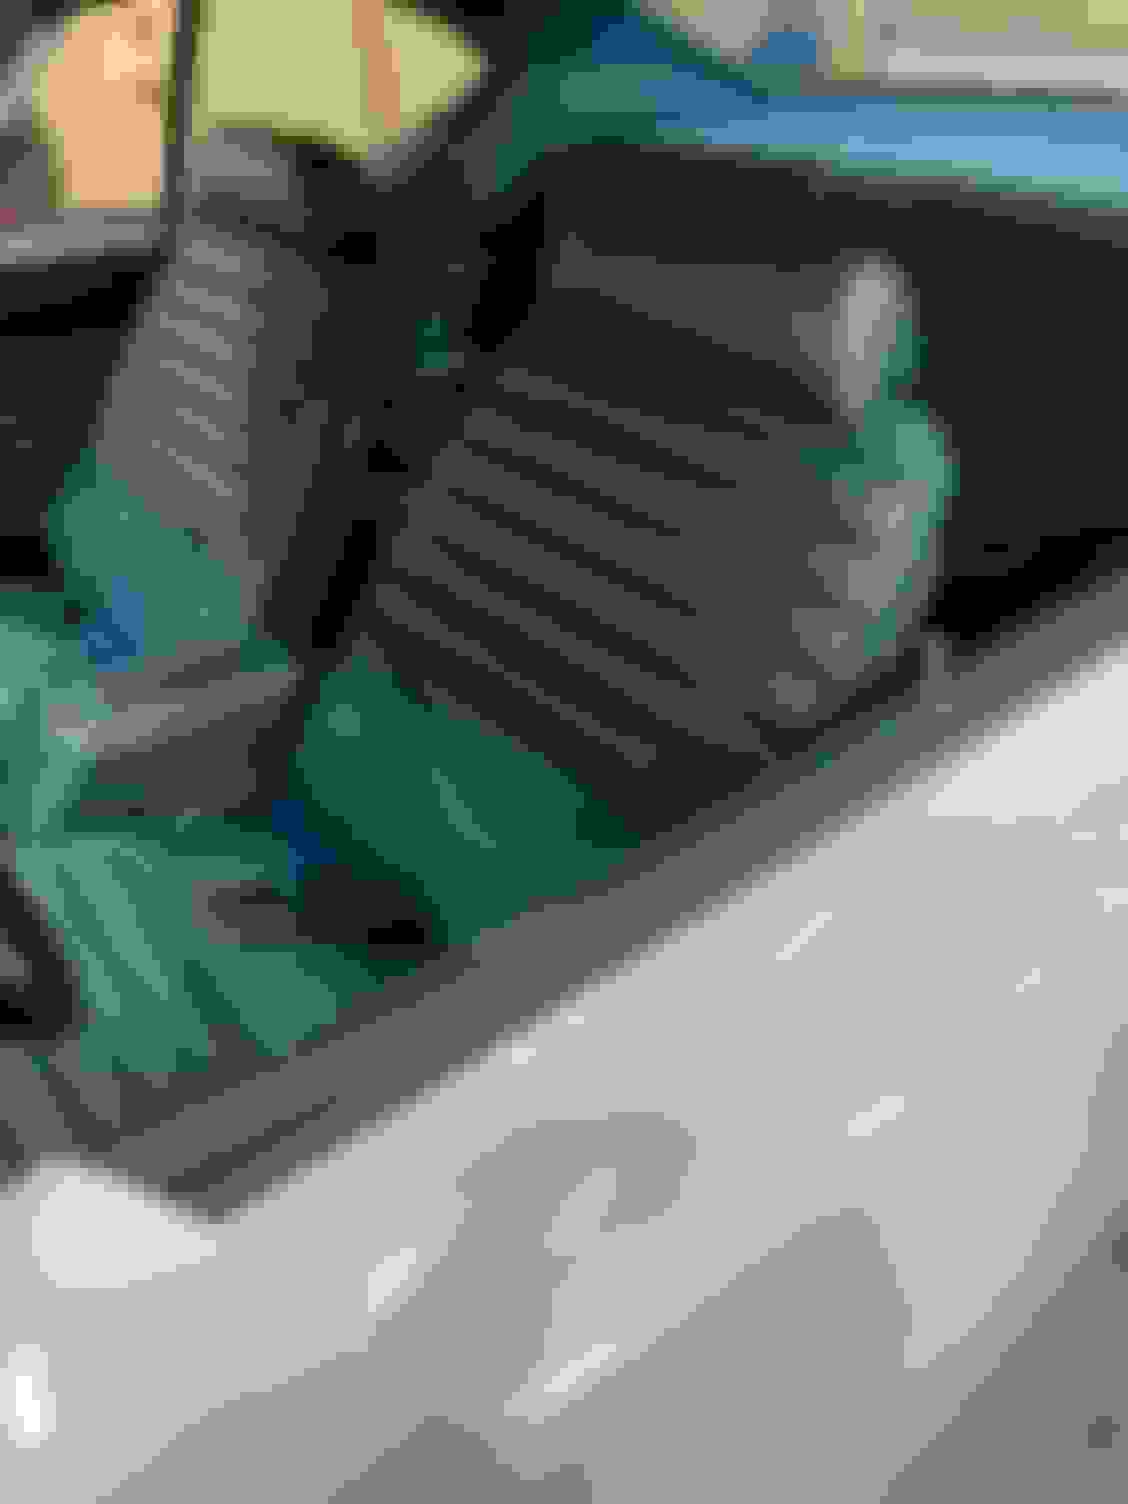
Got the passenger side seat done and installed in the car. Restored the seat tracks and painted the springs for the slide handle return and the seat assist in the correct colors. I left the seat tracks themselves in bare steel with a coat of clear, and painted the feet black. The slide handle was just brushed with steel wool to retain the zinc coated look. Seat plastics were installed with the correct zinc coated button head screws.
Another neat milestone to sit in a front seat! Getting closer. Just need to put the console in and then finish up the driver side bucket. Then it�s on to the punch list items.
Restored seat tracks. Seat slide handle spring with remnants of the factory yellow paint. Seat tracks installed and seat covers wrapped around the seat base. Note the middle flap on the seat cover tucks under the seat track and gets sandwiched between the track and the seat frame.
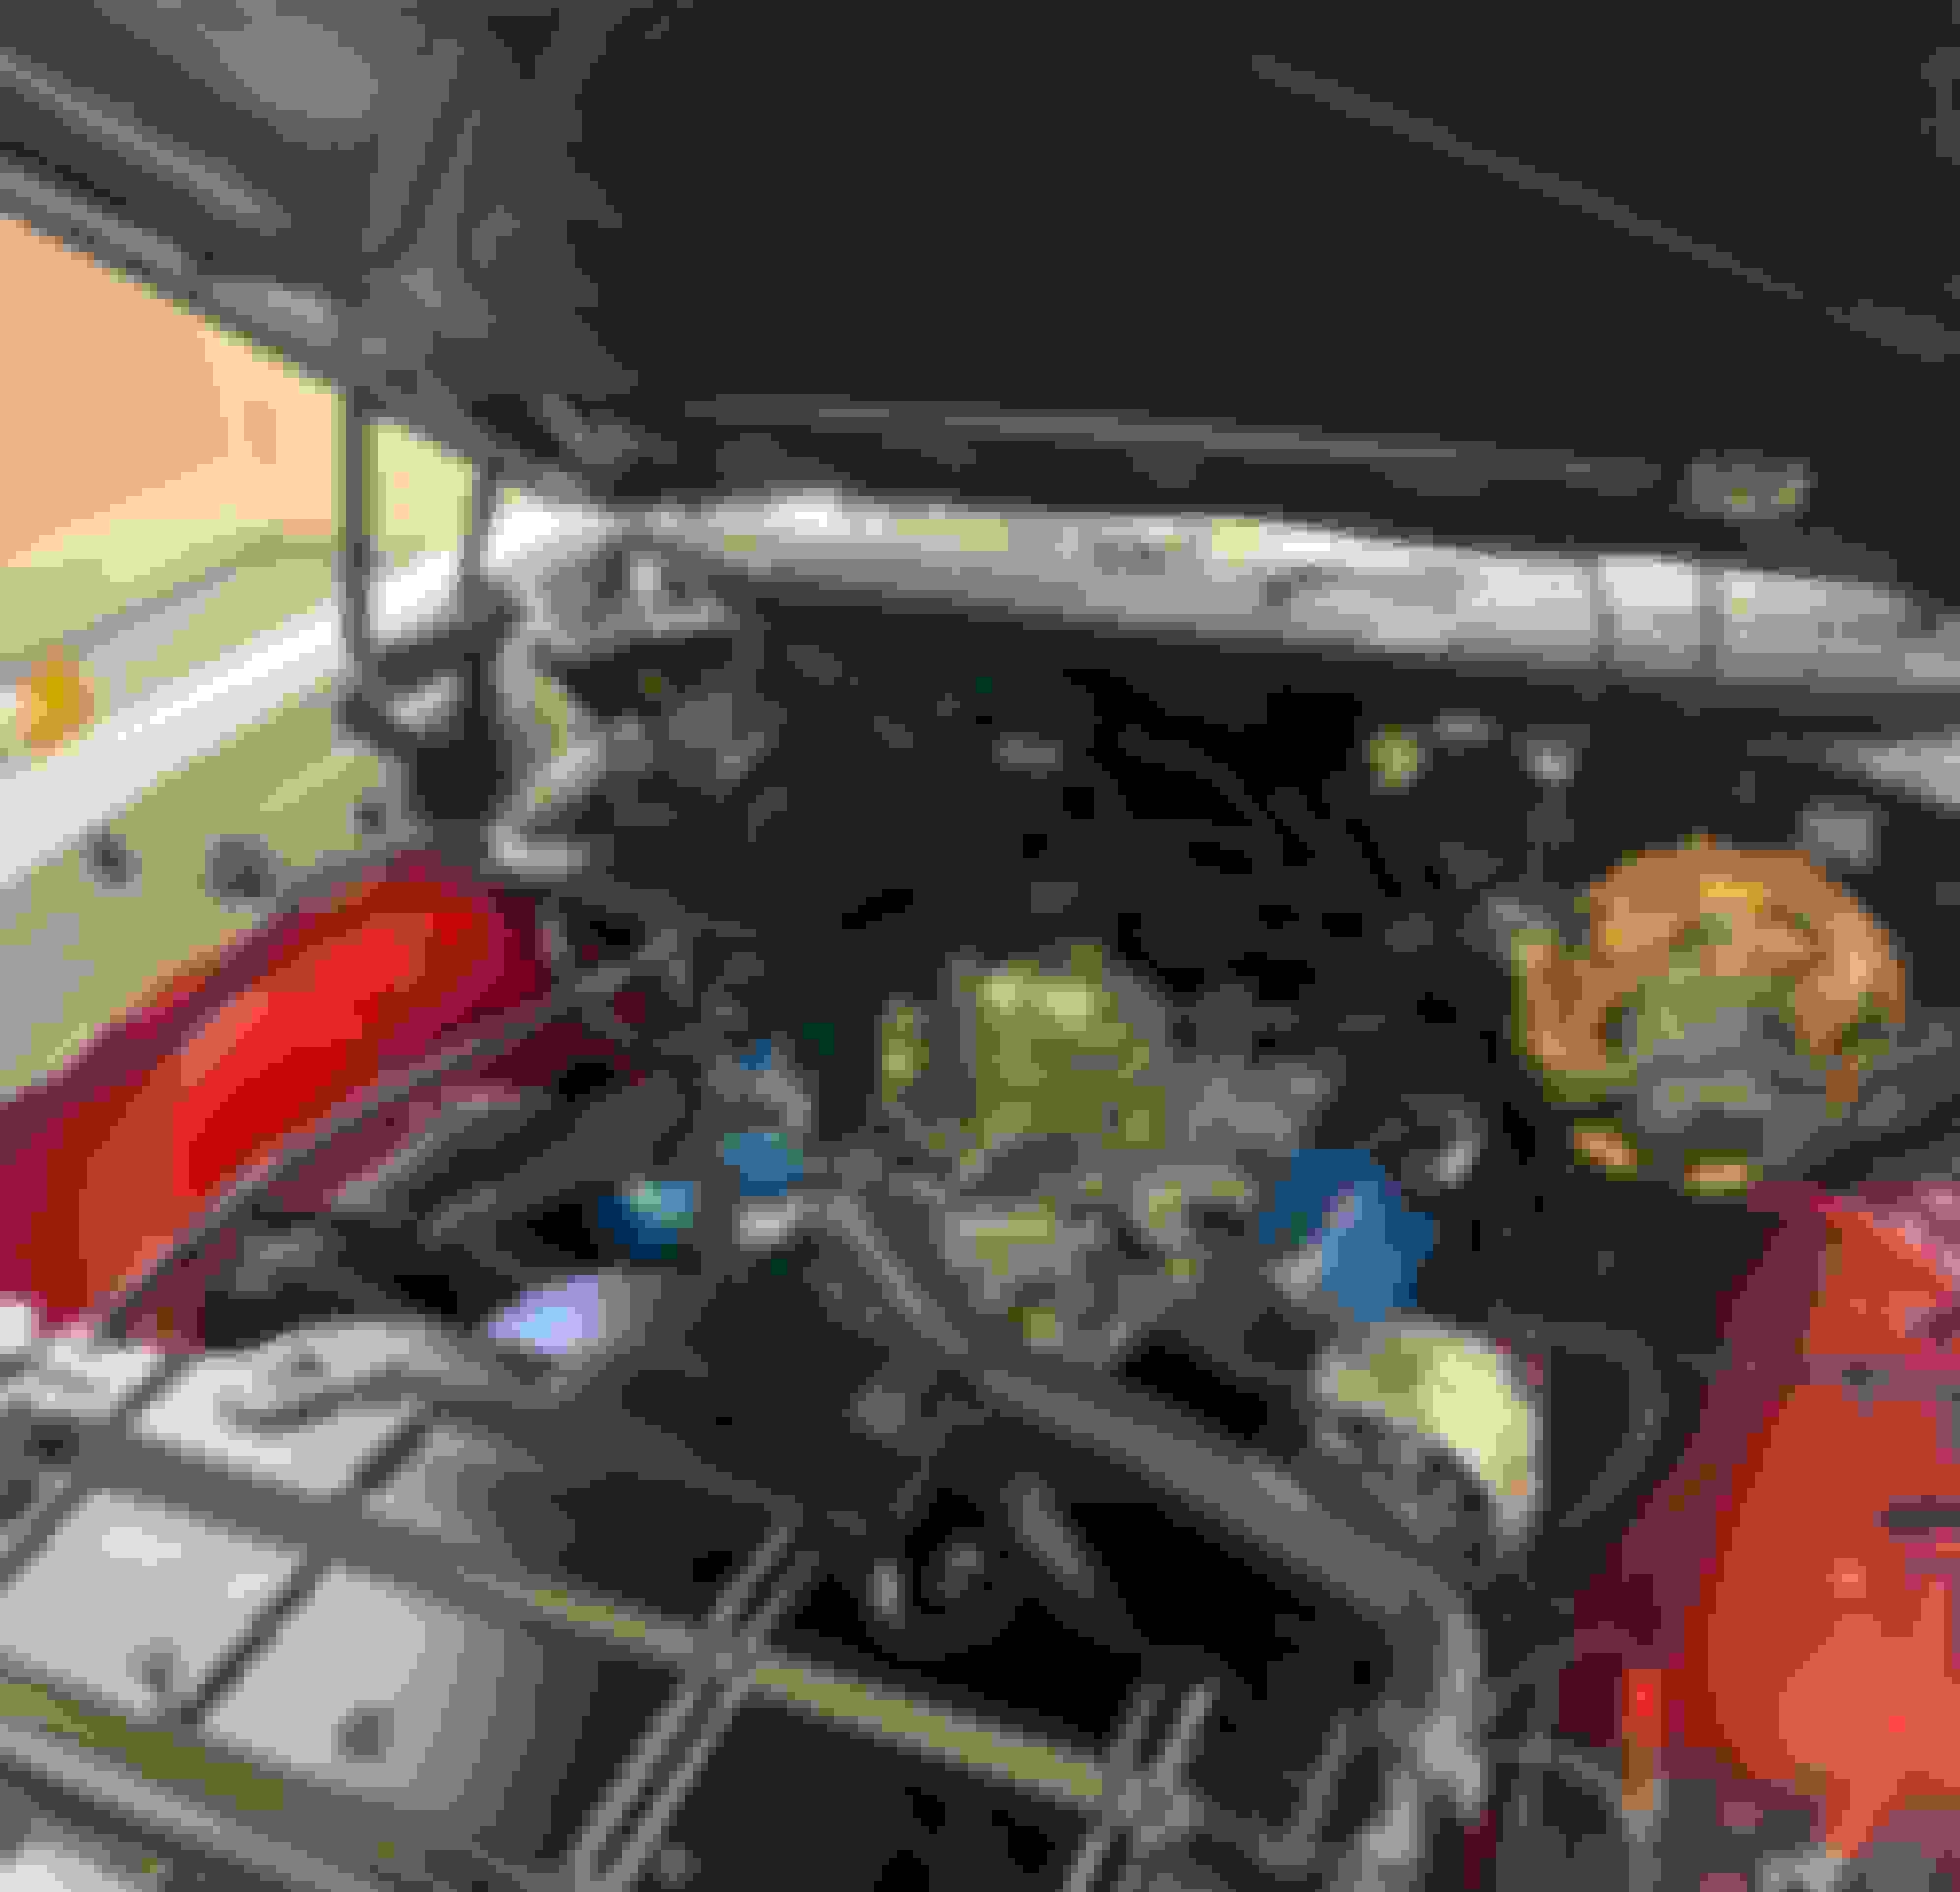
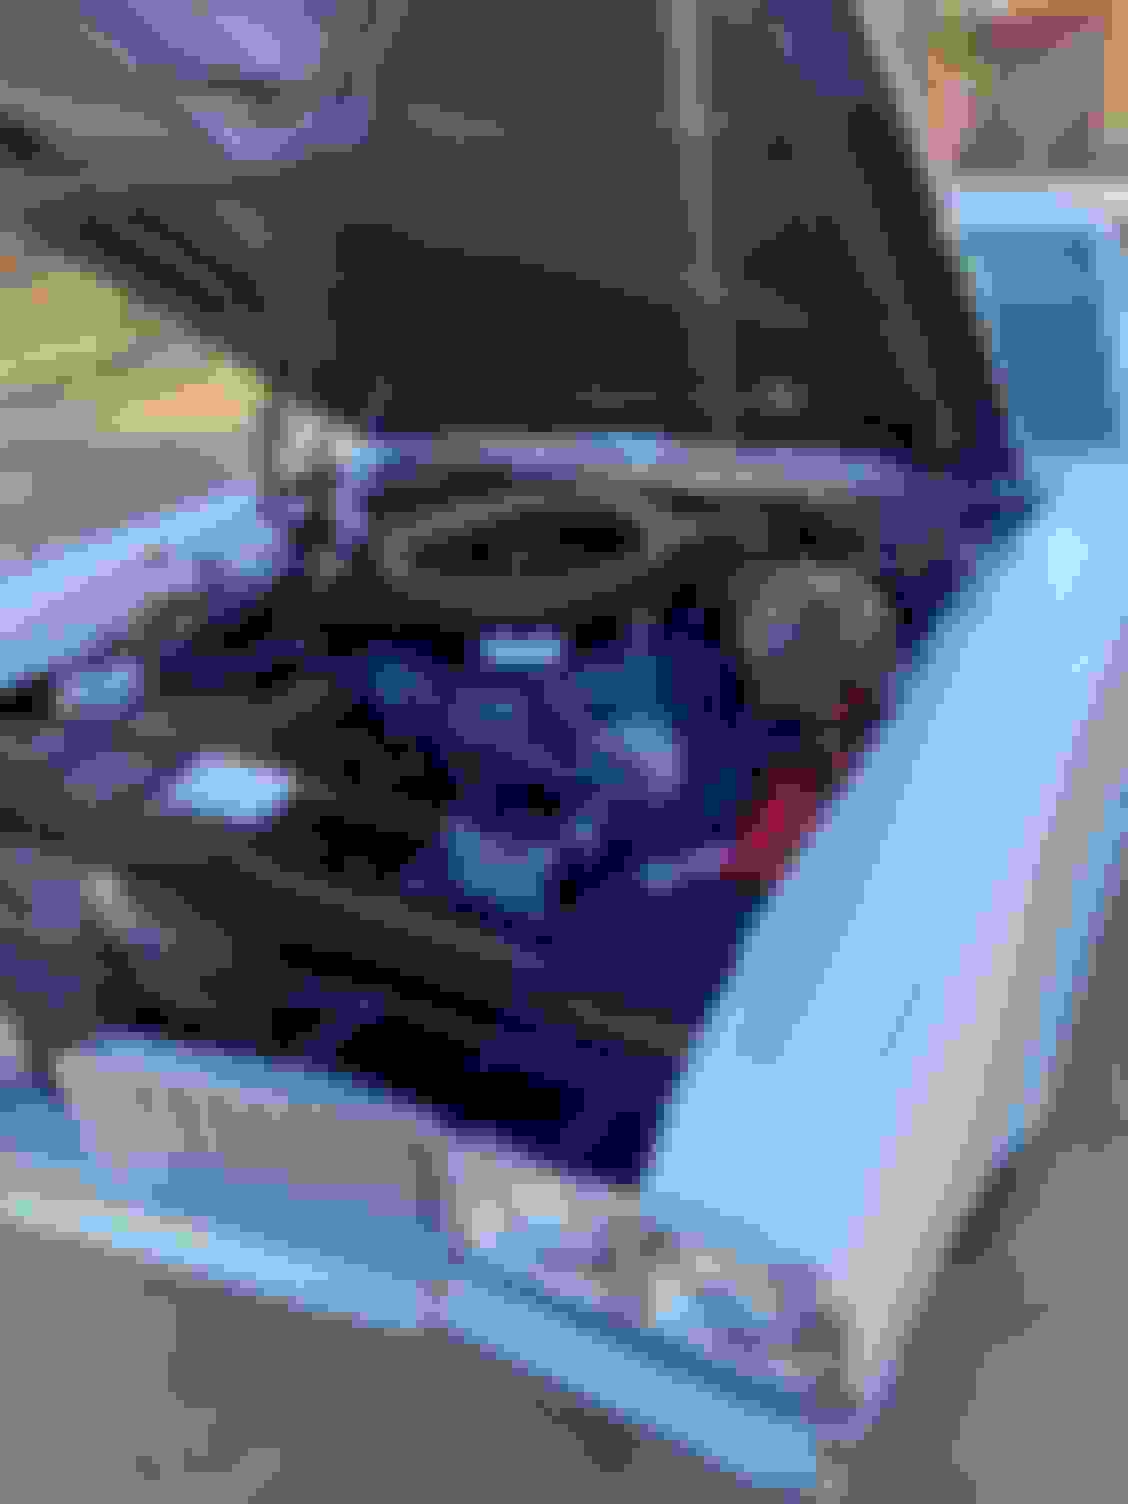
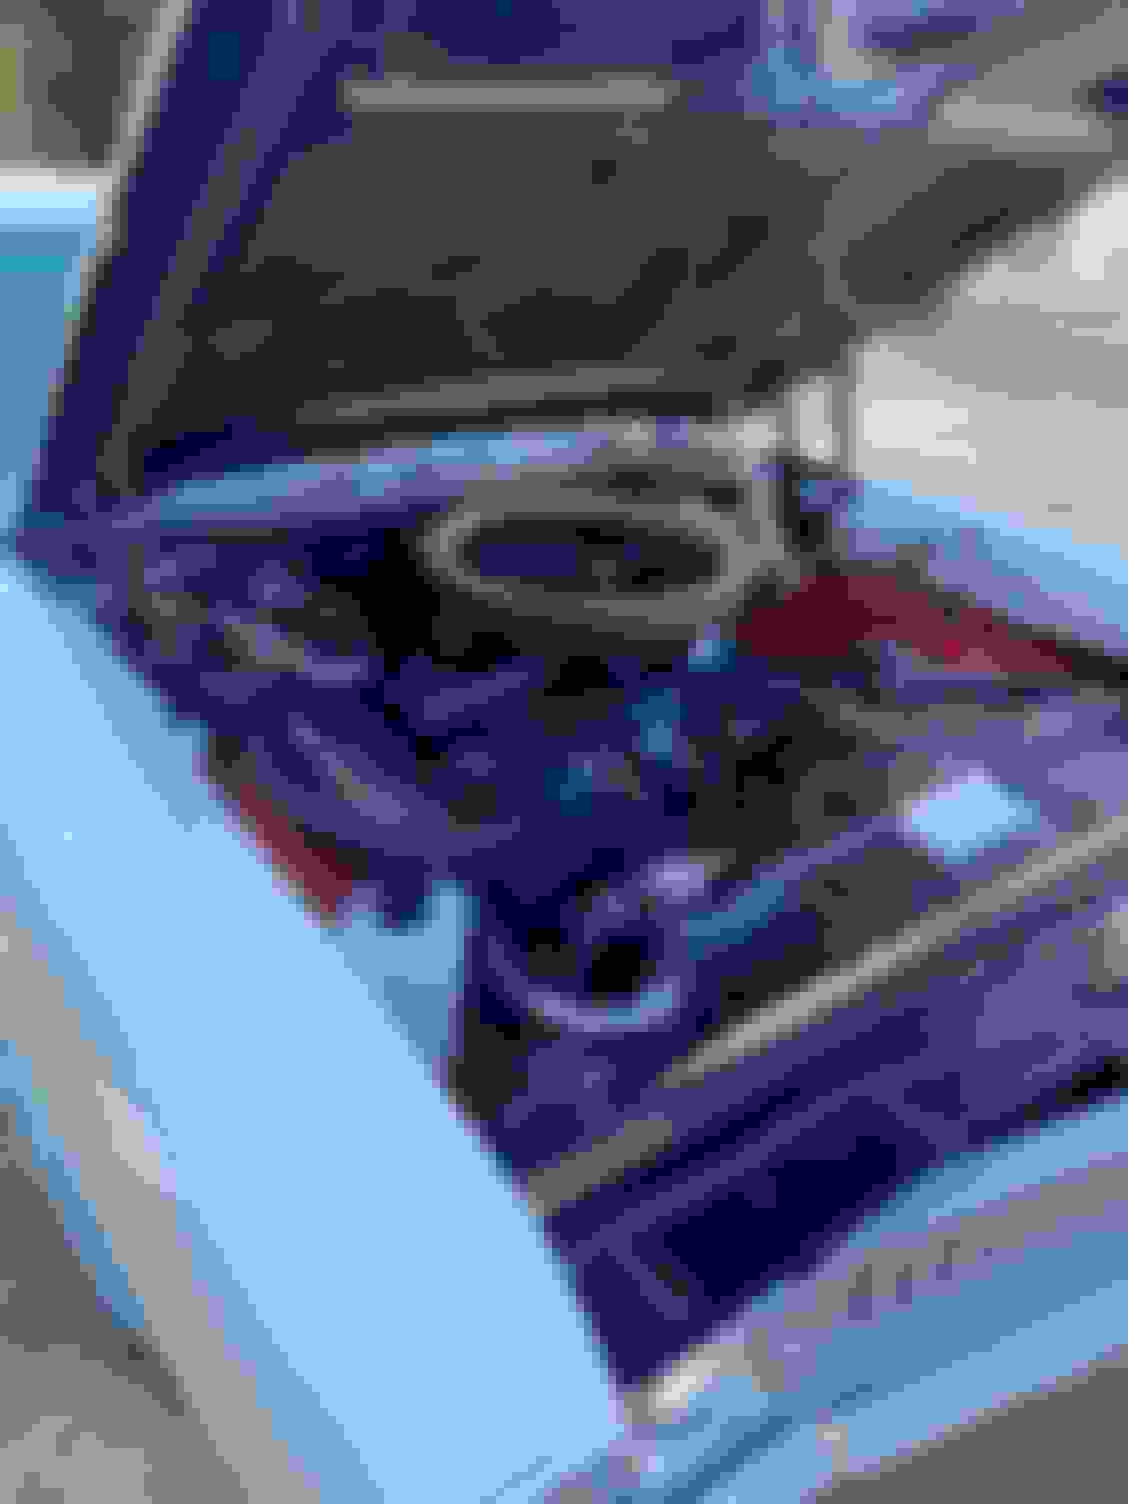
Very close. Have the other bucket to finish. My older son and I ran the engine in the car for the first time this last weekend. Just had a small fuel leak at the flare fitting on the fuel pump, and a water leak at the thermo housing. I forgot to tighten the damn hose clamp! Engine fired right up after dumping a little fuel in the carb bowl vent. Just need to set choke and idle speed and verify timing.
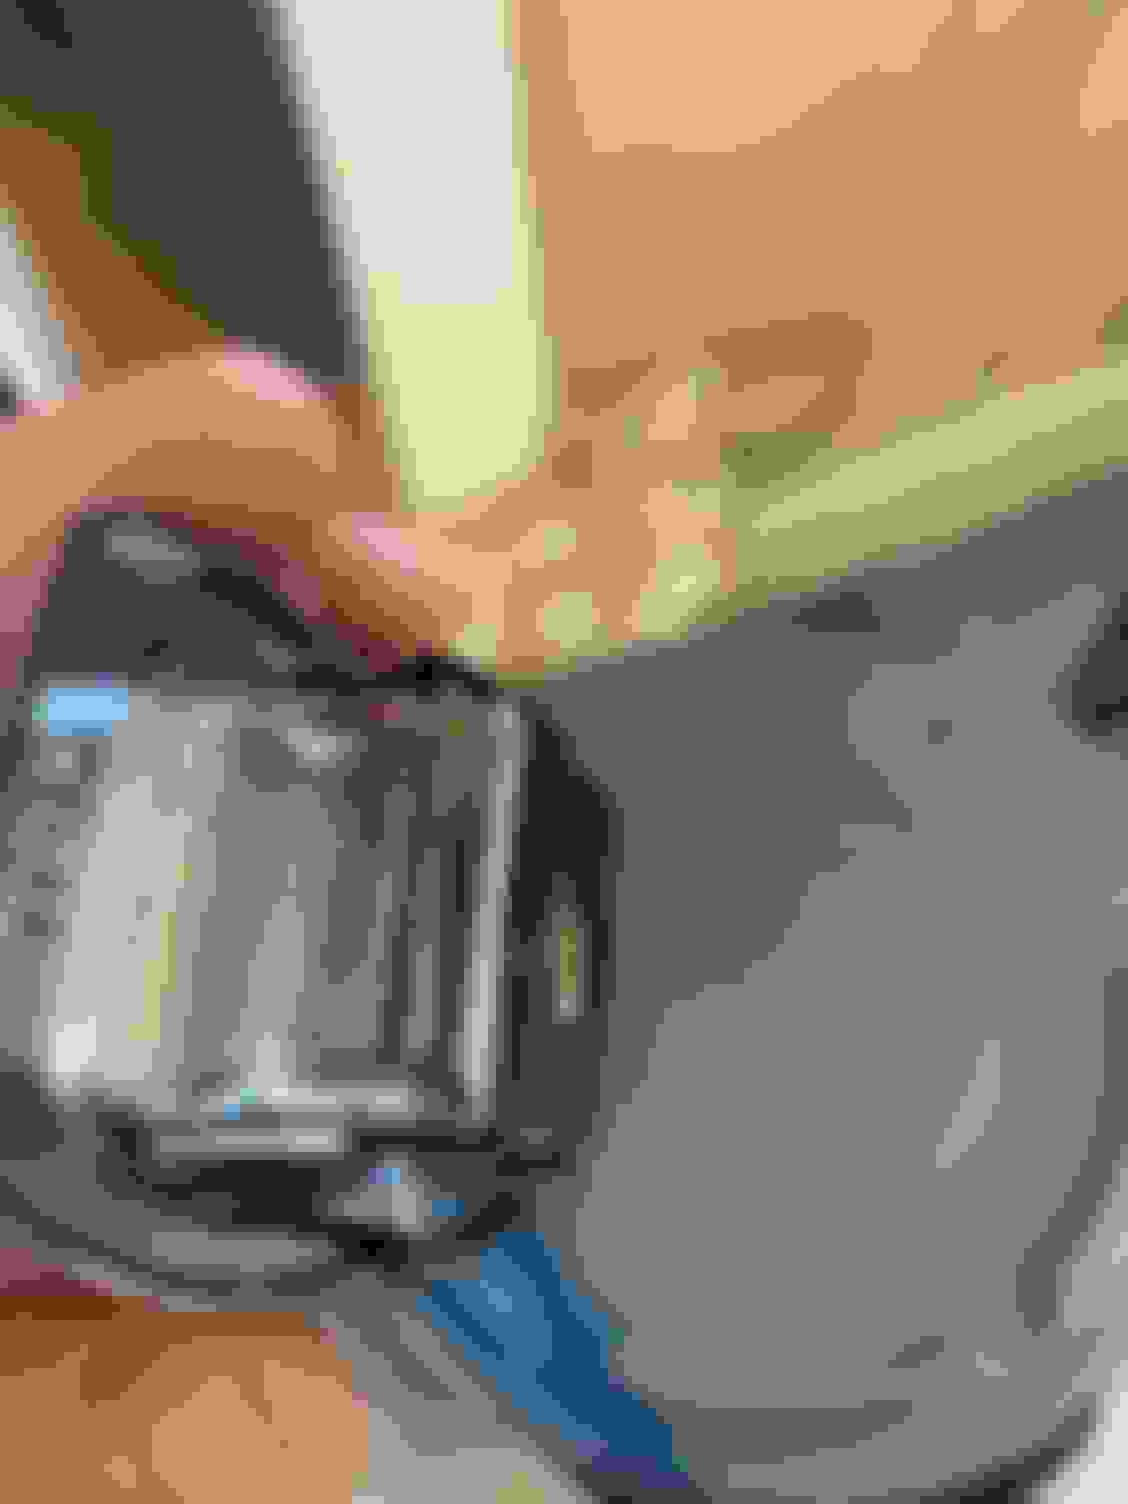
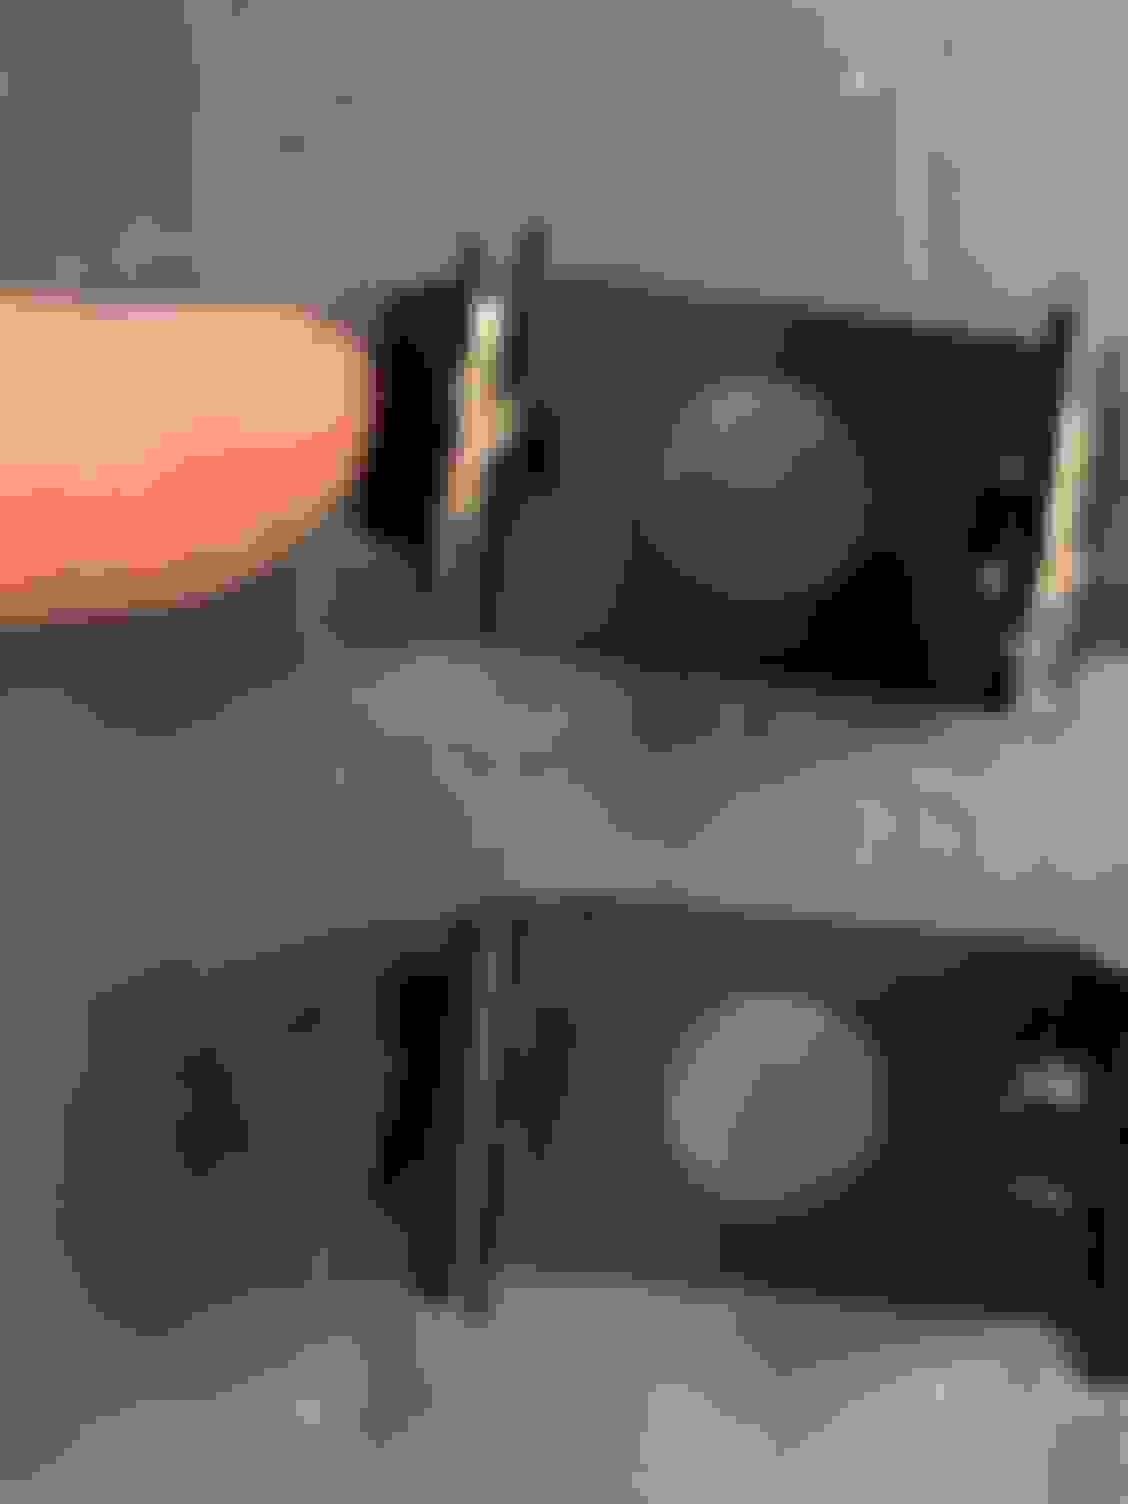
I read in a post of Ben Rambows somewhere that the reproduction clips that go on the back of the push buttons are WAY more stiff than the original clips. Yes they are! One of my original clips had a broken tab that holds the clip tight to the push button and probably would have worked but I did not want it to work it�s way loose so I installed one of the push buttons using the repop clip. I had to remove it while correcting something on my bucket seat refurbishment and Holy mother of Mary. I had to push WAY harder on the side of the repop clip to get the clip to disengage. Thought it would break the push button but it did not.
To remedy this in the future what I did was to take a dremel tool with a cutoff wheel and grind some of the metal off the clip where it bends to lessen the stiffness. Go slow grinding so you don�t heat treat the metal and make the clip lose its spring back properties. Feels much better now if I ever have to remove it in the future.
Big lesson is Ben was right. use your originals if possible. If you can�t maybe think of the mod I did.
Push button in question Clip installed on the back of the pushbutton Corrected repop push button on top. Untouched one underneath. A little paint on the ground areas and good to go.
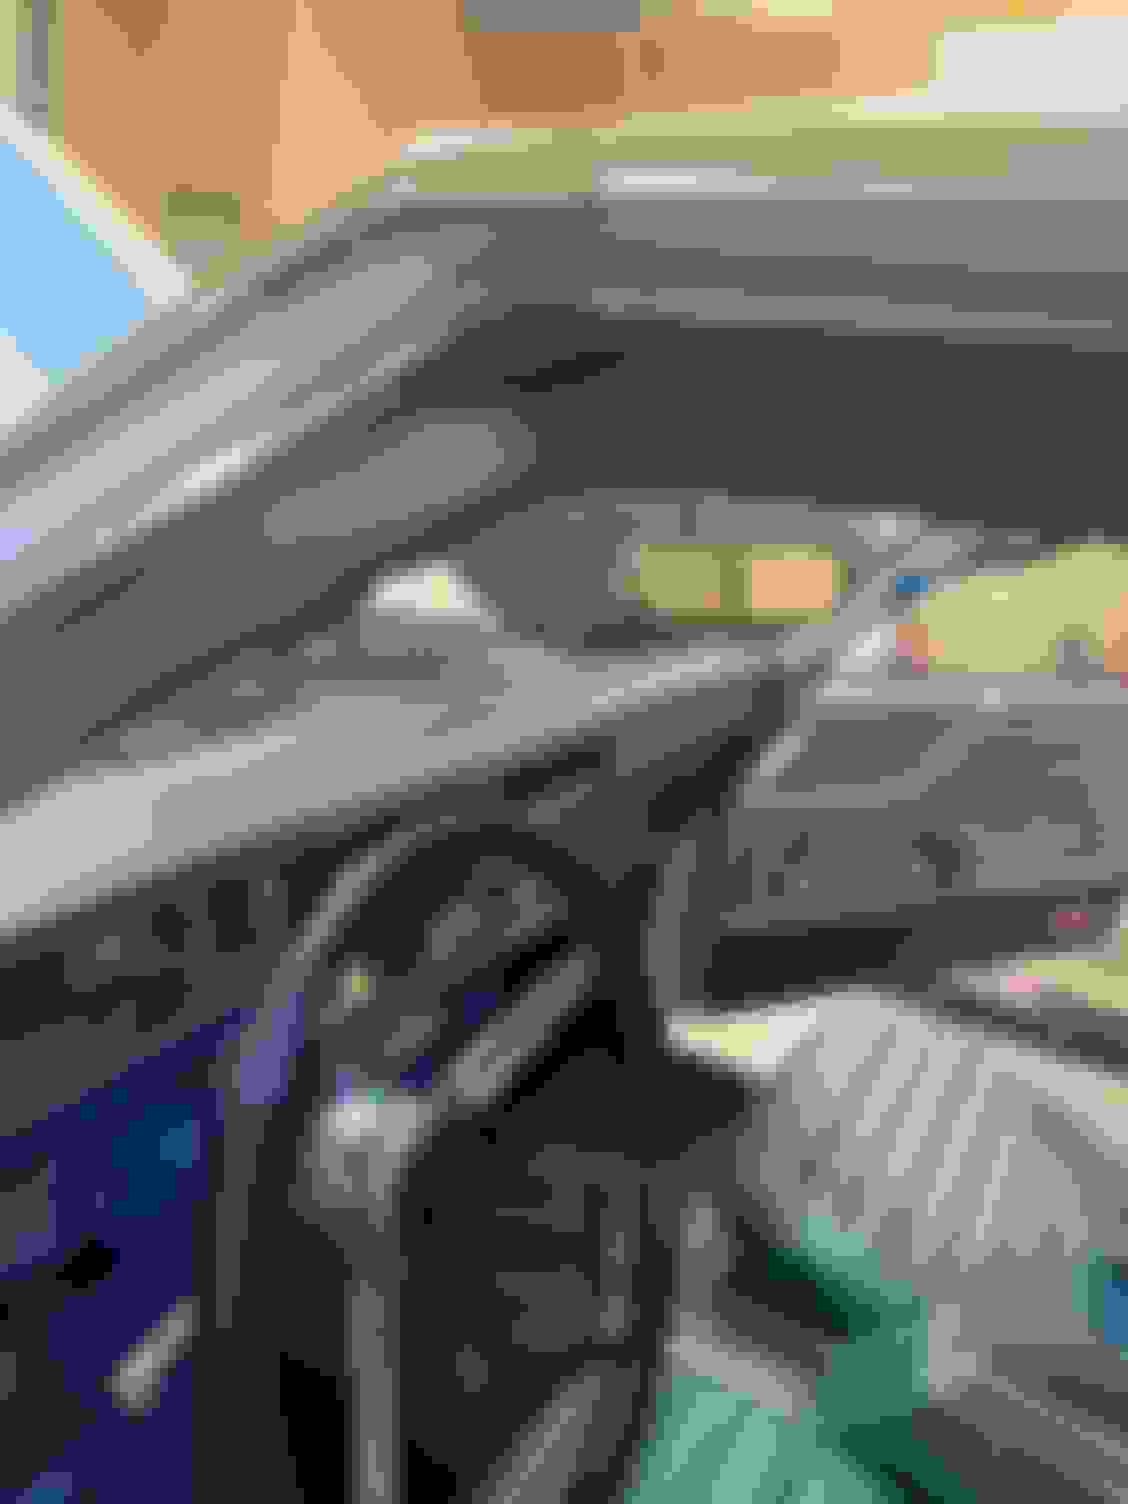
Interior is close to complete. Just need to take a close look and be sure everything is snug. I�m very happy with the way it came out. The lighting option that this car had, I think it�s option V60 on the window sticker gives all the cool lights. I was careful to install the correct candlepower incandescent bulbs in the proper places to get that glow the original car had. Looks cool in one of the below pics with the door open in the dimly lit garage.
tommorow I sit down and make a punch list of what�s left to complete. I know I need to order a set of G70x14 Goodyear poly glass tires but not much left to purchase.
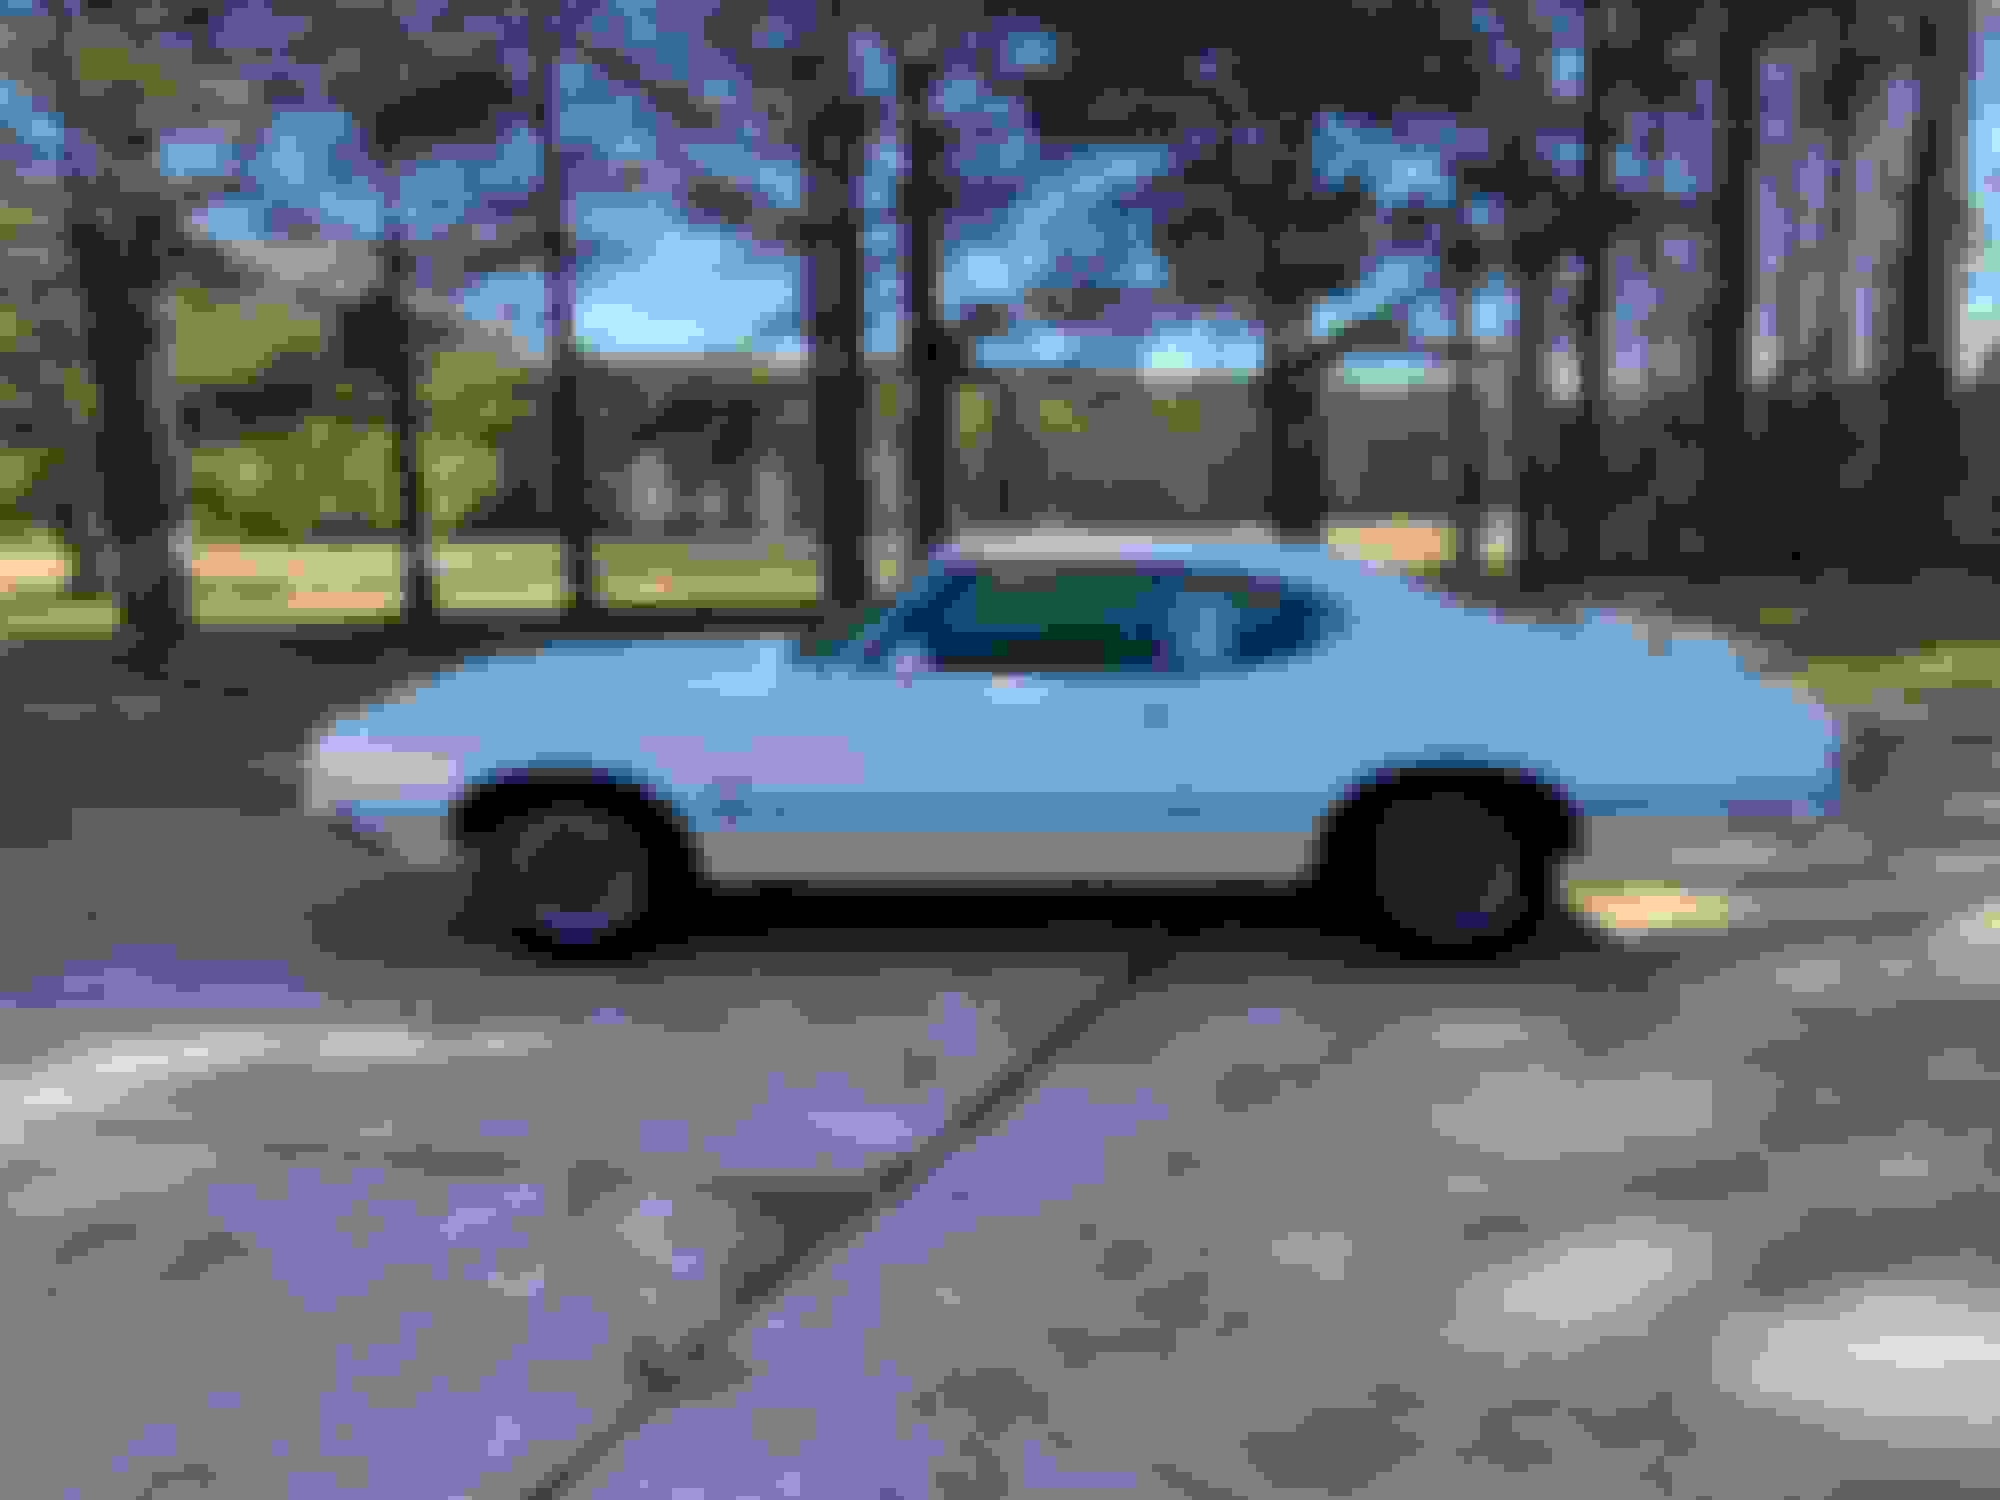
We will call that interior done. The soft glow of the convenience lighting. This car was well optioned. Quite a Gentlemen's hot rod.
Awesome! You did a great job, Andy! Love that glow from the under dash lights.
I heard from my tire dealer that Polyglas production will start up again soon�hopefully by Q4.
Thanks for the heads up on the tires Jimmy. I�ll have to shop around and see who gets some supplies of them.
Did you see the front floor mats? Look familiar to you. Thanks for them. I would love to find a set of matching blue for the tear. My 69 has a set of front and rear.
Since the motor is in and has run to ensure no leaks or other issues I am ready to install the original inner fenders. Everyone�s favorite job is installed the black flaps and those pesky staples. The black flaps on the original ones were toast so I am installing new ones. Probably 1000 ways to do this but my process was to 1) push the staples through the original holes in the inner fender. 2) push the flap down on the staples. It�s pretty soft so I didn�t pre drill holes in the flaps. I also had a backer made of hard plastic on the backside of the staple to keep it from pushing back out. 3) Hammer to staple nice and tight through the flap material using a small socket and a body hammer to get all the way around. 4) use the body hammer to bend the staples flat and then give a few hits to flatten it out and tighten.
Tried to get the staple ends to point at each other like the factory staples did. I guess they had a machine to do this originally to get them all consistent
Staples pushed in original holes. Flap pushed on. Socket to put around staple to hammer to help ensure it�s all the way in and tight Small head body hammer for getting around the staple
A few finished staples
Last edited by Ap6954; August 10th, 2022 at 09:29 AM.
Nice job. Did those staples come with replacement flaps?
Yes Paul. They are from REM and included the flaps and some staples. About half as many staples to fill all the original holes. I saved a bunch of My original staples that i soaked in Evaporust and shot with a light coat of metallic paint for the rest of the staples. I
bet they would have sent more but I was fortunate and had some I saved.
Got the original red wells installed in the car. The original wells install so nicely in the car. Holes align so easily compared to repro�s. I was not totally happy with a few of the blems in the wells that didn�t totally come out but once they are in the car you hardly notice them and they mainly get covered by a hose, bracket, or something. Really like the satin sheen of unpainted original red wells. Just a few more brackets, clamps and hoses to install. Also getting the carb choke tuned per the factory service manual. My punch list is less than a page long now.
Last edited by Ap6954; August 13th, 2022 at 08:21 AM.
I have read how sensitive the dual gate shifter is to cable length. I know many have had issues using repop cables due to length differences. I bought a repop cable a while back because I was not sure if I was gonna be able to save the original one. Looks like the rubber boot on the cable came off a long time ago and the cable was real stiff. Also looked like someone used pliers on the cable sleeve by the trans. Probably cause it was sticking. I put the repop cable in and indeed had difficulty getting the adjustment right. Comparing the repop cable to the original it�s not that different. Maybe 1/8� - 3/16� longer on the repop from center of eye to center, and 3/16� longer between the two stops where the U clips go.
But it makes a difference. I then spent a couple hours on the original cable and got it working real smooth and installed the rubber boot from the repop and yep. Got me more adjustment and allowed me to get the shifter dialed in. Crazy how a little difference matters in this case.
Lined up the center of the pin eye on the other end and this is the difference to the other eye. Difference in lengths to cable stop. Pretty close
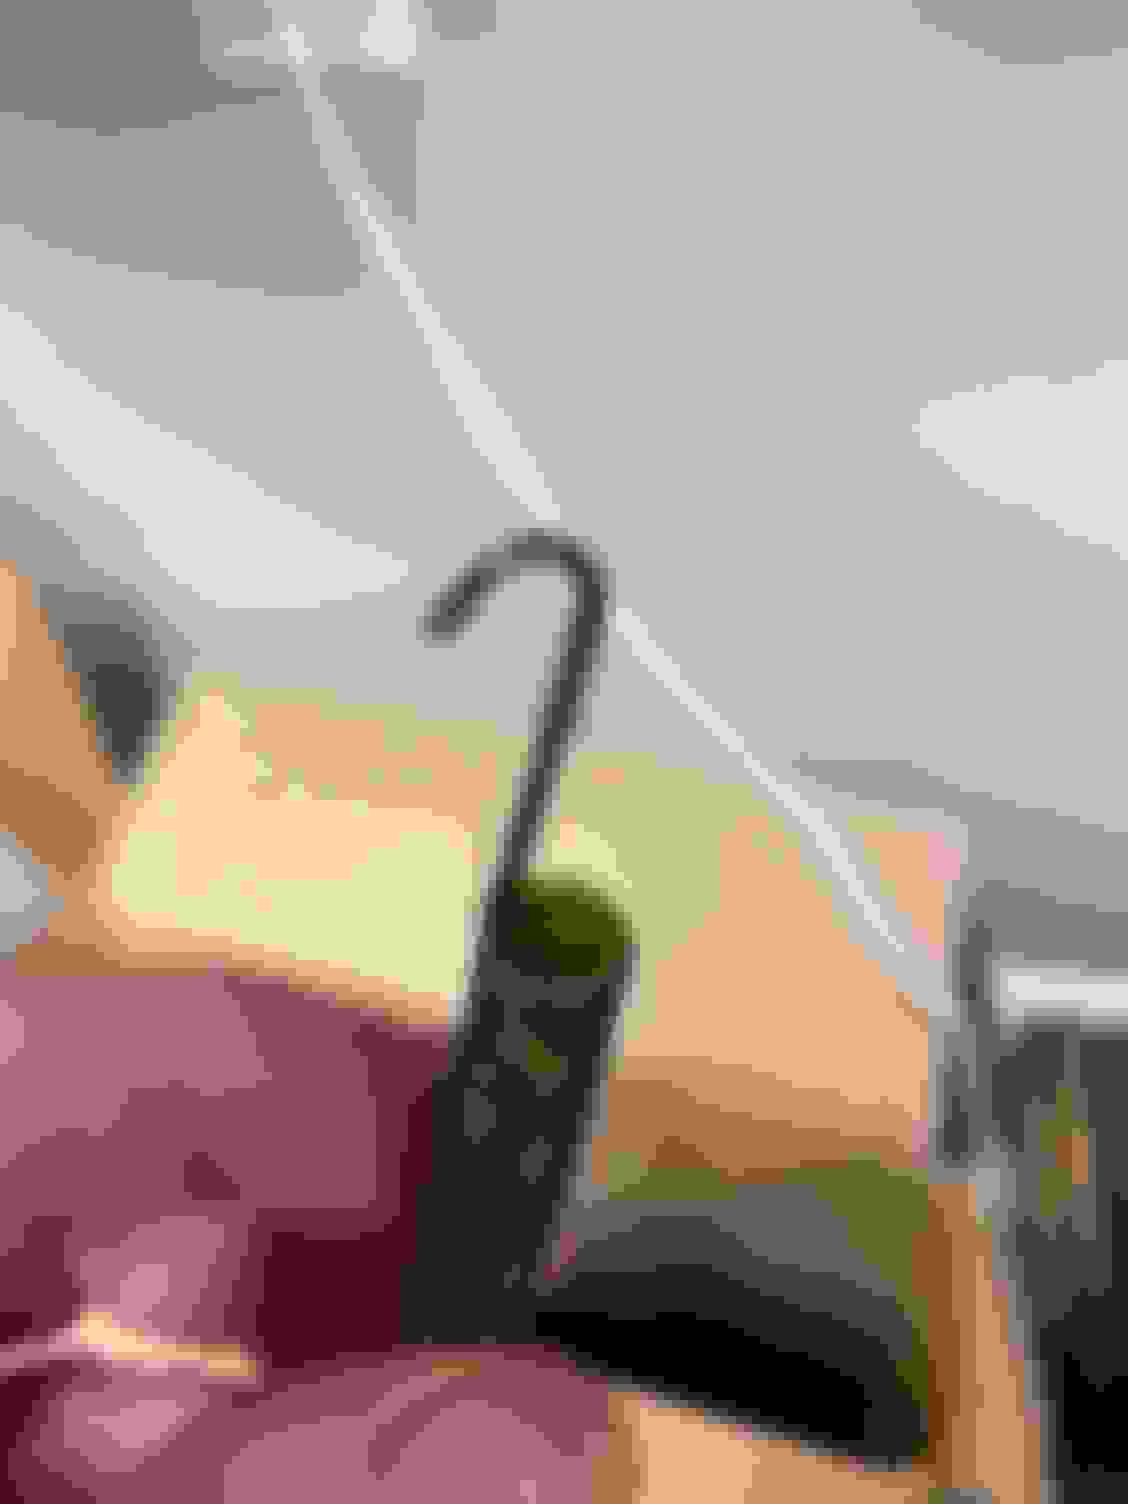
Punch list is getting short. Installed the little plastic front window corner pieces today. Used a soldering iron with a flat tip I bent to get into the small space. The window stainless trim and moulding was already installed where I wanted it so I didn�t want to unscrew the stainless channel so I just pulled the rubber moulding back enough to access the plastic tabs in top. I also removed the a pillar trim to give me more room to work.
I bent the soldering iron tip and this allowed me to get on top and melt the plastic tab like they recommend on the product instructions. A little black 3M adhesive on the rubber moulding and that project is done.
Now if it would stop raining so I can take a test drive. Only driven it in and out of the garage a few times. I would like to run it through the gears
Finished drivers side. Passenger side and a view from the back. The bent tip in the iron allowed me to get on top and not touch anything else. Where I bought the corner pieces from The tool of choice for this project.
Mmm, if your roof rail window guides are correct, then mine are wrong? Or is it just the camera angle of your pictures? LOL....
Your pic makes me wanna go check and be sure I didn�t put them on backwards. I test fit them and thought I had it right, but who knows. Won�t be the first time I had to redo something. Thanks for checking yours. I�ll report back what I find.
Last edited by Ap6954; August 25th, 2022 at 01:41 PM.
Your pic makes me wanna go check and be sure I didn�t put them on backwards. I test fit them and thought I had it right, but who knows. Won�t be the first time I had to redo something. Thanks for checking yours. I�ll report back what I find.
Yep. Backwards. I guess that happens when you get down to the end and start losing focus. I was able to pull the rubber moulding back before the 3M adhesive had really set up. I�ll have to order another set of the guides cause I doubt I�ll be able to remove them without breaking the little tabs I melted. Thanks for catching my mistake Stephen!
Yup, don't believe you will be able to reuse them. After I installed mine, one day, the driver-side one just flew off when I closed the door. I had to reorder too, but Lutty's was out of stock at the time; hope that is not the case for you. BTW, you really have to deform the little studs with that heat for these to stay in place; honestly the studs could be a little bit longer, in my opinion. Mine have stayed in place for about a year and one-half at this point.
To prevent these gizmos from flying off (at least the way I think about it) is I never allow the window to be completely rolled to the top prior to closing the door. Instead, I close the door then finish rolling the glass up; so far that seems to work.
Great project you are finishing up. Happy Motoring!
yea I thought the same thing you said above about having the window down a little when closing the door. Even with mine installed backwards I slowly closed the door and the window just misses the corner piece and then slips behind it as the door is closed fully and the window presses up on the rubber moulding. If the window is slightly out of adjustment it would be real easy for the glass edge to hit the plastic corner piece and knock it off. When I pulled my screwed up ones off this evening the drivers popped off pretty easy. The passenger side I had to apply a little effort to break the plastic pin. Must have melted the passenger side better. I�ll be sure to melt them good when I reinstall them the right way.
I uploaded a short video clip of the exhaust sound. The car has stock manifolds, Gardner exhaust and their turbo muffler which is a little louder than stock. Hopefully the video link works.
I�ll get a driving and walk around video at some point once the punch list is done.
yes. I got the specs somewhere. But remember mine is an auto, ac, pb car so idle quality, and engine vacuum were important to us so that limited our selection. But you can do a lot with modern cam grinds compared to the old cams. Since my engine was not a numbers matching engine we took liberties and selected internal stuff on the modern side. Externally it�s all stock. I tested manifold vacuum and it pulls 15-16 � at idle. Should work well with all the accessories this car has.
I have not updated in a while. The car is essentially done except for details and polyglass tires that I am waiting on. Since the show season is essentially over for the year, my pace of finishing those details has been very slow. Doing other things and projects. Really just piddling with details on this car when the weather is bad outside and I am relegated to working inside the shop.
One thing I have been working over in my mind is how much do I sticker up the car with part number stickers. I know I am not going to go crazy with stickers. I think that looks to busy. I know I am going to replace stickers I knew were there from my tear down. Like springs, sway bar, trans cooler lines. A select few others I may add just to give it a more detailed look. Definitely not going to go overboard.
I bought a sticker �kit� from a popular vendor that is priced very good and gives me several decals I needed. Many are not the correct part number per the PIM for my cars original configuration and won�t be used. Decals I needed for the factory trans cooler lines I don�t think anyone makes so I needed to make them anyway.
I needed a few other stickers so being the DIY person I made up a few on my computer and will transfer them to the proper decal paper. I think they look spot on and only a truly experienced Olds guru May be able to tell a difference to original. I can�t.
Now to decide which decals to put on besides the ones I knew were on the car originally. It won�t be many.
Last edited by Ap6954; November 27th, 2022 at 02:24 PM.
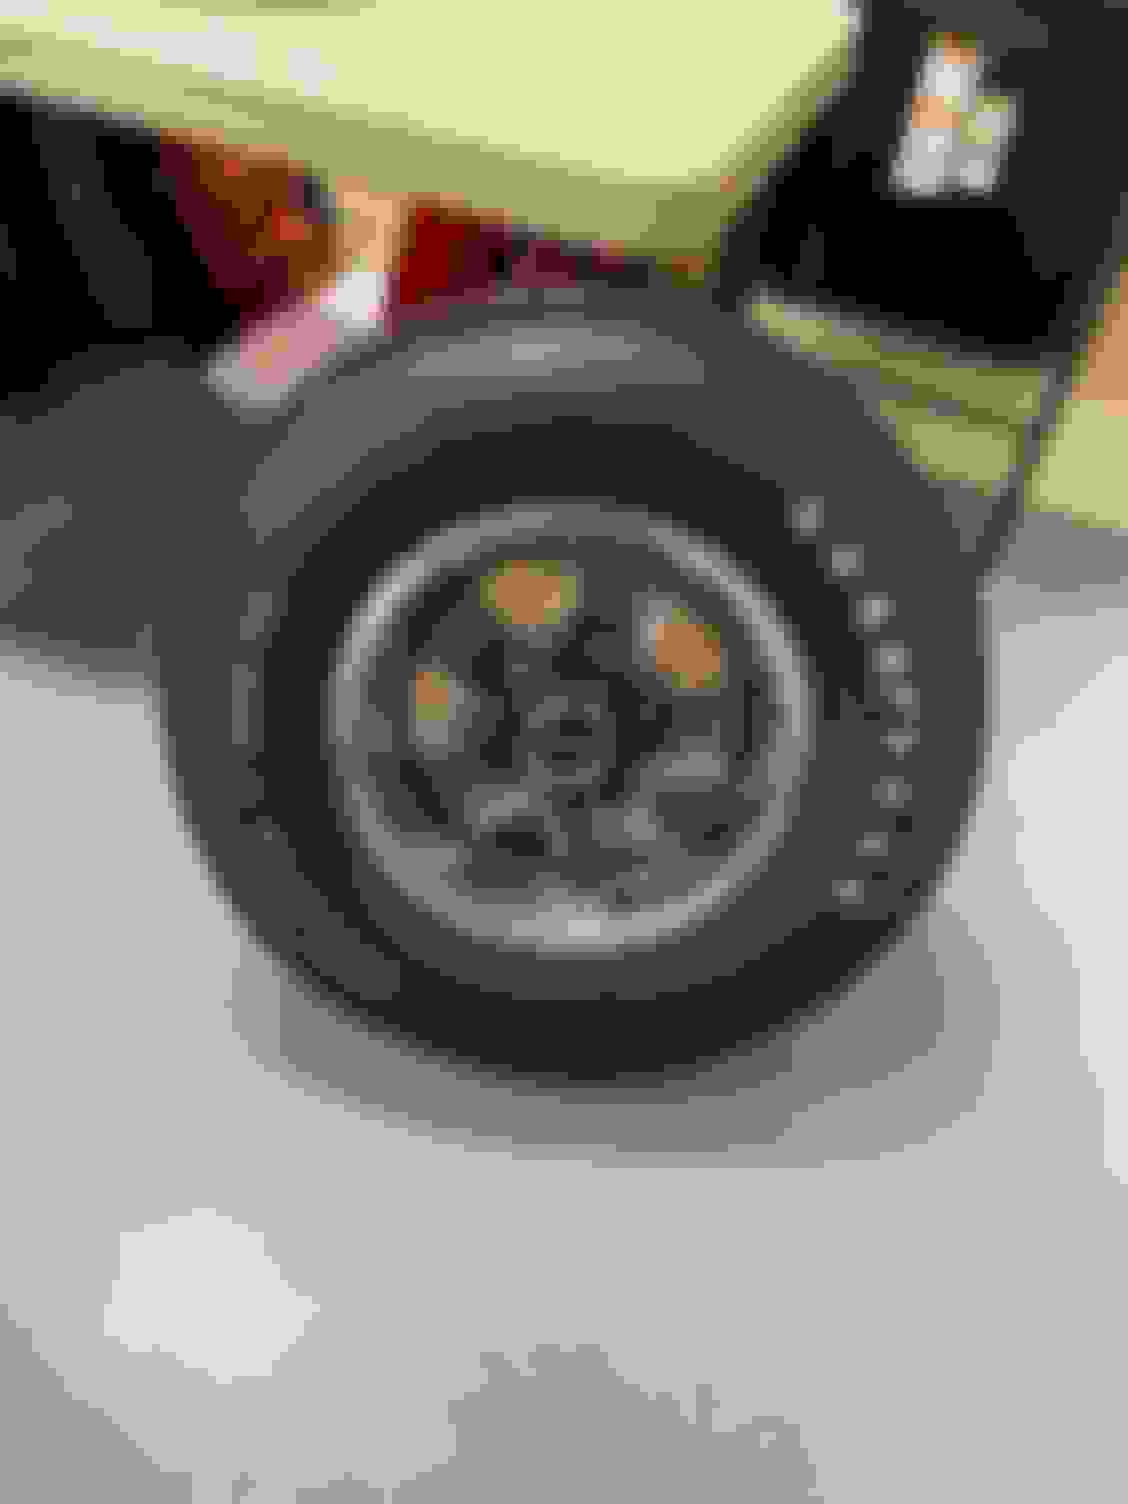
One of the final details. Wheels. Kelsey finally made a run of Polyglass tires and Rusty at Rusted tires got me a set shipped quickly. Got them mounted with the correct shorter valve stem that stick slightly above the trim ring. Most tire shops nowadays use stick on weights when they balance but I want to use the original style clip on lead weights for original accuracy. During my research I learned a bit about the differences in the �Micro� weights and their stampings. The NCRS crowd has a bunch of details on the different stampings on the weights and years they came out.
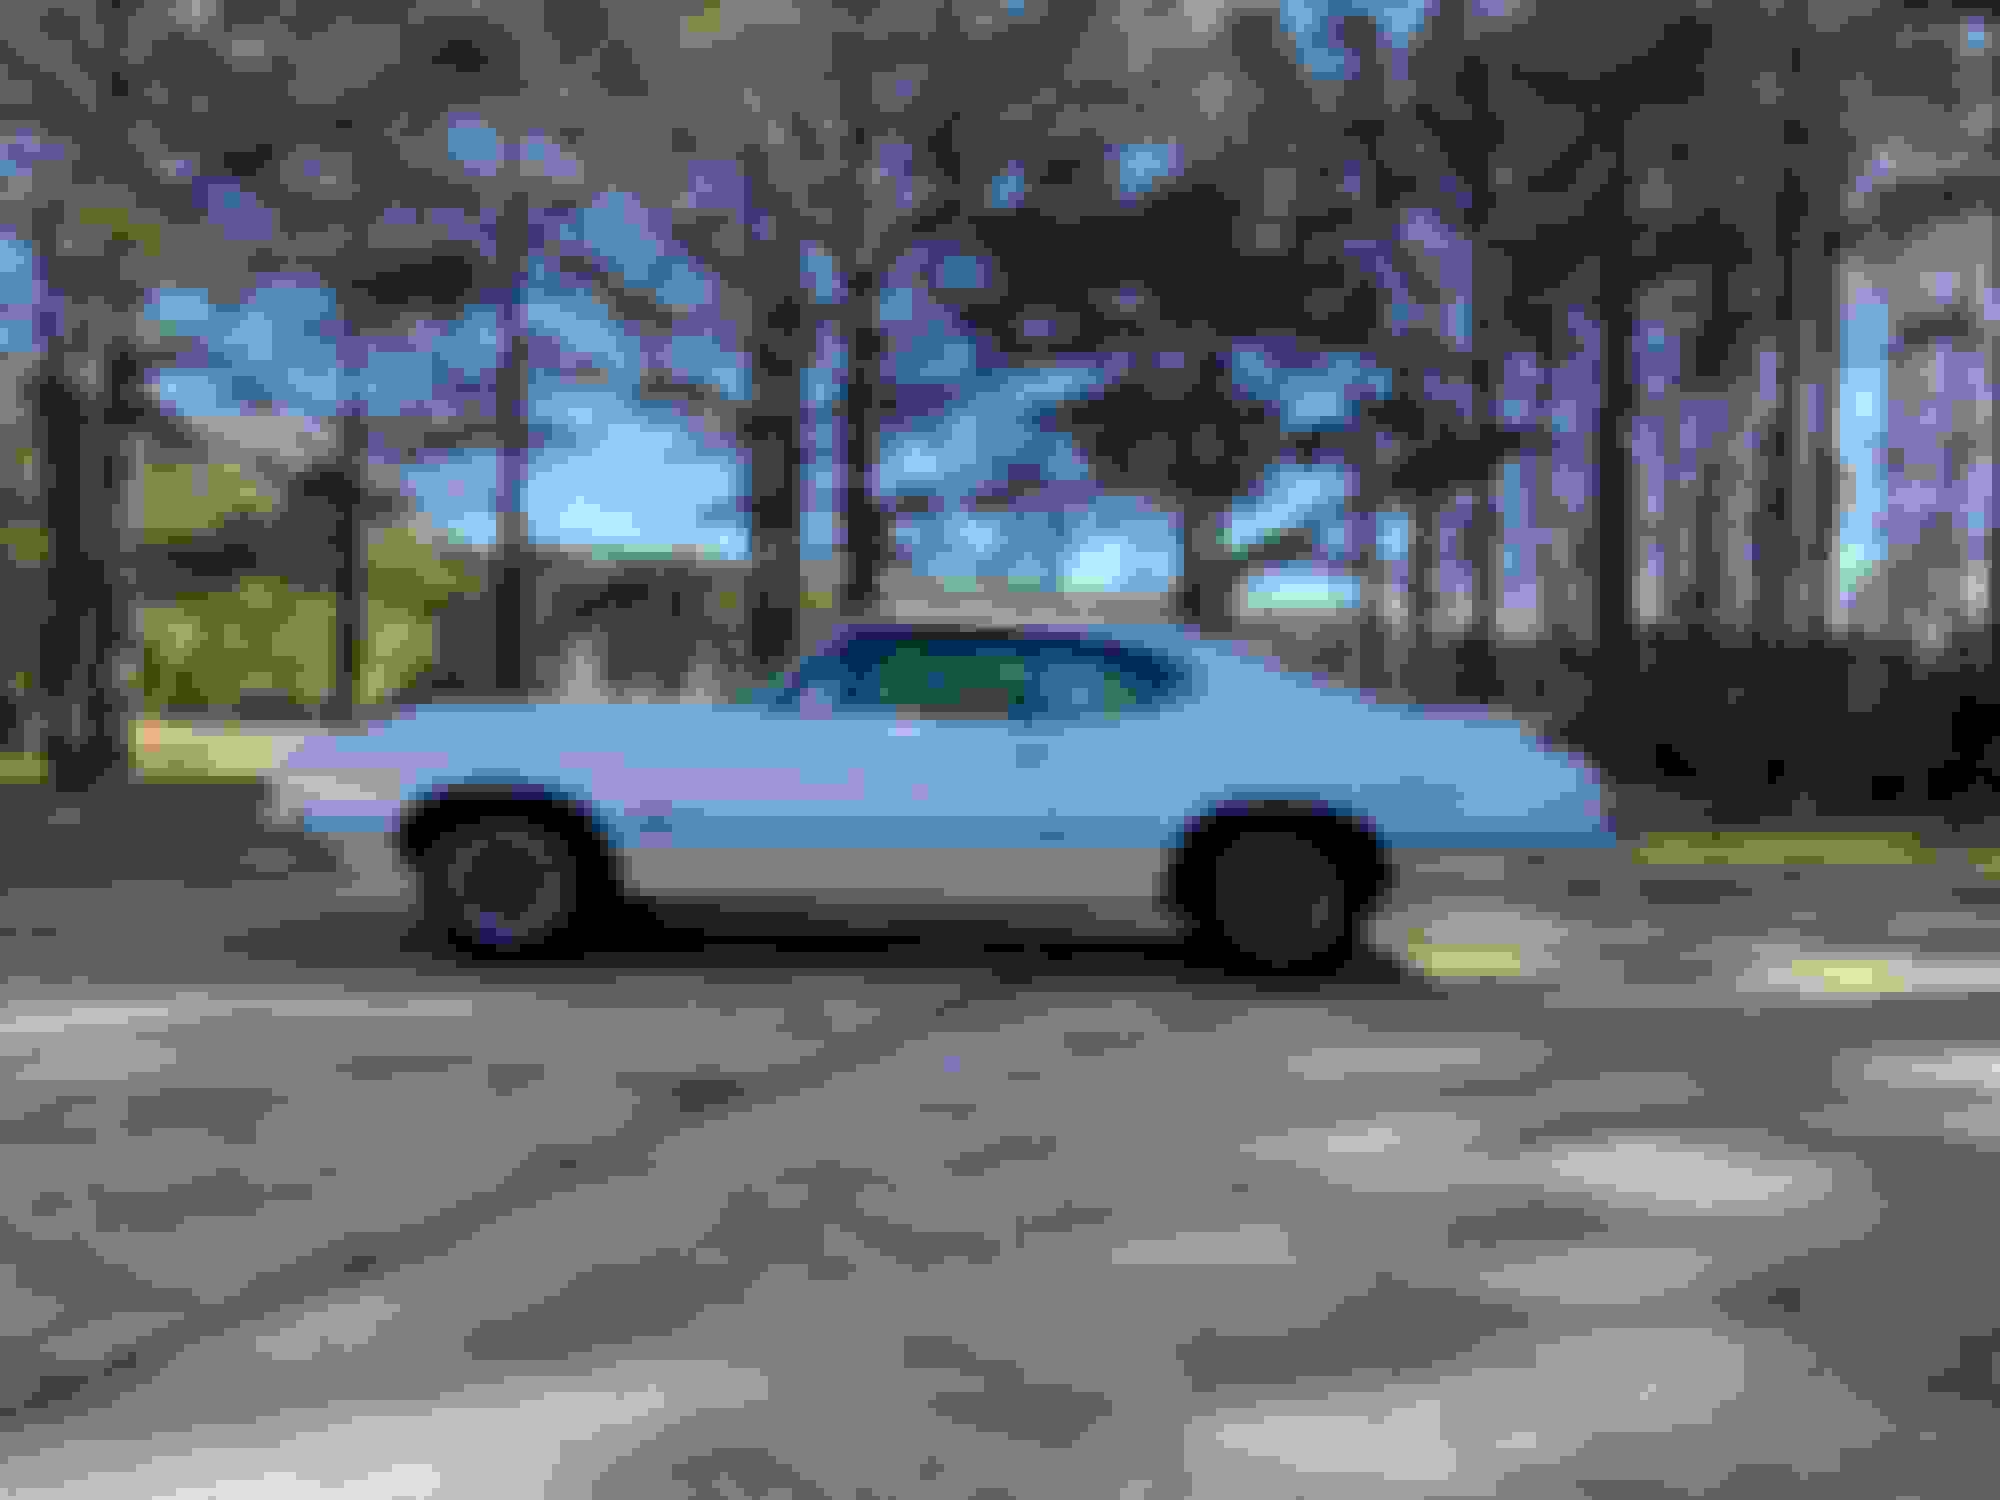
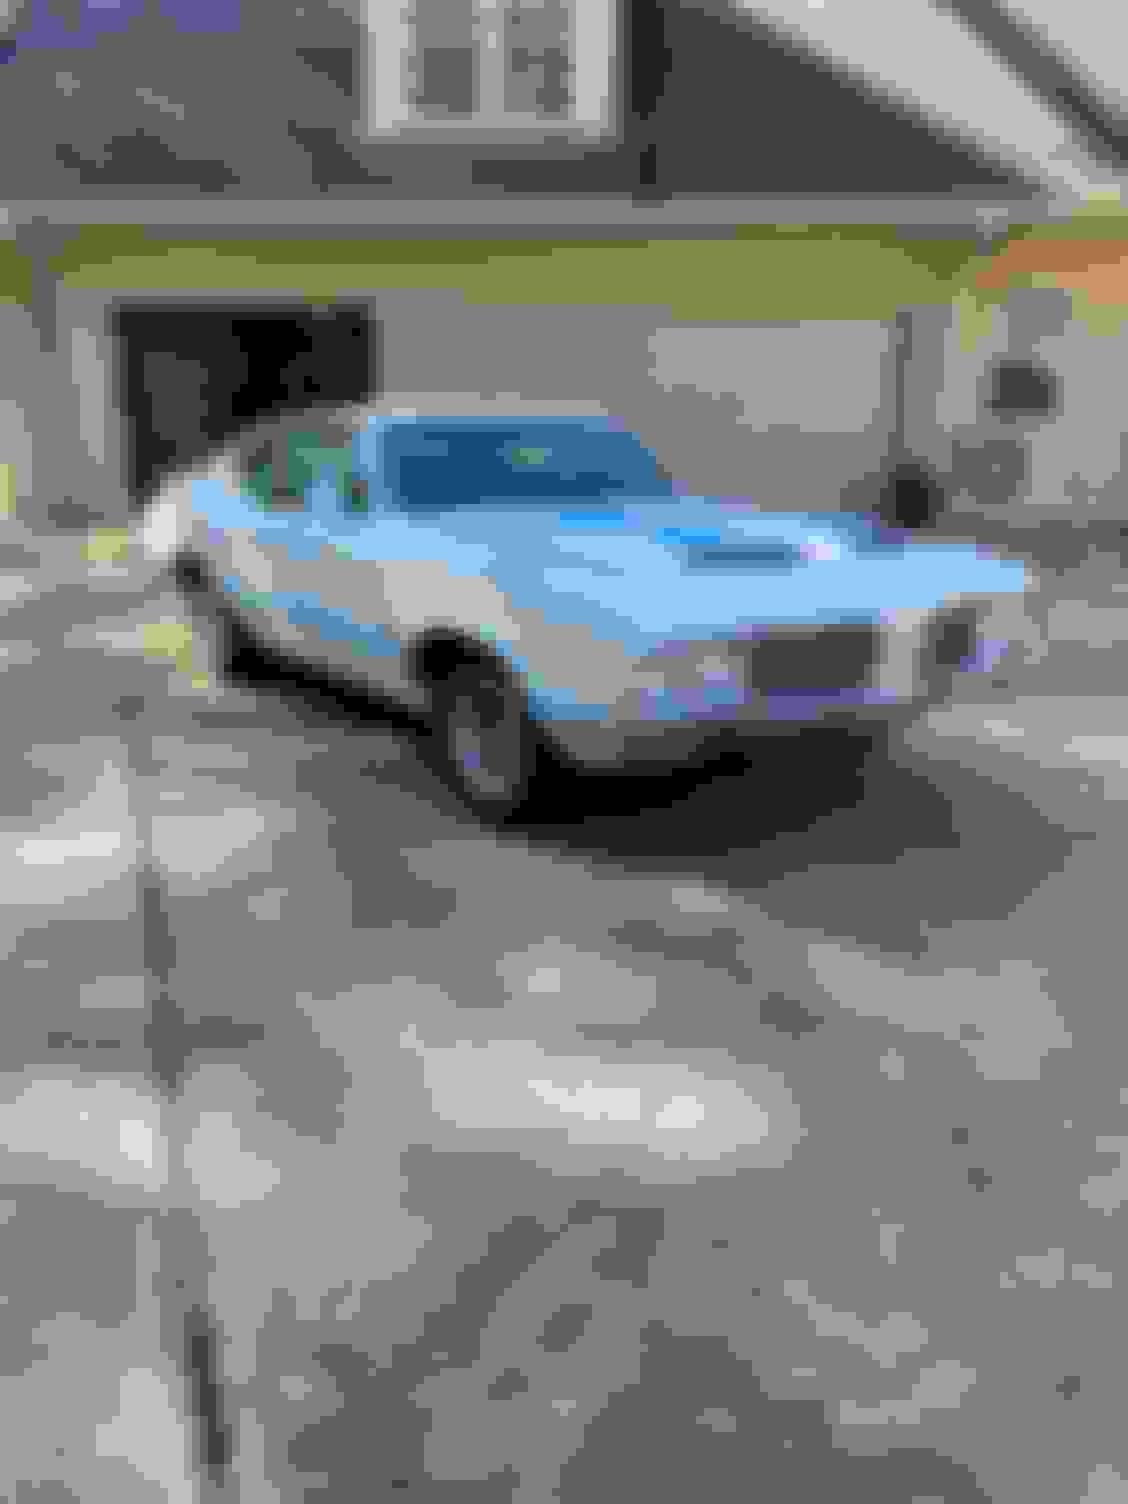
Just about wrapping up this restoration. I�ll post a few final photos when the weather is nice and sunny and I drive it out of the shop. I�ll also post some background info on the car I have turfed up from the two prior owners and the paperwork I got with the car. Makes a neat story. My intent with the car is to drive it just enough to iron out any issues and then keep it clean until it gets shown and judged at the 2023 events. Then I�ll drive it as intended!
One wheel just about ready to be reinstalled Sample micro wheel weights with the oz stamping on both sides of the word. The side stamping varies a bit over the years.
Very impressive work with lots of good info in this build thread. I appreciate you sharing with the group.
Will you be attending the 2023 Nationals in Dayton, OH? I would love to meet you and see this beautiful car.
Very impressive work with lots of good info in this build thread. I appreciate you sharing with the group.
Will you be attending the 2023 Nationals in Dayton, OH? I would love to meet you and see this beautiful car.
Thanks and Yes. That is my intent is to get up to Ohio in August for the Nats. Since there is really not a close local Olds club in my neck of the woods, the Nats may be the first time getting it judged. There may be another closer event that I might hit but may not be an event to get it judged. If anyone has suggestions for a good show nearer to Louisiana in the spring/summer of 2023 to bring it to get it judged before August please pass that along.
Thanks and Yes. That is my intent is to get up to Ohio in August for the Nats. Since there is really not a close local Olds club in my neck of the woods, the Nats may be the first time getting it judged. There may be another closer event that I might hit but may not be an event to get it judged. If anyone has suggestions for a good show nearer to Louisiana in the spring/summer of 2023 to bring it to get it judged before August please pass that along.
Perfect! I think this is going to be a well-attended show and cars like yours will make it that much better. See you in Dayton.
Took the car out for its first quick test drive today. Nice sunny 65 F day after a bunch of rain the last few weeks. Started up fine. Trans shifted through the gears fine. Brakes felt pretty good and did not pull. Probably gonna bleed them one more time to maybe get the pedal a little harder. Diff didn�t whine although I only took it up to about 30 mph. Steering felt good and my at home alignment felt good and the car seemed to track about right with the wheel centered. I do need to adjust the back drive linkage a bit more. Could not get the key out without popping the hood and pulling the linkage up a touch. Easy adjustment. I�ll also try and play with the idle speed a bit more. Cold start was good but it jumped off the fast idle cam to fast imo. Also want to play with the hot idle speed a bit. Also noticed the tic toc tac is reading high. I�ll probably have to pull the dash panel out and pull the gauge and adjust the screw on the back of the tac a bit to get it more in range. I know the factory tach�s are not that accurate but this was way to high when compared to my external tach on the timing light.
All in all I will call it a successful first test drive. Felt real good to drive it after staring at it for 7 years. Like I mentioned above I�ll iron out these details and show it a bit next year before driving it a lot. I hope to see many of you in the forum on the road or especially at the Nationals in August. I plan to be there and shake some of your hands for the help over all these years. This was my first full frame off restoration. I found it very easy to go overboard on details, and originality. I did try to be as true to original as practical. It was a lot of fun and I learned a bunch.
One final story to close this chapter. The car was returned back to original condition with one exception. The W35 rear spoiler which has been on the car since early 1970 and is not on the window sticker was retained. Here is why I chose that.
The original owner really wanted a 1969 Hurst Olds. In my paperwork with the car I have letters between him and Hurst trying to locate a HO. He was unsuccessful and went to Sam White Olds in Houston and they also looked for one and struck out. Being savvy salesmen, Sam White told him that GM had lifted the 400 ci ban on intermediates for 1970 so they could equip a 70 W30 with the 455 like the HO had. So this car was ordered in November 1969 without the W35 rear spoiler which was not available until about Jan 1970 according to the factory bulletin. The car was built and delivered and soon after that the W35 option became available. Wanting to replicate the HO look, the original owner heard that and went to Sam White and they got a spoiler and added it. The spoiler has been on the car since early 1970. So in honor of the Original owner I kept the spoiler on the car.
Love it or hate it. That�s the story and worth retaining the spoiler in my opinion.

 July 28th, 2022, 11:05 AM