When you click on links to various merchants on this site and make a purchase, this can result in this site earning a commission. Affiliate programs and affiliations include, but are not limited to, the eBay Partner Network.
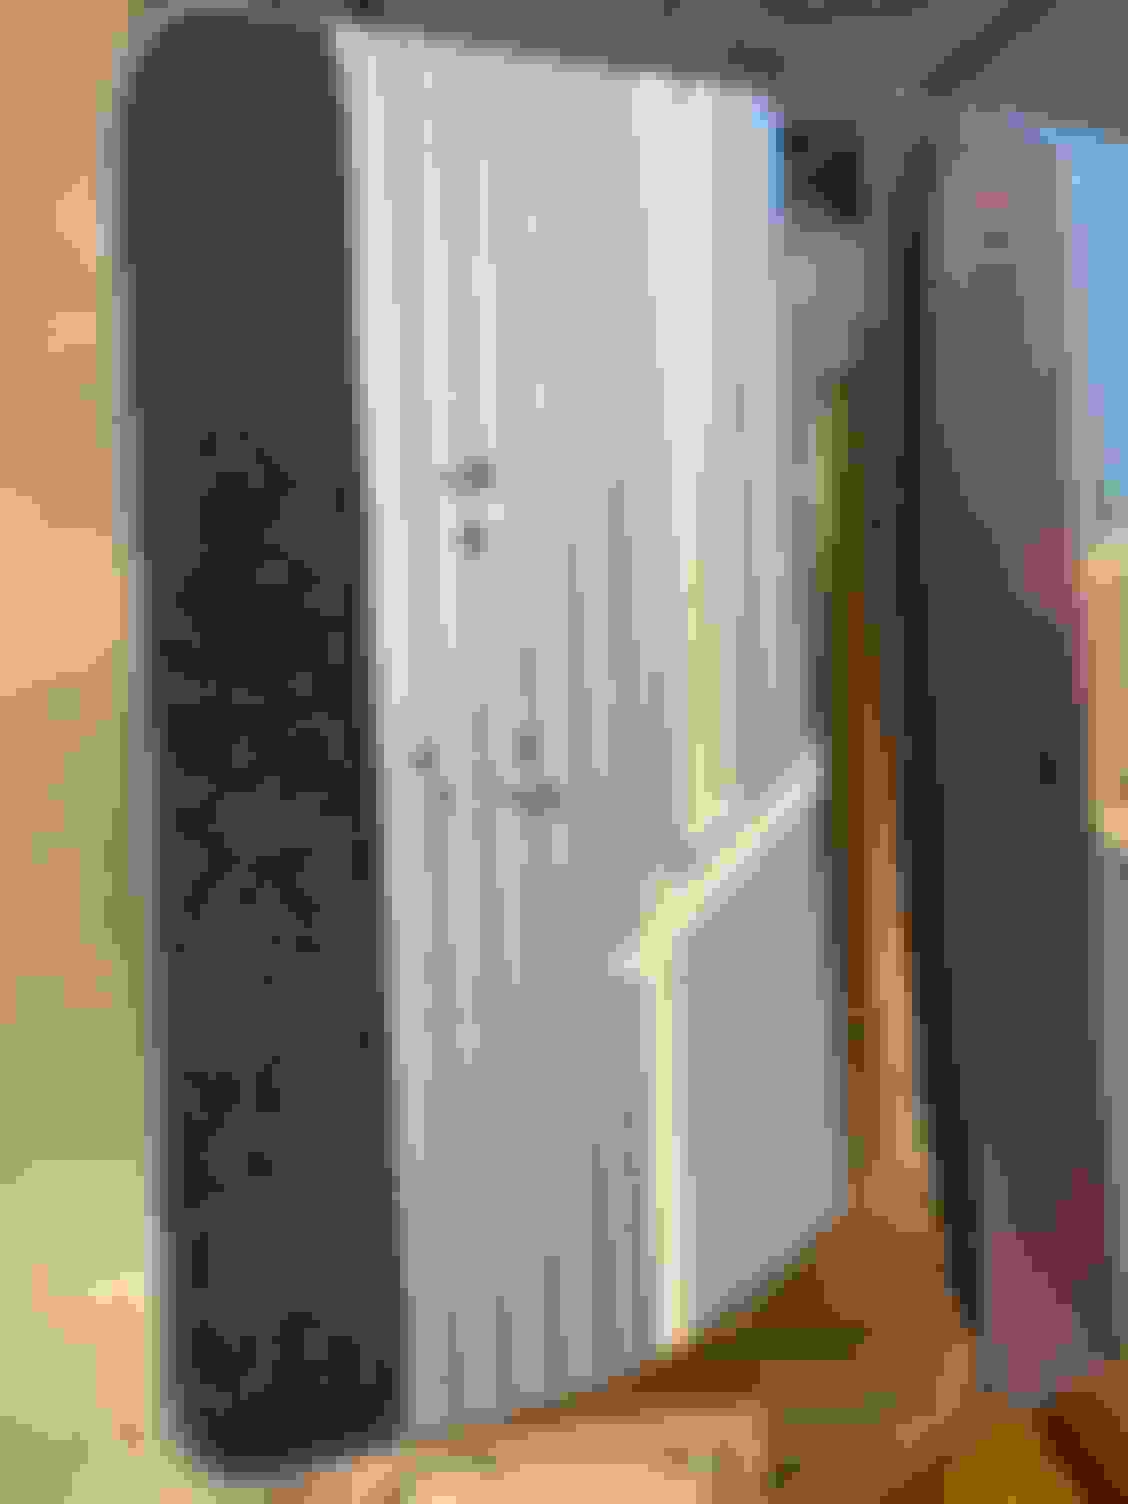
Spent the last few days taking the old trim, emblem and reflectors off the old panels and detailing them to put them on the new Legendary door panels. The Legendary panels are very nice and the lower carpet and vinyl is spot on to the originals. I did notice a few differences from the original panels. For instance the chrome bezel on top for the door lock button to pass through is much larger on the Legendary panel than the original one. I polished up my old one and swapped them out since I am trying to go original on details as practical. Some photos below of my process for panel assembly and a few tips.
Also a shoutout to forum user tnswt. Thanks Stephen for hooking me up with a couple arm rest chrome backer clips I was missing.
Panel as shipped from Legendary. Note the holes for the upper rocket emblem, window crank, carpet to vinyl chrome trim and reflector are not punched through the vinyl or carpet. I�ll wait to punch the window crank hole through the vinyl until after a test fit to the door in case the hole needs to be adjusted. Some others have said the prepunched hole in the cardboard backer was not in the exact right place. After seeing the holes for the chrome trim being off a bit I am checking everything. Original door lock bezel on the left and bezel supplied by Legendary on the right. Notice the size difference. I�ll reuse my original one on the left since they polished up just fine and the black Inner felt �insulator� was still in good shape. Laid out the chrome trim for the carpet to vinyl separation. I did not just blindly use the prepunched template holes on the cardboard backer and punch through the vinyl. I marked my spots with a marker on the front and used a drill with an 1/8� bit to drill a hole for each clip from the front on the transition from carpet to vinyl. If you do this be sure to keep the drill bit from grabbing the carpet and pulling it. You will see in the next photo why I did it this way. Carpet to Vinyl prepunched holes in backer. On the hinge side the holes lined up with my drilled holes, but the door jamb side was off by almost 1/4� on the last couple holes as shown by my finger. I think if I would have used those prepunched holes the trim may have been to low and the carpet may have shown from the top. Glad I did my method. Learning here is check before punching holes in the vinyl. Reinstalled rocket emblem from the backside. I was able to remove those little push clips from the old Panels and reinstall on the new panels. Used a really small screwdriver to open the �jaws� of the clips and slowly worked the clips up with a couple screwdrivers. Flattened them back out and reinstalled with a hammer and small socket. Drivers panel with the jewelry on except the arm rest backer. Will test fit to the car first. An old panel is above. Carpet was faded but the vinyl was in surprisingly decent shape.
Nice work Andy looks good, thx for posting I remember in Jimmy's thread he had an issue with the door panel fit. I cant recall exactly what it was but maybe a review of his would be worth it JIC?
Nice save with the original rocket emblems. It's very delicate work removing the retainers on the backside without ruining the mounting posts.
Looking forward to your method of installing the clips on the armrest backing plates.
Nice work Andy looks good, thx for posting I remember in Jimmy's thread he had an issue with the door panel fit. I cant recall exactly what it was but maybe a review of his would be worth it JIC?
Exactly what I did Paul. I reviewed his thread and that�s why I am not cutting the hole for the window crank yet. He had some issues with the gap of the front panel to the back panel when the door closed. I plan on test fitting panels first.
Nice save with the original rocket emblems. It's very delicate work removing the retainers on the backside without ruining the mounting posts.
Looking forward to your method of installing the clips on the armrest backing plates.
Thanks for the write up and pics. Great work.
for sure. I was certain I was gonna break the pins on those emblems. But was able to save them with a lot of patience removing the clips. I was happy about that and did not destroy the clips. I was gonna cut the clip at first and sacrifice them to save the emblems but had success removing them.
Exactly what I did Paul. I reviewed his thread and that�s why I am not cutting the hole for the window crank yet. He had some issues with the gap of the front panel to the back panel when the door closed. I plan on test fitting panels first.
If you didn�t reuse the original panel metals, the issue will be at the back curve on the rear panel. The front panels are a little longer as well. Have your kick panels in place when doing fitment.
If you didn�t reuse the original panel metals, the issue will be at the back curve on the rear panel. The front panels are a little longer as well. Have your kick panels in place when doing fitment.
Jimmy I plan on installing the rear panel
first and then the front. Kick panels in place. I will adjust as much as I can. If the gap between the front panel and kick panel and the front and rear panels are not where they need to be I may end up peeling back the vinyl on the panel edge and shortening the cardboard as needed and Re glueing the vinyl. Should not be to bad. I hope.
It had been well documented that Legendary door panels, at least for the Olds A body have a few issues with fitting. The vinyl and carpet work on them is outstanding, but be ready to tweak the fitment or live with it not fitting great. I knew it going in so I have spent a lot of time test fitting and adjusting. Here are a few of the issues I found on my install and how I remedied them to make the panels fit good.
1) Biggest issue is that the cardboard section on the front door panel is to wide. To the tune of about 5/16� to wide in the lower section when compared to the original panels. On the panels that have the lower section carpeted this makes the panels contact the kick panels. On my 69 that has thin cardboard on the lower panel they just slip behind the kick panel. Non issue. On a thicker carpeted lower panel that�s a no go. If you try and push the panel back then it hits the rear door panel on the upper edge when the door is closed. So to cut to the chase I ended up peeling back the vinyl and carpet on the front edge of the front door panel and trimming the cardboard and then re glueing the vinyl and carpet. Once doing that the fit is outstanding and with the door closed the front door panel just kisses the kick panel and you you a nice little gap between the front and rear panels.
2) the holes for the window cranks are off a bit. Don�t trust them. The panels come with the cardboard in those spots marked and partially cut, but the vinyl not cut. I recommend fitting your panels and getting them where you need them set first. Then after that install the panel without any clips and press the panel against the window crank stub to mark the center. Then cut the cardboard to center the hole. My window crank holes ended up about 1/4� lower than the pre punched holes on both the front and back.
3) Also don�t trust the slots for the push clip installation. I took a tip from the post WTHIRTY1 did about his panel install and got my panels where I wanted them and then used a unused rivet to place in the clip receiver in the door and then pushed the door panel to make a imprint on the cardboard. I then used that to trim the cardboard for the clip install. Most were pretty close but a few needed adjustment. If those clips don�t go straight in the receivers in the door sometimes the panel may not sit flush. I used the same rivet trick to mark the holes for the 4 screws on the lower edge of the panel since those are not marked on the cardboard at all.
How I determined where my panels needed to be. This was a black line scribed on the rear of the door where the Door panel needed to end to have my gap correct between the front and rear panels with the door closed. I closed the door and scribes a line where the kick panel was to see where the front of my door panel needed to be to just kiss the kick panel I then made a template of the door panel using the lines scribed above on the door to see how wide my panel need to be. Yea the legendary box came in handy here. I then laid the template on the door panel. I lined up the rear edge of the panel with the template and this shows me how much of the front of the panel needed to be trimmed. Peeled back the vinyl and carpet and marked the back of the panel to be trimmed. Use some low heat from a heat gun to soften the glue and the vinyl peels up easy and does not even pull up the cardboard. Carefully trim the cardboard. I used a razor knife with a wooden backer behind the cardboard to protect the vinyl. Don�t cut the vinyl or your screwed! Trickiest part was shortening the lower carpet. It�s got the edging sewed on with a hidden stitch. So you have to pull the threads on the hidden stitch back. Cut the carpet the amount you need to shorten it. And then resew the hidden stitch by hand. The look of the stitching is not critical cause it will be hidden when you fold the vinyl edging over and glue it to the cardboard. This shot shows the finished edging and how much I shortened the front of the panel. The upper vinyl has not been stretched and glued over the cut panel yet. Some may say just push the rear panel back further or the metal on the rear panels is not formed right and does not allow that. I do not think so. This shows where my rear panel ends in the door. The screw hole that is on the rubber trim that you screw the front edge of the rear door panel to is right behind the blue edge of the end of that rear door panel as shown in this picture. Try to push the rear panel back further even if you could and this screw hole would be exposed. And yes Jimmy I have replaced the chrome screws and put the correct black screws in the rubber trim Window crank hole adjustment. You can see the precut line in the cardboard and where I ended up centering my hole. Just about a 1/4� lower. And a final picture for the restoration fanatics. I reinstalled the original sticker that was on the inside of the doors. Not sure what this means though. A color code? Dunno but it is reinstalled for nobody to see unless they pull the panels later in the life of the car. I know it�s there and it makes me happy.
A couple follow up photos after getting the drivers side door panels installed. Shows how they fit with the adjustments to the front door panel as posted above. Still need to put the trim piece on the door jamb that closes the gap between the quarter door panel and the door jamb. It will also close the gap to the front door panel to about the 1/8� that the upper part of the panels is. Also waiting on a few clips and receivers for the rear door panel and my rear arm rests that are at the upholstery shop getting recovered. Door panel fitment against kick panel Door panel fitment at rear.
Forgot to add this tip I discovered when getting the passenger rear door panel to push back as far as I could. First make sure the staples that hold the metal upper to the cardboard lower are pounded flat. They are thick staples and can interfere with the body of the car as you slide the panel on and keep you from sliding back as far as you need.
Secondly the rear of the panel upper metal slides over a raised area on the body to create the snug fit. The metal uppers on the repop panels may need to be opened up a bit to allow the panel to slide over this raised area. I had to bend my passenger side metal upper a little to allow the panel to snugly fit over this raised area.
And lastly when Legendary installs the inner fuzzies they staple them to the door panel. Guess where they put a staple. Right on the panel where the raised area on the body is. You will struggle with the panel if this staple is there. I just ground the staple tabs off of the backside. The original panel I still had did not have a staple there. Guess the factory knew this was an issue and thought one less staple is better than struggling to fit a panel. . Example of a staple on the metal Upper that interfered with the fitment at the front of the rear door panel. Pounded it flat. Area on the rear door panel that slides over the raised area on the body. Had to open up this lip a little on the passenger side to get the panel to fit well. Raised area on body that the panel fits snug to. You can actually bend this a bit in or out to adjust the movement of the door panel. Staple on rear door panel fuzzy that interfered with the raised area on the body. Just grind this staple down on the backside if you have one there.
Jimmy I owe you on this one! Your thread and advice helped me just cut to the chase and trim the front panel a bit instead of struggling with the damn thing. Saved me a lot of frustration.
The original headrests on the buckets were in great shape. No cracks or distortion in the soft outer layer. Cleaned them real good with soap and brushes. There was some sight discoloration to them so I prepped them with all the SEM vinyl prep stuff and adhesion promoter and then put a very light mist coat of paint/dye from Kolor Korrect on them to even out the color. The plastic covers under the headrest had some of the texture falling off which is fairly common, but the plastics were not cracked or brittle I cleaned them real good and flaked off the areas that needed it. I used a product from SEM that �restores� the texture. It�s like a thick paint and you can apply a coating to match the grain fairly close. The thicker you put the coat the more texture it will have. Probably would not use this in a really visible area but for items that are hidden or not in direct line of sight I think it did fine. Plus I get to reuse another original component instead of adding a repop piece which is my goal. Painted all my other interior seat plastics while I had the paint mixed in preparation for getting on the seat recovering.
SEM product to restore texture. Not cheap. Only drawback is that it�s black so you have to lay the paint/dye on heavy to cover it. Headrest ready for assembly Completed and waiting for the seats to be done.
Fantastic work Andy! Really appreciate all the detail you are providing. I’m getting ready to tackle my interior and will need to work on the fitment on my Legendary panels. Your tips, along with Jimmy’s and so many others are such a help. Love seeing the interior come back together with all the Olds blue shades. Can’t wait to have mine back together!
Fantastic work Andy! Really appreciate all the detail you are providing. I�m getting ready to tackle my interior and will need to work on the fitment on my Legendary panels. Your tips, along with Jimmy�s and so many others are such a help. Love seeing the interior come back together with all the Olds blue shades. Can�t wait to have mine back together!
Jim
your welcome Jim. Others threads have helped me so hopefully mine helps others to. Best of luck on your project.
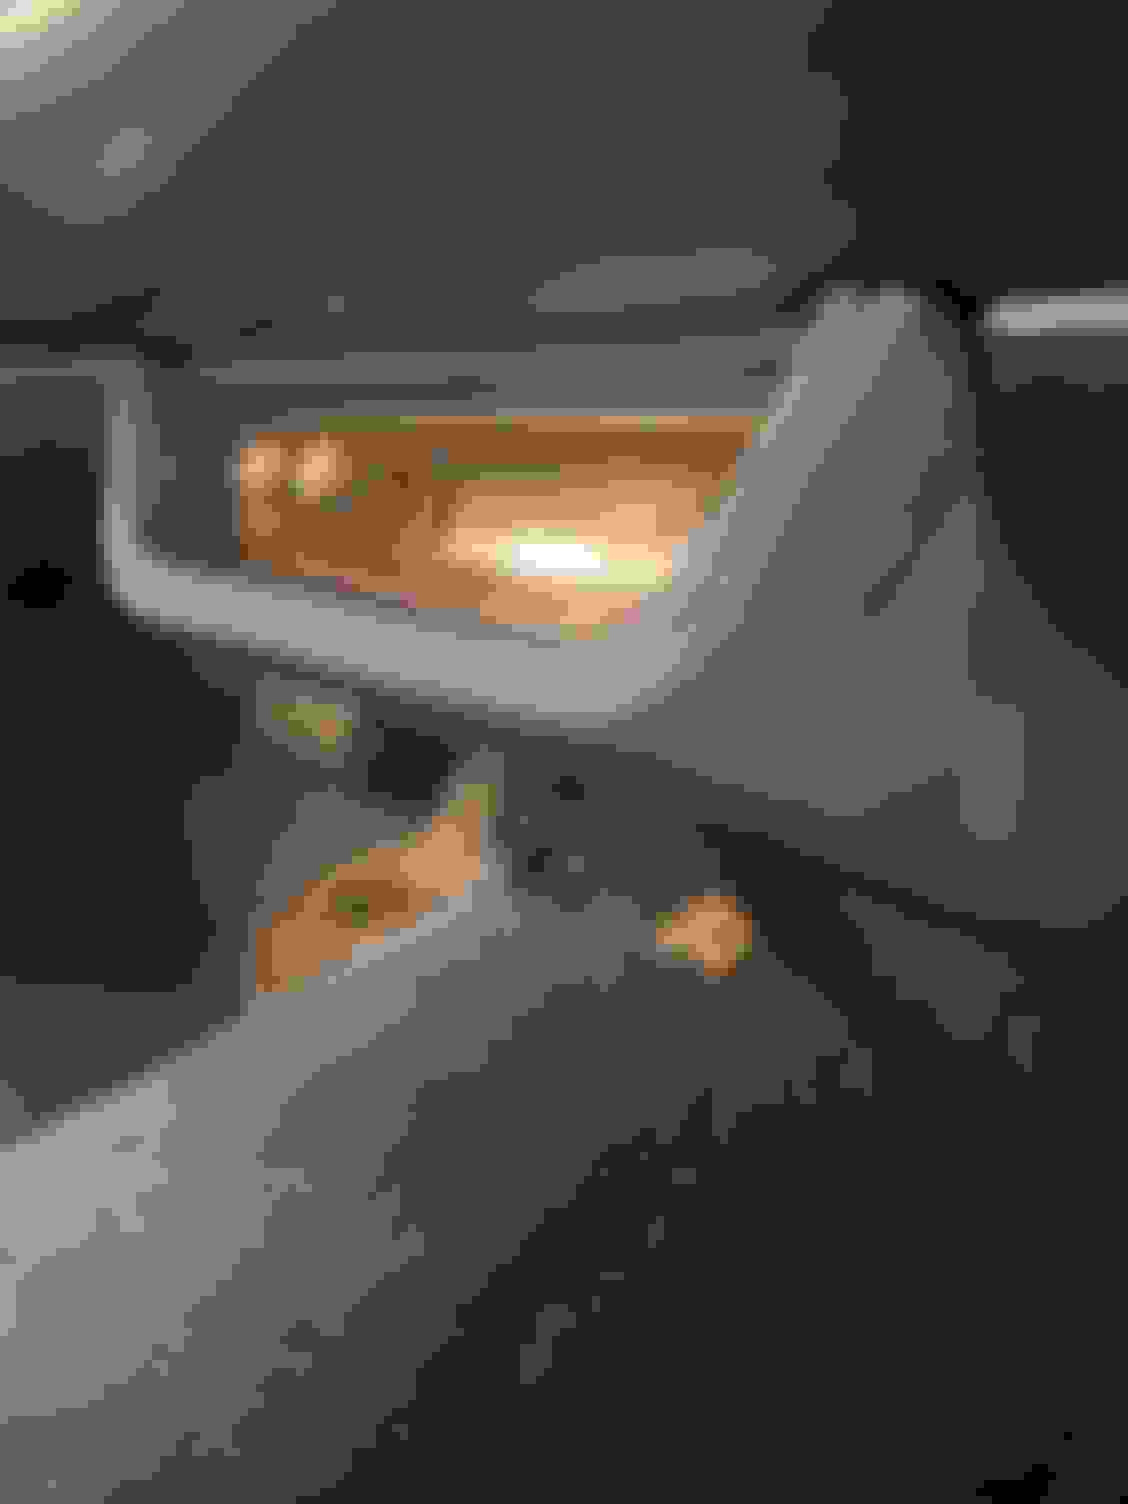
Working on reassembly of the center console. Restored and polished the original chrome trim around the base and the lid and reused those parts. Surprisingly in very good shape with no broken tabs on them. Reinstalled with a twist of the tabs as shown in the PIM and the rest of the base with mostly original replated hardware. The only area that needed a lot of attention was the hinge. The lip on my base that sandwiches the lower part of the hinge was broken and gone as many are. I wanted to reuse the original base so I just fabricated up a backer plate with tack welded nuts that slips between the outer shell and the inner shell. I then used really wide flange screws to attach the hinge to that backer. Key was to make sure the screws were not to long to hit the outer skin, but long enough to grab the nut threads. This gave me the ability to adjust the console lid up and down before tightening to get the gap even all the way around and prevent the lid from rubbing the chrome trim. I know the screws are not original but the fix worked well and with the exposed screws coated with phosphate they kinda look original. A nice even gap around the lid and glovebox is a pet peeve of mine. I like even gaps even though originally I doubt it was. Next is reworking the U57 tape deck housing.
Hinge and fabricated backer I ended up not using the lower flat bracket on the front of the hinge. Hinge area with backer plate installed. Console lid with original hardware. Lid installed with fabricated hardware. Inner console to be installed after installation in car. Nice even gap. A little bigger along the rear seam but necessary to prevent rubbing when opening the lid.
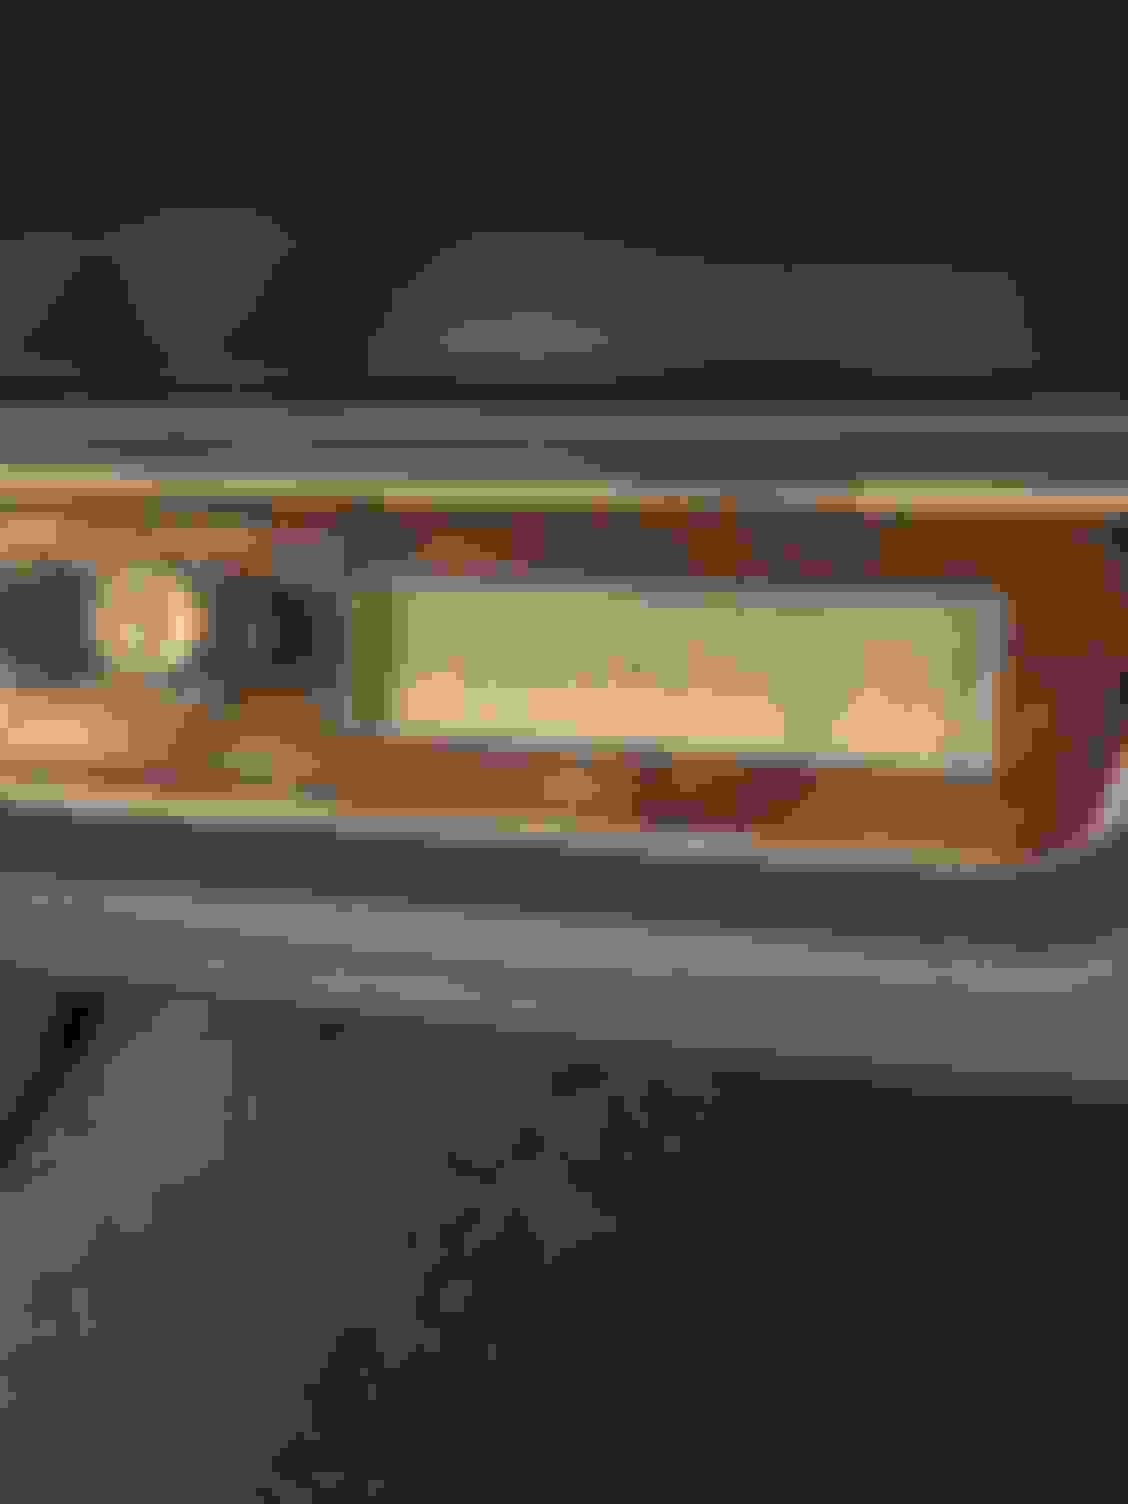
The factory tape player did not need a whole bunch of work. Just disassembly, a thorough cleaning and a few minor touch ups of the factory wood grain faceplate. I mixed up some testors model paint in a few shades of brown and black and used a REALLY fine tip brush to dab color into the few scratches. The random wood grain pattern makes it easy to touch up and not see. Main scratches were behind the tone **** on the left. The **** had casting flash on the outer edge so when you turned it, it barely contacted the faceplate and scratched the wood grain. I used a dremel to grind that flash off the **** to prevent reoccurrence. Reinstalled the unit on the dash and good to go.
Note the weight in the background sitting in the edge of the plastic carpet foot insert. Had a slight bulge that I am trying to flatten out. The �Oldsmobile� flip face has some minor blems from age but not bad enough for me to feel like I have to replace it.
Completed the door panel and jewelry addition. I had a local upholstery shop sew new covers for the rear arm rests. The original vinyl could have likely been cleaned up but it was to �crispy� and would have split or torn easy. I had gotten some matching vinyl from Legendary. The original just did not have that supple feel any longer.
I installed the new covers on the metal arm rests after I had blasted and put a coat of Krylon metallic paint on them. Originally the metal was bare steel. It had flash rusted but was in great shape after blasting. It was interesting to see the jute and cardboard padding used on them originally. Soft jute used across the top and down the sides to the seam in the metal base. A second layer of soft jute just on the top in the rear where an elbow would rest. And a hard cardboard type �padding from the metal seam across the top down to the bottom of the metal. I replaced the original padding with more modern foam type and just layered in on the top to simulate where the softer jute would be.
a few installation tips for the vinyl covers. I used the same DAP weld wood glue I used for the headliner to glue the padding to the base. Layering the 1/8� foam on the top of the armrests to get the thickness I wanted to match the original jutes softness.
After the glue dried I used a sanding disk on a dremel to smooth out the edges of the foam and any transitions. You want to eliminate any bulges in the foam or you will see them after the vinyl is installed.
Then when you install the vinyl covers what I did is mark on the foam covered metal rests with a sharpie where I wanted the sewn seam on the vinyl to land and then only put some glue on that seam area of the vinyl. Then I stuck the vinyl to the foam along the line I made where I wanted the seam to fall.
once that was stuck I then lightly stretched the vinyl to the edges of the armrest to see where it was going to wrap around and put glue on the vinyl there and on the backside of the metal frame.
Since your going to stretch the vinyl to the edges to get any wrinkles out I only glued the vinyl on the edges. If you glue in the middle and there is a wrinkle you can�t pull it out. The glue sticks real good to the foam.
work your way around and boom. Your done. Now onto seat recovering. Using guidance from RAMBOW on this forum. He is supplying some seat spring fixes and excellent instructions.
Original jute padding on top of rear armrest Extra jute padding under elbow area Harder cardboard padding from the jute on top down to bottem A number stamping on the metal base. Not sure what it means but I love finding hidden stampings! Original vinyl on armrest. Completed rear armrest and ashtray cuts in the same fashion as original Completed armrest. Straight seam located where it was on the original. Just past the transition to vertical. Metal filler panel screwed to armrest pad using original recoated screws Done deal. Seats are all that left for the interior. Even left the vinyl flap on the floor support brace like the original had. It will be covered by the seat but it�s there like it�s been for the previous 50 yrs!
Last edited by Ap6954; July 17th, 2022 at 07:38 PM.
Thanks Stephen. So guess what. The other day I found those three clips for the front door panel chrome I was missing! I had stacked them in a different parts baggie. I obviously need to improve my organizational skills. Although my parts stash for this car is getting pretty thin!
Last edited by Ap6954; July 17th, 2022 at 05:23 PM.
This morning was about installing the seat belts and rear seat back. Python Restorations had redone the belts a while back. New tags replicating the original date stamps were done on the belts and replated buckles and tongues. Original buckle buttons were used since they were mint. I used the Fisher body manual section 15.81 for the proper orientation of the rear seat belts. Now on to recovering the rear seat bottom and then the front buckets.
One question I did have is what is the accepted original orientation of the upper shoulder belt in the supports on the headliner? I just oriented the way I have seen them before but the Fisher Body manual is silent on this detail. Anybody have anything on this on how they were installed during assembly?
Orientation of rear belt in Fisher body manual page 15.81 Final orientation of rear belts Shoulder belt details in Fisher Body Manual Shoulder belt orientation I used. Fisher body manual does not have any detail on how this belt was supposed to be wrapped at assembly. Front lap buckles with original sleeve cover that was just cleaned and not painted. Belt installation hardware details. Correct shoulder bolt (top) was used on the front floor connection for the buckles as shown in the Fisher body manual. Non shoulder bolts used on all others.
Last edited by Ap6954; July 24th, 2022 at 05:16 PM.
Looking good Andy,
Here are some pics of my car right before disassembly. Probably not much help but maybe you get the idea.
I have seen people have the buckle dangling like that also. Not sure if I like it dangling though. Kinda seems a bit in the way. But that may be the accepted norm for easy access to pull them down.
i have to admit, once I have them tucked up I probably will not use them. I�ll only use the lap belt. On my 69 that�s what I do.
I wonder how many others with separate lap and shoulder belts actually use the shoulder belt?
Rear seat is done and in the car. Was not bad at all to recover. I think the front buckets will be more of a challenge. I used a combination of a seat cover installation video on Legendary�s website, and advice from Forum member RAMBOW to get the covers installed.
The seat frames were in great shape with just a single area on one of the frame rods on the lower back seat that had a bit more than surface rust. It was not bad enough to cut and replace. The seats were removed by the second owner from the car in the 80�s and stored indoors. The frames were cleaned with a combo of spot blasting, wire brushing, wire wheeling, and metal prep. Then painted with Krylon metallic paint to replicate the bare steel look of original but protect from future rust. It was cool to see how the areas of the seat frame that were covered by the seat foam and cotton were still unrusted bare steel. Could even see the heat affected zone from the spot welds.
Covering the rear seats was done using the install kits supplied by Legendary. All the burlap, listing wire, felt for frame edges, muslin, cotton for the seat back, and foam for the seat bottom was supplied in the kit. RAMBOW supplied me with a bag of new hog rings. I pretty much replicated the factory layering of the seats. Hog ringing and creasing the cover in many of the same factory locations. Only deviation is the factory did not use A layer of muslin over the cotton on the seat back and muslin over the foam on the lower seat. I did. Kept the cotton in place and made it easier for the seat cover to slide over the foam on the seat bottom.
My wife and I sat in the seat when it was done. First time anyone officially sat in a seat in the car in 40 yrs. With everything fresh on the seats it is still so much more cushy than a modern car seat. Kinda like a couch!
A few photos below during the process.
Finished product. Sure is comfy back there. Much more cushy than a modern seat! Rear seat bottom with vinyl cover off showing original seat foam. Rear seat bottom after removing original foam showing factory burlap and felt around frame edging. Small bit of factory cotton on sides of rear seat bottom that was under the felt edging Factory rear seat back with vinyl cover removed showing factory cotton layer. I ended up using three layers of the new legendary cotton. That gave me just the right amount of thickness. Legendary sent about twice as much as I used. Top edge of factory seat back cotton. A burlap �ledge� holds this in place from falling behind the seat frame. Rear seat back after removing the cotton showing the factory burlap layer and ledge on top.
The factory burlap on both the seat back and bottom was kinda cool. It was plastic coated and had small wires running horizontally for support. It was actually not in bad shape and I could have reused it but didn�t want to have to tear seats down later if it failed!
Gee whiz stamping find on the seat frame. One was on both sides indicating left and right.
Looks great and excellent work! Nice detailed pics also. Thanks for sharing. Your real close to finish line now. I look forward to getting there someday.
Looks great and excellent work! Nice detailed pics also. Thanks for sharing. Your real close to finish line now. I look forward to getting there someday.
You will get there Paul. I�m close enough to need to sit down and make a punch list of all the little things so I don't forget to do something!
Rear seat and interior look great. Serious flashbacks looking at those pictures! Hopefully, we find a way to get your car and Paul's car together along with mine at an OCA event in the future.
Rear seat and interior look great. Serious flashbacks looking at those pictures! Hopefully, we find a way to get your car and Paul's car together along with mine at an OCA event in the future.
Hopefully mostly good flashbacks and you purged your mind of the frustrations! Ah those are just lessons learned anyways. We will definitely have to meet up at an event one of these days. Not sure where Paul lives but I may be the long hauler of the group coming from the deep south. Seems like most of the big events are more Northeastern. Other than the nationals in TN which is a nice midpoint for many.
 June 18th, 2022, 09:20 PM