When you click on links to various merchants on this site and make a purchase, this can result in this site earning a commission. Affiliate programs and affiliations include, but are not limited to, the eBay Partner Network.
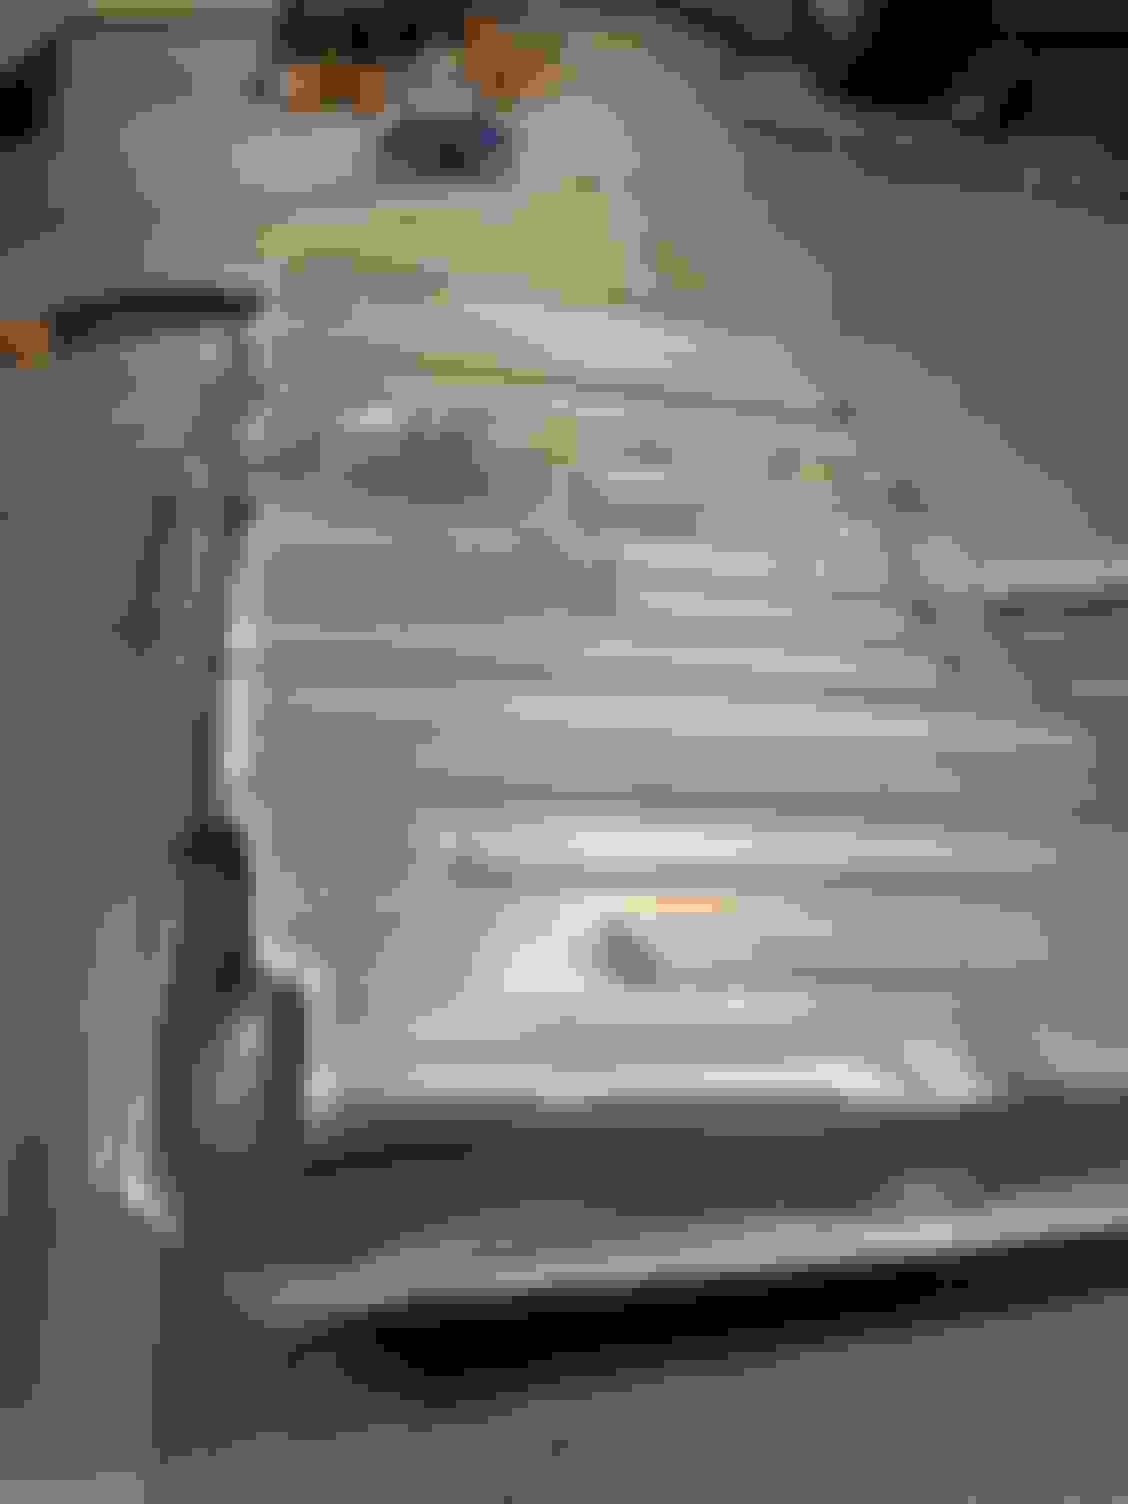
I used Bottle Green (2013 Chevy base color) and then Ice White also from that same Chevy color vintage. Stripes are under the clear. This was the first time I buried them under the clear and so far...I like that much better.
I am totally impressed, great job. When I follow these major rebuilds I have a few responses. One, I'm really lazy, two, my wife would never think I wasn't nuts, 3 I realize how lucky I was buying a 69 Vert on ebay at a reasonable price and it has almost no rust. It just amazes me the work you are doing and the attention to all details. I just don't have it in me for that kind of detail, but, you have helped me raise the bar. So thank you, and your car looks incredible, really great!
I need some help. I am installing some of the hardware on the doors. The PIM and fisher assembly Manual is not clear on the rear trim plates on the door and how they are installed with the window stabilizer strip. As luck would have it, I do not have a good picture of that before disassembly. Do I have this right. Trim plate on top of the door frame, felt stabilizer strip under the door frame. Pulled tight using the stud and nut combo?
Big help scrappie. Bingo. That�s where that other gold cad nut I had left over goes. The stud and attached nut go on first to tighten the felt stabilizer strip against the door frame. Then the trim plate goes on the protruding stud and the gold cad nut tightens the trim plate down. Perfect. Thanks. I am glad you took better photos than me!
Originally Posted by scrappie
Ill show you some pics I took prior, maybe it helps?
It looks very good. It's a pretty and unusual paint combo. Your pics Paul...the black caulk on the door panel over the window stop/adjuster bolt at the bottom and corner of the door. That's what I was trying to explain to Jimmy.
It looks very good. It's a pretty and unusual paint combo. Your pics Paul...the black caulk on the door panel over the window stop/adjuster bolt at the bottom and corner of the door. That's what I was trying to explain to Jimmy.
What�s wrong with the black caulk? Looks
fine on his original door.
No, there's nothing wrong with it. I thought when I was talking with you about why the bottom of the panels warp, you said your car didn't have any caulk there. Maybe I was talking to someone else. Yeah...pics are a valuable resource.
I was not following the caulking issue until I looked at Scrappies photos more and now I see. The watershield that is caulked in place on the door does not extend down to those holes so the factory stuck a dab of caulk in those couple of bolt holes or attachment points before installing the door panel. I�m surprised they took the time for that detail with all the other rush efforts they did to get the cars off the line!
Originally Posted by mrolds69
No, there's nothing wrong with it. I thought when I was talking with you about why the bottom of the panels warp, you said your car didn't have any caulk there. Maybe I was talking to someone else. Yeah...pics are a valuable resource.
Knocking out the back of the car while waiting on the engine. Got the rear bumper assembly installed with NOS lights and original wiring harness after cleaning up the wiring, clips and connectors. Also have the fuel tank ready to reinstall. Got a new Spectre Premium tank and a new sending unit. Reused the original sending unit wire. I need to change out the ground wire to body connector as the one on the sending unit is not like the original. The hole for the screw to body is way to big. Original style fuel line clamps and reused the original tank vent. Also have one of the real nice tank pads that 70post sells.
I was wondering about the internal baffling in the Spectre tank vs the original. I did a bit of looking in both of the tanks with a inspection Mirror and I did not see any baffles in either. Surprising that there was no baffling at all in either that I can tell.
Will be installing with the original galvanized tank straps tommorow after watching a bit of football. Go Saints!
Got the defroster ducting and ducts cleaned up and reinstalled while the dash is still out. The cloth hoses are Super fragile being so old but were in great shape and able to be reused. Just had to be careful installing to not tear them. I think my square hoses for the a/c ducts are not as good and o will need to find replacements. Ducts were crack free and reinstalled just fine. Cool to see the anchor that is on a lot of bolts even on the little screws that hold the ducts on.
Currently in the process of doing the same on my restoration now also. It was suggested by a gentleman here prior to wrap with Gaffers tape which did not work well enough for me at all. Another suggested Flex Seal spray which I'm planning to try next.
Gathering all the stuff I need for the back window and windshield install. Many of the clips on the reveal moulding were rusted beyond use and the front windshield was out when I got the car so I can�t reference what was there before. I am reading the PIM and Fisher body manual to see what kind of clips go where. Some literature reads to install the adjustable type like the first picture along the top of the windshield and back window to accommodate height difference if a vinyl top was installed. And to install a fixed height clip like the ones in the Fusick catalog on the sides. Seems like a person could use the adjustable on the sides also and set them at the height they want to get the moulding flush. Can anyone offer help on this one? Am I overthinking this one?
One of the few reusable clips I removed. The adjustable type. These were removed from my back glass channel in top and side locations. Clips in Fusicks catalog. The top and the bottom are similar but may be different heights.
I remember on my 70 Buick GSX restoration which never had a vinyl roof the long low type was on the fronts on the sides but can�t remember what was on top or rear. Fisher would have used the same between makes. Original long low type was originally red. I don�t think anyone makes the red.
I remember on my 70 Buick GSX restoration which never had a vinyl roof the long low type was on the fronts on the sides but can�t remember what was on top or rear. Fisher would have used the same between makes. Original long low type was originally red. I don�t think anyone makes the red.
The ones I could save were red underneath the adhesive also. AMK lists the longer ones in their catalog and the picture shows they have them red. I�m just not sure which style will give me the right reveal moulding height to sit tight against the glass. It may not matter. I may just have to buy an assortment and see what works best when we dry fit the windows.
Working on some stuff inside the garage today. I am truly blessed to have a nice extra 3 car garage that is heated and cooled where I can work on stuff in the extreme weather months. It�s freaking 20 F in south Louisiana today. I live in the south to avoid this. Sheeesh. I guess I shouldn�t bitch as my northern neighbors are much colder and I still have power unlike many friends in Texas. The big shop is insulated but not HVAC. In the summer we open the doors on either end and get a nice breeze through the shop. In winter I am in the garage! Got the trunk wiring harness cleaned up, connectors disassembled and I cleaned all the connectors to remove any corrosion and 50 yrs of crud. I am shocked how pliable the wiring still is. Connectors look great with a little cleaning. The harnesses even have the original paper part number tags on them. Those will be put back on! Working on the main body harness and sleeve today. The only harness that may need some work is engine harness. I think The under hood heat causes the wire insulation to become brittle. Extra attention will be paid there to replace anything suspect. Main body harness out of the sleeve. Wires all look good with no damage. Main body harness sleeve. Looks like some adhesive was applied to the bottom of the sleeve in several spots to stick it to the floor. Remnants of the glue at at the vertical end going up the firewall, on the front seat hump, and where the sleeve goes up from the rear footwell to the rear seat. Might replicate that on reinstall. Harness sticker. I think this picture is the one from the main body harness. Terminals removed from the body harness plug to the rear taillight harness. Connectors are in great shape. The main body harness sleeve even has a part number stamped in it near the front by the fuse box.
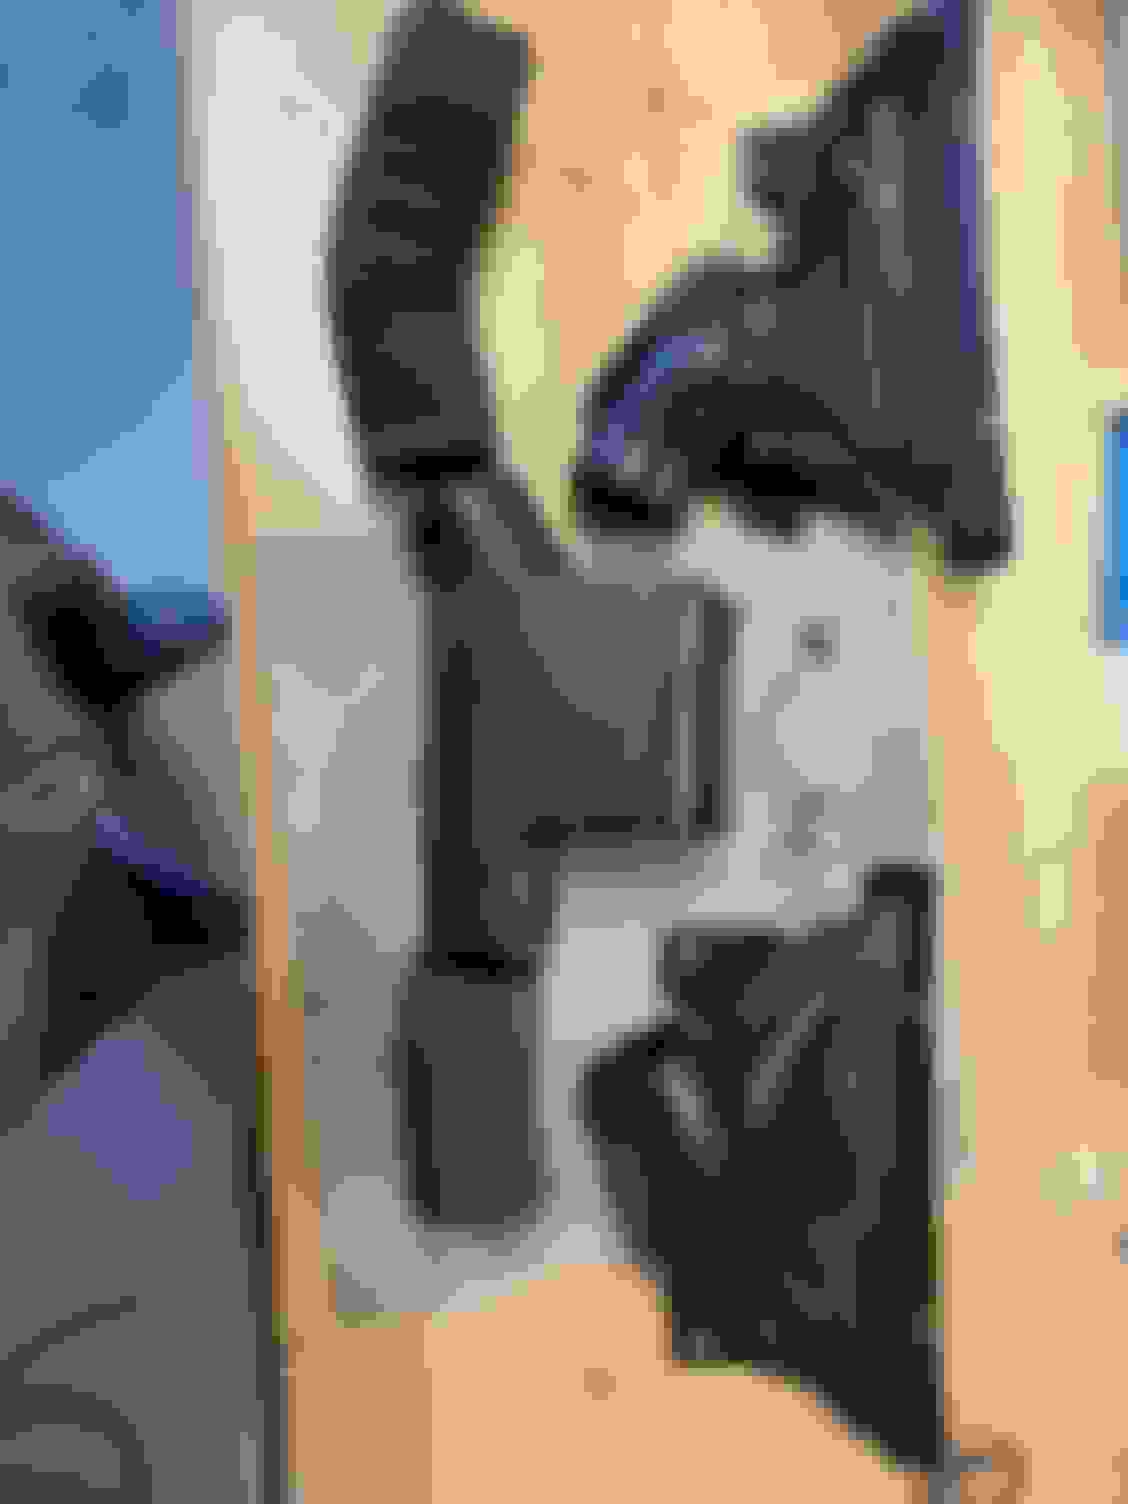
I took apart, cleaned and tested the controls for the a/c today. Tested the main and compressor switch. The main tested fine but on the compressor switch the little �Reed� that switches back and forth broke so I got a NOS switch on the way to replace it. The two circular vacuum switches worked fine. I tested them by pulling a vacuum on the black line that feeds engine vacuum to the valves and tested for vacuum on the circuits that feed the diaphragms in the system like the heater valve on the engine, and the defrost, blend door, and kick panel vent diaphragms. They seem to work fine and switch vacuum to the right colored hose and between them. I�ll call it good for now. I have never really taken one of these controls down this far but it�s cool to see how they used a mechanical combination of on/off switches and vacuum to do what modern cars do with a computer. This is a great example of how
you had to have some know how to find the problem on an older car. Modern cars. Just plug it into a diagnostic machine and it will tell you what�s wrong.
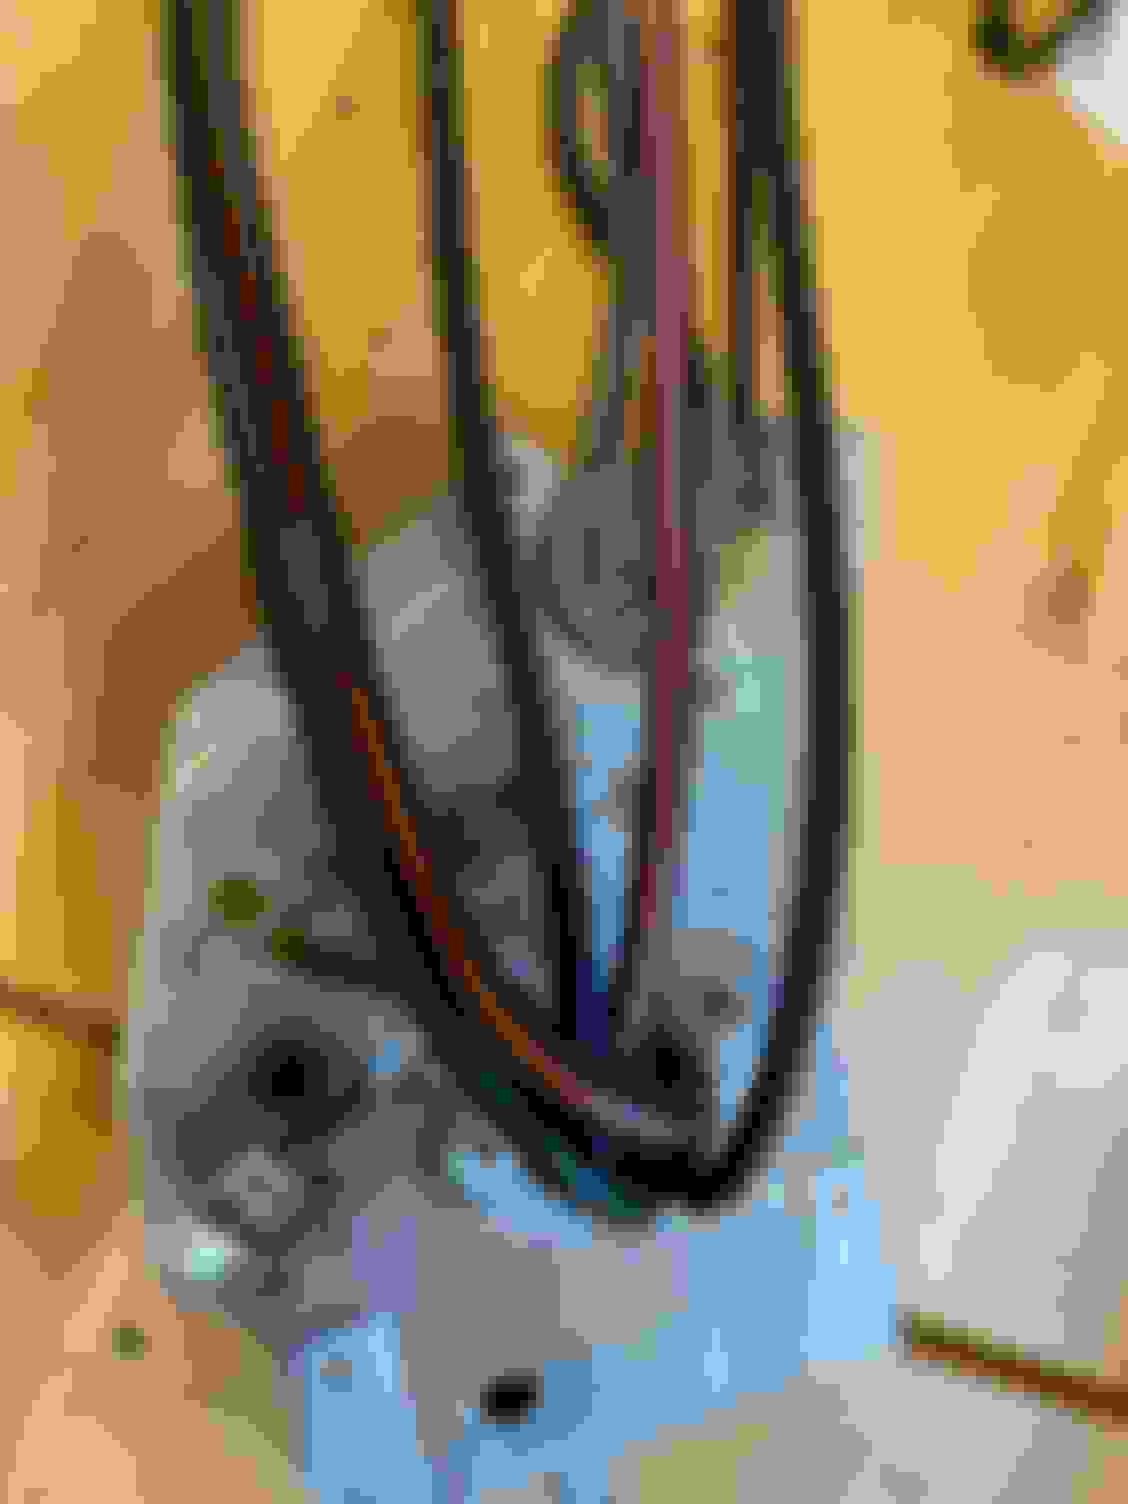
A/C control panel Interesting splice on the pink line going to the blend door diagram. Not sure if it�s a factory splice or a repair sometime after the car was built but it looks pretty old and factory so I left it in.
Interesting splice on the pink line going to the blend door diagram. Not sure if it’s a factory splice or a repair sometime after the car was built but it looks pretty old and factory so I left it in.
That's a factory splice - they all have that. Probably there to speed up the assembly line process and/or make it easier to service.
Last edited by w30brad; February 22nd, 2021 at 01:20 PM.
Doing great! I am a firm believer in testing as many things as possible during assembly. When my W-30 was done I had no bugs other than needing to glue the front brake pads to prevent a little rattle.
That's a factory splice - they all have that. Probably there to speed up the assembly line process and/or make it easier to service.
that makes sense on the blend door diaphragm since it tucked behind the heater box and hard to access with all the duct work and dash in place. They probably had the black hose pigtail on the heater box assembly and then tied the pink hose into that line. Cool detail.
Doing great! I am a firm believer in testing as many things as possible during assembly. When my W-30 was done I had no bugs other than needing to glue the front brake pads to prevent a little rattle.
I am the same way Eric. I am testing every circuit, switch, and everything I can to be sure things work. I am checking all the wires for continuity while the wire harness is on the bench after visual inspection of every wire. Taking apart each connector and cleaning them up or in a few cases replacing the connector if it�s bad. For lights I throw a bit of voltage at the assembly and check all the lights to be sure they work. Much easier to do it on the bench and while your thinking of it. The last thing I want to do is have to disassemble a freshly restored component. Hopefully I have the same luck as you did on your w car you did.
Ive been waiting to see any responses in regard to the windshield molding clips. Did you find out anything?
I did not get any concrete answers from the forum. I had correspondence and conversations with a few folks and the information was mixed. Some said the long adjustable type was used on the front glass top and sides. The back glass used the other type but not sure which one. So what did I do? I ordered 25 each of all three types from AMK and will see which ones work best to get the trim to sit flush on the glass when we mock up the height of the glass for the install. That will be several weeks but I will report back what I find.
I ask because I pulled the smaller clips from parts car front and back but I know over the years Ive come across the larger ones on cars of the same era.
Interesting find today. I spent some time working on the engine harness. As I said before I am pulling apart all wiring connectors, cleaning terminals and repairing wires and connectors as needed to hopefully eliminate pesky problems later. I am being REALLY careful to document how the wires are connected in connectors before disassembly to avoid disaster. While I was inspecting I found this anomaly between what is installed and the 1970 PIM. The dark blue wire going to the wiper motor was installed in the third row up and third terminal over position. The PIM says it should be in the second position on that third row. I checked my fuse box and yep my installation was right and the PIM was not right for my car. This is a great example of where either the PIM is wrong, the assembly was changed at some point and the manual never updated , or somebody installed this wire and the wire in the fuse box in the incorrect position. I�m betting it�s the second above. My son who works as mechanic for a major airline says this is common in airplanes. They find an easier way to install something and change it mid assembly cycle and manuals are not always updated. Wiring is tedious work but kinda fun. I like details!
Lesson always check your stuff, and never blindly follow the PIM!
Wiring diagram in the 1970 PIM showing the engine and dash harness connector and the blue wire in the third row middle slot. My engine connector with the screwdriver pointing to where the blue wire is actually installed.
I ask because I pulled the smaller clips from parts car front and back but I know over the years Ive come across the larger ones on cars of the same era.
Yea my car has had the front and back glass out at some point so I don�t trust what mine had. If you read the fisher body manual it�s not specific at least where I looked. It�ll be trial and error for me. I�ll have leftover clips but would rather have nice tight fitting trim. The back glass is dated original but the windshield will be new since it was out when I bought the car. I hear new glass is not as thick as original.
Got the engine back last week from cutlassefi and got it on the engine stand to detail it out with fittings, hoses, brackets and as many details as I can before I drop it on the car. I hate working over the fender of a fresh paint job. I�ll use a vertical hoist I have in the shop to drop the engine straight in. I�ll put the trans in from underneath with the car on the lift. Mark posted the dyno sheet on another thread but it made a conservative 412 hp at 5200 rpm and 500 ft lbs at 3500 rpm. Will work well with my auto, pb and a/c car. Nice drivability but I�m sure it will roll out pretty good.
Also wanted to post a little trick I learned a while back to recreate the firewall stamps. I had a boxed EE stamp and a double R stamp on my firewall. Instead of buying the stamps to use one time I did the old potato trick. Print out on the computer the font and size you want. I tried to replicate the font and size from my original stamps. Then cut a potato in half, place the paper stencil on the potato and carve out the relief with a razor knife or small tool. Then mix up a little paint to match the original color and stamp it. Comes out real good. Factory stamps were not perfect so a little sloppy is totally ok.
A few tips if you try this. Cut the potato and let it sit for an hour or so to dry out. Keeps the mess down and easier to carve. Remember to put the paper on face down so the letters are mirror image so when You stamp the letters are correct. After you finish the stamp let the potato dry again before putting the paint on the stamp. Keeps the paint from getting runny. Use a small detail brush to brush the paint on the stamp. Don�t use to much paint. Test the stamp on something before you use it to get it like you want.
Engine dyno sheet My two firewall stamps Double R potato stamp Double E firewall stamp Finished stamps on the firewall in the approximate place the originals were.
From what I know the stamps are inspection marks that were applied by inspectors to note certain points on the assembly line. I think inspectors were assigned a stamp so I think the exact letters don�t mean anything specific. You will see cars with different letters and colors. Mine had the yellow double E within a square and the blue double R. Some are single letters. Some of the guys on the forum may have first hand knowledge of what points on the line the stamps were applied.
Since the stamps seem to represent an inspection process somewhere on the assembly line and no one knows who those people are, I used my initials and my wife's when I had stencils made. No one knows but us (and everyone who reads this now) but my wife thought it was pretty cool. Brownie points are always helpful when you are spending money on a car.
Since the stamps seem to represent an inspection process somewhere on the assembly line and no one knows who those people are, I used my initials and my wife's when I had stencils made. No one knows but us (and everyone who reads this now) but my wife thought it was pretty cool. Brownie points are always helpful when you are spending money on a car.
Great idea! You are correct only you will know. If anyone asks just say they are inspection marks. Which they are. You and your wife were chief inspectors.
Been working the last few weeks on getting the engine ready to drop in the car. Got it pretty close with all the stuff I want to have on it before installation to lessen the amount of over fender work. I�ve been looking through the PIM to make sure I don�t miss anything that is easier to do now versus later after it�s installed. Also test fitting all the accessory drive brackets and hardware to look for misalignment issues now. Easier to see and correct while it�s on the stand. If anyone sees something I am missing that is easier to do with the engine on the stand please let me know. I�m all ears.
One thing I did do that is not stock is fab up a small solenoid heat shield to shield the solenoid from the exhaust manifold. Not sure if I will have an issue but it�s a tight fit and easier to get it fitted now vs later in the car. It�s not that visible anyways. Covered it with DEI reflective foil. I�ve use that tape on my vette that I track and it works well and lasts. I think they sell a shield similar to this but it was easy to fab up and make it like I wanted.
Used Supercars Unlimited blue engine paint. It�s actually a bit lighter in person than the photos. I like the shade of blue. Starter solenoid heat shield.


 December 2nd, 2020, 10:42 AM