When you click on links to various merchants on this site and make a purchase, this can result in this site earning a commission. Affiliate programs and affiliations include, but are not limited to, the eBay Partner Network.
yeah Patton, he said he has enough backlog right now on boosters that he does not want to promise any more right now until the deal is done. He is accepting plating items though to get enough to �fill the tank up�. He did say he will stick around to train the buyer but wants to be sure everything goes through. He said call back in April and maybe it�s a done deal. I hope.
Originally Posted by 70Post
I was going to mention that about Steve in my posting last night but figured you would be calling him anyway and better to "hear it from the horse's mouth" instead of second hand. I thought he might be accepting boosters right now since I think he'll be sticking around to assist/train/oversee the guy that is looking to take over his brake booster business. Sounds like they're still negotiating a deal right now.
Evap case motor and all the jewelry look good. The only thing I am not sure about is the bolts on the motor, case halves and resistor. Should they be black?
Great job by Steve Hackel on the wiper motor. We saved the original part and date code sticker. He made a new sticker if I wanted to use it but I think I will keep the original sticker. Even though the original sticker is messed up a bit and in no way compares to the beauty of the motor, it adds character and originality and the new sticker is not quite exact in font and spacing.
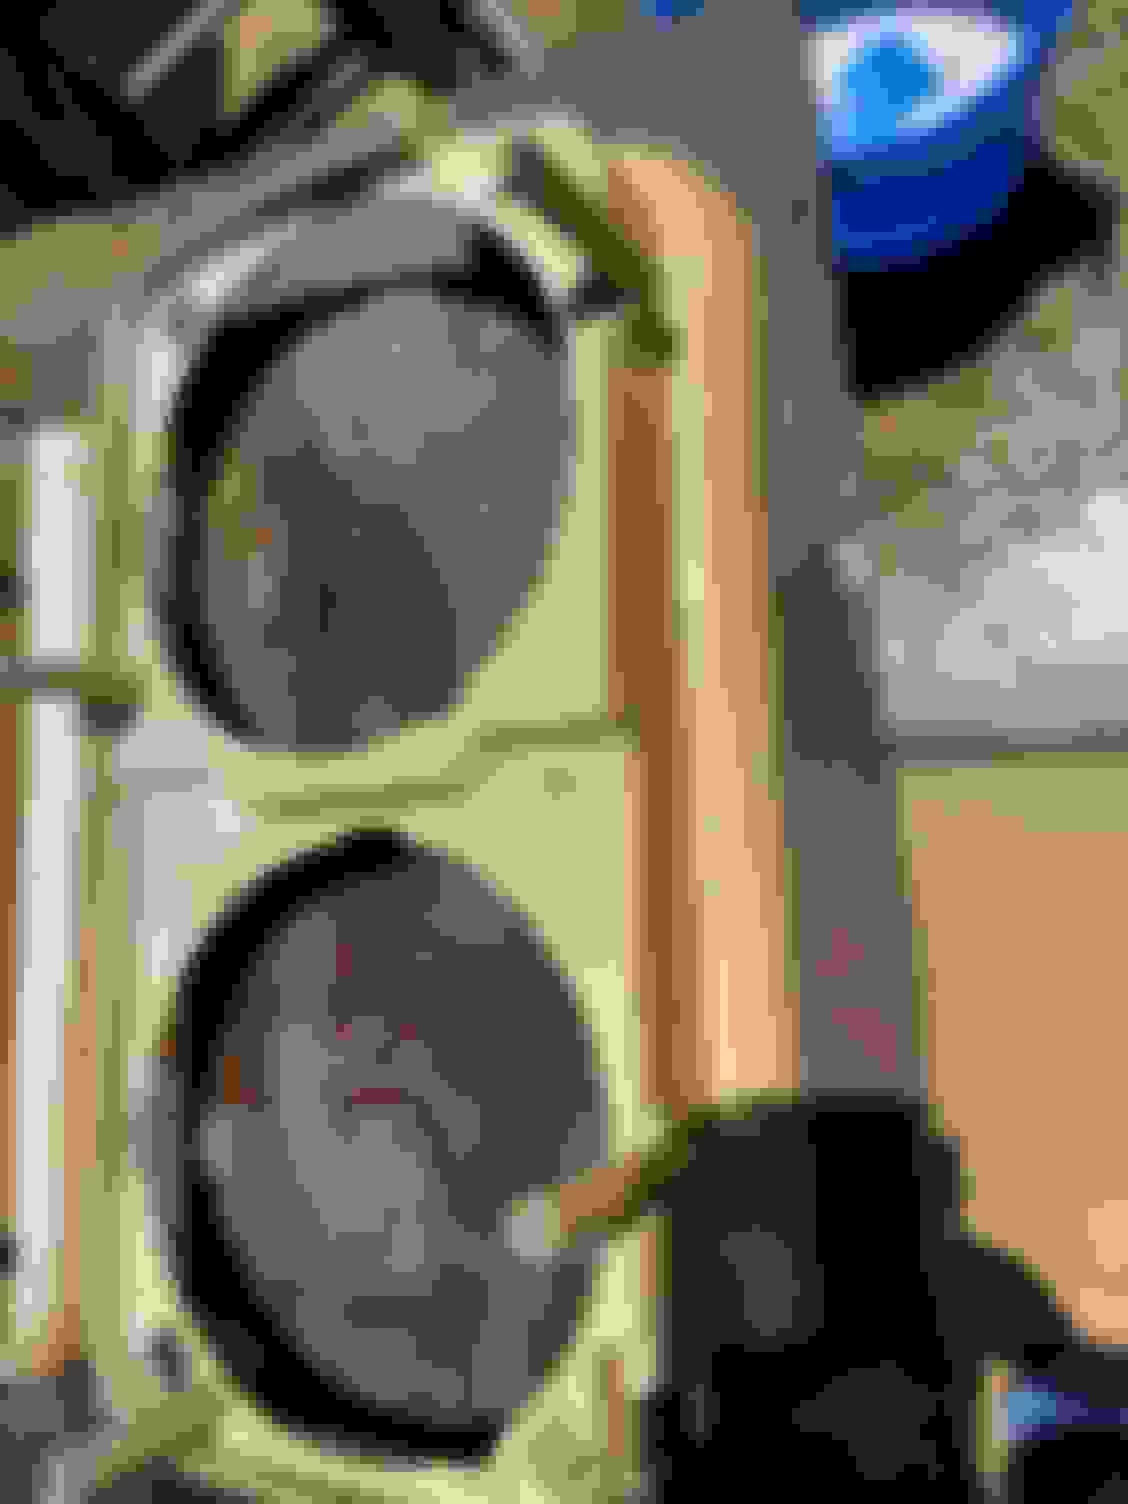
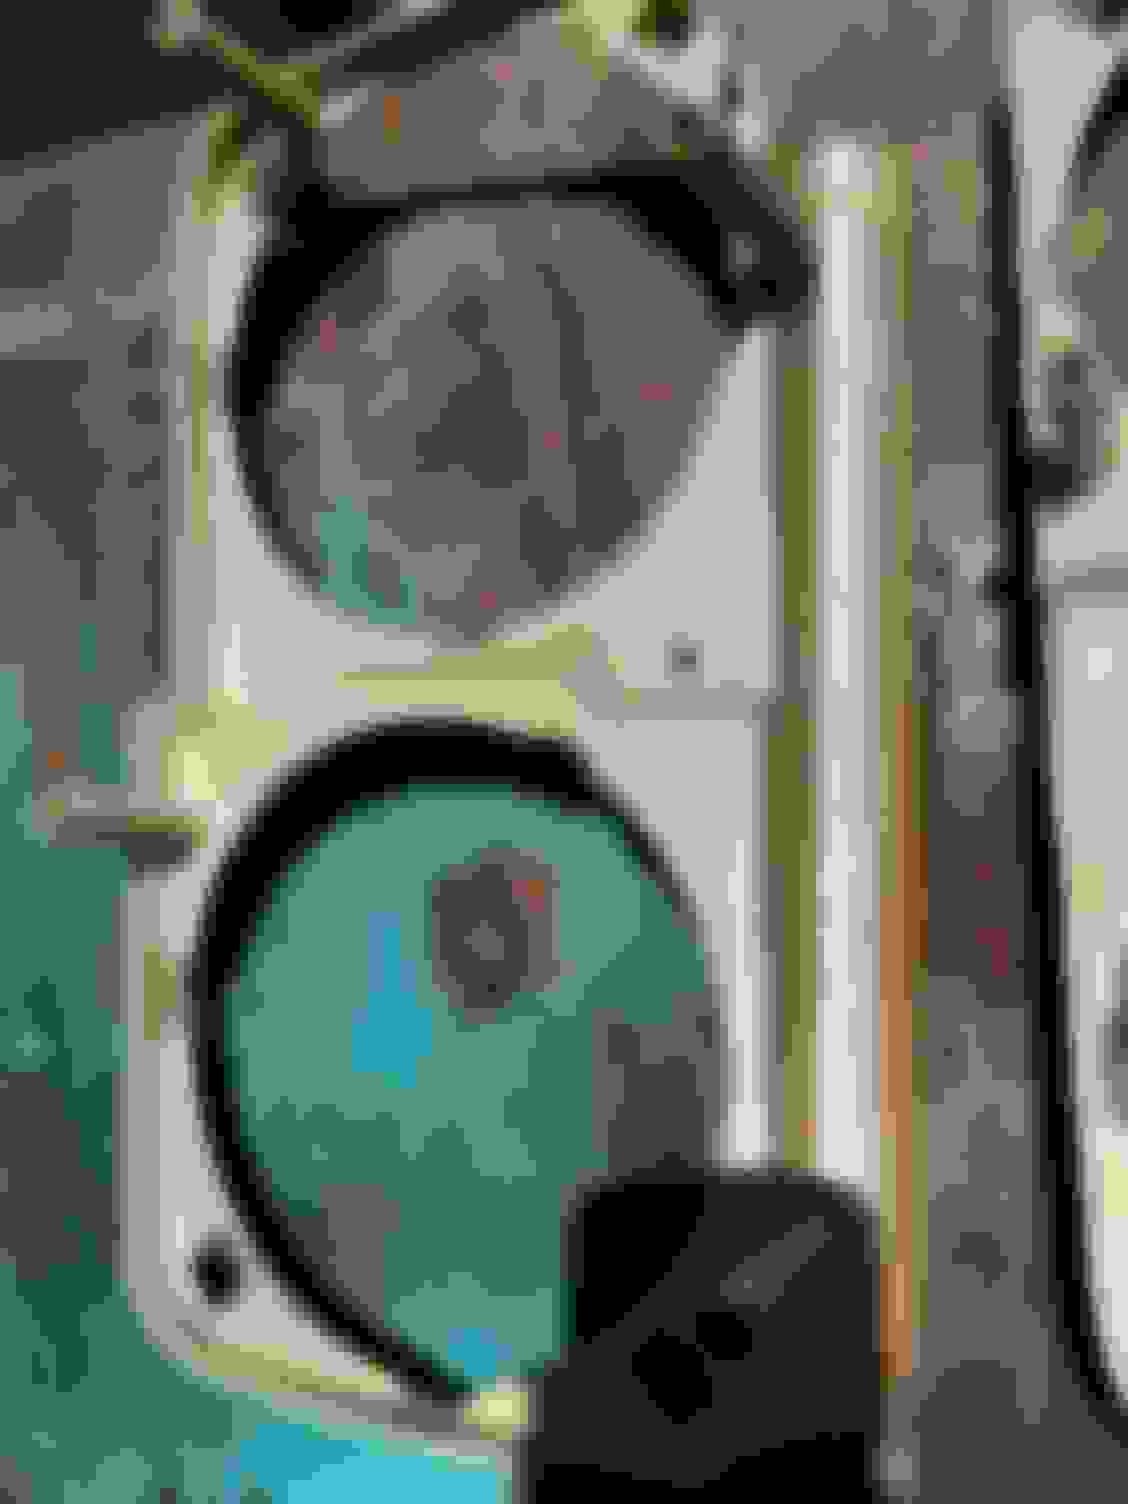
I researched as much as I could on how to restore these red wells and all the information said it takes time, patience, and lots of scrubbing. They were right. They started out as all painted black from back in the day. So far I have about 15 hrs in them so far. Bad news is they were painted black both sides and it�s detail work to get that paint out of all the cracks and crevices. Good news is they were painted black back in the 70�s and I think this allowed them to retain the nice deep red color without a lot of fading. The three photos below show progress. Still have some more to do and a few small plastic crack repairs to make. I bet I have another 10 hrs to go. I will post the finished product later. Won�t have any fingerprints left after this project.....
Starting point. You can see the front edge of the drivers side needs a piece added under the battery tray. Battery corrosion must have got to the bolts so they cut the fender well when removing it. Bummer. After about 10 hrs of stripping, washing and cleaning multiple times. After about 15 hrs. Color looks real good under the paint. A few scuffs but nothing to bad. Glad the natural color and sheen will still be there. These will not be painted and will retain the original luster.
More time this week on the red wells. At about 20 hours so far. Really tough to get the rub marks from the a/c hoses out of these things. Most of these marks will be covered up again by the hoses but trying to get them as close as possible. Probably another 5 hrs left to complete them.
More time this week on the red wells. At about 20 hours so far. Really tough to get the rub marks from the a/c hoses out of these things. Most of these marks will be covered up again by the hoses but trying to get them as close as possible. Probably another 5 hrs left to complete them. Passenger side for progress visual
I started with dawn soap, then I used a soap from SEM that has a little grit to it. I used wd40 and a little heat for the undercoating removal. I had to sand them after that. 800 to 1000 to 1500. Then heat does wonders for getting the scratches and white spots out. They won�t be perfect but a little patina will prove they are originals and not repops! Hardest part is getting g the stains out of the red. They won�t be all gone. I think I rubbed them with either soap or sandpaper probably 15 times. I had to plastic weld a few cracks also. Super labor intensive. I would have a hard time paying the labor to have someone else do these.
A few parts that I am gonna call complete for now.
Wheel wells I will call done for now. Will drill the new holes for the plastic welded repair under the battery tray when I install them to locate the holes correctly. They are in no way perfect. Doubt I can get them perfect no matter how many hours I put in them. I�ll see how they look when I install them as a lot of the blems will be covered with a cable, a/c hose, washer bottle etc. The Amount of detail needed is incredible. It�s not like you can skim them with body putty, paint and call it good......
Last edited by Ap6954; May 20th, 2020 at 09:11 AM.
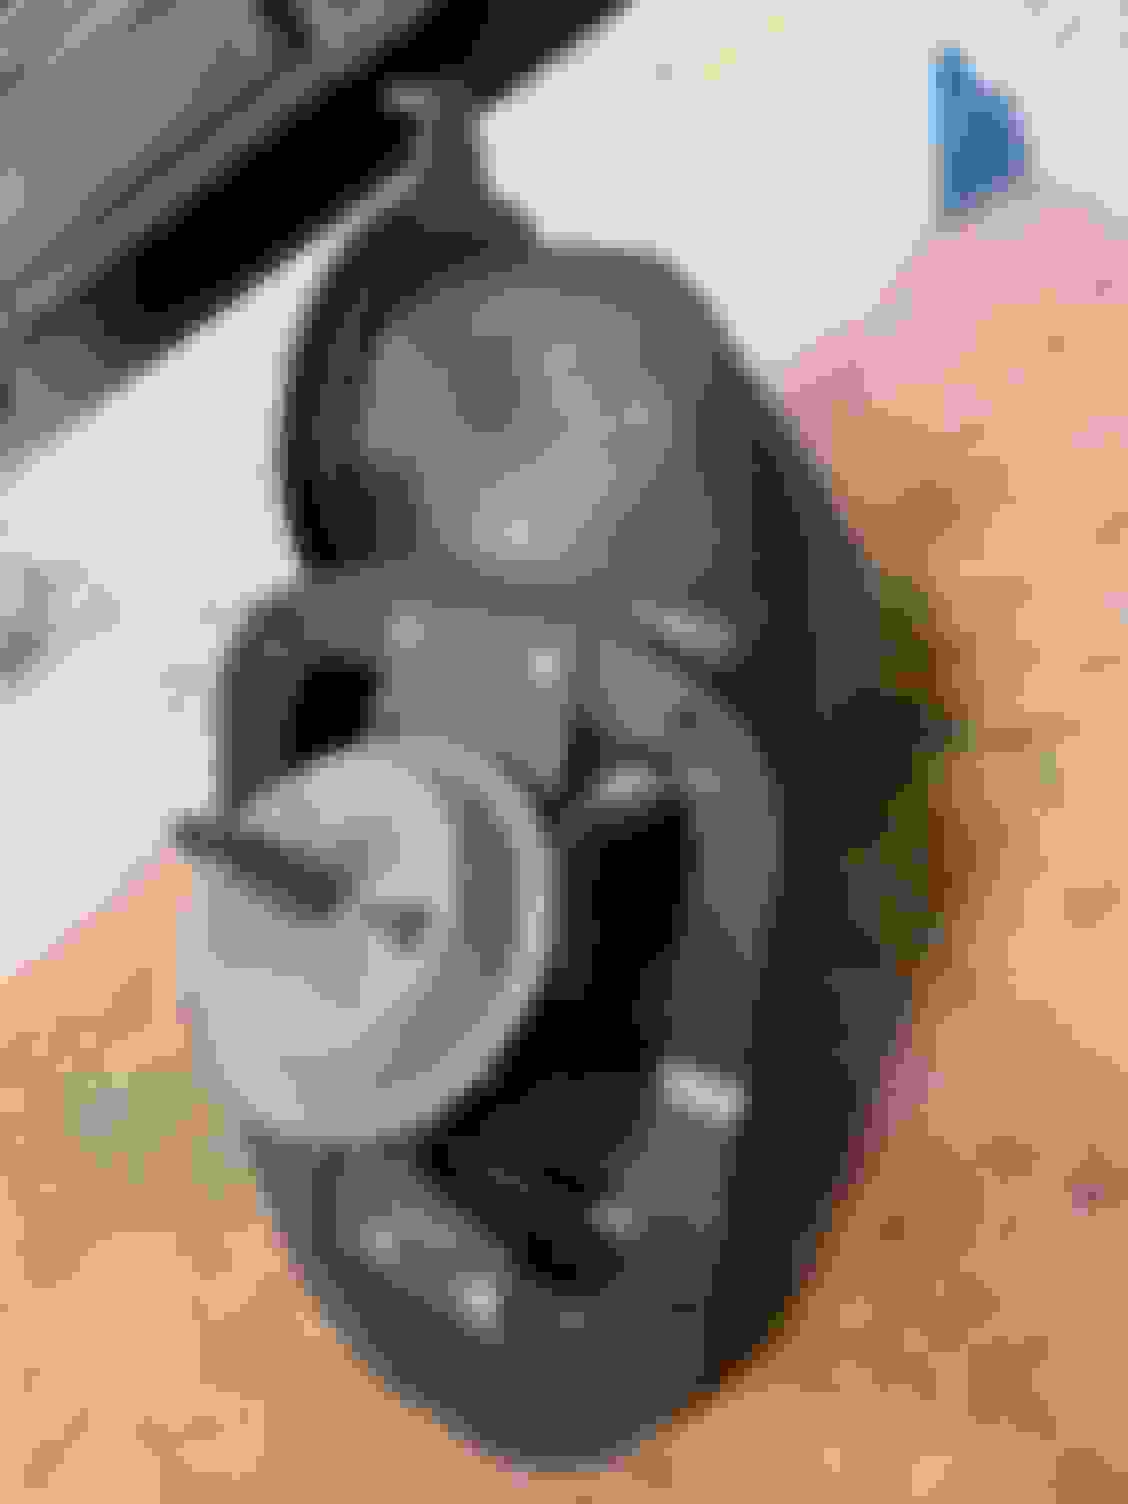
It�s interesting when you do the detail stuff how you find stampings and part numbers. I cleaned and restored the wiper linkage. Just needed a bath in evaporust, then a scubbing and painting of the arms and a final little grease on the ball joints. When I took apart the adjustable end linkage and arm that attaches to the motor even the little half bushings that clamp around the ball had a number 1 and 2. They are identical in size and shape so not sure why a different number on the two halves. Cool though.
Number 1 and 2 stamps on the adjustable ball plates for the end link I guess Part numbers on the wiper links End link to wiper motor
There always seems to be debate about the gloss of the radiator top plates and other components on restorations. Pretty sure the underside of my 4 core top plate is original. I always thought semi gloss was mostly used but it sure is shiny underneath. Almost seems more than semi gloss but pretty sure I am going to go with semi gloss
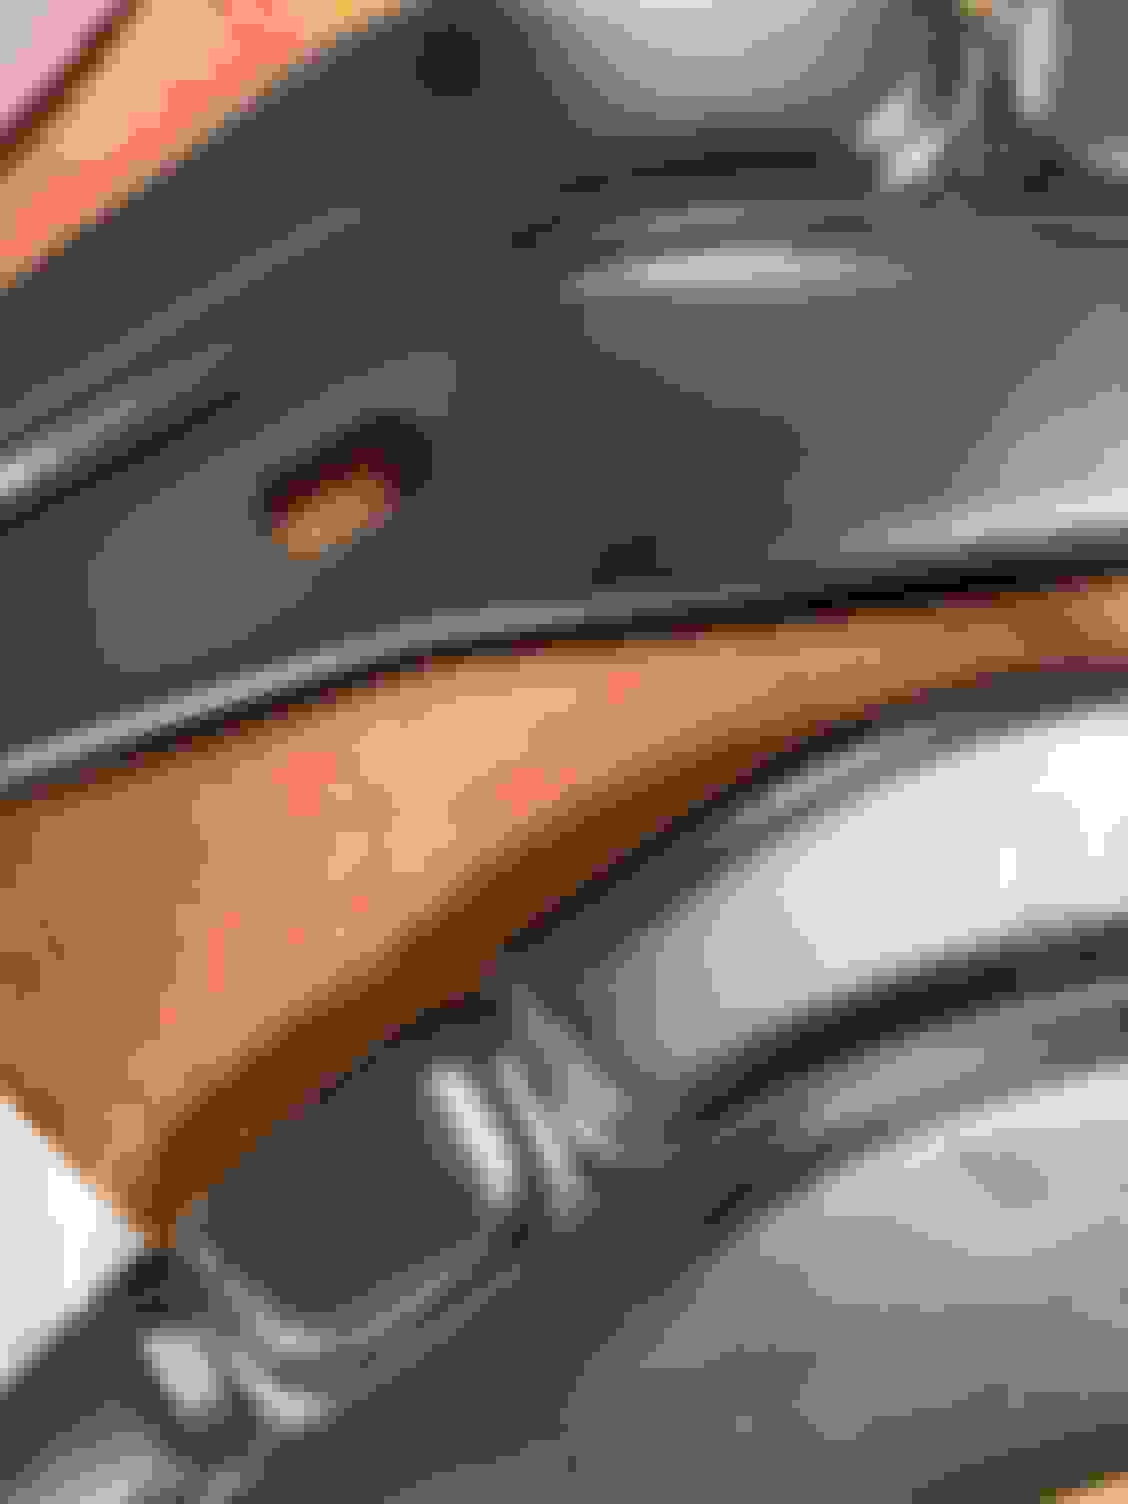
Cleaning and repairing the headlight surround plastic. The right hand has a part number AND a �70� date stamp the LH does not have the �70� date stamp. Does that mean that the LH was replaced at some paint? Was the date stamp only on the factory installed part? They look identical and the part number looks exactly the same font.
Right hand with part number and date stamp Left hand with just part number
Completed chassis was sent to the body shop to be mated back to the body for final panel fit and alignment. So I work on completing misc parts. A few of them shown below.
Open face alternator completed Dual gate shifter assembly restored. A few Parts from Shifter Doc needed to rebuild. Was really rust free. Originally the shifter frame was bare steel but after evaporust cleaning I chose to paint the frame. I left a few of the mechanisms bare steel with boeshield and greased. Restored fan and clutch Steering column not restored yet but it�s in process. Cool to see the blue paint on the column harness indicating it was sprayed after the harness was installed Heater box being restored and I was happy that the original Harrison heater core was still there. It�s getting tested and recored if needed. Dashpot restored and ready. Left the bracket bare steel and boeshield coated since it�s clearly visible on the intake.
Looking good! Just to comment on your post #94 about the metal parts looking identical but having a 1 and 2, years ago when I worked in punch press the tool makers would sometimes put numbers or letters on a punch in die sets that stamped more than one part at a time to identify which side of the die was having an issue (sheared punch, mis-sized hole, etc.) similar to molded parts with numerous cavities in the mold.
Looking good! Just to comment on your post #94 about the metal parts looking identical but having a 1 and 2, years ago when I worked in punch press the tool makers would sometimes put numbers or letters on a punch in die sets that stamped more than one part at a time to identify which side of the die was having an issue (sheared punch, mis-sized hole, etc.) similar to molded parts with numerous cavities in the mold.
That makes total sense for the 1 and 2 stamp on the wiper parts! Appreciate the discovery and insight. If they were stamping multiple parts and they all fell into a bin that would be the only way to know which die did which part. That is a great piece of trivia.
Also, though these two parts look identical, sometimes in a production setting they will stamp simple numbers,letters, or a design on similar parts (instead of the complete part number) so the assembler can tell which part goes in the correct spot to prevent them from an incorrect assembly.
The heater core tested good. After talking to the radiator shop I�ll reuse it as is. Cleaned it up for installation back in the restored heater box. I noticed a small green paint stripe on the end tank. And no it�s not copper corrosion. Positive it�s a paint stripe. Maybe a Mark after a test? Original? Cool detail that nobody will see but i will know it�s there
Finished the refurbishment of the heater box and components. All the rubber seals and gaskets were in great shape and just needed cleaning for reuse. Tested and cleaned the vacuum actuators. Evaporust on the linkages, hardware and flapper doors, and reinstall the Harrison heater core. Ready for installation.
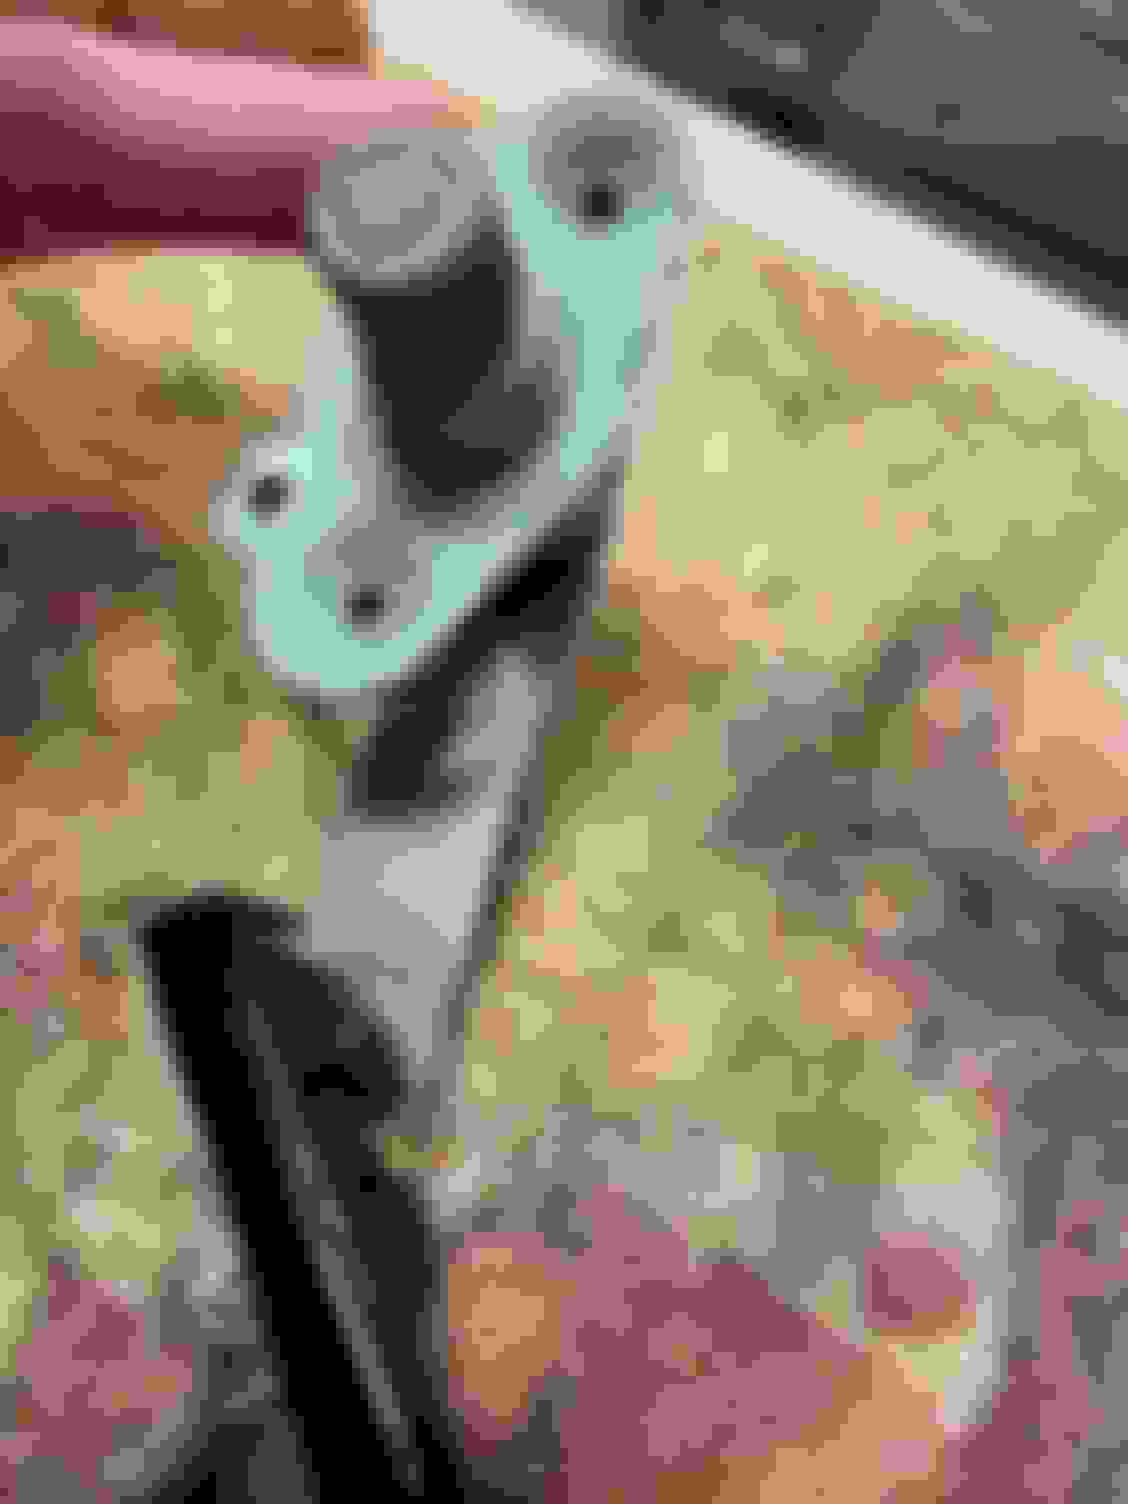
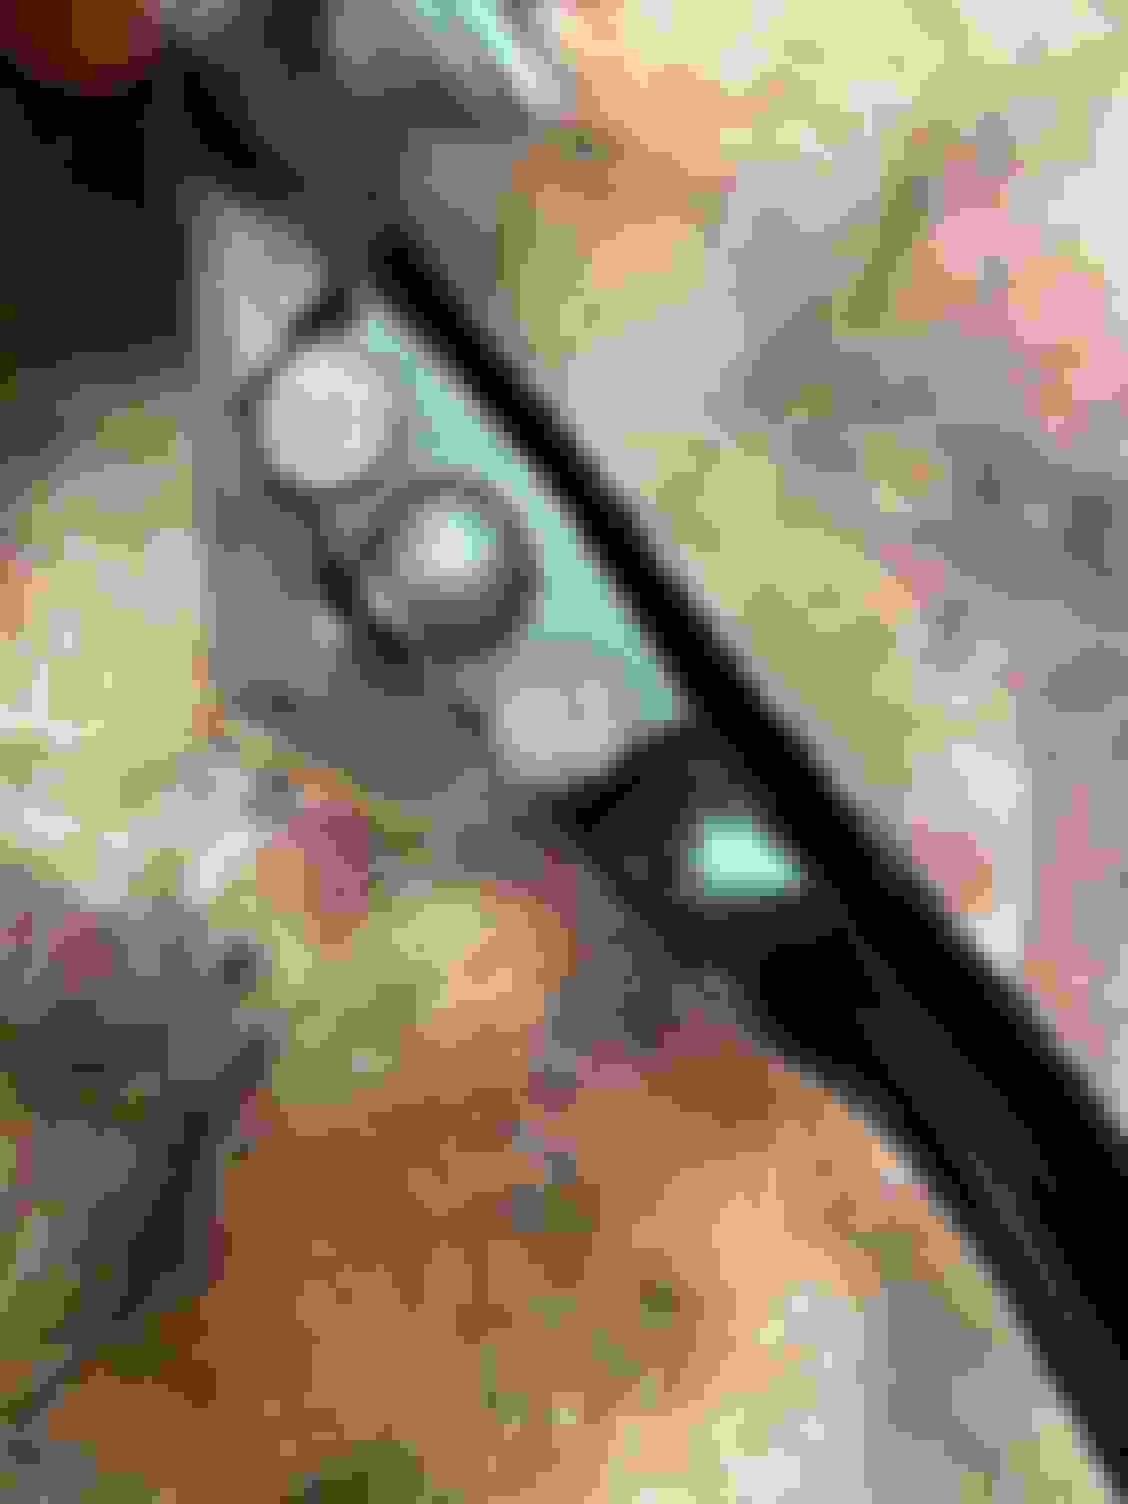
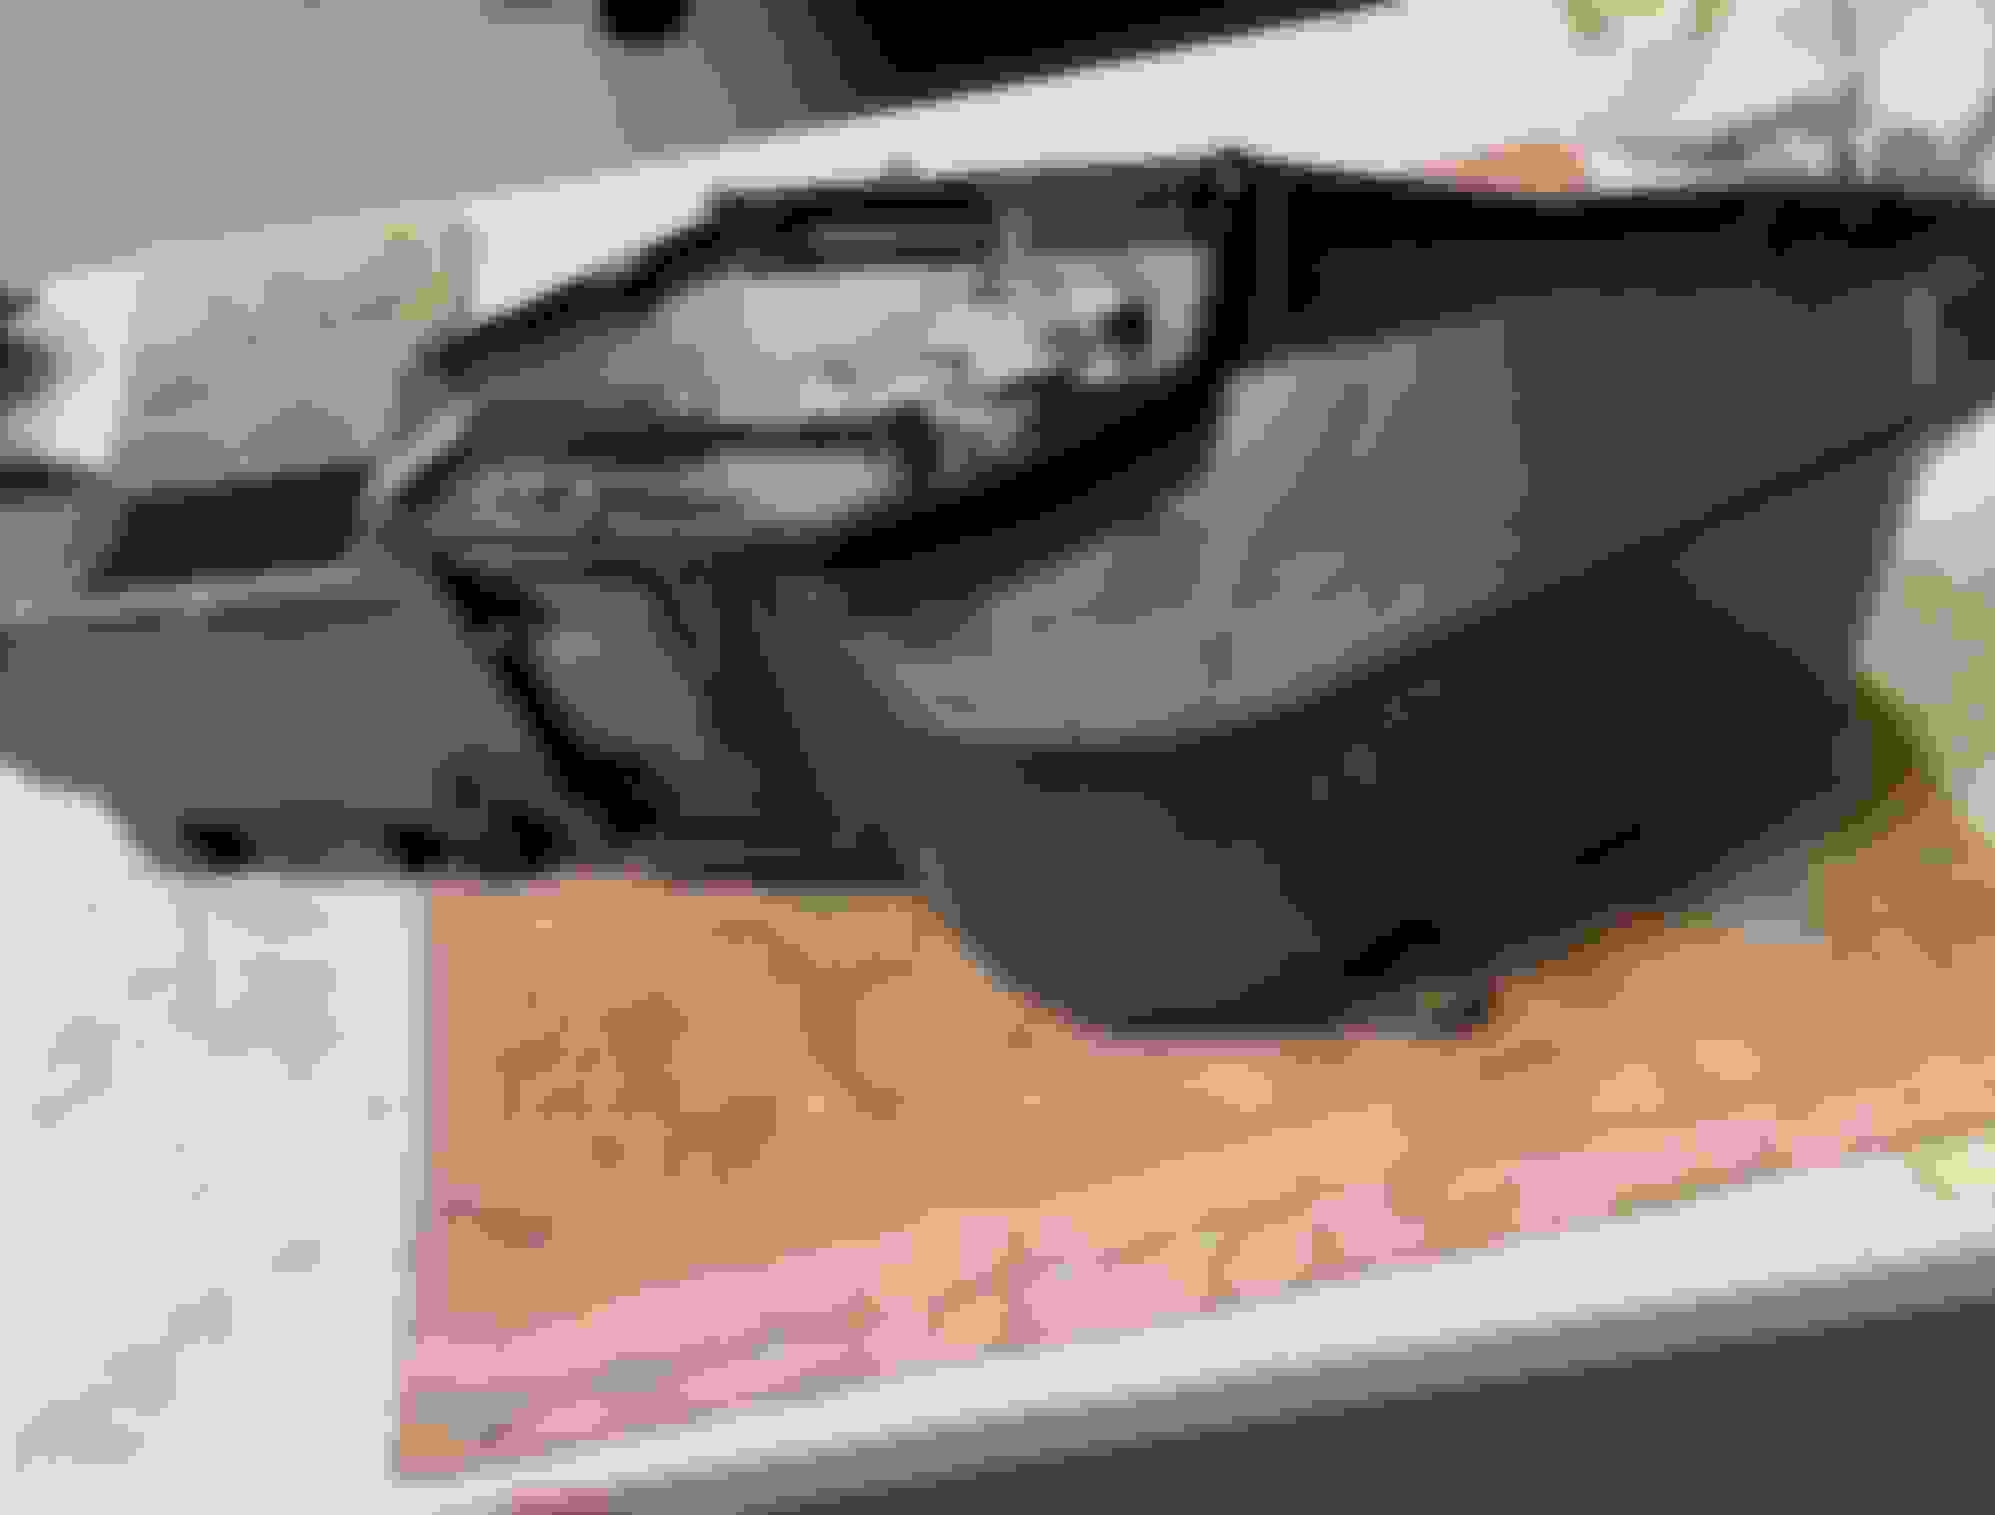
Completed the restoration of the air inlet assembly, flapper door and air actuator. Evaporust cleaned up all the bare metal on the flapper door and bracket. I needed to replace the air actuator because the original one was cracked. Got a replacement original from another forum member 442crazy and all is well. Boeshield on all the bare metal and ready for installation.
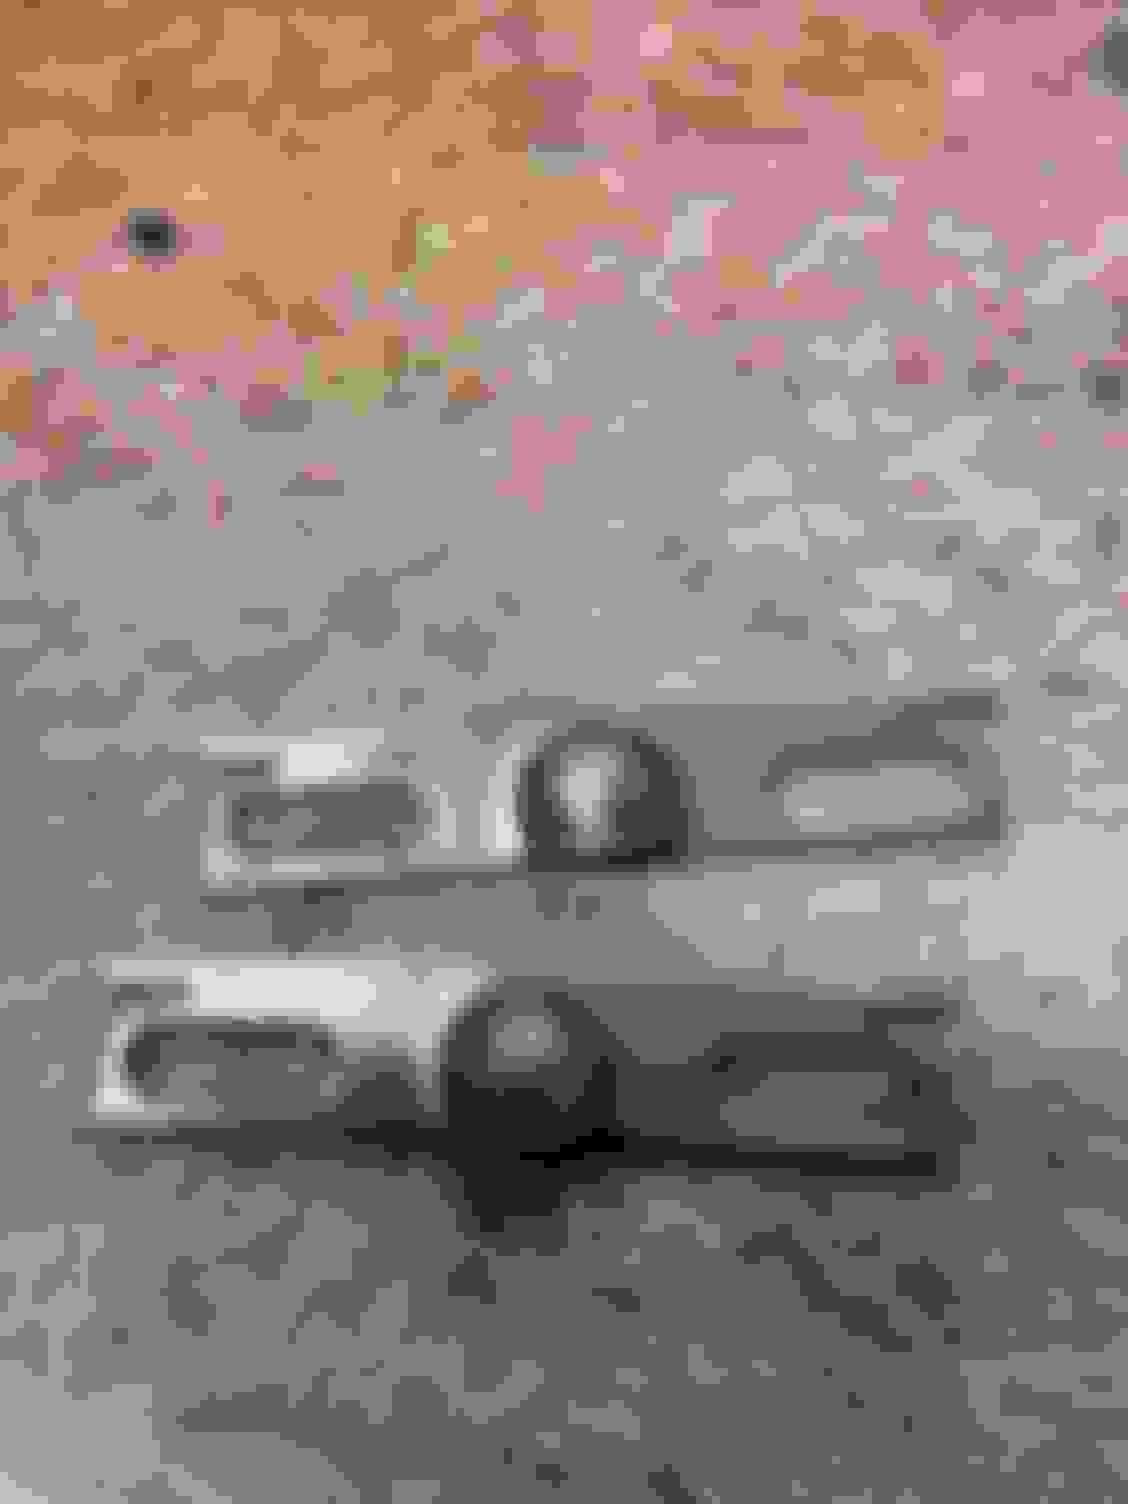
Another project. Get the bumper brackets cleaned up and mocked up to the bumpers. Brackets are pretty smooth and rust free. Even the R and L on the rear brackets are nice and crisp.
Completed the restoration of the air inlet assembly, flapper door and air actuator. Evaporust cleaned up all the bare metal on the flapper door and bracket. I needed to replace the air actuator because the original one was cracked. Got a replacement original from another forum member 442crazy and all is well. Boeshield on all the bare metal and ready for installation.
Curious: Don't Evaporust and Boeshield do the same thing? If you use Evaporust, it leaves behind a "sealant" or "skin" to prevent rust, that can then be primed, painted, etc., or left as-is. Do you need Boeshield after using Evaporust?
Curious: Don't Evaporust and Boeshield do the same thing? If you use Evaporust, it leaves behind a "sealant" or "skin" to prevent rust, that can then be primed, painted, etc., or left as-is. Do you need Boeshield after using Evaporust?
that is an interesting observation. Someone with a bit more technical knowledge of the products will have to chime in but my experience is this with evaporust. I dip a part in the product and then clean it with water afterwards to get all the residue off. The water creates the ability to start surface rust over again which I have seen pretty quick if I don�t use a coating quickly. I live in the high humidity south also. The Evaporust directions say you can use a clean evaporust bath to clean the part but it�s not meant as a long term preservative. So I use the Boeshield for that Long term preservative which I have found fo last WAY longer to prevent the surface rust on bare steel.
indeed. The chassis of this car was super free of rust pitting. Surface rust yes. But after blasting or evaporust magic they are smooth as all get out. ALL Cars of this era had surface rust since many parts were not even painted. The front bumper support bars still have the R and L markings clearly visible. The short front bumper bars did not have any stamp but maybe because they are exactly the same left and right.
Very nice work! The red inner fenders look great! You will have people asking you to do theirs now. I have had many people wanting me to do them. I quit doing them a couple years back. At $60 and hour the labor gets really high really fast. My last set I done I had to charge $1200 for. I just can't stand doing them and wouldn't do another set for double the price.
Very nice work! The red inner fenders look great! You will have people asking you to do theirs now. I have had many people wanting me to do them. I quit doing them a couple years back. At $60 and hour the labor gets really high really fast. My last set I done I had to charge $1200 for. I just can't stand doing them and wouldn't do another set for double the price.
I am with you Eric. I do not want to do another set. Mine are nowhere near where I want them to be. I will work them some more later cause I know they won�t live up to the rest of the car when I get it back from paint and start assembling. I just need to rub on them some more but needed a break. The rub marks and a few of the scratches are still to visible for my liking and a bit of the �white� still shows in a few spots. I moved on to other things that are much faster to complete and offer quicker gratification!
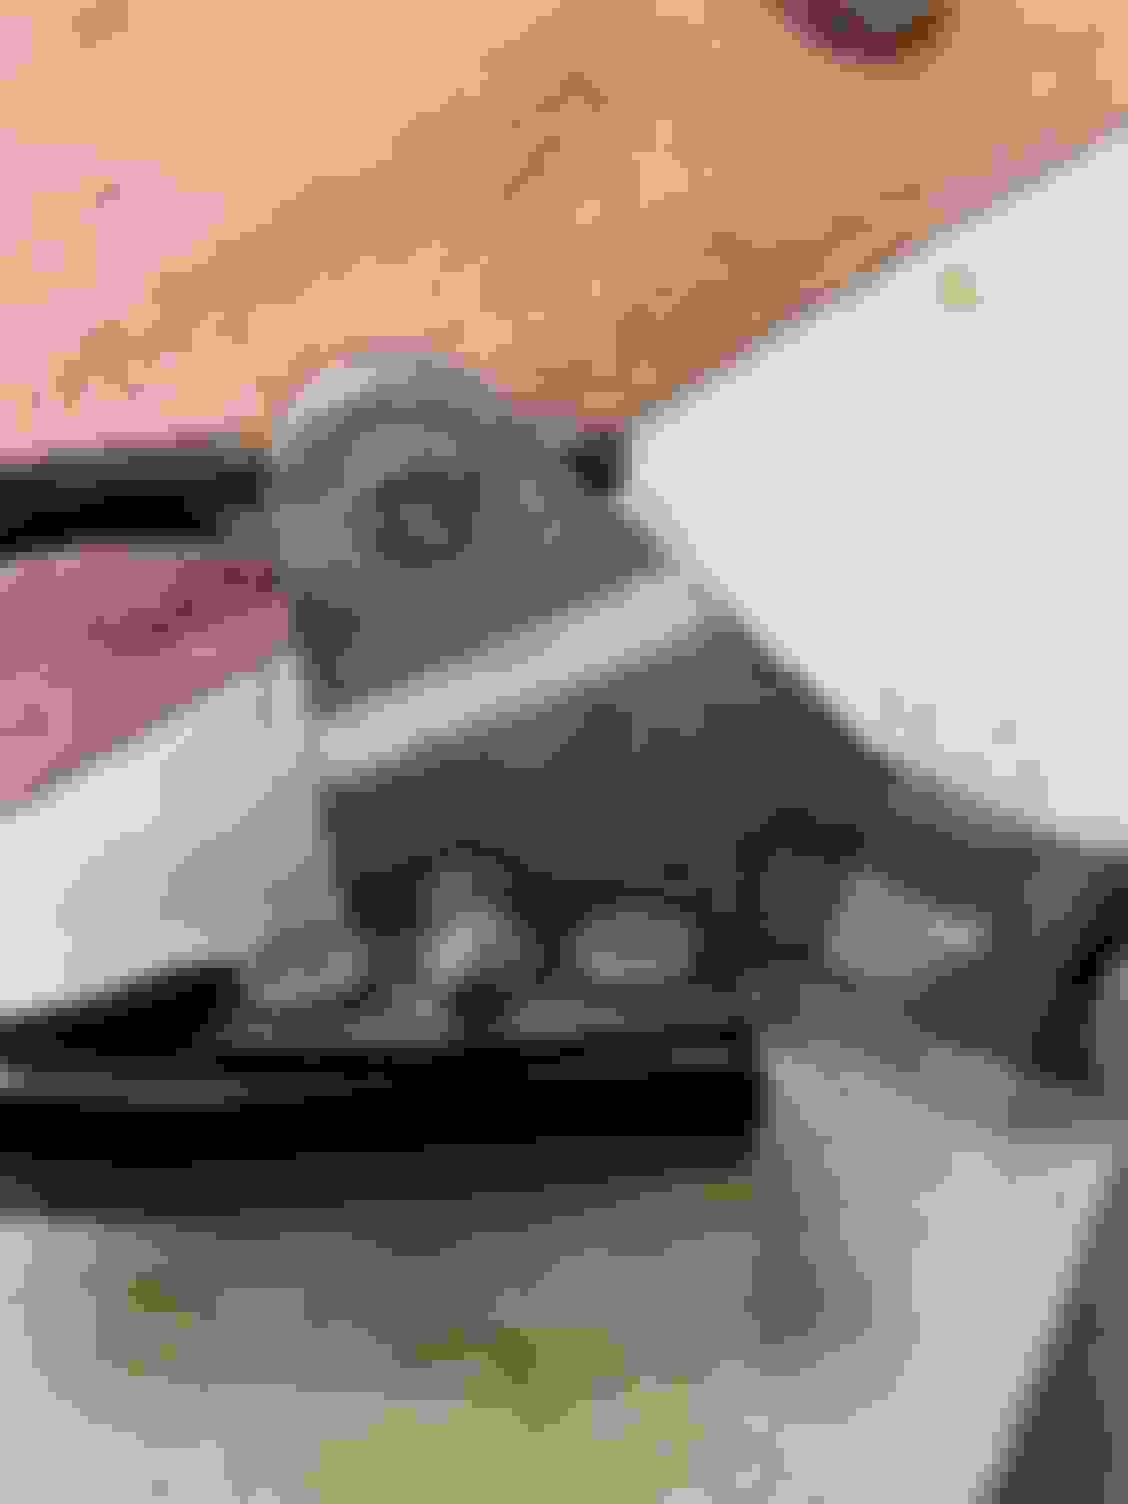
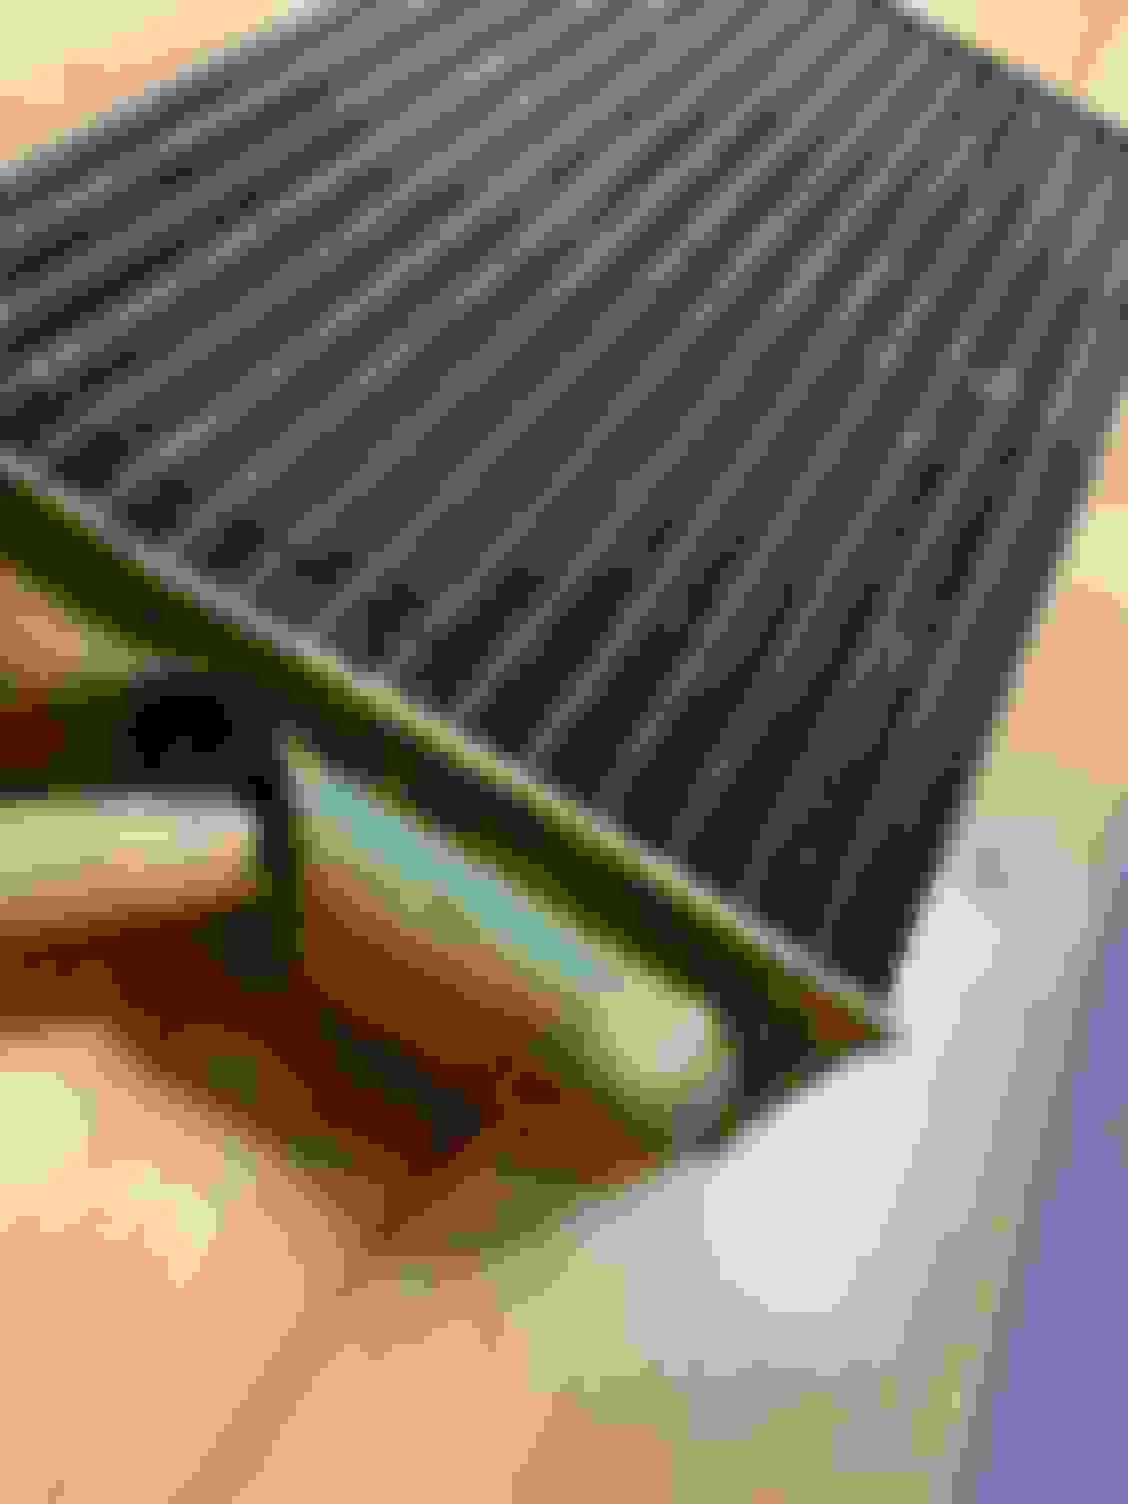
Still working on bumper hardware. The galvanized plate frame turned out real nice. A thorough cleaning and a short dip in evaporust cleaned it up real nice and left the original galvanizing in tact. Often these are rusted or the galvanizing is to far gone to save. Phosphate on the spring and bolts and ready to install.
We own a '70 W-30 that was built the first week of Dec. 69 (not the drag car pictured), just wondered how far apart our cars were assembled, our car's VIN # is 344870M213839
Keep up the fantastic work. It gives us all a bit of inspiration to get back out there reading threads like this. I'm in a "pause" moment myself on a very similar restoration but you have kick started me again. Keep your updates coming. Cheers Rohan
We own a '70 W-30 that was built the first week of Dec. 69 (not the drag car pictured), just wondered how far apart our cars were assembled, our car's VIN # is 344870M213839
0159 so we are about 3700 cars different. They turned some cars out back then. Not sure how many a day but I know it was a lot. That�s why the build quality was, let�s say, not the best! Others on this forum probably know how many Cars a day were made back then.
Keep up the fantastic work. It gives us all a bit of inspiration to get back out there reading threads like this. I'm in a "pause" moment myself on a very similar restoration but you have kick started me again. Keep your updates coming. Cheers Rohan
do it! Get back at it! We all reach a point where we have to take a pause and reset with these type of projects. It�s quite an undertaking and frustration sets in many times. I�m like you and look for inspiration in others progress to!
Finished coating the front bumper brackets. They also had the R and L stamping and were were smooth. No body filler on these brackets. Pretty smooth without. Now I am working on the light housings, lens�s, and hardware. front and rear.
 March 8th, 2020, 06:35 AM


 That is correct