When you click on links to various merchants on this site and make a purchase, this can result in this site earning a commission. Affiliate programs and affiliations include, but are not limited to, the eBay Partner Network.
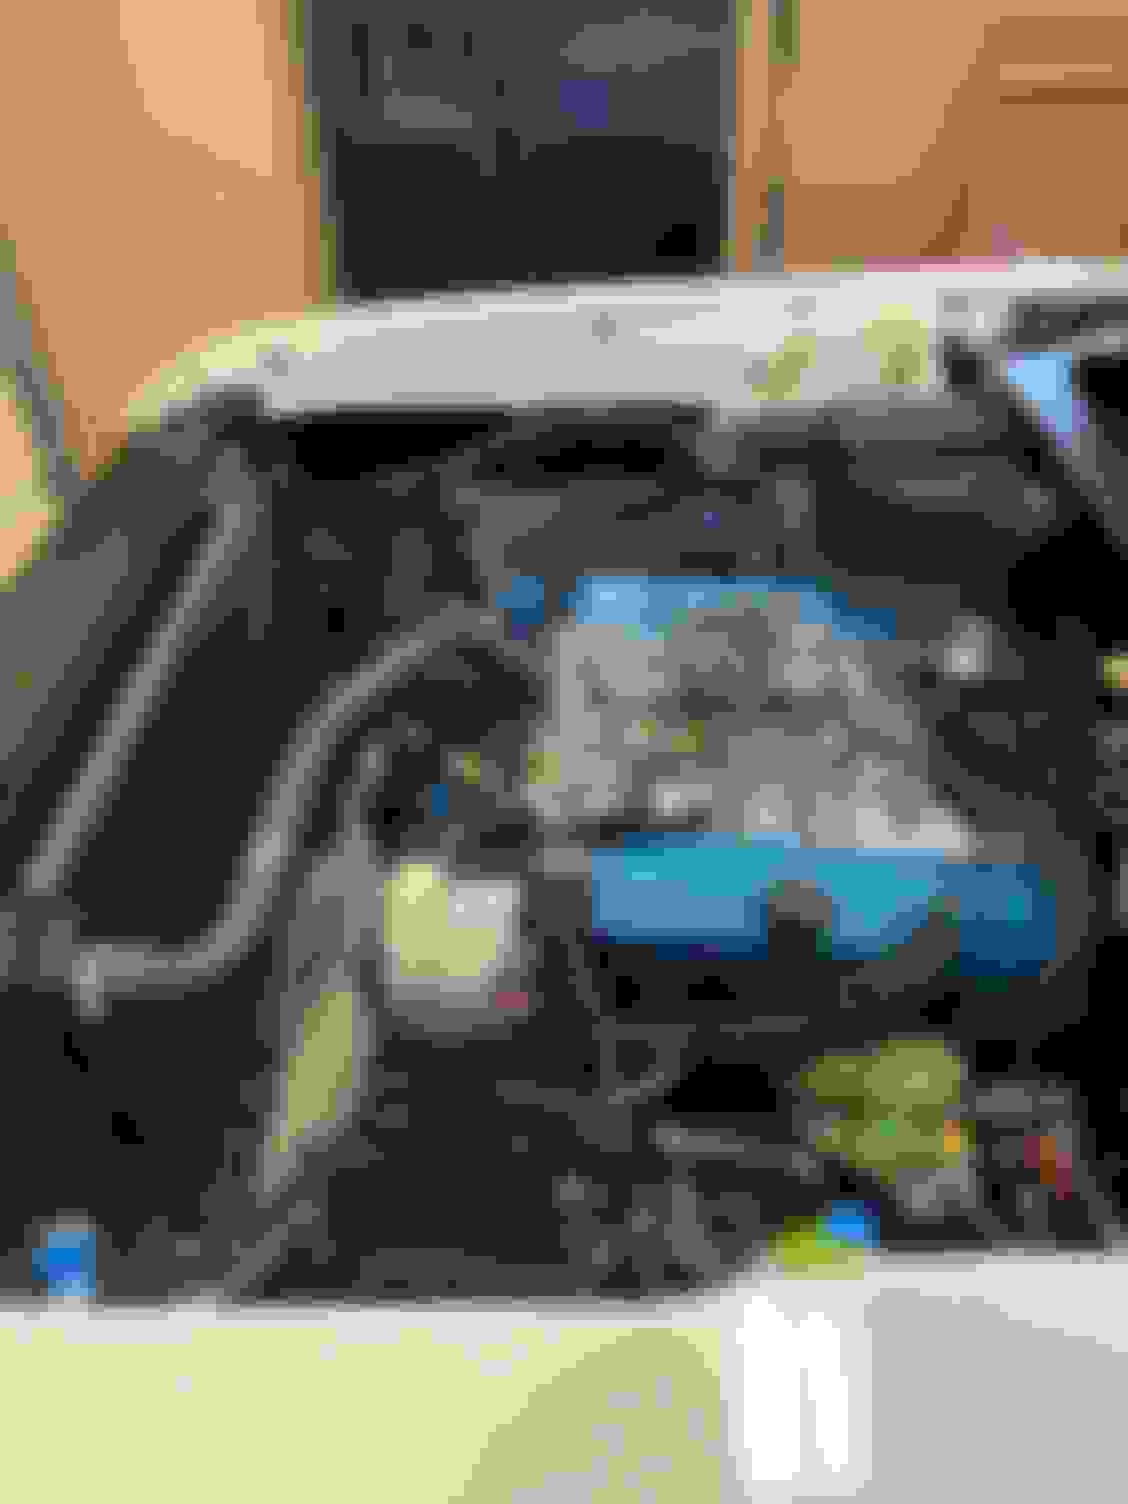
We got the engine installed with the help of my older son and a neighbor. Installed pretty easy. Only had to elongate the holes in the passenger side motor mount a bit to get the bolt to slip through. Otherwise it dropped right in. Now it�s time to install all the jewelry. This is where the PIM and advice from you guys that have more in depth knowledge really comes in handy to get all the little clips, wiring and bolts correct as practical.
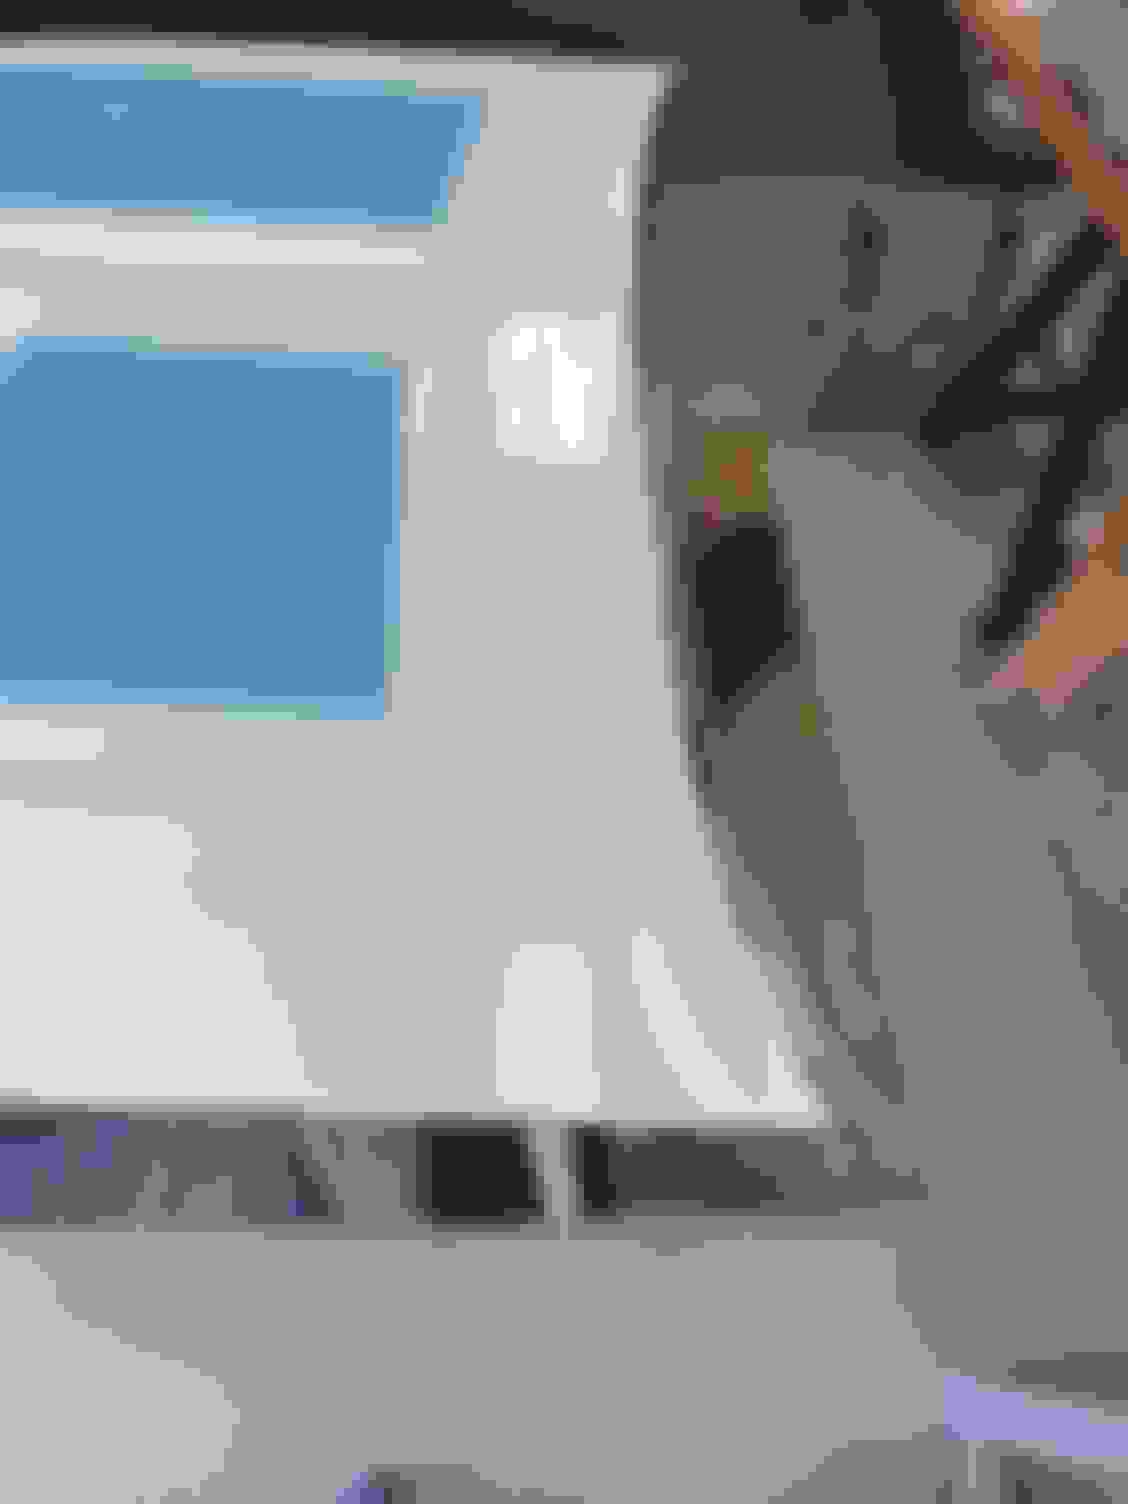
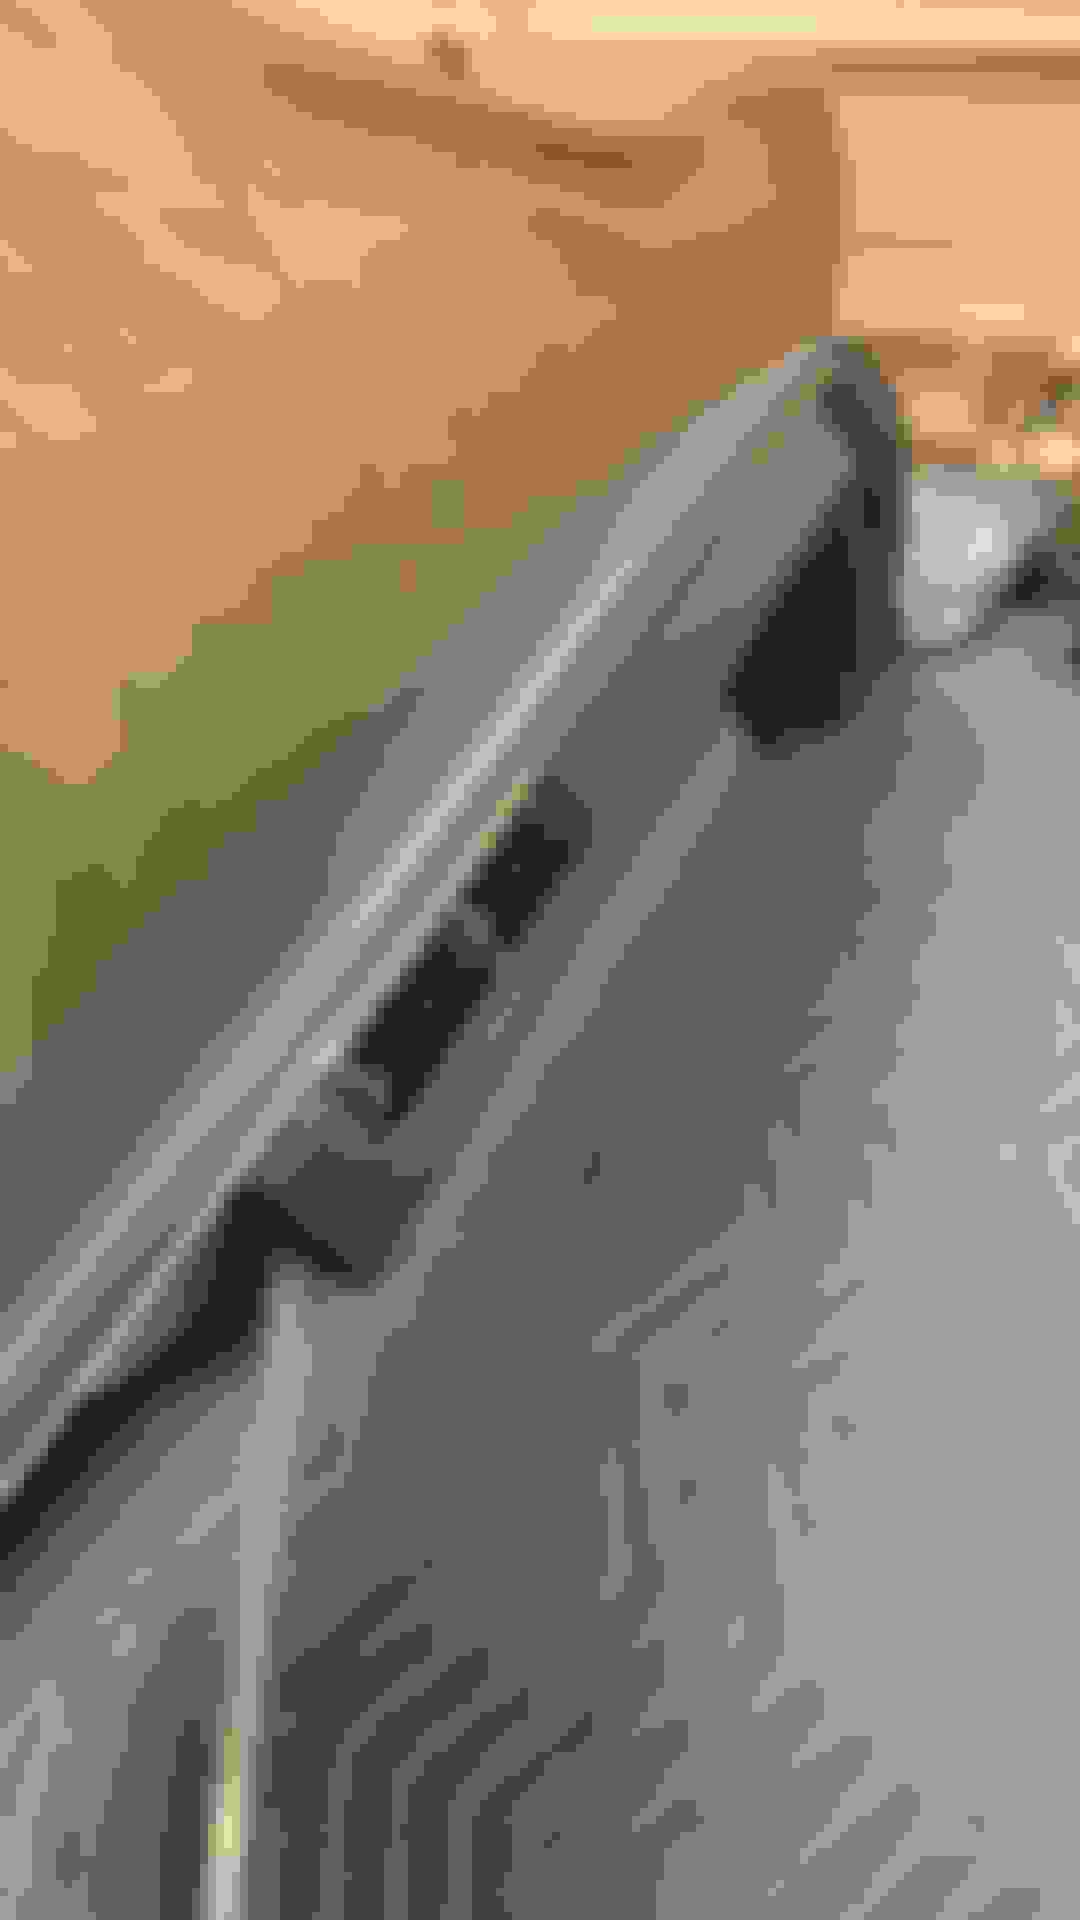
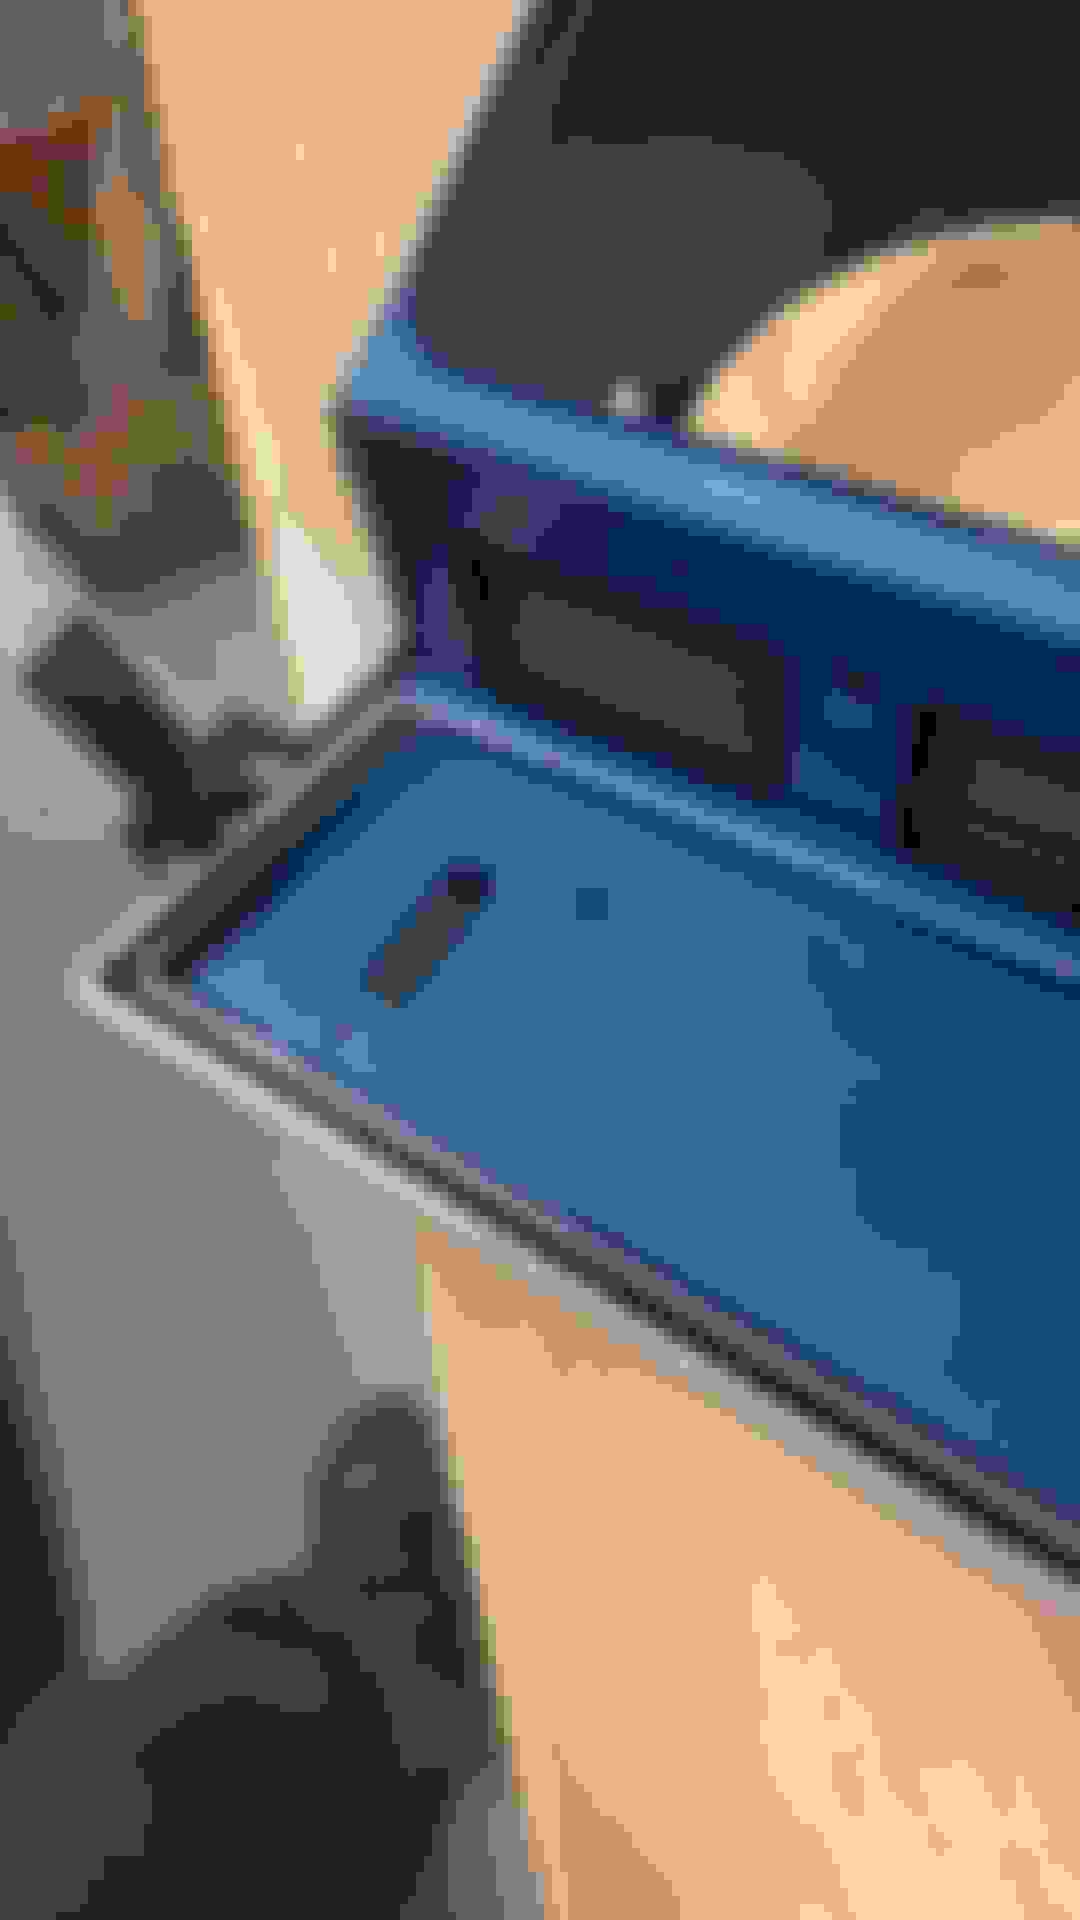
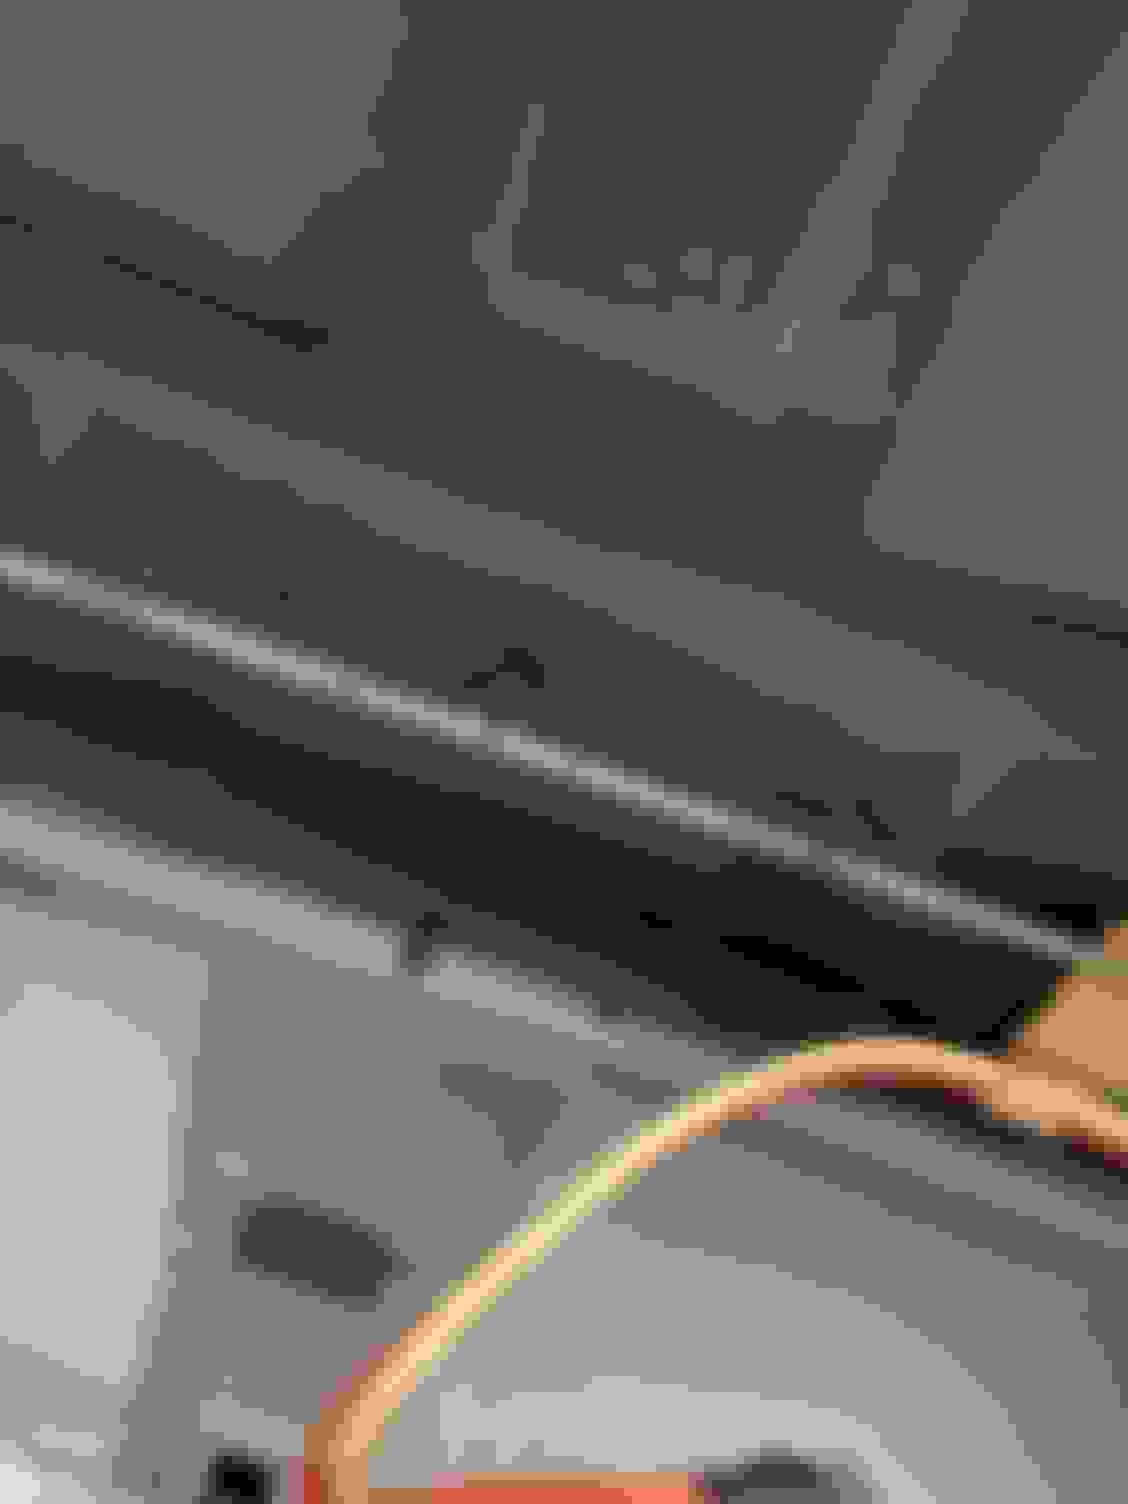
Was polishing up a few pieces of chrome trim this weekend to get on the hood while the hood is off. MUCH easier to install that rear hood chrome trim with the hood off. I never noticed this before but there is a hard line on the top rear of the trim. As I looked closer the underside of the trim and the back edge is not mirror finish chrome like the top. Maybe they did this to not have as bad of sun reflections on the driver from the back edge. Or maybe they just did this cause it�s cheaper to just polish the top edge. Either way cool little detail I never saw before. Now back to finish it up. It takes me 5 times as long to do this as a pro would but my DIY approach gave me an excuse to buy a nice buffing wheel and accessories!
Thank You so much for the detailed posts and updates. Helps so many questions for so many of us. Beautiful car coming together. Nice.
your welcome. I use many of the posts by others that have detailed restorations for my work also. Good way to pay it back and pay it forward to others. IMO Sharing info keeps the hobby alive for the next generation.
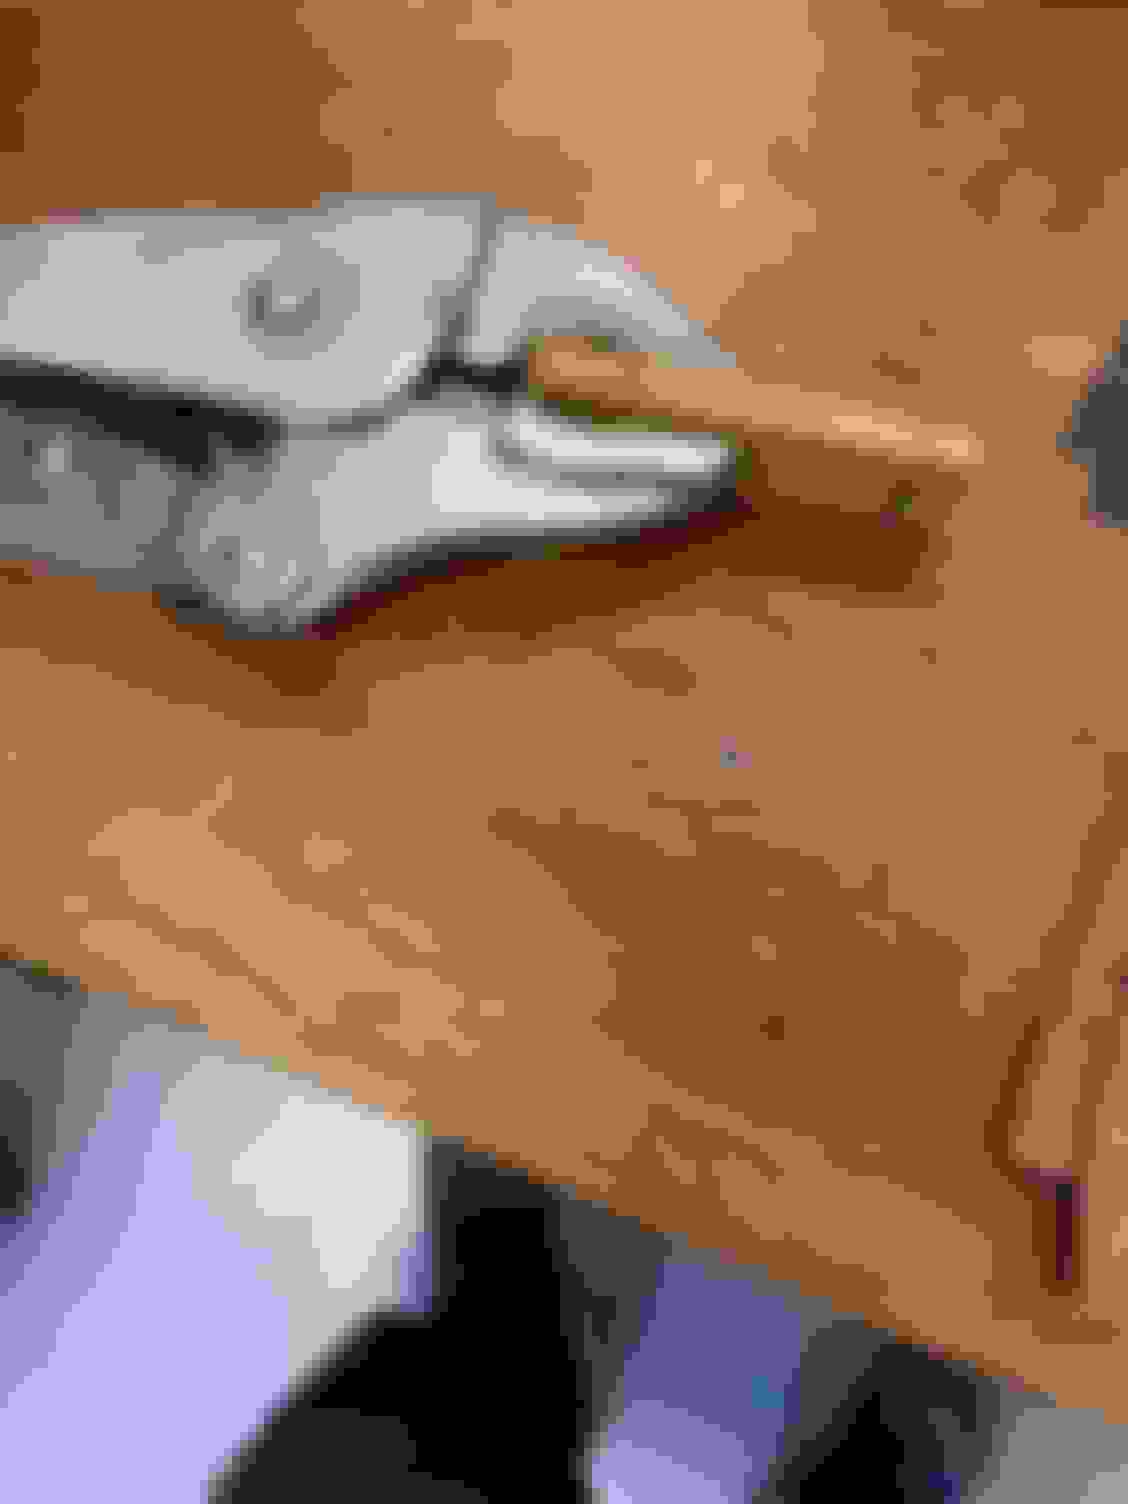
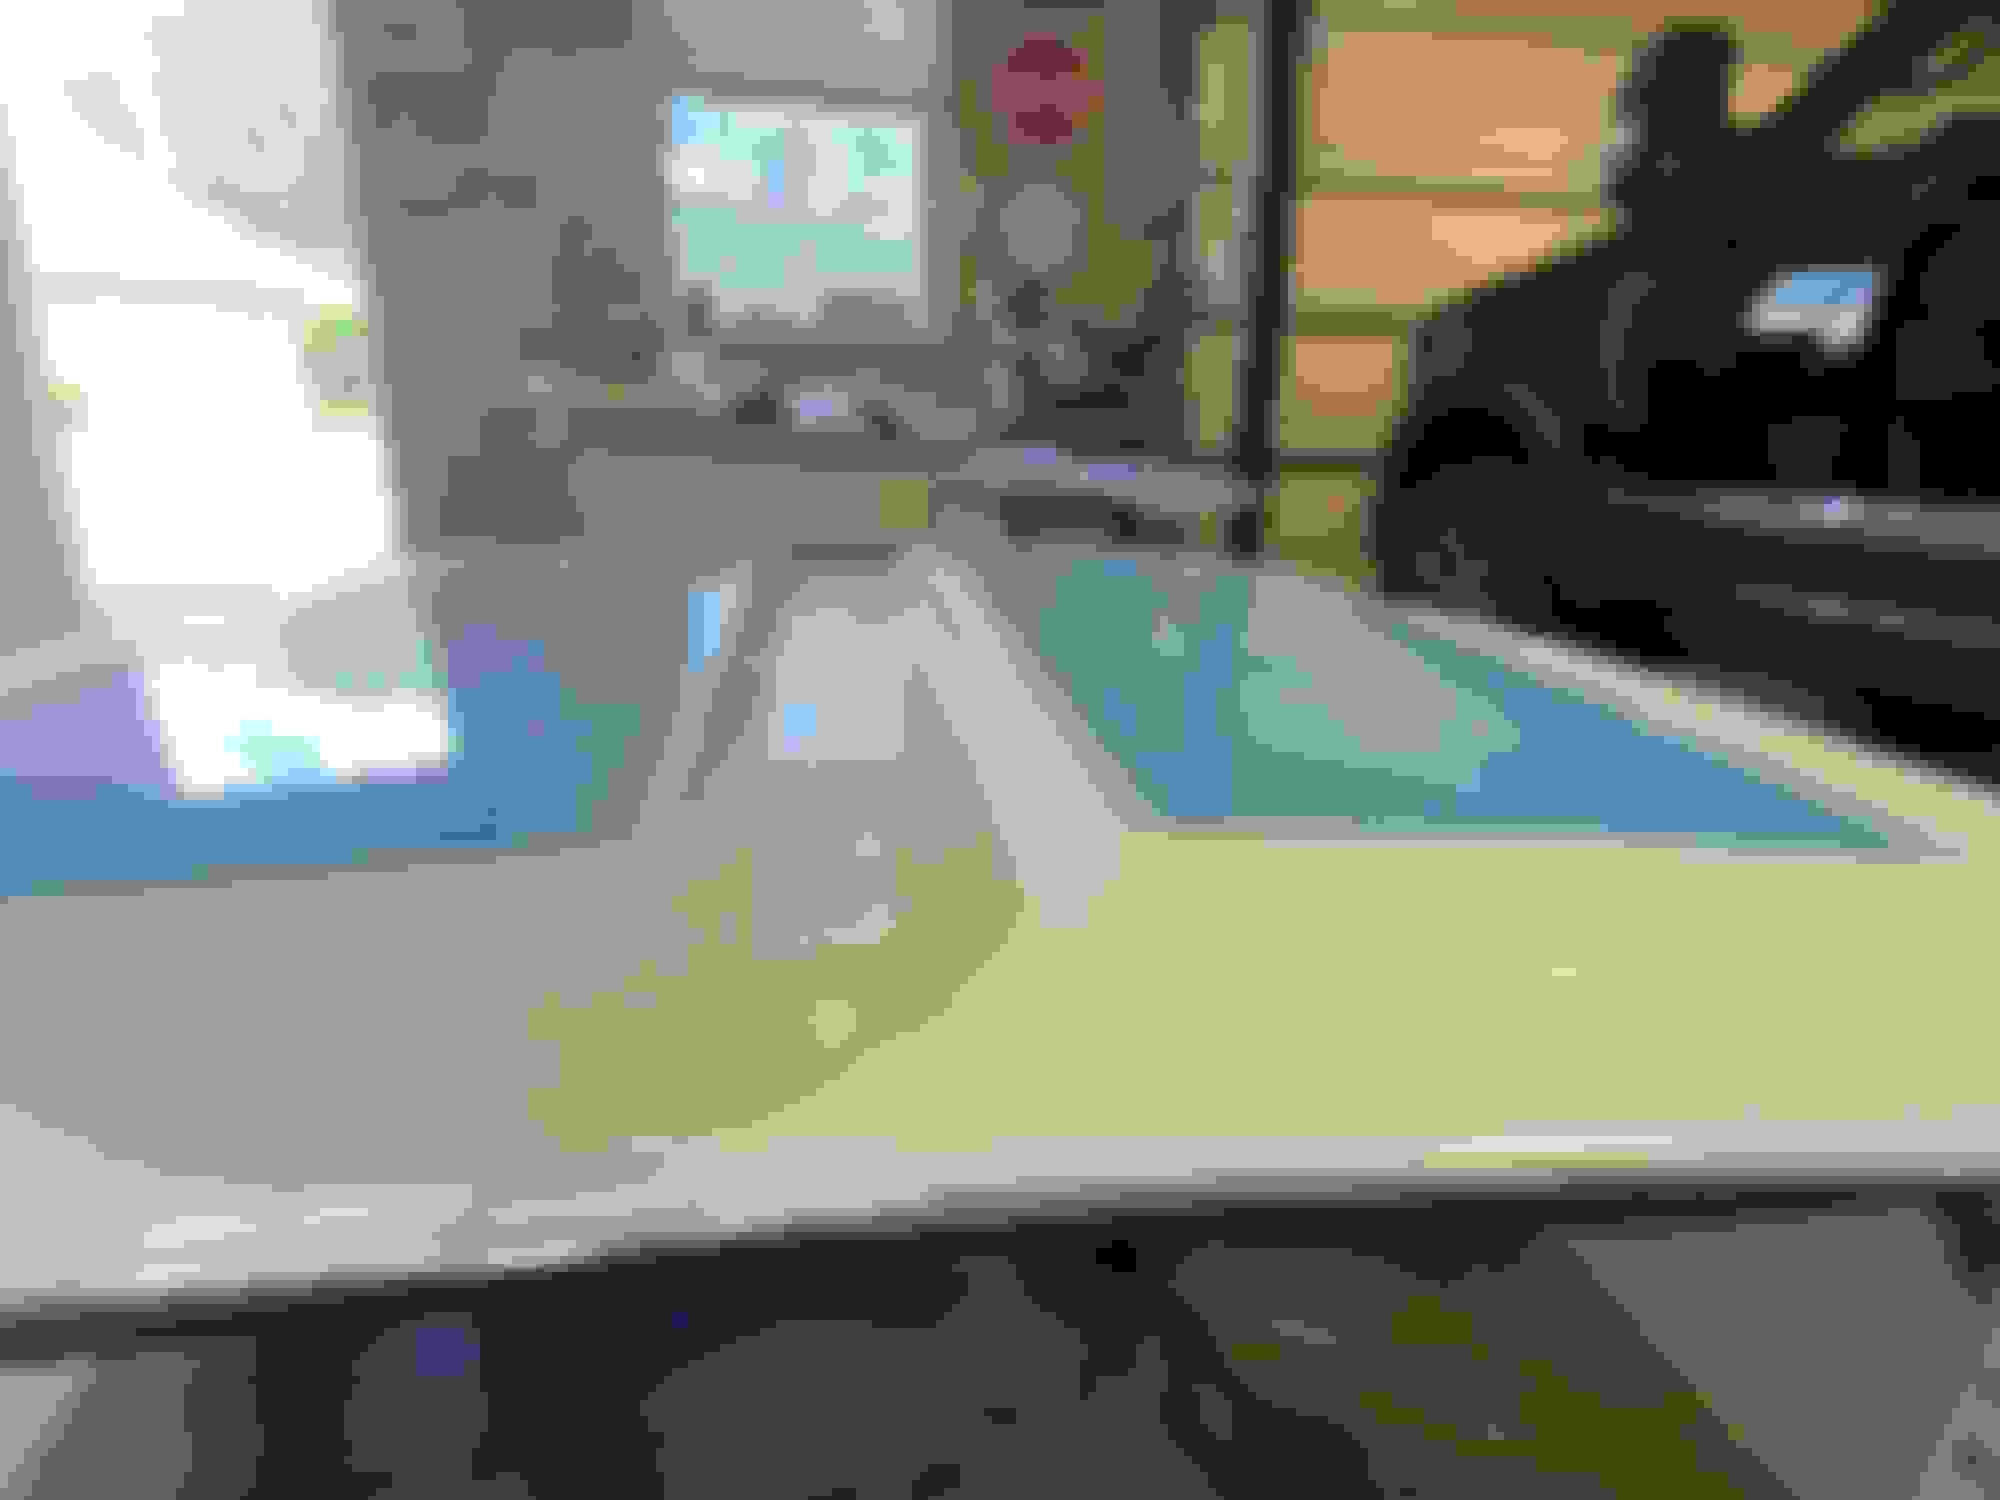
As others have said getting that hood chrome trim on after a base coat / clear coat paint job can be tough. That little bit of paint really tightens up friction fit trim. So I made this wood wedge and ran it in the trim groove a bit with a twist here and there to open up the gap just a tad to get the trim on. After that, I put a SLIGHT film of dielectric grease on the groove and then tapped the trim on. Starting with the ends and then working my way to the middle. A rubber mallet or palm of your hand is all that i needed to get the trim over the hood panel and those raised bumps on the hood that hold the trim on. Came out great.
Home made wood wedge tool
Excited to one day have that view behind the wheel.
...I put a SLIGHT film of dielectric grease on the groove and then tapped the trim on.
I've had problems with some types of dielectric grease reacting with paint over the course of ten years or so. Never a problem with synthetic grease. I suspected the reaction was due to a silicone content in some dielectric greases. This experience was not with a two-component paint, however.
Just a possible watch-out for the future.
Love your detail, great pictures, and communication ethic. Nice work.
interesting point about dielectric grease and possible paint reaction. I�ll be on the lookout for that. Luckily in this application it was a super thin layer under the trim. I�m sure the paint under the trim was scratched to hell with the friction fit trim. I hate that but it is what it is. Thanks for your insights.
Excellent restoration and attention to detail. Whos is doing your body and paint?
Thanks. I did the metal work, but a shop called Road Hog did the final panel fit, body work and spraying with a lot of help from me to get the stripes, color breaks, and sheens correct. The paint still needs wet sanding and polishing but is pretty smooth with a small amount of trash in the paint and orange peel. They will wet sand and polish after I get the major mechanical stuff completed. I am close. Leaving most of the chrome trim and emblems off until they polish. But the trim on the back of the hood is a major pain with the hood installed so I went ahead and installed that. They may take the hood off to polish but didn�t want to chance it. Easy to tape it up.
What a great resto and hats off to you. You're in the phase where things start coming together quickly and all the effort and hours you've put in start to shine. Looking forward to seeing your W machine finished as that color combination is really sweet. Keep up the good work and those updates coming.
What a great resto and hats off to you. You're in the phase where things start coming together quickly and all the effort and hours you've put in start to shine. Looking forward to seeing your W machine finished as that color combination is really sweet. Keep up the good work and those updates coming.
Yes it is satisfying to get to this point where you can see some of the details come together. I think our cars are very similar with yours with the gold instead of the blue. Enjoy and I�ll keep dropping updates and on the forum. Hope to meet some of you guys in person one day.
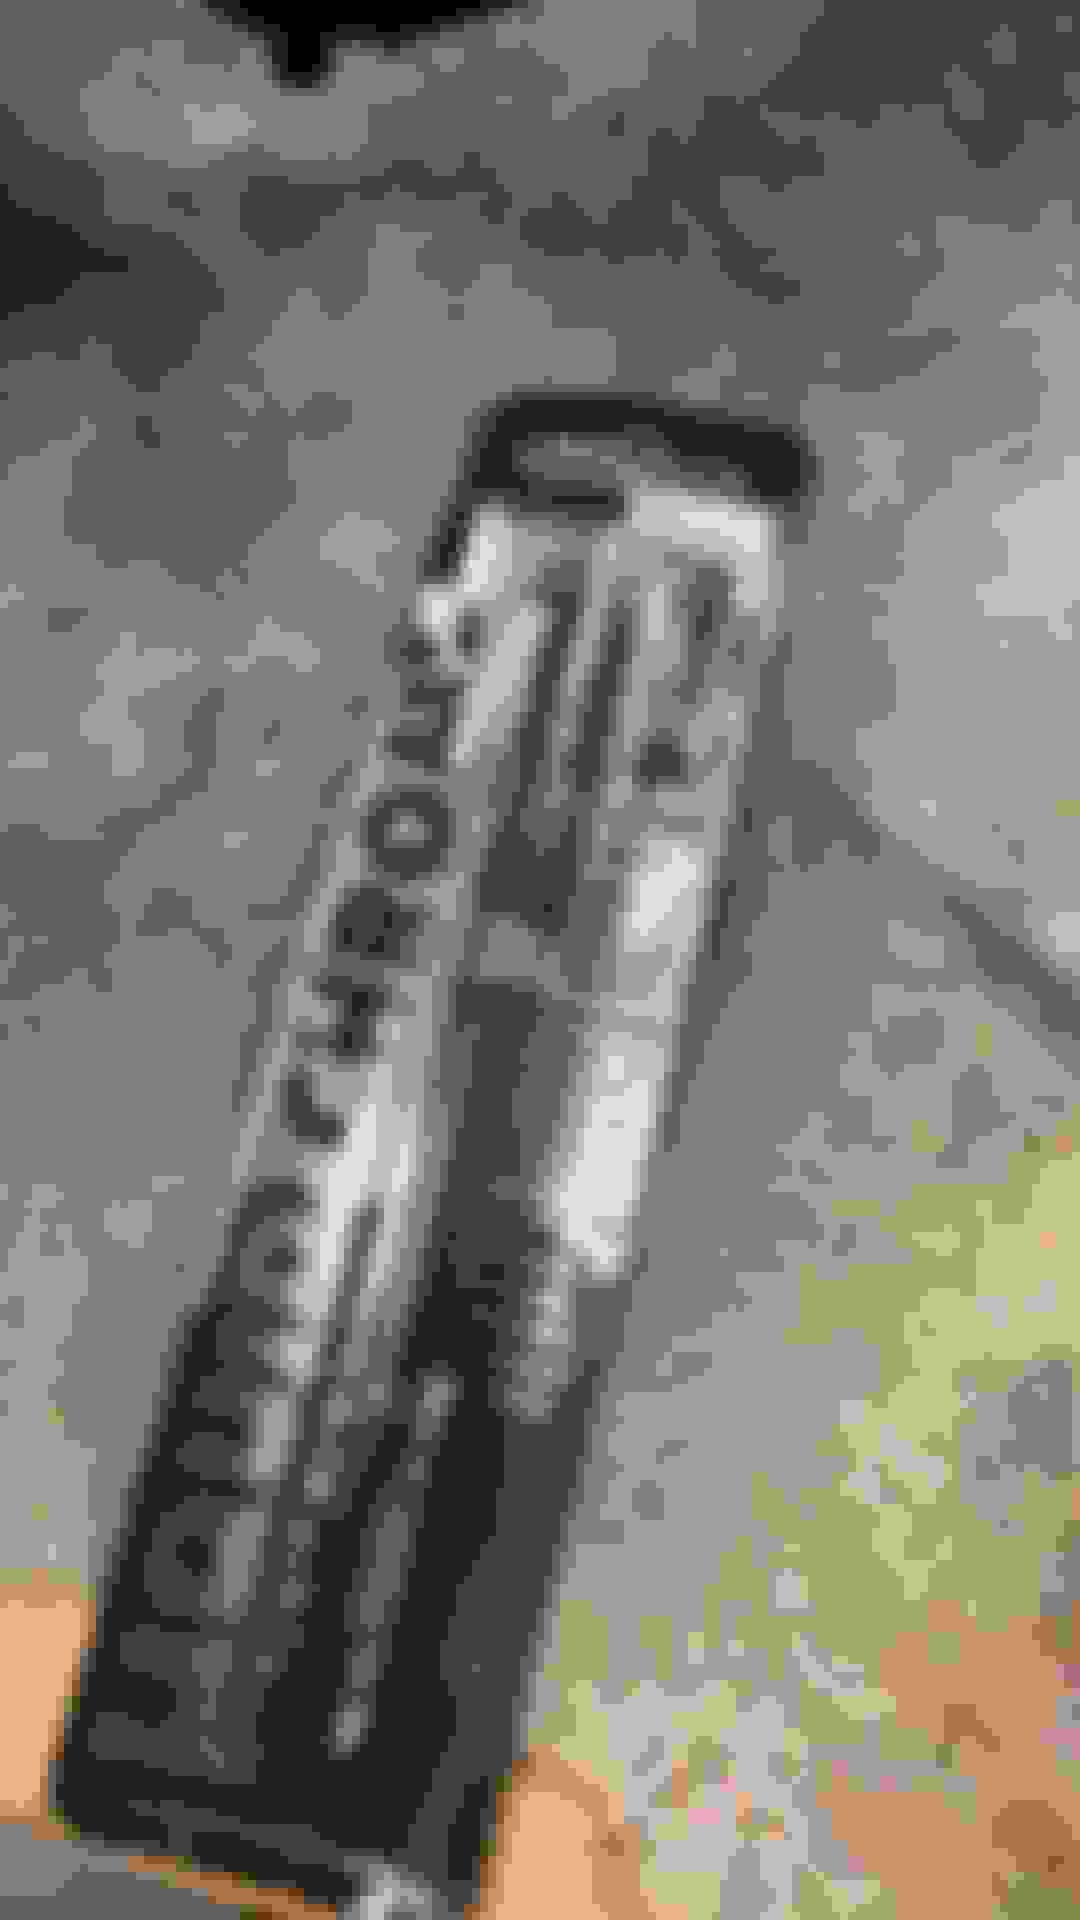
I used stainless brake lines on my project even though I know they all have trouble sealing at the flare fittings due to the hardness of the stainless vs the original carbon steel lines. I wanted the cleanliness and no surface rust look of the stainless lines so that is the direction I went. A couple of the fittings leaked slightly at the brake distribution block. A solution that has worked for me before and worked again this time is using these tiny 45 degree copper flare seals. I got mine from Grainger, but I am sure you can get them other places. 10 to a box and they offer them for the different line sizes. I have a box of the 5/16� and 1/4� ones. They work like a charm and seal the weeps up great. Some of the brake fittings OD is larger than the OD of the seal so you have be careful aligning the seal on the orifice as the copper seal will slide around a bit. But they work perfect and you don�t have to tighten the fitting as much as you do without them to get the stainless to seal. Cranking down on those fittings always makes me nervous. Nice little tip that may help someone else.
Tiny seal. $10/box of ten is not cheap but worth it to get a good leak free seal. Grainger part numbers for the 5/16� and 1/4� seal.
Those copper flair washers are for sure the way to go with the Stainless. I was out of them when I built my W-30 and was ready to put them on. I decided to just go ahead and put them on without the copper washers. Sadly, I had one leak when it was done. I should have waited on the copper. In my opinion, They should sell these with the lines when you order stainless.
Those copper flair washers are for sure the way to go with the Stainless. I was out of them when I built my W-30 and was ready to put them on. I decided to just go ahead and put them on without the copper washers. Sadly, I had one leak when it was done. I should have waited on the copper. In my opinion, They should sell these with the lines when you order stainless.
good point Eric! They should sell them with the stainless lines. I bet that would reduce the negative feedback from the customers. Interesting I only had a couple weeps at the dist block. Probably because it�s tough to get the lines perfectly aligned there with the tight location. You got to be spot on aligned with these stainless flares or it likely won�t seal.
Thanks. I did the metal work, but a shop called Road Hog did the final panel fit, body work and spraying with a lot of help from me to get the stripes, color breaks, and sheens correct. The paint still needs wet sanding and polishing but is pretty smooth with a small amount of trash in the paint and orange peel. They will wet sand and polish after I get the major mechanical stuff completed. I am close. Leaving most of the chrome trim and emblems off until they polish. But the trim on the back of the hood is a major pain with the hood installed so I went ahead and installed that. They may take the hood off to polish but didn�t want to chance it. Easy to tape it up.
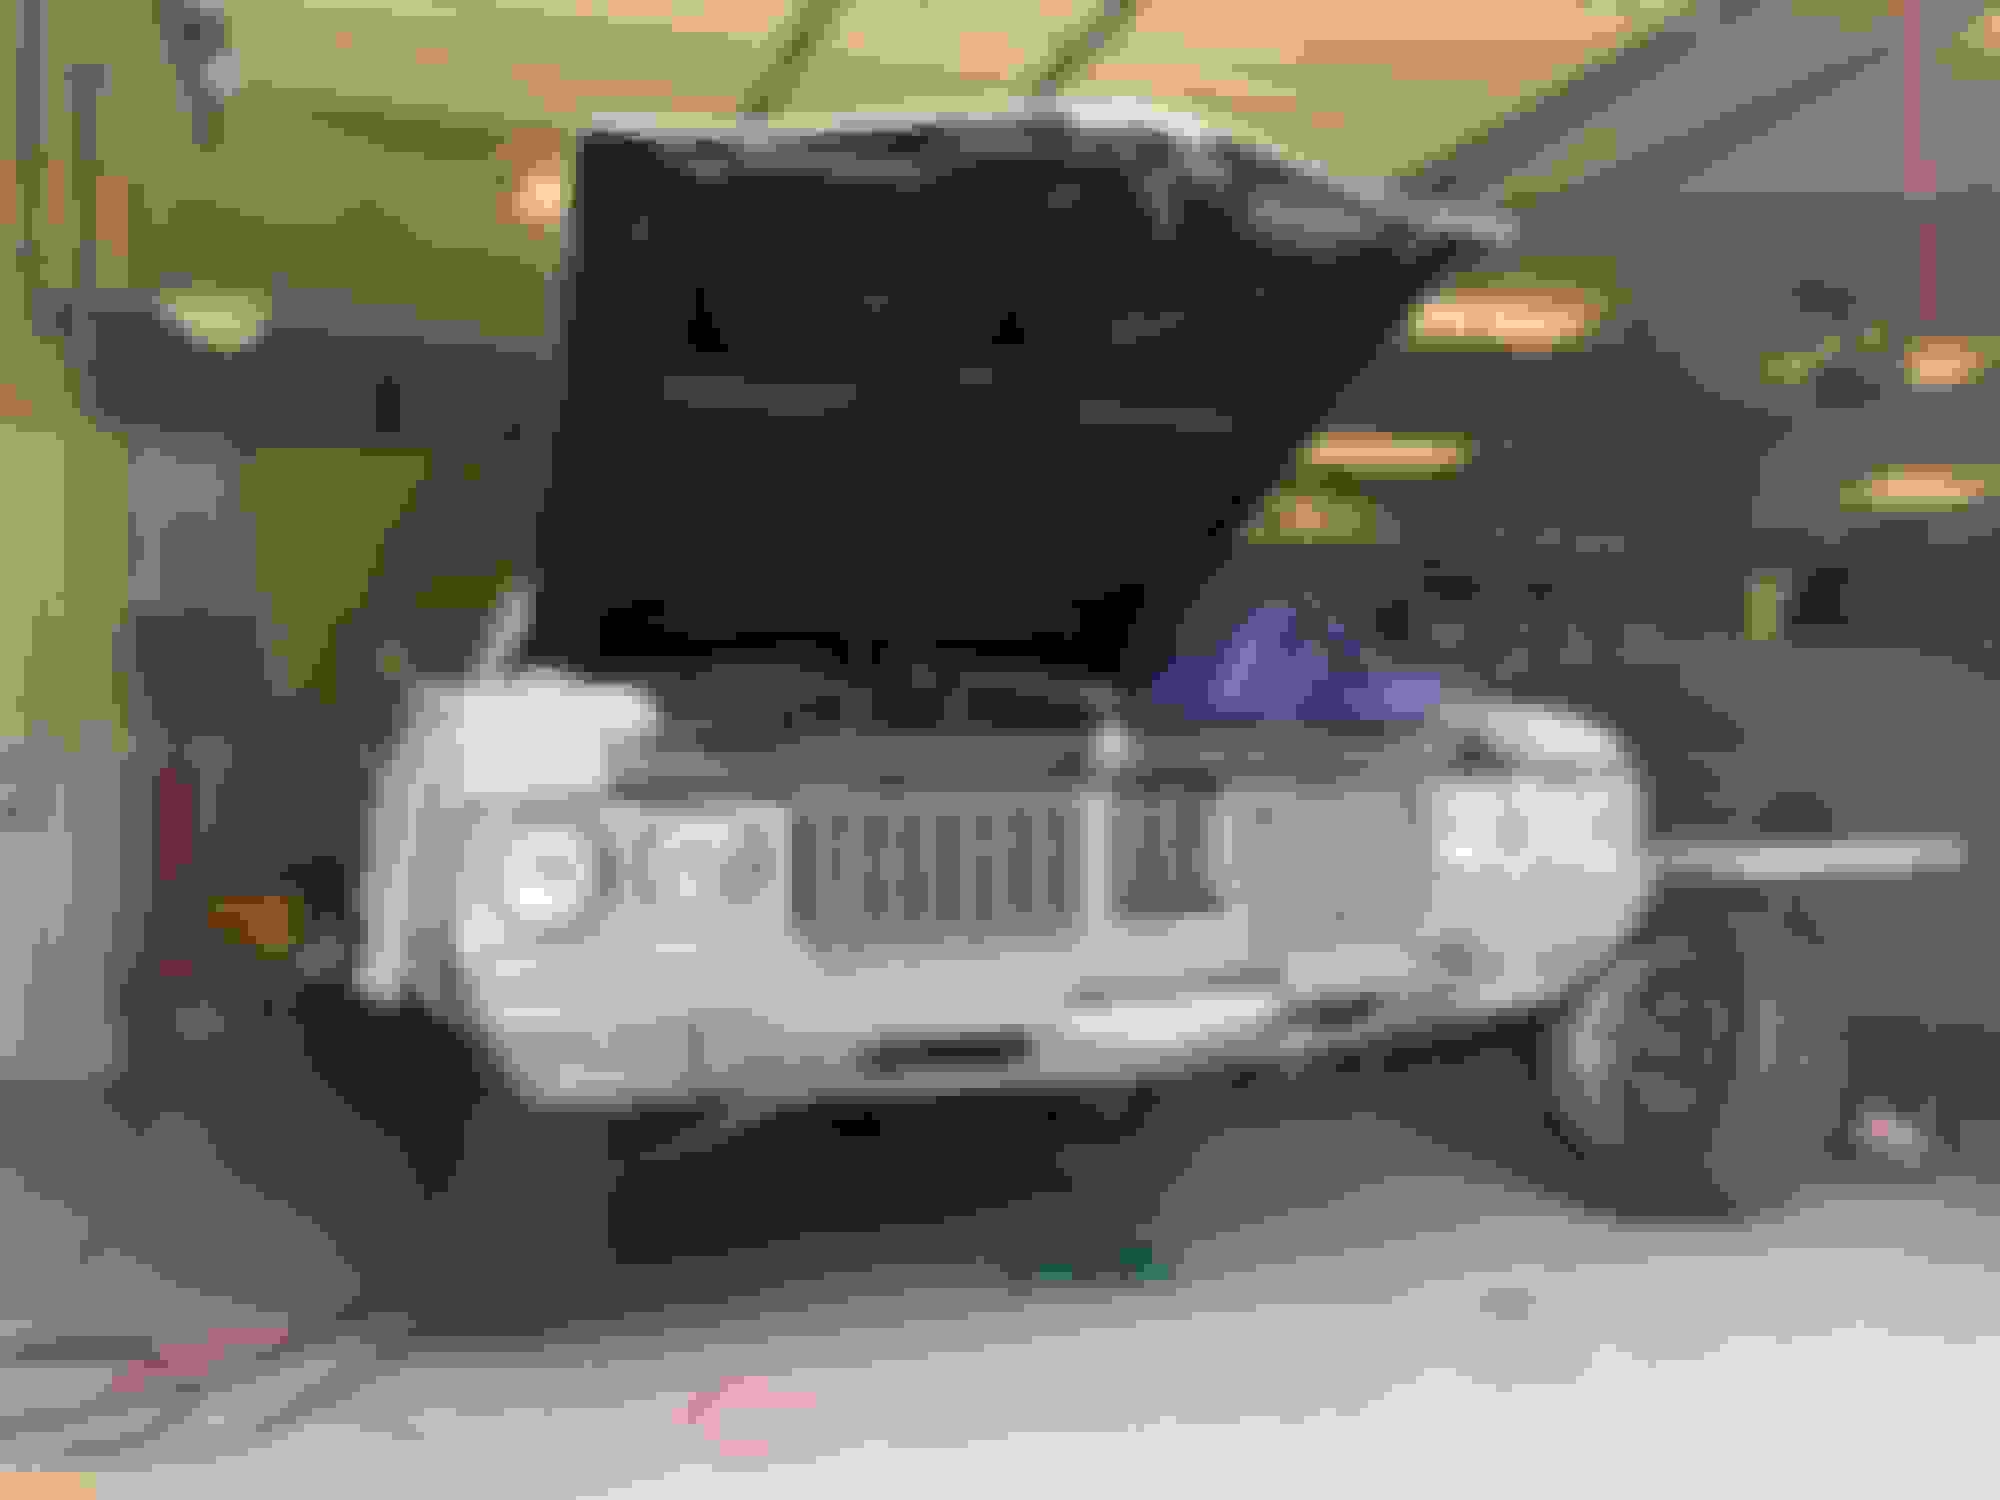
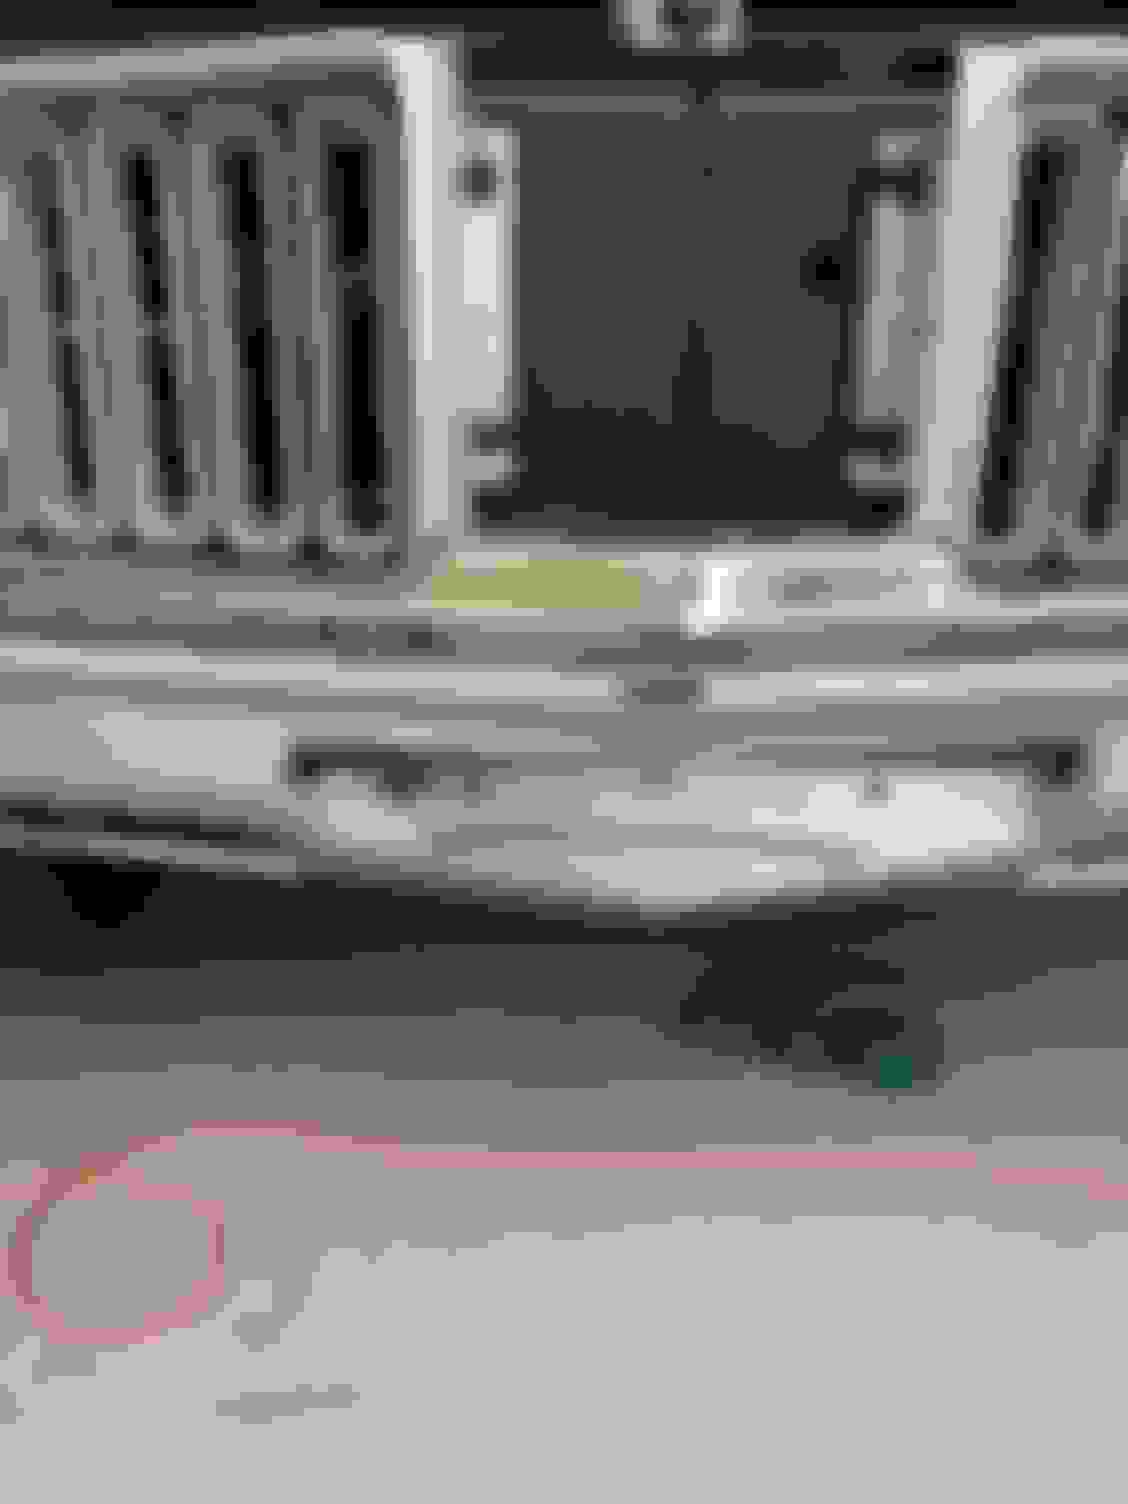
This weeks progress was getting the front grilles and headlights installed and front bumper more into place. Got everything installed and fairly close to aligned. I will tweak it all once I get the hood tongue and front hood chrome back on which will be after final paint buffing. The bumper is close to the measurements in the PIM. I was doing the final bumper alignment on my own and wanted to take the painters tape off the body so I could clearly see where the bumper was. What I did to protect the bumper from accidentally contacting the fender was cut three pieces of 3/8 fuel line a couple inches long each and split them along the length of the line. Then I wrapped those around the bumper on the top, back and bottom where they could contact the fender to prevent an accidental chip while aligning. Worked great and allowed me to see the bumper alignment better.
I also learned something new about the headlight buckets. I know the metal plate that bolts to the core support is marked LH top or RH top to get the right one on each side, but I did not realize before now that the actual bucket the headlight sits in is notched and only the low beam will fit properly in the outside bucket and high beam on the inside. I discovered this by accident while trying to put the wrong bulb in the wrong spot. I love learning new details!
Body is close minus final trim and emblems so I will start to turn my attention to the interior.
Front end coming together. Yes I know. The headlights are not T3�s. I have a set of those in boxes to put on if I show the car at a show where originality counts. I plan to drive the car, so I like the brightness of the Sylvania xtravisions. Original 442 grills money shot. Used the original bolts in the original places. 3 heads match and one doesn�t but that�s how they were.
Last edited by Ap6954; May 30th, 2021 at 05:35 PM.
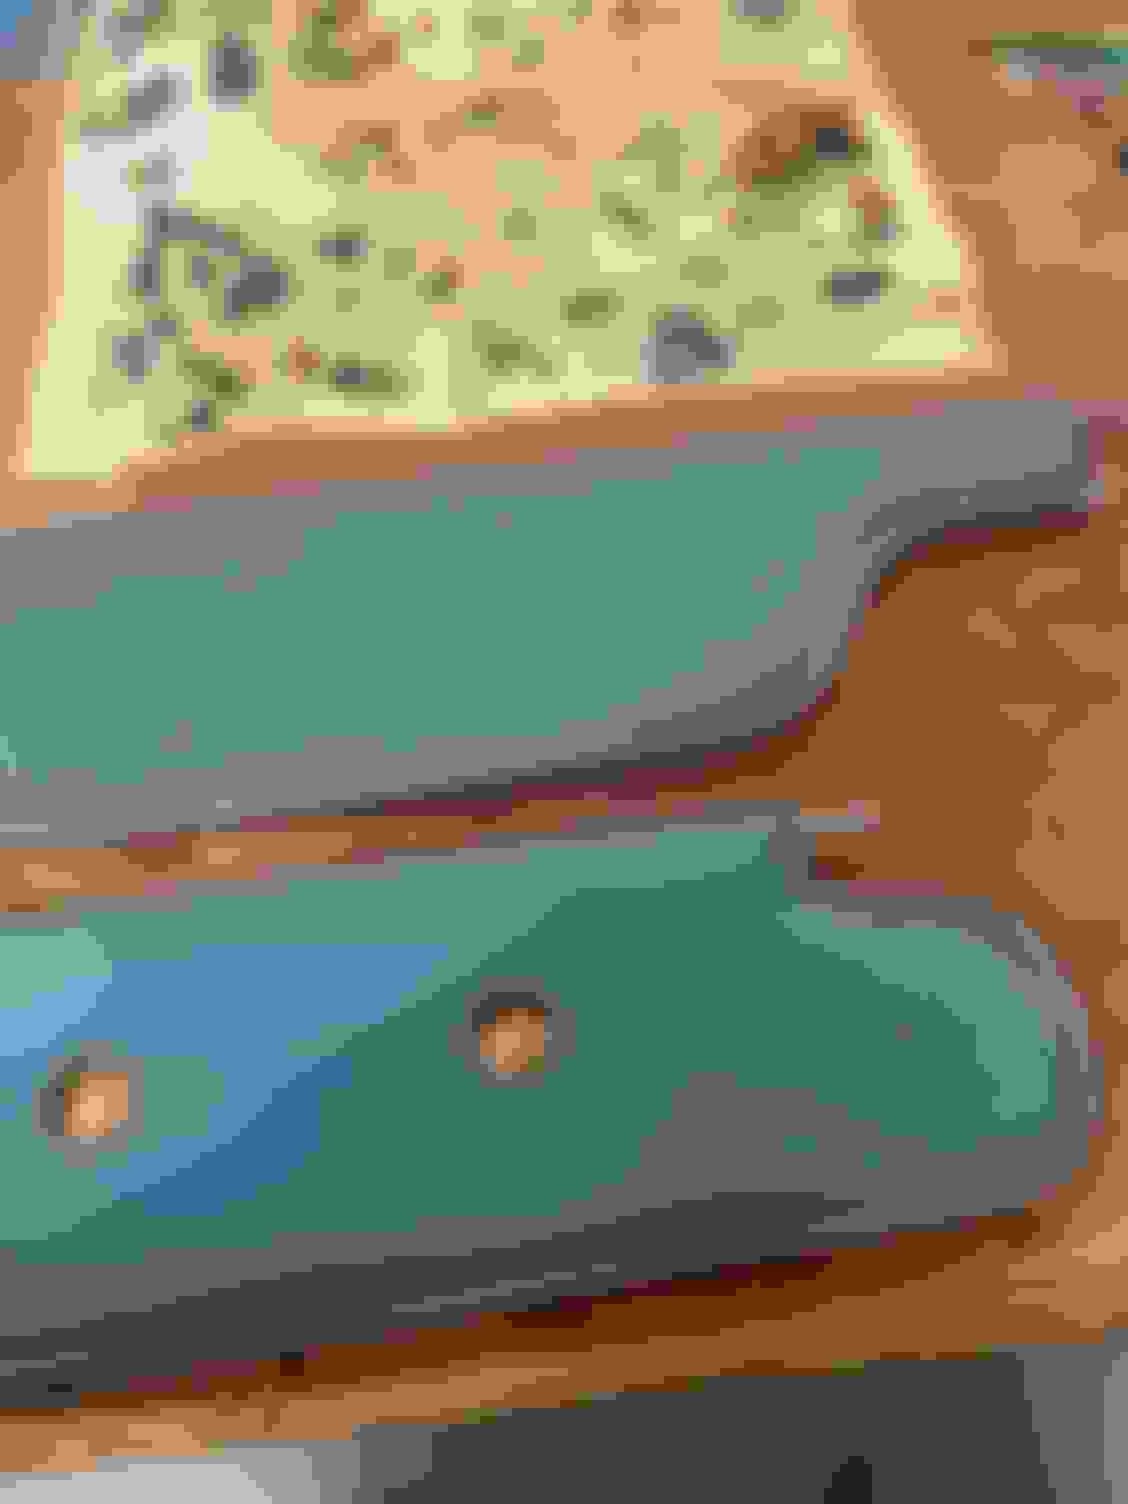
My sun visors were in great shape and not faded except that the threads on the vinyl edging had deteriorated. The material on the visors was in great shape and cleaned up just fine after some scrubbing with soap and a brush. I was going to bring the visors to an upholstery shop to fix the edging but I am a big do it your self kinda person. Since I retired last year time is my friend so I figured out how I could recreate the stitching a machine did by hand, and sewed the vinyl edge back on. I got some upholstery thread that matched the original color and diameter and sewed the strip back on with a needle and thread. Took about 5 hrs to do a couple hundred stitches. Not to hard. You cut off a long thread and have it on the back side of the vinyl. Then using a needle and another thread go through the original holes, loop around the thread on the backside and then put the needle back through the same hole, pulling the back side thread about halfway through. Go to the next hole and repeat. About 200 times. You need to have a good sturdy needle and a good thimble to push the needle through. Even though there is a hole already there it is still tough to push through some times. If you keep the threads tight it looks exactly like a machine did it. I am pleased and it cost me only a few bucks for the thread.
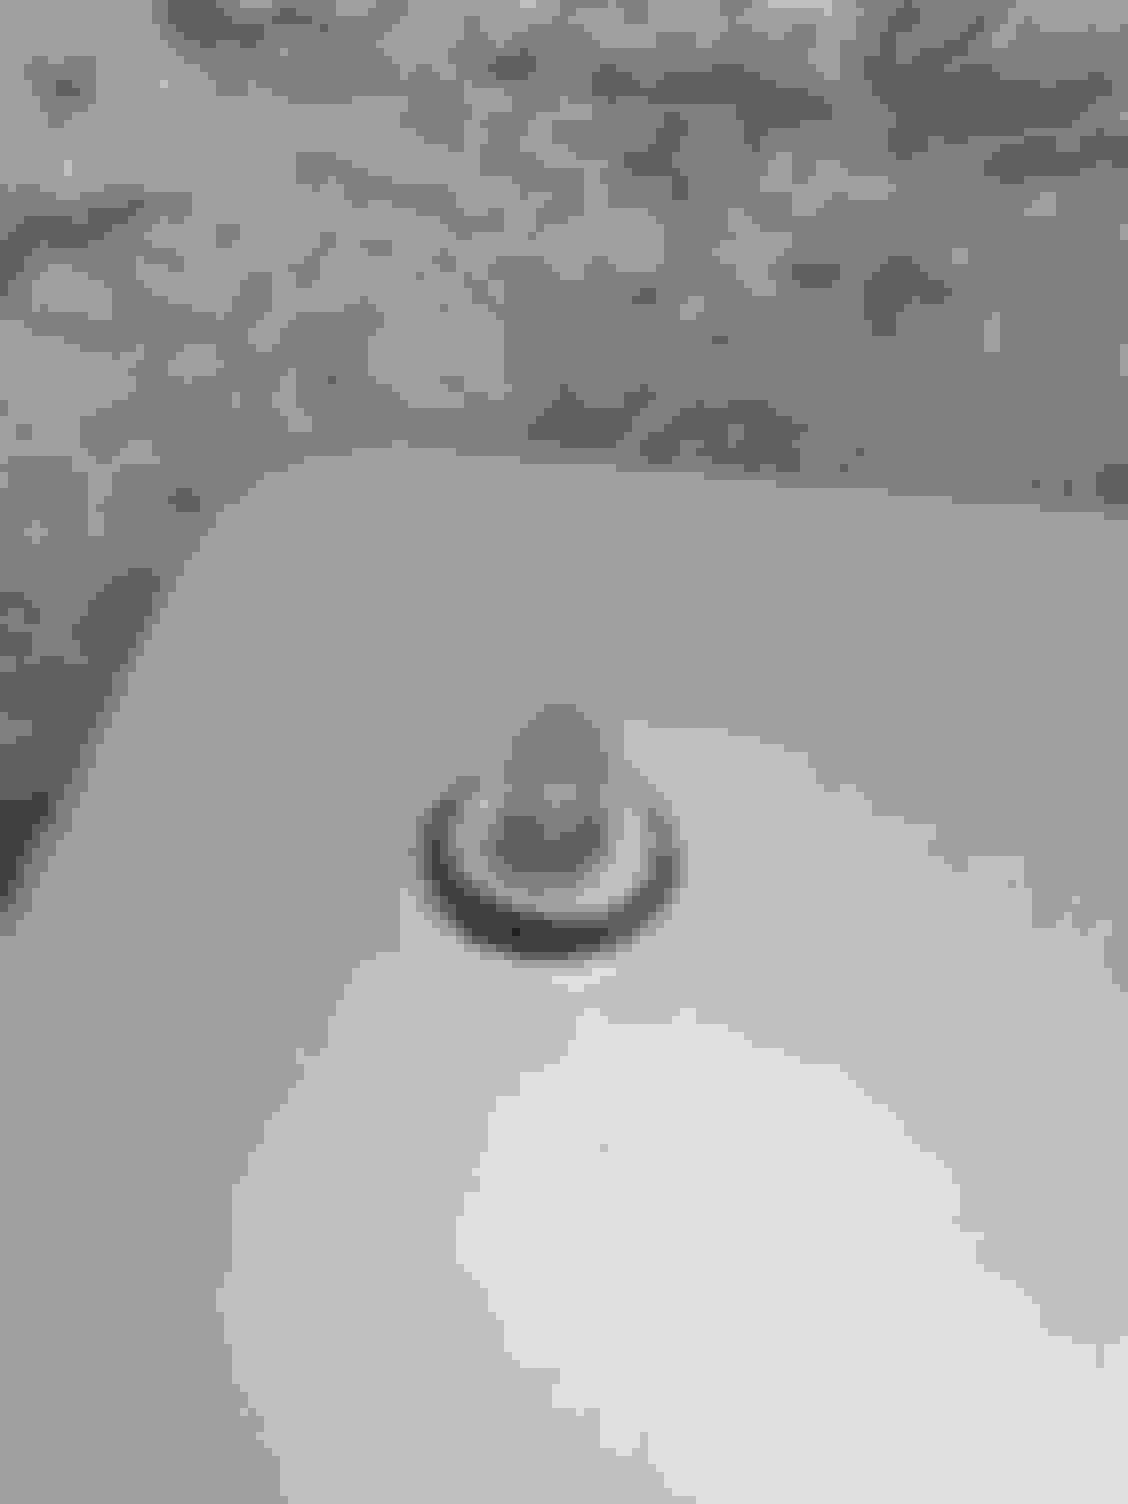
Before final cleaning and sewing A section sewed back together A section before sewing Mirror holes and mirror Receptacles for the pushpins on the mirror. I could not find a lot about the method of mirror attachment. It�s just these receptacles that are attached to the visor structure that the mirror pins push in. Pretty tough to push the mirror on. I was afraid to break the mirror pushing it on so I LIGHTLY sanded the pins on the mirror down to make them push in a bit easier. Still had to push pretty hard but they snapped in easier Push pins on the back of the mirror Reassembled passenger visor The tools.
Last edited by Ap6954; June 16th, 2021 at 04:23 PM.
Thanks folks for the compliments. I am working the dash right now. I would like to get the front dash and rear package tray and headliner sail panels installed before I put the front and rear glass in. Top access is way easier without the glass in place so you can get everything in and lined up. I was very fortunate and the dash pad was taken off car back in the mid 80�s from the previous owner and stored indoors so it was in excellent shape with no cracks whatsoever. He had taken the interior apart to do some work and never finished it. Since the blue interior has got so many shades of blue like the dash I was glad I did not have to paint it and try to match. I installed a new chrome bead, and got a new chrome gauge bezel from H&H. The original wood grain is still mint and will go back on. Not sure if others have used the Molotow chrome pens to redo the silver/chrome edging on the dash and vents but I like how they look and the pen design makes the process pretty easy. I will add a shot of the completed dash once I get to that point in a few days.
Nice mint 1970 blue dash pad Tiny push pins for the chrome bead around the dash pad . The pins push right into the soft pad. If your original pin hole is wallowed out due to pulling the old pins out just move over a bit and make a new hole. I pre drilled a couple of my new holes with a 1/8� drill bit to make the pin push in easy. They hold real good once in. Made to go in and not come out! Pins. Original bead had about 15 pins. I used a few more in new holes to hold the bead tighter. Chrome edging done with the Molotow pen. Ready for wood trim and mating with the pad. The pens come in different tip sizes I used a 2mm and 4mm pen. The capillary action of the pens makes it easy to keep fresh paint at the tip to make your Line fairly consistent in color. After all these years I did not realize that the Y60 convenience option also included a little light in the ashtray. Tiny blue light lens that the light shines through inside the ashtray area. Bulb is behind the glovebox liner.
Last edited by Ap6954; June 24th, 2021 at 03:49 PM.
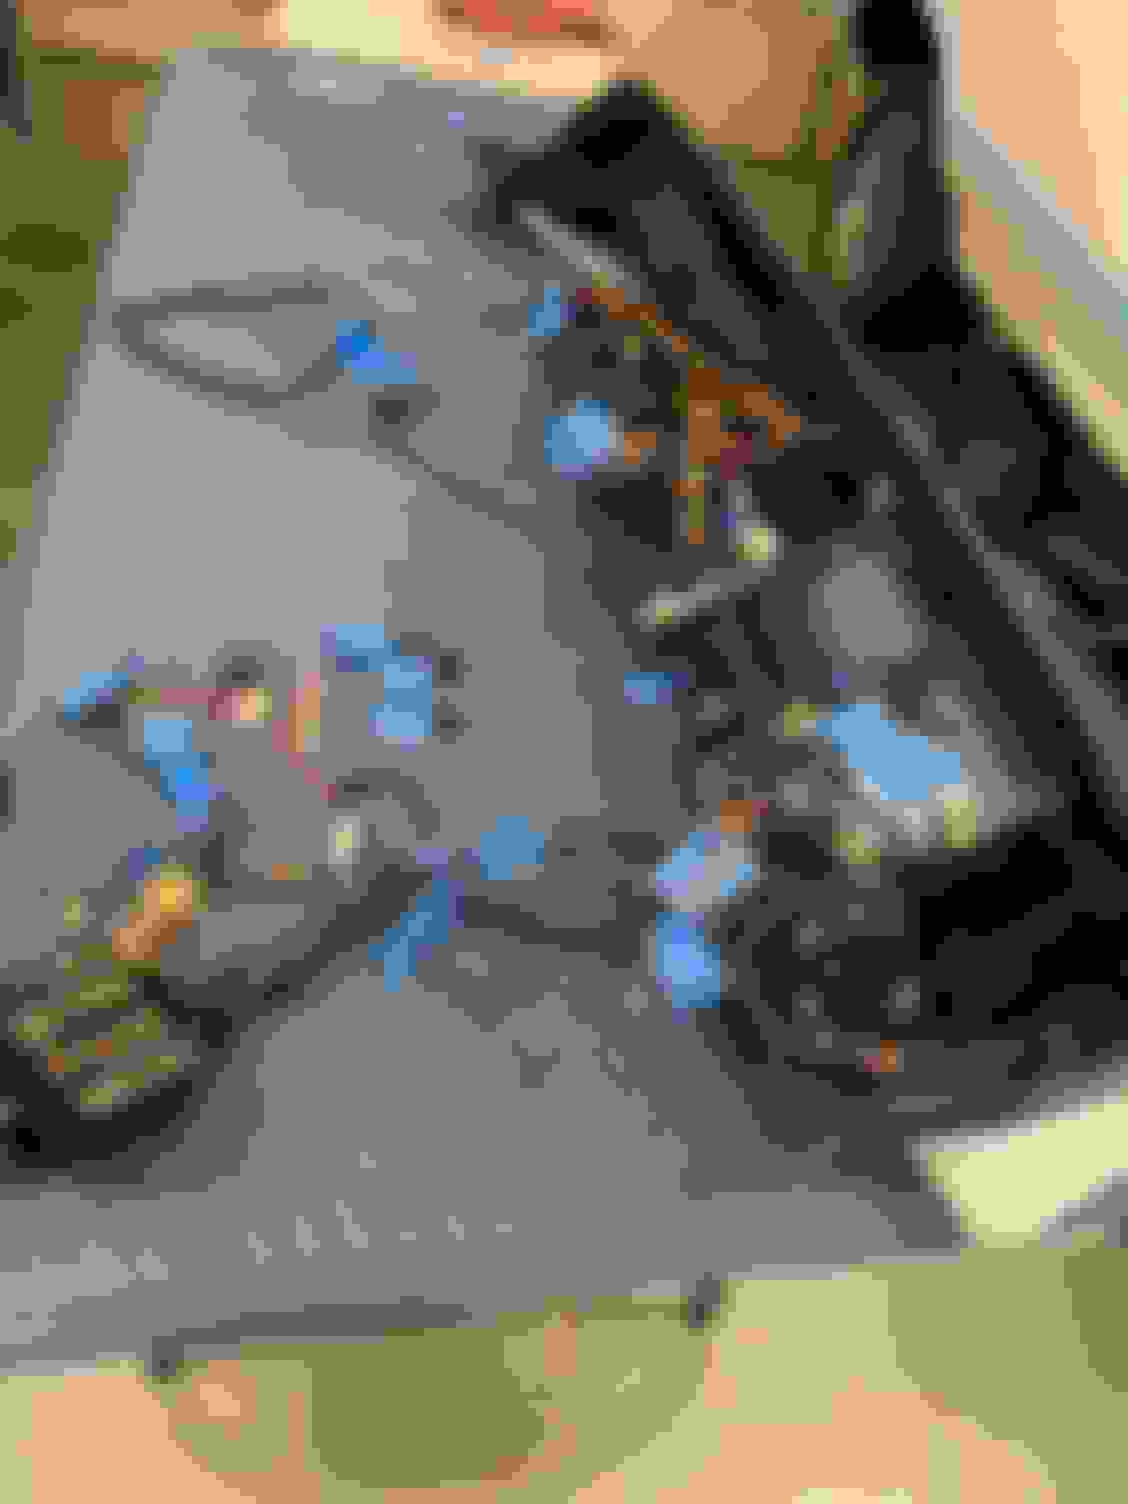
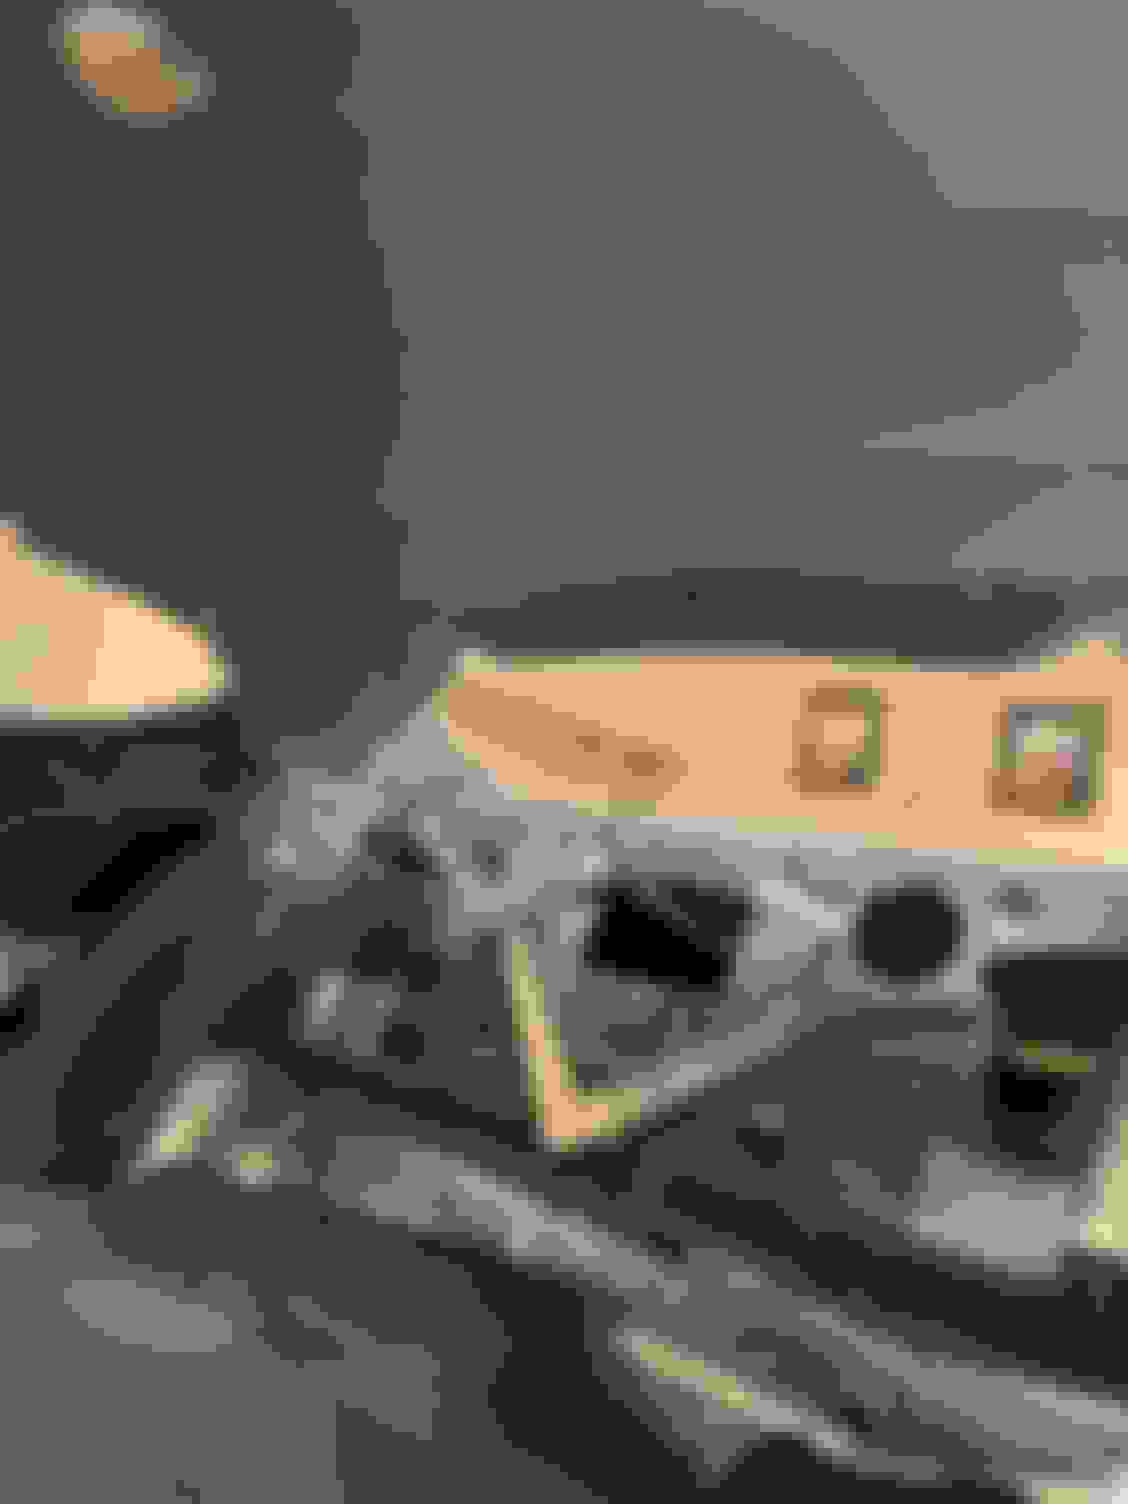
I think I�m finished installing the instrument panel and courtesy lamp harnesses to the dash prior to dash installation. I think I�m going to leave the gauges and the a/c control panel off the dash and install them after. I think this will give me better access holes to align and install the dash to instrument panel bolts and route the wires around the steering column and brake pedal support brackets. The a/c wiring harness and vacuum lines are already installed in the car. I followed sections 12 and 1-3 of the PIM to get the harness and clips correct and the ventilation ducts in.
If anyone sees anything in the photos I am missing or has some best practices for installing the dash in the car I�m all ears and willing to listen to any advice.
Yes I will install the drivers side upper vent hose to the dash prior to to dash installation. Pretty tight up there afterwards.
Is that a hacksaw blade I see? Coming along nicely. And, yes, securing the DS duct to the dash now is the way to go, near impossible to get up there later. Ask me how I know? It's no fun pulling the dash later to do that. Of course I'm getting proficient at that by now.
Is that a hacksaw blade I see? Coming along nicely. And, yes, securing the DS duct to the dash now is the way to go, near impossible to get up there later. Ask me how I know? It's no fun pulling the dash later to do that. Of course I'm getting proficient at that by now.
Steve
LOL. No hacksaw blades here! Didn�t see it at first but then I did. It�s the plastic strap radio support that connects from the upper center a/c duct to the side of the radio case. I�ll get that duct on!
Andy, I love how organized you have the dash and wiring! My advice would be to have as much installed on the dash and install it as one piece. Some of those switches can be a real pain trying to install while the dash is back in its place. Good luck and take note of where all the studs are!
Andy, I love how organized you have the dash and wiring! My advice would be to have as much installed on the dash and install it as one piece. Some of those switches can be a real pain trying to install while the dash is back in its place. Good luck and take note of where all the studs are!
For sure. Your comment gave me an idea. I�m gonna put a couple of layers of painters tape on the lower painted metal instrument panel to prevent accidentally bumping it with the dash studs while installing. I�ll take a sharpie and mark on that tape where the studs are to make it easier to find them to put the nuts on which will be mainly by feel cause you can�t see them.
For sure. Your comment gave me an idea. I�m gonna put a couple of layers of painters tape on the lower painted metal instrument panel to prevent accidentally bumping it with the dash studs while installing. I�ll take a sharpie and mark on that tape where the studs are to make it easier to find them to put the nuts on which will be mainly by feel cause you can�t see them.
X2 on WTHIRTY1 comments re dash install. Fit up everything to the dash for the install including the drivers side AC duct and the center duct. It's a pain in the A to go back trying to refit once the dash is in. Have 2 helpers makes it way easier to avoid any scratches. This was mine before I installed it (the first time !! ). The PIM has good diagrams of the assembly for reference too. Good luck - it's the fun piece of the build.....
X2 on WTHIRTY1 comments re dash install. Fit up everything to the dash for the install including the drivers side AC duct and the center duct. It's a pain in the A to go back trying to refit once the dash is in. Have 2 helpers makes it way easier to avoid any scratches. This was mine before I installed it (the first time !! ). The PIM has good diagrams of the assembly for reference too. Good luck - it's the fun piece of the build.....
Two quick questions.
I see you had your a/c control panel in the dash already. I have mine off right now. Since the a/c harness is in the car already since it goes through the firewall I was gonna put the dash in and then plug the a/c electronics and vacuum onto the a/c panel and just bolt the panel to the dash after from underneath. Would you think this would be easier to install the 3 small screws for the a/c panel to the dash, or plug in the a/c wiring and vacuum through the open gauge pod holes?
Second. Did you leave all three of your gauges out to install the dash or did you have any of them in for installation of the dash pad?
It's a little different given your A/C harness is in the car already but its very challenging to get up into that space to put the 3 screws in to hold the A/C control panel but I'd probably still fit up the everything to the dash and plug the connectors in later. Leave the instruments out and the openings will give you better access to everything. Be sure to hook up the vacuum hoses to the A/C control too as its painful trying to see exactly which port they go on once the dash is in. Keep up the good work.
It's a little different given your A/C harness is in the car already but its very challenging to get up into that space to put the 3 screws in to hold the A/C control panel but I'd probably still fit up the everything to the dash and plug the connectors in later. Leave the instruments out and the openings will give you better access to everything. Be sure to hook up the vacuum hoses to the A/C control too as its painful trying to see exactly which port they go on once the dash is in. Keep up the good work.
I think that is the process I will try. Everything installed to the dash but the gauges. Thanks for the thoughts guys.
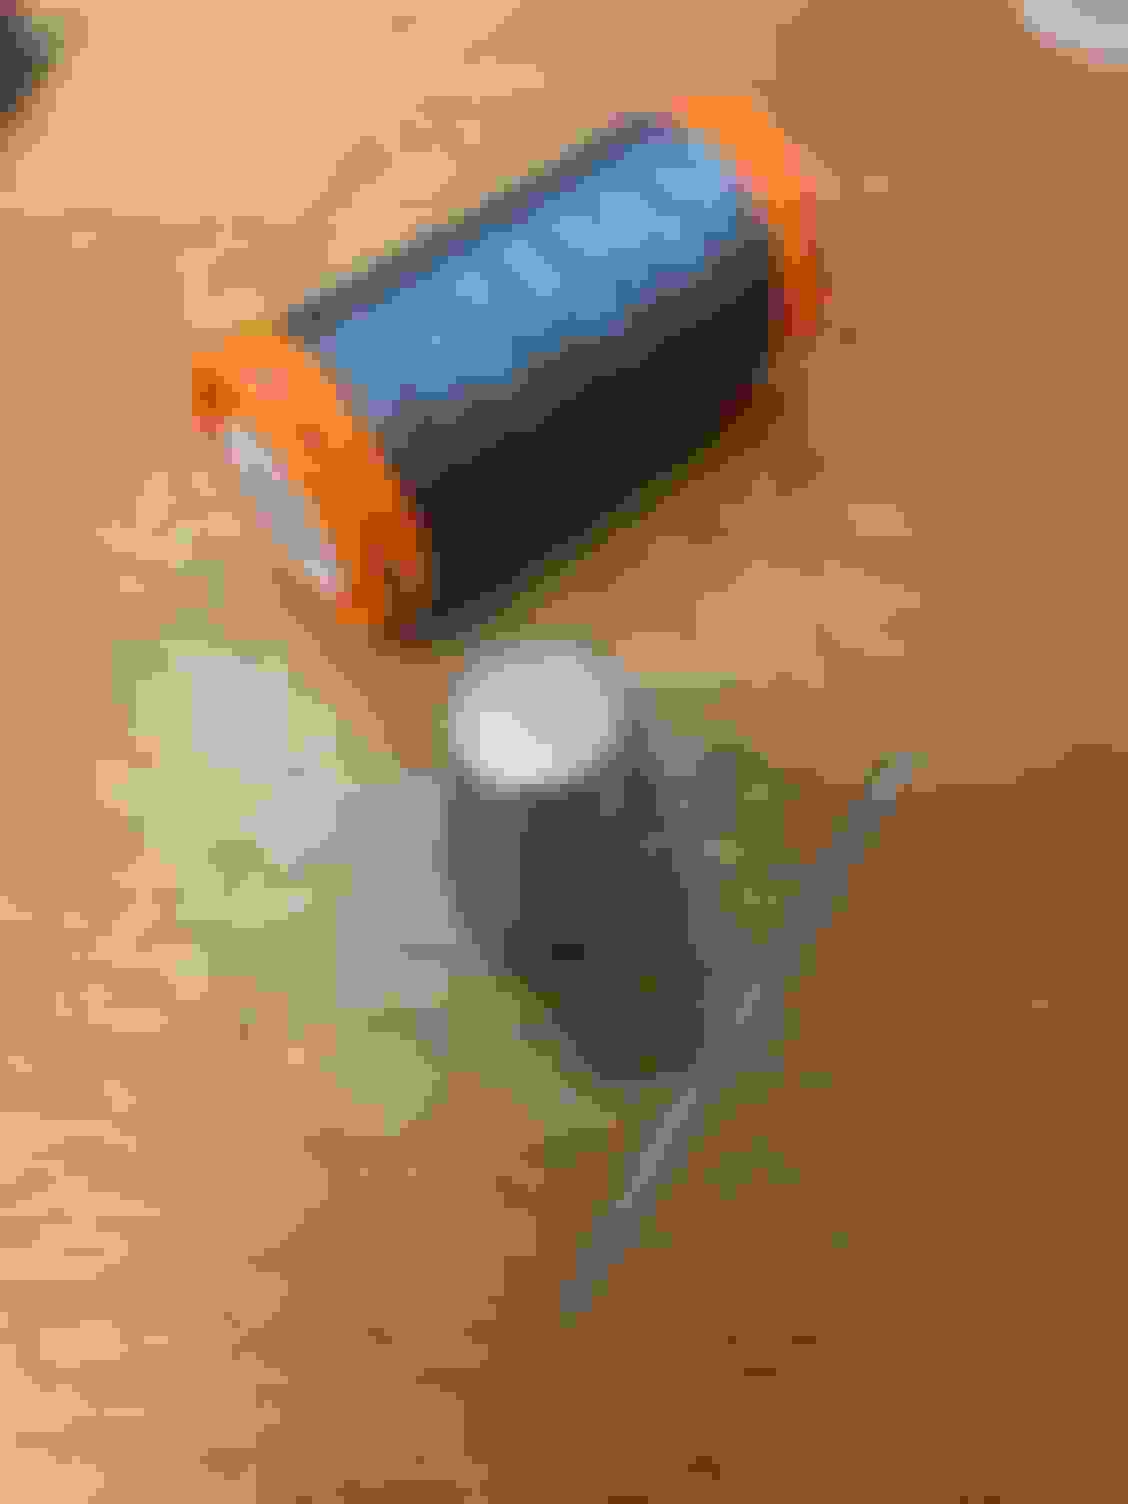
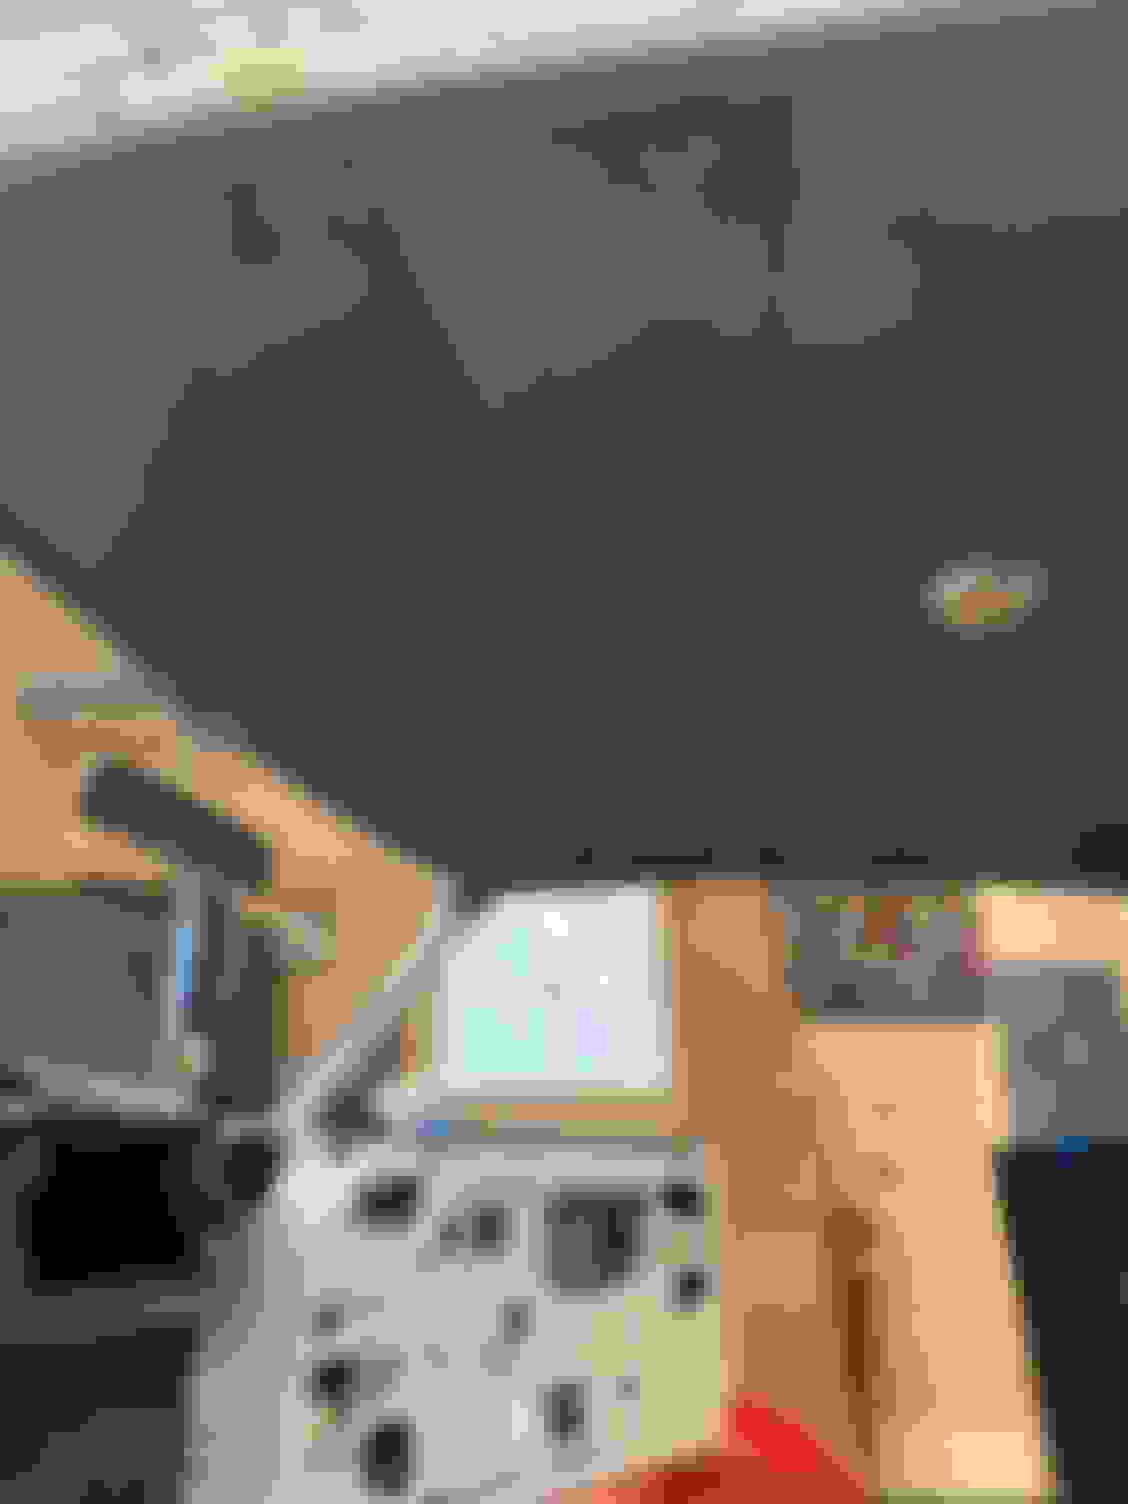
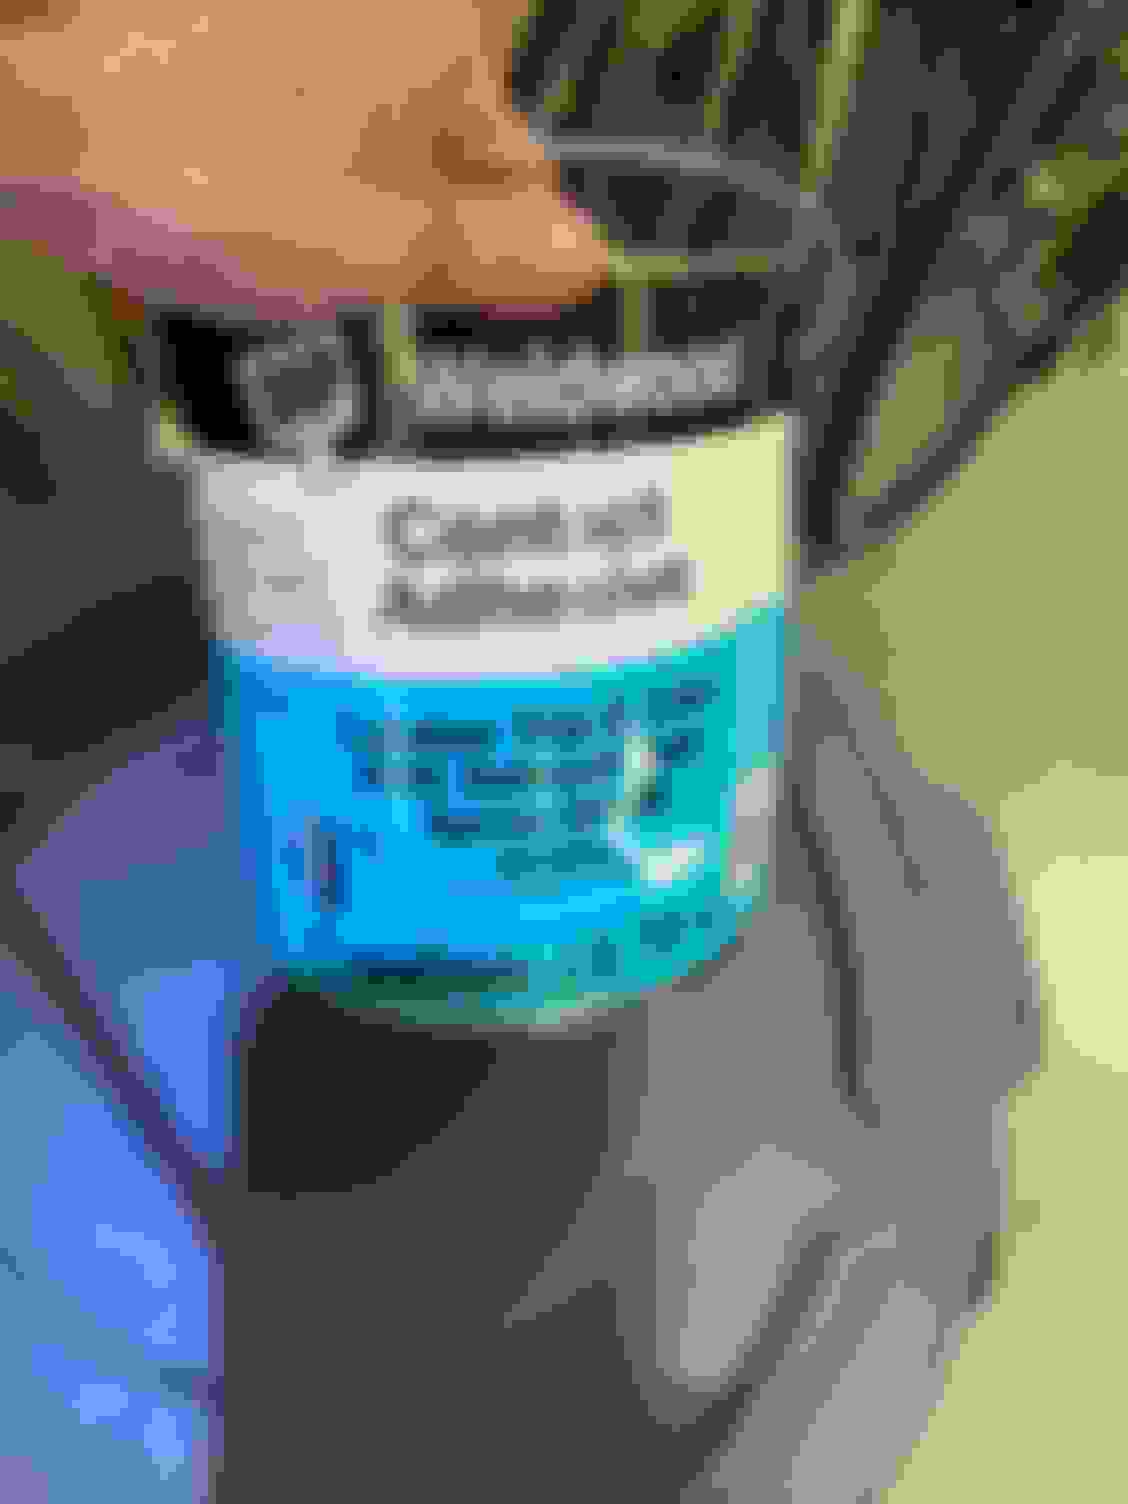
Still just piddling along but I got the new headliner and roof jewelry installed over the last week or so. I did the headliner myself and although I had not done a full �bow style� suspended headliner before I felt confident after talking to a friend who has installed many I could do it. It came out perfect and nice and tight with no wrinkles. I was very pleased. It took me WAY longer than a pro, but taking my time is normal speed for me and I enjoy doing a bit and then sitting back and planning the next phases. I would guess about a total of 8-10 hrs of my labor. Here are a few tips that I will offer to others in case someone tries this themselves in the future and stumbles across this post.
1. Get a small fabric steamer. They are not expensive but make getting the wrinkles out much easier. I don�t think you will get all the wrinkles out without one.
2. Steam the headliner before you put it in to get fold lines and some of the wrinkles out. Don�t worry about getting them all out. You won�t. Many will pull out as you stretch the headliner in place. You will need to steam it again as you stretch it in place in the car. Be careful how much heat you put on the headliner. You don�t want to damage the fabric from to much heat. You can damage it.
3. Get a bunch of medium sized binder clips. I think I used about 80 of them to temporarily hold the headliner in place to the �glue/tack strip� as I stretched it before I glued the headliner in place.
4. Put all the screws for the shoulder belts, shoulder belt clips, sun visor, coat hook, dome light, and rear view mirror in place before hanging the headliner. Thread them in a few turns but leave them poking out a bit. Makes them easier to find after the headliner is in. You can also put some painters tape on the outside roof marking where the screws are. Take a bunch of pictures for reference later when you try and find them. Most will be bulging the headliner a bit so easy to find. Don�t forget to run your dome light wire.
5. Put the bows in the headliner listings. Mark the center of each bow with a sharpie. Cut a small slice in each headliner listing in the center of each listing to allow you to get the bows centered in the headliner. Once the bows are in and centered trim the listing so the listing ends about an inch of so from the end of each side of all bows.
6. Put the headliner in. Center bow first. Then work you way to the back bows and then front bows. Don�t worry about pulling tight yet. Since the center bow has several clips pull the headliner material tight as you clips those in. The other bows don�t matter as much since there is only a center clip and you will be able to pull slack from the sides.
7. Starting at the rear window center pull the headliner tight and use the binder clips to hold it in place. Work your way to the side, pulling and clipping. Then go to the front and starting at the center pull and clip. You won�t get all wrinkles out yet but get it decently tight.
8. Go to a side of the car and pull and clip. I went front to back. Then do the other side.
9. Most of the wrinkles will be out by now but likely not all. This is where the steamer comes in.
10. Put some steam on the headliner and then remove a few clips and pull and stretch. Let the steam contact the fabric. You don�t have to touch the fabric with the steamer head. The fabric will get warm quick. Work your way around and repeat the above to remove a few clips and steam and stretch. Have a clean rag handy to wipe off the moisture. As the headliner cools it will contract and tighten up.
11. I let the headliner sit for a day and then came back and looked where I might have to repeat step 10 again. It was pretty good after the first stretching but there were a few spots I fixed.
12. I did not trim the excess off the headliner till I glued it.
13. To glue the headliner I then pulled off a few clips at a time and brushed the glue on the tack strip and the fabric, let the glue tack up for a few mins and then pulled the fabric back in place and let the glue stick. The headliner fabric is pretty stiff so a crease is visible where you had it clipped before to know where to pull it back to. I then re clipped and moved to the next several clips.
14. Once you have made your way all the way around, that is when I went back around trimmed off the excess fabric and tucked it all in and stuck the fabric nicely around the tack strip to made sliding the windlace trim on easy later. The glue is pretty stuck by this point but you can still pull up a bit if you have to. But don�t wait to long. The DAP contact adhesive I used sticks real good.
15. I came back the next day and used a sharp razor knife to delicately slice the headliner and push the fabric over the screws for all the jewelry in step 4. You�ll need a decent sized slice to get the dome light wire through. Measure twice and cut once!
I bought the headliner from SMS. They provide you with plenty of extra fabric to recover your sail panels. Use you originals if you can because they are nicely curved to fit in place much better than the flat sail panels you will get if you buy new cardboard sail panels.
you will notice from the pictures I don�t have any glass in the car. This made it WAY easier to pull and stretch and have access to the tack strips. I do not think my method with the binder clips will work as well if the back glass and windshield is still in. The clips may not fit. Can it be done with the glass installed? Yes. But not nearly as easy. I have convinced myself to not put my glass in till I have the dash and rear package tray area done. It is so much easier to work in those tight corners, especially in the back without the glass in.
Screws and dome light wire Sample screws and marking with blue tape. The blue tape was moved to the outside roof before headliner installation. Front area after installation and initial stretching but before final stretching, gluing and trimming Rear area after installation and initial stretching but before final stretching, gluing and trimming Front area after gluing with clips in while drying. Back corner after gluing with clips in while drying. Front area completed and windlace installed. A pillar cover will be installed after dash and windshield installation. Rear area completed. The year window windlace and sail panels are not in yet. I will install that after the package tray is in since the package tray sides tuck behind the sail panels. The original sail panels were recovered with the extra material SMS supplies that matches the headliner fabric. The windlace will be installed prior to putting the rear glass in to make pushing the windlace in Place and tight easier. The headliner glue I used. Highly recommended by some interior folks.


 April 30th, 2021, 06:01 AM