
1965 442 build

Thread Starter
Registered User
Joined: Jul 2011
Posts: 488
slow progress the last couple days, but I'm hoping to see a transmission arrive on Monday or Tuesday
2012-03-08_18-44-32_777.jpg
2012-03-08_18-44-47_803.jpg
2012-03-08_20-00-51_351.jpg
2012-03-08_20-01-05_885.jpg
2012-03-08_20-01-22_36.jpg
2012-03-08_18-44-32_777.jpg
2012-03-08_18-44-47_803.jpg
2012-03-08_20-00-51_351.jpg
2012-03-08_20-01-05_885.jpg
2012-03-08_20-01-22_36.jpg
Thread Starter
Registered User
Joined: Jul 2011
Posts: 488
Thread Starter
Registered User
Joined: Jul 2011
Posts: 488
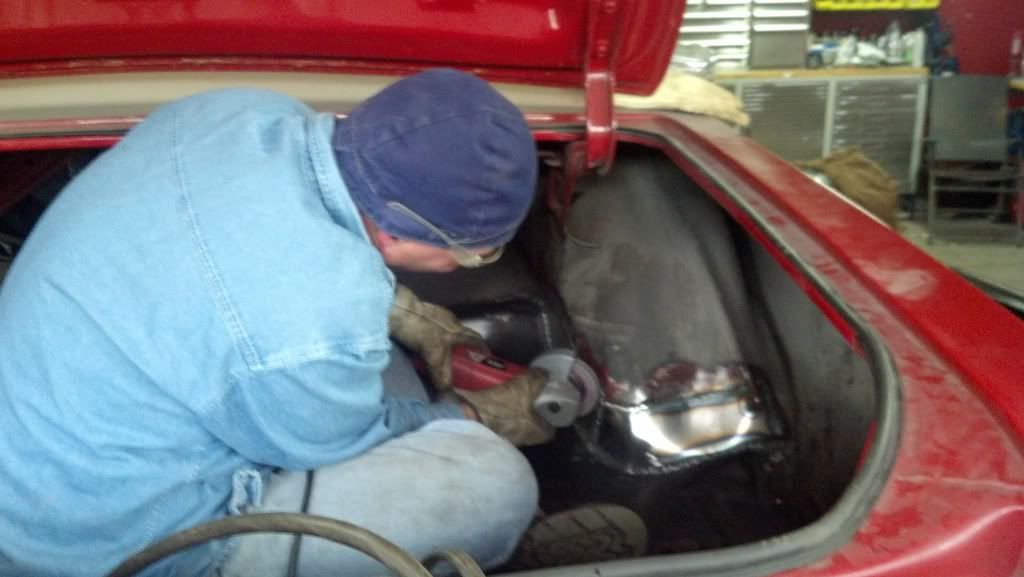
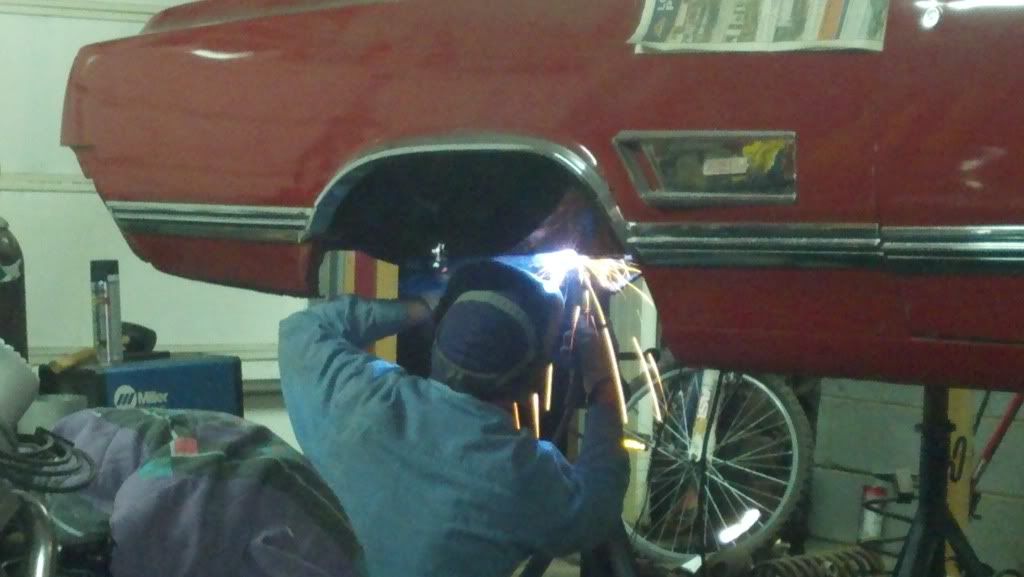
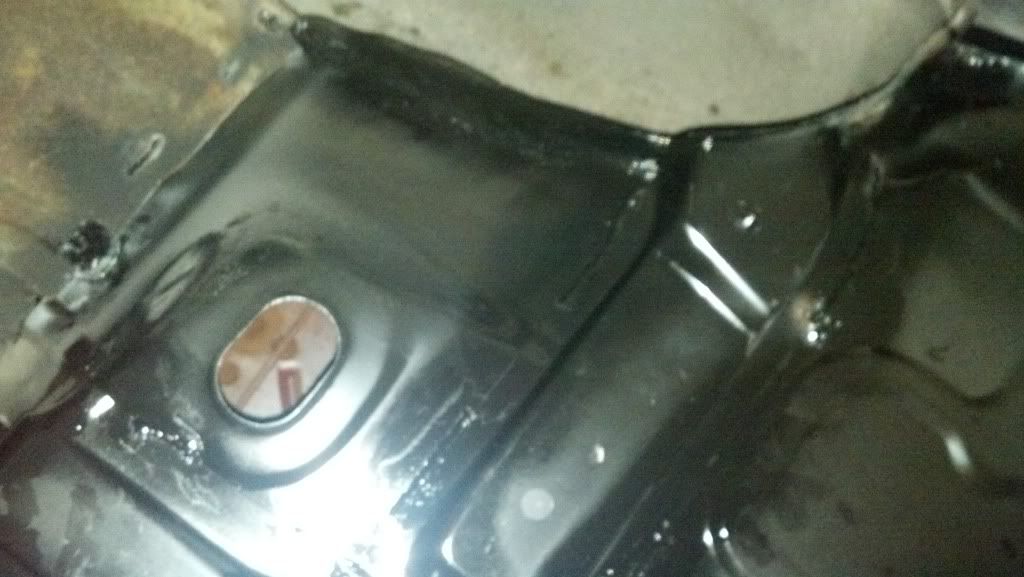
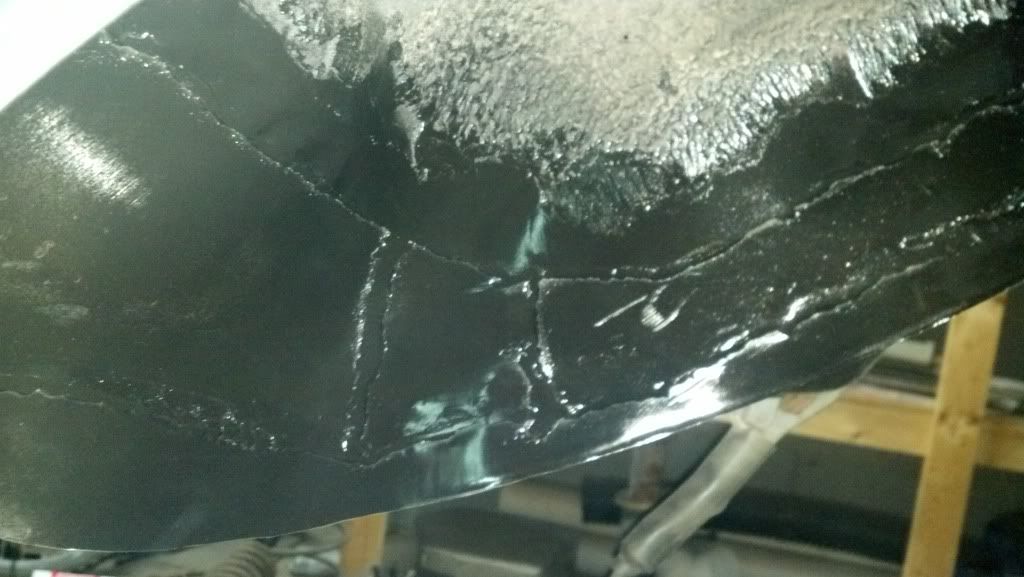
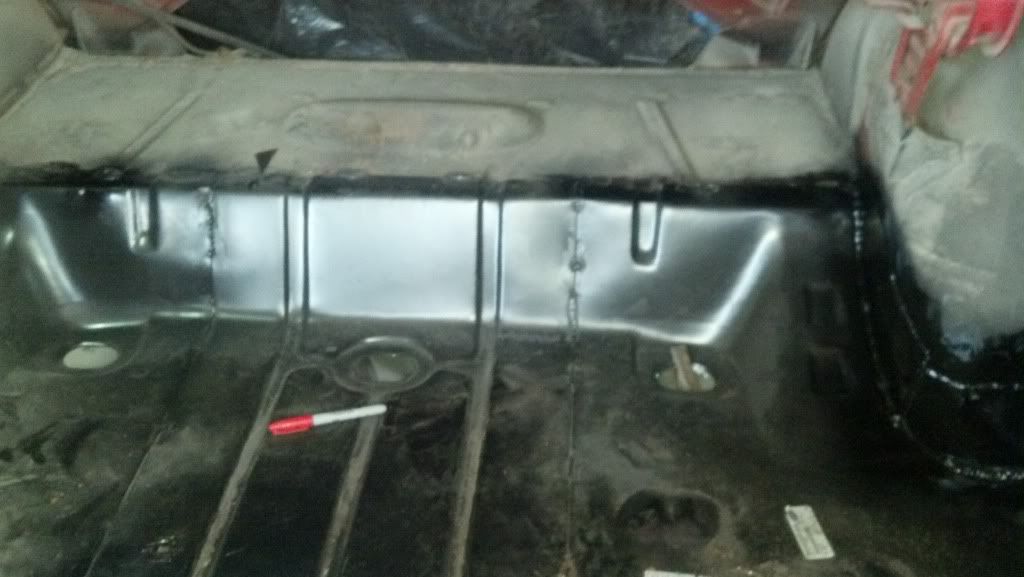
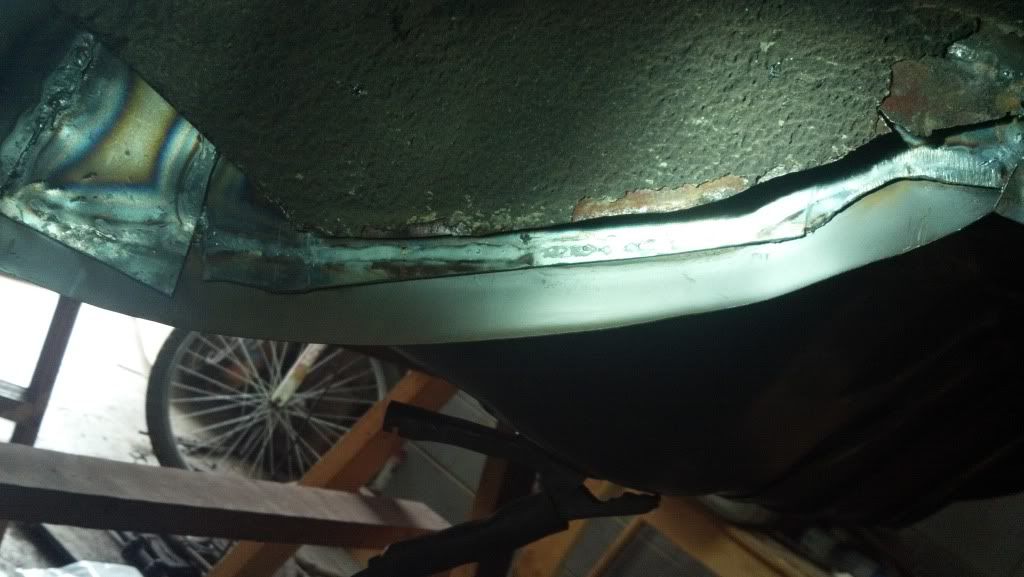
We worked until almost 11:00 tonight on misc items, I am doing final paint on the new dash insert, got the Carb bolted up, I built a new harness for the starter but I am still confused how to wire a 2 wire starter to my 3 wire setup??????????????? help, We finished the trunk pan install, and actually made some changes to that to avoid taking on water etc as ,to prevent future rust issues. I have a question also about the trunk pan install, would it be best to use body filler on all the seams or seam sealer? My trunk will be all covered with dynomat, then probably carpeted or something like that I dont have a full plan together for the trunk interior but I do want to do it right and make sure there are no issues, I thought about sealing the seams, painting it with POR 15 then with a factory type trunk paint, then build carpeted panels to hide most of the trunk?
2012-03-11_18-11-58_13.jpg
2012-03-11_21-45-37_33.jpg
2012-03-11_22-09-27_150.jpg
2012-03-11_22-08-51_109.jpg
2012-03-11_19-51-19_292.jpg
2012-03-11_18-24-34_897.jpg
2012-03-11_18-19-23_395.jpg
2012-03-11_18-11-58_13.jpg
2012-03-11_21-45-37_33.jpg
2012-03-11_22-09-27_150.jpg
2012-03-11_22-08-51_109.jpg
2012-03-11_19-51-19_292.jpg
2012-03-11_18-24-34_897.jpg
2012-03-11_18-19-23_395.jpg

Registered User
Joined: Nov 2009
Posts: 266
We worked until almost 11:00 tonight on misc items, I am doing final paint on the new dash insert, got the Carb bolted up, I built a new harness for the starter but I am still confused how to wire a 2 wire starter to my 3 wire setup??????????????? help, We finished the trunk pan install, and actually made some changes to that to avoid taking on water etc as ,to prevent future rust issues. I have a question also about the trunk pan install, would it be best to use body filler on all the seams or seam sealer? My trunk will be all covered with dynomat, then probably carpeted or something like that I dont have a full plan together for the trunk interior but I do want to do it right and make sure there are no issues, I thought about sealing the seams, painting it with POR 15 then with a factory type trunk paint, then build carpeted panels to hide most of the trunk?

Thread Starter
Registered User
Joined: Jul 2011
Posts: 488
re
Here are some pics as requested of the radiator quality, I also found the best use for those summit hats possible. I also finished the dash panel we made, I wanted an old school look but it to also be modern. I took two different color paints and painted one over top of the other while wet, let them dry and wet sanded, then cleared cut and buffed, the pistures do it no justice but it turned out great, it looks like scratched aluminumstraight ahead and very glossy at an angle
2012-03-14_00-30-09_463.jpg
2012-03-14_00-41-47_977.jpg
2012-03-14_00-12-48_717.jpg
2012-03-13_22-04-28_684.jpg
2012-03-13_21-23-06_22.jpg
2012-03-13_21-23-14_79.jpg
2012-03-13_21-23-22_703.jpg
2012-03-13_21-23-31_811.jpg
2012-03-14_00-30-09_463.jpg
2012-03-14_00-41-47_977.jpg
2012-03-14_00-12-48_717.jpg
2012-03-13_22-04-28_684.jpg
2012-03-13_21-23-06_22.jpg
2012-03-13_21-23-14_79.jpg
2012-03-13_21-23-22_703.jpg
2012-03-13_21-23-31_811.jpg
Thread Starter
Registered User
Joined: Jul 2011
Posts: 488
Thread Starter
Registered User
Joined: Jul 2011
Posts: 488
re
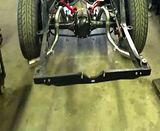
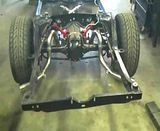
Well, a bit more progress has been made, several frame modifications to clear the headers, leather interior is done, dash pad repaired, transmission in, Art Carr 200R4, exhaust installed etc, we are now stripping the old undercoating and doinf cage nut repairs.
2012-03-14_18-04-34_778.jpg
2012-03-14_18-04-25_183.jpg
2012-03-30_10-49-34_777.jpg
2012-03-30_10-39-46_538.jpg
2012-03-30_10-39-25_986.jpg
2012-03-29_19-50-22_633.jpg
2012-03-26_19-37-28_292.jpg
2012-03-26_15-49-46_593.jpg
2012-03-26_15-49-40_942.jpg
2012-03-22_21-49-00_728.jpg
2012-03-14_18-04-34_778.jpg
2012-03-14_18-04-25_183.jpg
2012-03-30_10-49-34_777.jpg
2012-03-30_10-39-46_538.jpg
2012-03-30_10-39-25_986.jpg
2012-03-29_19-50-22_633.jpg
2012-03-26_19-37-28_292.jpg
2012-03-26_15-49-46_593.jpg
2012-03-26_15-49-40_942.jpg
2012-03-22_21-49-00_728.jpg
Thread Starter
Registered User
Joined: Jul 2011
Posts: 488

Thread Starter
Registered User
Joined: Jul 2011
Posts: 488
A little more progress, WHEW wiring is a pain!
IMG]http://i825.photobucket.com/albums/zz175/real57vetteguy/2012-05-15_22-20-52_468.jpg[/IMG]
2012-05-15_22-20-32_705.jpg
2012-05-15_22-18-46_197.jpg
2012-05-15_22-18-58_636.jpg
2012-05-15_22-18-36_607.jpg
2012-05-15_22-18-21_351.jpg
2012-05-15_22-18-06_130.jpg
2012-05-15_22-17-56_181.jpg
2012-05-15_22-17-22_626.jpg
2012-05-15_22-17-31_840.jpg
2012-05-15_22-17-08_892.jpg
2012-05-15_22-16-55_56.jpg
2012-05-15_22-16-43_169.jpg
2012-05-15_22-16-32_449.jpg
Thread Starter
Registered User
Joined: Jul 2011
Posts: 488
Thread Starter
Registered User
Joined: Jul 2011
Posts: 488
Thread Starter
Registered User
Joined: Jul 2011
Posts: 488
Man, It seems I work 30-40 hours a week now on this car and I dont see much progress, haha, here is a an update on my junk!
2012-05-24_22-33-20_941.jpg
2012-05-24_21-48-51_138.jpg
2012-05-24_21-49-17_469.jpg
2012-05-24_21-49-28_916.jpg
<embed width="600" height="361" type="application/x-shockwave-flash" allowFullscreen="true" allowNetworking="all" wmode="transparent" src="http://static.photobucket.com/player.swf" flashvars="file=http%3A%2F%2Fvid825.photobucket.co m%2Falbums%2Fzz175%2Freal57vetteguy%2F2012-05-20_17-25-35_845.mp4">
Thread Starter
Registered User
Joined: Jul 2011
Posts: 488
Thank guys, your comments mean a lot
 I call you over the weekend.......
Thread Starter
Registered User
Joined: Jul 2011
Posts: 488
Thread Starter
Registered User
Joined: Jul 2011
Posts: 488
re
Thank you so much! It means a lot to get a compliment on this forum! My next statement might offend some and it might shed some light on the project.
This car was my fathers, it looked nice when I purchased it from him but had some mechanical issues. I have always worked on cars, even built a 57 vette that was Barrett Jackson ready and someone scooped it up before it went. That car was me doing the grunt work and hiring the fit finish work done. This is my first full frame off garage build. I have had help from some great friends wrenching, and welding etc. But it has all been done at my garage or a friends welding shop.
When I started my goal was to build something that had plenty of power, air cond, over drive, a good ride and handeling, quiet on the inside, etc. Something I could jump in and drive for several hunderd miles and enjoy.
When I first bought it that two speed even with a 3:23 rear was horrible, I was terrified I was going to blow it up running 60 mph even with 18" wheels, the 3:23 felt like a 4:56 in other cars I had.
I'm sure some will say I ruined a great car, others will like what I have done.
My father is still around thank the good Lord, but he wont always be, and to me being able to jump in this car, and enjoy it like a modern car, drive it long distance, blow the tires off from time to time, and remember "this was Dads car" that means a lot to me. I can invision smiling while taking it down the road thinking of him, the work on the car etc. I'm not interested in it being stock or perfectly original, I want to enjoy it to the fullest, and thats the plan...... DRIVE IT! DRIVE IT HARD, and DRIVE IT FAR
Thread Starter
Registered User
Joined: Jul 2011
Posts: 488
Its been a few LONG days, the steering column is in and functioning, the brakes are done except for bleeding, stereo all wired and sounding pretty good! I put the chevelle tank in and didnt modify a thing, exhaust adjusted. And still lots to go, is it ever going to end? haha
2012-06-07_18-57-32_743.jpg
2012-06-07_18-57-15_847.jpg
2012-06-07_18-56-50_548.jpg
2012-06-07_18-56-21_348.jpg
2012-06-07_18-56-10_651.jpg
2012-06-07_10-42-33_759.jpg
2012-06-07_18-57-32_743.jpg
2012-06-07_18-57-15_847.jpg
2012-06-07_18-56-50_548.jpg
2012-06-07_18-56-21_348.jpg
2012-06-07_18-56-10_651.jpg
2012-06-07_10-42-33_759.jpg
Thread Starter
Registered User
Joined: Jul 2011
Posts: 488
Registered User
Joined: May 2012
Posts: 7
From: Boise, Idaho
Awesome job!!! I am new to this site and admiring your work... I have a 65 Cutlass that is currently in pieces. I wish I had the budget to build mine like that... The dash has inspired me to fabricate my own as well... I will soon start a thread on it as well as pics, but it won't be anywhere near the build that you have done... Excellent work!
Thread Starter
Registered User
Joined: Jul 2011
Posts: 488
re
Awesome job!!! I am new to this site and admiring your work... I have a 65 Cutlass that is currently in pieces. I wish I had the budget to build mine like that... The dash has inspired me to fabricate my own as well... I will soon start a thread on it as well as pics, but it won't be anywhere near the build that you have done... Excellent work!
I GREATLY appreciate your comments, I wish you were right here, I would help you with anything I could. If you need any advice, help please don't hesitate to ask or send me a message. Just keep in mind, take it slow, think it over and over and over, dont rush! Clean, clean and clean again, things can look great if you clean and paint correctly


