When you click on links to various merchants on this site and make a purchase, this can result in this site earning a commission. Affiliate programs and affiliations include, but are not limited to, the eBay Partner Network.
Good morning and that�s definitely what it is I got super lucky and it was just residual water left over from the first time water got in !! I put some fresh oil in and a filter primed it and I can watch clean oil coming up the pushrod now not watery at all. I also put the cardboard box from the oil filter underneath to catch the overflow and you can see it�s just clean oil - whew !!!!
Also this morning I validated the radiator is still at the same level of water that I left it out over 24 hours ago
Well , the seeping will continue, until the leaking is fixed. I use a fairly thick coat of RTV, and trim the excess after it cures.
But, you could pickup some AC Delco stop leak tabs, they work excellent for small coolant leaks.
i just ordered a set of Edlebrock gaskets. I read a review from a person who said he has pro comp heads and the Edlebrock intake and it sealed great. Those are the same heads I have so its worth a shot and I will go even heavier this time on the water ports, and again on both sides of the gasket
I’ve used these Fel Pro gaskets for years, excellent sealing properties, obviously fit at the intake to head fit needs to be investigated, looks like oil? What is torque and sequence.
That gasket didn’t fail imho
Last edited by dc2x4drvr; February 19th, 2021 at 06:54 PM.
I�ve used these Fel Pro gaskets for years, excellent sealing properties, obviously fit at the intake to head fit needs to be investigated, looks like oil? What is torque and sequence.
That gasket didn�t fail imho
that was water soaked on the gasket .. ??..I blotted it with a tissue and no oil wicked on to it ?
I did 30 Ft. Lbs. in the documented sequence...
One area of suspect as I read over the weekend. I WAS using the rubber gaskets at both ends with RTV....lots have said that "raised bump" on the rubber end, there is no recess on the aluminum intake for that to fit like on the cast iron one and that could be preventing a level and flat seal?
I'm going to ditch those this time and use Right Stuff RTV on the ends and of course on and around the water ports - the Edlebrock intake gaskets arrive today.
I dimple the block and intake surfaces to give the sealant a ‘grip’..Also, I use aluminum tape to build a dam on the block to hold the sealant, dry fit your intake to wag sealant thickness..installing the intake yourself is tough, a helper is good.
ok so Gaskets are in...Question for the sake of asking...what side goes on the head...I assume flat side against head without the silicone beads. The silicon beads face 'up" towards intake....correct ?
** Also these instructions state to only use RTV on the ends, not the rubber ones that were also not supplied on purpose.
The combination of the Edlebrock intake gaskets w the "Right stuff" RTV did the trick for the intake water ports.
My Holley Hyperspark Dizzy is supposed to be here next week so I have not put the hood on yet and I'm still running the standard coil and vacuum dizzy.
Next week I'm taking it up to the muffler shop to have the exhaust properly placed and welded up.
For now here is a video of it idling around 850-900 RPM
That is sweet. I wish my bone stock low mile 72 442 w/455 sounded that good! Where did you get the chrome valve covers.....are they notched? Thanks for sharing the video!
Hey gang made it back from the exhaust shop last night everything is nice and tight and is fully welded end to end . She sounds great runs amazing now that the O2 sensor for the sniper unit is very happy finally
I have some tweaking here and they’re such as loose alternator belt I think I hear some of the rockers taping a little bit but I want to finish let the break in and then I’ll do those adjustments
here’s a video I took of it idling in the driveway once I got it home off the trailer
hey gang back with another small but awesome update - New Glass ! I found a shop that could do my front and back glass - came out great ! They took thee extra step and painted a black perimeter around the glass to hide the epoxy they use and he even touched up the back glass channel that I didn't quite get converted to black when I did the interior color swap.
* I am also installing an OE power window setup as the next thing to do on her - Never will it be finished I guess
** and BTW - Motor is running Strong !...I did this burn out in front of my In-laws (Father-in-law requested that I light em up - a simple Yes sir and this was the result)
Location: Edmonton, AB. And "I am Can 'eh' jun - eh"
Posts: 24,525
That's certainly different. Can't do that with the rear window defog option for my car though.
Did you find a complete OEM power window setup? If yes, how are you going to fix the holes in the door cards when you pull the manual window regs and cranks? Asking for a friend
That's certainly different. Can't do that with the rear window defog option for my car though.
Did you find a complete OEM power window setup? If yes, how are you going to fix the holes in the door cards when you pull the manual window regs and cranks? Asking for a friend
Alan - yes, I sourced a set from a 72 via Nick Z., I posted a wanted add. I read a lot of bad reviews on the aftermarket stuff and spoke with Mattolds69 and his troubles so I snagged up OEM vs repo/aftermarket.
As far as the hole left over...I snagged these from summit
I apologize if I've missed something, but the power window switches go in the same holes as the manual window cranks. There are no holes to fill. I've put complete factory power window systems in 2 of my 71 Oldsmobiles. You just square up the holes for the switches. The perforations are indicated in the back of the door panels.
Fantastic build and documentation by the way.
Actually you didn’t... I did !
thank you for that clarification. I hadn't researched that far yet I thought they were at a separate location but that’s even easier then
Hey gang...been a while but I'm back with an update. Baseball for my son has been busy, we won districts and went all the way to the semi finals for state championship, then fell short 4-5 in the13th inning !
Now that I have some down time, I did the power window swap out. I sourced an all original and working OEM setup for all 4 windows with original wiring harness and switches. Everything fit exactly as it should ! and it all works !
biggest task was taking off both doors, but the OEM dimples for where to drill was easy, used a metal hole saw and slow RPM, cut like butter.
I went ahead an sourced new water shields as well since I was in there. The switch's overlaid great where the window crank previously was - very happy how that turned out
*** I was having an overheating issue even though I have a Cold-Case Alum. Rad. with dual 12 inch electric fans. I believe I have it under control now. My mixture was off.
now have 10% of 50/50 coolant and then 90% Distilled water with 2, yes 2 bottles of water wetter. I was ruining around 218 Degrees when mixture more more like 50/50 coolant and water when hot, now hovers right at 195-198
more to come
Last edited by Brians1; July 21st, 2021 at 08:26 AM.
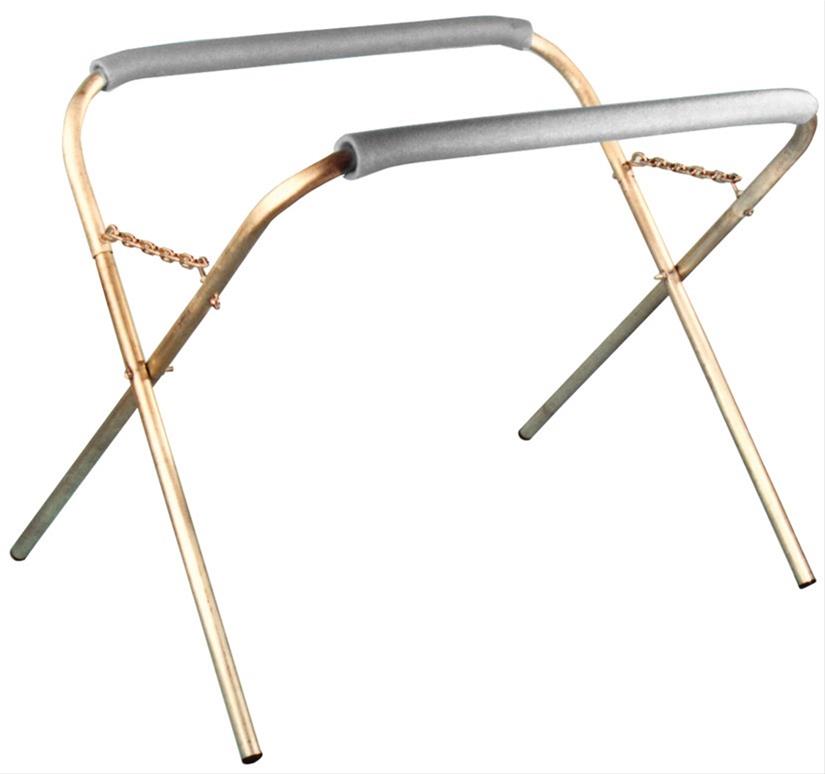
My Father-in-law came over and helped me remove the door. I have a body stand I purchased from Summit a while ago, did great to support the door (Interior side down) and made easy work of it to drill the door and pillar.


 February 7th, 2021, 06:08 AM