When you click on links to various merchants on this site and make a purchase, this can result in this site earning a commission. Affiliate programs and affiliations include, but are not limited to, the eBay Partner Network.
Happy New Year ! Well I’m back with another major milestone...The Rocket 350 is out !!! My Father in law came over and we had it out in about 45 min ( I disassembled everything the night before). I’m really stocked to get the new motor in, just waiting on a few odds/ends to arrive from summit racing before I do.
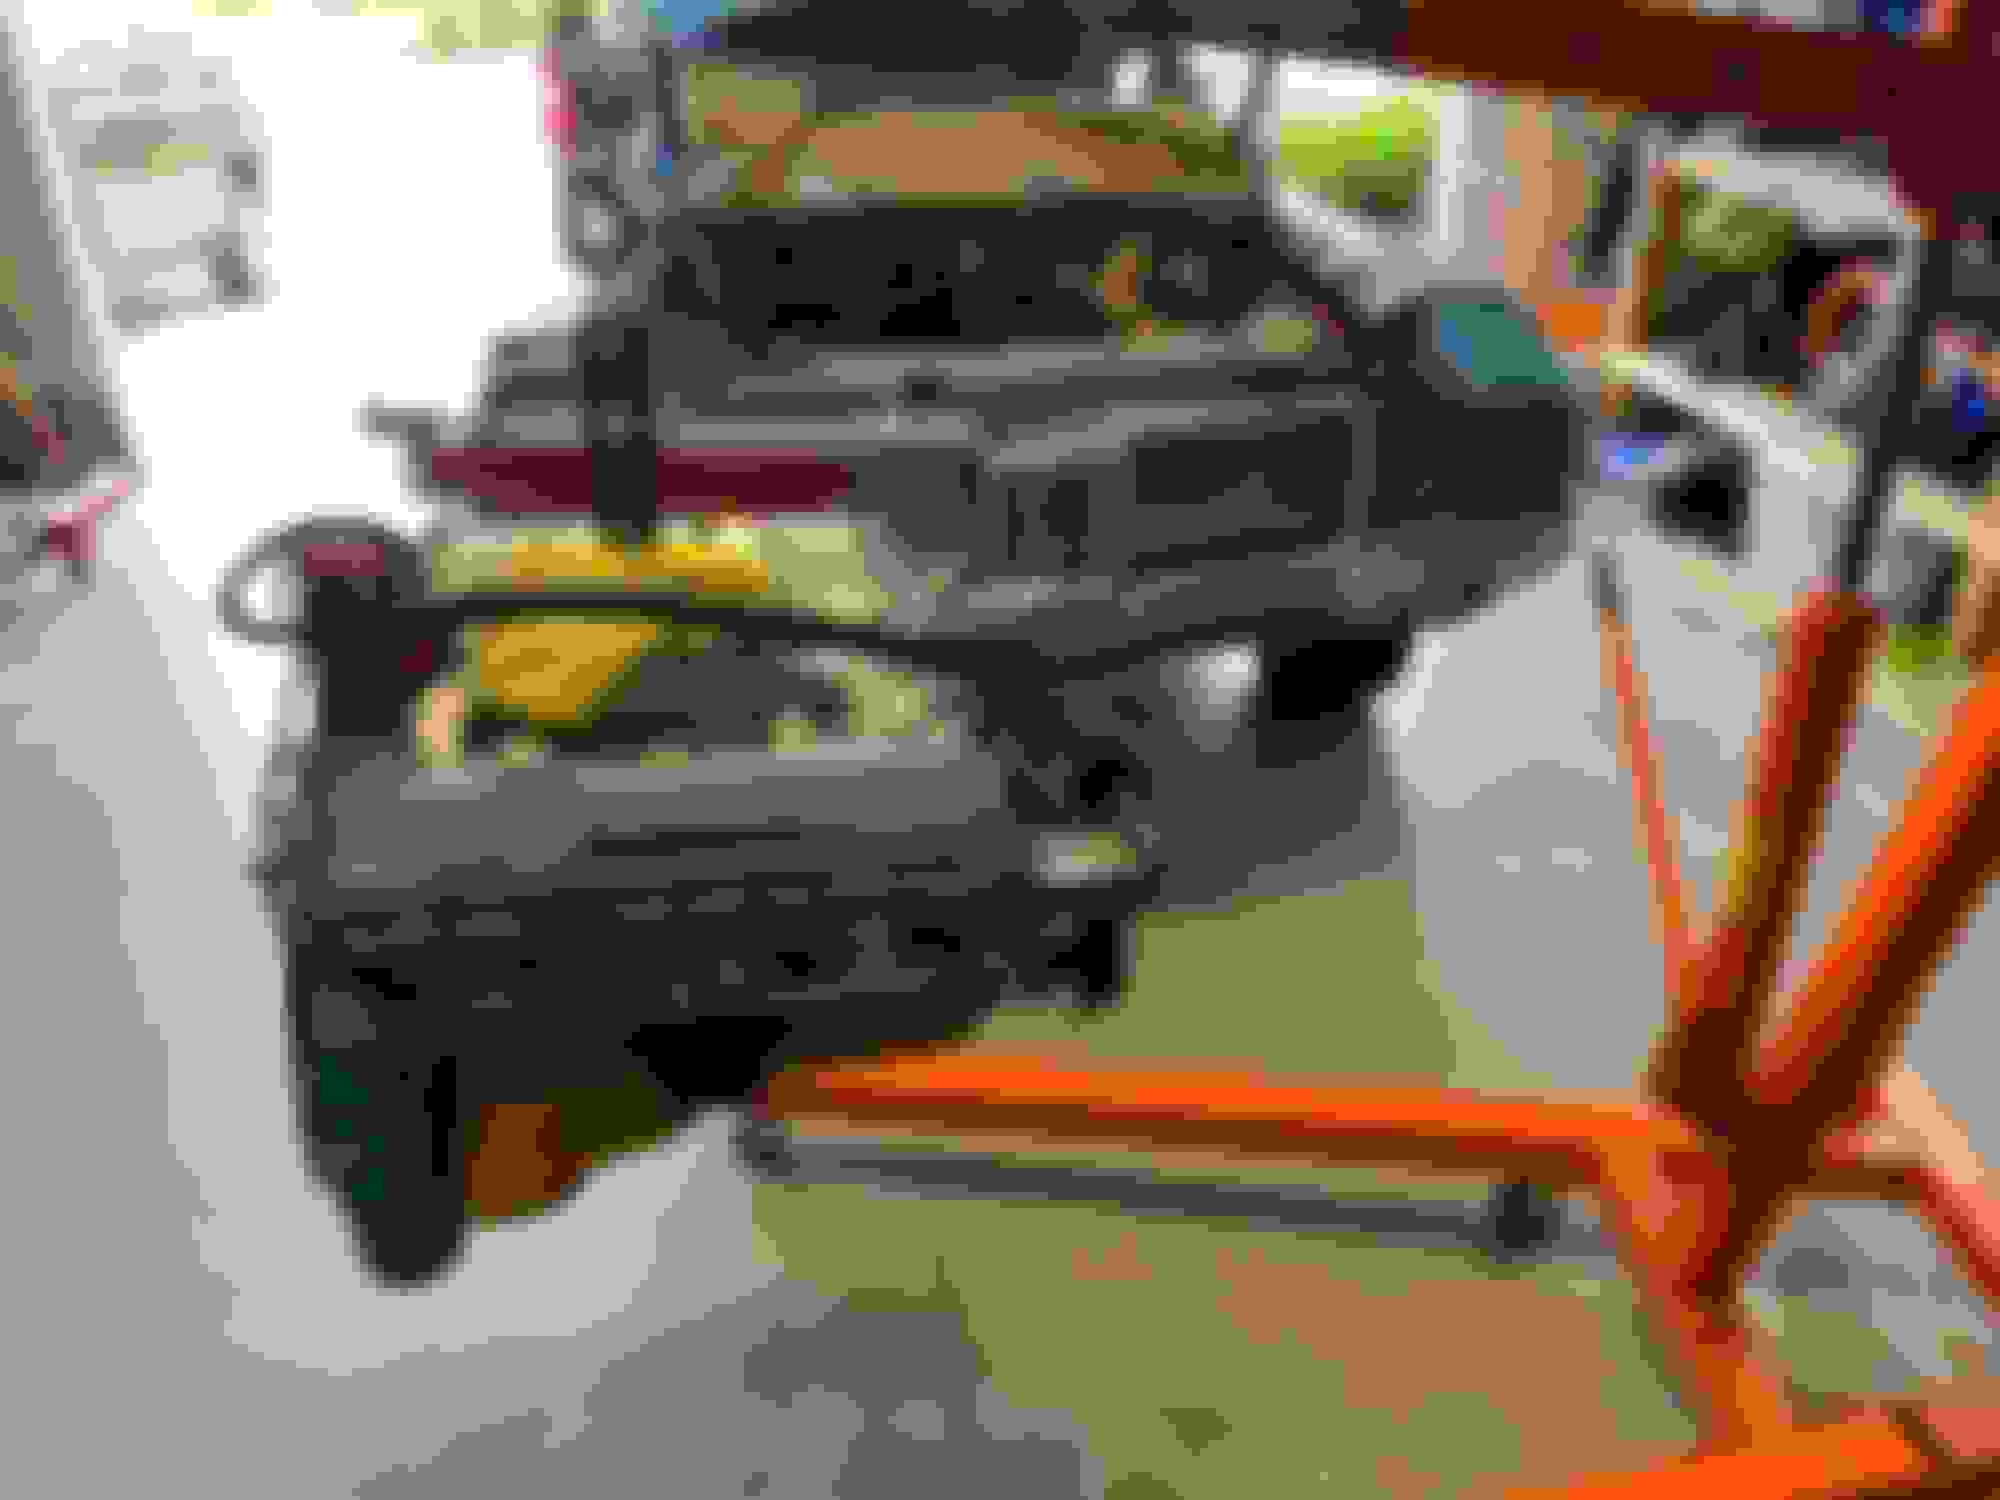
I also took the time to sand down the firewall and center support and spray some gloss black engine paint (rattle can), its just enough to set off the new motor once dropped in.
Also I need some help, what is this on the main engine bay harness, and can I get a new one ? Some kind of Ohm resister on it.
Hey gang, some more incremental progress
Motor is in and have been dealing with the expected small figment issues.
I had to order a smaller 8 inch brake booster as the 11 inch i had was way too close to the valve cover. I also had to get a 2x2 square tube to make a longer boom arm on my lift, not a big deal but the extra 6 inches made all the difference cleaning the front bumper.
The headers - what a PITA ! I had to take off the oil filer and the oil filter housing, lifted pass side and then sealed in from top.
On the Driver side i had to take out the steering arm and pull off the mini starter. Once the driver side was in, i had to forcefully pout the steering arm in between the header and caster bolt, and then i had to pull the steering column out from inside so that i could realign the steering arm as i have zero room now to play with the steering arm. It’s all back together now but Wow...I also used Stage 8 header bolts on the headers along with the anti seize for the aluminum min heads.
Now to install the brake booster and then all the misc wiring, etc and then I’ll get the exhaust going.
Well you’re in luck I installed it last night and what a world of difference on clearance I’m very happy with it. Also this morning I’m working on my cold case radiator install definitely gonna be some fitment issues with the fan shroud top plate but nothing I can’t figure out
Thats coming along nice brian, the headers sure are tight!
for the radiator top plate you can buy or fab the 4 core rad retainer and trim the old top plate and then weld on the 4 core retainer. Another member ( i think funk wagen) posted a pic of this method and its looks similar to the factory 4 core top plate.
you can also purchase a 4 core top plate, but i like making things like that when i can.
Well got the radiator top plate all set and I got the transmission cooler lines in, but modified. There was no way the lines would install with the headers , I tried for over an hour. I ran up to aurozone and got 12 feet of power steering hose, cut the ends off of the cooler lines off and then used my flaring tool. I think the compromise worked out well and I have the lines running along the passenger fender well.
up next is the exhaust and then on Tuesday once my alternator bracket arrives it will be time to fire her up...hopefully.
Last edited by Brians1; January 17th, 2021 at 04:51 PM.
Hey guys I need some additional help I�ve got the motor ready to be fired but I can�t get the starter to engage. It�s a power master mini starter. I only have the purple wire connected and I�m running an electronic distributor, non-HEI.
my first question is on the power distribution block/horn relay do all three of these get connected to the power post along with the lead from the starter to make 4 total wires connected?
as far as my coil goes I have the yellow and braided wire that or one from the wire harness on the positive of the coil and I have the brown braided lead into the tack on the negative side
distributor is competition products and they told me ref is positive to the coil yellow is negative to the coil and black as chassis ground
I pulled my voltmeter out...in the start position the purple wire at the starter has almost no volts...In the run position I have 12 V to the coil... The starter will not engage at all..
I got it figured out, the column shift linkage under the hood wasn't fully seated in "Park". I need to get the linkage and then connect it as I'm pretty sure I won't have reverse lights until I do that right ?
I will however try and fire her up in a few hours and see what happens
Last edited by Brians1; January 21st, 2021 at 08:48 AM.
Well gang I hate to say it but the motor is coming back out.
had some electrical issues at first didn’t have my valves adjusted correctly and had no compression. I got all of that worked out still wouldn’t fire up, it was just constantly flooding. I pulled the passenger side valve cover again as I wanted to re check compression and found water mixed in with the oil
not sure how I did it but I obviously messed something up with the head gasket and it explains why I no matter what I did it wouldn’t fire (I have fuel, spark, air (compression) )
Yeah it sucks but it�s not that bad getting the motor in and out. At least this time the headers will be in and just loose I don�t have to fight that battle again
So maybe I�m not gonna be pulling the motor as I was taking the transmission bolts out leaning over the passenger side I kept getting strong smells of fuel I rechecked what I thought was water and oil and it�s gas and oil in the passenger side head in the valve train...
Does this just mean my valve rocker arm settings are just so bad it�s staying open and the fuel is coming in on the intake?
or is the carburetor that screwed up and it�s just dumping fuel like crazy? I had the carburetor built at national carburetor with a stage 2 kit on it they were supposed to have bench test it before they gave it back to me
I have 150 psi of pressure in all eight cylinders
Last edited by Brians1; January 23rd, 2021 at 06:18 PM.
Good you don’t have to pull the motor. Where exactly is fuel, head to intake area, or fuel leaking from fuel line?
In this image you can still see a little fuel here in the pass side valve train....There was a lot more and a lot that leaked out under the valve cover gasket and onto the header and was just poooled up. I stuck a rag into it (looked a little milky at first) and it soaked up a lot and when i put it to my nose, its gas. I do have break in motor oil in the motor now and it has a unique smell and that’s not it, def fuel.....I also noticed from the last one of the many failed starts that fuel ran down the side of the intake from under the Qjet....and when i pulled # 2 plug n pass side - already black and it hasn’t been run yet...
All sighs of the carb bing junk and the problem maker ?? As mentioned i still have 150 PSI in each cylinder so i assume head gaskets doing their job along with the piston rings. They held their PSI too - no leak down on pressure as I let it sit for a good 5 min per cylinder
Ill need to run up to Autozone and see if i can get an inline fuel pressure gauge as I don’t know what the fuel pressure is. I am running mech fuel pump.
Sounds like i should just pull off carb and Intake and inspect from there such as gaskets from base of carb as well as intake runner gaskets ?
If the fuel pump is OEM type it he fuel pressure should be ok. The card gasket should be the thick one, maybe around 3/8”. Check the carb, the accelerator pump could be stuck up, allowing it to dump a lot of into the intake.
Just a few thoughts: It would be almost impossible for a large amount of raw fuel to get up through the valve seals and onto the top of the head. It is more likely that the carb is dumping fuel into the cylinders and the oil in the pan has mixed with fuel. Pull your dipstick and see what the engine oil smells like. I would bet that the oil in the pan smells just like what you "mopped up" out of the head. Also, Oil and fuel mix together unlike oil and water which separate. I believe what you are seeing in the head is water. This could be from a different source than the coolant system. Where do you live? Metal valve covers can get a lot of condensation on them if you have a big temp difference between day and night along with high humidity. The amount of condensation can become so great that the oil in the heads will turn milky and look like a blown head gasket. If you live in an area that currently has high humidity and a it is warm during the day / cold at night. I would suspect that the water you are seeing on top of the head is coming from condensation. Did you put thread sealant on the head bolts, because if it is not condensation, it could also be coolant wicking up from the head bolts. If you did not put sealant on the threads of the head bolts, drain the coolant from the motor and pull, seal, and re-torque the head bolts one by one. This will allow you to seal the bolts without pulling the heads or replacing the head gaskets.
I used Cometic gaskets, but Mahle stuff is good, I’m wondering about the gasket to block alignment around the center water jackets.
Was your block pressure checked before assembly?
Years ago I had a head to block leak on a new build using FelPro gaskets, turned out the block deck surface wasn’t finished correctly.
Last edited by dc2x4drvr; January 25th, 2021 at 07:46 AM.
I sent my pictures over to Mark Remmel just to ensure I didn�t screw anything up, this was his response:
�chances are it�s not the head gaskets, depending on the gasket you can flip them over and turn them around and it really doesn�t make any difference. My guess would be the intake gasket is leaking at your water crossover.�
head gaskets, depending on the gasket you flip them over and turn them around and it really doesn�t make any difference. My guess would be the intake gasket is leaking at your water crossover.
I will say my immediate observation when I went to break the torque on the intake bolts it didn�t take much at all.... aluminum intake, aluminum heads, I used aluminum anti-seize on the bolts they are ARP and I know I followed the recommended torque setting..35 flbs
And the culprit is the timing plate where it meets the water pump in the block it was not sealed/flat 100 hundred percent on the passenger side water was flowing right in
Hey guys back with an update...and unfortunately not a good one. I got everything back together and haven't even attempted to crank it...Water in oil pan and coming out valve cover when I manually prime oil pump with my drill....
See these 2 images...I can watch the milky mixture come up push rod and then leak right out under gasket.
I have already replaced the timing plate and used a gasket on both sides plus the water pump....I did a radiator pressure test for the system and it held pressure. But water is still getting in the pan and in large quantity...going to pull it now and tear it all down...
So stay tuned it might not be bad after all it may just be residual water that was left in the system and in the oil pump
i drain the oil, yes it was milky but only for about the first second and then it was nothing but oil coming out. I�m gonna run up to the store when my wife gets home and ill get some generic oil and filter and just work on purging the system until I see clean oil


 January 3rd, 2021, 01:23 PM