When you click on links to various merchants on this site and make a purchase, this can result in this site earning a commission. Affiliate programs and affiliations include, but are not limited to, the eBay Partner Network.
Looking good Brian. Thanks for the updates.
Did they use the steel frame from your old hood or is that all brand new metal?
To answer your previous question about the underside color, yes, it should be black. Mine is on the shiny side but I'm not sure if that's correct. I'm sure someone here will let ya know exactly what finish the factory used.
thanks Rick, I�m going to ask the shop doing my paint to spray the underside of the hood. As far as the structure no , they did that at Stinger fiberglass.
yes I have since gotten the correct color and painted it
Sorry, my bad. For some reason as I was going through your build thread it completely skipped page 5 and went from post 160 right to 201. Infinite scroll isn't so infinite. Should have known with this crowd if you used Pontiac blue on an Olds engine someone would let you know about it pronto.
Great build and great progress. I actually owned a 1972 442 with a 350 pretty much your same color with white stripes and tan interior. I think it was more yellow though. Bought it off one of those corner used car parking lots in Charleston, SC in the 80s for something around $950. It had 88,000 miles on it. I drove it for a while and sold it. Stock as a rock with single exhaust and no ram air, just a console and TH350. Didn't do much to the car but probably should have kept it.
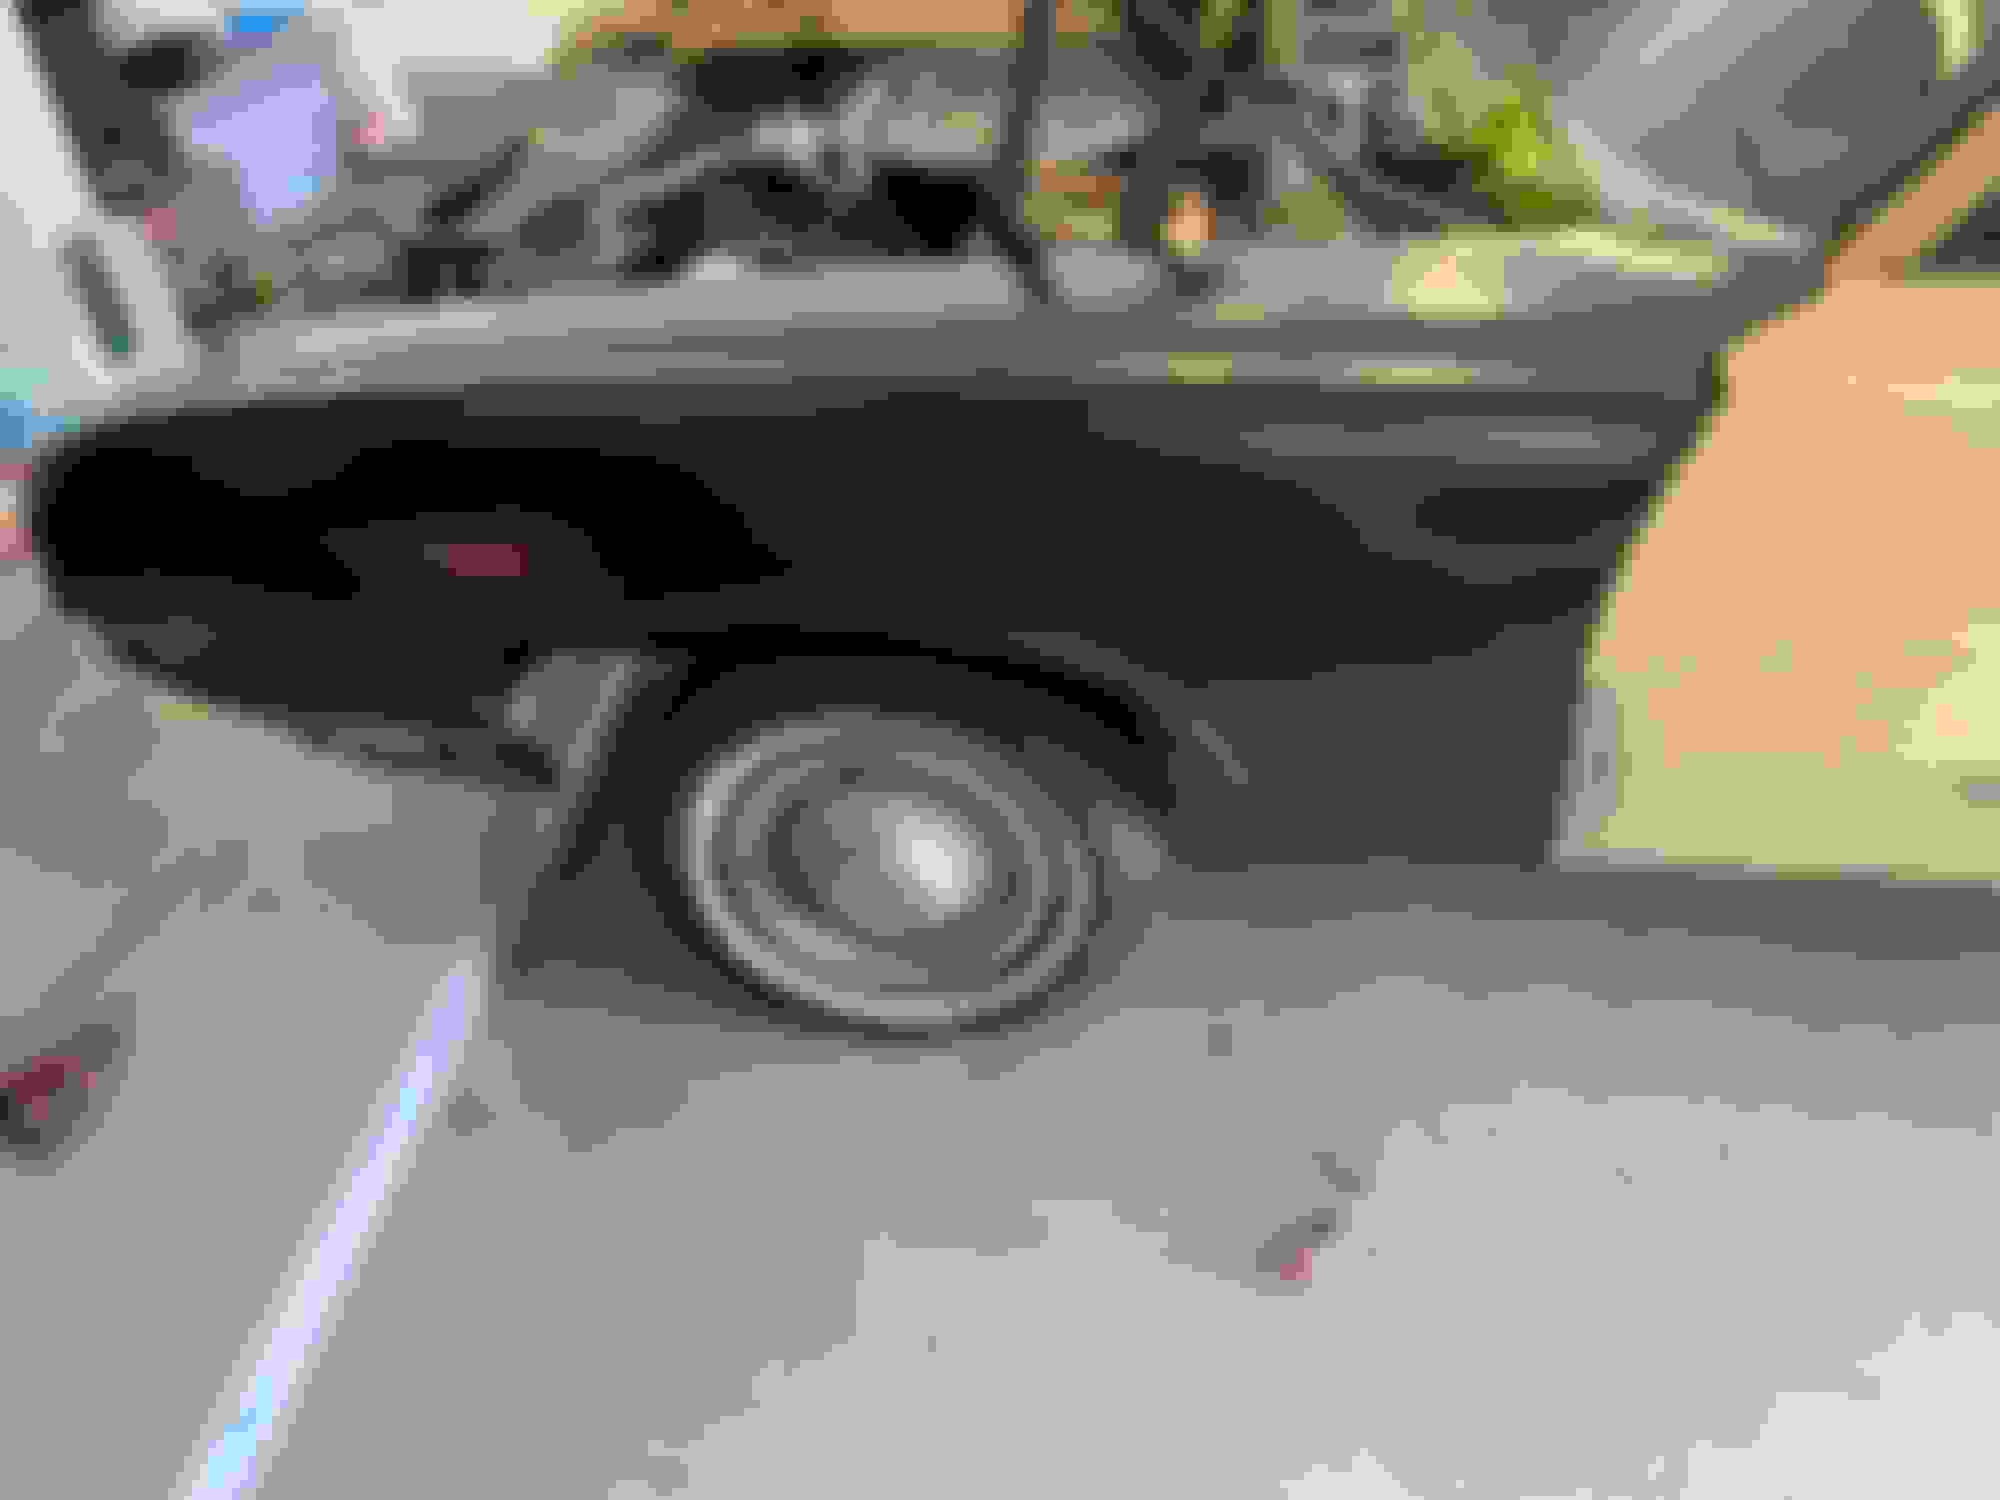
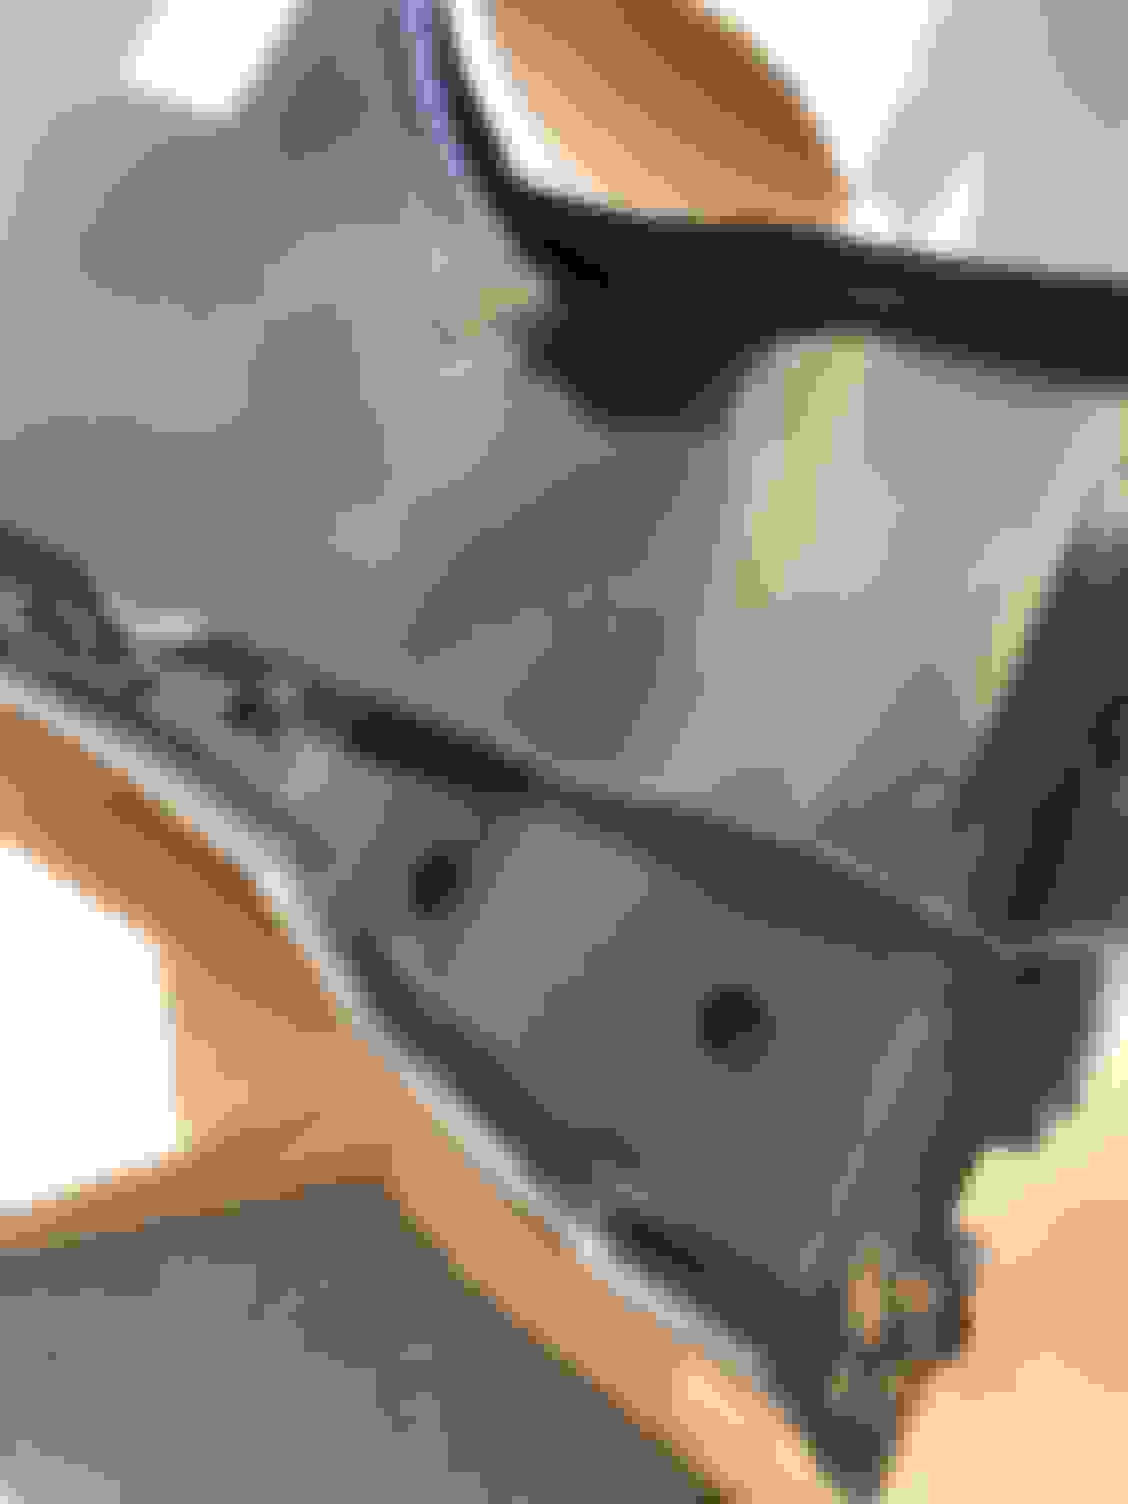
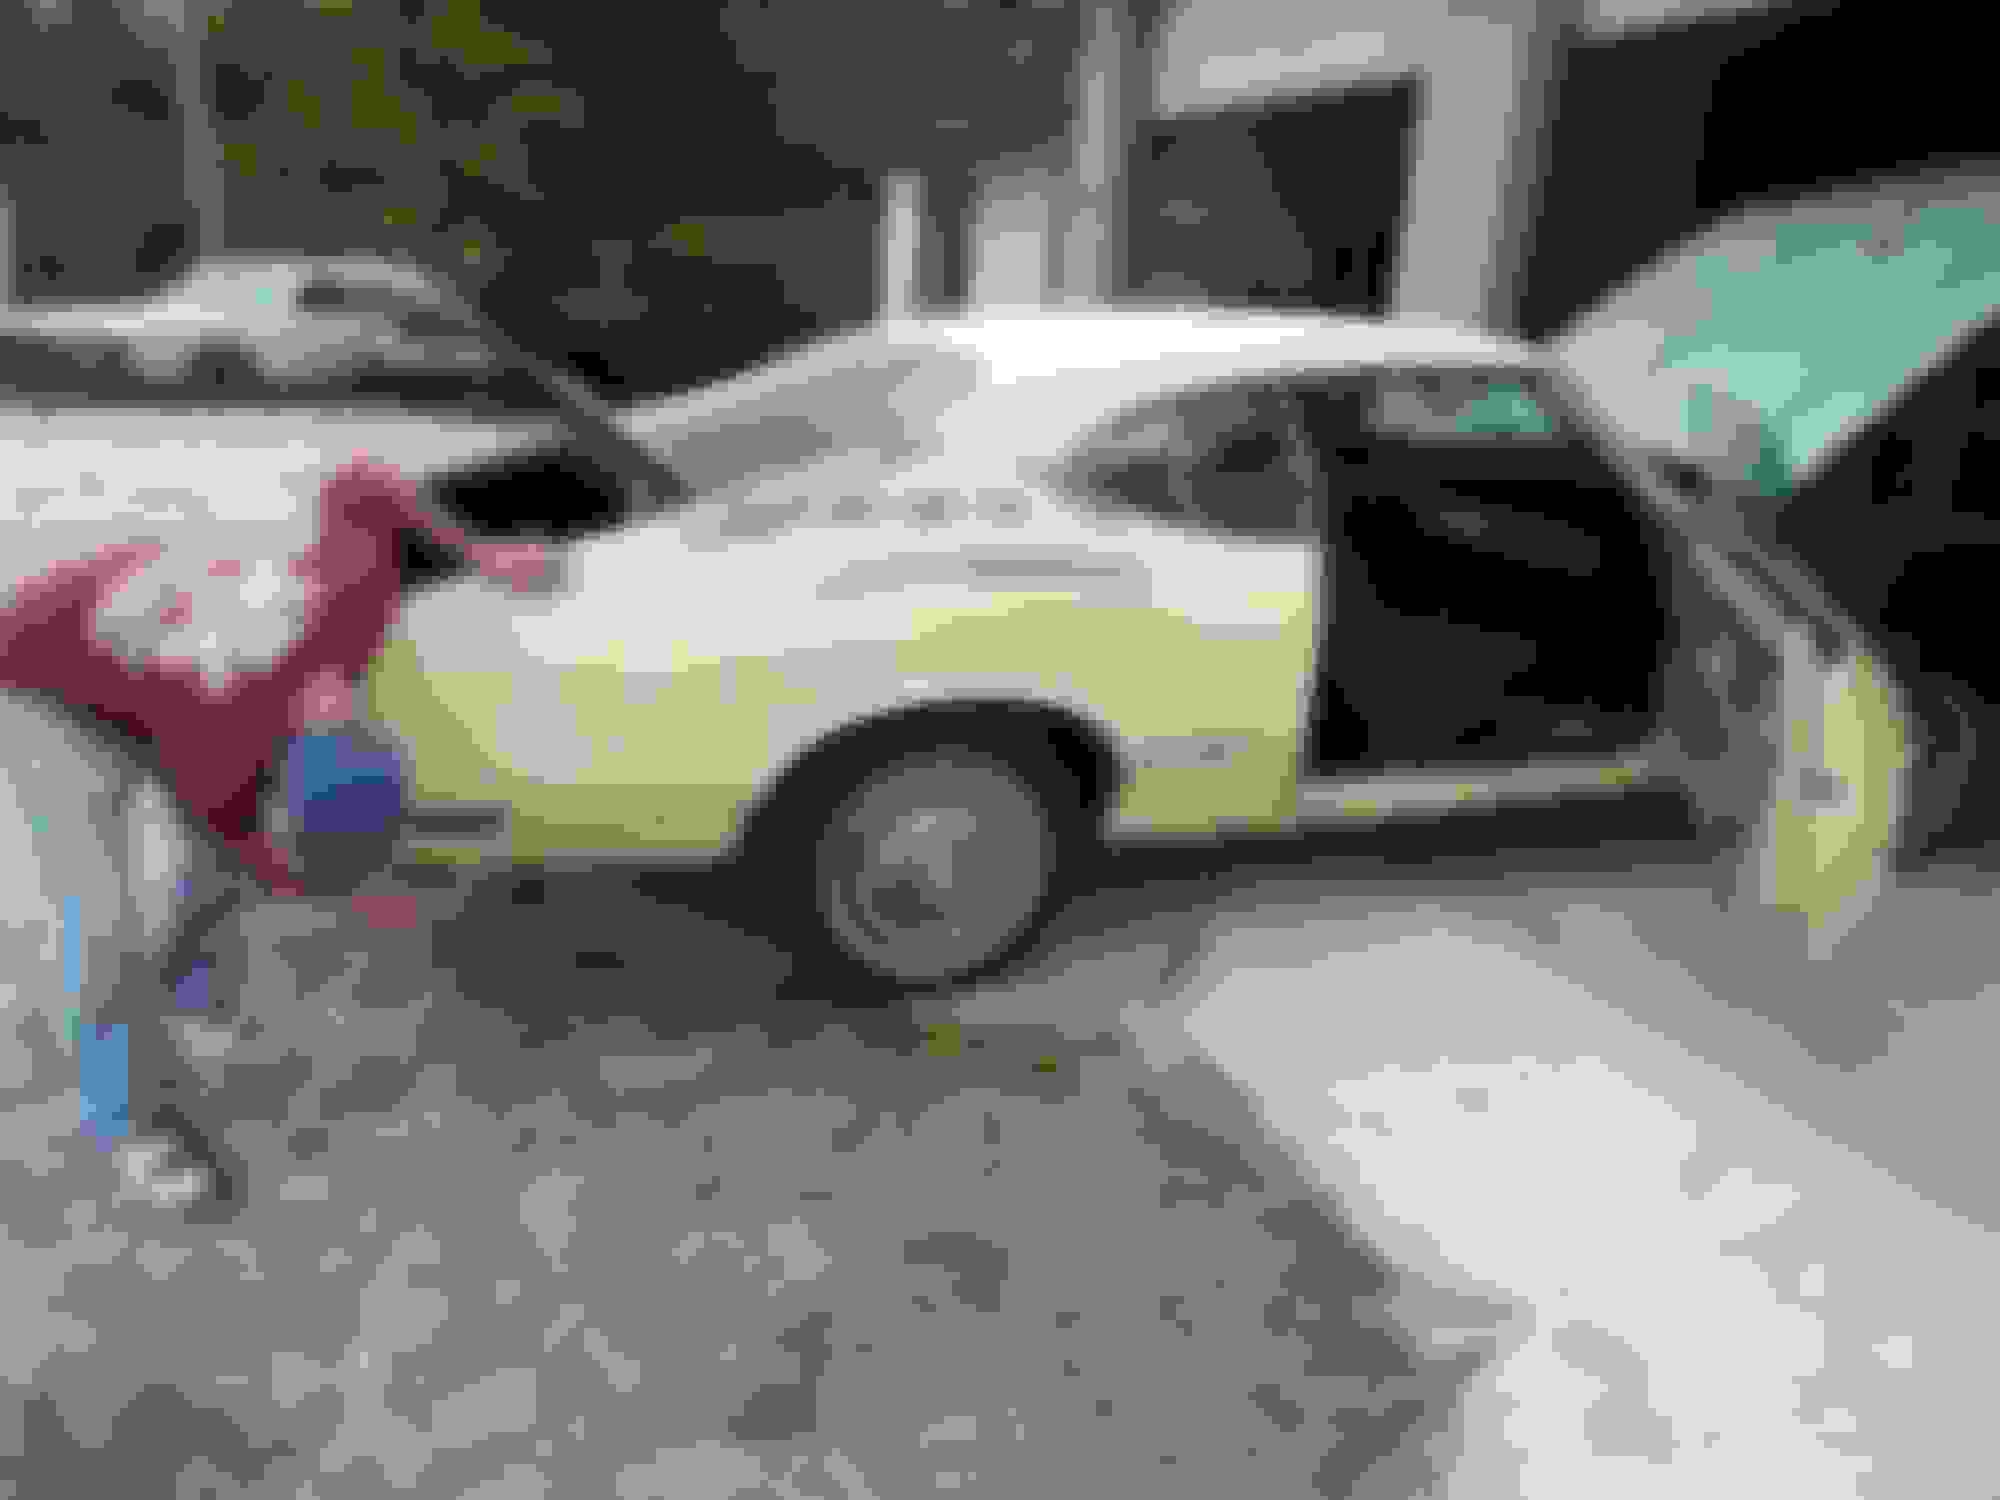
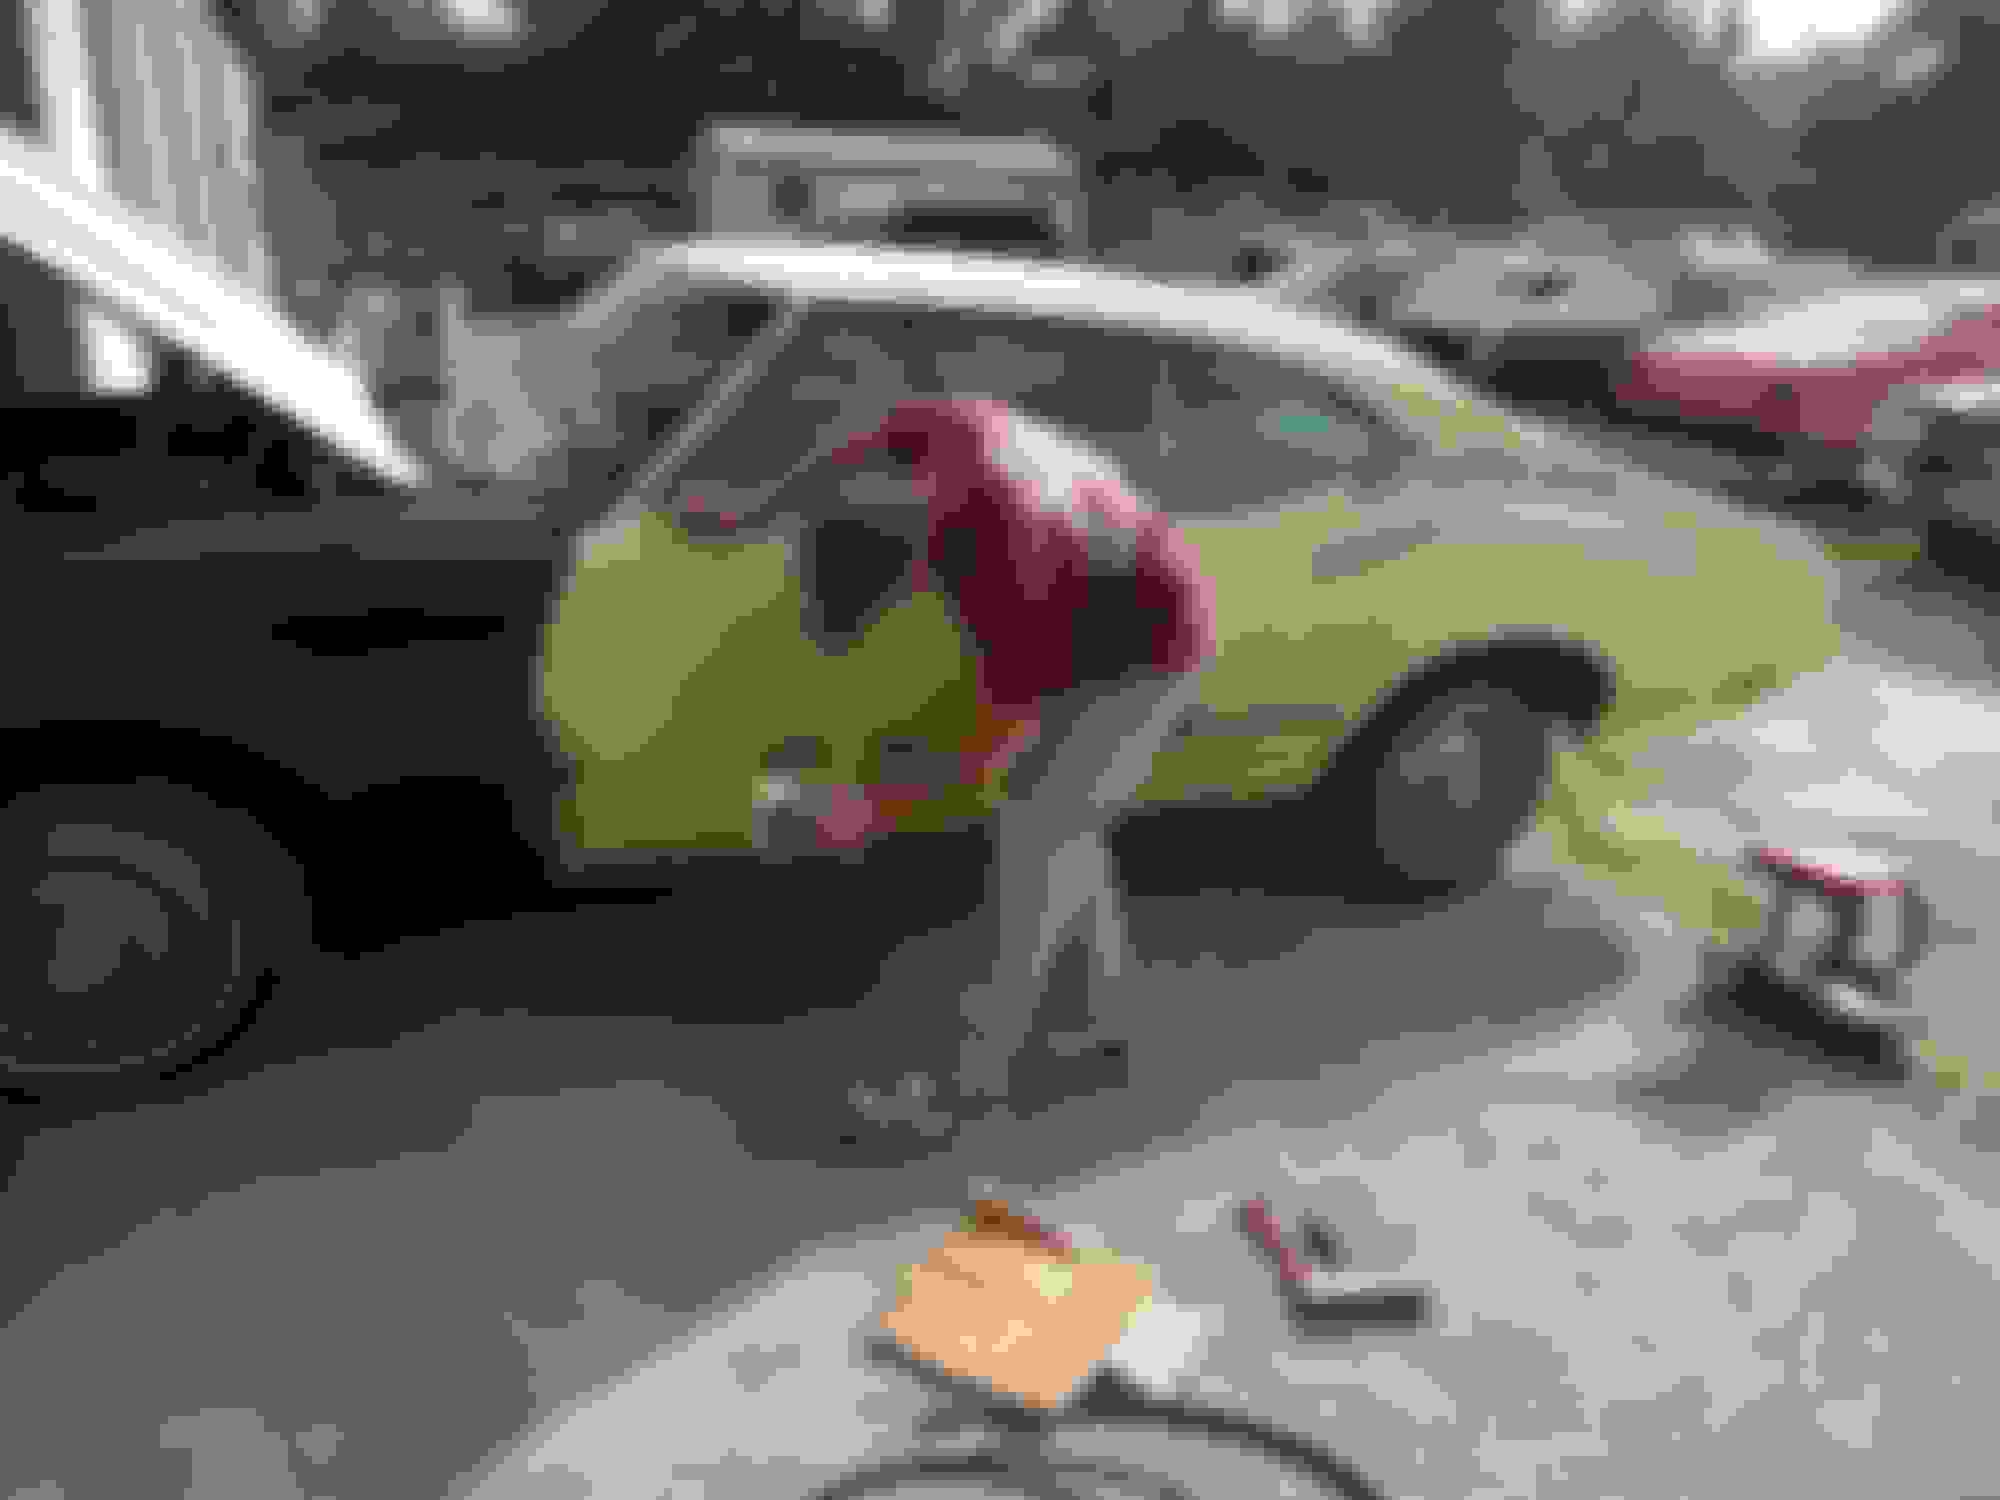
Well i have some small progress and a bummer of a find.
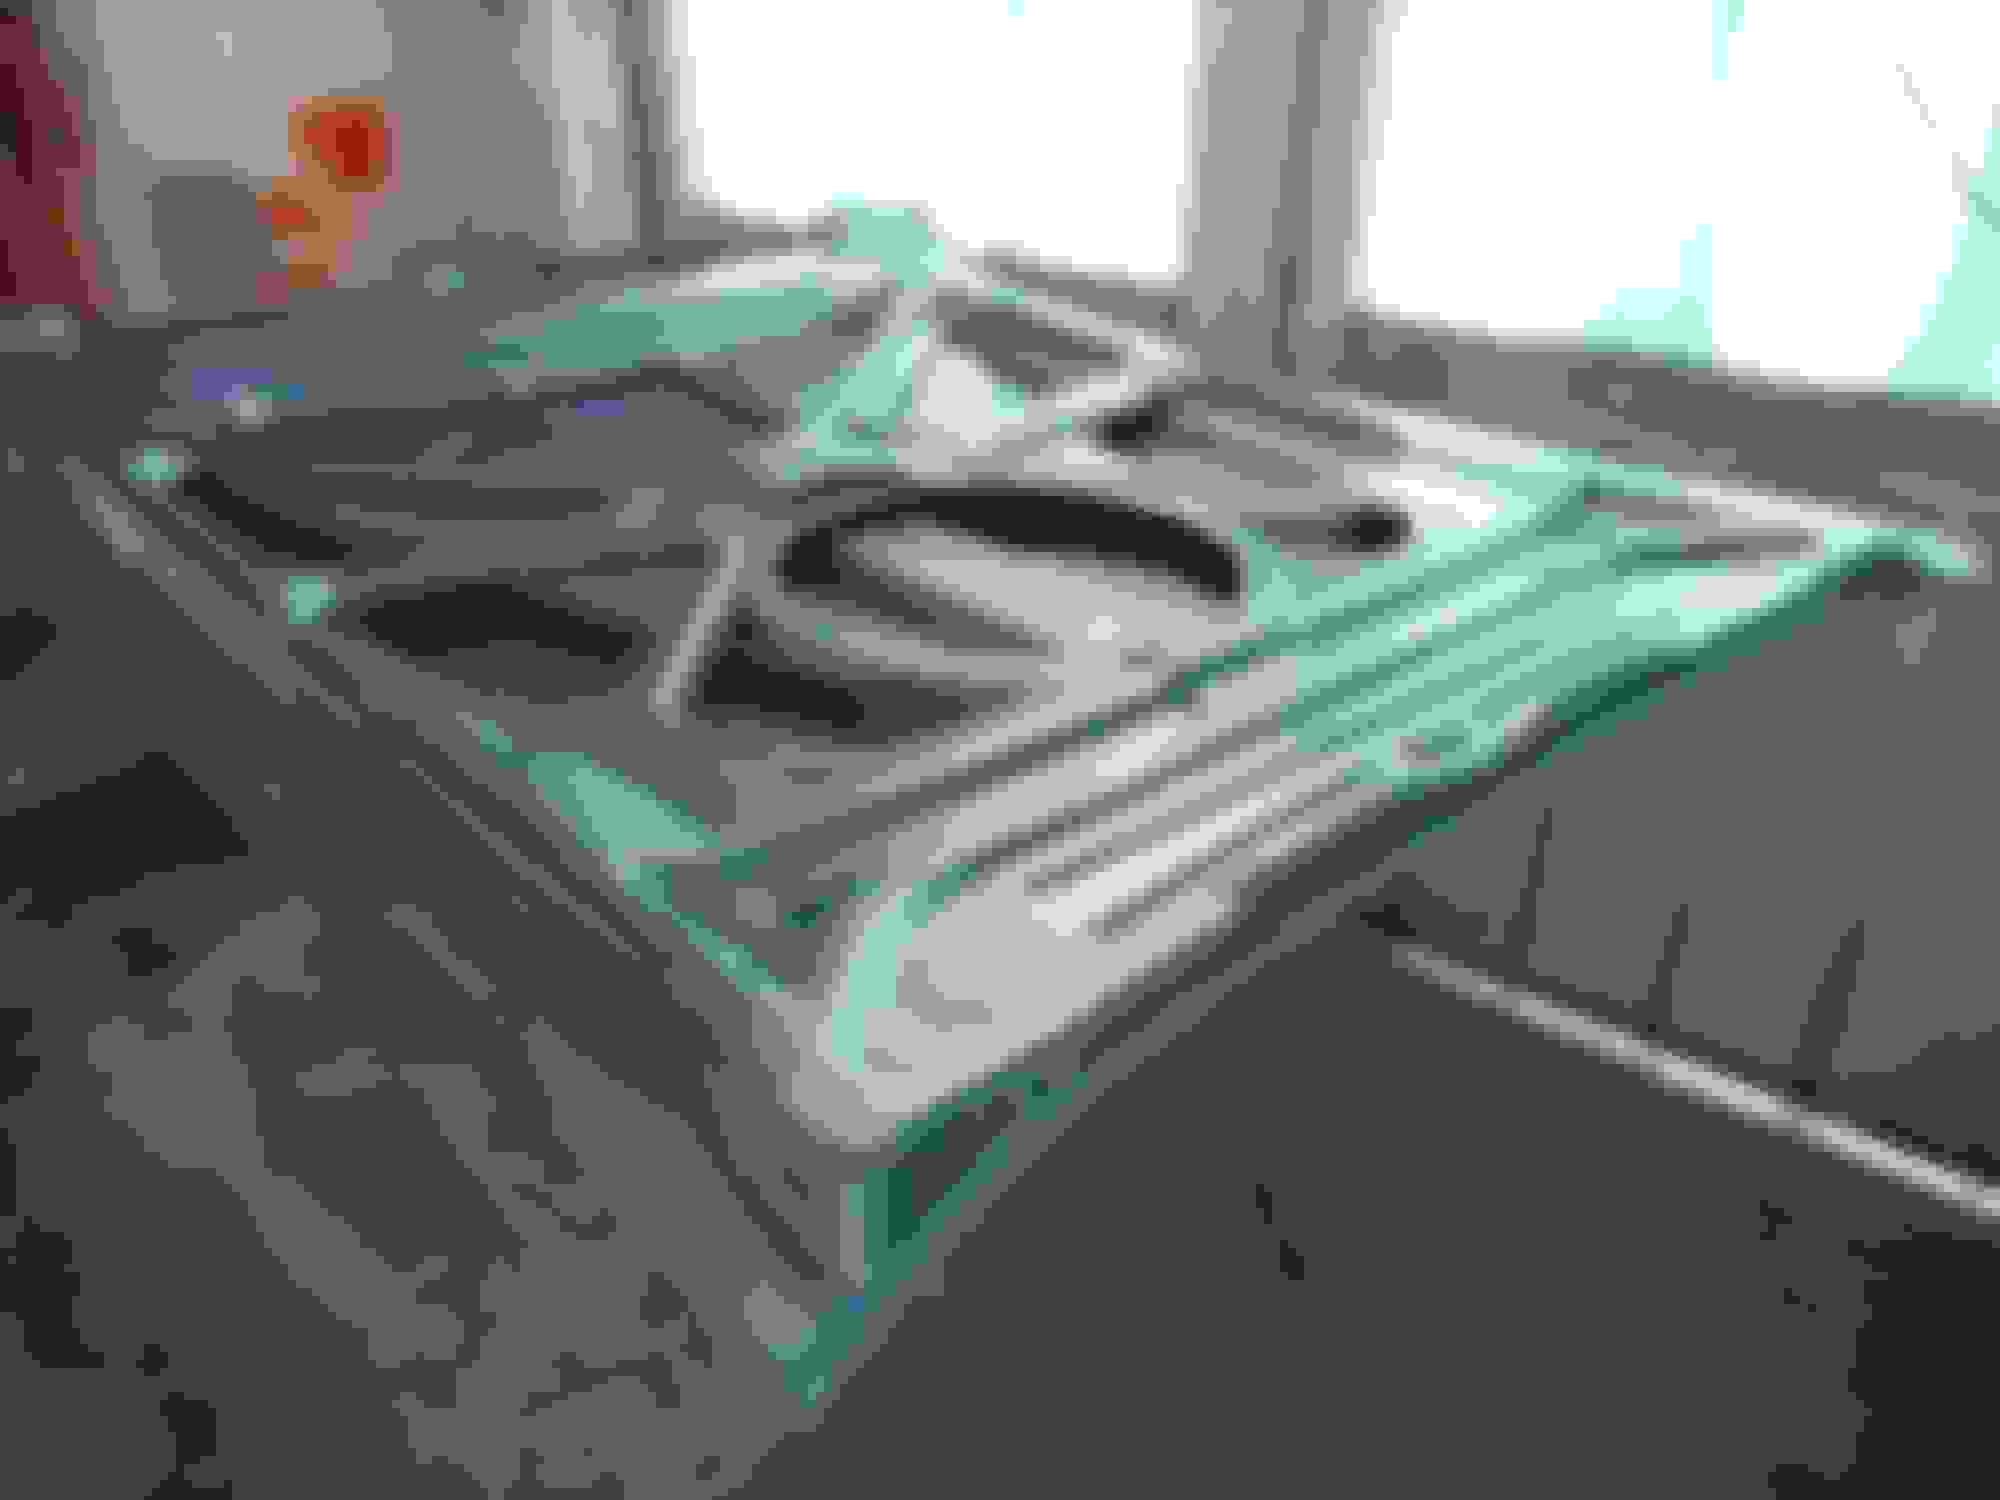
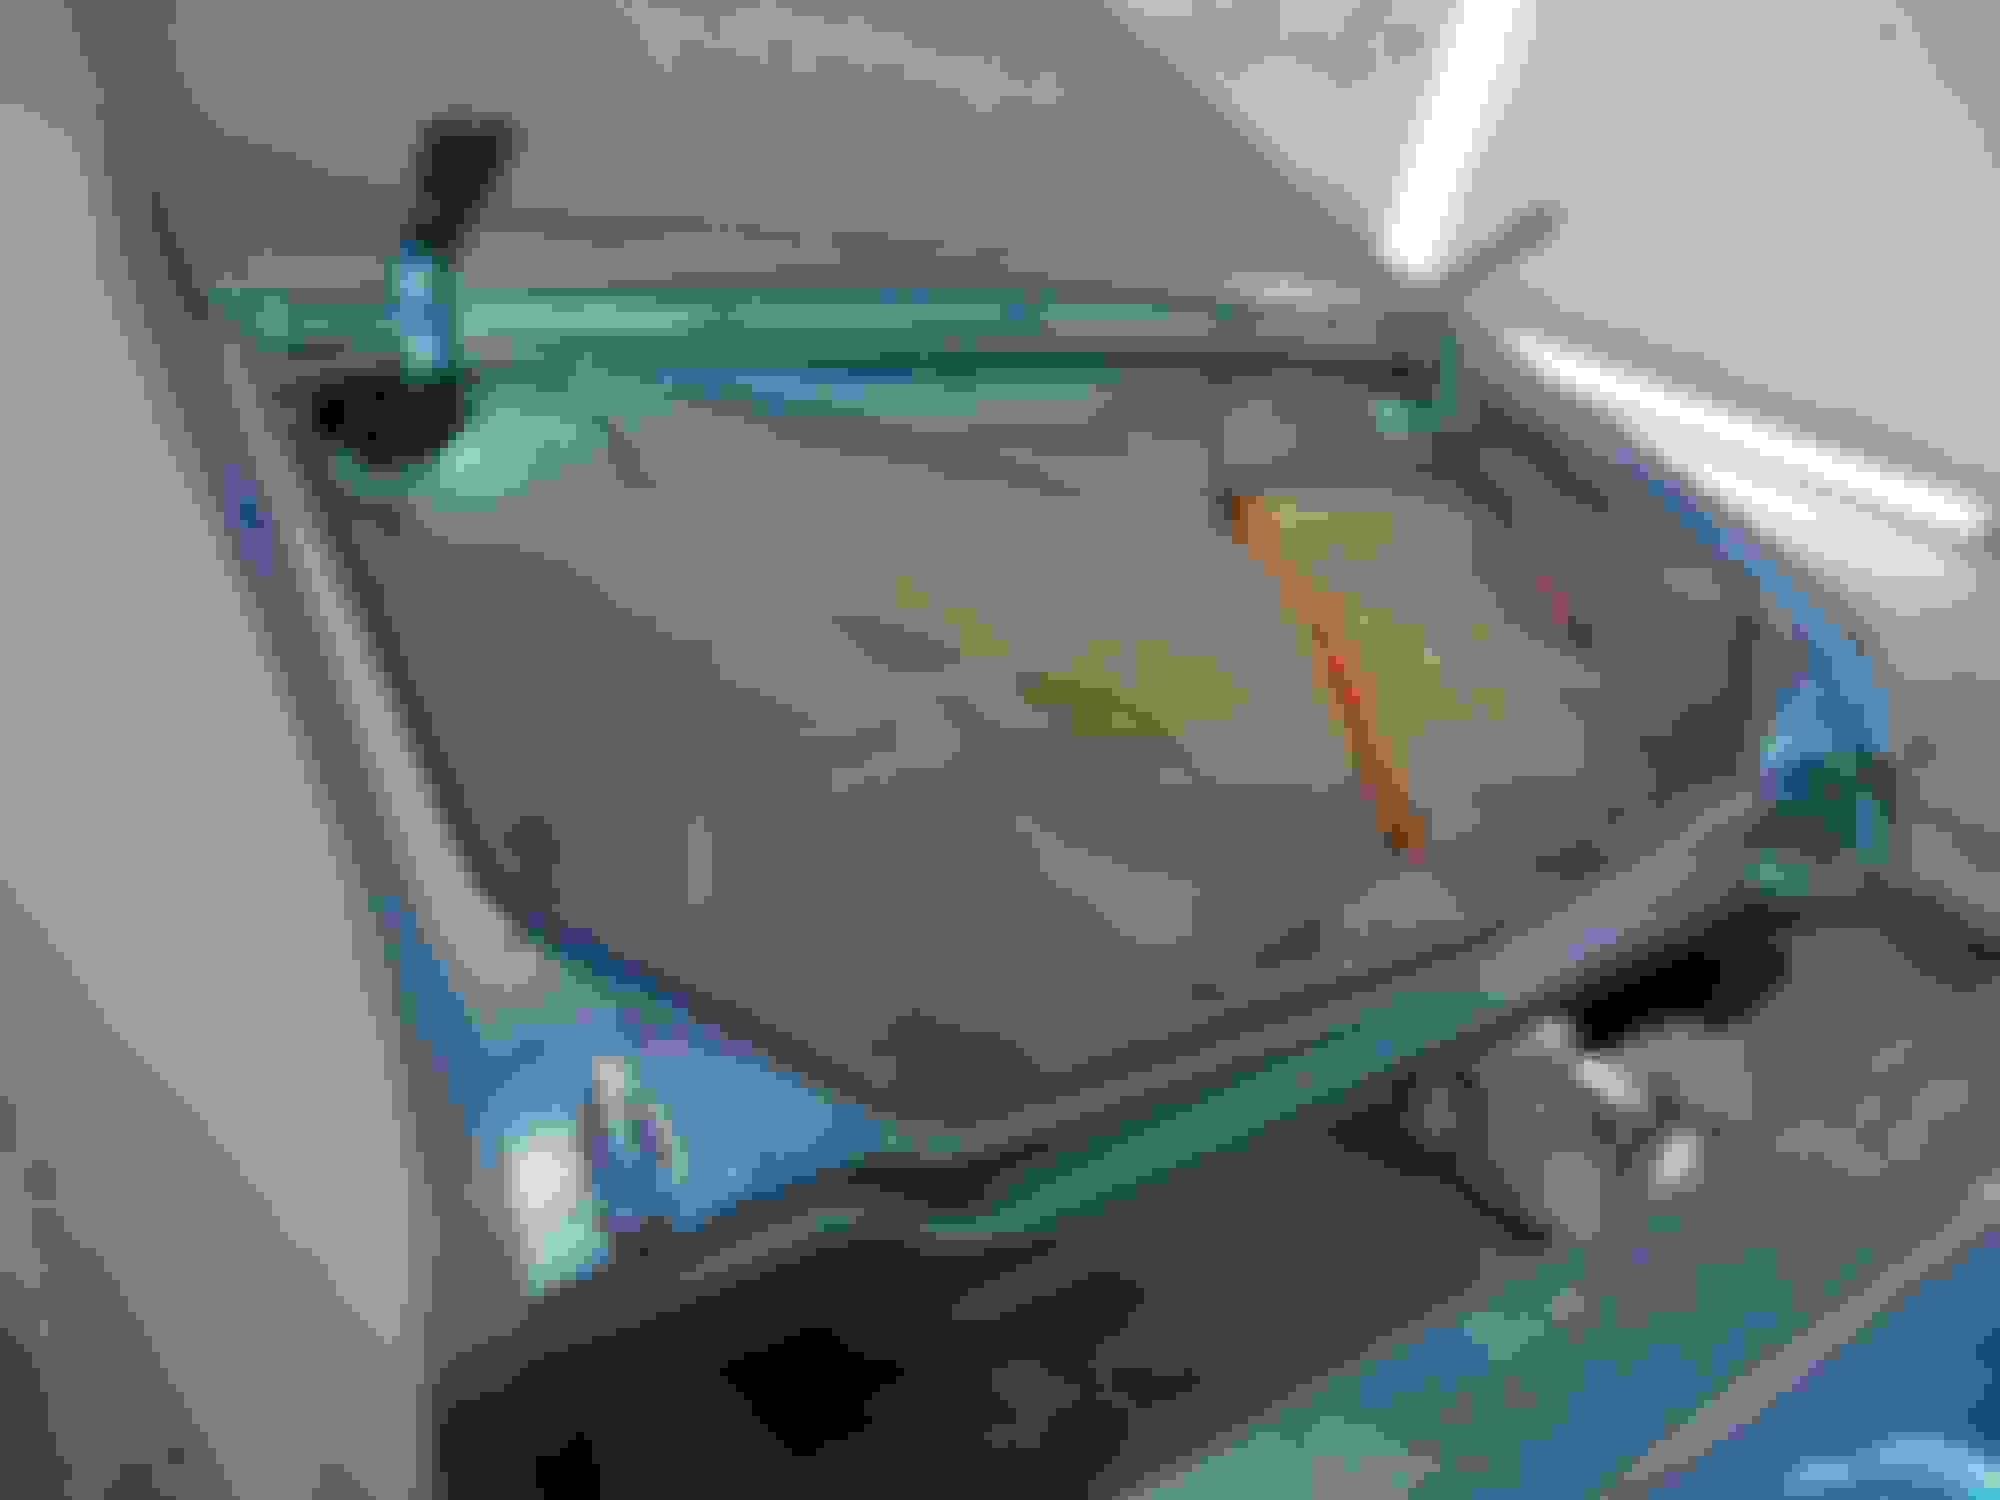
Progress is the vinyl top is off and the roof is in amazing shape ! ** And I’m saving lots of extra hours at the body shop by removing all trim and bumpers, etc
the bad news is the bottom of the front fenders are toast (both sides) thanks to that chrome molding that was on there...I ordered replacements (not going to futz with a patch weld in, ill sell on the forum and someone else can do that).
Top end motor parts ordered today so in next few weeks a lot will be happening.
Pass side Pass side Pass side Driver side Driver side
That roof does look great. Seems like the areas that rusted on the fenders happens a lot with or without the molding. FWIW .....My body guy preferred installing the patches and to keep the original fenders.
I hope the repro fenders fit without a lot of work...
I do as well. I did some research and ordered via Tamraz told them I was an OPGI customer and wanted to convert - hooked me up with a nice discount, saved me a good bit had I gone with OPGI...But I went with Tamraz because they have the their metal/body panels sourced from American made stamps and production, not overseas like OPGI uses. I will know next week
I have gravitated towards Motor City Classics in Keystone heights. Since you�re local to me as well let me know if you�ve got suggestions or good bad on the current choice etc.
Seems like the areas that rusted on the fenders happens a lot with or without the molding. FWIW .....My body guy preferred installing the patches and to keep the original fenders.
Yep, the fenders on my Supreme rotted in the same area and it was very obvious that they were rusting from the inside out. That area on both fenders was filled with leaves that stayed wet after rains / car washes.
As for new fenders, I installed NOS fenders back in 1992-ish and the passengers side did not fit properly because the upper rear mount was welded on incorrectly. I always wondered if they were "seconds" and that's why they ended up as repair panels instead of being used on the assembly line.
And I made sure to prime and paint the insides of the fenders before installing them to try and prevent that rust through from ever happening again.
I have gravitated towards Motor City Classics in Keystone heights. Since you�re local to me as well let me know if you�ve got suggestions or good bad on the current choice etc.
I have no info on them, let me us know, My car has some chips on the edge of one door, caused by paint build on the edge, so I�m on the hunt for a craftsman to paint the door.
Good luck!
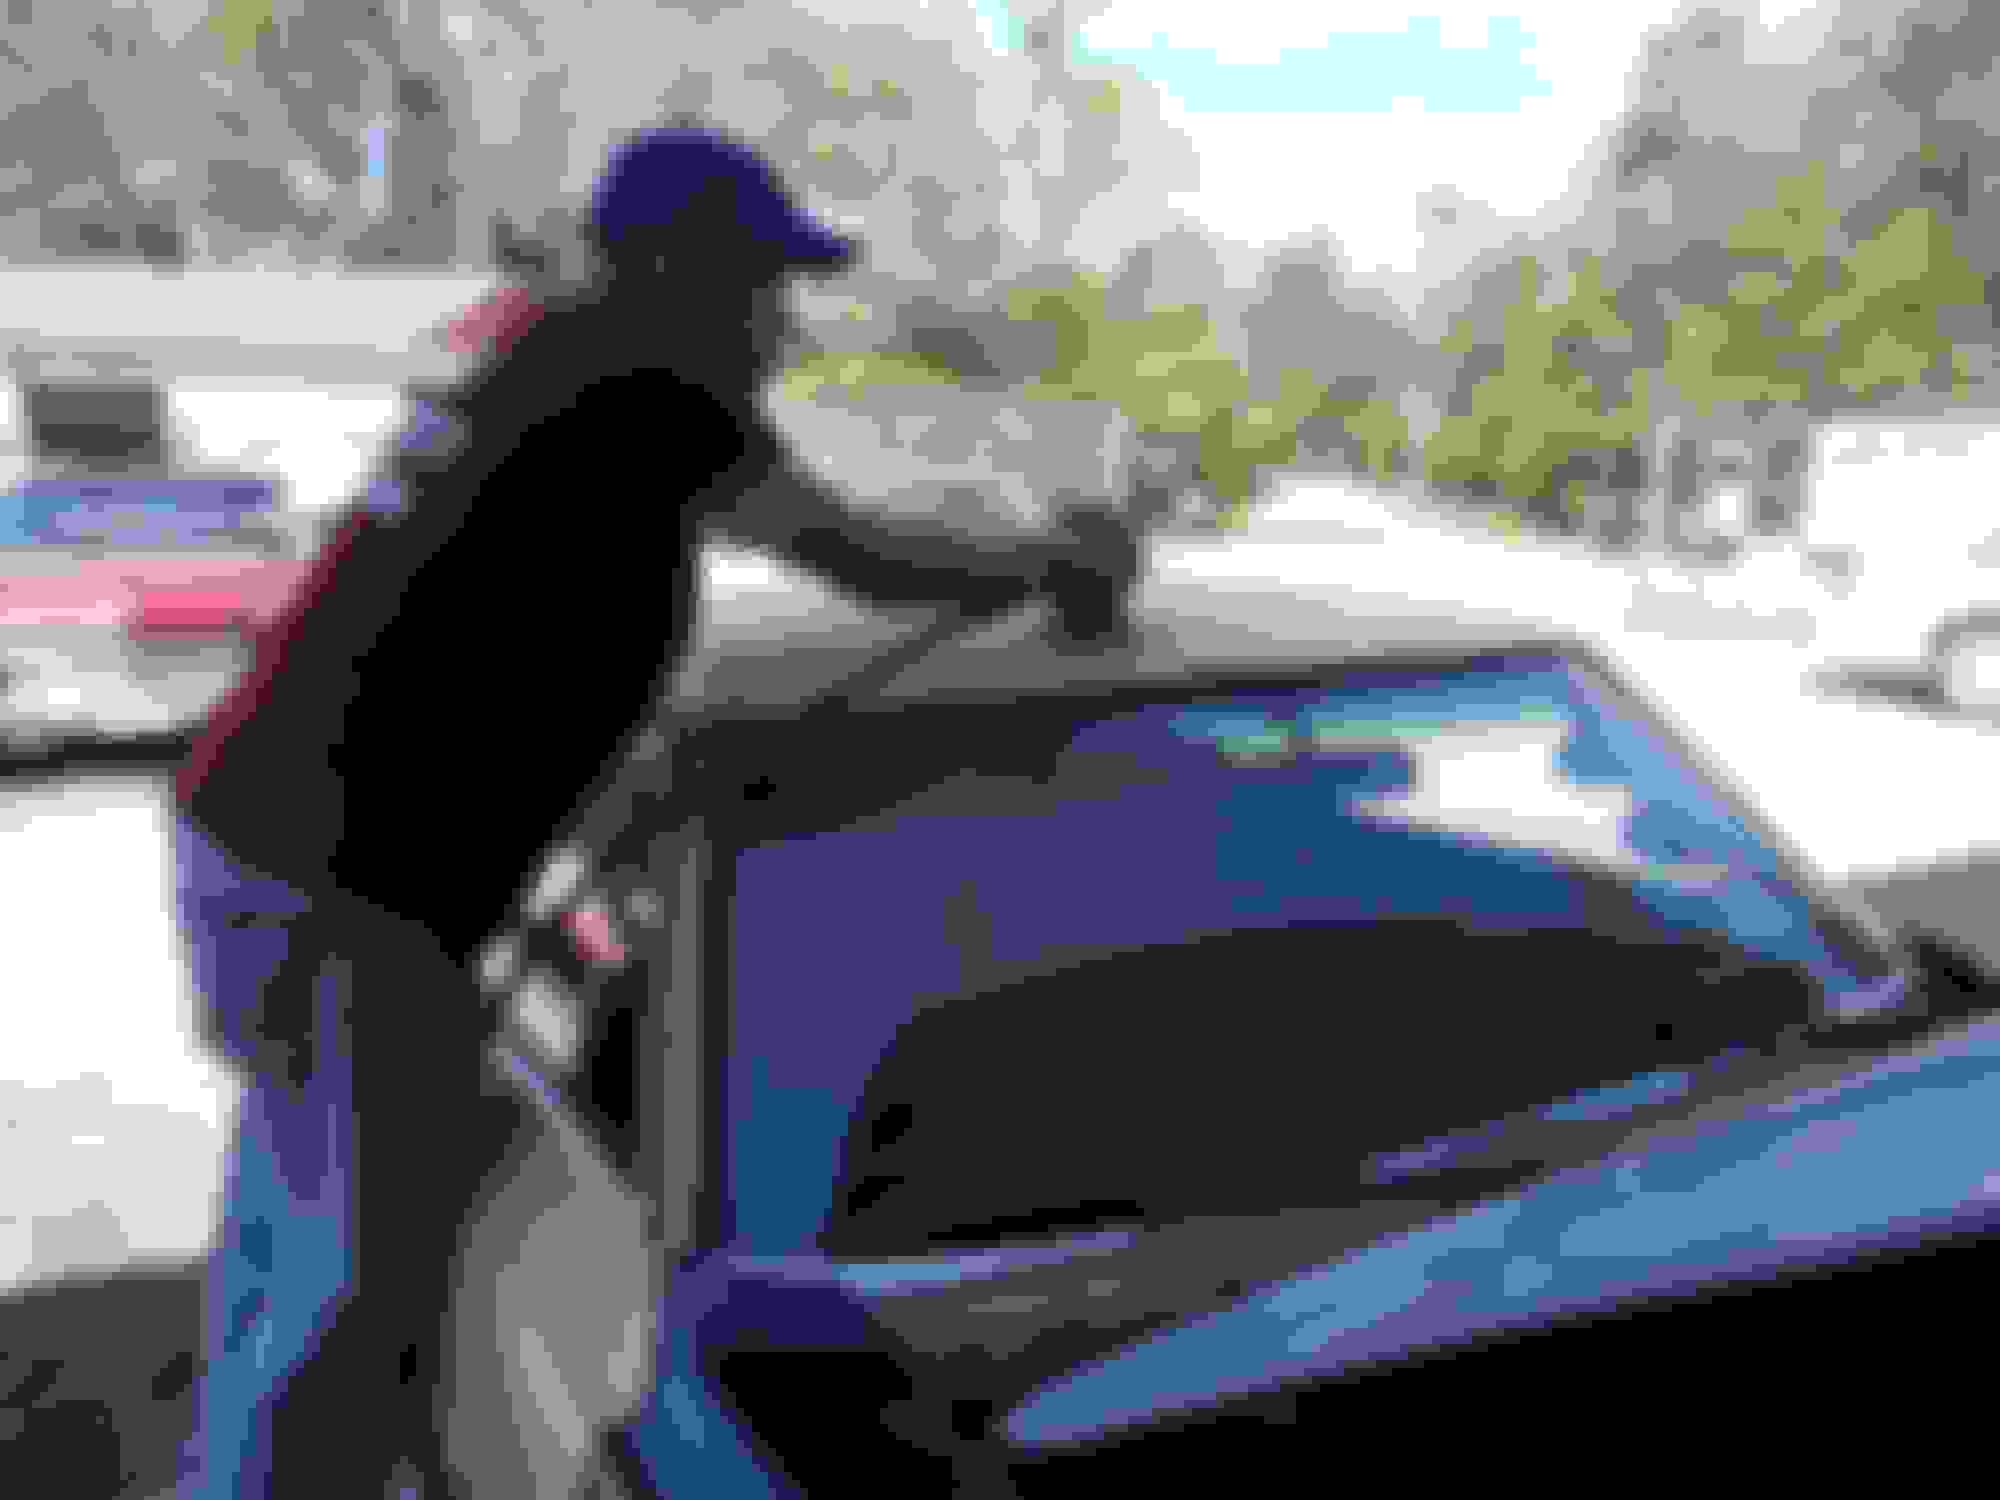
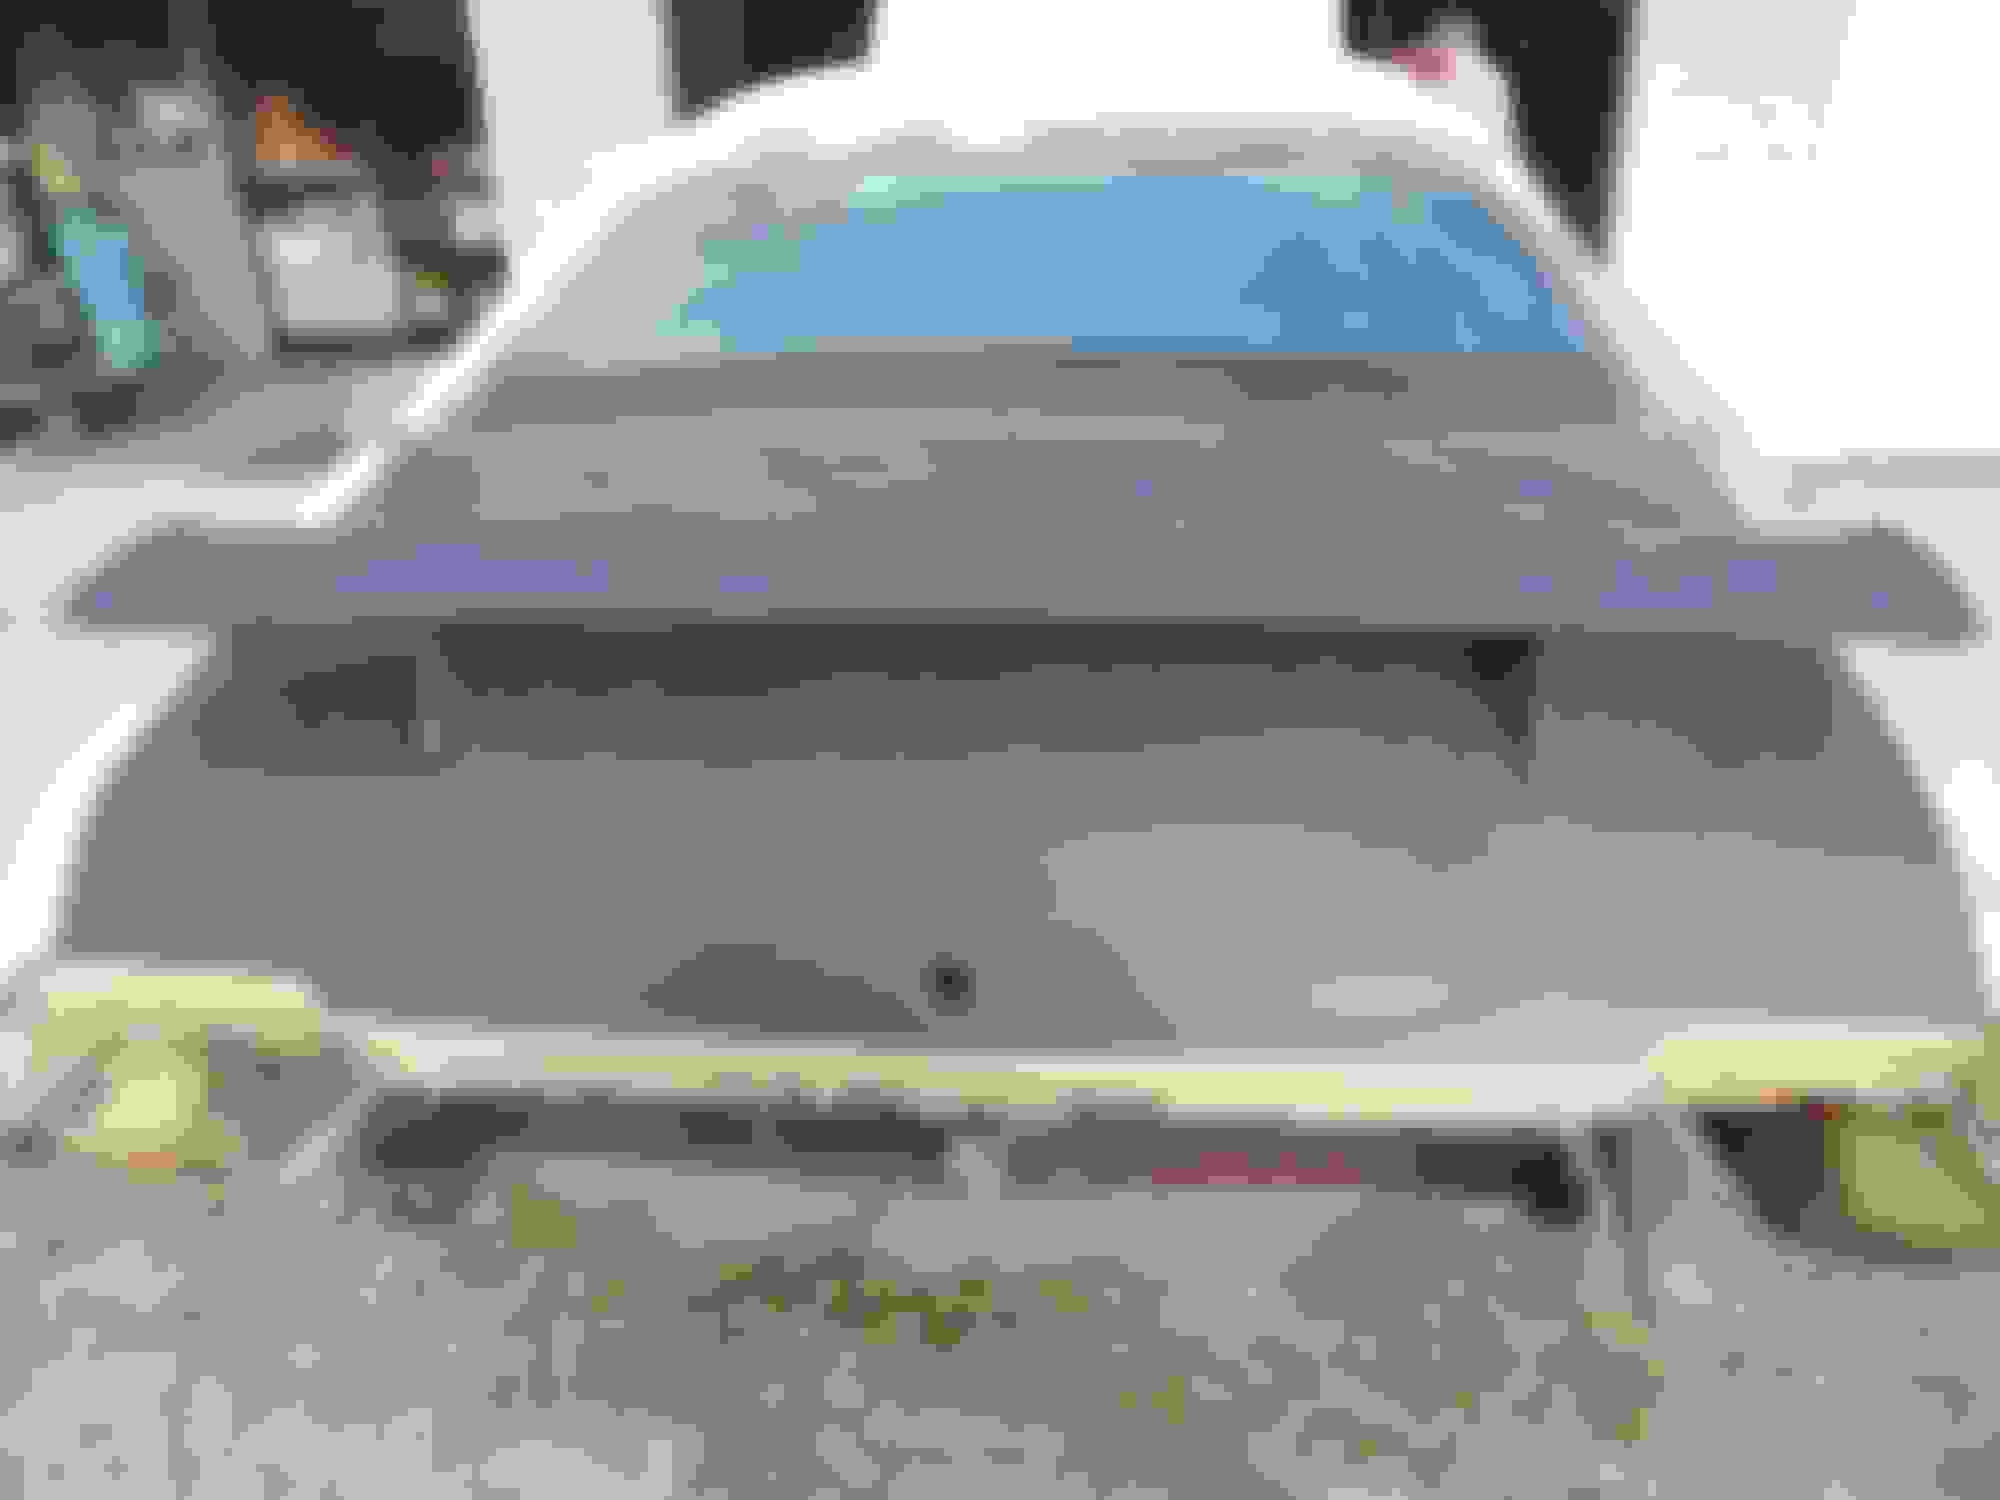
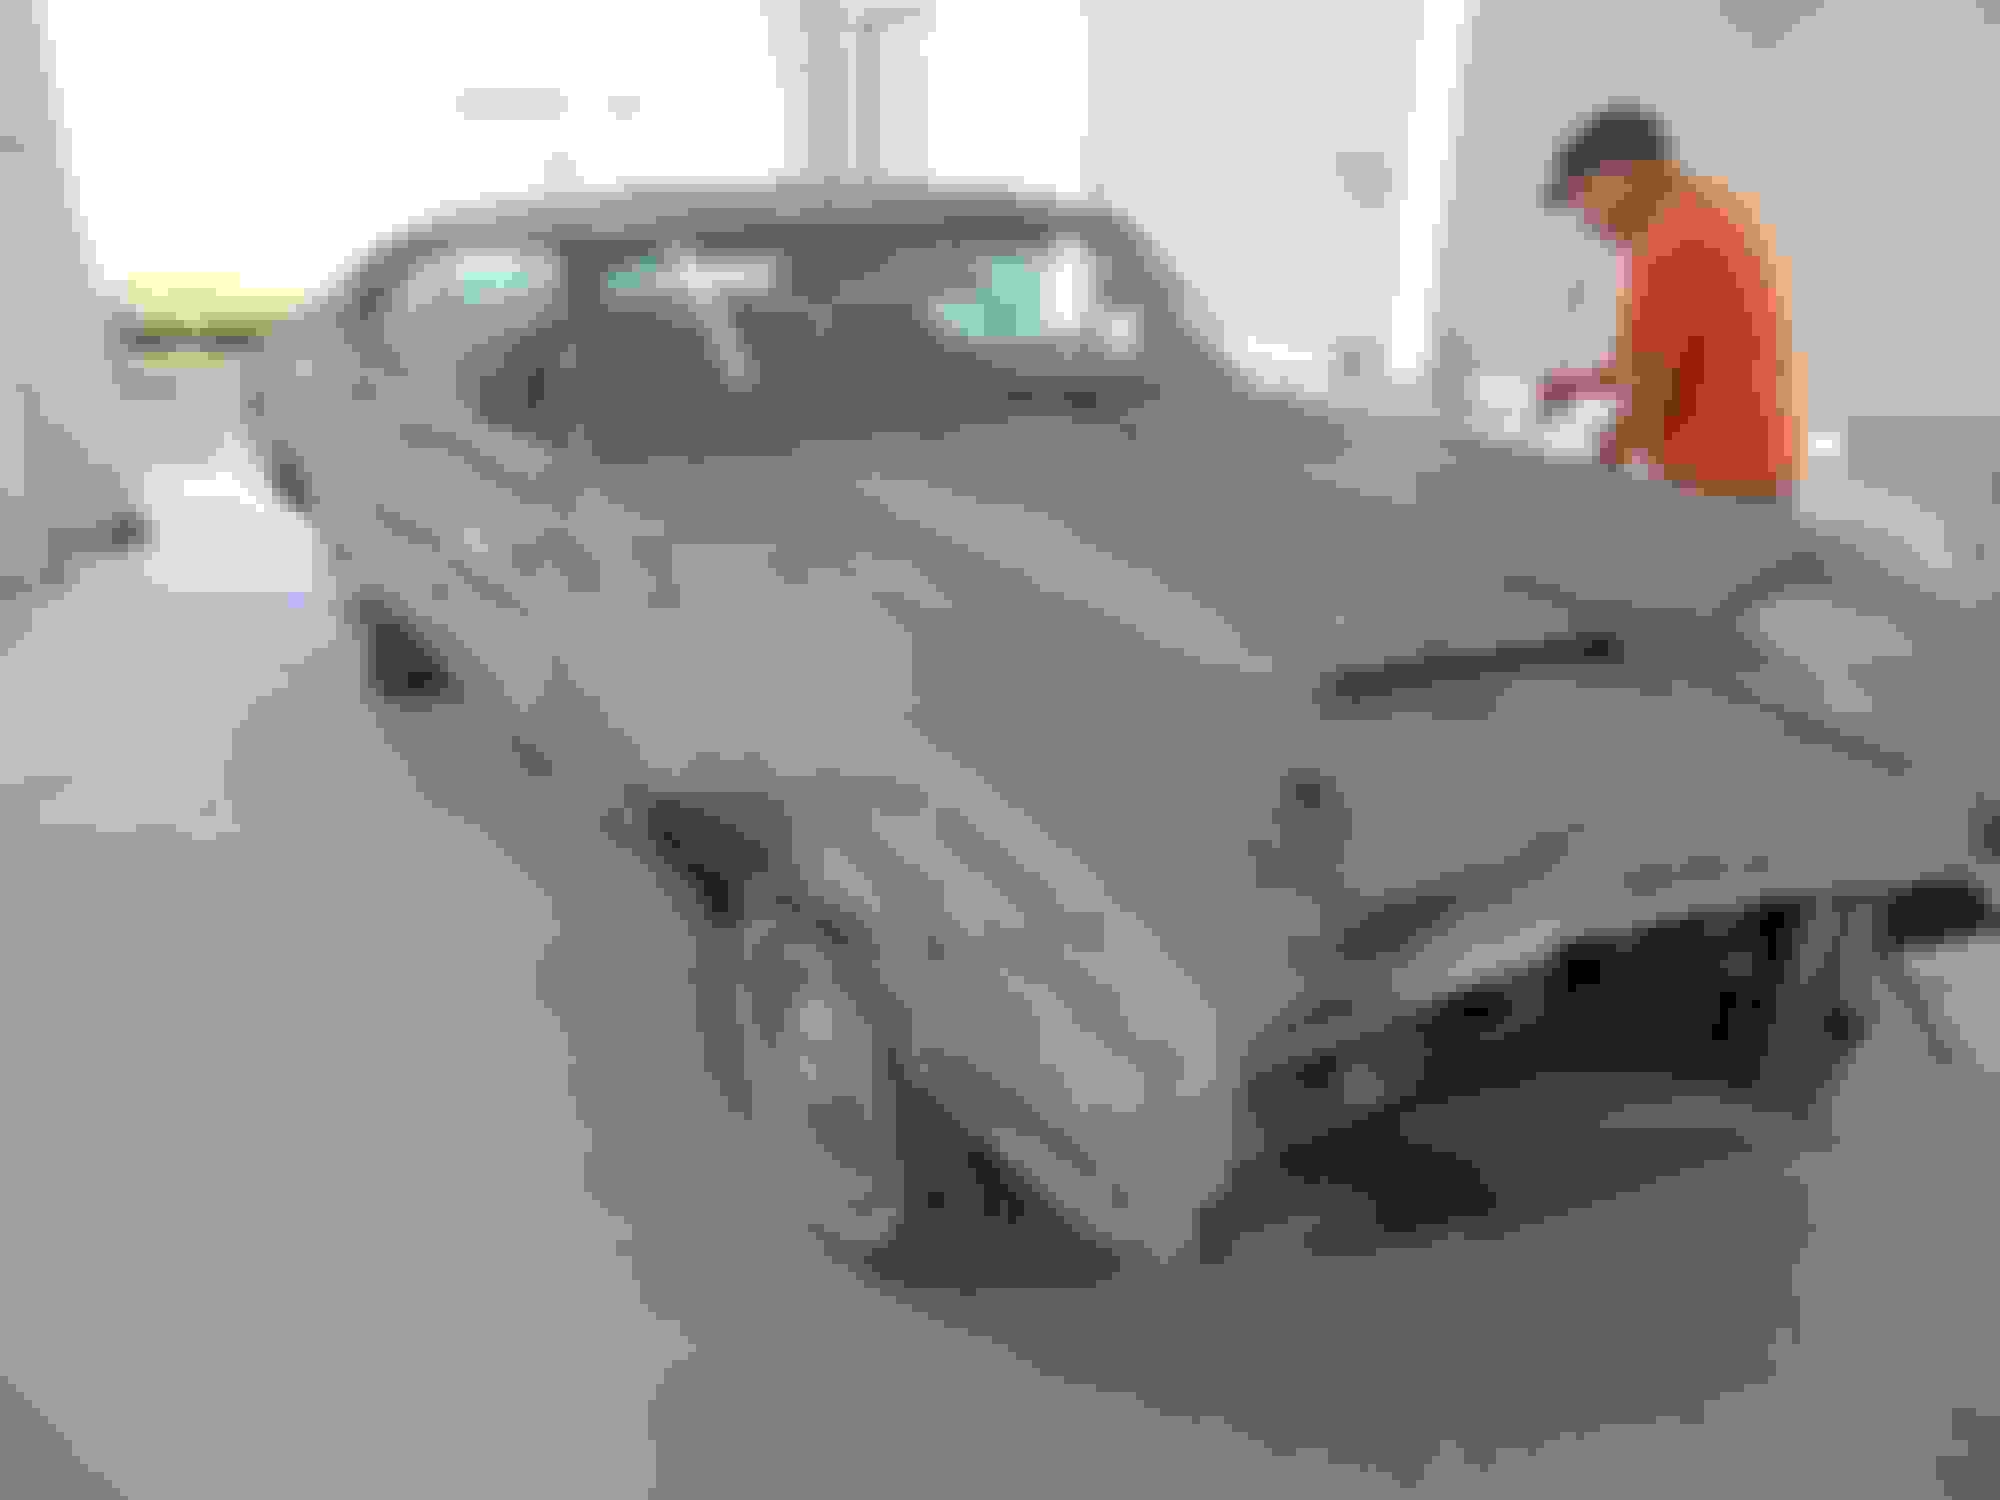
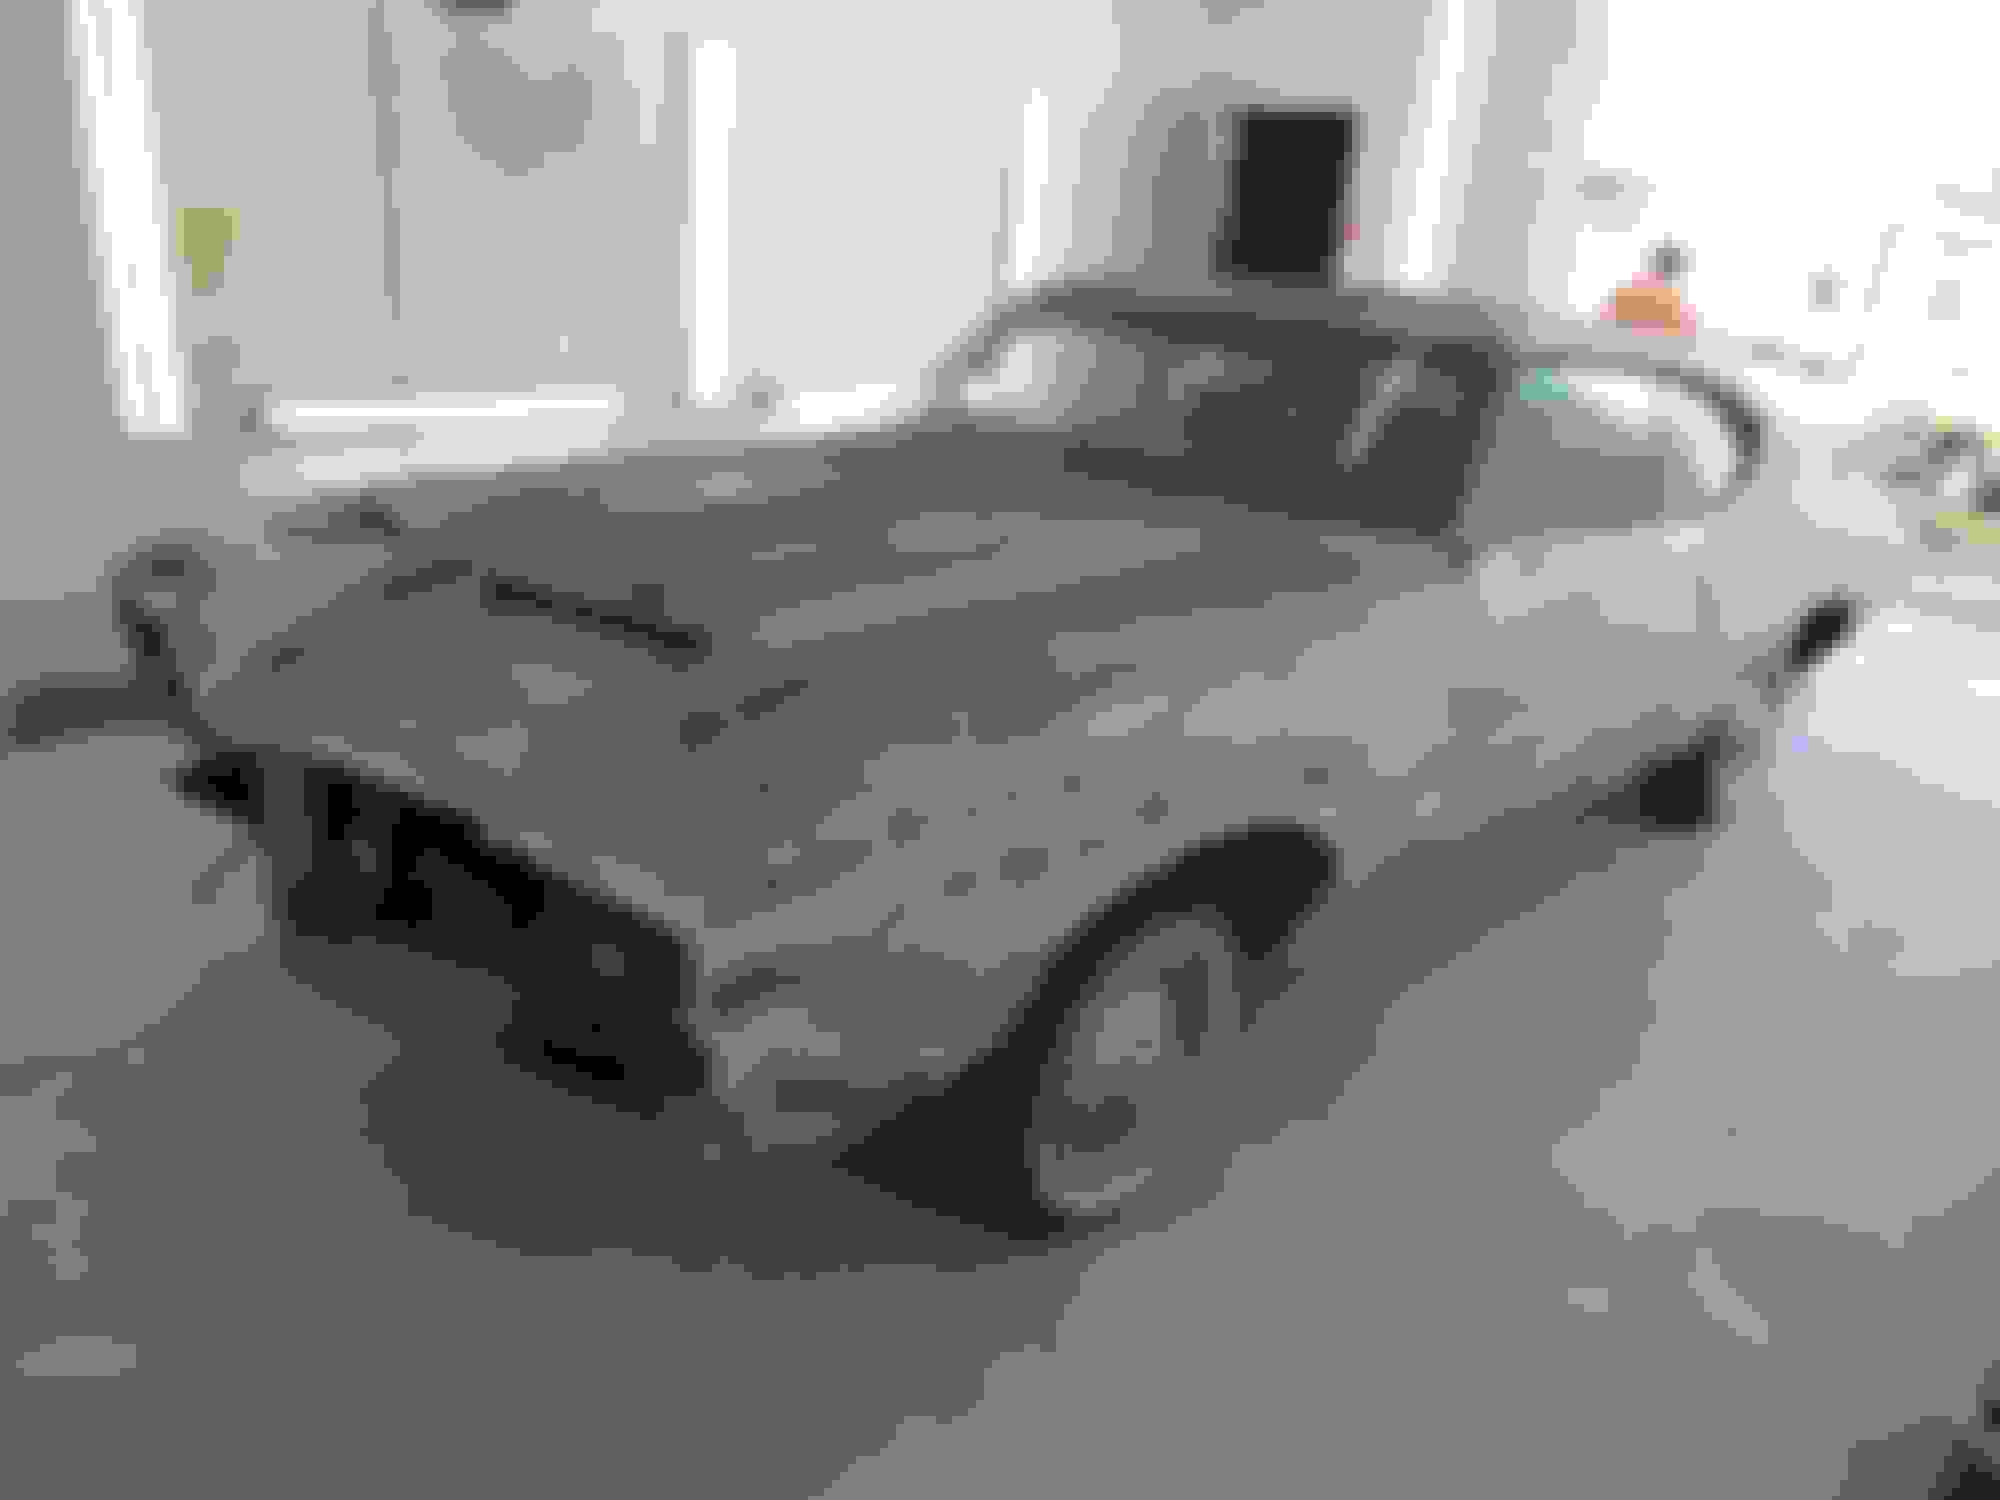
Ok I’m back with a rather big milestone update - the car is officially at the body shop getting prepped and painted !!
The new fenders actually fit Really well ! I didn’t really shim or align them as I wanted the body shop to do that. Here are some pics of the fenders and then some of the initial sanding at the shop. All of the glue is off the top and they checked my spot welds I did from the molding and vinyl top trim then they did some primer over them for now until they take it all the way down.
Also the new deck lid was a perfect fit and the holes that were marked on the underside for the spoiler were spot on - I measured 5 times before I drilled just to ensure
Im going to be getting daily updates from teh shop and images in a google gallery so I will share here as I get updates.
Still waiting on my top end for the motor to show up, Mark said I should have the parts very soon (this week or next).
Juts got an update that the car is out of guide coat. He is going to let it cure for the weekend (48 hours min), and then on Monday the body work begins. Great progress so far
Hmm. Didn't think a guide coat was necessary for the grille divider. Anyway, in case you weren't already aware, you may want to re-examine the fit of the trunklid. It may not be an issue, but it appears it's lifted on the passenger rear and dipping in on the driver rear. Usually when it gets to guidecoat/blocking stage the major stuff should already be taken care of.
If you've already got that on the radar or already addressed, never mind. It's just something I noticed and it's likely something that can be fixed with some re-aligning. I wouldn't want it painted and then have to deal with it.
Great observation and yes alignment is also happening on Monday . He ran out of shims and they should be in Monday. I’m also making a Visit Tuesday to drop off weather stripping and shims that I have.
More progress and some needed welds to correct the driver fender.
all of the guide coat has been sanded and the second 2K primer is on.
gaps are looking much better now
Gaps look like factory now. How did you shim the fender so the fit to door was flush instead of slightly outside? I'm guessing you shimmed the bottom 2 bolts to pull the fender down a bit? Those repop fenders look like they had terrible profiles. Nice progress to date Brian.
Gaps look like factory now. How did you shim the fender so the fit to door was flush instead of slightly outside? I'm guessing you shimmed the bottom 2 bolts to pull the fender down a bit? Those repop fenders look like they had terrible profiles. Nice progress to date Brian.
So, did they use the porta power to actually bend the metal. I have an NOS GM passenger side fender on my car that I can't seem to get just right. When I have to top and the bottom right (back by the door), the curvature doesn't quite match the door? Been thinking on a cure for this for a while now!
.... I have an NOS GM passenger side fender on my car that I can't seem to get just right. When I have to top and the bottom right (back by the door), the curvature doesn't quite match the door? Been thinking on a cure for this for a while now!
You're looking at exactly what I am. My car is done and painted but the curve of the fender is just a bit outside the curve of the door. I was told by bodymen that it's supposed to be that way to reduce wind noise. I never bought into that. Another member here; can't remember their name right now, suggested that I shim the bottom of the fender so the bolts pull it down a bit to stretch out the curve and 'flatten' it down a bit. I haven't got around to that yet as it requires me to remove the rocker stainless to do it right (I think). I don't have the setup that Brian does and I wouldn't try it on my paint. He's still at the prep stage so anything that needs to be tweaked will be visible on the pre paint blocking.
Car got its 2nd application of 2K primer and a final guide coat. This up coming week should be a good one to see some base applied
I also finally got in my headlight order, been waiting a few weeks for these from Dapper Lighting. I opted for having HDR Halo rings that are also switchback for turn signals (goes from white to amber).
Looks good. Although I'm not a fan of those lights I'm curious to see how they turn out. In the meantime, good to adjust the park setting on those wipers before the paint goes on.
Looks good. Although I'm not a fan of those lights I'm curious to see how they turn out. In the meantime, good to adjust the park setting on those wipers before the paint goes on.
Not to hijack this thread, but how do you adjust the park setting for the wipers?
Hey gang, back with another update here. Car is onestep away from base color !. Got these images last night from the shop as my final block sand.
Also I ordered my tires for the new rims (15 inch Rally’s) since they are also getting painted, tire rack was super quick. I ordered Friday and they arrived yesterday!
Hey there everyone, how about some fun updates that are not COVID-19 Besides working full time from home I’m also being school teacher to my 8 and 4 year olds, my wife is a store manager for Publix (Grocery chain here in the south east)_ so she’s been working round the clock as she is an essential worker - I cant wait for the car to get home so i can have some downtime
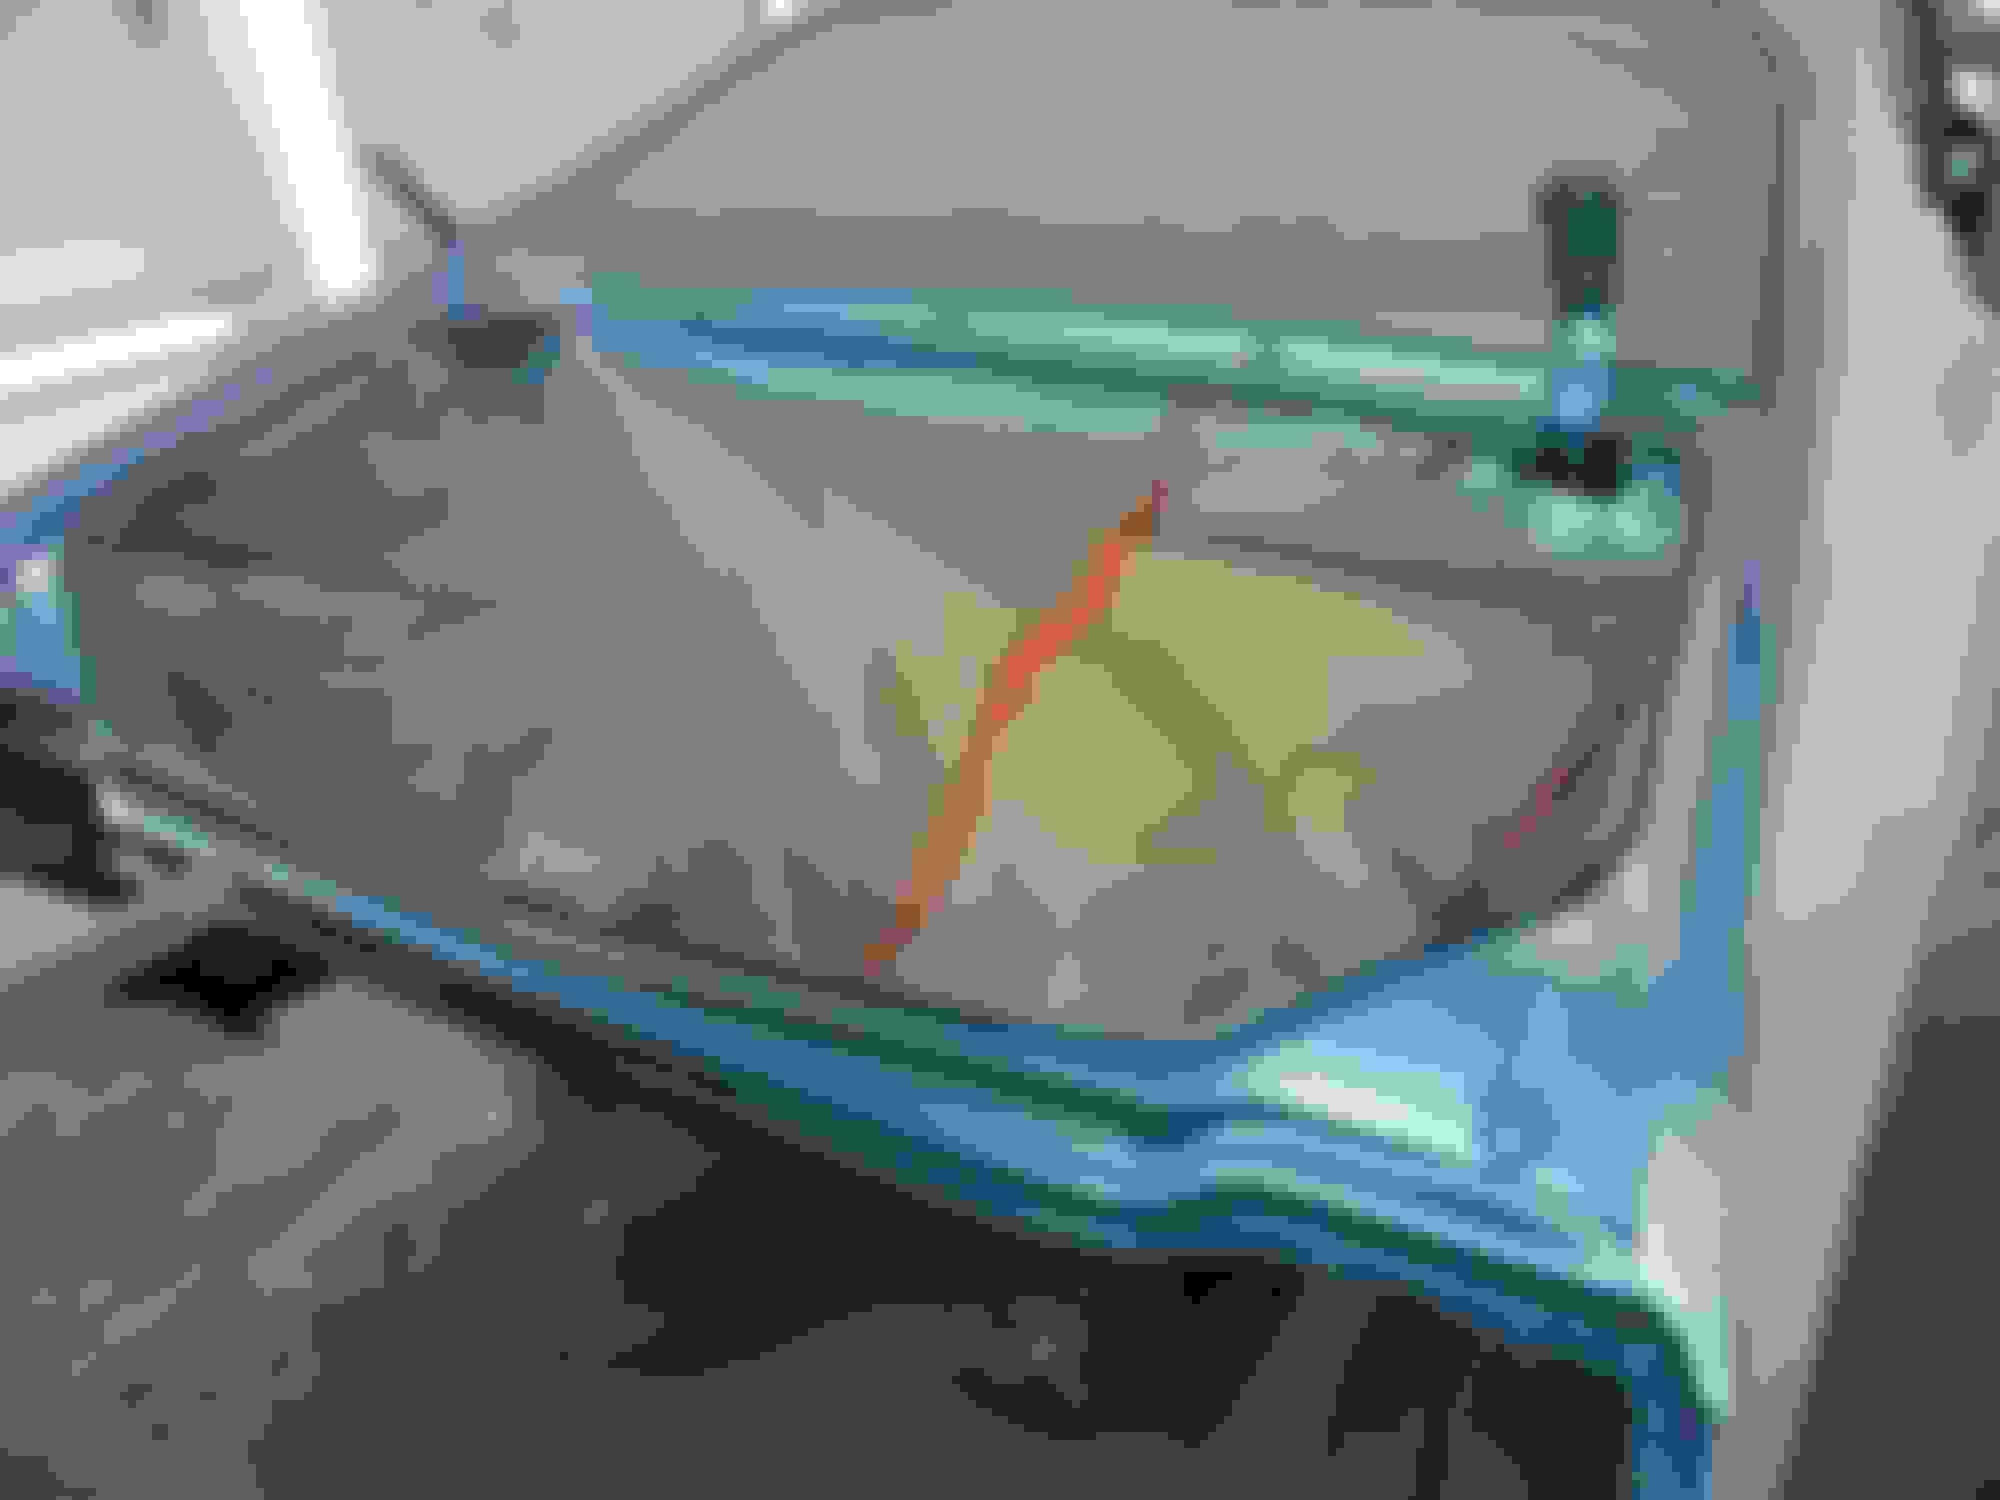
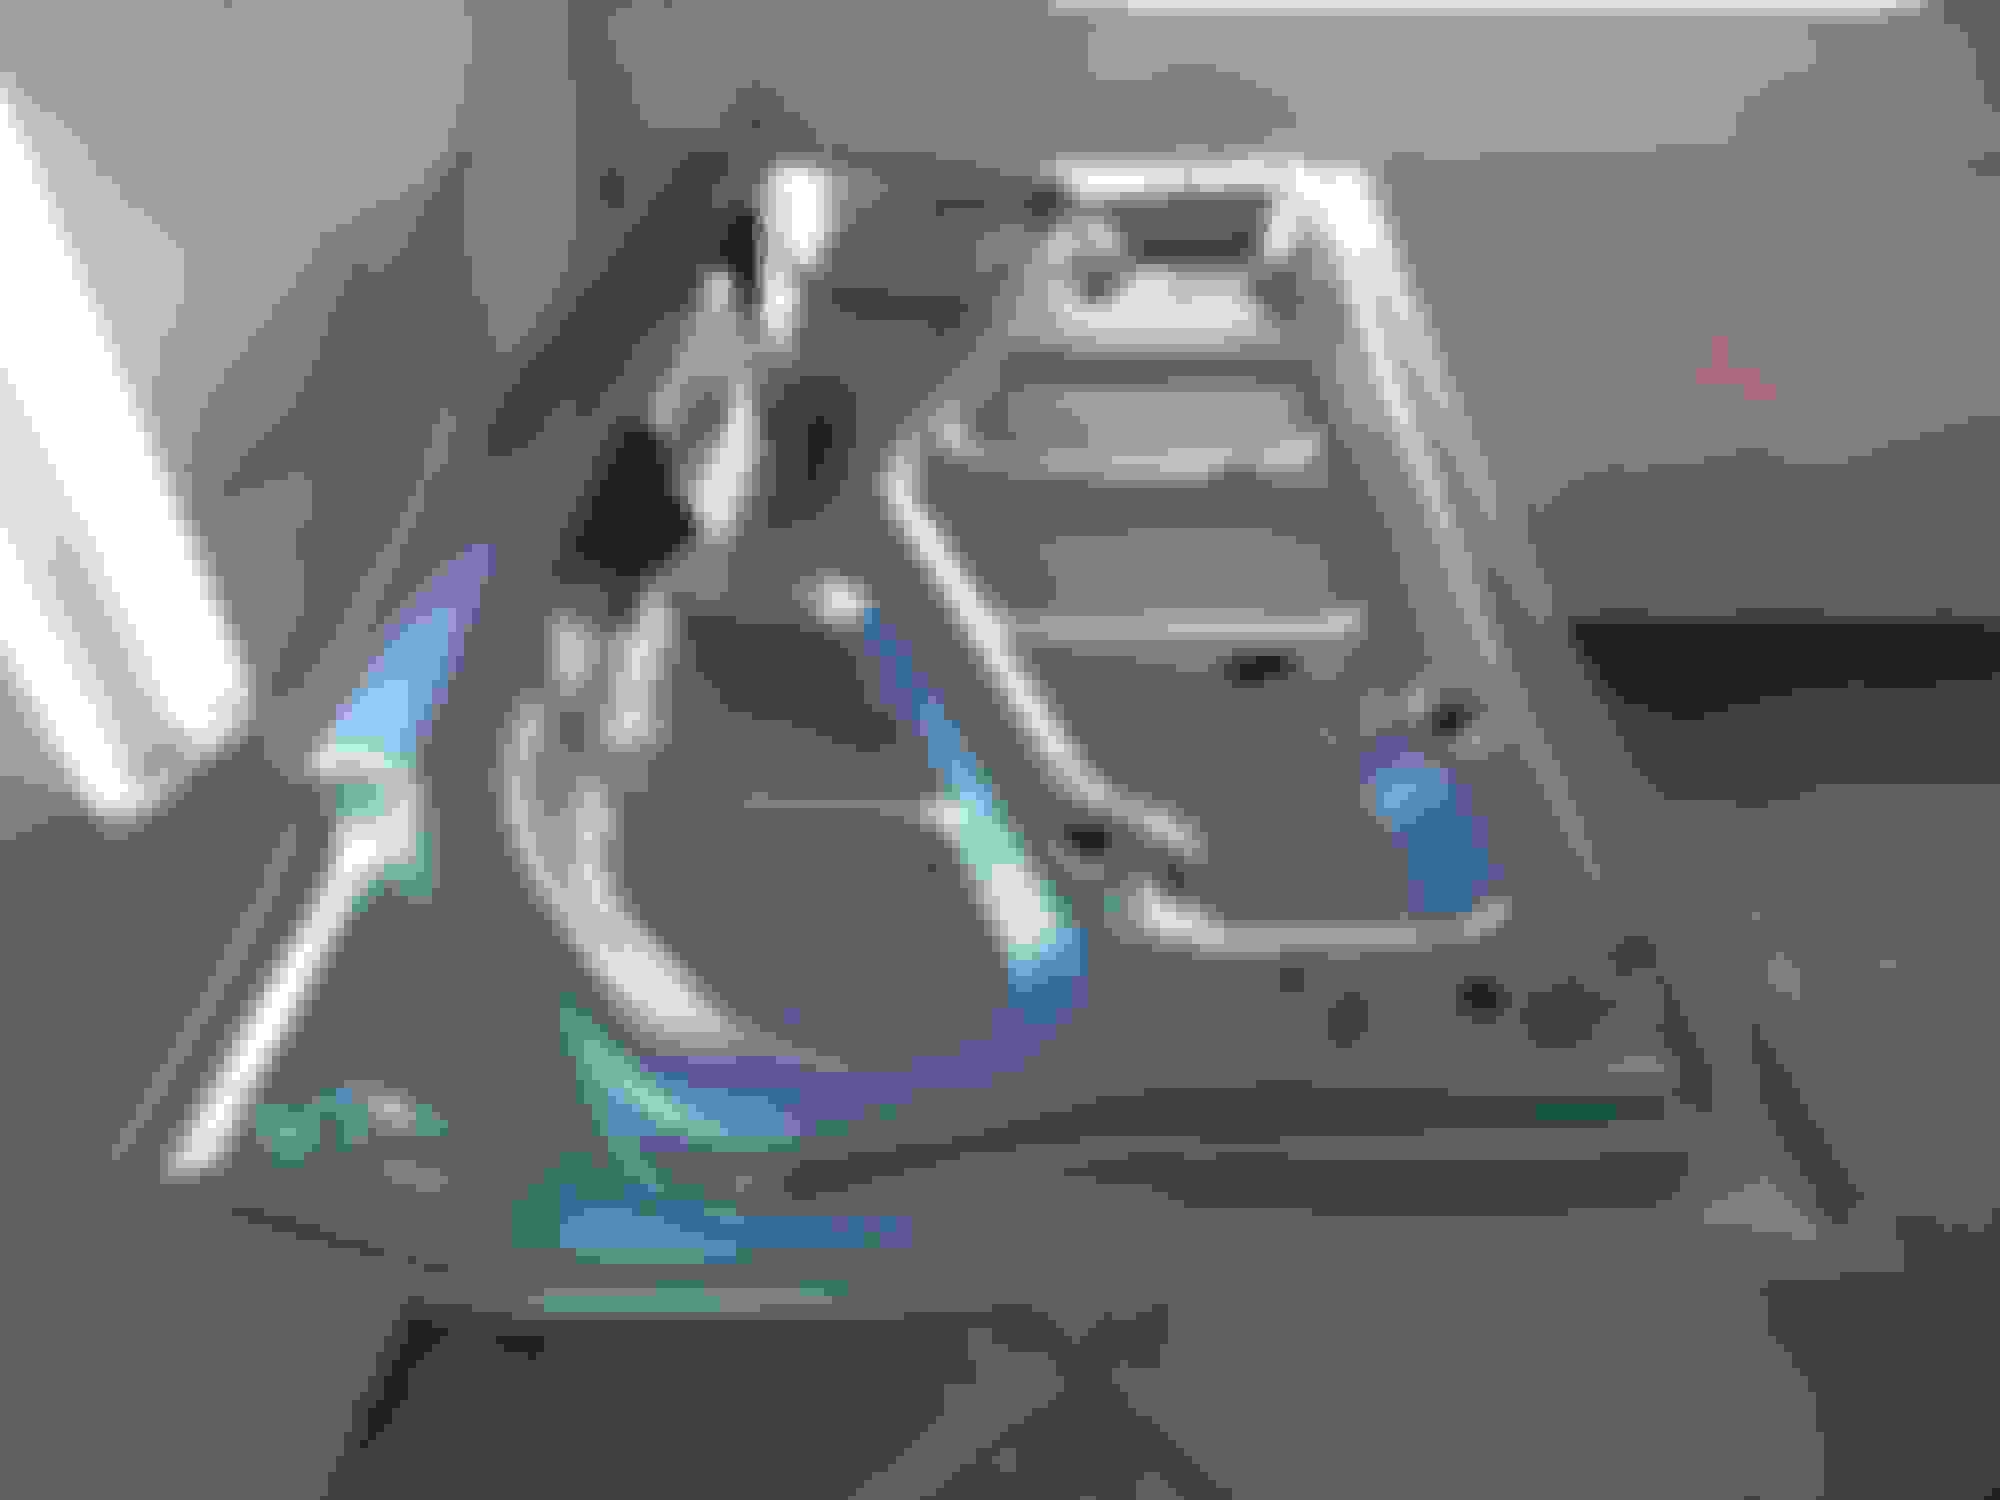
We have color !! They did the jambs today and full paint starts on Monday...really excited now !
My color choice of PPG Code # 2328 - Nordic Blue Poly, it maps to GM Code for Ascot Blue - all the same just diff name per the vehicle line as most know
Brian,
Fantastic progress on the body and paint work. Really looking forward to seeing it all together.
Question: Is the under hood color supposed to be the body color? I thought they were all sprayed black. I'm not an expert so hopefully you or one of the experts around here will know for sure.