When you click on links to various merchants on this site and make a purchase, this can result in this site earning a commission. Affiliate programs and affiliations include, but are not limited to, the eBay Partner Network.
Thanks for sharing the photos and details of the build. I also used SEM products on my dash etc but it was only to freshen up my already black interior. Yours is looking real nice!
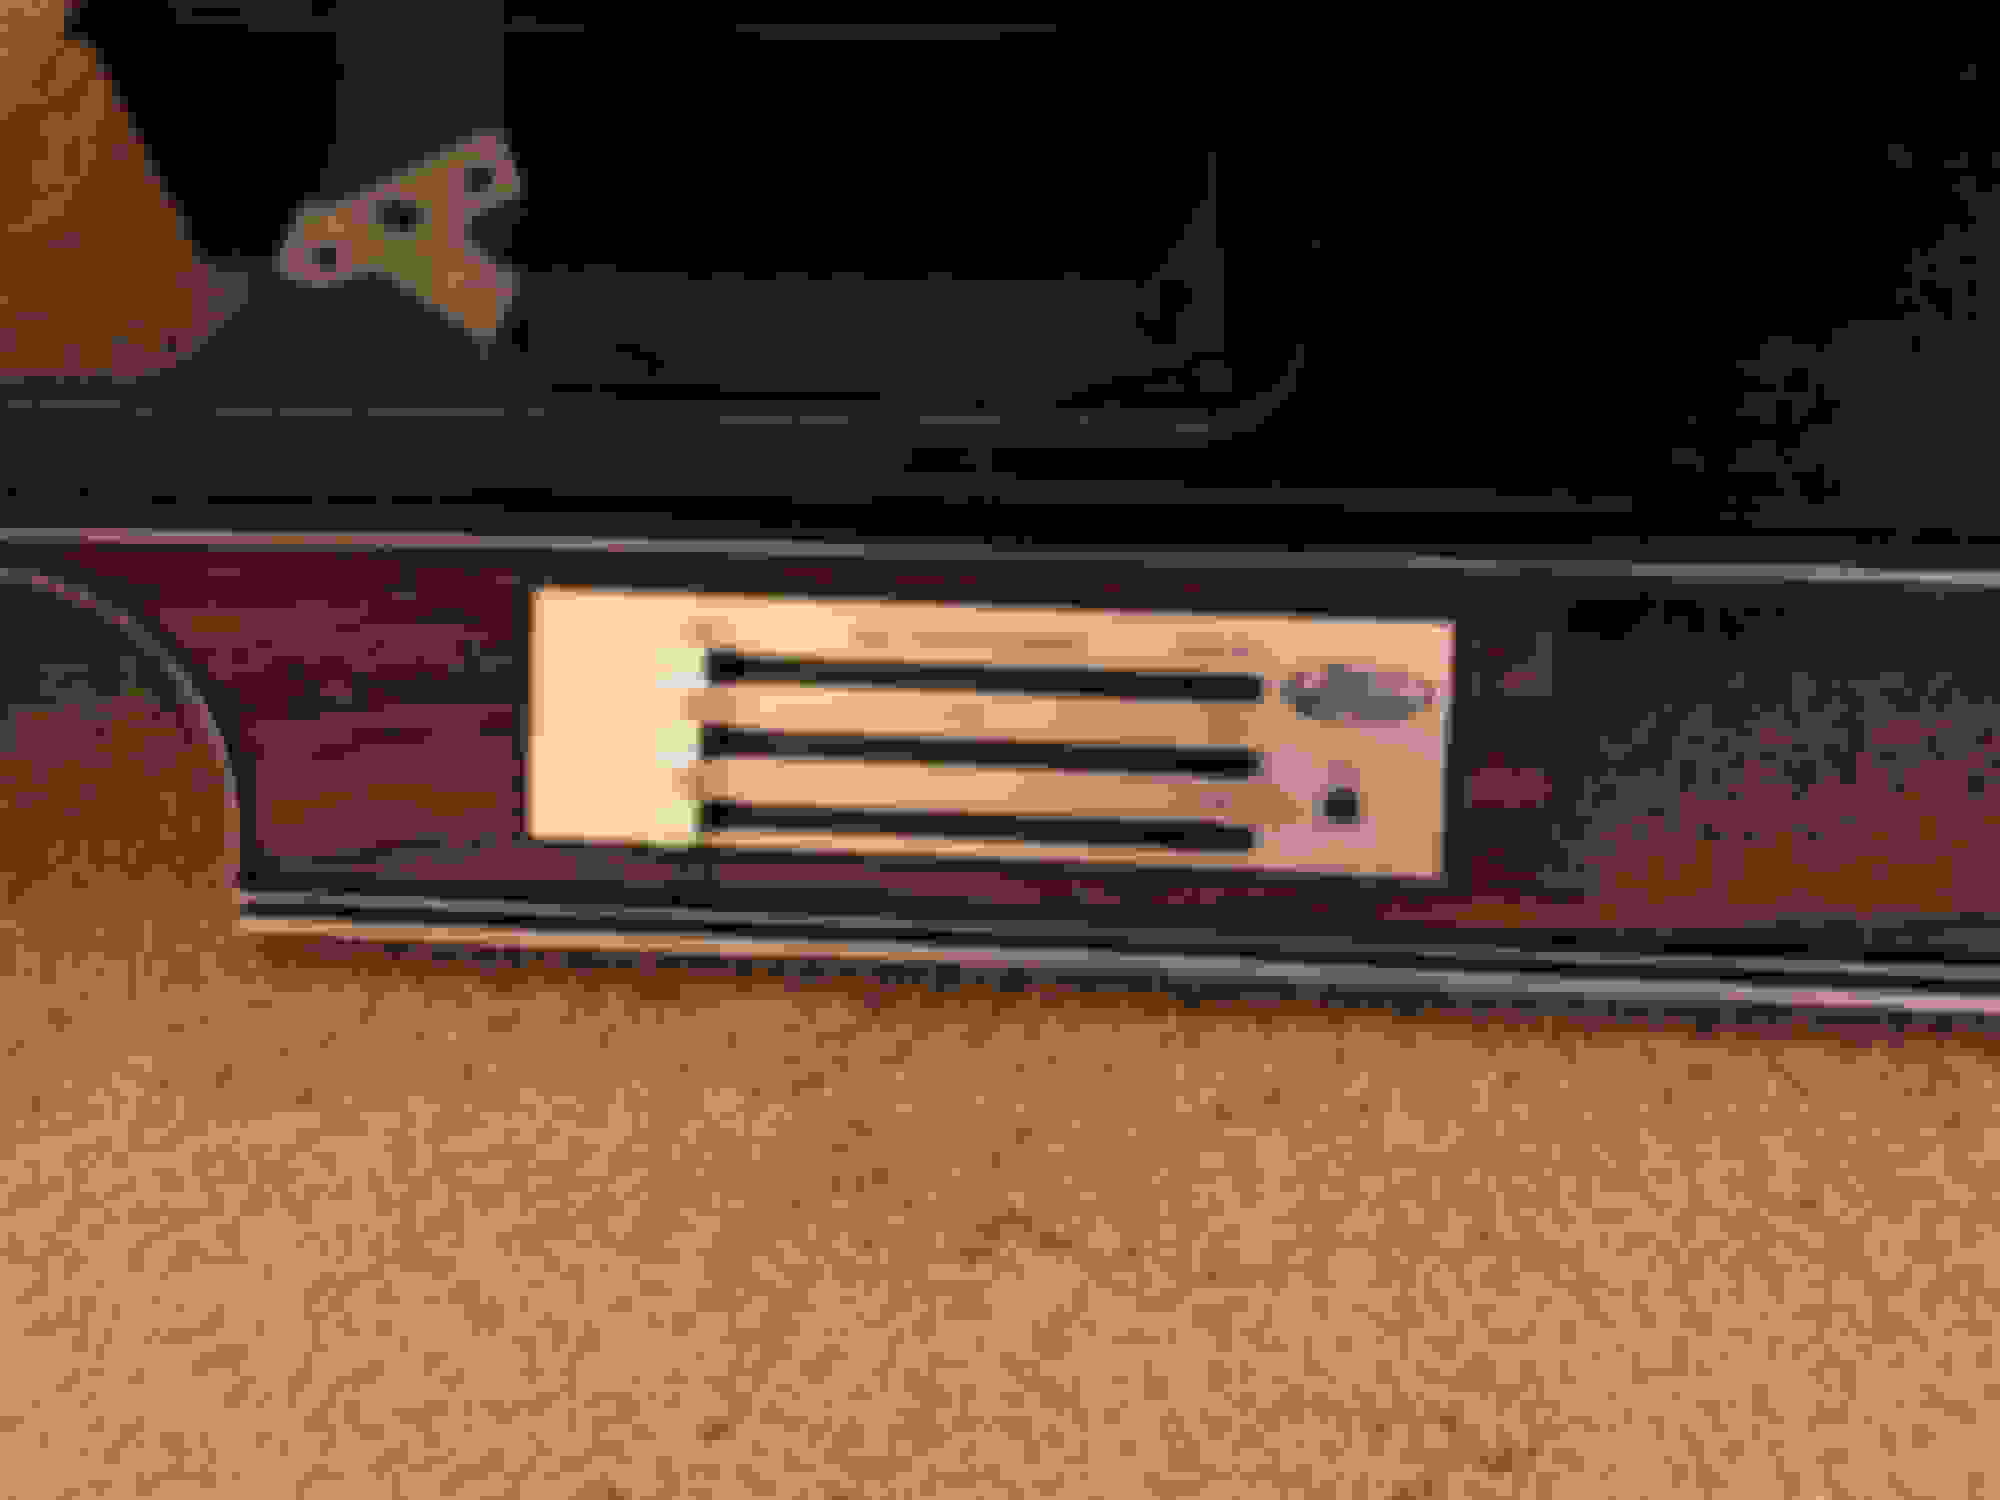
So here in North Florida we are having some bi-polar weather patterns, today was a cool and nice 50 ish degrees so I let the kids run around in the yard and garage while I started finishing up the dash pad. Got the chrome painted on and wood grain glued back down as well as assembled most of the vents and misc items. I also sprayed and painted the vents and re did the chrome on them. I purposely didn�t do the inside chrome lines of the vents as I wanted to see how it would look.
Tomorrow I will mask off the inside and spray the metal dash.
Well I dint get to do anything this evening, Wife had a "errand" for all of us to run...now we have a pink mustang in the garage, and it goes a super fast 5mph Its a Disney princess Mustang LOL. My son had a C7 vette power wheel when he was 3 (now hes 7)...so only fair his little sister got a set of wheels too as she just turned 3.
What I was able to do is check on the kick panels I painted with the SEM ....looks pretty good If I say so. ** The glare from the overhead shop light makes it look like a streak but its not. **
I will try and do some motor build work tomorrow evening..fingers crossed LOL
Brian
Specifically what SEM product and color did you use on your kick panels if I may ask. Thanks for your time.
Wayne
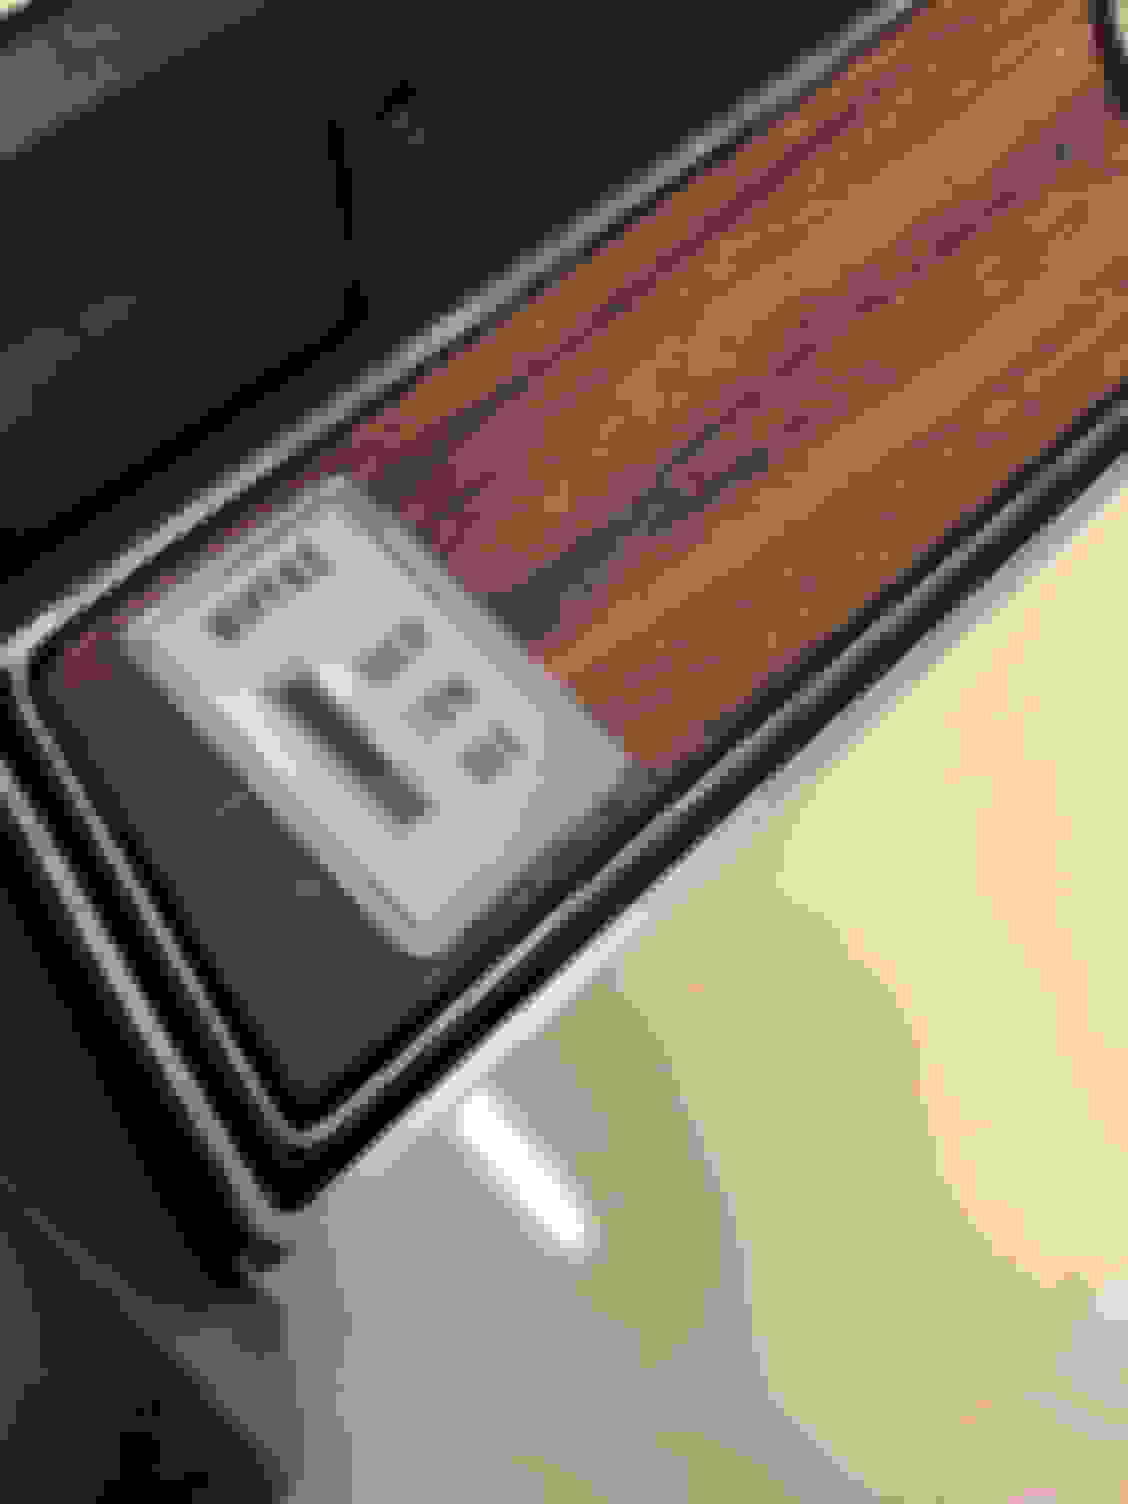
So I just took a break from prepping the dash to get sprayed. I have a lot more masking to do but here is how I am going to tackle getting the paint into the very shallow nook of the glass and dash where they meet. These are peel and stick pieces of plastic that you use for drywall to color test paint. This is immediately where my mind went in regards to how can I get something all the way down there and have a “static pull” towards the glass and stick. I think this is going to work very well.
So far so good ...and yea I am watching for that as well...told my self worst case I’ll get in there with a foam brush. I did a test and I can get it in there if needed.
Well I think I should play the lotto - I got lucky as it turn out great and I got all of the grill area...no brown shadows * but yes the windsheild is dirty lol
Well I have some incremental progress to share. While I wait on my big shipments from OPGI and Summit (Also including my Vintage Air setup), I dropped off my TH400 and driveshaft to get re built.
The TH400 I'll have back in a few days, it's getting a mild shift kit, a 4L80 drum, and then the basics for a rebuild. The driveshaft was dropped off at 9:00 am and i just picked it back up - Man they were fast and really great quality.
Florida Powertrain & Hydraulics in Jacksonville did the work. They re-tubed, balanced, painted, new parts, etc - 300.00 bucks out the door. Great customer service and quality craftsmanship.
In your engine assy threads, I did not see any assembly lube used. Also did you make sure the bearings where clean when installed. Did you use cam bearings with groves on the back side ?
I'm not sure I would have used a HV pump on a stock pan, but for a street car should be alright. Just thinking out loud, I would have installed one piston and then install cam. With only one piston in you cam dial in the cam a lot easier. Like I say just thinking out loud.
Gene
Last edited by 64Rocket; Feb 15, 2019 at 11:52 PM.
Gene - yes assembly lube was used and bearings were cleaned as well. I’m ordering my cam today from Cutlassefi (Mark)
so I will be dialing it in next weekend.
Well I picked up the TH400 from the shop this AM. Steve at the shop told me the TH400 already had the heavy duty RV drum in it so instead of the 4L80e drum, he kept the RV drum and just added the 4L80e sprag and a mild shift kit. They also soured a 2400 stall for me as well.
What a weekend - 2 baseball games, Disney, and work on the cutlass !
I received my Vintage Air setup as well as my original Dual gate, center console, and rally pack gauges.
Console was green,. but now it's black to match the rest of the interior conversion - This SEM product is amazing.
The vintage Air kit is really nice ! so far installing is a breeze - removal of the Old A/C setup want bad either
The vintage air setup is going really well. Getting a few hours each night, I even had to ask my wife to help me with the evaporator box. With hoses connected it’s very awakard to line up, my son who is 8 tried to assist me but it was just to far of a reach for him, but man did I smile watching him assist me on the car and getting his hands dirty, and frustrated like me on getting a simple bolt to line up! I look forward to more days like this
i also decided to seal up the air vents with some ducting tape I had in the garage. I spent all this money on the A/C I might as well make sure I get all of it coming out vs blow by on the vent adapters
goal for this weekend is dash back together and A/c charged up after I pull vacuum and ensure no leaks, etc.
So back with more updates
The vintage air is in and blowing a nice cold 43� ,it’s great!!. The dash is back in and I did nick it up a tiny bit so I’ll be doing some touch up paint. My new Rally pack gauges are in and fully functional - very happy I did it. I also added in the sport steering wheel and got rid of that ugly old one major improvement obviously.
Next step the full interior is getting redone as everything finally arrived to the house. I will also be installing the dual gate shifter at the time I do the interior.
Started the interior swap with the back seat of the car. Got the rear seat out and started to take off old upholstery, once I get it all off I'm taking the 2 portions of the back seat to get sand blasted and powder coated before I put the new foam and upholstery on.
I also received my cam in the mail (Sourced it from Cutlassefi - Mark) - woking with Mark as a piece by piece build so I don't break the bank.
looks great so far The vintage air looks good im putting that on my someday list
It was worth the money - simple to install and easy to charge up. The look and fit is fantastic ! I live in FL so A/C is a must here - very happy I chose to divert funds from my motor build to get this done now before Summer hits. Plus the wife and kids love the Cutlass So on super hot days, they wont have to complain
Any trips or tricks or trouble areas doing the a/c install? I have a 72 that needs to have a/c.
Thanks,
Rich
I would 100% choose the VintageAir setup - it was almost plug and play. It was a real P.I.T.A in terms of getting the self contained heater core/evaporator/blower box up into the dash and I need the help of my 7 year old son and my wife to get it done. This is because the 4 hoses that route thru the fresh air vent location are thick and don't move much once in the rubber grommet. I had very sore shoulder muscles for a few days after messing with that LOL. The rest of it was a breeze to install and their setup instructions were very well done as well as the images. Charging it was a breeze using harbor freight vacuum pump and A/C gauges. great youtube video from "ChrisFix" on how to charge - was extremely simple. One item of note is the new 134a cans of refrigerant (I used AutoZone brand) - they are self sealing so when you tap the can...HLAF WAY opens it up...al the way down to pierce the can is no more and all the way up closes the can and you can keep the refrigerant in it that you don't use.
Even my wife agree's with me that the $$ for it was worth it - we live in FL and the heat/humidity can be horrible.
** When I swap in the 455 I need to see if I can keep the A/C compressor on the pass side and have the alternator on the driver side like the 350...else I have to evacuate the system and get longer high and low pressure hoses and a new dryer
** When I swap in the 455 I need to see if I can keep the A/C compressor on the pass side and have the alternator on the driver side like the 350...else I have to evacuate the system and get longer high and low pressure hoses and a new dryer
Why would you think it's any different than 70/71 455's with AC?
I installed the headliner but have not secured it yet. I am allowing it to sit in place and every day i give it a tug here and there to get it tight. A small tip is that the loop the wire rod goes thru, you cut it little by little as you stretch it to the edges, it gives the fabric the ability to not bunch up.
Also got one of the side rear panels just about complete...again its a stretching game with glue and patience. I did a test fit to make sure I applied the weather stripping correctly. I still need to final stretch it and cut the hole for the window crank.
I also got the new Cam Thrust button, so I did final install of the crank keyway with the timing sprocket, timing chain, and did the alignment per the Cloyes directions. I also installed the fuel pump and the seal in the timing cover (I believe I installed the seal correctly)
view of the headliner additional view of headliner in rear - stretching is going well test fit of rear panel now wrapped in new black PUI Test fit of the new rear package try and speakers. Still need to paint the metal that spans the width of the rear window to black, I will use my same method from when I did dash alignment to the cloyes 9-way sprocket per their install instructions. keeping # 1 at TDC cam thrust button installed, timing chain, oil slinger, and fuel pump timing cover seal installed
Yes it does, but it its shifted more to the passenger side, as a result the Kit supplies you with a new glove box as it a bit more shallow as a result. The duct work needed takes up quite a bit of room as well.
Got the lower panels wrapped in the new black vinyl and ready for reinstall. Just waiting for powder coat guy to get done with my rear seat frames, intake, etc.
You certainly are multi-talented, from engine builder to upholsterer, nice work and attention to detail. A question for you on your engine build, I apologize if I missed the specs on your engine; what pistons did you pick and compression ratio did you aim for? Cam choice? Thanks for the great write up and pics.
Brian,
I commend your efforts to transform this car to black interior. The lower panels look good. BUT when I looked at the upper panels that go to the sail panel there were a lot of unsightly wrinkles. Do you have a plan to get that material to lie flat and tight like the factory ones?
Brian,
I commend your efforts to transform this car to black interior. The lower panels look good. BUT when I looked at the upper panels that go to the sail panel there were a lot of unsightly wrinkles. Do you have a plan to get that material to lie flat and tight like the factory ones?
Thanks Allan - Yes, I called it out in the post it was a test fit regarding the weather strip. It's barely sitting on the lip in that image, but I did take it out last night and got it stretched firm, as well as the overlap material trimmed down (esp in the rear window area - I left all excess material for the test fit). I'll have some images tonight I can post and you will see that the wrinkles are now gone. Im doing the same to the driver side panel tonight as well, did a test fit, and now ready for final placement and attachment of the vinyl to the panel.
You certainly are multi-talented, from engine builder to upholsterer, nice work and attention to detail. A question for you on your engine build, I apologize if I missed the specs on your engine; what pistons did you pick and compression ratio did you aim for? Cam choice? Thanks for the great write up and pics.
Thank you for the kind words.
Pistons are wiseco (.060 over bore), compression is gonna be close to 10.5:1, cam is a Lunati roller - I soured all parts from CutlassEFI (Mark), if you are engine building, fixing, thinking, anything - Talk to Mark - he wont steer you wrong
Thanks for the clarification Brian. I must have misread the post as I thought you were referring to the stretch in the headliner. My apologies. I see PUI has upped their game. I bought some door panels from them years ago and while the top was correct, the lower panel (with the buttons) was wrong so I've never used them. The plan was to install PW and PDL so the holes in the factory panel had to be recovered anyway. Just out of curiosity did you also check out Legendary before you bought your interior kit?
No worries The PUI Quality is very nice, and yes the buttons are all like what I removed. I'll also post pics of the front door panels and the driver rear. There are indentations for all of the gear (sport mirror, door handles, etc). So far I am pleased with the top quality and the color math to the headliner, package try, etc.)
I look at Legendary as they were recommended a lot her on the forum. Price was close to PUI and PUI was a 3 week lead time, Legendary was like 8 if I rem correctly. I rolled the deice and like what I got


 Its a Disney princess Mustang LOL. My son had a C7 vette power wheel when he was 3 (now hes 7)...so only fair his little sister got a set of wheels too as she just turned 3.