When you click on links to various merchants on this site and make a purchase, this can result in this site earning a commission. Affiliate programs and affiliations include, but are not limited to, the eBay Partner Network.
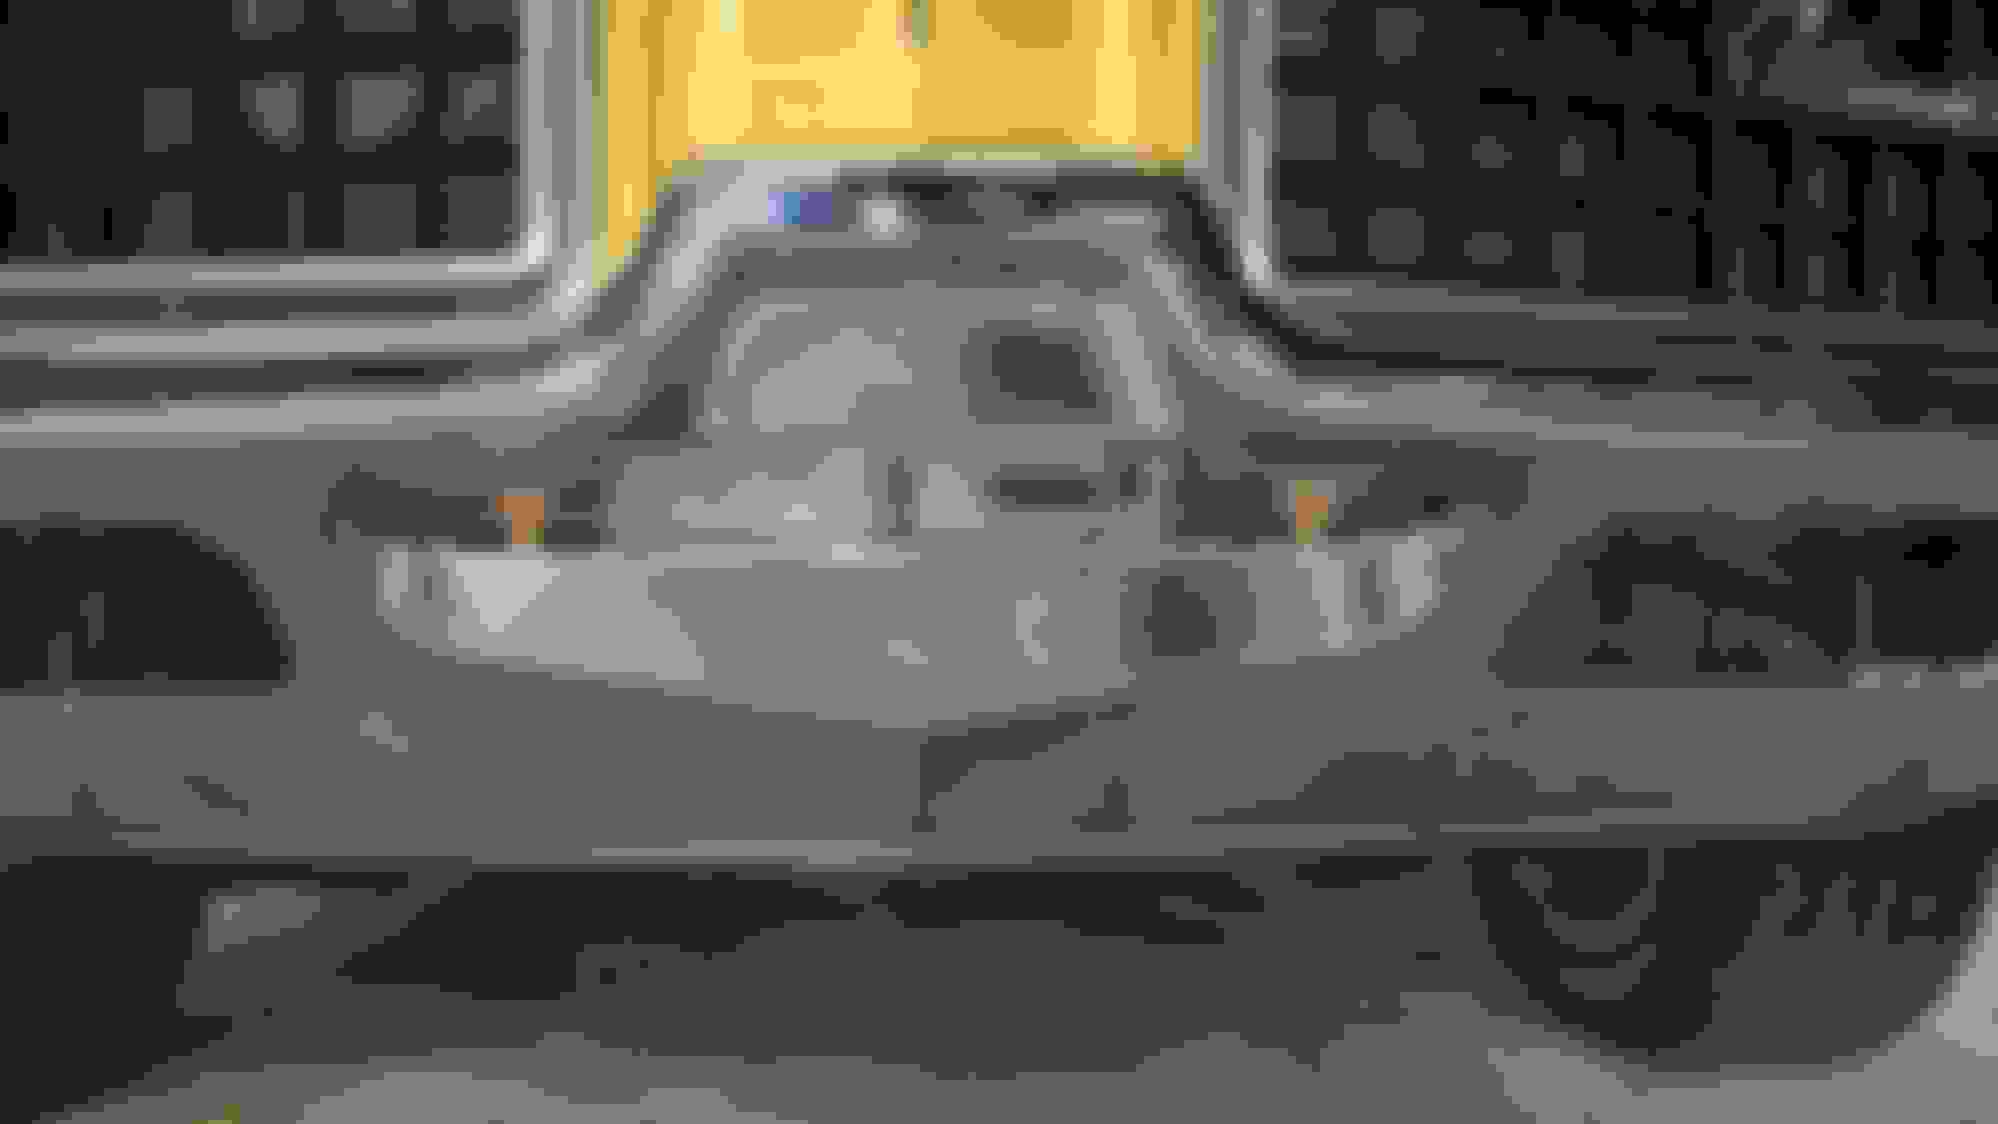
Miles 71, Nice car and nice work! It looks like were on a similar path with similar cars. My 72 convertible came back from paint in January, just got it back this morning with the new convertible top and spent the day on the interior. The guy that painted it put the front grills and bumpers on with the threads down. I changed that right away as well as realigning whole front grill and bumper, you can see in pic how far off the front end was, Still with the old top I had installed when I bought the car in 1983. I didn't like the threads down either, looks odd. Got new bolts and flipped them for a cleaner look.
I am back!
I have been on vacation, first time in 2 years.
Scuba diving in the keys.
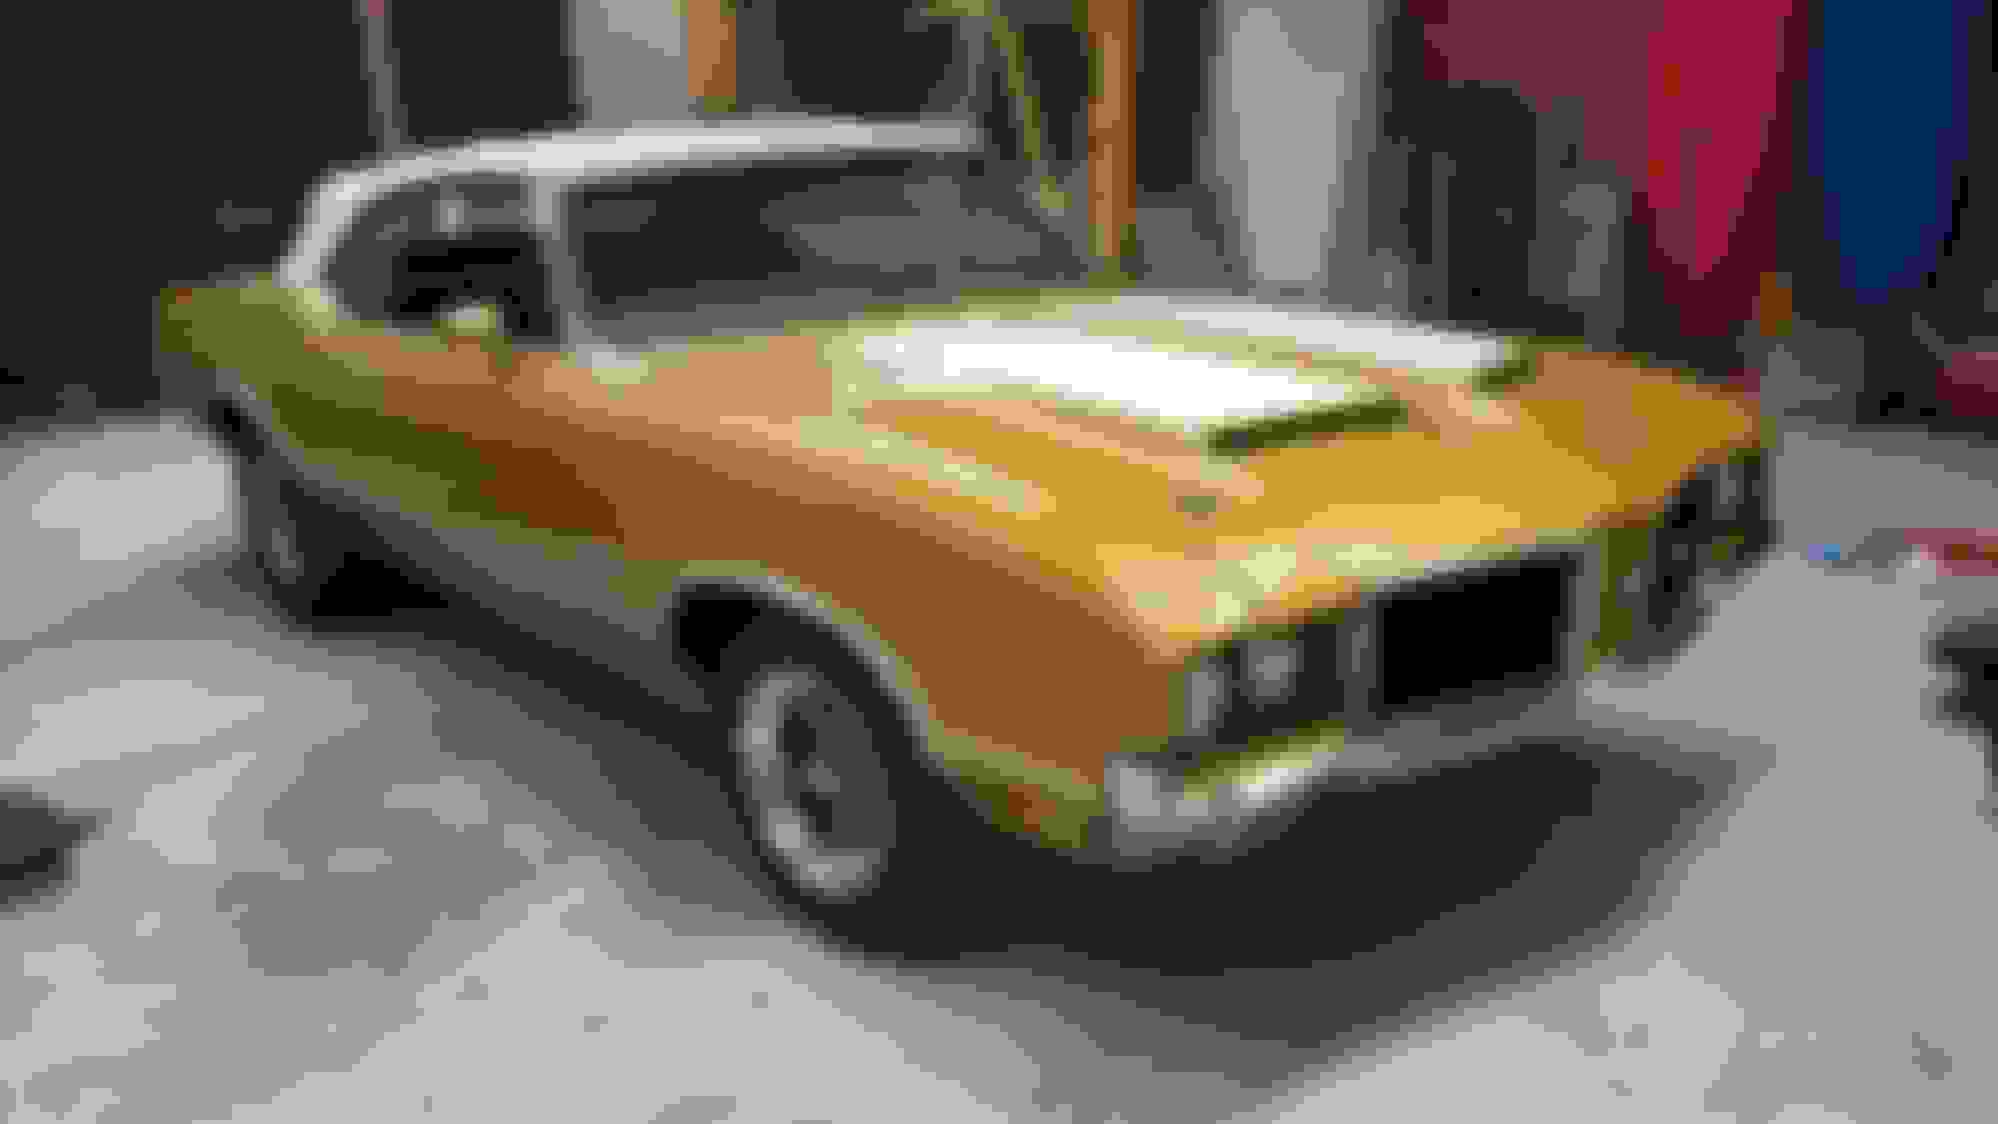
Hi coveres1972, Nice car, Love the hood and the stripes.
What is the story with the rear fender antenna?
Is that factory?
My 69 and 71 convertibles both had windshield antennas.
Do you have a Power antenna?
The power antenna was an option, the antenna was mounted in trunk passenger side.
Other car updates:
My trunk deck Leaks!
I am guessing it is coming from the vinyl top stud mounting plates.
I need to climb into the trunk and let by wife lock me in so I can find the exact spots with a flowing water hose.
I Hope she lets me out.
Getting the hood repainted:
The sander, only sanded Half of the hood. I can still see most of the old paint cracks and Rock-chips. The shop agreed and I will drive down and they will remove the hood and paint it.
I will also get the Underside painted too.
I have requested sanding the whole hood to the original Red-Primer or metal, whichever is first.
First Car show!
Massachusetts will remove the mask mandate May 29th, 2021.
This will allow Big car show to open up again. I am trying to get my car ready for the 1,500 car show in Foxboro Mass on June 3rd [Bass pro shop].
I found a small 50-car show last night.
I just could not wait, so I temporary bolted in 1 seat and seat belts and when to the show 20 miles away. This interior is NOT installed yet.
One of my front turn-signal lens fell Off the car, when I entered the parking lot.
The Lens rolled across the lot and was not damaged.
I did not notice the missing lens until a few hours later when I was bragging about my Re-chromed front bumper.
Monte-Carlo said, You are missing a lens, and I know where it is.
He quickly ran to the Show-desk and retrieved the miss undamaged lens.
That was embarrassing, I had not installed any of the front lens screws at all.
Now I need to find that elusive bag of lens screws.
Since the shop will be removing the hood, I decided to drill a pair of alignment holes through the upper hinge and into the hood sub frame.
Later when I install the hood, I just need to stick an Awl through the holes to match the original alignment.
The hood should be back on next week.
Then it's off to the Hood-Stripe shop.
While the hood is off, I will clean and repaint the hinges [while still bolted to the car].
I am back!
I have been on vacation, first time in 2 years.
Scuba diving in the keys.
Hi coveres1972, Nice car, Love the hood and the stripes.
What is the story with the rear fender antenna?
Is that factory?
My 69 and 71 convertibles both had windshield antennas.
Do you have a Power antenna?
The power antenna was an option, the antenna was mounted in trunk passenger side.
Other car updates:
My trunk deck Leaks!
I am guessing it is coming from the vinyl top stud mounting plates.
I need to climb into the trunk and let by wife lock me in so I can find the exact spots with a flowing water hose.
I Hope she lets me out.
Getting the hood repainted:
The sander, only sanded Half of the hood. I can still see most of the old paint cracks and Rock-chips. The shop agreed and I will drive down and they will remove the hood and paint it.
I will also get the Underside painted too.
I have requested sanding the whole hood to the original Red-Primer or metal, whichever is first.
First Car show!
Massachusetts will remove the mask mandate May 29th, 2021.
This will allow Big car show to open up again. I am trying to get my car ready for the 1,500 car show in Foxboro Mass on June 3rd [Bass pro shop].
I found a small 50-car show last night.
I just could not wait, so I temporary bolted in 1 seat and seat belts and when to the show 20 miles away. This interior is NOT installed yet.
One of my front turn-signal lens fell Off the car, when I entered the parking lot.
The Lens rolled across the lot and was not damaged.
I did not notice the missing lens until a few hours later when I was bragging about my Re-chromed front bumper.
Monte-Carlo said, You are missing a lens, and I know where it is.
He quickly ran to the Show-desk and retrieved the miss undamaged lens.
That was embarrassing, I had not installed any of the front lens screws at all.
Now I need to find that elusive bag of lens screws.
Glad you were able to get away for a bit. Its nice that the world is finally opening up again. I have a window antenna but it never worked well, so back in the day when I first got the car I put a power antenna on the rear fender. I didn't really research where it goes to match factory specs, 18 year old me just thought it was a cool spot for an antenna. Problem it that its broken and stuck in up position, pretty easy fix but not high on my "to do" list.
The Hood is still at the paint shop. It should be ready in a few days.
That's cutting it close. I plan on going to a 1,500 car show in 5 days.
Rear sail trim:
This is the slow boring stuff. You need to get the order correct.
Replaced the old Black package tray [single speaker version]
Now I have a Gold package tray with two speaker holes.
I will use Hot-Melt glue to attach the vinyl edge trim to the seat frame.
Then installed the Sail trim, run wire through the light hole and attach the light.
In this shot I am running some LED bulbs.
Later, Ill heat up the Rubber trim in a bucket of hot water and install the rubber.
I installed insulation directly to the back seat metal frame. The cardboard barrier was still good, so I painted it black on both sides to help preserve the large sheet of cardboard.
Then I added 1 more layer of insulation over the cardboard.
Carpet Time:
The 10 year-old carpet is showing some signs of wear. The original color was Black.
I am bored with black, so i changed the carpet to Gold 10 years ago.
Carpet Installation tips:
Keep the old carpet until after you have fully completed the installation of the new carpet.
You may need some spare parts or use the existing holes for reference points.
Before installing the new carpet, put the Seat Nuts over the protruding seat studs, and make the nut flush with the top threads [Temporally]. Kneeling on the Nut+Stud together is less painful.
Install the front carpet first, but before that,
Temporarily install the old Rear carpet over all of the old seat studs
Your Knees will thank you for it.
Now you can softly kneel on the old rear carpet, while working on the front carpet.
The picture below is my old rear carpet being used to Protect my Knees!
I am done for the night.
Front and Rear carpets are about 95% completed.
Now I will let them sit over night and re-check my measurements and trimming in the morning.
Tomorrow after I am satisfied with the fitment, I will make the many holes required for the Seats and the seat belts.
Seat bolts holes = 8, Seat-belts holes = 4
I think I will used a long Soldering iron probe to melt the screw holes in the carpet.
I will let you know how it works out.
This car is an Automatic with a Console shifter. I test-fit the Console a few times just to make sure the shifter related holes will not be visible with the console is installed.
Back Seat:
The Backseat and side panels are all installed, along with the seat-belts.
Tips:
Install your seat belts according to the Markings you made on the belt plates when you removed the belts. Plug each belt together and then install the securing bolts lightly.
Check the mating of the belts, did you get them all installed in the correct locations?
Install the belts so there is NO twisting in the belts when they are in use.
I mounted the belts so the mounting plat with the braided belts feeds from the top.
there is NO Twist and the buckle sits flat on the seat, with the button facing the roof.
After you are satisfied, tighten the bolts.
Trimming the carpet around the armrests is tricky.
You can't do the final carpet trim until you are ready to install the vertical plastic edge door trim.
The carpet needs to run flush against the side of the plastic trim and then under the edge of the armrest.
I think this corner came out good.
Update on the Hood:
The shop missed the data again. It will be another week for the hood. I was told the "Inside" has been painted.
The shop gave me a can of Satin spray paint that I can use on parts of the engine bay to match the hood paint. I will re-paint the hinges and stuff this week.
It looks great, nice job! I finished my interior about 3 weeks ago. The carpet was much trickier than I expected. I got mine from Parts Place (mainly because its only like a half hour drive from my house). Decent carpeting except for the excess of material over my transmission hump leaving a void between the carpet and the hump it sits on.
I'm sure you're past this point but when I had to make holes for seat and seatbelt bolts I heated up a piece of 1/2" electrical conduit and pressed into the carper leaving a nice even round hole, just make sure you're right on target... no turning back once the deed is done.
Trace the Seat mounting foot onto cardboard.
Make a nice rectangle template slightly bigger than the seat foot, and also mark the front / back of each foot.
Mark the location of the Stud/Hole and cut a larger hold in the center of the cardboard.
You can push you finger through the cardboard hold and try to feel the Stud under the carpet.
Now mark the carpet with a sharpie.
Cut the flap to fit the seat foot.
Be prepared to REMOVE some of the Jute/Padding.
I have installed 3-4 carpets so far, and I had to remove padding from many areas, especially around the Gas Pedal area.
I lost count of how many times I installed the front carpet for more test fitting.
If the carpet is too wide, it will Raise up the transmission hump, etc.
Trimming a "Flush" edge on one side, will affect the other side.
Take your time!
Making the seat-belt holes was easy. I used an AWL to poke thought the carpet to find the hole.
Then I used a 100 Watt soldering iron, with a 1/4" tip, to melt a hole through the carpet.
The Picture below shows a hole for the belt mount at the transmission and a Flap for the rear leg of the passenger seat.
Hood is back on:
I dropped off the hood on May 20th and got it back June 16th.
On Wednesday the Paint shop, finally finished the hood and I installed it on the car. The paint came out much better. The alignment holes I drilled into the hinge/hood worked perfectly.
I was able to bolt on the hood, align with the tool Awl, and tighten and close the hood on the first try.
I was in a rush to get to the Foxboro car show on the 17th. They were expecting over 1,000 cars. I did not make the show because I still had too much stuff to do for my next show goal of Friday at Kimball's in Lancaster Mass to meet many of my Oldsmobile friends.
According to rumors, the Foxboro show on the 17th, had over 2,500 cars for a Thursday Night Cruse.
I finally got the 71-CS mostly assembled and packed for the show. I was still missing a hand full of cosmetic items to install, and I was hoping my Olds friends would not notice.
I arrived early about 3:45 and one of the parking lot attendants directed me to one of the Six front row parking spots. Wow, I have only been allowed to park there once in 10 years.
All of the hard work paid off. The car looked and ran great. I challenged my Oldsmobile friend to find the missing items. They didn't even bother to look they were just all impressed with what I did on such a small budget.
The turnout at the First Post-Covid show of the season was very good. Over 500 classic cars.
There were also a few thousand visitors who came for Ice-cream and to see the cars. Summer is back.
The first 6 nice looking cars get to park in the reserved front row. Within an hour, 500 classic cars arrived and thousands of visitors, with dripping ice-cream hands.
I specifically told the shop to be careful of the over-spray when painting the Hood [In writing].
They did a good job.
The Black parts were Black and the parts I wanted to be Saturn-Gold were Saturn-Gold.
I also added a new fiberglass insulation blanket.
Make sure you ware disposable gloves when handling the fiberglass.
I also used some extra Clear-Silicon adhesive to help support the insulation.
The shop gave me a can of SEM Black spray paint.
I used that to paint the inside-fender braces to match the Hood and Radiator shroud paint color. The color match was good.
I just need to add the hood light and I'll be done with the engine compartment.
The Hood Re-spray came out very good.
You cant get an Inspection sticker in Massachusetts without a Hood.
My sticker expired in May. As soon as the shop bolted on the Hood, I drove to an Inspection shop in June.
If you car was built with Windshield washers, they must work.
My washer pump worked, but the Squirts we attached to the hood.
I also painted the underside of the hood Satin-Black. Radiator shroud black and Inner fender braces too.
Last edited by Miles71; June 21st, 2021 at 12:19 PM.
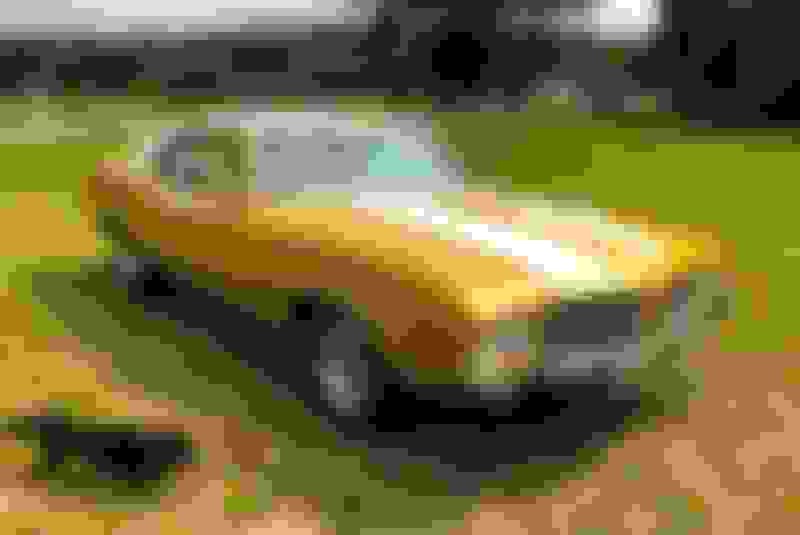
I plan on taking the car to a local field for some new calendar shots, soon.
I will get some better angles of the car and the Spoiler.
I need to call a different shop to get the stripes put on.
The Paint shop said, they just did not have the expertise to install them correctly and then took $300 off my bill to cover the costs of having someone else do the work.
It may be a few weeks, but I do plan on installing the wide stripes.
This means I will have to take the Spoiler off for the stripes.
Side Story:
The owner of the Macco paint shop said a new customer came in a year ago after seeing the work they did on my 1969-442 convertible [Nassau-Blue].
That guy had a 1972 Cutlass Supreme, and the shop repainted his car based on my recommendations about the paint shop.
Today, I met the that 72 Cutlass guy at a local car show. His car looked great.
I was a bit jealous of his recently installed pristine-looking 455 and his OAI hood.
First Judging car show:
Went to a nice show at "Medfield on the Charles".
There were over 800 classic cars and the weather was good.
The show passed out over 100 Trophies.
The overall feed-back from the visitors regarding my car was very good. They were all impressed with the paint/color and overall condition of the car. That was good to hear.
I still have a few assorted items to install to finish the car. The work never ends.
A judge came by and started the process of inspecting my car.
He took the Judging sheet and put a sticker on the window, indicating the car has been judged [He had not yet started the judging process.]
A few seconds later the Judge had to leave to assist with a medical emergency at the show.
I never saw the judge again.
The Hood stripes should be installed this week.
There is a large sprawling field with a few trees for the lucky people to arrive before 7:30 am.
I brought my own shade with a 7-foot canopy.
We had a steady breeze from the near-by Charles river, that helped keep it cooler.
I was a good boy and did not try to buy either the
White-63-TBird-Convertible or the basket-case 6-cylinder 1988-Fireo.
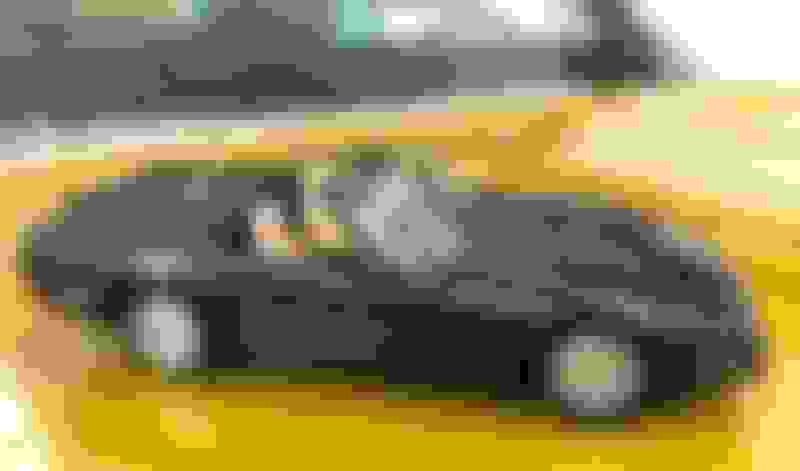
I did buy a Purple 95-C4-corvette convertible.
The Stripes are on and I am very pleased.
It's what I have wanted since I had my first 70-Cutlass way back in 1976.
Now I just need some good weather to enjoy the car.
I plan on being in a local 5-of-July parade in a few days.
I have a new theory on the Spoiler Spacing.
Drill holes at the beginning of the work day and not at 10 pm.
It turns out I was 8 millimeters off.
I will blame this on poor alignment 50 years ago at the Framingham plant.
Somehow Macco was able to get a 99% match on the first try with their computer. I am very satisfied with the color.
Its been 2 years now and the color is still great.
I have been going to many car show over the past 11 years.
So far, I have only seen 10 cars that have the 53 Saturn Gold code.
Only a few of those were even close to the original color.
Last edited by Miles71; December 21st, 2022 at 01:45 PM.
So far, I have only seen 10 cars that have the 53 Saturn Gold code.
Only a few of those were even close to the original color.
I�m surprised it�s so hard to match the color. When I painted mine I asked for the color, the shop mixed it, and it perfectly matched the factory paint in the door jambs. I didn�t spray the jambs since the color was the same. Couldn�t tell where the new ended and the old began.
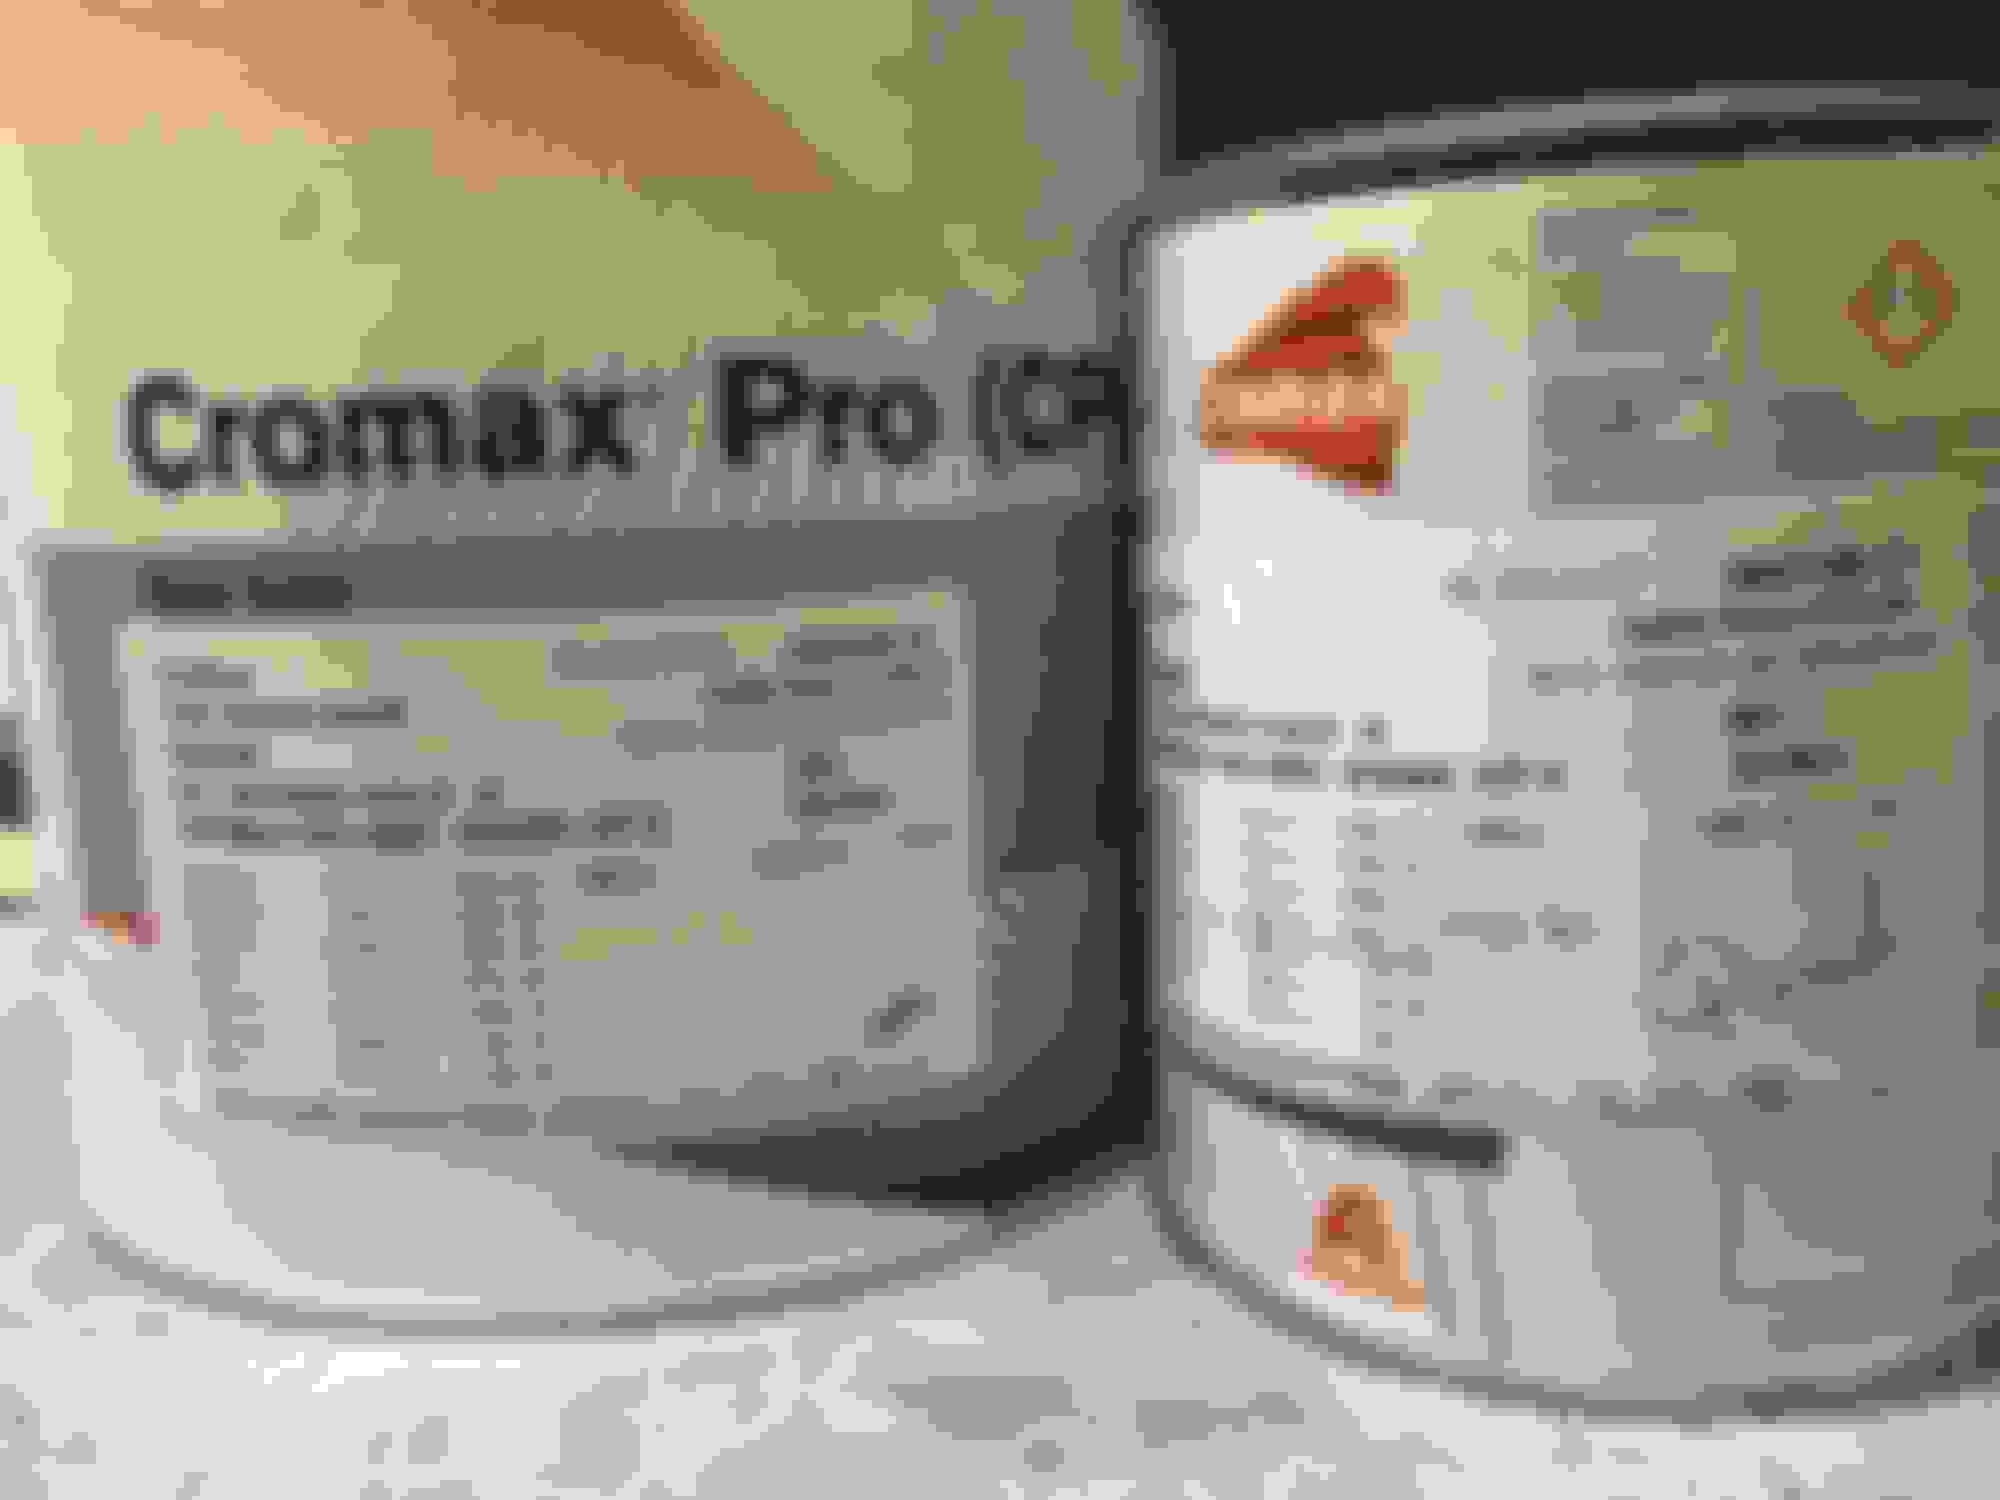
When mine was painted, the painter had several choices of code 53 mixed, they were all way, way off, Another friend is in auto paint sales, he mixed up the PPG version, even though they label it as Cortez gold, it's awesome.
Somehow Macco was able to get a 99% match on the first try with their computer. I am very satisfied with the color.
Its been 2 years now and the color is still great.
I have been going to many car show over the past 11 years.
So far, I have only seen 10 cars that have the 53 Saturn Gold code.
Only a few of those were even close to the original color.
Any chance you have the color formula with a break down of the color pigments? I have a 71 442 W-30 and the PPG color for Saturn gold isn't close to the original color under the trunk or behind the fender on the firewall.
Any chance you have the color formula with a break down of the color pigments? I have a 71 442 W-30 and the PPG color for Saturn gold isn't close to the original color under the trunk or behind the fender on the firewall.
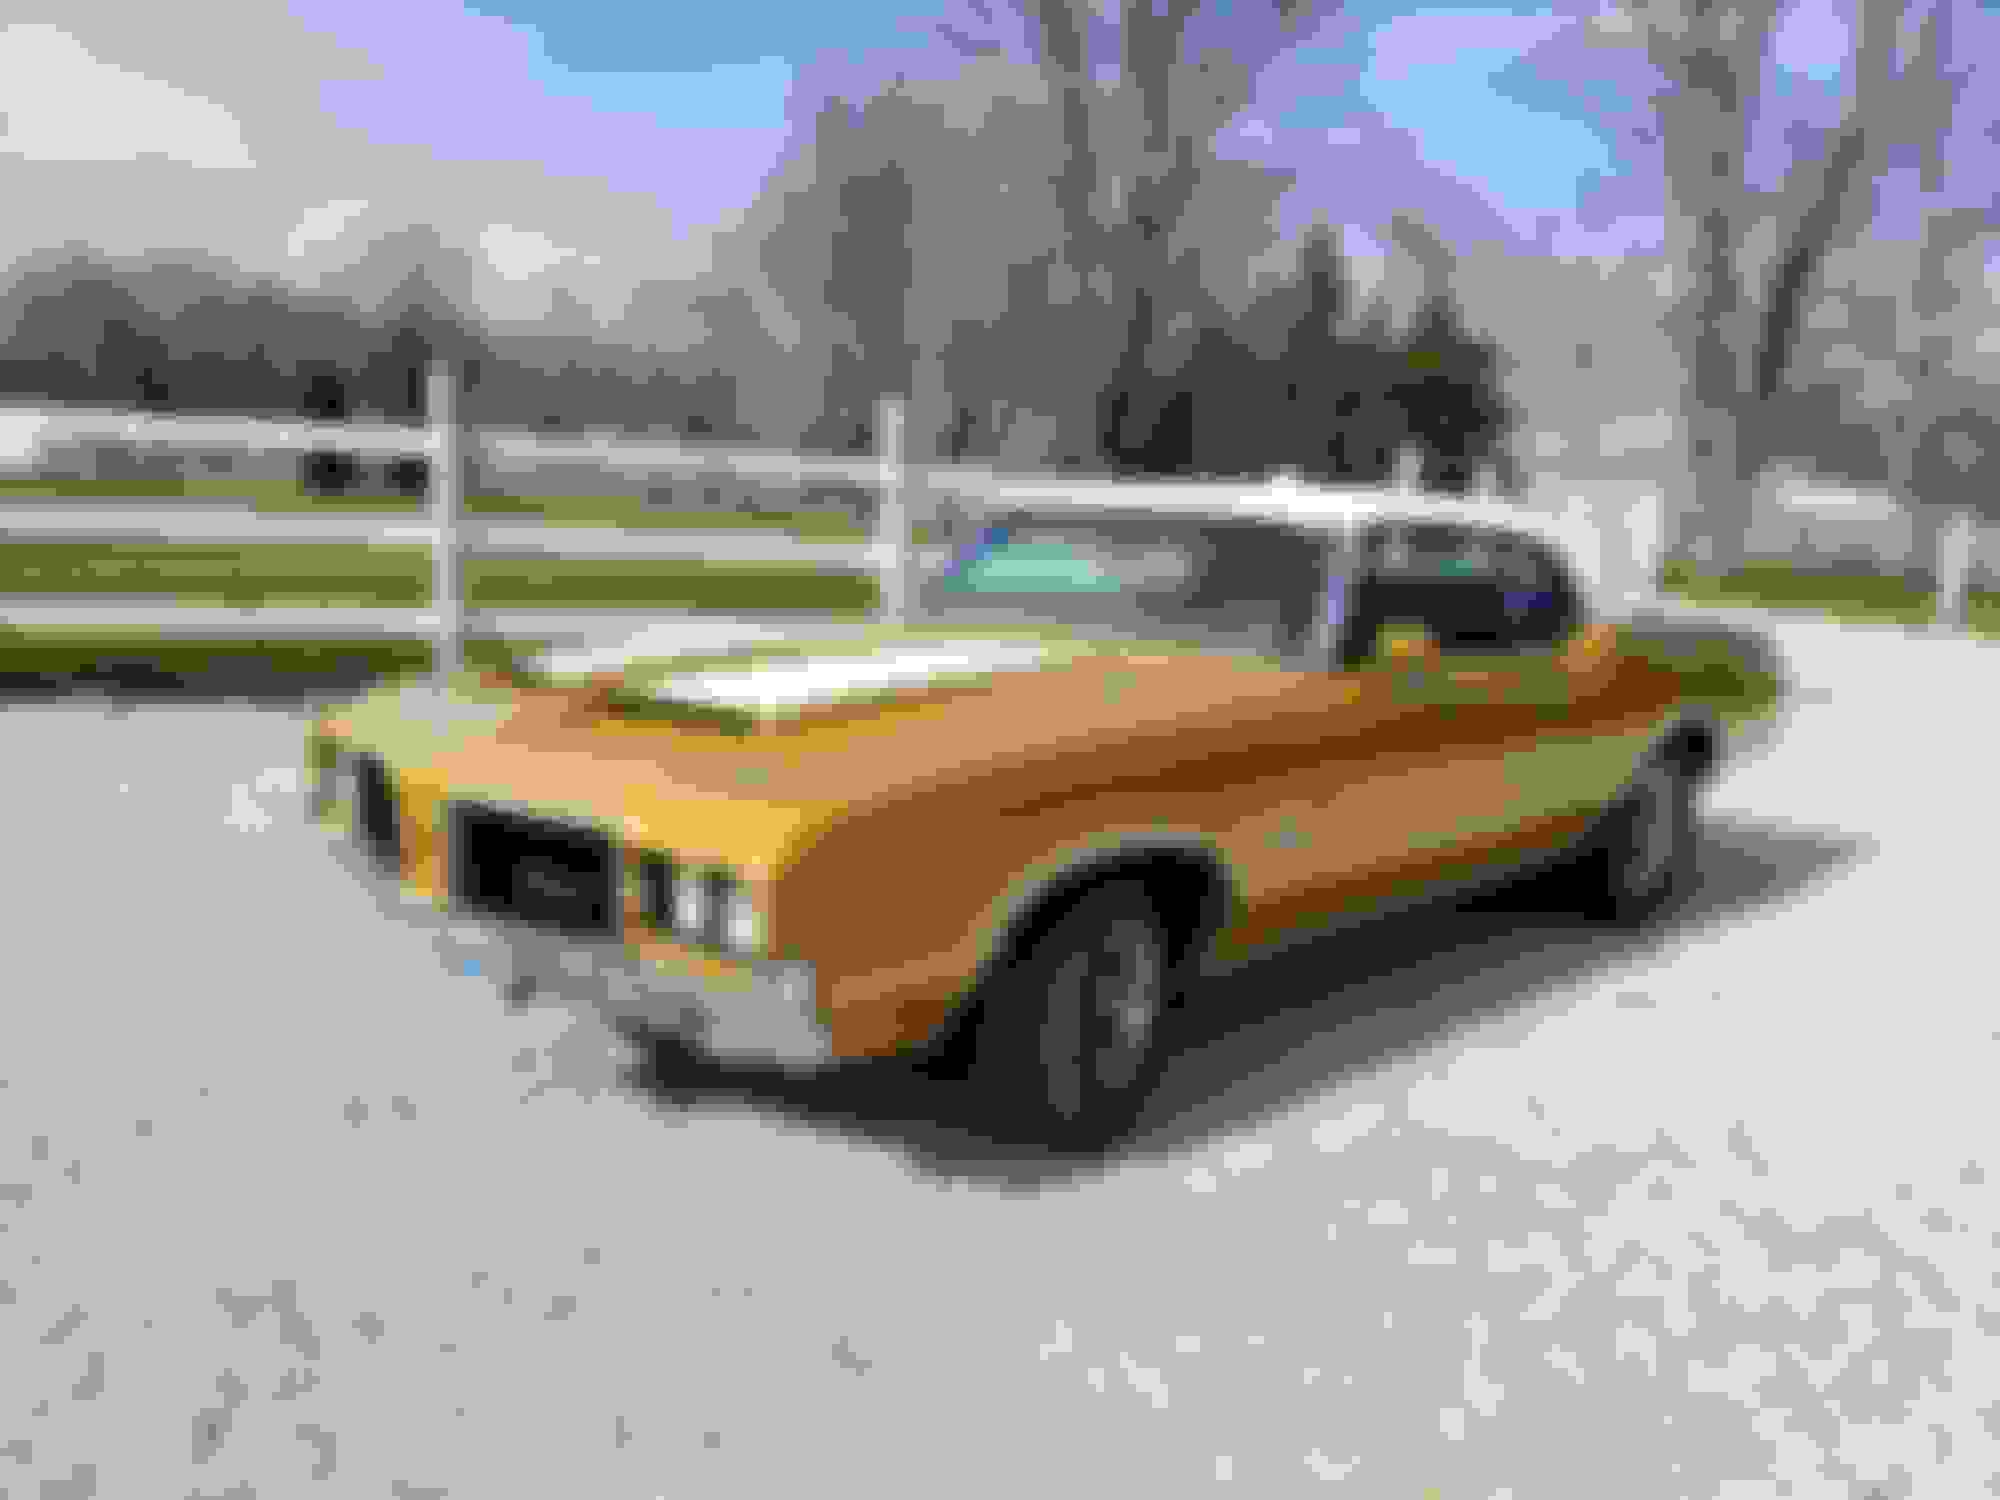
My painter had several samples of Saturn Gold 53 mixed and all were very close to the tint of your fender/ firewall area, however the factory paint on my '72 code 53 was a much different tint as you can see from my photo earlier The painter tried to talk me into the off shade paint but I really wanted to go what was original to my car. I probably don't have those sample mixes anymore as they were way off from my factory paint. I'll look in the barn tomorrow morning and if I have them, I'll post the cans with the color... as I said they were all pretty close to the tint on your car. I've seen a few 69 to 72s with the same tint as yours, makes me wonder why the factory inconsistency for code 53 paint.
After a bit of work we found the exact Saturn Gold match. Had to get someone to come and take a few pixel samples from the sidewall. For anyone interested here is the paint formula. Have to ignore the paint name, that's just the closest paint name in the system.

 May 8th, 2021, 07:50 PM