When you click on links to various merchants on this site and make a purchase, this can result in this site earning a commission. Affiliate programs and affiliations include, but are not limited to, the eBay Partner Network.
Got some help and got the dash in. I needed another set of hands to avoid scratching the fresh paint on the metal. I was waiting as long as I could because I still have cut and buff and I didn't want to be doing that with the dash in but I cant wait any longer. Hooked up the duct work and cables and what wiring I could. I also decided to insulate the floor.
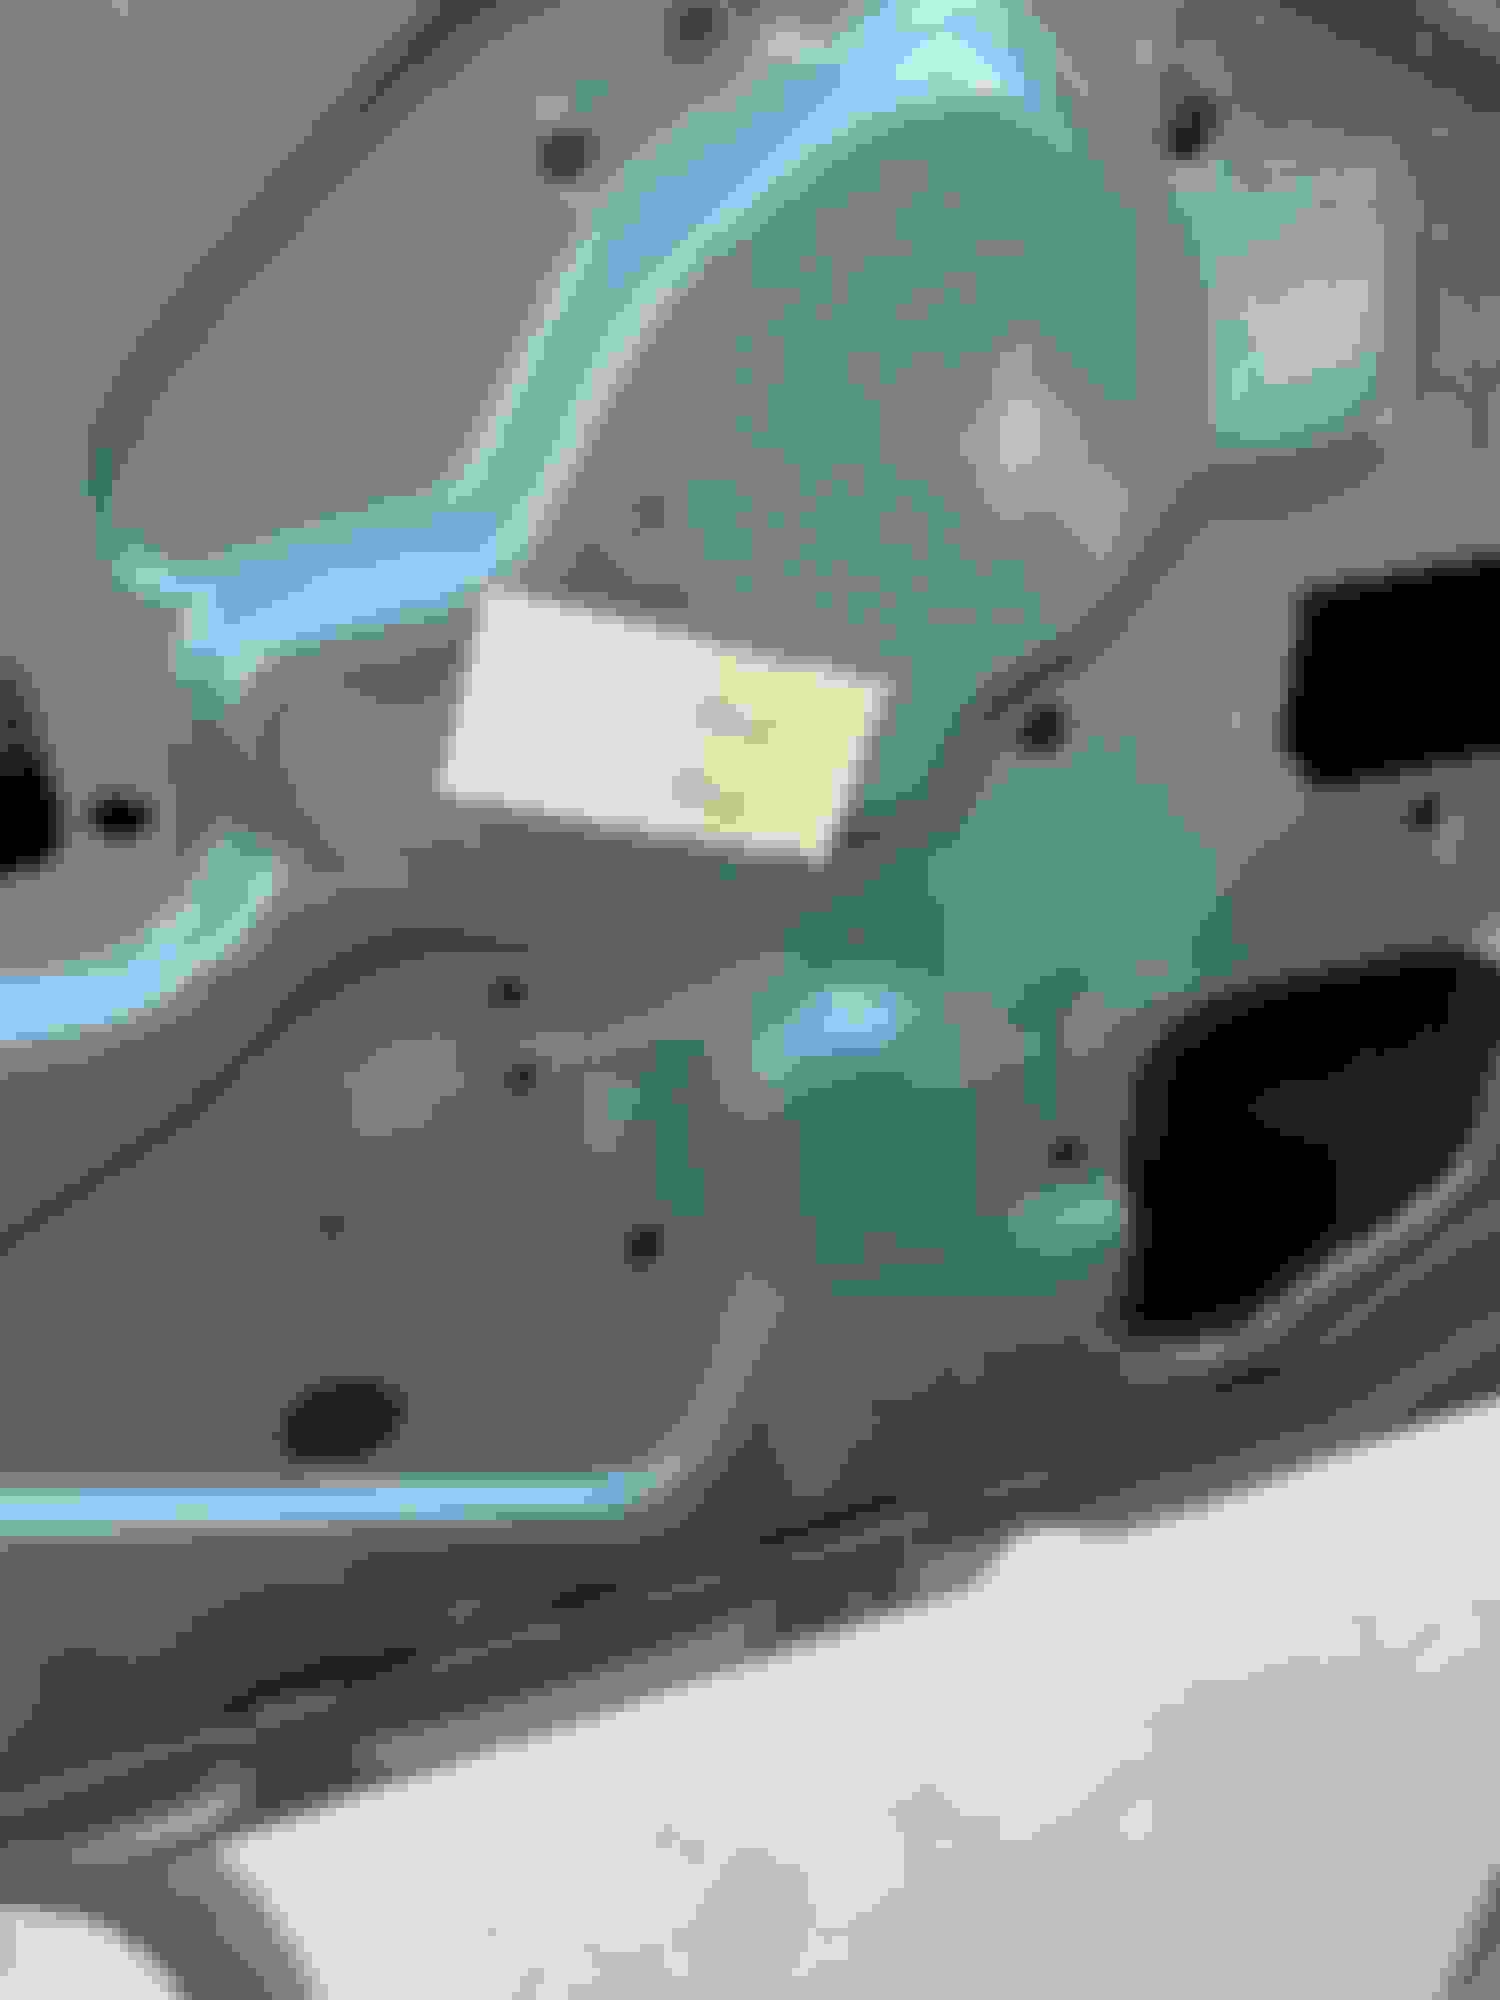
I'm starting to prep the door regulators and glass for install. The car has the original clear glass. I have tinted glass also from other parted cars and thinking of putting that in. I dont know about date codes on glass but thinking it may be worth it? Some glass I have is PPG and most is LOF. Any info on that?
I saved everything during disassembly including the stickers on the inside of the doors. Not exactly sure what they are? They were with the door hdw so I put them back on. I know its kind of over detailing but I had them so why not? I have some before and after pics.
Last edited by scrappie; July 11th, 2022 at 05:53 PM.
I searched your thread for radio, but didn't see much. That said, do you plan to use the stock radio speaker and radio, or do you plan to upgrade the guts with new technology?
Clear or tinted? that is the question. The car originally came with clear glass which I still have. I also have tinted glass removed from cars over the years. I'm pretty sure its all LOF but I did see some PPG. I'm thinking of installing the tinted. I like the tinted but dont want to effect the resto negatively. If I install tinted I'm sure someone will be able to tell by looking at the print on glass? I dont know how to decipher it and cant see a date so IDK?
Was tinted glass an option or was it standard with ac cars? Anybody think it makes a diff in temp or just looks? My car has no ac anyway.
Last edited by scrappie; July 22nd, 2022 at 02:49 PM.
Clear or tinted? that is the question. The car originally came with clear glass which I still have. I also have tinted glass removed from cars over the years. I'm pretty sure its all LOF but I did see some PPG. I'm thinking of installing the tinted. I like the tinted but dont want to effect the resto negatively. If I install tinted I'm sure someone will be able to tell by looking at the print on glass? I dont know how to decipher it and cant see a date so IIDK?
Was tinted glass an option or was it standard with ac cars? Anybody think it makes a diff in temp or just looks? My car has no ac anyway.
I don't believe clear glass is reproduced. You can get new tinted glass from Auto City Classics - just make sure you adjust to have the etching done with the tinted glass markings. I judged a car over the weekend that had their repop tinted glass etched with the markings from their clear glass (details!). The etching can be on the inside of the glass, outside of the glass, and even forwards or backwards.
Paul I think your car build date is just about what mine was. 12A. Curiosity what date is on your factory glass? My glass is tinted and has the YV Code on all the Glass which is Oct 69 which matches my build date. My car had the AO1 option listed on the window sticker which is tinted glass. My car has C60 A/C option also, but I am not sure if AO1 was automatically added if you got the A/C. The two options are listed sequentially on the window sticker though.
That said the glass is not tinted very dark, so I doubt it helps shield heat out much, but it does add a cool kinda glow to the interior with that factory green tint. Especially with the blue interior which is bright to begin with.
I�ve decided to stay with the original clear glass. I power washed door and quarter pcs and then detail cleaned them, that�s when I saw the scratches. The glass being clear is really hard to see in some pics. I tried Eastwood�s glass polishing kit on the scratches which pretty much just cleaned the glass more. I ordered some new stuff for scratches which I will experiment with this weekend. Hopefully I�ll be back with a good update on that.
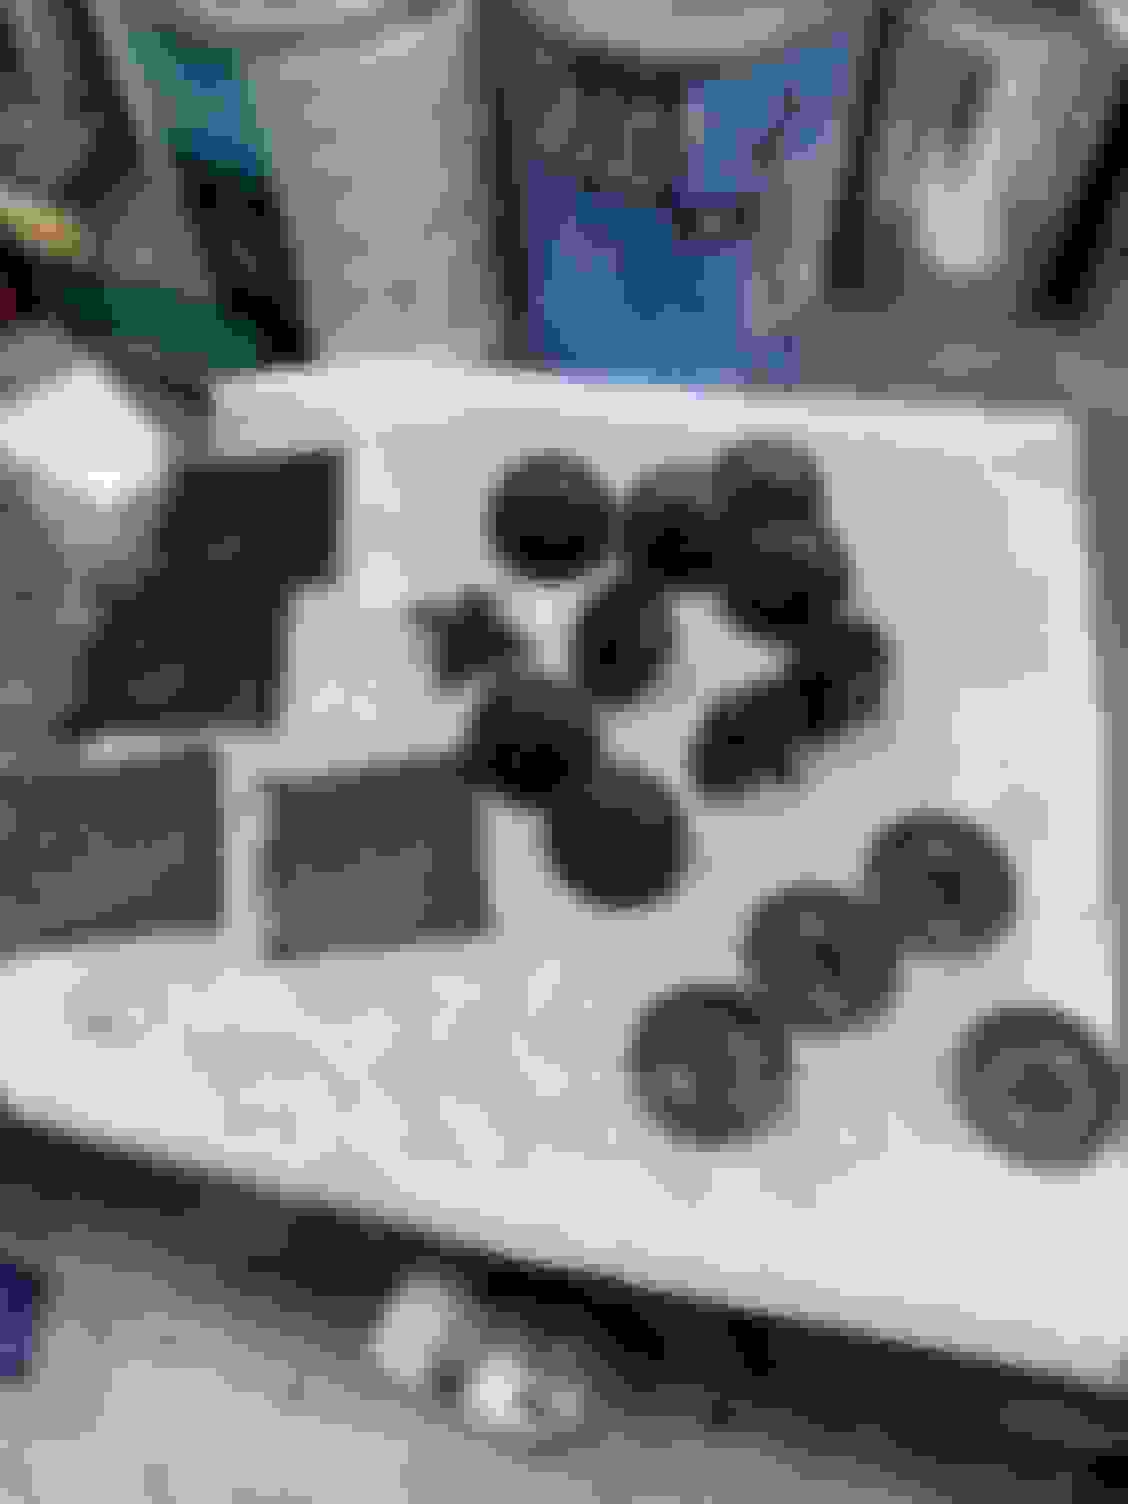
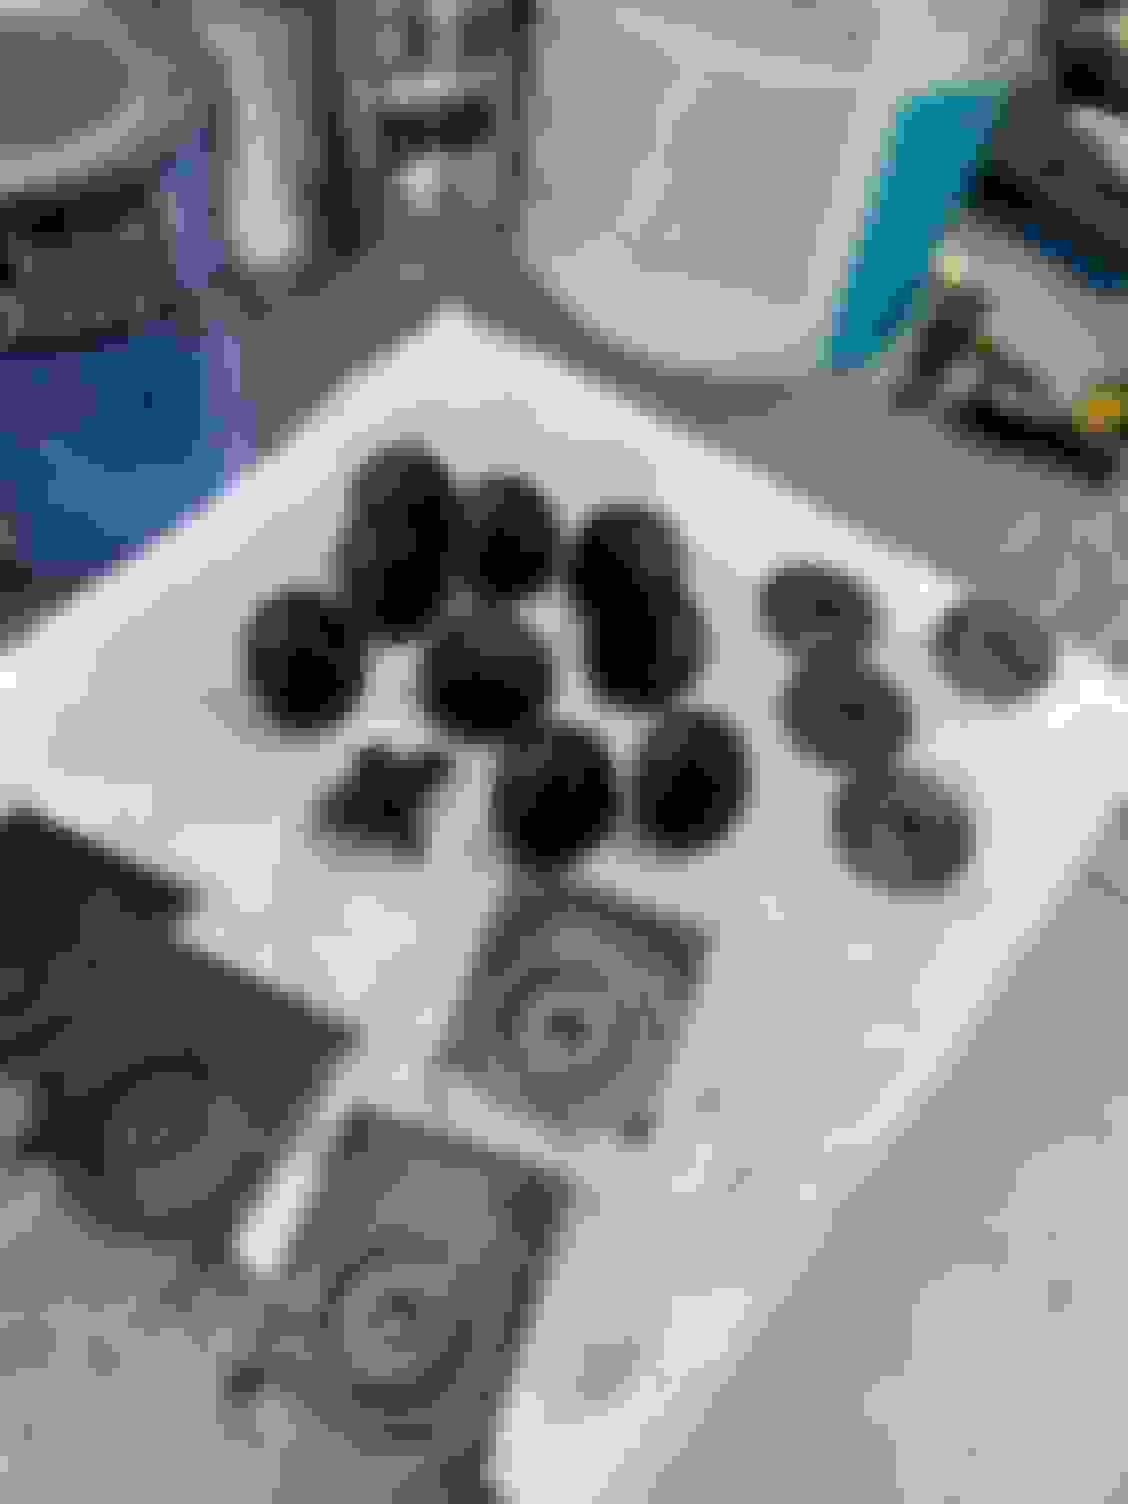
Some of the mounting hardware was a little rusty so I �might as well� clean those up. I removed rusty pcs, blasted then black oxide dip followed by WD40 bath.
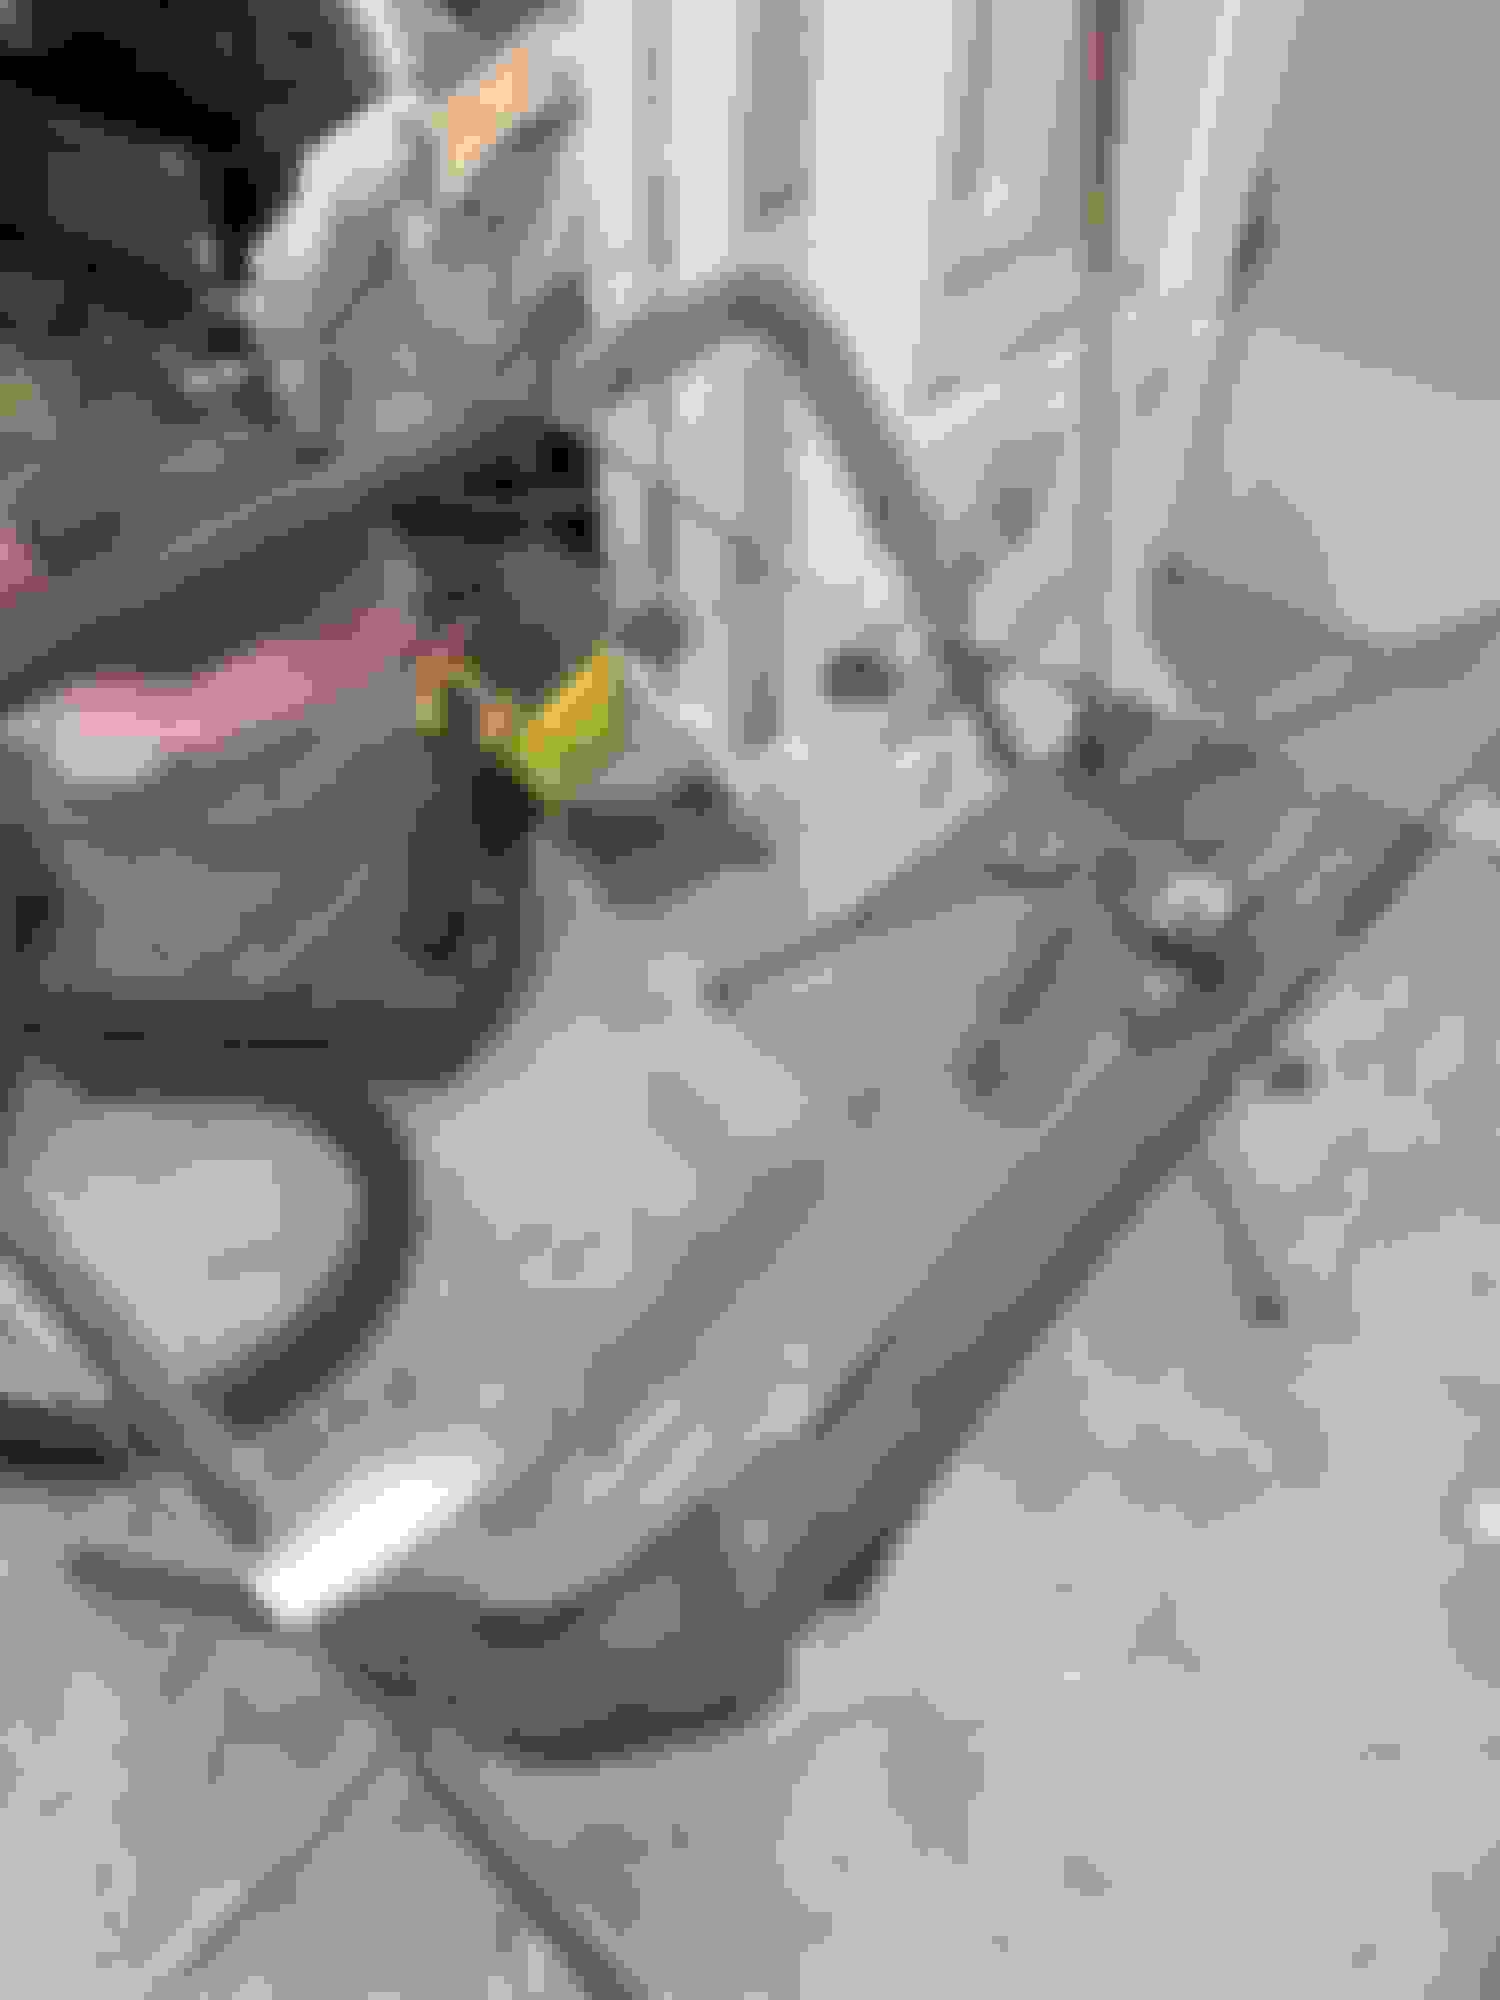
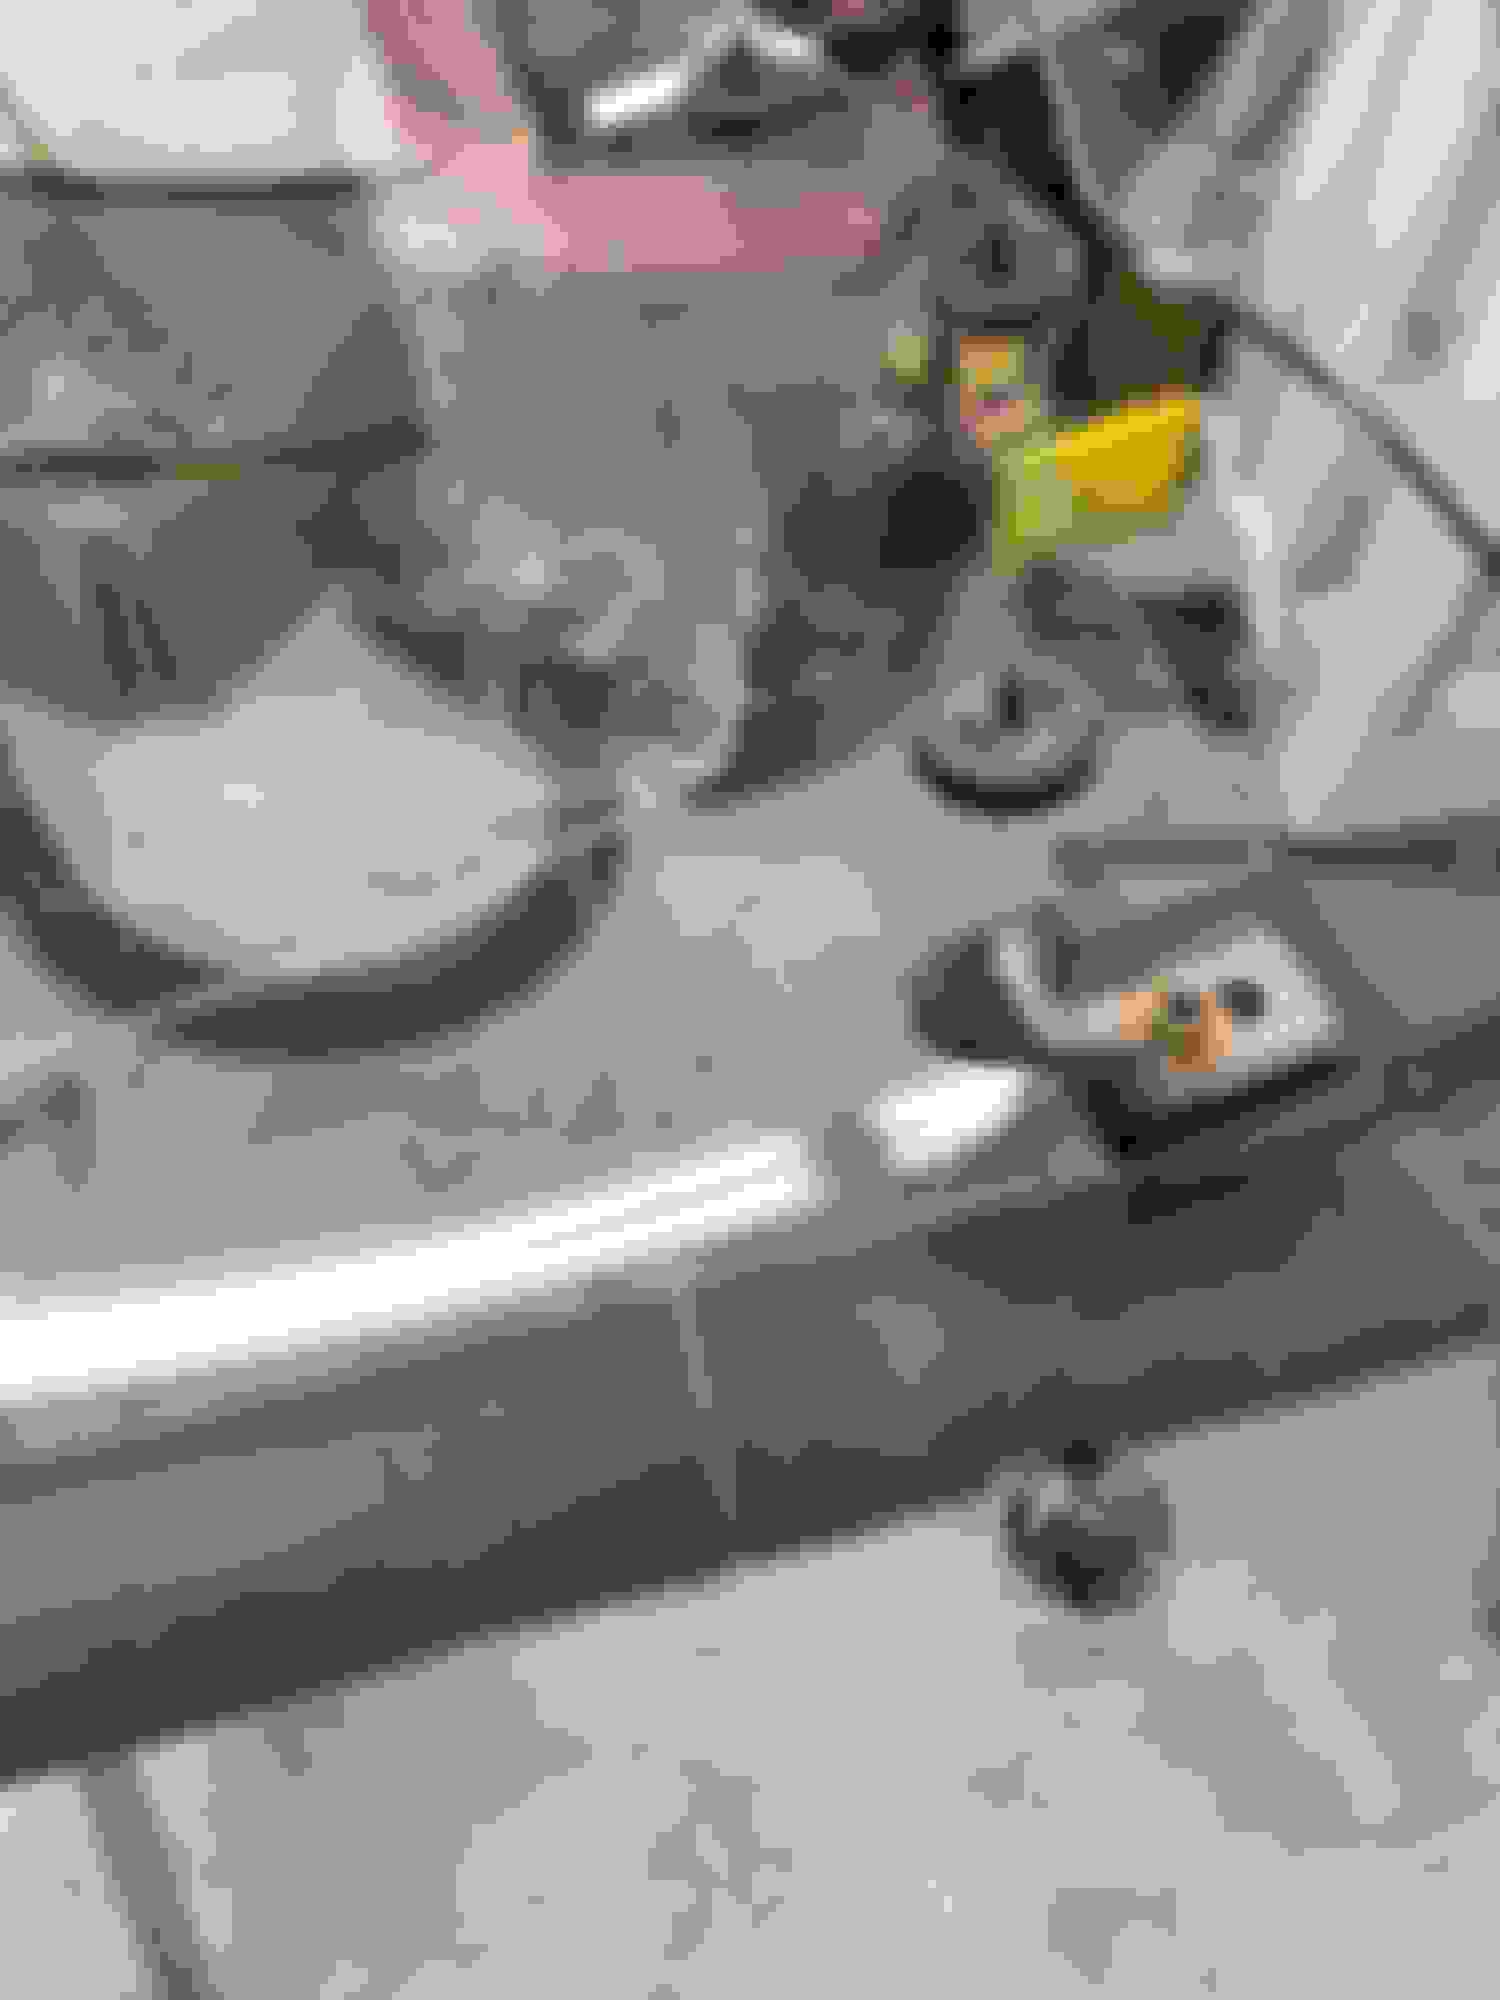
So I've spent the last couple weekends screwing with the glass scratches. I found a product from glasspolishshop.com
They have a few videos out there and it looked worth trying so WTH. I bought a kit for around $80. After the last couple weekends I can tell you this stuff does work but..........
This process takes a few things: A little $. a fair amount of time and a lot of patience. I kind of compare to block sanding just to a higher level. You keep stepping up to a finer grit to cover previous sand scratches until you get to where you want. This process consisted of a medium grit (aggressive and takes out scratches) to fine, extra fine, really fine, glass polish, and cerium oxide. Figure each step takes at least an hour. The medium grit will take the scratch out but you then have to cover your tracks and sand out all the scratches until you get to a cloudy glass surface. At that point you start the polishing phase with a compound that comes with the kit followed by a a pure cerium oxide (sold separately) If you take care in each step to polish everything with a finer grit then the polishing part is less laborious although it still takes time. I focused on the most obvious scratches and left the big scratch on both side glass pcs caused by the window sweep because it should never be seen. This process does work if you have the time and patience. The glass being out of the car really helps too because the polishing part is messy.
Mark is still working on motor and he had some issues with carb, intake manifold and distributor but that is a story for another day. The good thing is it made just under 420HP on the dyno this week so the motor has a good heart. I was hoping to have this thing back together this summer but thats not gonna happen so maybe next year? Looks like some winter work. First piece done sanded out the scratches as you can see. I marked the area on the other side of glass with sharpy to keep track. stepping up to a finer grit Get to the point where its cloudy then you can start the polish polishing with cerium oxide going over the whole piece looking at my work I can live with this Both pieces You can see the scratch from window fuzzy that should never be seen once together.
Last edited by scrappie; August 1st, 2022 at 06:08 PM.
I had a few rear window glass pcs to choose from. I think my original was MIA when I bought the car I forget? I had a tinted and three clear to choose from. I chose the clear with the least amount of scratches and went from there. I also have two front windshields to choose from which are dirty and dusty or I might spring for a new one but I've heard of thickness differences in the new? I'll check them out soon.
I'm kinda starting to get my groove with the glass polishing system. The back glass turned out nice. All thats left is the front windshield. I think mine have a brown tint at top edge and Ive seen blue also. I don't know if that makes a diff? Marked any imperfections I could see. A lot of scratches are from the stainless moldings After the scratch removal process I began the polishing with compound and cerium oxide Came out pretty good I think Almost like new
Looks good. I have tried just cerium oxide on light scratches and it did not get them fully out. This system looks more comprehensive and might. I may try this on a stubborn scratch.
It will work Andy, its just a bit of a learning curve. Its not for the faint of heart. I would suggest practicing on a piece or an area of glass that is not visible to get the feel of the process. I found the cerium oxide stage of polishing should be used only when scratches are gone and trying to buff out the cloudiness because it doesn't remove scratches. The scratches are removed by the abrasive discs with light pressure. The polishing part is just to get the shine back.
Last edited by scrappie; August 1st, 2022 at 03:13 AM.
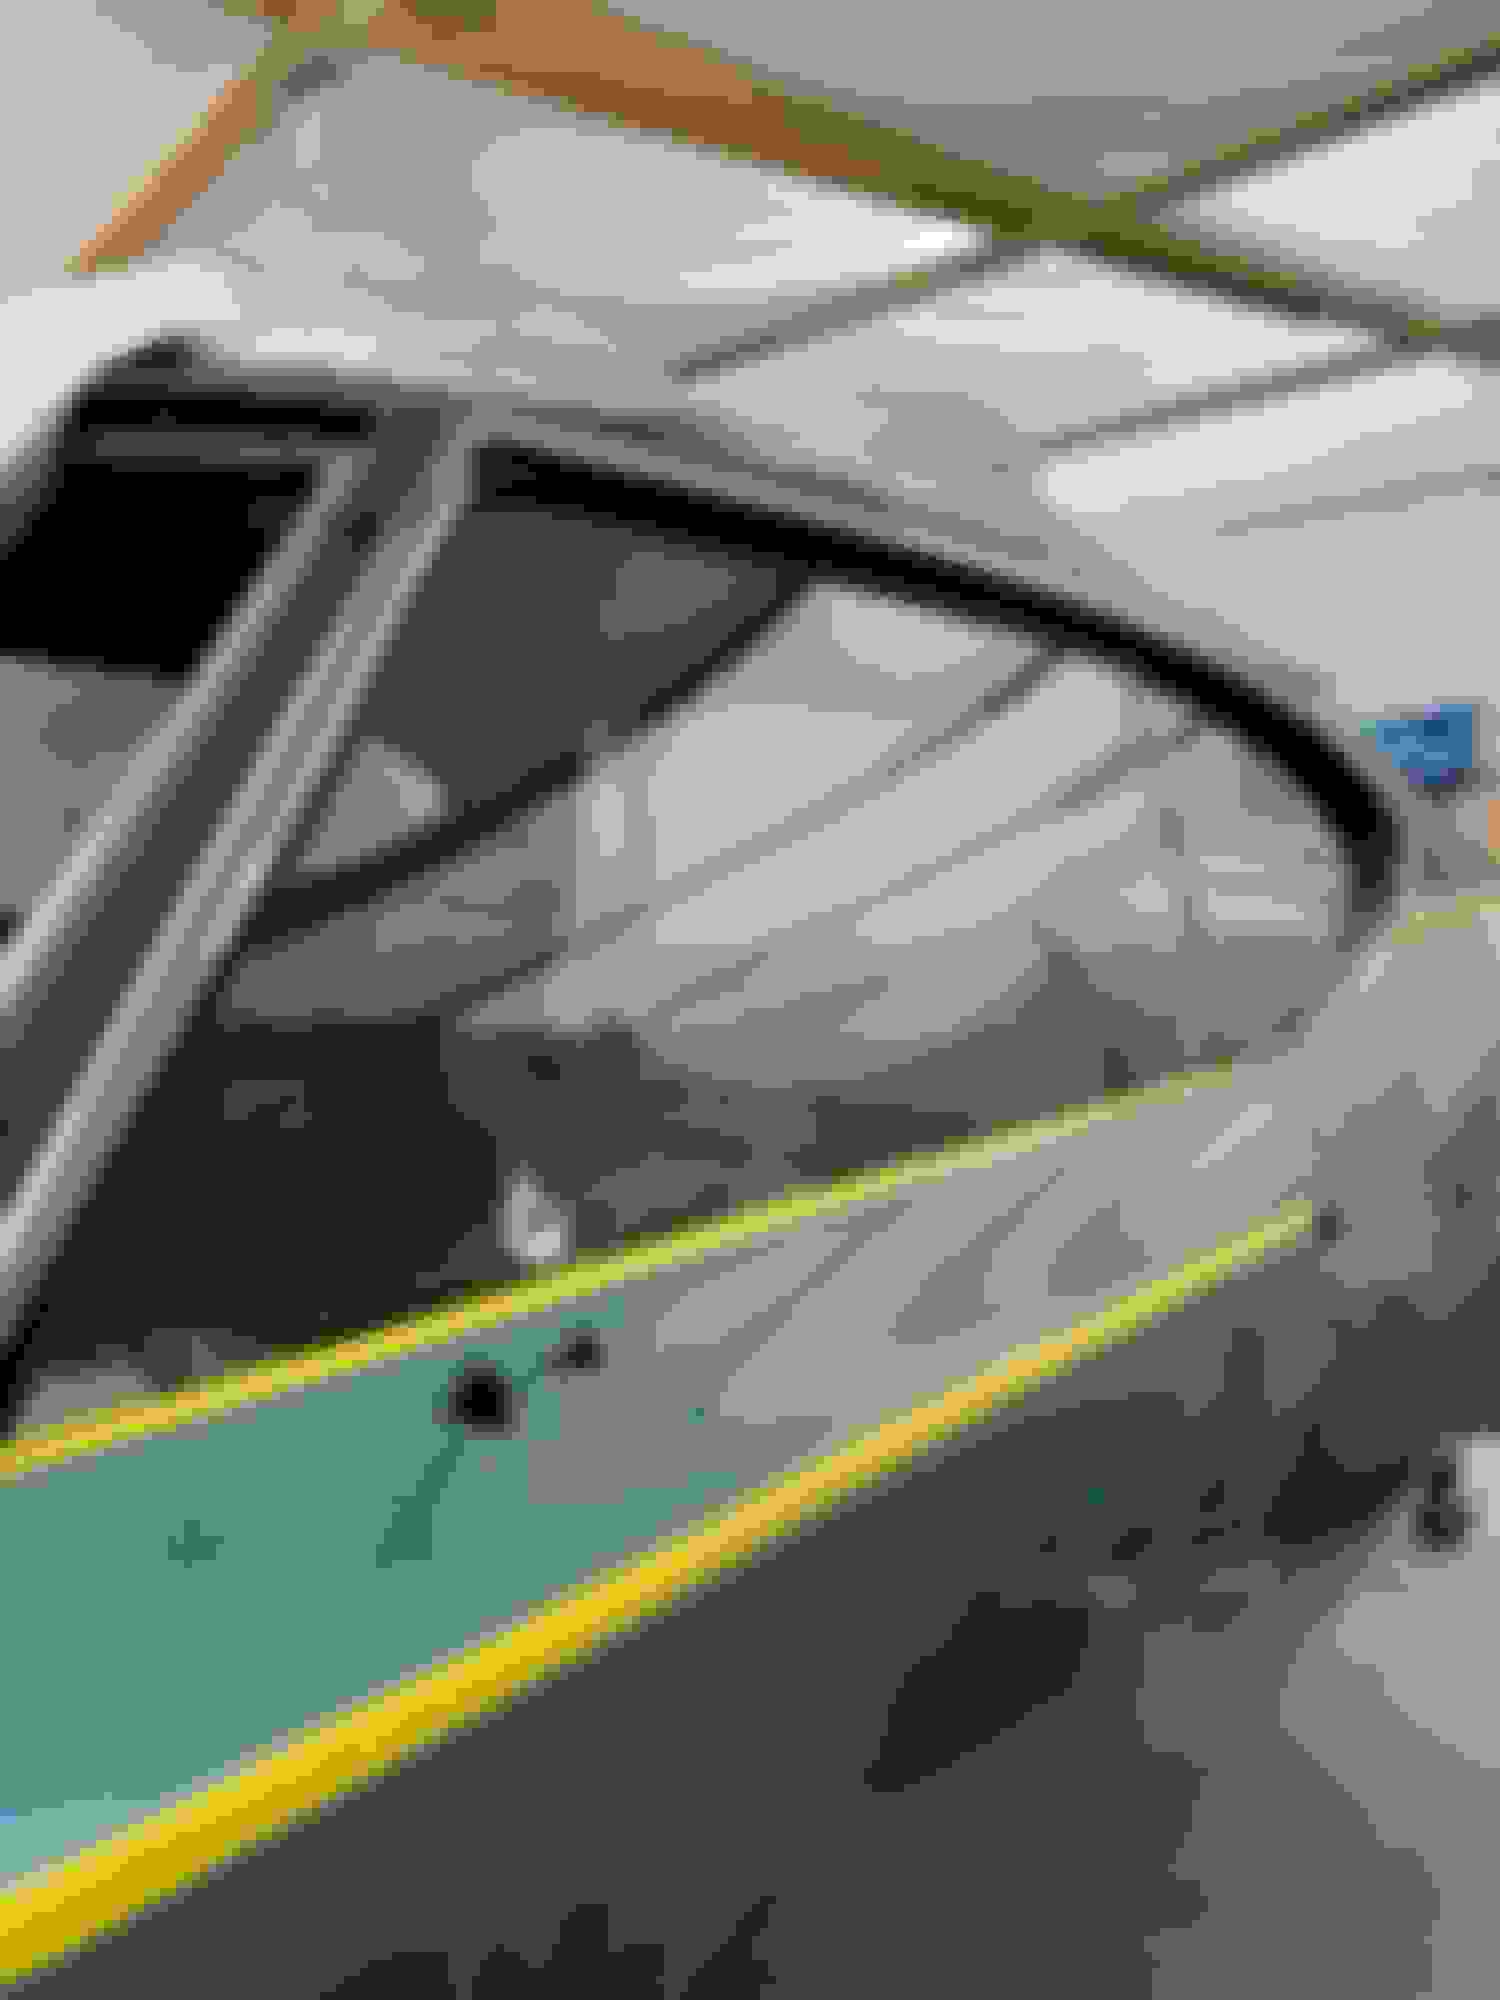
Got the side glass installed. It took a lot of time and adjustment but I think they look good. Hard to show the process but it did include a lot of swearing and sweat.
Last edited by scrappie; September 6th, 2022 at 03:21 AM.
Sure thing Jimmy. Its hard to show the process just the result but I'll try to explain:
I started with the front glass. After getting the track and regulator in fairly tight everything else was left fairly loose especially the three mounting nuts for the glass. I had wx strip installed already so I rolled window up until it was close to top to see alignment. As the top edge started to align I would I would tighten either corresponding upward stop. The forward top edge usually gets there first as I cranked. I then lock the front stop. I then crank just a bit more and the back top edge aligns and I lock rear upward stop. I observe the front edge and now can slide the glass back and forth since I left the three glass mounting nuts loose. Once those edges are close to where I want, I open and close to see if any interference. If the glass is in or out I push it where it needs to be and observe the brush guides then adjust the guides and that helps align the "in and out". A lot of opening and closing at this point but once its as close as I can get, I then tighten everything and roll window al the way down to just below fuzzy and lock in bottom stops.
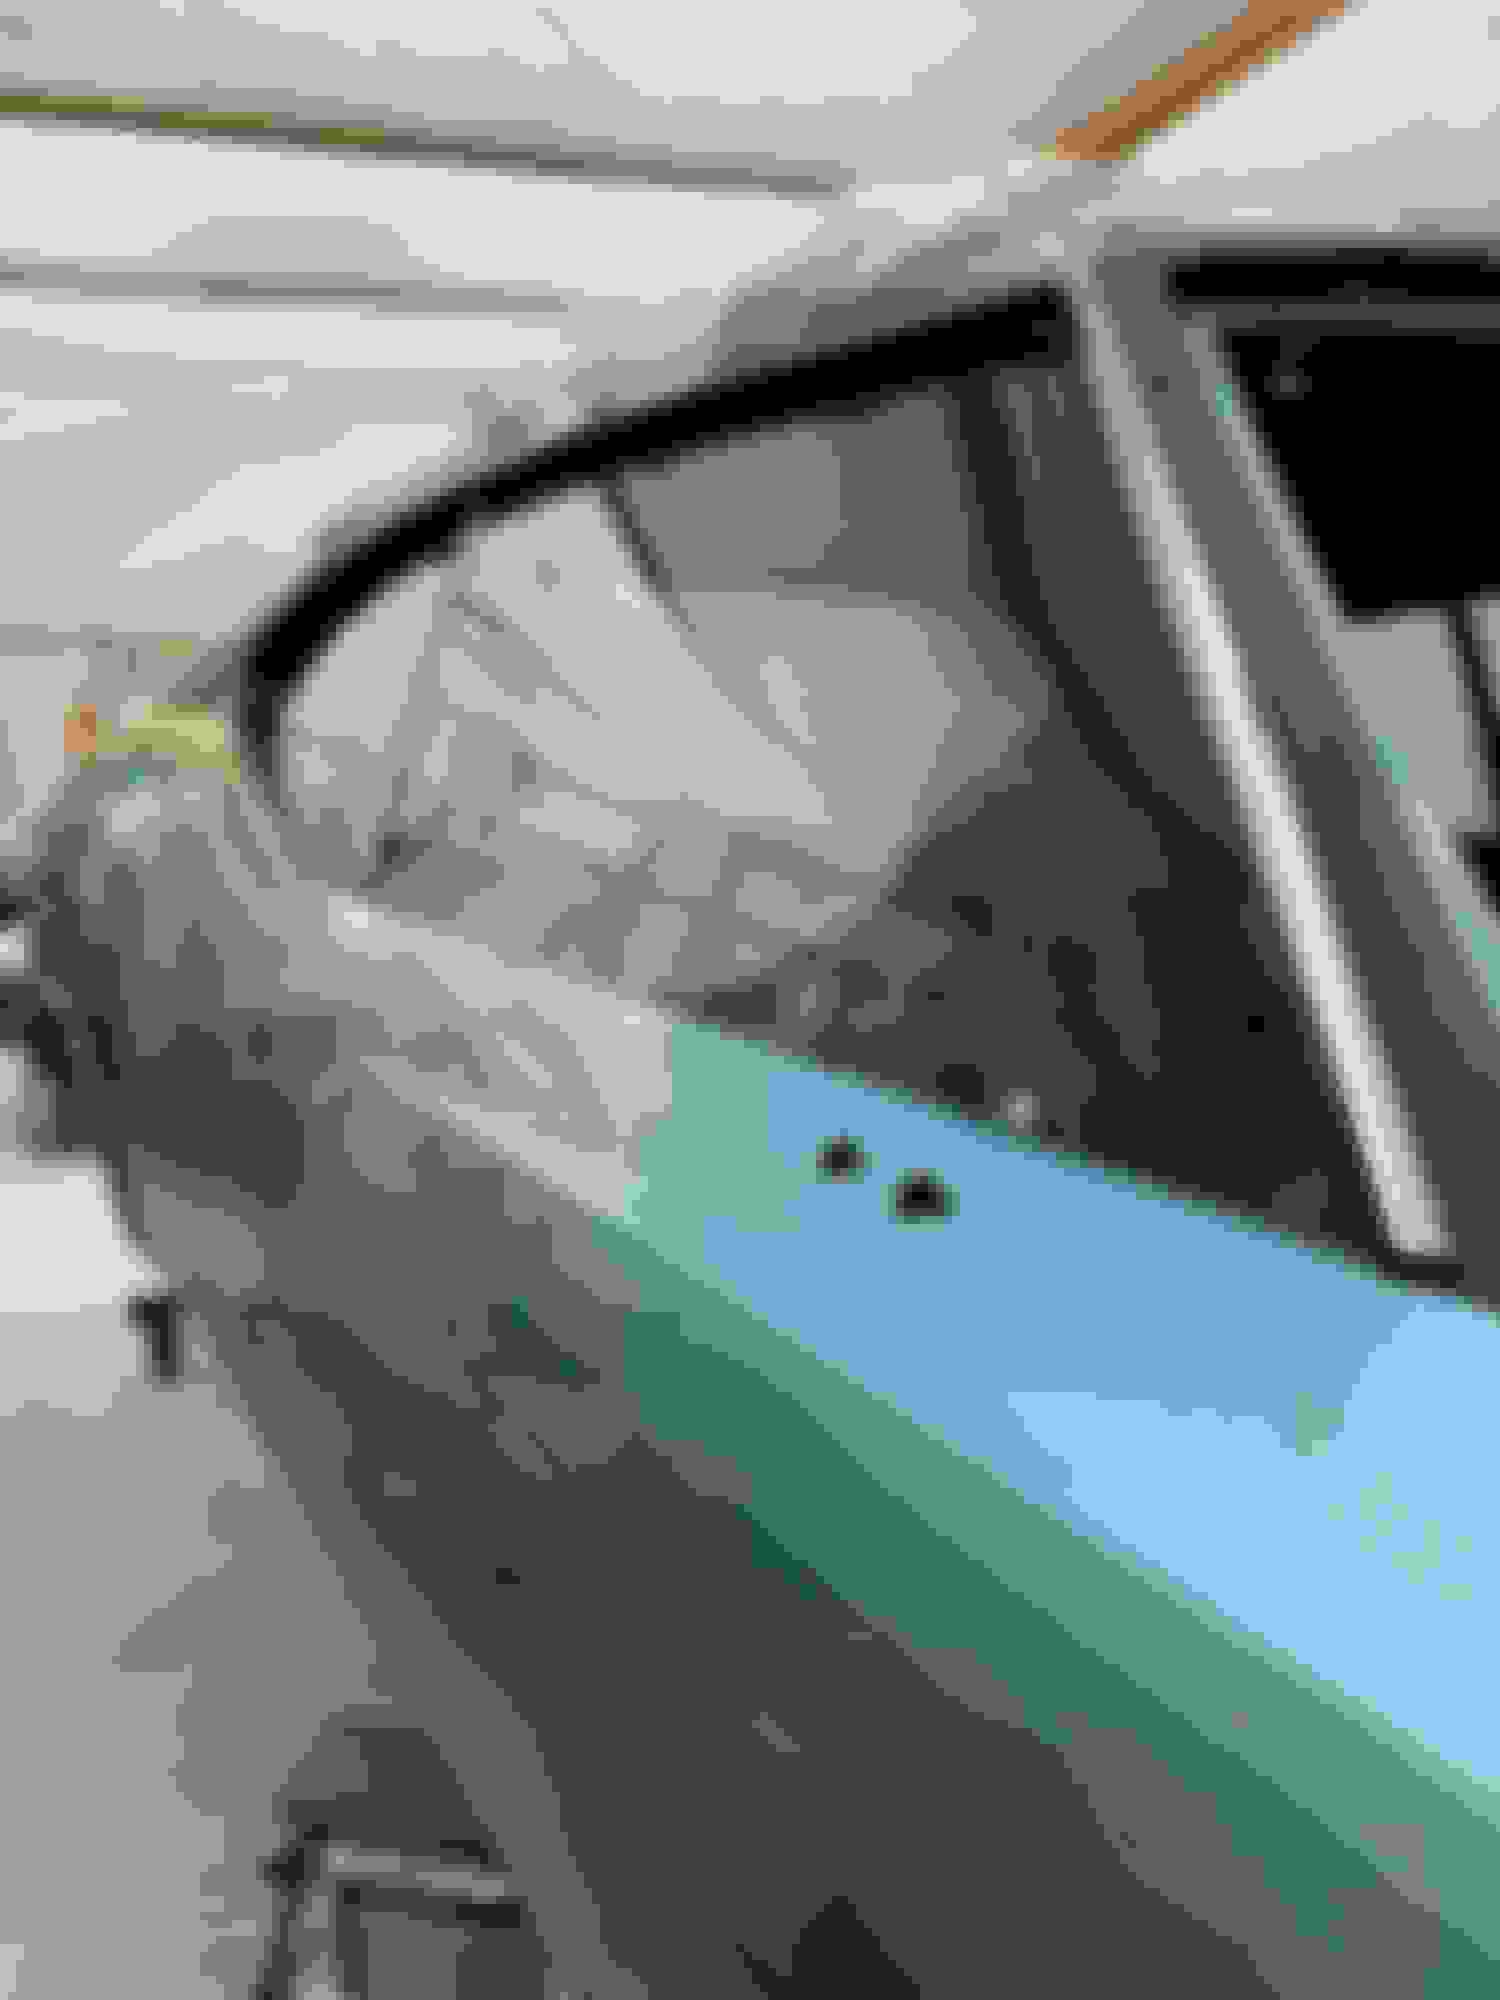
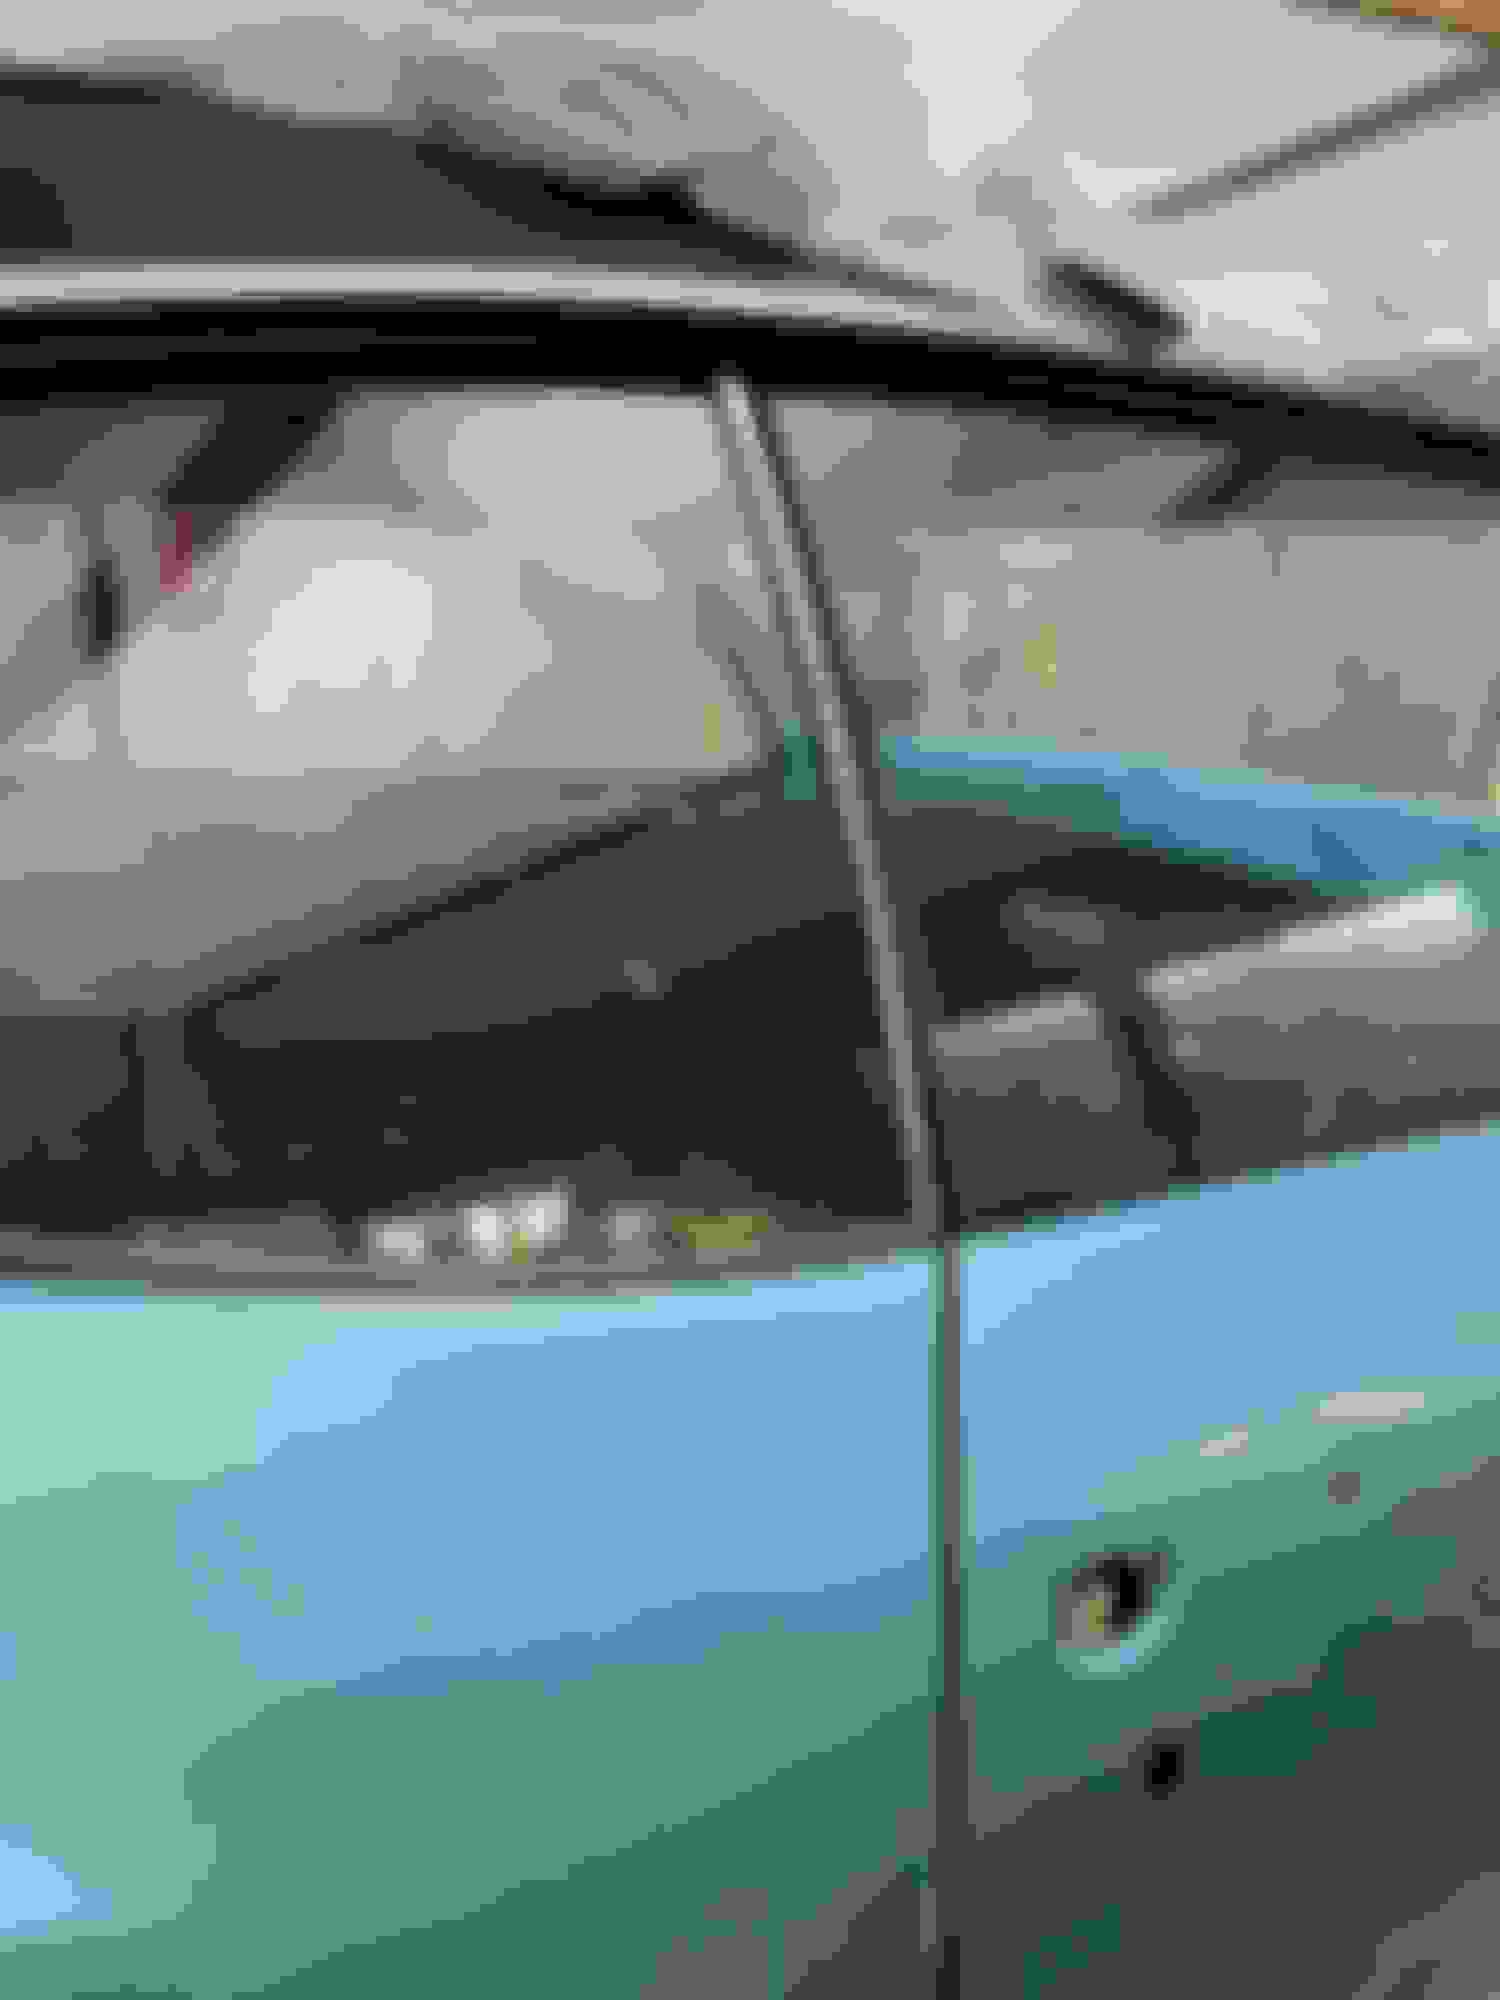
Once the front window is set and up, I start the same process with the quarter window using the front glass and wx strip as a guide. The quarter window has two bolts on track for forward and rear adjustment. The angle of the edge can be adjusted by the bottom track mount that has a slot as seen from inside car. It also has an adjustment for in and out on the inside where it attaches to track. Once that is where I want I then lock in stops.
It's hard to explain my process but I will try and get some pics later that may help? Too bad you're not close by, I would swing over and give you a helping hand.
Last edited by scrappie; September 6th, 2022 at 06:37 AM.
Pics would be great as I have to sort my windows out as well. Just knowing to start with the front window is a help. I guess I could look at a manual again.
thanks,
Steve
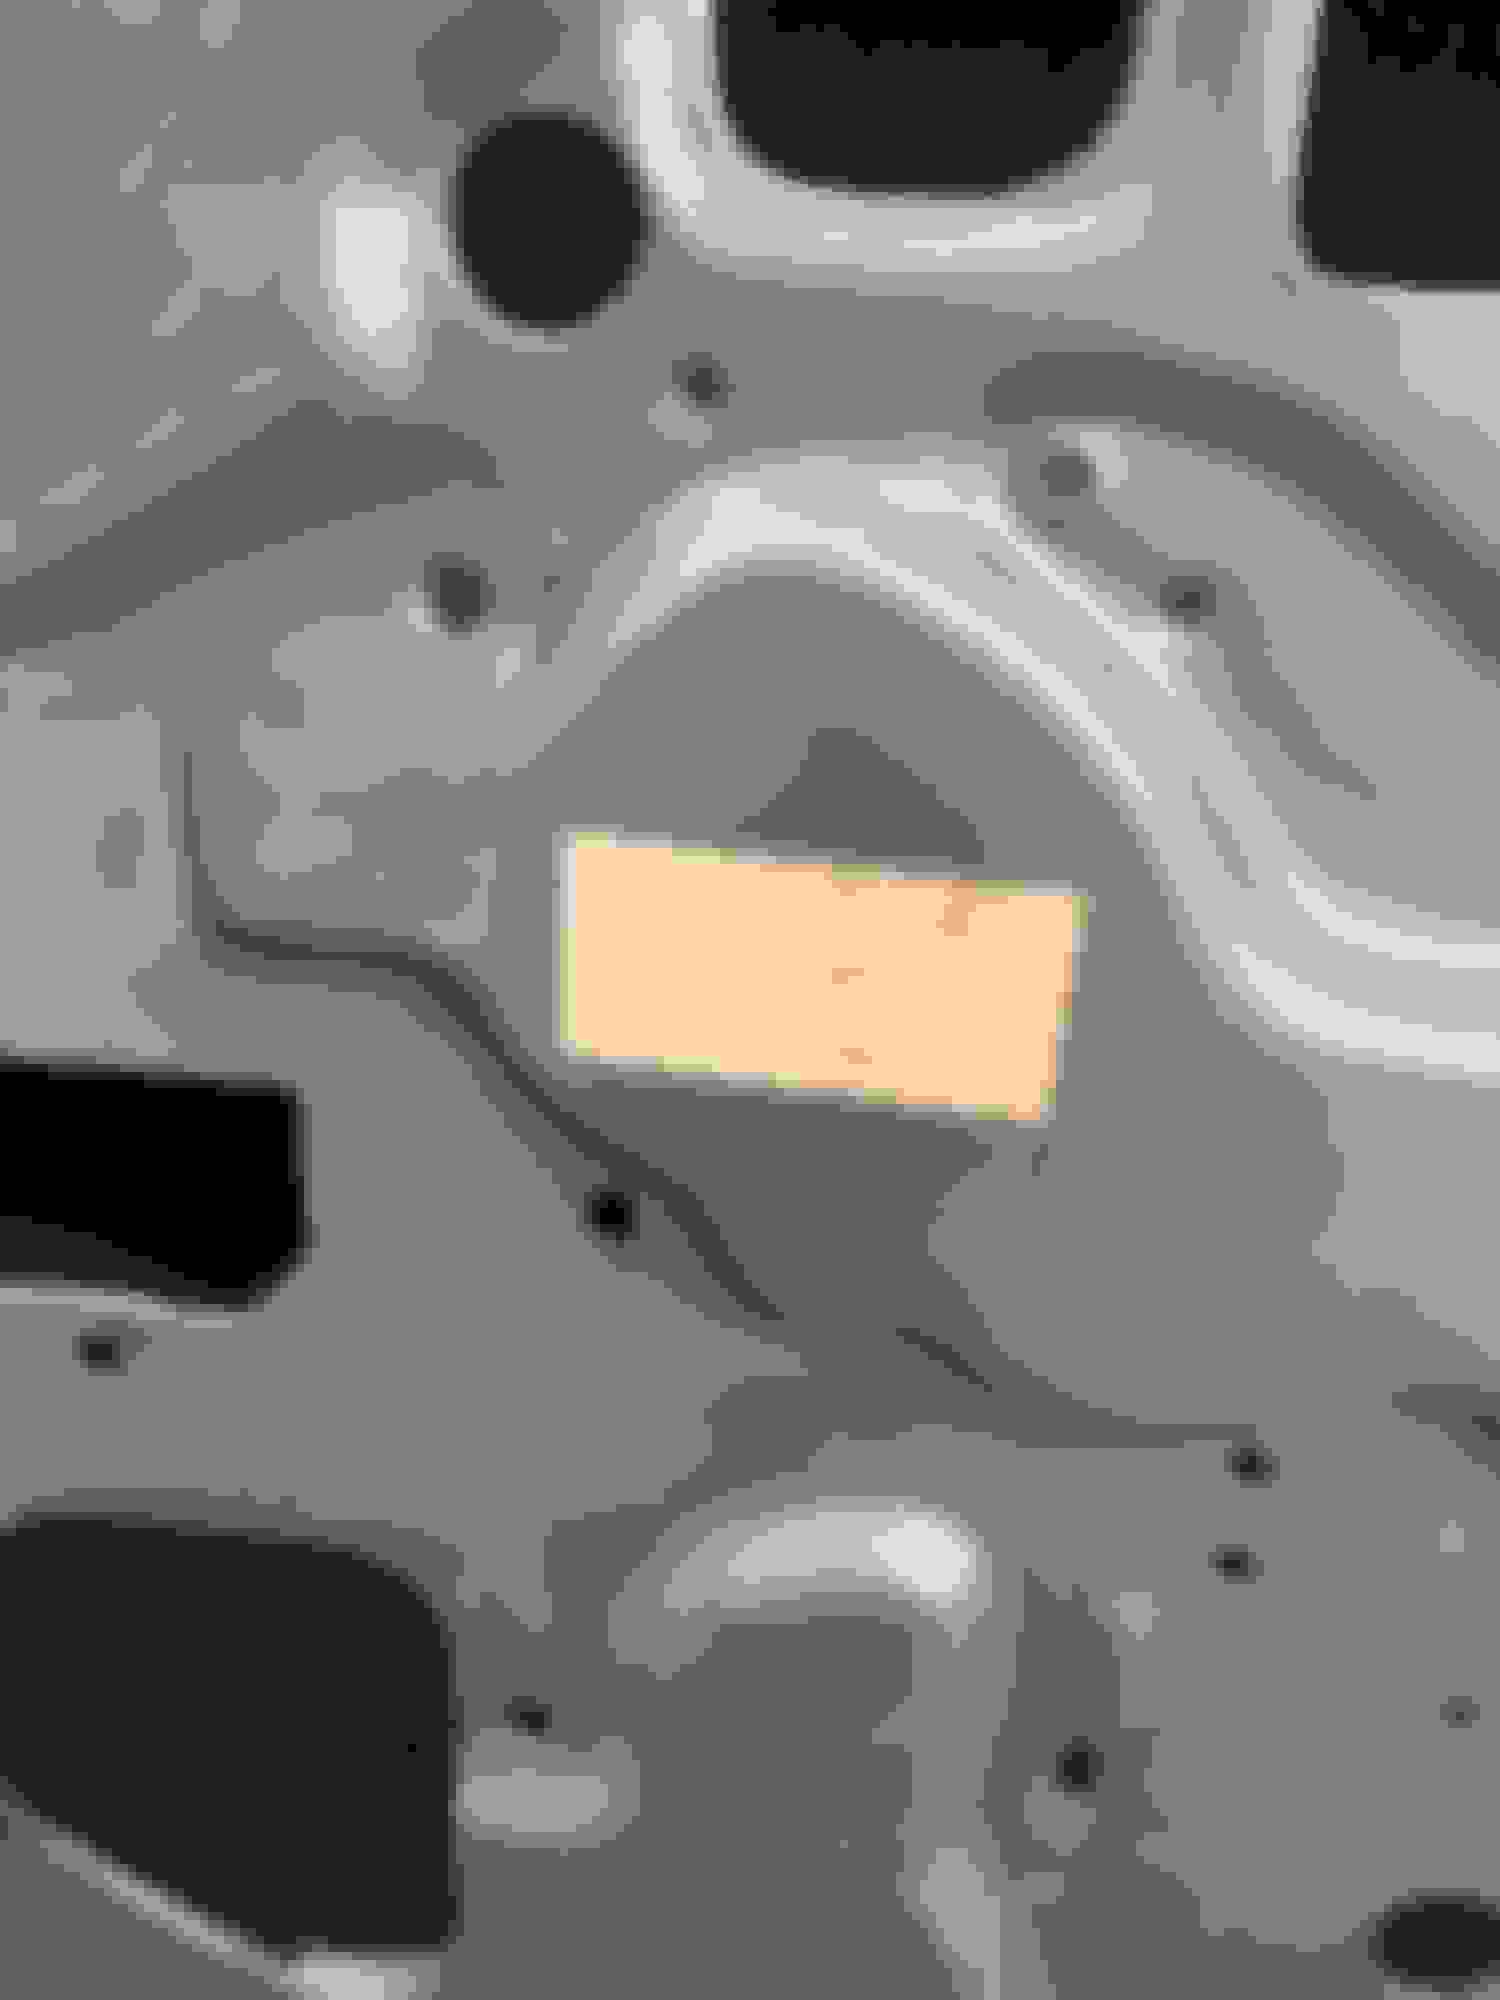
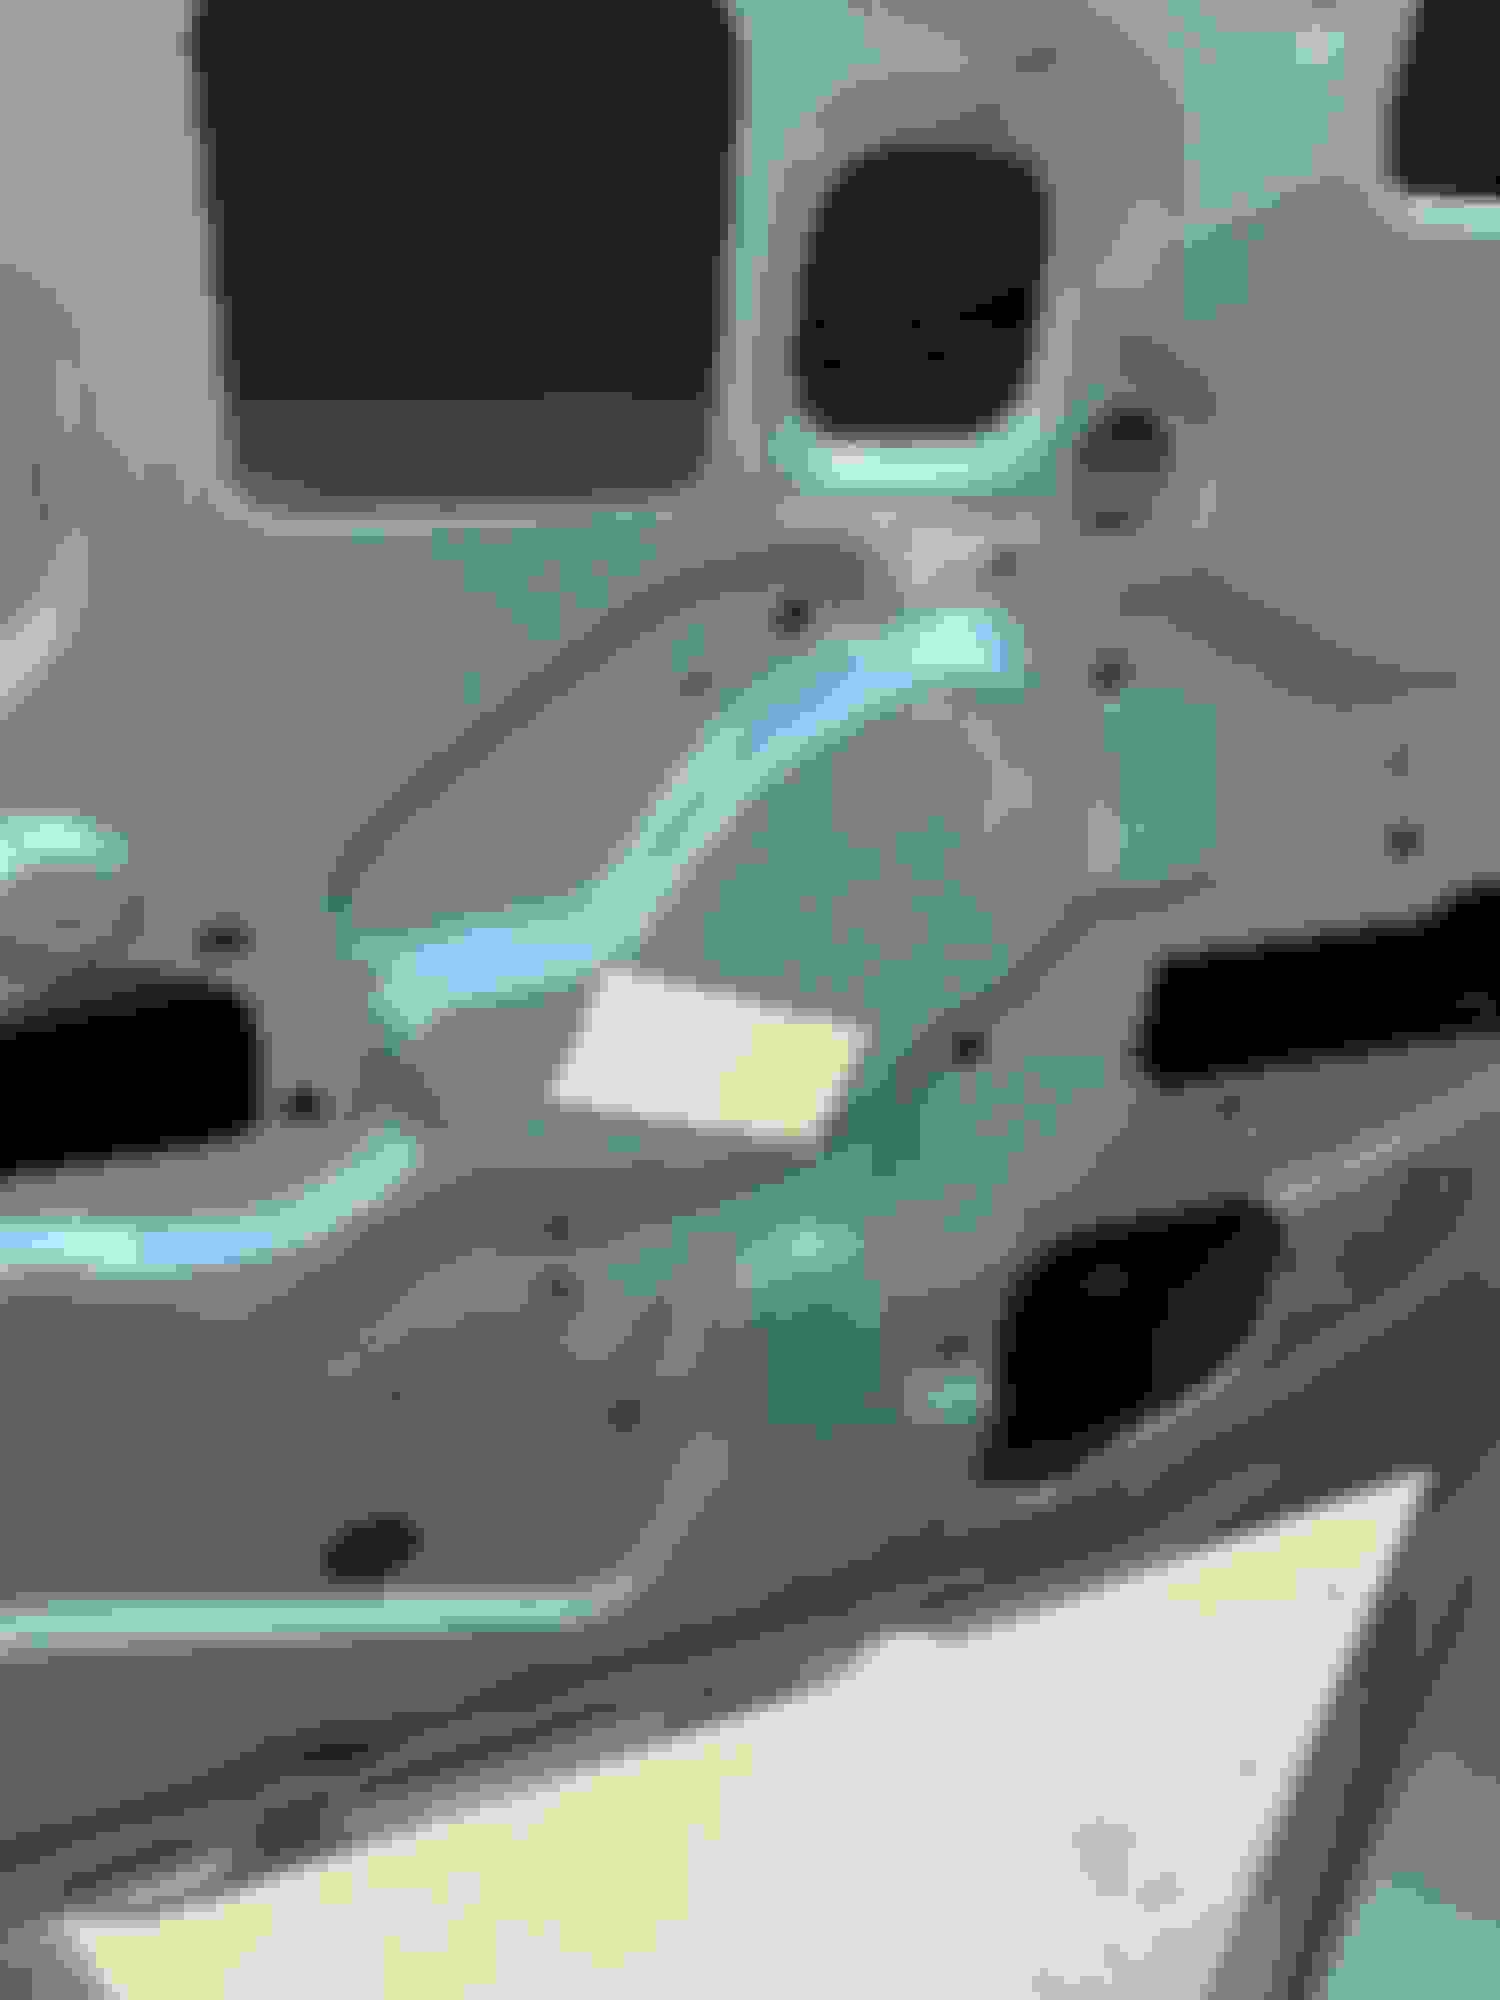
Front door forward/rear adjustment nuts with the slots Third front/rear adjustment nut Rear of door upward stop Front of door upward stop Front door rear upward stop at the top Front of door upward stop Front of door bottom stop Rear of front door bottom stop
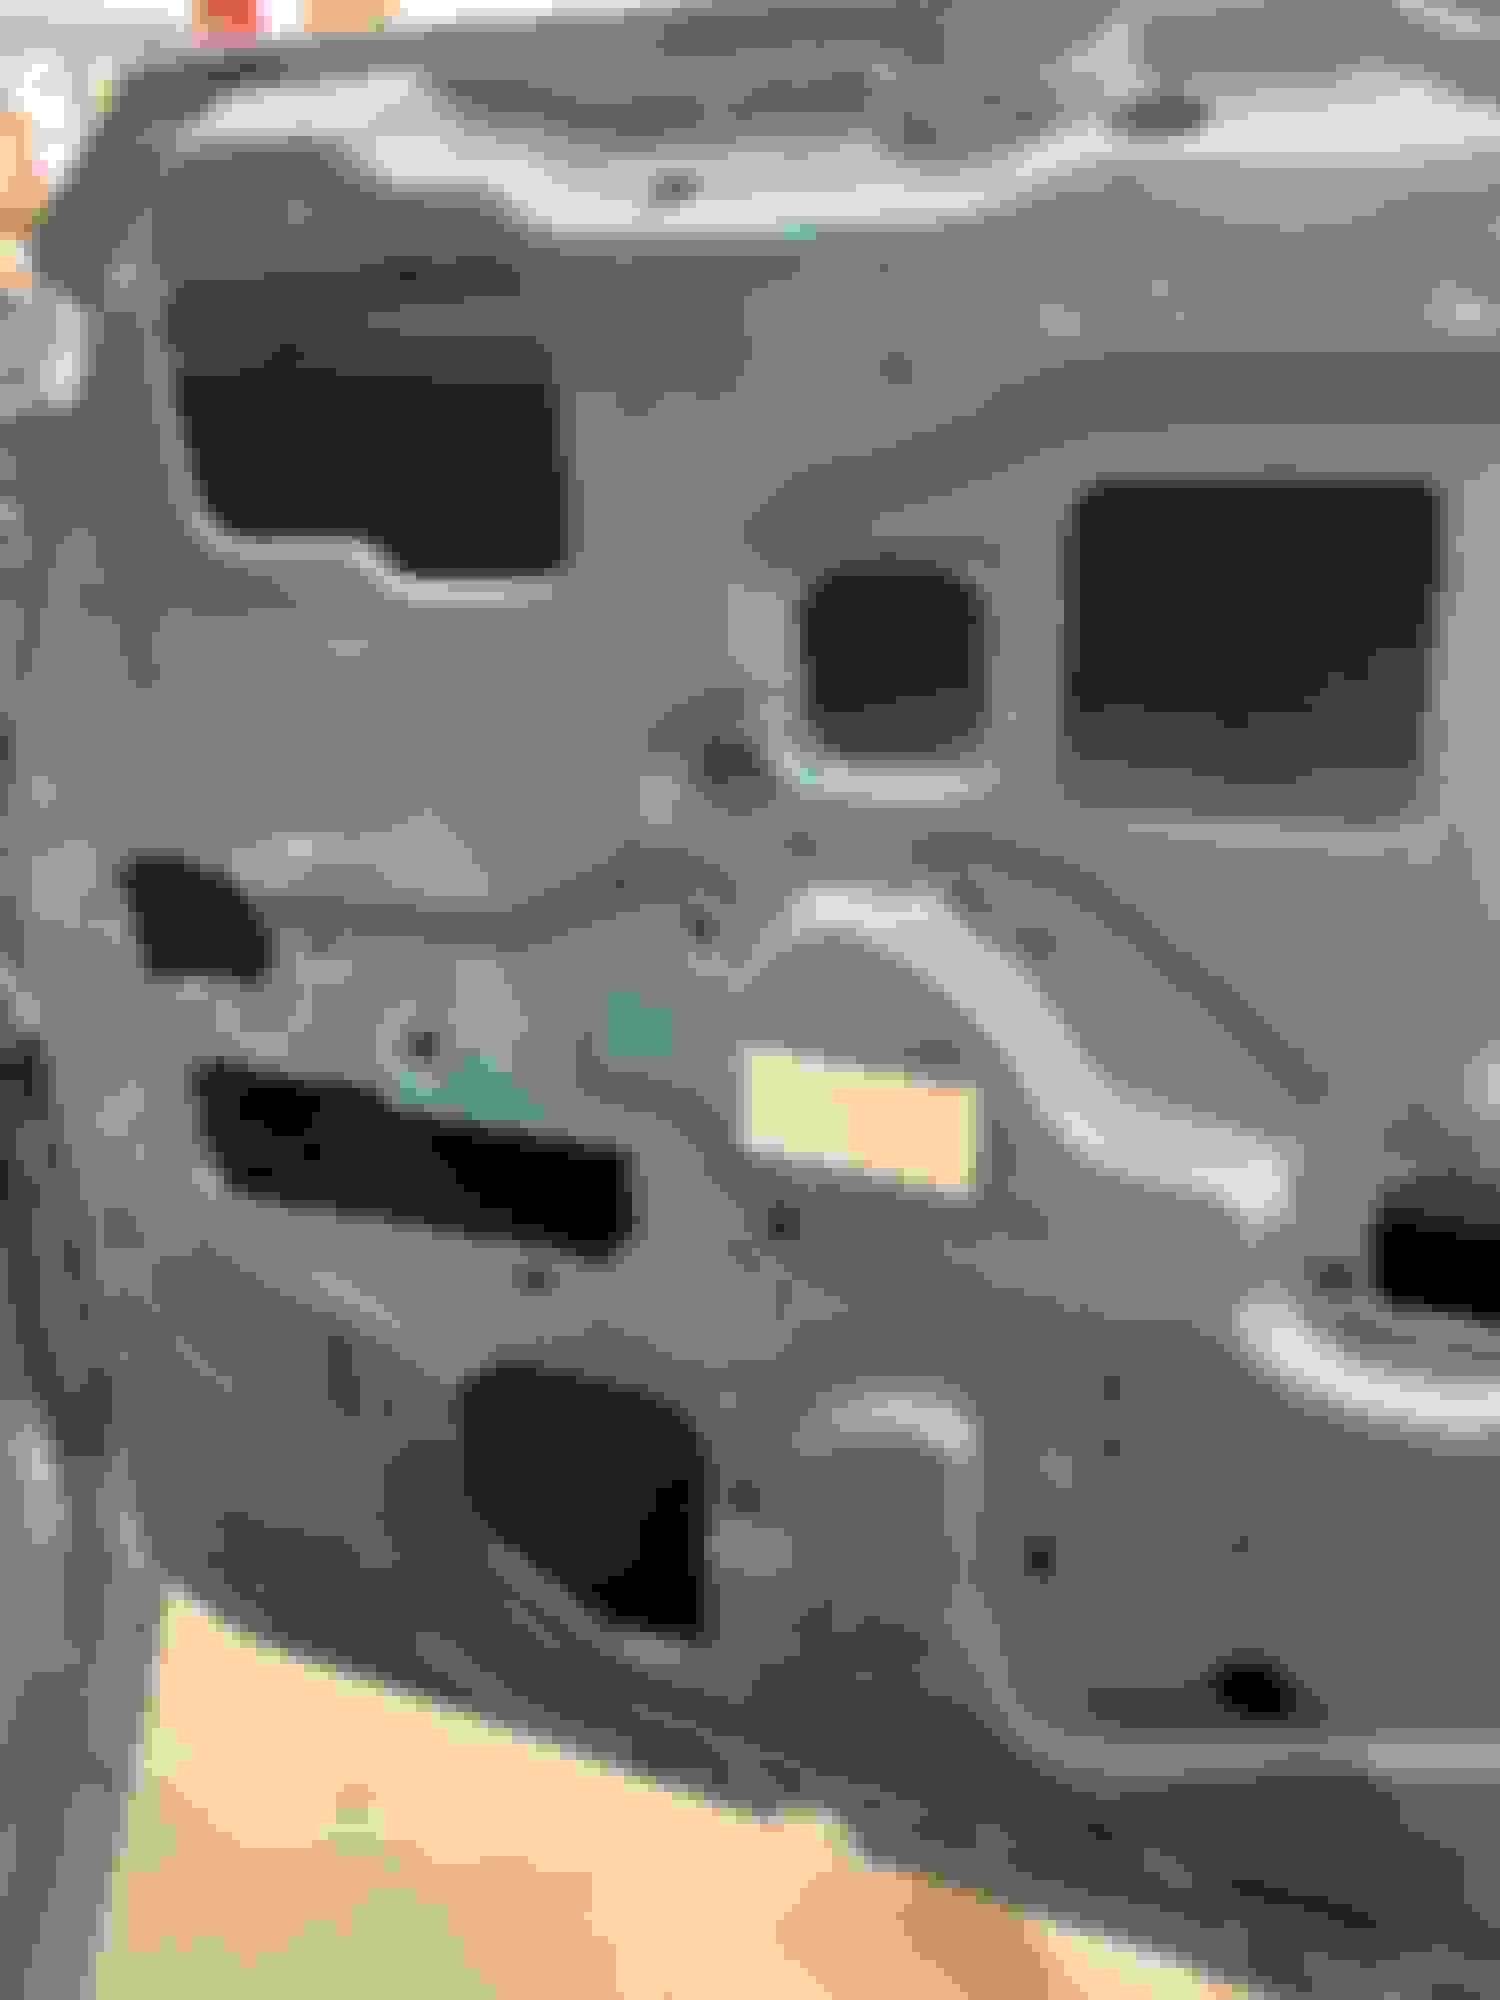
One of two quarter window adjustment bolts Other quarter window adjustment. These will allow up and down/forward back adjustment of quarter window. Quarter window bottom track mount, adjust to change angle of window edge where it meets front window. Inner bottom adjustment for in and out adjustment of glass Upper stop for rear window Upper stop Upper stop from inside
Last edited by scrappie; September 7th, 2022 at 02:51 AM.
Scrappie is correct, there are more than a few ways to adjust windows. In my case, I adjusted the quarter window first, then worked with the big window since these have more adjustment as compared to the quarter. We pretty much came up with the same results. The bottom line is that it takes a bit of tenacity to achieve results.
I also do the rear quarter first. Then the front to align as good as I could the middle weatherstripping. Then adjust the back again and so forth. Lots of trial and error to get them right. I also think the curvature on the replacement chrome trim on the front of the quarter glass is not curved exactly like the original was.
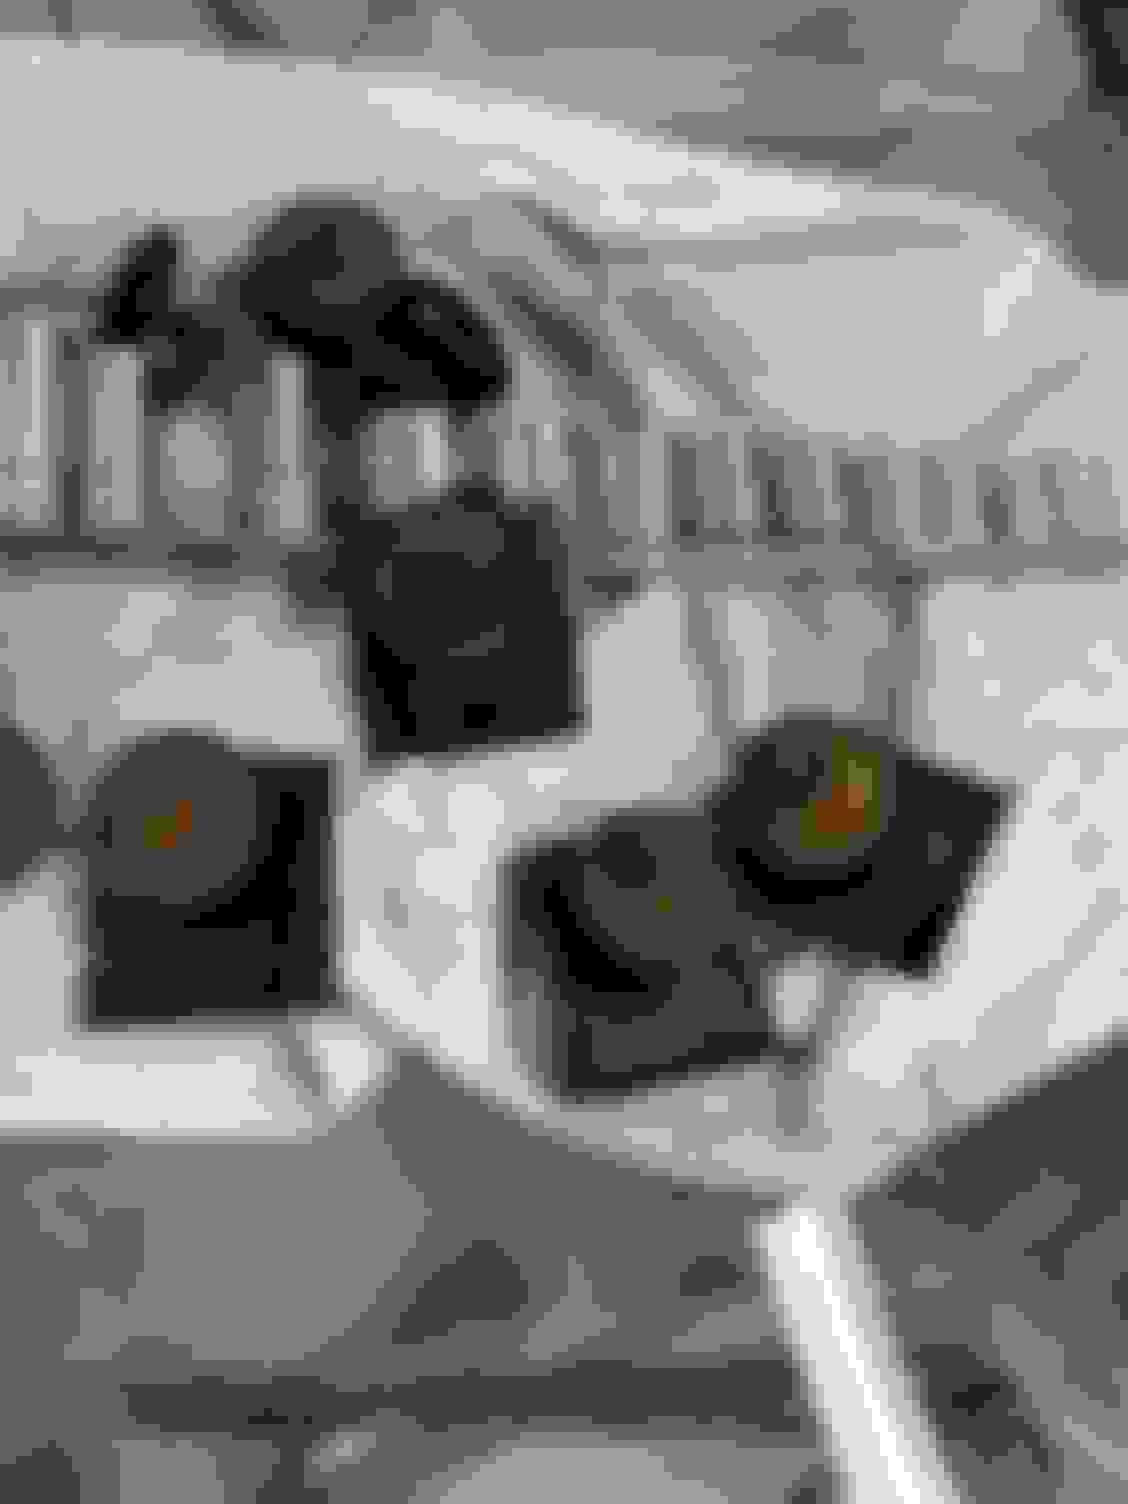
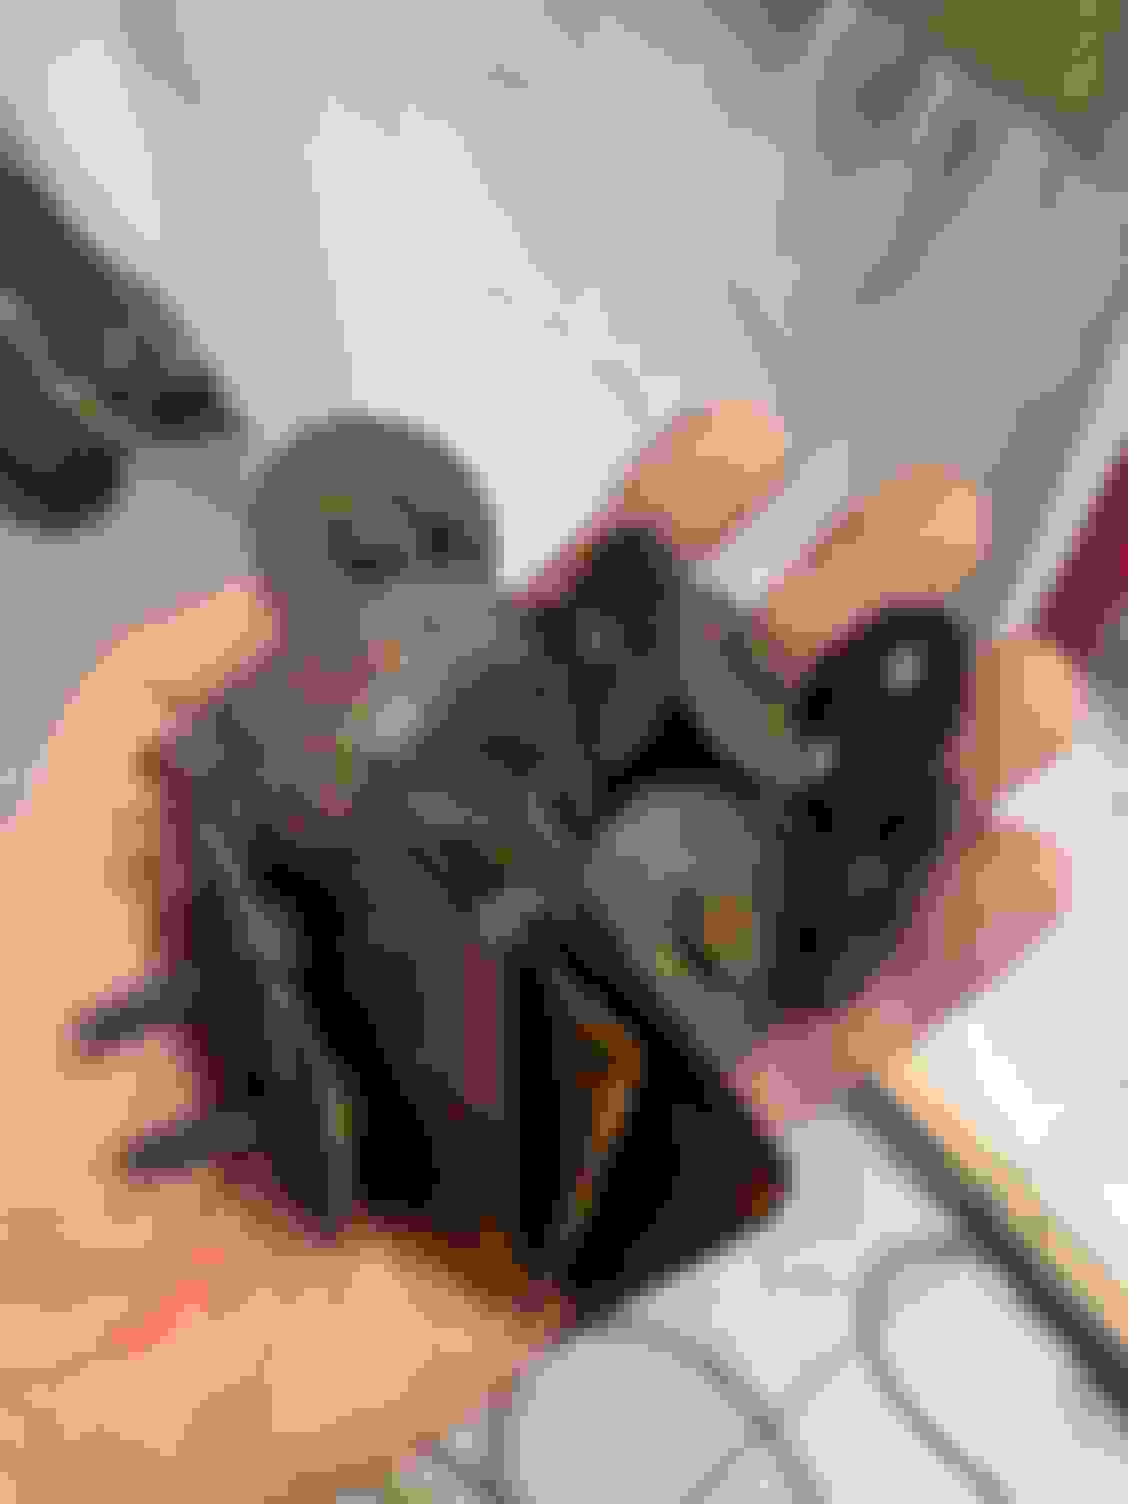
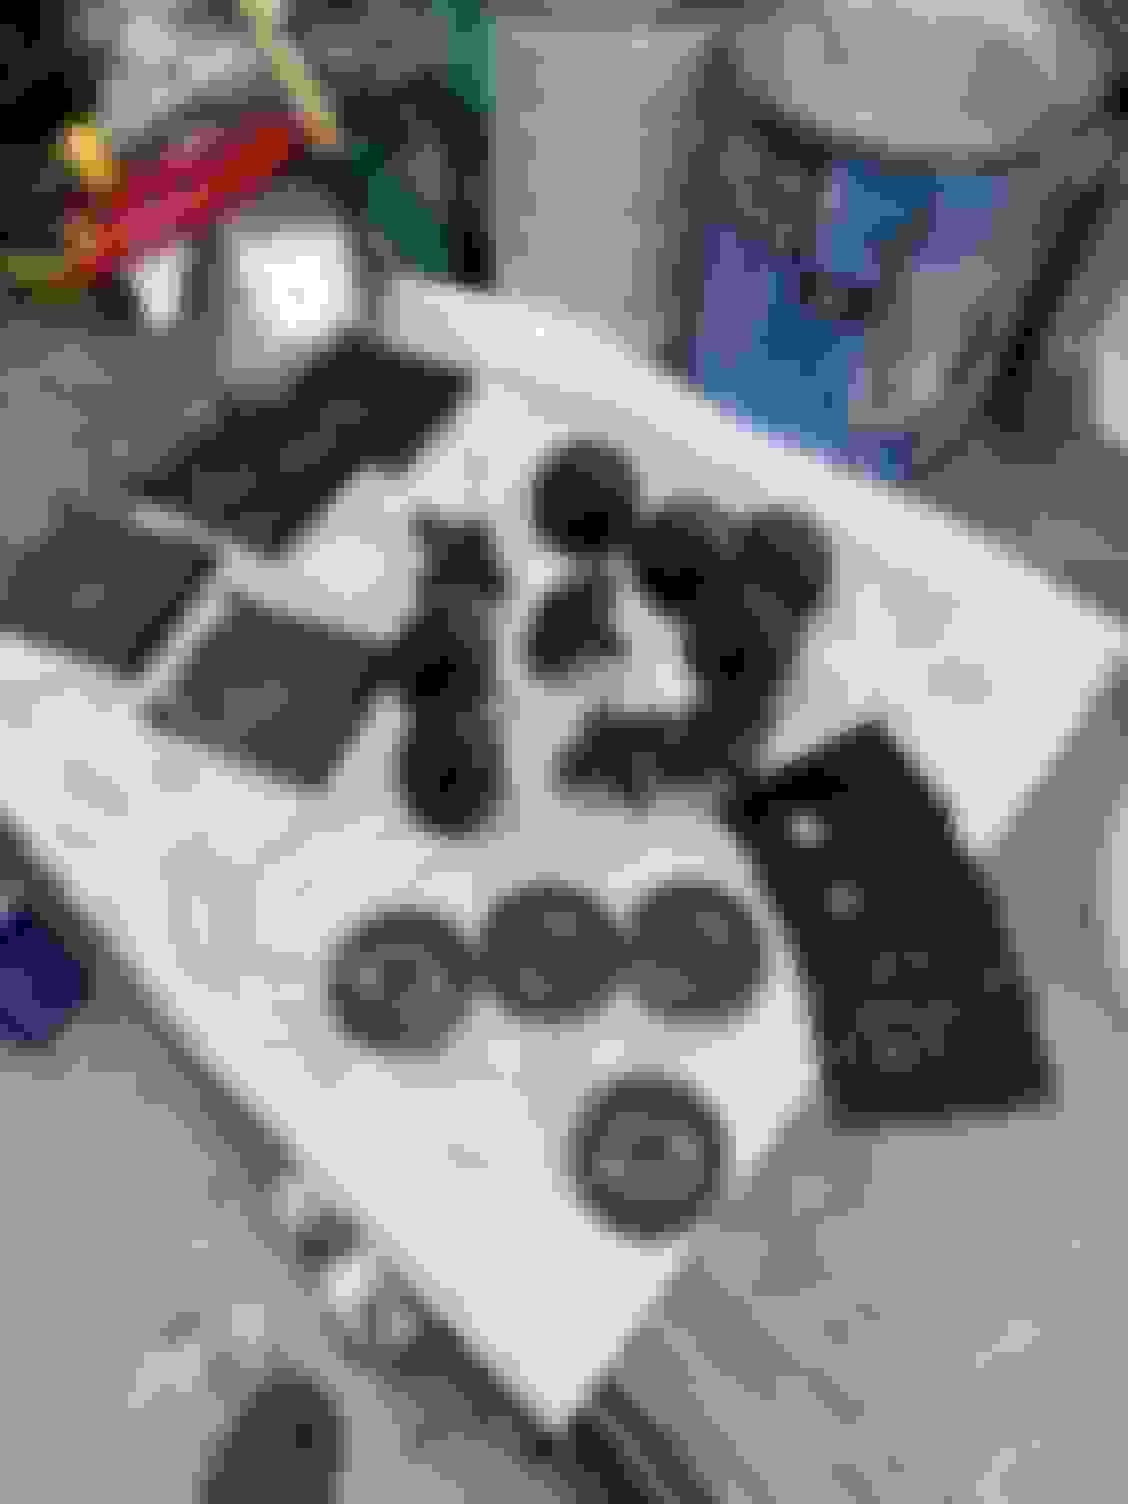
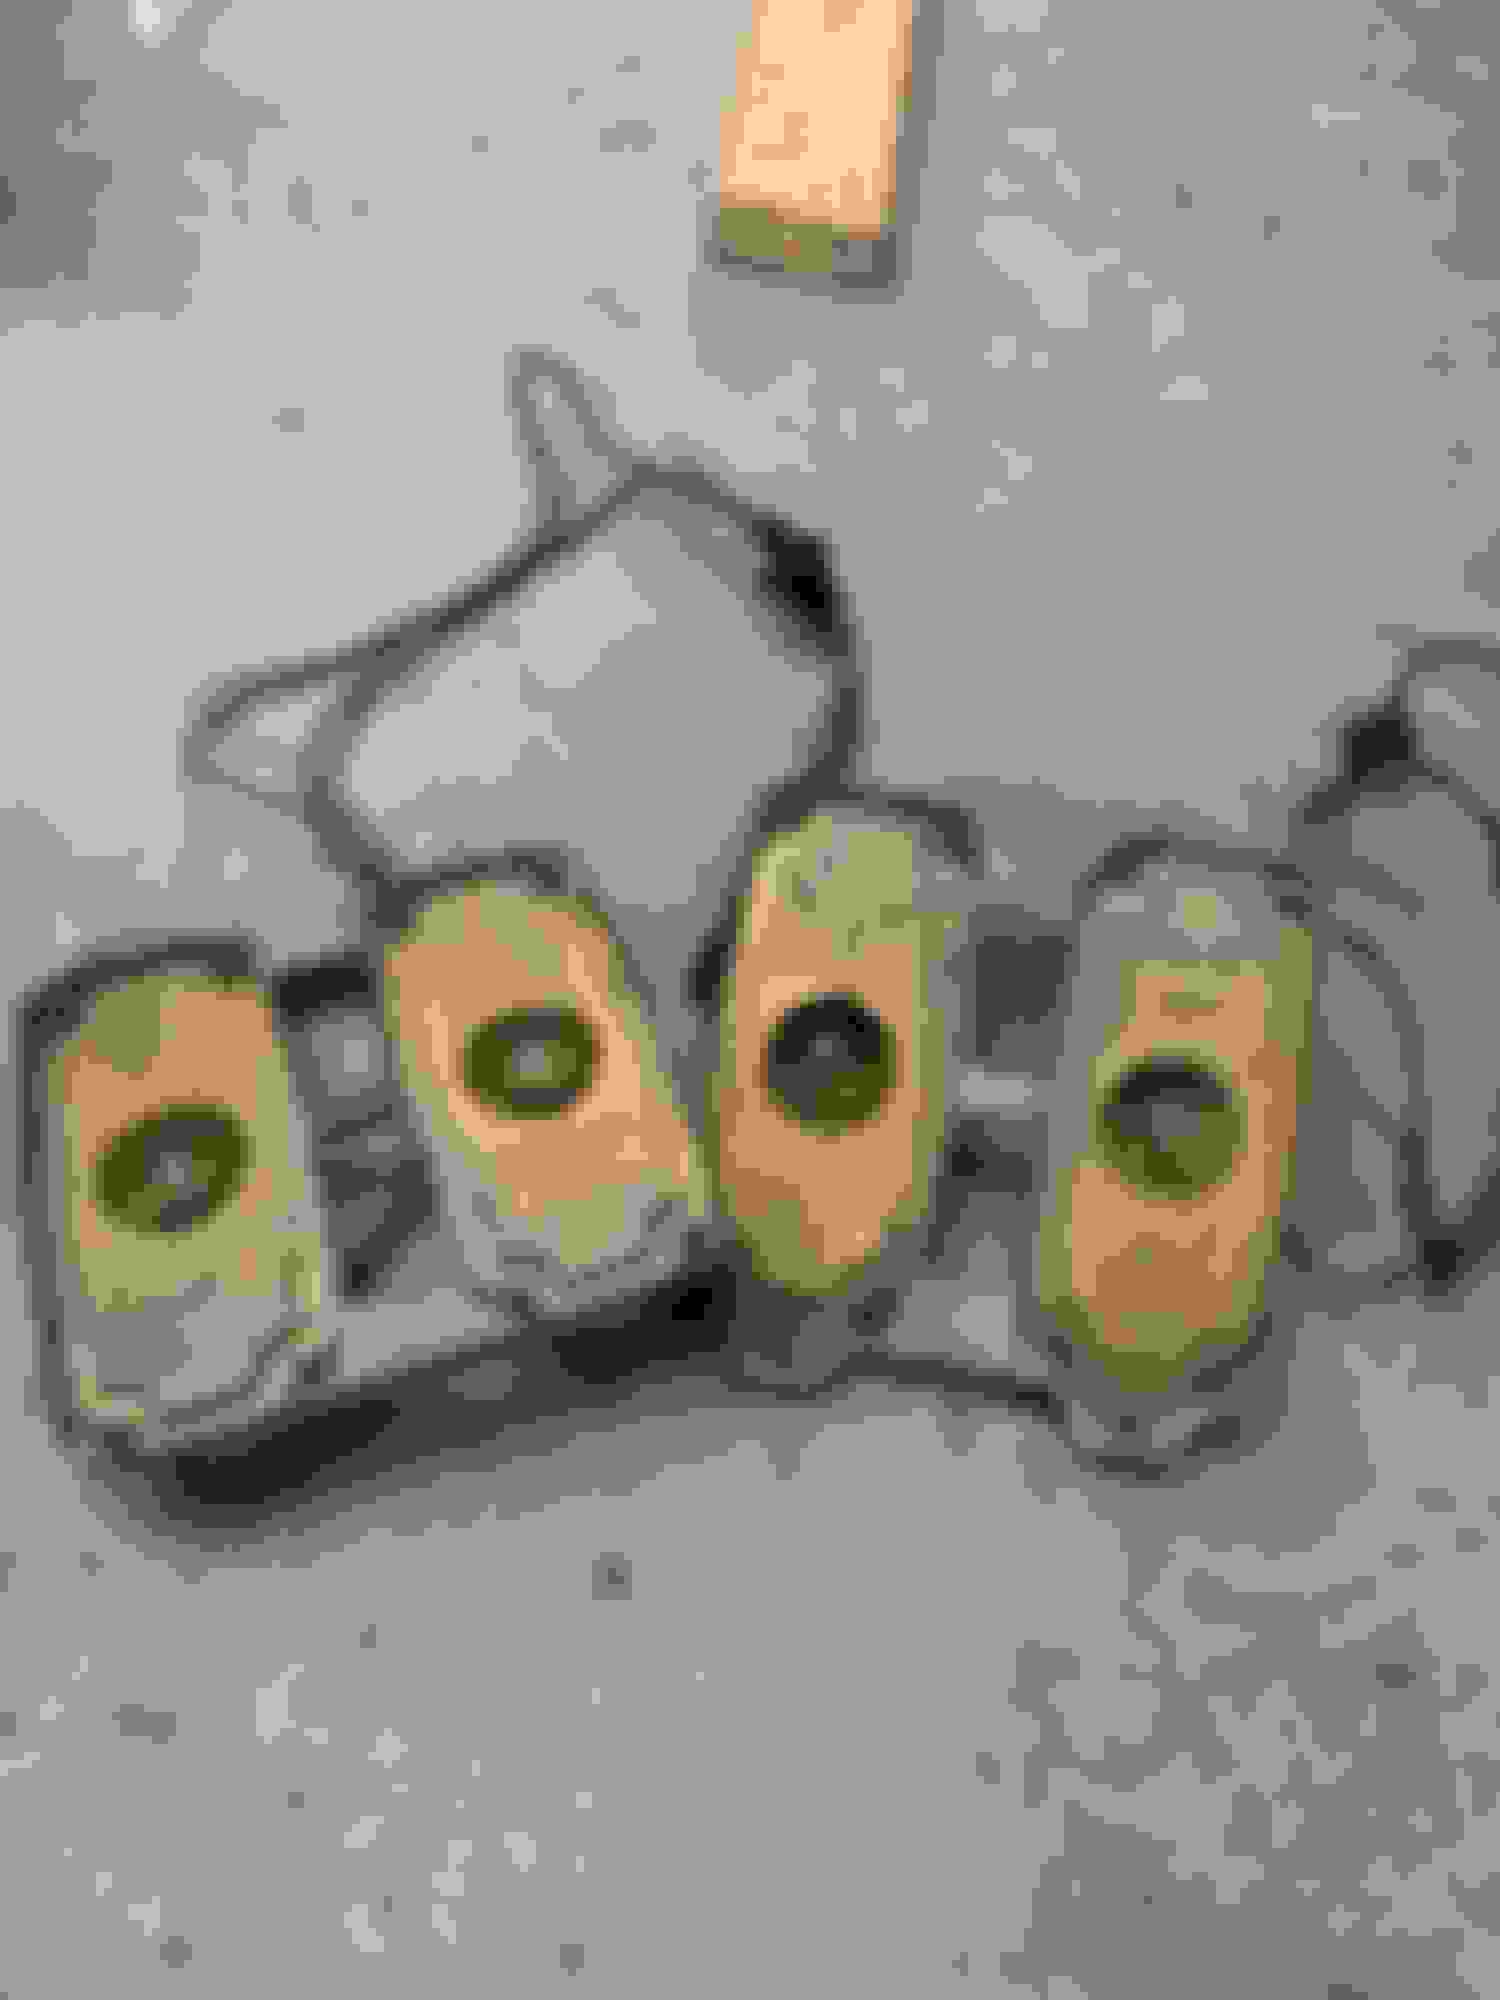
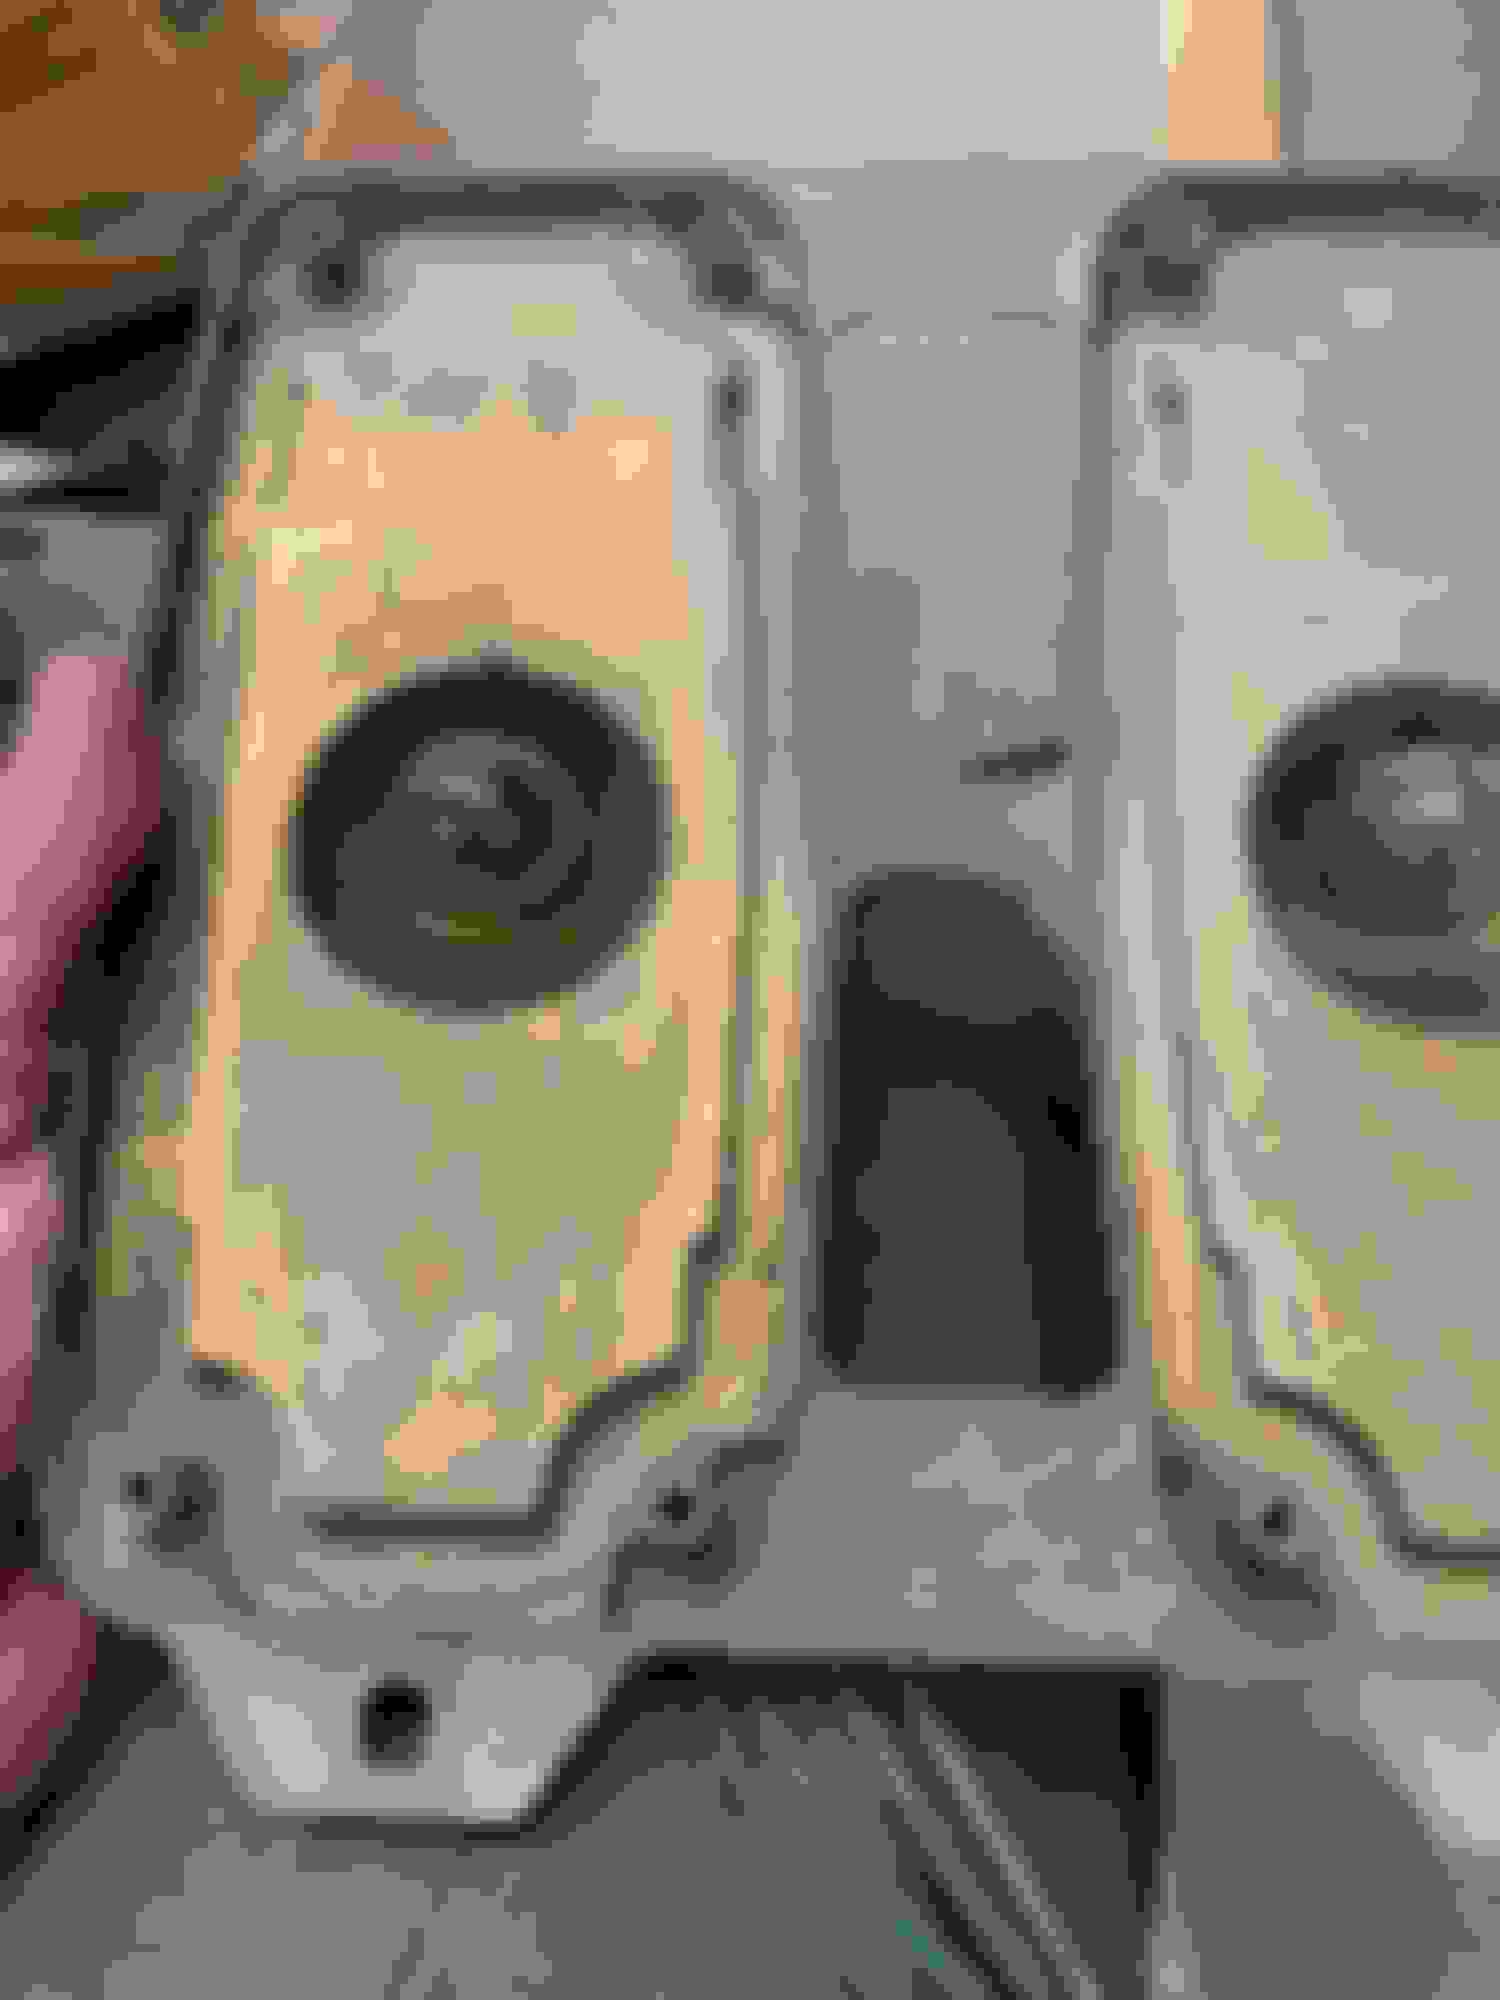
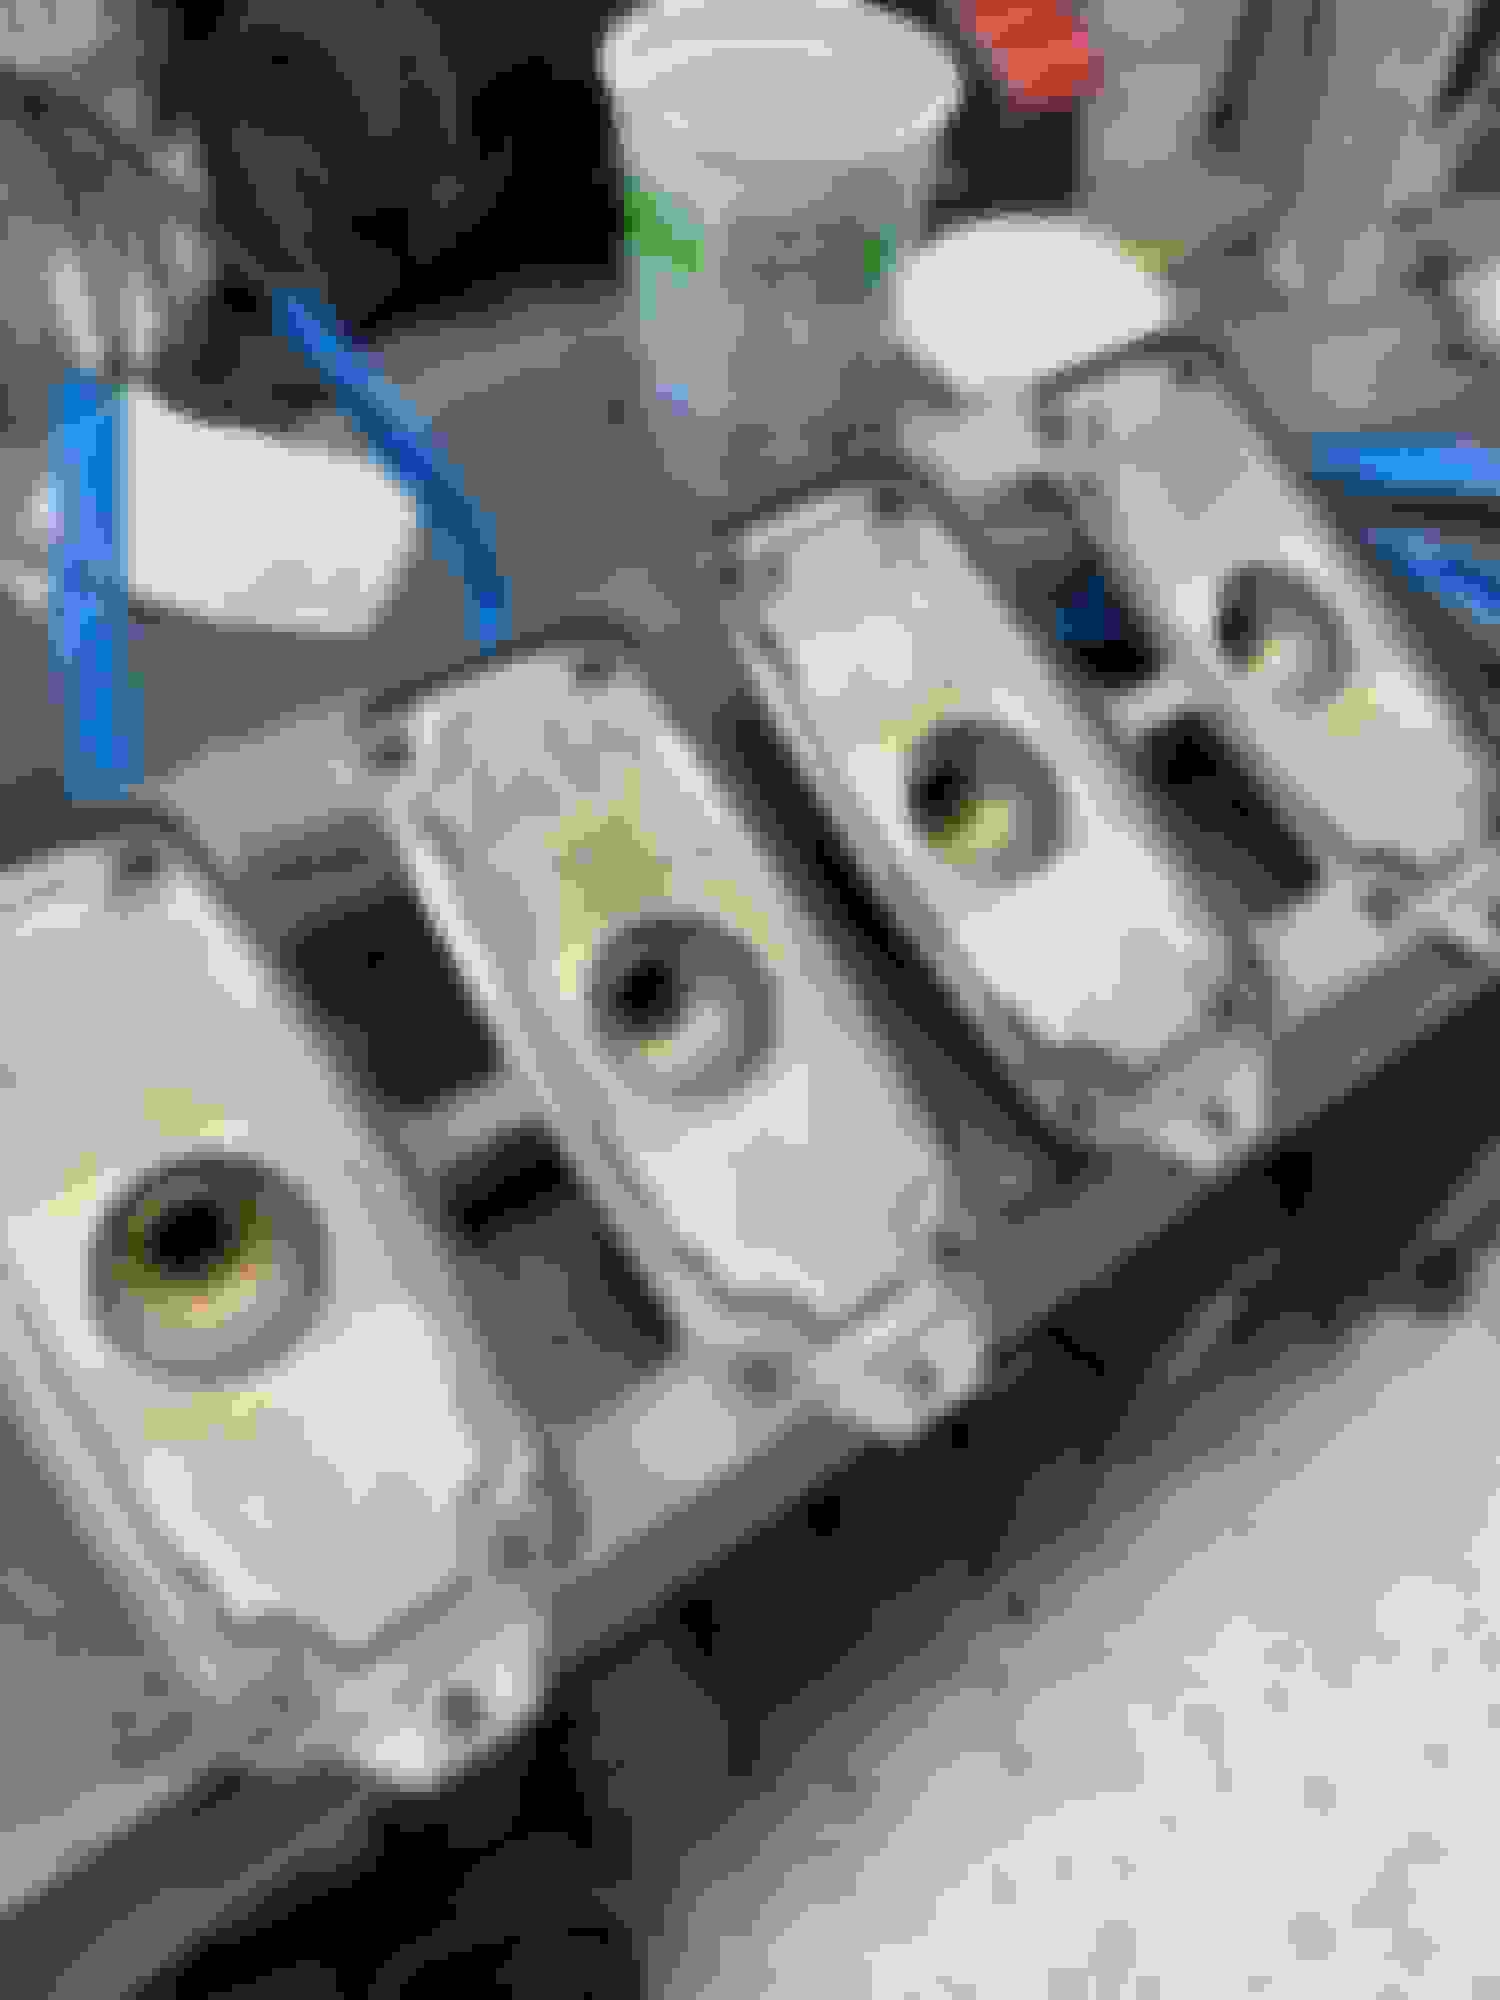
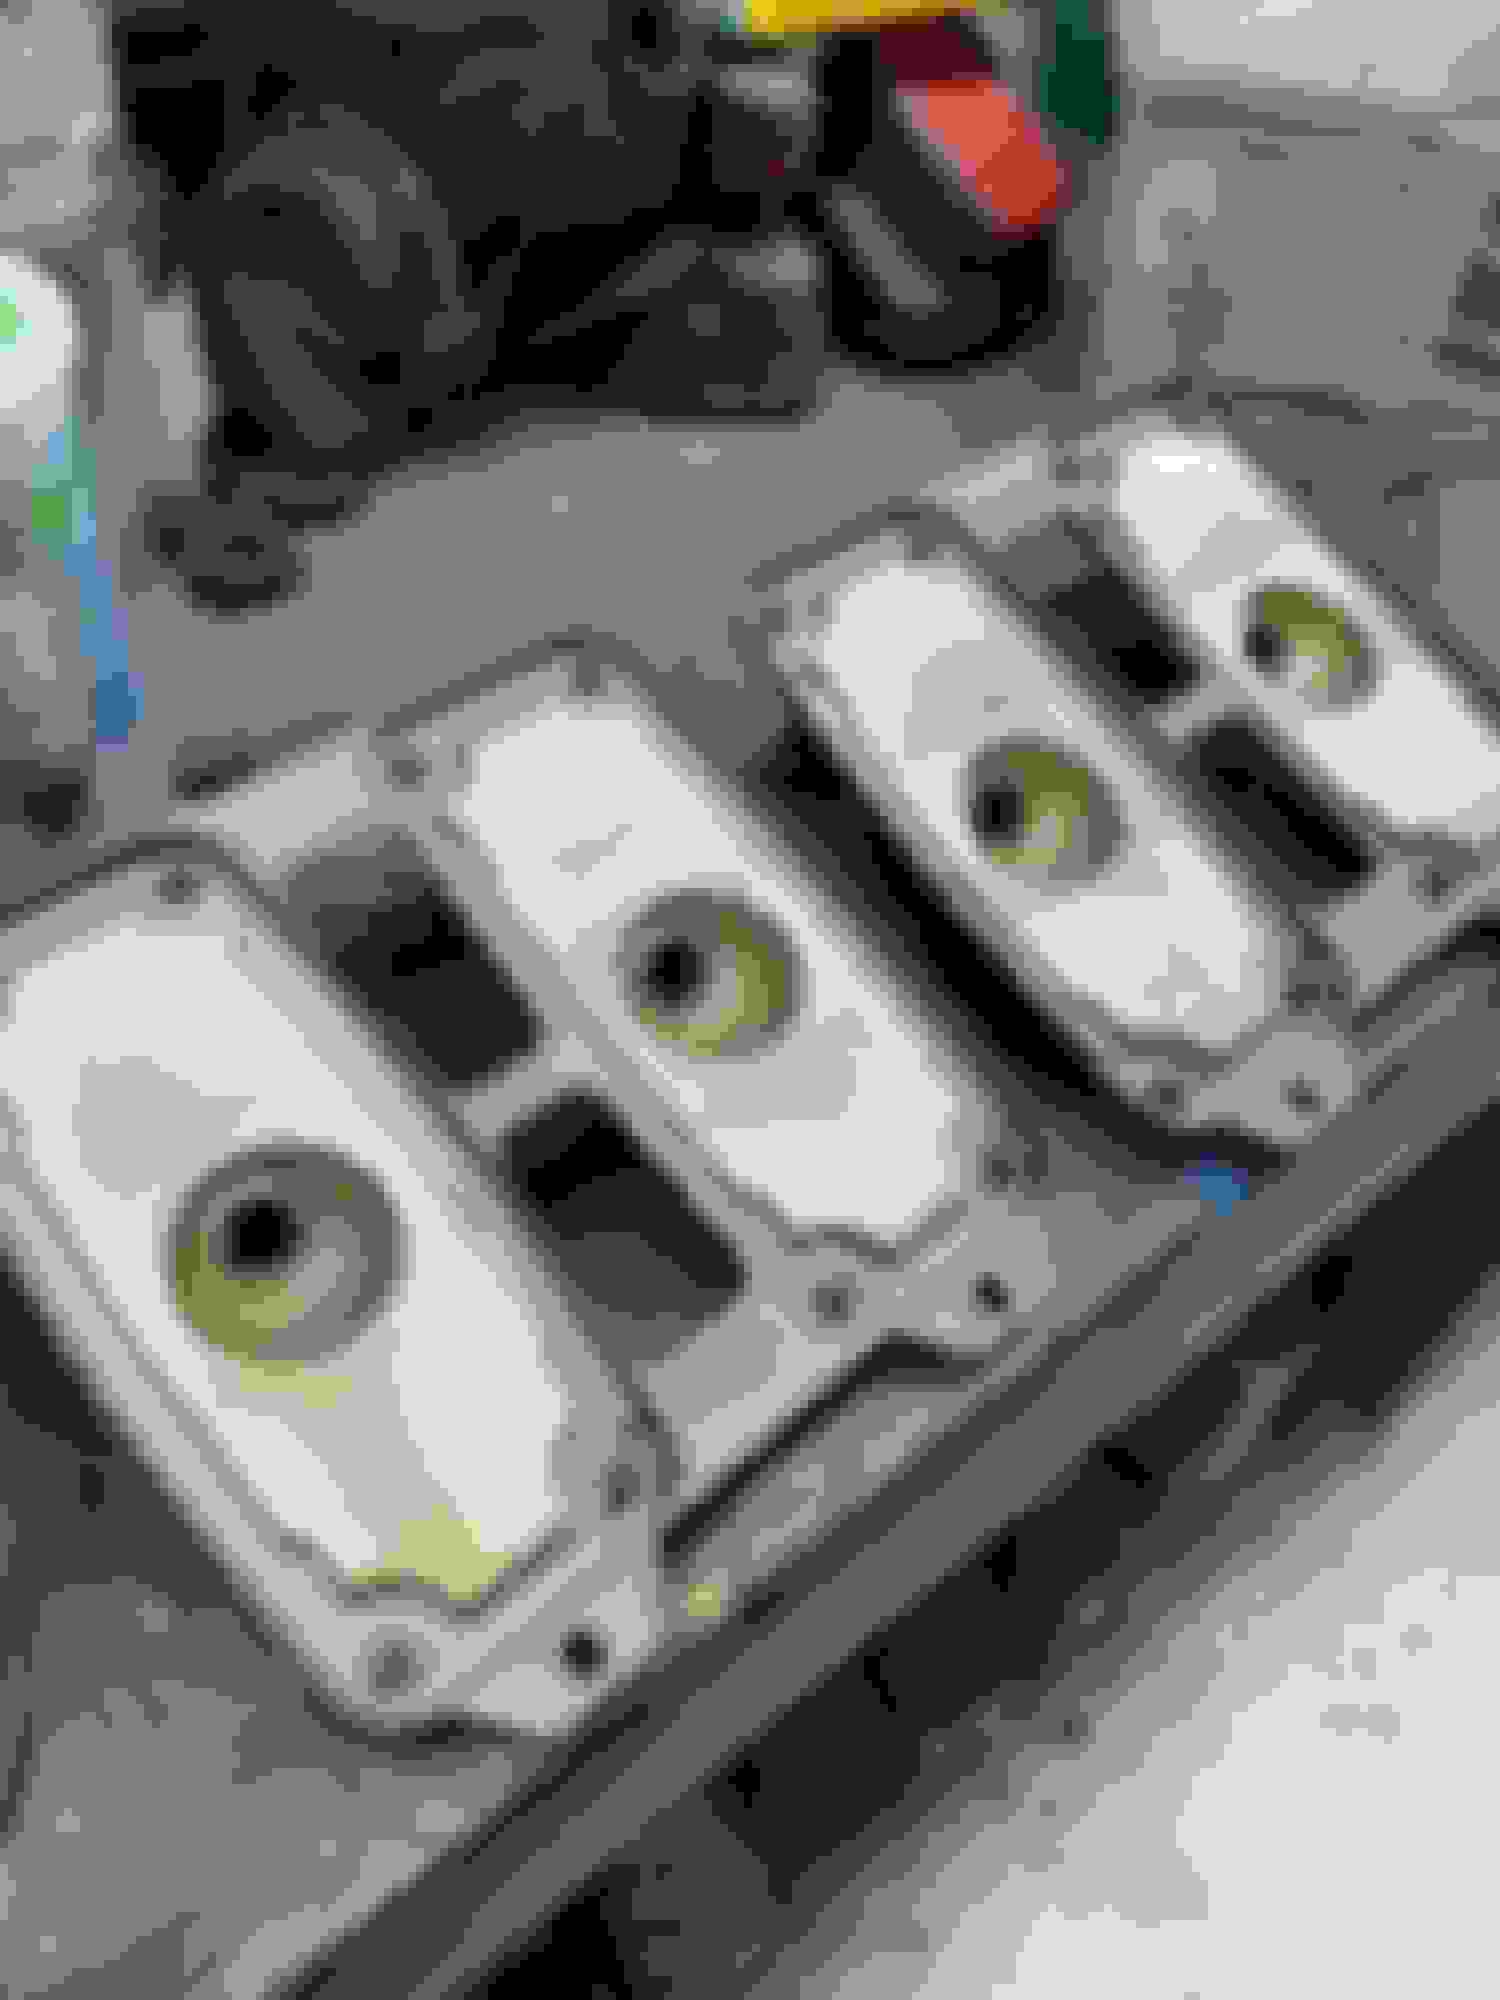
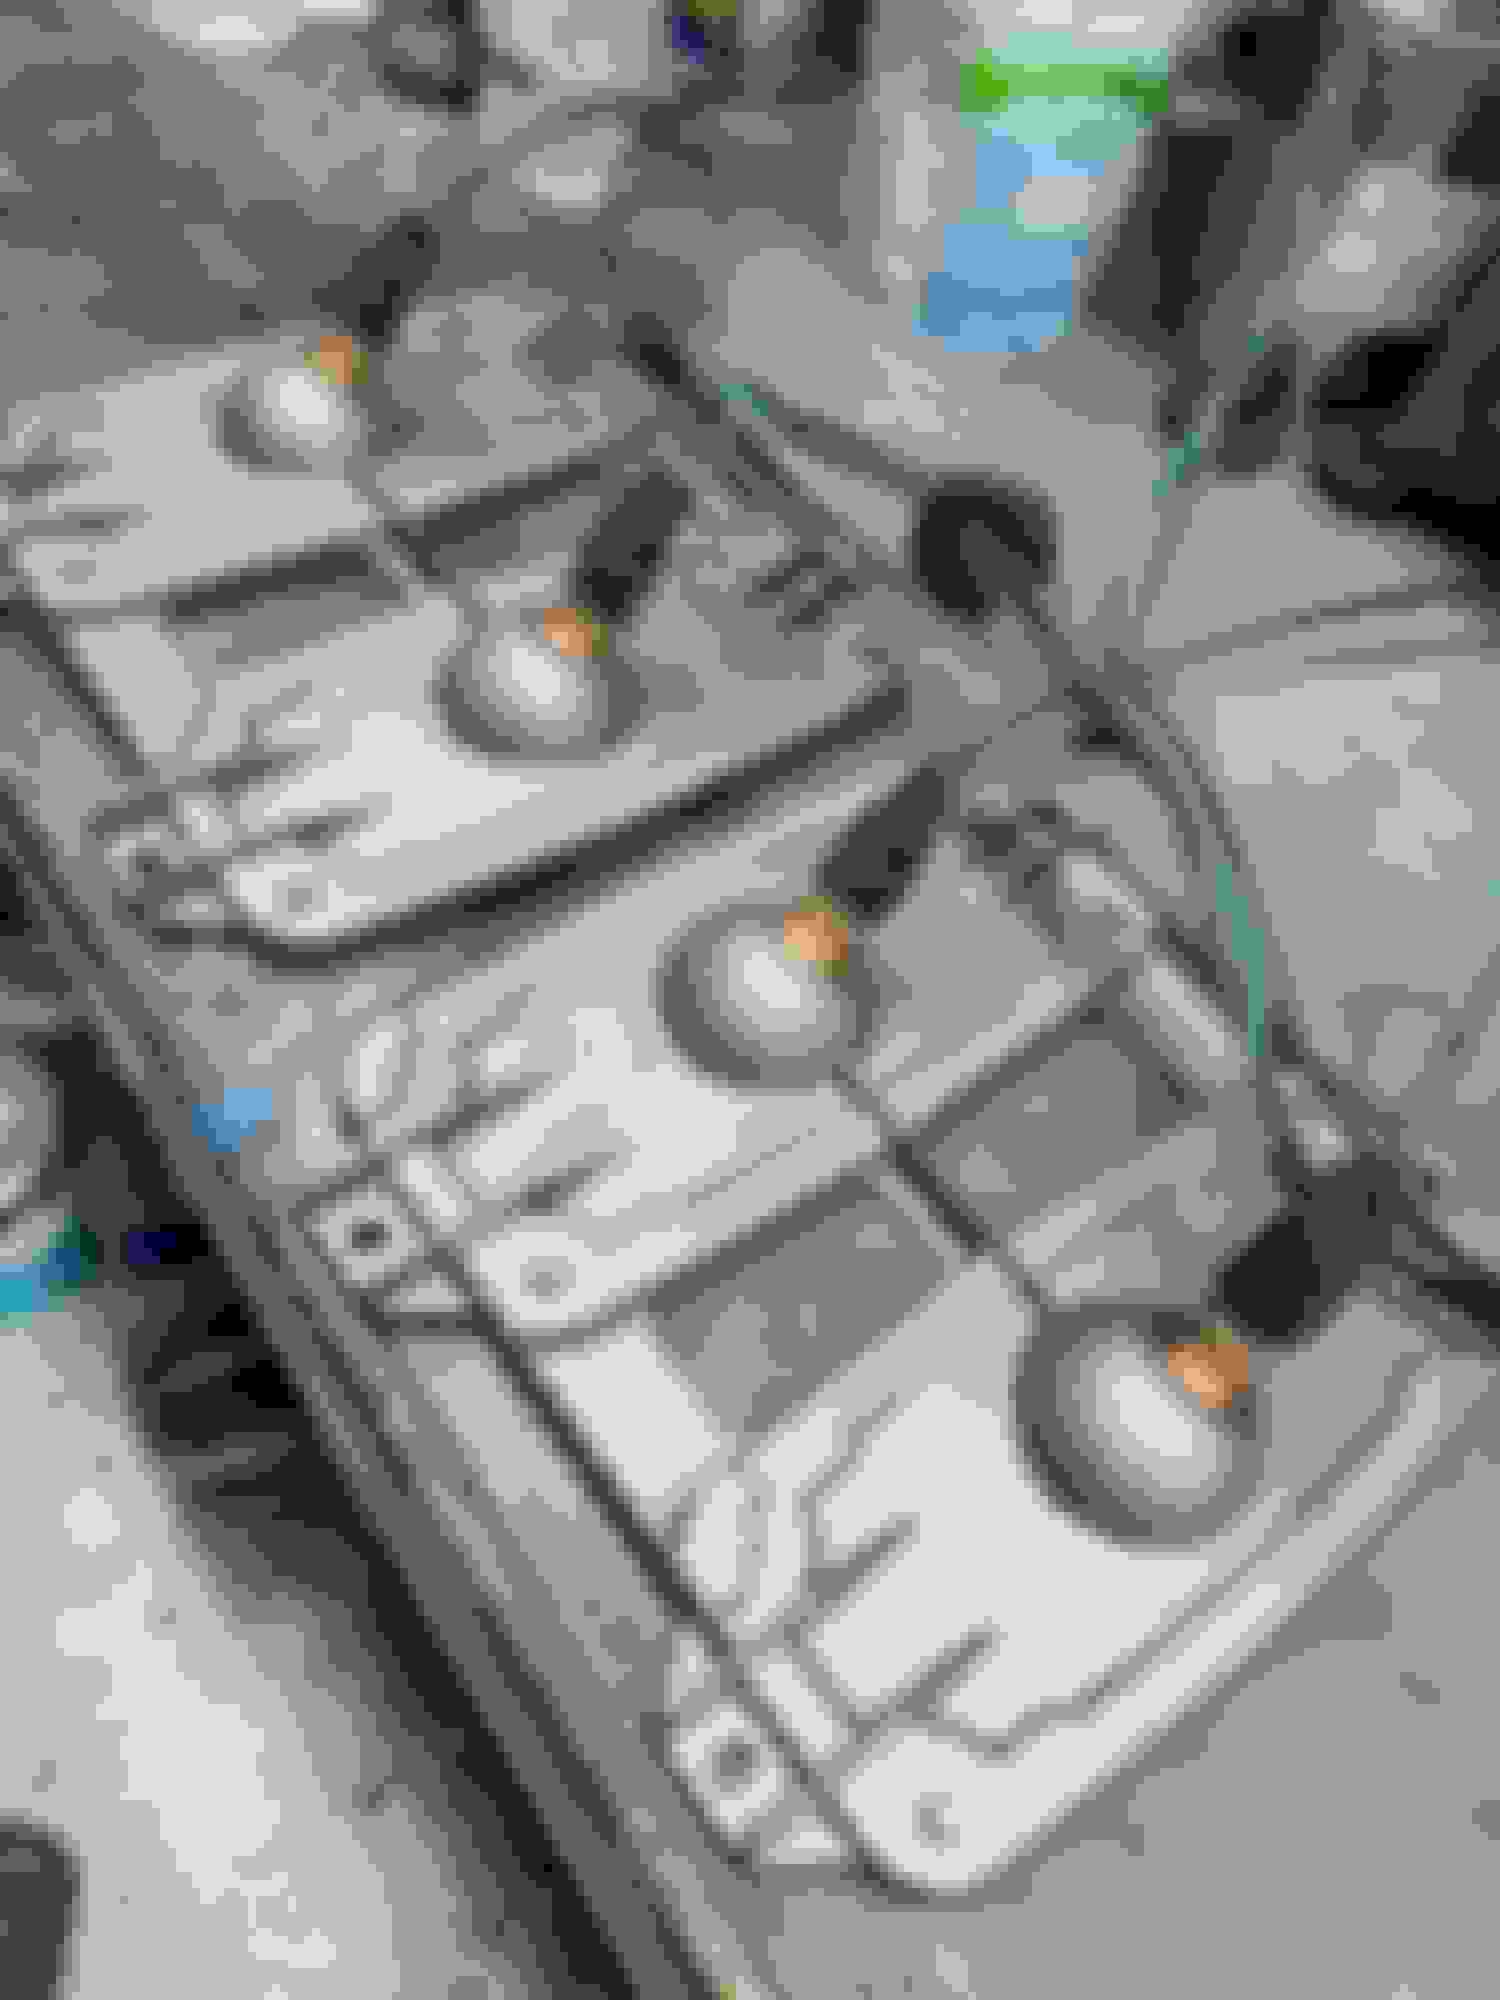
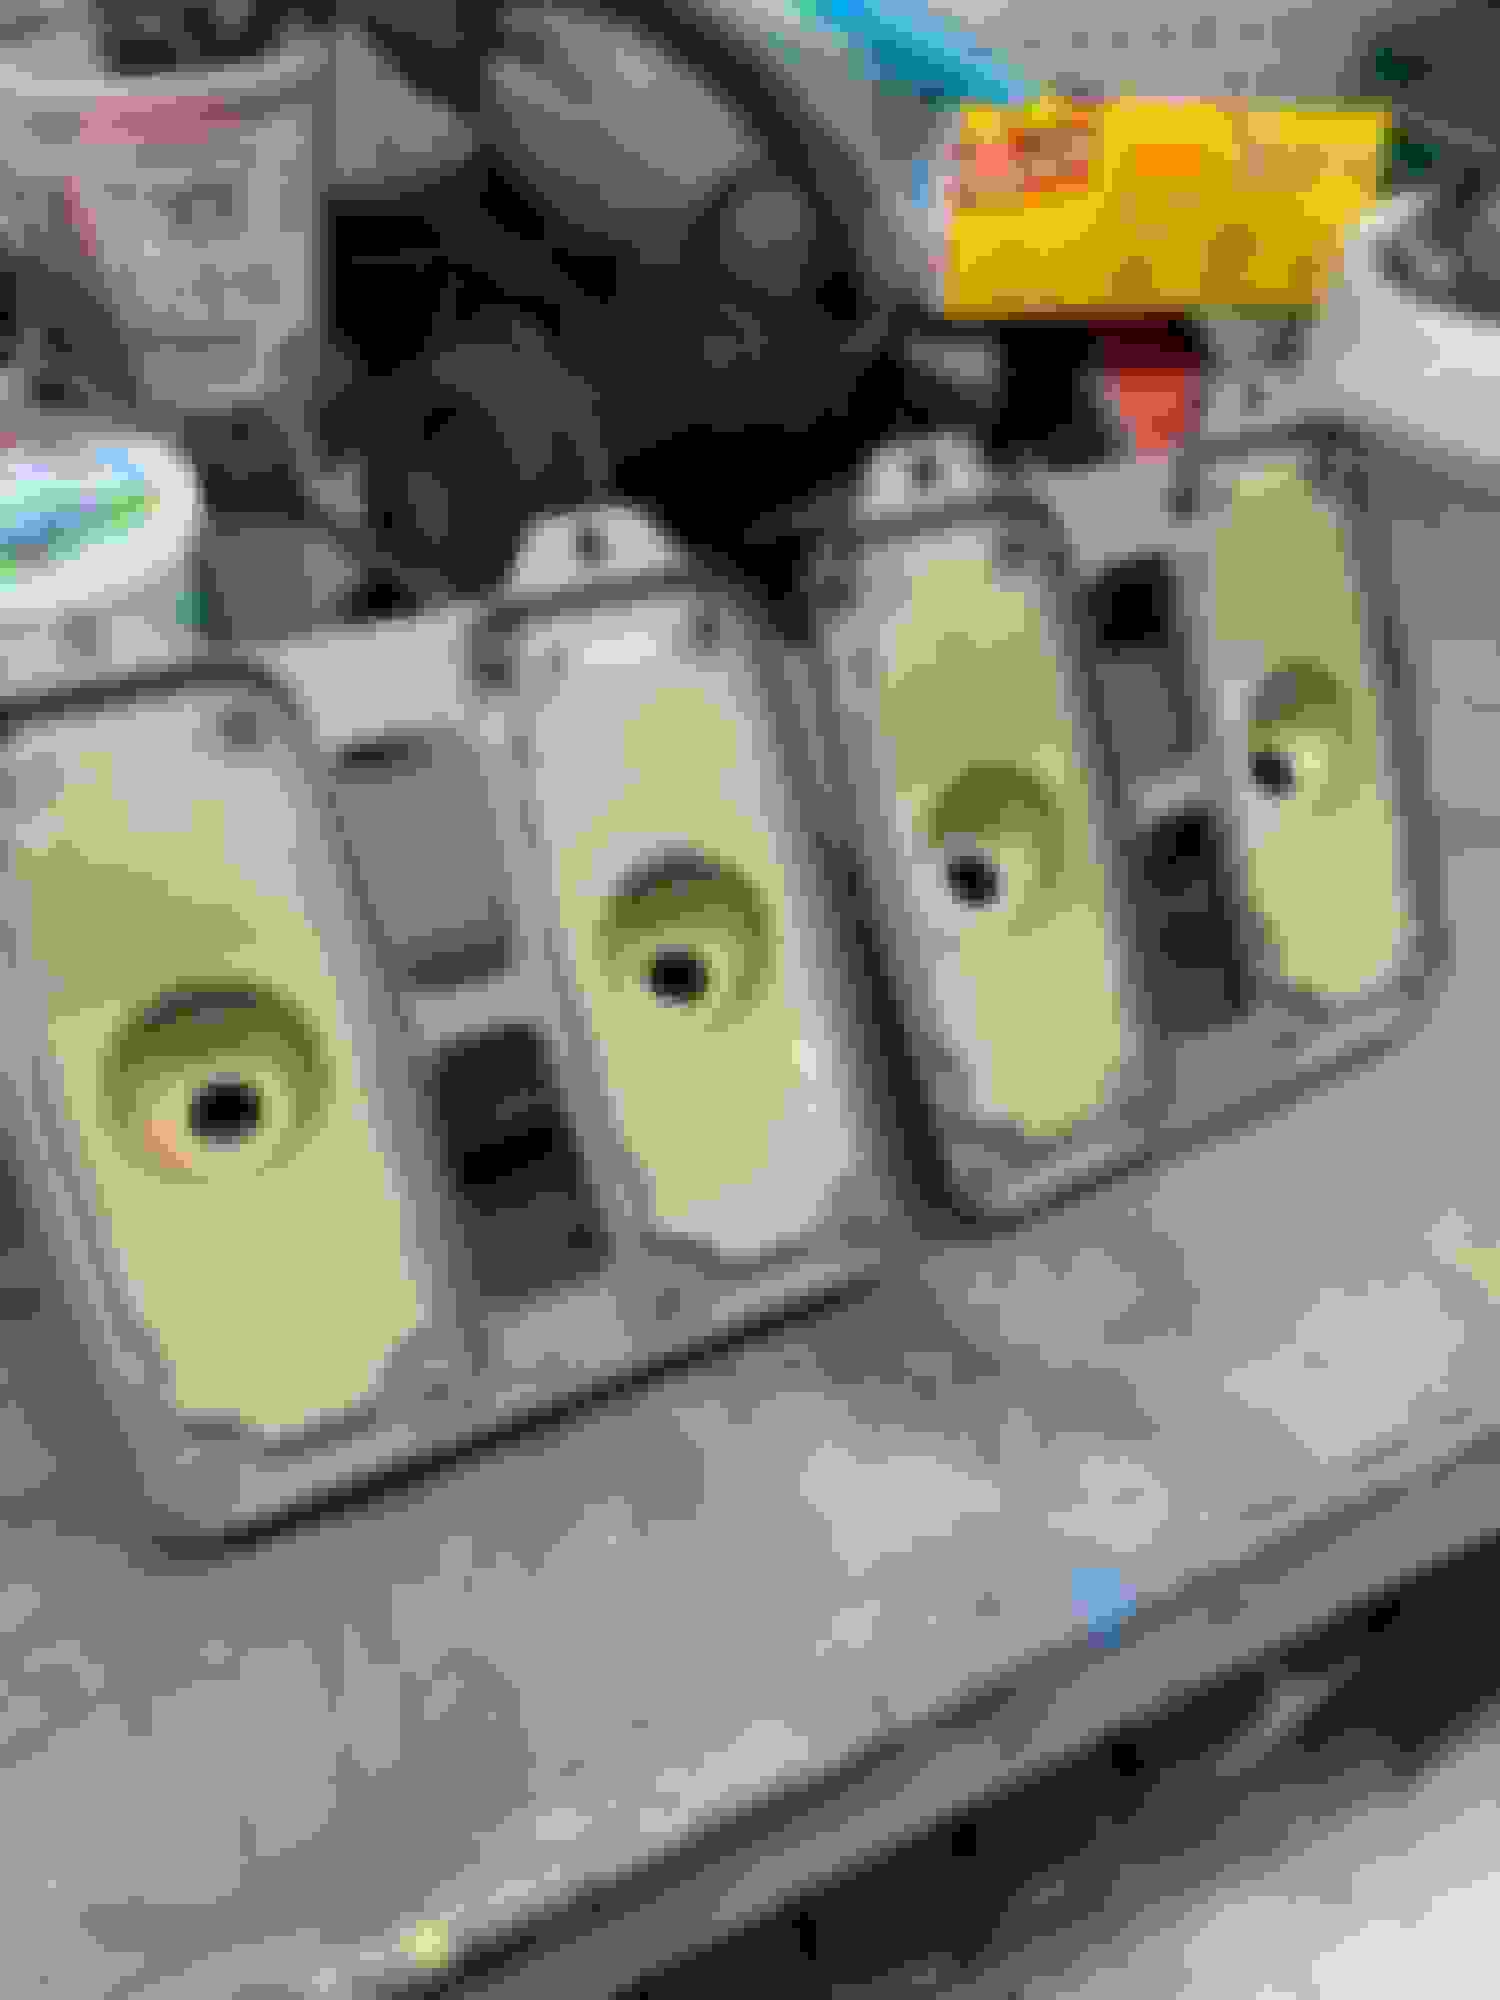
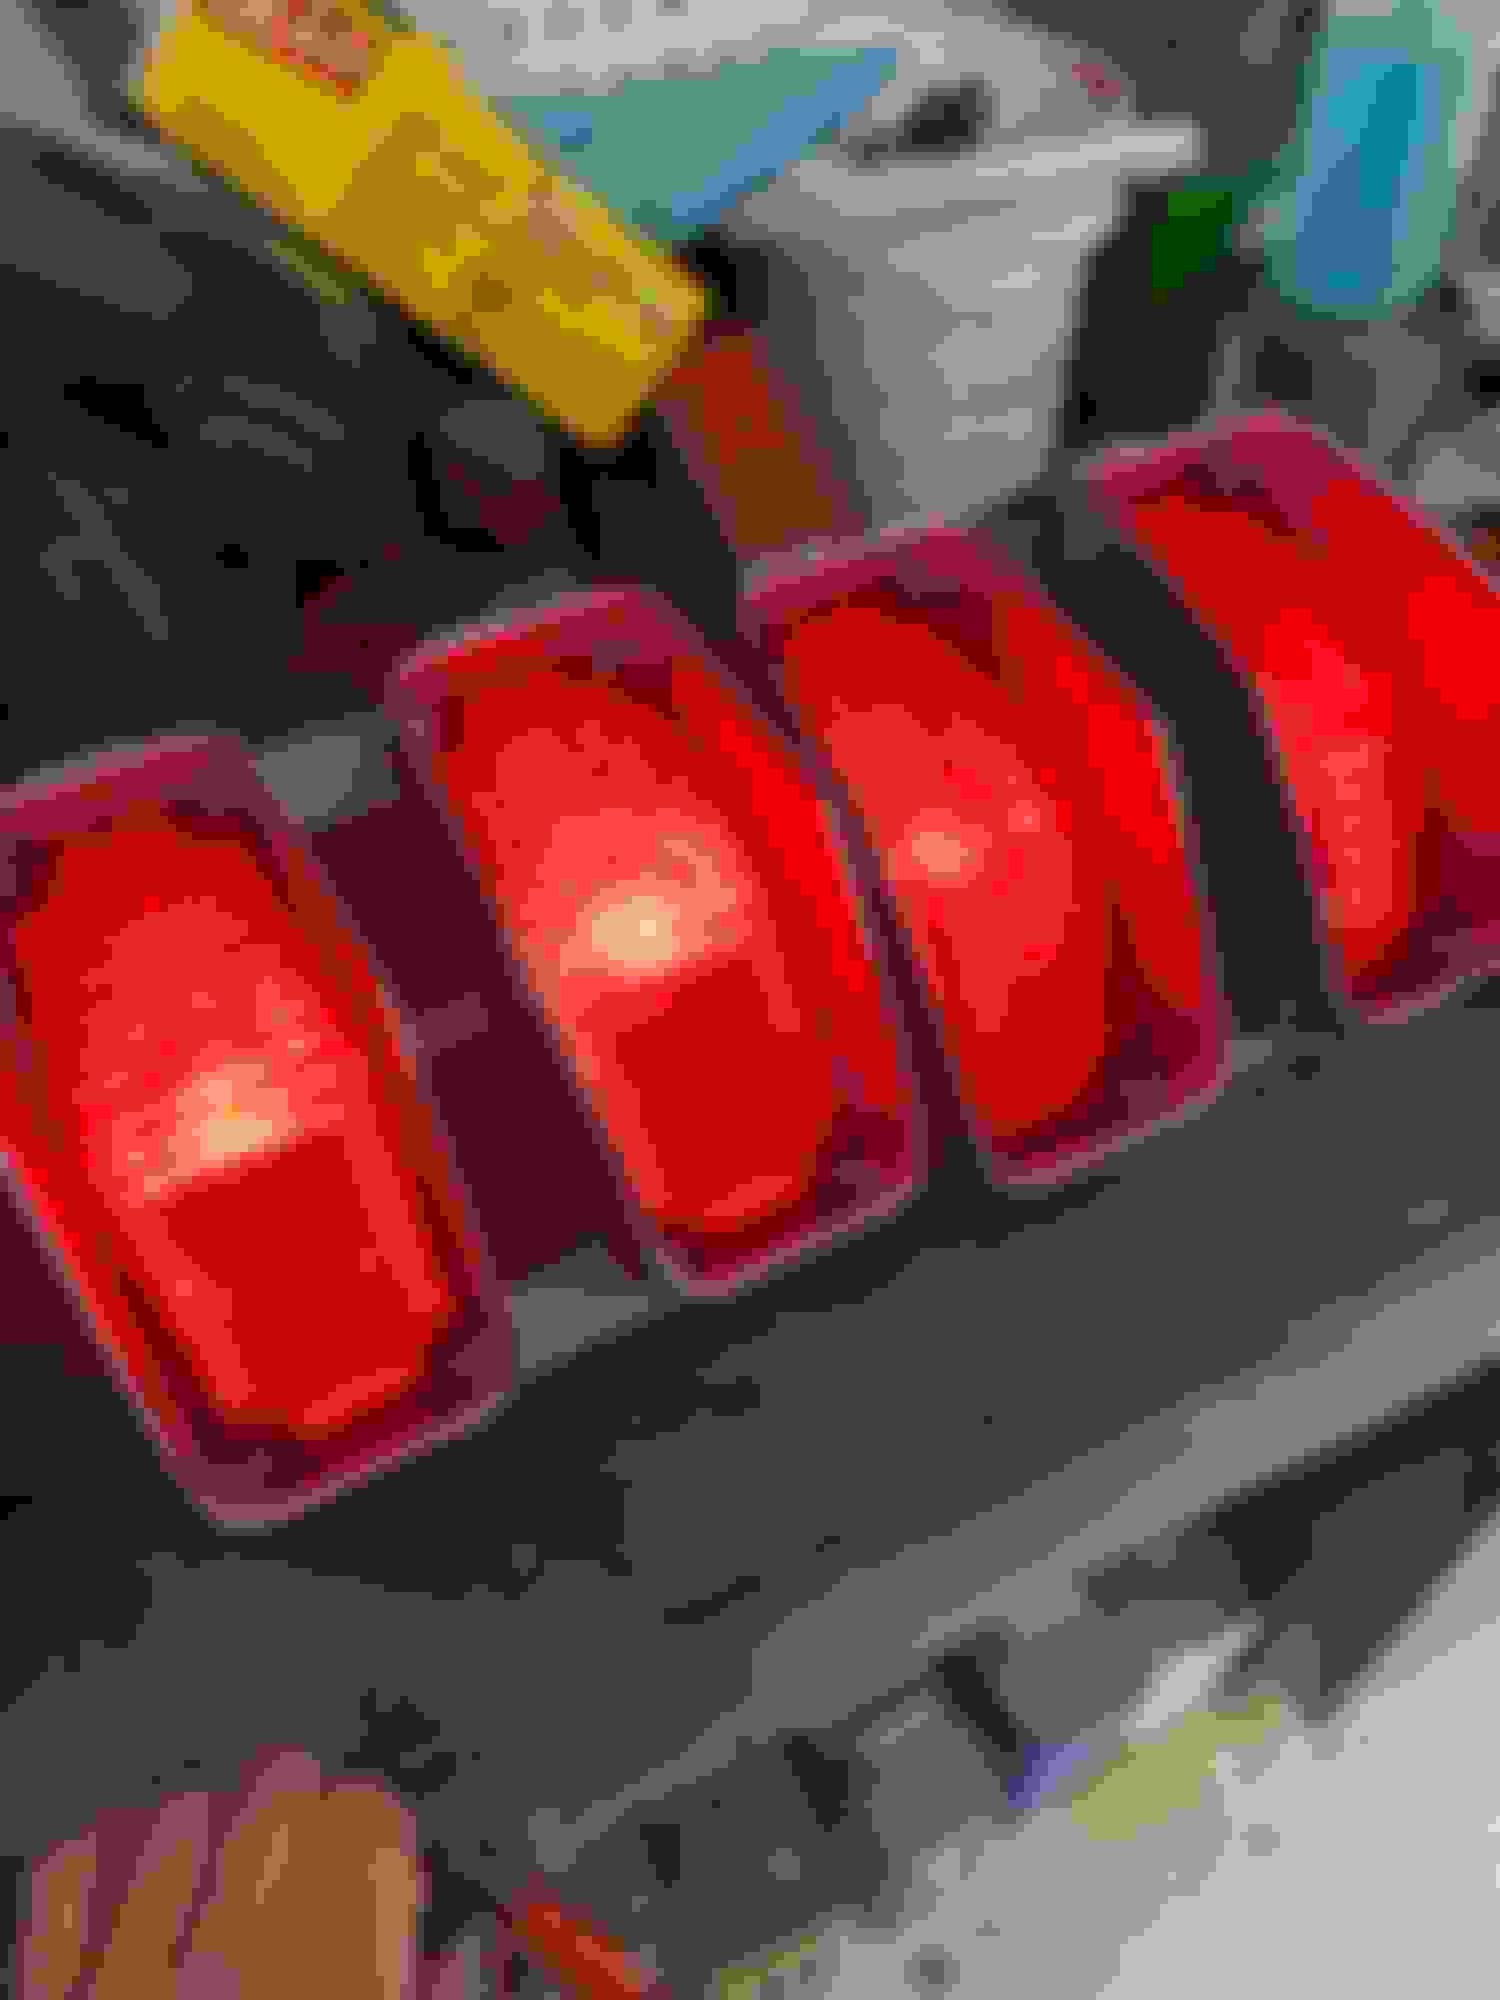
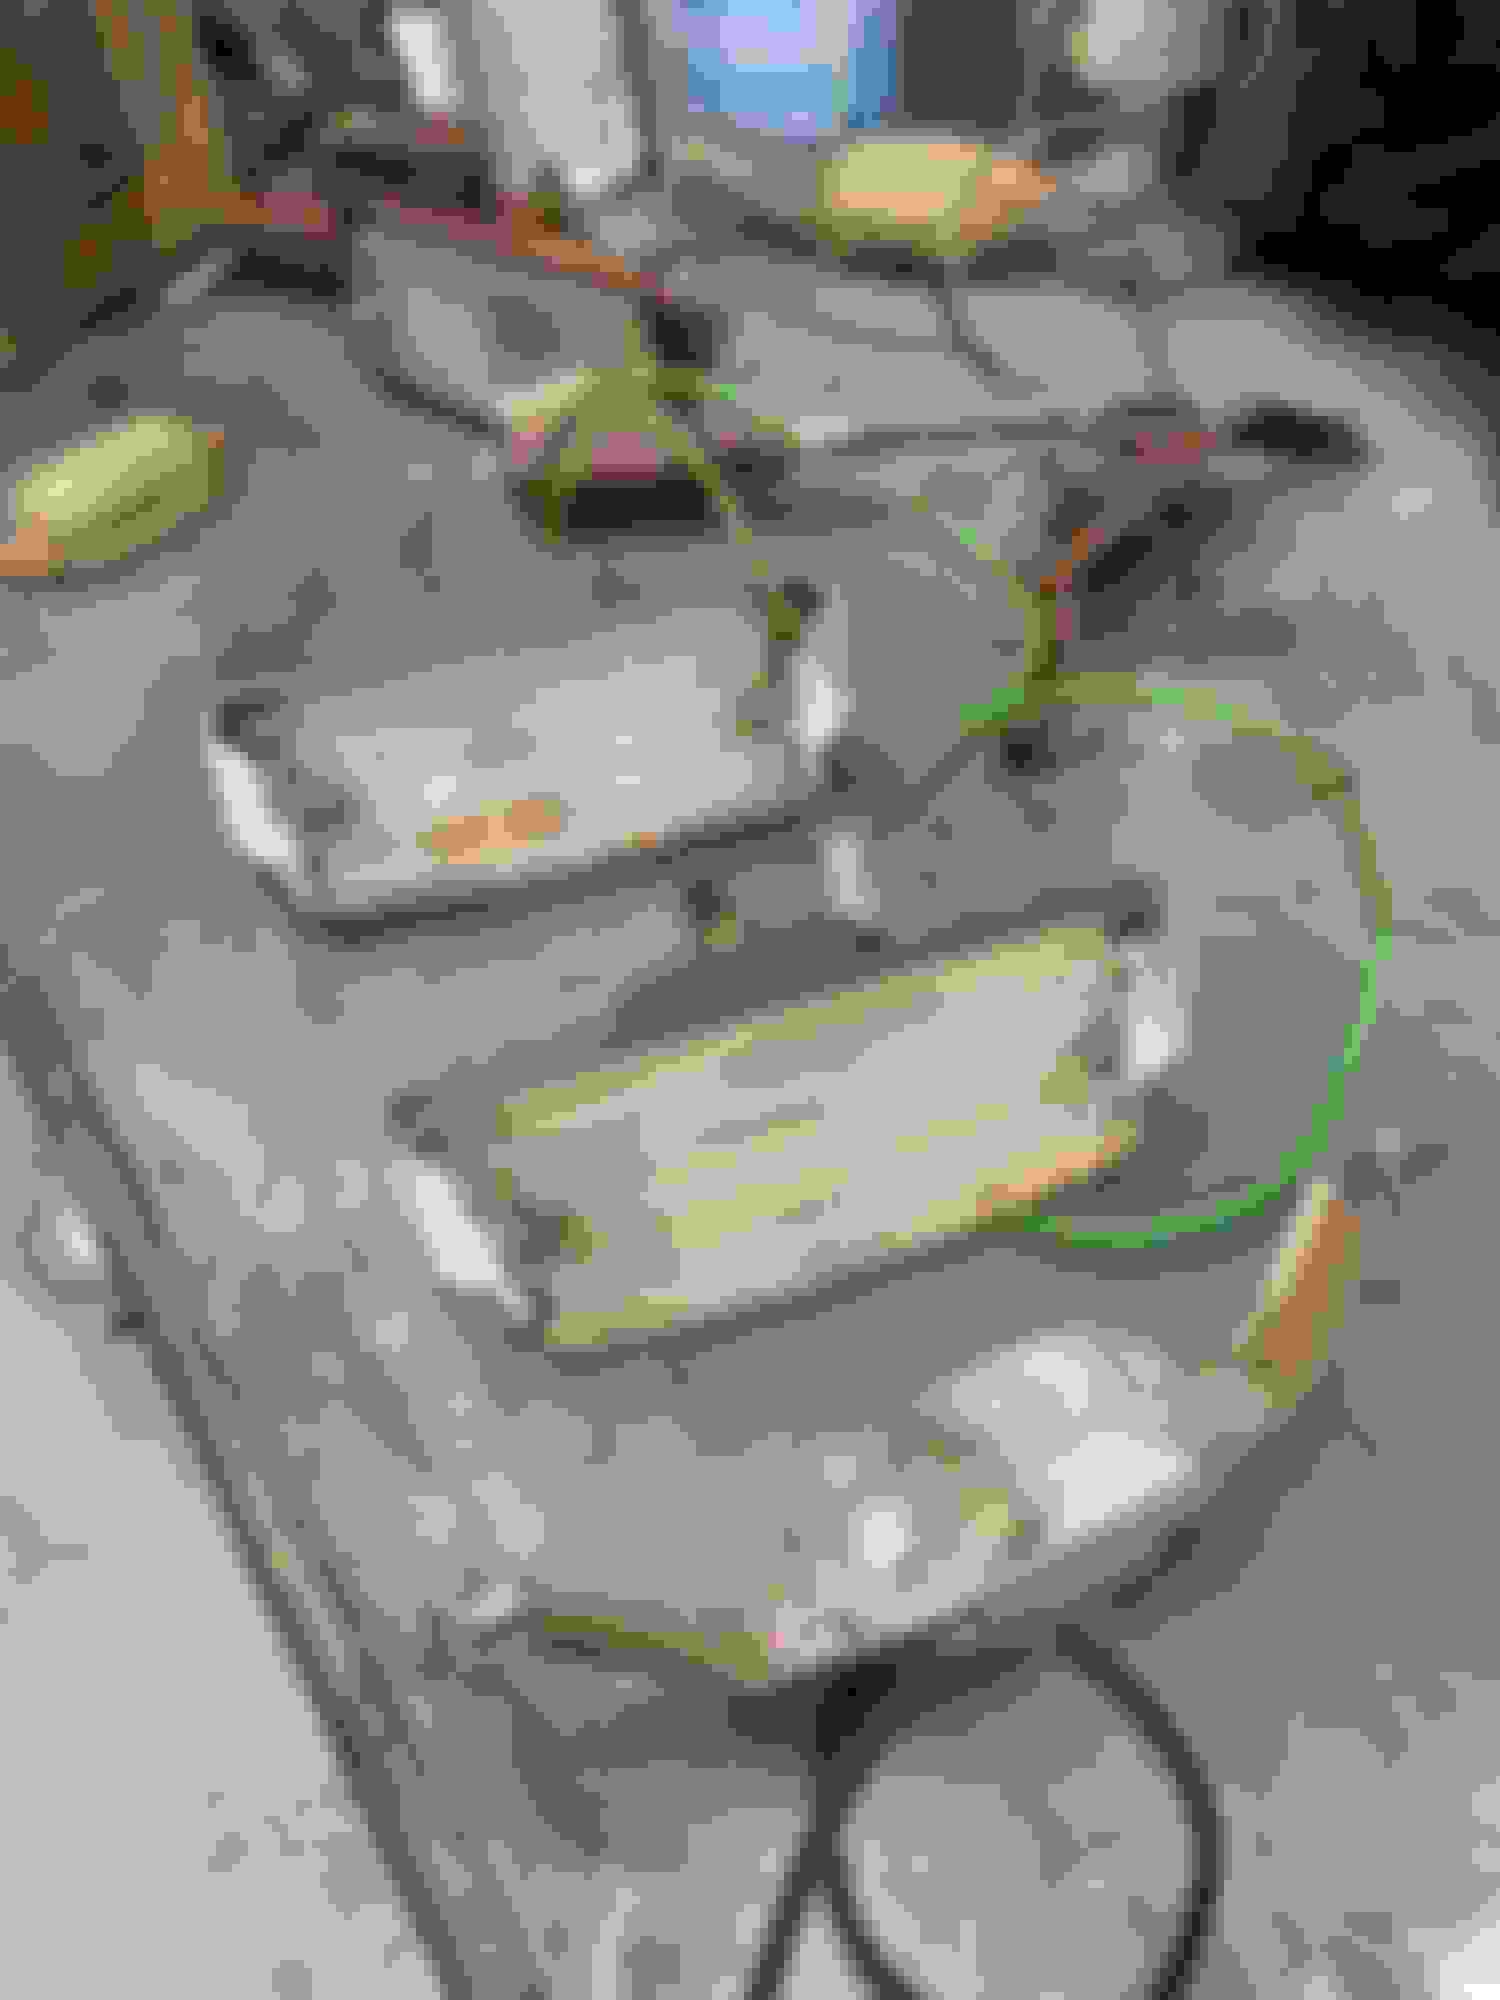
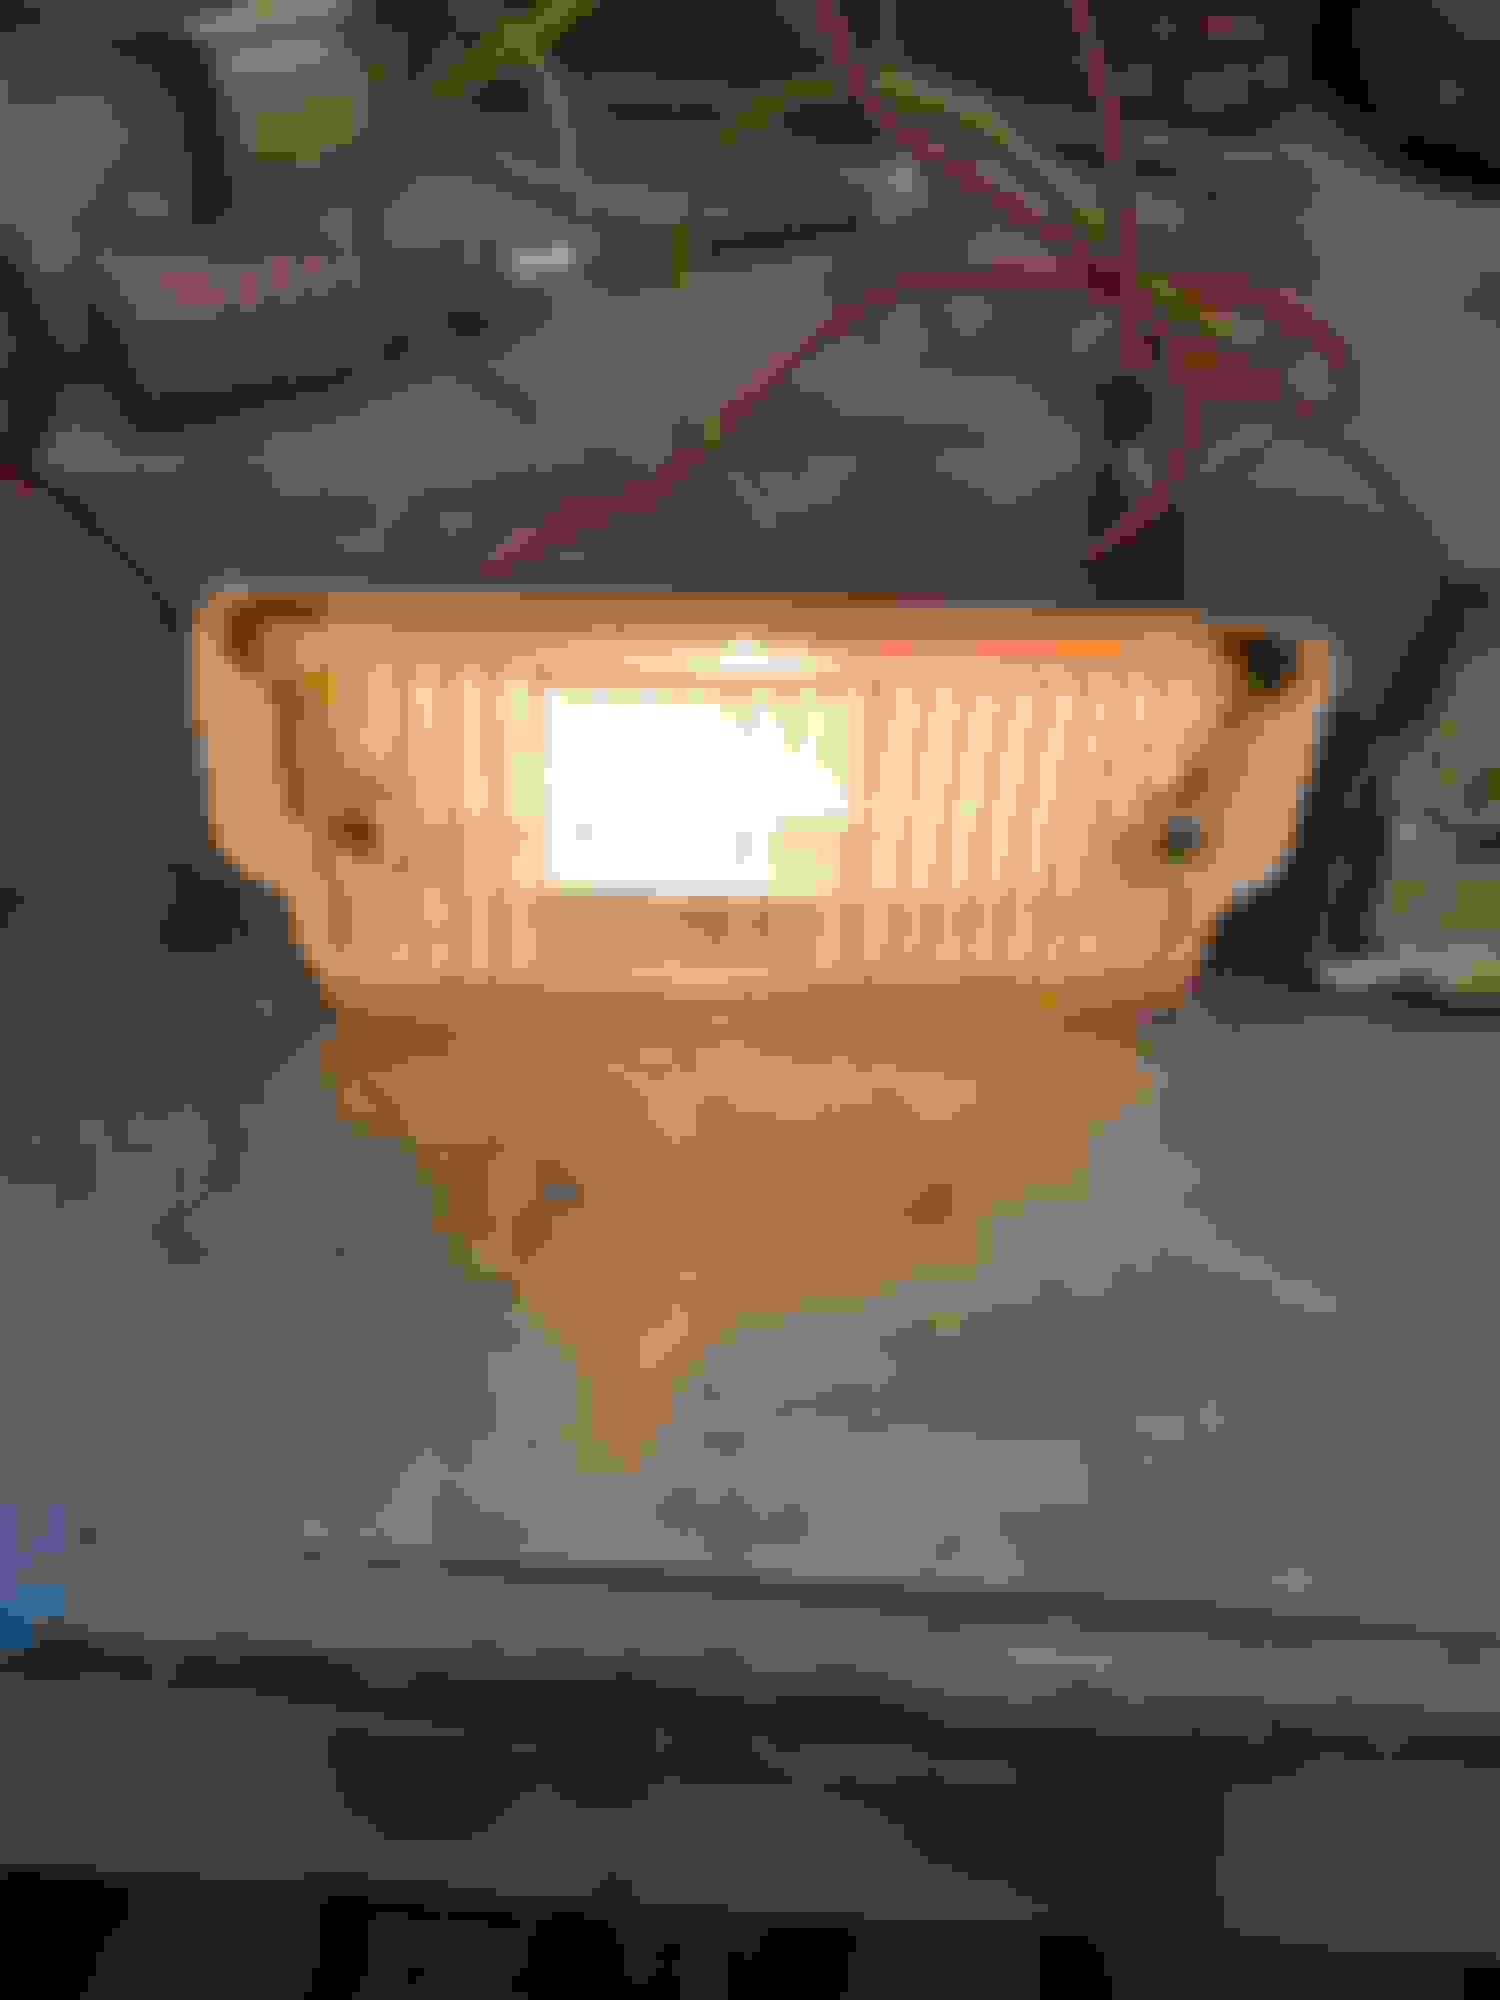
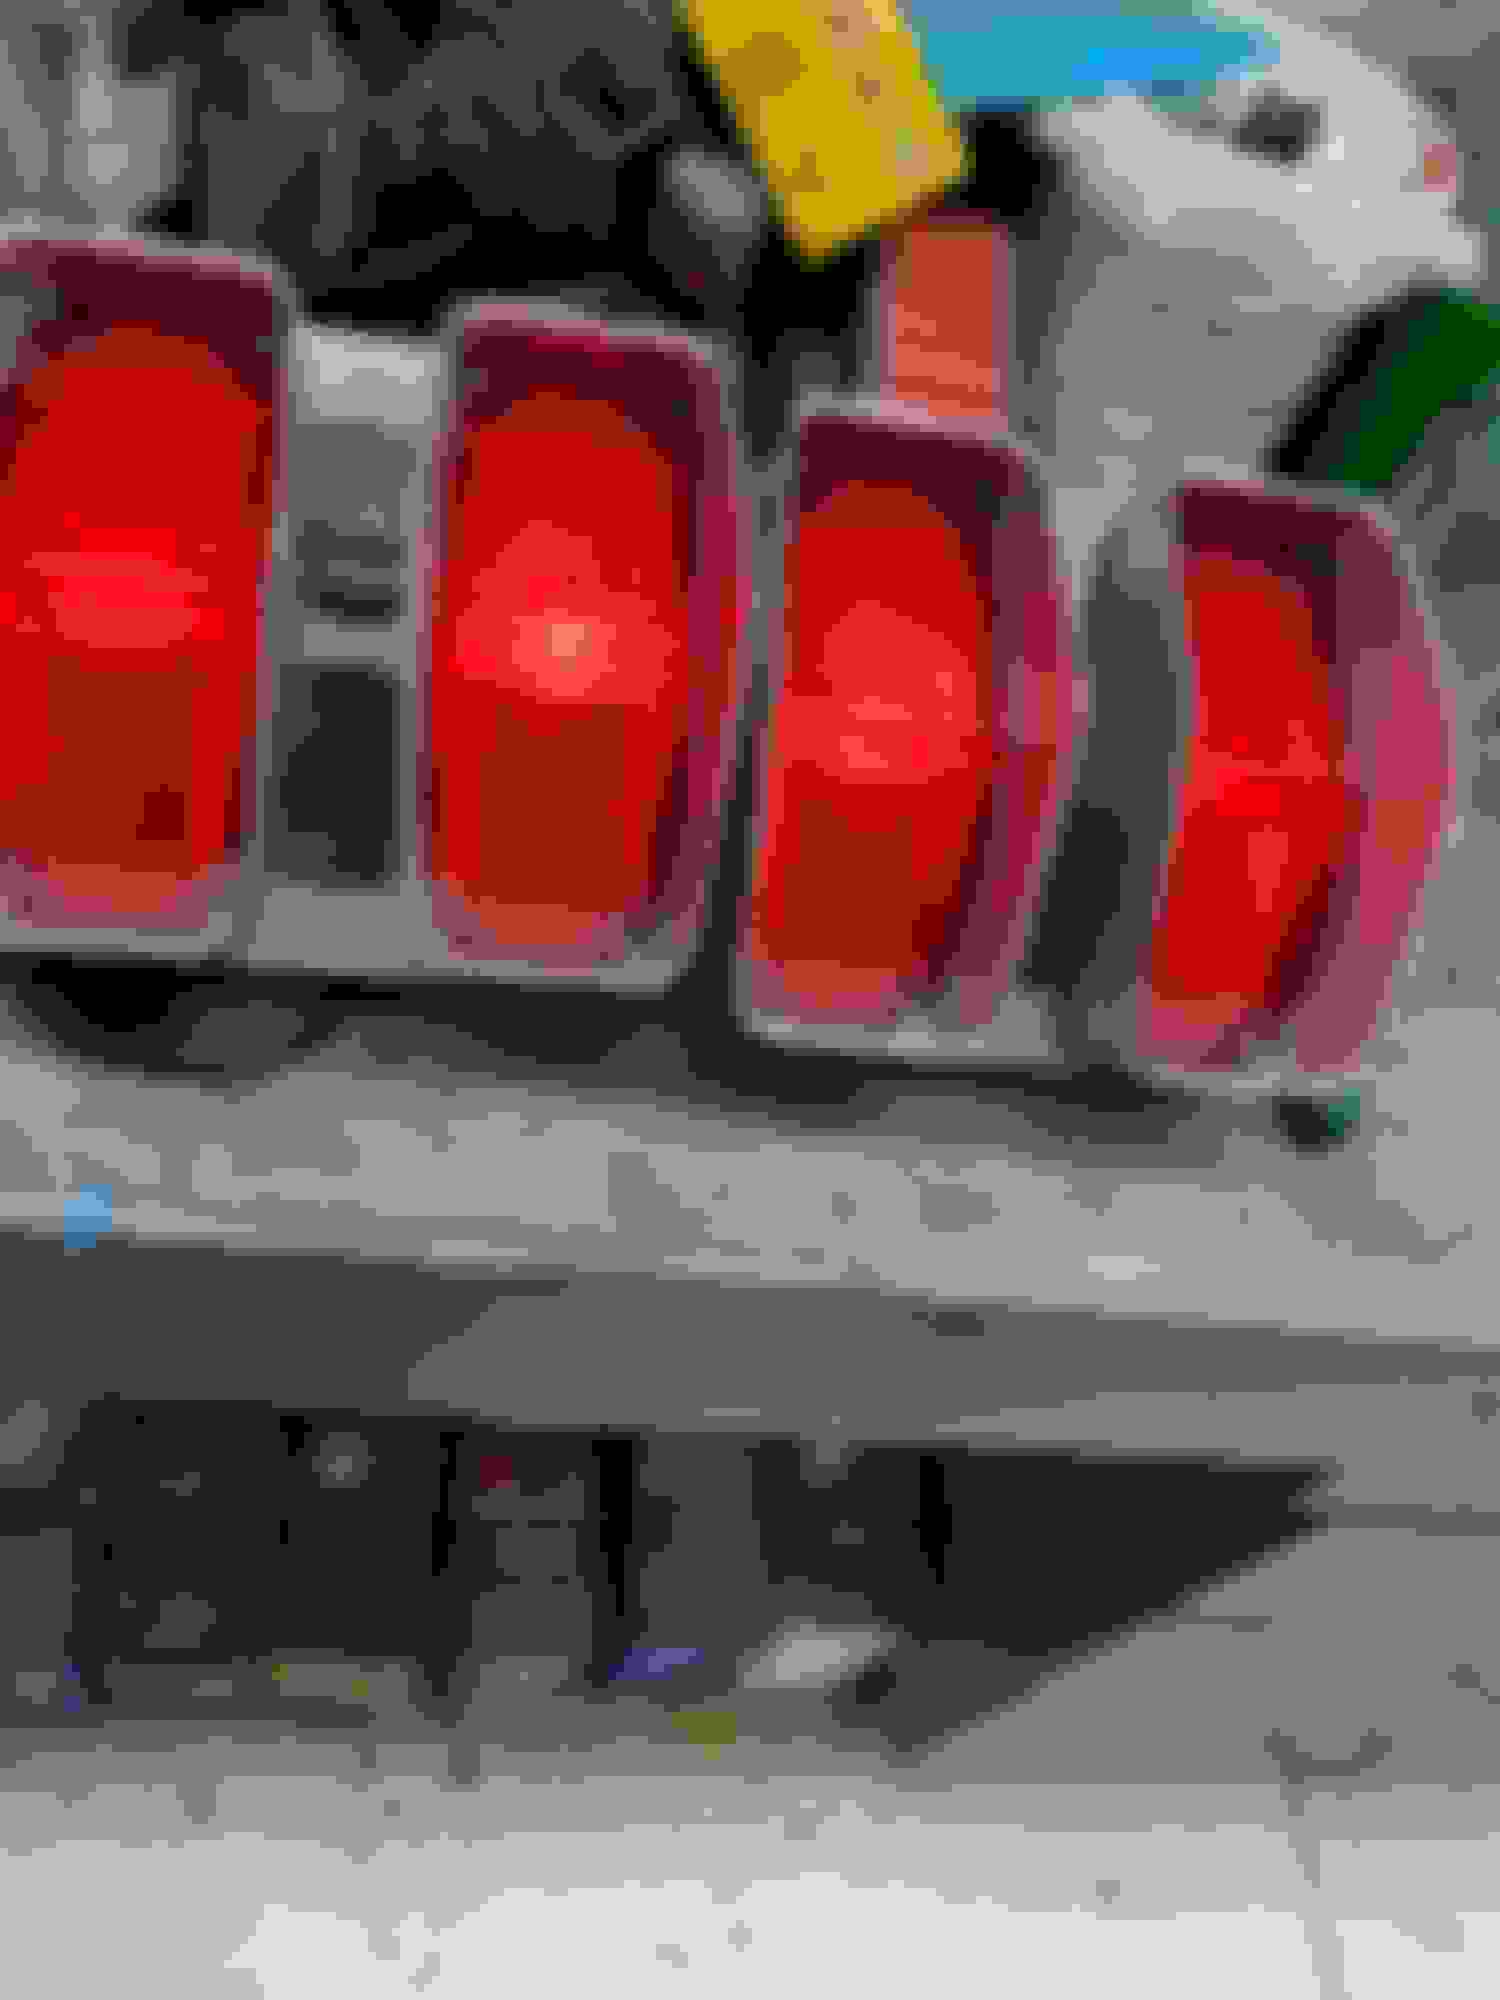
The original tail light housings were showing their age but in decent shape overall and restorable IMO. Comparing these to other originals I have, they look to have been a natural aluminum/pot metal with a gold/cad plating or paint on the lens surface for reflection I assume? I started by cleaning the wires of undercoat and dirt. Once cleaned I glass bead blasted the body staying away from the gold area because it is very smooth. I masked off wires and sockets and used an aluminum paint on the housing once again staying away from lens surface. I found a gold metallic paint along with a silver to mimic the original. I then cleaned bulb sockets and tested everything. I installed new dielectric grease, bulbs, gaskets and lenses. I purchased restored reverse light housings from CO member(69442murph) along with parking light housings from Patton. I had an original, re-plated license plate light also I believe I purchased years ago from CO member(69442murph)? Tested all lights, installed new gaskets and lenses. I put everything together for when time comes for bumper assembly. Just a little motivation to keep me going and I couldn't resist.
Last edited by scrappie; November 5th, 2022 at 06:07 AM.
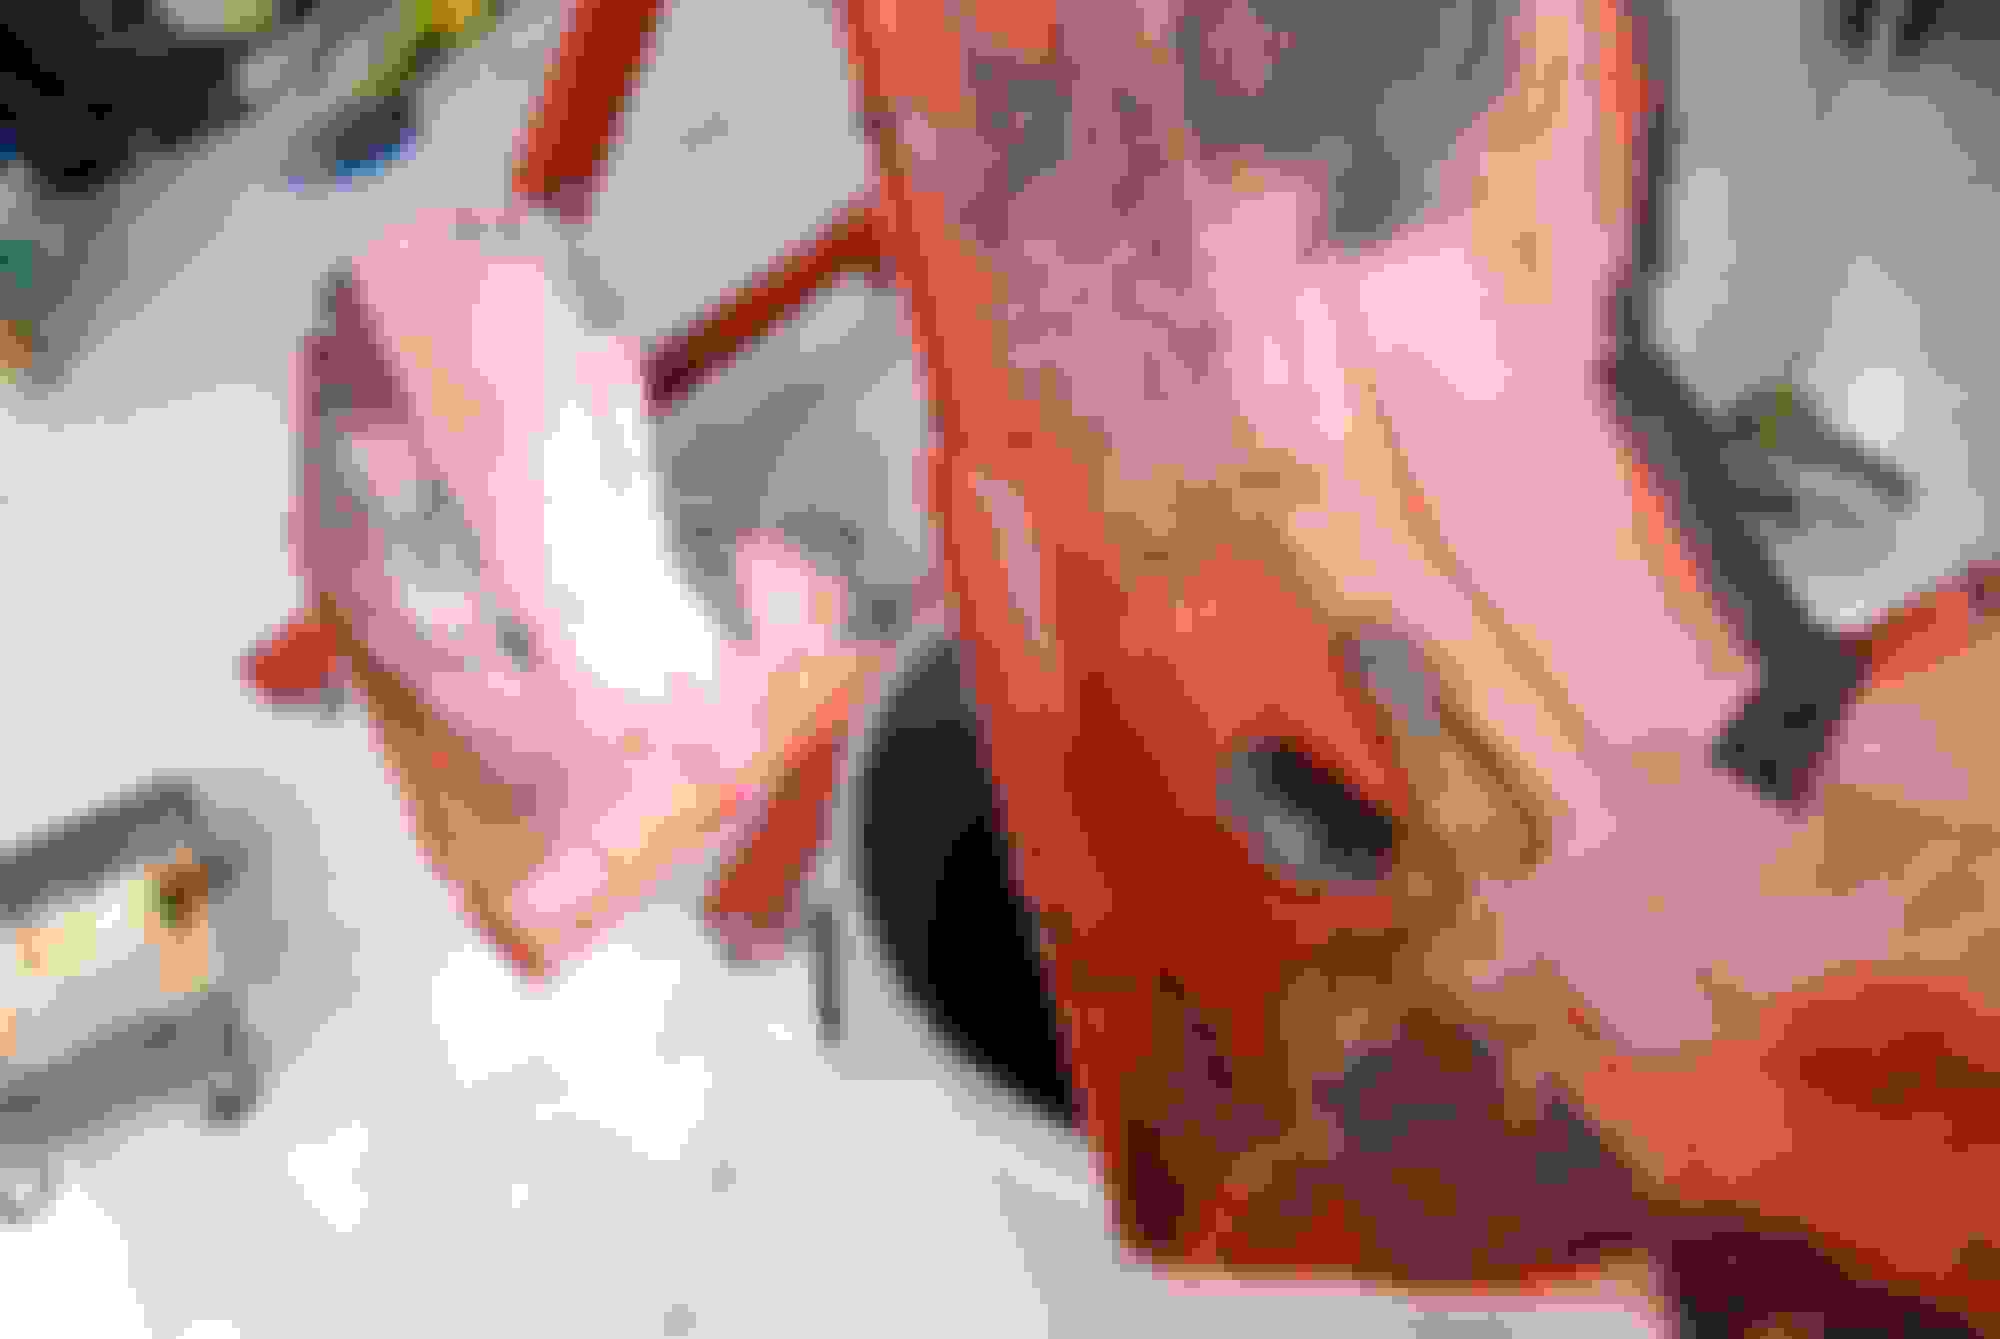
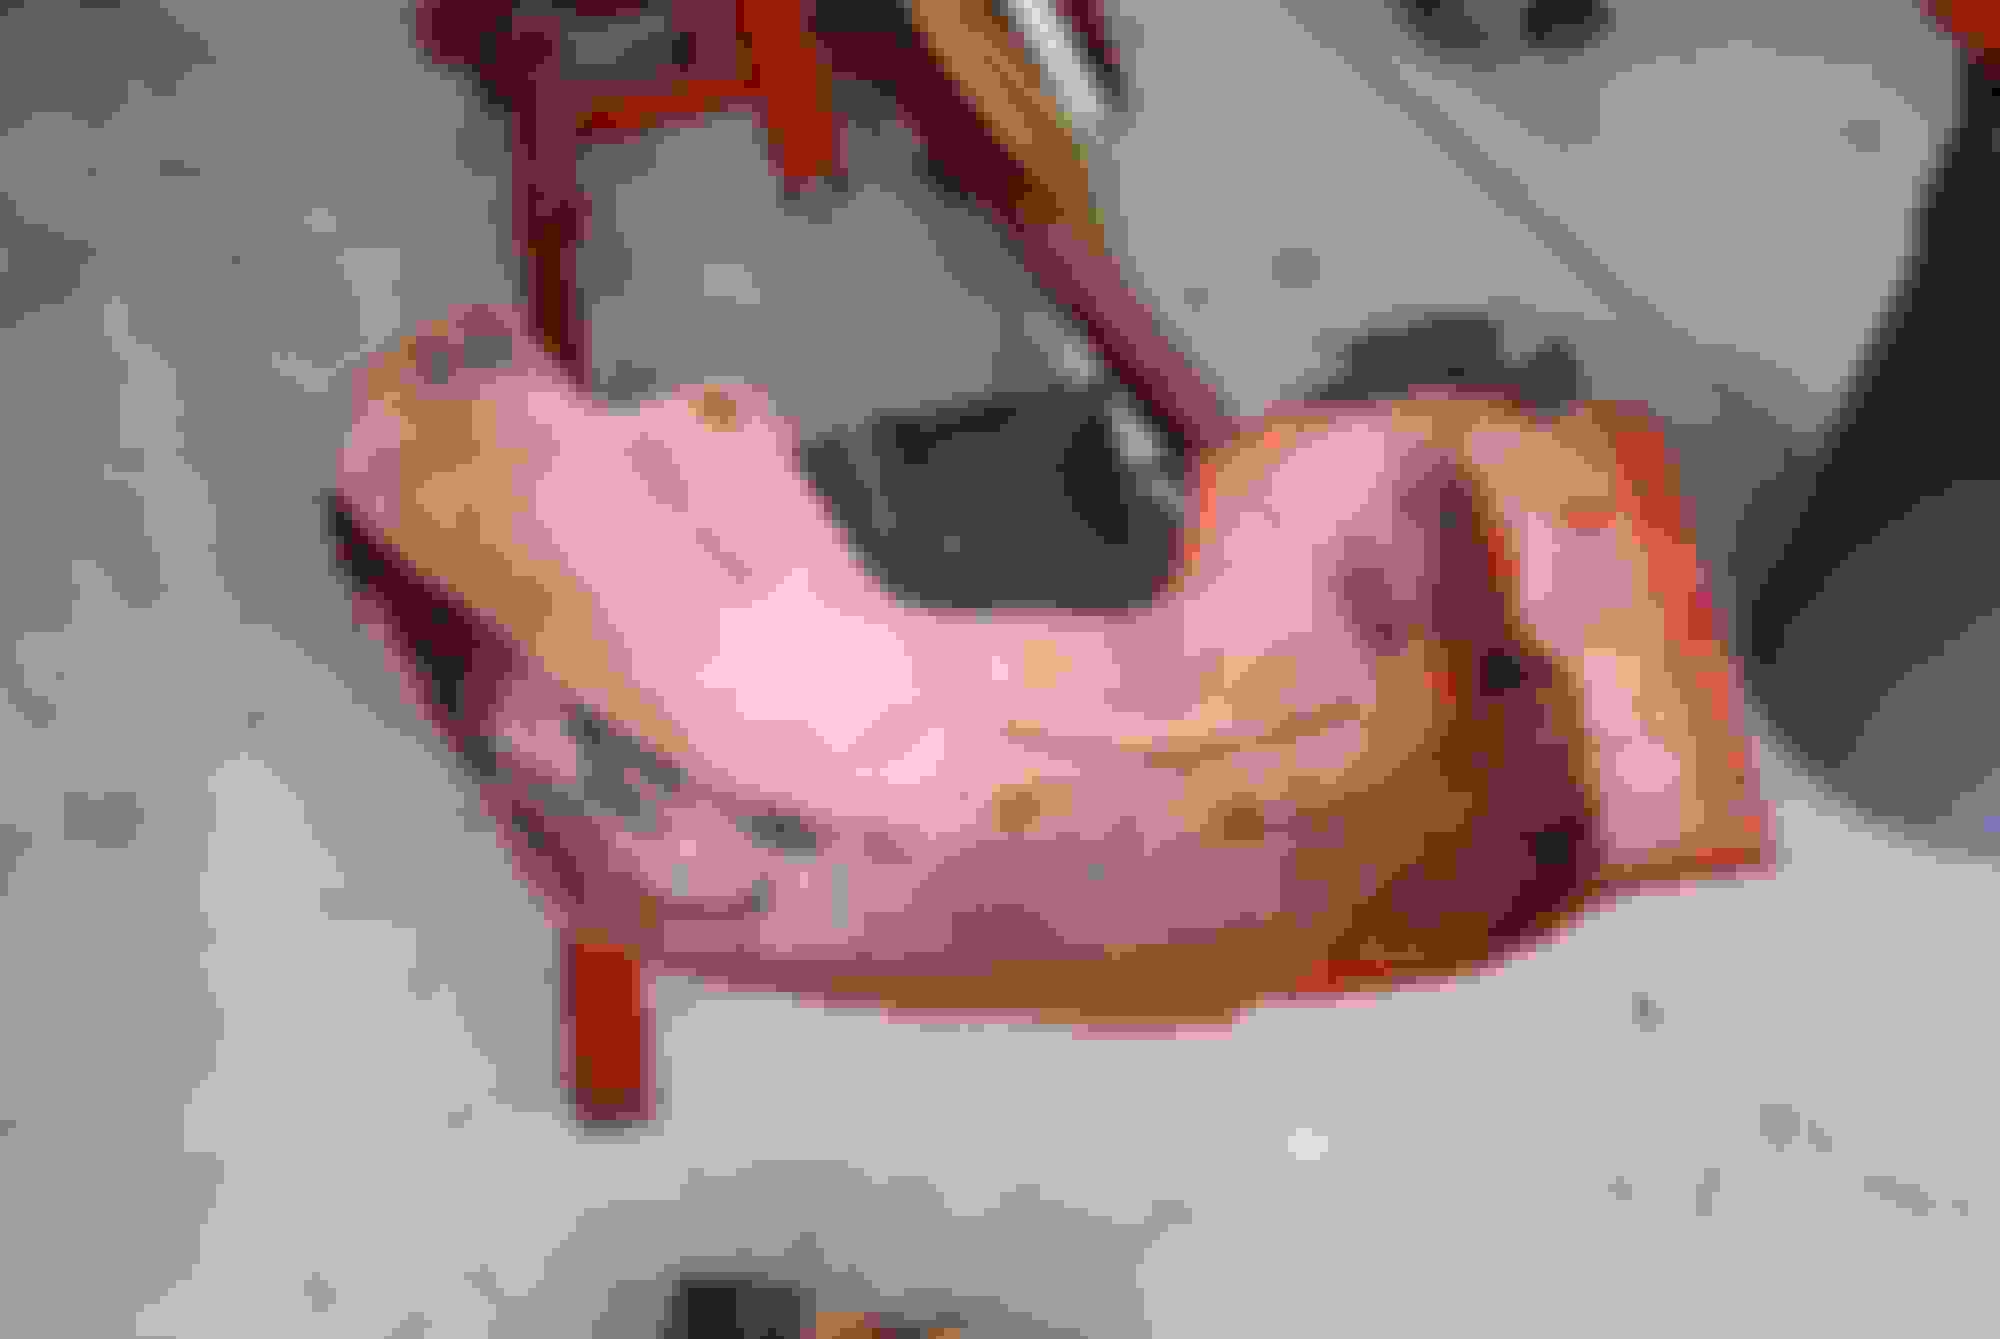
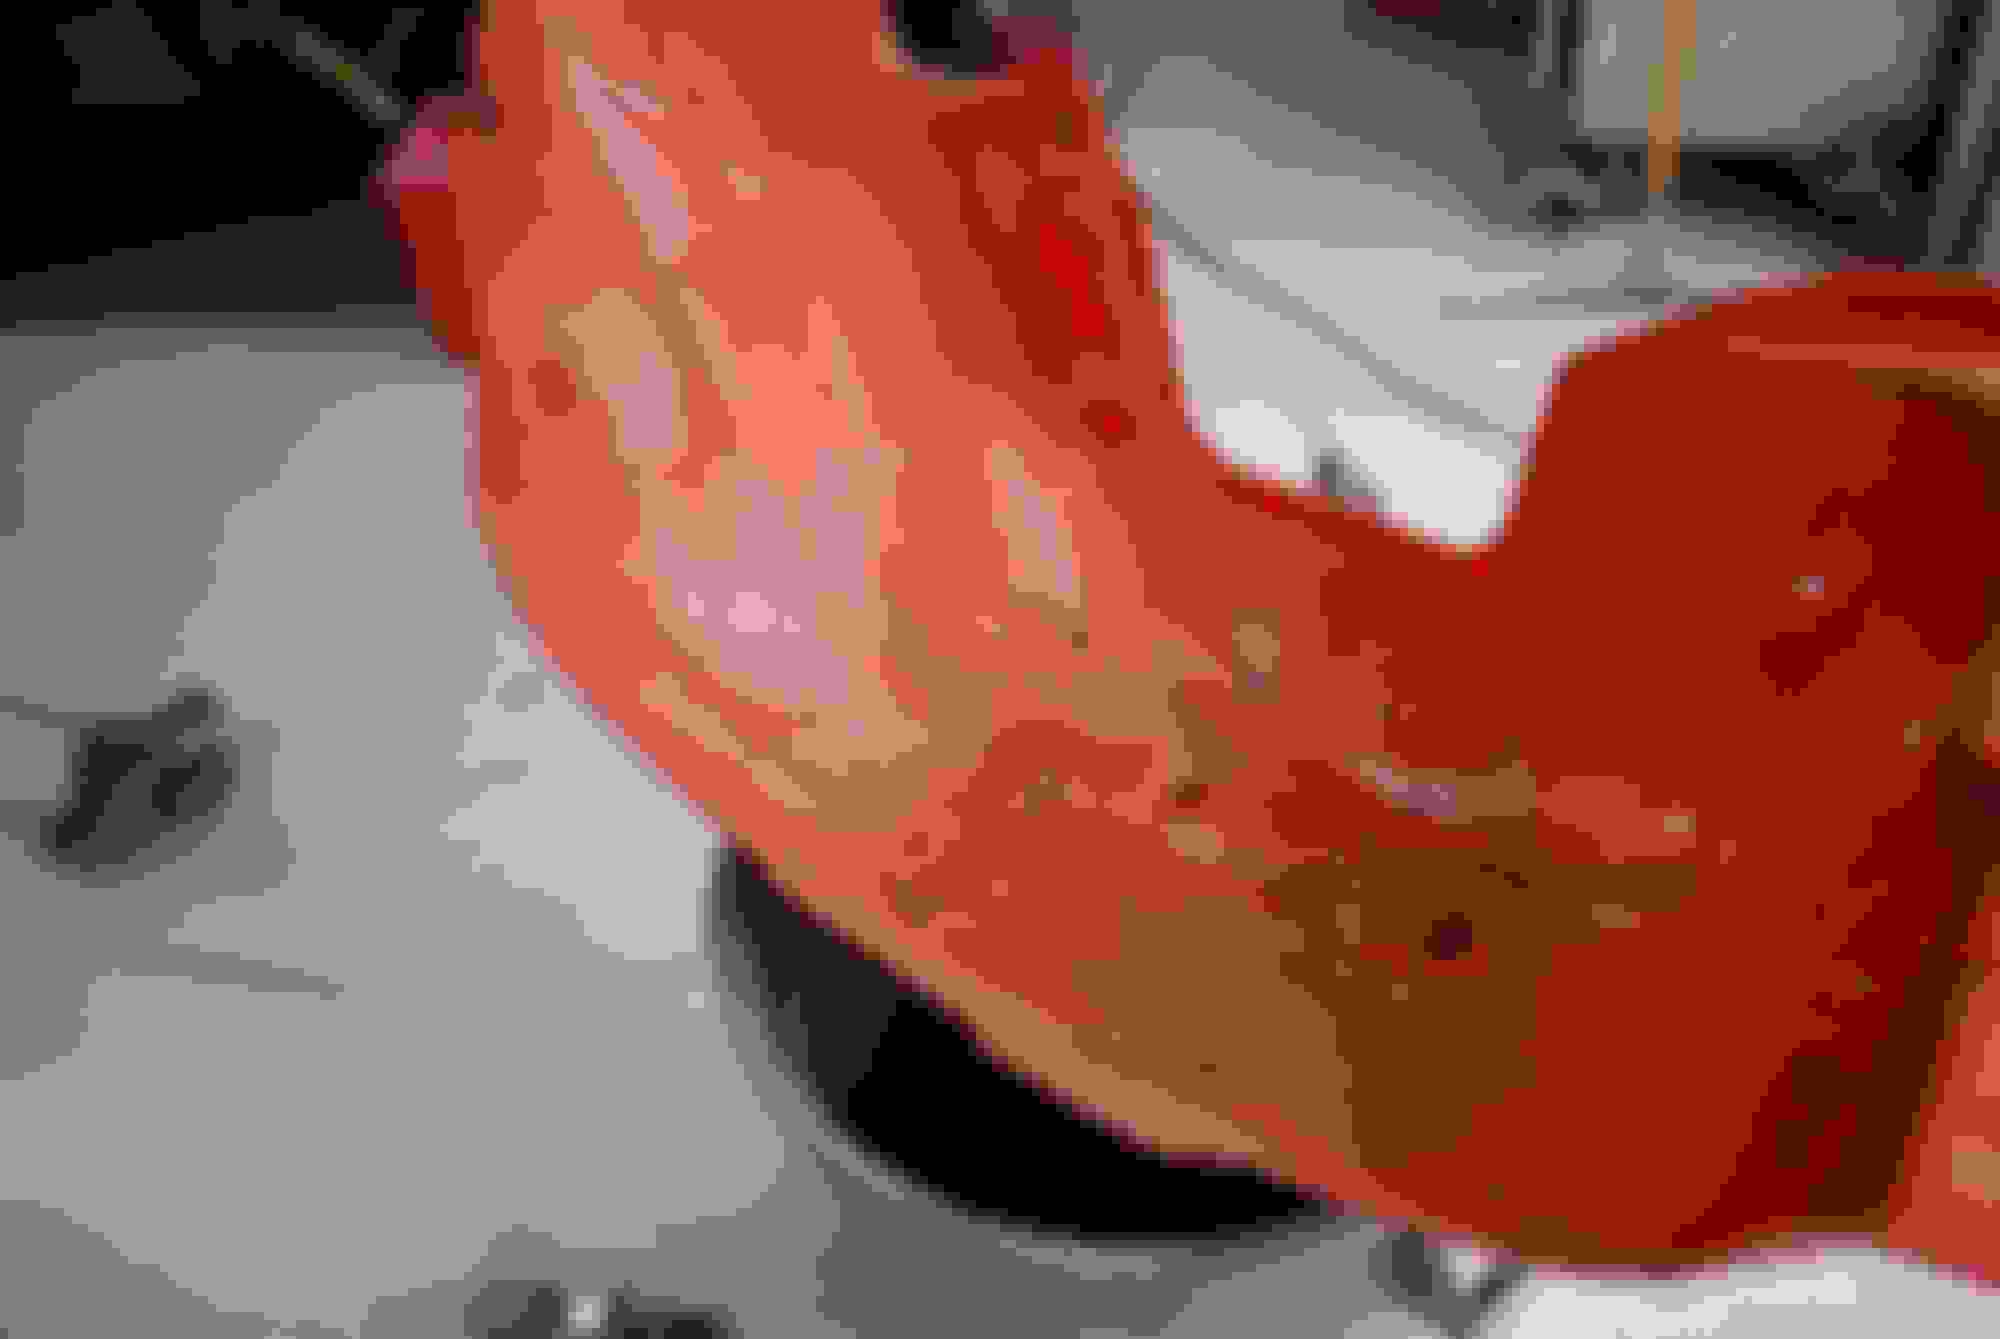
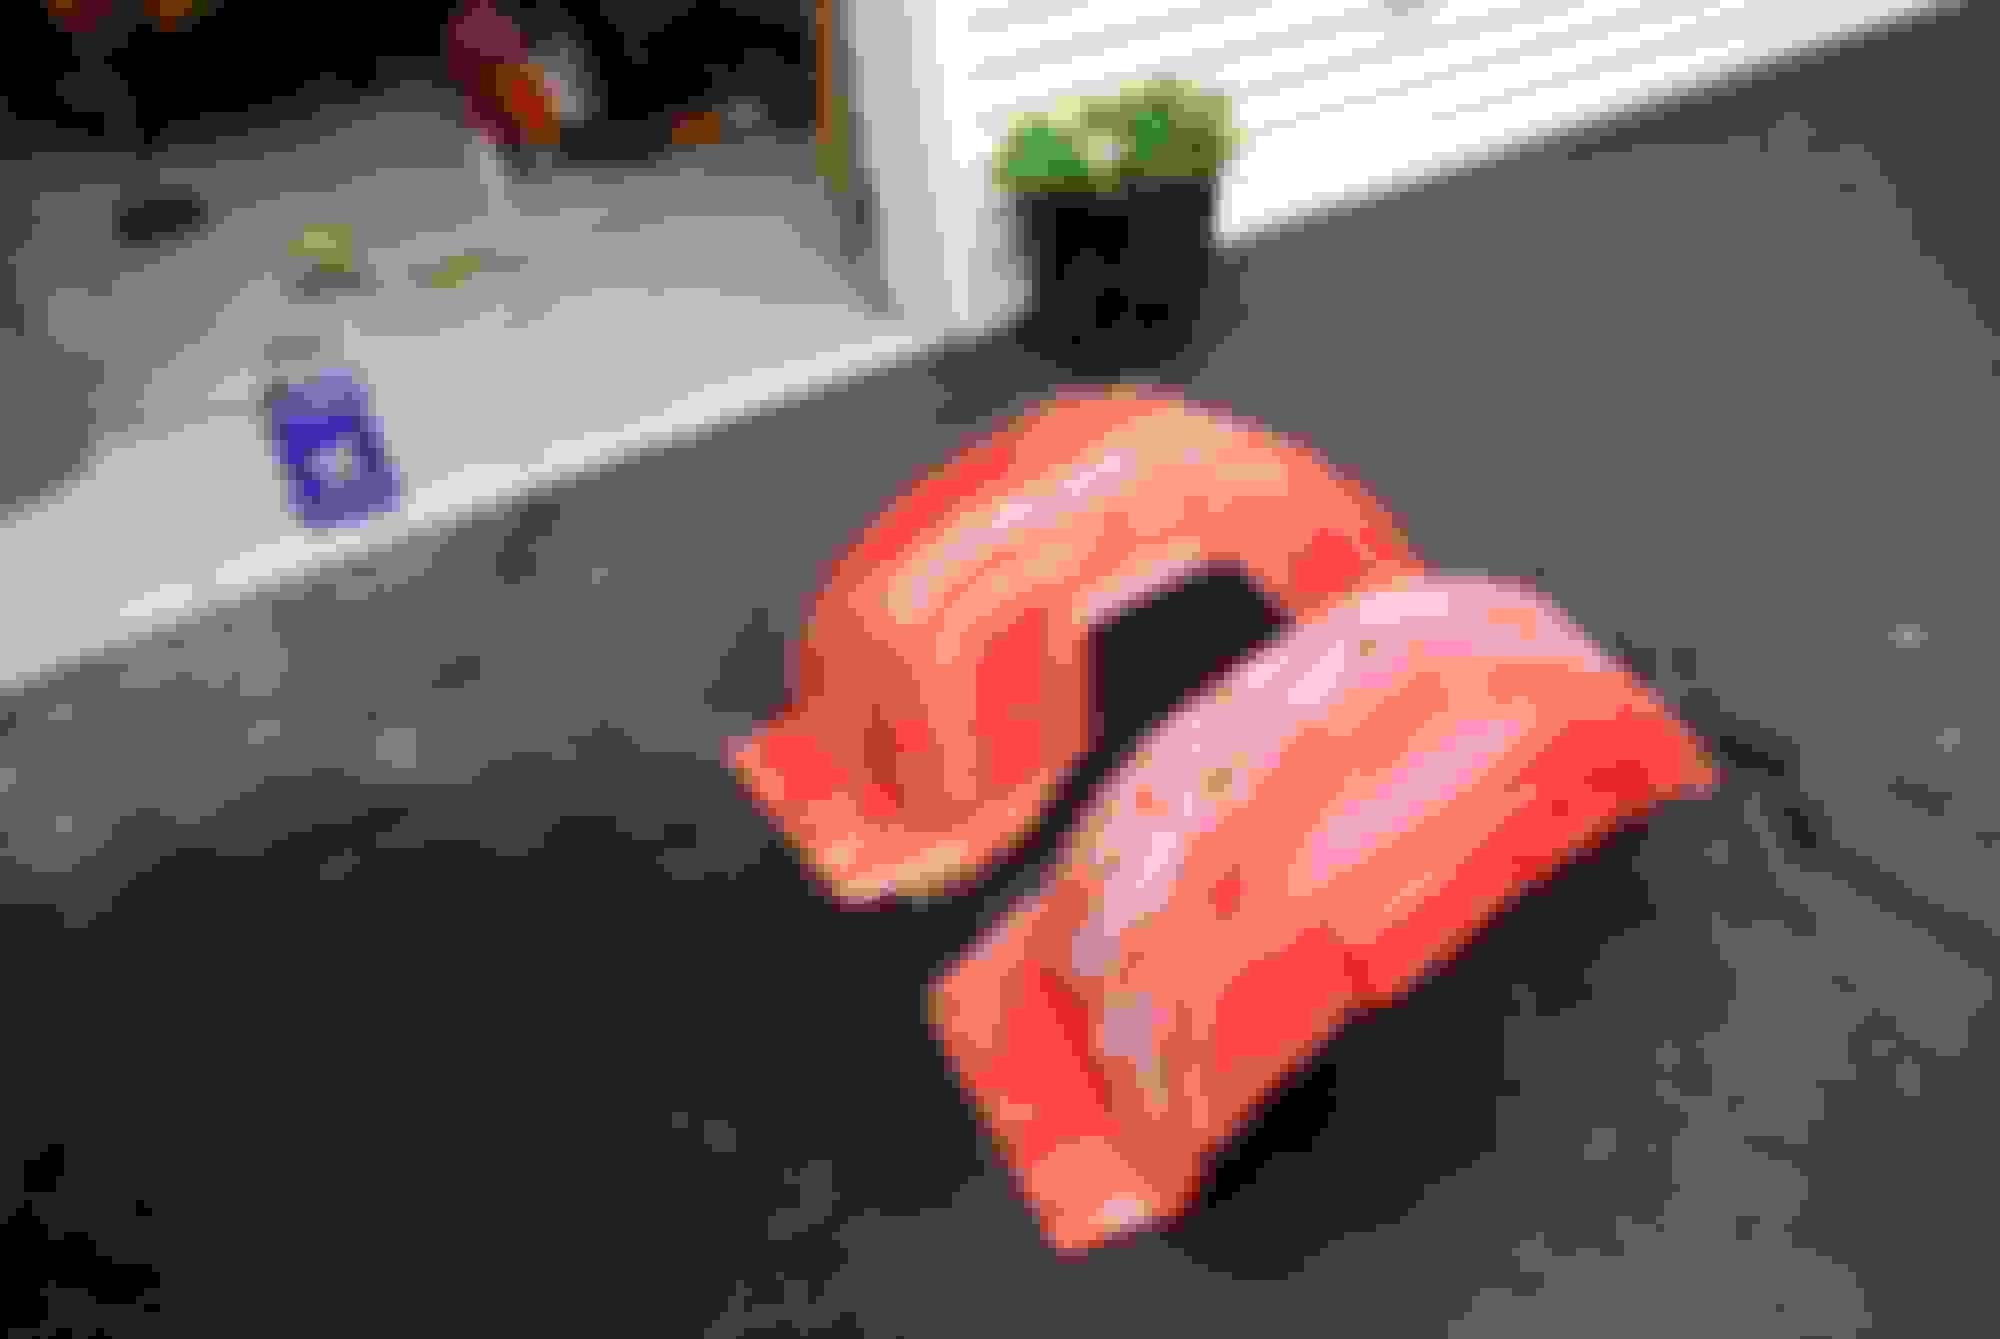
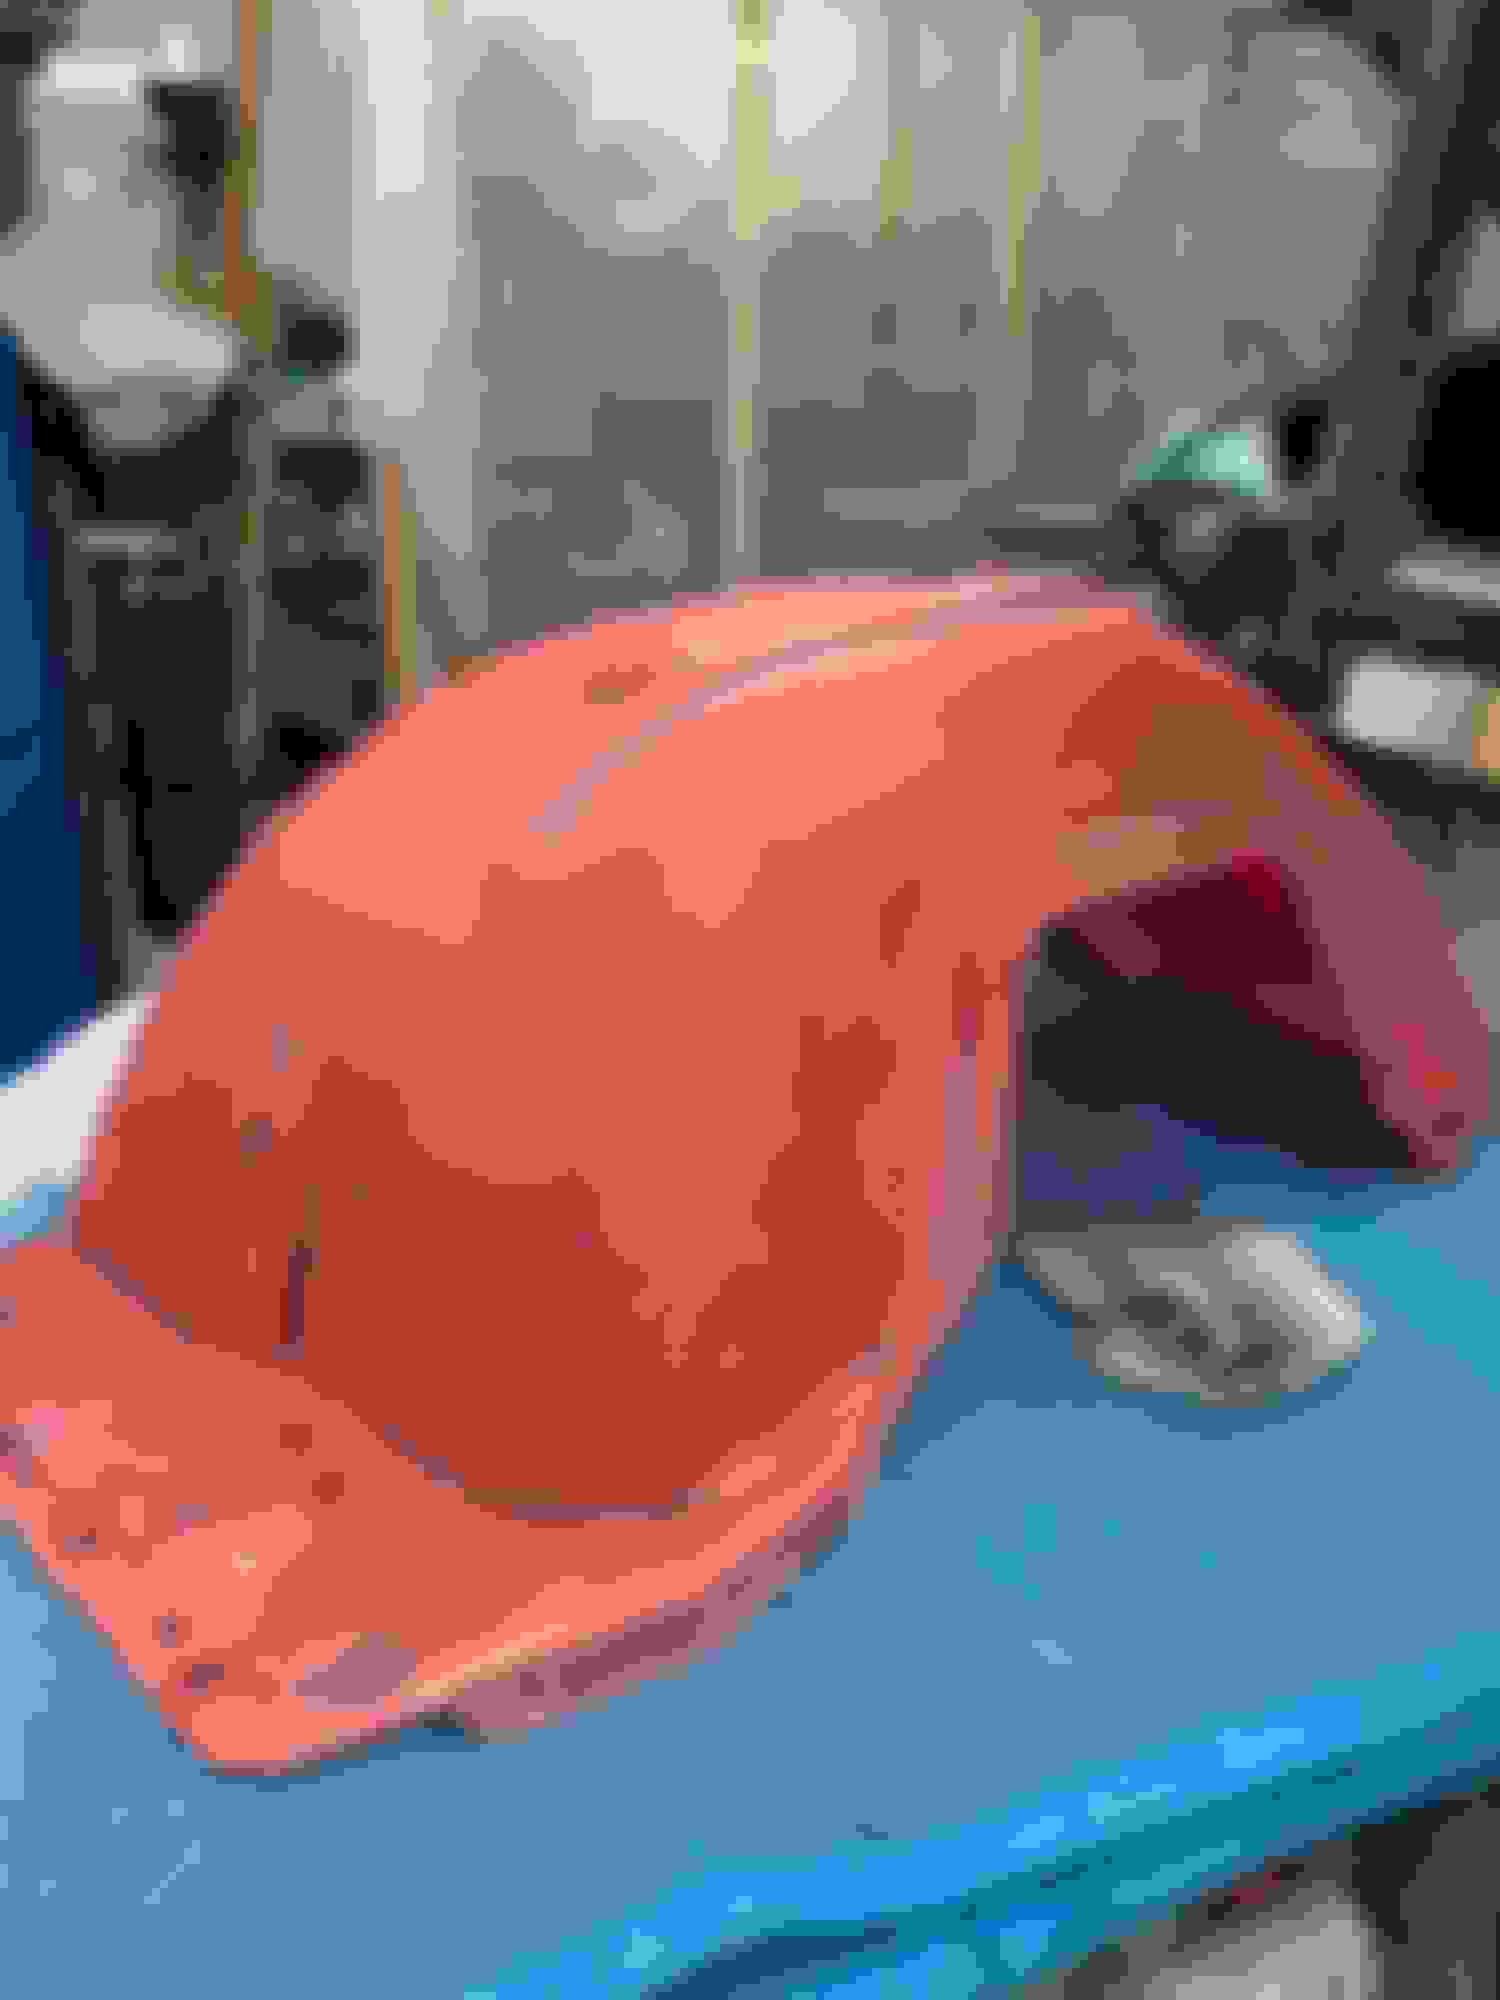
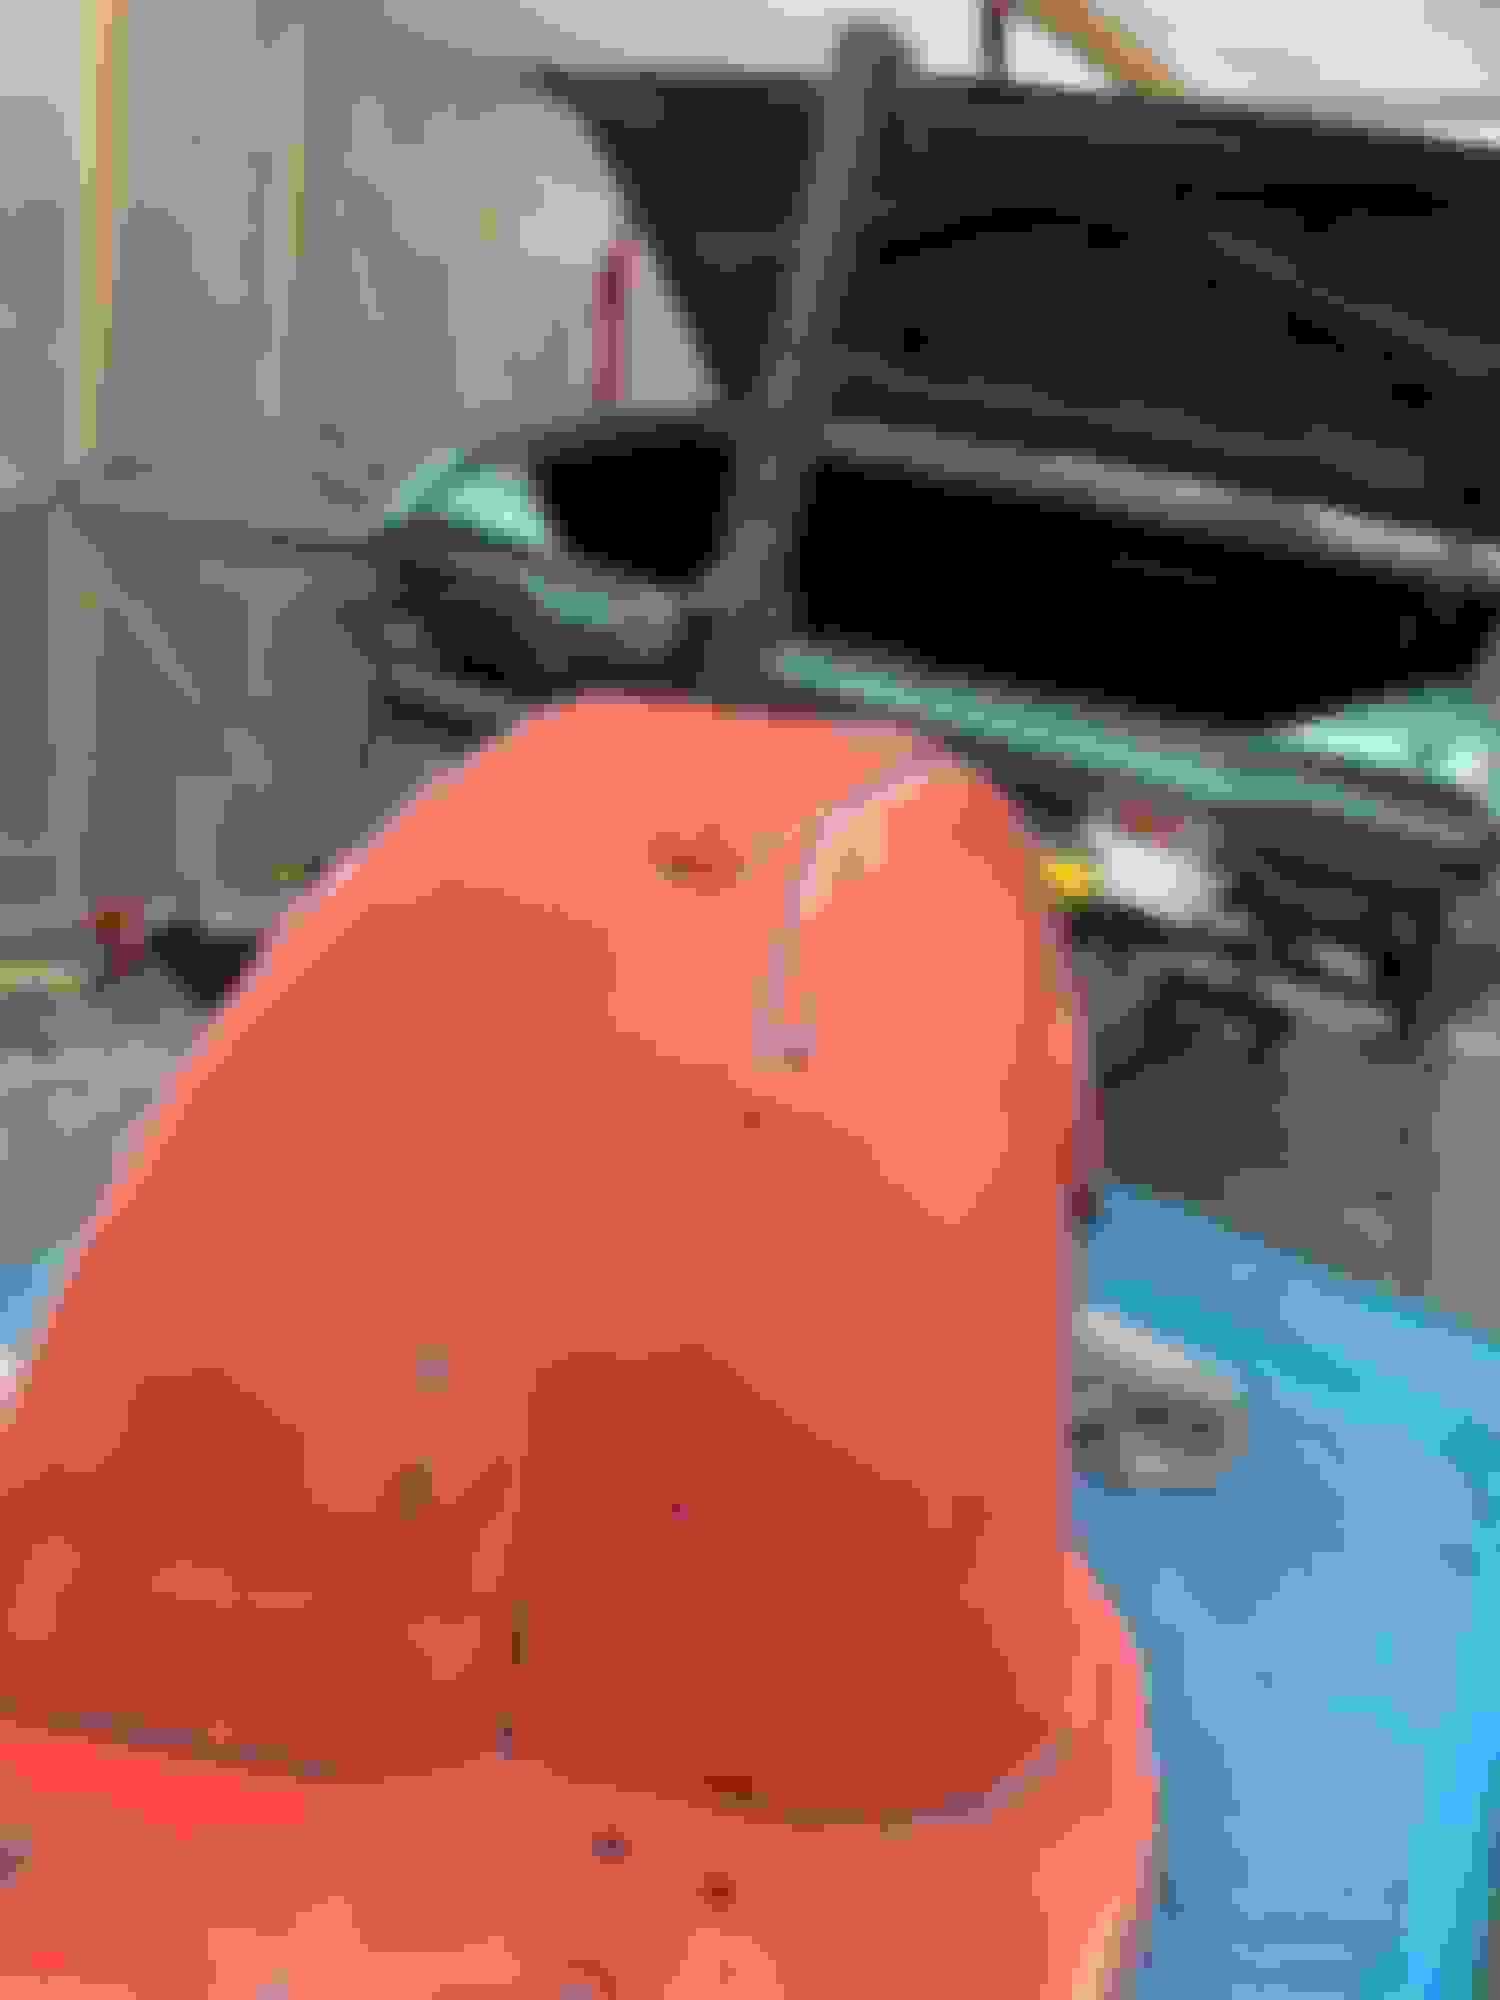
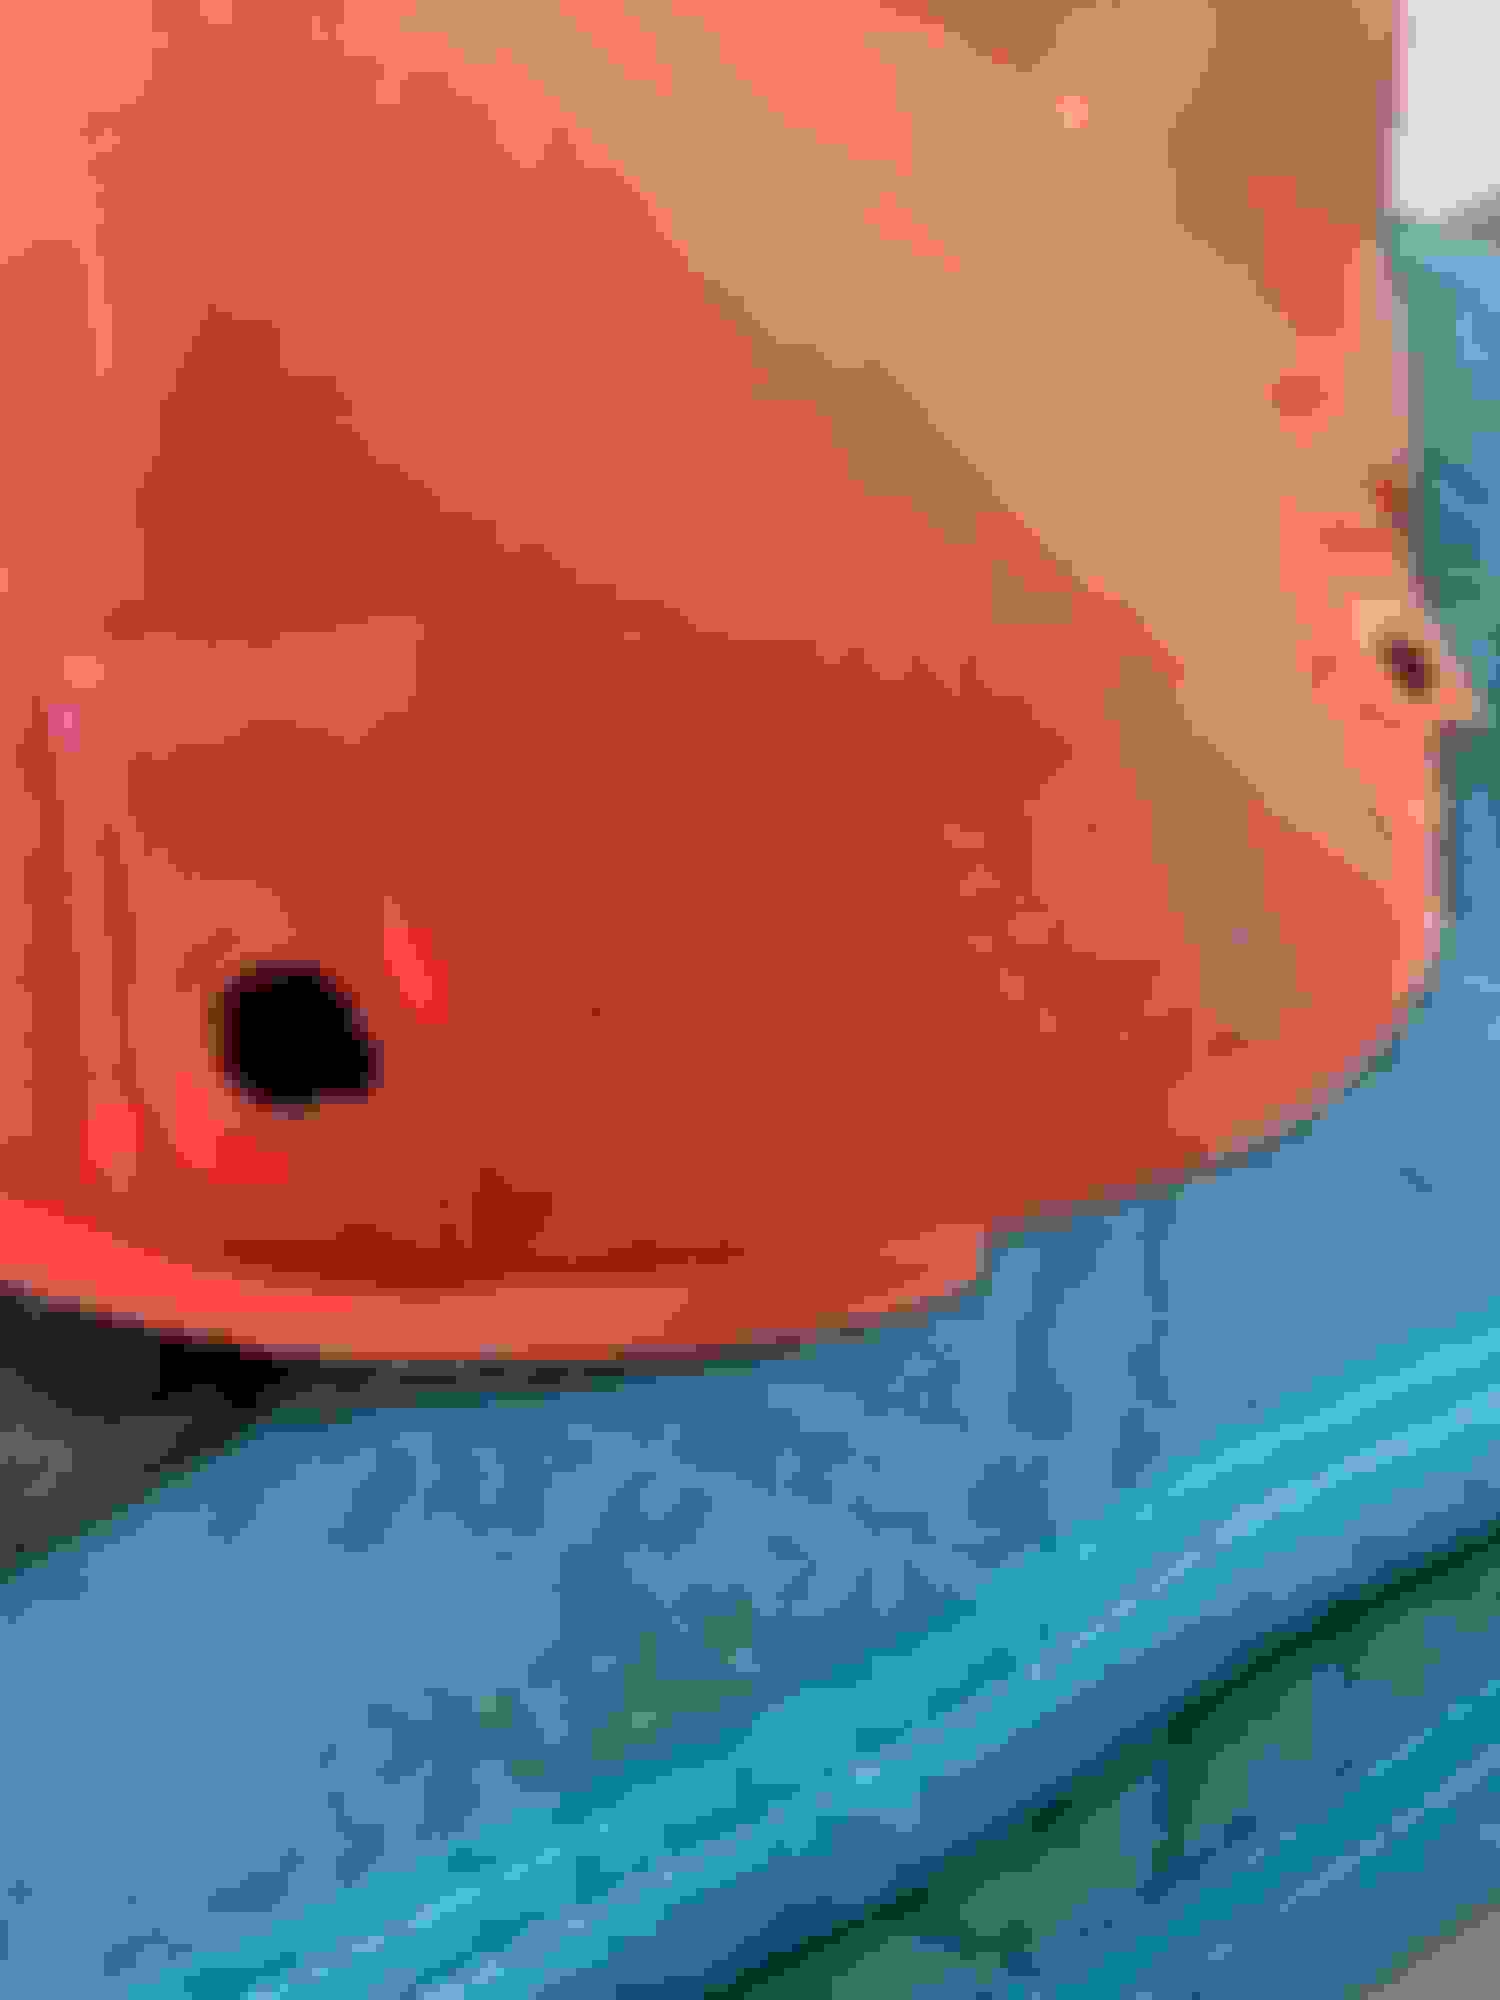
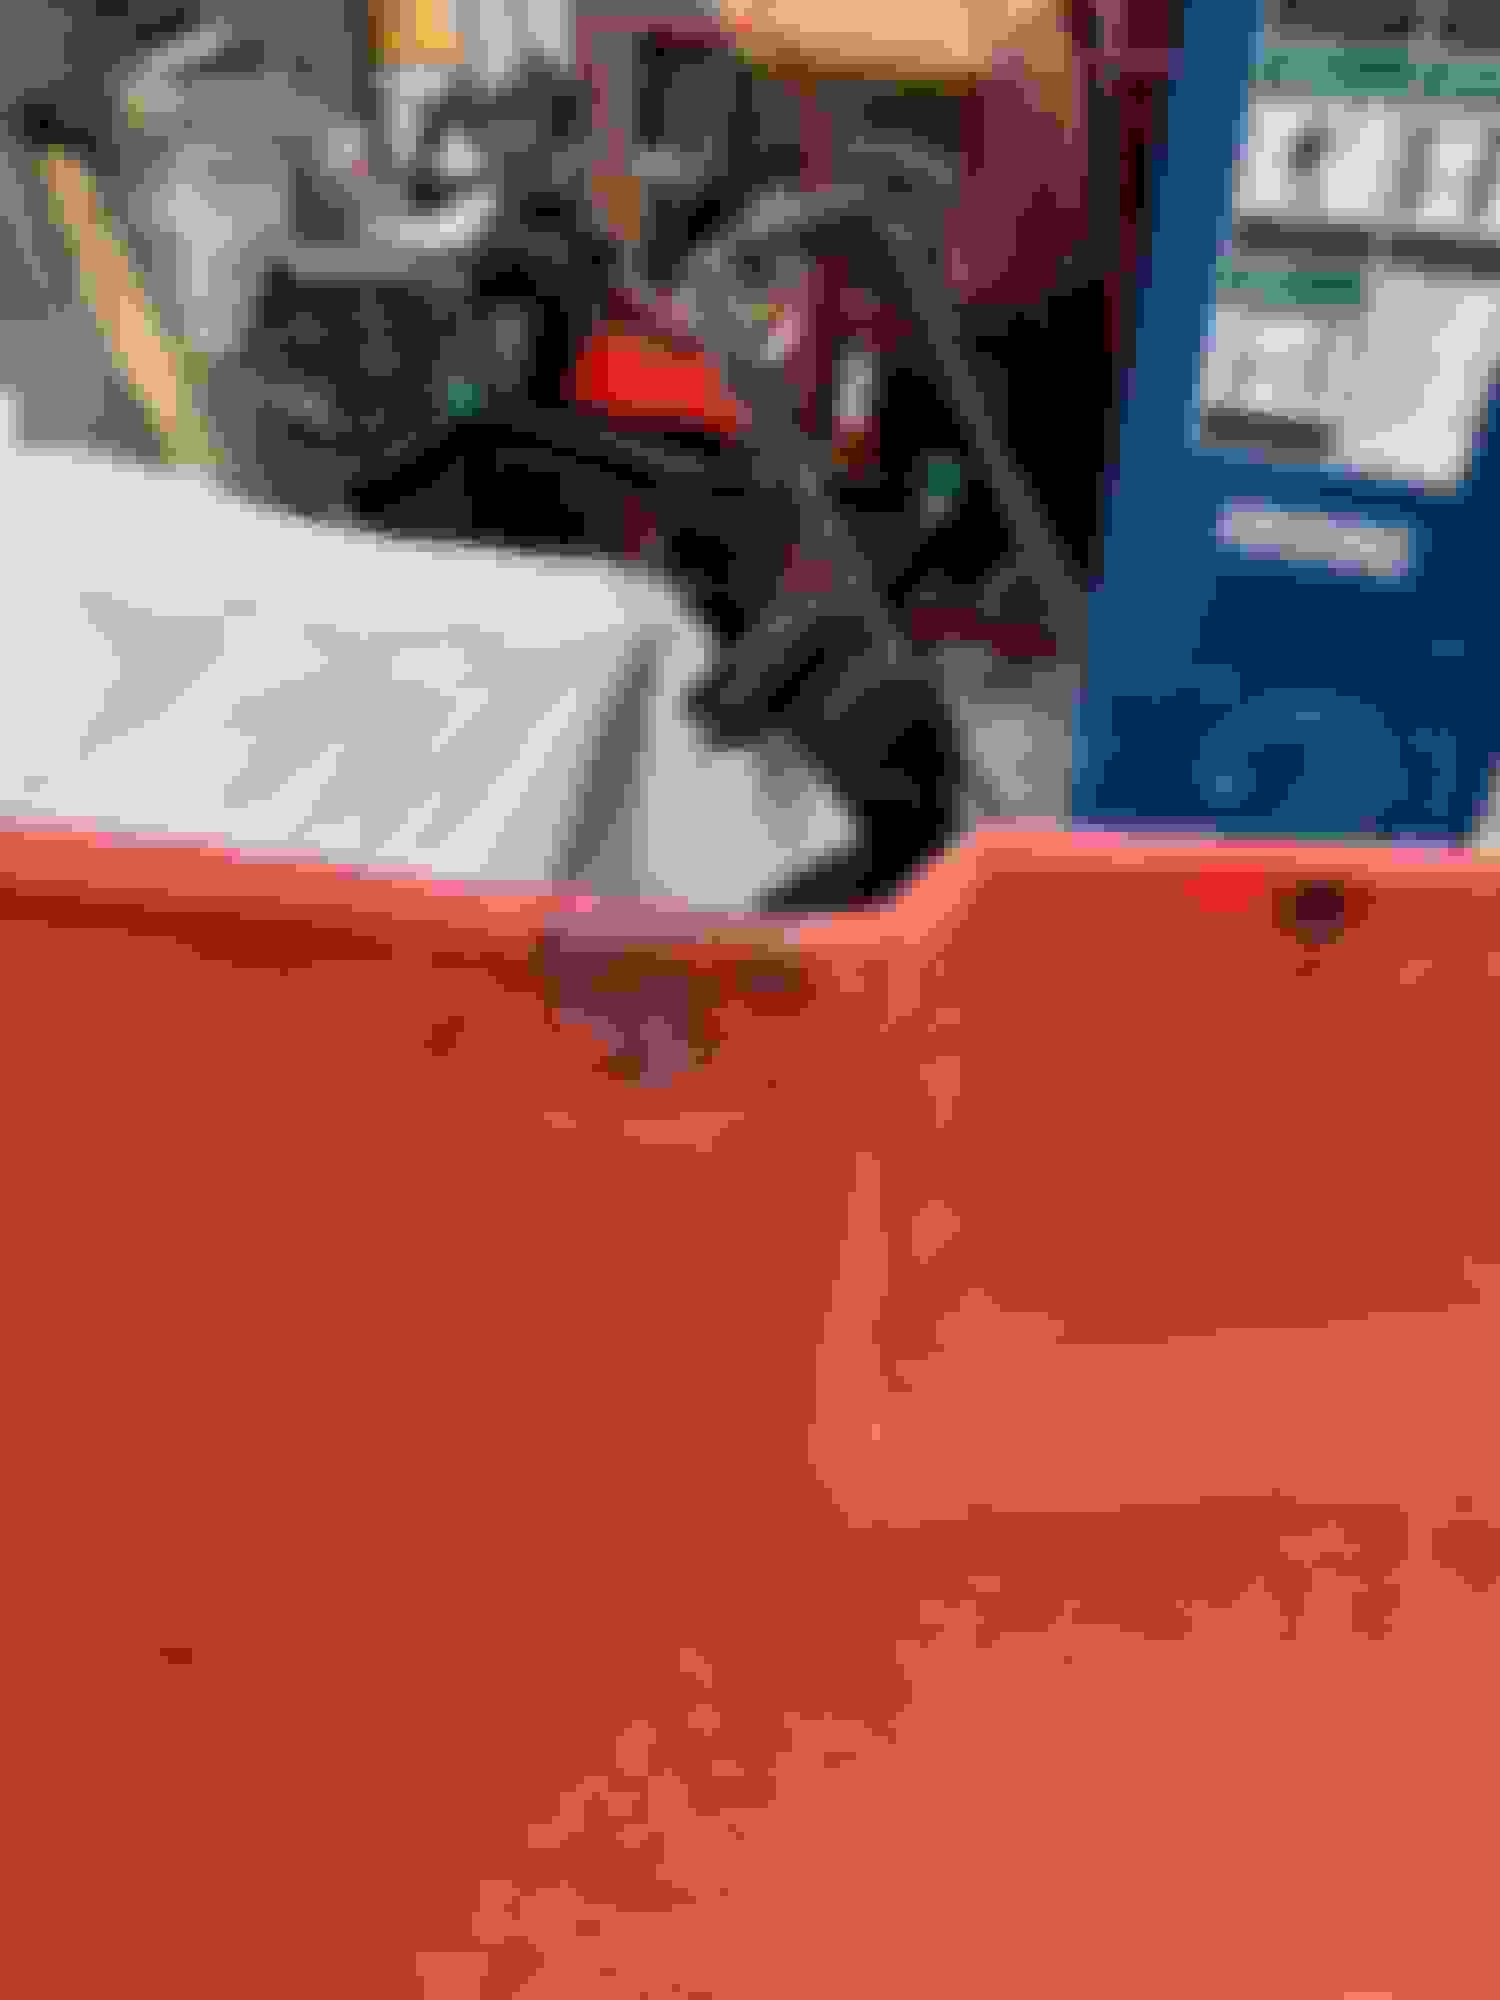
I started messing with these right after I got the car but soon figured it wasn't going to be easy and would take a lot of time and effort so I moved on to other things. Some guys had success with a lot of sanding and wet sanding along with other methods. I started going down that road and eventually found that wasn't going to work for these. When I bought the car, the wells were separate and I believe they came from another W30. The guy I bought the car from had just finished a resto on another 70 W30 and sold it at BJ. I'm thinking these may be from that car and I got the shitty ones. These wells were rough with a lot of tar, undercoat and turned white from what I believe is sun damage? I soon found out I wasn't gonna be able to sand that white out so I decided to dye/plastic paint. I still needed to do a LOT of sanding and resurfacing. I started with a power wash followed by lacquer thinner to remove tar, undercoat and whatever else. 180, 320, 600, 800, 1000, razor blade edge, grey scuff pad,1200. I also had two bolt holes that I used plastic weld from Polyvance. SEM vinyl/plastic cleaner, SEM vinyl leather prep, SEM adhesion promoter. I had my paint guy mix and tweak the SEM flame red color a bit to soften the red a bit to better match I think. I probably needed three coats to cover because it's real thin. Once I got the color on I topped it with SEM low luster clear plastic coat. I think the color looks ok and I think I will live with it unless I find a better alternative in the future. I then installed mud flaps from R.E.M. and ran out of staples. They will send me few more. The staples went back in the same holes. I'll finish the other one once I get the staples. What I started with
Last edited by scrappie; November 23rd, 2022 at 02:53 AM.
Wow Paul! Those came out fantastic! Really nice work and thanks again for the restoration process instructions! I’m envious of your progress. I’m hoping to get my 442 back together next summer when I make it back to Colorado.
Looks good. Man I hated that project when I did mine!
I have to agree Greg, that was not fun at all.
Originally Posted by jimlabo
Wow Paul! Those came out fantastic! Really nice work and thanks again for the restoration process instructions! I�m envious of your progress. I�m hoping to get my 442 back together next summer when I make it back to Colorado.
Happy Thanksgiving!
Jim
Thx Jim, hang in there. It's a marathon not a sprint. I'm kinda in a holding pattern right now with the motor so I'm cleaning up loose ends. Happy Thanksgiving to you as well.
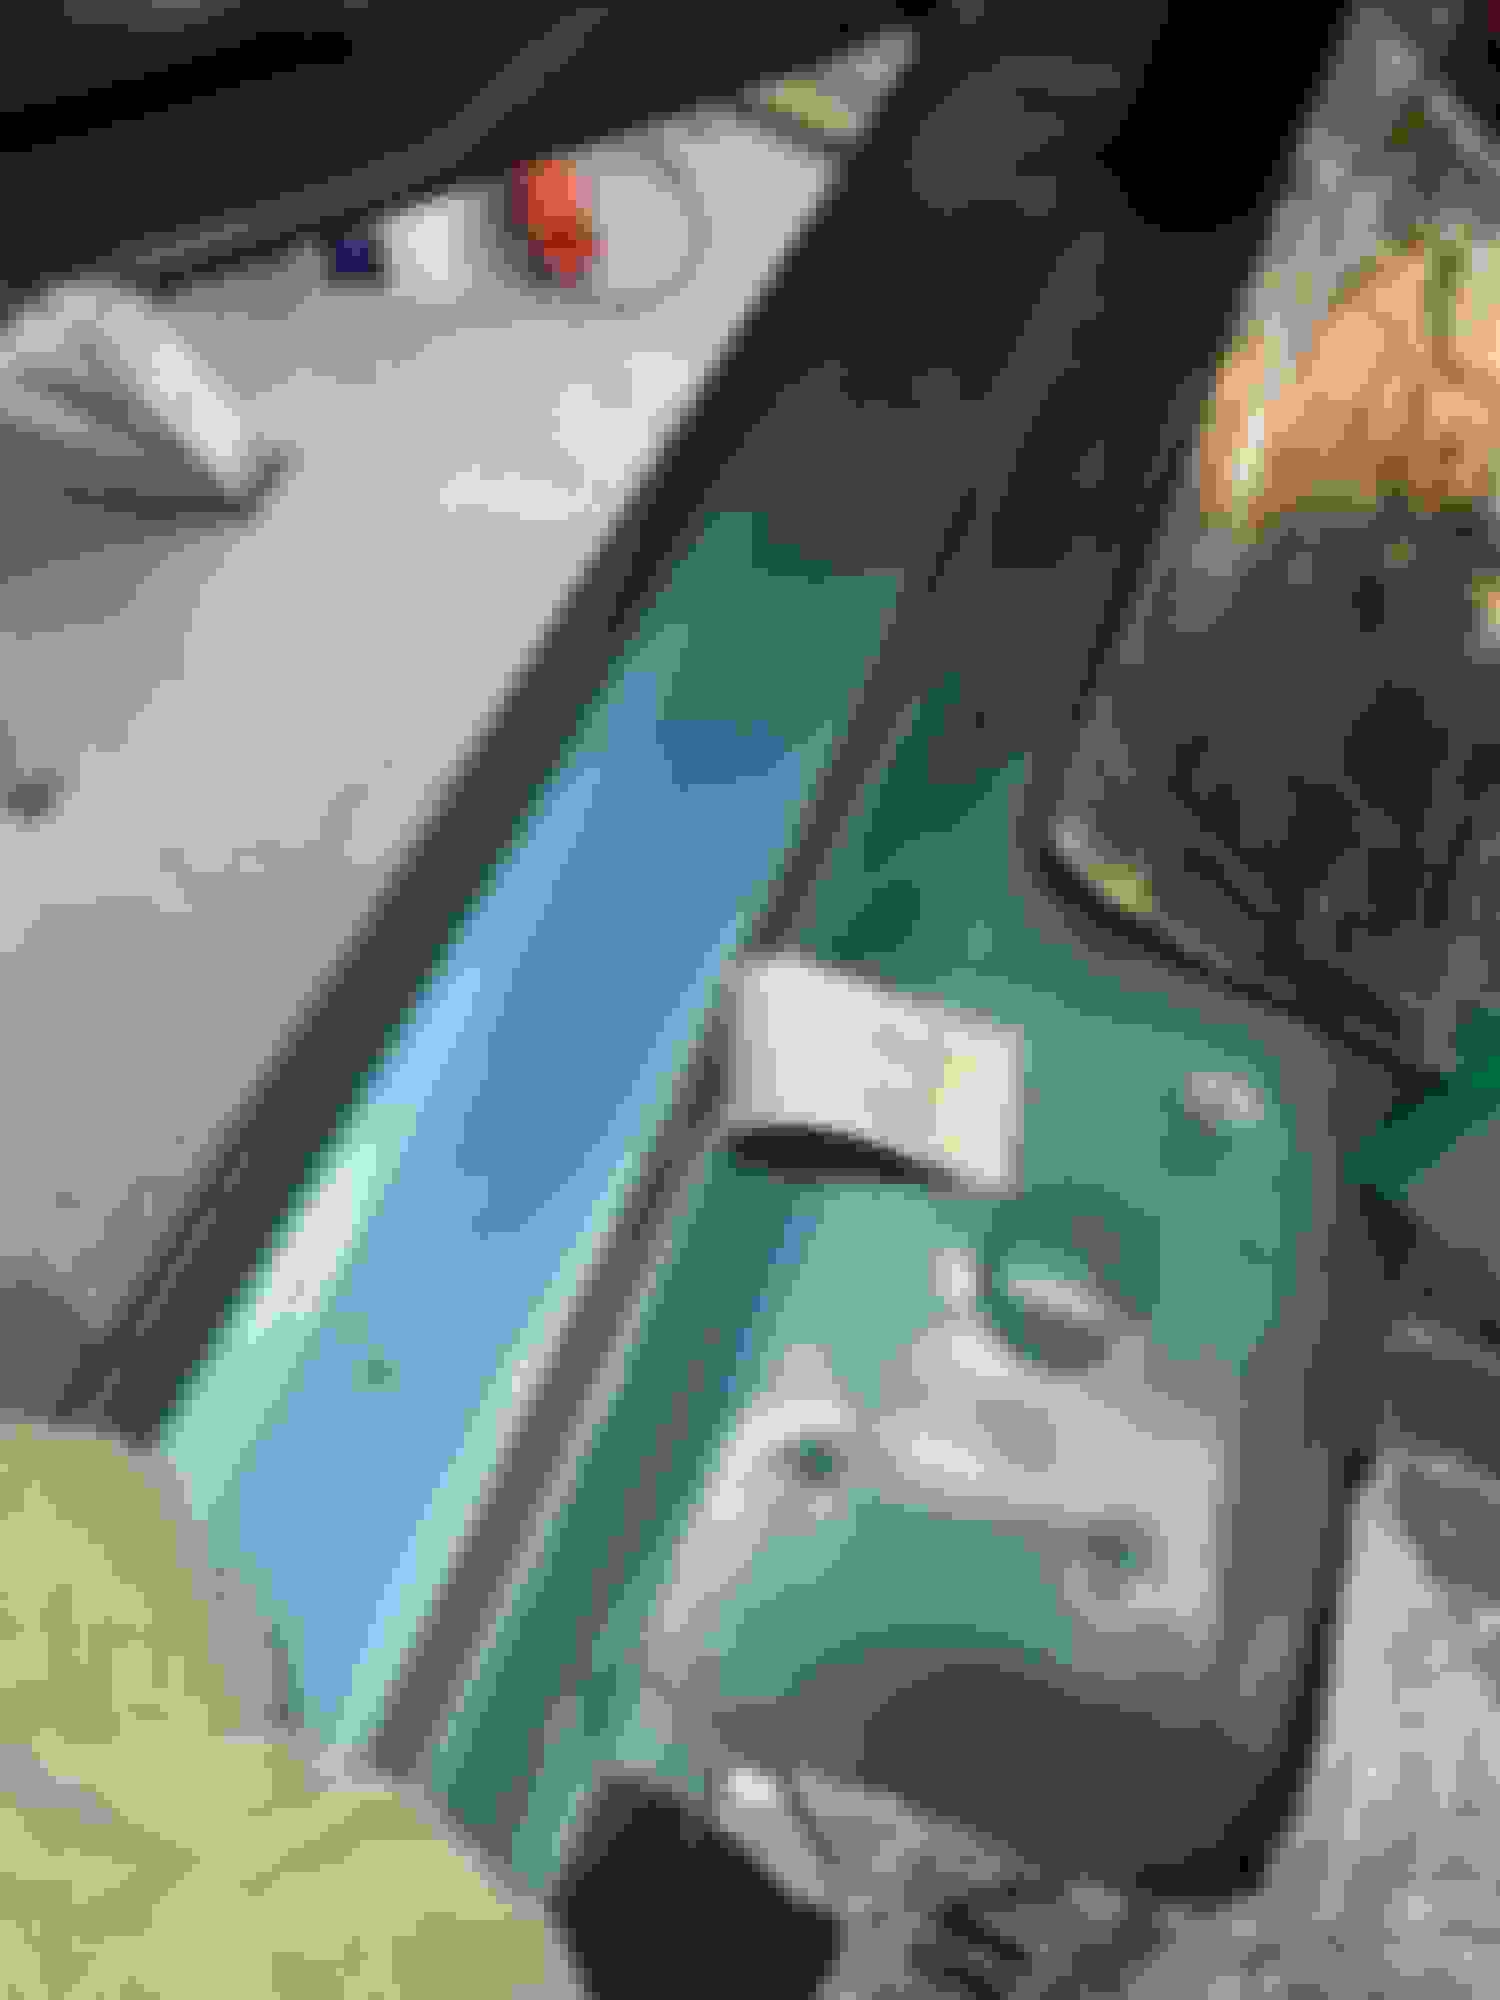
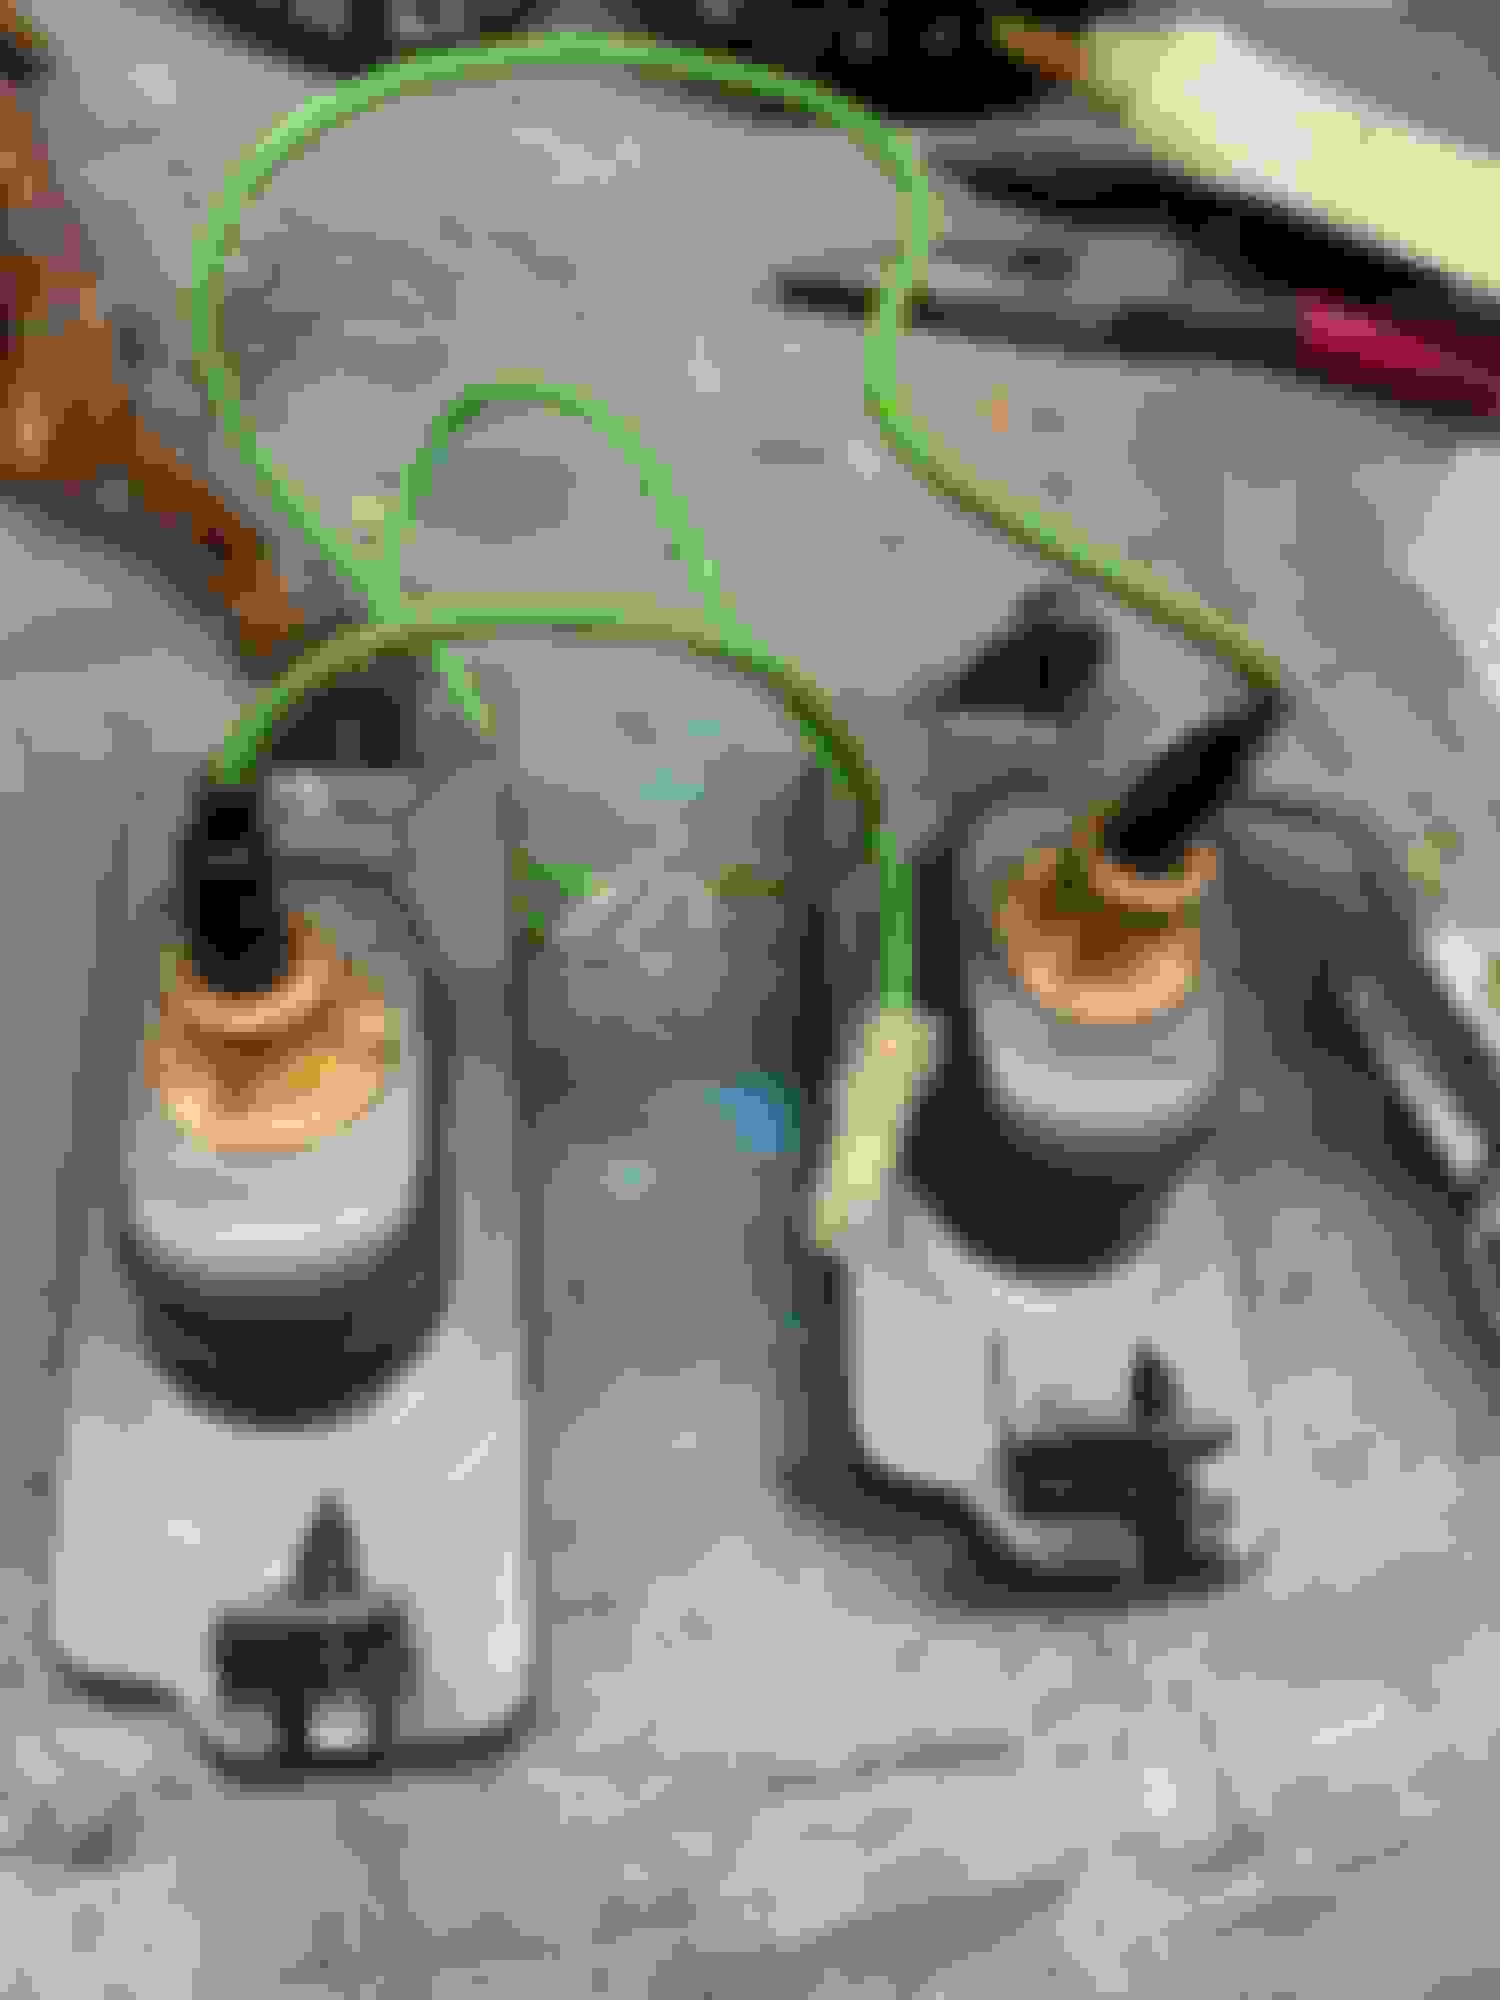
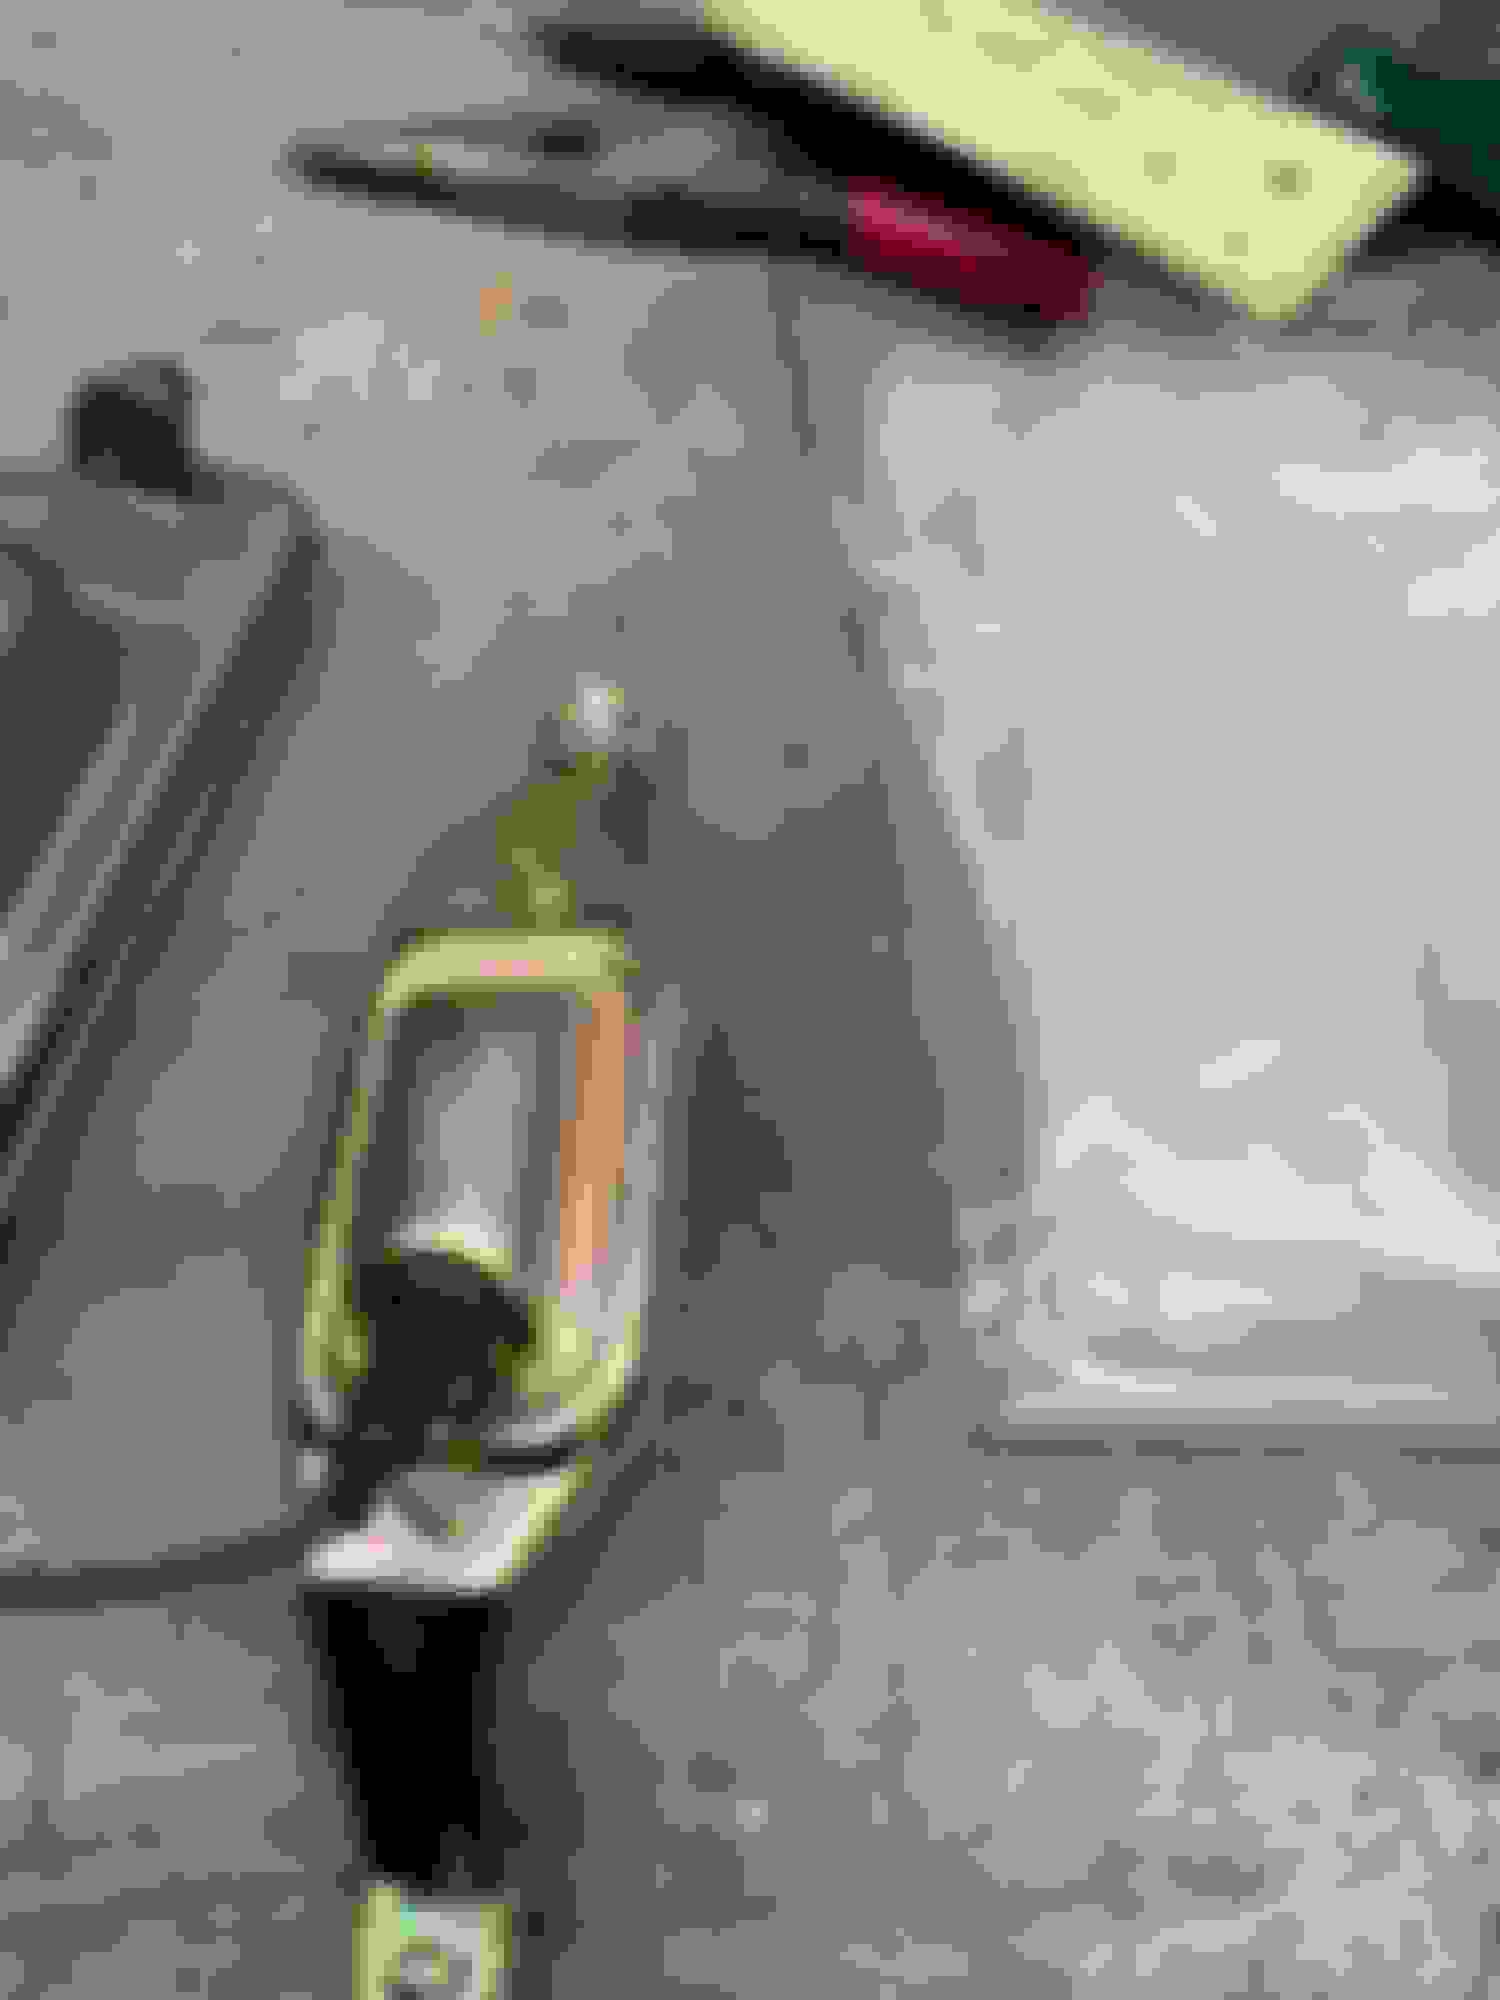
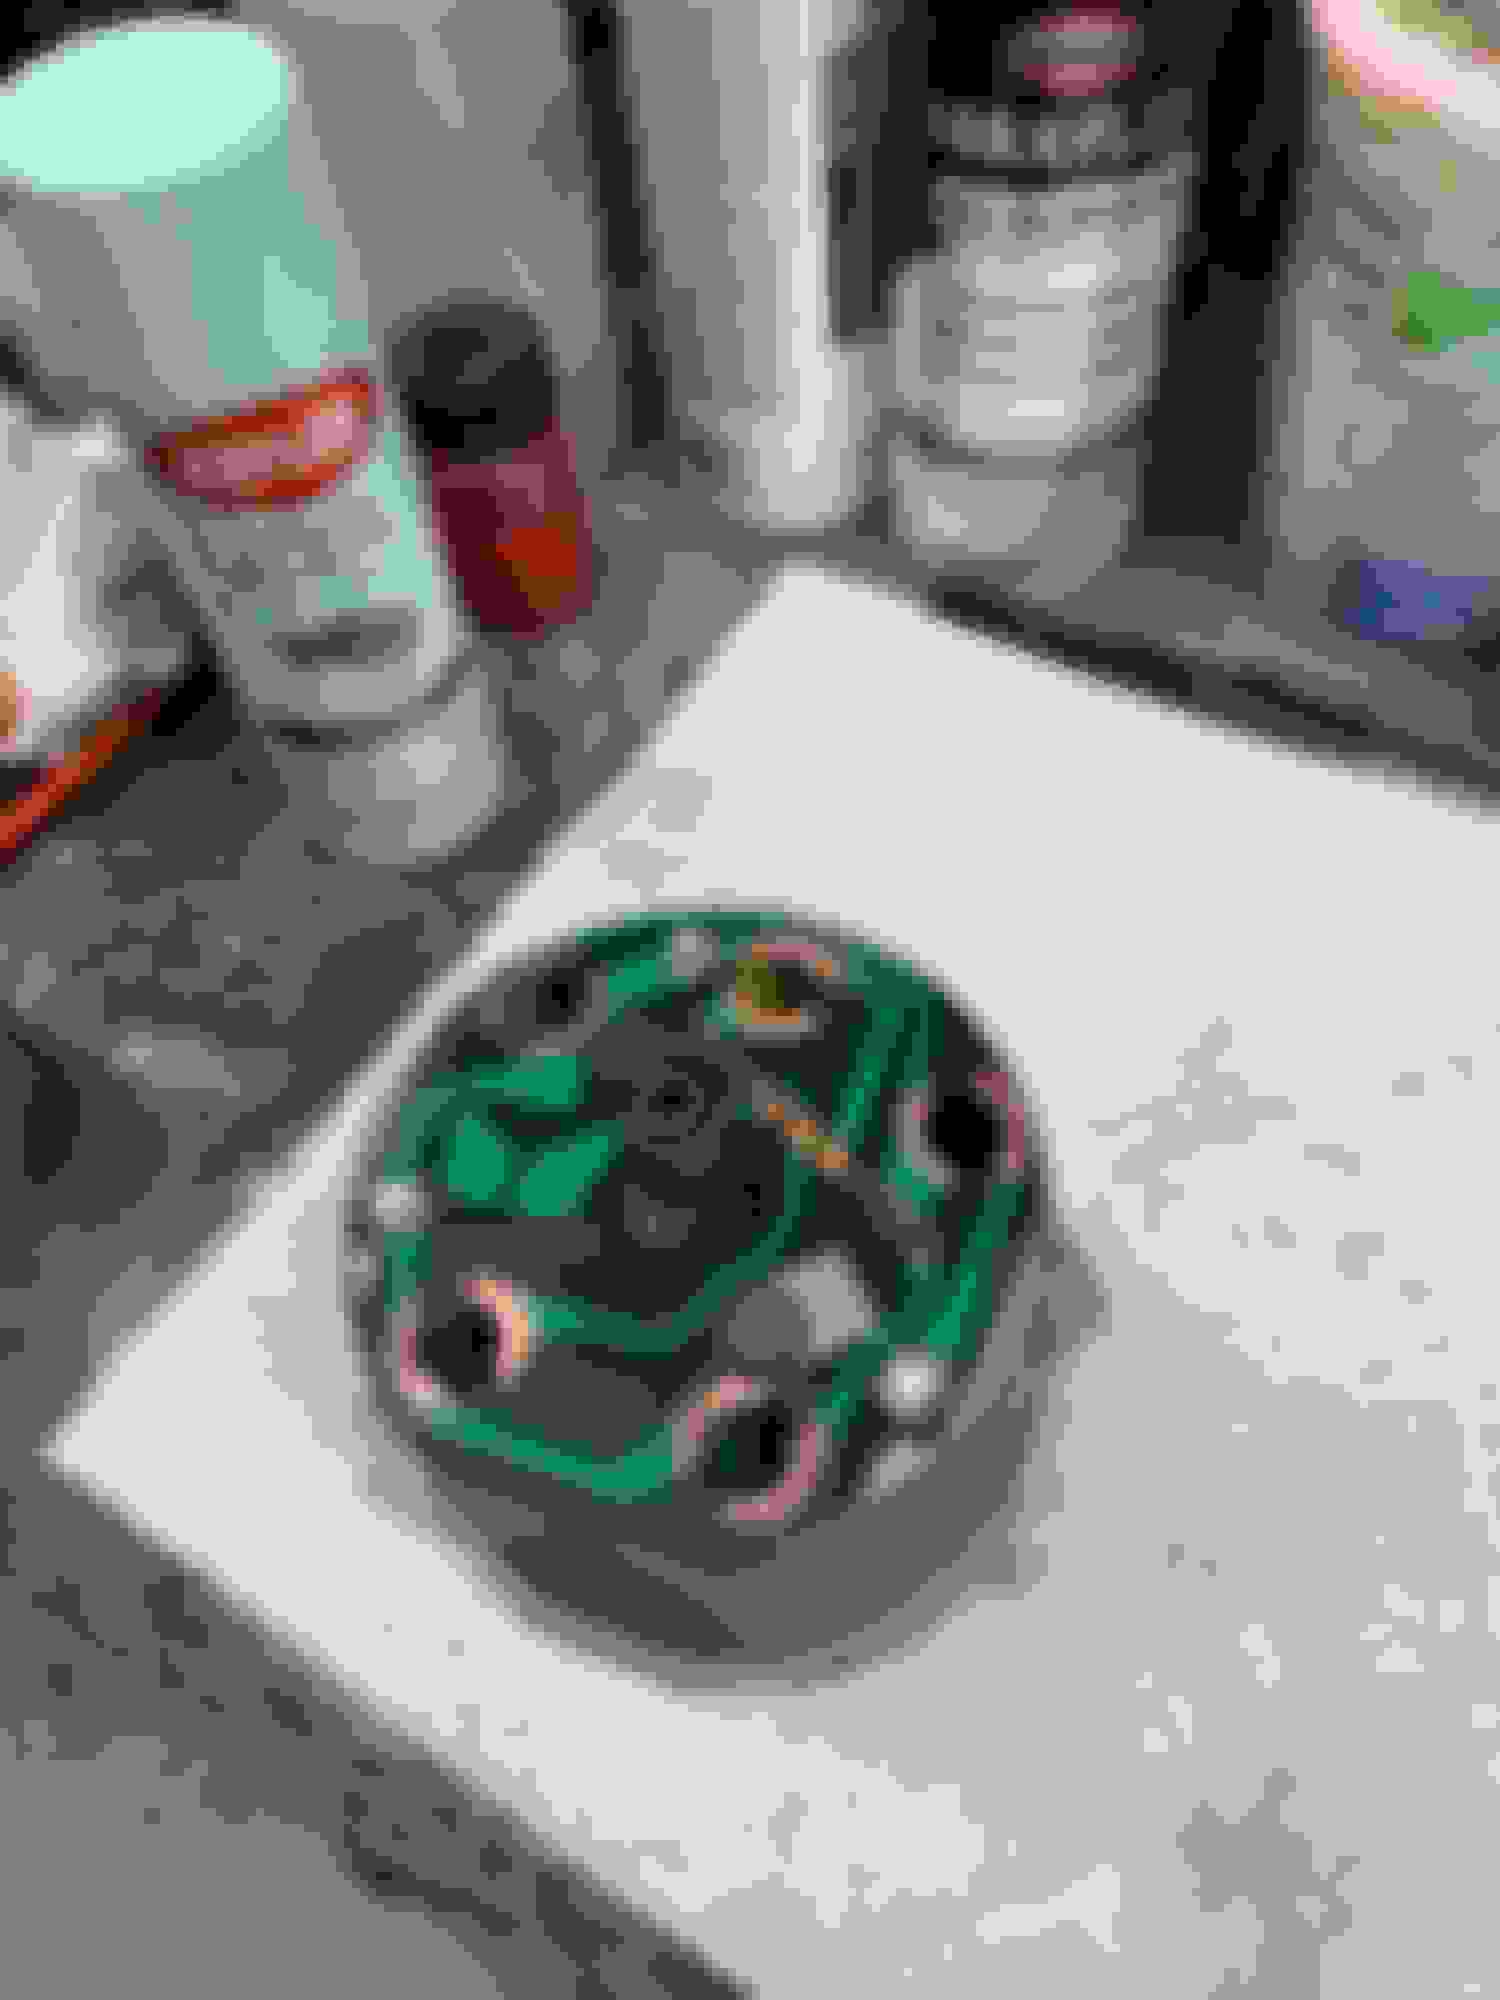
A while back I posted in another thread looking for recommendations for radio repair. A lot of you guys replied and I appreciate that. I called a couple and lead time was pretty long. Andy (from Sarasota) posted a screen shot of guy who is on CO and offered his services. He goes by the name of Jim Shepard who is retired and works on this stuff. I gave him a call and we talked a bit and I felt pretty good so I decided to send it to him. I was looking for someone close by at first and he is in AZ and I'm in MA but the shipping through USPS was just 3 days. I shipped it on a sat and he got it on tues. He texted me on tuesday morning when he got it and said he would look at it later that day. He had it apart and diagnosed within hours and he texted me pictures and video of what he was doing and then a video of it fixed. He showed me voltage readings of what they were and told me what they should be. It turned out to be a power supply regulator he switched out and he showed me a vid of it working after. He then went through the whole thing and cleaned, adjusted tuning, replaced bulb and installed blue tooth. Blue tooth works off the last push button which has been disabled and does not change the looks or operation of the am/fm stereo at all.
Needless to say I was really impressed with Jim's knowledge and expertise. It turns out Jim is a retired Motorola engineer and really "knows radios" and enjoys working on them. I should have it back monday. Not bad, NINE day turn around! Jim doesn't work for free but very reasonable and if any of you are looking for radio repair or modernization I can highly recommend Jim, his services and expertise.
Jim Shepard
Scottsdale AZ
480-235-1964
I tried to upload the videos but they are too big
Last edited by scrappie; November 25th, 2022 at 06:33 AM.
[QUOTE=scrappie;1438814]Got some help and got the dash in. I needed another set of hands to avoid scratching the fresh paint on the metal. I was waiting as long as I could because I still have cut and buff and I didn't want to be doing that with the dash in but I cant wait any longer. Hooked up the duct work and cables and what wiring I could. I also decided to insulate the floor.
I'm starting to prep the door regulators and glass for install. The car has the original clear glass. I have tinted glass also from other parted cars and thinking of putting that in. I dont know about date codes on glass but thinking it may be worth it? Some glass I have is PPG and most is LOF. Any info on that?
I saved everything during disassembly including the stickers on the inside of the doors. Not exactly sure what they are? They were with the door hdw so I put them back on. I know its kind of over detailing but I had them so why not? I have some before and after pics.
Wonderful work and great job with the glass. The labels inside of the doors were to keep the service department at the dealer 1/2 honest for warranty work. They had to remove the label and send it in to get reimbursed for adjusting the window.
Dustin
I saw a sticker like that on my passenger door and thought it might have been a replacement door! LOL! The driver's door did not have one. Maybe the electric window on the driver's side had warranty work??
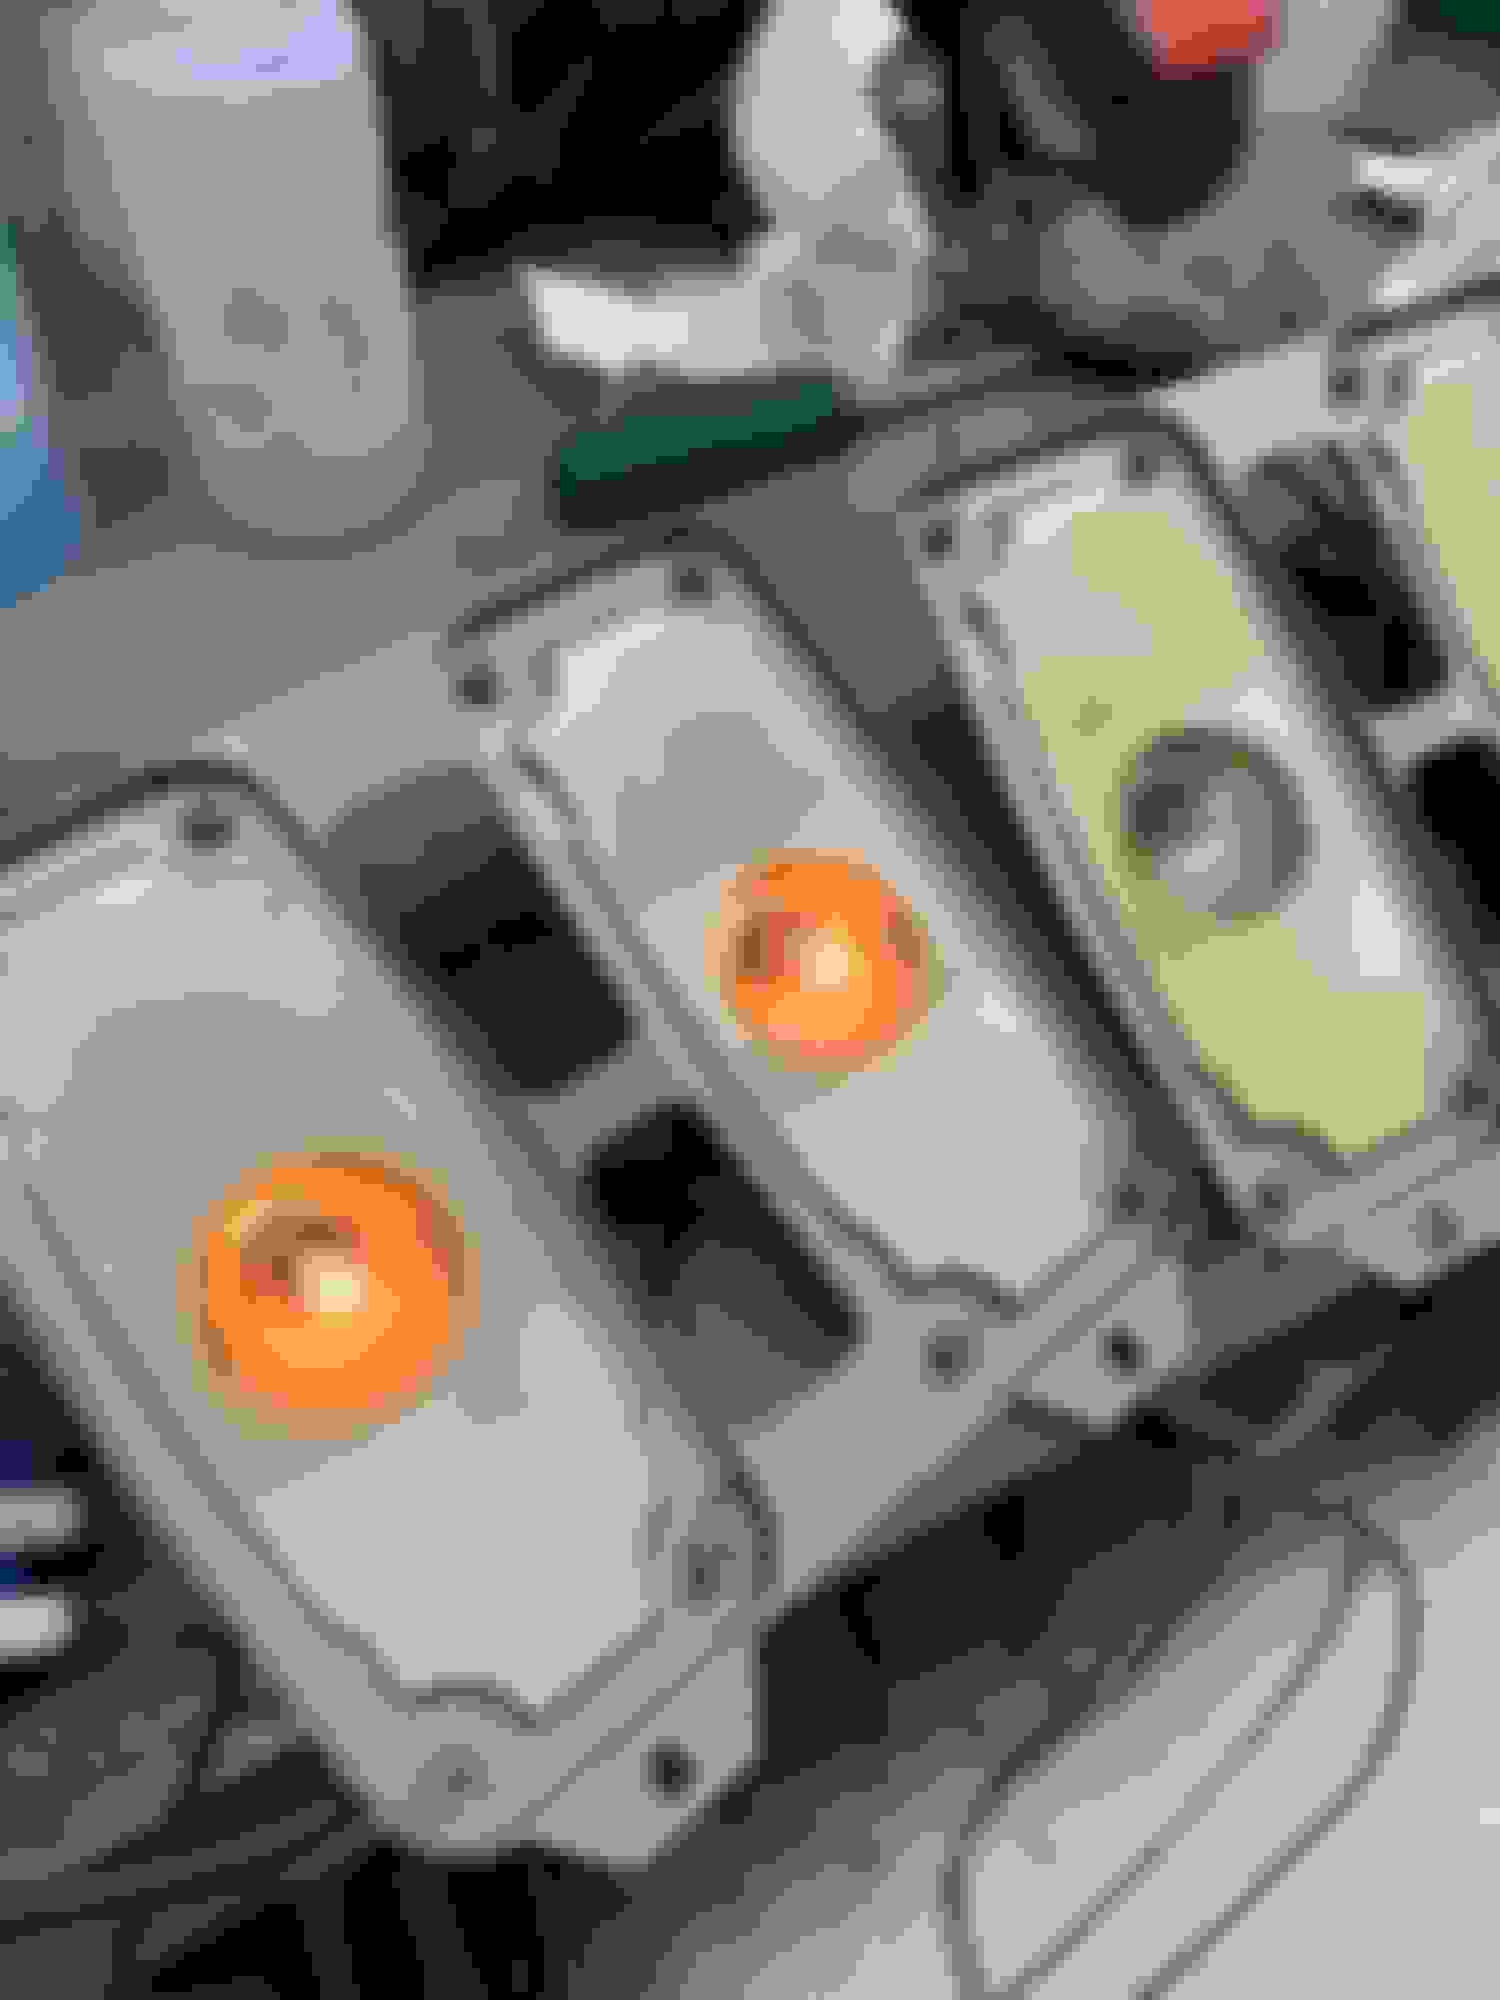
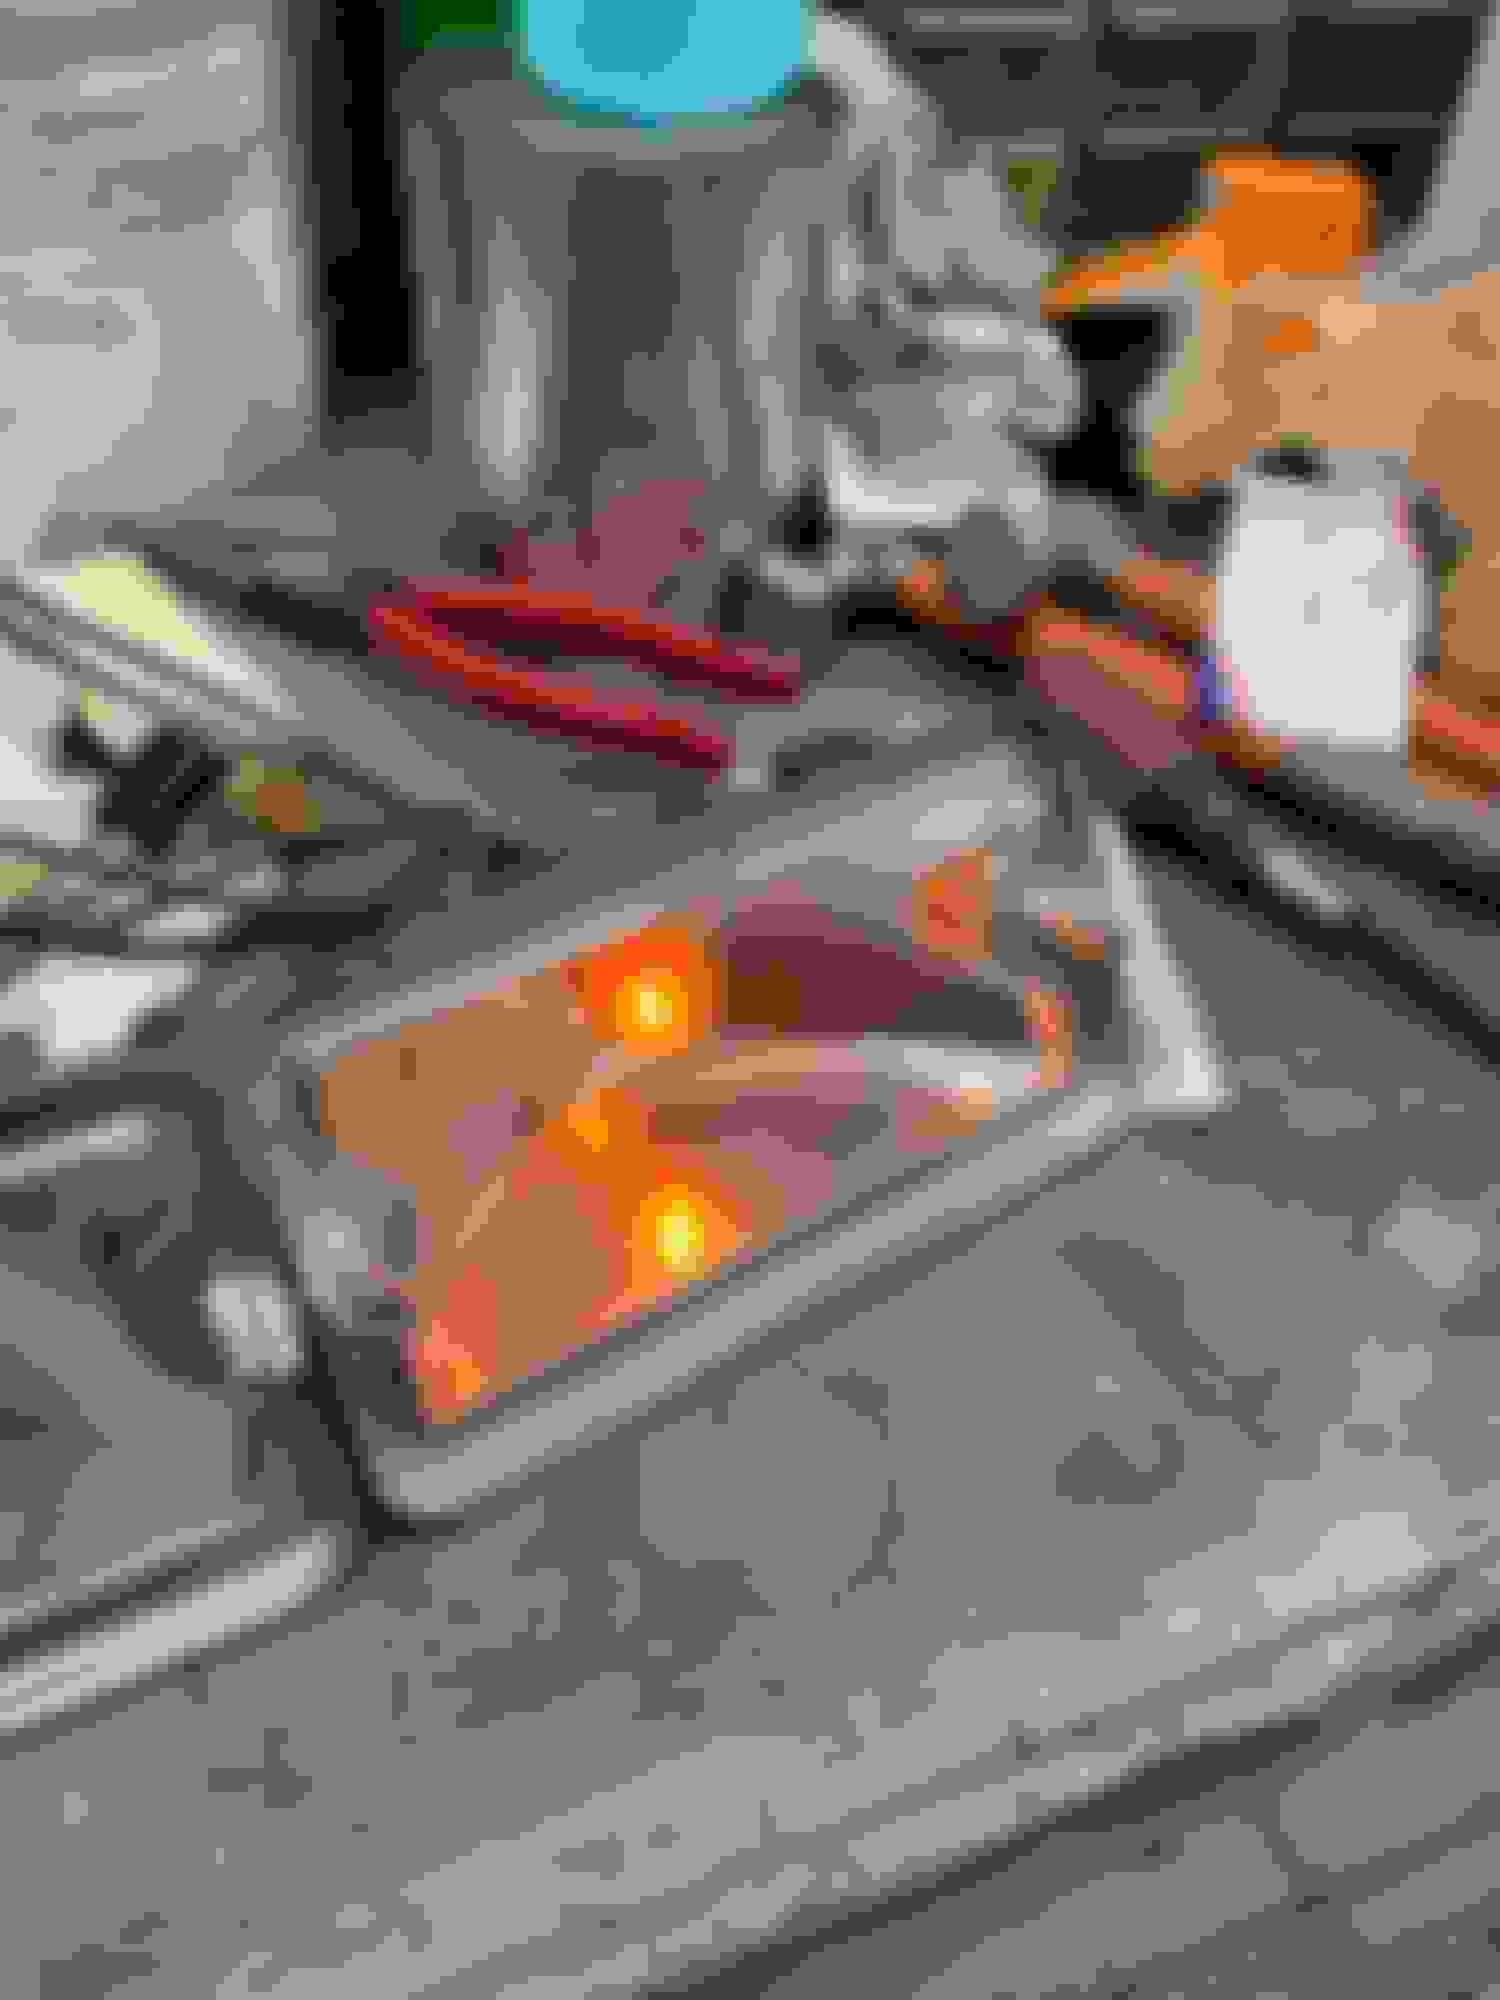
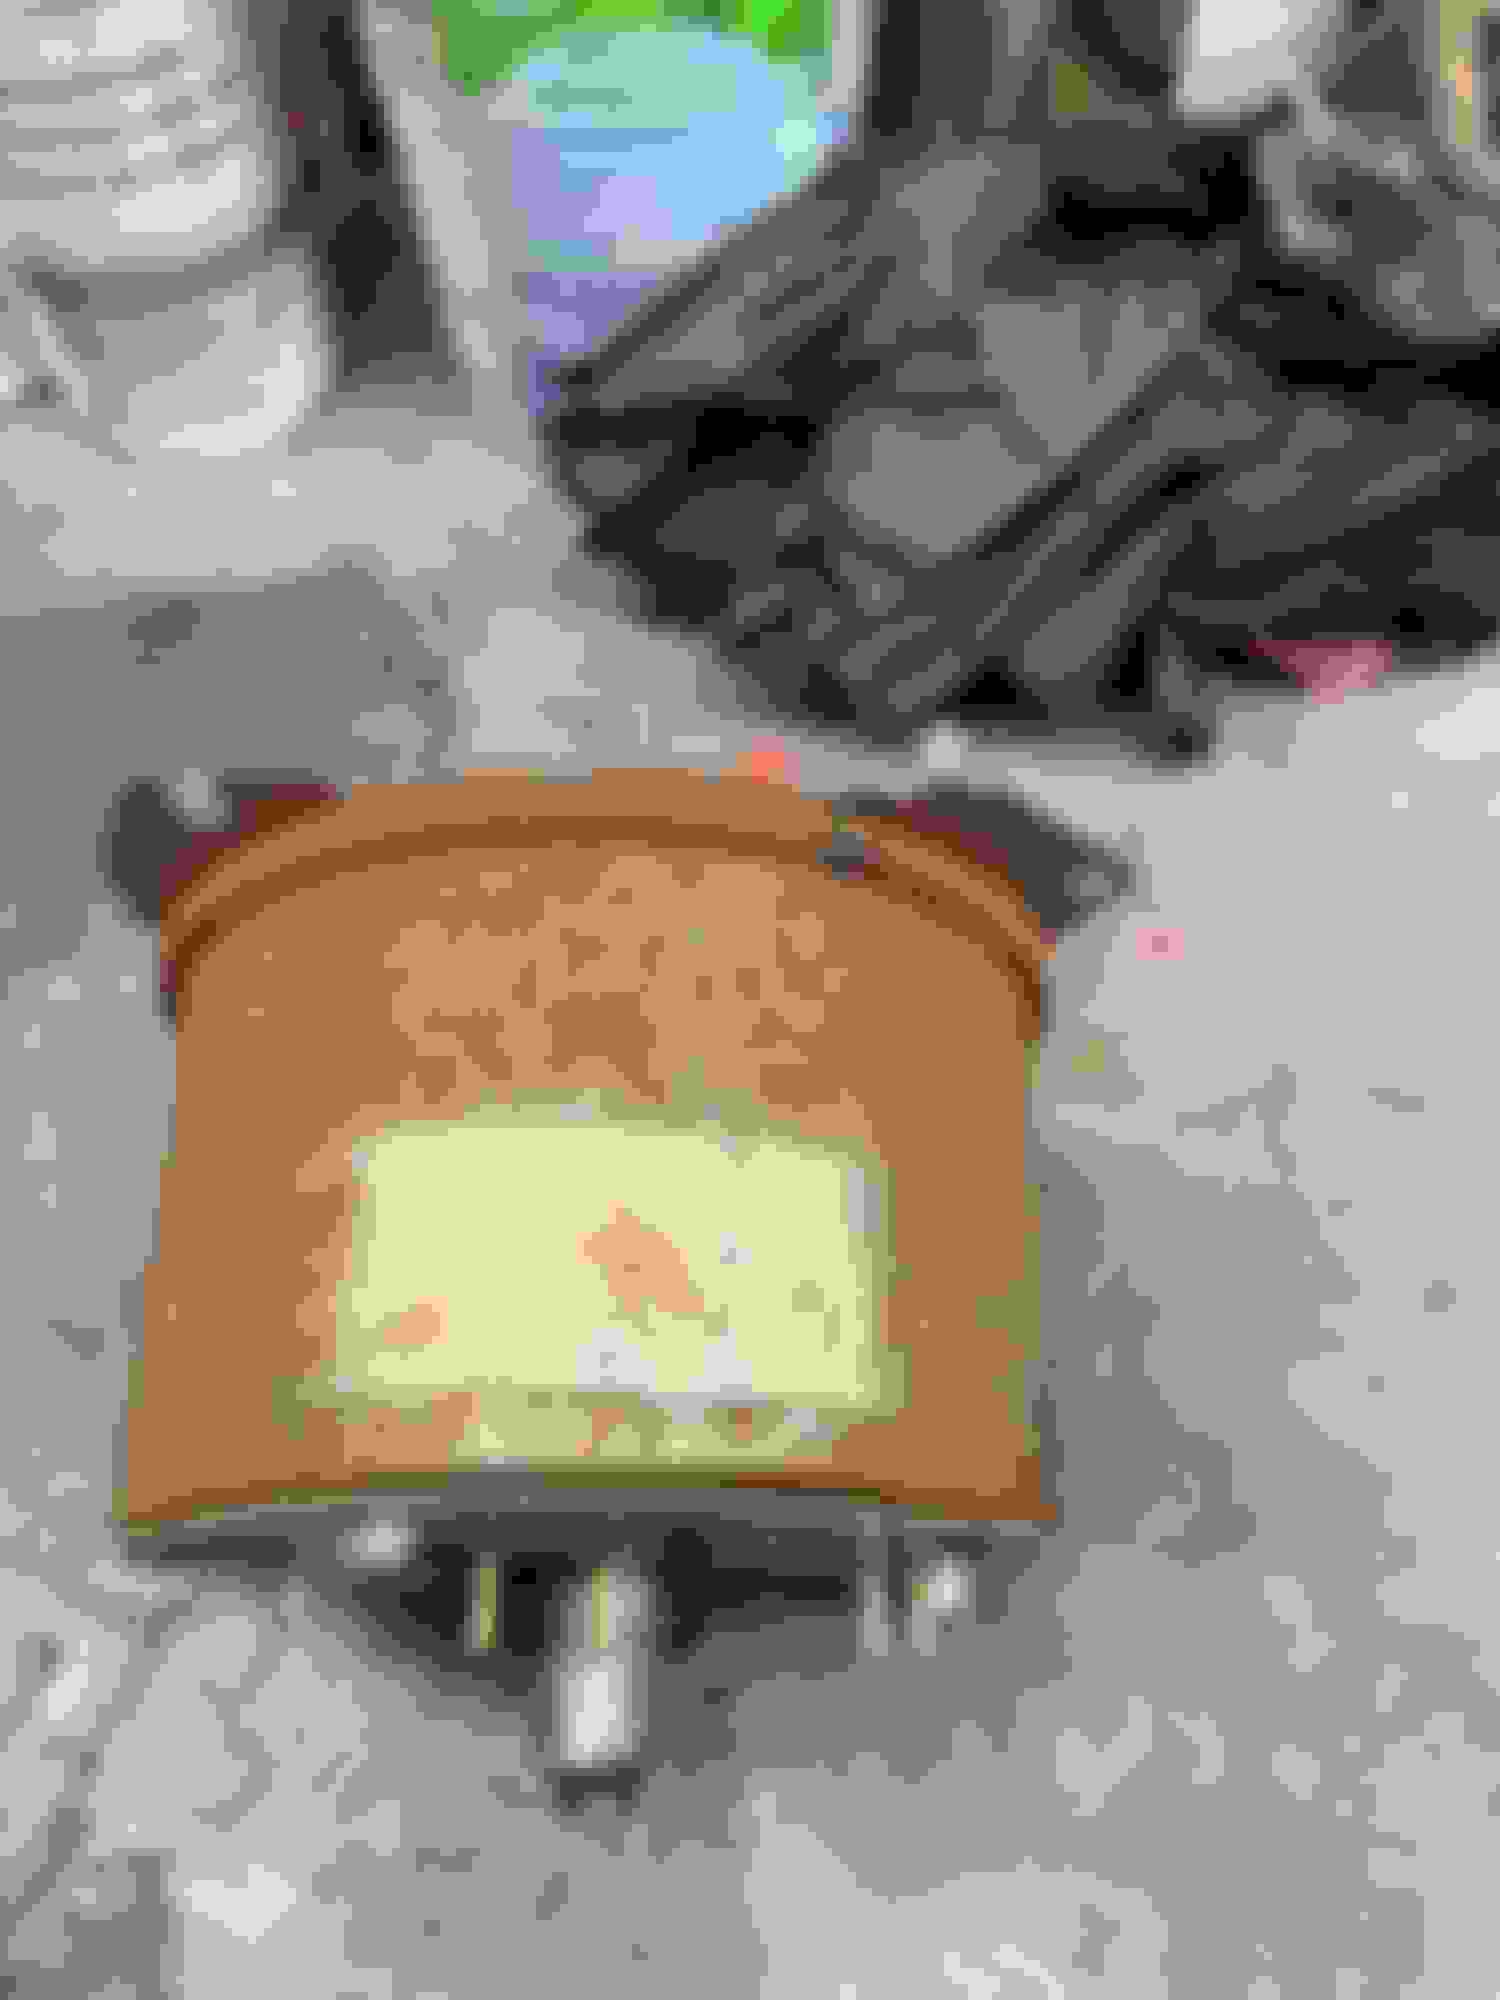
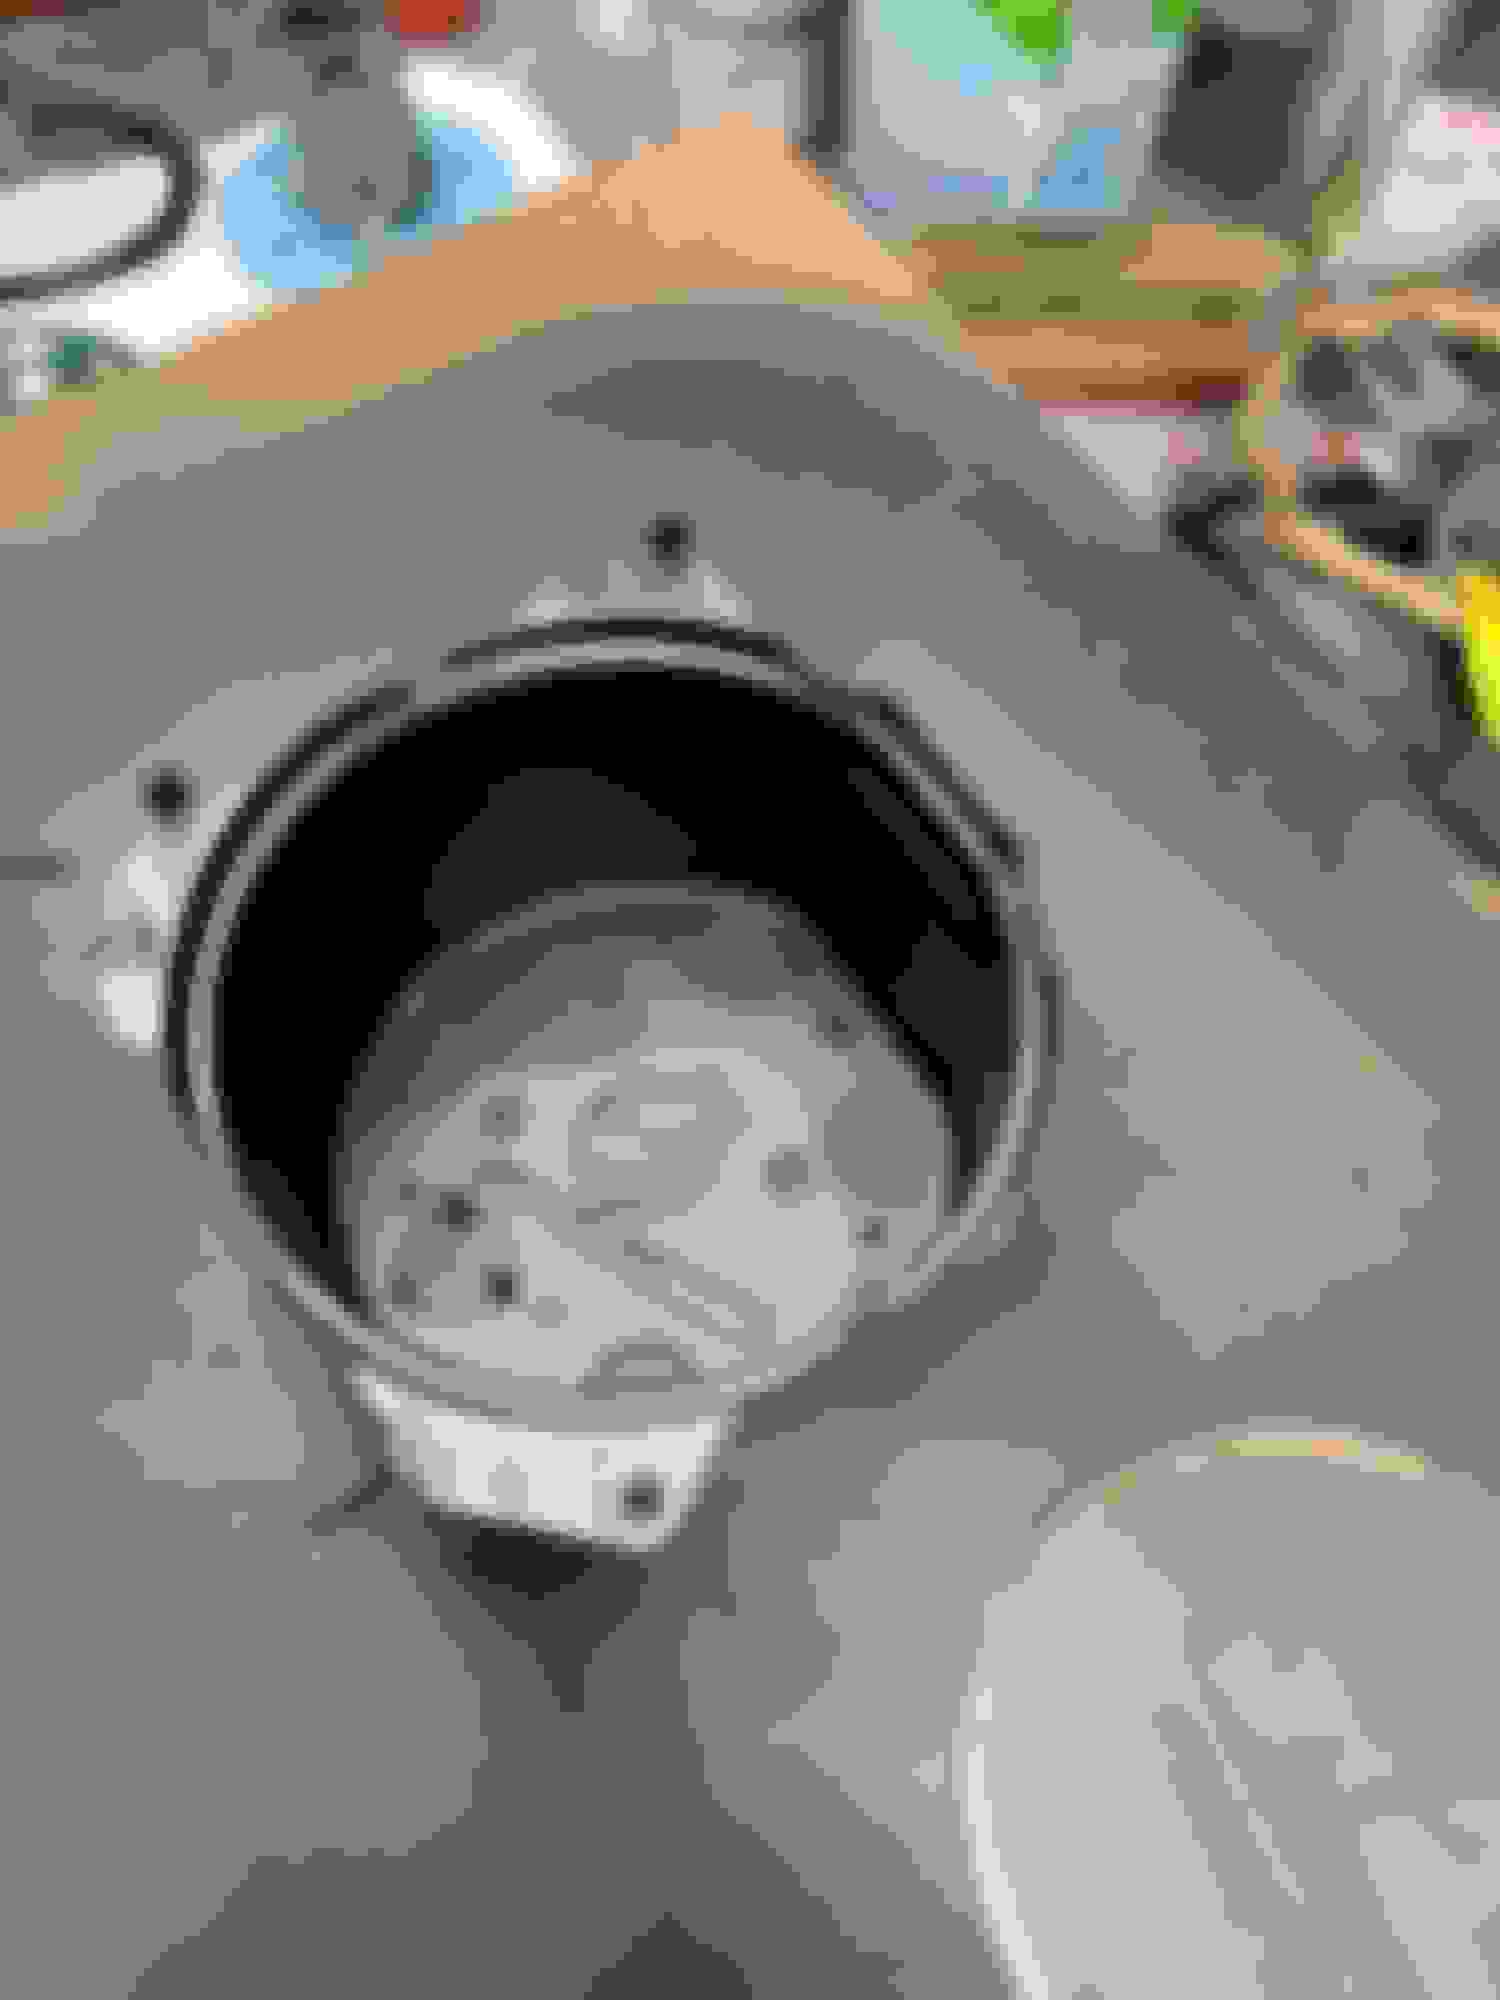
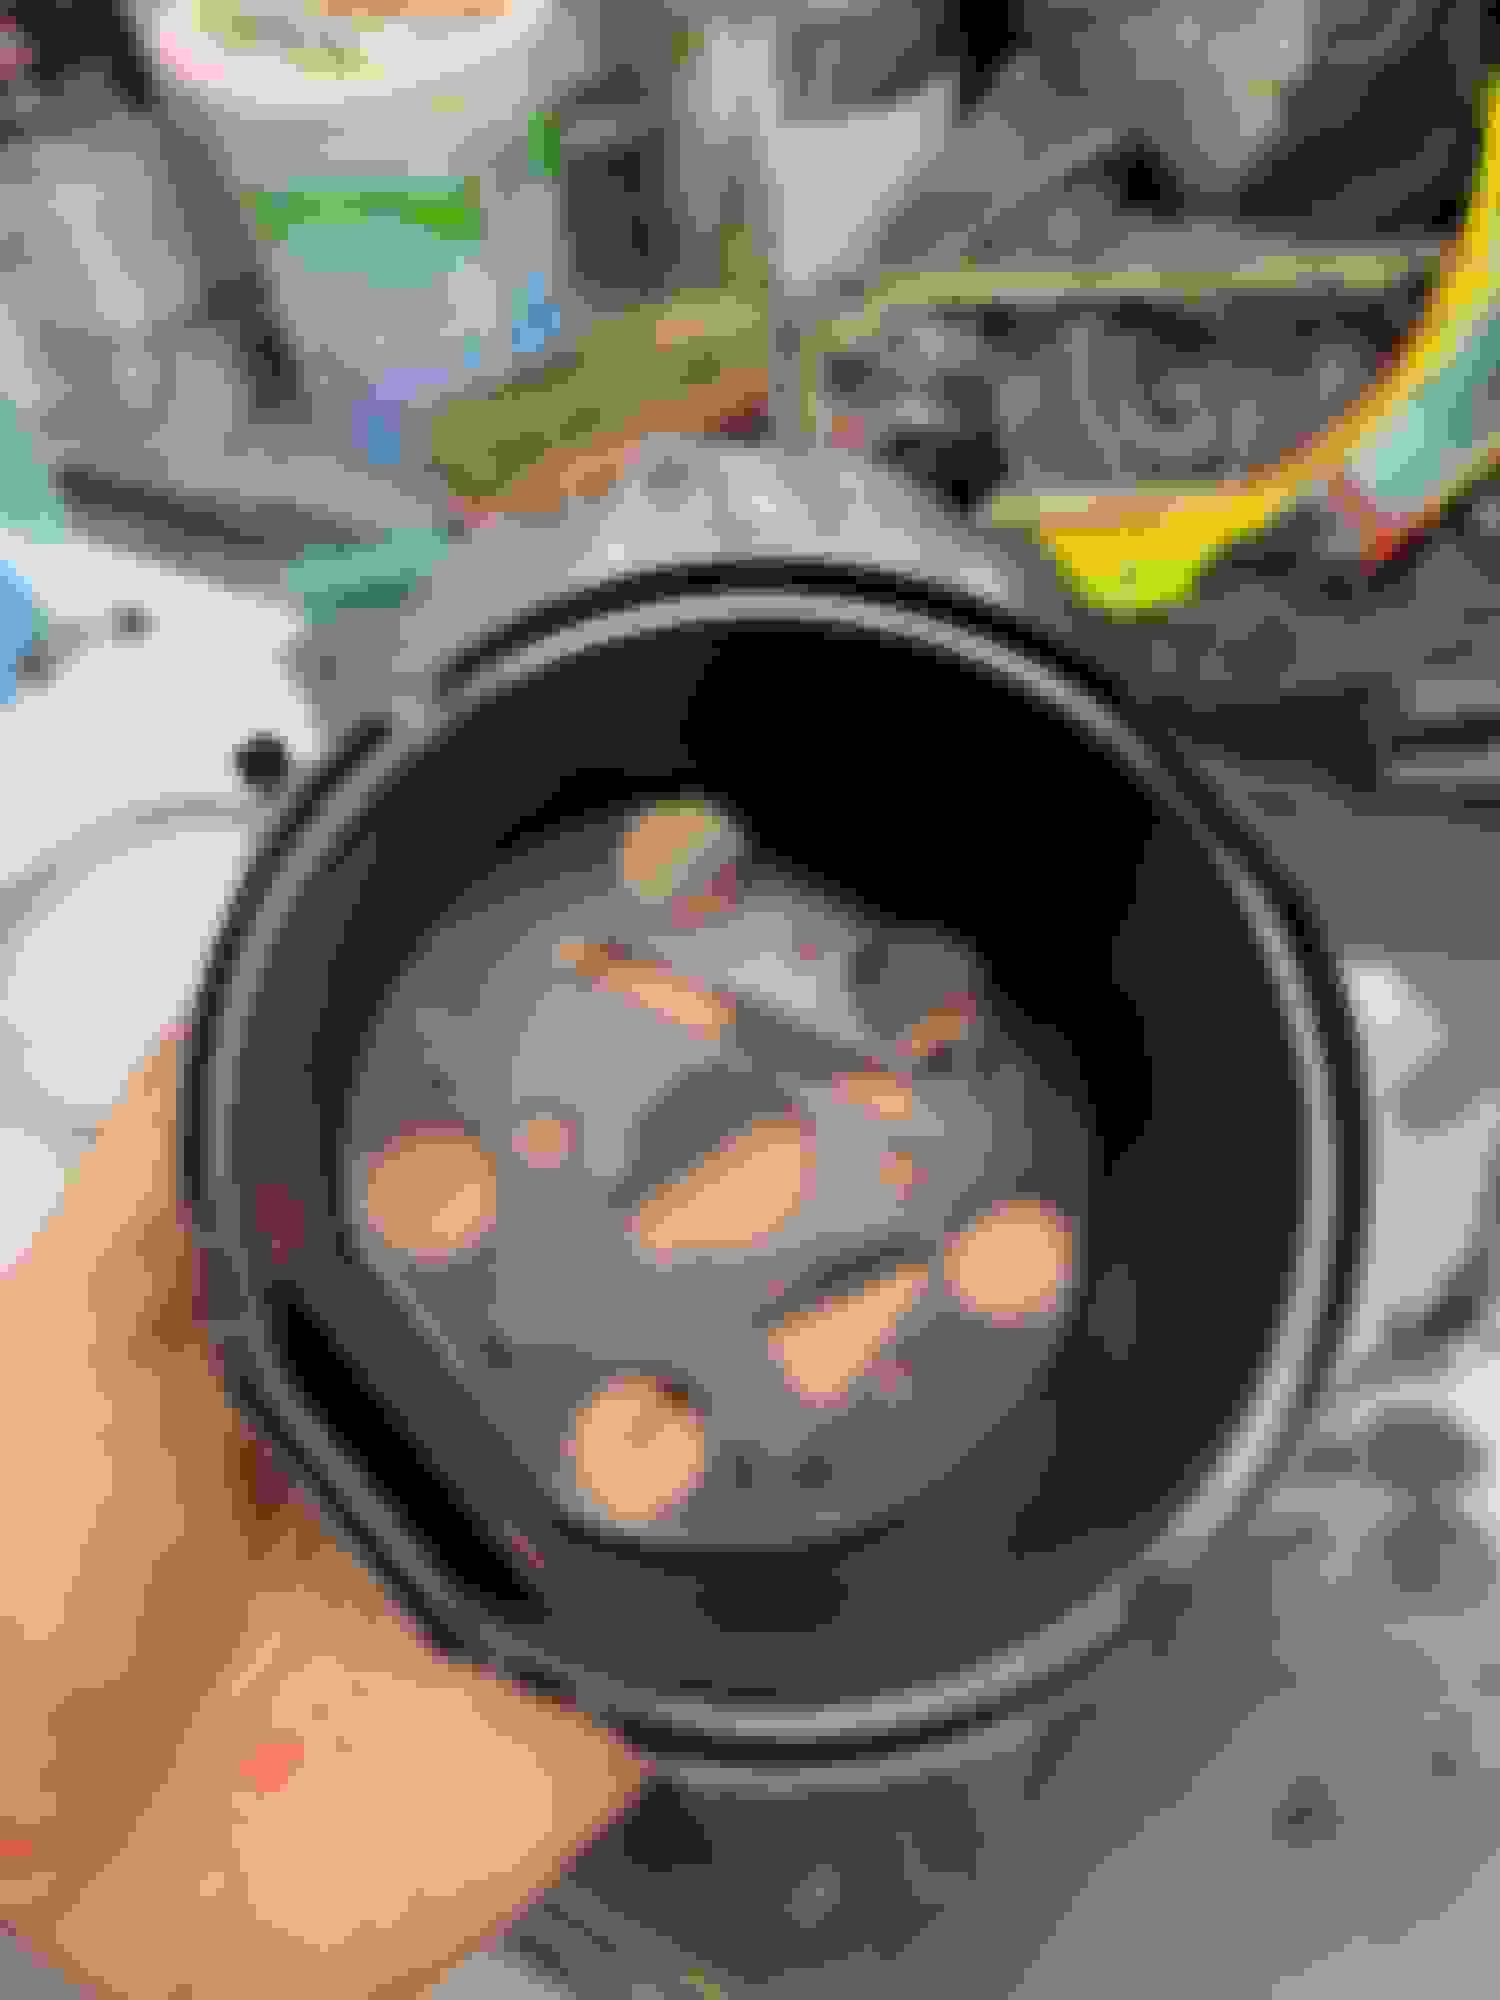
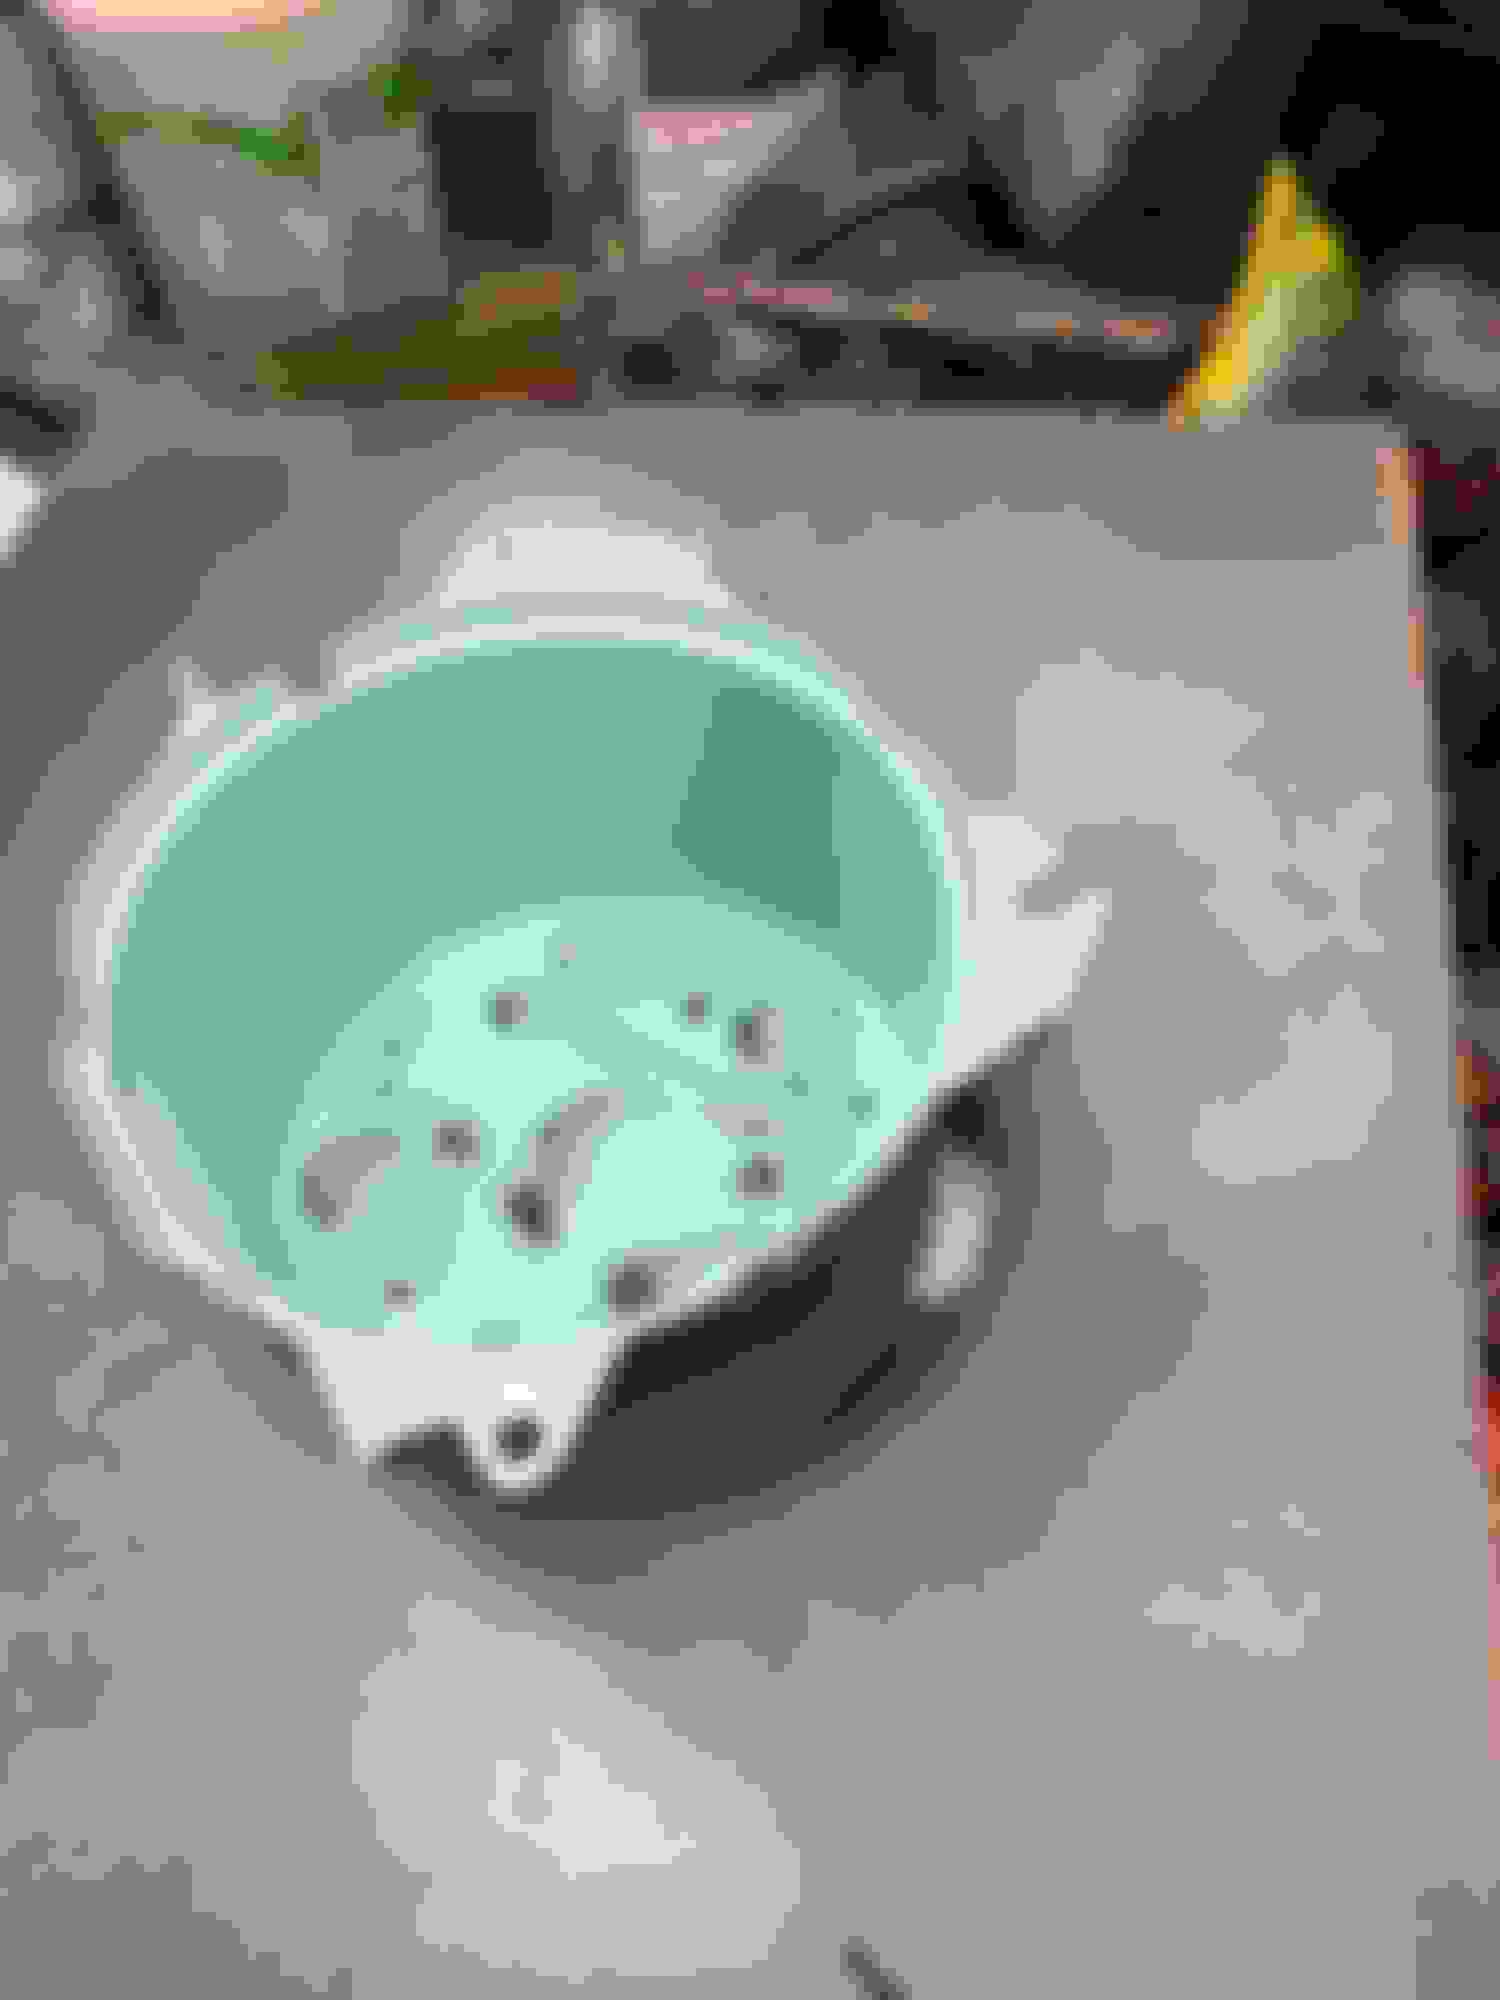
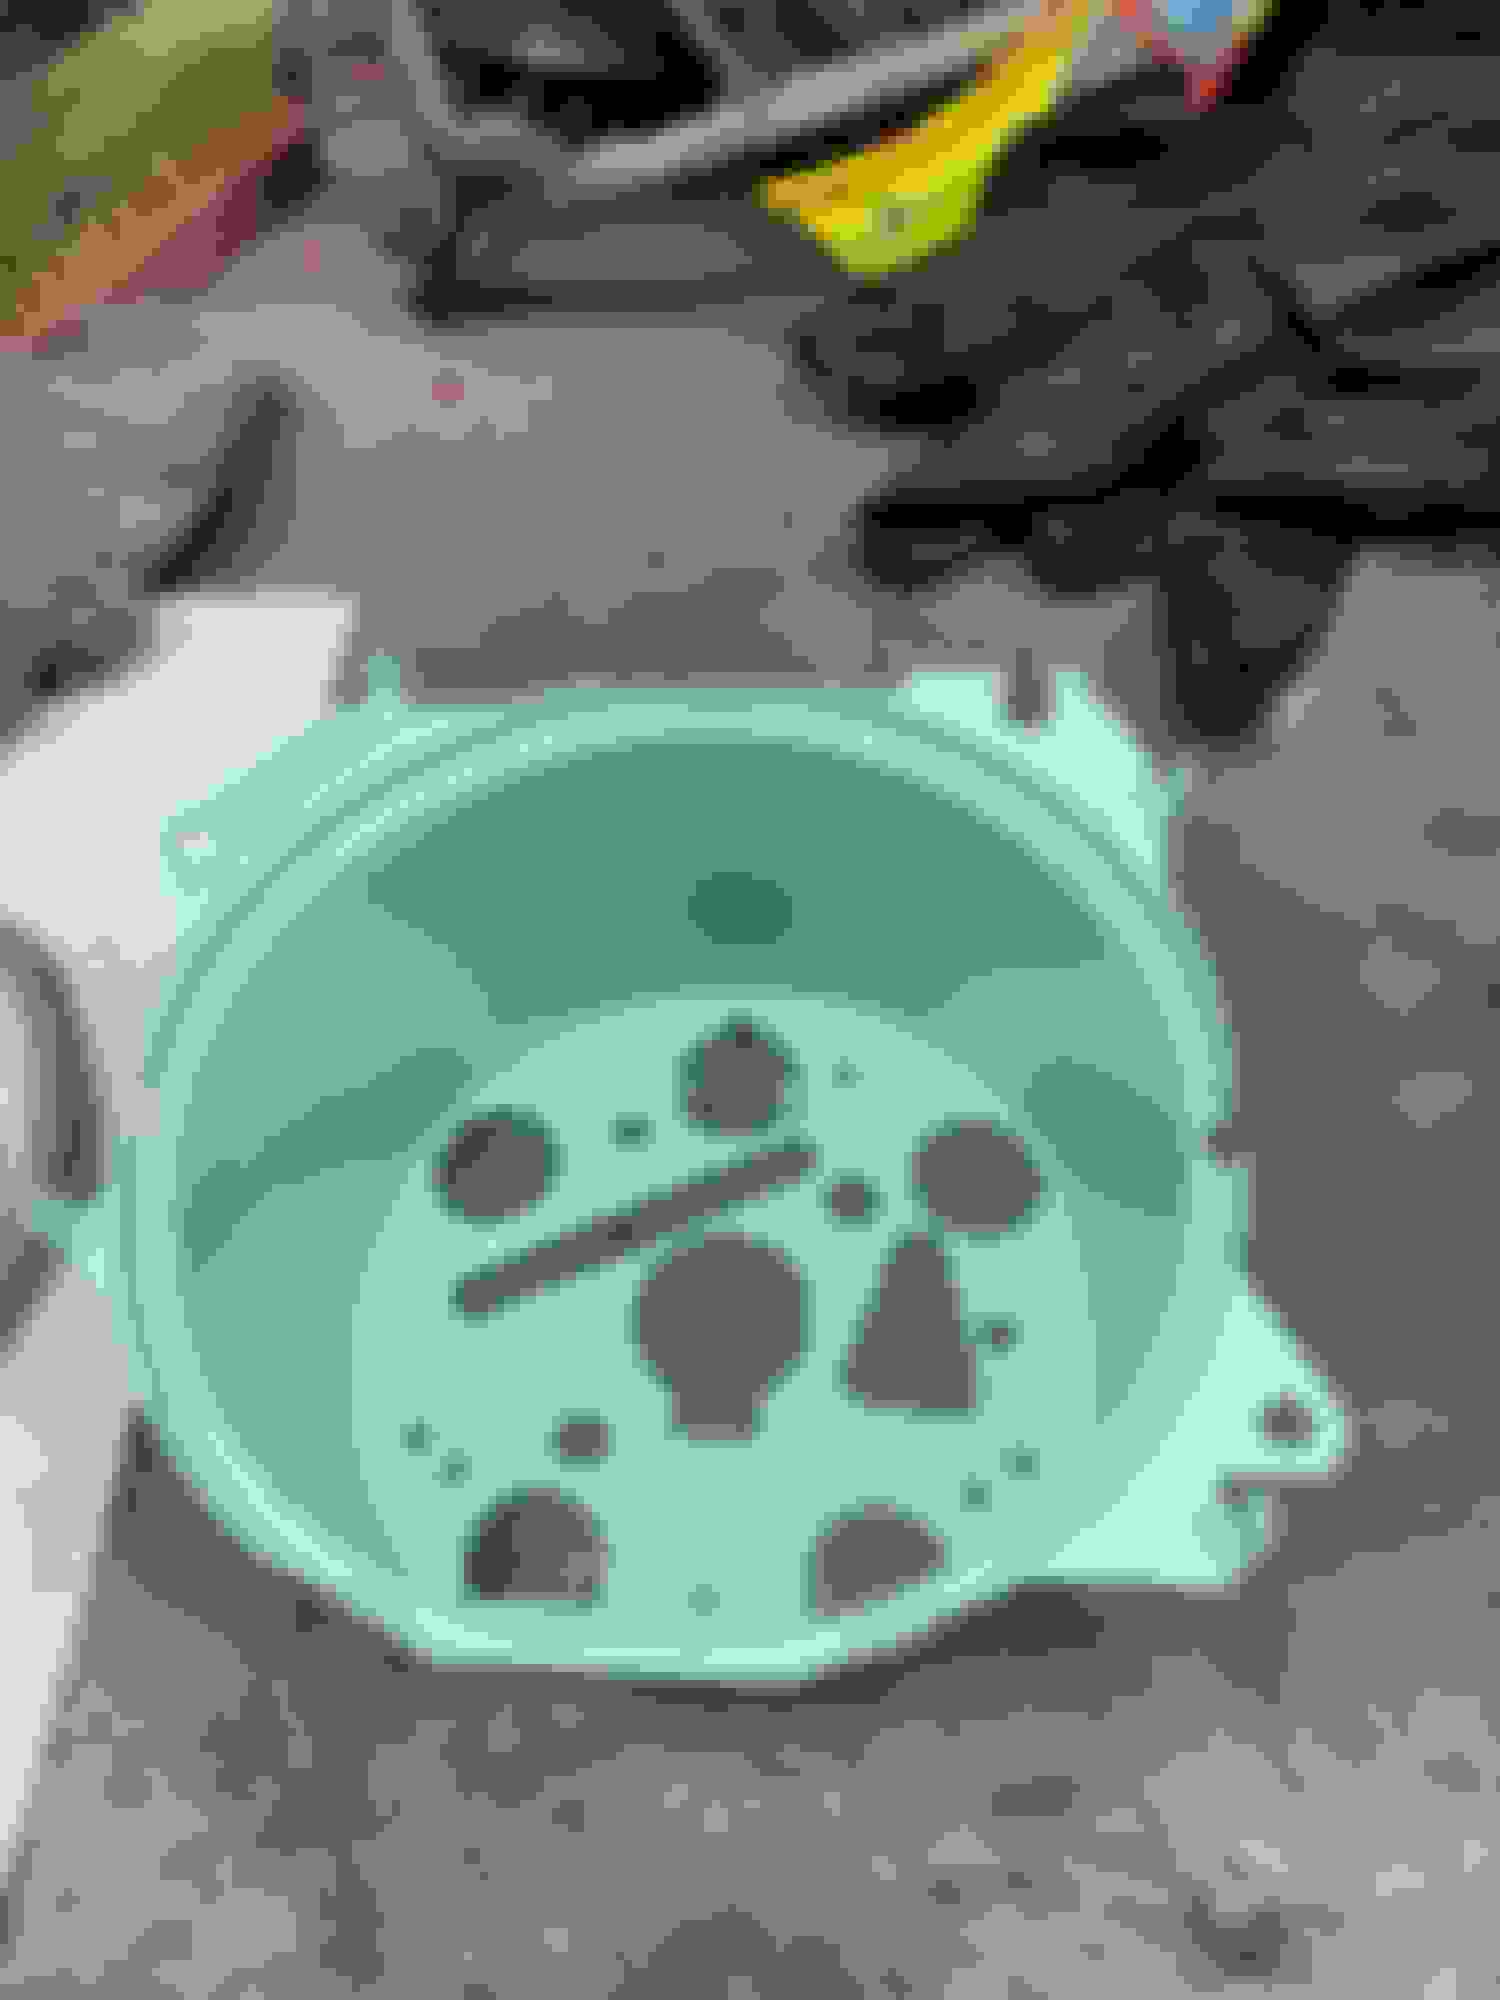
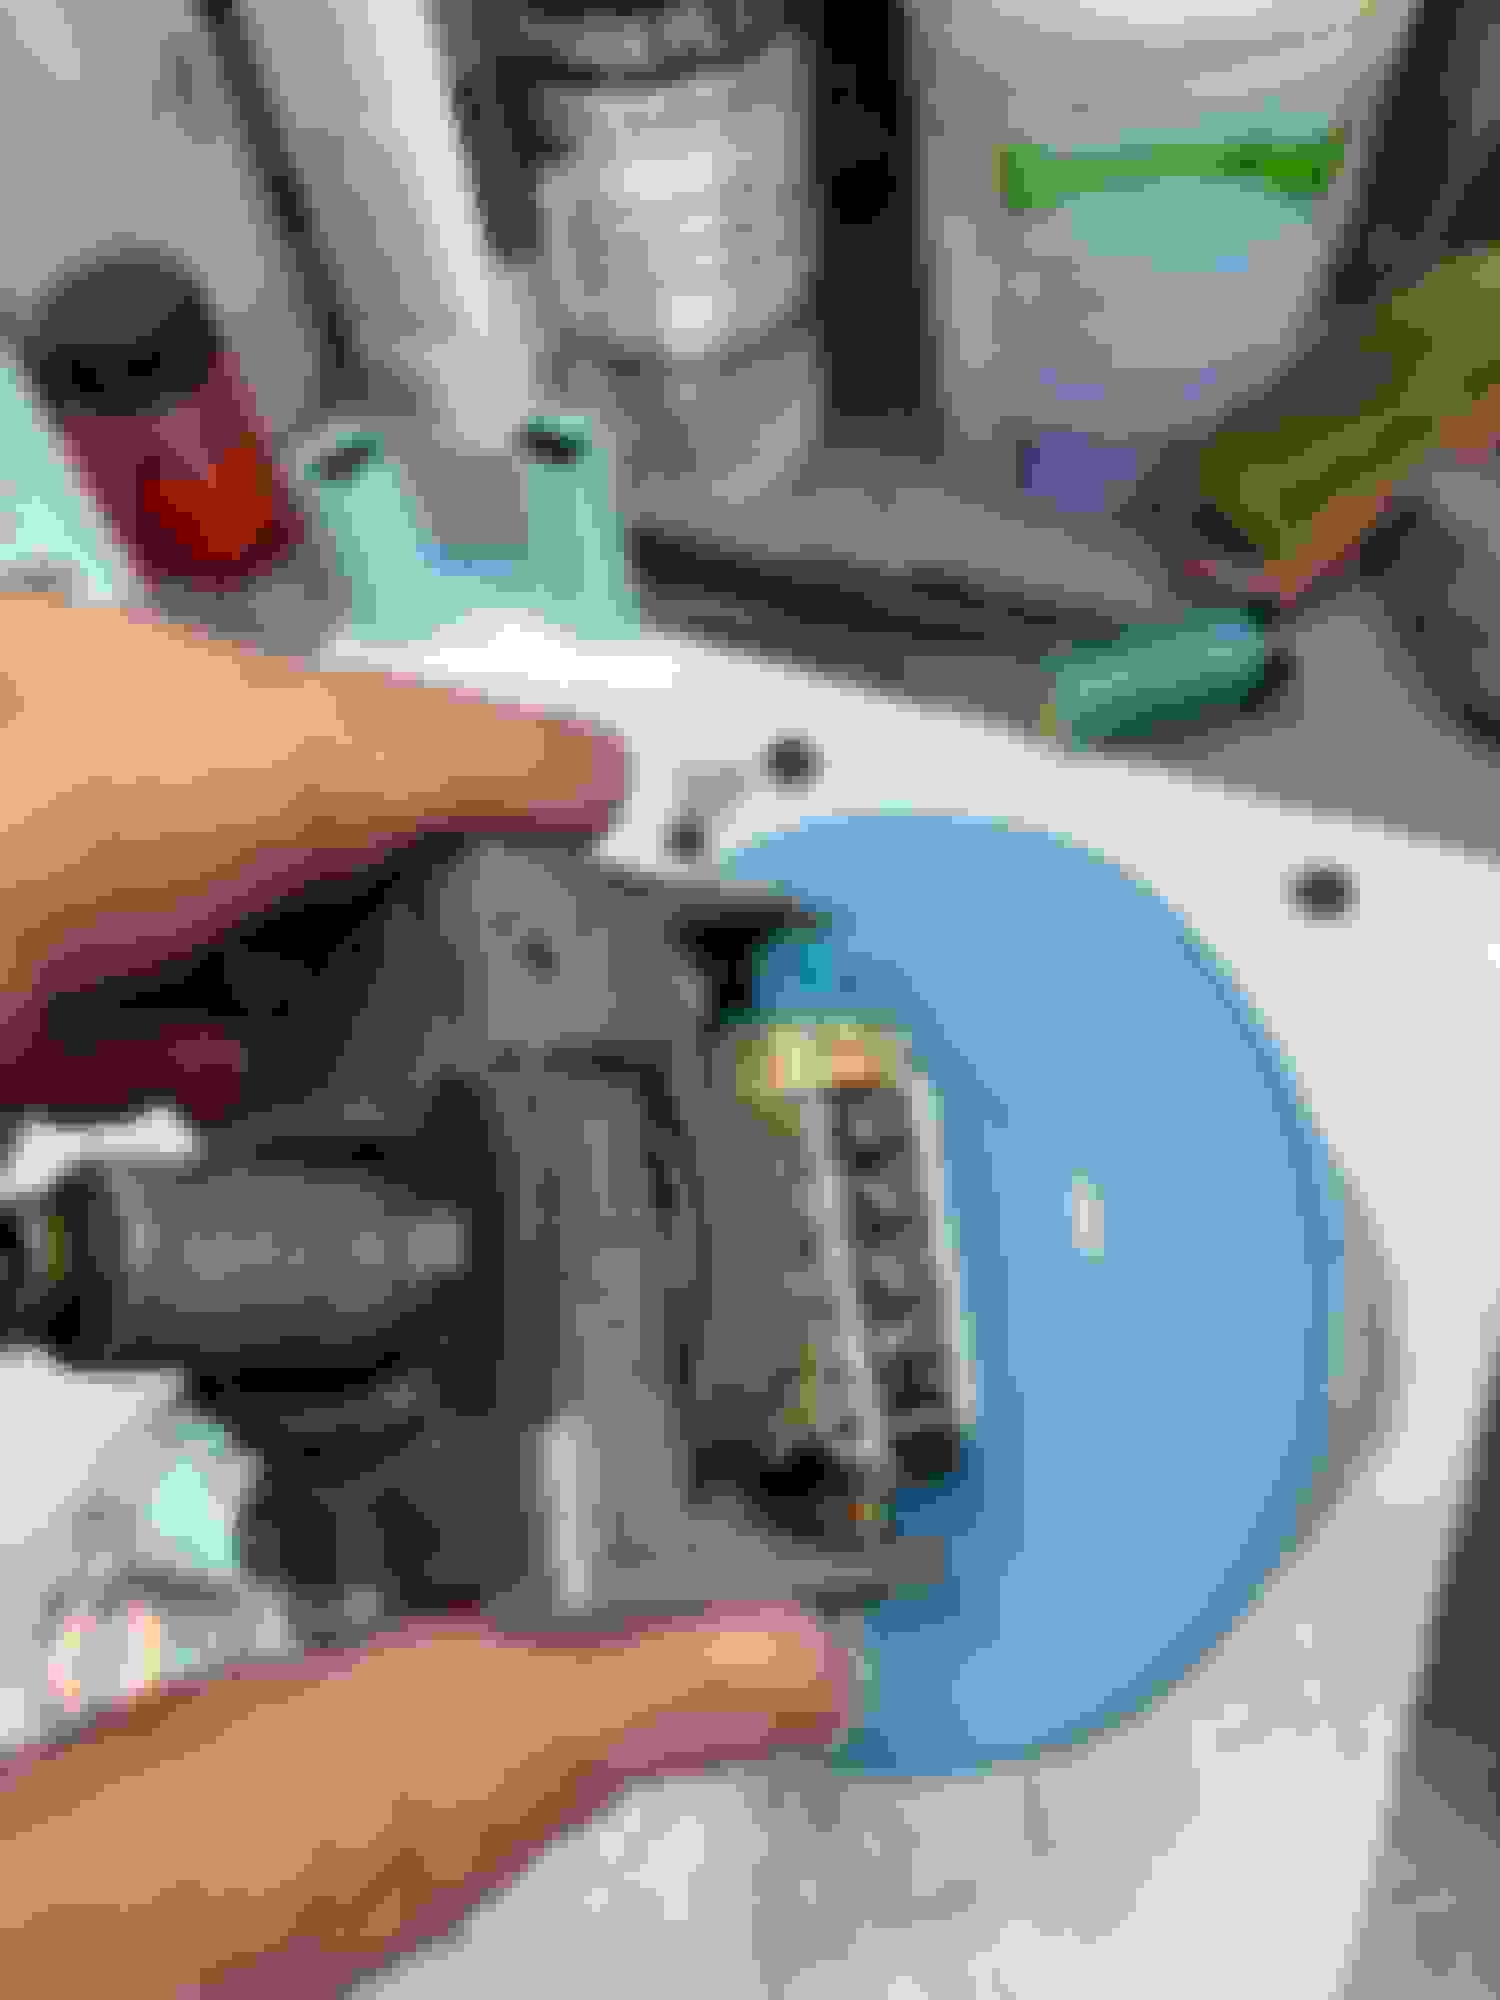
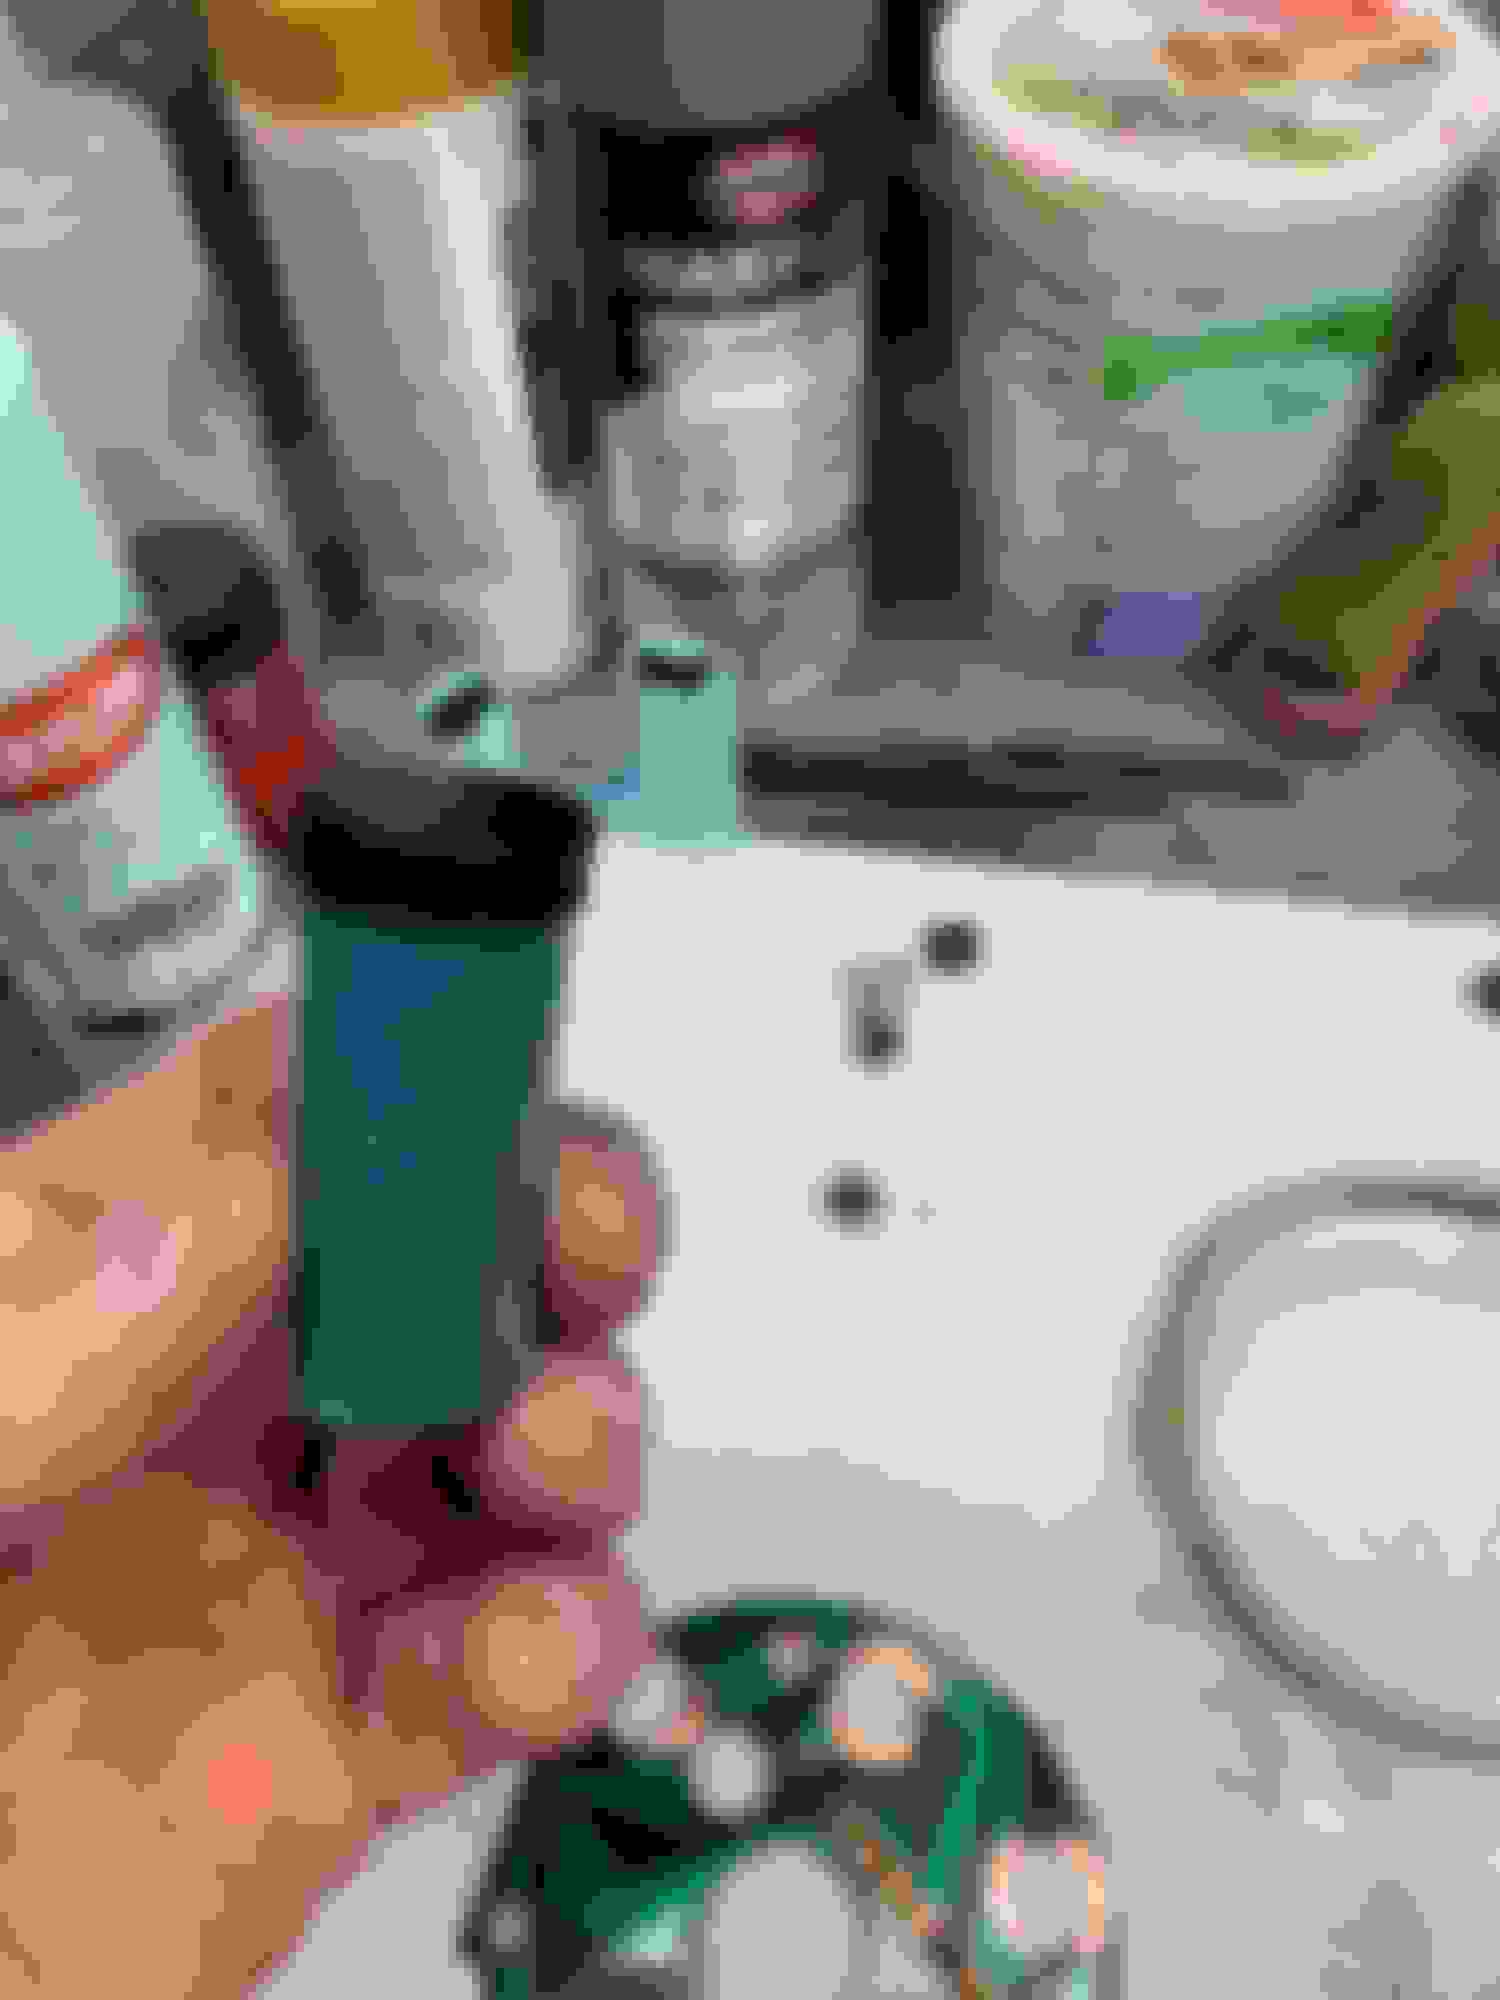
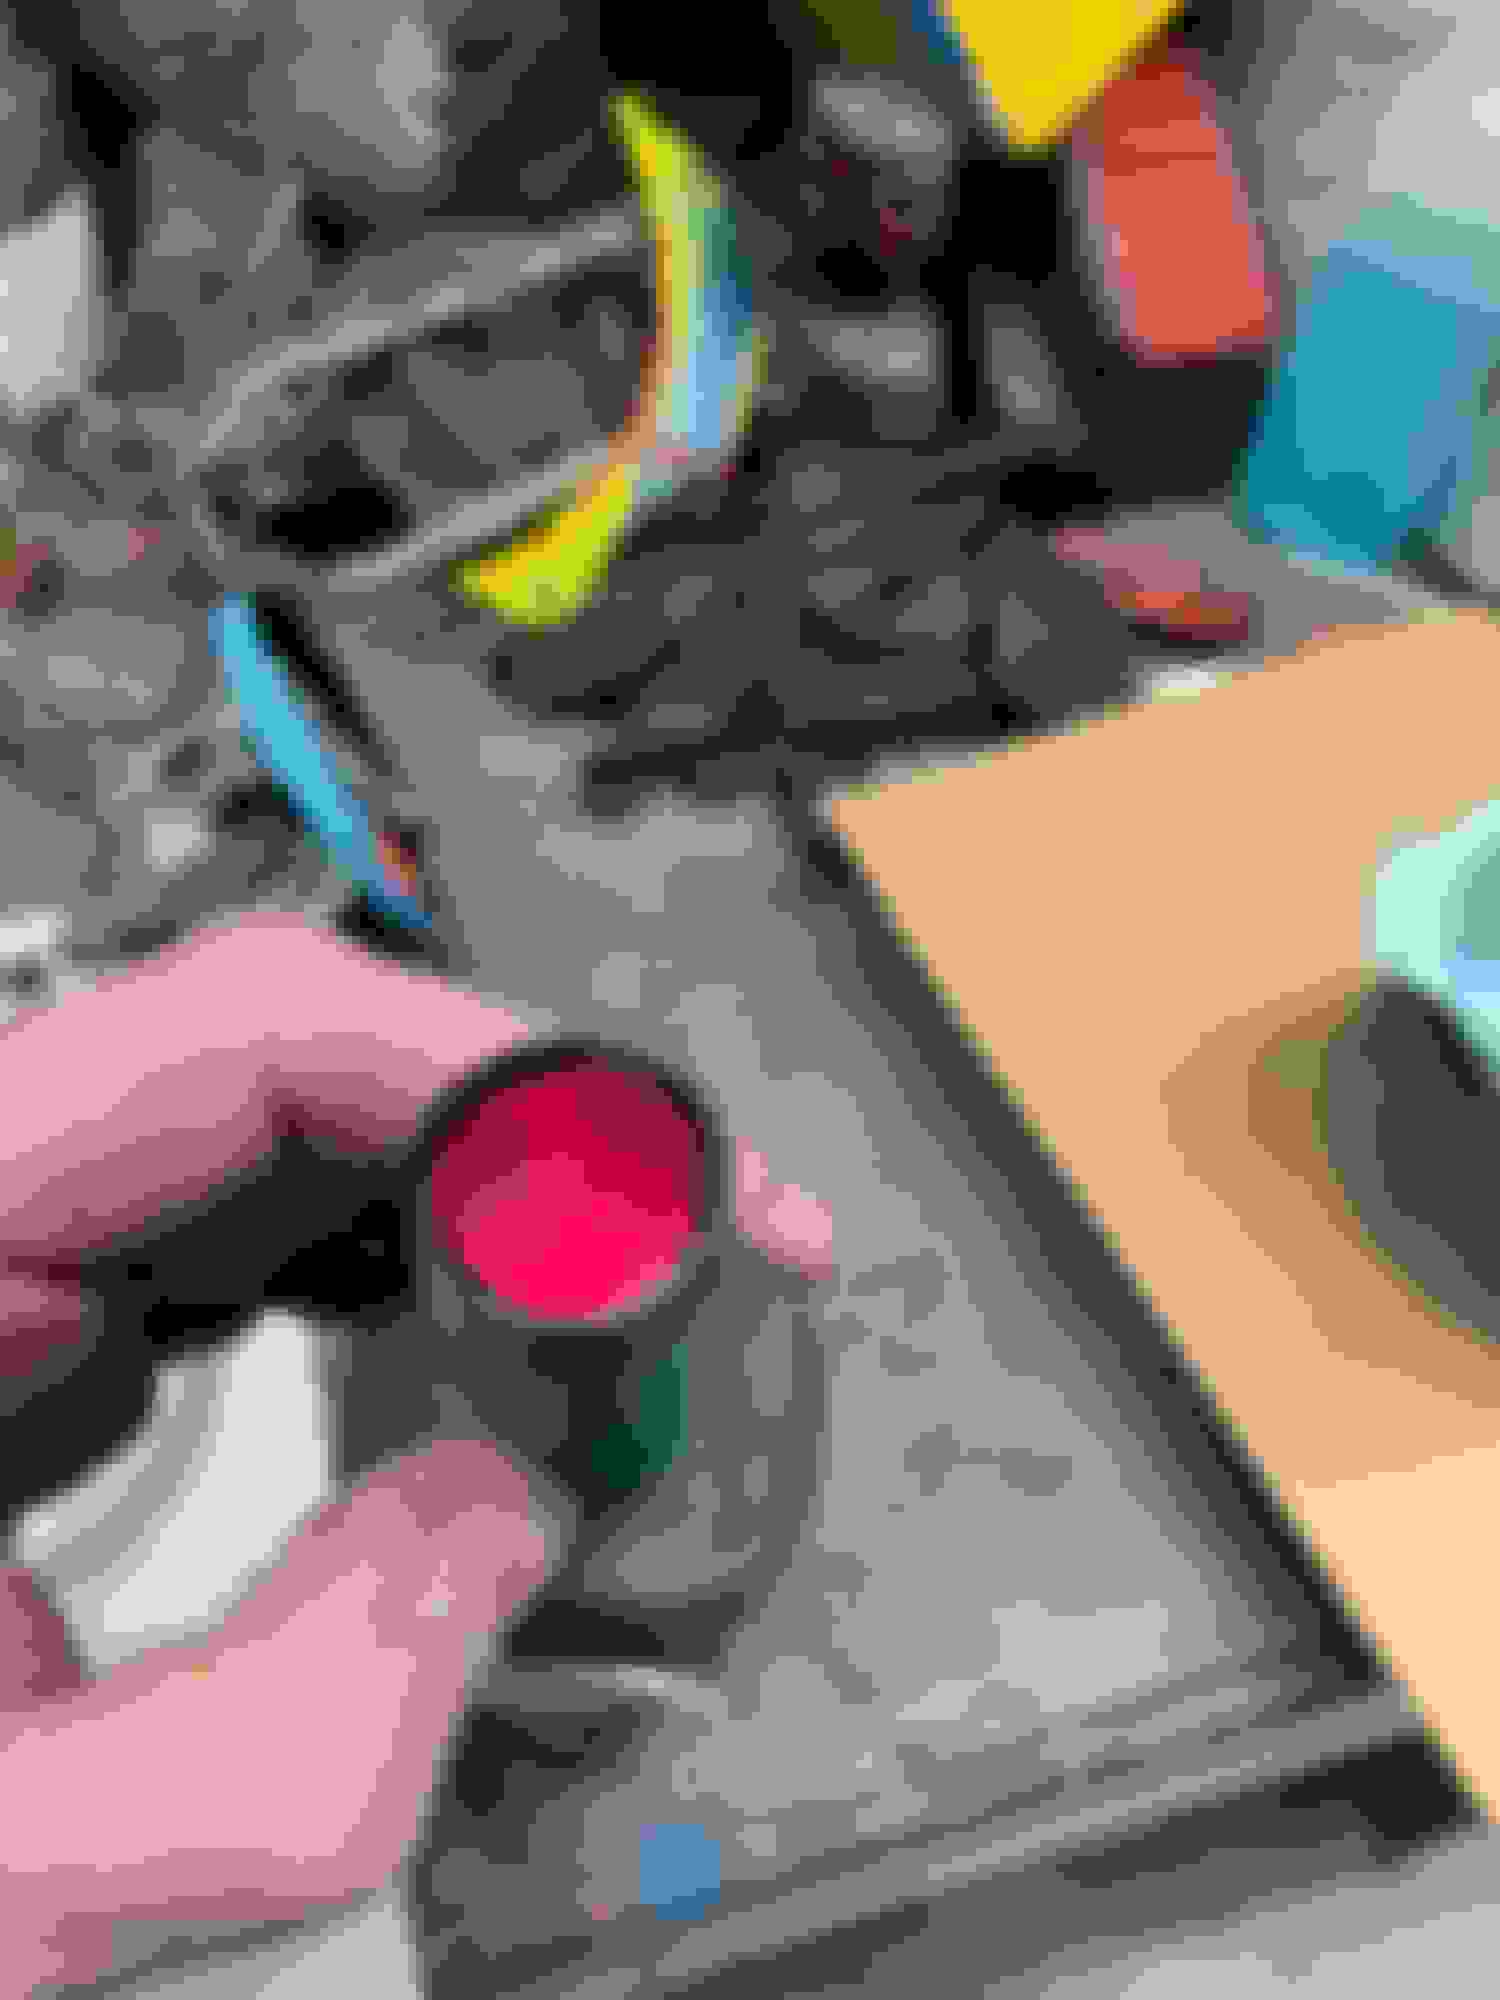
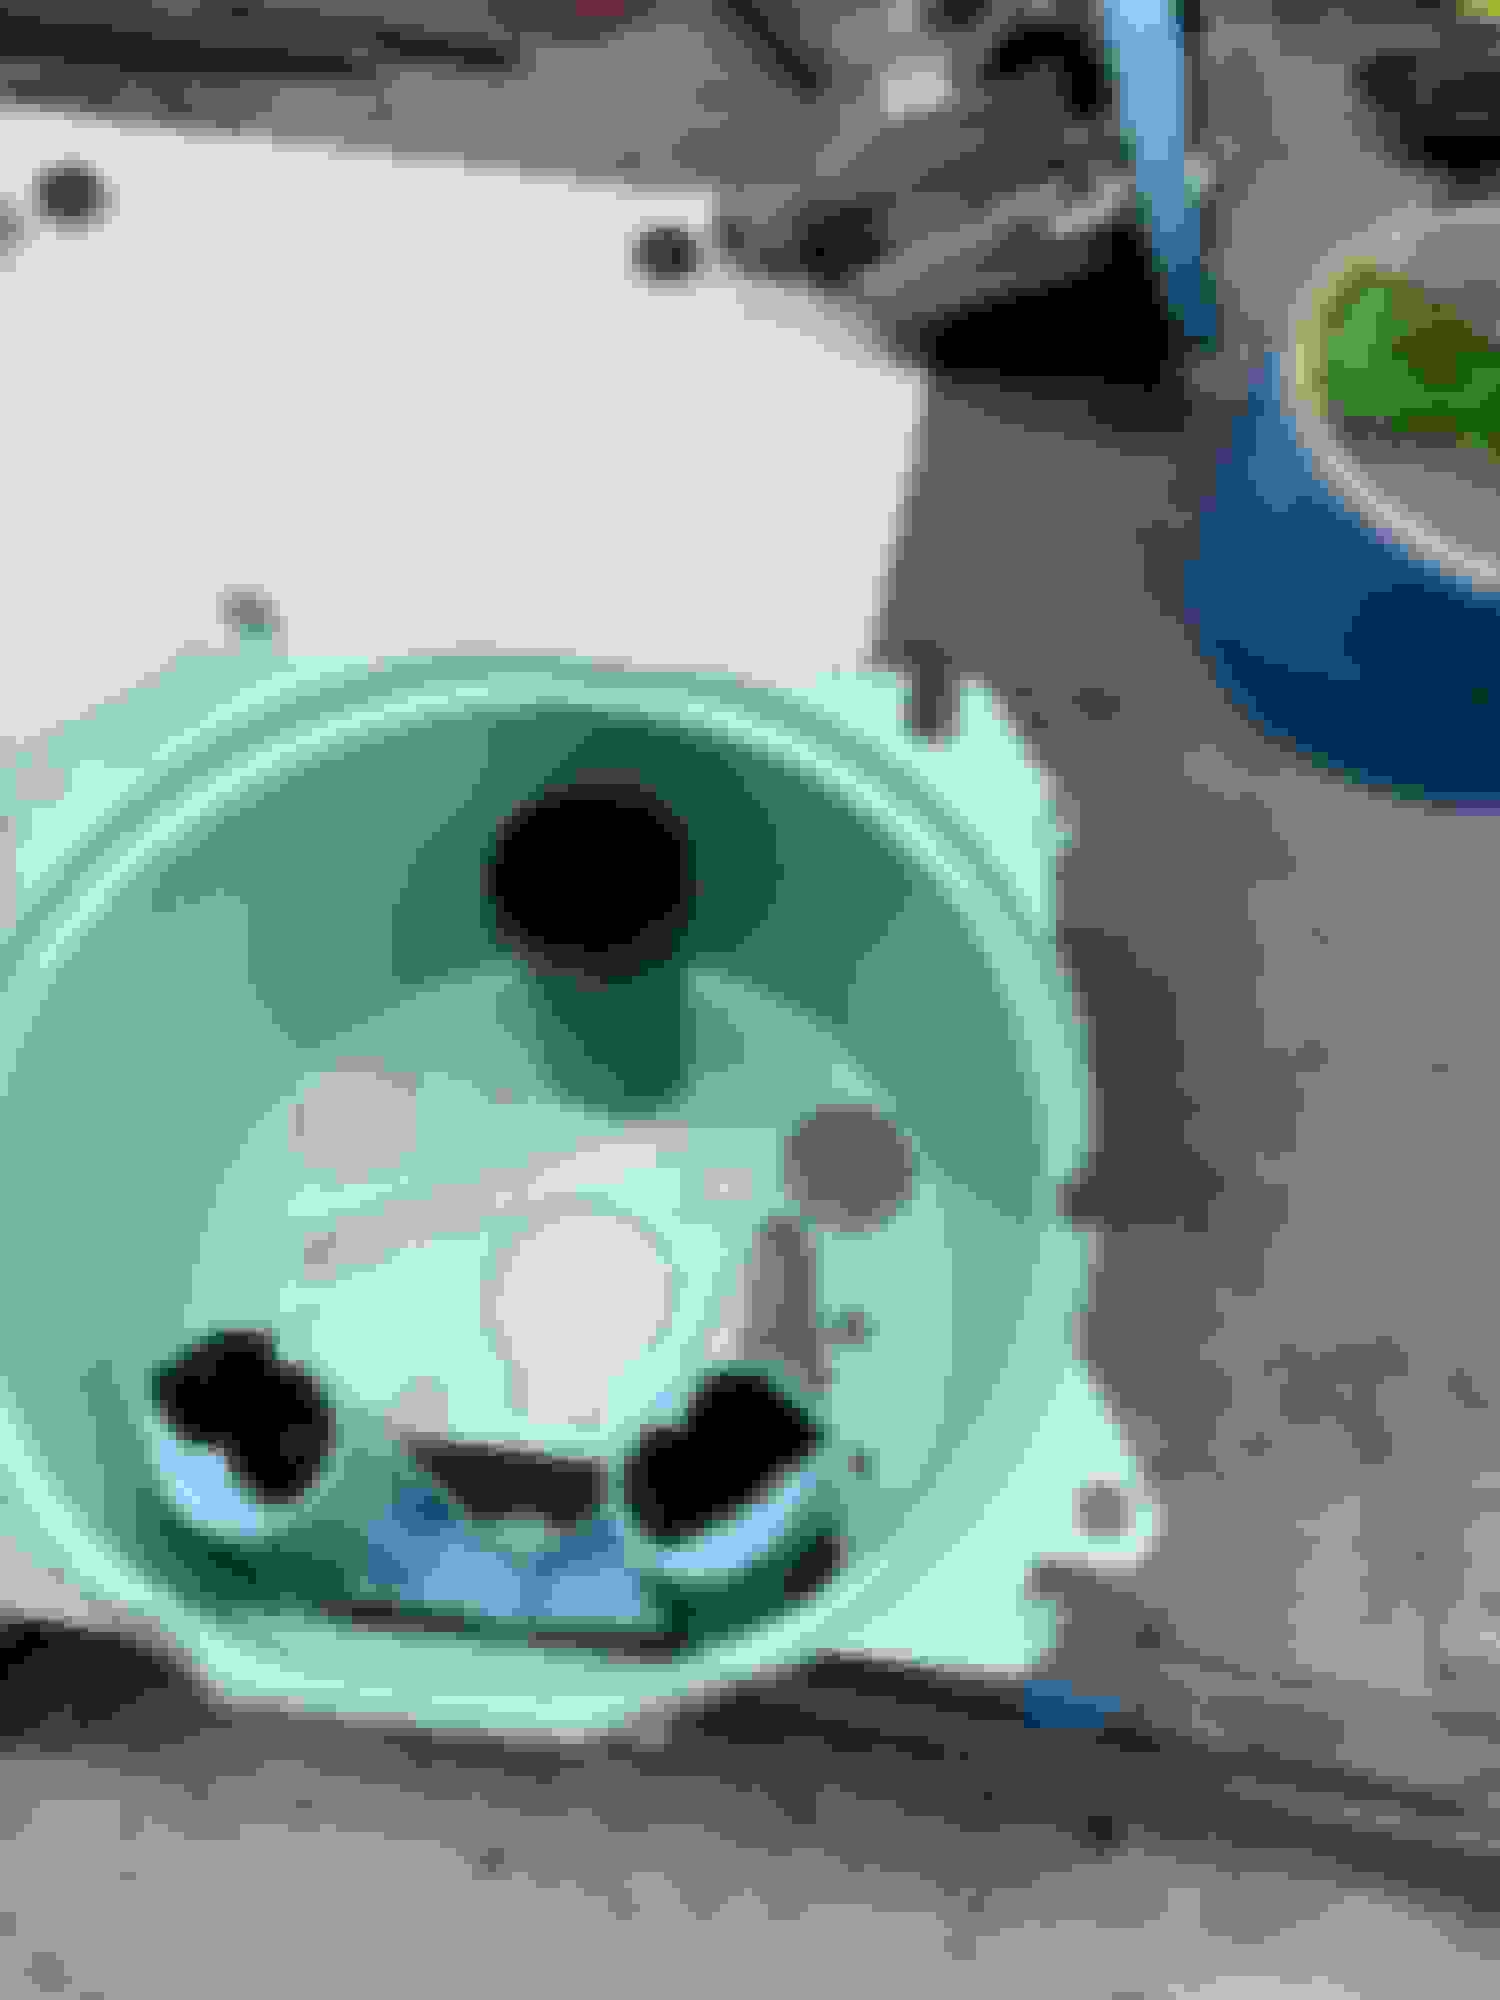
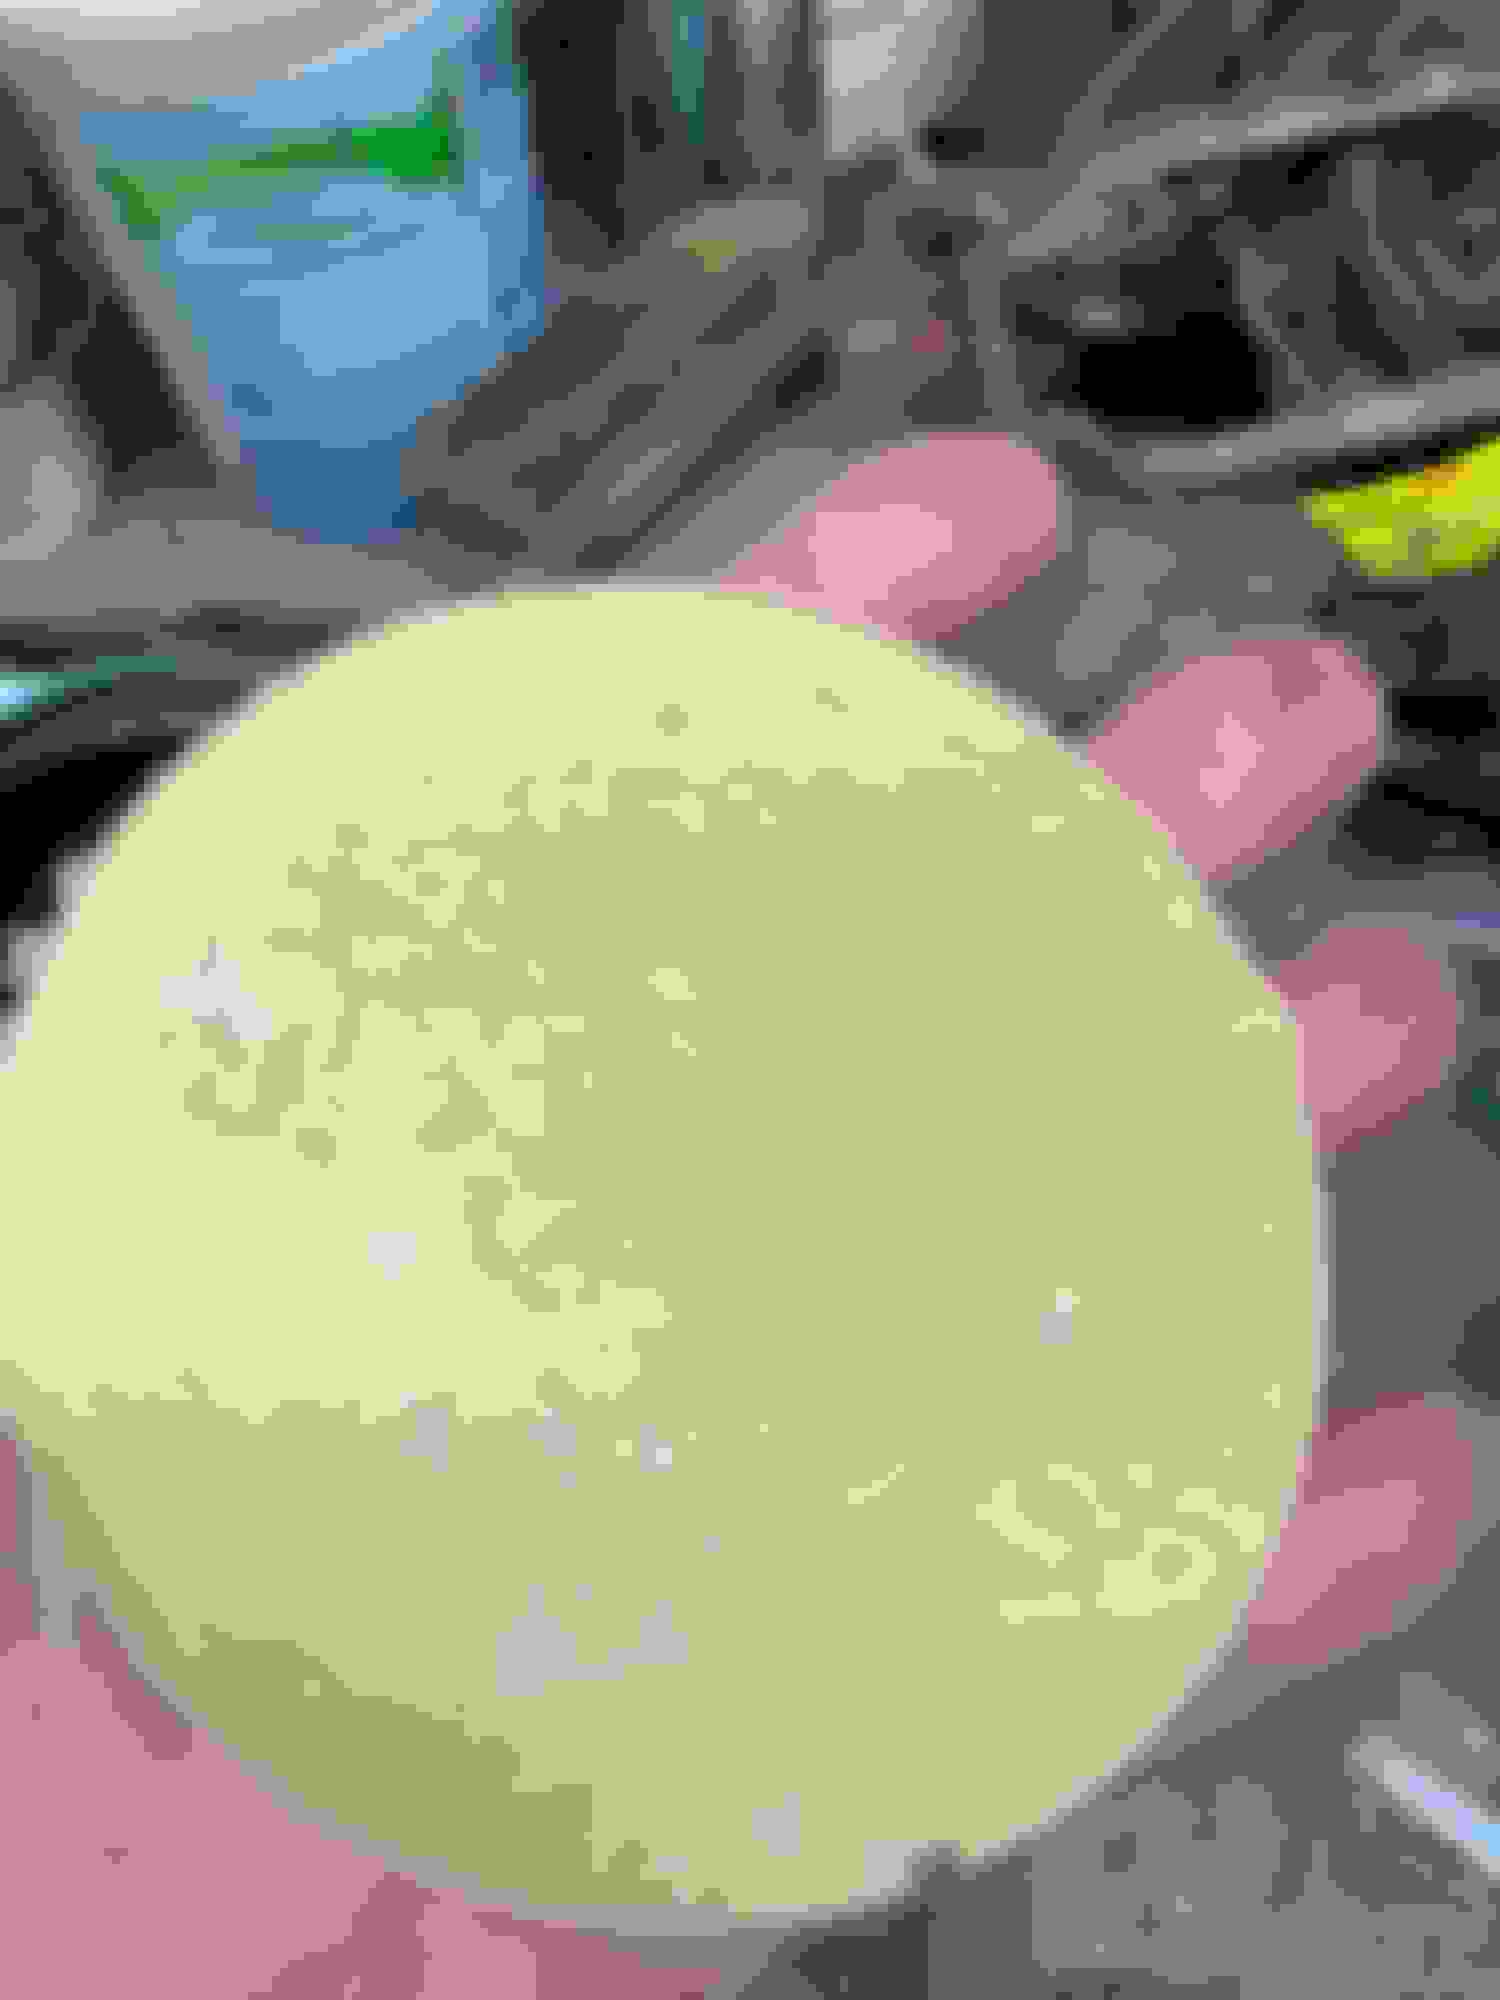
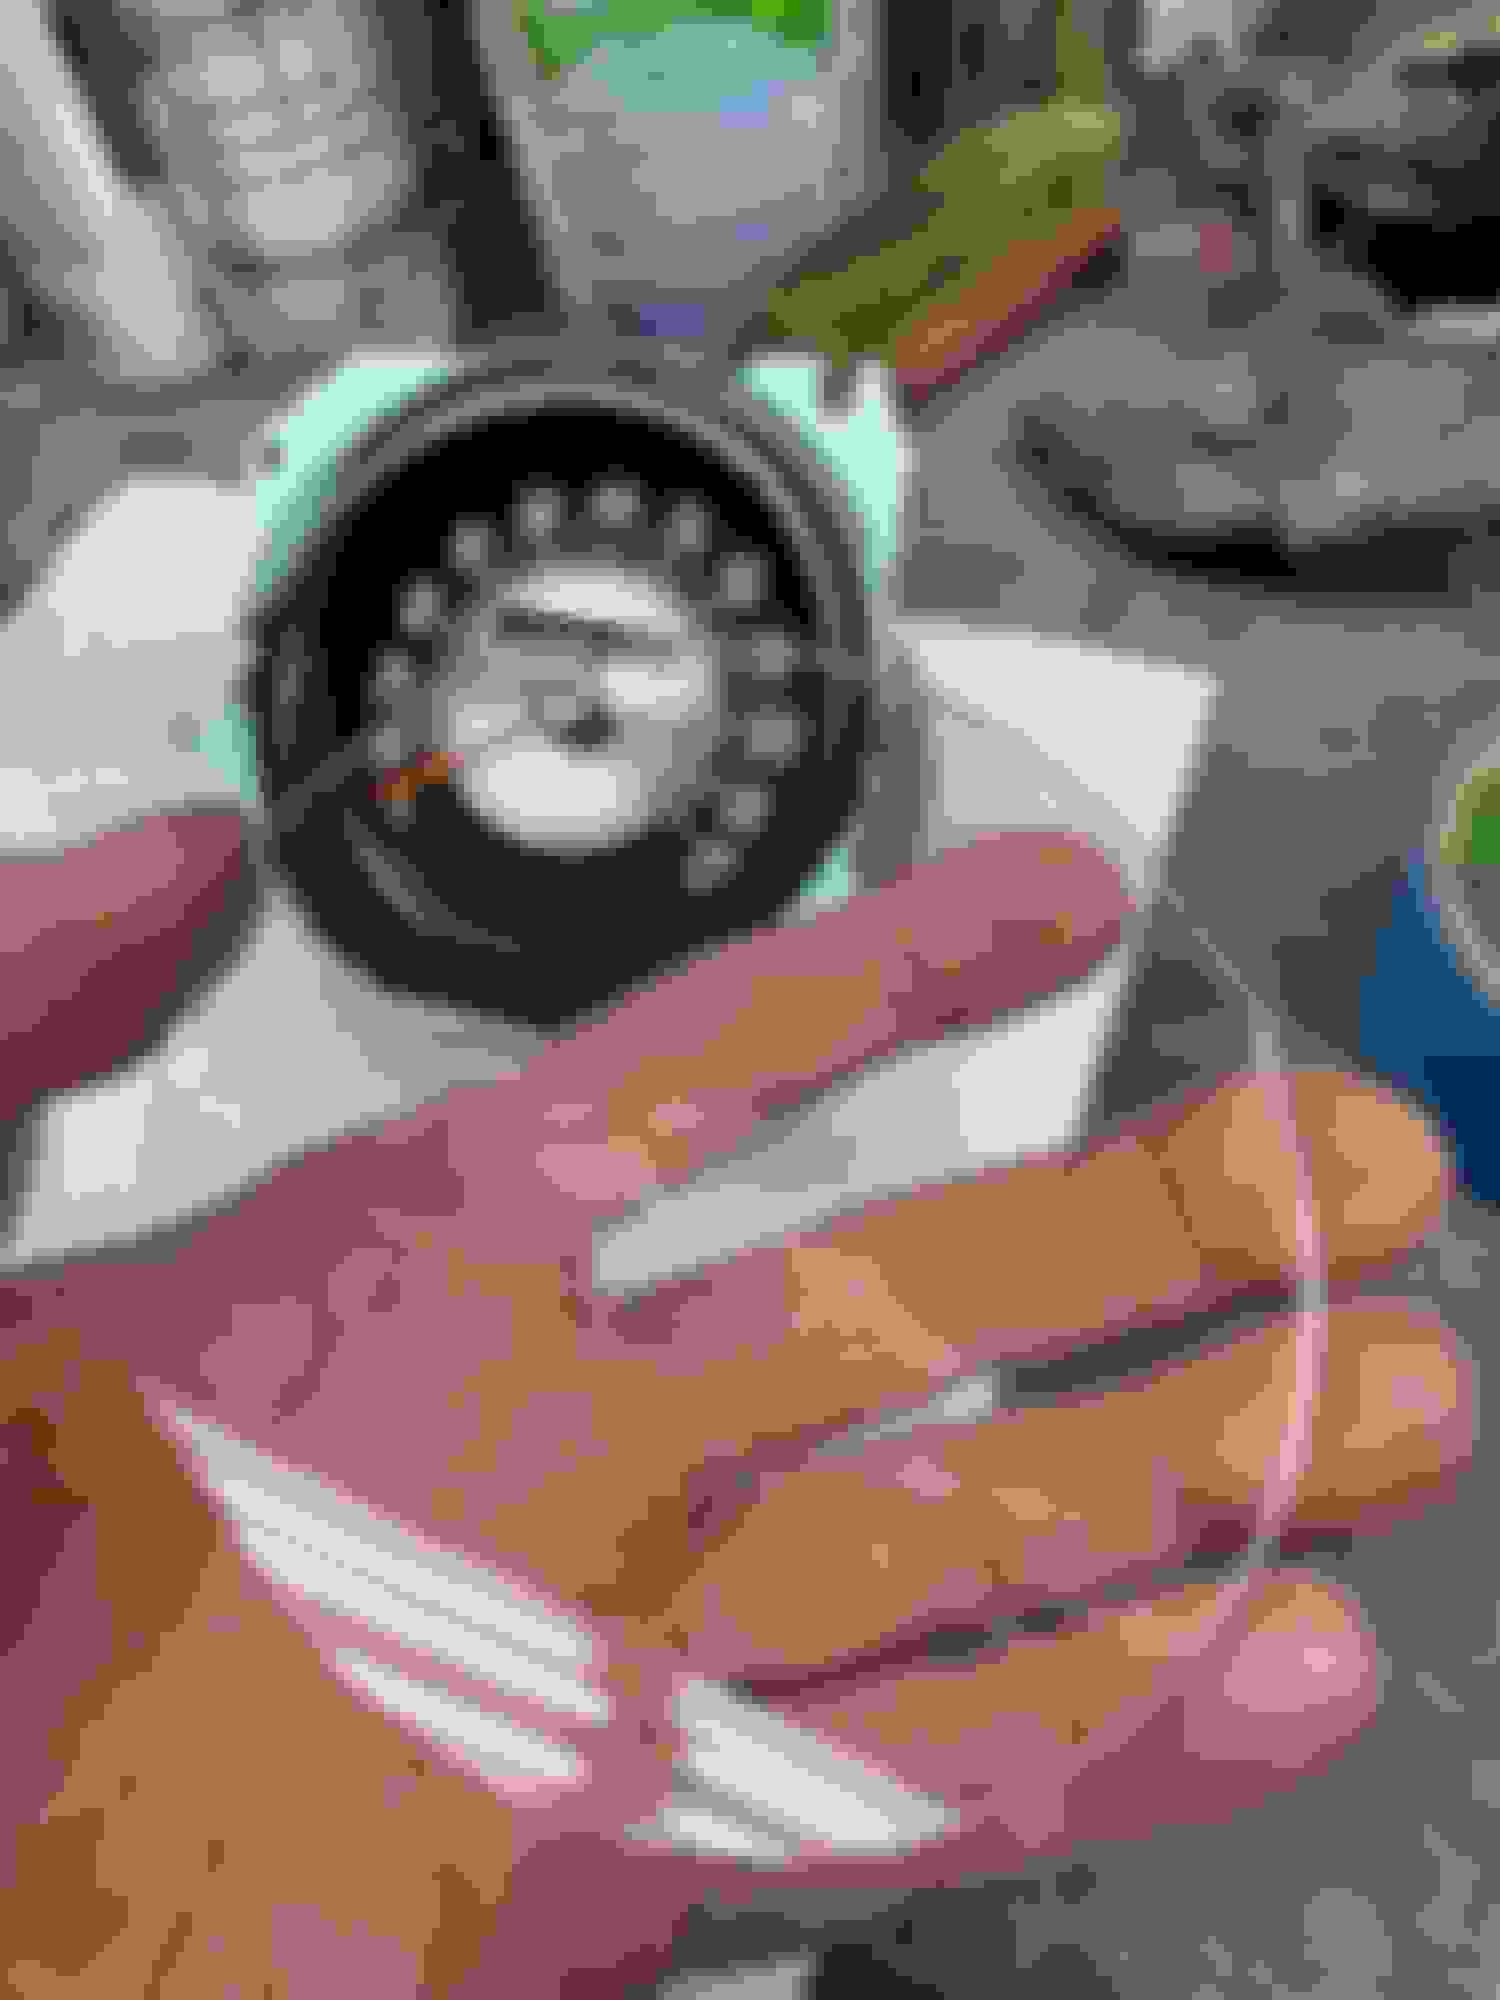
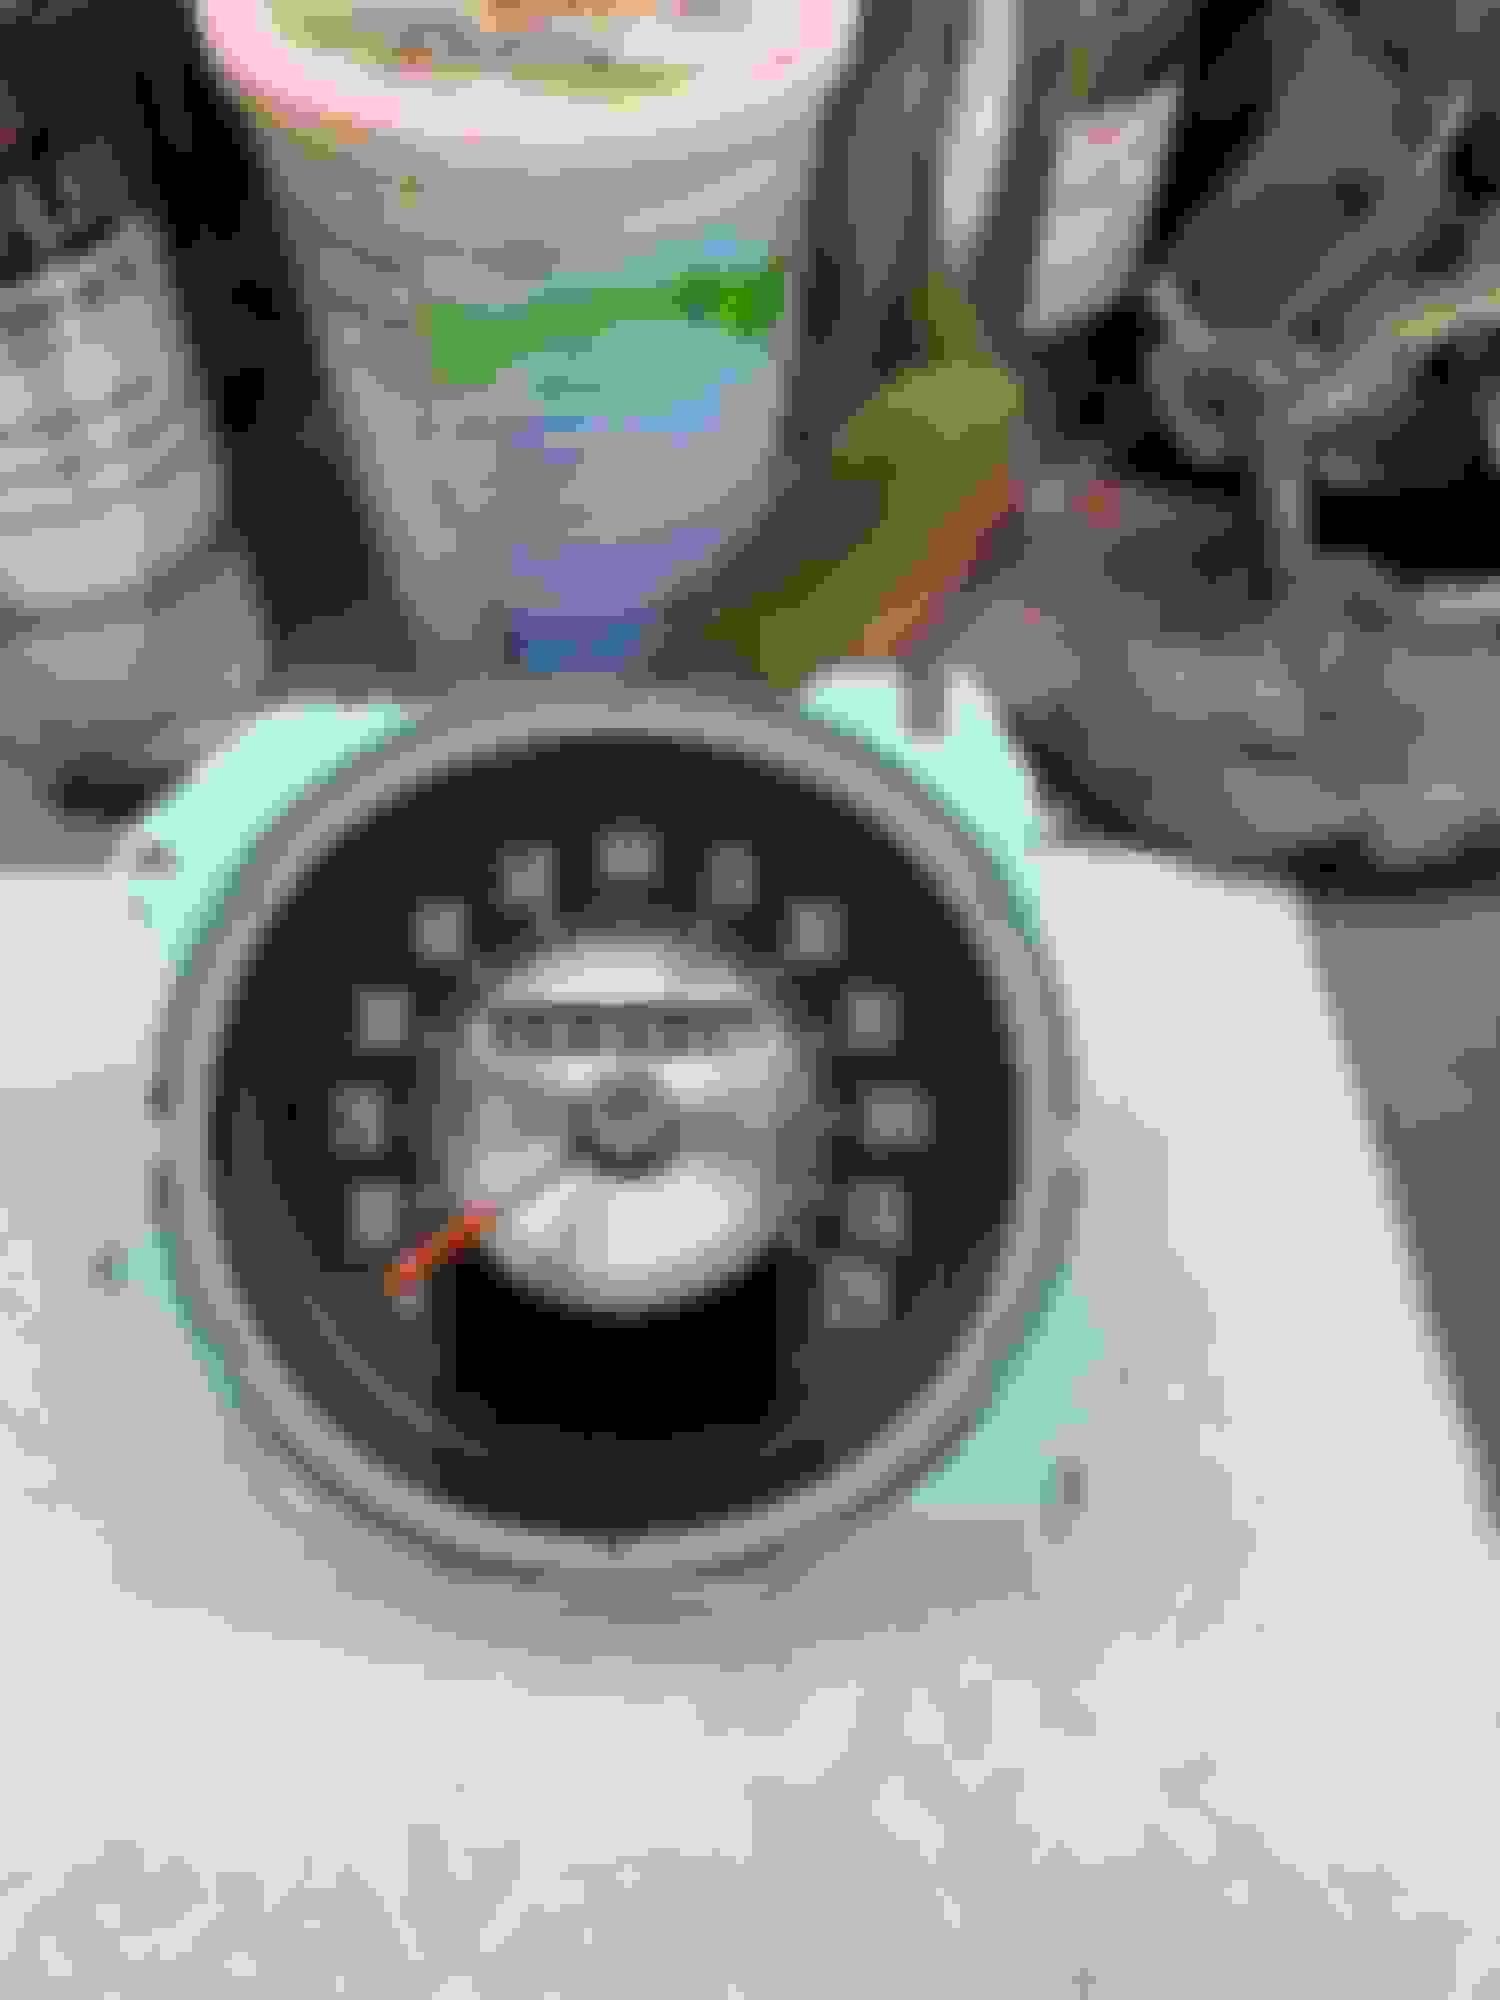
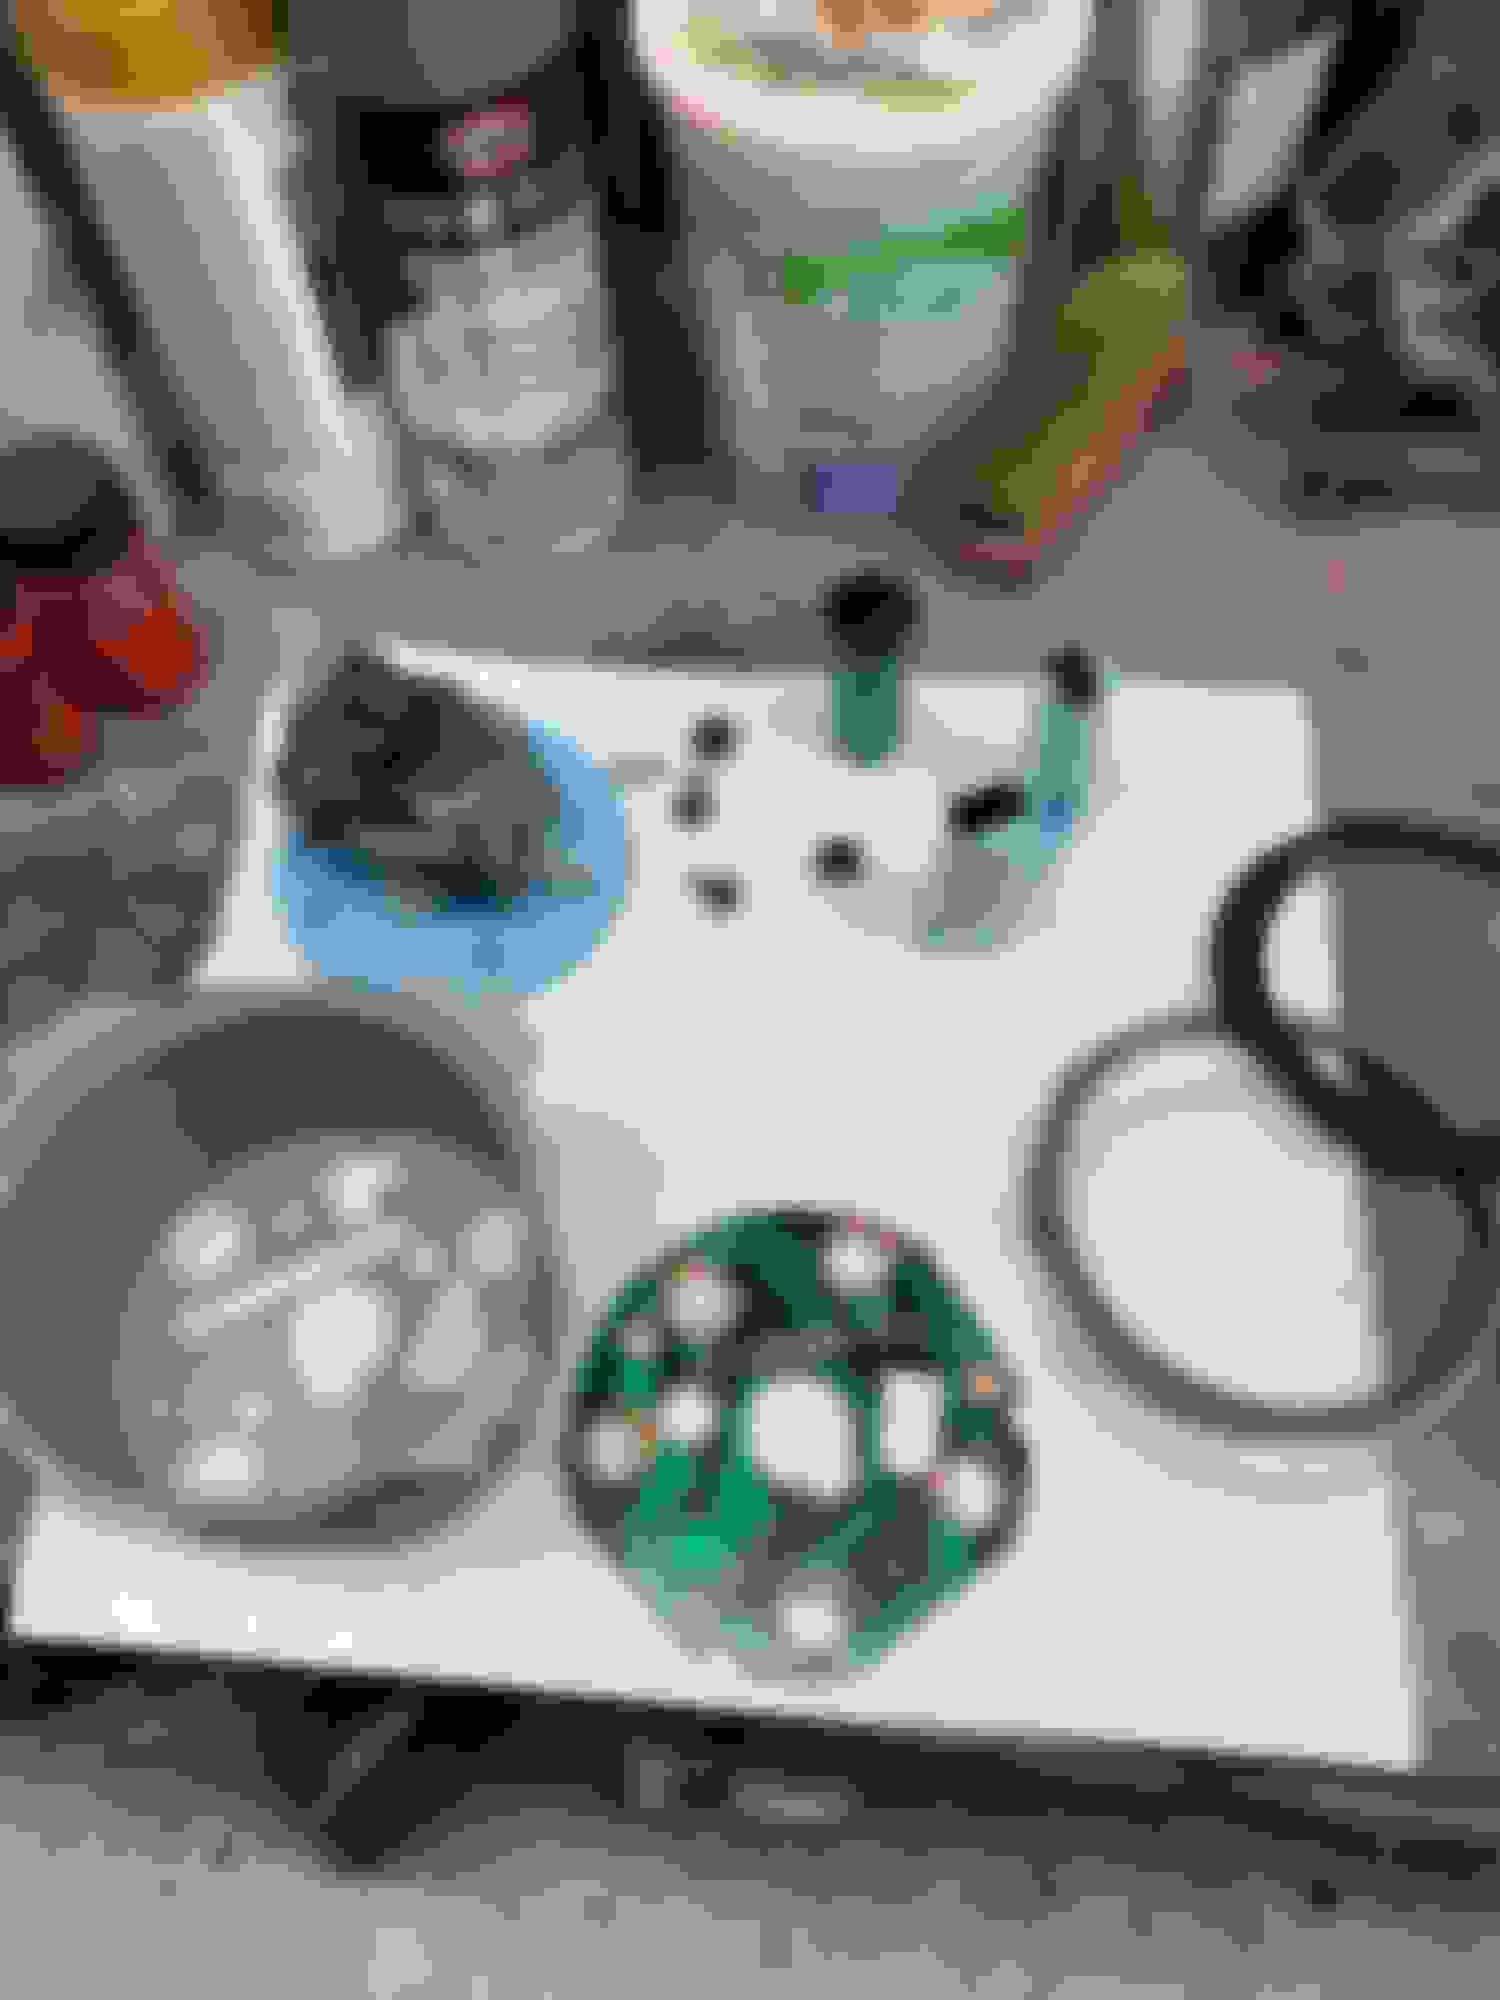
I got my radio back and installed. While I was at it I was looking at the rest of stuff to do on dash and I thought about the gauges. I have a rally pack that was restored years ago in a box and planning on putting that in the car. The car originally was AM radio and no gauges but I will be putting an OEM AM/FM stereo along with OEM rally pac. I'll save the AM radio and original dummy lights and gauge blank. The speedometer is original and shows actual miles and I will use it along with other stuff. The speedo needed a clean up so thats what I did today. Before pic Bead blasted and coat of Self etch primer Inside color on housing pretty close match out of the can Original face with original miles A Look at the back of mechanism This is the tube just for the high beam light. 1970 had a red light. This shows what happens when you put light in that high beam tube. Reassembley New lense Original label back on and ready to go back in This looks like a TS 194. What have you guys been using to replace these? I like the idea of an LED possibly but I have OEM lights everywhere else.
Last edited by scrappie; November 27th, 2022 at 01:52 PM.

 July 10th, 2022, 05:06 PM