When you click on links to various merchants on this site and make a purchase, this can result in this site earning a commission. Affiliate programs and affiliations include, but are not limited to, the eBay Partner Network.
My steel wheels are being painted. I'll have to see the dog dish and the trim rings together before I make that call; the pictures are not a turn-off to me.
19 days out until Auburn. If I were a betting man, I would say it�s not looking great.
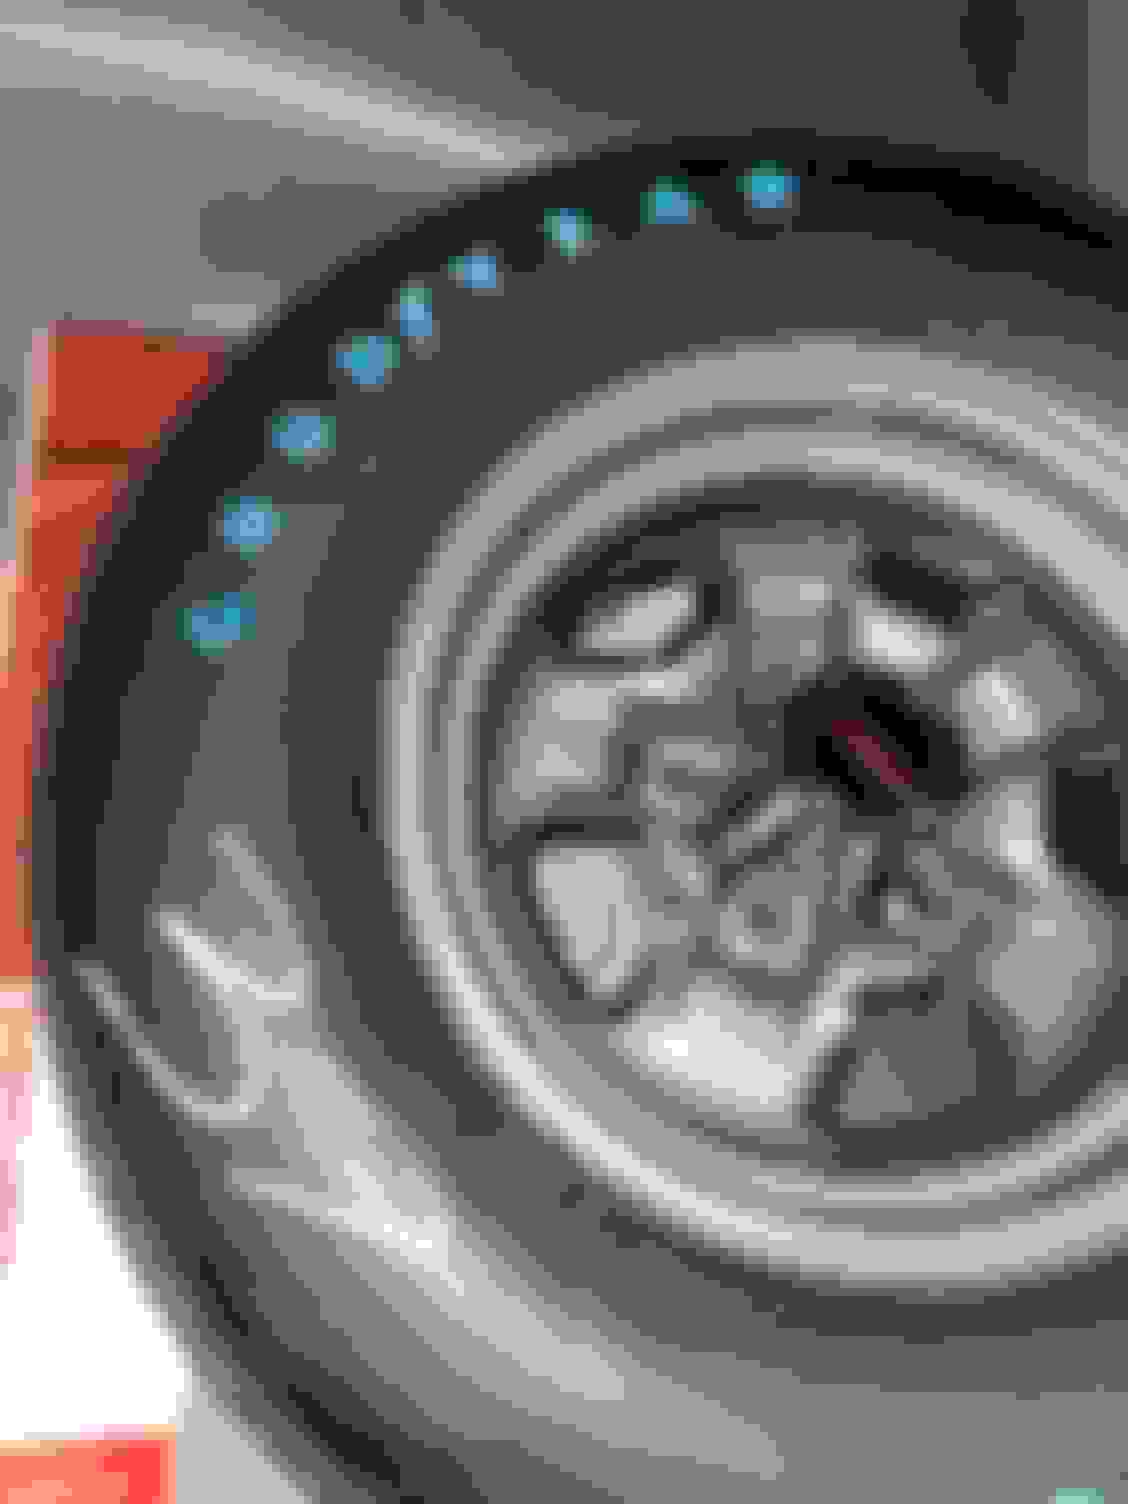
Yesterday, I used my solution of blue dye and eye drops on a cotton swab to recreate the new blue finish on the white letters for the spare. While I was back there, I also lubed the rear trunk latch. It felt like I had to twist the entire key to get it to open, and now it is much better!
This morning I installed the cotter pins up front. I used pictures from survivor cars to position the pins and bend them appropriately. I even tried my hand at replicating the bends for the two pins for the center relay.
I moved on to the rear of the car. I tried swapping on an NOS rear brake hose, but I didn�t like the way it was fitting so back in the packaging it went.
Lastly, I moved on to the e-brake cables at the rear. Silly me, I should have started by disassembling the brakes to begin with instead of trying to get the cable connected to the bracket. The good news is that the cable is in at least on one side. The bad news is that I need to assemble my rear drum brakes.
Blue letters.
The factory adapter had a bunch of reddish pink gunk on the base. At rest, the gunk was visible and looked terrible. I can�t tell if it�s old gasket material or what, but it mostly came off. I need to spend some more time on it.
Recreation of the pin �bend�. I used an oversized socket to get it that way.
Back at it again for a few hours tonight. I finished hooking up the e-brake cables to the levers at the rear. It ended up being easier to disassemble the brakes to get to the lever and putting the parts back in the proper sequence. All good. Finished by putting the factory drums back on the rear as well as a paint mark on the axle.
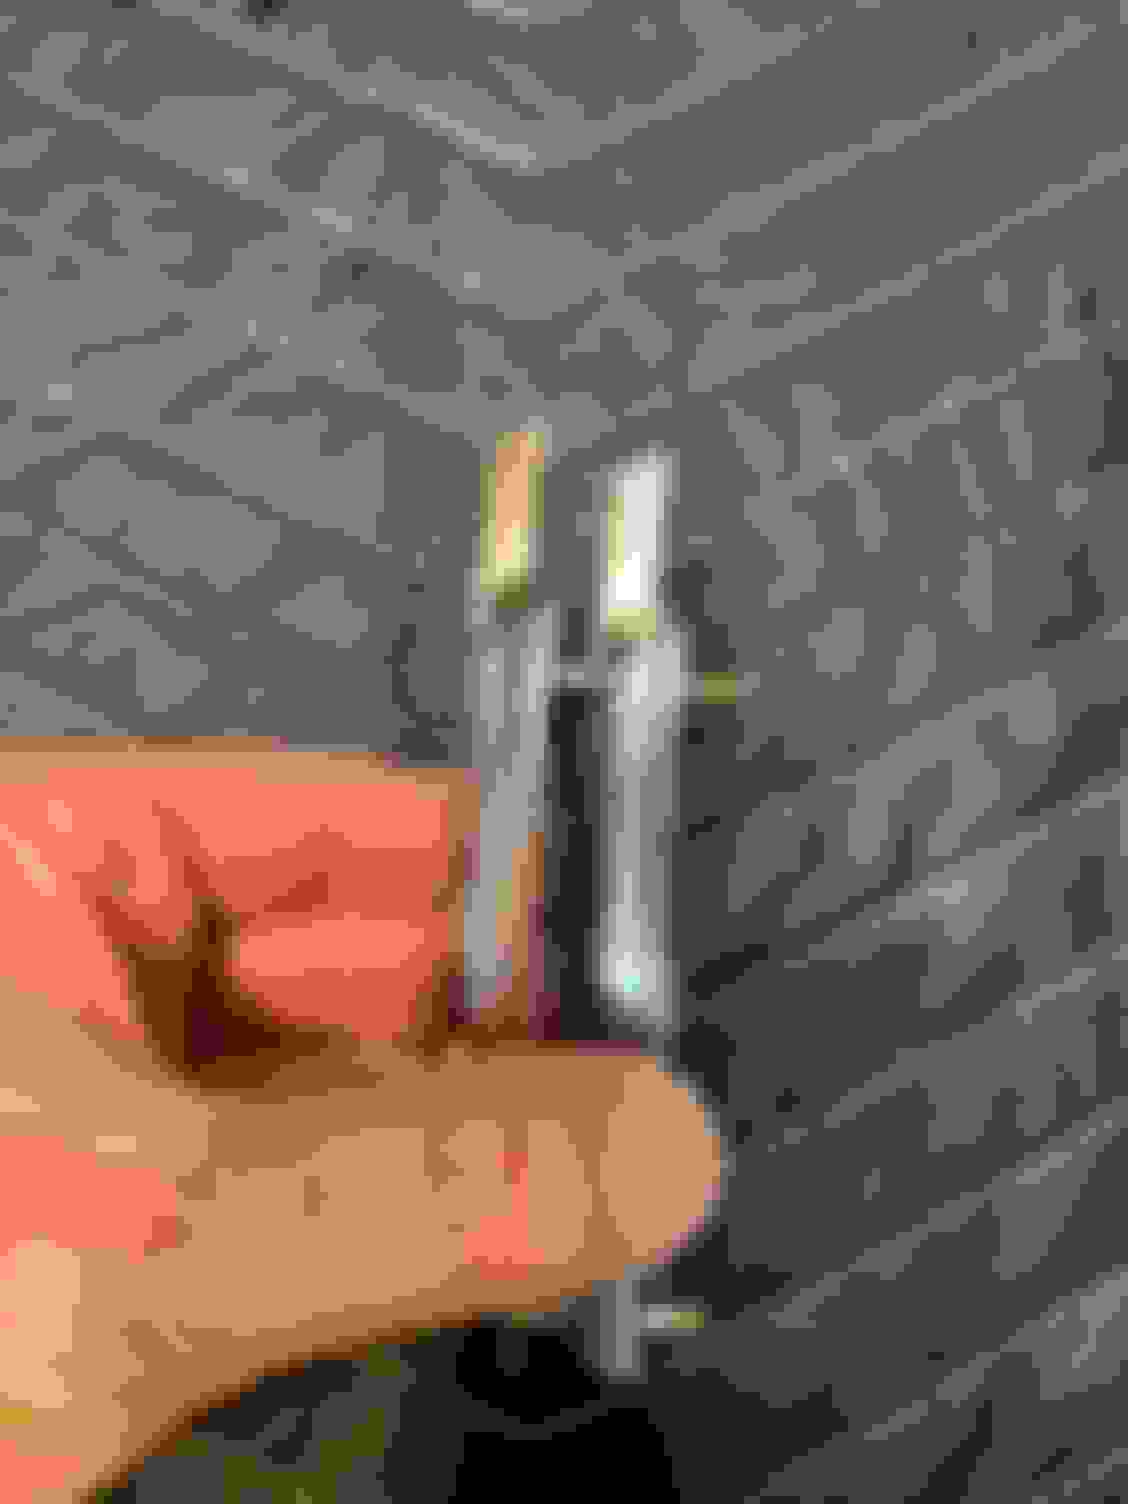
Played a bit with the fitment of the deck lid rocket emblem. At first, the holes seemed crooked, but after looking at a few original cars, I have concluded that the press must have been off a bit on the holes. I will post more on this tomorrow, but it is a cool comparison to see the difference in finishes on the factory original / NOS rocket emblem versus the FAP reproduction rocket emblem.
The rear shocks should hopefully be here in the next day or two. I will do a write up on those later in the week.
Lastly, I wheeled out the blasting cabinet to clean up the rear quarter plugs. These appear to have been more of an olive color versus the turquoise color on the repops. These are also the plugs that are flat as there are a few different types that were used.
Down to the final details.
Rocket emblem placement on a survivor 1970 F-85.
Same car, different view. The insert for the key sits off to the right a bit of the center of the rocket.
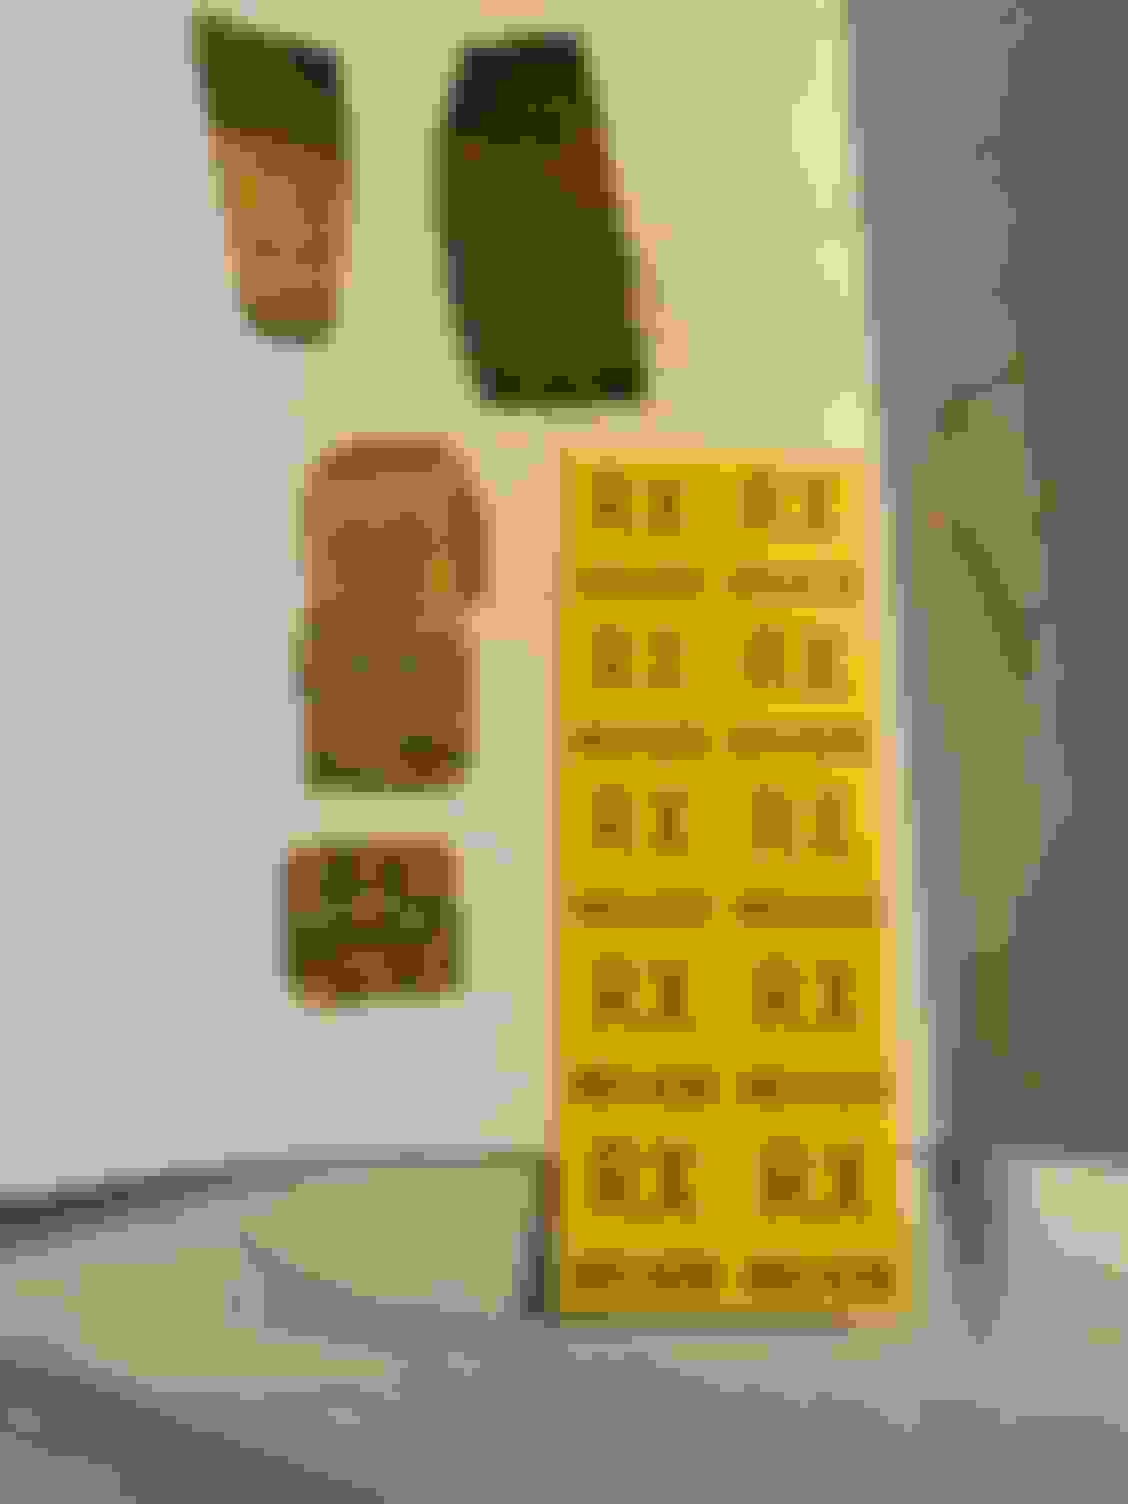
Tonight I knocked out some of the low hanging fruit. I worked on a few of the decals that these cars would have actually had when they left. I took the frame decal and attached it to a magnetic sheet I bought as a 5-pack from Amazon, trimmed around the decal, and stuck the magnet on the frame.
I finished the e-brake cable installation. Not much to it in terms of routing. Felt good to put the pedal down! I had to do a few adjustments with the two nuts to get it to what felt right.
I needed to get a replacement for the LH rear wheel well moulding. I cannot stress this enough�have your originals polished! The NOS mouldings are not great in terms of fitment. I worked the top three screws to get it right at the lip of the quarter and then back down each side.
Trunk rocket emblem is installed as is the correct clip for the blue rear speaker wire. Below are details on the difference between an NOS deck lid rocket and the Fusick repop.
I hope to bleed the brakes either tomorrow or Friday night. The driveshafts are done so I will pick those up tomorrow and get the factory shaft back in the car.
An update from @stellar on the starter. Surprisingly, it checked out okay. We opted to still replace the solenoid since it isn�t an expensive part. Mark is also putting the front and back of the starter back to OEM. I hope to have it back early next week so I can get it back in, and we can give it another try to fire it up.
Frame decals attached to a magnet.
I had a shop match the paint to the backside of the original plugs. I cleaned both original gaskets and reused them.
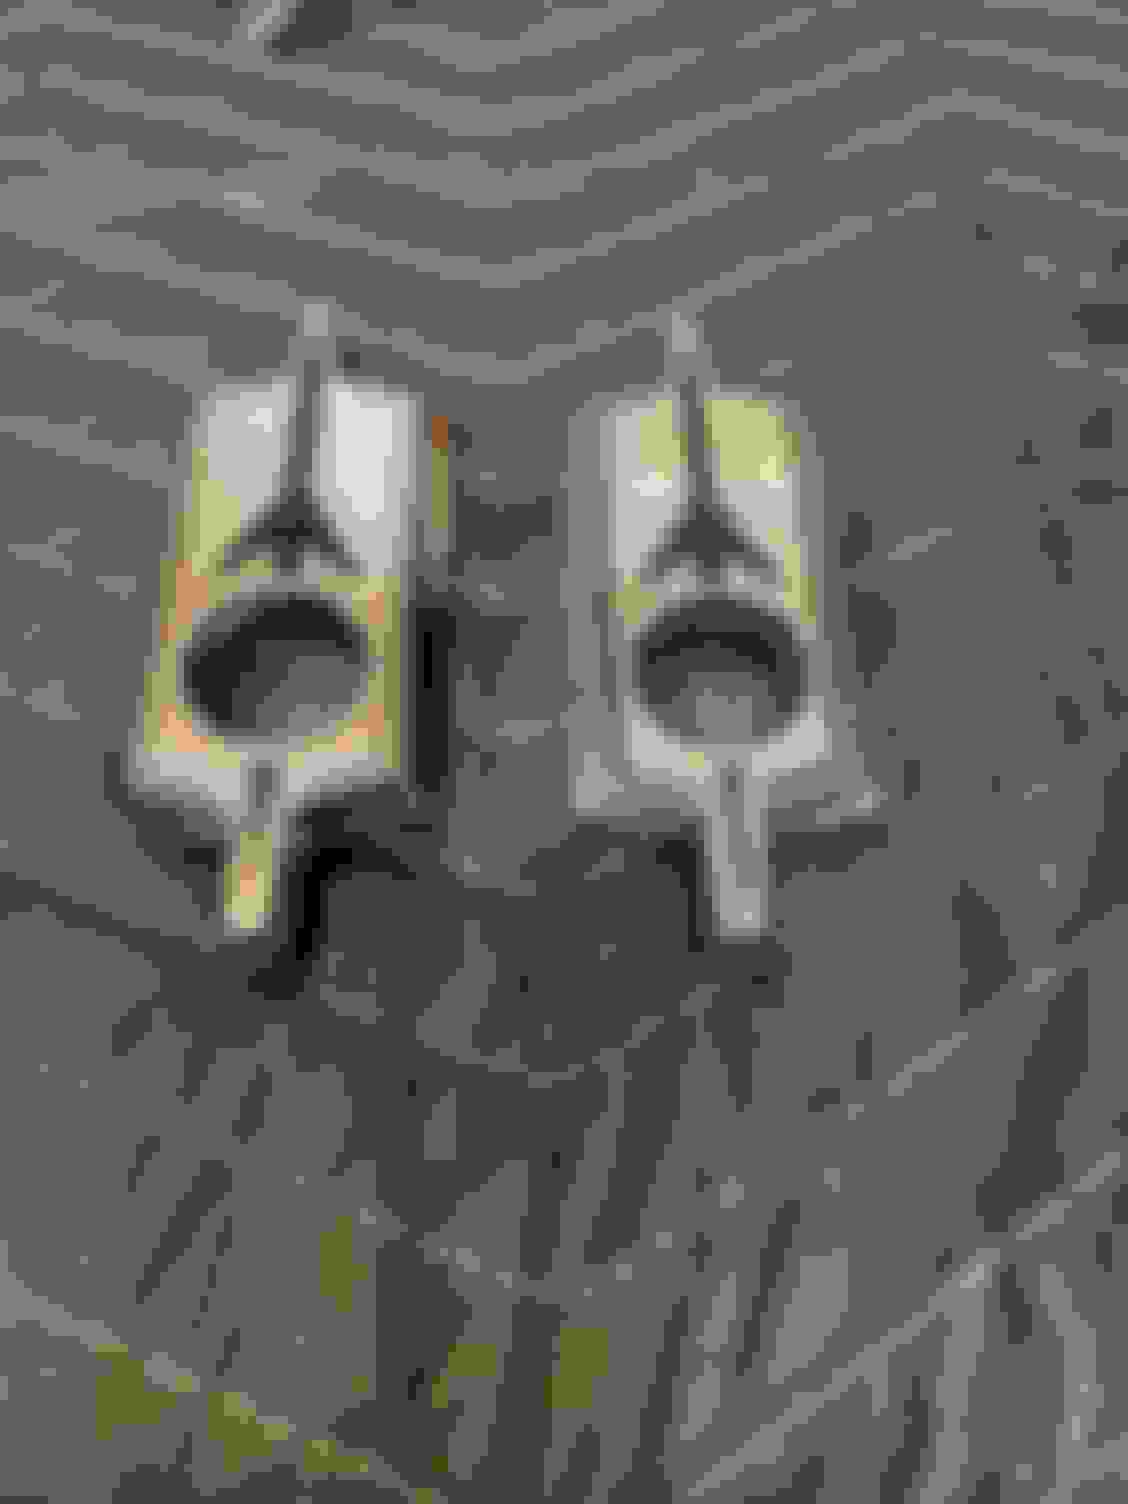
NOS rocket on the left. Repop on the right. Note how the black fill doesn�t even cover edge to edge.
Difference in finishes.
NOS on the left.
Vastly different on the sides. The curvature against the decklid also is a bit off with the Fusick rocket. With this emblem installed, this car has 100% NOS emblems with the exception of the glovebox and the rocket on the dual gate.
Here is the reason why I needed to replace the moulding. The car had metal mud flaps that likely caused this.
Picked up the factory driveshaft and new driveshaft from Surge this morning. The new driveshaft looks awesome, and after show season, it’ll go in the car. I’d highly recommend Surge in South Holland, IL. Thanks @83hurstguy .
Awhile back I worked with Mark Cornea aka Dr. Decal to get the front spring decals accurate. I sent him my originals, and he made his decals from them. I placed the decals as close to where they were when I removed them, but truth be told, it’s a pain trying to get the decals on while the springs are installed.
I installed a few other decals but didn’t go overboard. I only wanted to put decals back on if they were there in the first place. I am a firm believer that most of the decals available are fictional.
Factory decals.
Last edited by WTHIRTY1; June 18th, 2021 at 08:08 AM.
The decals on my W-30 springs were much different than that. I will have to see if I can find the pictures of them. I know my right one had a circle around the code and the left one didn't. Or maybe that was the other way around. They put the slightly heavier rate on the passenger side and the circle was to note that. Has been a long while since I was doing this so I could have a little of the details wrong from mine.
I guess this is where we have a slight disagreement. They're not that accurate, IMO. If you look at them closely, the fonts and sizes aren't close enough to the original for me. Granted, today's fonts don't look like most of the GM parts organization's fonts of old, and the printing processes have vastly improved since then, but I believe the commercial version could have been done better had there been a little more research done. It took me about 45 minutes to do a more accurate representation of your decal based on your picture here. Of course, I don't know exact sizes (guessing 1" wide?) and I'm still a bit iffy about the original background color used, but based on what I had to work with, I gave it a shot. Perfect work? No. But I'm in camp of trying to get as close as possible, not just close enough.
You would be amazed at the amount of decals/stamps are on a friggin' car. And making them accurately is a PITA sometimes. I used to think that there wasn't many decals on a G-body either until I started on that project. Granted, A-bodies probably didn't have as many because of barcodes, etc., but there's still a pretty decent amount. I still admire the fact that some of these original decals survive for 50+ years or more.
You are correct in that it surely is much easier to apply the spring decals off the car. Back ones not so bad, but front? PITA.
Here's my college try at that decal. I centered the letters/numbers because I think it looks better, but it would take just a minute or two to move things to the right to even more closely match the factory decal. I think it looks better than the commercial version you had made. But in the big scheme of things, I don't think anyone else would even notice.
That is a nice decal you’ve recreated. I sent you a PM around another decal that I think would really stretch your expertise if you’re up for a challenge.
Last edited by WTHIRTY1; June 18th, 2021 at 08:08 AM.
The decals on my W-30 springs were much different than that. I will have to see if I can find the pictures of them. I know my right one had a circle around the code and the left one didn't. Or maybe that was the other way around. They put the slightly heavier rate on the passenger side and the circle was to note that. Has been a long while since I was doing this so I could have a little of the details wrong from mine.
I've seen that as well. Not surprising that the W-30 decals would be different than the W-31 spring decals.
I didn�t spend a ton of time in the garage this weekend. The driveshaft is back in. No trans fluid leaking through the slip yoke so I will call it a win. I figured out why the fluid was coming through in the first place, and it made a little more sense on why that plug became the issue. Regardless, all good!
Rear spiral reproduction shocks are nowhere to be had. I called every parts vendor in our Olds community, as well as a few Pontiac and Chevy shops, but no luck. It sounds like they�ve paused on production. I don�t know the specific reasons, however, I would speculate it�s either China-related OR the quality was just so poor they needed a better solution. I looked at the used pair of factory shocks with a �71 date I had in the parts room, but they�re too far gone and need to be sent out for a rebuild which I have heard takes 4 to 6 months. I ordered a pair of KYB�s for the rear, and they�re a nice shock, but I couldn�t get past the hardware being so noticeably different than the factory shocks. I scoured the Internet for Delco pleasurizers, and nobody had the part number I was looking for. Finally, I referenced the 1979 Olds parts book to locate a superseded part number. It appears, based on this parts book, that a suitable part number replacement for the factory 3197677 shock was 1154096. See the image below. Low and behold, I found an NOS set of 1154096 shocks in the GM boxes with 1977 and 1979 dates. They appeared to be in decent shape with the exception that they were painted teal. No big deal! I scuffled them a shot them with two coats of Shock Detail Grey and installed them this afternoon. While they�re not a spiral shock, they�re technically a correct part number based on the book, and they have the correct mounting at the rear.
I installed the decals for the shocks based off the location on an NOS set of spirals on eBay. The tags are really high up near where they mount to the frame so that�s where I put them. It drives me nuts when you see the decals low just so they can be seen from the ground. You�d have to be underneath the car looking up to see the tags, and to me that is more authentic than doing it just for the sake of having the decal visible.
Busy week ahead. I still need to bleed the brakes, get the factory starter back in, clean the NOS Goodyears and mount the SS2�s. Oh ya, and clean dust off!
Great details on rear shocks. Second row from the top calls out the 1154096 rear shock so that is what I went with for now.
Gotta love that color!
Second coat of shock grey paint.
Factory nuts and AMK lock washers.
NOS rear shock decal placement reference. My shocks are a different code than the example pictured below.
I believe this to have been the factory mounting hardware. I had the bolts and nuts rephosphated.
Last edited by WTHIRTY1; June 22nd, 2021 at 05:59 AM.
Yesterday I took off the master cylinder to bench bleed it. The MC was rebuilt about two years ago by White Post. I filled the reservoirs with fluid, found the correct sized plugs in the kit, and used a nut driver to push the piston in. After awhile, all the air was out and the piston was noticeably harder to push.
Reinstalling it in the car required a ton of rags and towels! I assume this is par for the course, but when I removed the plugs a tiny bit of brake fluid would weep out until I had the line installed and tightened.
I hope to get the system bled today with the pneumatic bleeder tool I picked up. We�ll see.
I know it is to late now for the information but you don't have to bench bleed the master cylinder with using a pneumatic bleeder. A little hint though, Many times you need to put a little Teflon tape on the threads of the bleeders when using the pneumatic bleeder. Even with the tape you will see lots of air coming out because it is sucking air through the bleeder threads. I have to do each wheel one time then pump the brakes and then do each wheel again when I do a complete new system. I have had to do them a third time before also before all the air was out. I also waist about a qt of fluid this way but I would not do it any other way now that I have used the pneumatic bleeder.
I know it is to late now for the information but you don't have to bench bleed the master cylinder with using a pneumatic bleeder. A little hint though, Many times you need to put a little Teflon tape on the threads of the bleeders when using the pneumatic bleeder. Even with the tape you will see lots of air coming out because it is sucking air through the bleeder threads. I have to do each wheel one time then pump the brakes and then do each wheel again when I do a complete new system. I have had to do them a third time before also before all the air was out. I also waist about a qt of fluid this way but I would not do it any other way now that I have used the pneumatic bleeder.
That's helpful, thanks. I plan on bleeding 2-3 times for exactly that reason. Which pneumatic tool were you using for your bleeding?
I forget which pmeumatic bleeder I got but was an Amazon cheapie. It sucked, but not literally...had to go old school bleeding all four corners with the wife pressing on the brake pedal.
Be sure to start at the passenger rear wheel first and work your way closer to the master cylinder.
Tonight�s mission was to bleed the brakes. With the MC installed, and all the lines tight, I worked from the RH rear, LH rear, RH front, LH front. It took four cycles to get pressure at the pedal. I did a fifth cycle of bleeding just to be sure, and of course I discovered a tiny leak on the rear line that runs along the frame to the distribution block. I re-tightened it so we�ll see how it looks in the morning.
While at the pedal, I realized I didn�t tighten the bolt and nut tight enough for the pedal arm since it had too much play side to side. Few quick turns of the ratchets, and we are all set there. While under there, I inspected the ignition switch again. Nothing appears to be loose.
With the brakes bled, I wanted a more fun project to end the night with. I had reproduction window stickers made for the car based off the original invoices. I looked for a thin double sided tape and found a really nice 1/4� double sided tape off of Amazon. I put the tape on the sticker a bit longer than the paper itself and trimmed the sides to match the length of the paper. I used a picture from 1970 of Cooper Oldsmobile in Michigan as an example for where exactly to mount the window sticker, and stuck it to the glass after a thorough cleaning. Looks pretty cool, and feels good knowing completion is within striking distance.
This afternoon I set the rod from the �ear� of the steering column to the back drive at the frame / trans. With the shifter in reverse, and the backup lights illuminated, I tightened the bolt and washer. The car goes in to park without issue, and the key can be removed without issue.
The starter arrived today via UPS from Mark in PA. I will install the starter tomorrow and see if we can get the car to start.
In case anyone needs details on adjusting the shifter cable, check the chassis manual section 7.
This my my pneumatic brake bleeder. Pretty impressive unit. It was helpful having the latch to keep it running so I could monitor the reservoir and check for leaks.
Here is the tape I ordered. Not sure how wide the factory adhesive was, but this certainly beats the 1/2� double sided Scotch tape!
I love this picture of Cooper Olds!
Window sticker attached. What�s cool about this is that I have an original picture of the car at the dealership when it was new with the sticker visible and the letters from the backside barely legible.
Hard to tell in this picture but the window sticker is still affixed to the LH rear glass.
Last edited by WTHIRTY1; June 22nd, 2021 at 08:28 PM.
Here is the tape I ordered. Not sure how wide the factory adhesive was, but this certainly beats the 1/2� double sided Scotch tape!
Back in the day , I worked for a GM dealer and did new car prep .
The window stickers were pasted to the glass with a water soluble glue .
We would usually soak them with window cleaner and scrape them off with a razor blade .
I remember that there were a few cars where the buyer requested that the sticker be saved .
I would thoughly soak the sticker with window cleaner for half an hour while I did other things .
I would come back and carefully peel the sticker off and place it on a piece of paper to dry .
WOW......it is so neat to see this coming to a final end of your restoration check-list! Like I said, a friend of mine had a 4 speed W-31 in the same color back in 1972 and it was an awesome looking and running car! It was as impressive, if not more impressive of a machine than the 455 IMO! When and where should the first showing be. If it's not too far from SW Ohio and I can get the wife to go, I'd love to see it!
I have the original window sticker for my '72 and it's in pretty nice shape considering. The original owner drag raced it for a while in the Houston, Texas area so I'm surprised a racer cared enough to save the sticker! It's a neat thing to have for a car that is nearly 50 years old! Lucky for me all the Ram Air stuff and most of the other option stuff came with the car and it's the original running gear.
I used a Motive bleeder on my 1976 Corvette to bleed the brakes last year and will use it on the 442 soon! It's nice to not have to have a "pedal-pusher" when working on bleeding brakes!
I do have to re-adjust the linkage on my Hurst Dual-Gate shifter. When I replaced the cable I found that the "park" still lets the car move so I have it off a bit. So, I will use your section of the book to look back at it to see if I can get it right.
Any rate, your resto post is one of the highlights every day! You do such great restoration work. Amazing stuff!
I repro'd my own window stickers long before there was anyone else doing them for G-bodies. I laminated them because I don't want them permanently stuck to the window since there's only 2 windows big enough to put it on. I guess in this situation a permanent one could make sense.
I put the little snot dots on the sides to mount the sticker to the inside of the window. When done, just pull off the snot dots and just a little window cleaner takes off any residue. Simple, and clean. No mess. Just an idea for any non-permanent window sticker solutions.
Let’s see how long I can keep the Stones titles rolling here…
Tonight felt like a successful night. The starter from Mark went back in the car. I came up with a way to jamb a rag between the starter and the oil pan to balance the starter in place so I could easily access the solenoid nuts. I made sure the wires were nice and secure as well as clear of any other wires or grounds. With the rebuilt starter now having factory front and back pieces, I didn’t have to use any shims. Another win. I went through the same exercise as the last time where we hit the ignition a time or two and this time there weren’t any issues! Chalk it up to either the solenoid or something in the starter itself. I didn’t want to start the car with my daughter sleeping for the night in the room above the garage so we’ll give it a try tomorrow. Per usual, I am anticipating a leak or two somewhere along the way.
I also replaced the corner retainer for the RH weatherstripping channel. As I mentioned previously, the plastic piece had snapped off and I had acquired a clean NOS retainer. I pulled the weatherstripping back from the front, unscrewed enough of the channel screws to be able to slide the old retainer out, and then installed the new part. I probably could have tried to glue the plastic back on, however, it would have been my luck that it would have broken back off at the worst possible moment. All good now.
In keeping with fun finishing details, I installed the newly created W-31 ‘OI’ tune up decal. Without giving away too many details, I worked with a friend from the past to make the most accurate W-31 tune up decal in the hobby. This is the wider tune up decal. I’ll post more tomorrow about tune up decals and my thoughts regarding placement on the radiator top plate.
I also installed the LH and RH part number decals on each splash shield.
I ended up back underneath the car to apply the paint markings for the rear yoke, per the documented photos I have of a survivor ‘70 W-car.
Tomorrow I need to mess with the brake line that is leaking at the block and figure out where the rear line in to the hose is leaking as well. Fun stuff.
Before.
After.
Last edited by WTHIRTY1; June 24th, 2021 at 06:45 AM.
Regarding the roof rail window guide and from my understanding, once the guide is in place a hot soldering iron tip is touched to both feet of the plastic guide, deforming each one; when cooled, this secures the guide in place. I suspect most were glued in and later go missing as the window applies a fair amount of stress to the guide as it slips pass and into place against the weatherstripping.
Of course, to accomplish this exercise the roof rail channel is not installed in the car.
Last edited by tnswt; June 24th, 2021 at 06:39 AM.
I made a post on the restoration group on Facebook so I know a few of you have seen this already, but I wanted to share my thoughts on the tune up decal sizing and position.
For the 1970 W-31, there are two styles of tune up decals. There is the �SI� decal and the �OI� decal. The SI has a circle in the lower right corner and the OI is a rectangle. From my studies, the SI decals is skinnier than the OI decal. Initially believed to be specific to build dates, I have come across several examples of later cars with the wider OI decal�my March �70 built car being one example. Currently, there is one shop that recently put together the wider decal. Unfortunately, when compared to an original decal, it�s severely flawed. We have worked to create a near perfect replica to the factory OI decal. We accounted for the sizing, the shrinkage of the vinyl from the heat, and believe we nailed the final result. Many thanks to my friend who helped me with the project�you have crazy good skills!
Next, I wanted to provide some thoughts around the �dimple� on the radiator top plate as it relates to decal positioning. I have seen examples of restored cars that place the decal above the dimple, per the PIM, as well as others that have actually placed their wider W-30 and W-31 tune up decals above the dimple so it ends up curving the top plate. I believe the decals in question were placed over the dimple. I have evidence of a factory 1970 W-30 decal that clearly shows the dimple impression in the middle of the decal. The same goes for my original W-31 decals.
What I would need to fully flesh this out is an example of a skinny decal, but in the reference photos I have, it doesn�t appear to be placed above the dimple.
Apparently there are differences in NOS trunk weatherstripping with part number 9825829. I acquired the first NOS weatherstripping for the trunk a year or two ago, and it just sat way too high in the channel to the point where the deck lid wouldn�t close�even with force.
I ordered another NOS trunk weatherstripping last week and specifically looked for the oldest GM box I could find. Low and behold, this rubber worked out great. Pretty cool markings on the rubber, too.
I know this part number spanned about 25+ years so I am guessing there were variances along the way. I have the rubber tucked in the channel to �settle� overnight with the deck lid closed, and I will glue it in place later.
A few other quick items knocked off the list tonight. Installed the radiator stripe decal. I used an NOS decal to have a copy made, and referenced a sweet �70 W-30 survivor for placement.
I also installed the correct unique style screws for the back glass moulding.
Lastly, I did a few grease pencil markings on the underside of the hood.
Tomorrow I will fire her up if all goes according to plan.
Here�s the first box I picked up. Newer tag, newer box, a bit too tall in the channel.
Here is the second box. Old and beautiful.
Here is the height of the �newer� rubber.
Here is the older NOS rubber. Again, this isn�t as tall and just sits better in the channel. And the sizing around was perfect in that it did not require any cutting.
Embossed �8436� number. Dunno what it means. (This is just resting in the channel�it still needs to be tucked!).
Letter �K� about 18� from each end.
More markings. (Again, not tucked yet!).
Last edited by WTHIRTY1; June 27th, 2021 at 08:07 PM.
Jimmy it looks like the second set of trunk weather stripping is foam covered with vinyl and the first was a solid foam design. Am I seeing that right in the picture? Is the second set just softer or physically shorter?
Jimmy it looks like the second set of trunk weather stripping is foam covered with vinyl and the first was a solid foam design. Am I seeing that right in the picture? Is the second set just softer or physically shorter?
For the first time since I have owned the car, she starts and runs beautifully! This is a huge sigh of relief. And she sounds pretty angry which makes it even better. A few friends stopped by today to help me get her running, along with the help of my Dad, and after adjusting the timing she fired right up. I need to check with the original owner, but I don�t believe this engine ran in the car for at least 30+ years.
I have a few minor things to tighten and work through. The plan is to try and at least get the car around the block. If that goes well, I am going to load her up and head to Auburn�regardless of how dirty and dusty the car is. I seem to have a power steering drip somewhere and the main brake line in to the bottom of the distribution block also has a small drip.
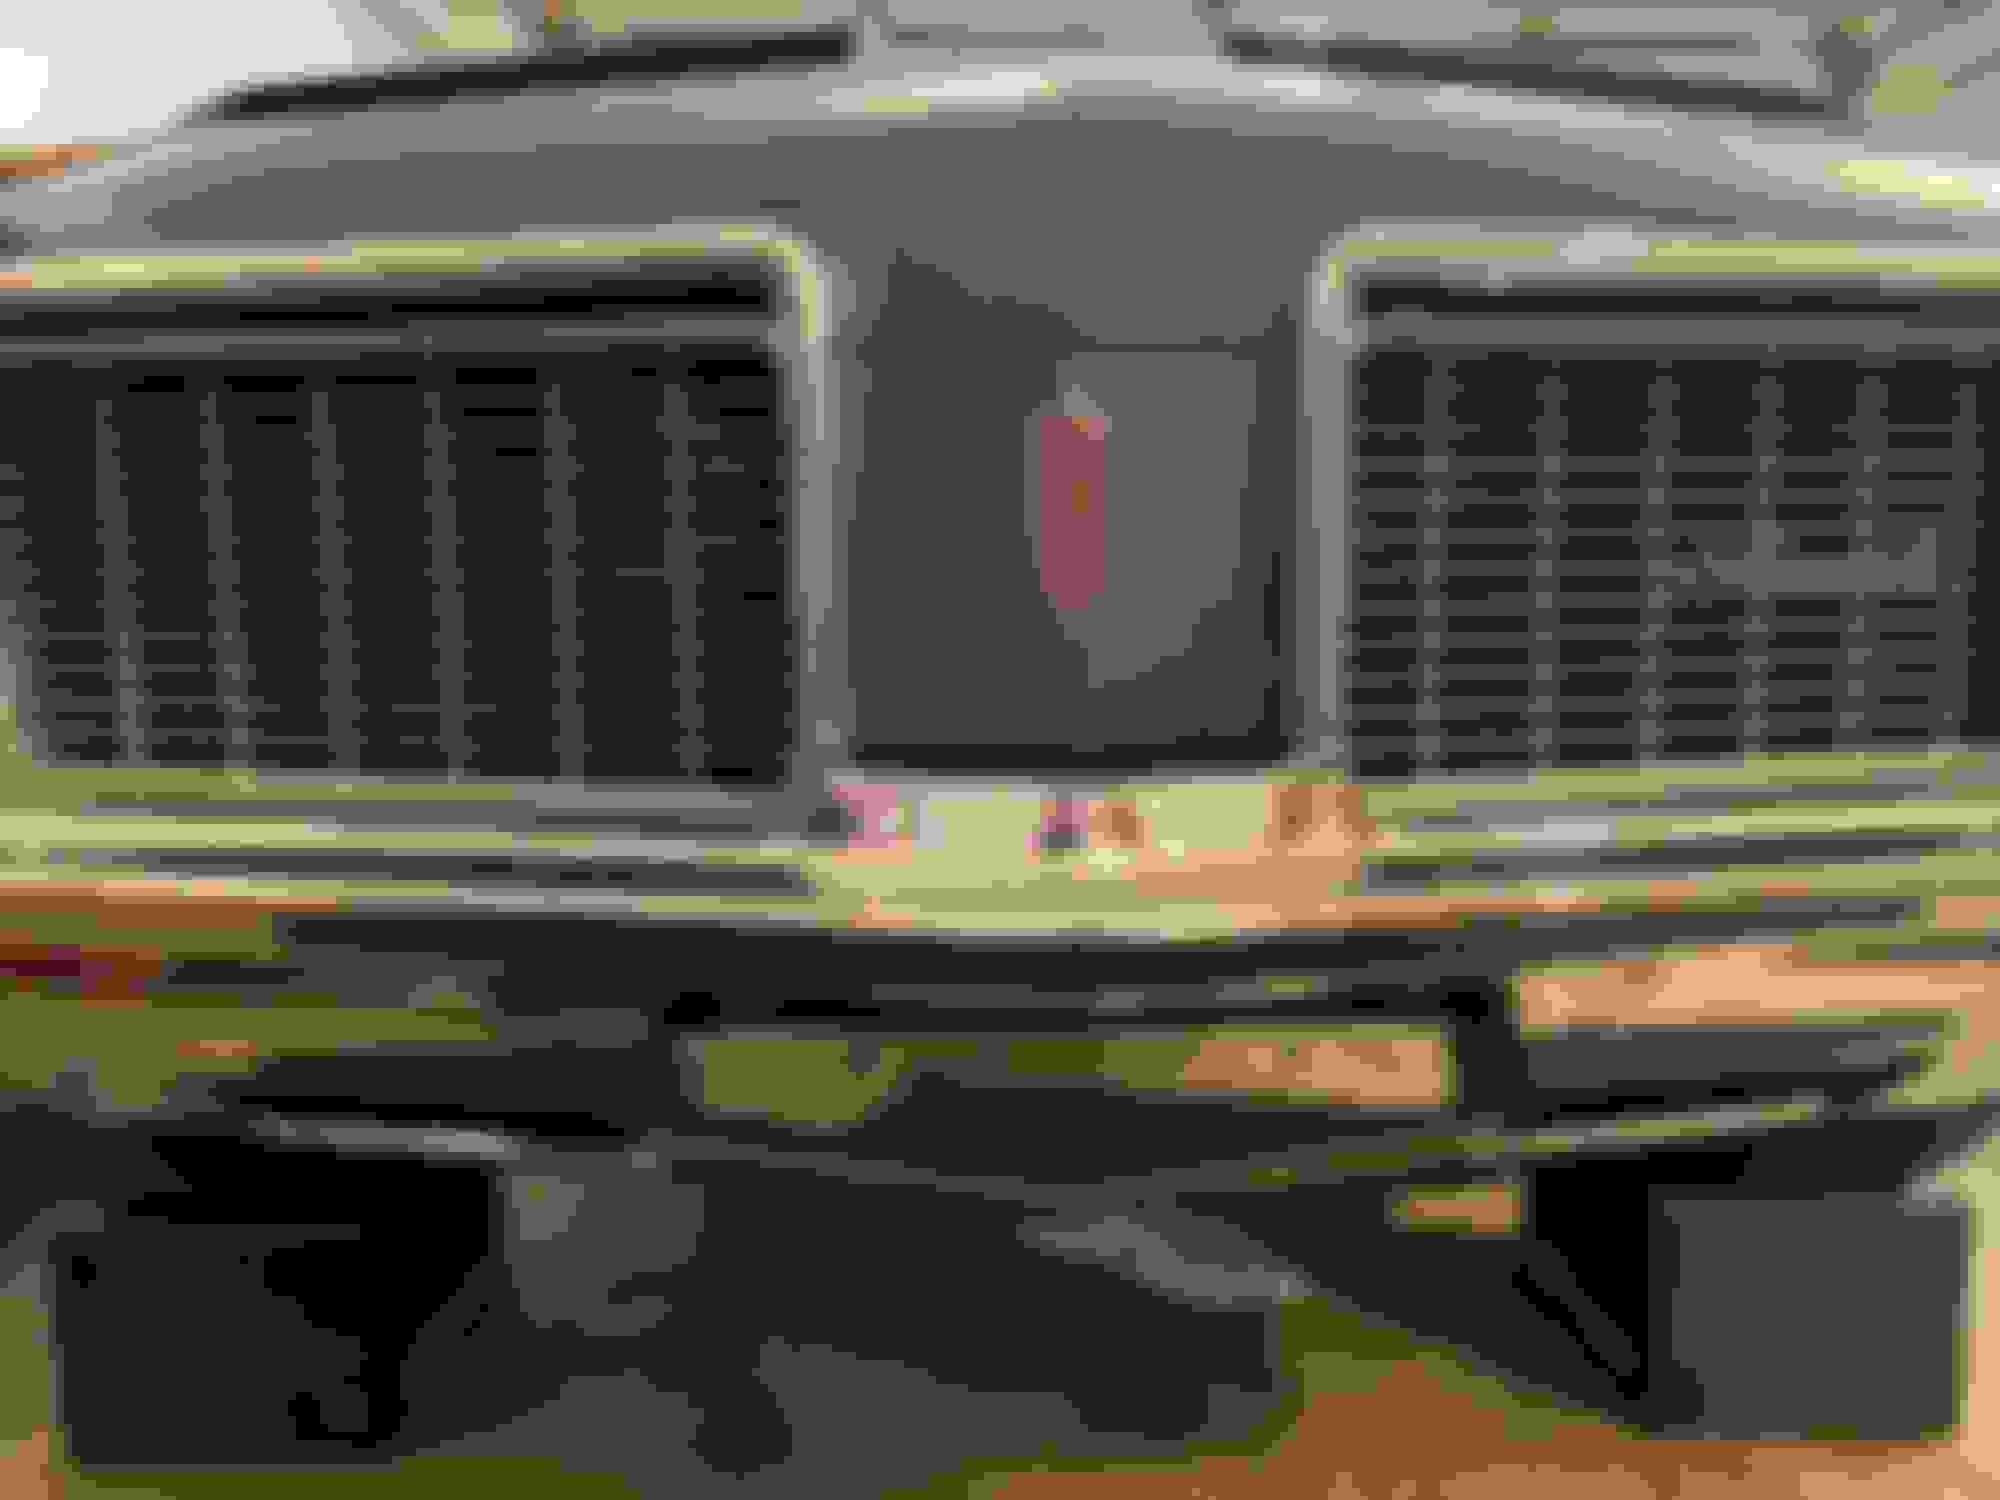
We also mounted the front bumper today. With three sets of hands, we were able to get it close but it still needs some adjusting. I also need to adjust the RH parking light housing so the lens fits better.
Here is a video of the car idling. We brought the idle down a tiny bit after this.
Still some work to do on the sides by the headlight housings. I think it needs to be pulled in AND up a bit without moving the middle section of the front bumper.
Last edited by WTHIRTY1; June 27th, 2021 at 02:04 PM.


 June 13th, 2021, 08:22 PM