When you click on links to various merchants on this site and make a purchase, this can result in this site earning a commission. Affiliate programs and affiliations include, but are not limited to, the eBay Partner Network.
Your frame off is Looking Awesome. I have a question? I seen a blue print assembly manual pages in post 88. What are you using for an assembly manual? I also need one for my 69. Can you please give me some info on your assembly binder? Thanks
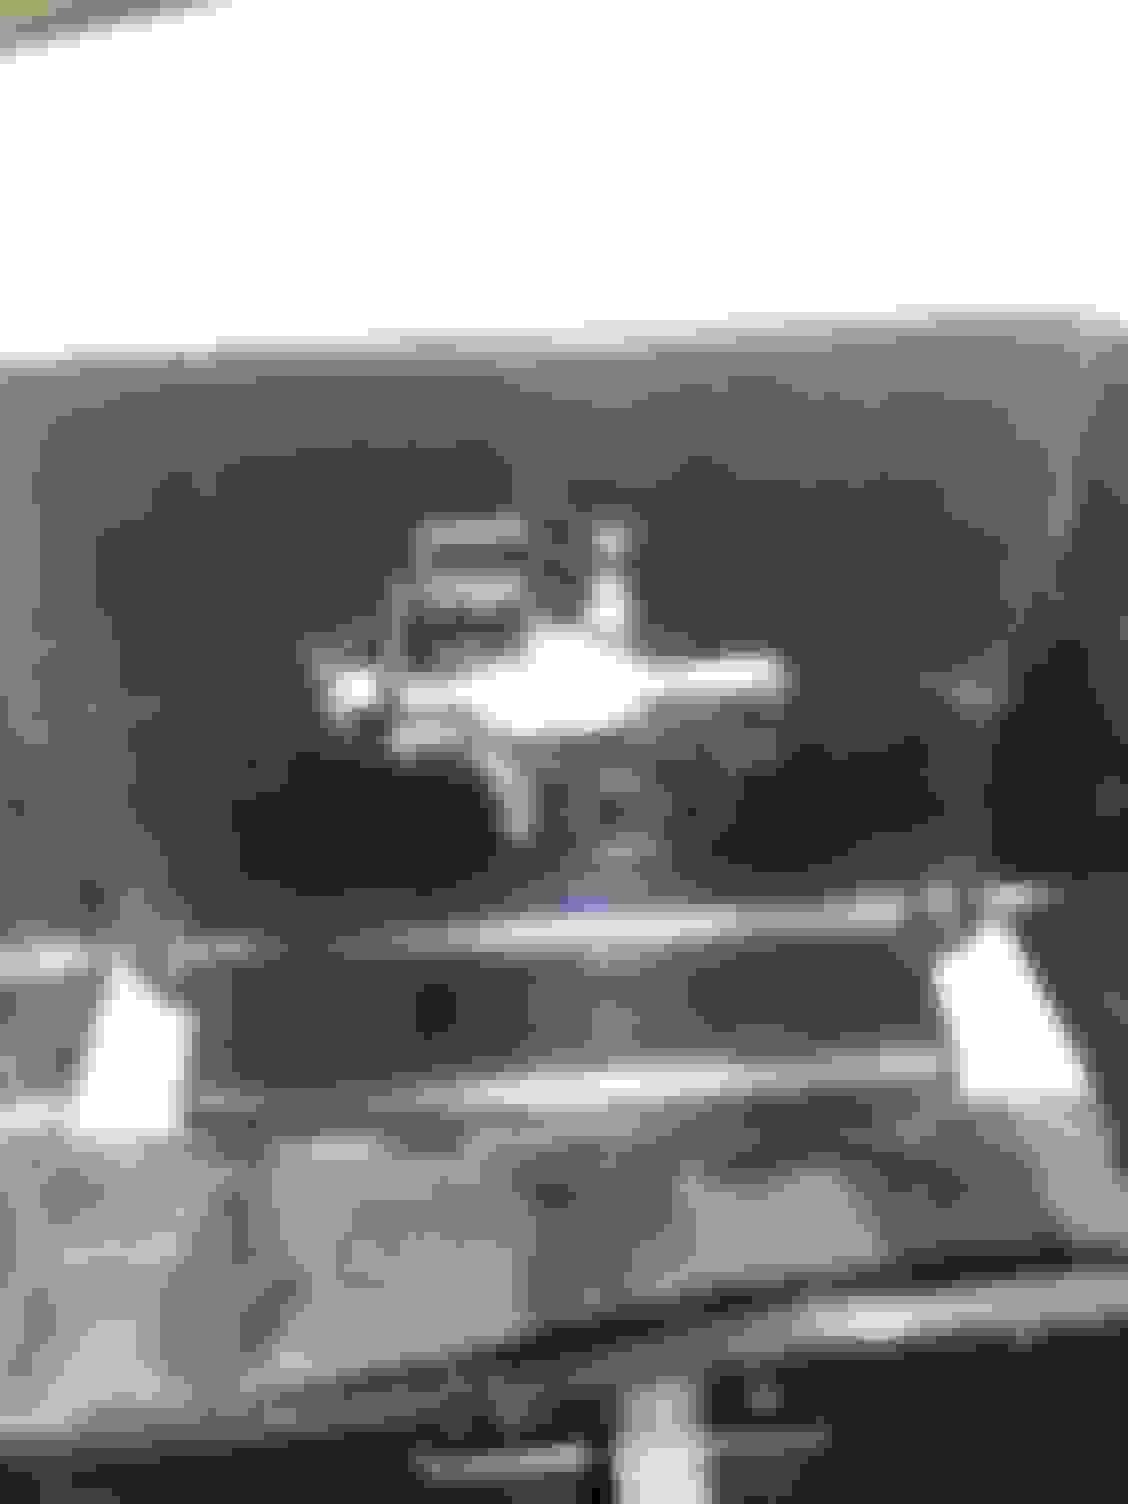
After the hours put in yesterday, all I did today was clean up the mess and try to figure out why my RH hood pin won�t close all the way.
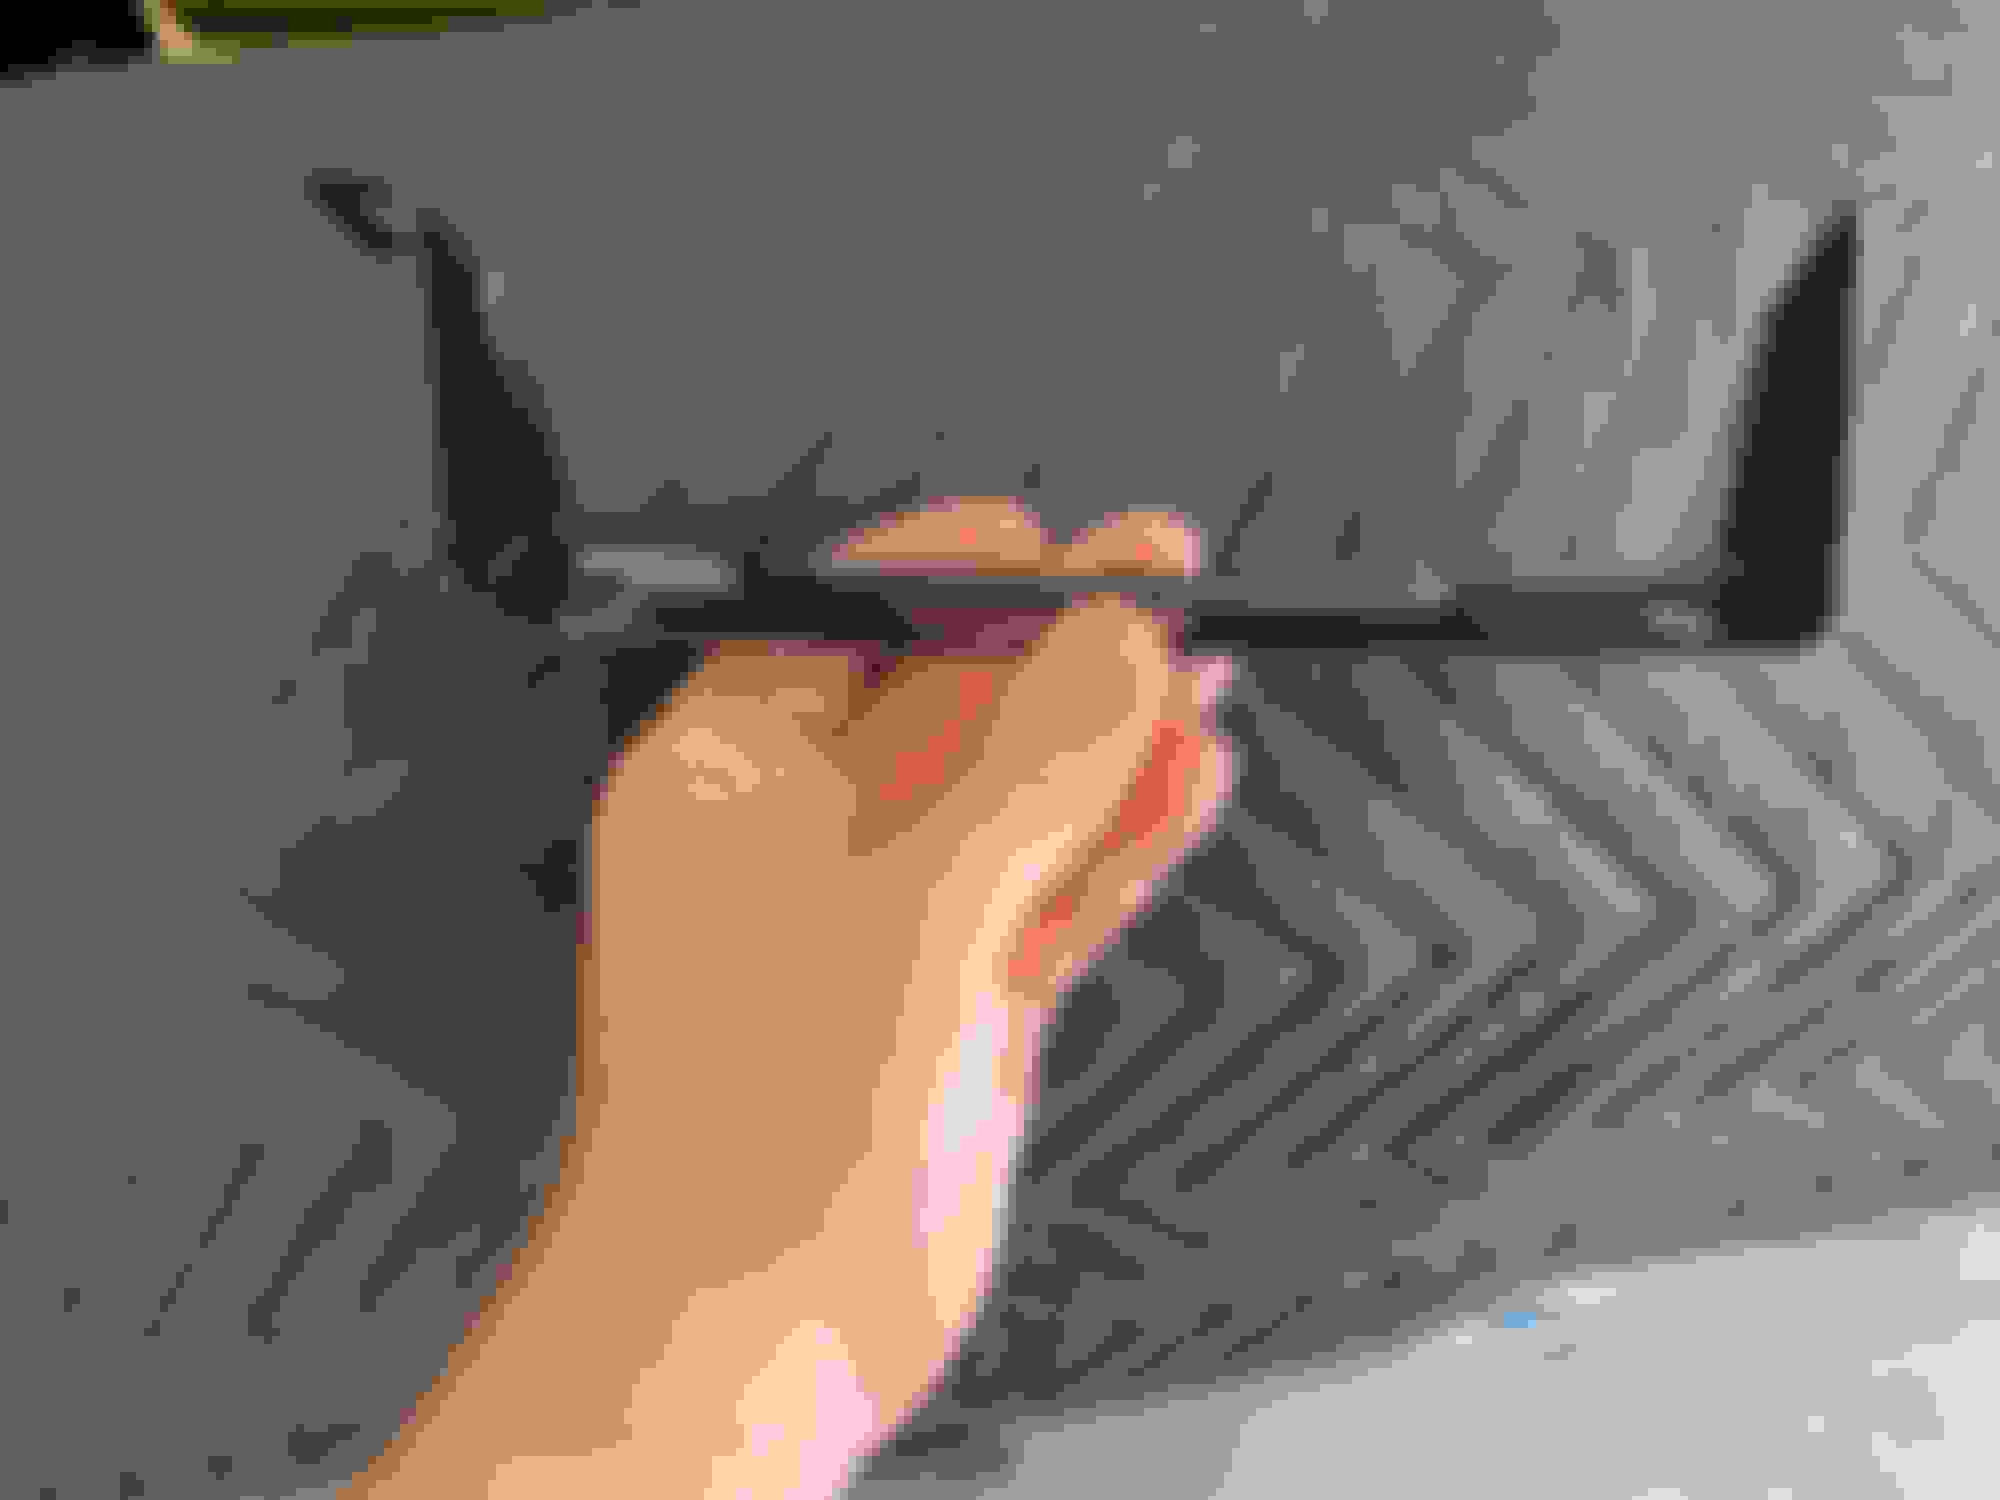
For the pin, I started by putting my light in the core support and enabled my front camera on the phone to record. The first video is of the LH bracket underside. This pin doesn�t have any issues though it could benefit from a little lube on the underside of the bracket.
The RH hood pin is the one giving me fits. It appears, based on the video, that the bracket needs to shift a bit to the outside towards the fender in order to center the pin. I don�t see anything visibly wrong with the �tabs� on the underside of the bracket. I need to look closely at the bracket and determine if there is any play to be had side to side. If not, perhaps a dremmel. I do believe an optional washer is called out in the PIM, however, I am not so sure a washer on either side would do much for me in this particular instance.
Regarding the roof rail window guide and from my understanding, once the guide is in place a hot soldering iron tip is touched to both feet of the plastic guide, deforming each one; when cooled, this secures the guide in place. I suspect most were glued in and later go missing as the window applies a fair amount of stress to the guide as it slips pass and into place against the weatherstripping.
Of course, to accomplish this exercise the roof rail channel is not installed in the car.
There is actually another style as well that used tiny screws, IIRC. It was a replacement part.
Your frame off is Looking Awesome. I have a question? I seen a blue print assembly manual pages in post 88. What are you using for an assembly manual? I also need one for my 69. Can you please give me some info on your assembly binder? Thanks
Appreciate the kind words. Check in with our buddy Paul Sigmund aka @Hairy Olds on here, and he can get you set with the 1969 PIM. Good luck.
Thanks, fellas! Paul�you and Andy will be here before you know it!
Thanks for the motivational sentiment! I view a frame off restoration like a vacation. I told my kids when they were younger and wanted to hurry and get there that it�s not about the destination, it�s about the journey. They didn�t get it then, but now that their 28 and 30 yrs old and starting families of their own they get it now.
Love the idea of a camera or go pro under the hood for the hood lock. I�m gonna use that one. And your car sounds awesome! Now back to getting my dash back together!
I repro'd my own window stickers long before there was anyone else doing them for G-bodies. I laminated them because I don't want them permanently stuck to the window since there's only 2 windows big enough to put it on. I guess in this situation a permanent one could make sense.
I put the little snot dots on the sides to mount the sticker to the inside of the window. When done, just pull off the snot dots and just a little window cleaner takes off any residue. Simple, and clean. No mess. Just an idea for any non-permanent window sticker solutions.
...I know on my setup using the Inline tube rad core brackets they do adjust slightly on the rad core. It was a lot of trial and error, constant hood up then down over and over, to get it right including tiny adjustments of the hood fender, and rad core to get gaps correct as well, which will effect the brackets aligning with the hood pin. But start of coarse at the brackets themselves first, im sure your gaps are perfect with your level of detail. Good Luck.
according to the above pics it seems to me the horizontal pin is too far to one side (pic 2) which is why the pin doesnt fall into the locked slot perfectly. Shift the bracket maybe an 1/8" or so and the pin might center better allowing it to lock all the way...or adjust a tiny bit on the hood pin setup itself, or a combination of the above two. Just a thought.
Last edited by JCMC64; June 28th, 2021 at 10:22 AM.
You're so close on the hood pin bracket... I have to say that when I pulled off the original ones on my Rallye, and as I've looked at the ones on my 442, they aren't perfect mirror images of each other. Other than the PIM-shown washers to align things, I would bet money a good smack with a rubber mallet was used to make things line up as well. Hate to tell you to just hammer away, but that may be all it needs - a little extra bend at the corners to give that 1/8" you need.
Sweet music that W31 rumble! I always knew EXACTLY when my dad was home just from the exhaust note. I didn't have to wait for teh street lights to come on, just ad to listen to the 31 rumble down the street.
I didn�t make it to Auburn with the car. Oh well. Truthfully, I probably could have made it, but it would have been too much rushing around. Instead, I am heading up to Michigan with the family for a few days. We�ll be going through Lansing so maybe a trip to the museum on Tuesday if it�s open.
I have been extensively researching photos of factory cars from 69/70 to assess the bumper fitment. It was inconsistent across the board. I am using the �70 442 Indy track car as a guide since I have to assume Olds would have had that car dialed in for TV and press. The bumper fitment is just meh. I need to do some adjustment on mine, but I am going to leave it imperfect.
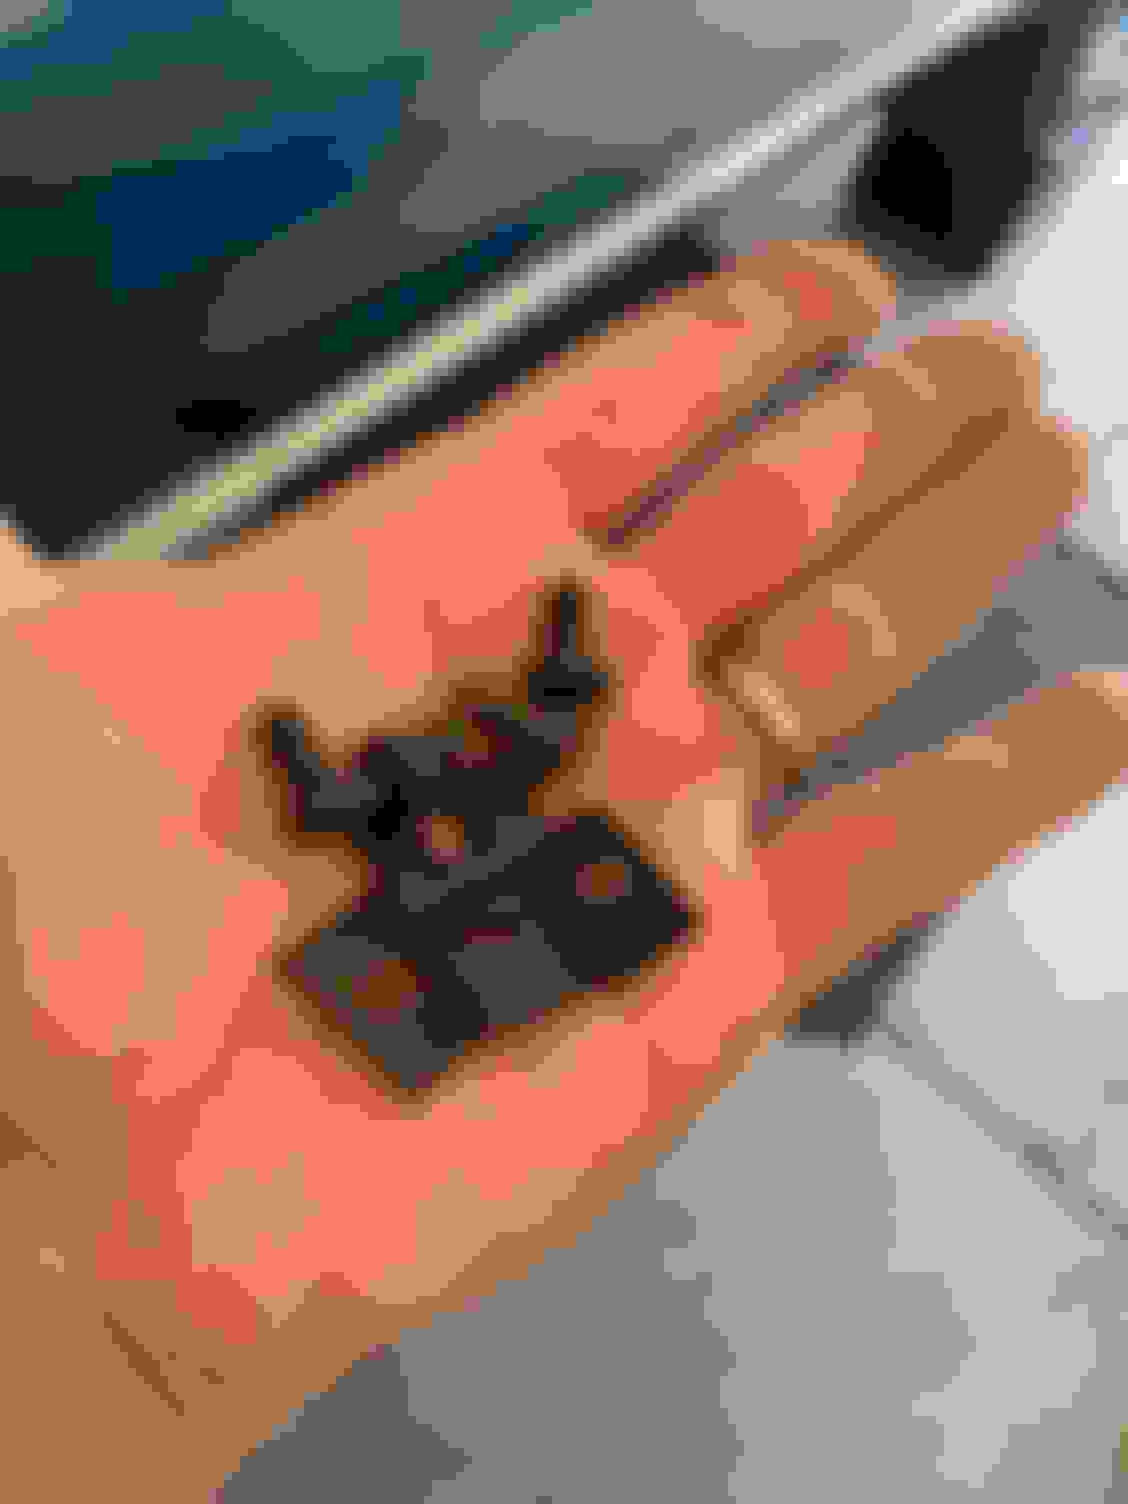
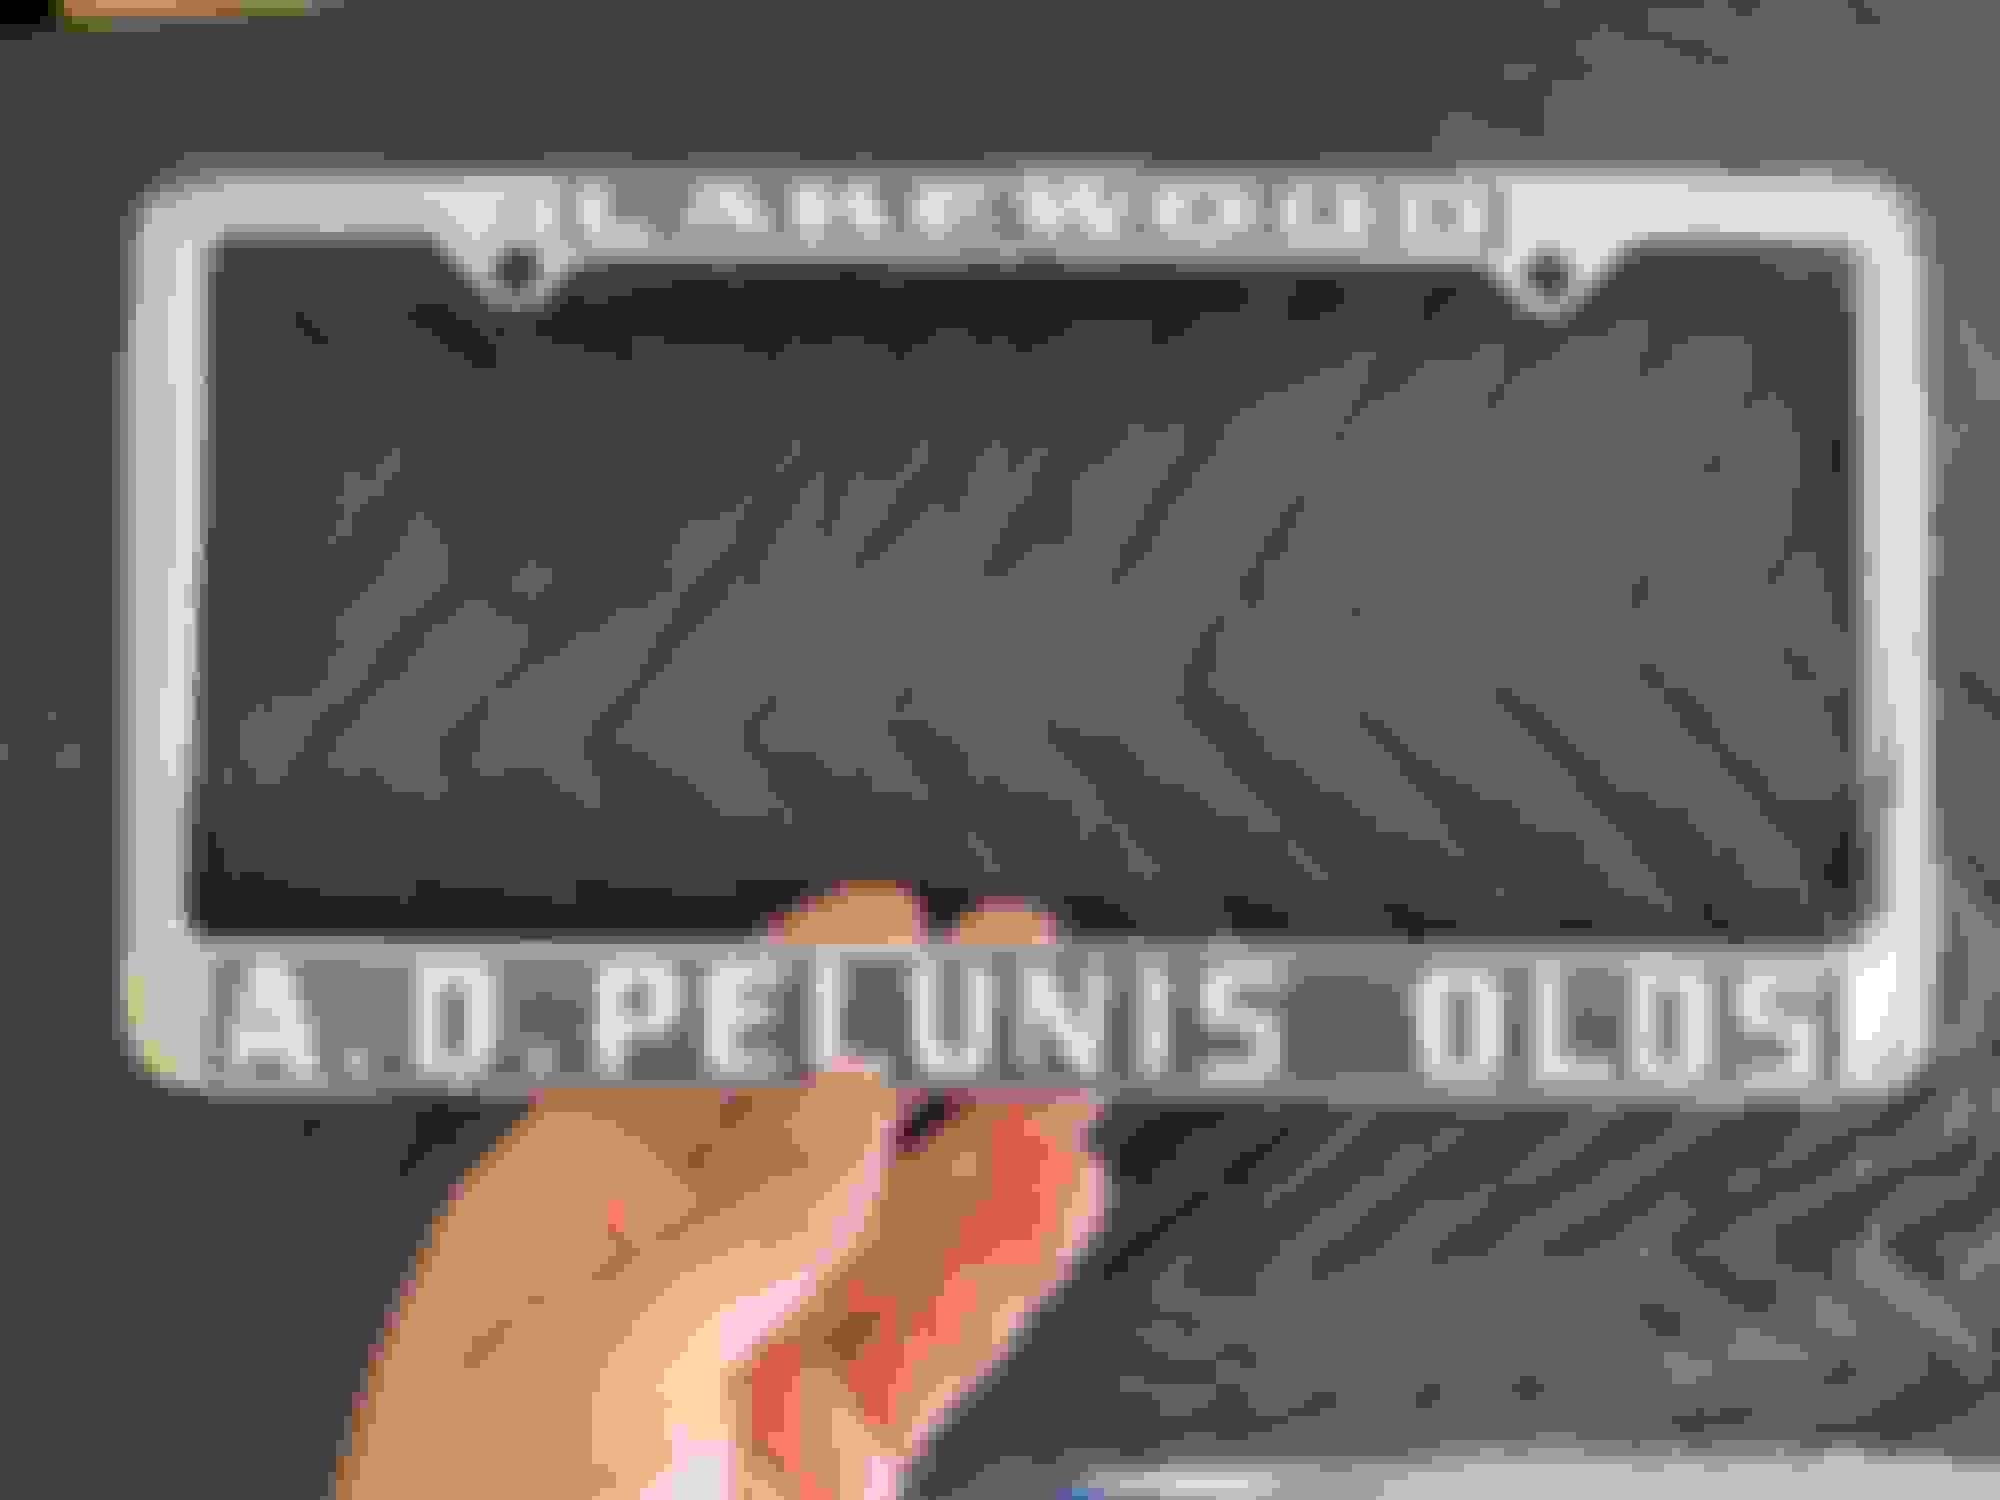
In an effort to clear out the parts bins, I installed the front license plate bracket. Ohio was a state that required front and rear plates so I am assuming that is why the holes were drilled for the front. I reused the hardware that came off the bumper which I have to assume is vintage dealer hardware from when the car was new. I opted for the �1970 Escape Machine� plate on the front with the other restored AD Pelunis frame.
Original front plate bracket restored.
This is the hardware that came off the bracket. Again, I am assuming the dealer used this hardware. I know the car was equipped with the bracket because the picture of the car waiting to be picked up when new shows the bracket. Per the PIM, the factory did not install the front bracket.
Bracket back in place.
Restored plate frame.
Escape Machine plate.
Here is Pace Car 1. Note the bumper fitment.
Petersen Publishing car.
Last edited by WTHIRTY1; July 4th, 2021 at 10:58 AM.
These are fantastic cars
But the fit and finish was not job one
W cars are easy.Try a 1970 Chrysler E body been there and got the T-shirt
Alain
Red W-31
The list is getting really short and one of the final items on it was to install the NOS vacuum motor along with the NOS rivet and retainer. I wiped the plastic off, which is original to the car, and detailed the used flapper door I sourced.
I followed the part diagram with the orientation of the rivet and retainer. I have seen the rivet inserted from both sides on unmolested adapters so my guess is the orientation was again inconsistent at best.
The vacuum motor appears to hold fine, but I will double check once it�s back on the car. As for the rivet and retainer, they�re a different finish than what is available repop.
Pretty cool blueprint from the manufacturer.
NOS rivet and retainer. Thanks, Tim!
Fortunate to have a few vacuum motors to choose from. This one held better than the other.
NOS rivet and retainer up close.
Reproduction rivet and retainer.
Motor installed.
Motor installed along with the white striped hose. The NOS 350 foam seal I have is breaking down so I went with a reproduction foam seal.
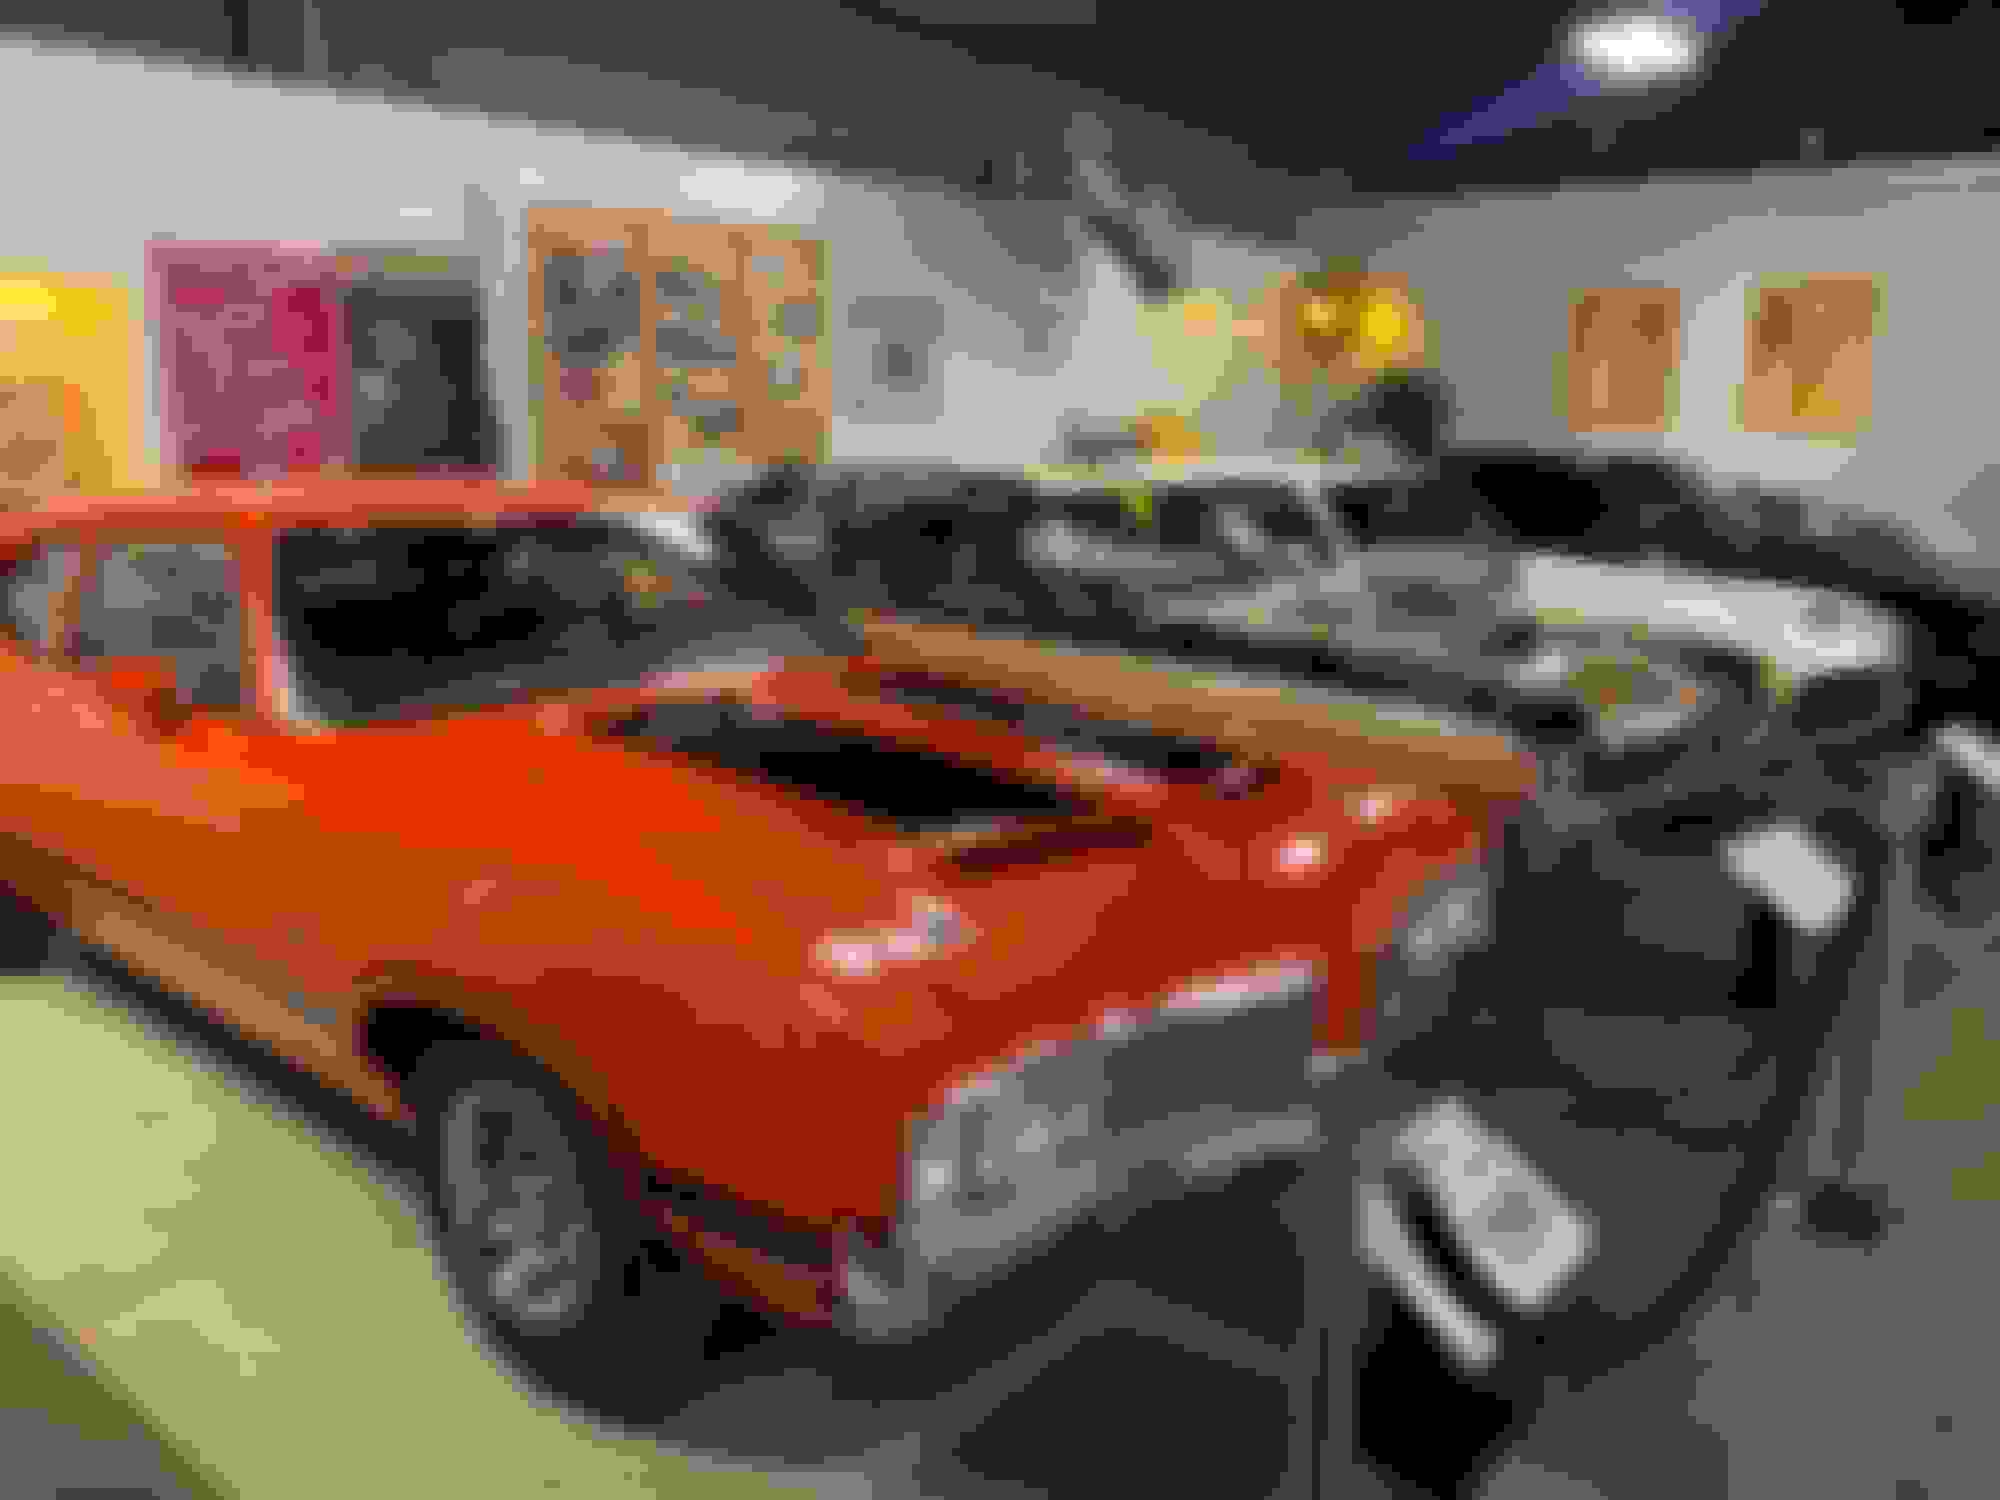
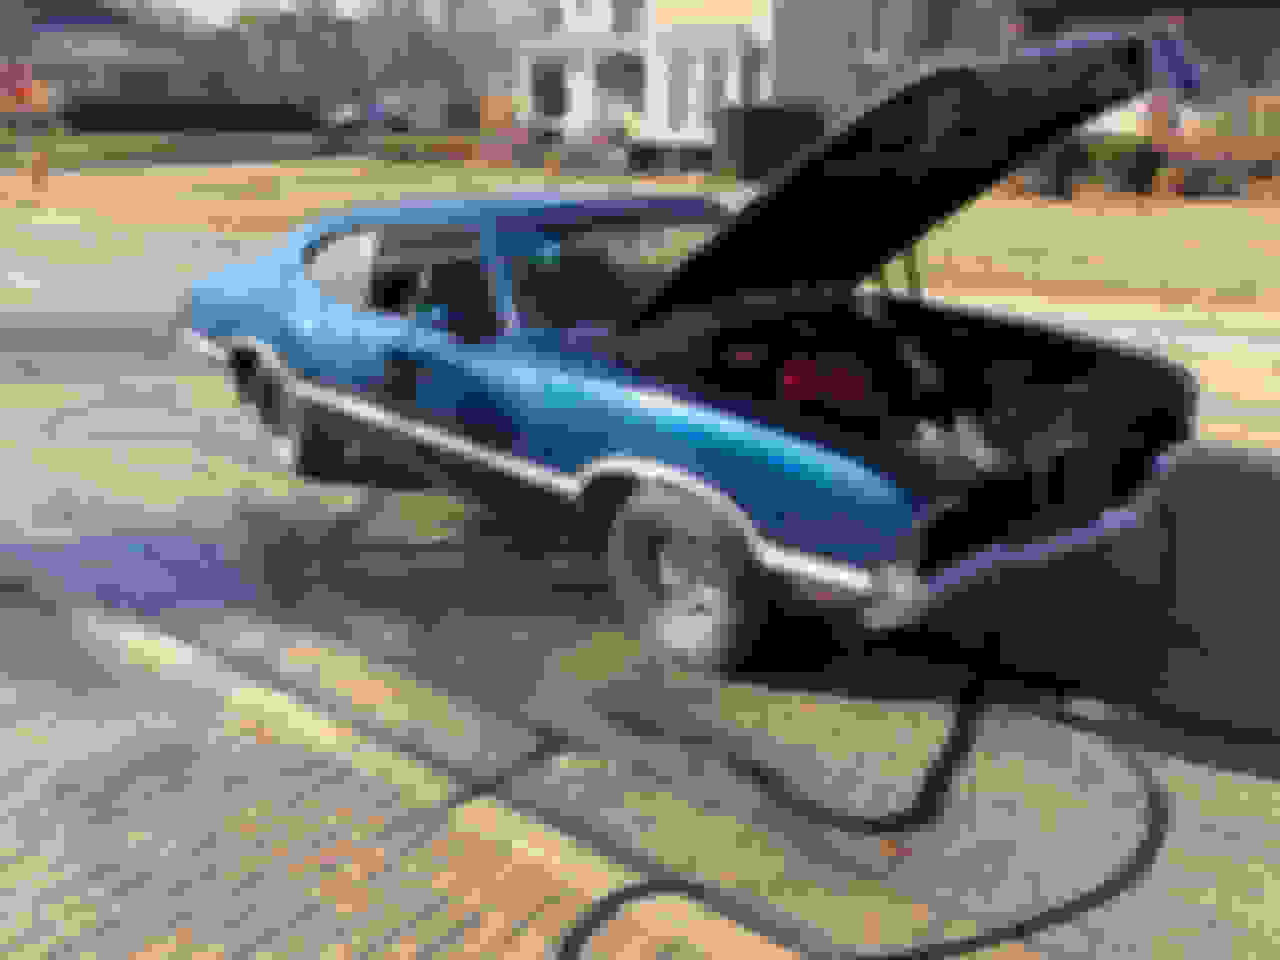
I made it back in the garage last night after a quick trip to Michigan. Had an opportunity to stop at the RE Olds museum which I haven�t been to since the 100th anniversary in 1997. Really cool place to burn an hour or two!
I swapped the factory fan clutch back on. I had sent it back to Florida for a quick fix and had installed an repop fan clutch just to get the car running. With everything installed, I removed the three bolts for the fan to the clutch and left the last one loose. Then, I removed the four nuts on the studs. With the fan and clutch loose, I removed the final bolt for the fan and snaked the clutch out through the bottom of the shroud. I repeated the same steps in reverse order for the OEM clutch. Took maybe 20 minutes all in.
I finally removed the rear brake line from the block all together to inspect the flare and threads. No issues. I ended up pulling the line from the front most clip on the frame so I could position the flare properly. This did the trick as I was able to get the proper angle and finger tighten the nut all the way. As of last night, that leak seems to be resolved.
Finally, I filled the washer jar with fluid. Section 0 has the specs on how the factory did this. I measured out 16.5 oz which was the minimum for spec.
Section 0 spec from the PIM for the washer jar.
Leftover pink solo cup from my daughter�s birthday party.
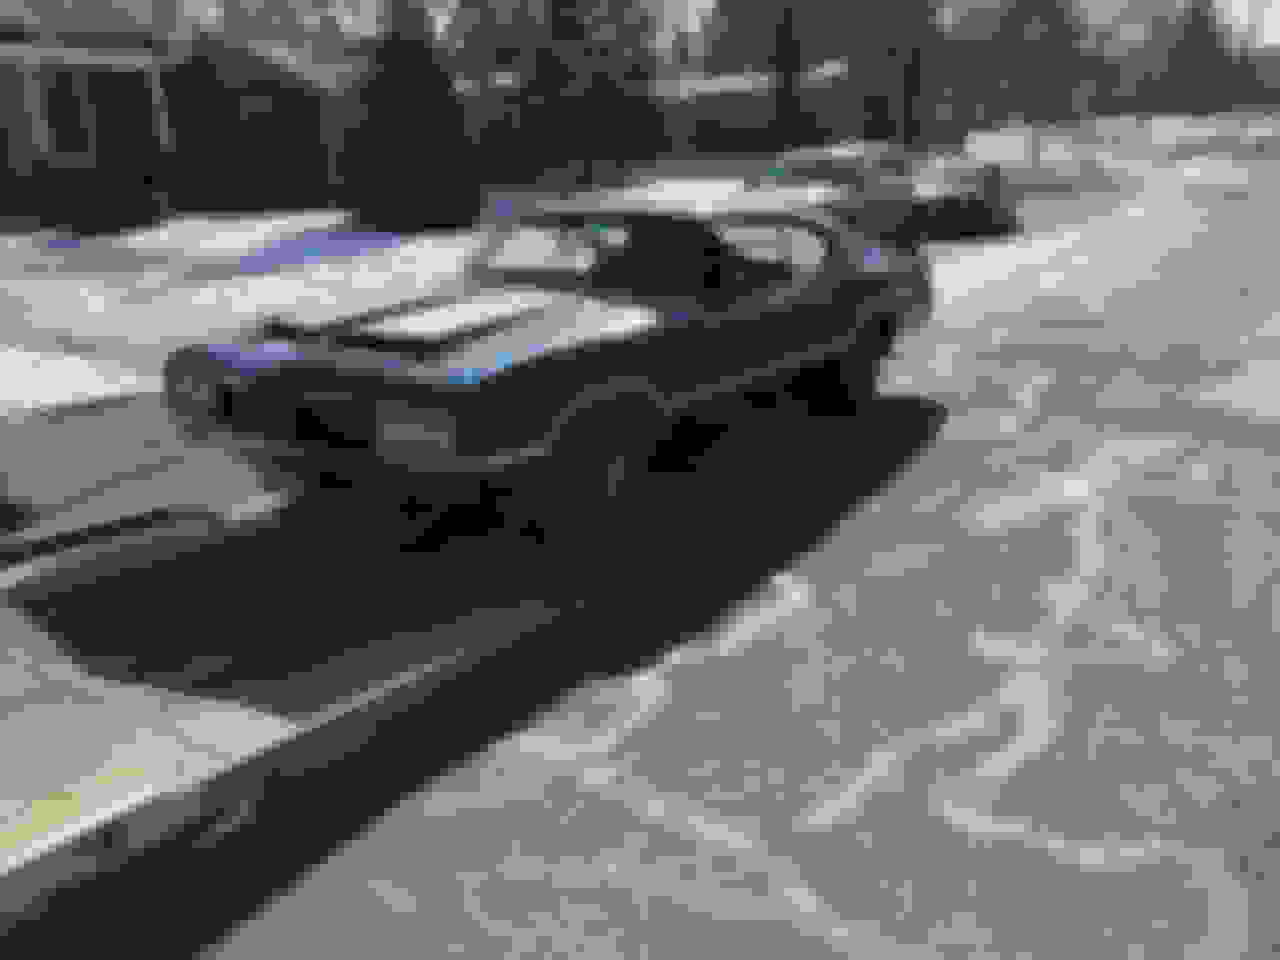
For the first time in 36+ years, the car moved under her own power!
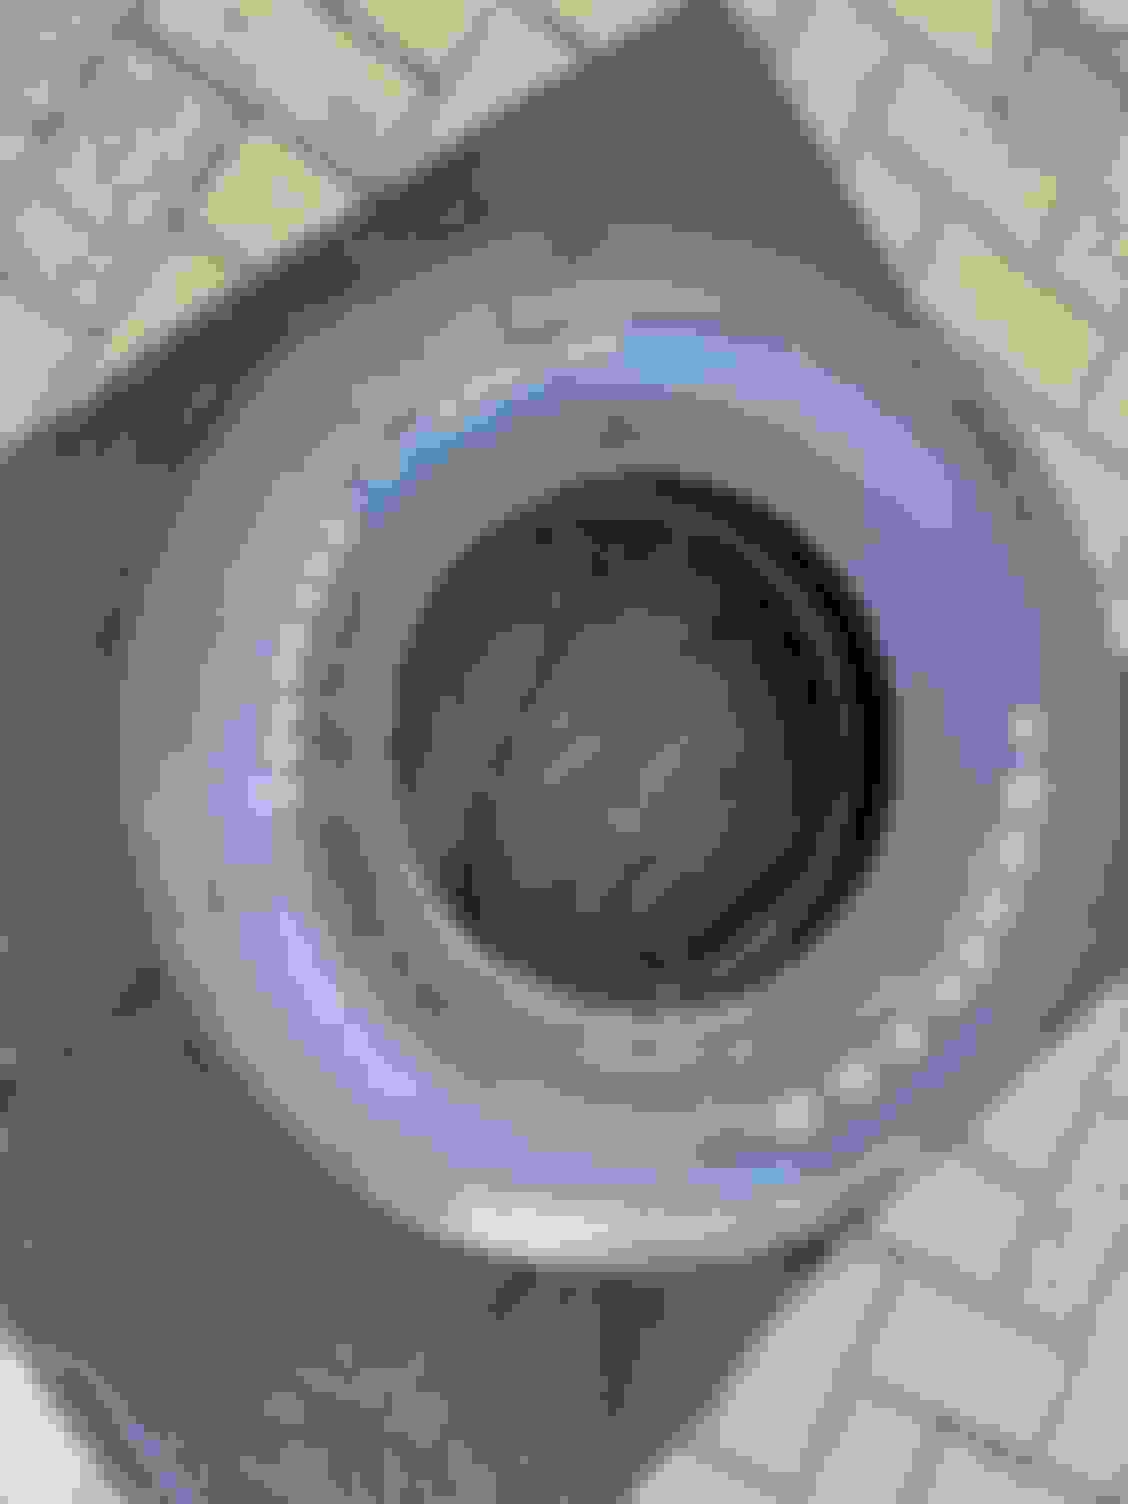
I opted to install the new driveshaft this morning since I was still getting a little drip at the slip yoke. Fingers crossed the new shaft addresses the leak. I put a bit of grease on the end which hopefully helps. Upon removal of the factory shaft, it appears the factory slip yoke has some nasty gouging on the top of the yoke. Perhaps, that was the culprit.
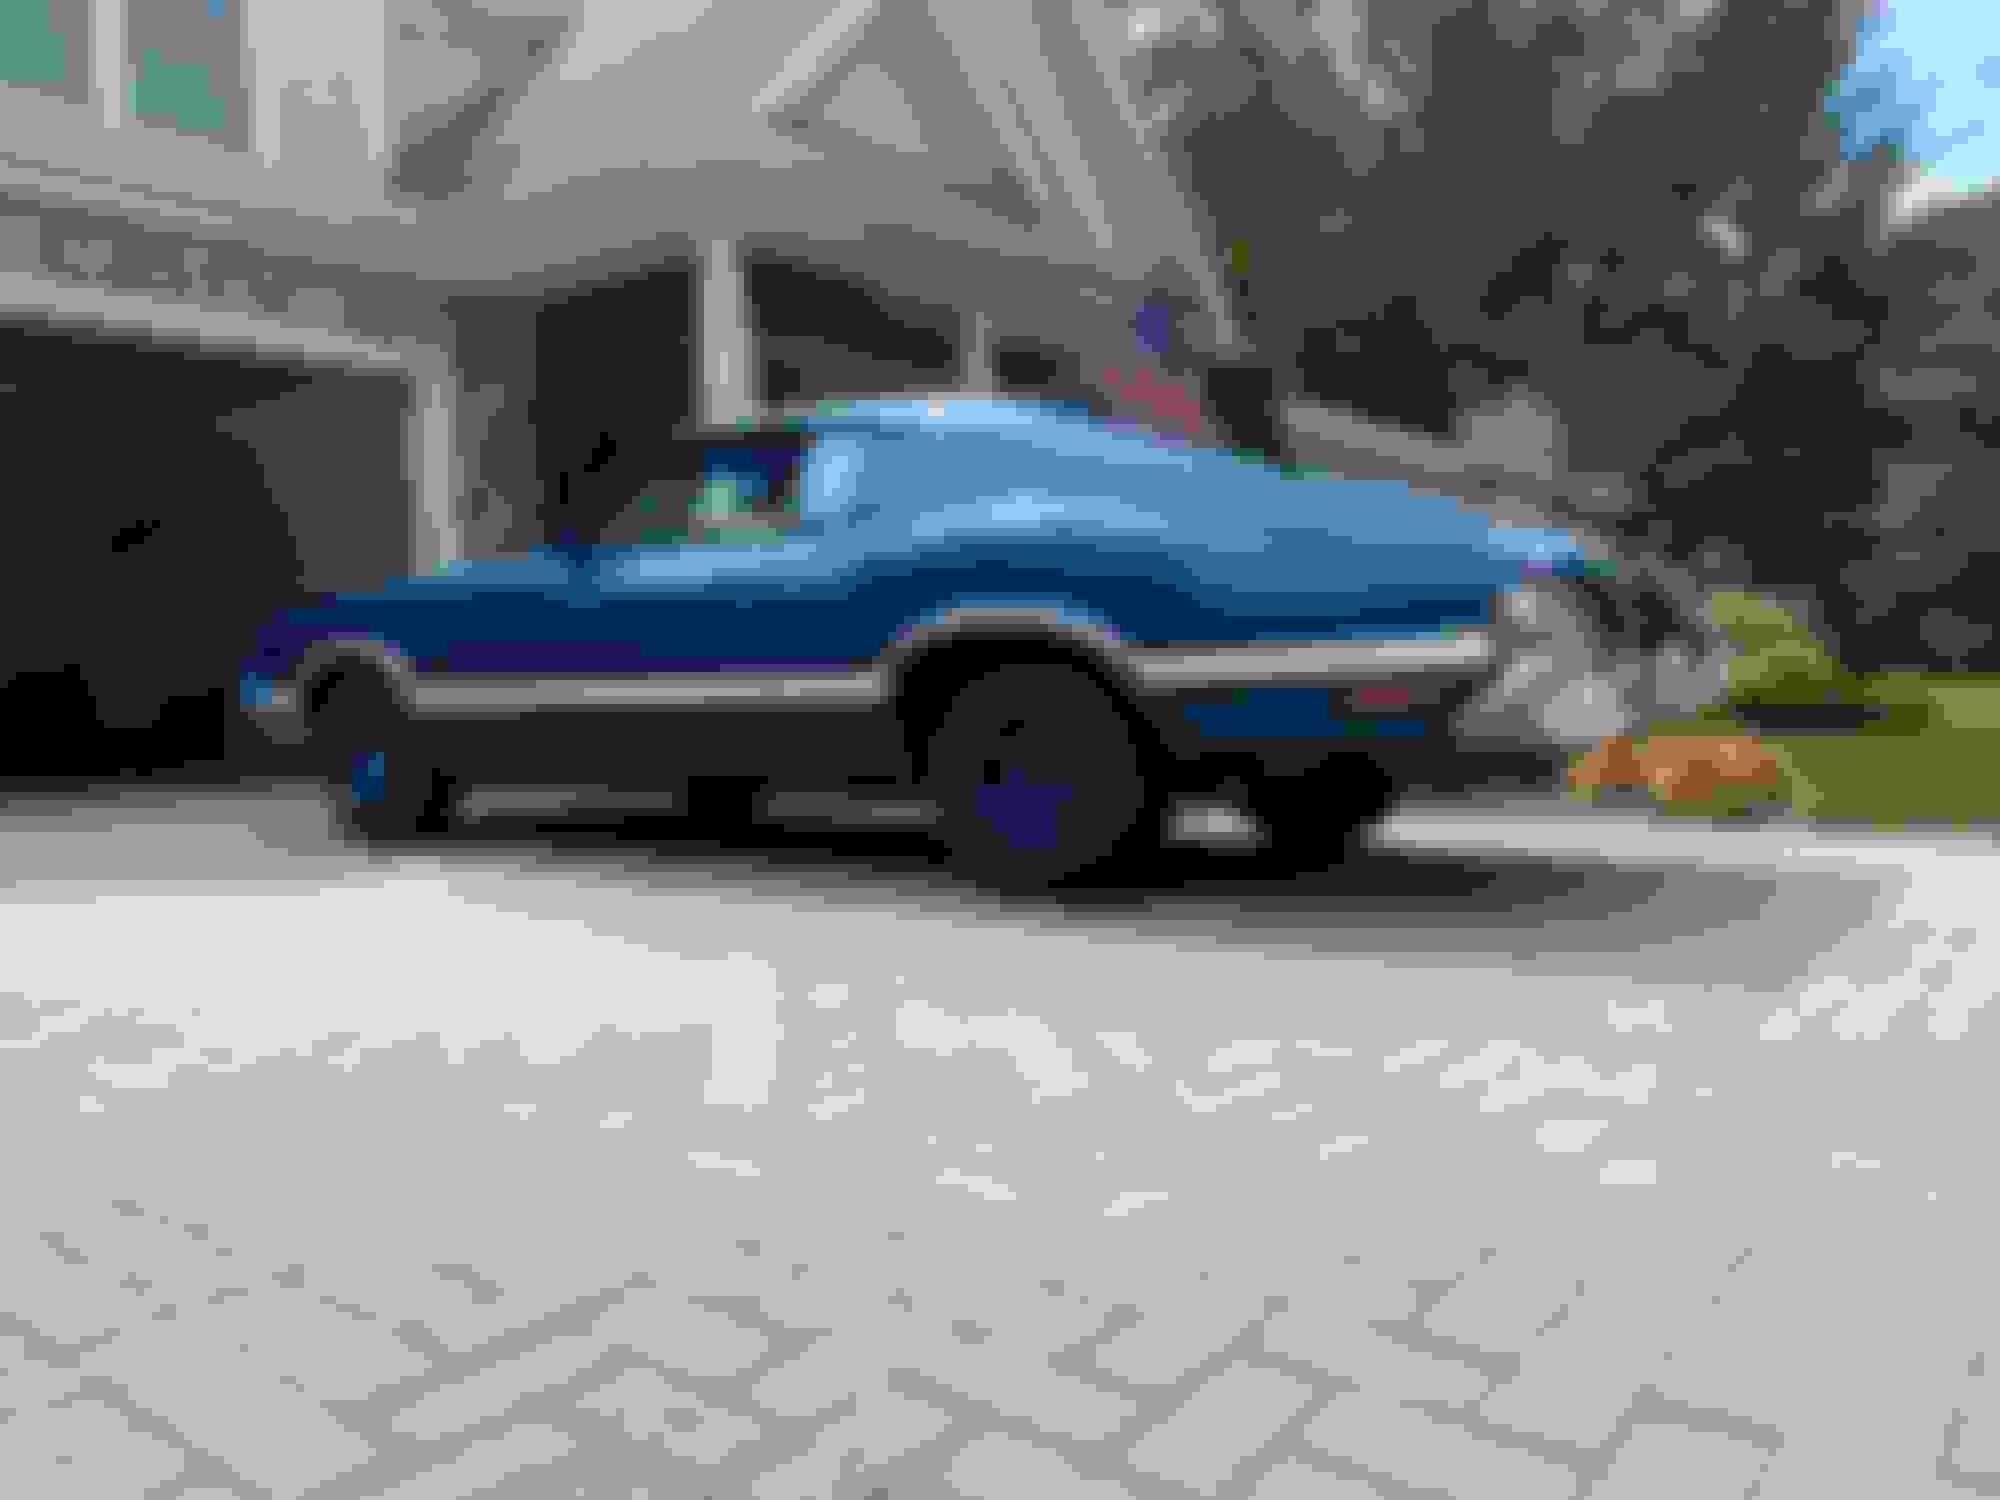
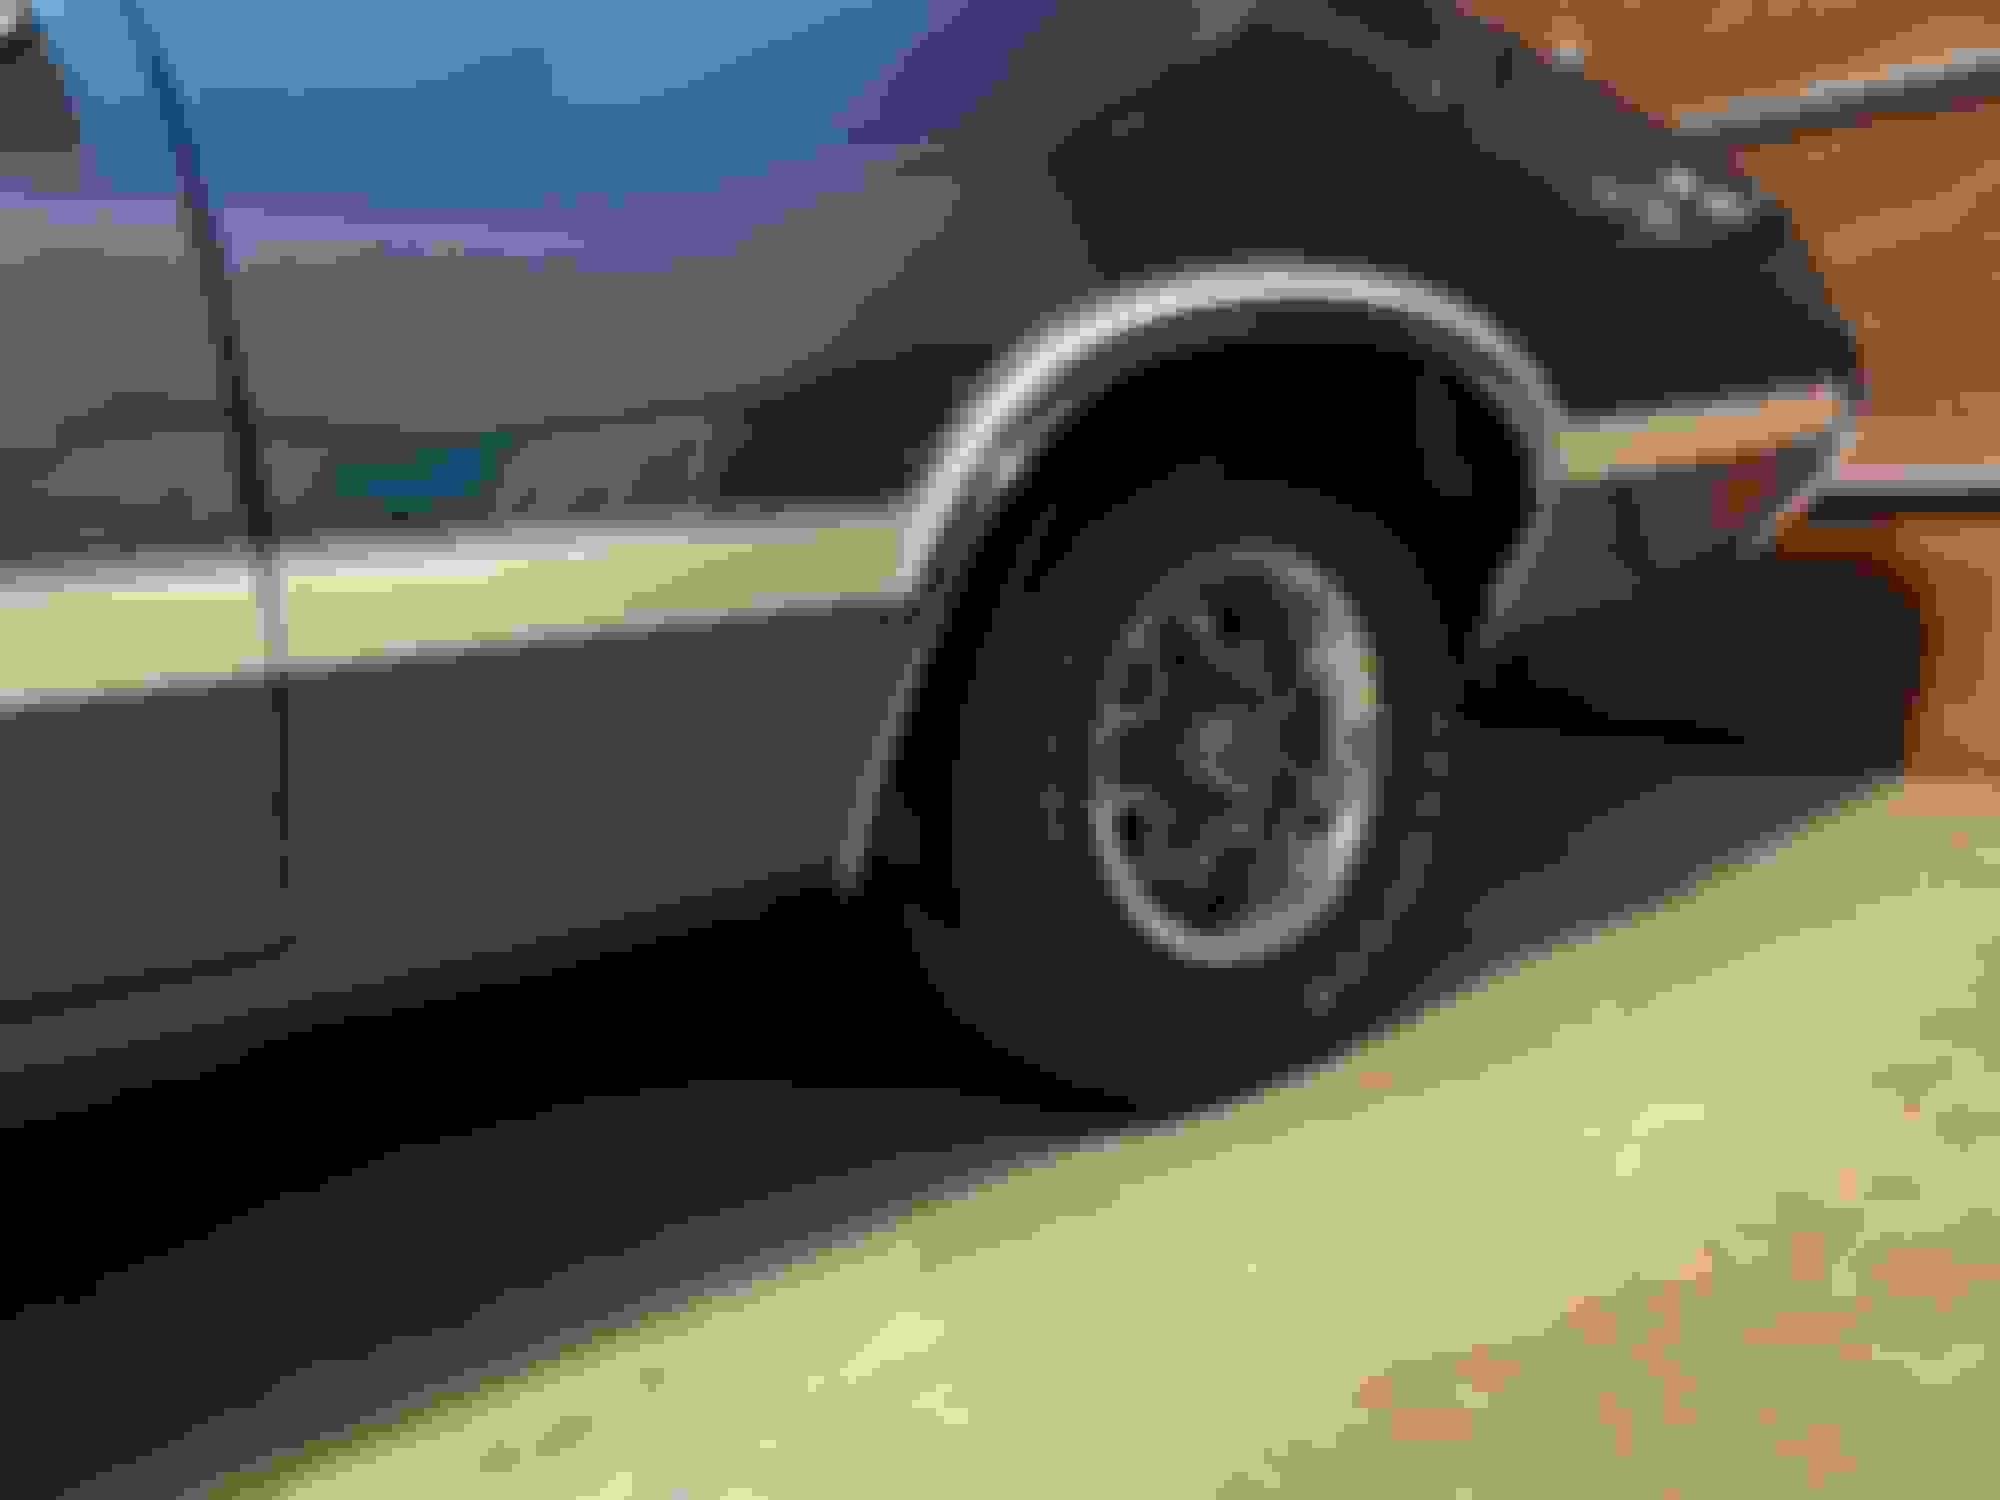
It felt pretty awesome to be able to lower the car off the race ramps! This is really the first time seeing the car on ground level with the adjusted ride height, and I freaking love the stance. The car has been elevated for so long it almost felt weird to see it so low. The back end has that factory “sag” and it looks just like the promotional cars Oldsmobile pictured in 1969 and 1970.
I still have a list of about 12-15 items ranging from bumper alignment, tuning, to putting the factory SS2 wheels back on. For now, I’ll enjoy this major milestone! Two more weeks of wrenching and then it’s an all out focus on cleaning before the nationals in Tennessee! I have a few surprises for the factory SS2 wheels that I'll share later in the week, too.
I like the look of the dog dish caps. Not sure how I will feel about the SS2’s. We'll find out this week, though!
Last edited by WTHIRTY1; July 10th, 2021 at 03:01 PM.
Wonderfull and well done. Restoration of an Oldsmobile that came thru the doors of A D Pelunis. Thank you for passing on your knowledge and fortitude. Hope to see the car in person someday.
I picked the car up late Jan 2018. My initial plan was to pull the engine, detail it, and drop it back in. The domino effect kicked in big time for me, and now I'm in the process of pulling the body off the frame. I'm learning along the way, and I'm looking forward to leaning on the experiences of the forum to help get me through this.
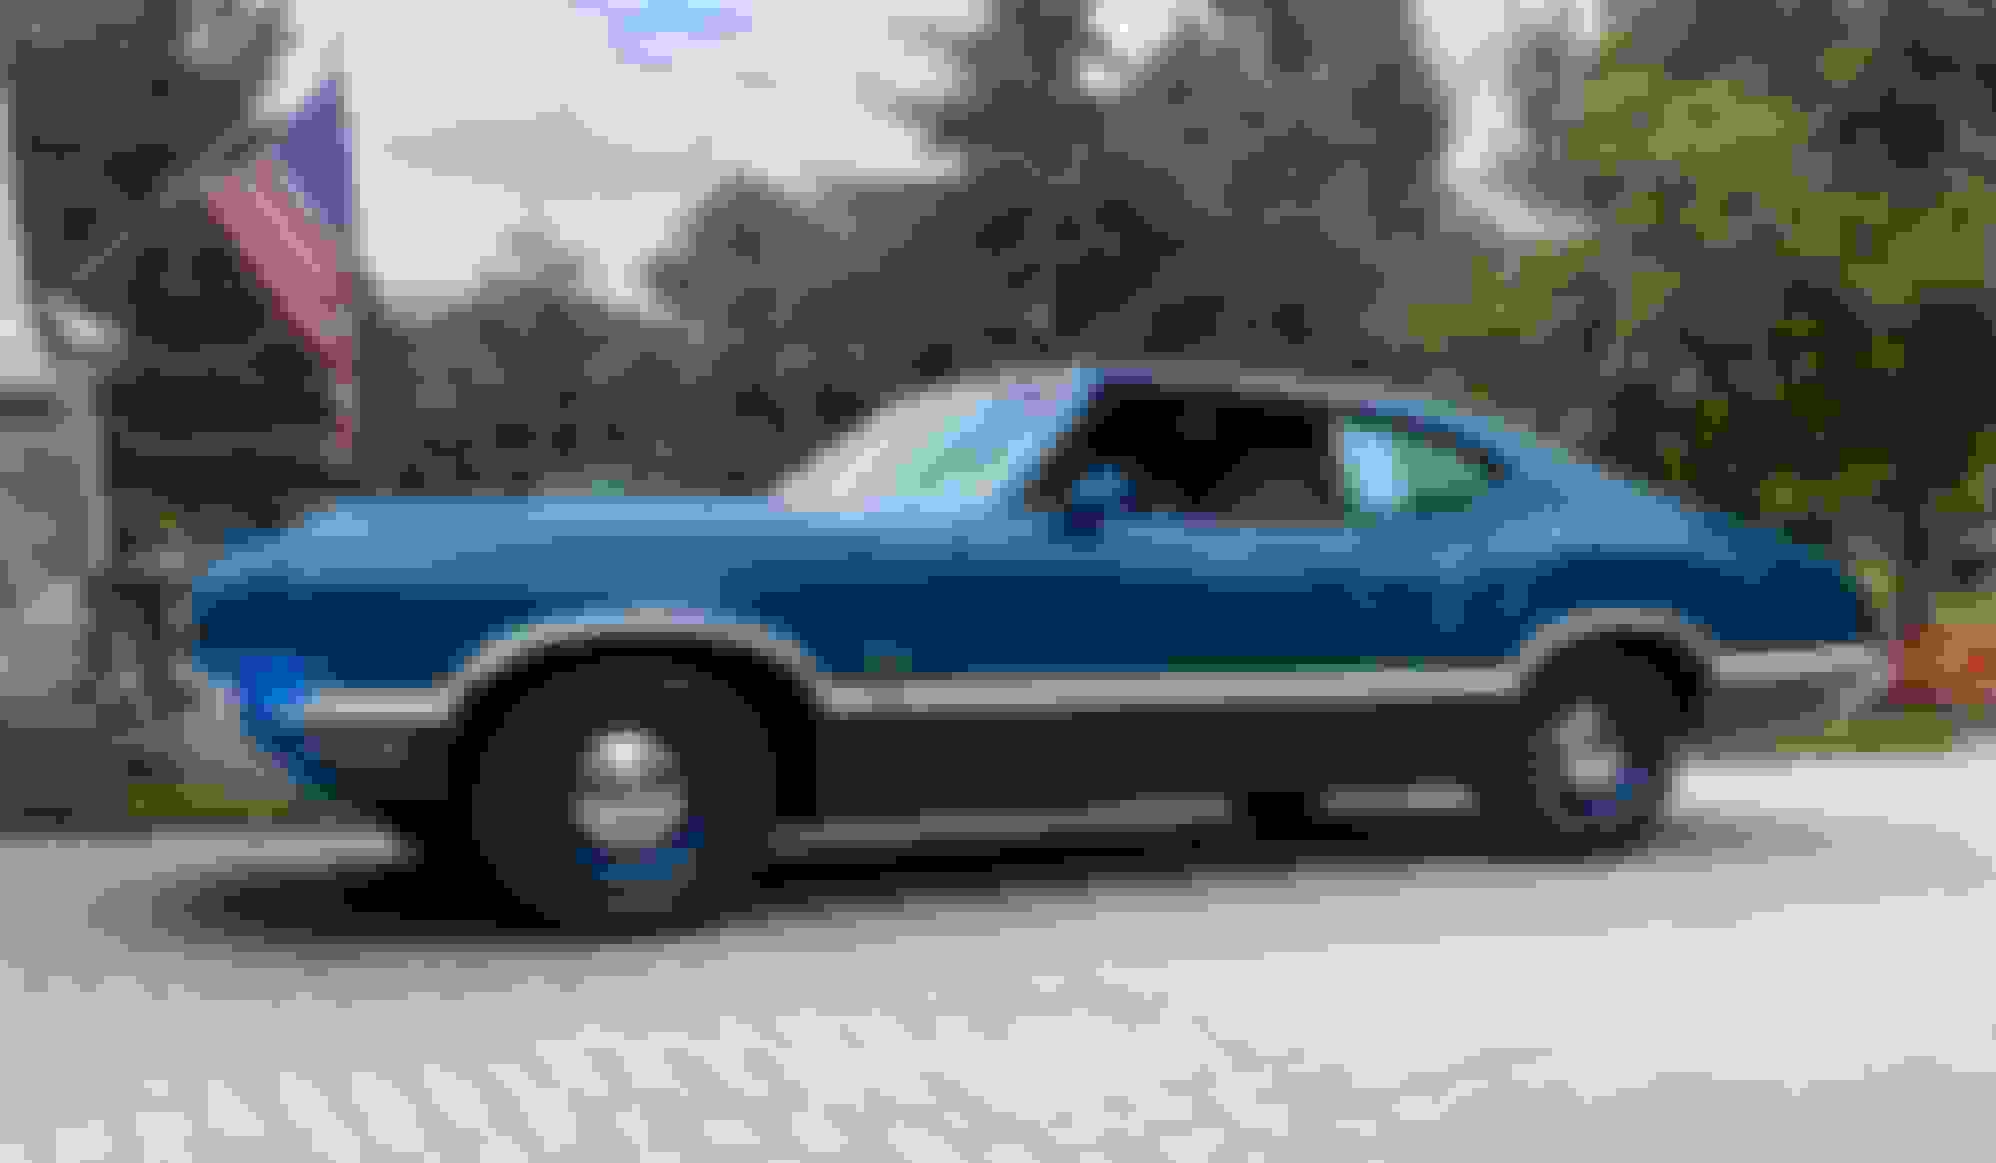
The W-31 is numbers matching, factory twilight blue / white stripe, blue bucket interior. Per the previous owner, the car ran when put away. I didn't make an attempt at firing it and started in on the disassembly right away.
Since I took delivery of the car in January, I've removed the entire front end, pulled the engine and trans, removed the entire front end suspension, removed the gas tank, along with a ton of other pieces.
Quick timeline so far.
1/25/18: Took delivery of the car.
1/26/18: Hooked a battery to the car and tested the electricals. Surprisingly, the lights worked with the exception of those connected to the front harness.
1/27/18: Started removing the front end.
1/28/18: Flushed cooling system. The last time the car was out, it was tracked, and the owner ran water only. After years of sitting, the water created a rusty mess.
3/16/18: Pulled the engine and trans. Thanks Luke (83hurstguy) for letting me borrow the hoist a time or two!
3/18/18: Pushed the car out for its first bath in years. Also attempted to de-grease the front end.
4/30/18: Removed the suspension.
As of 6/3, getting ready to lift the body off the frame.
Excellent job on this car ! Very detailed .
And to think , all you wanted to do was detail the engine compartment .
Then the MAWs got you .
Very nice!! It looks awesome!. The only drawback to such a fine restoration is the fear to drive it. I drove mine to church a couple weeks ago and mid-mass my thoughts went to "oh crap, this thing is way too easy to steal" mode, especially since mine is a ragtop, a dull pocket knife would easily allow access. Before my resto, that thought didn't even cross my mind.
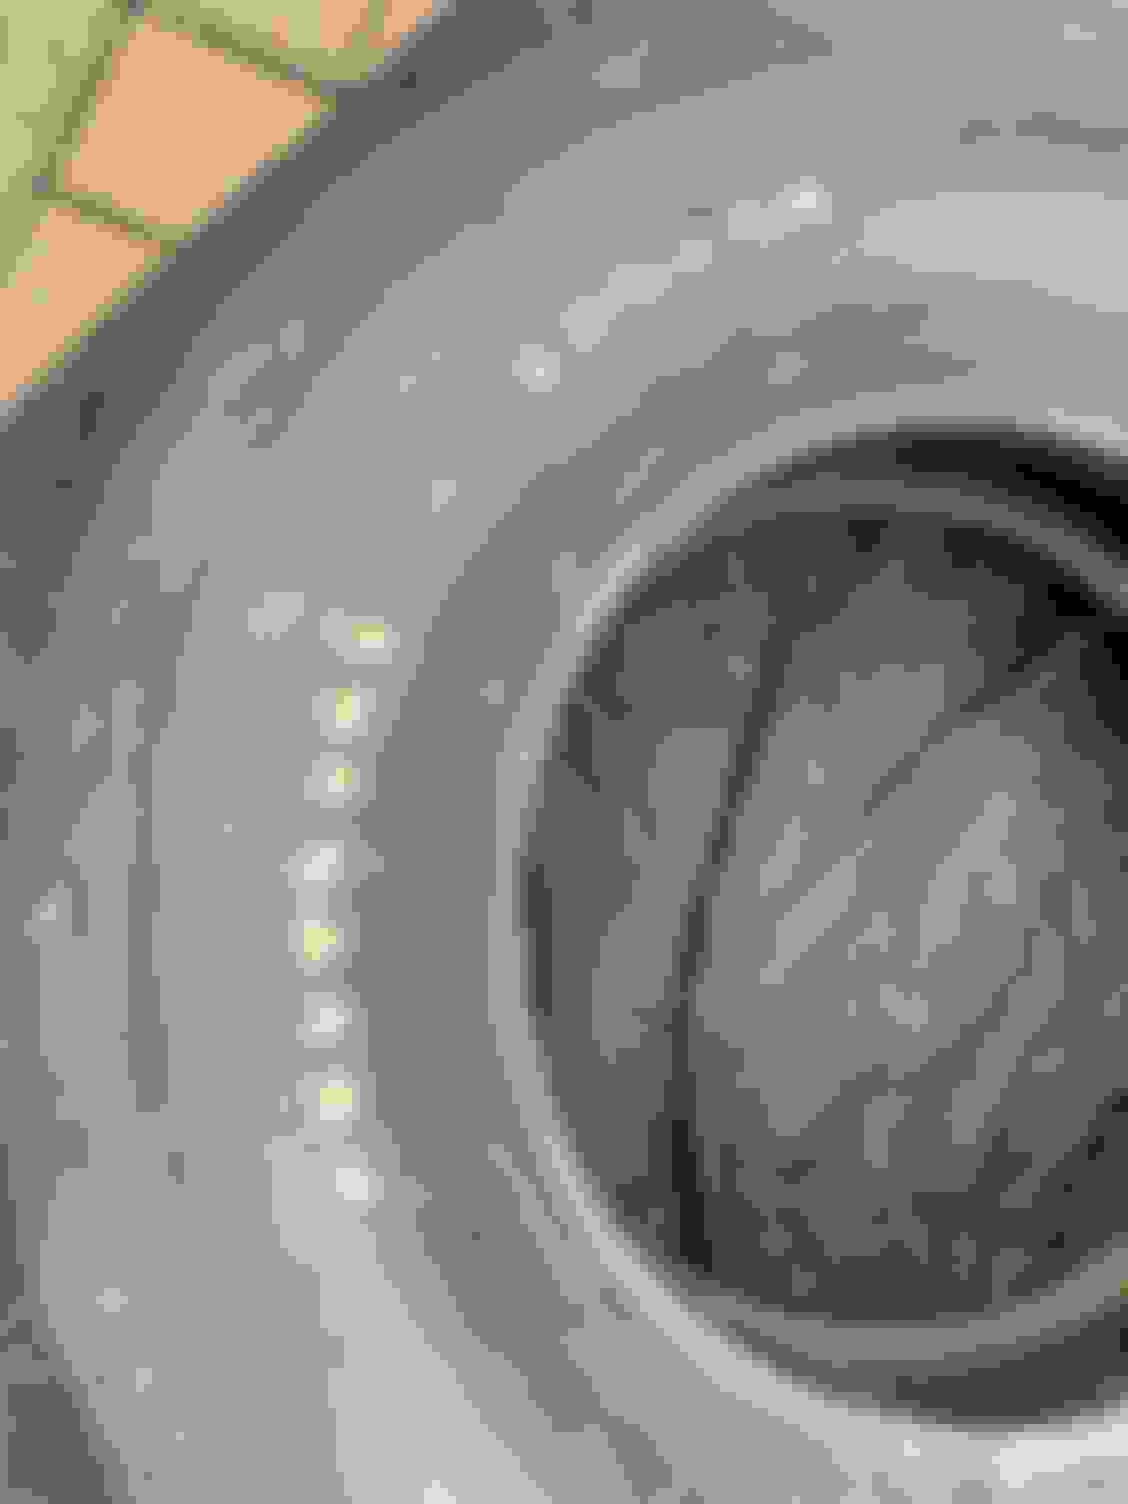
Don�t let the title of the post fool you. I wanted my factory rear axle cover to go back on the car except it had a giant ding in the middle of it. The original owner had also painted the cover gold to go with the old school street machine look. With the help of a friend, the dent has been popped out and the cover is almost ready for epoxy and blocking. I think the original cover will look great back on the car. It�s worth mentioning that I have an NOS W-27 cover still in the box and with the correct bolts, but I just couldn�t bring myself to use it. Either way, the reproduction W-27 cover coming off will make nice garage art in the new shop.
Tonight I finished cleaning the final two NOS Goodyear Polyglas tires. My method of a tall carpet brush hooked up to the Flex polisher seemed to get the job done. I can�t get over how cool some of the markings and stampings are on these tires! I am having them mounted to the wheels tomorrow.
Lastly, with the car back on the ground, my wife helped me align the front bumper a bit. I wanted to push the corners in a bit so they covered the edge of the plastic housing. With her pushing up and in on each corner, I quickly tightened the bolt and nut to get the bumper locked in to a better position. For now, I am good with the fitment since it resembles what the factory cars looked like.
New but dirty.
I started with Dawn soap until the studs were white. I then used a few tire cleaners and scrubs them in with the polisher.
They cleaned up well!
Factory cover painted in gold.
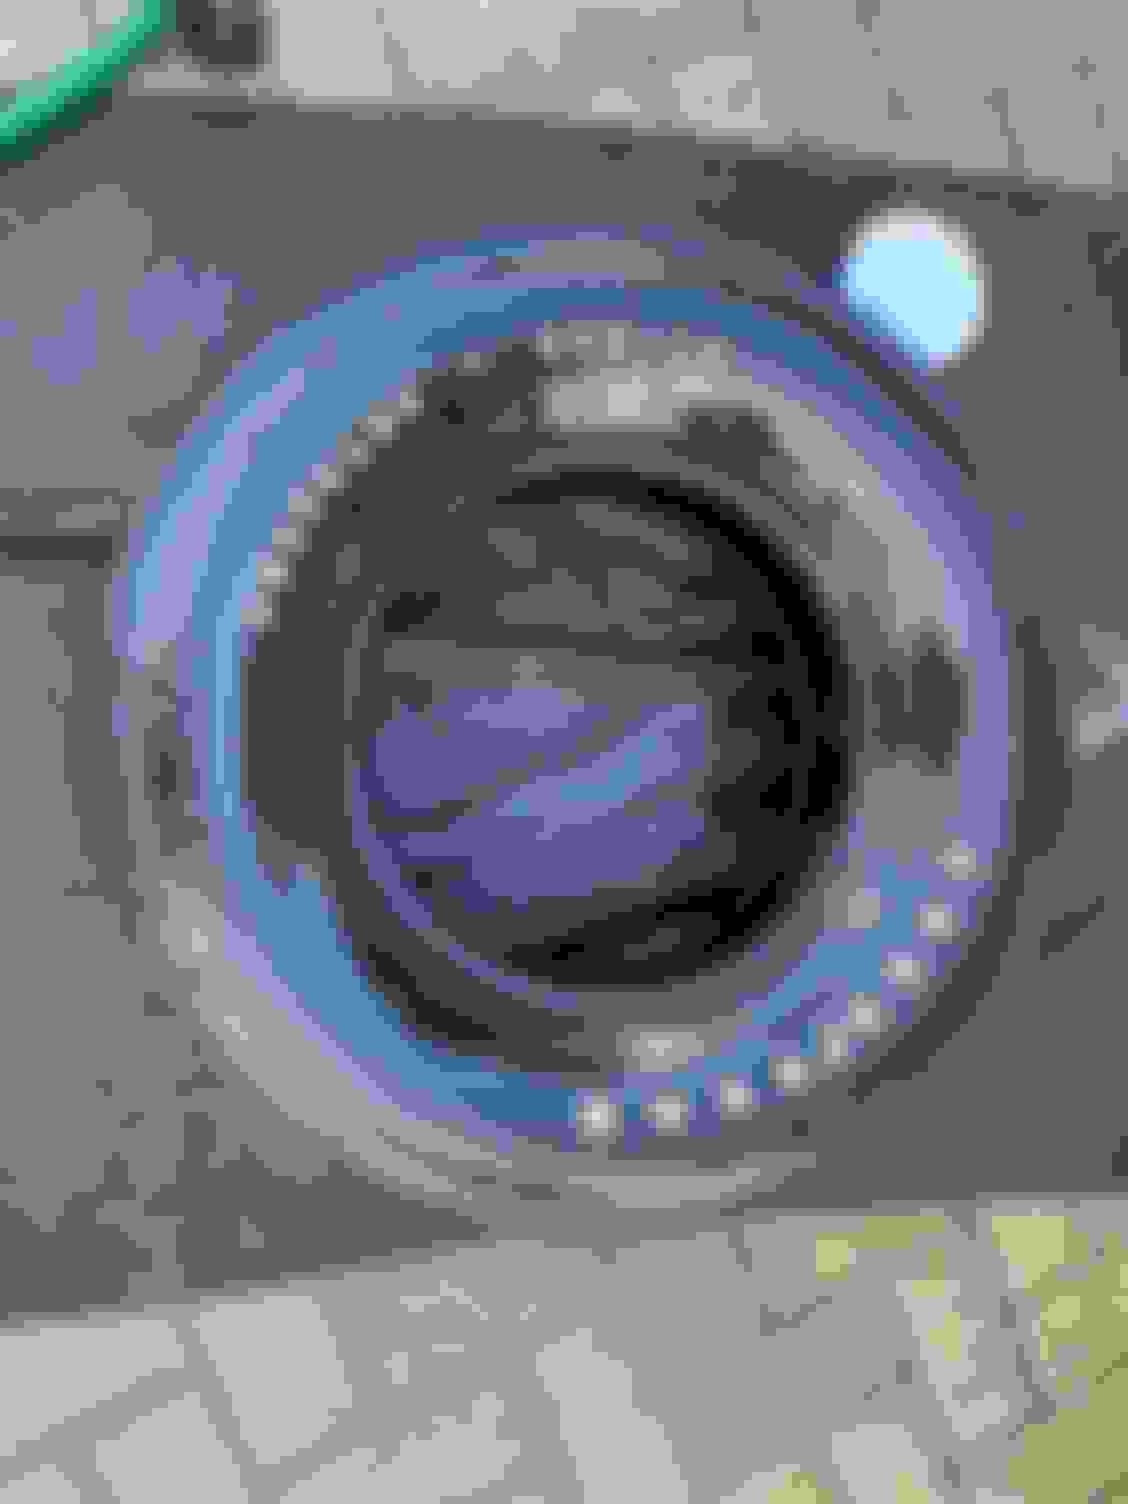
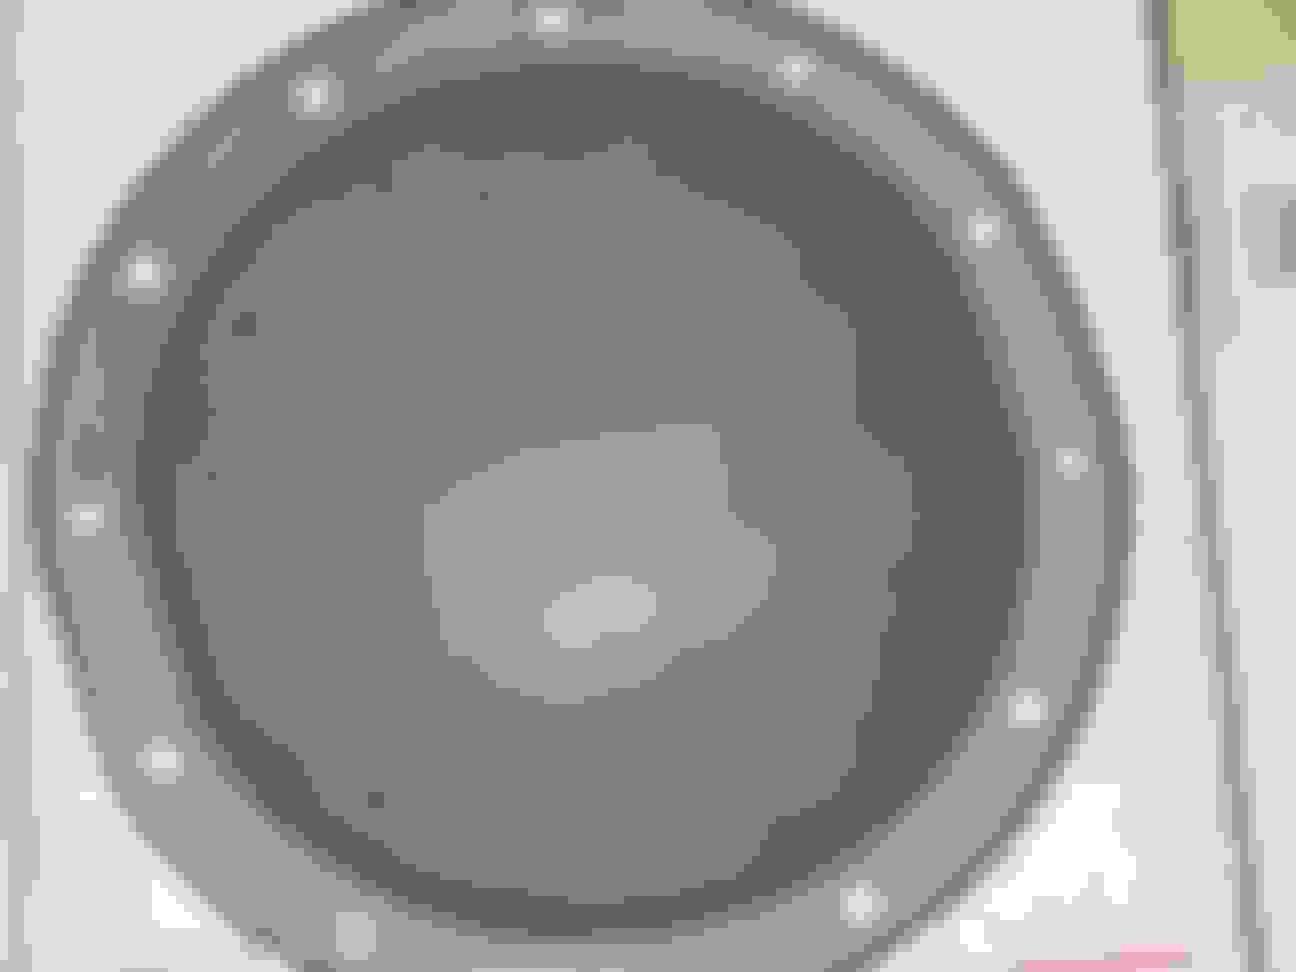
Dent removed.
Cleaning up the cover.
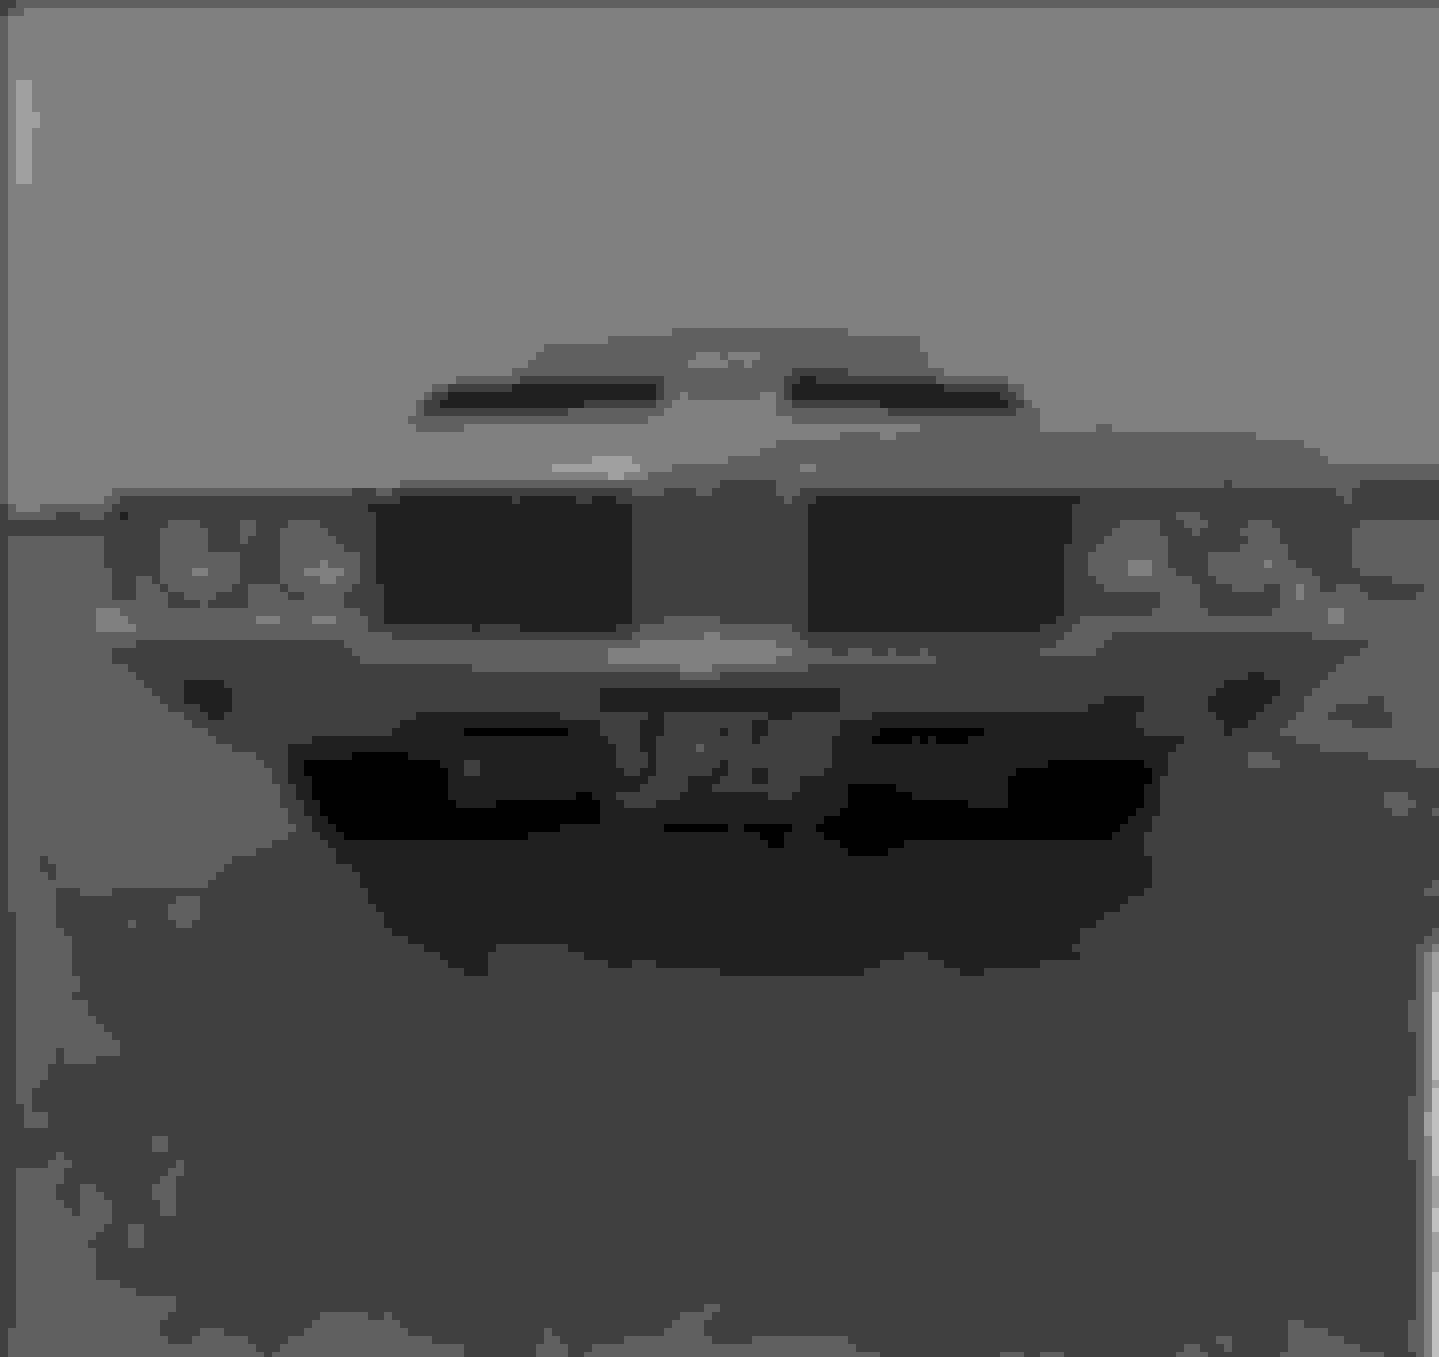
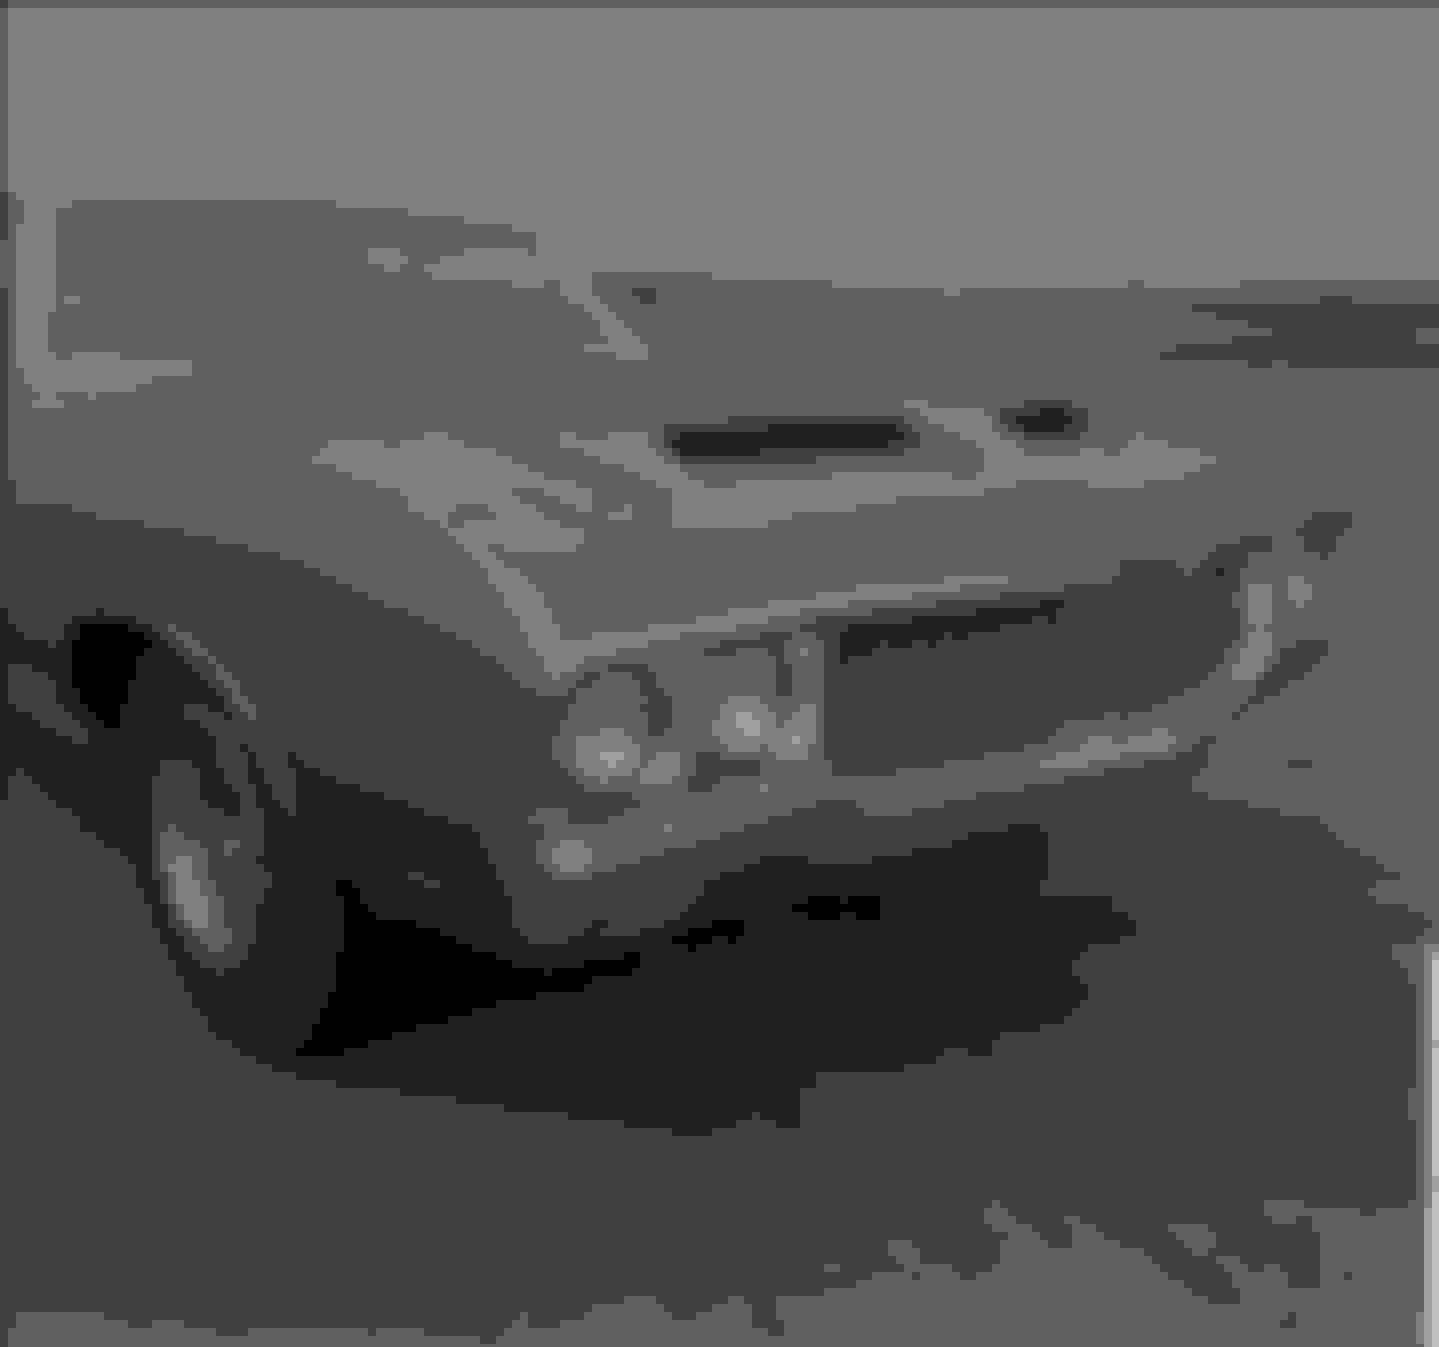
Back to the �69 pre-production car. Note how the bumper appears to �rise� right after the grilles and slopes down to the edge of the fenders.
All my life, I have noticed the same thing on the 70 models with the bumper, and have always assumed it was bumper mis-fitment. One of those nit-noidy things that always caught my eye. I have not noticed it on thee 71-72 bumpers.
That being said. Recently, I was doing some cleaning on mine and really was noticing the figment of the headlights. Take a closer look at the figment of the headlight bucket. See how close to the fender it is at the top, and slopes down to the grill. Even the grill has a slight slope to it.
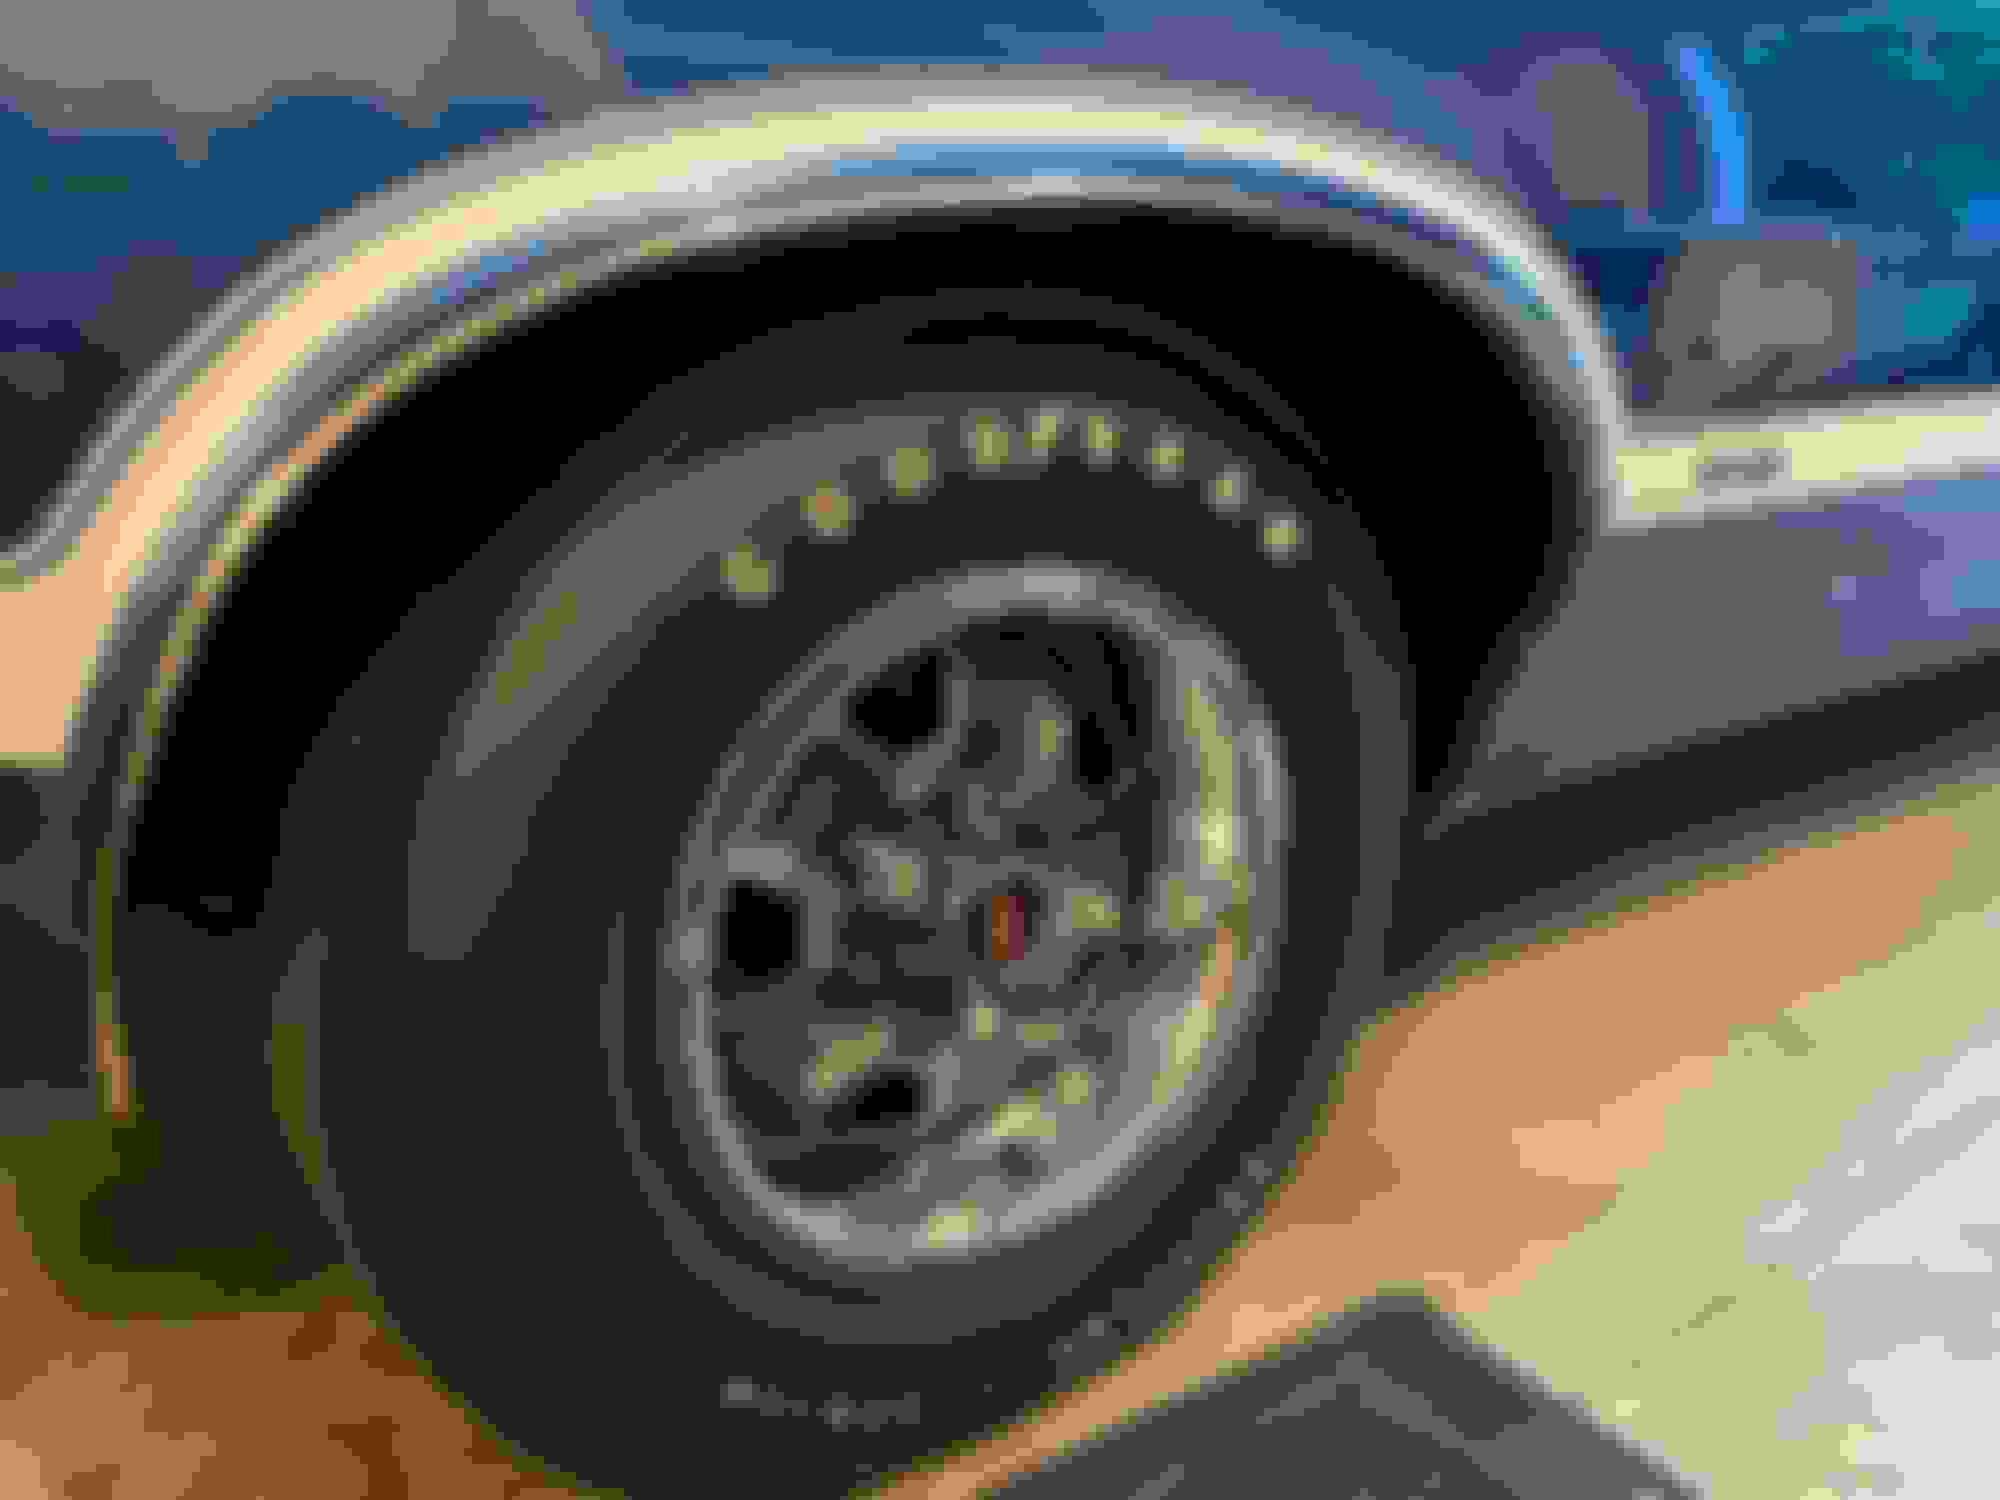
Yesterday was a big day in terms of getting the car dialed in for the Nationals. I wanted to get the factory SS2 wheels on the car so I could get the car back in the air to finish cleaning the underside.
I installed the following:
NOS Goodyear Polyglas G70-14 tires. These tires have been in my garage for a few years collecting dust. The markings on the tires are really cool to see!
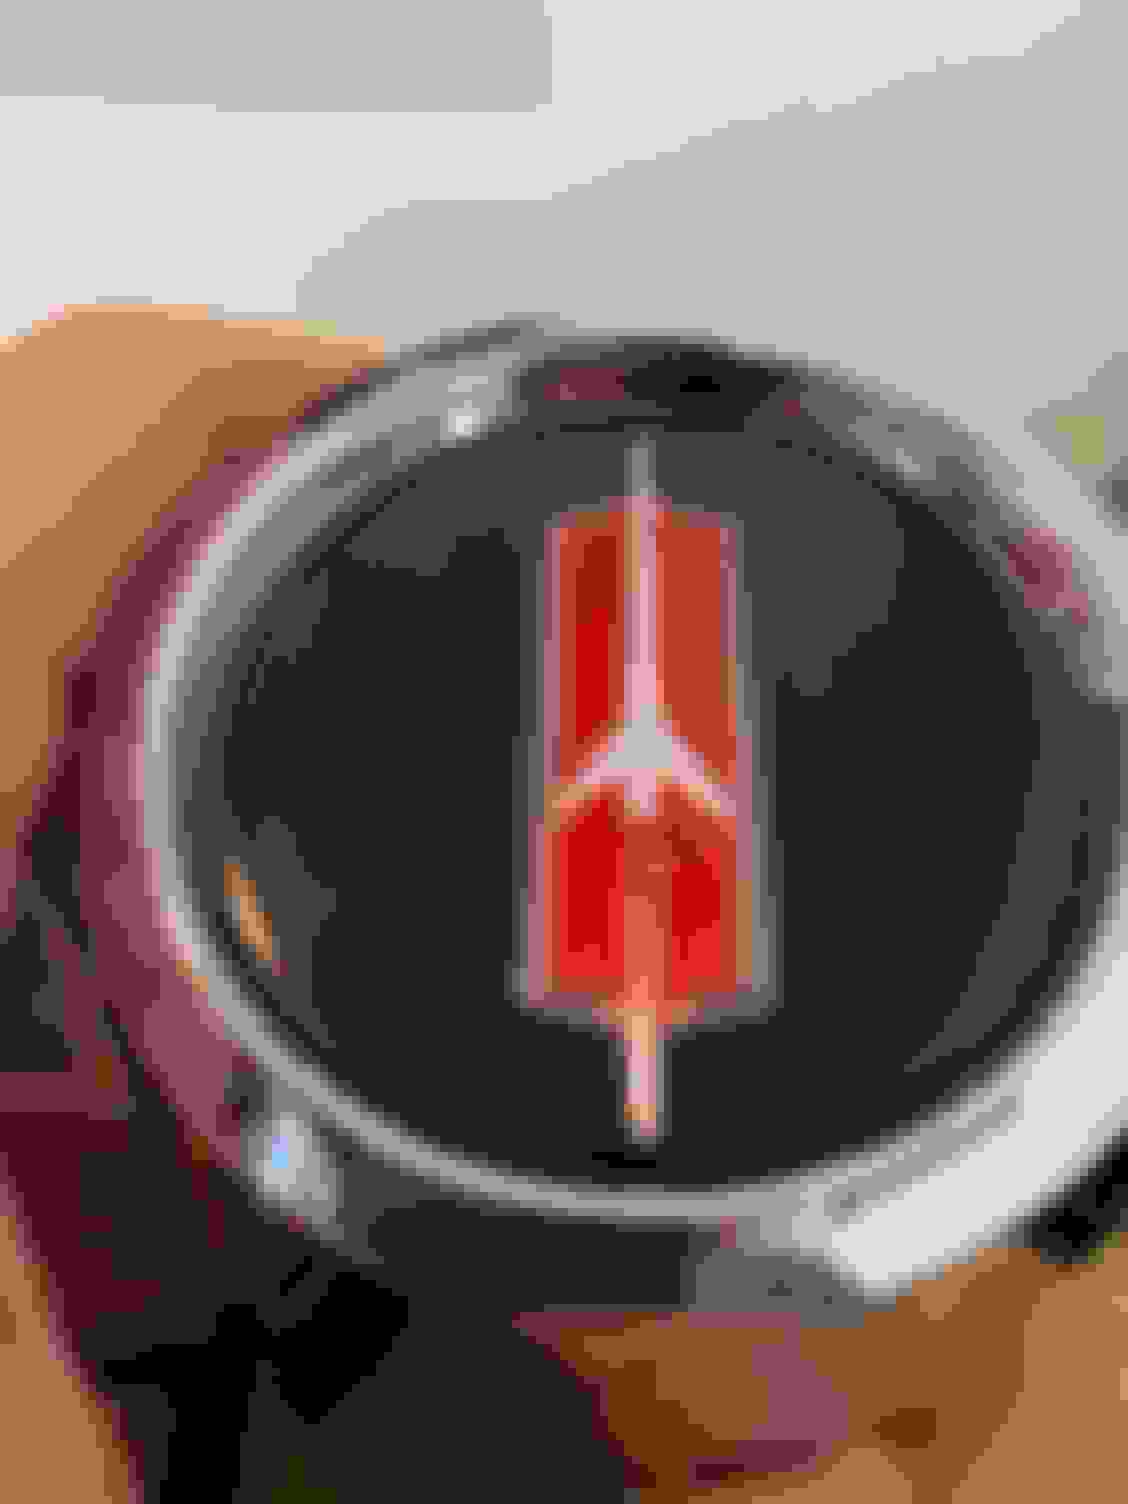
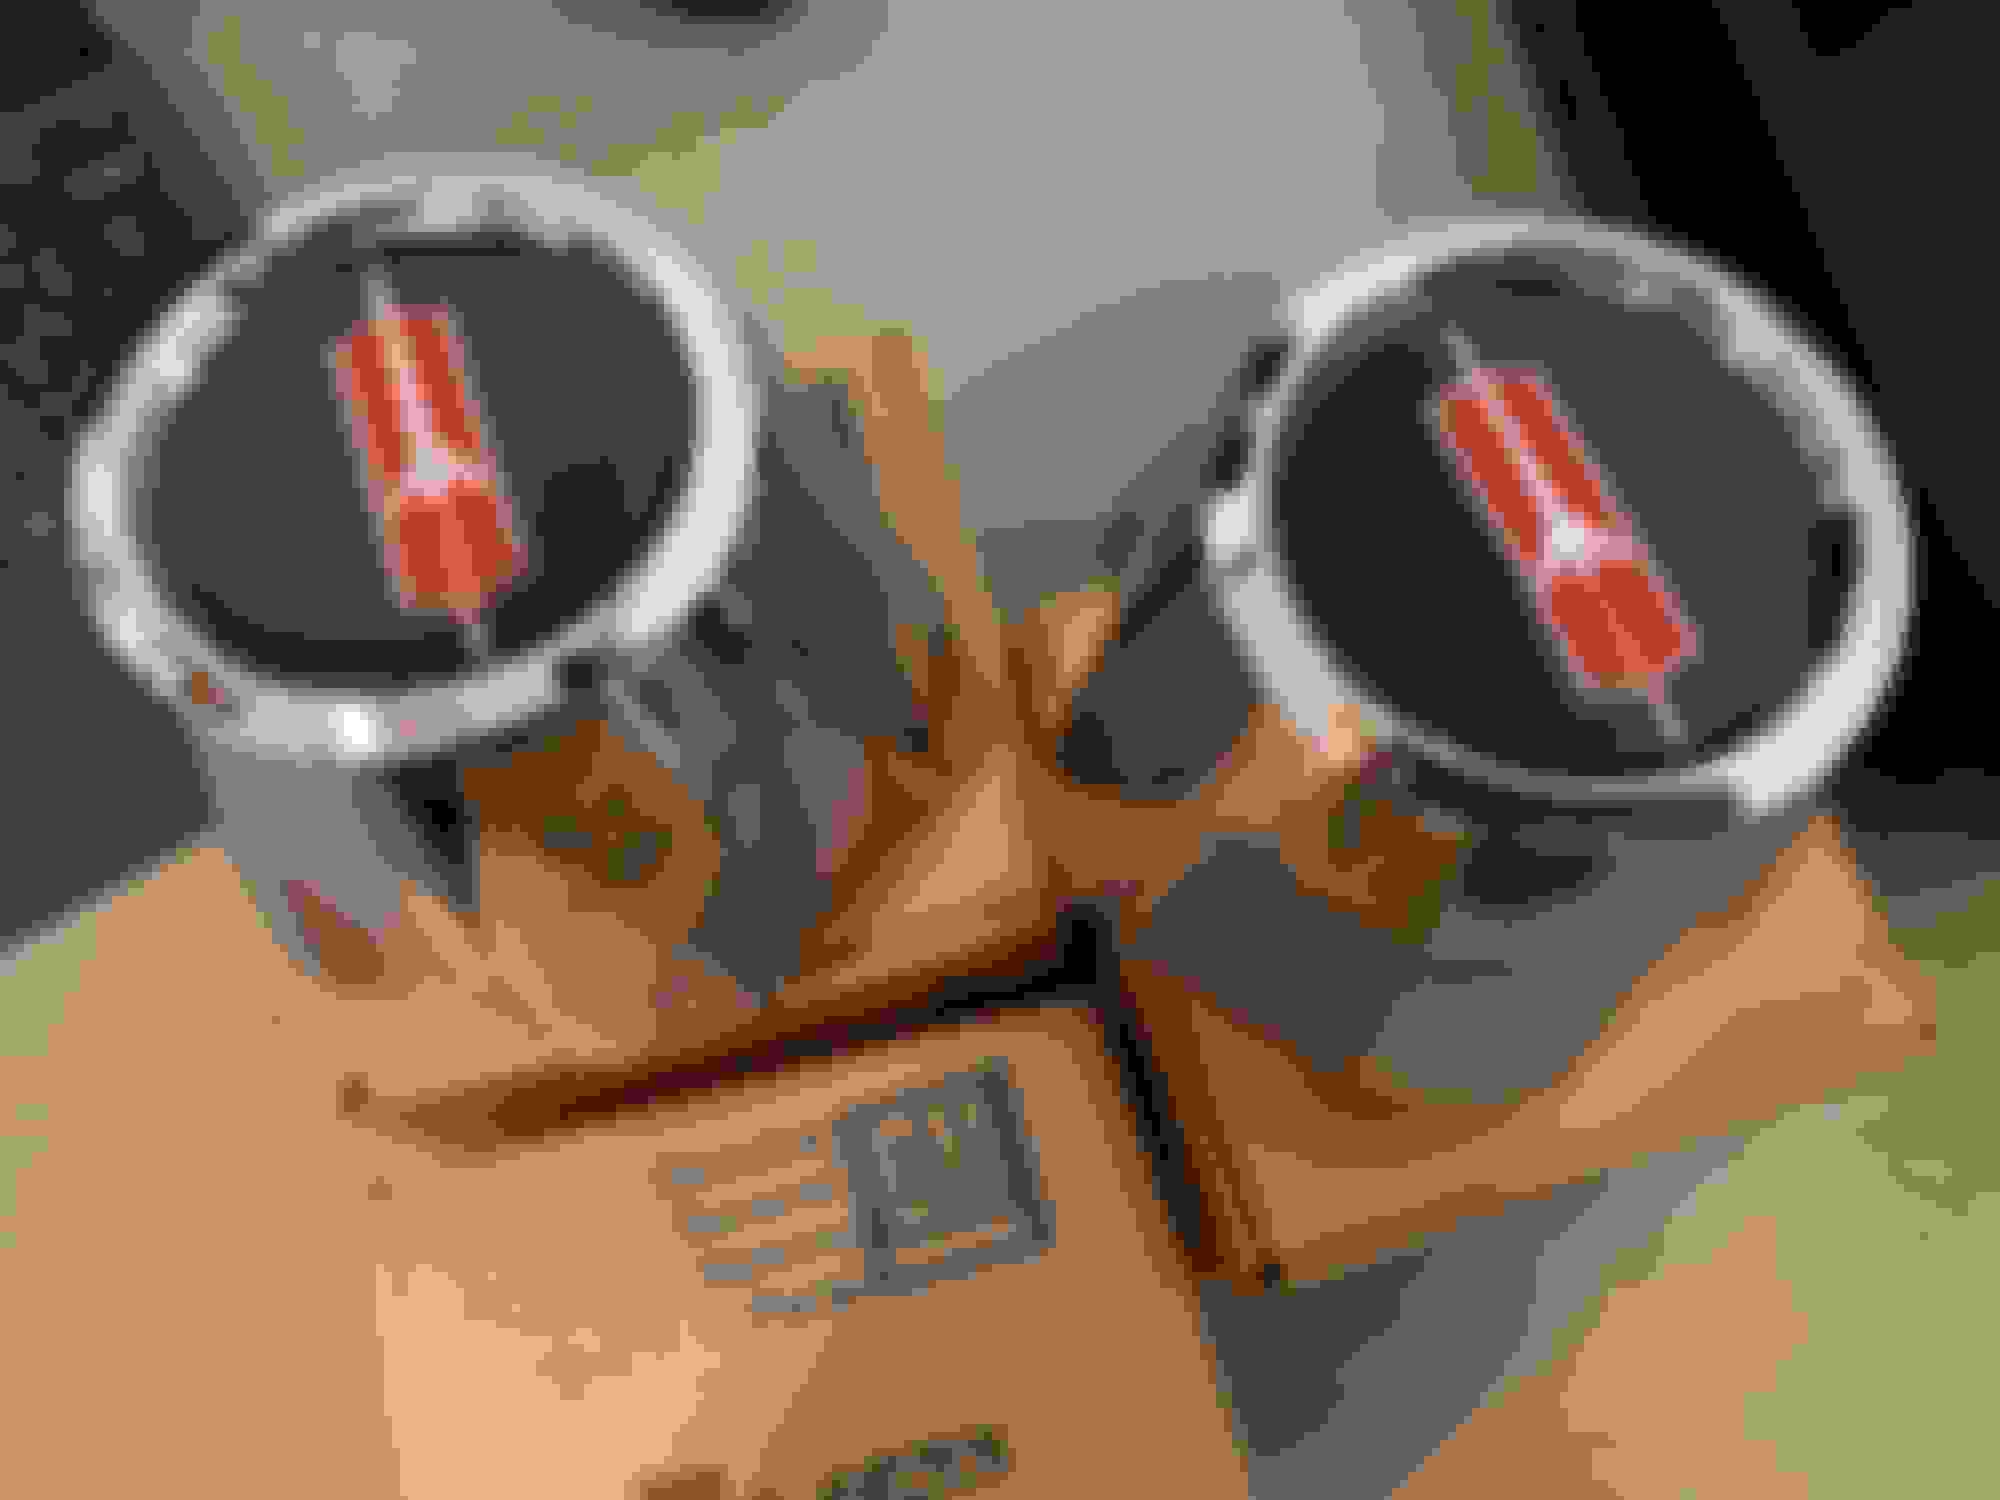
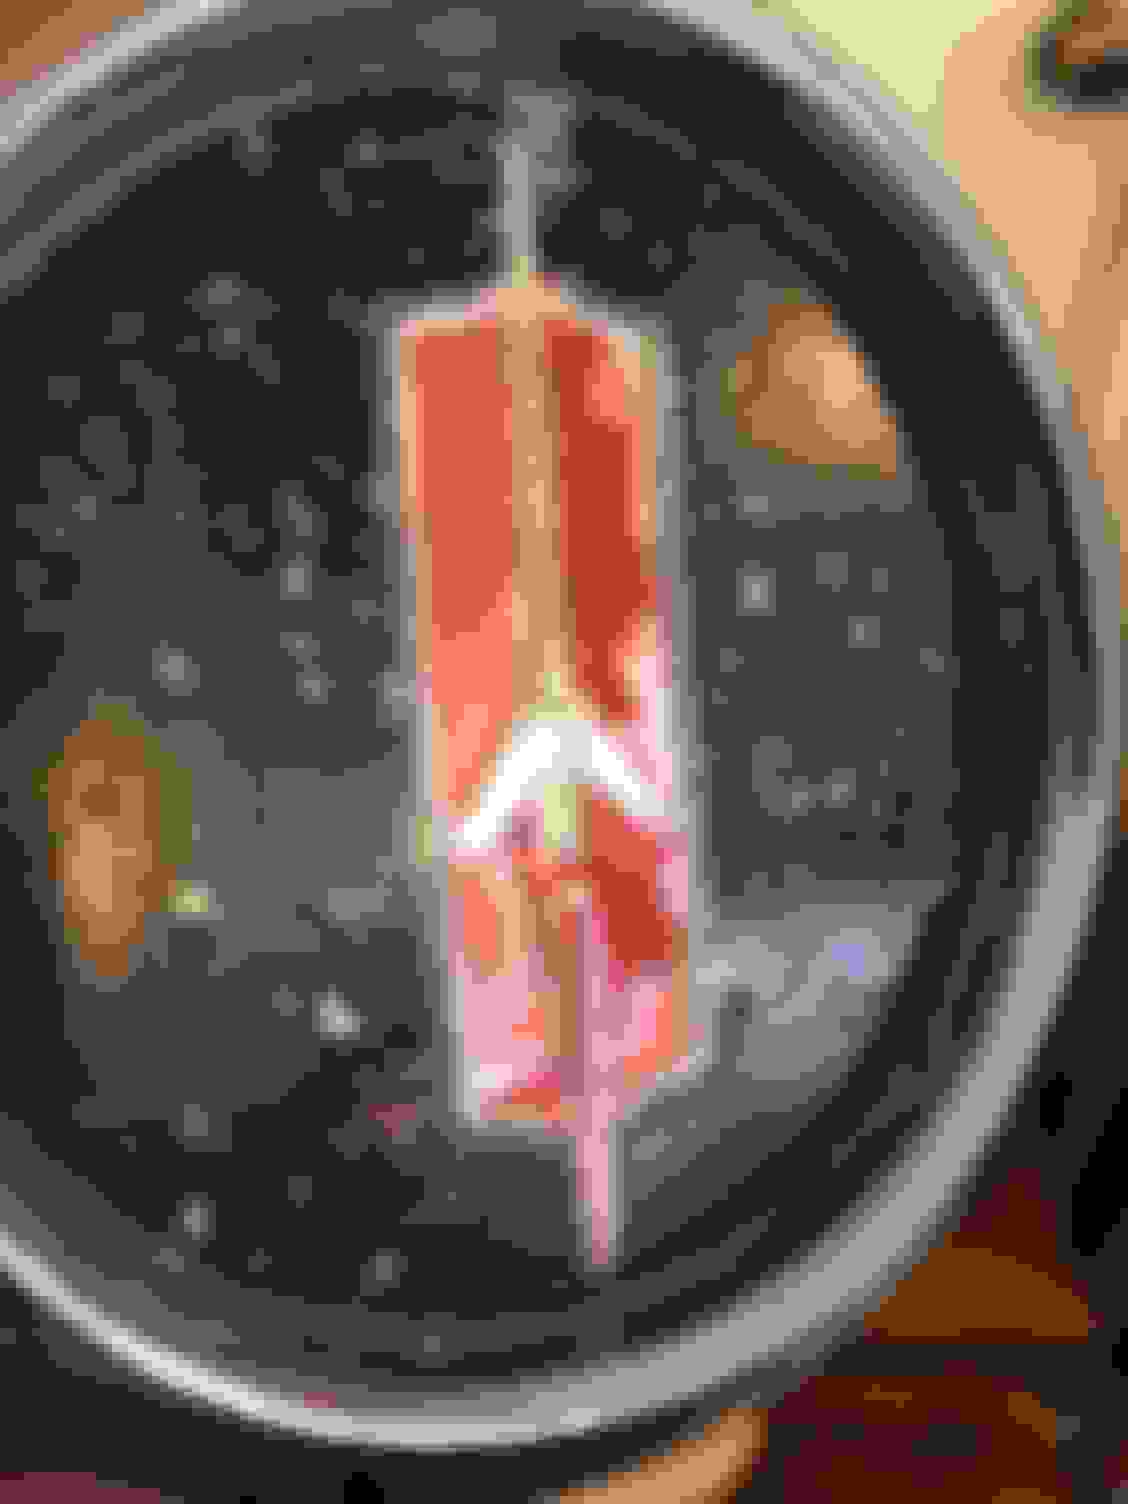
NOS correct red ribbed rocket center caps. These are incredibly hard to come by! See the write up below.
NOS valve stems part #274083.
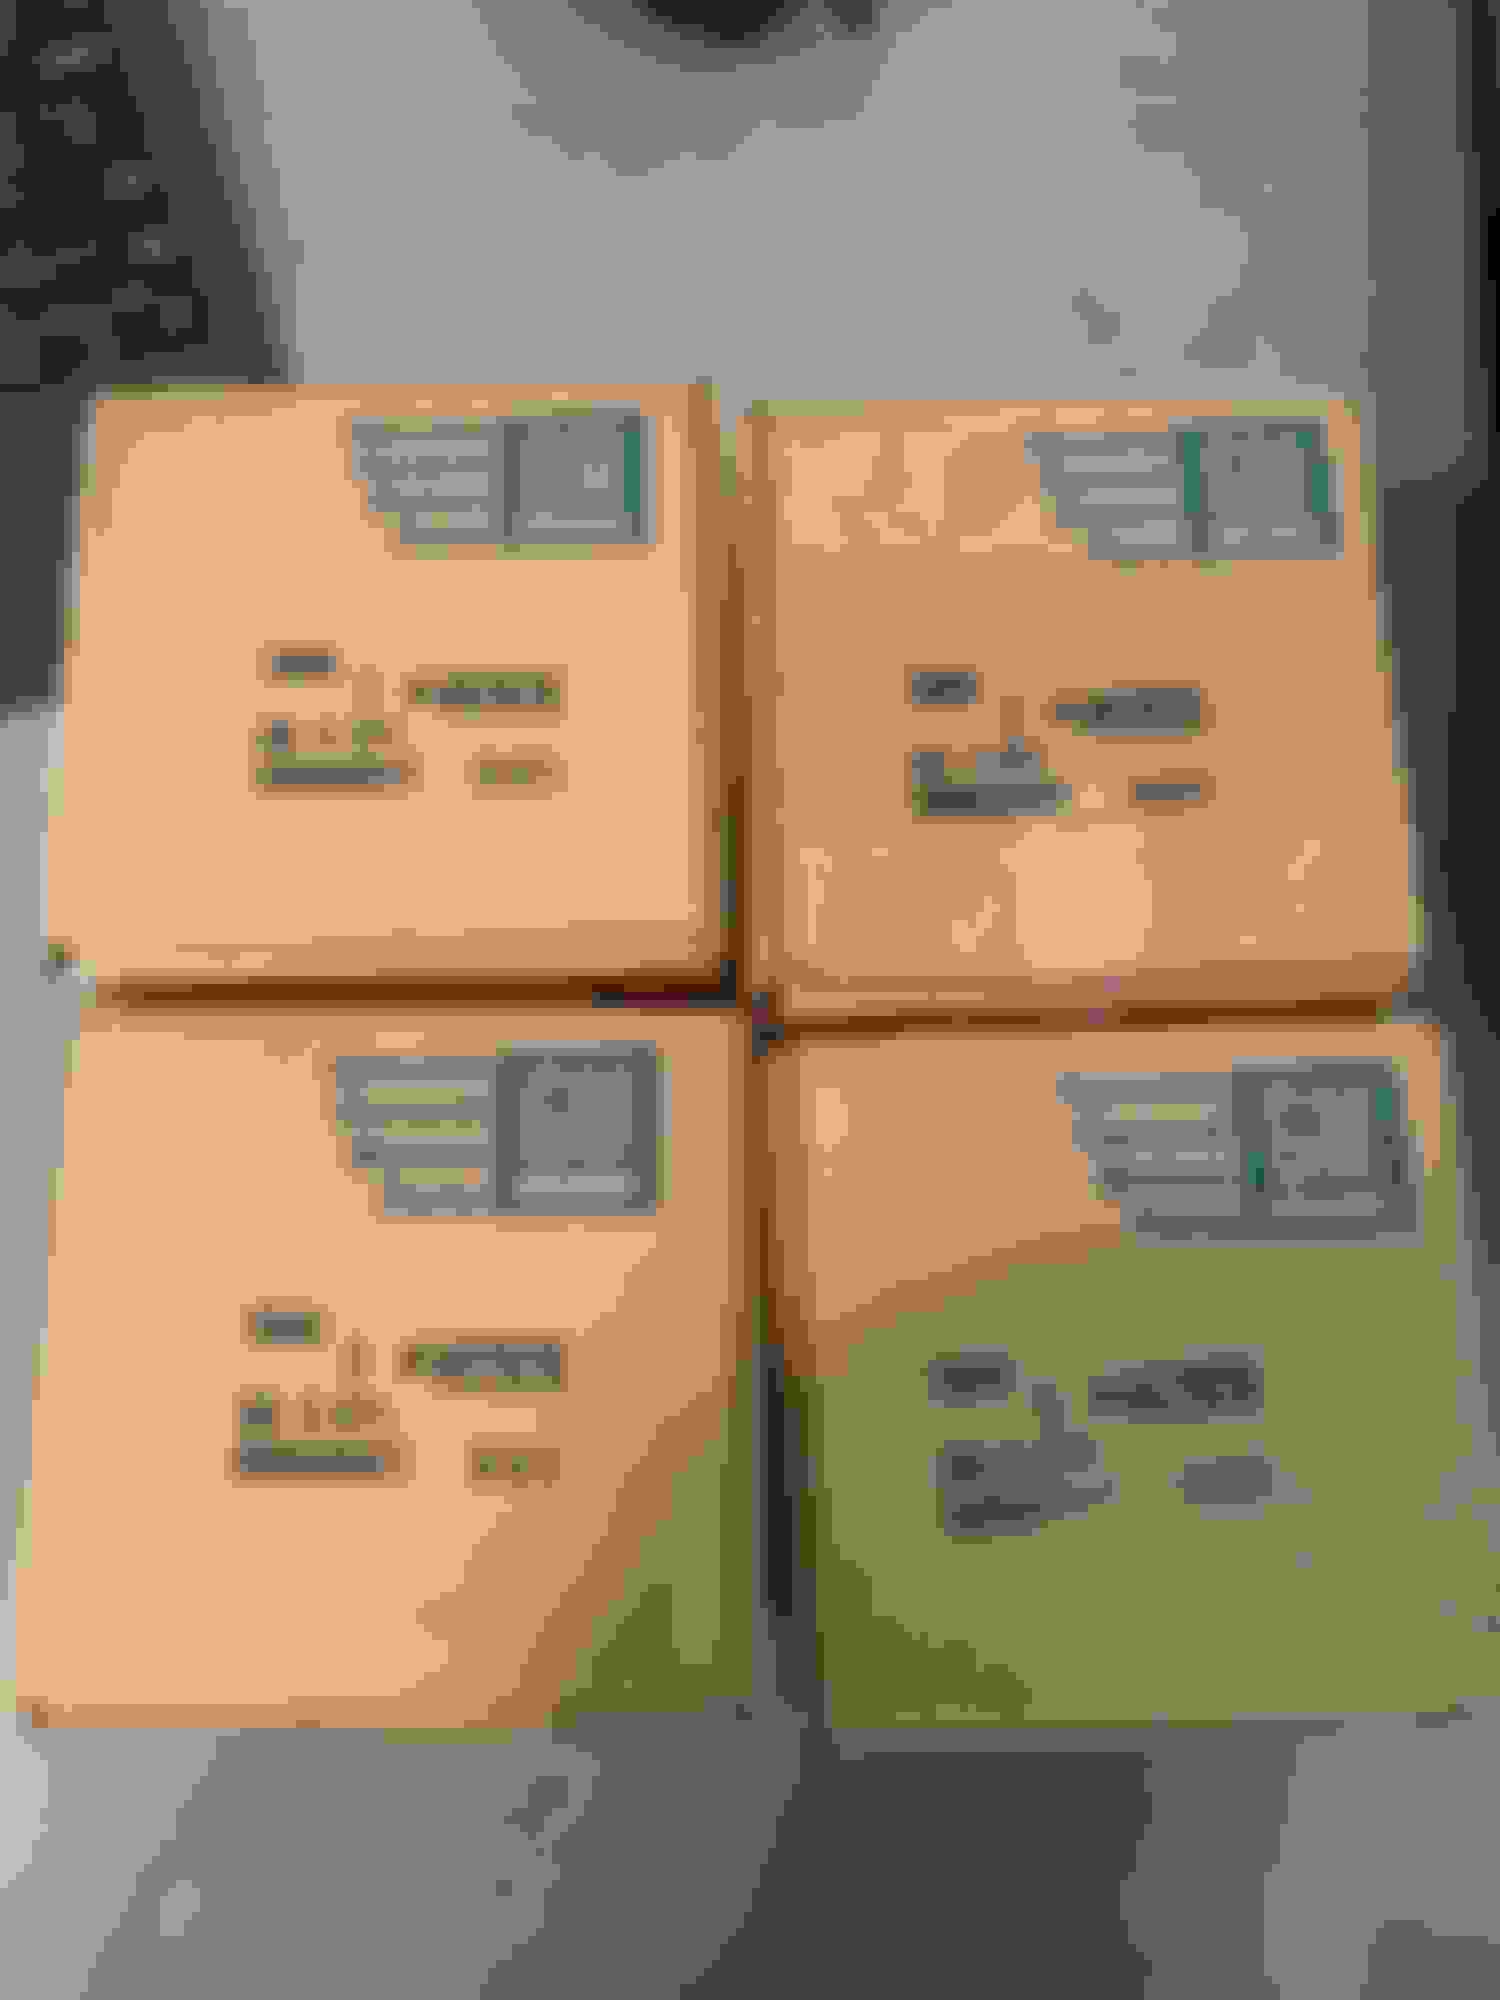
NOS trim rings. I actually started to worry a bit because the boxes were still sealed and I didn’t know the condition of the rings! Luckily, they’re mint.
Replated factory bolts for center caps.
NOS “second generation” lug nuts.
I sent pictures of the car with the SS2 wheels to the original owner and he was ecstatic! For obvious reasons, he didn’t like the steel wheels.
The center caps are a difference maker for me. I have another set of NOS caps that have a darker rocket that is almost a maroon color and only has a raised edge without the ribs. The reproduction caps offer a thick decal that sticks out like a sore thumb when compared to a factory set of caps. You’ll notice the replica decals from Thornton’s and Mark Cornea are close but still not a match to the factory ribbed rockets.
Not my favorite wheel but that’s what she was born with.
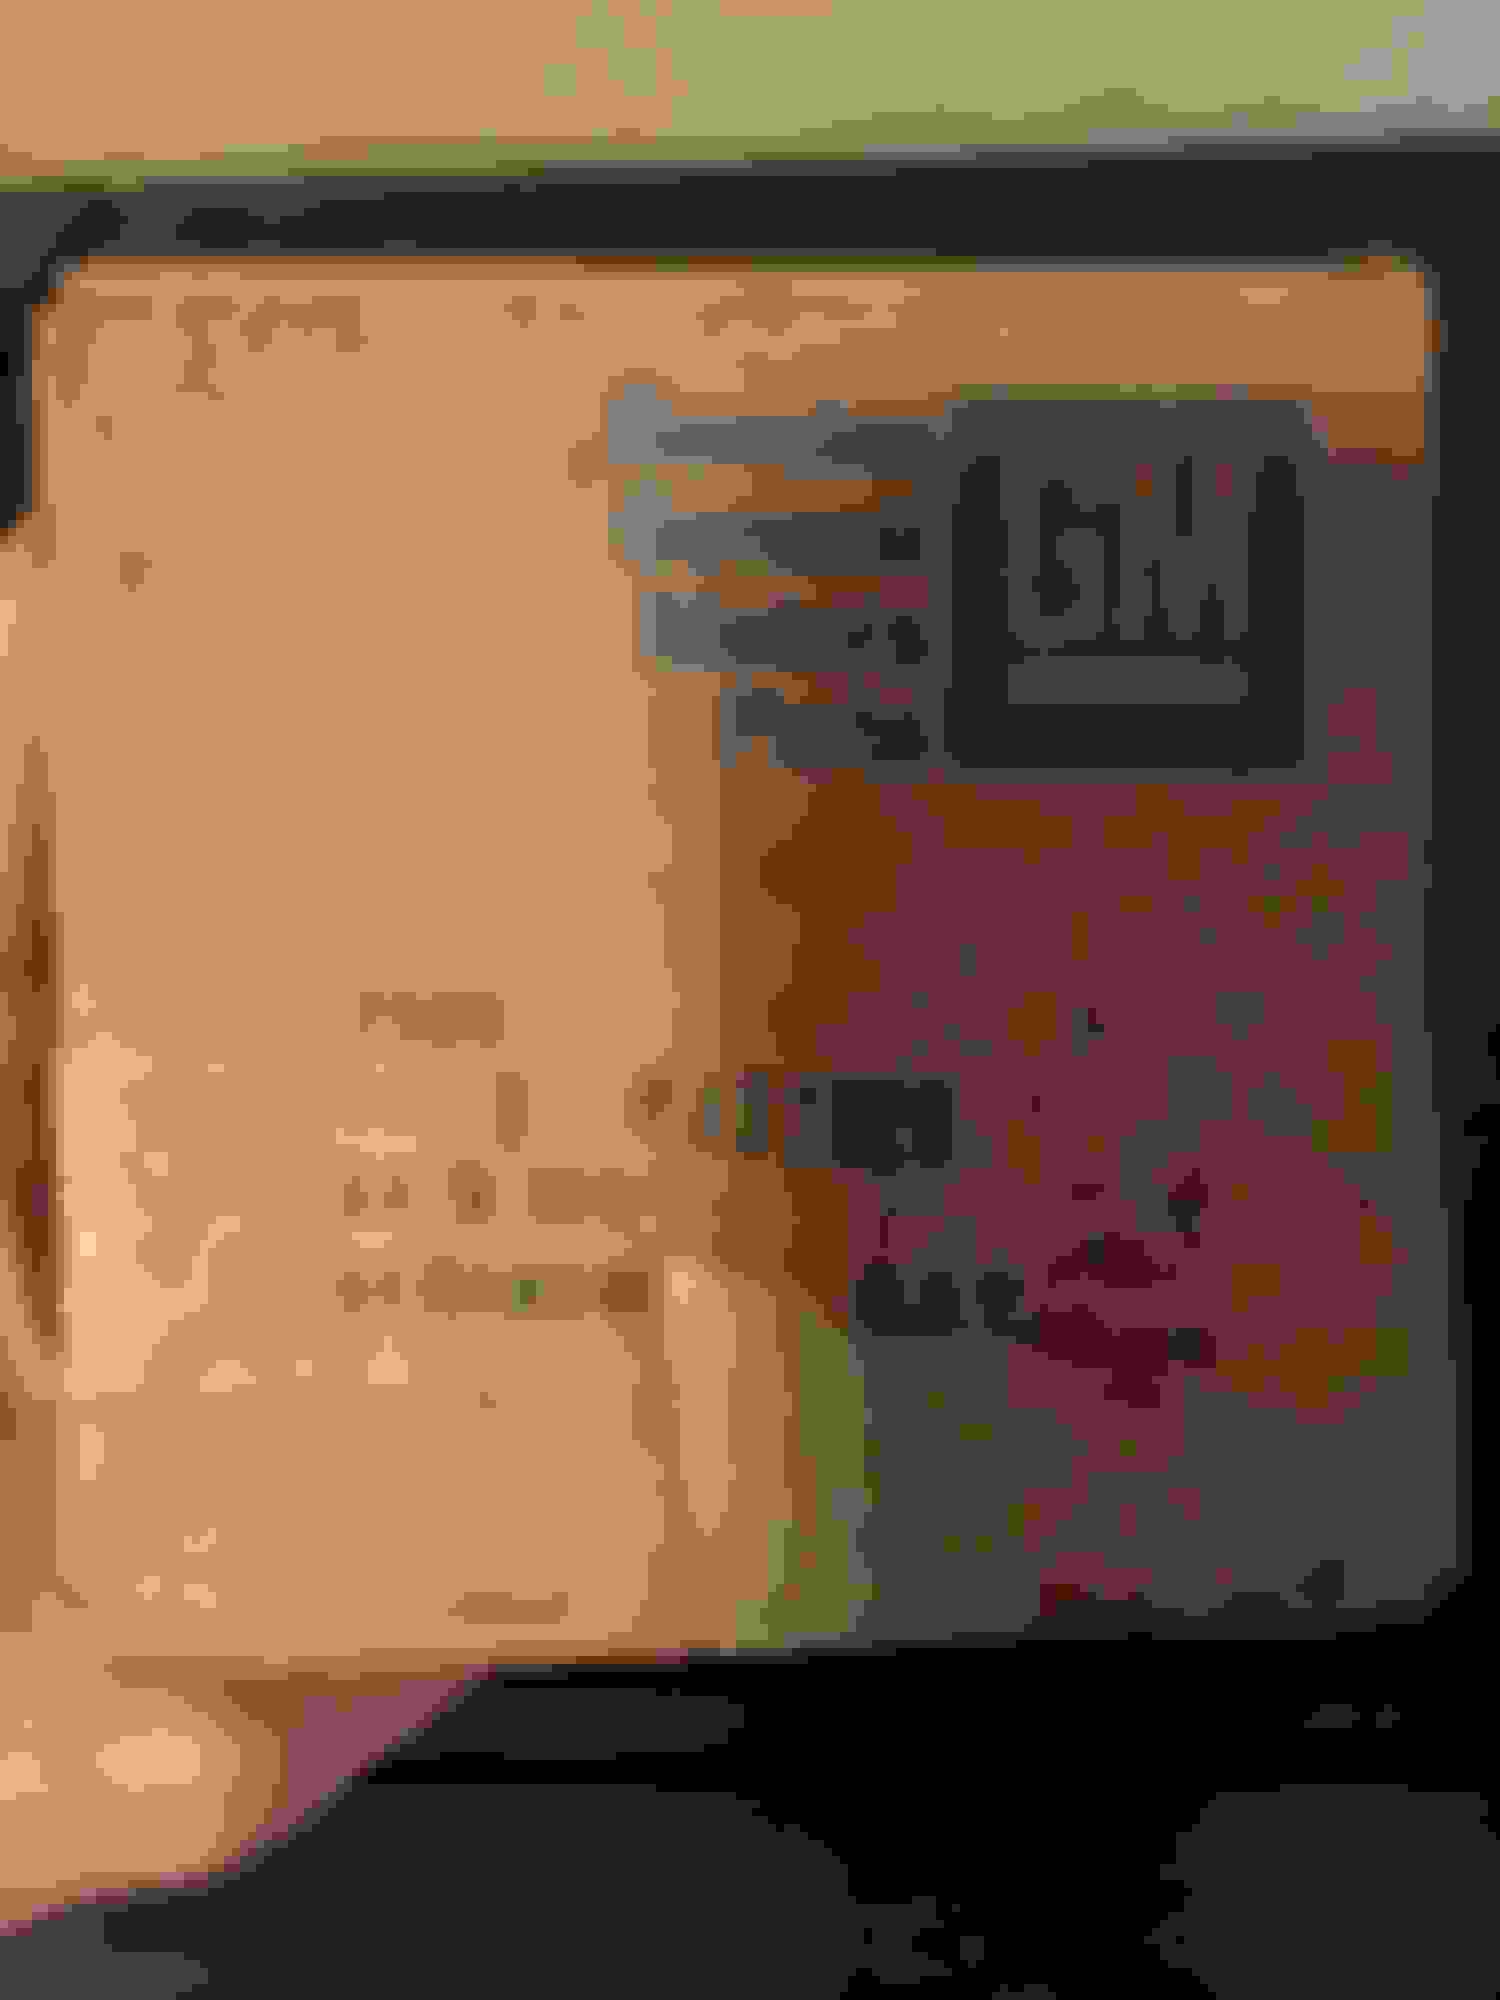
NOS trim ring box and part number.
Original paper packaging for the trim rings.
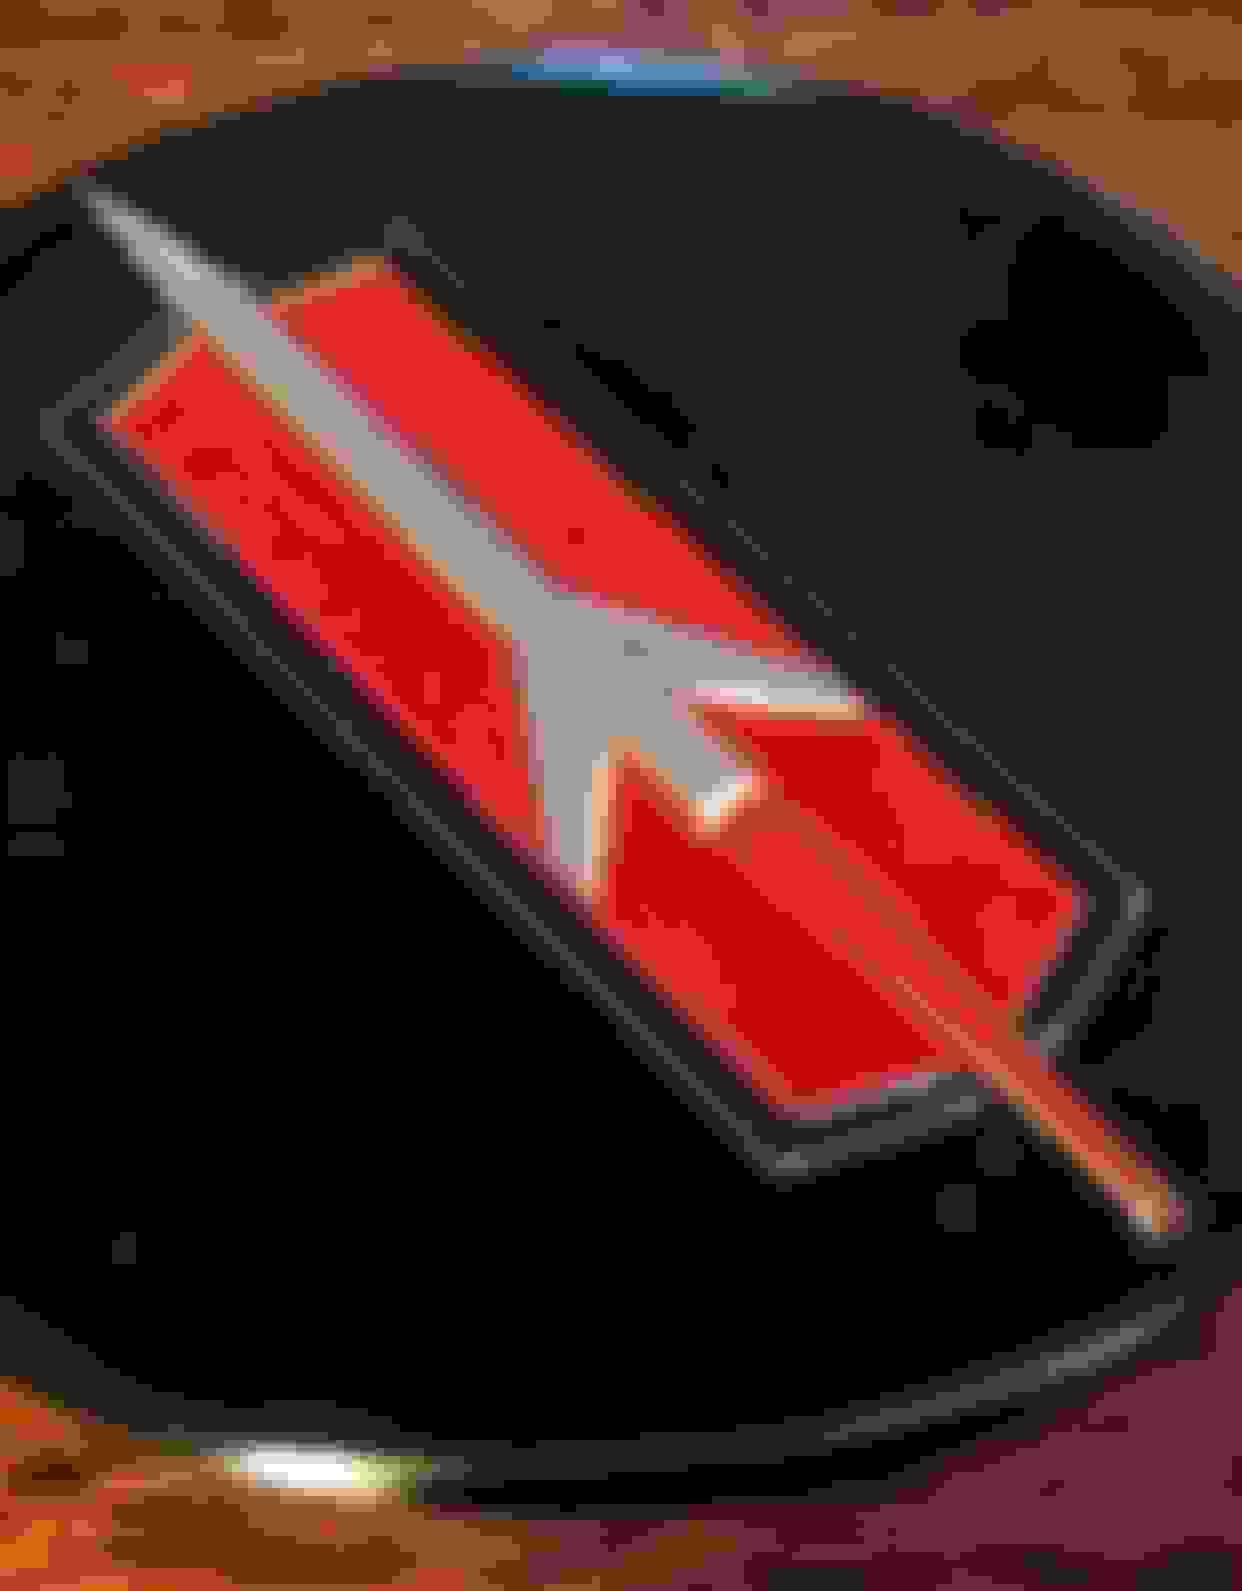
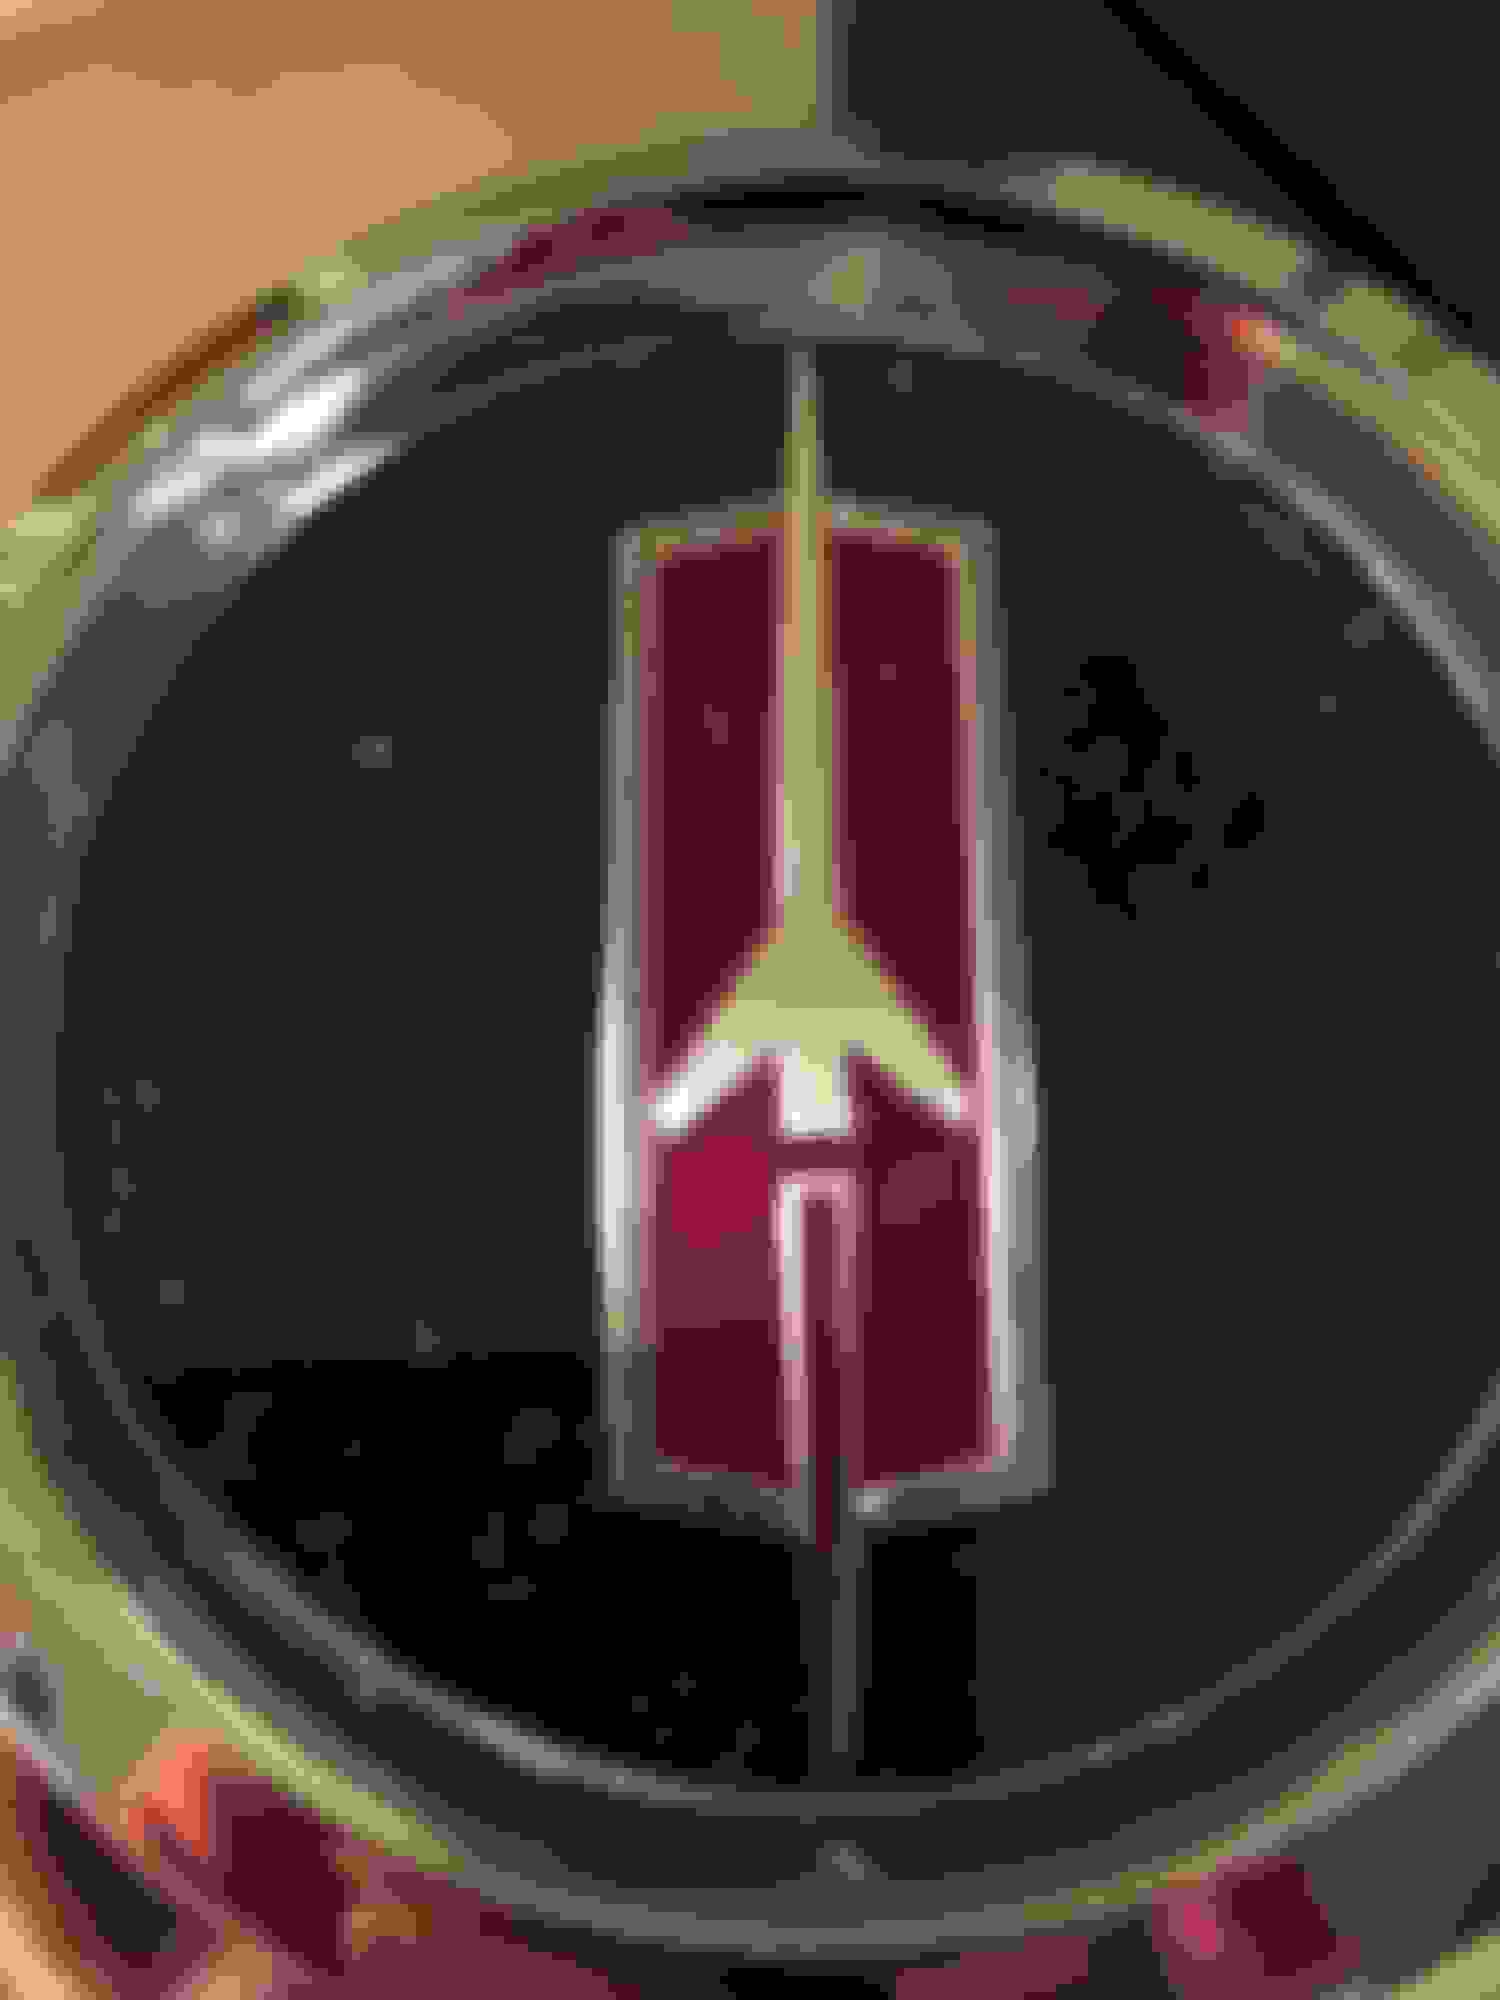
NOS ribbed rocket center cap.
Not sure if any of the box ID represents a date. I would love to know when these were made.
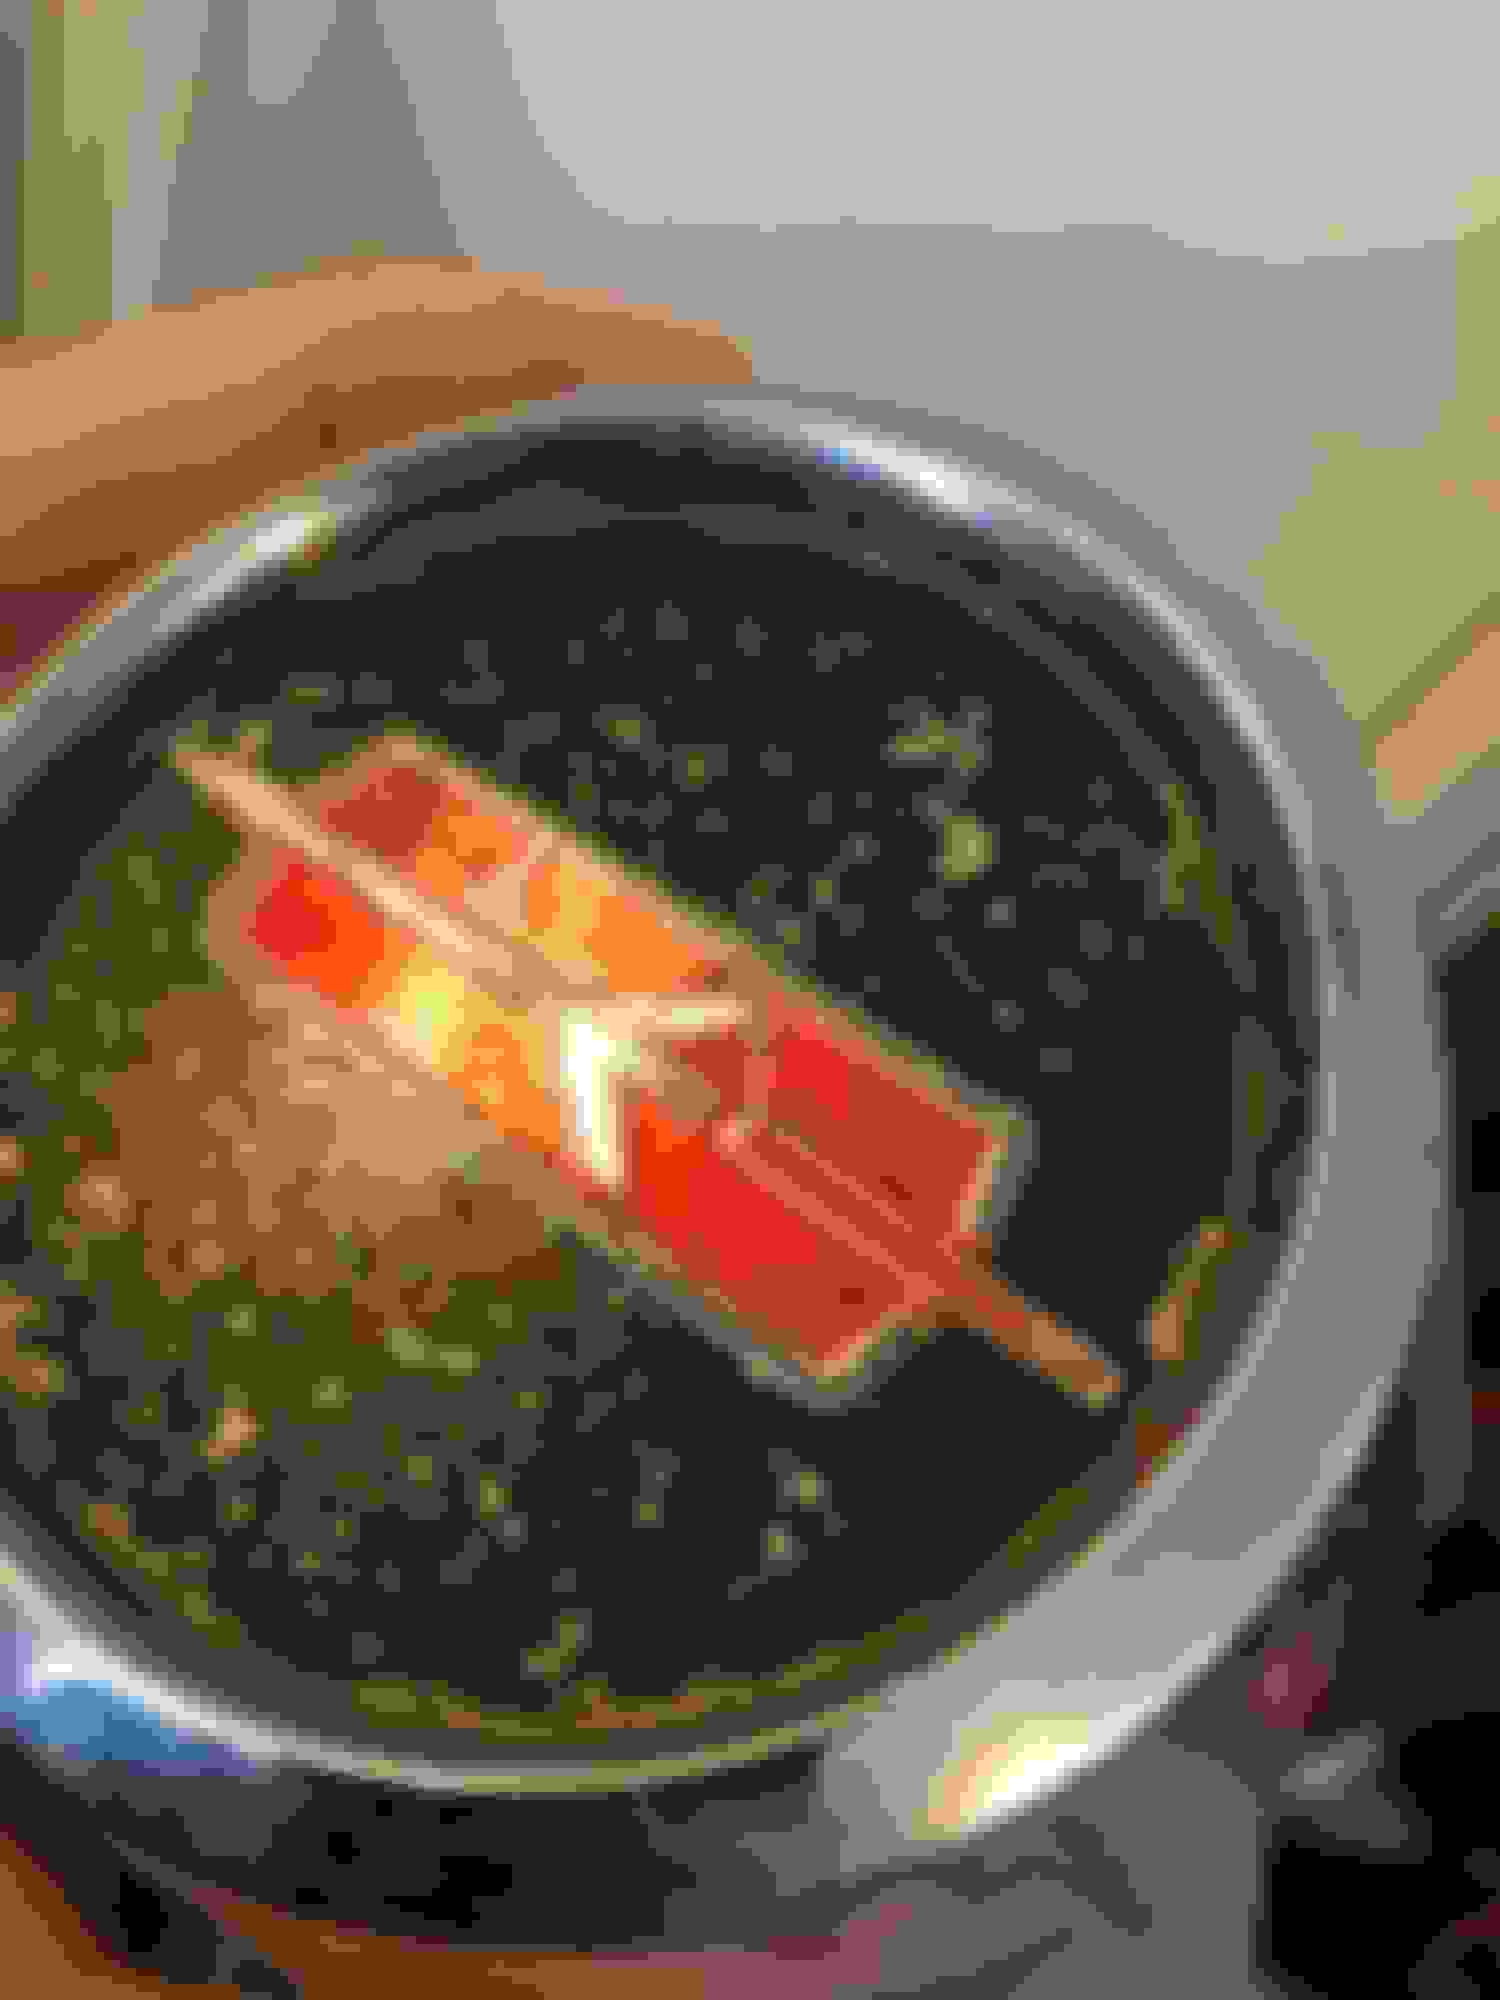
Factory center cap original to the car.
Factory cap.
Dr. Decal’s center cap. To me, the black border is too thick.
Thornton’s decal. This is the closest I have seen in terms of accuracy. There are subtle nuances but the biggest drawback is how high the decal sits on the center of the cap.
Another close up of the Dr. Decal rocket.
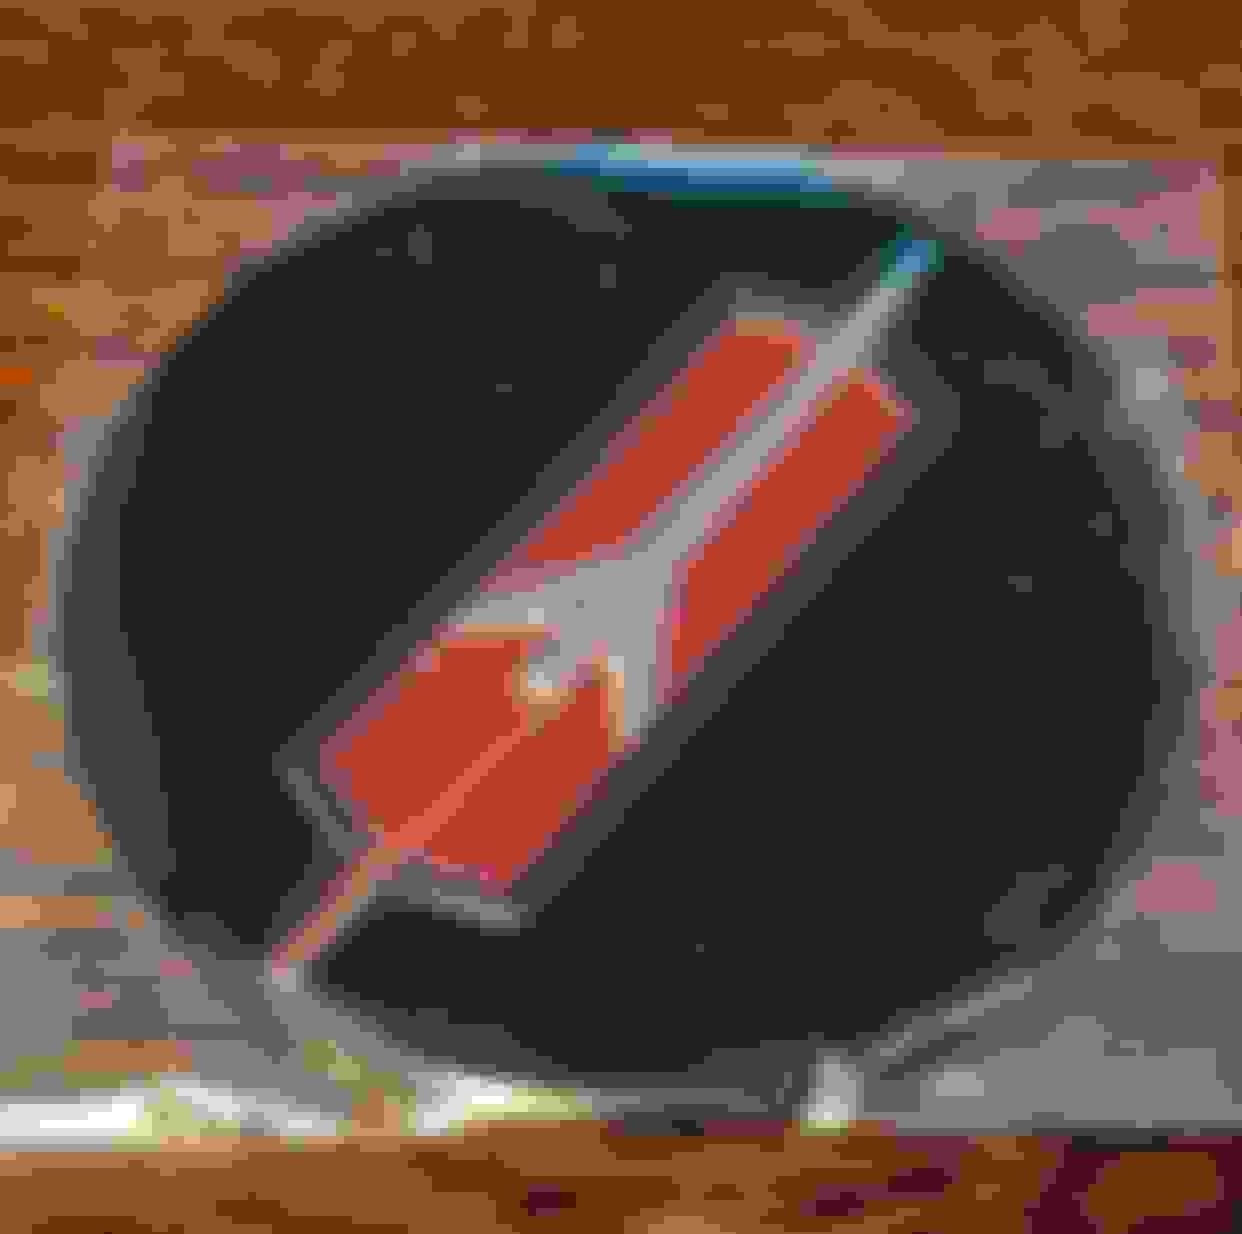
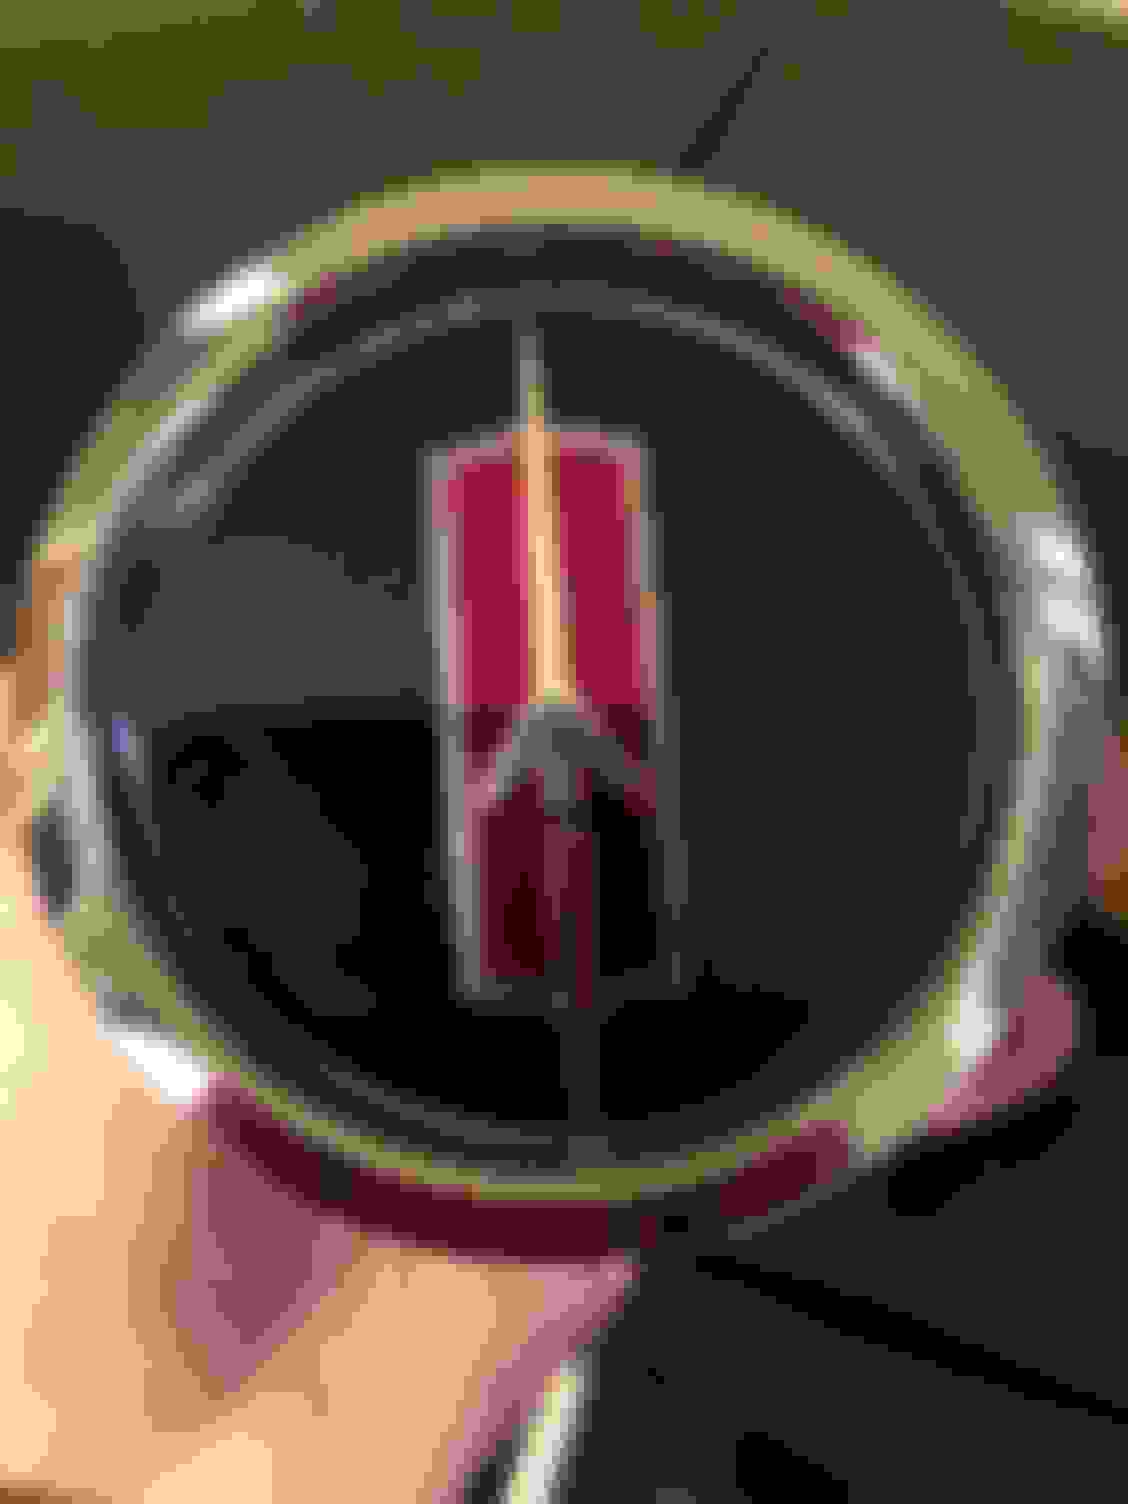
This is the other set of NOS caps I have.
The inner red part of the rocket is flat. The edges are embossed. It’s a pretty decal but differs from the original.
Another angle of a more recent NOS SS2 cap.
Last edited by WTHIRTY1; July 15th, 2021 at 09:30 AM.


 June 26th, 2021, 08:44 PM


 These are fantastic cars