Please help me!!!!!!!!
#81
If it were me, I would go back through this thread and write down the steps that JOE P suggested for the wiring. Write the steps down OLDCUTLASS suggests on getting your timing in order.
It gets confusing with all the other posts, not that the others aren't correct or trying to help, it just confuses the situation more IMO.
Grab a pen and paper, write the sequence's down as JOE P and OLDCUTLASS set them out in your thread.
Cheers
Eric
It gets confusing with all the other posts, not that the others aren't correct or trying to help, it just confuses the situation more IMO.
Grab a pen and paper, write the sequence's down as JOE P and OLDCUTLASS set them out in your thread.
Cheers
Eric
#82
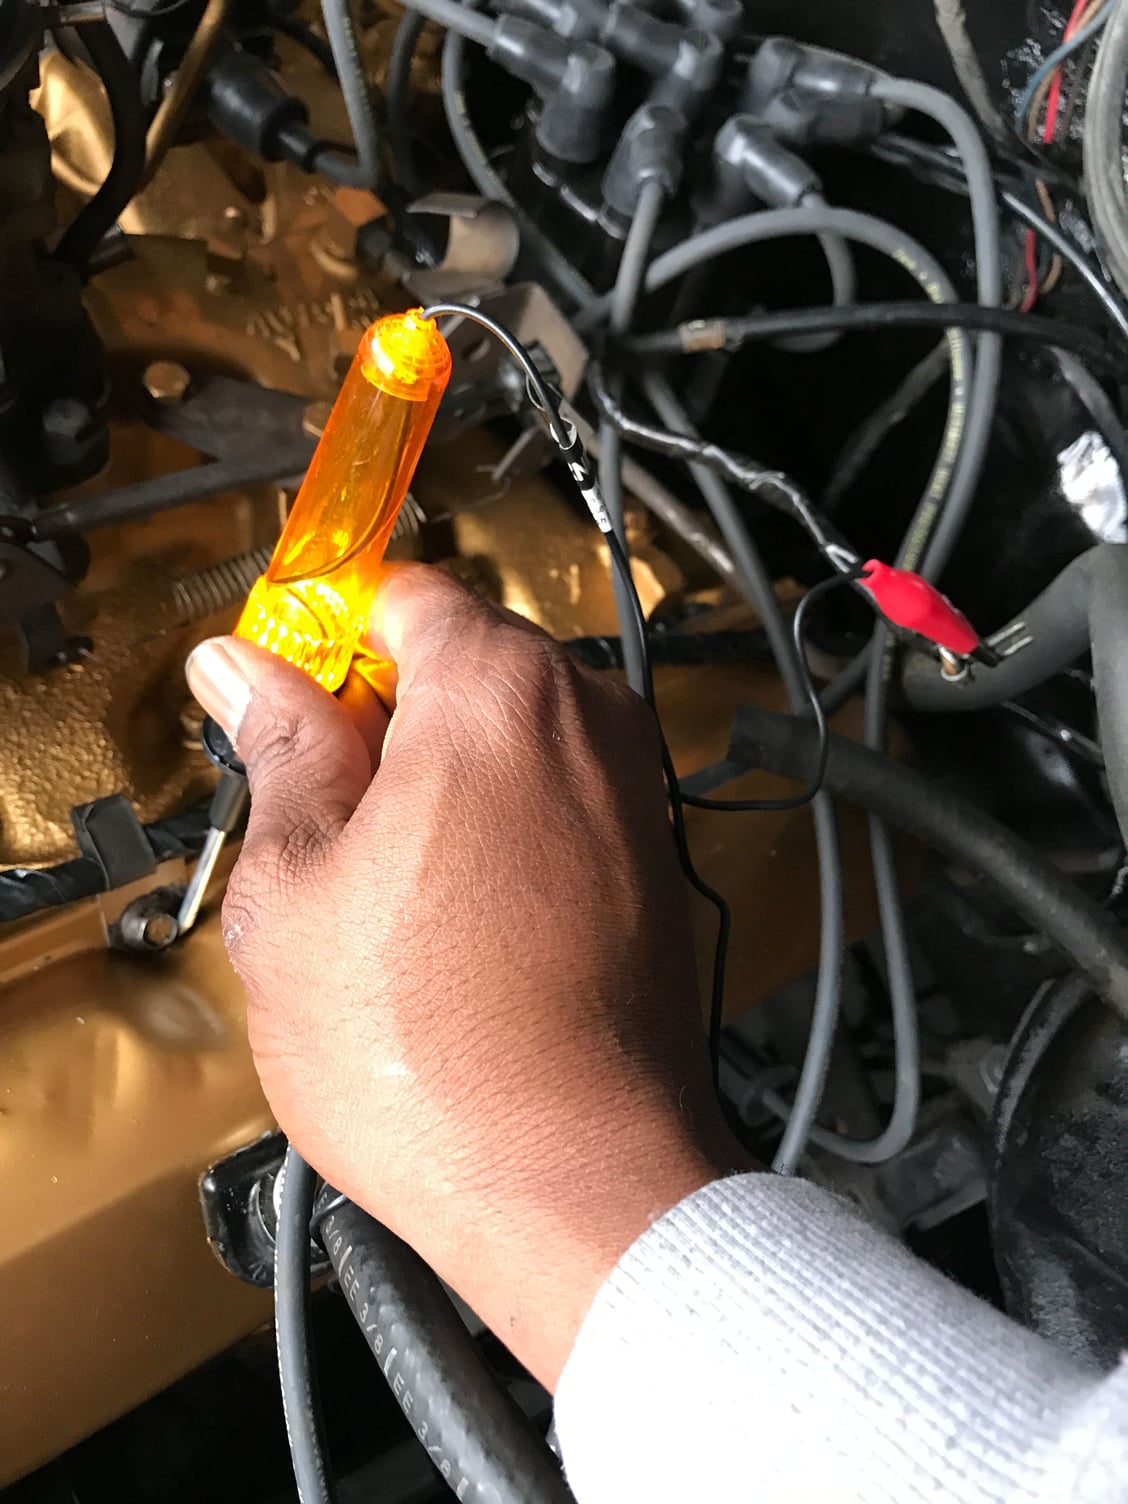
The wire going to the terminal on the points in picture #35 looks like it might be damaged or has some insulation missing. Hard to tell be it doesn't look right. As suggested need to confirm power at coil + terminal with a test light. In a pinch an 1157 bulb will do. Wrap some wire around the brass base and attach the wire to ground . Touch the soldered tit to the positive terminal. Should light up if you have power.
#83
if you don't have a multimeter.go to lowe's or home depot and get one bout 10 bucks will get ya one.these will test both dc voltage and ohms. set it on ohms and touch both leads together and see if meter reads 0 usually there are 5 or so different ohm settings."note"also some meters have 3 ports for the 2 lead wires to go into.the ohm red lead will go in the port with the little horseshoe on it,black will go in the ground port then take the wire off the points then one lead of tester on point end of that wire and the other lead to the coil end of the wire.see if ohms drop to 0.if so this wire is good.then take one lead to the plate the points are setting on and the other to the casting of the distributor again if it goes to 0 the ground wire on the point plate is good.then switch meter to dc volts move red lead to the other port,it should say volts on it,and turn key on then touch red lead to double wire that goes on the + side of coil and black to any part of engine it should read approx 12 volts.let us know what you get.
#84
Tim, what big city do you live near ? Without knowing exactly where in Florida Tim lives, there could be a helpful, local Olds member who could jump in and give Tim a helping hand ?
Ralph
Ralph
#85
The wire going to the terminal on the points in picture #35 looks like it might be damaged or has some insulation missing. Hard to tell be it doesn't look right. As suggested need to confirm power at coil + terminal with a test light. In a pinch an 1157 bulb will do. Wrap some wire around the brass base and attach the wire to ground . Touch the soldered tit to the positive terminal. Should light up if you have power.
#86
#89
This is the wire that came off the (+) side of the coil. The "mystery taped up line" is coming from the starter and has power when key is in the ON position and when it's turning over
#90
if you don't have a multimeter.go to lowe's or home depot and get one bout 10 bucks will get ya one.these will test both dc voltage and ohms. set it on ohms and touch both leads together and see if meter reads 0 usually there are 5 or so different ohm settings."note"also some meters have 3 ports for the 2 lead wires to go into.the ohm red lead will go in the port with the little horseshoe on it,black will go in the ground port then take the wire off the points then one lead of tester on point end of that wire and the other lead to the coil end of the wire.see if ohms drop to 0.if so this wire is good.then take one lead to the plate the points are setting on and the other to the casting of the distributor again if it goes to 0 the ground wire on the point plate is good.then switch meter to dc volts move red lead to the other port,it should say volts on it,and turn key on then touch red lead to double wire that goes on the + side of coil and black to any part of engine it should read approx 12 volts.let us know what you get.
I went and bought a tester and a light tester and trying to follow your directions but getting confused... I touched both ends of tester at ohms and it does read (0). If you could break your directions with testing the coil down in sections so I can understand it more
#92
ok looks like you have power on the + side wire.good.now my tests were to verify if the - wire to the points is good.with meter set to ohms remove the wire from the points then take one lead of tester to the coil side of the distributor wire and the other end to the wire where it hooks to the points.does it read 0 if so this wire is good hook it back up to points.then take one lead and touch the plate the points are on and the other lead to the body of the distributor,does meter read 0 if so the ground wire inside distributor is good.so then that leaves 4 things.rotor,cap coil and points that could be bad.my guess would be points as when you were messing with it you might have had full 12 volts to them,they can not have full 12 volts for long and live.
#95
#96
ok looks like you have power on the + side wire.good.now my tests were to verify if the - wire to the points is good.with meter set to ohms remove the wire from the points then take one lead of tester to the coil side of the distributor wire and the other end to the wire where it hooks to the points.does it read 0 if so this wire is good hook it back up to points.then take one lead and touch the plate the points are on and the other lead to the body of the distributor,does meter read 0 if so the ground wire inside distributor is good.so then that leaves 4 things.rotor,cap coil and points that could be bad.my guess would be points as when you were messing with it you might have had full 12 volts to them,they can not have full 12 volts for long and live.
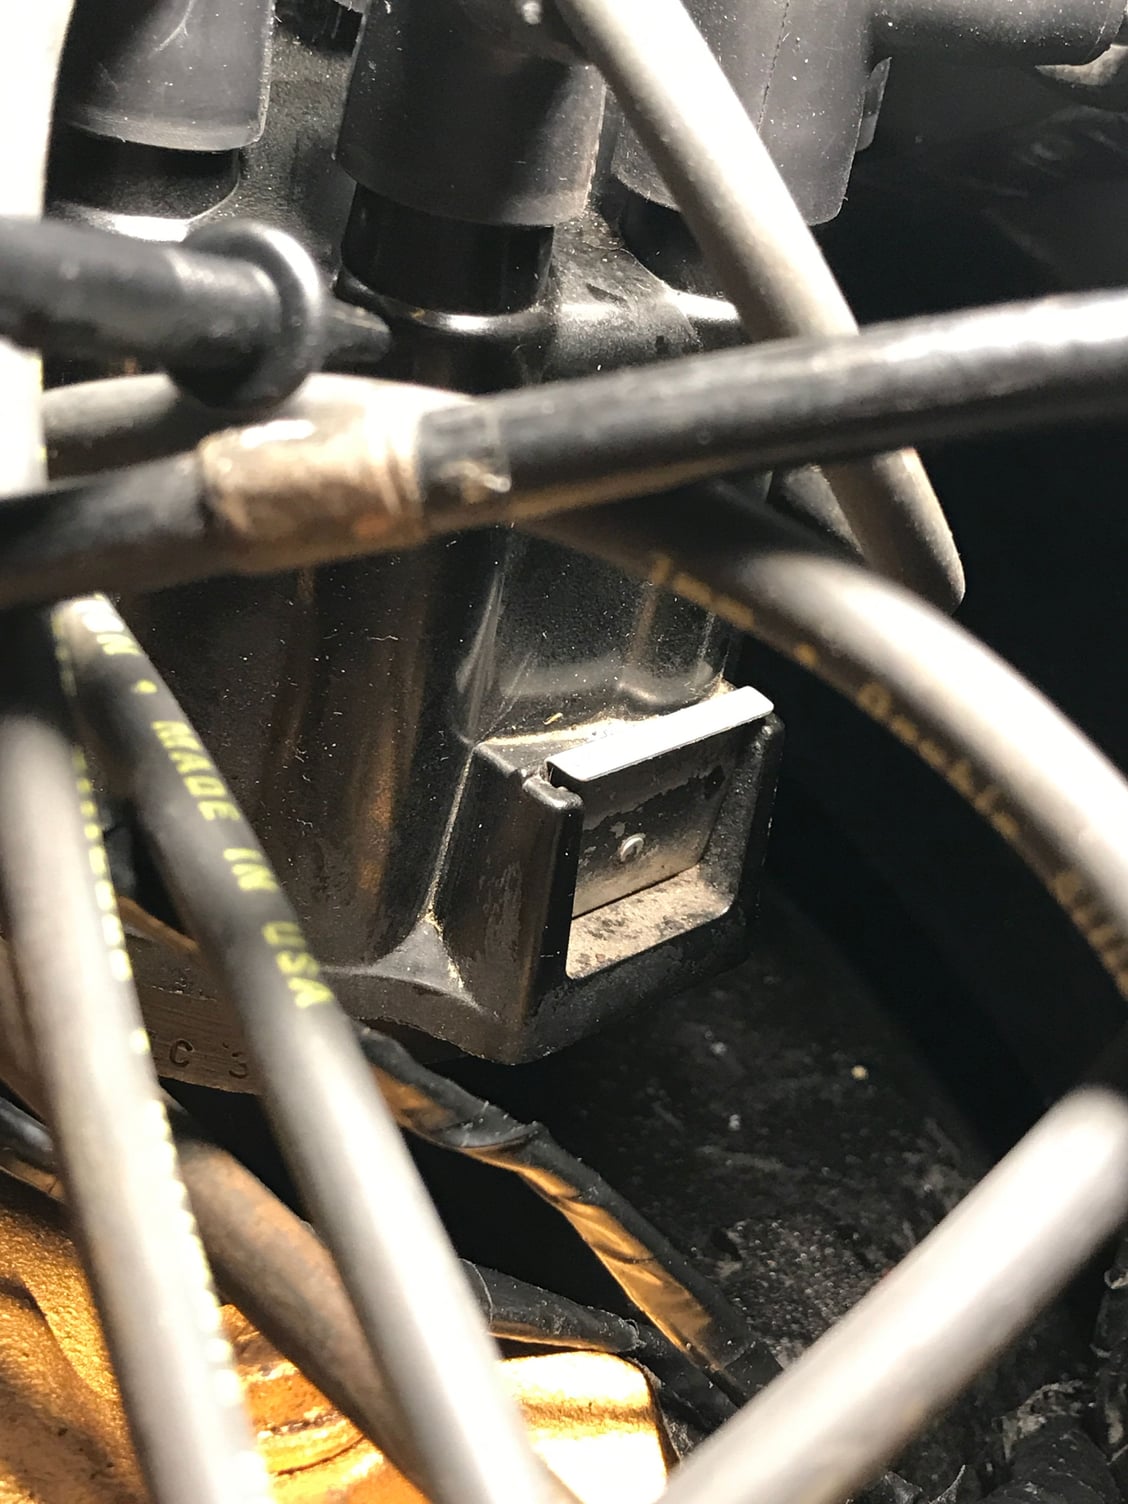
From plate the points are on to body of distributor read (0) (see per picture if that's the (plate) you speak of on body of distributor
#97
The guys that have posted here trying to help are amazing, you'll get er' running smooth soon.
You haven't given up, that says something.
Put-er'-ther!!
Eric
#98
Your doin' alrite Tim! You changed the intake gaskets, valve cover gaskets, pulled the distributor etc. Many of us including me have a hard time with wiring.
The guys that have posted here trying to help are amazing, you'll get er' running smooth soon.
You haven't given up, that says something.
Put-er'-ther!!
Eric
The guys that have posted here trying to help are amazing, you'll get er' running smooth soon.
You haven't given up, that says something.
Put-er'-ther!!
Eric
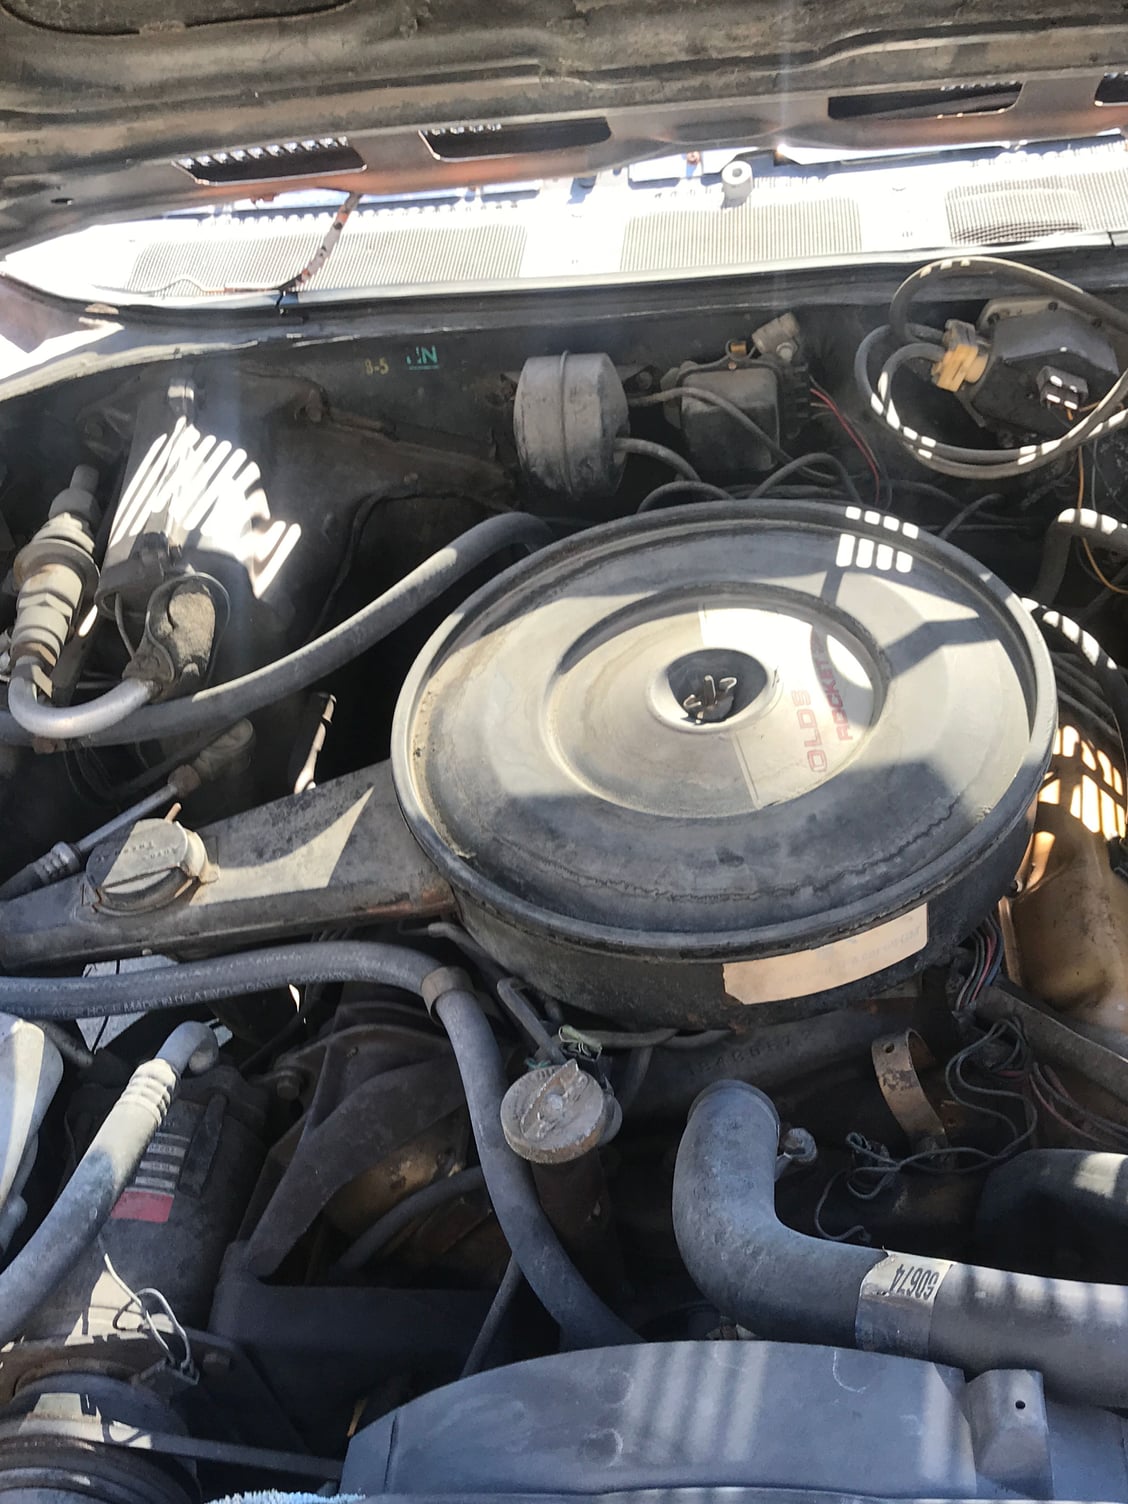
This was the before picture I'm just trying to get it back running right I repainted and refreshed it a lot with what I did
#101
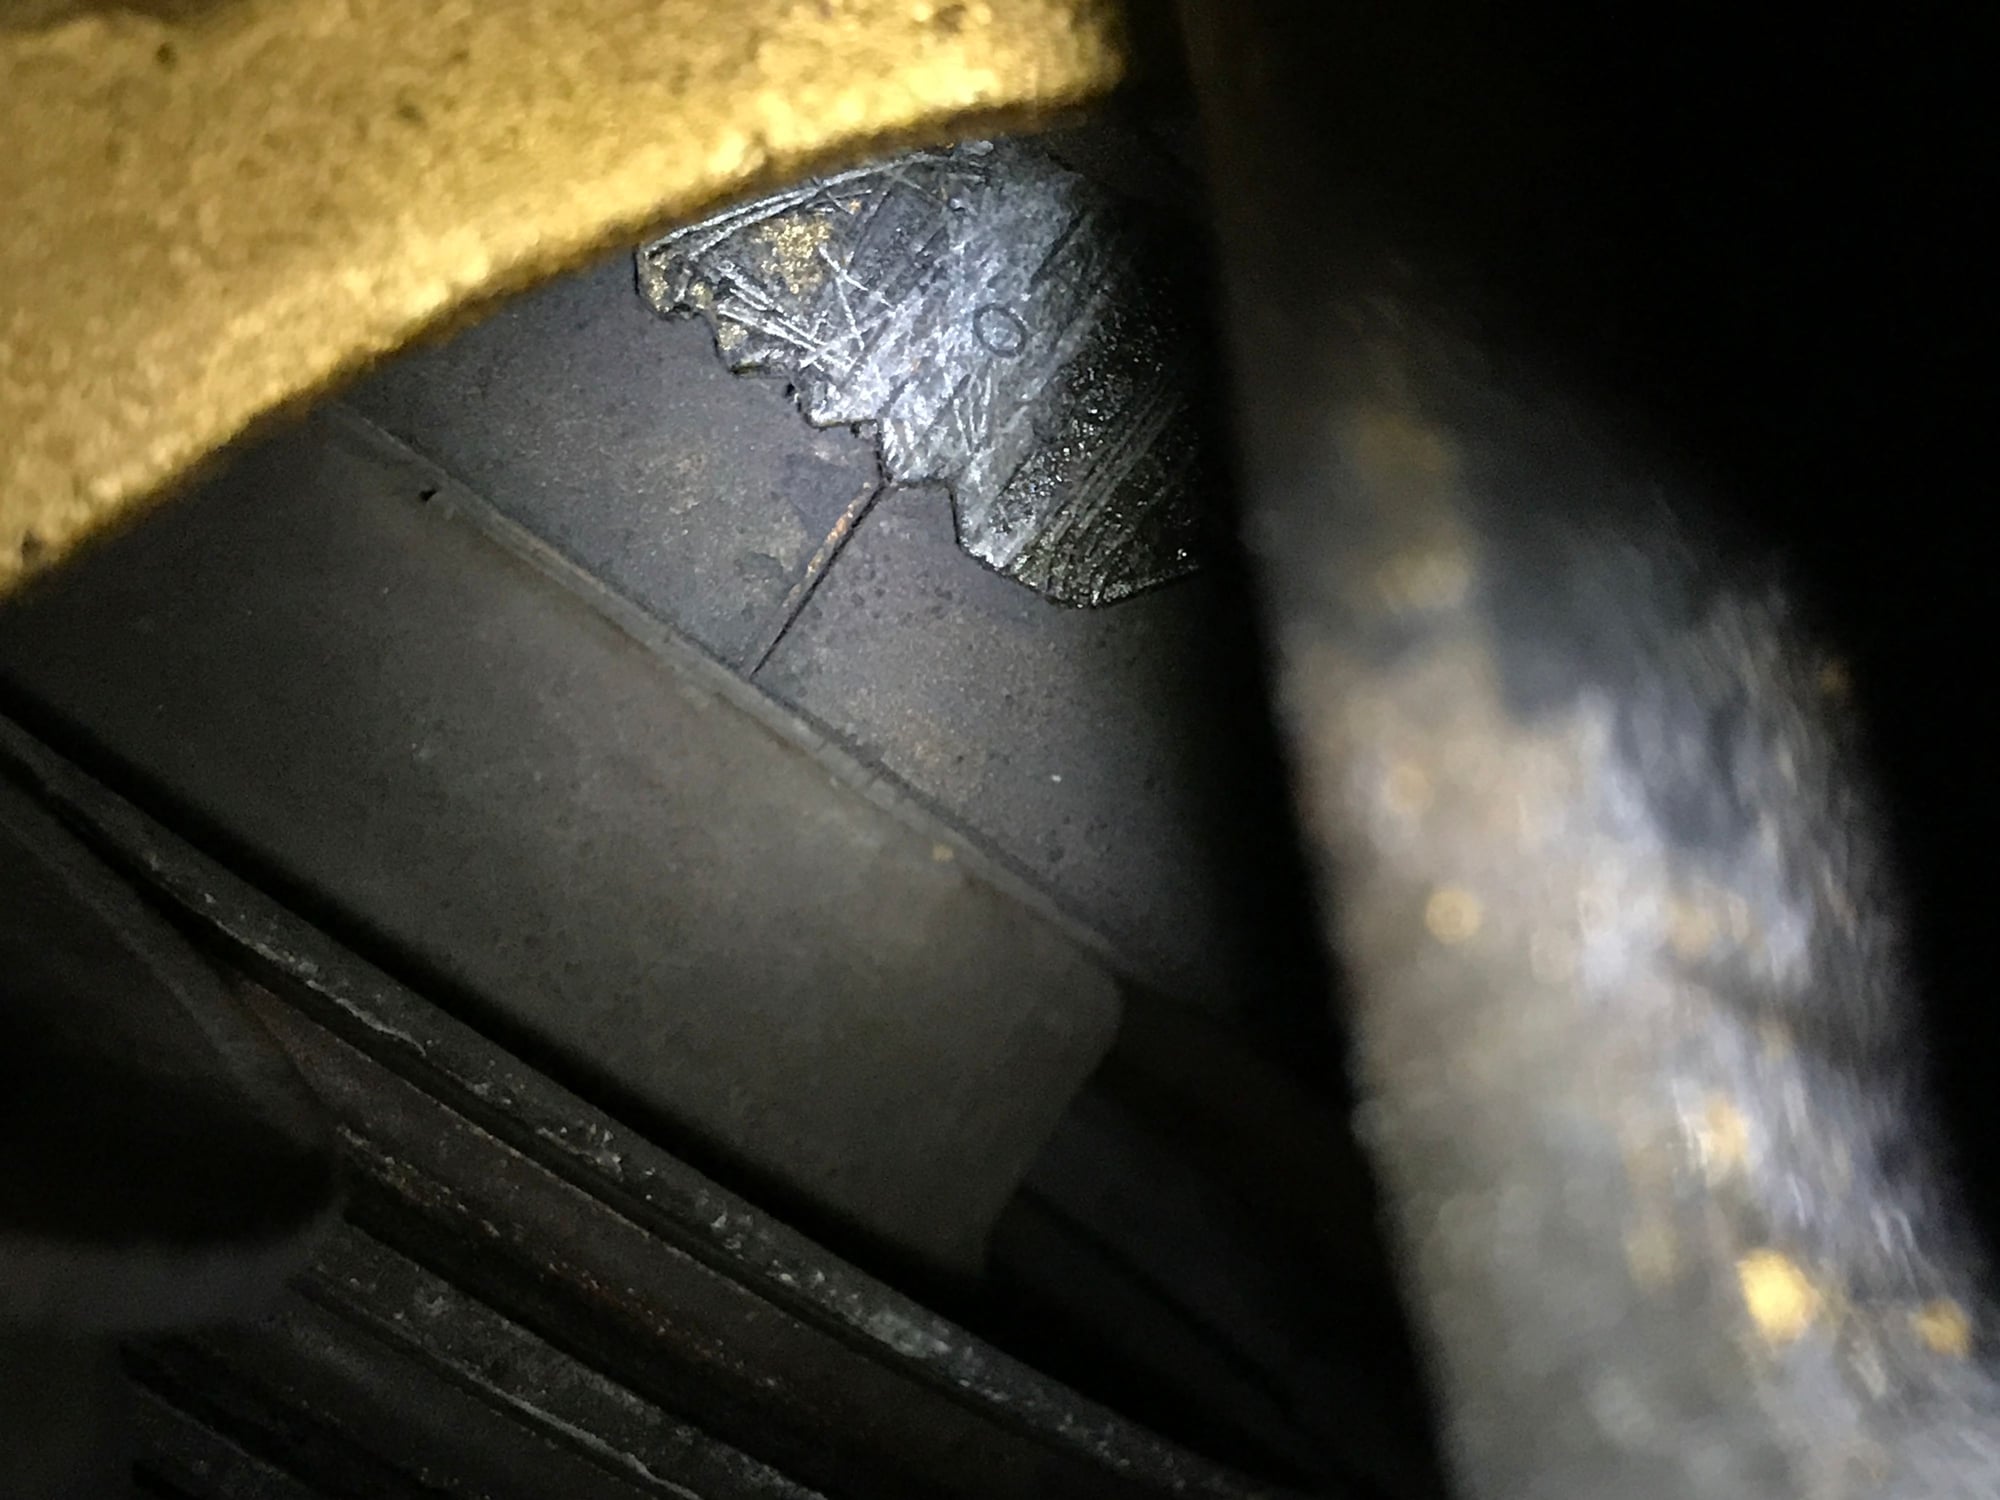
All I did was put the marker on the harmonic balancer in the middle of the tap wielded in the block. Then took the distributor cap off and noticed it wasn't pointing at the number one plug. I then pulled the distributor out the block and adjusted until it was pointing at the number one plug then re installed the cap
#102
Tim, Member CRUZN 66 (John) has several chassis service manuals, he may have one for your year of car.
I bought one for my 76 and it was the best investment I made. Well that and the rear gear + posi haha.
Just a thought,
All the best !
Eric
I bought one for my 76 and it was the best investment I made. Well that and the rear gear + posi haha.
Just a thought,
All the best !
Eric
#103
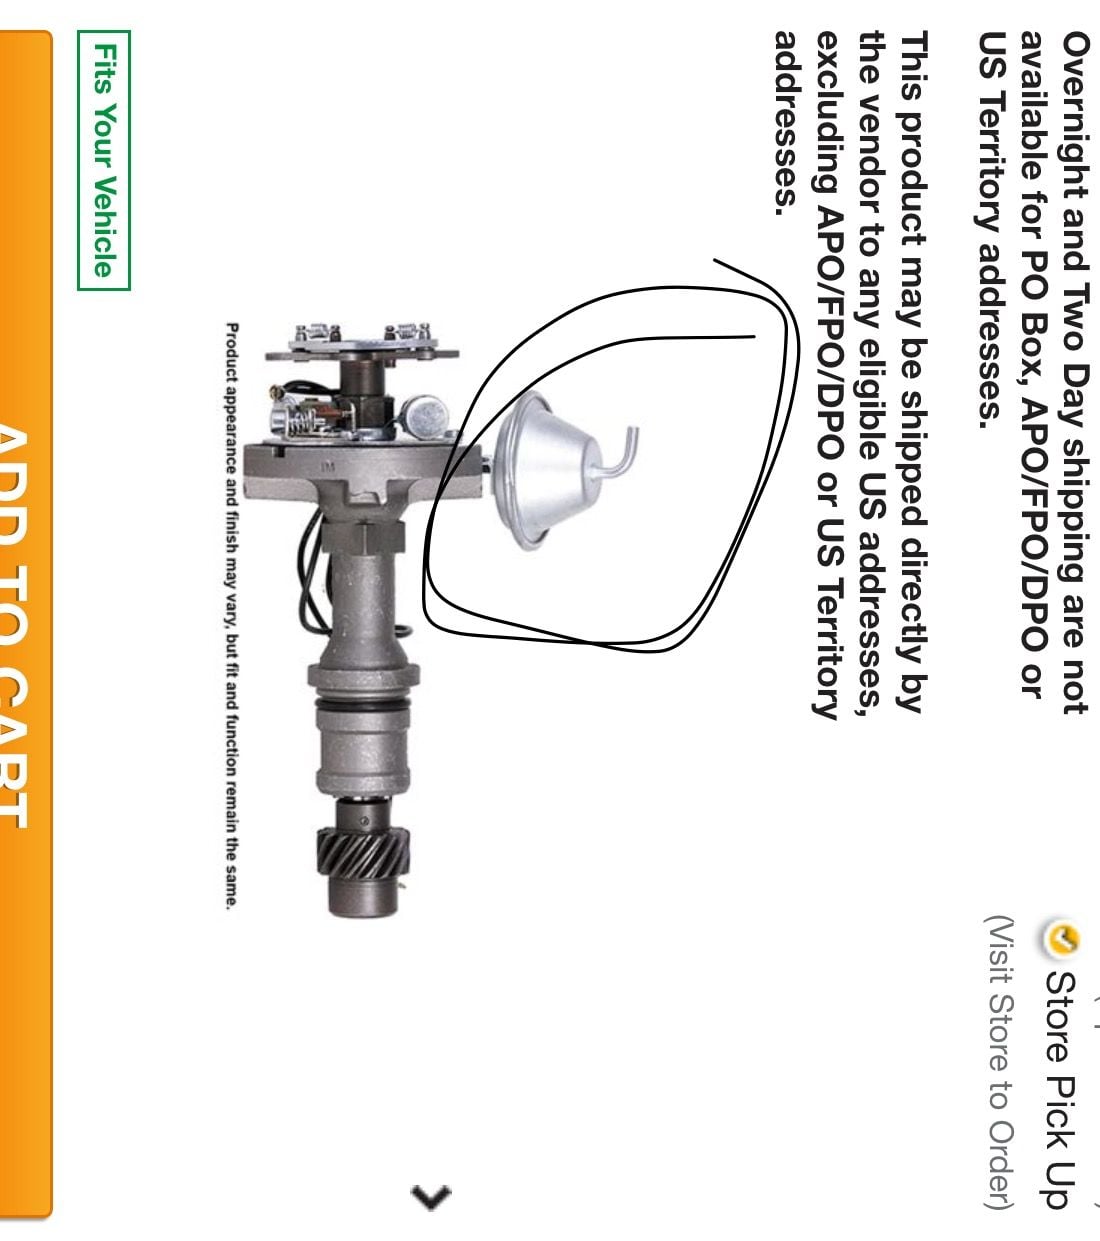
That's the vacuum advance circled, that wouldn't keep it from starting. By the sounds of where your at, you will probably need to pull the distributor back out , bring the number 1 piston up to the top on the compression stroke and re-install the distributor with the rotor facing the #1 plug.
You could just move the wires around without pulling the distributor but that may make it difficult to hook the vacuum advance line up.
Hope this helps a bit,
Eric
You could just move the wires around without pulling the distributor but that may make it difficult to hook the vacuum advance line up.
Hope this helps a bit,
Eric
#104
Did you read this?
https://classicoldsmobile.com/forums...-ignition.html
https://classicoldsmobile.com/forums...-ignition.html
#106
That's the vacuum advance circled, that wouldn't keep it from starting. By the sounds of where your at, you will probably need to pull the distributor back out , bring the number 1 piston up to the top on the compression stroke and re-install the distributor with the rotor facing the #1 plug.
You could just move the wires around without pulling the distributor but that may make it difficult to hook the vacuum advance line up.
Hope this helps a bit,
Eric
You could just move the wires around without pulling the distributor but that may make it difficult to hook the vacuum advance line up.
Hope this helps a bit,
Eric
#107
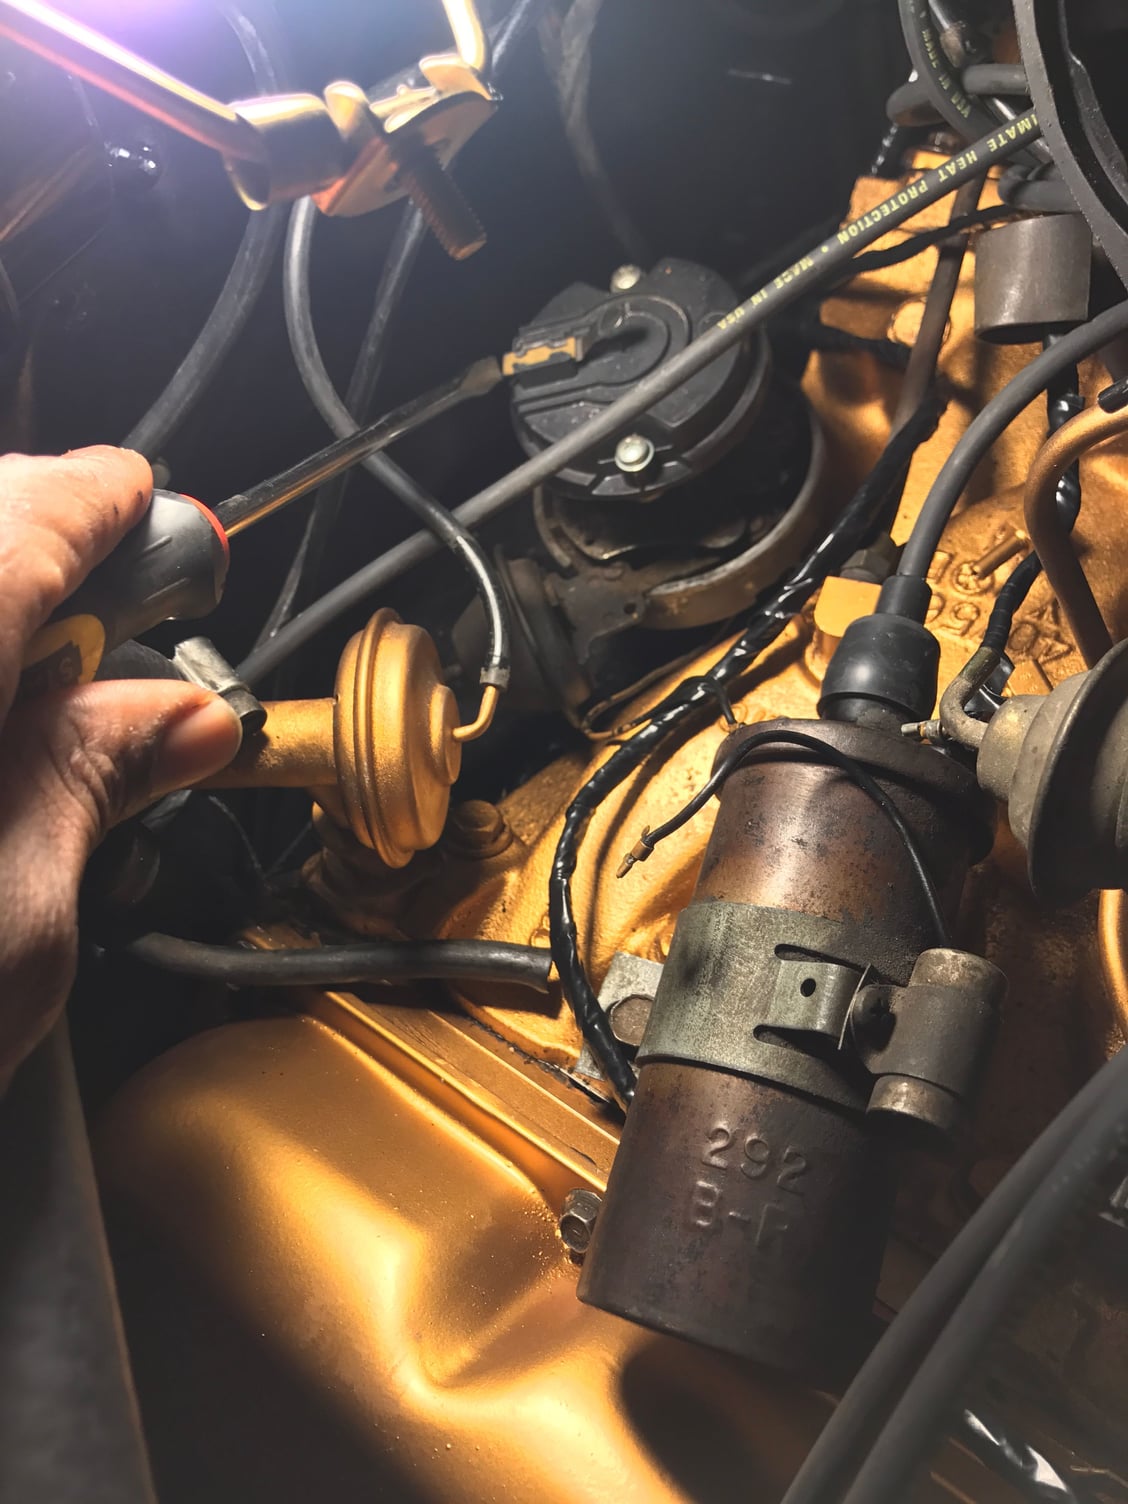
That's the vacuum advance circled, that wouldn't keep it from starting. By the sounds of where your at, you will probably need to pull the distributor back out , bring the number 1 piston up to the top on the compression stroke and re-install the distributor with the rotor facing the #1 plug.
You could just move the wires around without pulling the distributor but that may make it difficult to hook the vacuum advance line up.
Hope this helps a bit,
Eric
You could just move the wires around without pulling the distributor but that may make it difficult to hook the vacuum advance line up.
Hope this helps a bit,
Eric
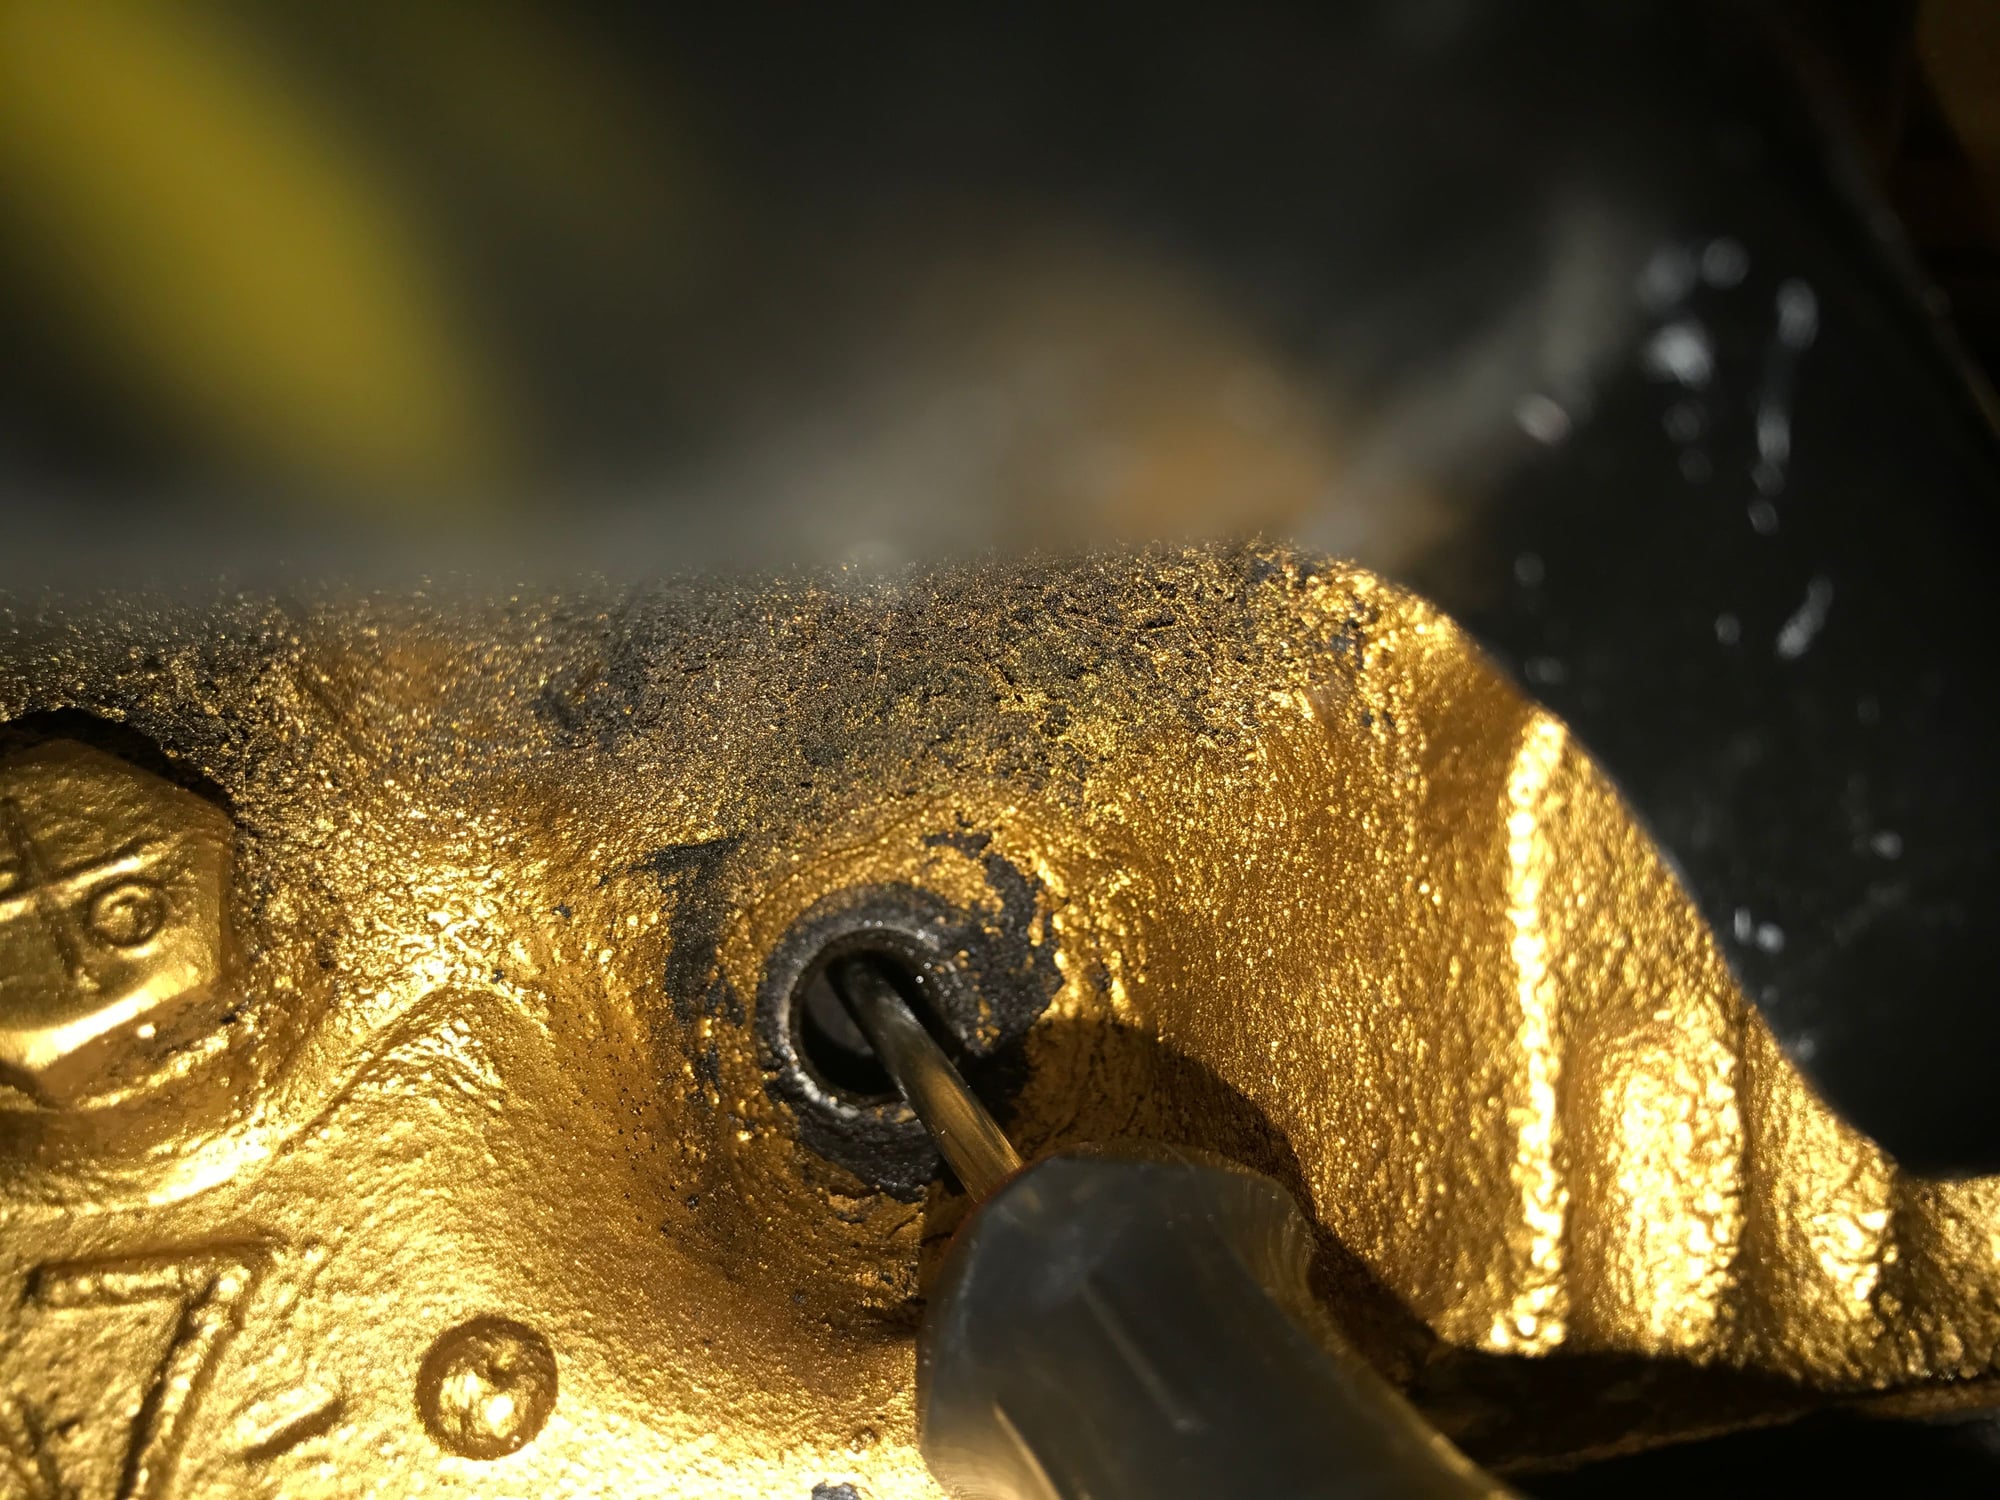
This pen the one I'm pointing at should be on the number one spark plug correct? Because as it's sitting it's not
#108
No its not, Pull out the #1 plug and put your screwdriver down the hole to see if the piston is at the top.
It should be since your balancer is at 0.
If so pull the distributor out and rotate until the rotor to be in line with #1 plug.
It should be since your balancer is at 0.
If so pull the distributor out and rotate until the rotor to be in line with #1 plug.
#109
Pull the distributor back out. Remove the number 1 spark plug (drivers side front) and stick a piece of tissue in the spark plug hole. Have a helper bump the starter with the key little by little until the piece of tissue pops out. Install the distributor so the rotor is pointing to the #1 wire post in the cap.
#110
#111
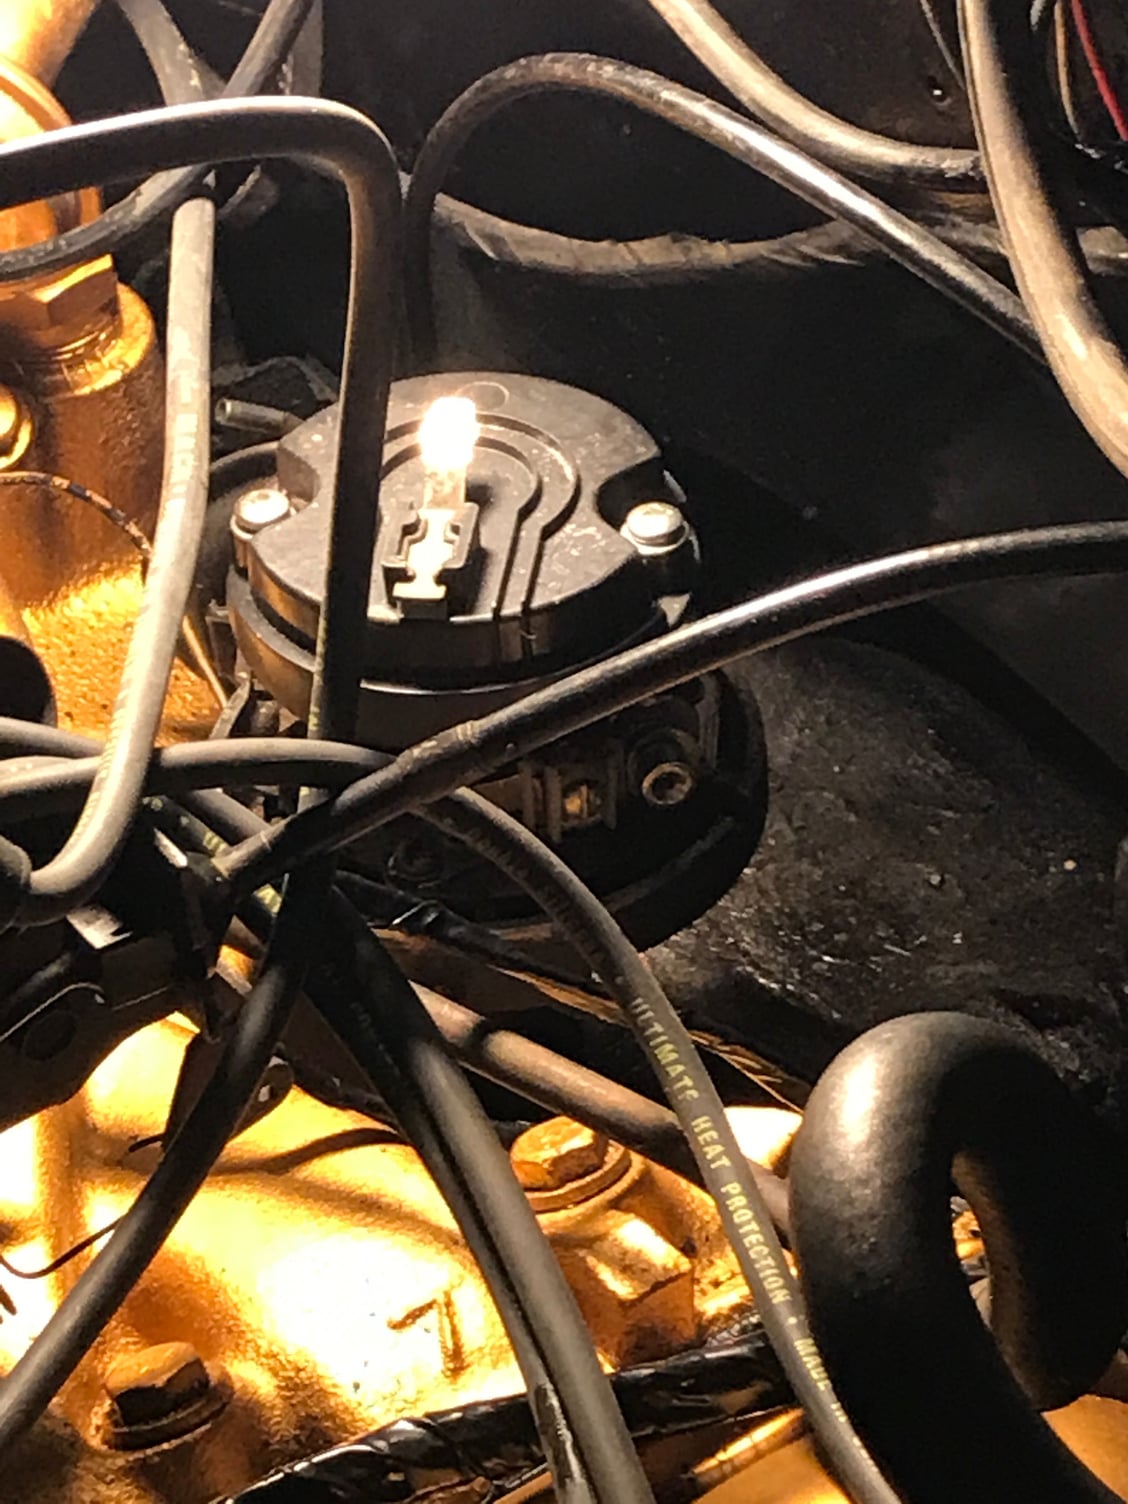
Pull the distributor back out. Remove the number 1 spark plug (drivers side front) and stick a piece of tissue in the spark plug hole. Have a helper bump the starter with the key little by little until the piece of tissue pops out. Install the distributor so the rotor is pointing to the #1 wire post in the cap.
Ok I adjusted the rotor to that and put cap on so it's pointing on (1) spark plug
#115
You should be OK to put the plugs back in, hook up the wires correctly and give er' a go .
If the piston isn't at the top of the compression stroke you will be 180 deg out, which you can move the wires on the distributor. meaning#1 plug wire on the cap will move 180 deg and the others to follow.
Or you could pull the distributor back out and rotate it 180 deg.
I'n any case I would just move the wires for now and try to get it running if its out 180, then you could re-stab the distributor later.
It should turn over and start at this point.
Hope this helps
Eric
#117
You should be OK to put the plugs back in, hook up the wires correctly and give er' a go .
If the piston isn't at the top of the compression stroke you will be 180 deg out, which you can move the wires on the distributor. meaning#1 plug wire on the cap will move 180 deg and the others to follow.
Or you could pull the distributor back out and rotate it 180 deg.
I'n any case I would just move the wires for now and try to get it running if its out 180, then you could re-stab the distributor later.
It should turn over and start at this point.
Hope this helps
Eric
It just turned over and over and did not start
#119
#120
I think you are getting close. I am expecting that response saying she is running. By the way, buy a factory service manual and not a Chilton manual. Some people should not be making recommendations. Ebay will have plenty of factory service manuals. The prices will vary considerably.


