When you click on links to various merchants on this site and make a purchase, this can result in this site earning a commission. Affiliate programs and affiliations include, but are not limited to, the eBay Partner Network.
I think someone commented on this before, but, I'm curious - if I want/need to remove the rear side trim in the middle (vertically) of the car, see image, how to I get it off? It looks like I'd need to remove the interior rear seat armrest/side panel to access at nut/screw? The rest of it would be GENTLY pried off, releasing the top then bottom. Same I assume for the driver's door trim?
There should be studs that go through into the trunk and are secured with pressed tin nuts; as well as, snap on fasteners that are gently pried off. Remove the pressed tin nuts before prying.
There should be studs that go through into the trunk and are secured with pressed tin nuts; as well as, snap on fasteners that are gently pried off. Remove the pressed tin nuts before prying.
Thank you. I can see one "stud" at far rear of the vehicle and removed the nut. I haven't seen any other studs on the inside of the trunk - and that's why I'm wondering if the "forward" stud is resting behind the interior rear seat panel by the window? I'd rather not remove everything in the back seat only to find it's NOT there :-). I may just leave the trim where it is, unless anyone has ...pictures or videos of how to remove the trim. I'm hesitant to "gently pry them off" as I've not done it before and don't want to muck it up.
Let me get back home and I'll see what the 73 FBM says. I think those cars have a weld stud on the quarter and plastic "bathtub" moulding clips slide onto those. Then the moulding snaps onto the plastic clip.
There should be a stud and retainer on the front and rear edges of the doors. Remove those, then use a plastic pry bar to pop the moulding off the plastic clips.
The front fender spear mouldings are attached with studs and tinnerman nuts. PITA. You have to either remove the fenderwells or pry the bottom edge of the fender away from the car.
Rocker mouldings have screws under the bottom lip. Remove all those, then pull out the bottom lip and lift the moulding up and off the retainer clips.
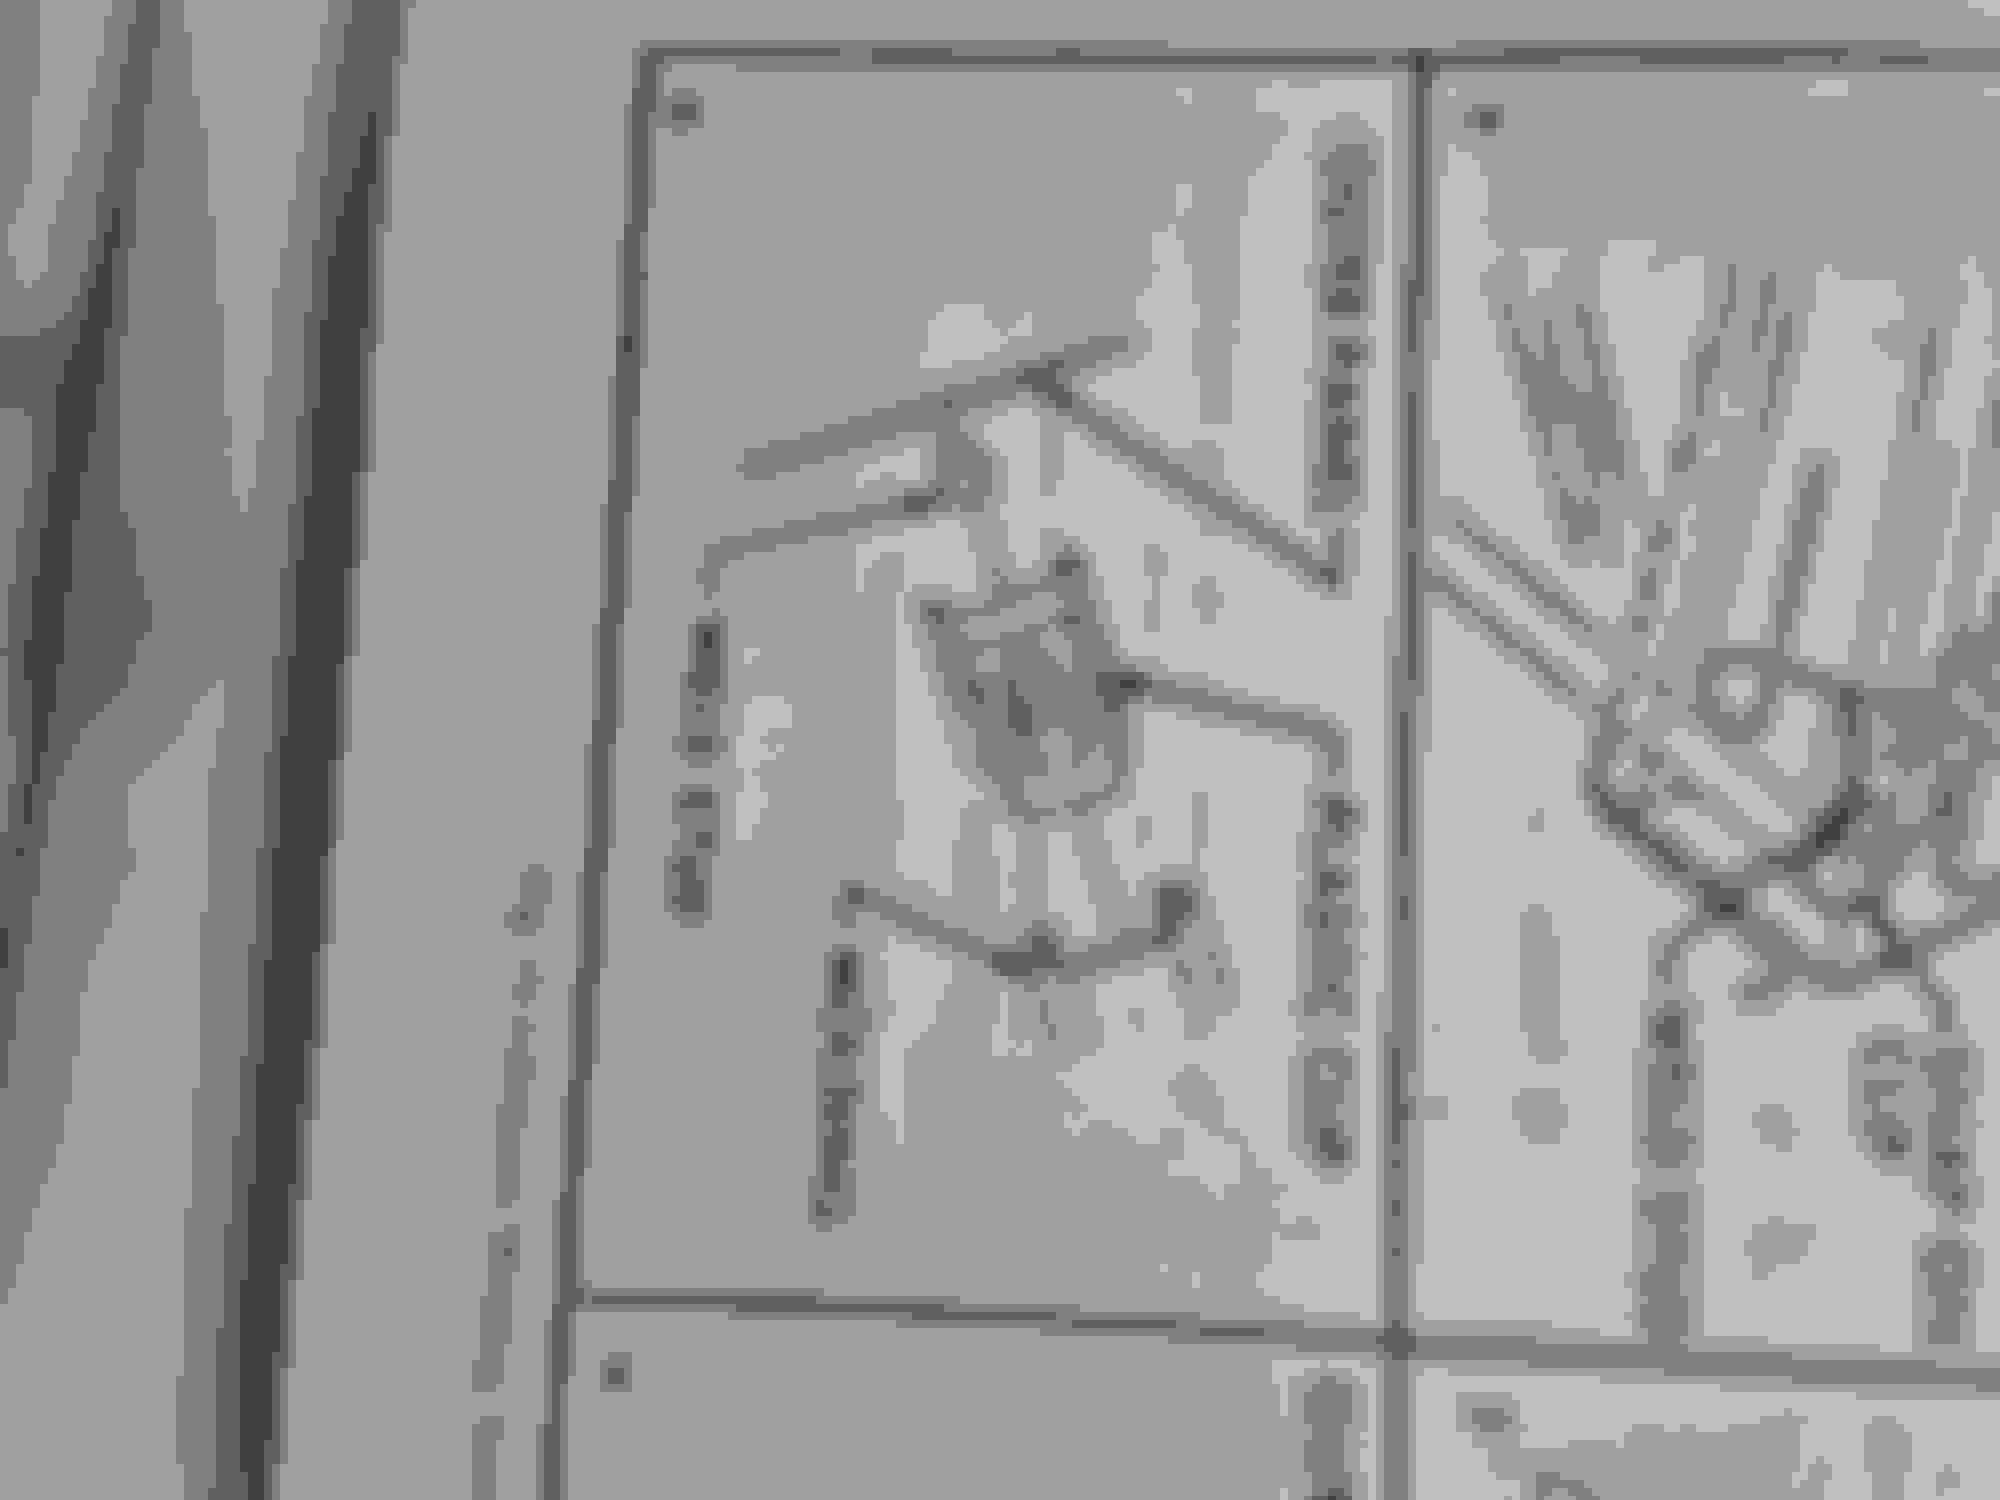
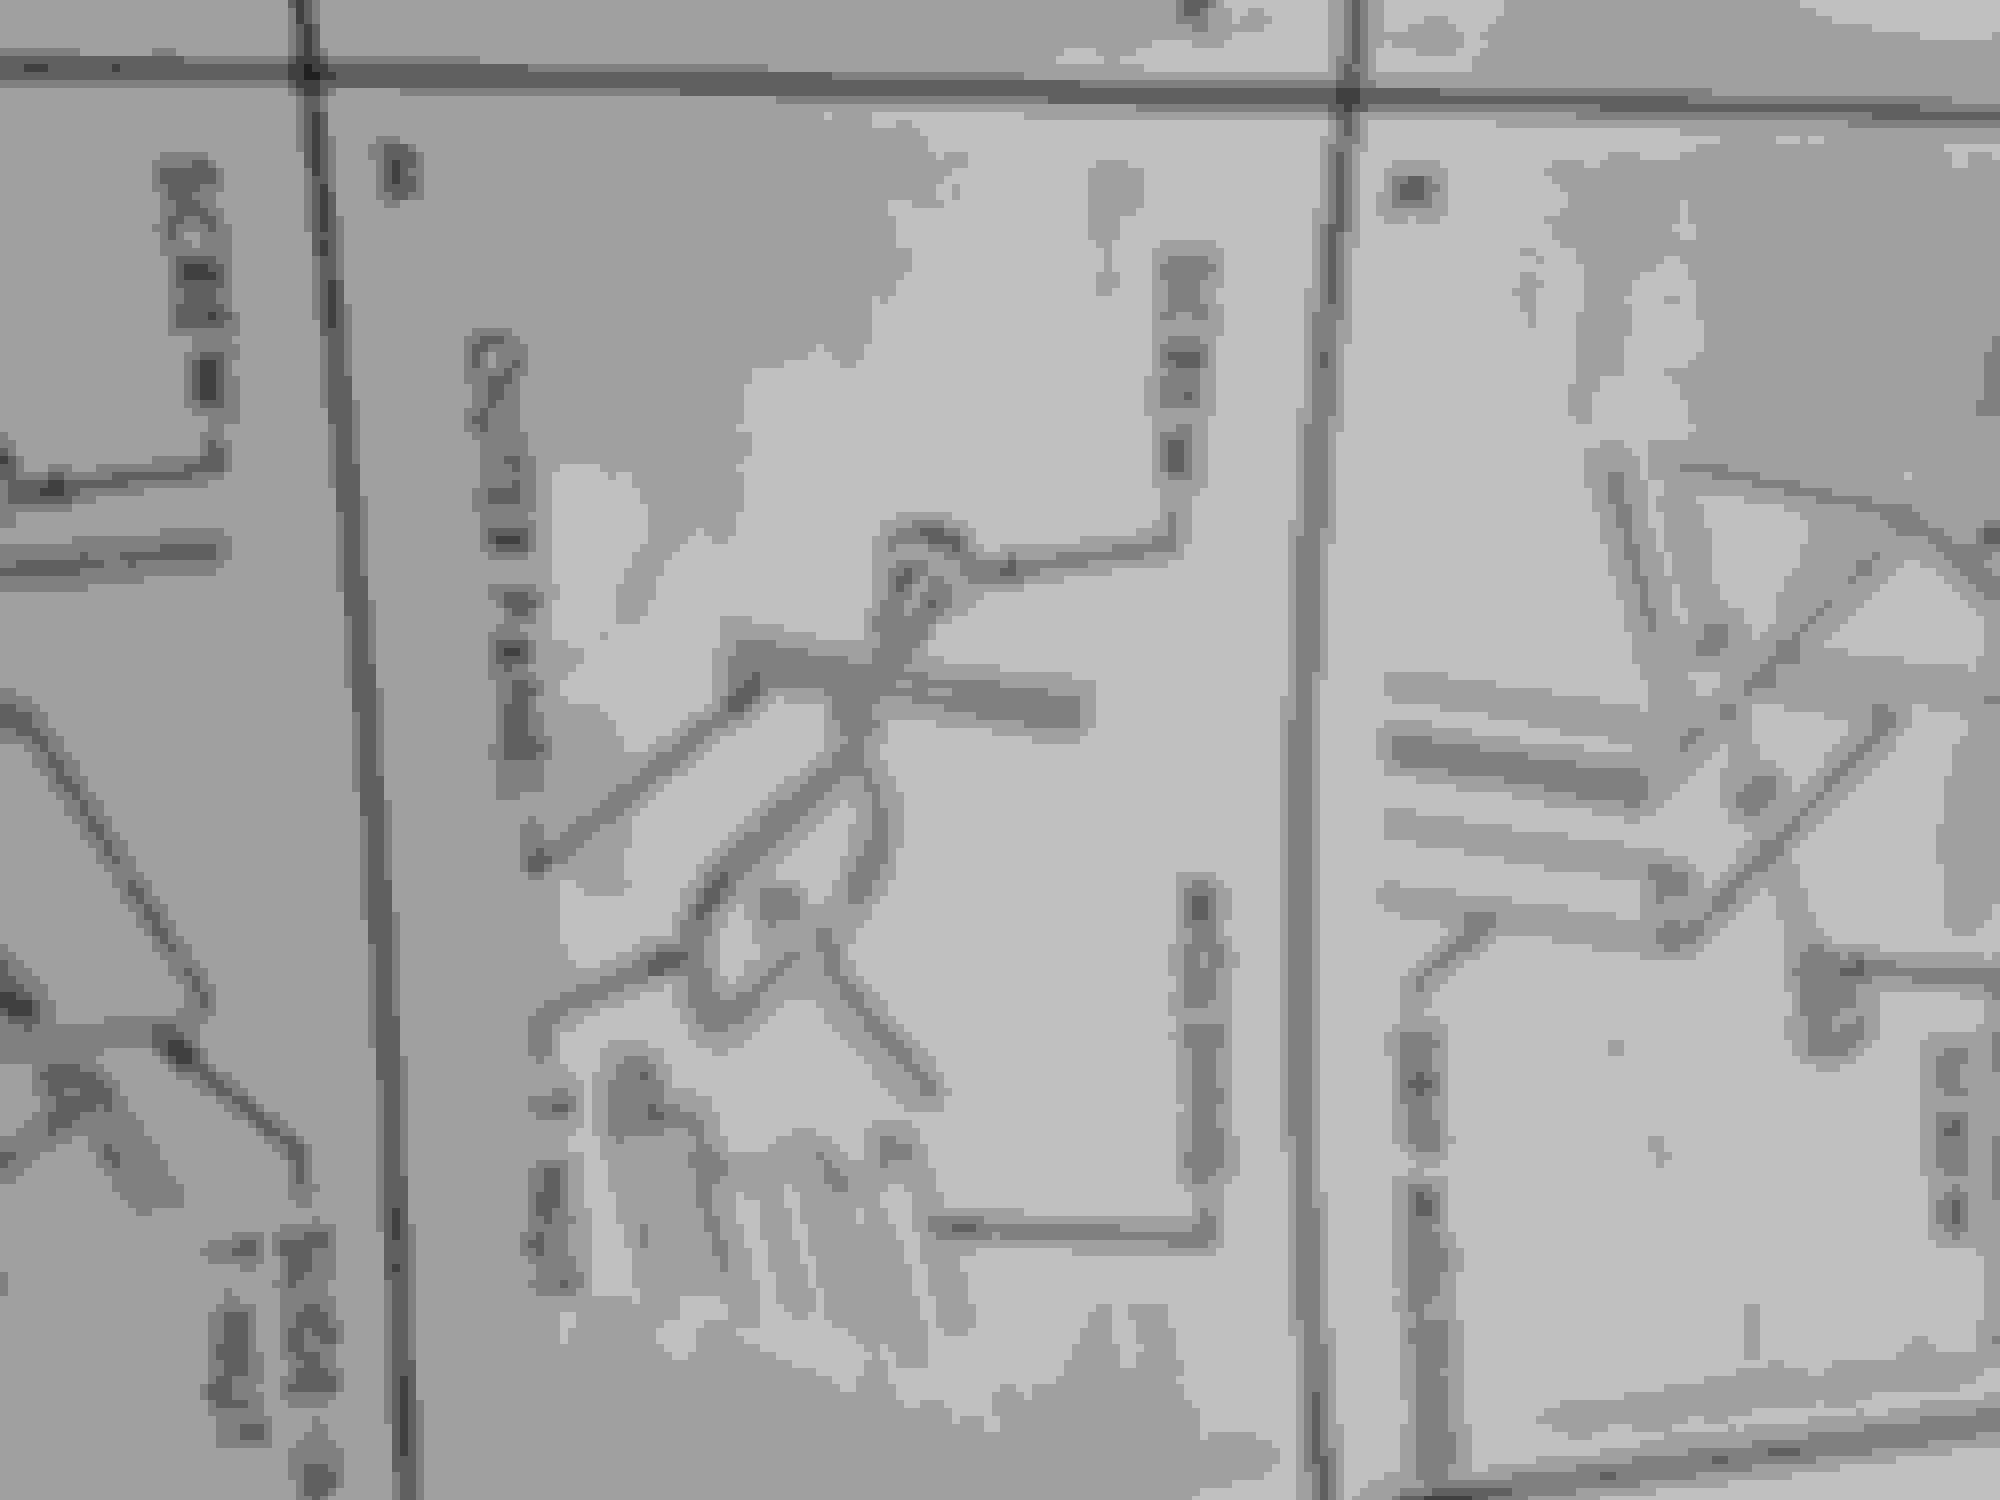
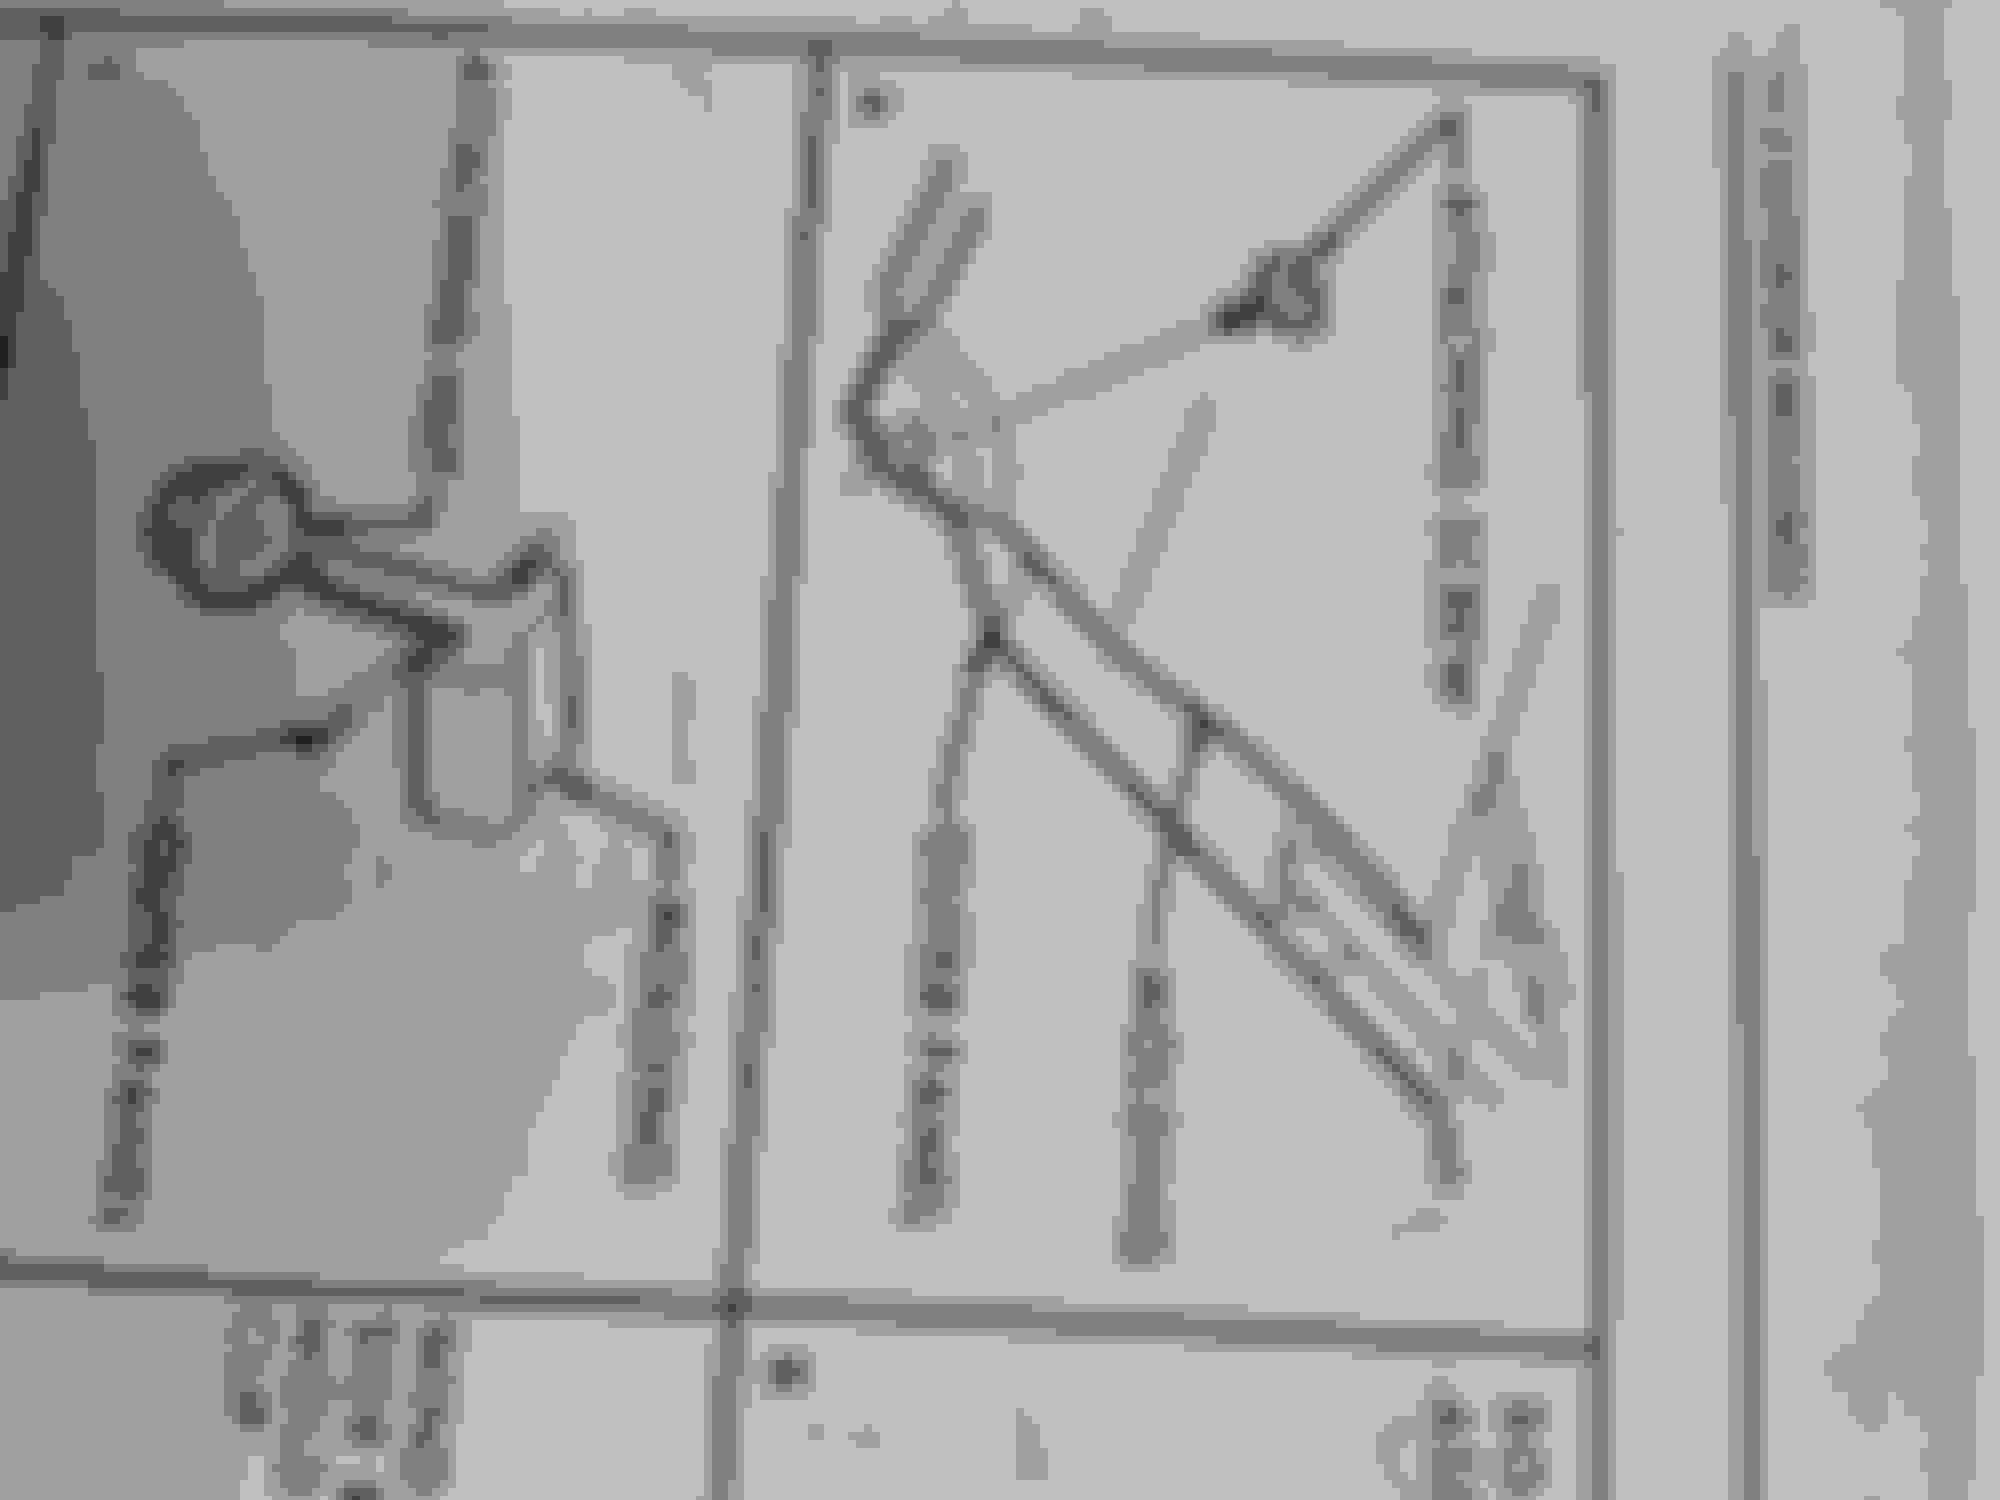
Pictures of Ninety Eight mouldings and attachment methods.
The number is the Fisher designation for what the moulding is; i.e. 157 is a rear quarter panel upper, 80 and 100 are door upper mouldings, 173 is rocker moulding.
The letter shows attachment method. G is plastic clip and weld stud, M is a screwed-on t-nut clip, and so on.
Thanks Rocket Raider. Sorry if I'm a complete dolt here, but the Fisher Body manual doesn't say how to get the trim off those "G" mouldings. I'm thinking I should be able to slide them off, and then take the actual plastic molding holder itself off. Prying could/should work, but it doesn't seem like it wants to let go - and if I force it, I likely ruin it. Argh
Sometimes they're tough to pry off, and sometimes a 50 year old plastic clip will break. Most good parts stores will have the "bathtub" trim clips or you can get them online. www.auveco.com or body shop supply stores often stock Au-Ve-Co parts.
Go to Harbor Freight, or sometimes a chain parts store has them, and get a set of these.
They have wide blades to spread the prying force over a larger area. Closer you can get to the actual plastic clip, the easier it will pry off.