394 Dual Carbs Questions

Thread Tools
 
Search this Thread
 
Old Sep 12, 2019 | 09:55 PM
  #121  
Charlie Jones's Avatar
Phantom Phixer
 
Joined: Dec 2011
Posts: 5,530
From: Apopka, FL
Originally Posted by bccsrc
what temp thermostat should i get?
180
Old Oct 5, 2019 | 10:59 AM
  #122  
bccsrc's Avatar
Thread Starter
Registered User
 
Joined: Mar 2007
Posts: 99
From: Oregon
Originally Posted by Charlie Jones
180
Thanks Charlie.

What oil weight should I get? Looks like I ran out of time to get this going this summer so I won't have it running until spring time hopefully.

What type of transmission fluid should I get?

I need to come up with some type of bracket to hold the carb return spring. I'm thinking something from the rear carb to the intake bolt near the first few letters of Offenhauser. Either that or a bracket off the rear of the front carb.


Old Oct 5, 2019 | 04:47 PM
  #123  
Charlie Jones's Avatar
Phantom Phixer
 
Joined: Dec 2011
Posts: 5,530
From: Apopka, FL
I,m partial to Mobil 1 oil .
The factory originally recommended 20 weight oil in 1964 .
Today,s rough equivalent is 20w-50 .
Change oil and filter after the first 30 minutes of operation , to get any dirt that may have gotten into the engine.
Use Dexron III / Mercon trans fluid

I think a bracket for those throttle springs could be made from a 10 or 12 inch piece of 3/4 in, channel iron .
Drill two holes to mount it to the rear studs of the front carb .
Drill a small hole in the end for the springs .

The front carb should also have a return spring
What are you going to do about connecting the throttle linkage to the transmission control linkage ?
"Old Jim " needs to know where the position of the throttle plates are , to shift properly .
Without this throttle to trans linkage properly connected and adjusted "Old Jim " will do some hateful things .
And just may burn himself up doing it .

Last edited by Charlie Jones; Oct 5, 2019 at 05:22 PM.
Old Oct 10, 2019 | 11:37 PM
  #124  
bccsrc's Avatar
Thread Starter
Registered User
 
Joined: Mar 2007
Posts: 99
From: Oregon
I’m ordering a second bracket for the rear carb but these seem to work well for throttle return brackets.


I think for the transmission adjustment I may purchase the tool that I’ve seen on here. I’ve thought about just 3D printing it.


Old Oct 12, 2019 | 11:36 AM
  #125  
Charlie Jones's Avatar
Phantom Phixer
 
Joined: Dec 2011
Posts: 5,530
From: Apopka, FL
Originally Posted by bccsrc
I think for the transmission adjustment I may purchase the tool that I’ve seen on here. I’ve thought about just 3D printing it.
The adjustment tool won't do you any good , unless you have the linkage .
The items I have circled here are what is needed .


Old Oct 12, 2019 | 04:01 PM
  #126  
bccsrc's Avatar
Thread Starter
Registered User
 
Joined: Mar 2007
Posts: 99
From: Oregon
I don't see how that will be possible with my existing setup unless I'm missing something. Is the bell crank assy something that can be purchased or added to my setup?
Old Oct 12, 2019 | 09:22 PM
  #127  
Charlie Jones's Avatar
Phantom Phixer
 
Joined: Dec 2011
Posts: 5,530
From: Apopka, FL
Originally Posted by bccsrc
I don't see how that will be possible with my existing setup unless I'm missing something. Is the bell crank assy something that can be purchased or added to my setup?
I THINK I have most of that stuff . IF I can find it .
You can have it for the postage . PM me .

I took it off my Starfire motor , because I have a 4 speed stick .
Old Oct 12, 2019 | 10:15 PM
  #128  
bccsrc's Avatar
Thread Starter
Registered User
 
Joined: Mar 2007
Posts: 99
From: Oregon
Originally Posted by Charlie Jones
I THINK I have most of that stuff . IF I can find it .
You can have it for the postage . PM me .

I took it off my Starfire motor , because I have a 4 speed stick .
Thanks Charlie, that would be great. I will pay you for it. Very much appreciated!
Old Oct 15, 2019 | 09:47 AM
  #129  
Charlie Jones's Avatar
Phantom Phixer
 
Joined: Dec 2011
Posts: 5,530
From: Apopka, FL
Throttle linkage

Here is what I have . PM me with your shipping address .


I also have this bellcrank , if you need it ;


Old Oct 15, 2019 | 12:49 PM
  #130  
bccsrc's Avatar
Thread Starter
Registered User
 
Joined: Mar 2007
Posts: 99
From: Oregon
Hi Charlie,

I sent you a PM.

Thanks again!
Old Oct 23, 2019 | 02:09 PM
  #131  
bccsrc's Avatar
Thread Starter
Registered User
 
Joined: Mar 2007
Posts: 99
From: Oregon
Thanks Charlie Jones

I wonder if this would be better being posted out in the transmission group. Does any one have a working picture of this bell crank? I'm not 100% sure how it works and if I could somehow come up with a bracket if needed. The springs on the carbs are a work in progress. I don't plan on leaving the spring there for the rear carb. There does seem to be more room up on the front carb for the bell crank but I would have to remove the progressive linkage I would think.


Last edited by bccsrc; Oct 23, 2019 at 02:27 PM. Reason: Added last picture
Old Oct 24, 2019 | 08:16 PM
  #132  
Charlie Jones's Avatar
Phantom Phixer
 
Joined: Dec 2011
Posts: 5,530
From: Apopka, FL
carb linkage idea

Here is one way to hook up the linkage and make it work;
take this rod and hook it up just the way it was here ;


Then , make a bracket and pivot for the bellcrank . in it's stock location .Pairing the second throttle rod with the first .


Old Nov 7, 2019 | 12:38 PM
  #133  
bccsrc's Avatar
Thread Starter
Registered User
 
Joined: Mar 2007
Posts: 99
From: Oregon
I’m a little confused on exactly what the bell crank is going. Can you explain this to me? I’ve seen a bell cranke in jegs that seems like it might be an easier install but I’m still confused on what’s happening here.
Old Nov 8, 2019 | 05:52 PM
  #134  
Charlie Jones's Avatar
Phantom Phixer
 
Joined: Dec 2011
Posts: 5,530
From: Apopka, FL
Originally Posted by bccsrc
I’m a little confused on exactly what the bell crank is going. Can you explain this to me? I’ve seen a bell cranke in jegs that seems like it might be an easier install but I’m still confused on what’s happening here.
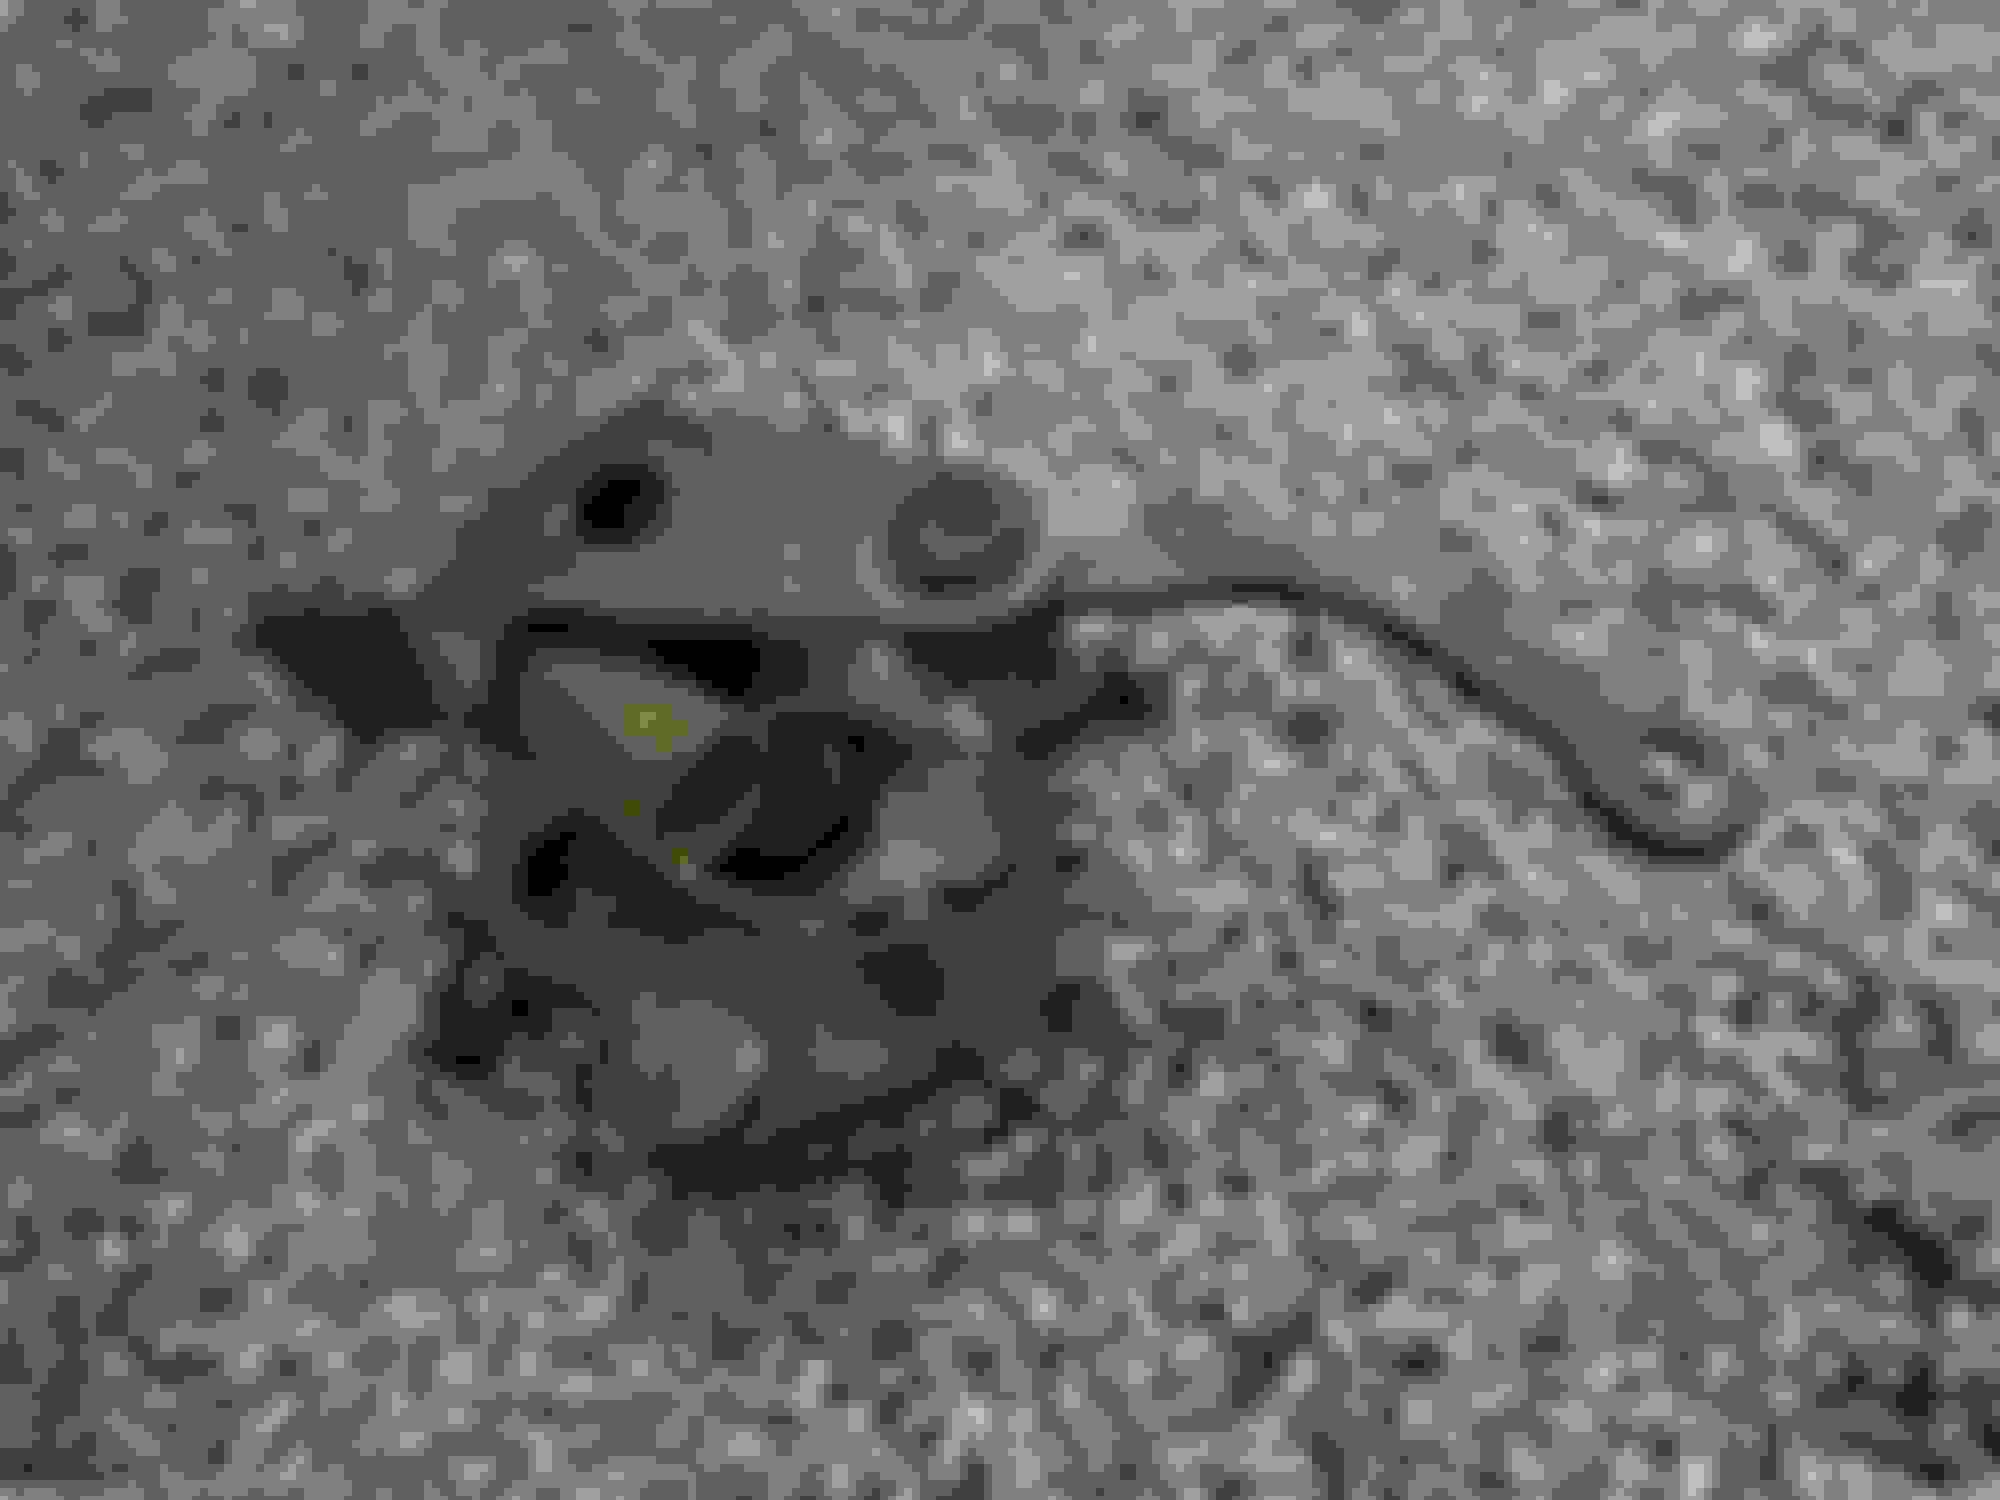
The bellcrank should be mounted on a stud that is in the same position as it would be in a stock four barrel engine .
I can give you an exact location , but give me a couple of days to measure this from my engine .

The link between the bellcrank and the carb would not be used . The bellcrank would be there simply to connect the throttle rod to the trans linkage .
A second throttle rod ( which you already have ) would connect the throttle rod to the carbs .
Old Dec 18, 2019 | 08:02 PM
  #135  
Charlie Jones's Avatar
Phantom Phixer
 
Joined: Dec 2011
Posts: 5,530
From: Apopka, FL
Sorry for the slow reply .

The center of the end of the bellcrank pivot stud should be mounted exactly two and 11 sixteenths inch above the rear center manifold stud , like this ;


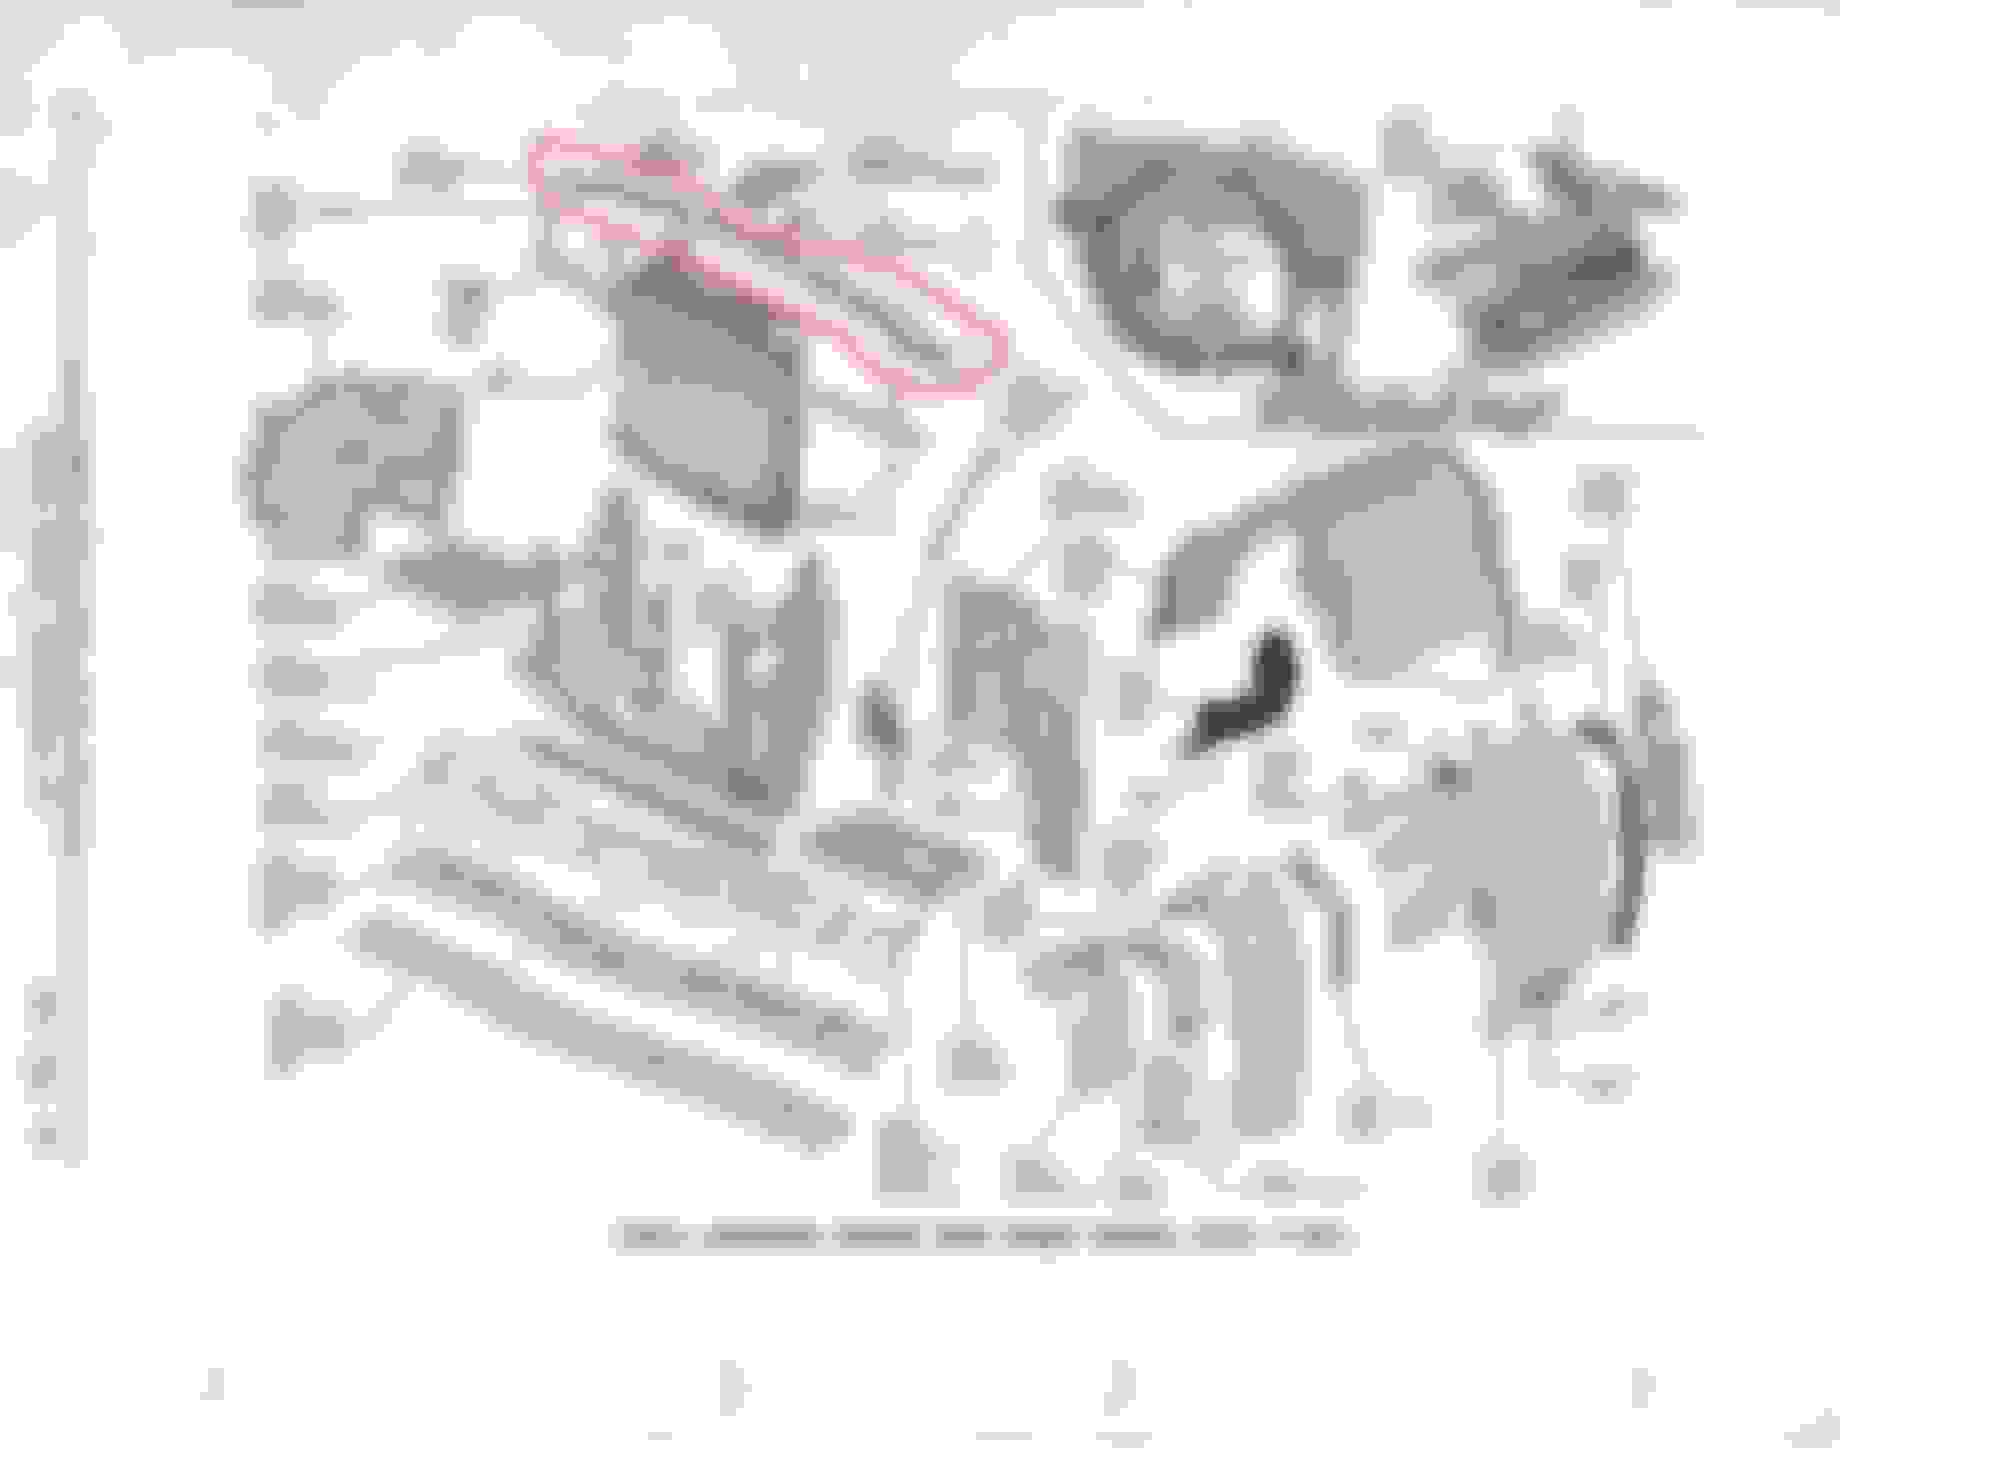
You will need to make a bracket that will bolt to the front studs of the rear carb. Like this ;


This linkage will be eliminated , as you have other linkage to the carbs ;

Old Dec 18, 2019 | 10:10 PM
  #136  
bccsrc's Avatar
Thread Starter
Registered User
 
Joined: Mar 2007
Posts: 99
From: Oregon
Thank you. Once it warms up a little I will get busy working on this.
Old Oct 28, 2021 | 09:45 PM
  #137  
bccsrc's Avatar
Thread Starter
Registered User
 
Joined: Mar 2007
Posts: 99
From: Oregon
I went over and took the hood off the Oldsmobile today to get ready to install the engine and transmission. I guess after sitting since 2014 the engine compartment doesn’t look like this any longer.

I’m trying to not feel overwhelmed with how much work needs to be done to get the Olds back up to what it used to be.

Old Oct 29, 2021 | 06:03 AM
  #138  
Charlie Jones's Avatar
Phantom Phixer
 
Joined: Dec 2011
Posts: 5,530
From: Apopka, FL
Glad to see you back at it .
Old Oct 29, 2021 | 03:18 PM
  #139  
bccsrc's Avatar
Thread Starter
Registered User
 
Joined: Mar 2007
Posts: 99
From: Oregon
Originally Posted by Charlie Jones
Glad to see you back at it .
Me too!! I painted the engine compartment. Just a little fresh paint and looking great!


I need to look in the manual to see how to replace the heater core while I have the engine out. The old one leaked so it was bypassed.

I don’t have a picture but I saw that one of the A-arms is missing the bolt on one side. Not sure how long it has been like that.

Last edited by bccsrc; Oct 29, 2021 at 03:22 PM.
Old Oct 30, 2021 | 06:29 PM
  #140  
bccsrc's Avatar
Thread Starter
Registered User
 
Joined: Mar 2007
Posts: 99
From: Oregon
Well, now what? That definitely isn't going to lift the engine and transmission into place without pulling the front end off. I'm not doing that!

What do you think the engine and transmission weigh? I'm thinking close to 1/2 a ton.


Old Oct 30, 2021 | 08:33 PM
  #141  
Charlie Jones's Avatar
Phantom Phixer
 
Joined: Dec 2011
Posts: 5,530
From: Apopka, FL
I don't think that shop crane is anywhere big enough for the job .
Not capacity wise so much , but I don't think it will lift the engine high enough .
Perhaps you can rent a larger shop crane .
That engine is 750 pounds alone , add another 150 to 200 pounds for a transmission , and you are very close to 1/2 ton .
If you remove the radiator support crossbar it will make it somewhat easier .


Last edited by Charlie Jones; Oct 30, 2021 at 08:50 PM.
Old Nov 1, 2021 | 03:38 AM
  #142  
Vintage Chief's Avatar
Running On Empty
 
Joined: Jul 2018
Posts: 26,048
From: Earth
Any chance you could accommodate an overhead chain block hoist? They're modestly priced (affordable) at the 3 Ton capacity (~$100 - $150). Pull car backwards, lift, pull car forwards, lower. Just an idea.
Old Nov 2, 2021 | 10:18 AM
  #143  
Don R.'s Avatar
Registered User
 
Joined: Feb 2011
Posts: 1,192
Did you pull the engine and trans out as a single unit? If so what did you use to lift? Biggest issue to do that is the ability to lift it high enough to clear the front and then sharply angling it into place, the car itself may have to be raised for the trans tailhousing to clear.
Old Nov 2, 2021 | 10:54 AM
  #144  
bccsrc's Avatar
Thread Starter
Registered User
 
Joined: Mar 2007
Posts: 99
From: Oregon
Originally Posted by Don R.
Did you pull the engine and trans out as a single unit? If so what did you use to lift? Biggest issue to do that is the ability to lift it high enough to clear the front and then sharply angling it into place, the car itself may have to be raised for the trans tailhousing to clear.
The EX wife thought in the divorce that she needed the engine hoist that I used to pull the engine and transmission out originally. I should have listed it on the items I wanted. Honestly I can't remember what model it was. I will probably just have to rent one for $40 a day or get this one from Harbor Freight. It's 2 ton and has a reach of 86 inches for 1 ton versus the one I have now 79 inches on 1/2 ton in the picture above. It's currently $270 though. I'm hoping it goes on sale or has a coupon that I can use on it soon.

The Oldsmobile is in a storage unit that I rent. I don't think I could get an overhead crane in there.

Looking through pictures I found a pic of the old engine hoist. I think that is from Harbor Freight. Probably 2 ton since the 1 ton version I have wont work.


Last edited by bccsrc; Nov 2, 2021 at 02:55 PM.
Old Nov 4, 2021 | 10:04 AM
  #145  
Don R.'s Avatar
Registered User
 
Joined: Feb 2011
Posts: 1,192
That looks like my 2 ton, it will do the job but you also need enough ceiling height to clear.


Old Jun 25, 2022 | 12:12 PM
  #146  
bccsrc's Avatar
Thread Starter
Registered User
 
Joined: Mar 2007
Posts: 99
From: Oregon
Well it’s in place. It’s been way too long to get here.

Just need to attach the motor and transmission mounts next.


Old Jul 9, 2022 | 12:29 PM
  #147  
bccsrc's Avatar
Thread Starter
Registered User
 
Joined: Mar 2007
Posts: 99
From: Oregon
Springs

What do these springs do and how important are they? I don’t have them.


Old Jul 9, 2022 | 04:38 PM
  #148  
Charlie Jones's Avatar
Phantom Phixer
 
Joined: Dec 2011
Posts: 5,530
From: Apopka, FL
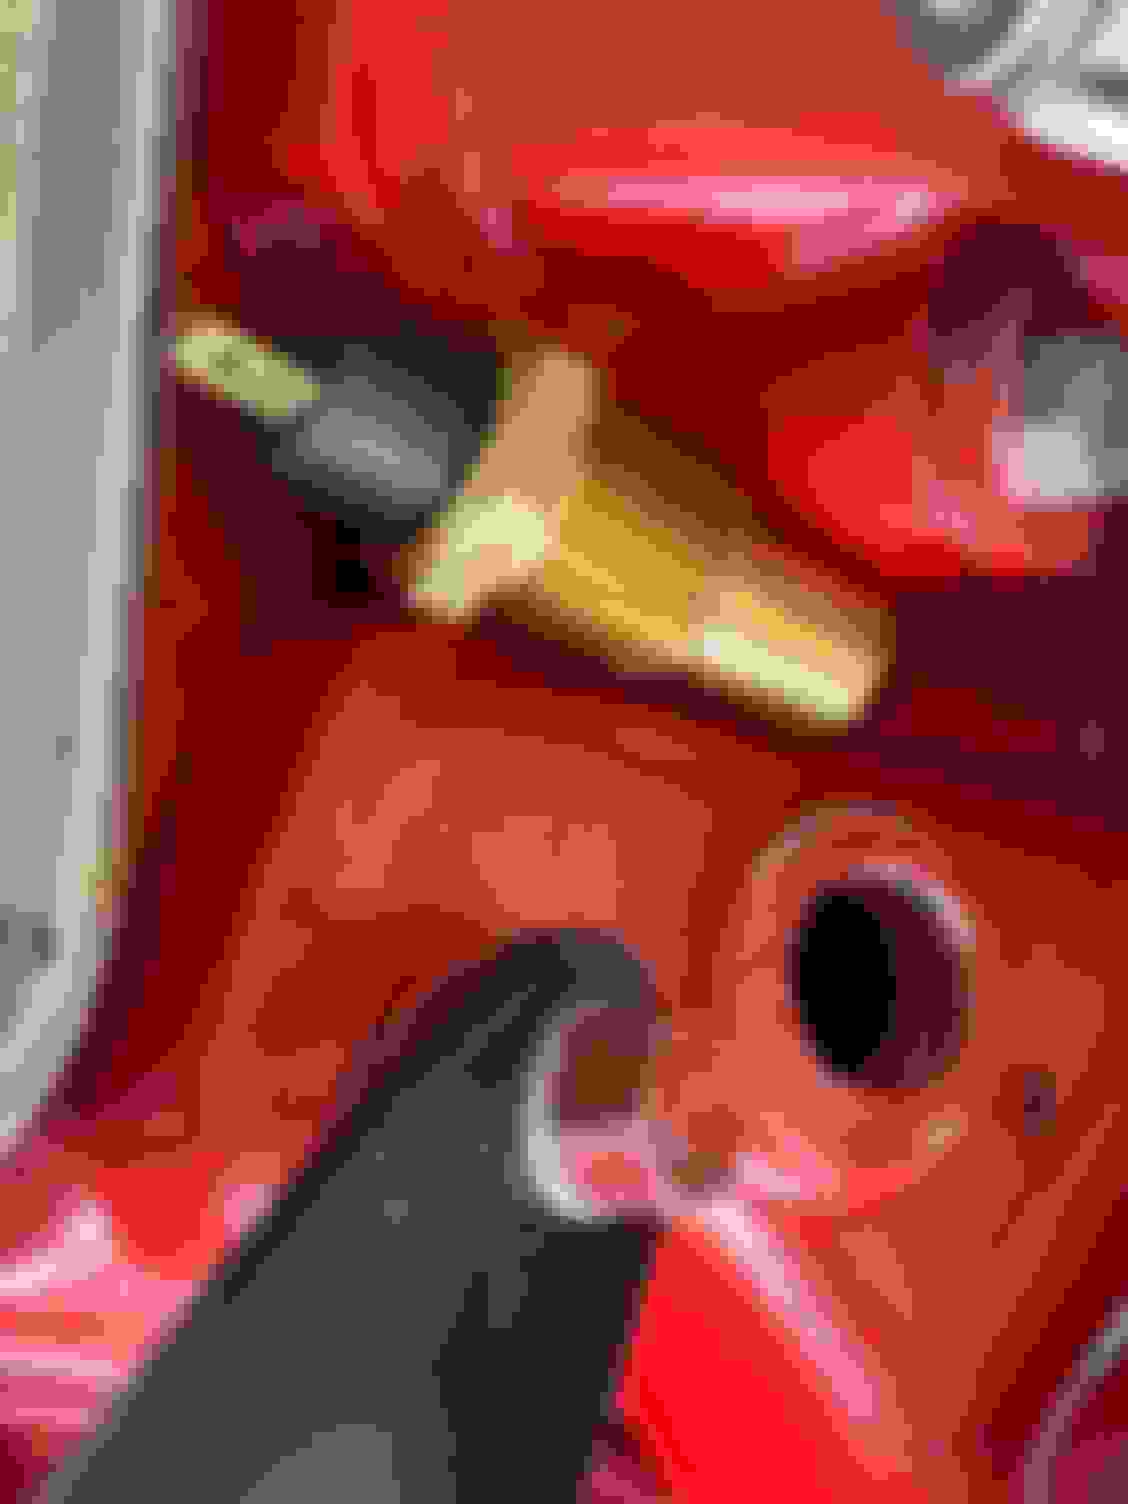
Those springs are important. As well as the spacer.
They maintain a prescribed amount of pressure holding the pipe to the manifold.
This allows the pipe to maintain a good seal through hot and cold cycles.
The springs and spacers occasionally pop up on E-Bay. The OEM number for the spring is 587575. and the spacer is 587574.
Old Jul 9, 2022 | 04:44 PM
  #149  
bccsrc's Avatar
Thread Starter
Registered User
 
Joined: Mar 2007
Posts: 99
From: Oregon
Thanks Charlie. I ordered the springs. Not sure if they were ever installed or not when dad had it.

I can’t find the spacer at the moment. Any idea what size they are?

I need to find one more of the exhaust seals. My Fel pro kit only had one in it.

Last edited by bccsrc; Jul 9, 2022 at 05:15 PM.
Old Jul 10, 2022 | 02:23 PM
  #150  
bccsrc's Avatar
Thread Starter
Registered User
 
Joined: Mar 2007
Posts: 99
From: Oregon
My temp sensor won’t fit in my offenhauser intake. It turns just about 1-2 times before it seems like it’s creating new threads.


Well that sucks! Might have to ask a friend to weld on a new bolt.


Old Jul 10, 2022 | 03:46 PM
  #151  
OLDSter Ralph's Avatar
Registered User
 
Joined: Sep 2017
Posts: 5,219
From: St. Paul Minnesota
Originally Posted by bccsrc
My temp sensor won’t fit in my offenhauser intake. It turns just about 1-2 times before it seems like it’s creating new threads.
#1 The intake manifold threads are far from clean enough to install the sensor.
Old Jul 10, 2022 | 03:58 PM
  #152  
bccsrc's Avatar
Thread Starter
Registered User
 
Joined: Mar 2007
Posts: 99
From: Oregon
Looks like the right thread. Maybe I need to run a tap through there. I might have one that size.


Originally Posted by OLDSter Ralph
#1 The intake manifold threads are far from clean enough to install the sensor.
Old Jul 10, 2022 | 05:05 PM
  #153  
OLDSter Ralph's Avatar
Registered User
 
Joined: Sep 2017
Posts: 5,219
From: St. Paul Minnesota
Originally Posted by bccsrc
Looks like the right thread. Maybe I need to run a tap through there. I might have one that size.
Let me re-phrase that. They need to be cleaned, threads chased or whatever you want to call it. The thread major diameter damage on the first thread of the sendor is a clear indication.

Put plenty of grease on the tap to trap particles from running the tap in. You may also try a good "Wet-Vac" to suck out the particles as you run the tap in.
Old Jul 11, 2022 | 08:52 AM
  #154  
Dynoking's Avatar
Registered User
 
Joined: Jul 2019
Posts: 362
Originally Posted by bccsrc
Looks like the right thread. Maybe I need to run a tap through there. I might have one that size.
The temp sensor and intake thread pitch is pipe thread.(NPT) Do not try to use SAE or NC.
Old Jul 11, 2022 | 10:57 AM
  #155  
bccsrc's Avatar
Thread Starter
Registered User
 
Joined: Mar 2007
Posts: 99
From: Oregon
Originally Posted by Dynoking
The temp sensor and intake thread pitch is pipe thread.(NPT) Do not try to use SAE or NC.
I wonder what size NPT tap I would need? 3/4?
Old Jul 11, 2022 | 11:02 AM
  #156  
bccsrc's Avatar
Thread Starter
Registered User
 
Joined: Mar 2007
Posts: 99
From: Oregon
Gas Tank Flush

The Olds has been sitting probably 8 years. I should probably flush the gas tank and put in fresh gas.

Does this involve removing the gas tank?
Old Jul 11, 2022 | 11:40 AM
  #157  
Dynoking's Avatar
Registered User
 
Joined: Jul 2019
Posts: 362
My guess is 3/8" or 1/2". Perhaps someone here can help us out or take temp sensor to hardware store or tool supply and match it up with the tap.
Old Jul 11, 2022 | 08:54 PM
  #158  
Charlie Jones's Avatar
Phantom Phixer
 
Joined: Dec 2011
Posts: 5,530
From: Apopka, FL
Originally Posted by bccsrc
The Olds has been sitting probably 8 years. I should probably flush the gas tank and put in fresh gas.

Does this involve removing the gas tank?
No, you do not need to remove the tank.
You can siphon the gas out safely by using the following method .
1. Raise the car, either on a hoist , or jack up the rear end so you can get underneath with a gas can. Use jackstands.
2. Get two 5 gallon gas cans and a 5 foot length of 3/8 fuel hose.
3. Remove the fuel hose that goes from the tank to the fuel pump.
4. Connect the length of 3/8 fuel hose to the gas tank and put the other end of the hose into one of the gas cans.
5. Wrap a rag around an air blow nozzle and blow a quick shot of air into the gas filler hole to start the siphon. ( careful, not too much)
6 When the first can fills up, switch the hose over quickly to the second can and empty the first one.
Old Jul 23, 2022 | 04:44 PM
  #159  
bccsrc's Avatar
Thread Starter
Registered User
 
Joined: Mar 2007
Posts: 99
From: Oregon
I’m having a hard time figuring this bell crank out. Does it need to have linkage to the carburetor’s?


Old Jul 23, 2022 | 05:33 PM
  #160  
cfair's Avatar
Registered User
 
Joined: May 2009
Posts: 2,255
From: Northern California
Just checking out this fun dual quad thread. It’s a generation older than my ‘66’s, but I spent some time figuring out the gas pedal and kickdown switches a while back.

Perhaps this thread will help you:
https://classicoldsmobile.com/forums...vicing-149216/

Chris


All times are GMT -7. The time now is 06:07 PM.