
Pulling the motor

Connoisseur d'Junque
Joined: Sep 2010
Posts: 21,183
From: The Hudson Valley
So your assembled height will be just slightly lower than the original height, ie: maybe a few thousandths (the amount that would give you 0.1 point of extra compression - on your '71 the difference between 8.5:1 and 8.6:1, or less than the probable production variation between cylinders).
No big deal. The hydraulic lifters will compensate for that.
As far as different lifter lengths for your cam, no reason you should need them.
The new cam may be more aggressive than the old, but it shouldn't be that aggressive that it would affect rocker operation angles. The types of cams in questions are the ones that you have to use different rockers and heavy springs for.
Don't worry about it, you're fine.
- Eric
(All of that being said, a search of your thread does not reveal the specifications of your new cam. To be able to assure you that you did not need to change anything, we would need to now those, especially the lift.)
Thread Starter
Registered User
Joined: Aug 2013
Posts: 3,900
From: Central Illinois
Lobe separation 110+4
Overlap 60.00
Intake Opens 34.00
Intake Closes 66.00
Exhaust Opens 74.00
Exhaust Closes 26.00
Valve Lift 0.448
Duration 280
I can't find the specs for the original cam in the manual but I can tell you that the cam that came out had visibly worn lobes. I'll try to get pics of that put up. This grind doesn't have as much valve lift as the Edel performer but I don't know enough about the subject to know if that's good or bad. I'm trusting Mark on this one.
Last edited by Macadoo; Nov 30, 2013 at 04:27 PM.

Connoisseur d'Junque
Joined: Sep 2010
Posts: 21,183
From: The Hudson Valley
I'd be interested in seeing those pictures, because these cams were not known for wiping lobes, the way that, for instance, the Chebbies from the late '70s were.
- Eric
Thread Starter
Registered User
Joined: Aug 2013
Posts: 3,900
From: Central Illinois
Difficult to capture in just a couple of photos, considering the lobe angles. But these look pretty worn to me. And of course I've seen so many used cams (this is my first).
[IMG]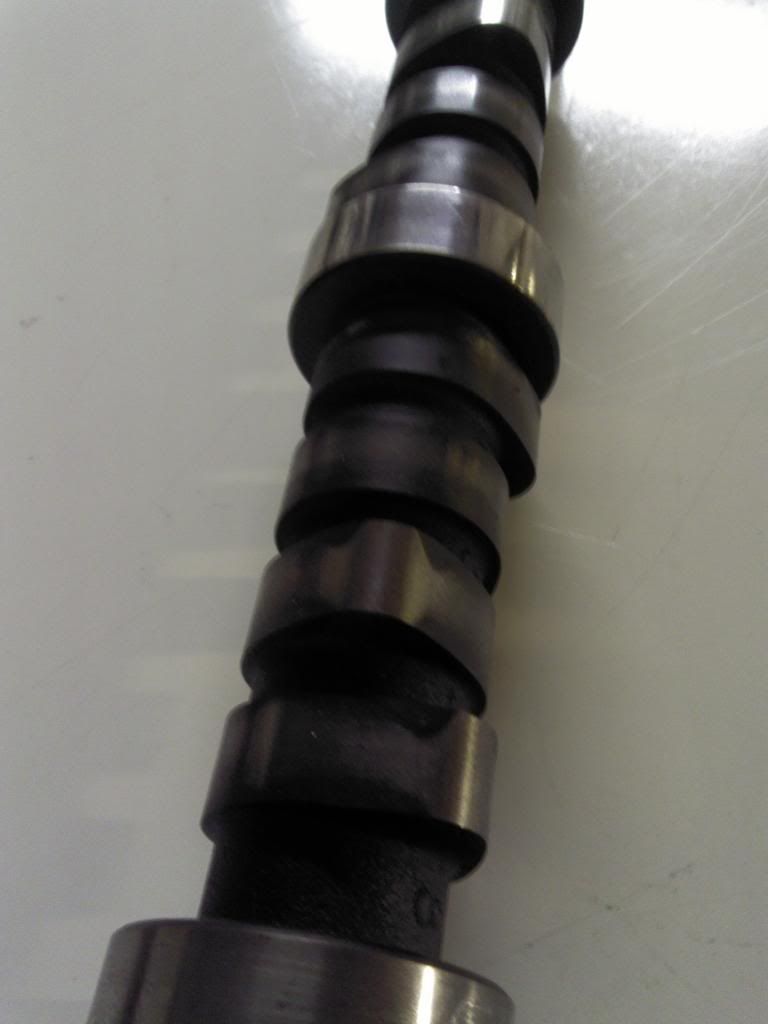 [/IMG]
[IMG]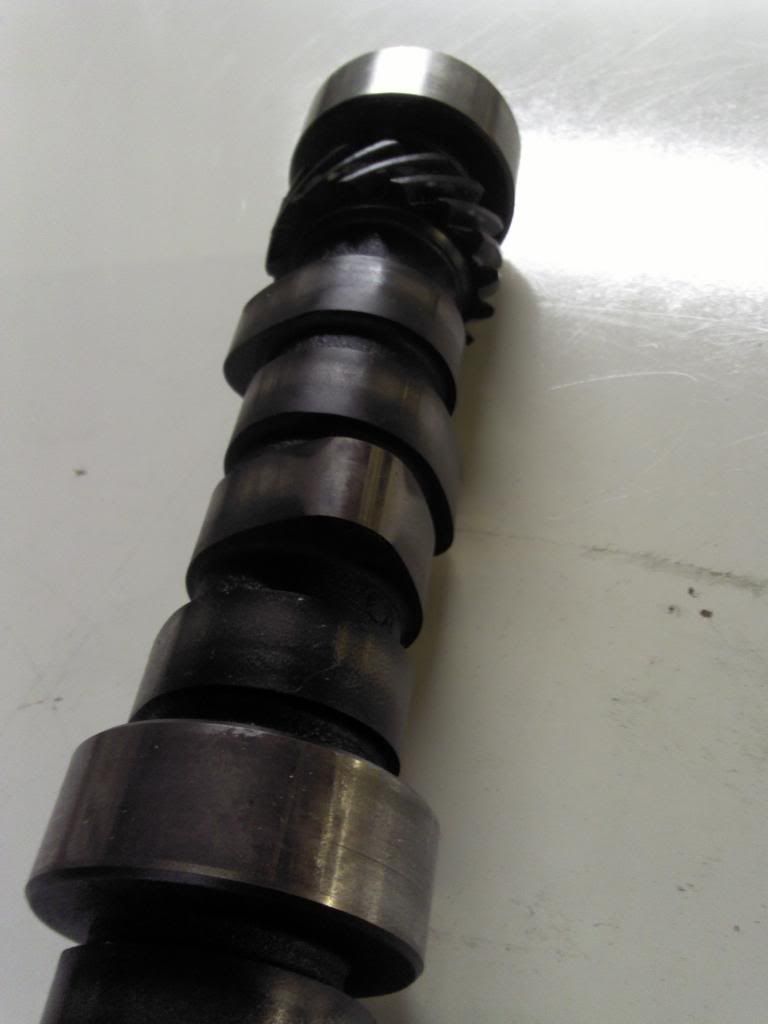 [/IMG]
[IMG]
 [/IMG]
[IMG]
 [/IMG]

Thread Starter
Registered User
Joined: Aug 2013
Posts: 3,900
From: Central Illinois
This morning I called the machinist that worked on my heads. He said that he "definitely took less that ten thousandths" when he milled the heads. I'm assuming he meant less than .010". I asked if it was a little less or a lot less (trying to narrow it down a little) but he couldn't say. That's not very specific. Live and learn ")
Connoisseur d'Junque
Joined: Sep 2010
Posts: 21,183
From: The Hudson Valley
That's not the sort of thing you want to hear a machinist say.
You want him to say that he's sorry it seems to be half a thousandth higher on one side than on the other, or that he had to take off an extra thousandth to correct that.
If you want to keep your compression the same, you will need to use thinner head gaskets or have the heads decked a little bit more.
I'd consider having it done more anyway, as you just don't know what this guy did to your gasket surfaces.
- Eric
Thread Starter
Registered User
Joined: Aug 2013
Posts: 3,900
From: Central Illinois
Okay, so....this work cost me $400, more than I had expected it to cost. They decked the heads but we don't know how much, they degreased them (the water jackets still look pretty crummy) instead of hot tanking, they ground the valve seats but not enough to take the hardening out (his words), they replaced one guide, all the seals, replaced all the exhaust valves, and installed the springs. Did I get taken?
If I take them somewhere else, will they be able to tell me how much was taken off the heads? And how much can I have taken off without having to deck the intake manifold too?
If I take them somewhere else, will they be able to tell me how much was taken off the heads? And how much can I have taken off without having to deck the intake manifold too?
Thread Starter
Registered User
Joined: Aug 2013
Posts: 3,900
From: Central Illinois
I realize you can't tell much from the pics but what the heck....
I duuno' man, when I took the gaskets in he said he wouldn't lower my compression, and that if anything I'd gain a minute amount. In his words, "maybe a point." Which I assumed meant 0.1
[IMG]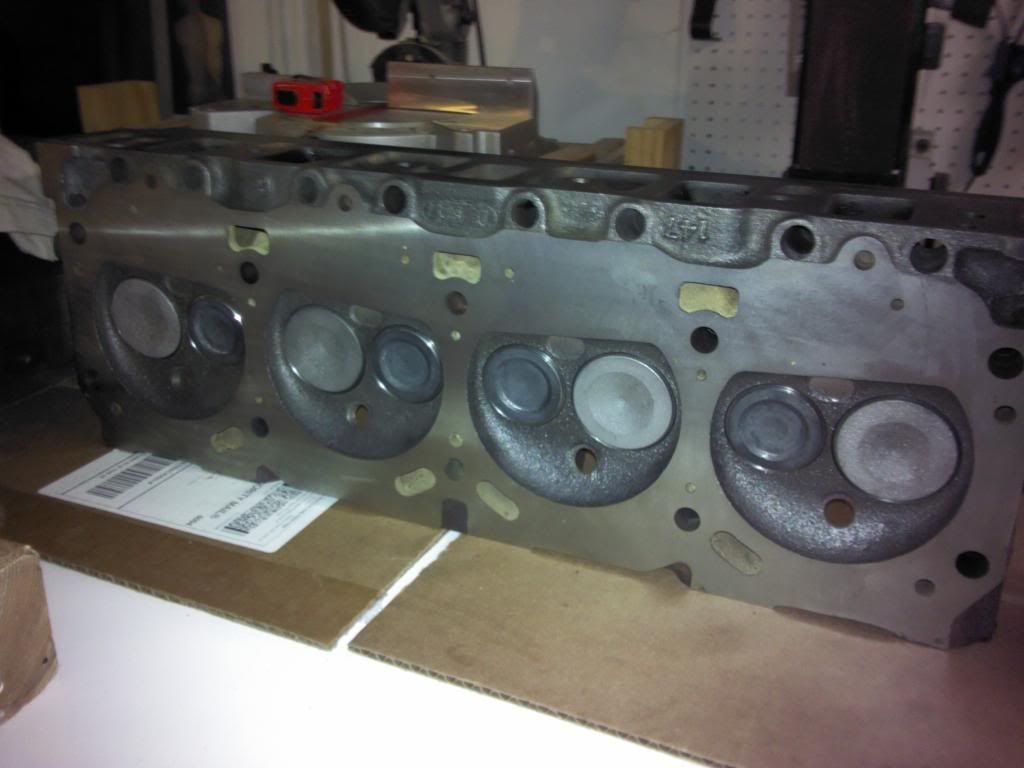 [/IMG]
[IMG]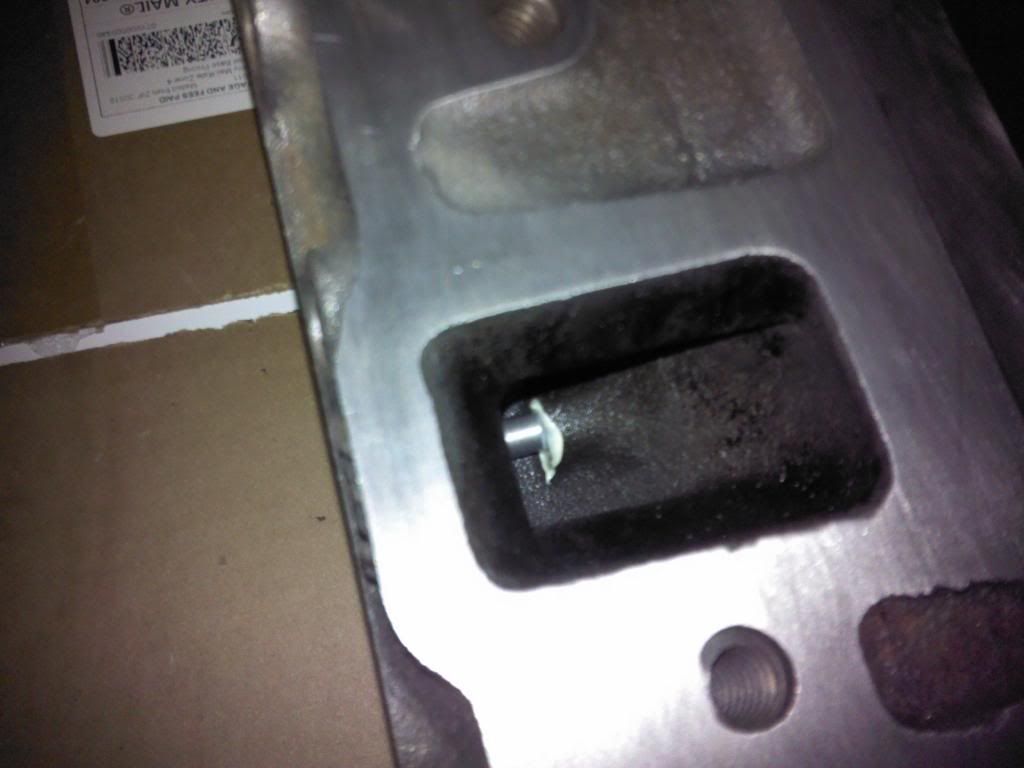 [/IMG]
[IMG]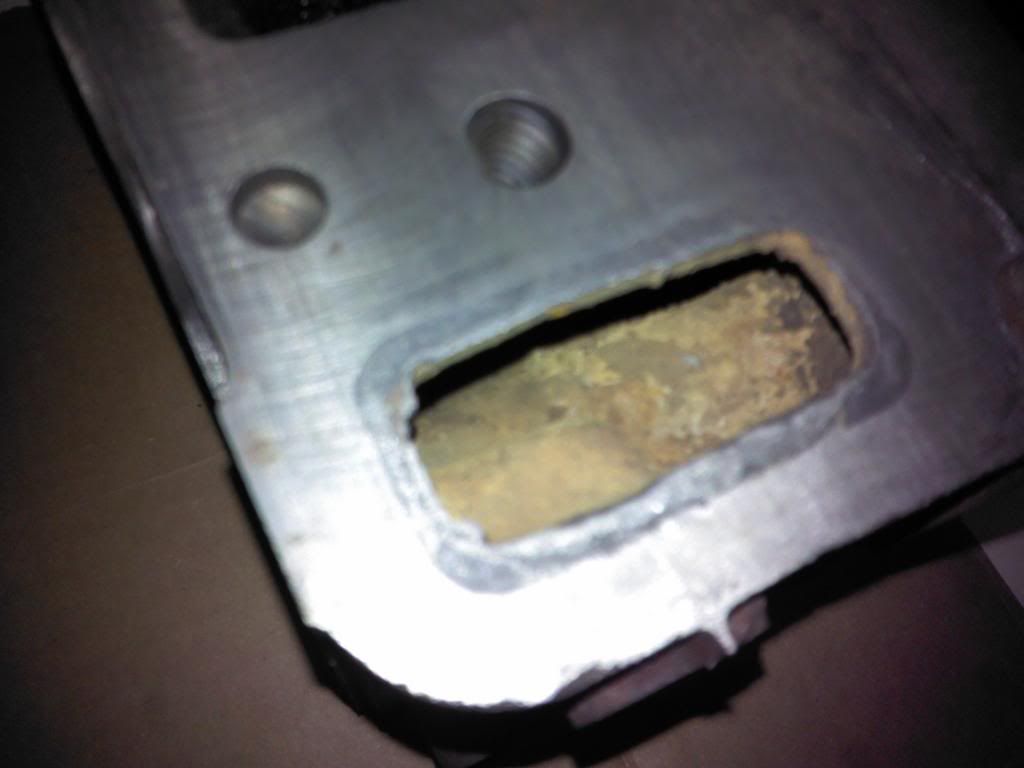 [/IMG]
I duuno' man, when I took the gaskets in he said he wouldn't lower my compression, and that if anything I'd gain a minute amount. In his words, "maybe a point." Which I assumed meant 0.1
[IMG]
 [/IMG]
[IMG]
 [/IMG]
[IMG]
 [/IMG]
Last edited by Macadoo; Dec 2, 2013 at 05:10 PM.
Connoisseur d'Junque
Joined: Sep 2010
Posts: 21,183
From: The Hudson Valley
Yeah, I can't really say anything about the pictures. I can't say anything about the price either.
In answer to the first question, the specification for head thickness, from the rocker pivot mounting surfaces (which should be the same as the height of the valve cover gasket surface) to the head gasket surface, should be between 2.200" and 2.220", which is a tolerance of 0.020" right from the factory.
(Unfortunately, I don't recall the source of that spec., but I did check it at the time, and it was correct).
If you measure the head thickness and it's between 2.200" and 2.220", then it wasn't cut much.
Following along those lines, if you're planning to use a head gasket that is 0.023" thicker, the head should be 2.177" to 2.197".
[edit: also, I just found some measurements I made in the past, and one set of #7 heads I have measured 2.157", while a set of B heads measured 2.156". I have no idea whether either was ever cut.]
Regarding how much you can take off before making other modifications, remember that if you use 0.039" head gaskets, you are raising the heads 0.023" from where they were designed to be, so if you remove 0.023", you are simply putting the heads back down where they started.
- Eric
Last edited by MDchanic; Dec 2, 2013 at 06:48 PM.
Justin
Joined: Mar 2012
Posts: 3,454
From: utah
On price just talked to my machine shop again to recheck price on my BBO heads he said cleaned, mag checked and resurfaced would run me 100.00 if they needed a total rebuild 450.00 including parts as OE spec not performance valves that would be extra .
He did tell me clean and check my block to tell me were I sit would be 75.00 hope this helps
He did tell me clean and check my block to tell me were I sit would be 75.00 hope this helps
Thread Starter
Registered User
Joined: Aug 2013
Posts: 3,900
From: Central Illinois
"Regarding how much you can take off before making other modifications, remember that if you use 0.046" head gaskets, you are raising the heads 0.030" from where they were designed to be, so if you remove 0.030", you are simply putting the heads back down where they started."
Oh right right right. So the Felpro (blue) 8171 PT-1 has a compressed height of 0.046? I looked around others have said they are .035 or .039. Felpro.com has no iinfo and Advance doesn't say.
Oh right right right. So the Felpro (blue) 8171 PT-1 has a compressed height of 0.046? I looked around others have said they are .035 or .039. Felpro.com has no iinfo and Advance doesn't say.
Last edited by Macadoo; Dec 2, 2013 at 06:18 PM.
Thread Starter
Registered User
Joined: Aug 2013
Posts: 3,900
From: Central Illinois
On price just talked to my machine shop again to recheck price on my BBO heads he said cleaned, mag checked and resurfaced would run me 100.00 if they needed a total rebuild 450.00 including parts as OE spec not performance valves that would be extra .
He did tell me clean and check my block to tell me were I sit would be 75.00 hope this helps
He did tell me clean and check my block to tell me were I sit would be 75.00 hope this helps
Good info though, thanks tata
Justin
Joined: Mar 2012
Posts: 3,454
From: utah

Connoisseur d'Junque
Joined: Sep 2010
Posts: 21,183
From: The Hudson Valley
I'll go back and change it.
- Eric
Chevy budget Olds powered
Joined: Jul 2011
Posts: 8,638
From: Elgin, Illinois
Here is what just degreased looks like. I could not de rust them as the de rusting tank chemicals would have eaten up the bronze guides. We dipped them for 30 minutes , power washed em then I dipped em in a oil bath that dries to a pretty much bone dry coating.

Registered User
Joined: Jul 2009
Posts: 316
From: Dewey AZ
by looking at your first pic Mac, the heads weren't shaved that much. on the center of the head theres a recess, (bottom of the picture center of the head). "ususally" that dark spot is gone when mill 10+ off. shops usually only take off what they need to, to make them flat. your getting to the point where your learning too much to be dangerous. go to a feed store and get a graduated seringe and cc your heads. I'm shure you will be fine bolting them on with the felpro's, and the stock rockers. on the next build you'll be that much ahead.

Thread Starter
Registered User
Joined: Aug 2013
Posts: 3,900
From: Central Illinois
CCing the chamber is a good idea. I have a few graduated syringes for ink jet printer refilling. What kind of numbers am I looking for? And I'm assuming I should use plain old motor oil?
Unfortunately, I'm running into finals so the next week is going to be brutal. No time in the shop

Thread Starter
Registered User
Joined: Aug 2013
Posts: 3,900
From: Central Illinois
When I installed the cam I ran out of the Joe Gibbs they gave me in the packet so I bought the Permatex red Ultra Slick Engine Assembly Lube. Thing is it looks like it dripped off over the last few days. Do I need to use something else and can I apply it over the red or do I need to clean it off the cam first. I'm not sure the permatex is meant to be used if there will be time before it's fired. The Gibbs is like a thick grease and is still globbed on but the permatex is more of a thin layer of gloss.
I'd rather not have to pull off the water pump, front cover, and timing set if I don't have to but I will.
I'd rather not have to pull off the water pump, front cover, and timing set if I don't have to but I will.
Thread Starter
Registered User
Joined: Aug 2013
Posts: 3,900
From: Central Illinois
So, for CCing the chambers; with our without the spark plug? I'm inclined to say with. But won't it leak the liquid before I can get an accurate measurement? Teflon tape on the threads maybe?
On second thought, if the plug can create an airtight chamber then watertight shouldn't be a problem. No worries, I'm not using actual water.
On second thought, if the plug can create an airtight chamber then watertight shouldn't be a problem. No worries, I'm not using actual water.
Last edited by Macadoo; Dec 5, 2013 at 04:52 PM.
Connoisseur d'Junque
Joined: Sep 2010
Posts: 21,183
From: The Hudson Valley
Hi Mac. I wrote you an entire essay on how to cc the heads, then lost it to the deadly "Expired Token."
My PM box is full, but you can e-mail me by selecting "Send E-mai" from the pull down when you click on my name.
- Eric
My PM box is full, but you can e-mail me by selecting "Send E-mai" from the pull down when you click on my name.
- Eric
Connoisseur d'Junque
Joined: Sep 2010
Posts: 21,183
From: The Hudson Valley
A quick revisit of my advice for cc'ing the heads:
You want the liquid with the smallest meniscus, so you want a nonpolar liquid, so you want an organic solvent, so you want gasoline, diesel, kerosene, mineral spirits, or wood alcohol (washer fluid, as mentioned earlier, contains wood alcohol, but I'm not sure how much of a meniscus it makes).
Organic solvents tend to be volatile, so you want the least volatile one, as otherwise, some of it will evaporate while you get the volume right.
You want a piece of decently thick plexiglass, so that it doesn't bow inward and affect your results.
You want to smear a very thin layer of Vaseline on the head gasket surface, and then smush the plexi down on it nice and hard, to prevent the solvent from wicking into the otherwise-empty space.
The purpose of the plexi is so that you can tell when it is actually full. It is amazingly difficult to tell this with the naked eye.
You definitely need the valves and the spark plug in place and not leaking.
- Eric
Thread Starter
Registered User
Joined: Aug 2013
Posts: 3,900
From: Central Illinois
Thanks for the almost write-up Eric. I do appreciate it. I actually used vaseline, great minds. But just the thinnest smear. I didn't want to raise the plexi. 1/8" was the thickest I had around but I used my small machinist's square and it looked pretty flat. And I used the lead shot to hold it in place and it stayed flat. I did have a little capillary action between the plexi and the head so I'm calling it somewhere between 65.5 and 66 CCs. I gotta' say, this method is pretty slick. The bubble appeared after the reading and probably accounts for the liquid that seeped.
[IMG]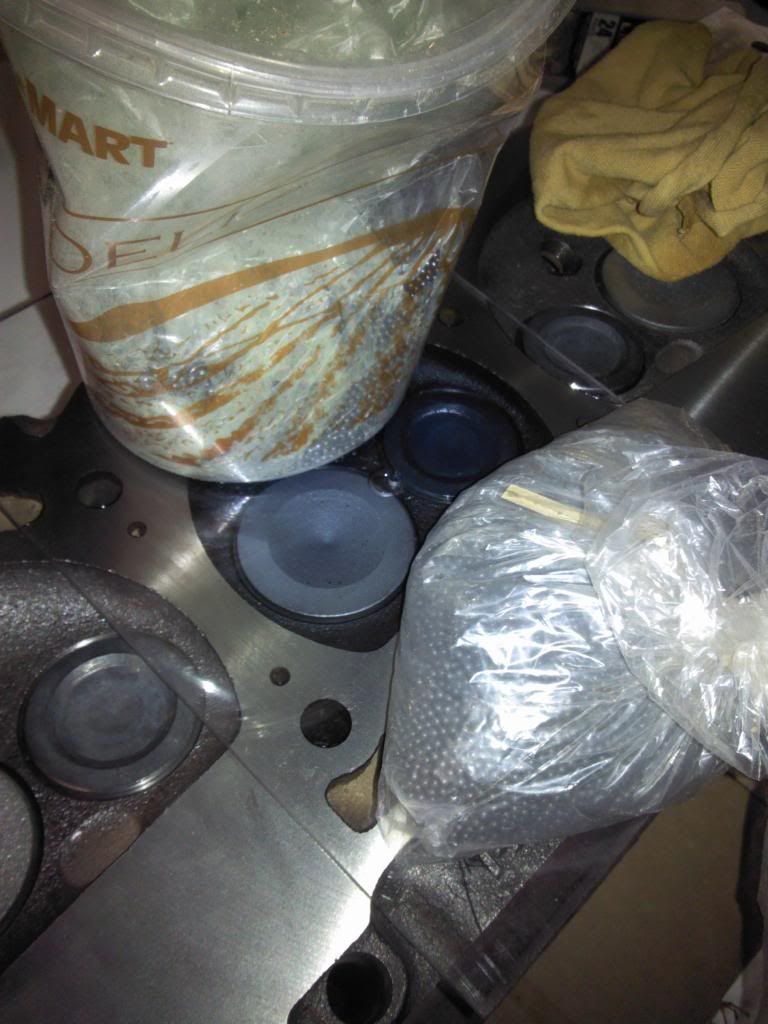 [/IMG]
[IMG]
 [/IMG]
Last edited by Macadoo; Dec 5, 2013 at 06:32 PM.


