newbie from Northern Illinois

 February 10th, 2010, 05:31 PM
#42
Registered User
Thread Starter
Join Date: Jan 2010
Location: Pecatonica,Illinois
Posts: 467
yea my snow plow guy finally showed up at sunset tonight a day late ............
so gonna try to get them on there tomorrow, Now keep in mind I will NOT have the new springs from my other car on there yet tomorrow so may look kinda off. i will try to have the new springs on by the weekend LOL only day I have to do this is friday wow ONE DAY to remove the sway bars, springs, A- arms, rear control arms and other stuff I dont want sent to the yard. Starting at 8 am Friday when I get my daughter on the bus and I feel sorry for the first person to ring My phone that day LMAO
so gonna try to get them on there tomorrow, Now keep in mind I will NOT have the new springs from my other car on there yet tomorrow so may look kinda off. i will try to have the new springs on by the weekend LOL only day I have to do this is friday wow ONE DAY to remove the sway bars, springs, A- arms, rear control arms and other stuff I dont want sent to the yard. Starting at 8 am Friday when I get my daughter on the bus and I feel sorry for the first person to ring My phone that day LMAO
 March 29th, 2010, 04:46 PM
#44
Registered User
Thread Starter
Join Date: Jan 2010
Location: Pecatonica,Illinois
Posts: 467
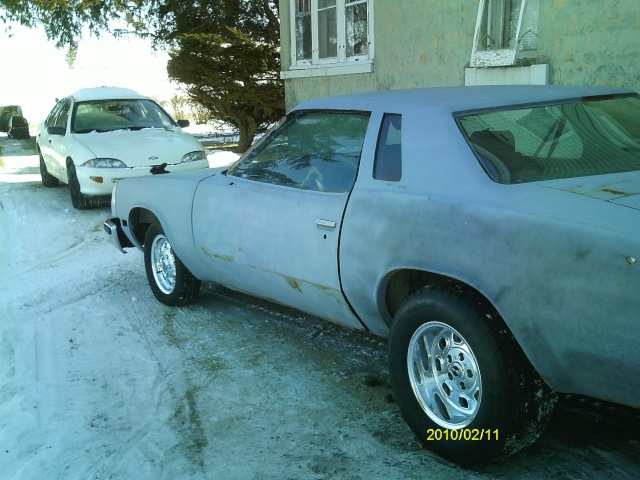
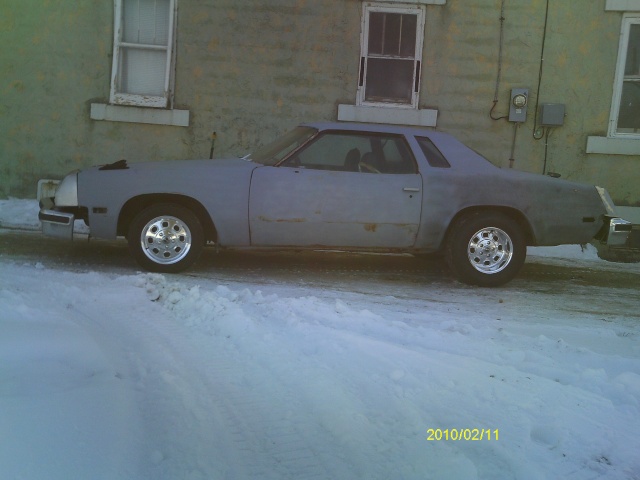
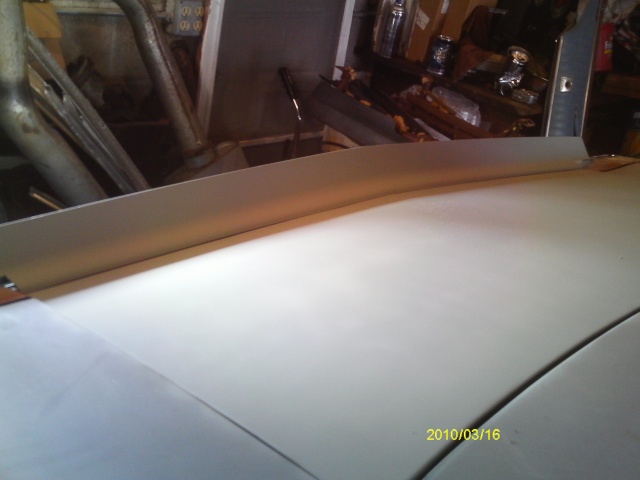
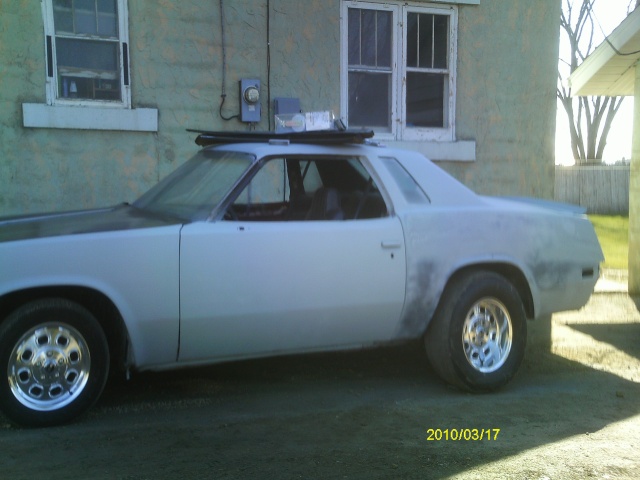
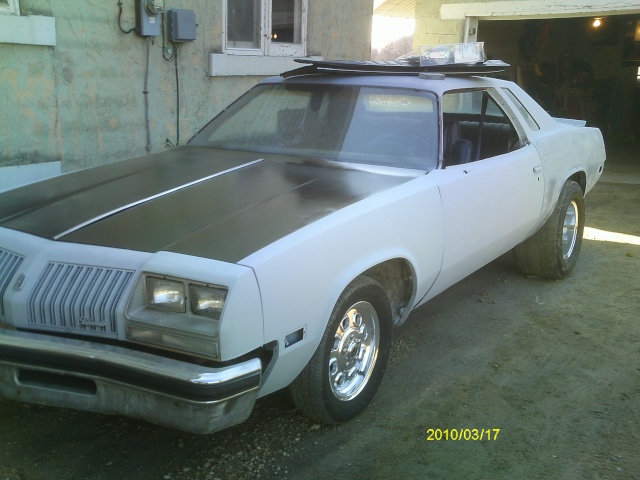
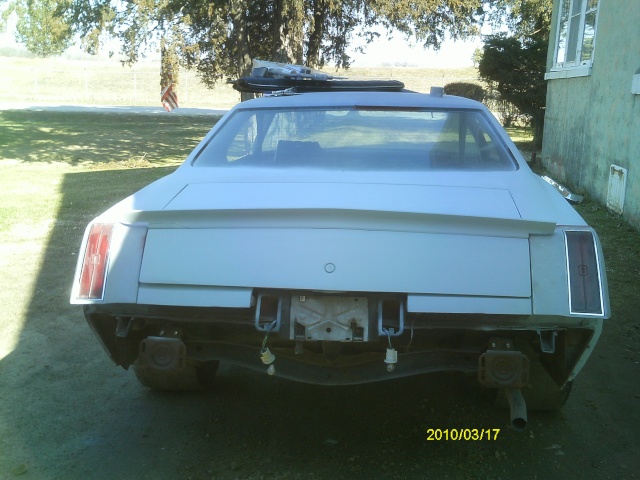
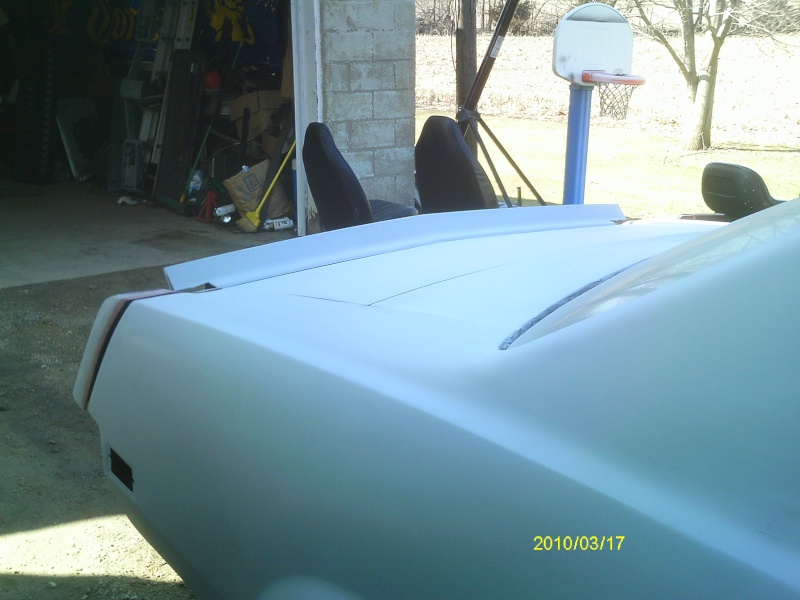
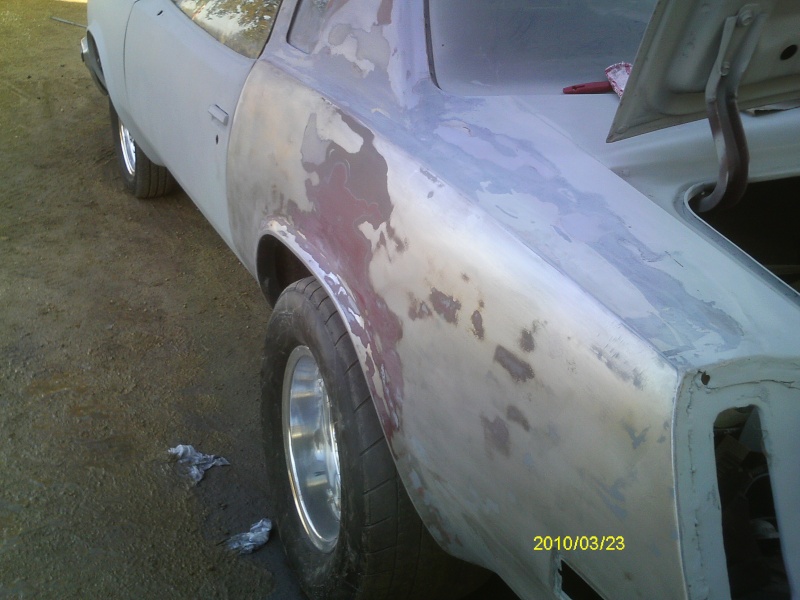
PROGRESS PICS FROM A FEW WEEKS AGO MARCH 17TH
warm weather is great got some more work done to the cutty today, suks being unemployed still but hey at least the car is coming along LOL
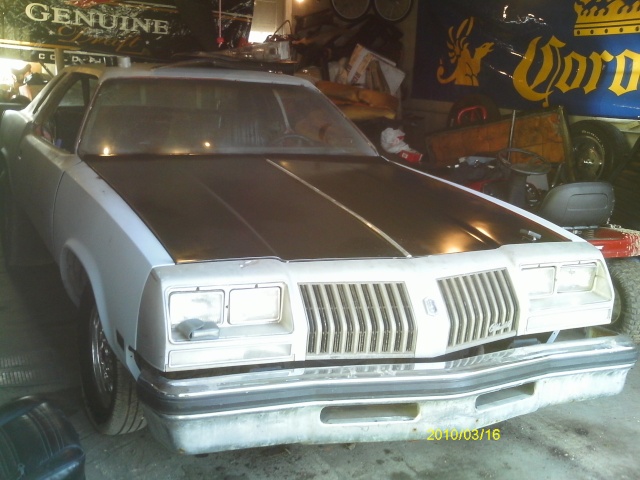
warm weather is great got some more work done to the cutty today, suks being unemployed still but hey at least the car is coming along LOL
March 29th, 2010, 04:51 PM
#45
Registered User
Thread Starter
Join Date: Jan 2010
Location: Pecatonica,Illinois
Posts: 467
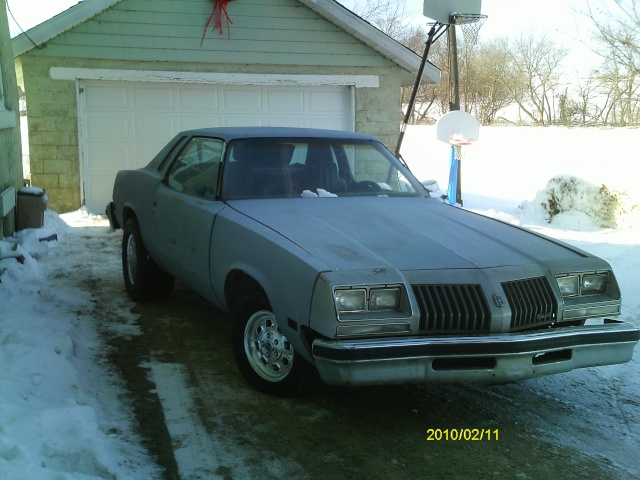
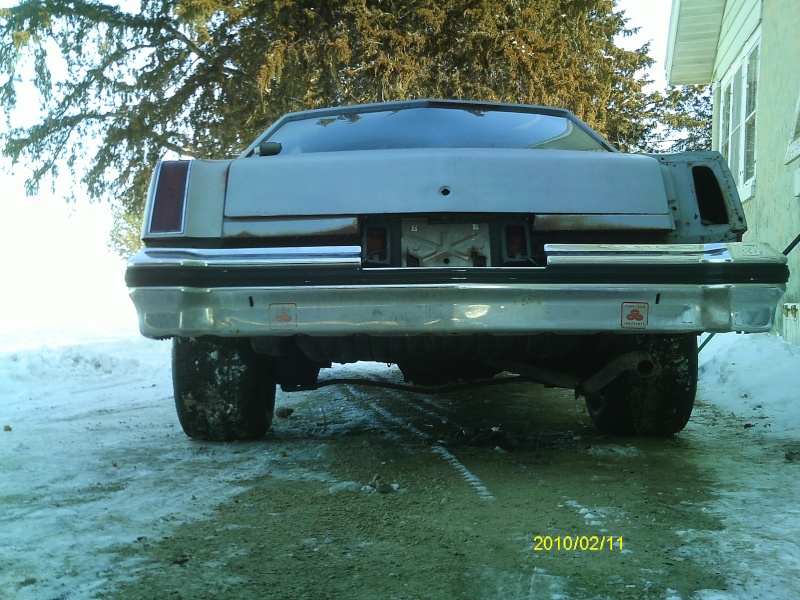
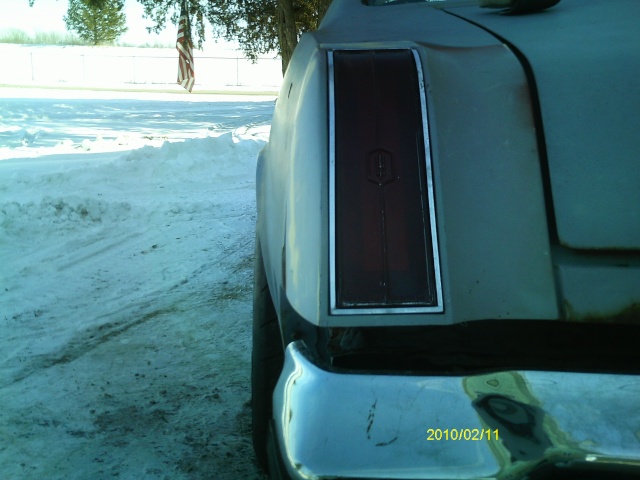
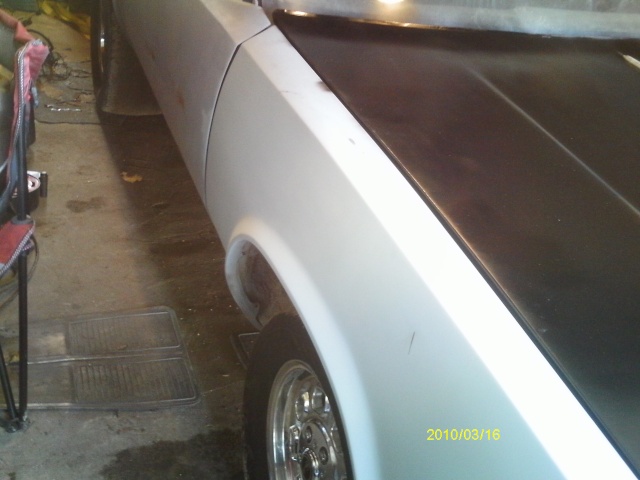
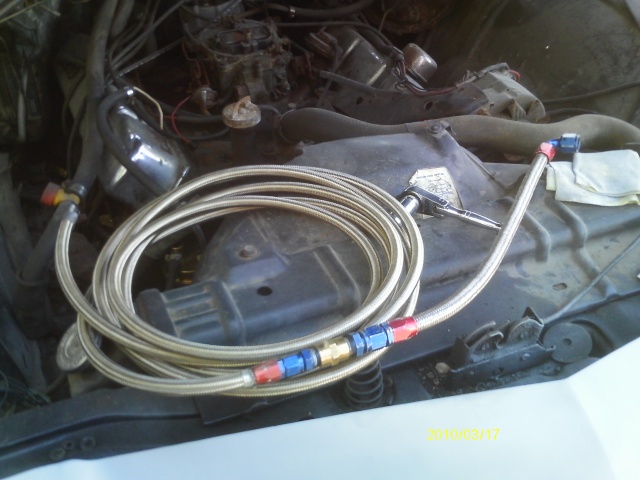
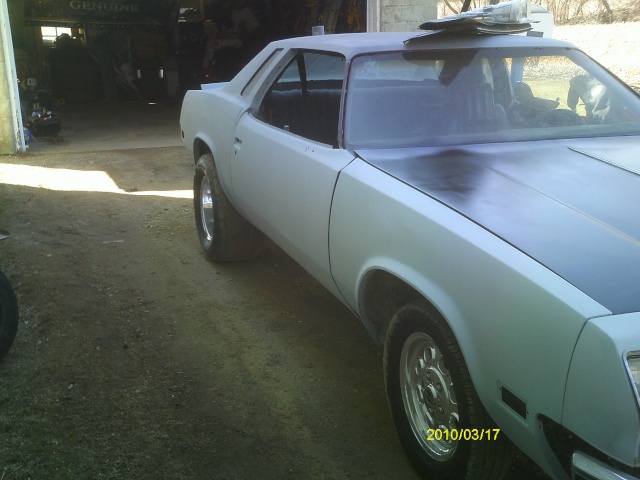
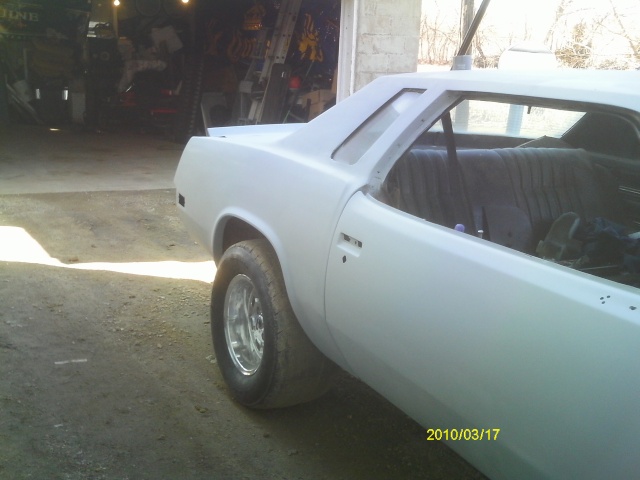
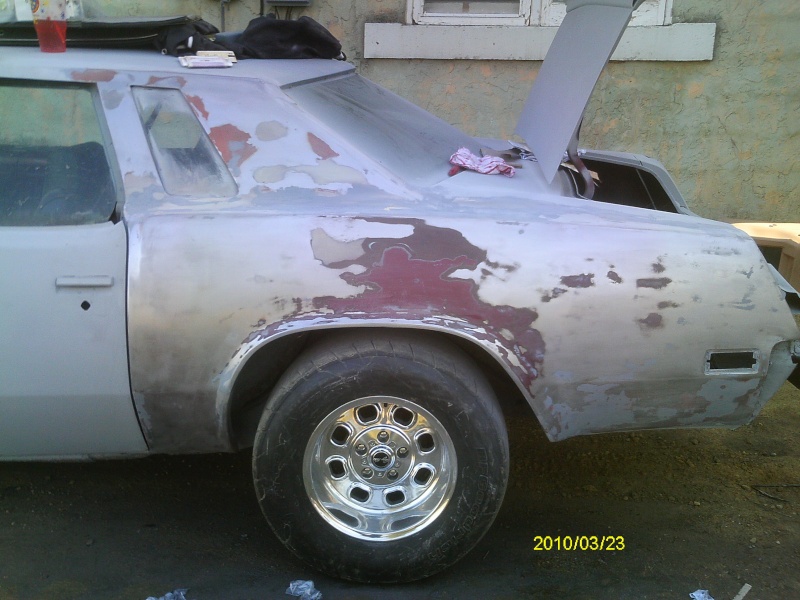
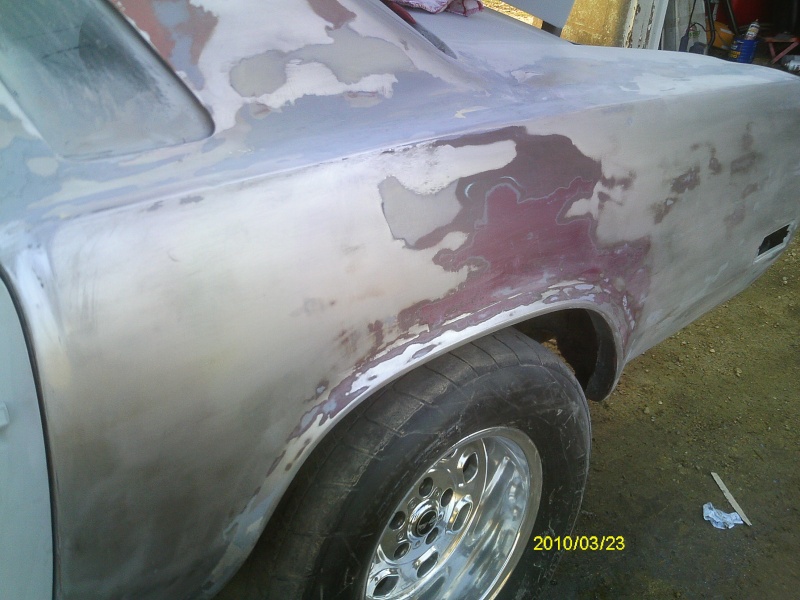
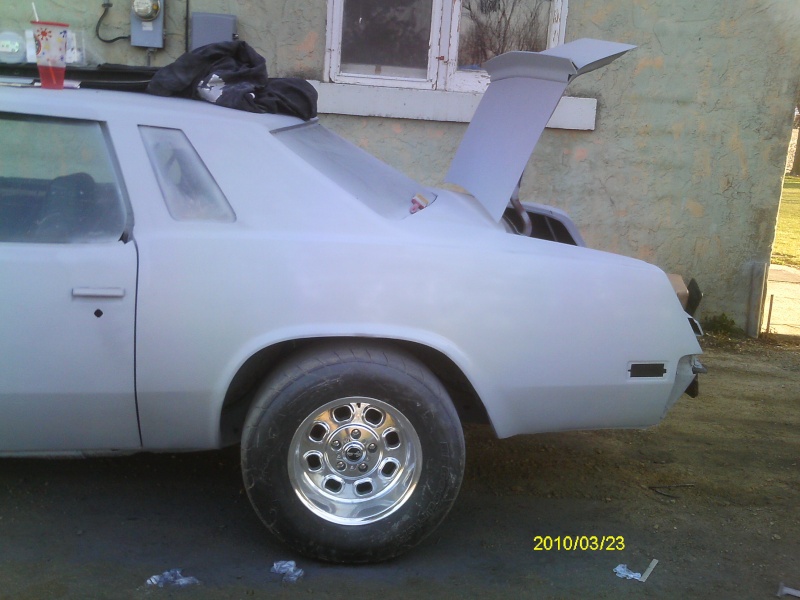
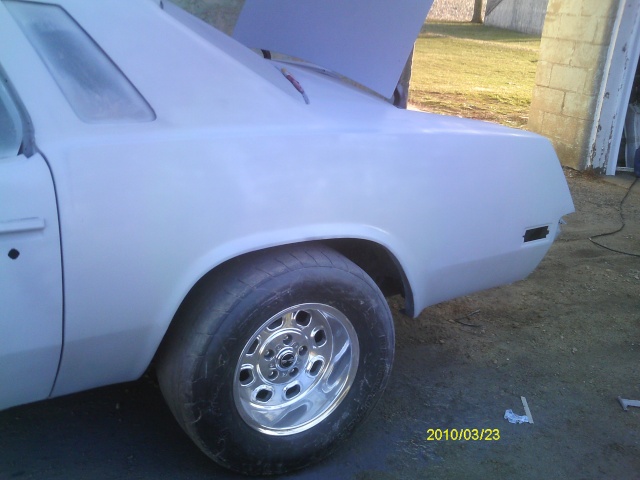
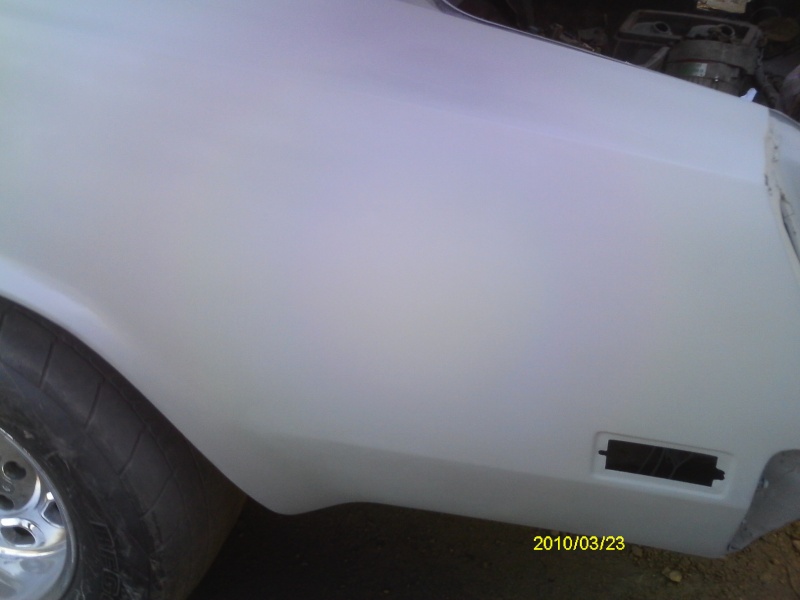
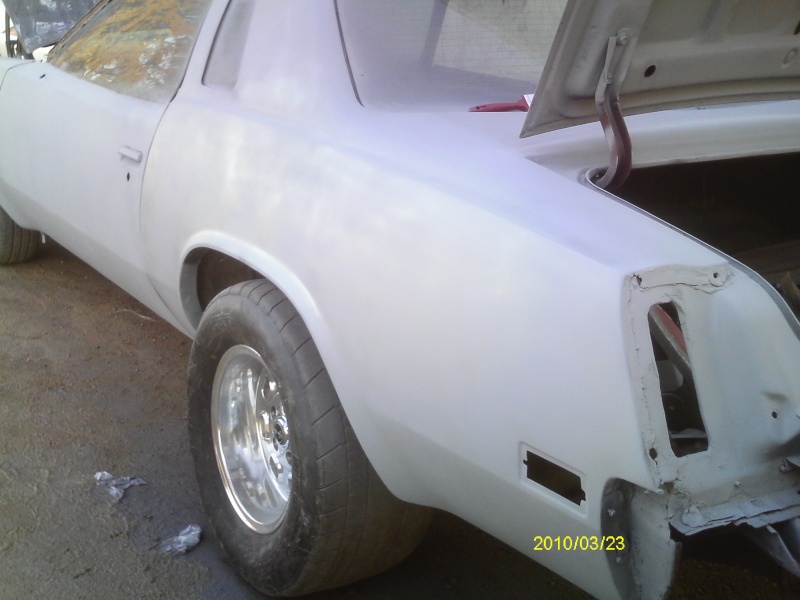
More updated pic's from work today............ ran out of primer for the tail light exts plus they were not masked off yet so that is next to do AFTER plumbing the line for the fuel cell tomm
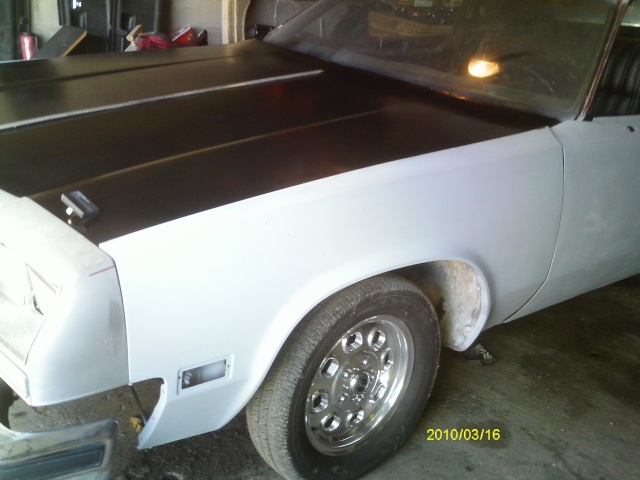
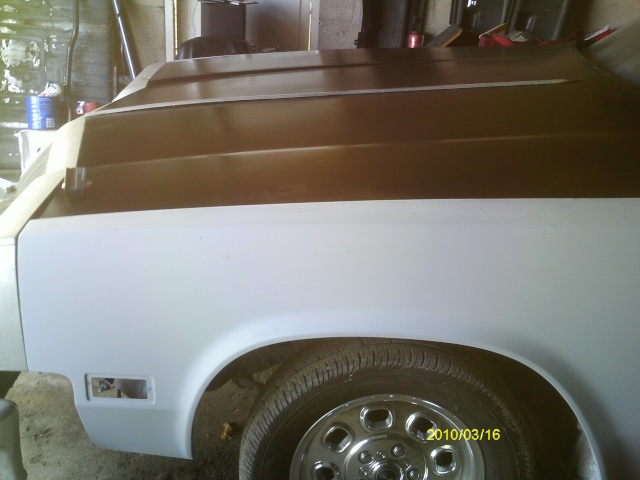
DID THIS MARCH 18TH

DID THIS MARCH 18TH
 March 29th, 2010, 04:54 PM
#47
Registered User
Thread Starter
Join Date: Jan 2010
Location: Pecatonica,Illinois
Posts: 467
YEEEEEEE FREEAAAKKKINNNNNNGGGGGGGGGGG HAAAAAAAWWWWWWWWWWWW
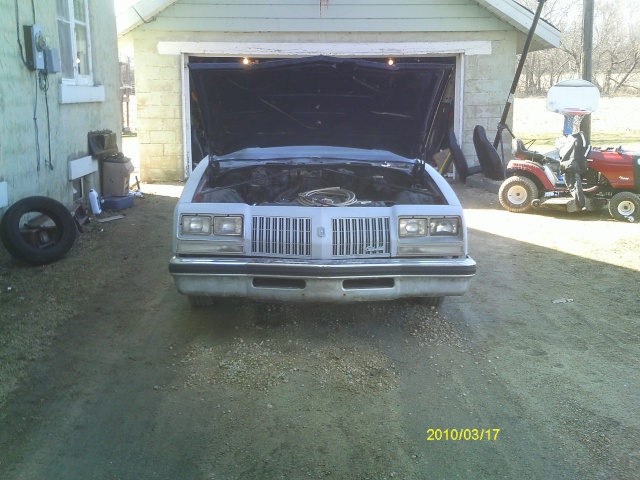
SHE RUNS SHE RUNS AFTER 10 YEARS IT RUNS I WILL SEE IF MY BUDDY CAN COME DOWN WITH A DIGITAL CAMERA MINE HAS NO SOUND
Next up is to swap out master cylinder and / or booster and run new brake lines that part is the only part of this build I am farming out for I hate brake lines............anyways now I can concentrate on more important parts of the build like finishing the body to get ready for paint, And swap out to the holley 750 w/ proform center.............. for the quadrajet leaks IMAGINE THAT, but I would leak after sitting in one spot for 10 years also I guess.
But at least it runs with the fuel all hooked up and HEY IT RUNS PRETTY DAM GOOD NO KNOCKS TICK'S OR NOTHING, I had changed all oil, rad fluid, and added Bars Leak motor honey with the new oil so help it out any way I can. and it worked
Last edited by Limey; March 29th, 2010 at 05:45 PM.
August 27th, 2010, 08:13 PM
#48
Registered User
Thread Starter
Join Date: Jan 2010
Location: Pecatonica,Illinois
Posts: 467
I thought I would update here been awhile
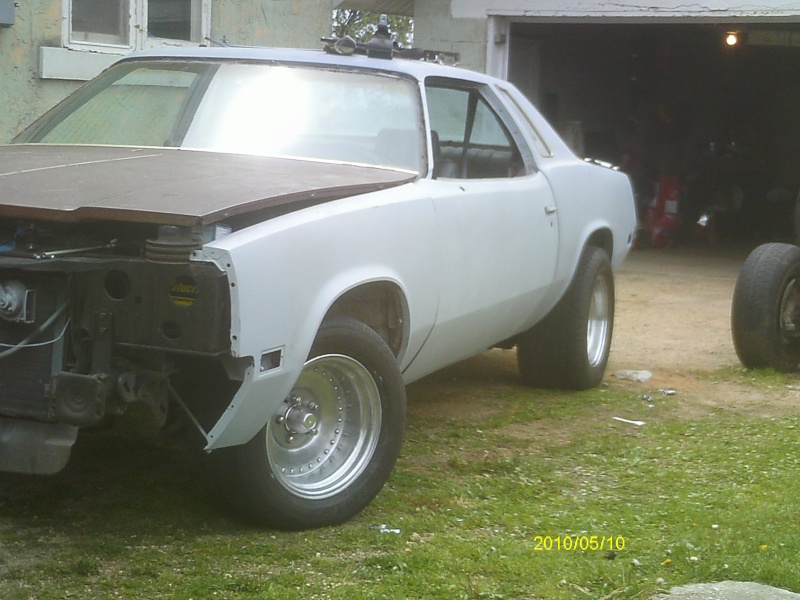
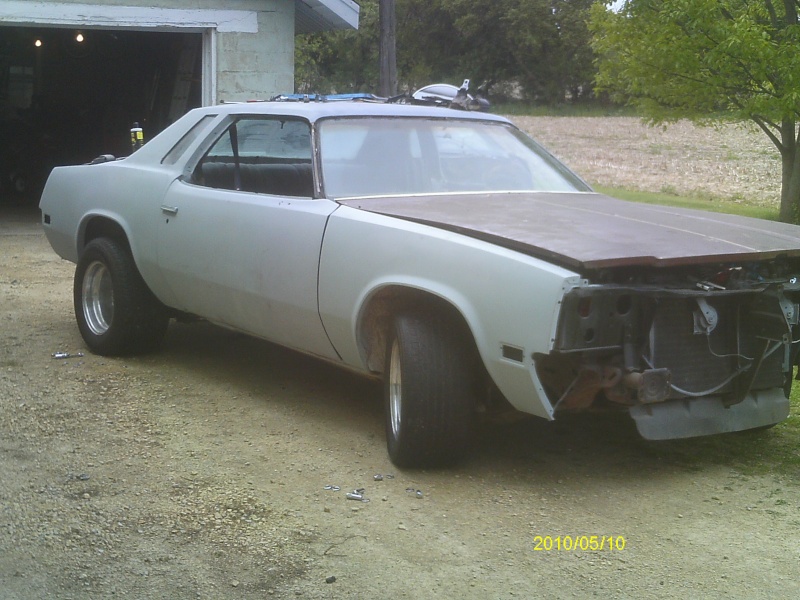
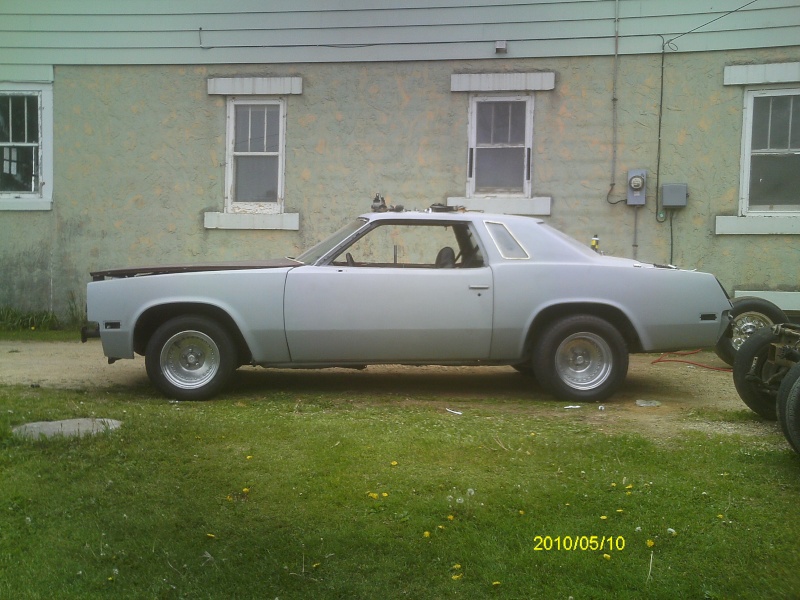
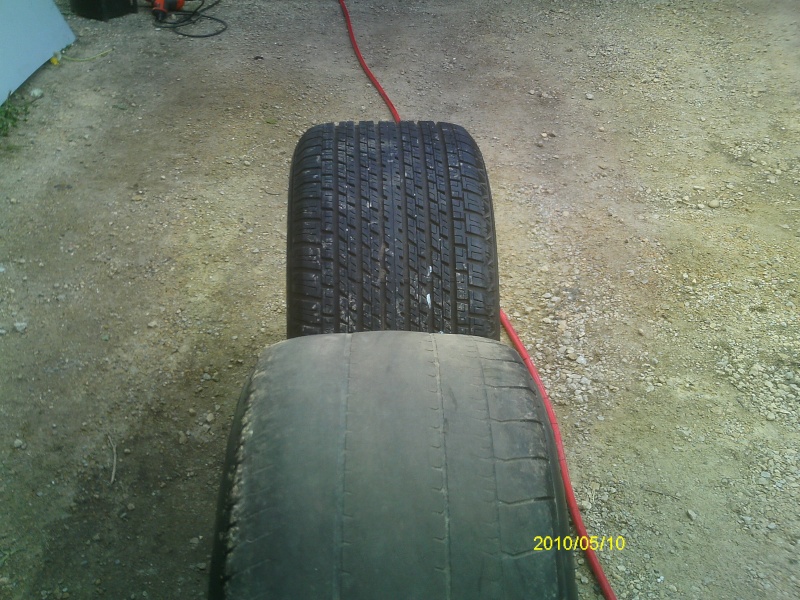
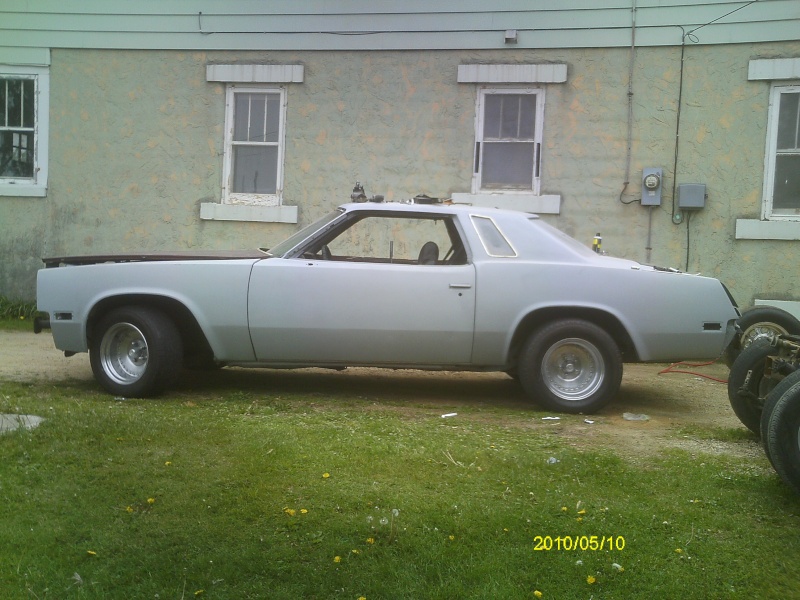
New choice in wheels as well
My rocket has new landing gear yet again, I bought these for my my nice wheels dont get boogered up on the road !!!
OK Y"ALL finally got proof she runs there will be two videos posted the other is still loadin
hope y'all enjoy
getting closer to road ready just needs brake lines and new brake hardware front rears (have all new fronts already)
http://www.youtube.com/watch?v=6vfZQbEreIQ <<=== Vid #1
http://www.youtube.com/watch?v=F_--p3zMsx0 <<=== Vid #2
August 29th, 2010, 07:42 PM
#50
Registered User
Thread Starter
Join Date: Jan 2010
Location: Pecatonica,Illinois
Posts: 467
I will be there but car is far from being road ready yet needs quite a bit of work, and will be sinking front bumper tomorrow hopefully can get it all done in one day !!!
Last edited by Limey; August 29th, 2010 at 07:45 PM.
August 31st, 2010, 01:38 PM
#51
Registered User
Thread Starter
Join Date: Jan 2010
Location: Pecatonica,Illinois
Posts: 467
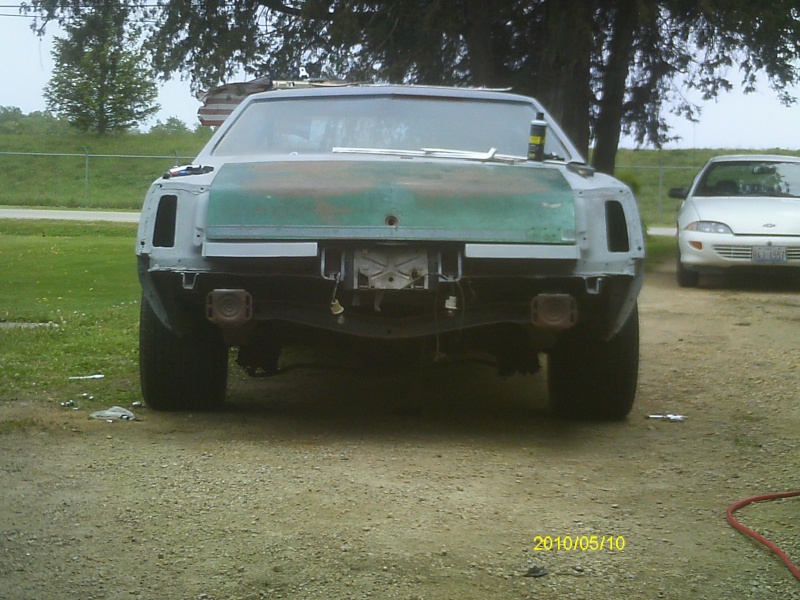
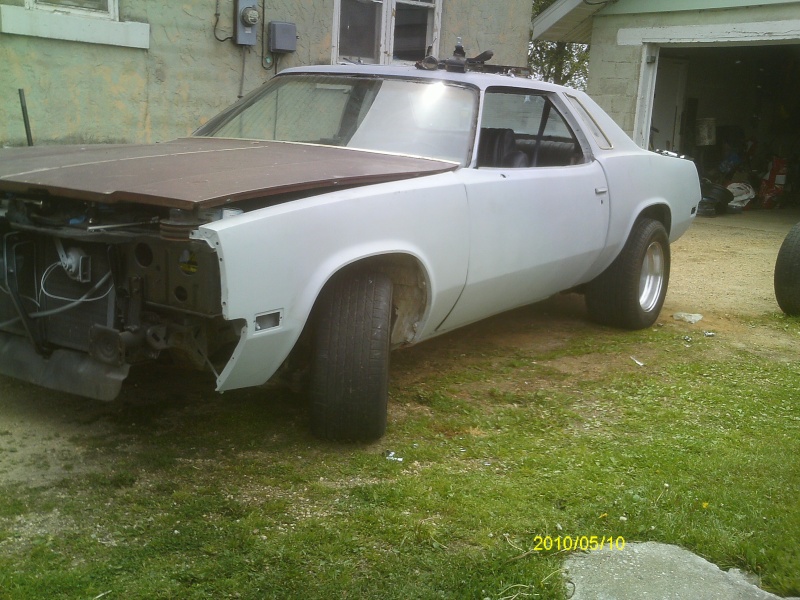
more progress pics
Well Limey got the front bumper sunk today its alot easier than I thought it would be, 1st of these pics are before the process
Only had to drill (very carefully) 3 hole's in the shock's
1st step measure to make sure both sides are even (pay attention to that the most) if not you will sink one side more than the other (for example) my drivers side only needed 2 1/4 " to be pushed in, while the passenger side needed almost 2 1/2 " pushed in
2nd step drill a hole in the bumper shock that goes through the frame first (there is frame access to do this) remember to wear eye protection for its pressurized oil
3rd step drill a hole in the bumper shock close to where it slide back in (so you dont see a drilled hole when you push it in) be careful drilling this one it has the pressurized gas ( and it stinks LOL)
4th step Repeat step one so your able to put a self starting screw to hold both pieces in place
wallah your done enjoy your new bumper looks
I had to put new bolts in there as well, the the size you will need is 1.5" x 7/16" and they have the retainers/washers ( <<== on inside only retainer acts as the outer washer) you will need as well at local hardware store
4269fdc7.jpgeba4d9d8.jpg
94ac6c06.jpg7cac2339.jpgcdaa046c.jpg
f61c4f4e.jpg
AFTER SINKING I WILL BE MOVING IT IN MORE SO NO FILLERS ARE NEEDED
3f4b941f.jpg8ef76ff5.jpg
078c0520.jpg85bad516.jpg
8881da06.jpg
October 18th, 2010, 07:14 PM
#52
Registered User
Thread Starter
Join Date: Jan 2010
Location: Pecatonica,Illinois
Posts: 467
October 18th, 2010, 10:26 PM
#53
Seasoned beater pilot.
Join Date: Jan 2007
Location: Chicago
Posts: 5,468
Sounds like your timing is too advanced, or you could use a few extra ground wires. She's a slow cranker.
October 19th, 2010, 01:10 AM
#55
Registered User

Join Date: May 2009
Location: USA
Posts: 2,202
How much did it run ya and what did you invest in it so far ??
Specs ??

Thread
Thread Starter
Forum
Replies
Last Post


