When you click on links to various merchants on this site and make a purchase, this can result in this site earning a commission. Affiliate programs and affiliations include, but are not limited to, the eBay Partner Network.
Thought I would share my project. I did a frame off restoration, by myself, back 1972-1979. So things need some attention. I used to have a W-27 rear axle and I sold it to buy a new rear end and a Tremec 5 speed. I had also purchased Global West suspension back in 2006. So things have been put off long enough and I am working on the suspension and all the upgrades.
Prior to bolting on all the parts collected over the years. I wanted to address the frame and it's paint and lack of inside the frame. I Had done the back half and need to get the front done before I moved forward on putting it all back together..
Inside the front frame member, I used wire brushes and a needle gun to help break up the rust, then I used rust converter for a first step, then I sprayed the inside with Eastwood's Rust Encapsulator. Next I am covering that with a Cosmoline product, RP-342. Just for good measure.
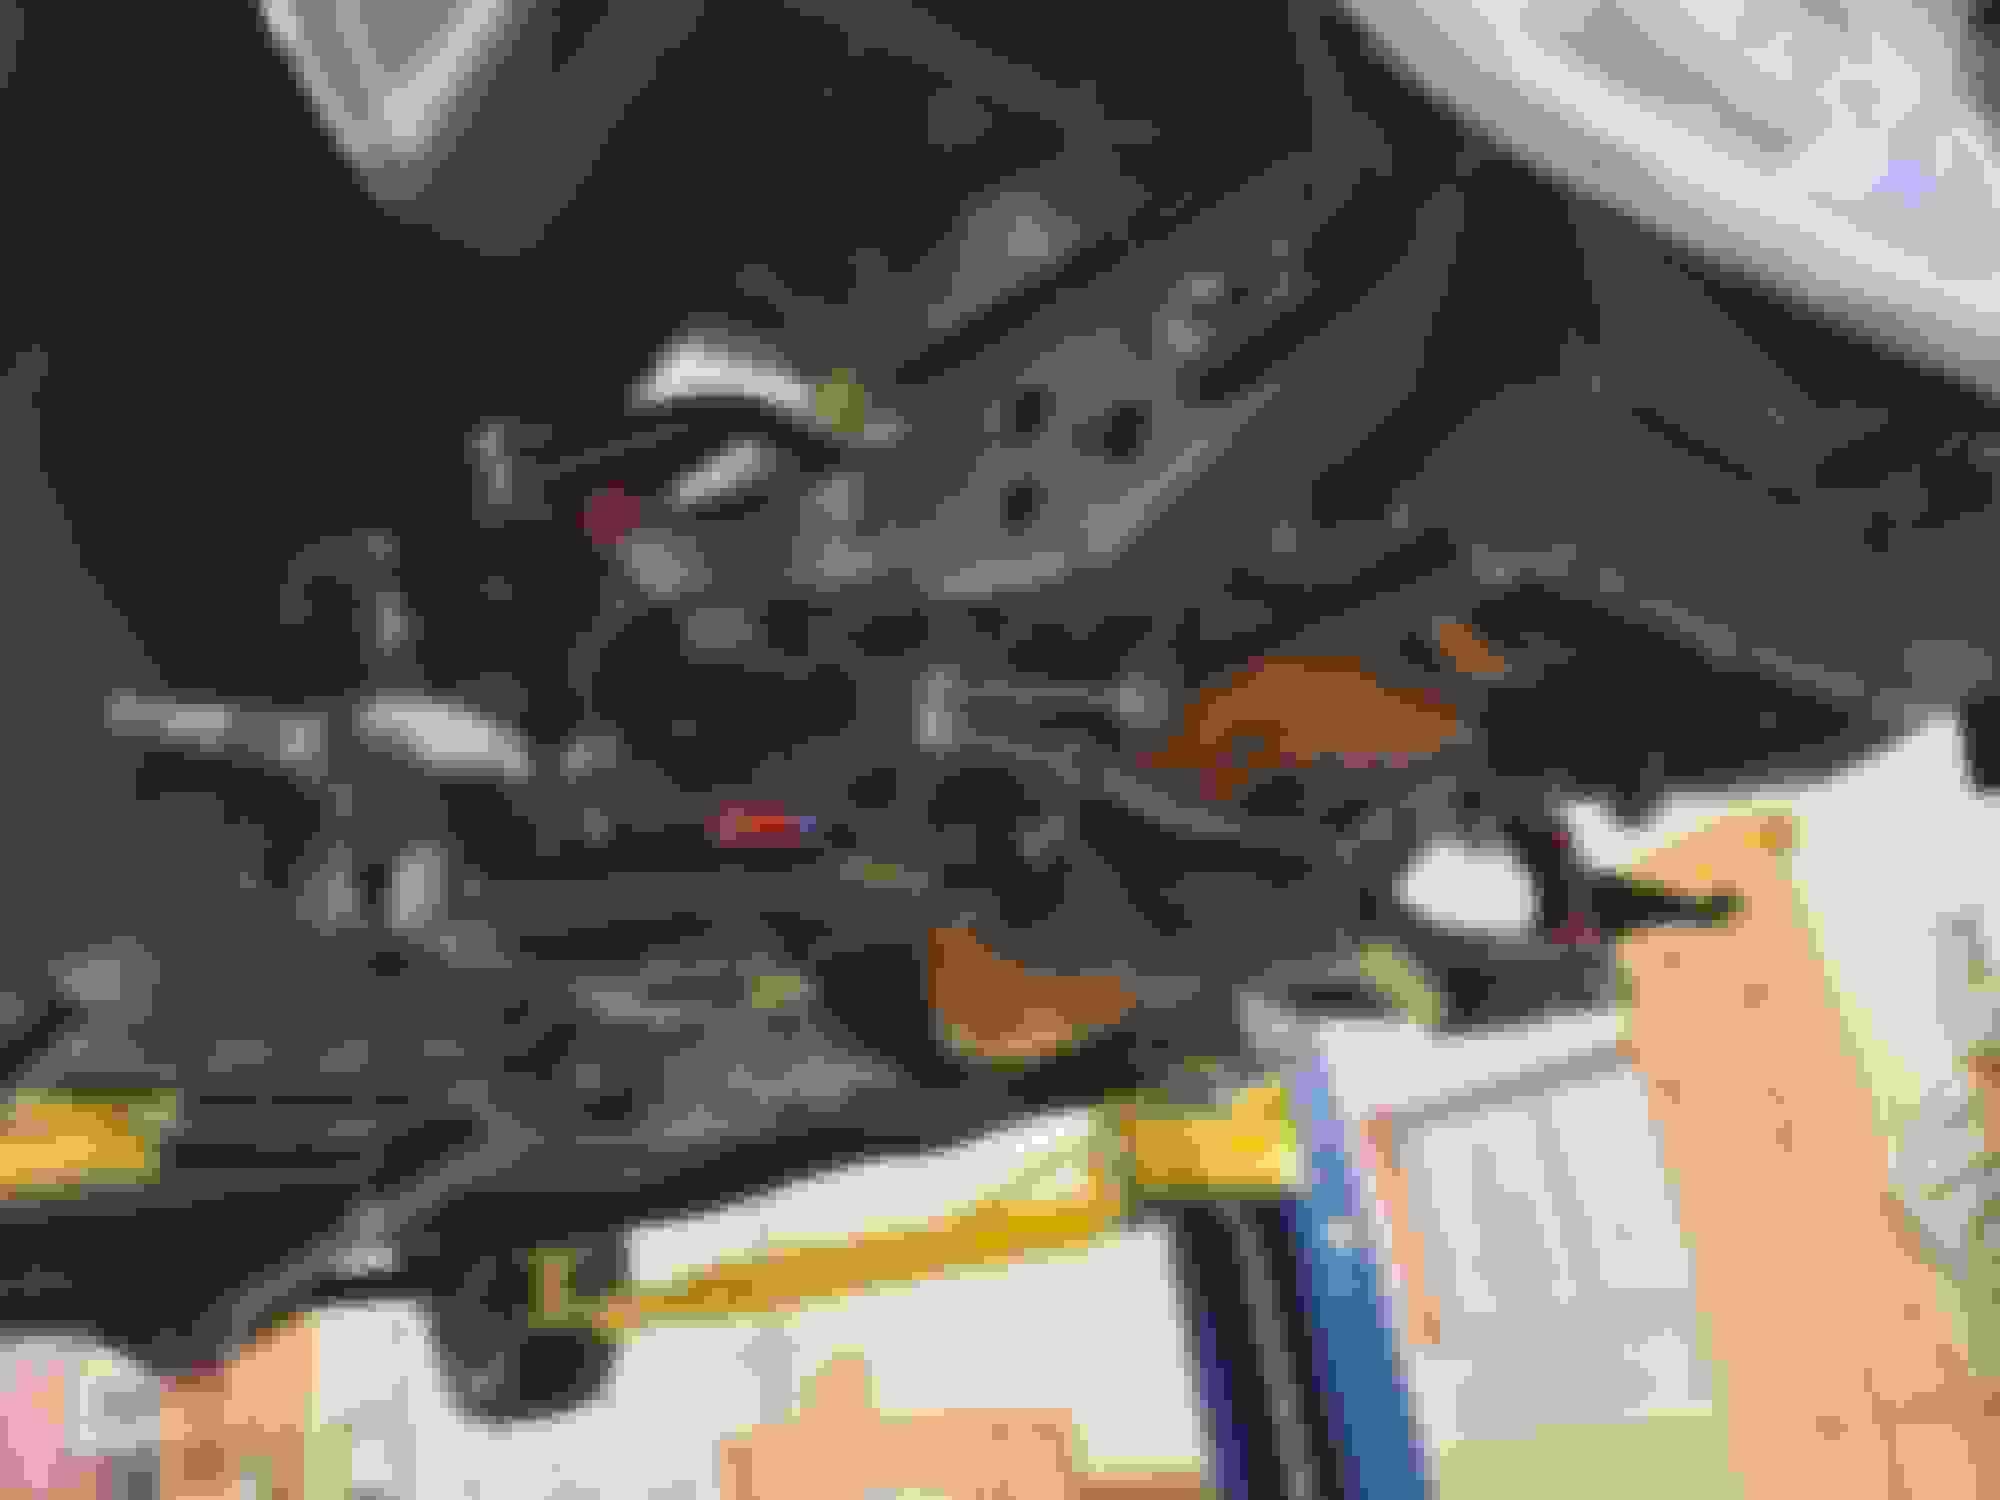
I also found that the GW upper control arms would hit the inner fender well on both sides so after confering with GW about it, they said it normally isn't a problem. So I setup the suspenion, minus springs to get full travel and cut the inner fender well opening as needed.
As soon as the painting is done on the outside, the suspension will go on and I will see how well the tires fit.. More on that later..
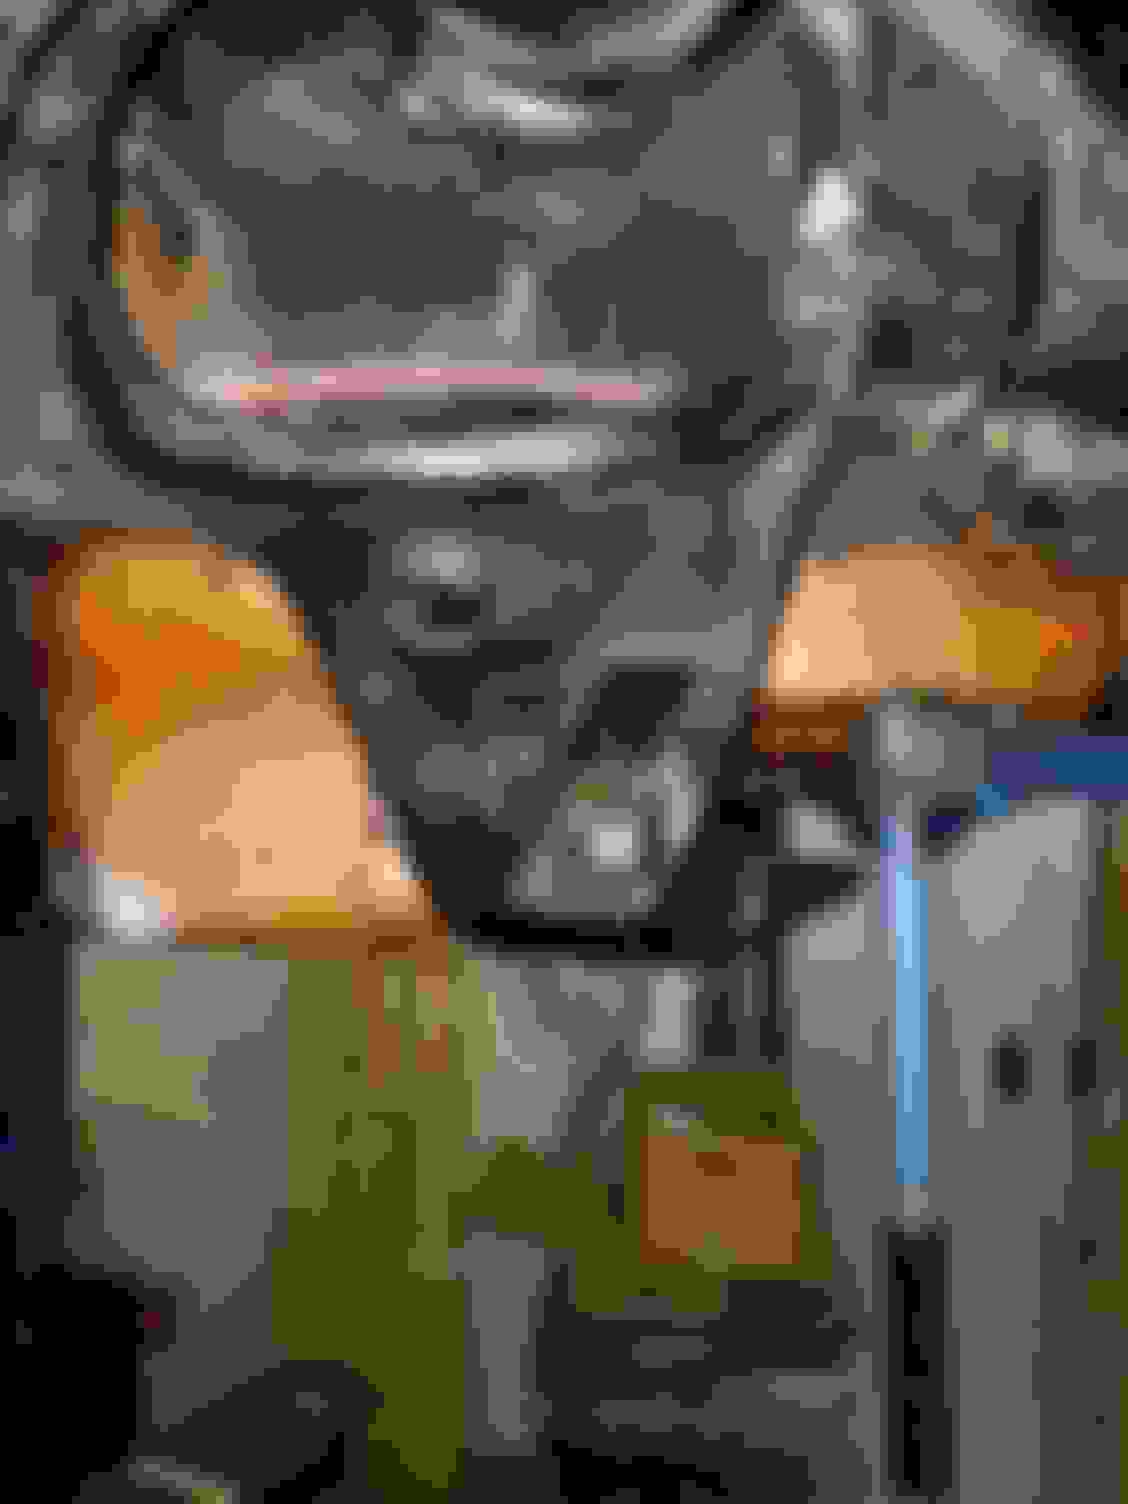
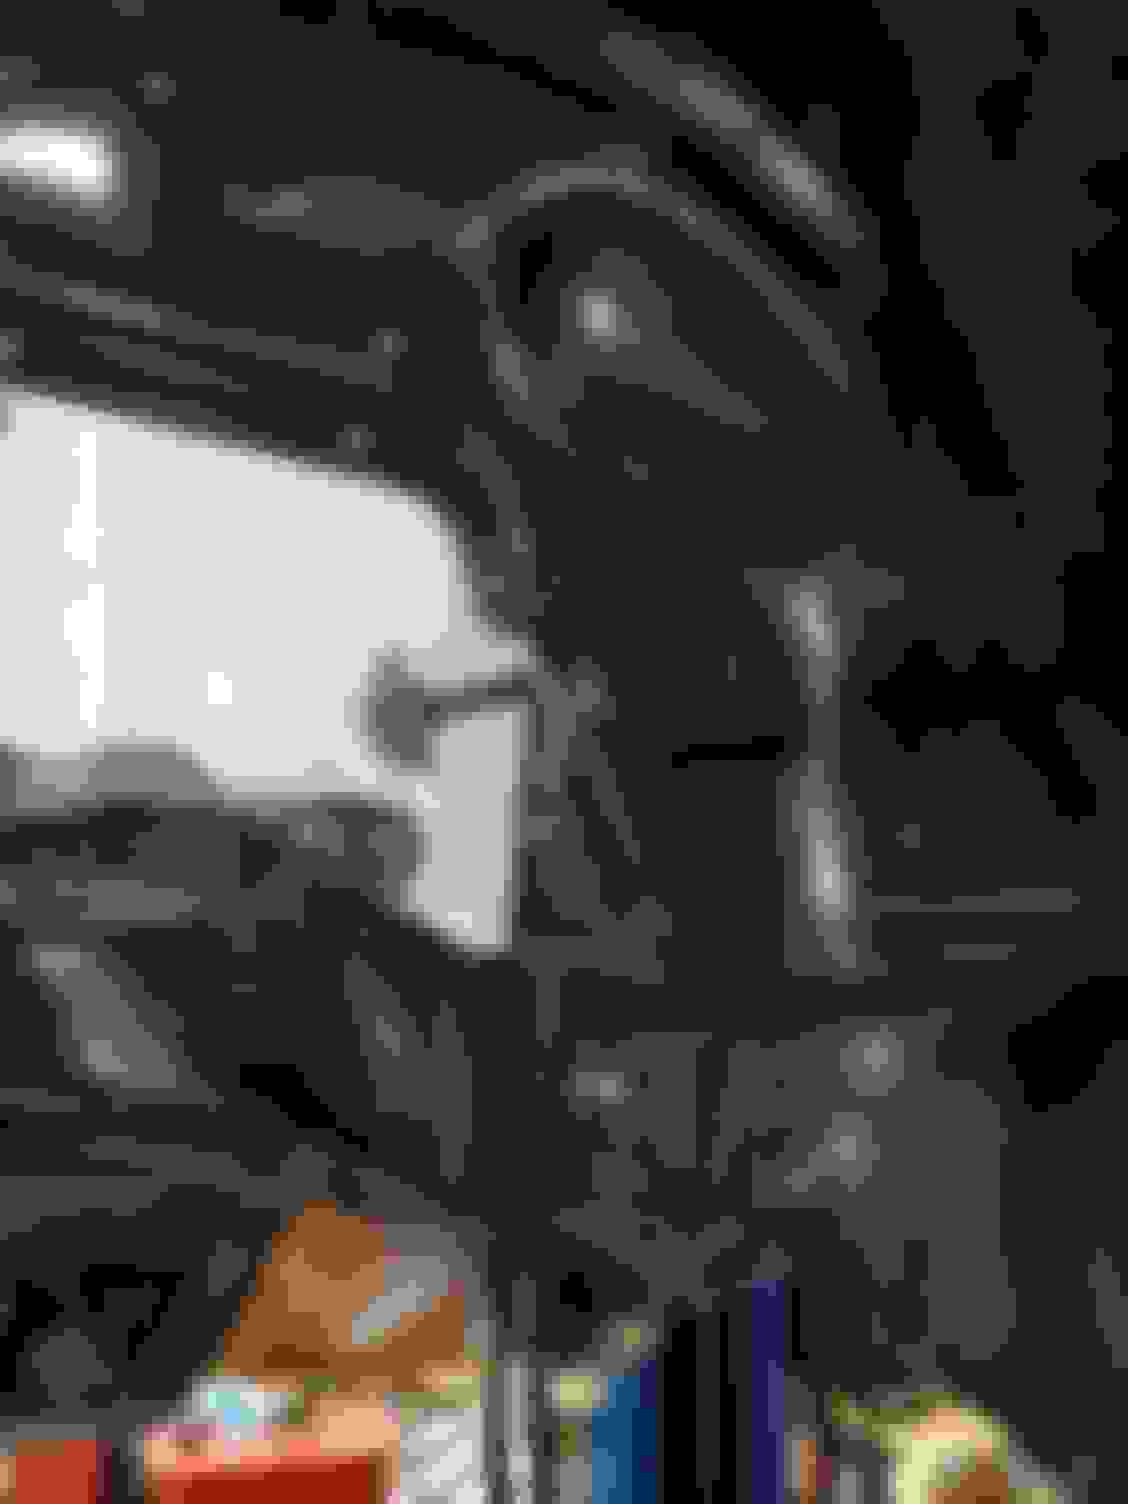
Here are some pics of my progress.. Passenger side Driver side Fairly heavy rust, but not bad for 56yrs.
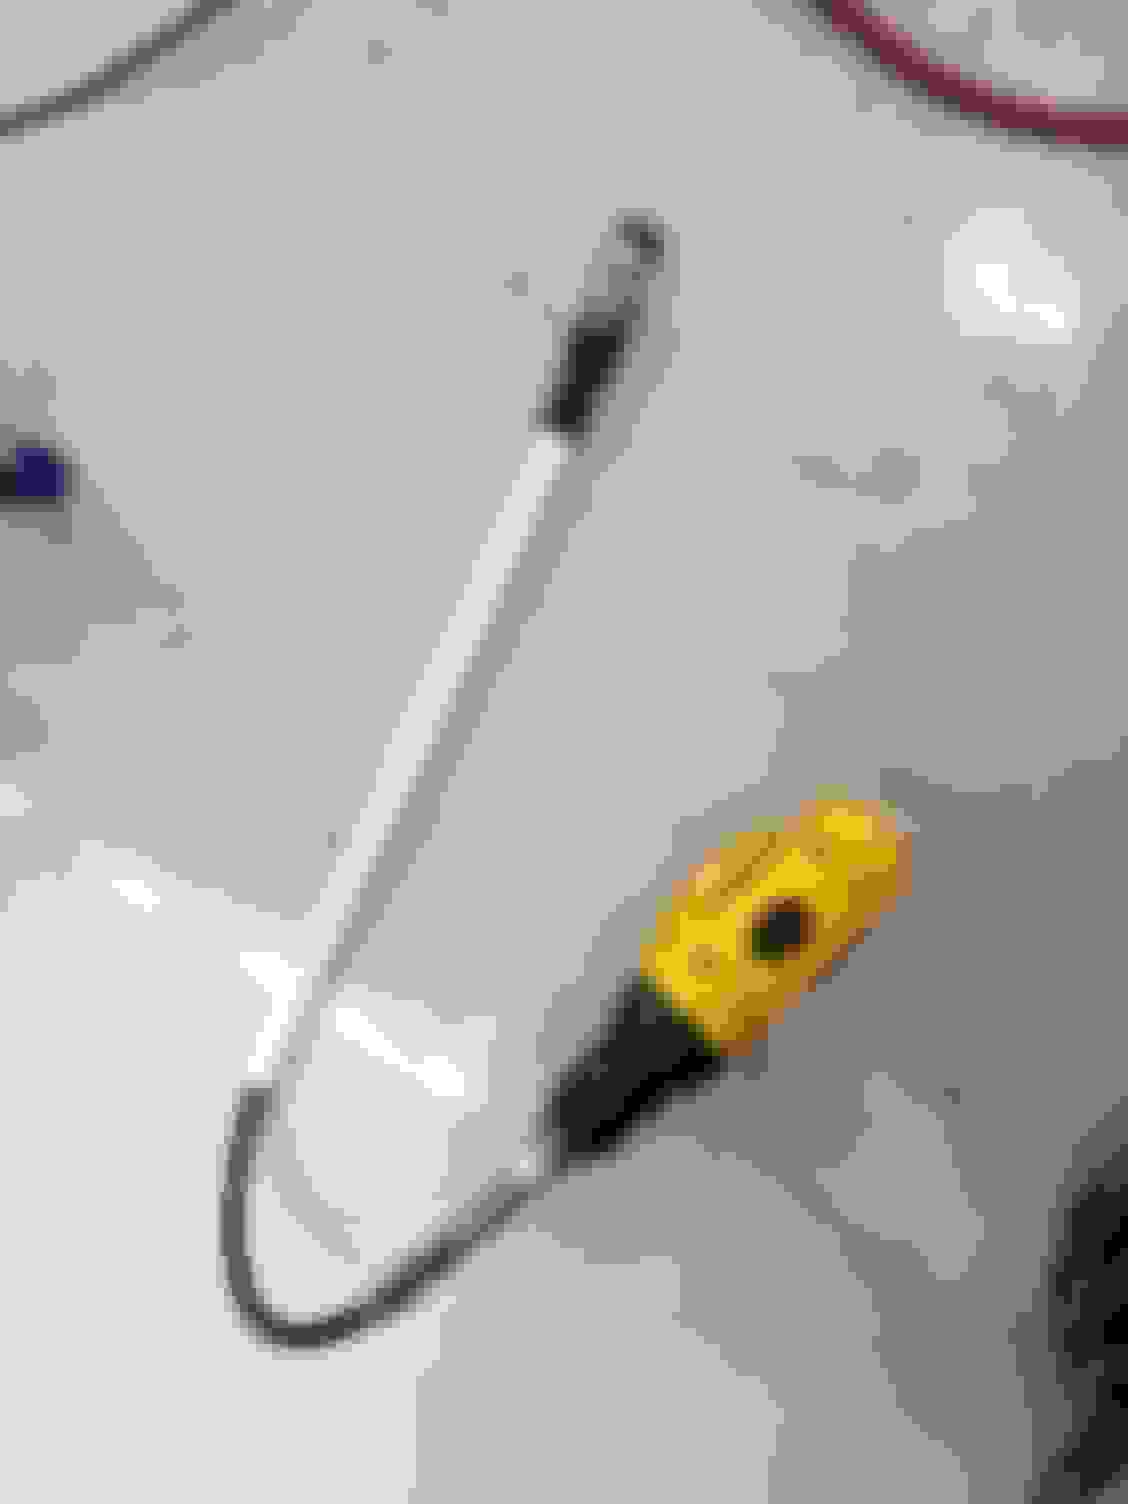
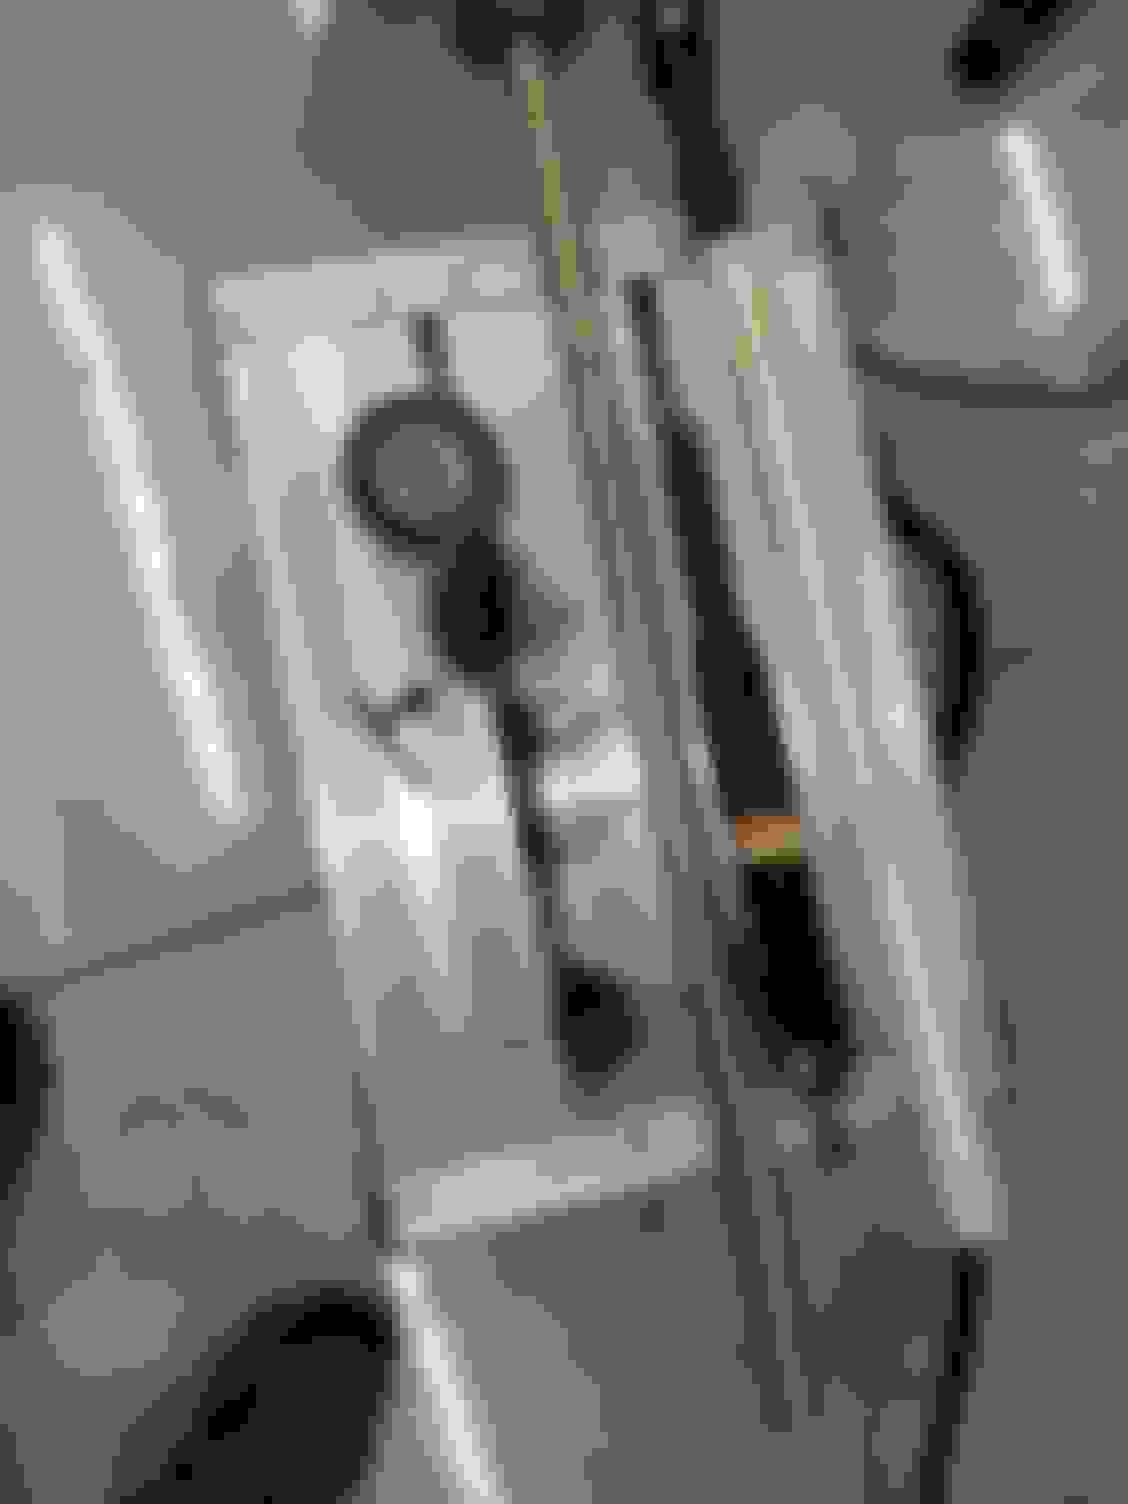
Tools to get inside and massage the rust a bit!
Flexible shaft needed a bit of rigidity to be controlled in the frame.
The curtain rod is for vacuuming the inside out. Here you can see where I trimmed the inner well, on the left side of the opening, passenger side. Here is the Driver side opening, trimmed. Suspension mocked up with GW control arms and 78 Camaro spindles. After clean up of the rust. Plastic tent for heat retention to warm the frame after painting inside. Inside the tent! Global West Negative Roll suspension and Camaro spindles. Adapting RP-342 nozzle to Eastwood hose with 360* nozzle.. Eastwood Rust Encapsulator. Start of RP-342 spray.. having trouble with keeping the hose connected to the can nozzle.. Going to try some super glue..
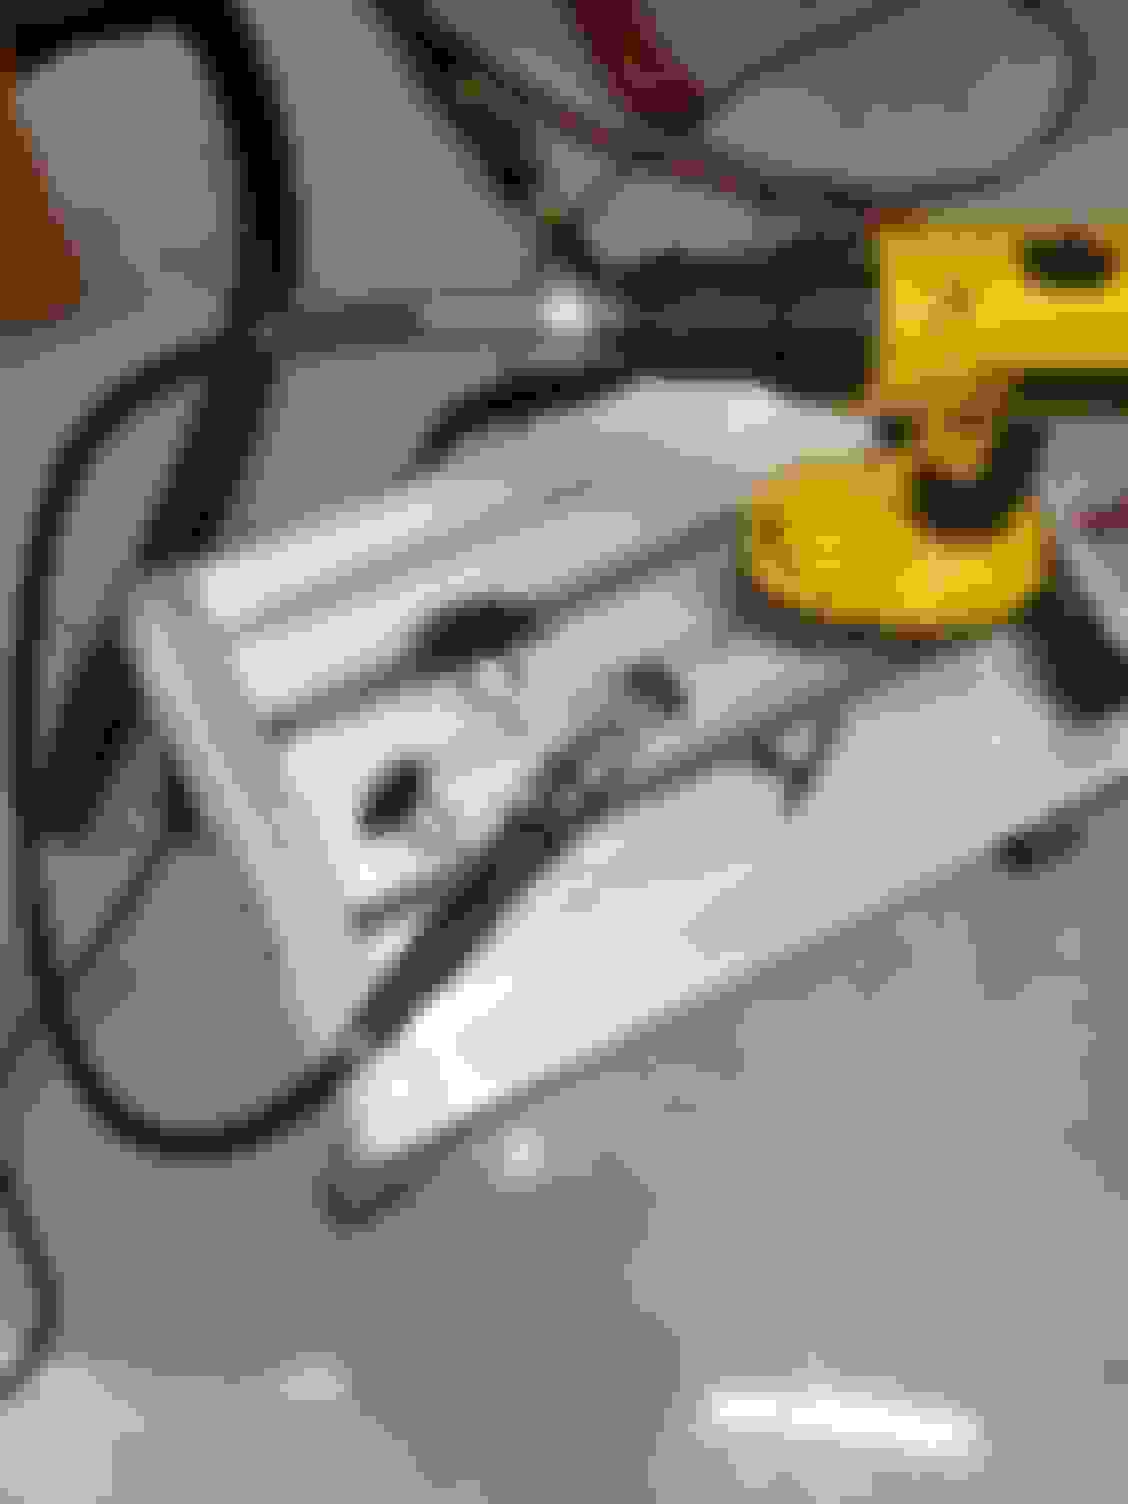
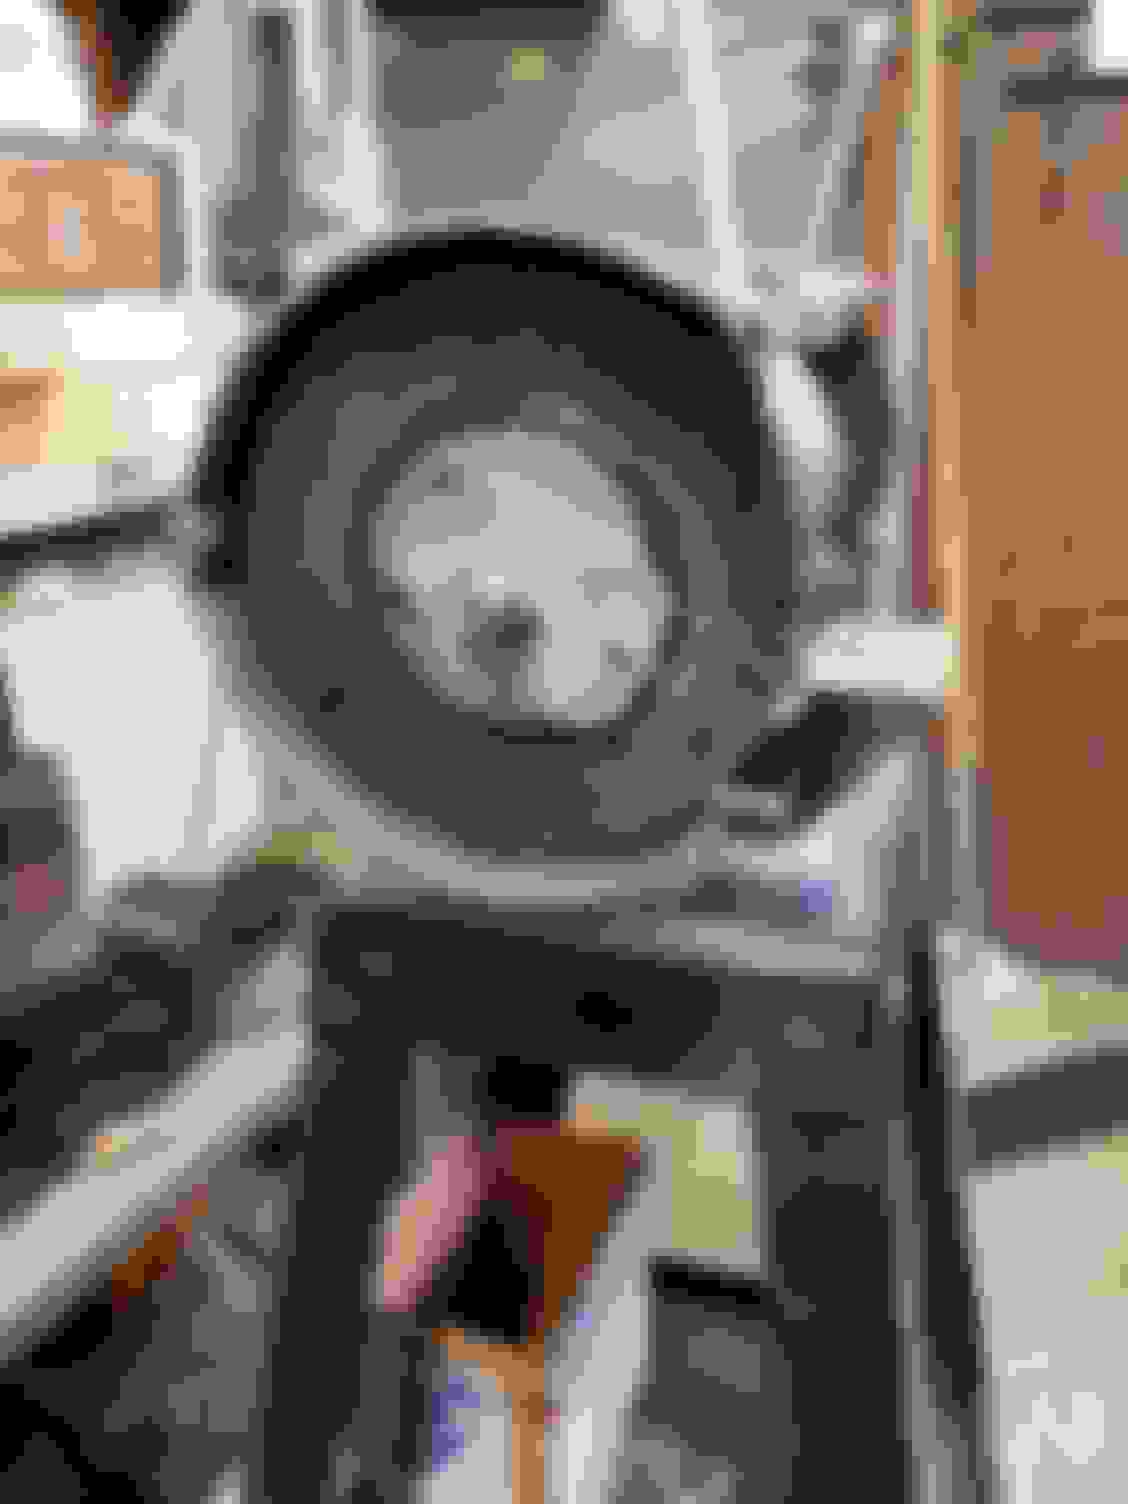
Here are some of the tools I used to get inside at the rust, where I could.. Flexible shaft was a bit too flexible.. I used a piece of pvc to control the flex on the flexible shaft.. Worked well. The metal curtain rod is used to vacuum in tight spaces. New wire wheel made in USA out of balance. Not much on the internet on how to balance a wire wheel. So I made this and it worked quite well!! Using a mower blade balancer.. This grinder has two wire wheels and even with my foot on the shelf of the pedestal it would chase all over.. Now it can run without any movement!! That's 1/8" steel plate. It could be trimmed considerable more, but it works..
One more step accomplished. I removed and installed the E-Brake cable. I was able to move the inner fender well a bit and get it out of there! The new one went in much easier. It isn't OEM, but that's ok.. Not much is on this one.