When you click on links to various merchants on this site and make a purchase, this can result in this site earning a commission. Affiliate programs and affiliations include, but are not limited to, the eBay Partner Network.
I dropped the frame of at the powde coaters Wednesday afternoon. Friday morning they called and I'm thinking, great, they found a crack or something. No, they said it was done! I went down Friday afternoon and picked it up. All I can say is damn, I really made the right choice to go with powder. I kinda feel like I took advantage of them for the price they charged me. Total cost was $342.50.
I got it done at Advanced Powder Technology in Dieterich IL. I haven't had anything else powder coated except a set off wheels so I may not be the best judge but I thought it turned out fantastic. I should have taken the rear end there as well. I still may. They were very friendly and offered suggestions and expectations. They do a lot of production powder as well as one-offs like this.
Since we didn't do anything as far as cleaning up the surface or smoothing out welds of course you still see all of that originality.
Other than that I got my T/A sway bar sanded and primered.
That is a very good price for the powder coating. My guy charged by the length of the frame, $30 per foot; my frame cost me $595. I got the powder-coater to throw in all my engine accessory brackets, pulleys, bumper brackets, fan blade, etc. for another $100 to sweeten the deal for me. $350 is a real bargain!
Rodney
Not a lot of progress to report. We did get all of the ball joints out of the control arms and all of the old bushings as well. Those metal inserts suck, but my son went after them with an air chisel so it was mostly a pain for him. I need to get a larger tub for my de-rusting because the rear arms won't fit in the one I have. He is also going to build some braces to tie the rear control arms together. Why buy when you can fabricate. Also got the steering arm cut off the grand cherokee box.
I decided to hold off on putting the frame together until it gets cold out and taking it to the house. The shop has no heat so winter is a no go there.
Sitting there looking at the body up in the air got me to thinking about at what stage to take the body to the shop to get done. I posted this thread in the other section about that. Feel free to offer thoughts or experiences.
No new photos, but I'll post a before and after control arm after electronic rust removal is done in a couple of days. I'd put my whole rear end in it, but I would need a huge tank. Maybe I could line my sons pickup bed.
Steve:
I made up 4" PVC plumbing pipe to soak my rear control arms, it worked really well for the long, skinny control arms. I didn't use the electrolysis method. I used 9% acidity vinegar followed up with EvapoRust to clean up my parts before painting. You gotta be careful with the vinegar as it will consume the metal parts in short order if left soaking too long.
That's the thing I like about the electronic method, it is non destructive. I even did my hubs in it.
That's a great idea about the PVC, I need to look for other non-obvious things to use. Thanks
We got a little done on the Cutlass today. Got the pistons disconnected so we could put the top down. Looks like the top frame is going to need to be repainted, there is a little light rust here and there.
Got the seatbelts out and cleaned up the floor and trunk for a bit. Cut out a couple of rust spots on the floor that need patched. A few years ago I bought four of the floor section pieces off Craigslist in case I needed them. Well, I have the two front pieces and the two under the rear seat. Of course I don't have the one that would cover the area we cut out. We tried to make a patch for the one side but lack of experience and compound curves led to unsatisfactory results.
We are thinking about replacing the two outside sections of trunk floor and the bar or whatever it's called under those.
Nice... Are you going to change seals check bearings etc? and what are you going to paint that with? looks great by the way no pits or nothing
They did a great job blasting it and it was only $45 for all of that. They even phosphate coated it so it wont flash rust. I'm just using Duplicolor semigloss black. It's an open unit now and along with switching that and changing gear ratio I have to pull the axles to put the LS1 backing plates on for the C6 upgrade so I'll just replace all of the seals and bearings.
I got the 2 rubber bushings for the rear upper control arms last week. I just ordered these springs. This is the last of the parts that I need for the frame.
Last night we got the sleeves for the control arms pressed in. We had issues with the round one on both lower front arms not wanting to line up right and things took longer than they should have. We also boxed in the lower arms, using a short piece of pipe between them where the sway bar bolts will go and a piece of 2" x 1/8" flat steel from home depot. They sell 4 foot lengths, but 6 foot was all they had, about thirteen bucks for that. Perfect width and we only had to hack two pieces off for the arms. These will be substantially better now. The only issue now is getting some type of coating on the inside to help deter rust.
I was a little concerned with the durability of painting many of these parts with a spray can, but that stuff was on there good. I'll have to do a little touch-up from the press, but there seems little question that this stuff will hold up.
We used slotted sections of PVC for spacers to keep from crushing the arms, like other people have done. That worked out very well, highly recommend using this method. Once the ball joints are in and the paint is touched up were good to go.
No pictures yet, it was a long evening and we were trying to get done so he could get some work done on his trail rig. I'll probably replace some of these parts at some point, but these will work well to get this beast on the road.
My red BMR springs came yesterday. I wasn't thrilled with the color, but the UMI were 300 compared to 219 and they won't be that visible. Budget build.
In keeping with the budget theme of this build, I picked up a 2000 Camaro master cylinder at the junkyard for $10 last weekend to go with my $250 C6 brake setup. Also saw a Volvo fan relay practically falling out of the car so I picked that up, have three now. When I was there I grabbed a pair of short battery cables from the trunk of a 2000 BMW 325 along with the junction box there and the junction box under the hood that connects the battery cable from the trunk to the cable in the engine compartment. I grabbed the long cable from an M3 there a few weeks ago. I've got two of these trunk to engine compartment cables. These things are very flexible and made up of hundreds of very small strands. I'll still need to get one of the grommets to go through the firewall. Some BMWs also have a piece mounted to the firewall and the trunk and engine cables attach to that to pass through. I may have to find someone that can splice two of these together as one might not be enough since the cars are smaller. If I find one in a 5 or 7 series I might grab that to see if the length is good. They are a pain to pull, but for $5 it's a deal, especially since the seats were out of the car.
It's been a while since I've made any real progress on this thing. Lost motivation over the winter. Went to visit my sister in Florida at the beginning of March and was in a bad wreck on the interstate an hour and a half after we left her place to come home. Had to take time to find a new vehicle and it was well over a month before I could do anything mildly strenuous without my back getting very sore. Even walking around the junkyard for a few hours, not pulling parts did it. Missed out on wheeling and ATV trips too which sucked.
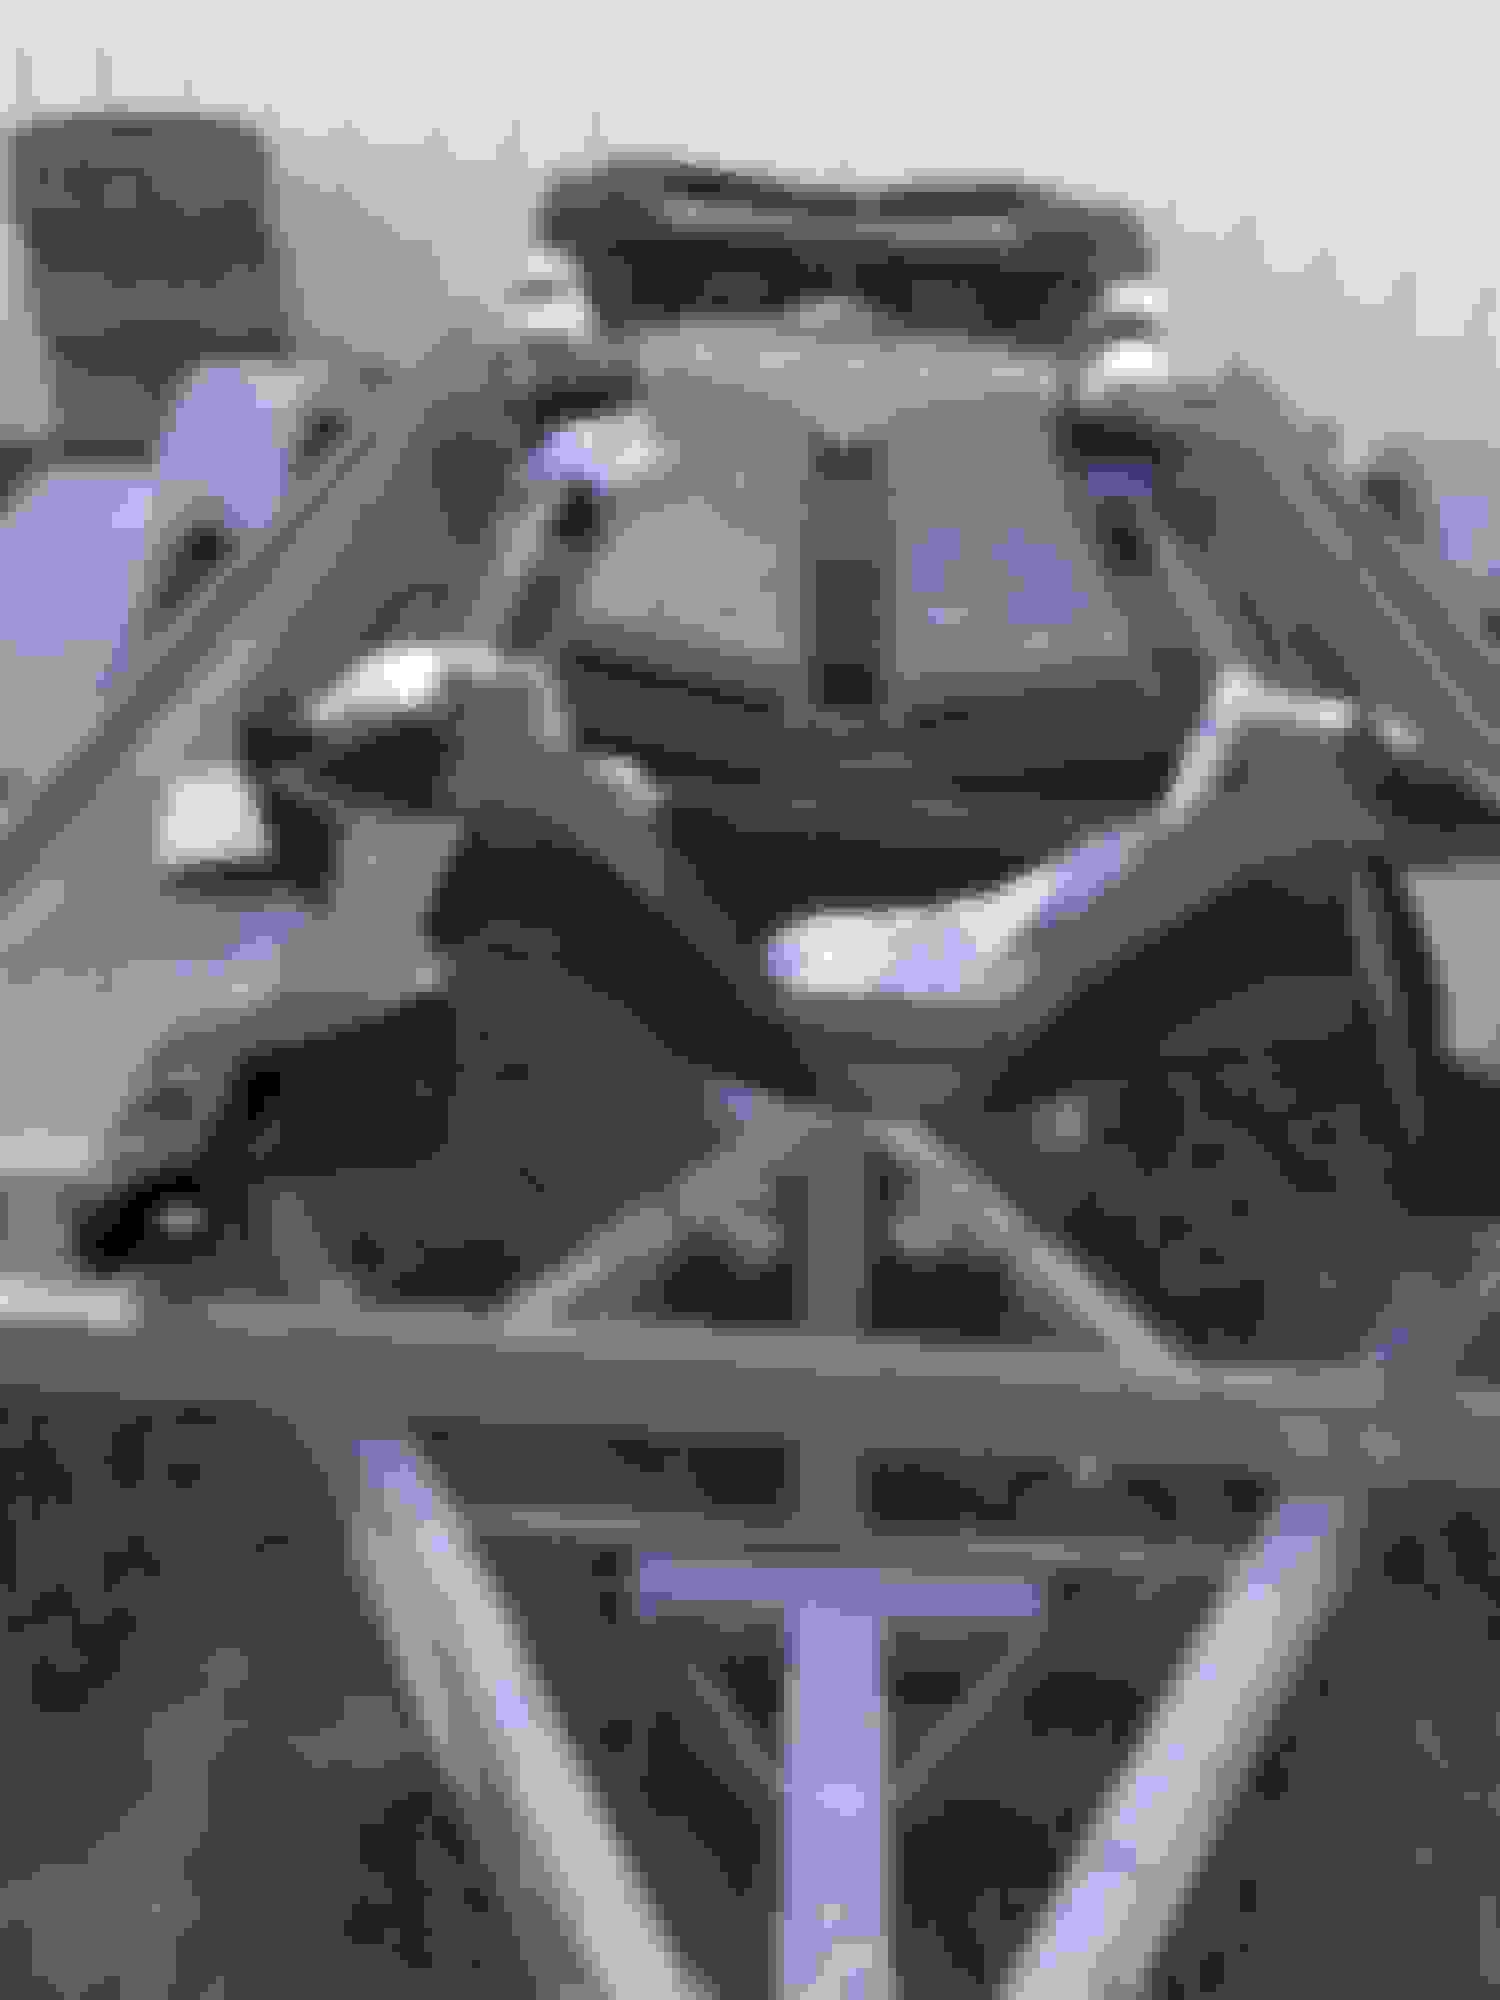
Anyway, I got the paint on all the control arms touched up from pressing in the bushings.Bought some NOS control arm shaft retainers and nuts on ebay at a good price. I started putting things together and I was having a hell of a time getting the front lower arms in by myself. Those poly bushings wanted to work there way out on their own on some of them as well. I skipped those and went on to the rears. I put one of them in three times I think before I got it right. The assembly manual wasn't totally clear in my mind. It said to put the bushing extrusion towards one side or the other, but the arms are the same so one side had to face out and one in. I hope I have them right now. My son helped me out yesterday so we got a good amount done. We got a little bit of luck as a friend of mine and his wife stopped by unexpectedly to see our new dog and he helped get the rear in. I misplaced two bolts so I either need to find them today or go back out to Rural King and get two more.
Had a little trouble with one rear upper. The powder coat made one of the holes slightly to small for the bolt to go through. A little work with a round file and it's good. Didn't have to go to bare steel which was nice.
Apparently one of the front upper cross shafts got a little damaged when we took them out. We had to do a little work to the threads to get the nuts on, but everything worked out. Nothing is torqued down yet, but I'll get to that soon enough.
I found realized that I need to get the hardware to mount the lower end of the front shocks still. Shocks are KYB gas adjust. I read a lot of love/hate about them when picking them out and decided to give them a go. Also, BMR 2" lowering springs. Ordered the springs directly from BMR. I had told them I was going to buy them from Jegs because they were cheaper and had free shipping and the guy there gave me a discount code and free shipping so they were a little cheaper than Jegs. Most everything else was from Rockauto.
Got the shocks in and cleaned up my GC steering box. The rear is in, the spindles are in, minus the hubs, etc. didn't realize the shocks in the back had the lower mounts in the box so I had to get the old ones out first. Got the clips for the front shocks at NAPA and it's a good thing I thought I needed them for the back too because I snapped the nuts off of two trying to get them lined up where they belong. That was kind of a pain. Hopefully tomorrow I can paint the steering box. I'm going to paint it cast iron. Trying to limit my colors to black, cast iron and silver. Not concerned about accuracy as I'm building it the way I want it to look. Soon I'll have to put the steering together, then maybe start working on the motor sonit can go in. And at some point I'm going to have to tackle the underside if the car and we have some repairs to do in the trunk. I'm writing this from my phone so these photos will probably be huge. Sorry.
I've got to say there was a time when I thought I'd never get started on this. I've got to give credit to my son for pushing me to start it. Is very exciting and satisfying to be to the point where it's going back together and will be sitting on wheels again soon.
If if you don't think you can do this, I didn't either. Take your time and take lots of photos and back them up. Put EVERYTHING in ziploc bags and label them. I've got a few things not labeled but so far things are going well.
Gotta be honest, I haven't gotten much done lately. Getting some motivation going again. I've accumulated everything for the engine and need to get some stuff to a friends for some work.
I think the next steps that need need to be done are,
Wire wheel and paint the underside, can't wait to do that.
Repair the body mont points.
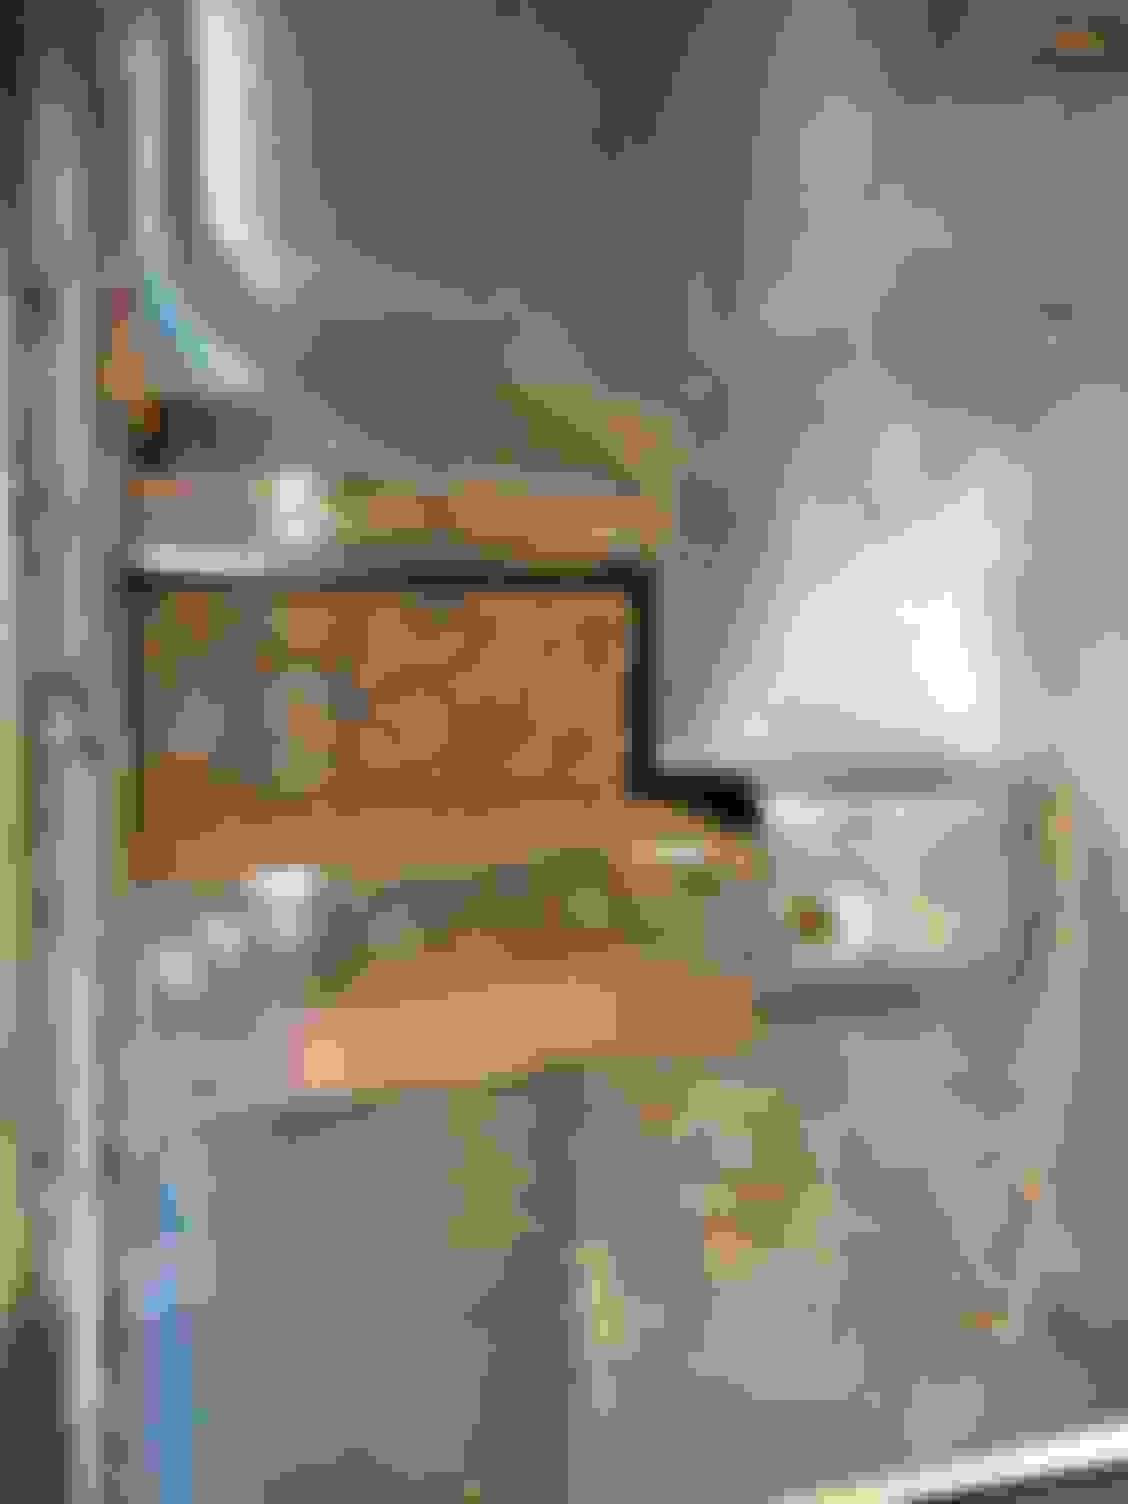
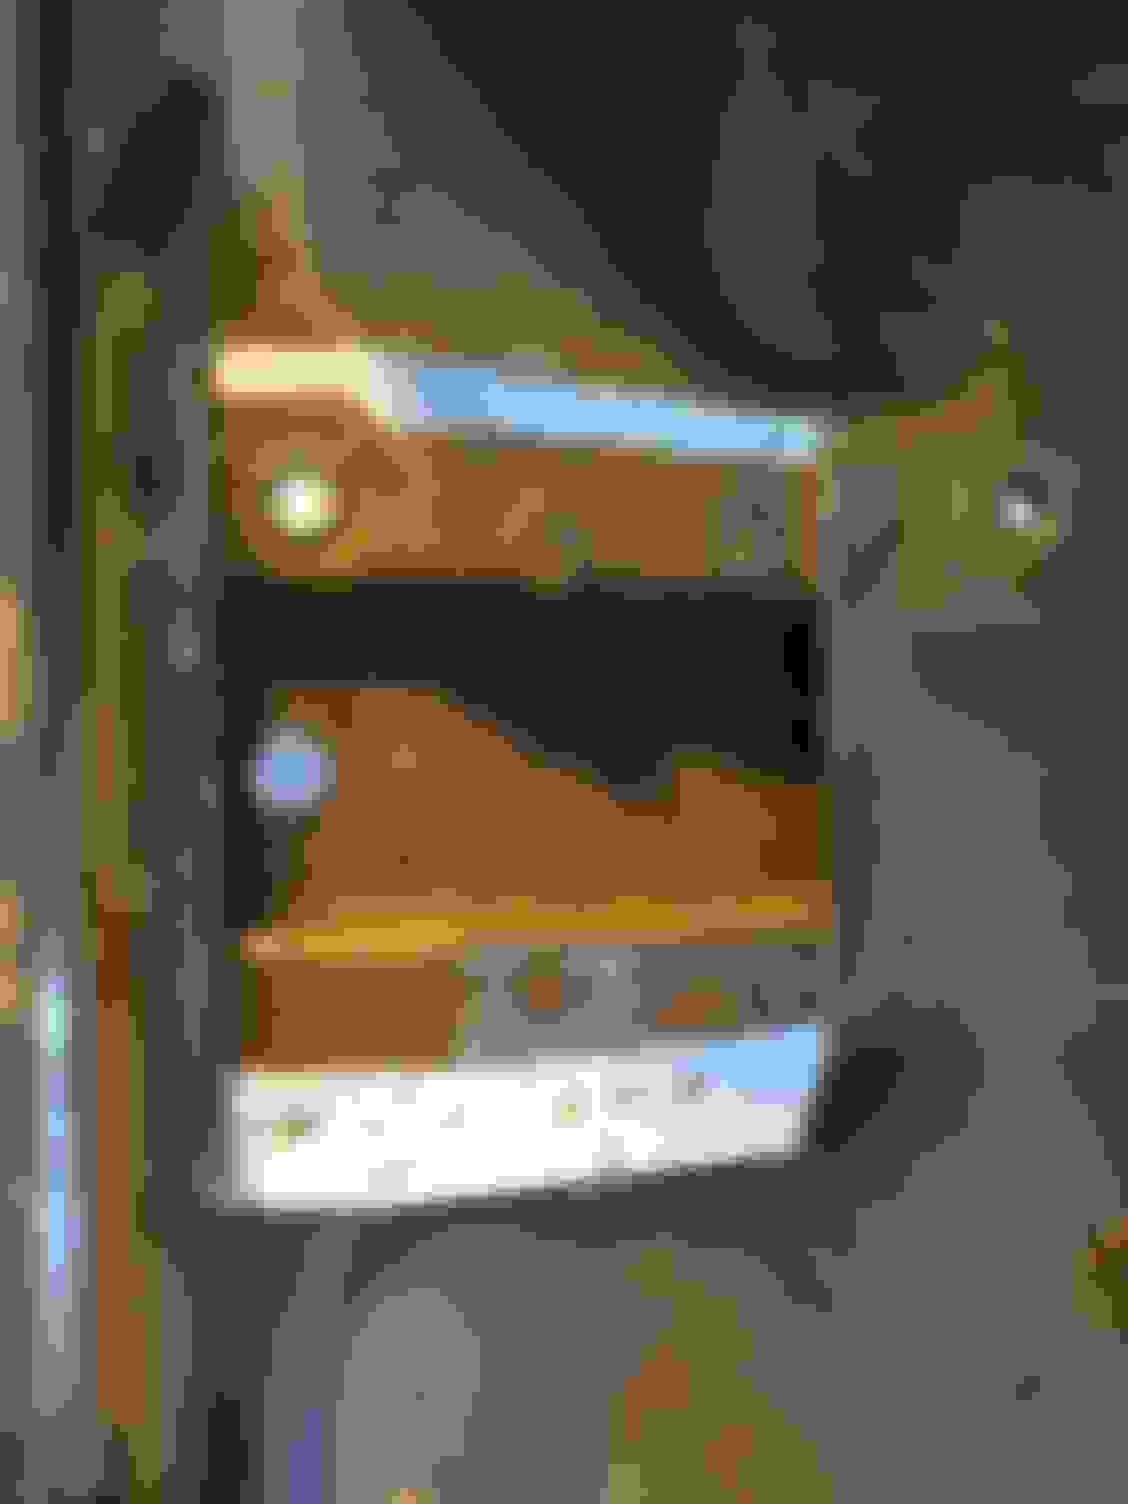
Patch 2 5" or so places in the floor.
Figure out (and fix) how much of the trunk needs to be replaced, at least the outside sections including the braces with the mounts.
Figure out how good or bad the drop of sections and wheel houses are and decide if we are going to do that ourselves.
Once that's done we can run brake and fuel lines and put the fram back under it. I'm using nicop brake lines and I still need a proportioning valve.
Clean up and paint the brake booster gold.
Need to get the core support painted before putting it back in.
I think i need a spacer behind the f-body backing plates, but don't want to buy anything until I can measure and verify.
I need to get a posi and some better gears but that may wait a while. I'd like to at least get it running this year.
Im hoping I can get some progress made and post more photos soon. When I look at the frame in the garage it feels like I haven't gotten much done. Then I look at all of the parts in boxes, parts I've ordered, parts I've painted, fixed, etc and realize that quite a bit has been accomplished. I can't stop, now, I promised mom she'd get to ride in it again.