When you click on links to various merchants on this site and make a purchase, this can result in this site earning a commission. Affiliate programs and affiliations include, but are not limited to, the eBay Partner Network.
Very neat idea for the rollover "cradle".
It will be a great feeling when you finally get the body back on the frame.
You will feel like you have a car again.
On my '63 restoration I was lucky enough to find a used rotisserie for $500 on craigs list.
I used it and sold it for $500 to a member here. After I determined that I was never going to do another body off restoration. (I'm 72)
Funny thing is that the guy I bought it from, after buying it new, sold it to me and swore that he was never going to do another " body-off".
the only way I�d do another one is if it only needs paint and simple stuff. I�m doing this one because of sentimental. I learned to drive in this car.
Finally getting around to updating this since it’s been quite a while.
mom using C6 calipers and rotors in front. I’m back I’m using C6 calipers and 2002 fbody rotors and backing plates. I had some brackets a friend cut for me but they didn’t line up correctly so I ordered Kore3 brackets a couple months ago. They should be here in a couple weeks
the underside wasn’t terrible. We did have to make a small patch around where the seat belts bolt down. The trunk was not all that bad, but the braces with the body mount nuts were bad and the brace at the very back was bad at the ends. My son fixed those as he’s the welder. We replaced the outside thirds of the trunk. I was fortunate that Brian Trick had the rear brace. It’s not reproduced and the chevelle piece is different.
This was a problem. We took it off, welded a new nut and welded it back.
Last edited by DewChugr; Oct 30, 2023 at 06:44 AM.
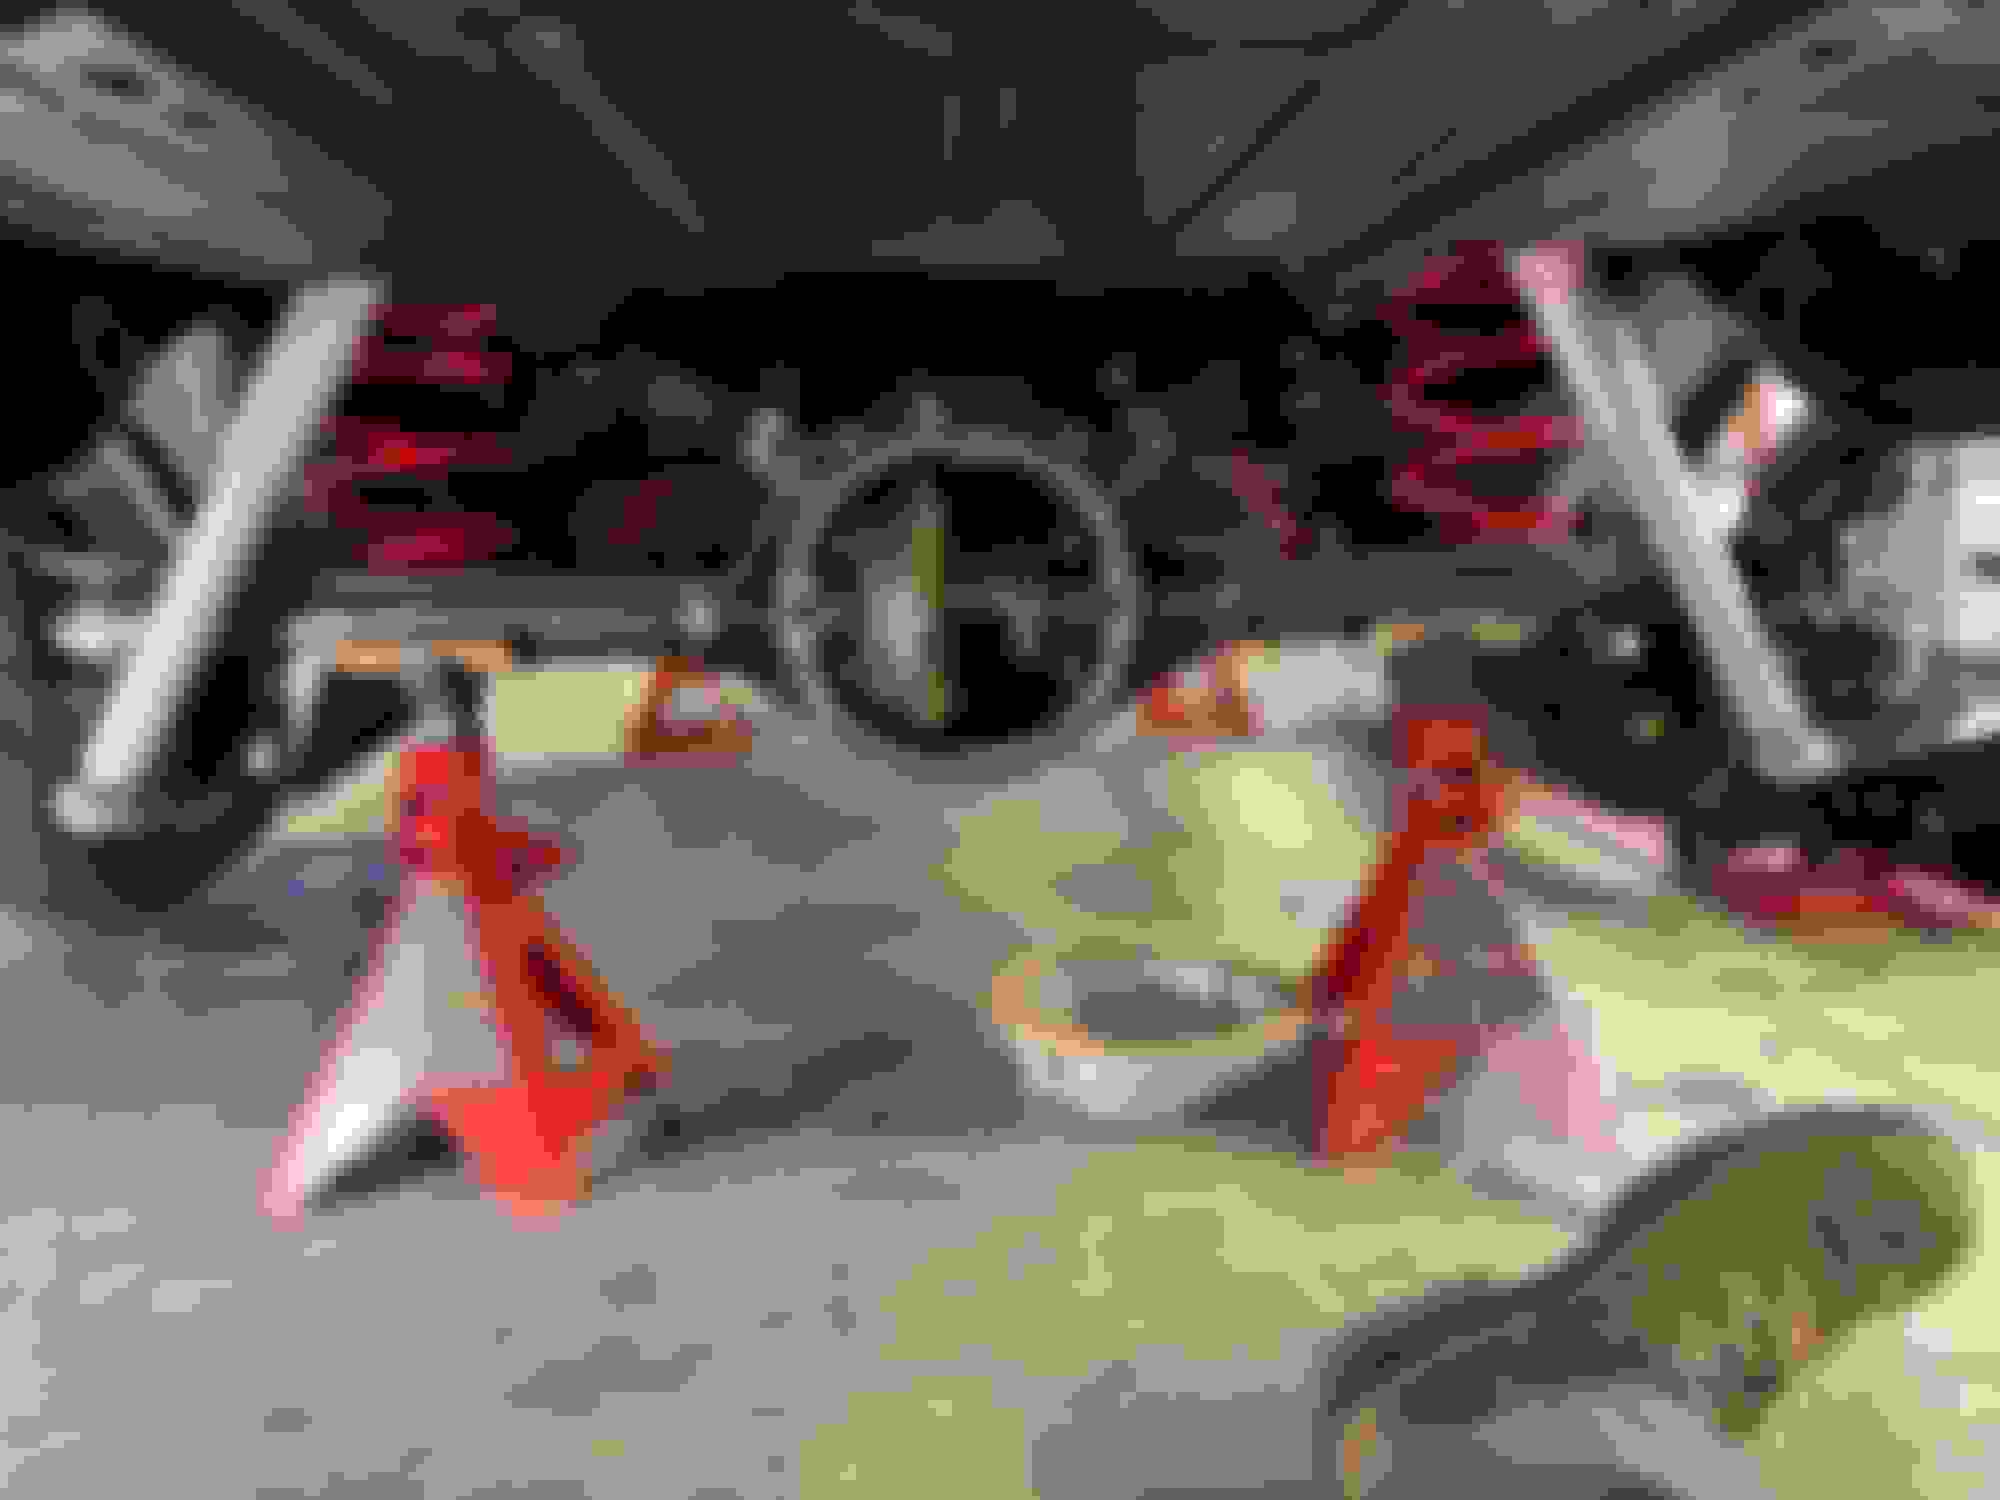
Had the frame at home putting all the suspension and steering together. Last day it was at the house.
I used BMR springs and since they are red I painted the sway bars red. I got a 79 T/A bar for the front for about $50 from car-part.com and found a rear chevelle bar on Craigslist.
The stock wheels aren�t going to fit obviously. Put them on bolted down with some washers and nuts. Got it back out to the shop and had some buddies over one evening to help us get it in place on the frame. Found out that the body mount kit did not include nuts, bolts and washers for the very front mounts so another trip to rural king. Super handy having them in town for all of the hardware needs.
the core support was rough. had it blasted at the place I got the frame powder coated. They were super helpful, I called last Tuesday and they got it in first thing Wednesday morning. If you�re within reasonable distance of central Illinois I highly recommend elite powder coating in Dieterich IL.
If a admin feels the need to move this to the non olds engine page for some reason please let me know and I�ll delete this post.
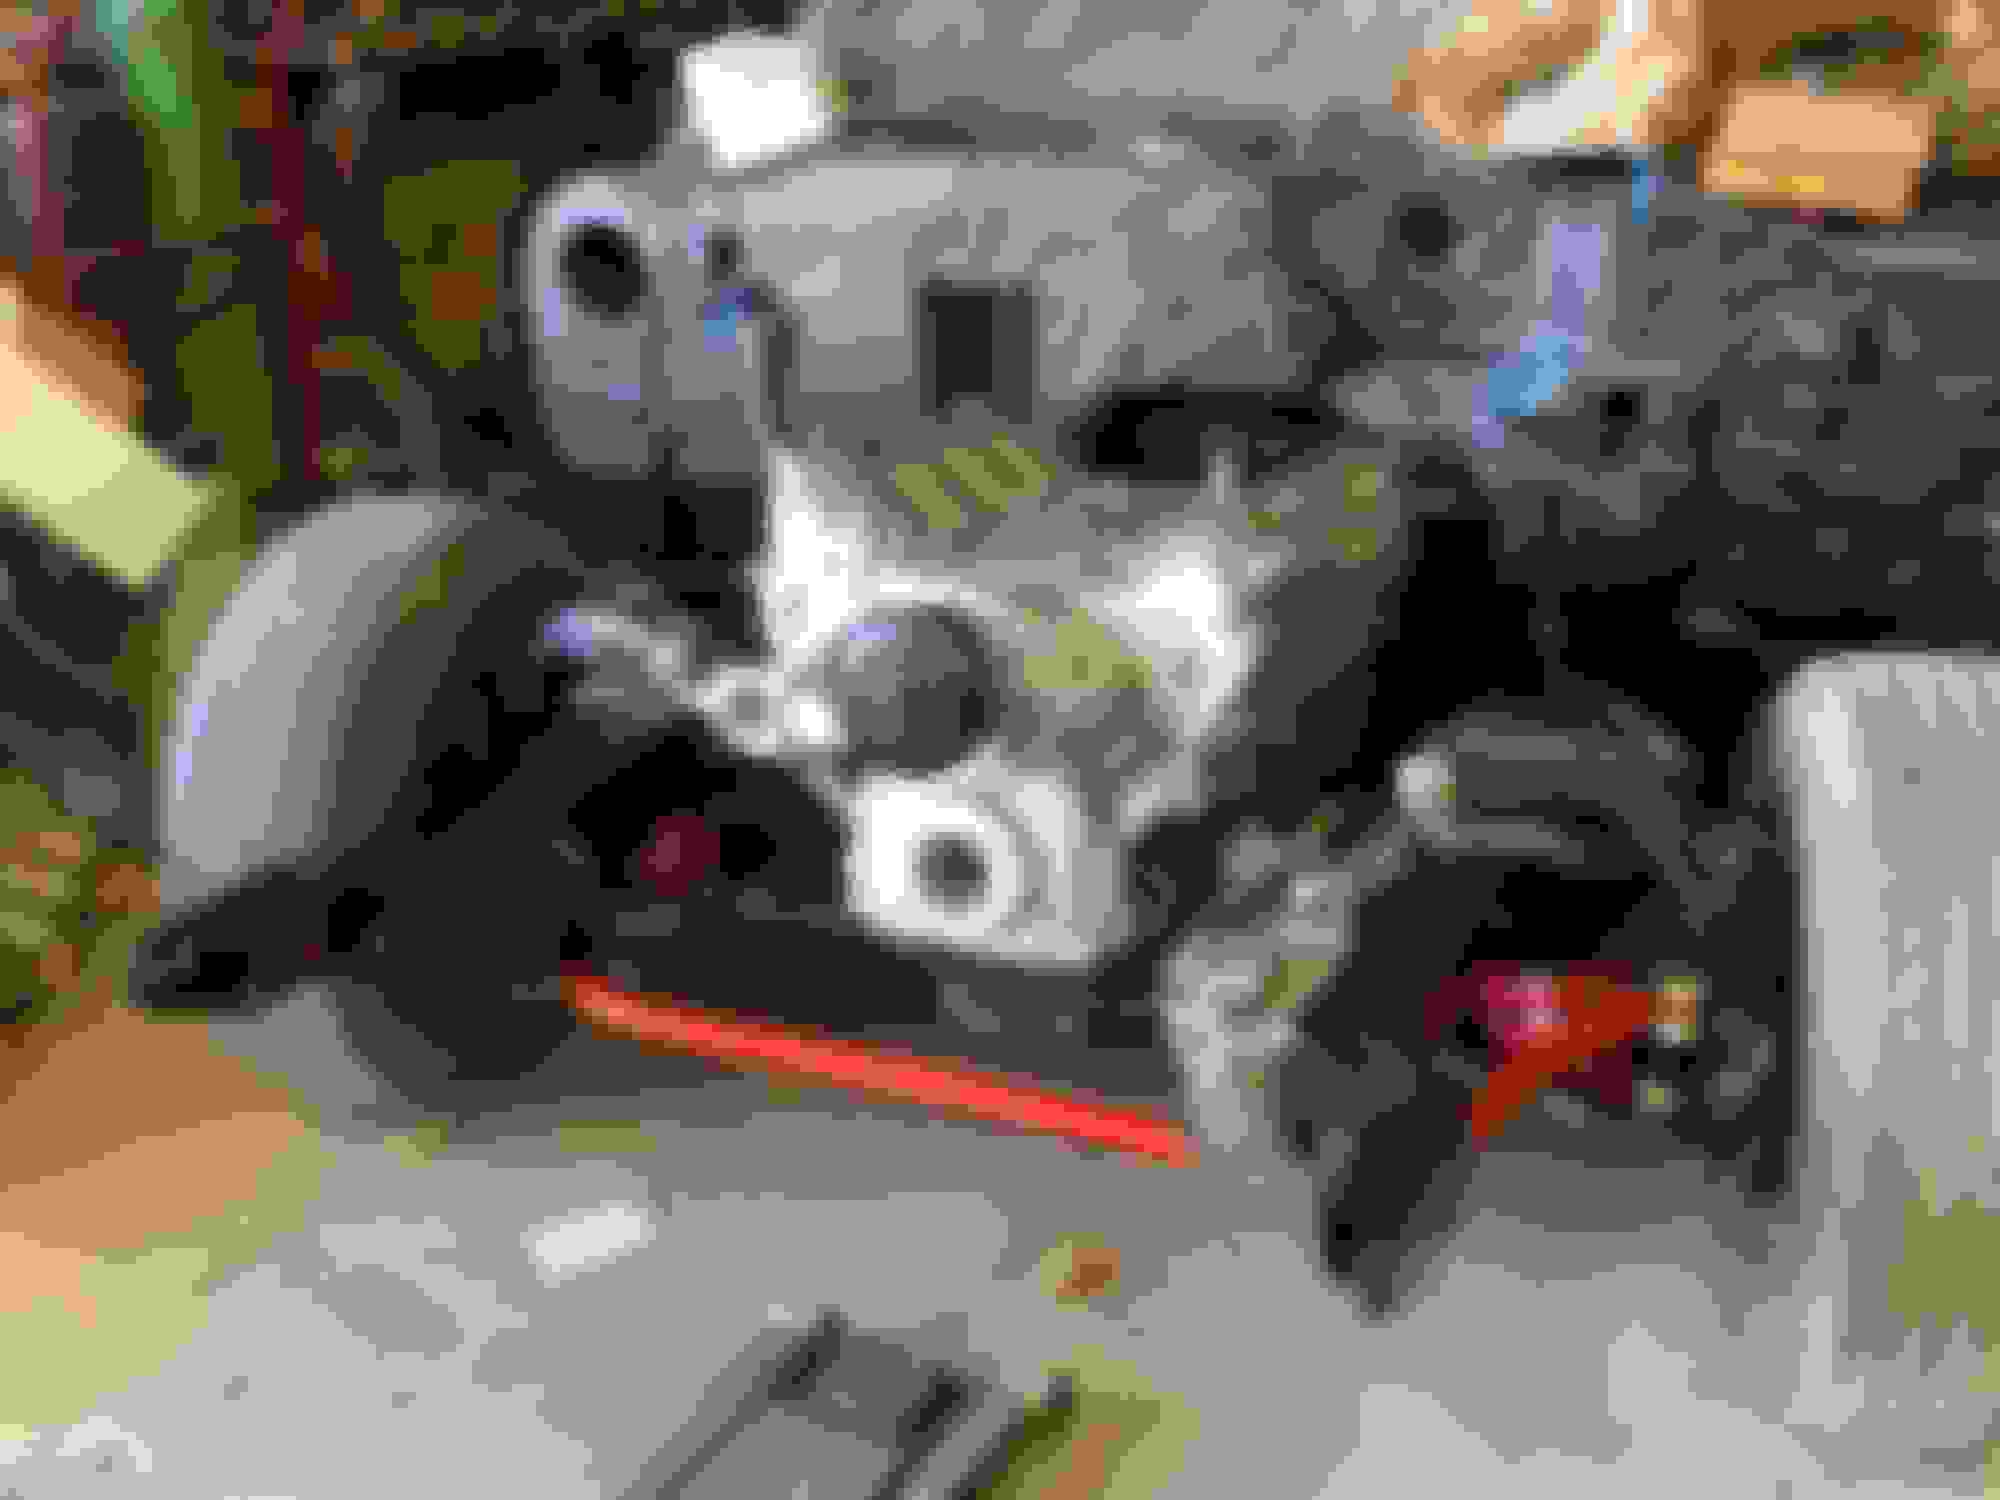
Got the motor and trans in. Holley forward adapters, fbody mounts, Holley oil pan and Holley trans crossmember. 4L80 that a friend of my sons rebuilt and a Circle-D converter. Dan Palmeri at Circle-D was a big help picking out a converter and he�s a real car guy. Talk to him if you need info. There�s a story to the name/logo on the trans.
Last edited by DewChugr; Oct 29, 2023 at 07:55 PM.
I forgot to mention I bought a set of gears and posi for the 10 bolt. Once again Brian Trick hooked me up. I got the install kit from him and ordered setup bearings online. Brian was a huge help answering to many questions and looking at photos of yellow paint for us. He really knows his stuff. I highly recommend him for anything related to rear ends!
We are waiting on the trans crossmember to get here from summit. We missed the one line that said the one we originally bought wasn�t for convertibles. And the Holley website doesn�t mention it on the abody page, you have to go to the elcamimo page to find that.
once that comes in we are going to haul it to my sons heated garage to start putting it together over winter and hopefully driving in the spring. The plan is to put it together minus trim and whatnot and drive it for a while and make sure we don�t need to do anything major to it before getting body and paint done. At least I won�t have to pay to have floors redone. Have quarter and fender typical rust to deal with.
I really didn�t want to spend $1300 on the Holley blackheart header, even tho I know they would fit. So I had the idea to search eBay. I found the Holley store and a set of Flowmaster headers for a great price (considering the retail price).
These are the Flowmaster and fit great. There was a small scuff on one bend, but for 30% off I�m good with it. 6.0, 4L80, Holley forward mounts, 302-3 pan and swap trans crossmember.
We�ll need to trim the tab on the passenger side of the 4L80. It�s barely touching but we�ll trim it off.
Few just got caught up , looking pretty awesome! Larger wheels? Didn�t quite get the gist of why? I mean bigger is always better lol but for me that�s wider not taller lol clearance issues? I love my LS ( in my Corvette) you will love the power and turnkey starting lol
Few just got caught up , looking pretty awesome! Larger wheels? Didn�t quite get the gist of why? I mean bigger is always better lol but for me that�s wider not taller lol clearance issues? I love my LS ( in my Corvette) you will love the power and turnkey starting lol
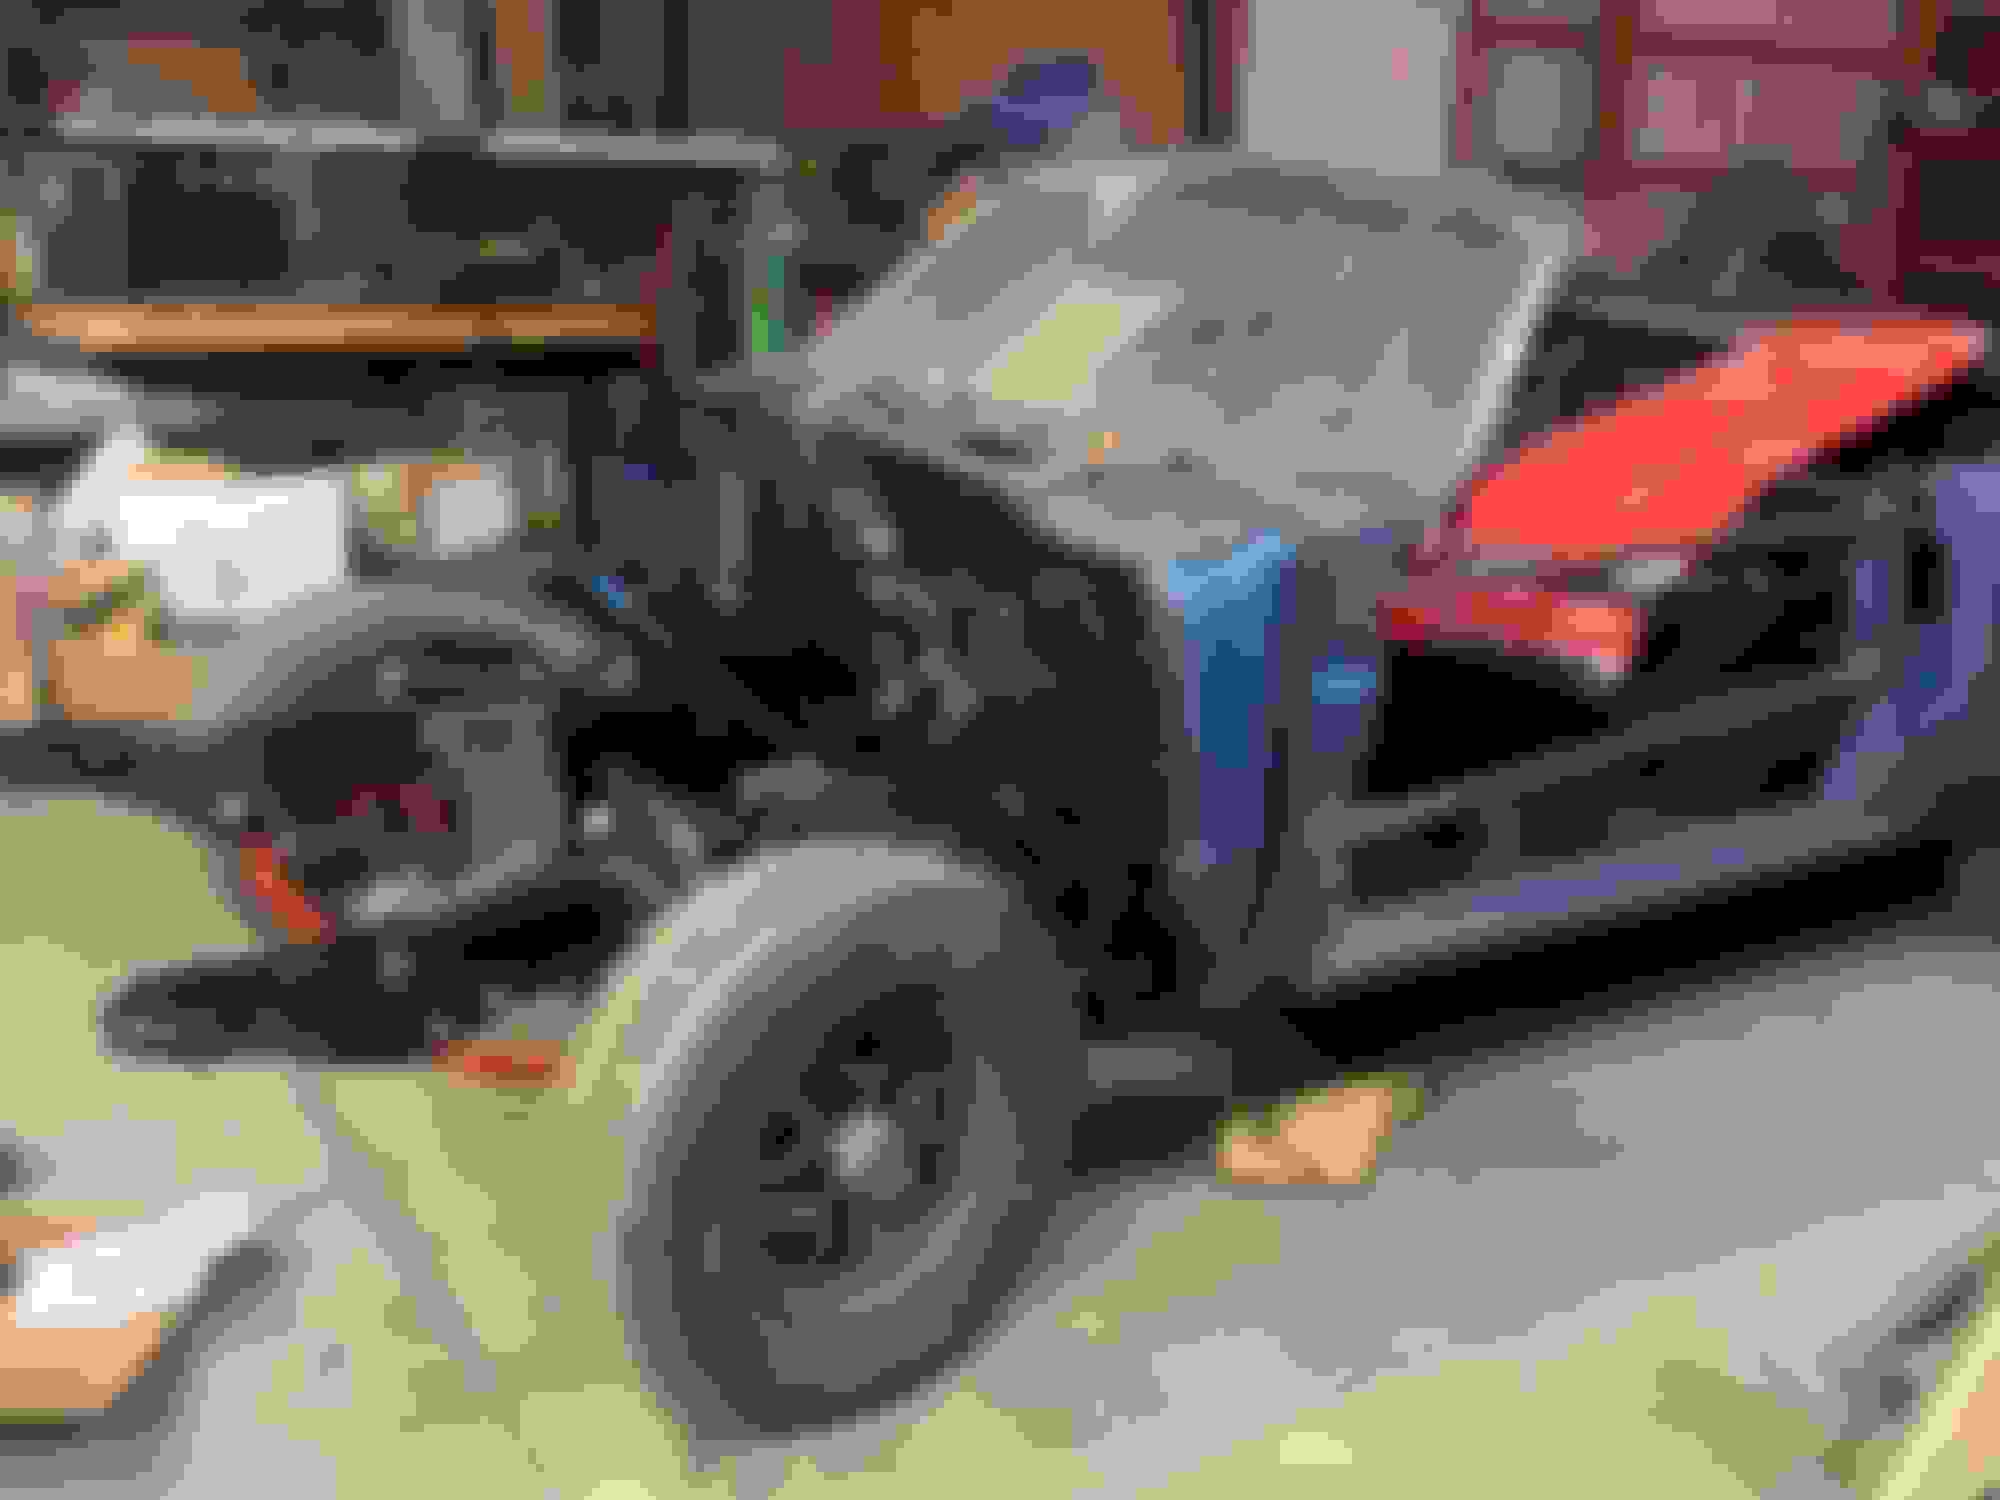
Not obvious, but the rotors in that photo fill the entire wheel opening. 😀
We finished the brake lines last night. Fronts are Kore3 brackets and all C6 stuff. Rear is C6 calipers, 02 fbody backing plates with parking brake, caliper brackets and rotors. We used 02 fbody hoses in the rear and Cutlass in the front. Off the shelf parts are great as opposed to custom hoses. Will need to test the front with calipers to make sure they are long enough when turning.
The headers I had didn't fit well so I found these stainless Flowmaster headers for a great price on the Holley ebay clearance site. A little scuff on one was all I found. We did have to trim an ear on the passenger side of the trans otherwise they fit great. $600 wasn't super budget friendly, but I was done screwing around with trying to find something that fit.
We found that the Rainier PS pump would not fit, but the smaller pulley does. I'll need to get a truck pump.
We needed a way to mount the proportioning valve. My son sketched this out, I drew it up in Adobe Illustrator and had a friend plasma cut it and bent it for us. Came out great.
Much encouragement from Spain, you are doing great.
My daughter is still too young to help me with these types of things, you are very lucky to have sons who help you and push you to do a project of this caliber.
I congratulate you, keep it up!
Last edited by keyboard; Mar 29, 2024 at 05:30 PM.
Much encouragement from Spain, you are doing great.
My daughter is still too young to help me with these types of things, you are very lucky to have children who help you and push you to do a project of this caliber.
I congratulate you, keep it up!
I thought I would create a thread of my restoration to help me document what I get done and get tips from others. This is going to be very picture heavy.
Background: I don't know what I'm doing. Mechanically inclined, but never done this before, not a mechanic, don't know how to do metal work, etc, etc. My son is helping me along the way. He is a mechanic, builds race cars, off road vehicles, has some time in a body shop and worked at Sherwin Williams auto paint store for a while. He can do pretty much anything.
This is the car my father bought for my mother in 1974 from the local Oldsmobile dealer. This is also the car my sister and I learned to drive in. They had two convertibles, a blue one and a brown one. This was a week or two before the fourth of July and the blue one was supposed to be in the parade. However (fortunately) my moms favorite color is blue, they had to use the brown one in the parade. The car is a pretty basic car, 350 4 barrel automatic with white interior.
My mom drove this car until the early 80s then it was parked in my dads shed (pole barn). It sat there many years, he and I were going to restore it, but neither one of us knew what we were doing. Then we had kids, no money, no time and the car sat.
Some time around last spring or the winter before my son asked if I was ever going to do anything with it and offered to help. He made it sound so simple, you just take stuff apart, clean it, paint it and put it back together. Sounds simple enough so last summer we started on it. I am fortunate to have a large space to work on this, unfortunately I'm in Illinois and it's not heated.
I wanted to keep the car mostly original, but I knew there were a couple of things I wanted to change. I wanted better braking, more power, if possible money-wise a manual and I really wanted an OAI hood. Oh, and chrome wheels.
It seems like I've already had a lot of things just fall into my lap as it were. Shortly after starting I saw a guy on craigslist selling a 71 OAI hood and he only wanted $600. I texted and emailed and finally got his wife. She said someone was coming to look at it that evening, but the first one that had the cash had the hood. I showed up at his house about seven or eight and the other guy was supposedly on his way. I talked to the guy who works at one of the better collision shops in town and it turns out he is related to someone I know. He was planning on using it on a Cutlass he had, but his some wanted to build a race car out of a Mustang or something they had. He said he had test fit it on the car and it fit well. It was a fiber concept hood, from what I can tell, but it doesn't have the latch. Anyway I handed him six bills and asked if he could hold it for a day or so til I could get a truck to pick it up. He said he'd drive it to my shed about 20 miles away, so now I have the hood I want.
Last winter on craigslist I see a guy about an hour and a half away with a set of 2008 brakes with 10k on them for $300. I pick them up for $250, calipers, brackets, pads and rotors. Since then I created an electronic drawing of the bracket to mount the front calipers to a set of drum spindles I picked up. A friend of mine cut them out with a plasma. I found a set of 2000 f-body backing plates on ebay for $52 so that almost completes my brake upgrade.
I bought a complete front brake setup from a Chevelle guy for $50 so I could use the drum spindles and hubs for the C6 conversion. He said that he had recently rebuilt them. I gave the drums, pads and springs and stuff to get rid of.
I picked up some tail light lenses NOS I think on ebay about 10 years I think. This past year I bought a rear bumper, it's not great, but I got a set of lights and shields with it.
I'll post more including some before photos and some progress photos soon, but this is before we started.
I wanted something a bit beafier than the stock studs. I had a machine shop thread the axles and hubs when I had new bearings put on the axles. They did not have to drill them larger as far as I know. I got long ones because I had no idea how long I needed since I didn't know what wheel or how much everything else will take up. I'll either cut them down or use open lug nuts.
I haven't done a very good job updating this, so her is a little update.
The motor is essentially completely done now, minus the low pressure power steering hose. If I didn't mention it I am using the 86 Monte PS high pressure hose that other people had had success with.
The current next step is the fuel system. We decided for simplicity and the time savings I'd buy a new EFi tank from Tanks Inc. This is what I ordered 1- TM34R-T - 1970-72 Oldsmobile Cutlass, 442 Fuel Injection Gas Tank @ $285.00 ($285.00) 1- GPA-A - In Tank Fuel Pump Hanger Kit @ $105.00 ($105.00) 1- RS--GML-06 - 5 Bolt Reed Sending Unit Fuel Sender Ohm Range: 0-90 Ohms Floatless Sender Length: 6 inch @ $49.95 ($49.95)
I ordered all the fittings and -6 line from Summit. I went with the Vibrant brand on most of it and Russell from Amazon for a few of the fittings. My son has used and likes the Vibrant brand and while there are cheaper brands that I think would have been fine I bought these for that reason. Other parts I ordered were a DeatschWerks 6-1002-FRB fuel pressure regulator, Tanks Inc PG100 FP gauge and a Summit 230123B filter. I ordered 20' and a 10' lengths of hose. People I have talked to said 25' was what they used, but the Vibrant doesn't come in 35' lengths.
On to our biggest problem. I have a Walbro 450 pump and it's a little to long for the depth of the tank. So, I made an Adobe Illustrator file for. a spacer, based on a drawing from the Tanks Inc site, see below. I have a buddy that has CNC cut some stuff for me already, but the tolerance is not super high. I thought about cutting it out of a piece of aluminum using two sizes of hole saws. I ended up using sendcutsend. The cost was not much more than buying a piece of aluminum and if you order more than one the cost goes down. I should have that in a couple days. Then we can start putting the fuel system in.
The car will be flex fuel. I grabbed a sensor off of, I believe an Wquinox or similar at the junkyard for $5.
If anyone wants a nice stock tank I'm selling my old one $100 central Illinois pickup. It has some surface rust, but the inside is very nice. Pictures and info if anyone is interested.
After we get the tank in and lines run it will be time to do the wiring. I have a Megasquirt and the MS trans controller, but I've been thinking about using a factory computer. Cruise would be a little easier with a stock computer, but my son can tune the Megasquirt.
I just re-read your build thread; what a journey and the family history of the car it very cool. That fuel pump spacer you made may raise the pump too much; it could hit the trunk floor when you reinstall the tank. Just something to check before bolting in the tank. You could cut an access hole in the center of the trunk floor then do some sheetmetal fab work to accommodate the additional height of the fuel pump.
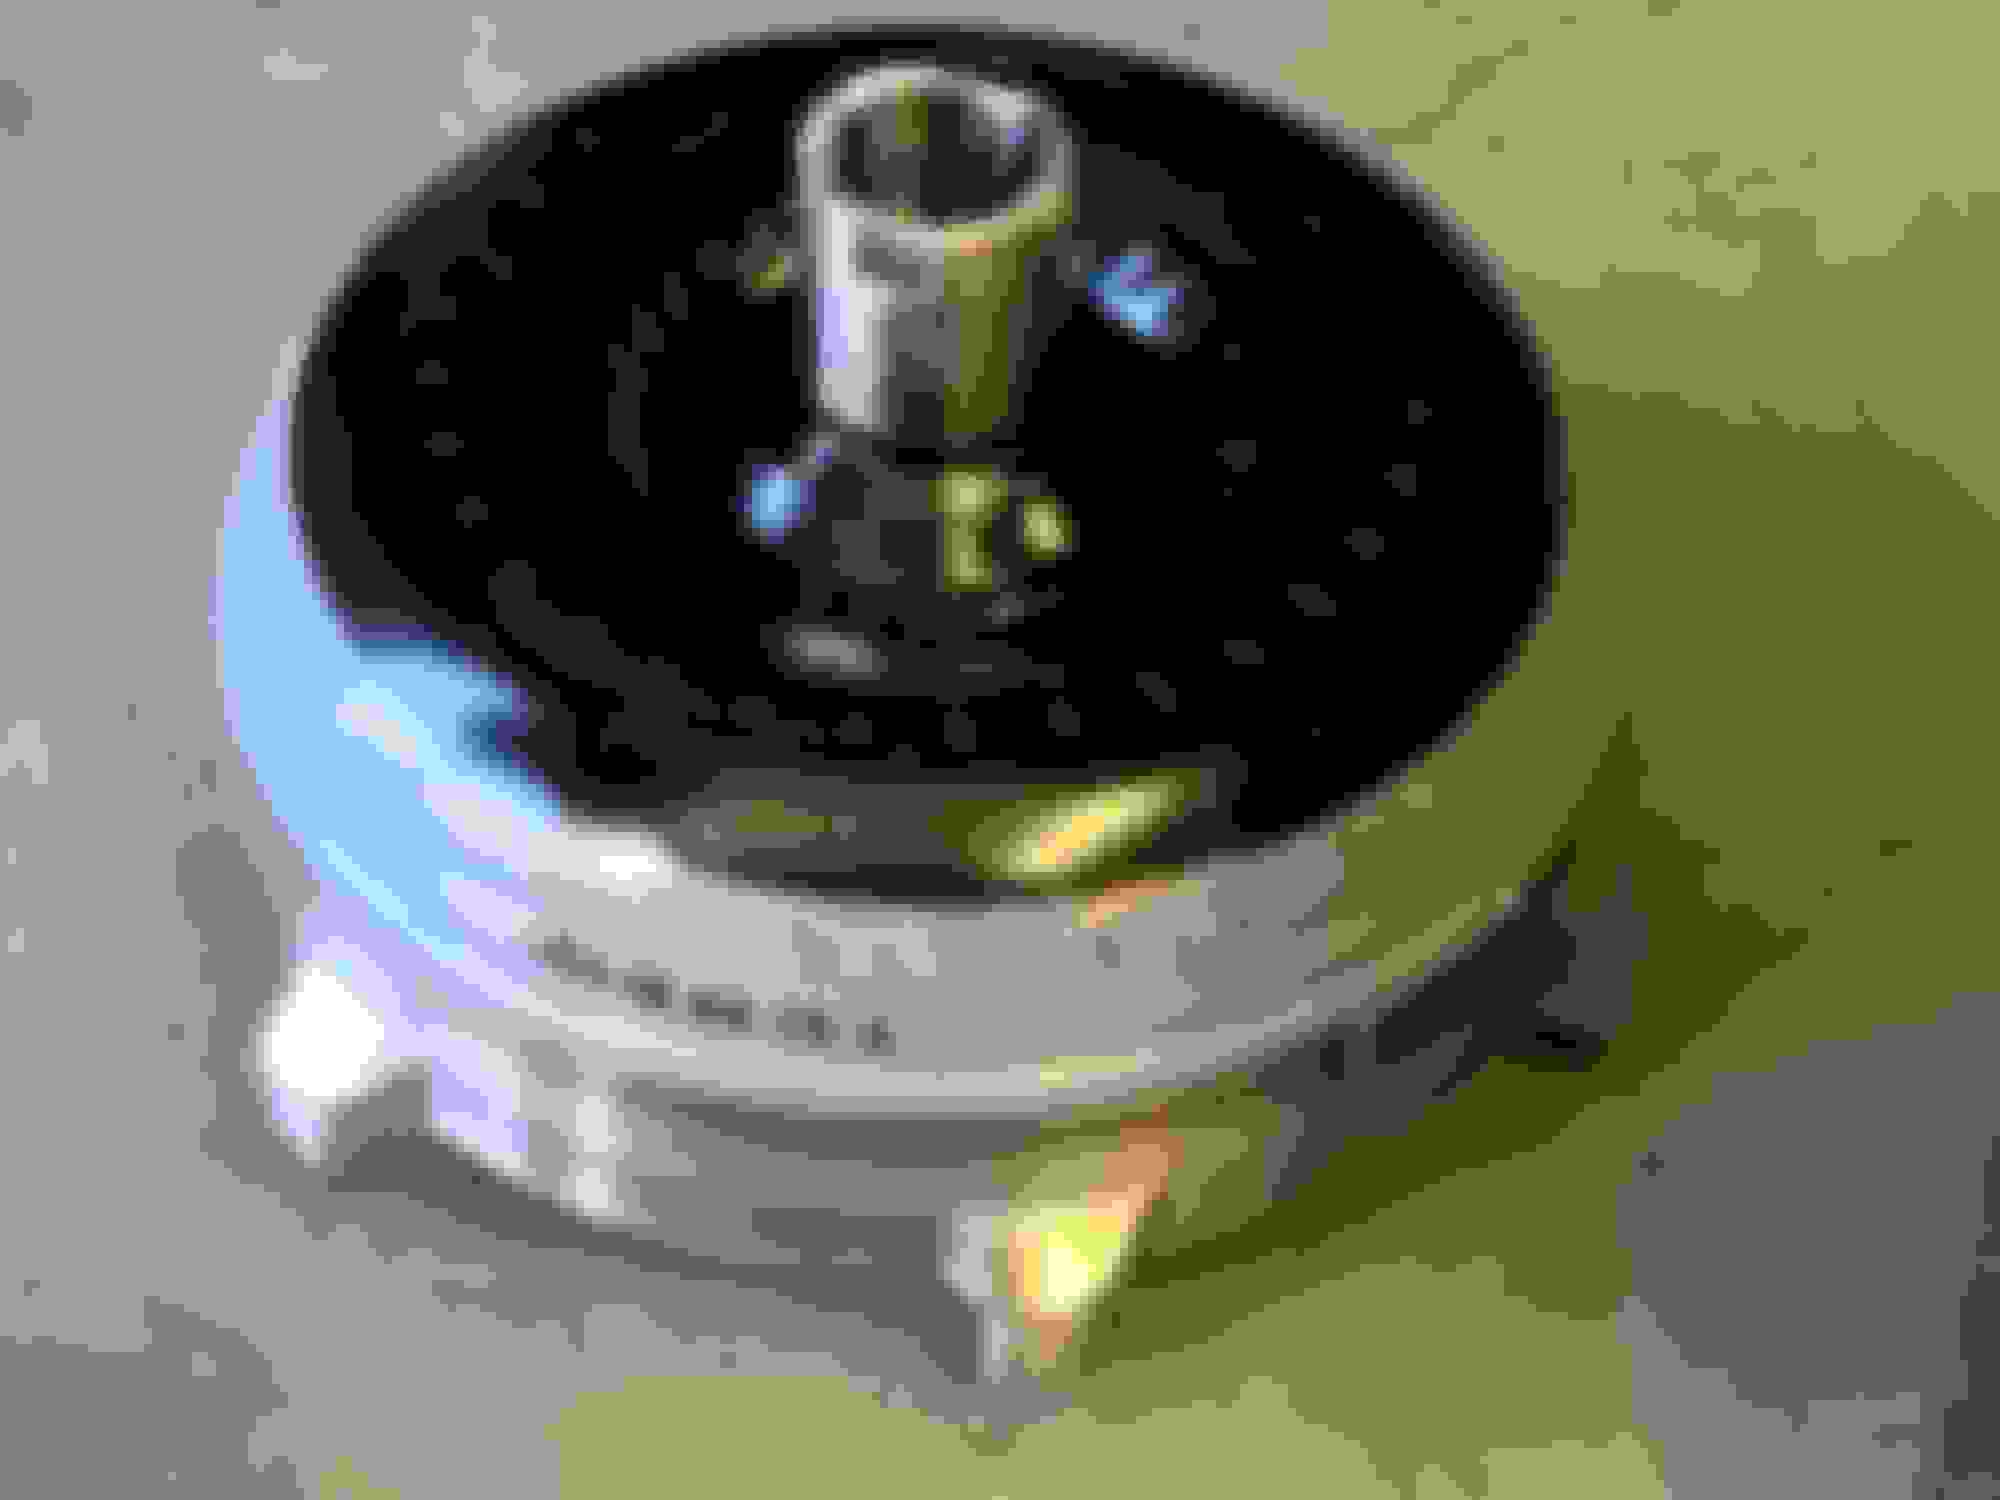
Another thing that came to mind during my re-read is the rear brake mods. I used a 2001 Blazer set-up for my rear disc conversion which is very similar to your C5/6-LS set-up. I had to fabricate a split donut spacer out of 1/2" thick aluminum to hold the bearing and seals in their proper place. The disc brake backing plate is much thicker than the factory, drum backing plate and the donut spacer is needed to make up the difference in thickness. Maybe you've already worked out a solution and just didn't post it in your build thread, but I thought I would share my experience to help a fellow Oldsmobile guy. Here's some pics of the spacer I made, I hope you find this helpful.
Rodney
To fit the Blazer backing plate my spacer needed to be 3"od x 2"id x 1/2" thick. I don't know the dimensions of your parts, so your set-up may require a different specs.
I split the spacer in half so it could be removed without pulling the axles.
The spacer should fit behind the axle retaining plate. If it's too thick, it will cause the retaining plate to bend; too thin and the bearing and seals will walk around under load and your wheels and tire could rub on the inner fenders when turning.
I just re-read your build thread; what a journey and the family history of the car it very cool. That fuel pump spacer you made may raise the pump too much; it could hit the trunk floor when you reinstall the tank. Just something to check before bolting in the tank. You could cut an access hole in the center of the trunk floor then do some sheetmetal fab work to accommodate the additional height of the fuel pump.
Another thing that came to mind during my re-read is the rear brake mods. I used a 2001 Blazer set-up for my rear disc conversion which is very similar to your C5/6-LS set-up. I had to fabricate a split donut spacer out of 1/2" thick aluminum to hold the bearing and seals in their proper place. The disc brake backing plate is much thicker than the factory, drum backing plate and the donut spacer is needed to make up the difference in thickness. Maybe you've already worked out a solution and just didn't post it in your build thread, but I thought I would share my experience to help a fellow Oldsmobile guy. Here's some pics of the spacer I made, I hope you find this helpful.
Rodney
To fit the Blazer backing plate my spacer needed to be 3"od x 2"id x 1/2" thick. I don't know the dimensions of your parts, so your set-up may require a different specs.
I split the spacer in half so it could be removed without pulling the axles.
The spacer should fit behind the axle retaining plate. If it's too thick, it will cause the retaining plate to bend; too thin and the bearing and seals will walk around under load and your wheels and tire could rub on the inner fenders when turning.
Thank you
I plan to space the tank down slightly with rubber or something. I think I will need 1/4" or so. Hopefully I will be finding out real soon.
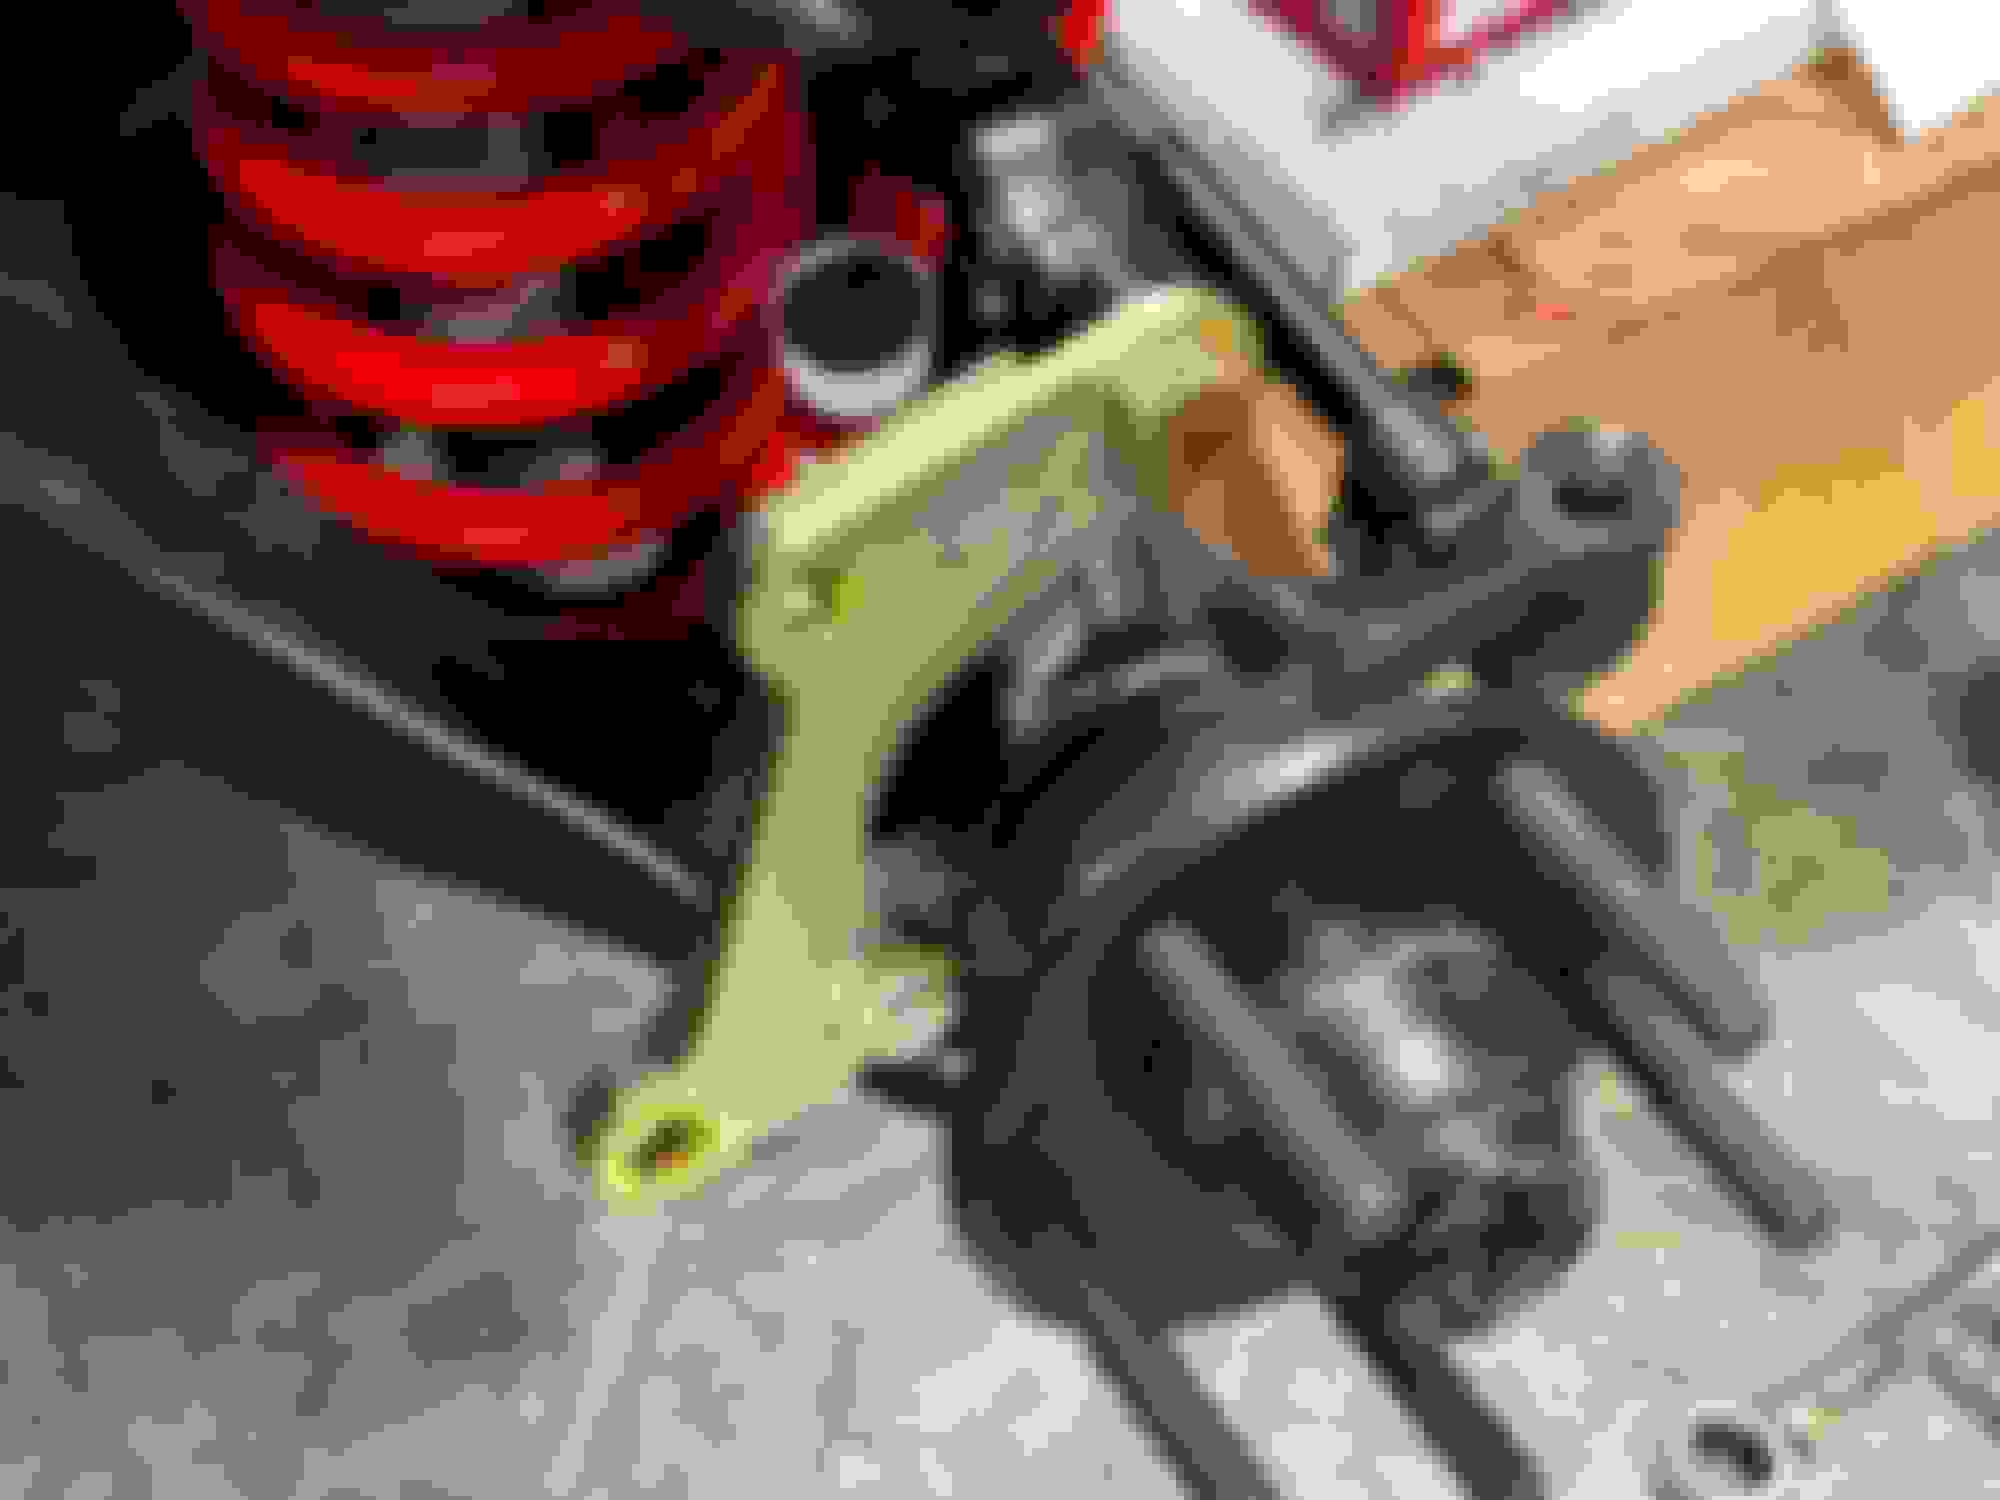
Thanks for the info on the brakes. Yes, I worked out a fix with a thin aluminum piece to hole the parking brake cable and a retainer I got from Moser I believe. This post shows the originals I had a buddy cut. The retainer wasn't quite the right size so I bought the Moser. The odd shaped one will bend to follow the angle of the control arm and then a 90 for the tab at the end with a piece welded across the corner for strength. https://classicoldsmobile.com/forums...3/#post1160964
The fuel system is almost done. We got the tank in tonight. The only thing left is the lines from the filter and the E85 sensor to the fuel pressure regulator.
Since I had to space the fuel pickup up I had to lower the tank a bit. I used two 2-1/� pieces of stall mat from rural king. I think I will use what I have left for lift pads to protect the frame.
Nice progress on the project. I guess Rural King is kind of like Texas' version of Tractor Supply or Atwoods. Kind of a farm and ranch supply store? By the way I just noticed the moniker under your name, how do we know this project of yours is real and you aren't just "photoshopping" pictures?
Nice progress on the project. I guess Rural King is kind of like Texas' version of Tractor Supply or Atwoods. Kind of a farm and ranch supply store? By the way I just noticed the moniker under your name, how do we know this project of yours is real and you aren't just "photoshopping" pictures?
Thanks
Yes, it's like tractor supply, farm and fleet, etc. I guess you don't know lol.
I guess I should update this. The Shiftworks shifter is in. It�s a niece piece.
Major change. We decided to change from using the megasquirt ecu and trans controller to a GM ecu and tcm. We decided to do this for ease of install not have to make our own harness. I bought the BP Racing harness. This is quality. They use Techex F6 wire loom so I ordered some of that for some wiring so it would match.
Got the gas pedal in, it was from an impala I think.
the fuel system is done. We went with Vibramt -6 line and fittings and a summit filter. Amazon and Oreilly had some of the fittings, the rest came from summit. We put in a flex fuel sensor I pulled out of a newer gm suv.
Soark plug wires caused a problem. One on each side we�re not wanting to play. I ordered a kit from summit that came with 5 foot wires and straight, 45 and 90 degree connectors. We are using the 90 degree connectors and running the wires towards the front under the headers and back on top. These should work nicely.
The radiator was a pain in the ***. I bought a cold case for more than I wanted to spend and it is for a four core and didn�t fit. Sent that back and bought a factory replacement style from oreilly, it didn�t fit either. I called the guy at Champion and he assured me their radiator would fit. And� it does. I also bought their shroud and fan kit.
We were working on the car one day and my son saw these wheels on Summit and I really liked them. 18x10 and 18x8. Picked up some Nitto NT 555 tires and Gotilla lug nuts.
we need to mount the calipers and rotors and get the tires put on and it will be rollable again. I ordered new front rotors because the C6 front rotors had rusted. The back rotors were new since I need f-body rotors to fit the backing plates. I ordered Powerstop ceramic carbon fiber pads rather than using the original vette pads because these have no metallic content and won�t contribute to wheel pitting.
Last edited by DewChugr; Mar 29, 2025 at 07:32 PM.
Since the motor is a gen IV and we�re using a factory computer we put the throttle body from the original motor on. Cruise will be problematic, but that�s for another time.
the radiator hoses are GM truck hoses. I got some black t-bolt clamps and black hose clamps so they won�t stand out.
Wiring for the motor is mostly done, at least engine side. I need to get my fender liners cleaned up and painted and get them in.
That�s enough updates for today. More to come. Hopefully running soon.