When you click on links to various merchants on this site and make a purchase, this can result in this site earning a commission. Affiliate programs and affiliations include, but are not limited to, the eBay Partner Network.
I would like to put that s-wheel on my Cutlass. Can you tell me:
Do I need a wheel puller to take my stock wheel off (70 CS) ?
Was there any trick to making sure everything lined up ok/straight?
Horn works ok?
Thanks - JM
Beginning reinstalling goodies (8 hours - 4 yesterday and today)
Installed the under dash ducts, radio speaker delete block off plate, heater box and blower housing. Ran the new speedo cable and console harness behind the firewall pad and installed it after the mods detailed in my other post. Installed the special speedo cable clamp that bolts to the firewall NOW before the engine is installed. Installed the brake cage with pedals.
Removed mt B85 trim to try to refinish. I thought I was doing good, but just ruined some pieces. Got to find a good set somewhere.
Painted the inside metal ledge below the rear window. Tonight I jacked up the rear of car and dropped the tank. No gas tank pad, but did find my first build sheet! So cool. This car originally had PO1 wheel covers and white walls and despite what I had been told, the car was ordered by a dealer in New York, and not Arizona.
Assembled Block with balanced rotating assembly installed came back from the rebuilder. I'm second guessing this zero clearance coating on the pistons. Should wear in pretty quick - just hope I don't burn out a starter motor.
Yesterday we dropped the rear end out after pulling the shocks, springs and spacer crap the previous owners had stuck in them instead of changing them out. Opened her up and verified it still had the 2.56 ring and pinion. Yoke has a small wear groove and the pinion seal was toast - that's why the rear is a greasy, but well protected mess. Pulled the upper control arms, but the bushings look perfect so I will be leaving these alone.
Today pulled all the gas tank vent lines to clean and refinish. Pulled off the recently rechromed rear bumper and found it and most of the lamps and hardware on it is in excellent condition - the worst piece is the license plate bracket.
Started cleaning and sanding the frame rails and underbody for paint.Still need probably about 2 more hours of prep work before I can begin spraying. My goal is to get this finished up, finish the refurb of the rear end and all the parts pulled off over the last few days before leaving for a week's vacation next Friday.
Hopefully the last day of looking like a coal miner (10 hours)
Finished sanding (kind of) the frame rails and cleaning the body underside. Also went through and sanded the fuel and brake lines to shiny metal and taped off. Changed out one of the rear body bushings because it was coming apart - interestingly, all the rest of the bushings are in excellent condition. Cleaned and taped off some of the bushings, and shot the body underside in the flexible semi gloss bumper paint, and shot the frame rails in Krylon Satin. Surface prep was shall we say "lacking" in certain areas, but the whole thing looks 1000% better than it did, especially when the new gas tank is installed.
Then moved onto the rear wheel wells. Scrubbed them clean, masked off the freshly painted frame rails, shot them with rubberized undercoater.
Moved onto the rear axle assembly. Spent about 2 1/2 hours hand sanding the tubes and finished cleaning the center section with various wire brushes and solvent. Cleaned and masked off the upper bushings - looked almost NOS when done. Shot first coat of Eastwood's Satin Extreme Chassis Black on the tubes. Will shoot a second coat in the morning, and then turn it 180 deg. and paint the underside.
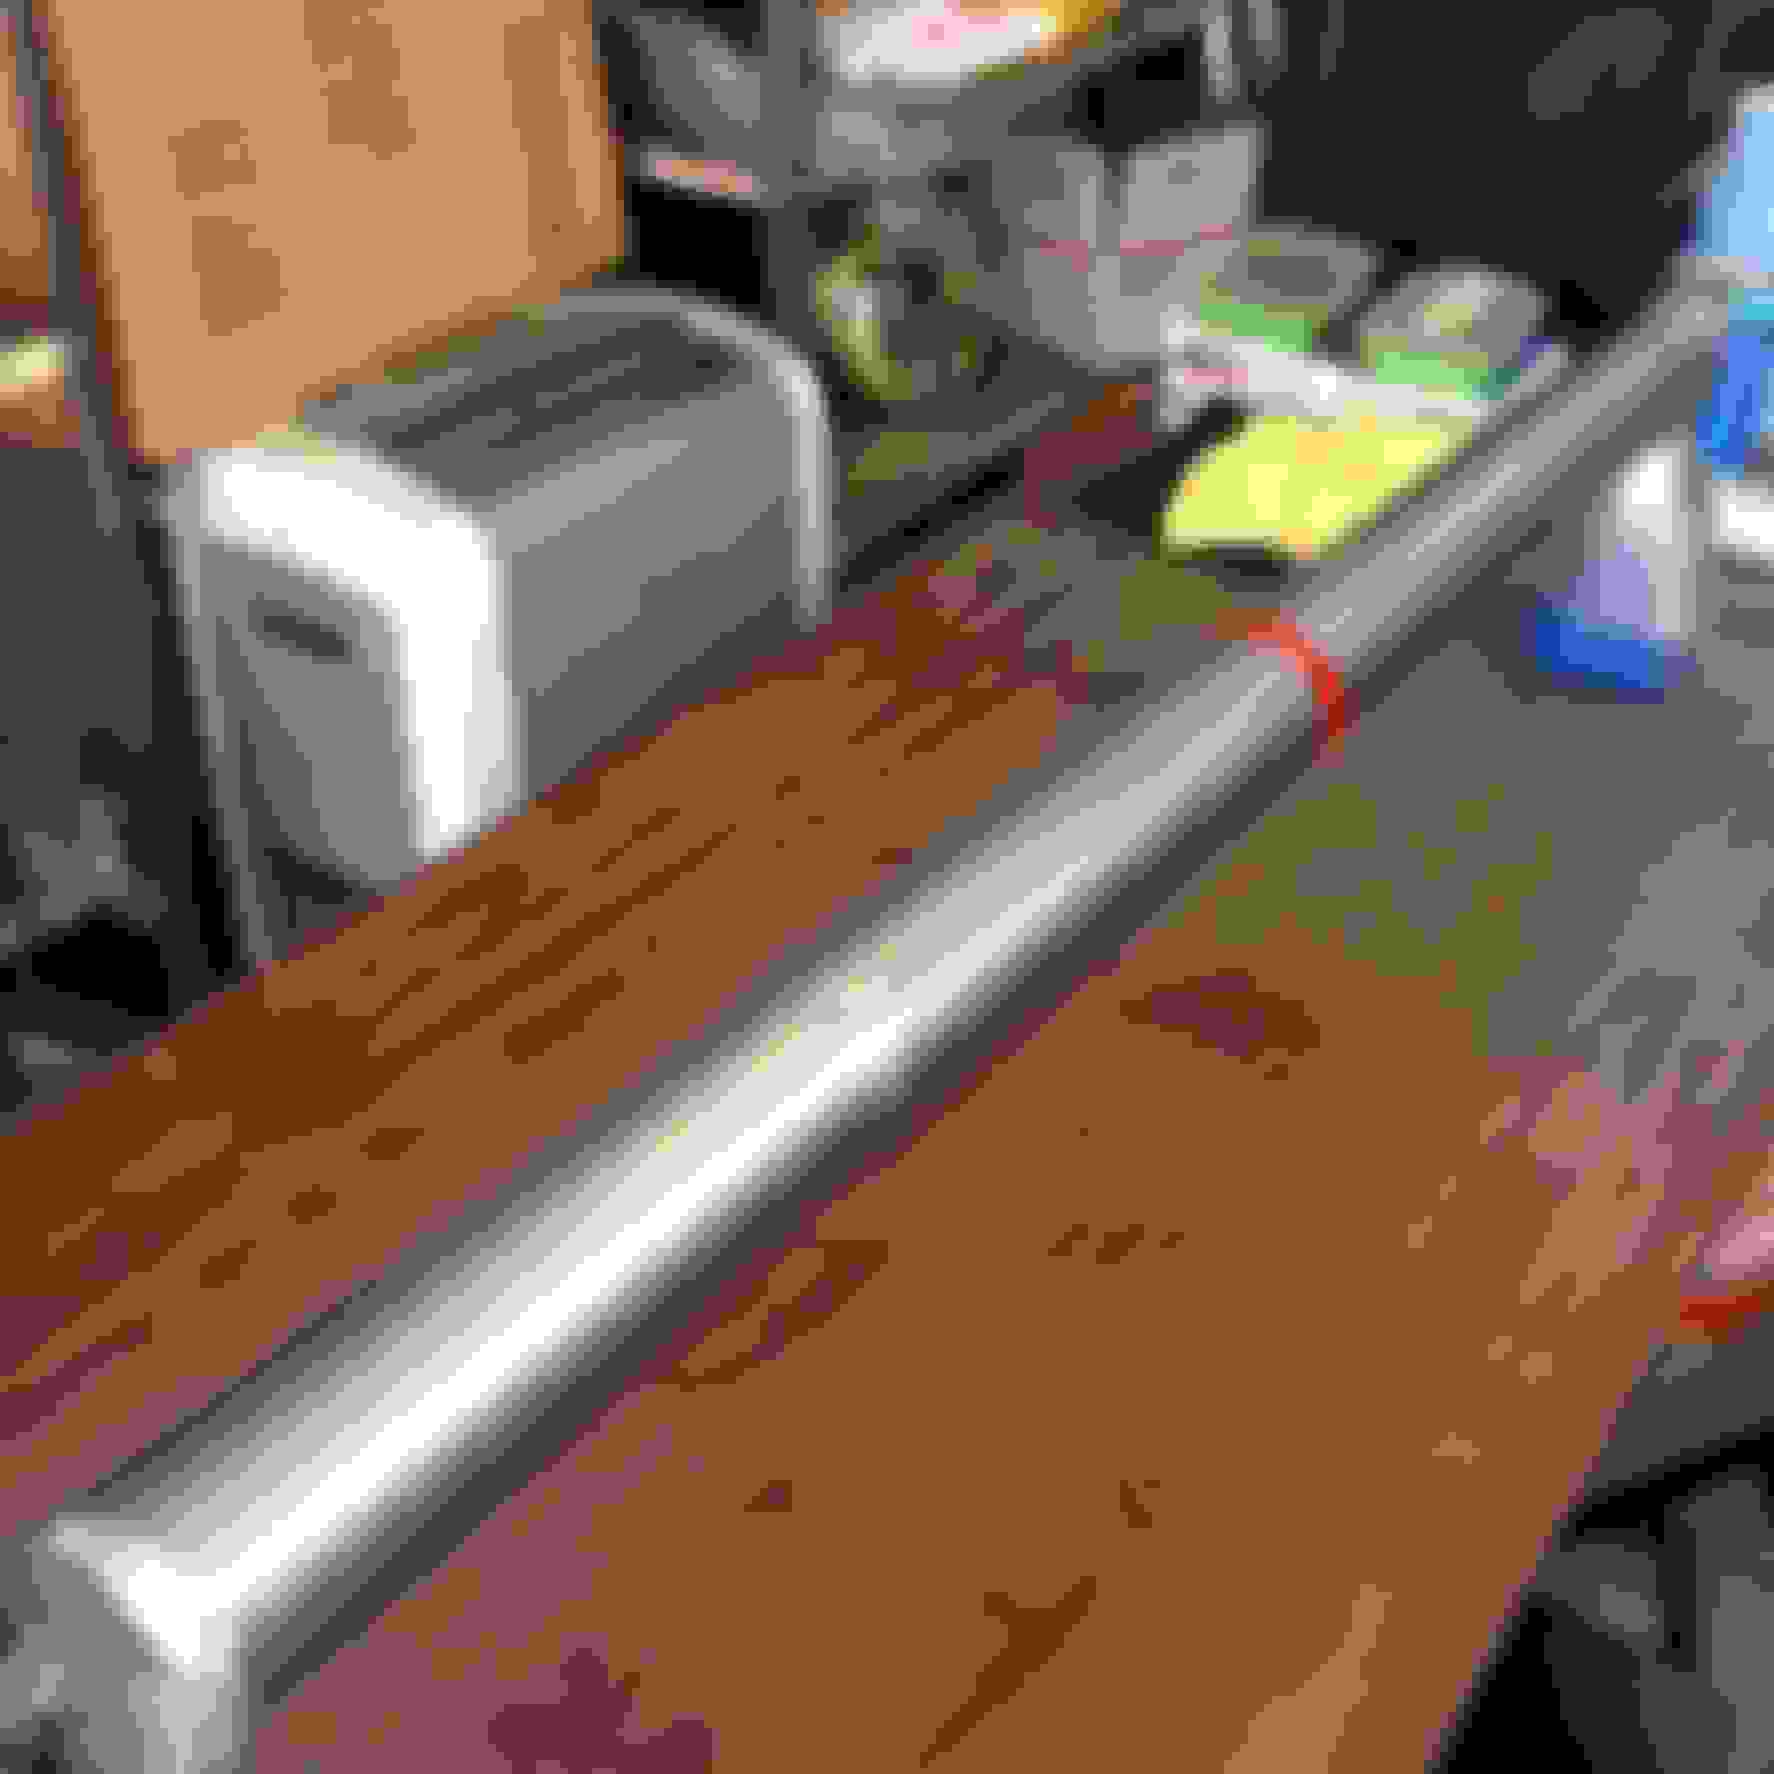
Last messy things to do are the driveshaft (again) and rear brakes. Need to (surprise!) order a few items like rear sway bar shims, trunk weatherstrip, and figure out what to do about the starter - it does not have the hole for the M/T bolt and starter brace.
Last update before vacay (8 hours - 3 yesterday, 5 today)
Continued working on the rear axle assembly. Spent considerable time sanding/cleaning/evaporusting the axles. Got these things looking pretty good but what a poopy job. Received my NOS 7451959 bearings I bought on eBay along with the 712146 rear seals from OReilly. I will not use anything but these parts after the debacle I had on the convertible. Took over to a local repair shop to cut the staked flange retainer on the OE bearing, and press the new ones on. I didn't think to ask the price, and he charged me 90.00 with everything being clean when he got them. He lost a customer for life.
Painted the center section in Cast Blast, and while it was drying began sanding the rear cover and upper arms. Both are lightly pitted, but will be fine the usual painting - nothing like what Patton had to do on the rear end cover for the W-30. Am putting all three pieces in an extended Evaporust soak - let's see what happens.
Started assembling the rear end. Installed axles with new TPP rear backing plates - nice heavy duty pieces. I cleaned and reused my tube to backing plate studs and nuts because the AMK kit looked nothing like the originals. Next installed the new brake lines and hose. The hose I bought in the Dorman brand from Rock Auto, and it looks really cheesy. It would have not got within yards of the blue car, but will do onnthis one. The ILT lines went on very well.
Added the various paint markings I found on the original along with a bonus blue 7 in crayon on the housing. Installed the original snubbers, axle vent tube and the way wrongly coded green axle tube sticker.
Ordered the Waldron exhaust today. Will be 4 weeks before I receive it. The guy named John there was super helpful and knowledgable.
Off driving to Disney World with the family tomorrow. My 25 year old son and his wife and my 21 year old daughter and her cousin still want to spend time with me and my wife. We've been so lucky with our kids.
Back In The Garage (11 hours - 3 each Sauturday and Sunday, 5 today)
Done so much recently it is all kind of running together. Sanded and painted/detailed the right driveshaft for my car. Evaporusted all the brake hardware I will be reusing. Installed the yoke onto the pinion and Chris used his inch pound torque wrench to get the rotational torque needed to 15 inch pounds before it begins to spin. The pinion seal that everyone sells is wrong for this application. The parts stores say it is a 8460N National number, but what it actually needs is a 2043 - which the parts books say fit a 70. The rear cover gasket is correct - a Fel Pro RDS55028-1, but it hangs out exposed at the 3 & 9 o'clock positions. I traced the cut out, and cut that part out of the gasket. I also completely covered the gasket in Black silicone to seal well, but also cover up that Fel Pro blue. I filled the rear end and added the posi additive, and sealed her up.
This morning installed the rear end using the new boxed arms bought from Rock. The thing just fell right in. Prepped the rear sway bar for installation, and painted the Monroe shocks and rear marker light brackets.
Got my Supreme B-85 moldings back after they were straightened and polished.. The original window Fuzsies that are crimped onto the trims clean up really well with some windex and a medium stiffness toothbrush - those things hold so much dirt.
Plan for this week is to recondition all the rear bumper parts, install and plumb new gas tank, install rear brake hardware and cables, and finish the trunk before getting my engine back next week, along with other goodies from down Austin way.
Watching Saving Privare Ryan on Memorial Day. What a masterpiece and fitting tribute to all those who fought during those terrible days in 1944.
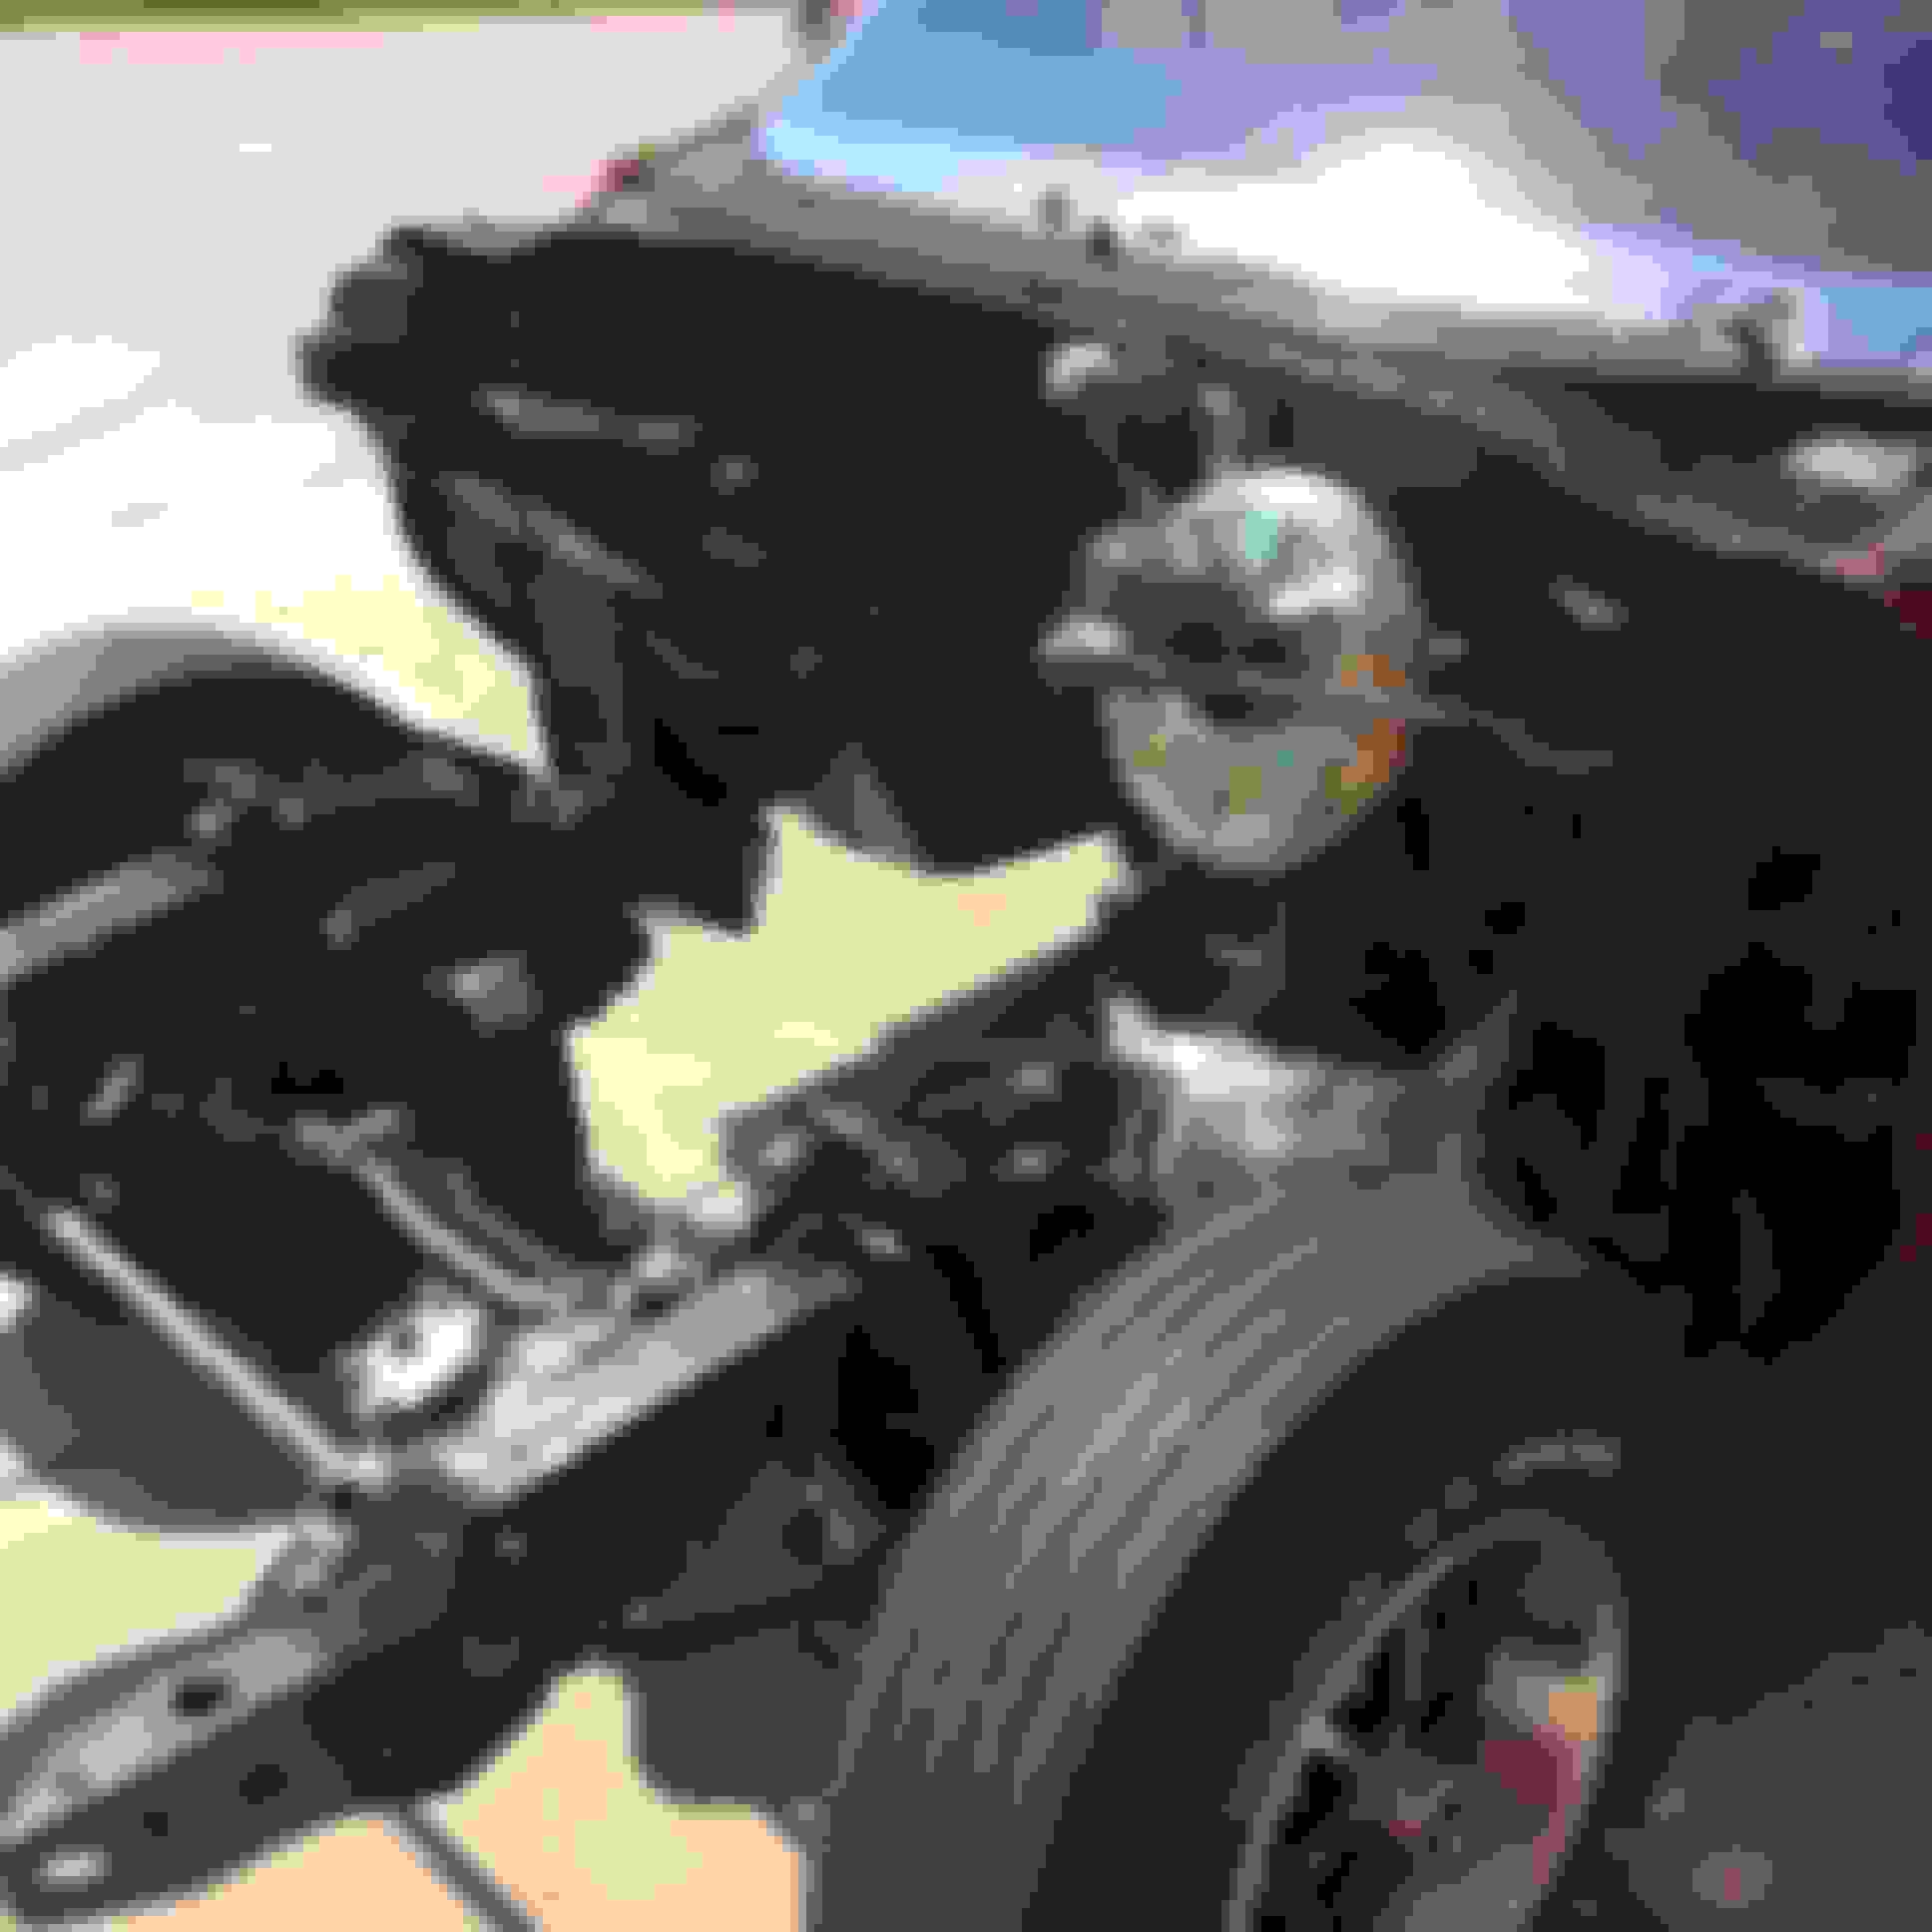
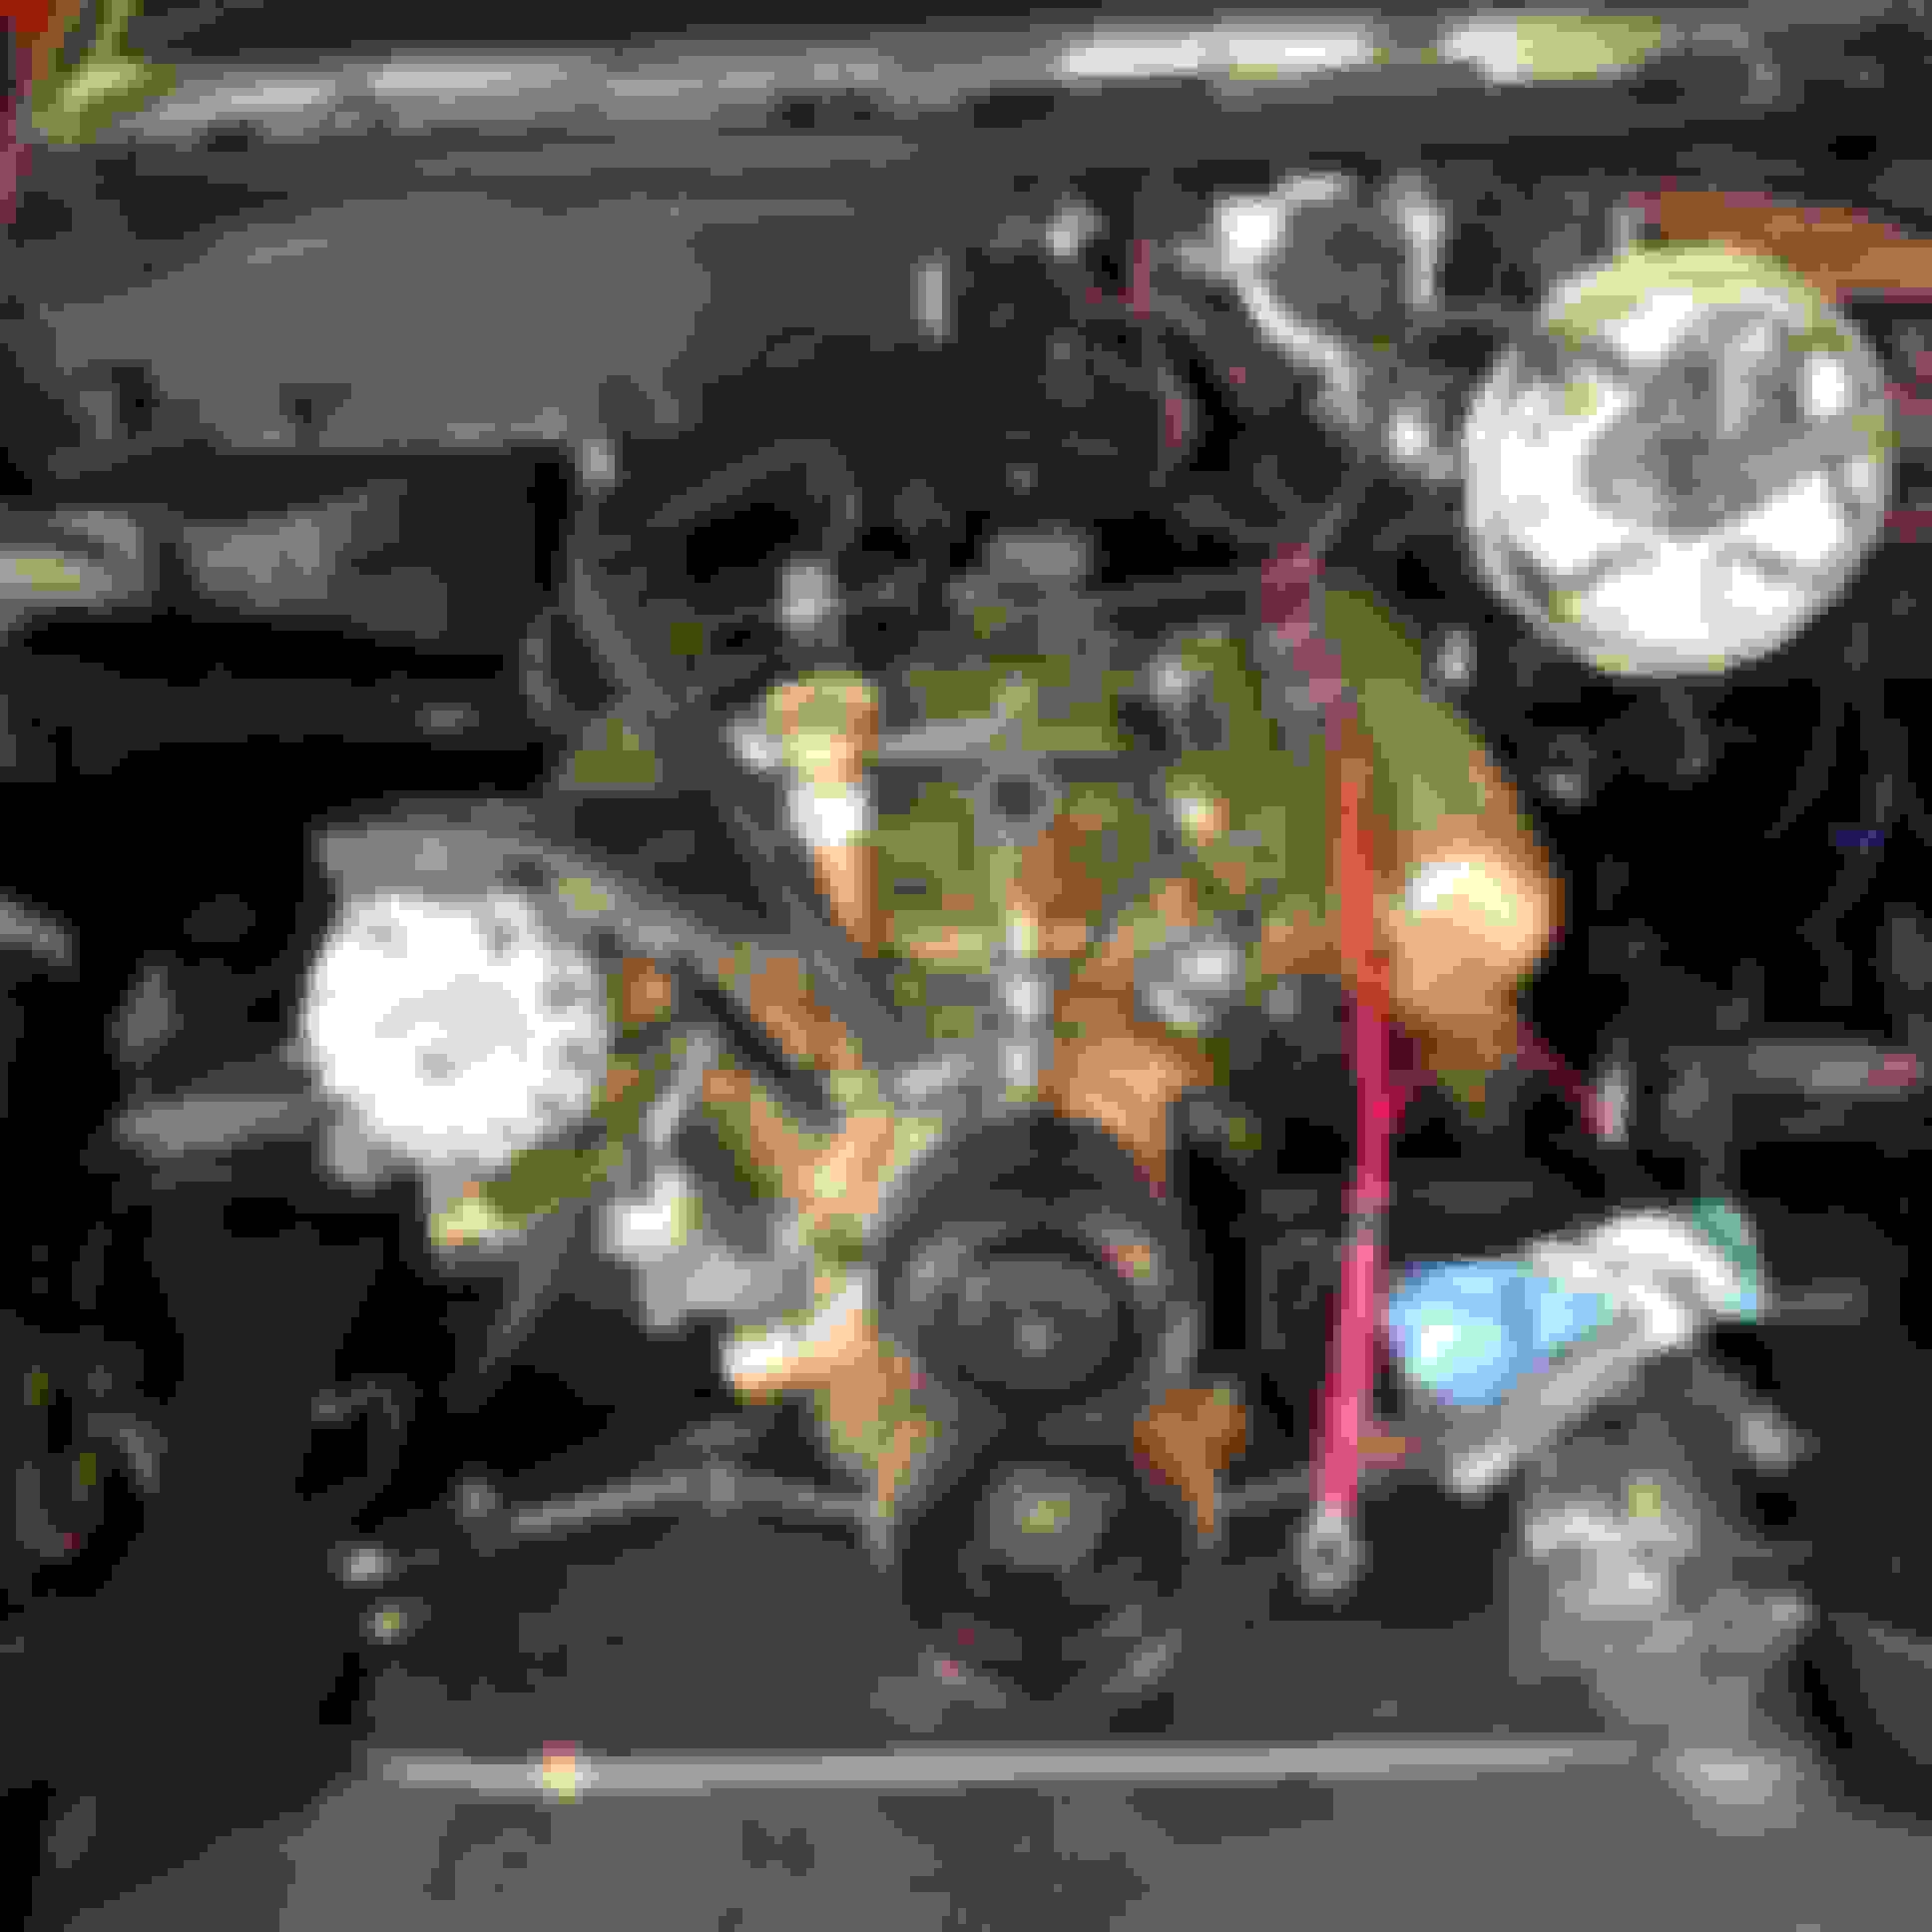
Haven't had time between work, the band, and working on the car to be updating, but a lot of this is repetitive with my W-30 thread. Here's some pics of work completed so far on the dash reinstallation, engine bay, and engine. Should finish engine reassembly by mid next week and reinstall engine/trans next weekend. Another week for interior and front clip reassembly, then I'll have a little time to reassemble the Hurst for the Nationals.
Last edited by costpenn; Jun 17, 2016 at 09:24 PM.
Engine and trans is in. The shifter is exactly in the middle of the shifter tunnel hole-whew! Everything has gone relatively smooth until this point. Have also finished up the trunk. Next is front clip installation, then finally interior reinstallation. Car should be completed in a week.
Things coming together at last. Exhaust from Waldron's should be in tomorrow and am waiting from Fusick's for my sail panels to begin reinstalling the rest of the interior. Installed the console over the weekend just to keep my motivation up. It looks awesome - thanks Patton - and no shifter interference issues. We must have put the shifter hump in the exact right place!
Totally lost track of the hours it took to finish it. Many, many thanks to Chris Dreiling for today - on a Sunday - firing up the Bridgeport to mill .045 off the bottom of the rocker arm pivots to make up for the machine shop leaving the valve height consistant, but way too low.
Thanks to all for following along. Got one week to get the Hurst ready for Kingsport.
Joe thank you so much for sharing and documenting this build, your work is stunning, and your write ups fantastic, wow, I just can't stop saying that enjoyed the thread all the way home from work and the last hour amazing , thank you
I've followed all of your restoration posts and all of your cars look great. You do excellent work!
How do you like the M22Z and the 2.56 rear? I am thinking of doing the same thing with one of my cars. Also, do you think you'll ever restore a Vista wagon? I'd love to see your restoration process applied to a Vista. Thanks!
I too have been a big follower of Joe's build threads. They have, and will continue to be, a great help to all of us struggling with our restorations. Joe, It was a real treat to meet you at the Nationals and spend a few minutes chatting with you. Your cars are even better in person than in pictures. Please keep up the inspirational work!
Wow- thanks to all for the kind words. The car wound up winning Best In Class, and advanced into the Senior Class by scoring over 990 points out of 1000.
Vista? Sounds like fun, but I'll need a bigger garage!
I too have been a big follower of Joe's build threads. They have, and will continue to be, a great help to all of us struggling with our restorations. Joe, It was a real treat to meet you at the Nationals and spend a few minutes chatting with you. Your cars are even better in person than in pictures. Please keep up the inspirational work!
Randy
X 3
I agree great great threads and very inspirational thank you for sharing your builds
When I finished the W-30, I had some housekeeping to do after the Nationals. This car was no different, so when I got back from Kingsport I got to work on the last few things/bugs the car had that I coukd not get fixed before loading it on the trailer:
Clutch chattering - it was really bad and was making the car almost undriveable. I thought it might be that the 10 1/2" clutch I had installed might have a defective pressure plate, so I ordered a 11 inch Centerforce. The shop called me a week later with some unexpected news - the problem was too much grease in the pilot bearing. It kind of melted out and ran down onto the flywheel engagement area. Had to turn the flywheel - again- but with the new clutch, all is now well.
Front End Alignment - The shop did an amazing job on this. Steering wheel dead center, no pull at all, nice tight " The Handler" feel. It almost feels like you are driving on radials.
Exhaust - You get what you pay for. The Gardner exhaust system I put on the W-30 went on like a breeze, looks and sounds great. The Waldron system on this car not so much. Overall tailpipe length was too long and was having trouble with the pipes hitting both the frame right behind the wheels and also contacting the rear bumper. Took it to a Meineke muffler shop - they added a couple of reliefs and shortened one pipe and now no more additional exhaust sounds. Don't like the tone of these mufflers as much as the Gardner's, but still acceptable.
Carburetor - I would up stealing the 7040258 off the blue car to put on this one since the 7041250 I had was causing all kinds of problems. I sent it off to a Carb Junkeys, and should have it back soon. They are rebuilding/restoring it with the 406768 cam (70 442 M/T) and W-31 pistons taken into account.
I have to say I am really enjoying driving this one. The SBO cars seem about 500 lbs. lighter to me. Also did my first burnout to make sure the limited slip diff. is working correctly - passed with flying colors.
My next project is a real change of pace. My long time business partner and mentor has asked me to restore his 1979 Ford F-250 Custom Super Cab 4X4 he ordered new (got the Marti report - very interestingly and oddly equipped). I could not say no to a man who has meant so much to me and my family, so I'm crossing over to the "Blue" side for a while.
Thanks to all who have followed along for all the kind words and encouragement.
Last edited by costpenn; Aug 22, 2016 at 09:12 AM.


 Good luck at the Nat's!


